Harvest Bliss: Cranberry Pumpkin Nut Bread

A Decadent Fusion of Fall Flavors

Get ready for a delicious adventure with our Cranberry Pumpkin Nut Bread—a recipe that embodies the flavors of fall. It’s not just a bread; it's a hearty combination of pumpkin, spices, and delightful textures. Although it demands a bit of attention, trust me, every effort pays off in each aromatic slice.


Ingredients:

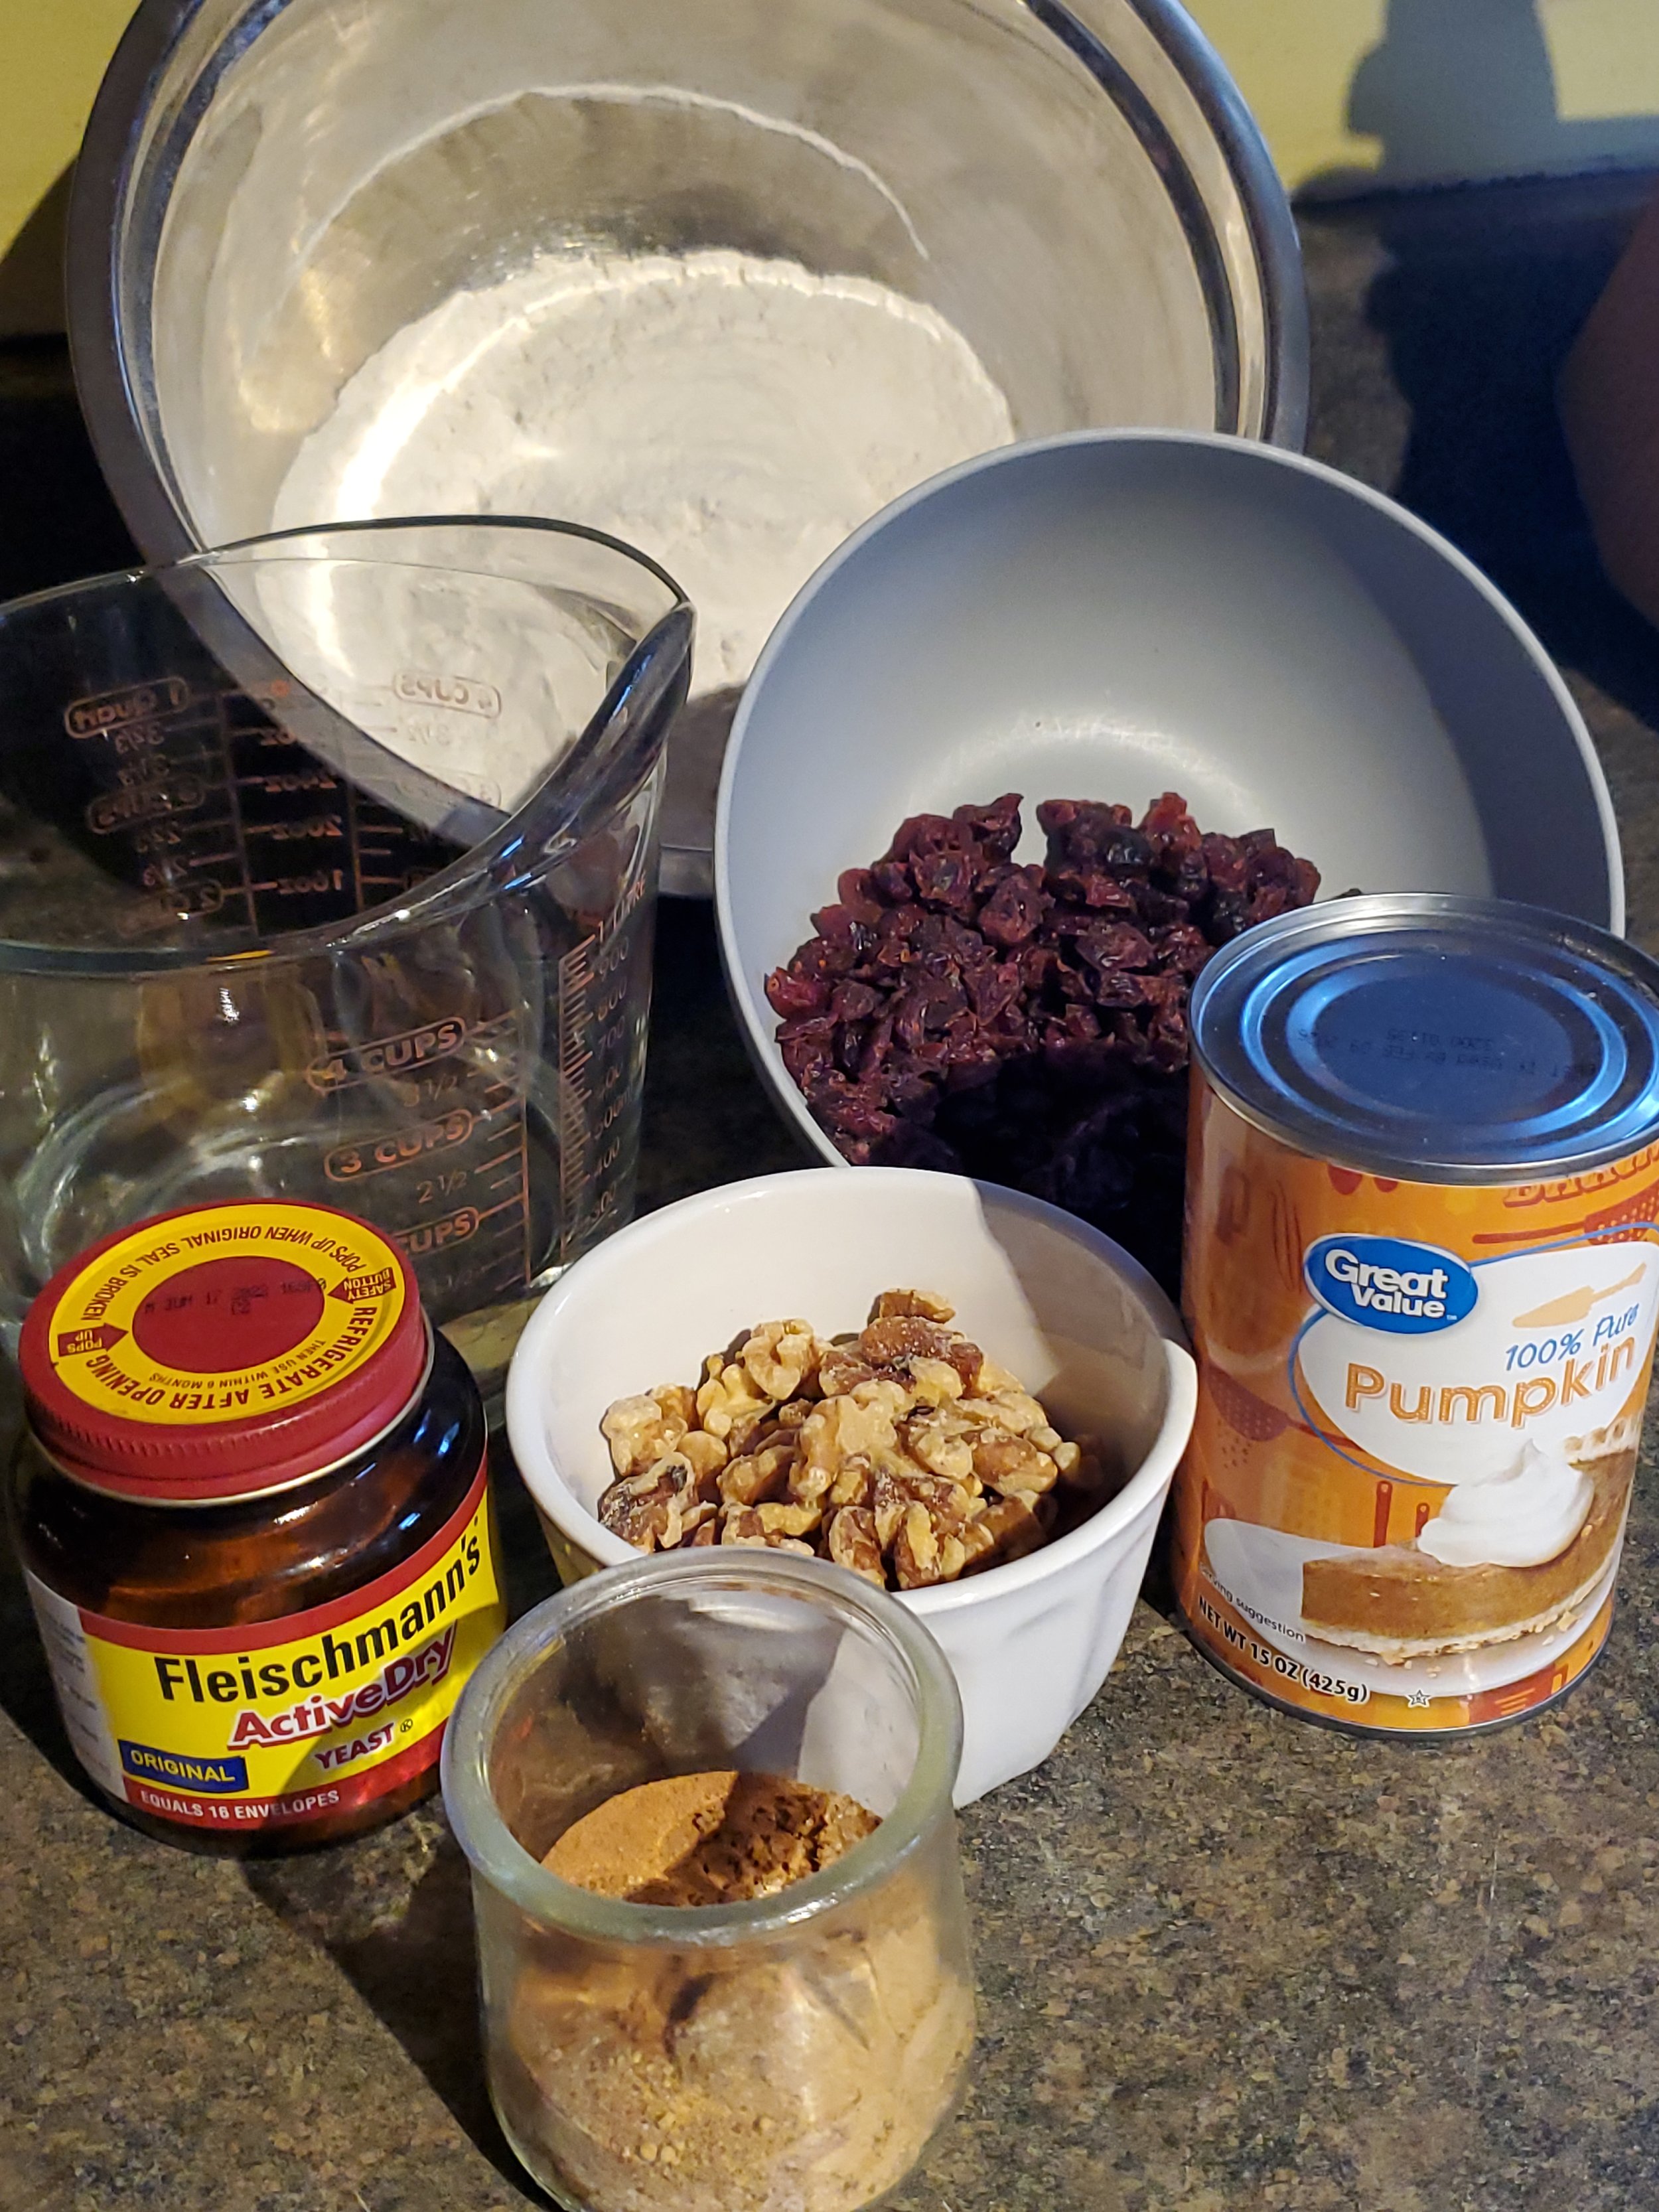
1 cup water, warm, plus enough water to fill a kettle

1 tablespoon active dry yeast

1 15 ounce can plain pumpkin

2 tablespoons sugar

1 1/2 teaspoon ground cinnamon

1/2 teaspoon ground ginger

1/4 teaspoon nutmeg

1/2 teaspoon salt

4 1/2 cups flour, divided

1/2 cup chopped walnuts

1/4 cup dried cranberries


Tools:

parchment paper

Dutch oven, caldero, or four loaf pans

measuring cups and spoons

mixing bowls

tea kettle or pot for water

smaller, heat-proof bowl

colander

clean kitchen towel


Quick word of caution: This will be a messy, time consuming recipe! Do not attempt to do this on Thanksgiving. If you're an experienced baker of bread, you might pull it off. But if you're us... You'll just create a mess and not have the bread til after dinner. 


Well before you intend to get anything going for this recipe, start a tea kettle or a pot of water on the stove. You can use the time while you wait for it to reach a boil to get your other ingredients out.


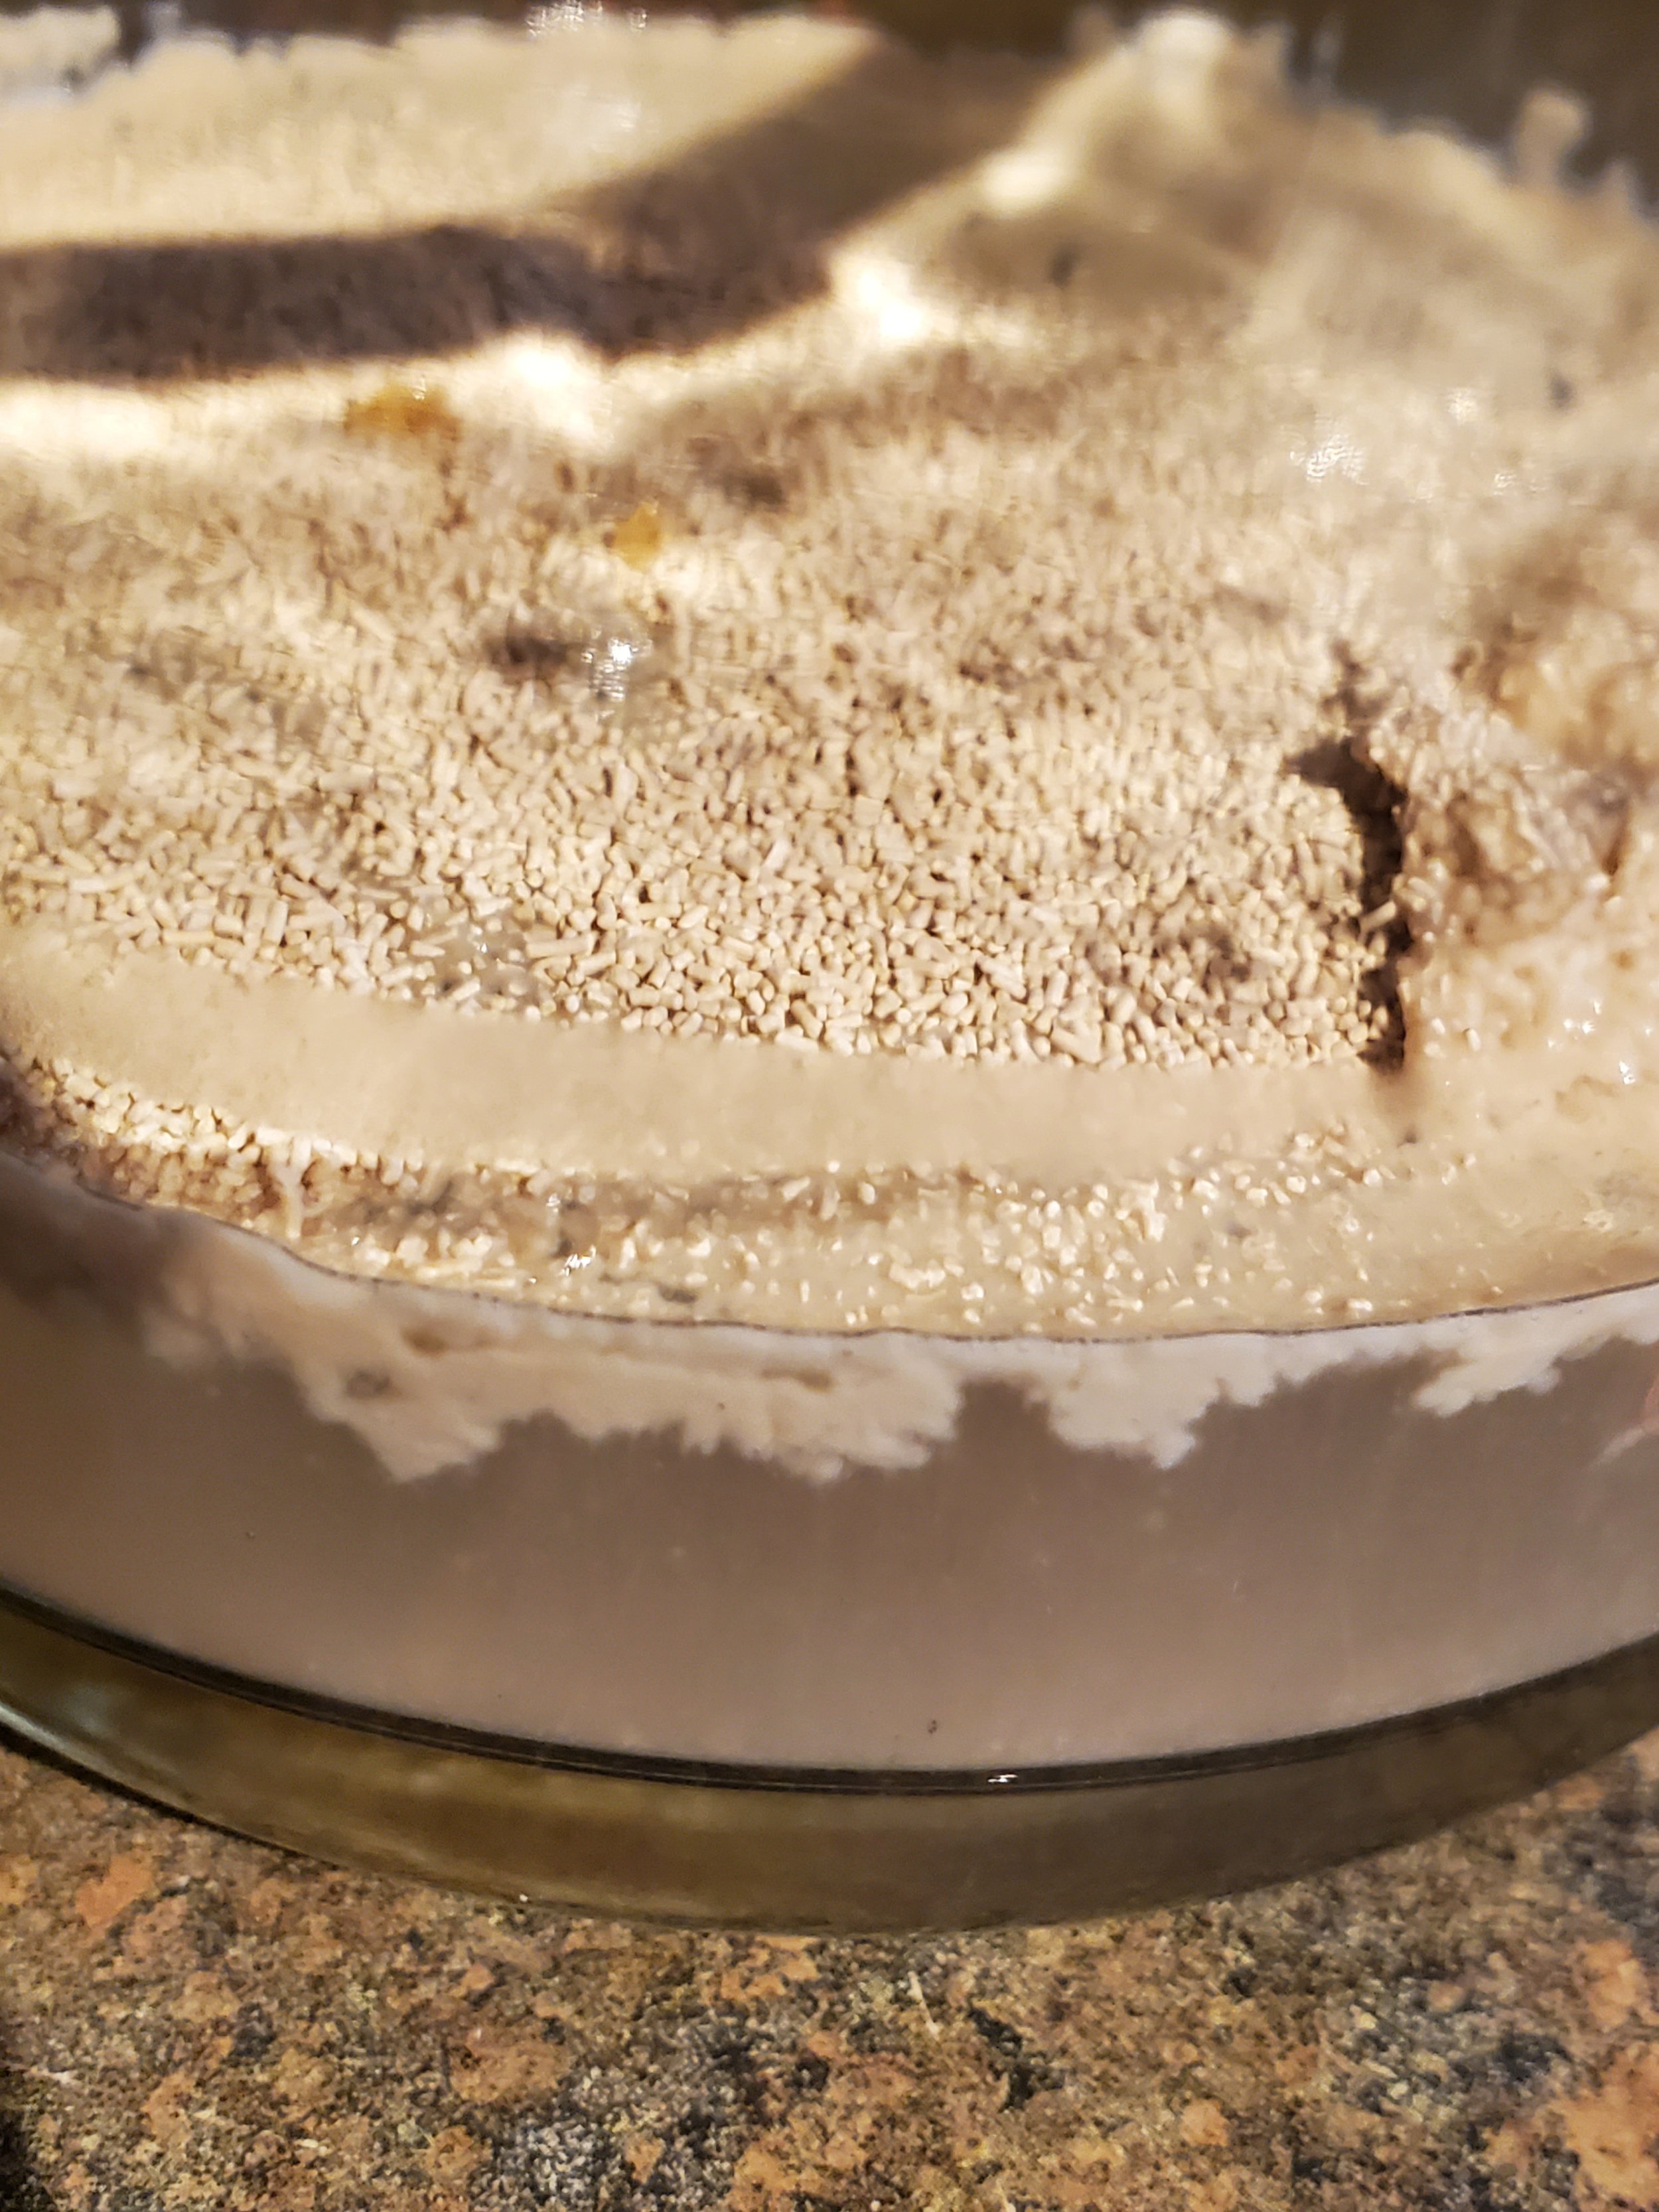
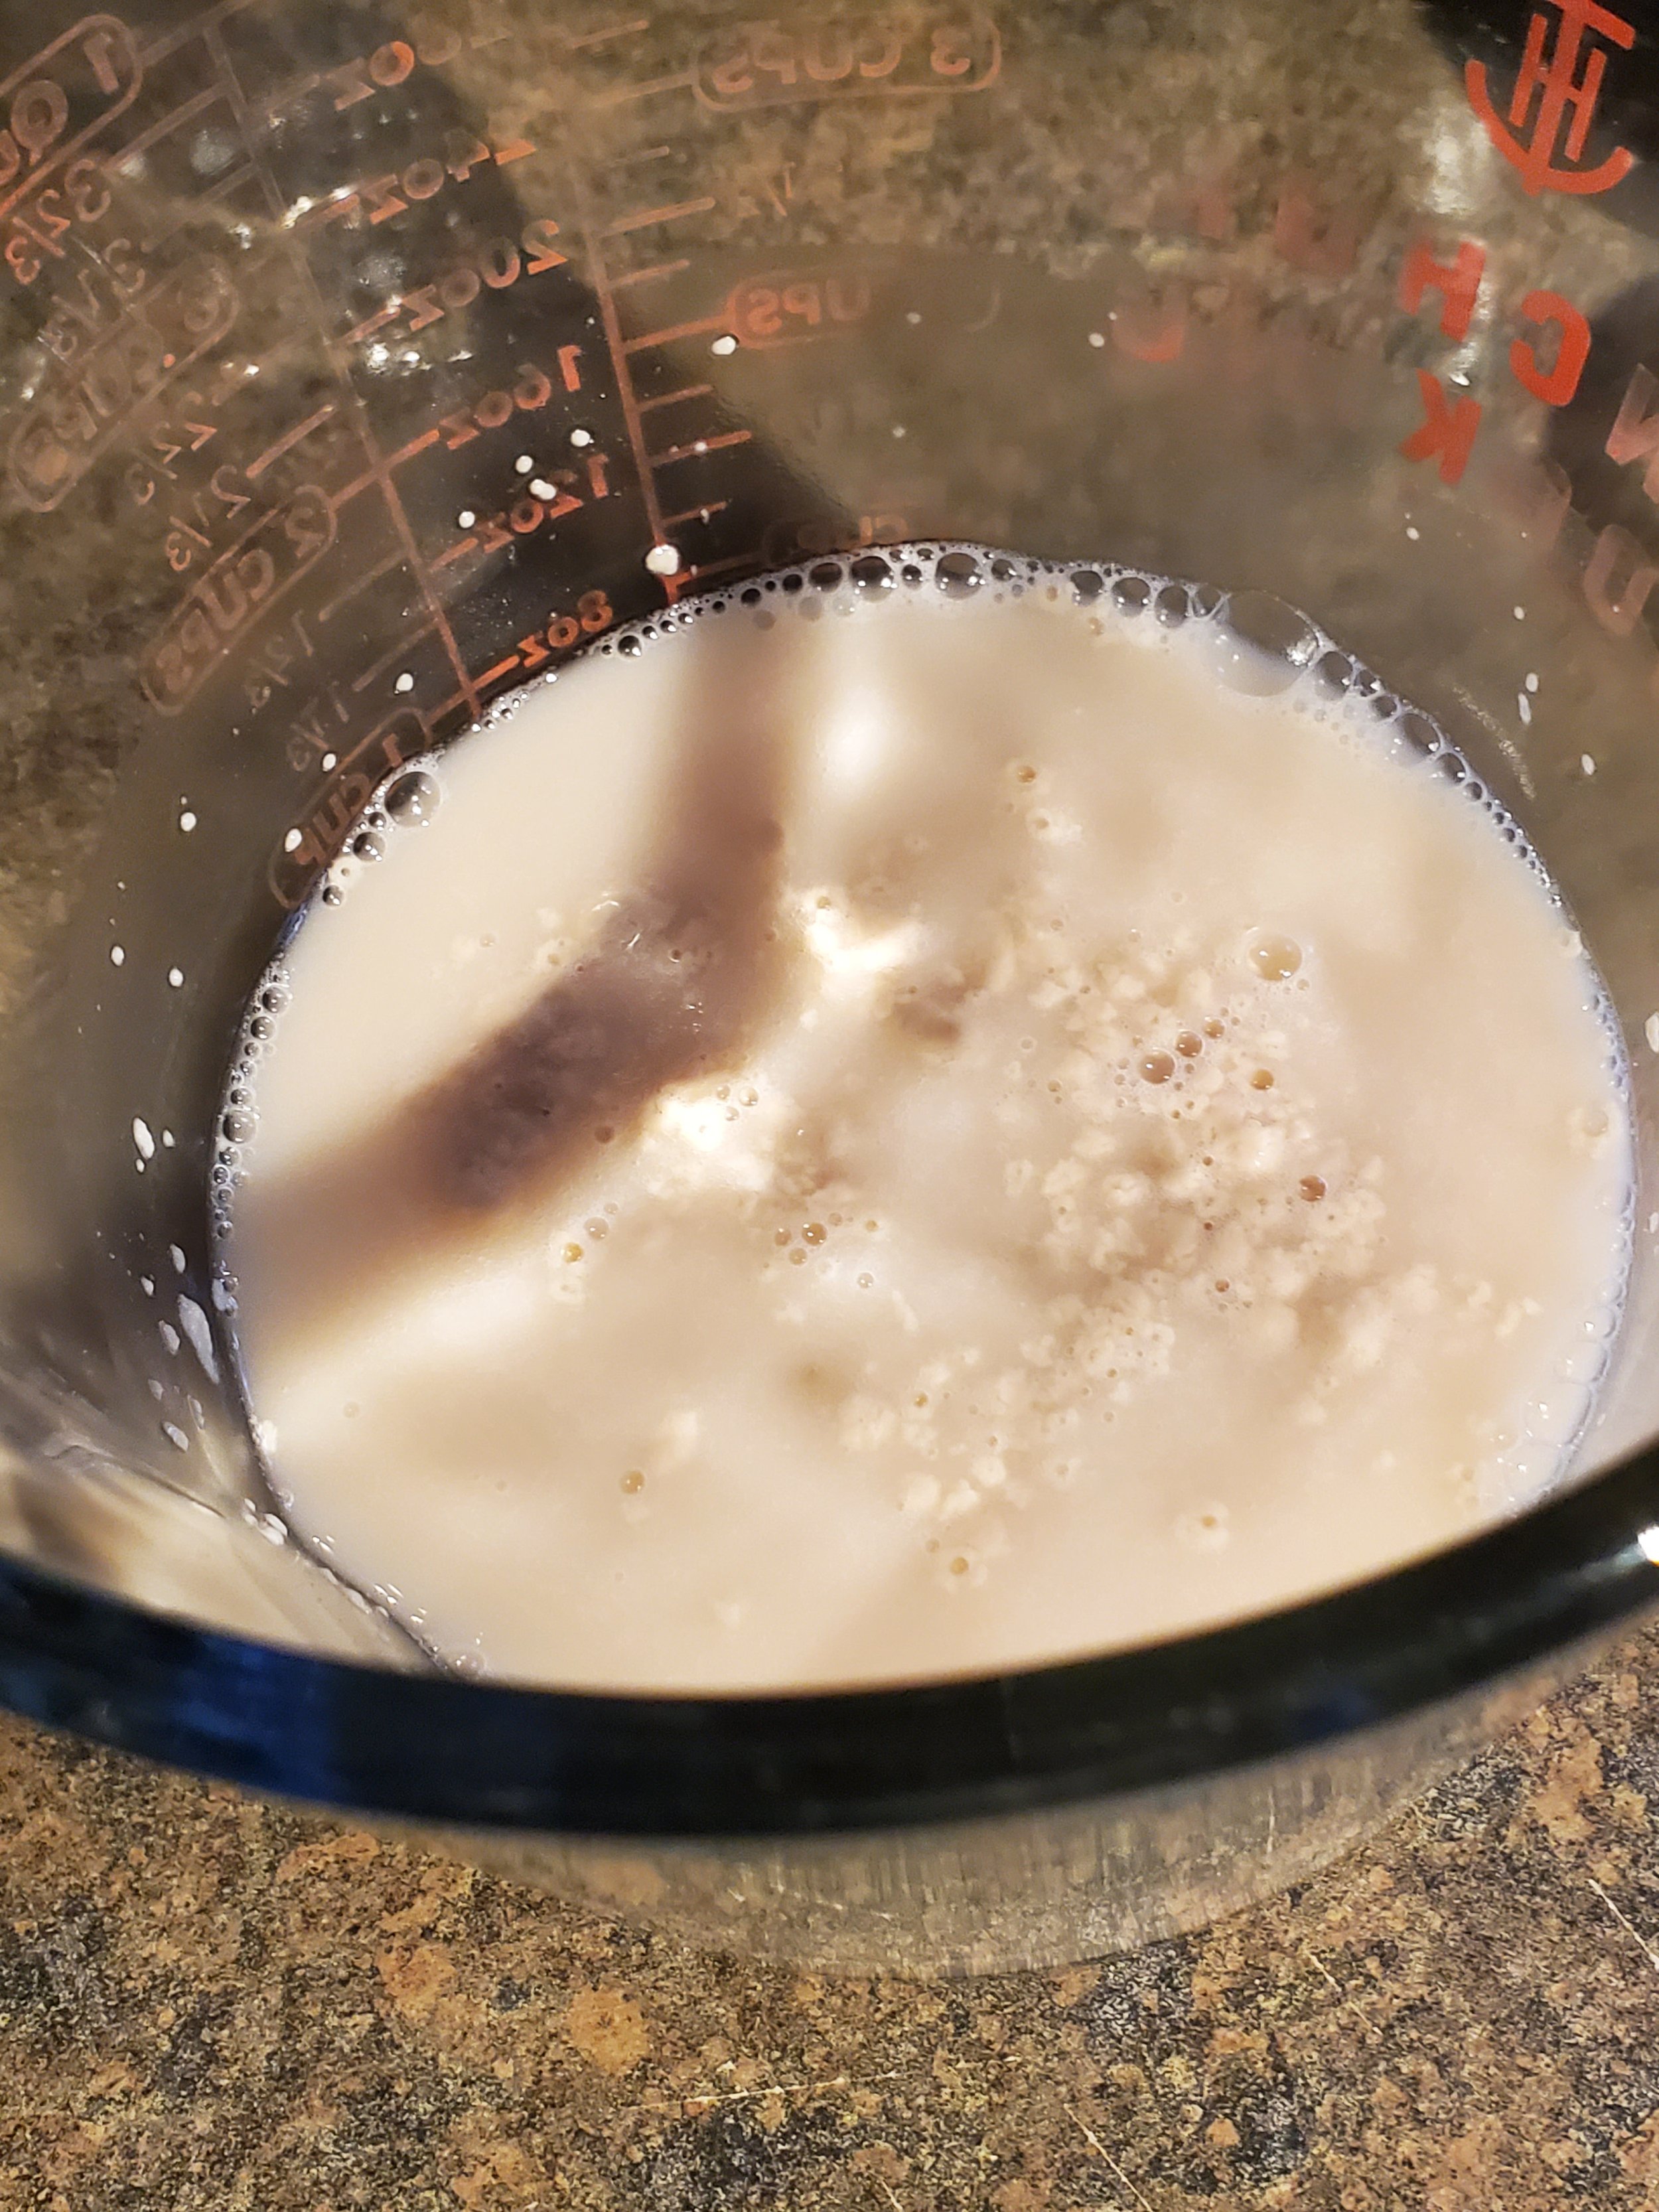
Once you have all your ingredients handy, begin by measuring your yeast into warm water and setting it aside to double in size. This should take five minutes or so.


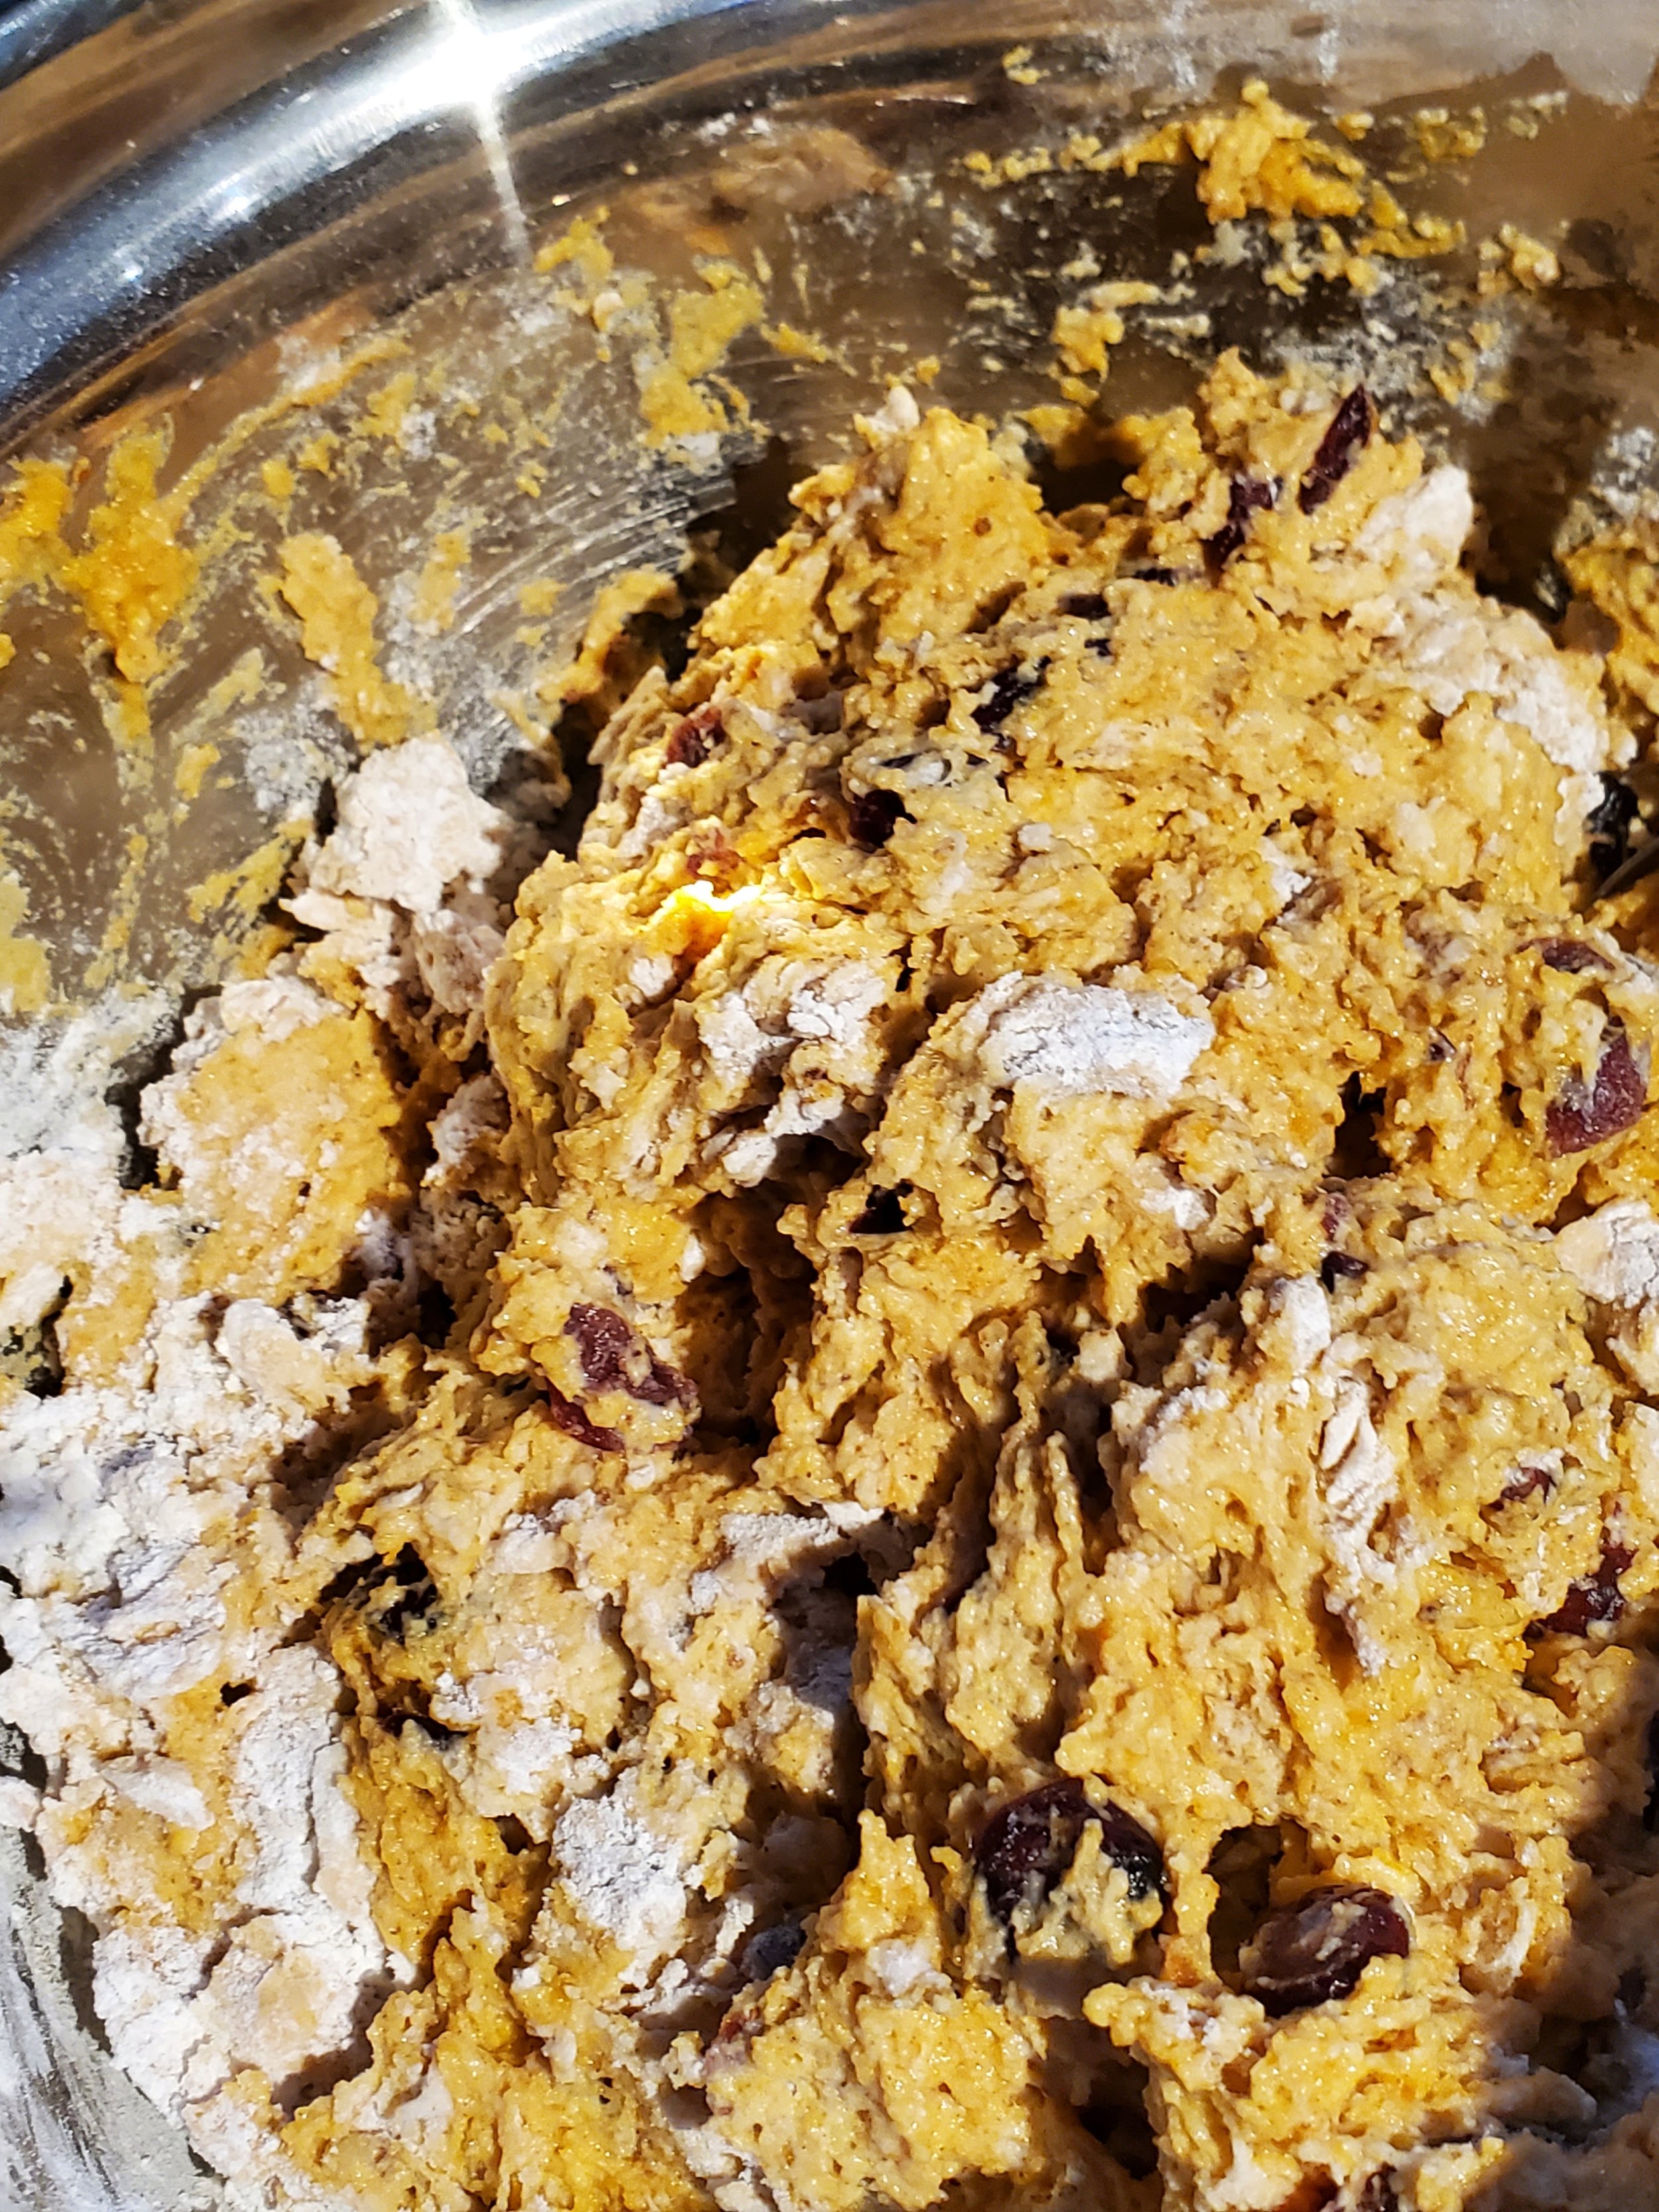
Measure the flour, stopping at three and a half cups. Reserve the additional cup in another bowl. Don't forget to level your flour! It's going to be sticky dough and you'll likely be tempted to add more flour, but don't fall for it, and definitely don't sabotage yourself by starting with more than you meant to.


Include your sugar, salt and spices in the dry ingredients. We want to see them evenly mixed into your flour before any wet ingredients join the party, that way you don't end up with bland spots and spots that have too much cinnamon or something.


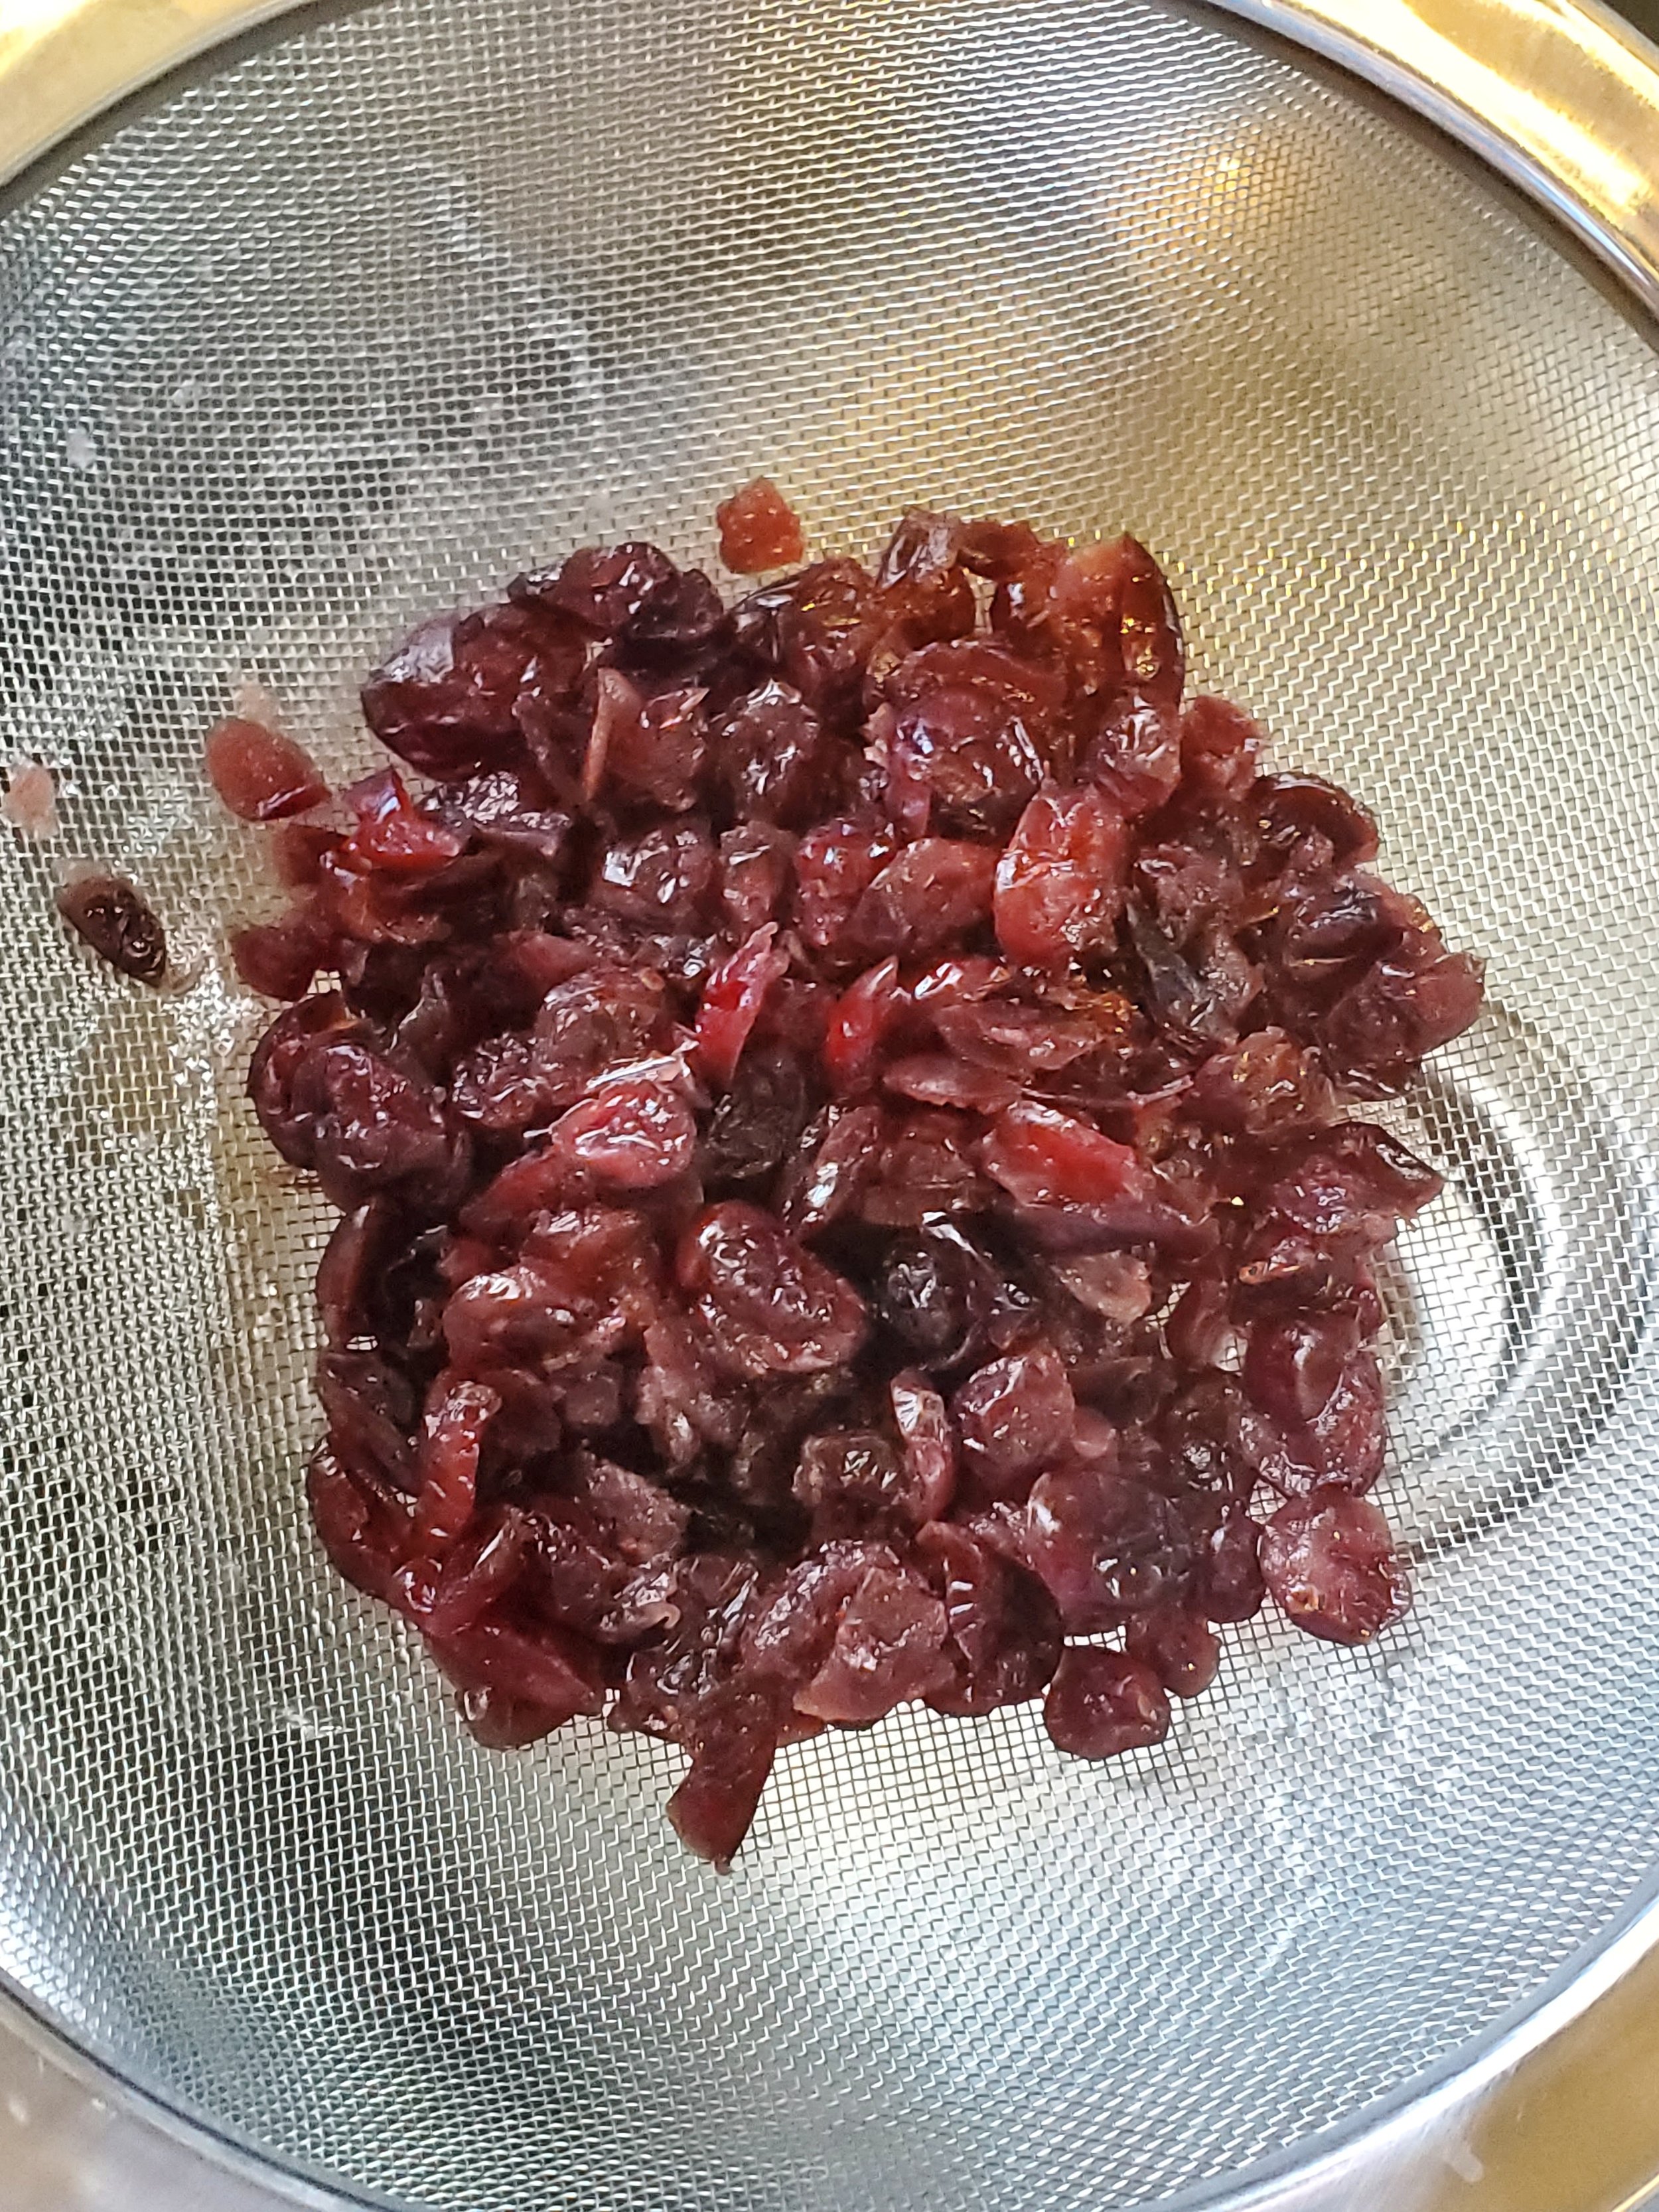
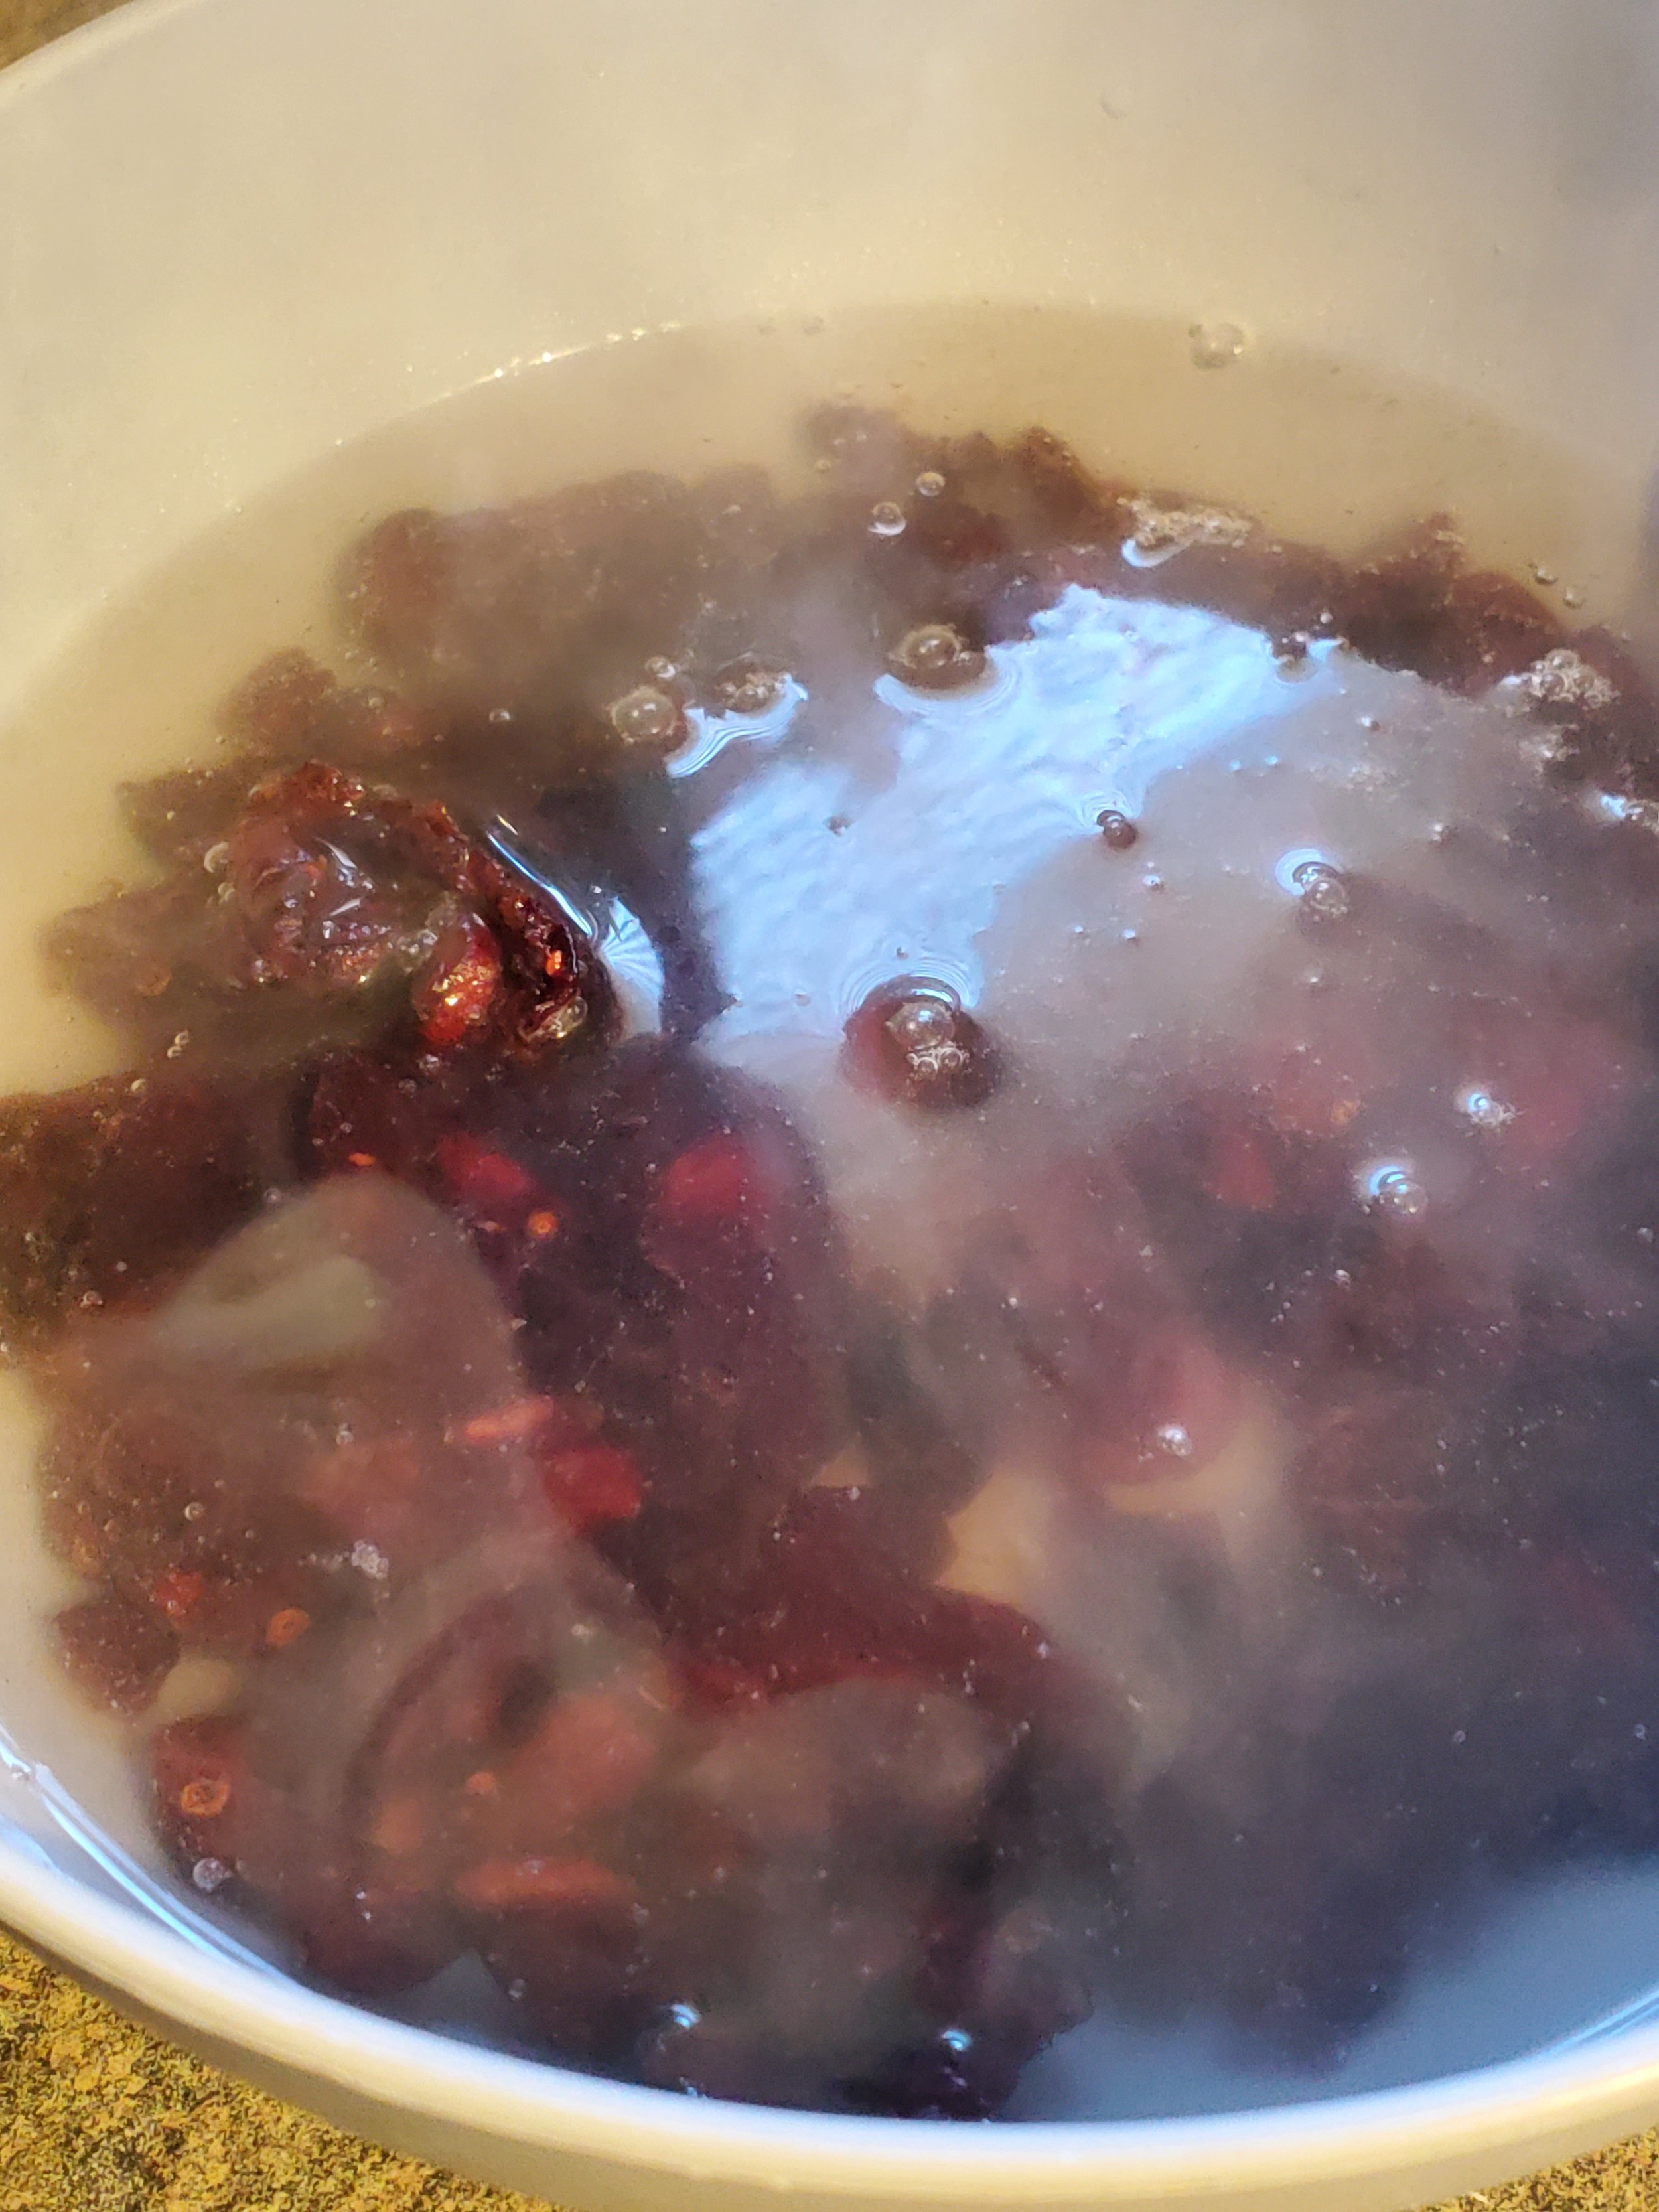
Around this point, our kettle usually begins to boil. Remove it from the heat, toss the cranberries in the heat proof bowl, and cover them with boiling water. Ignore them for five minutes or so - we just want them to be partially rehydrated so they're not sticky lumps in the bread later. After they've had time to absorb some of the water, strain the water out through the colander.


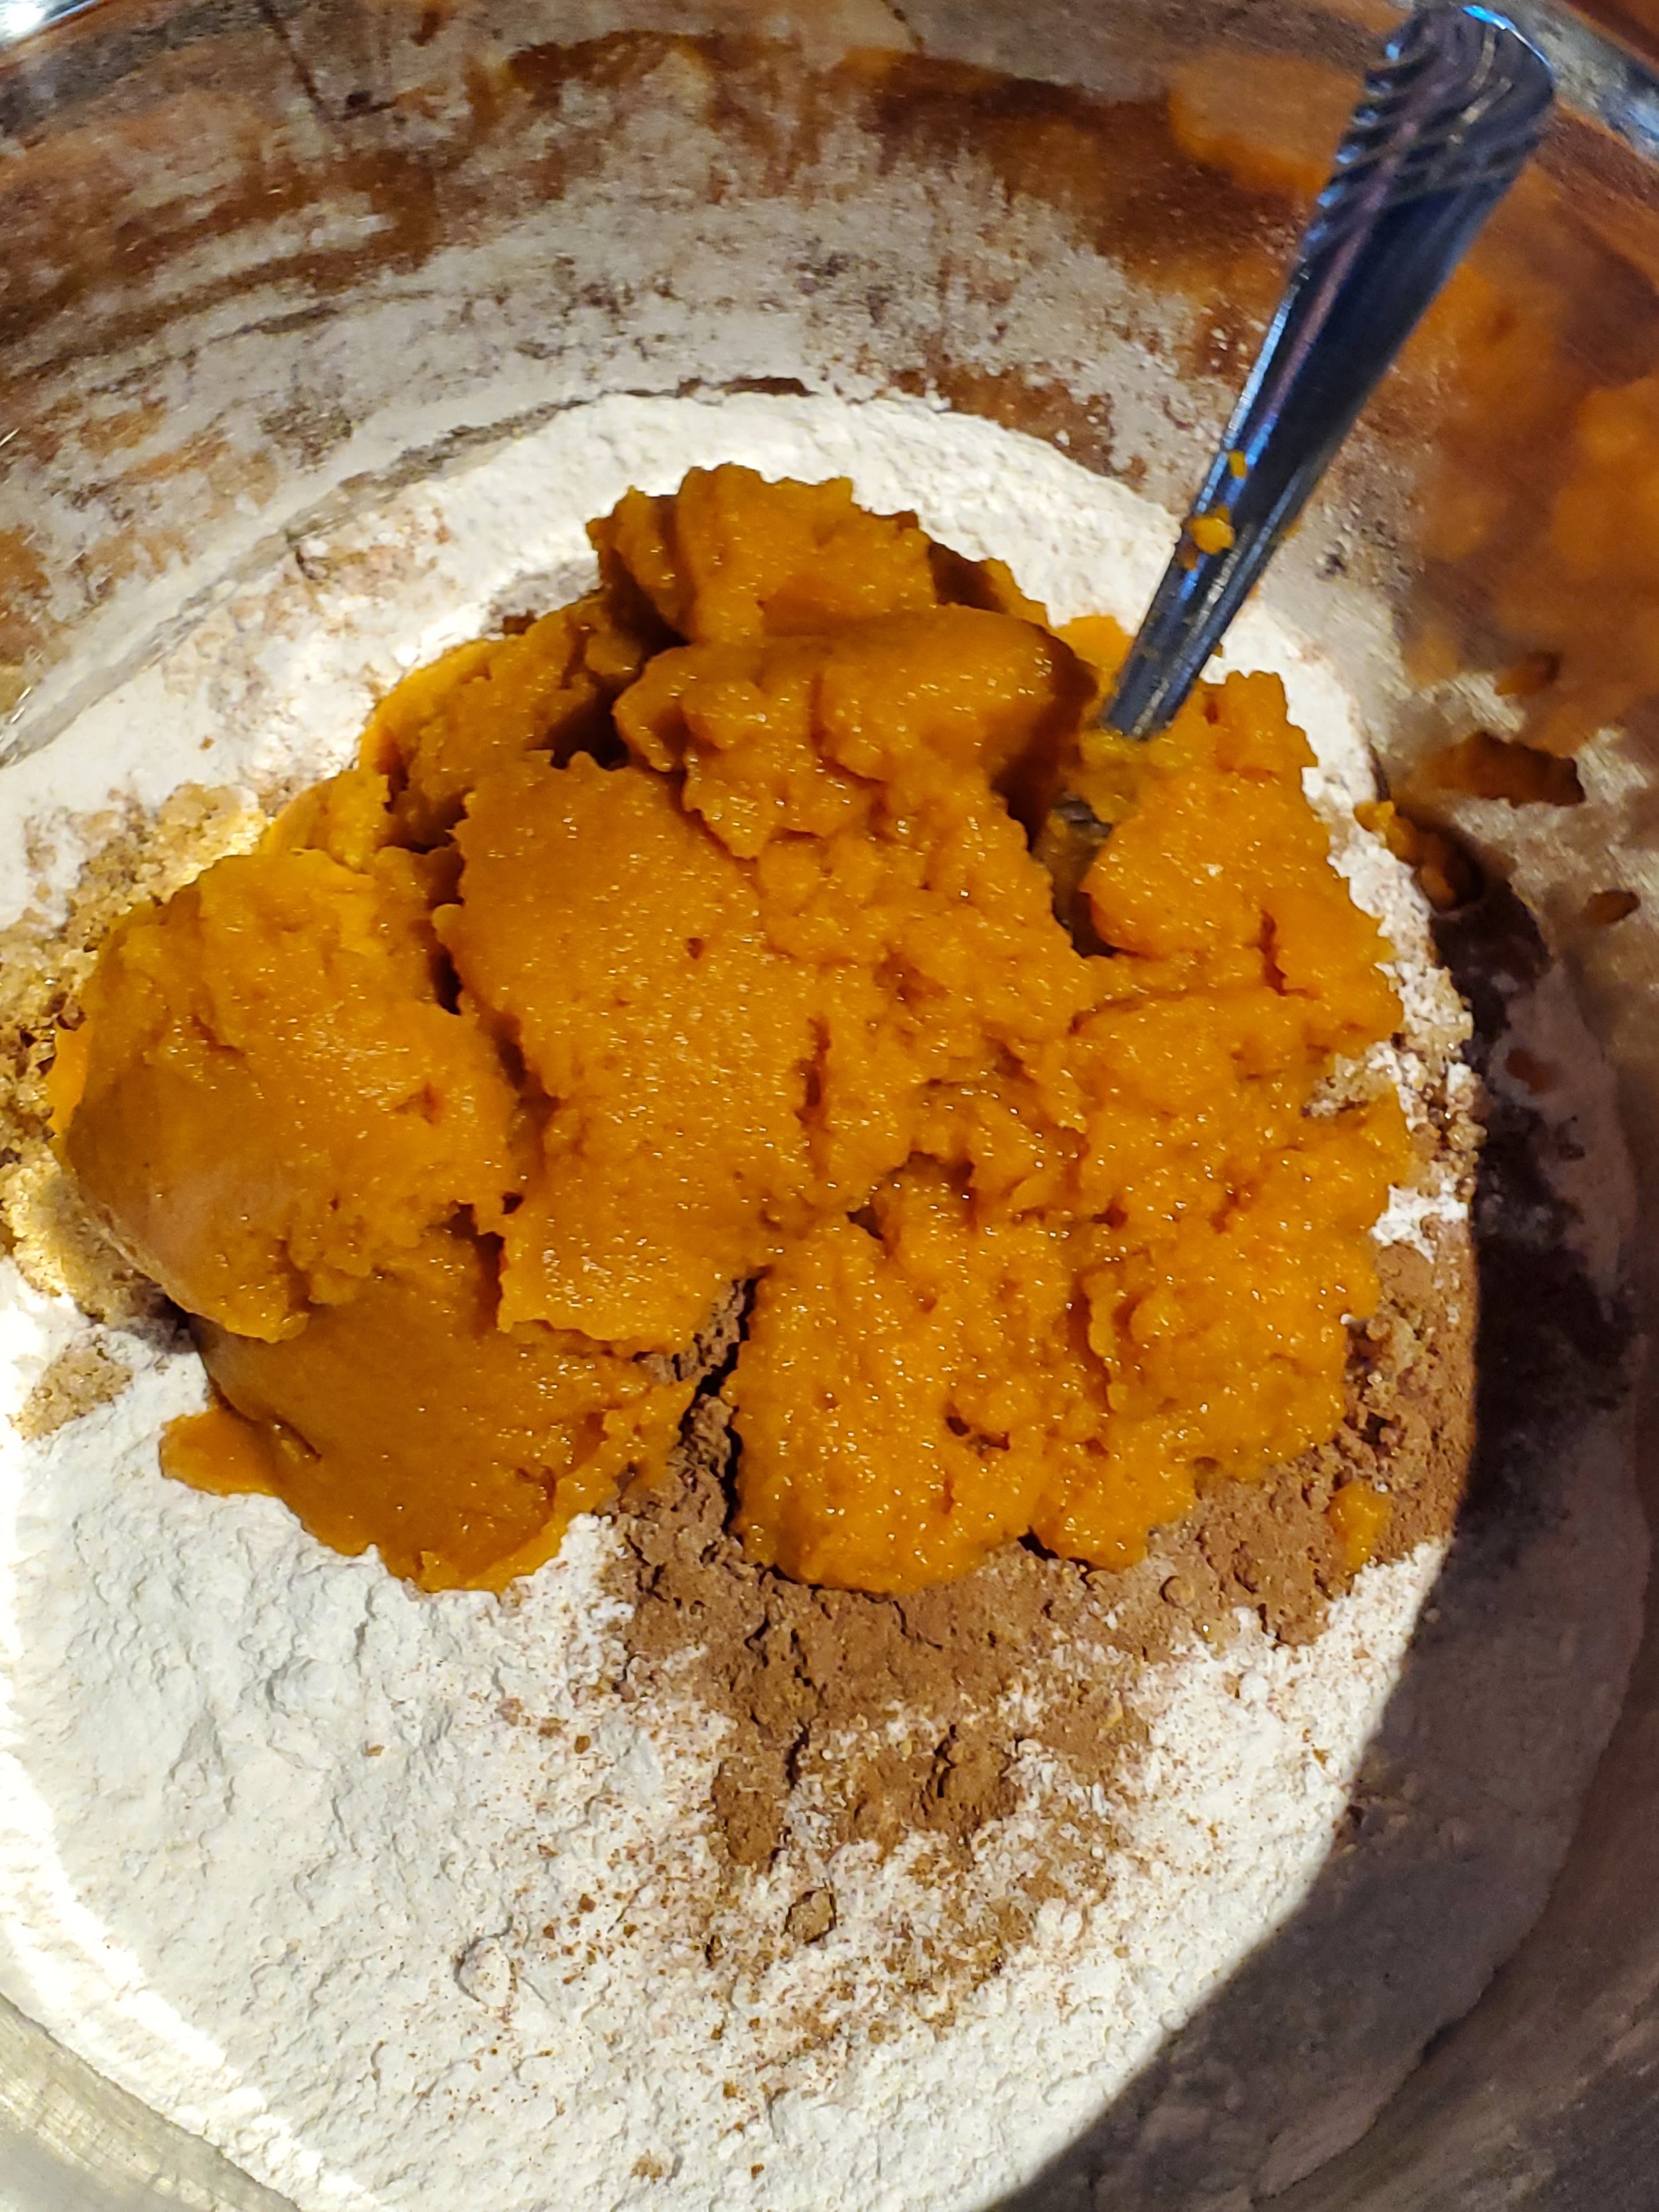
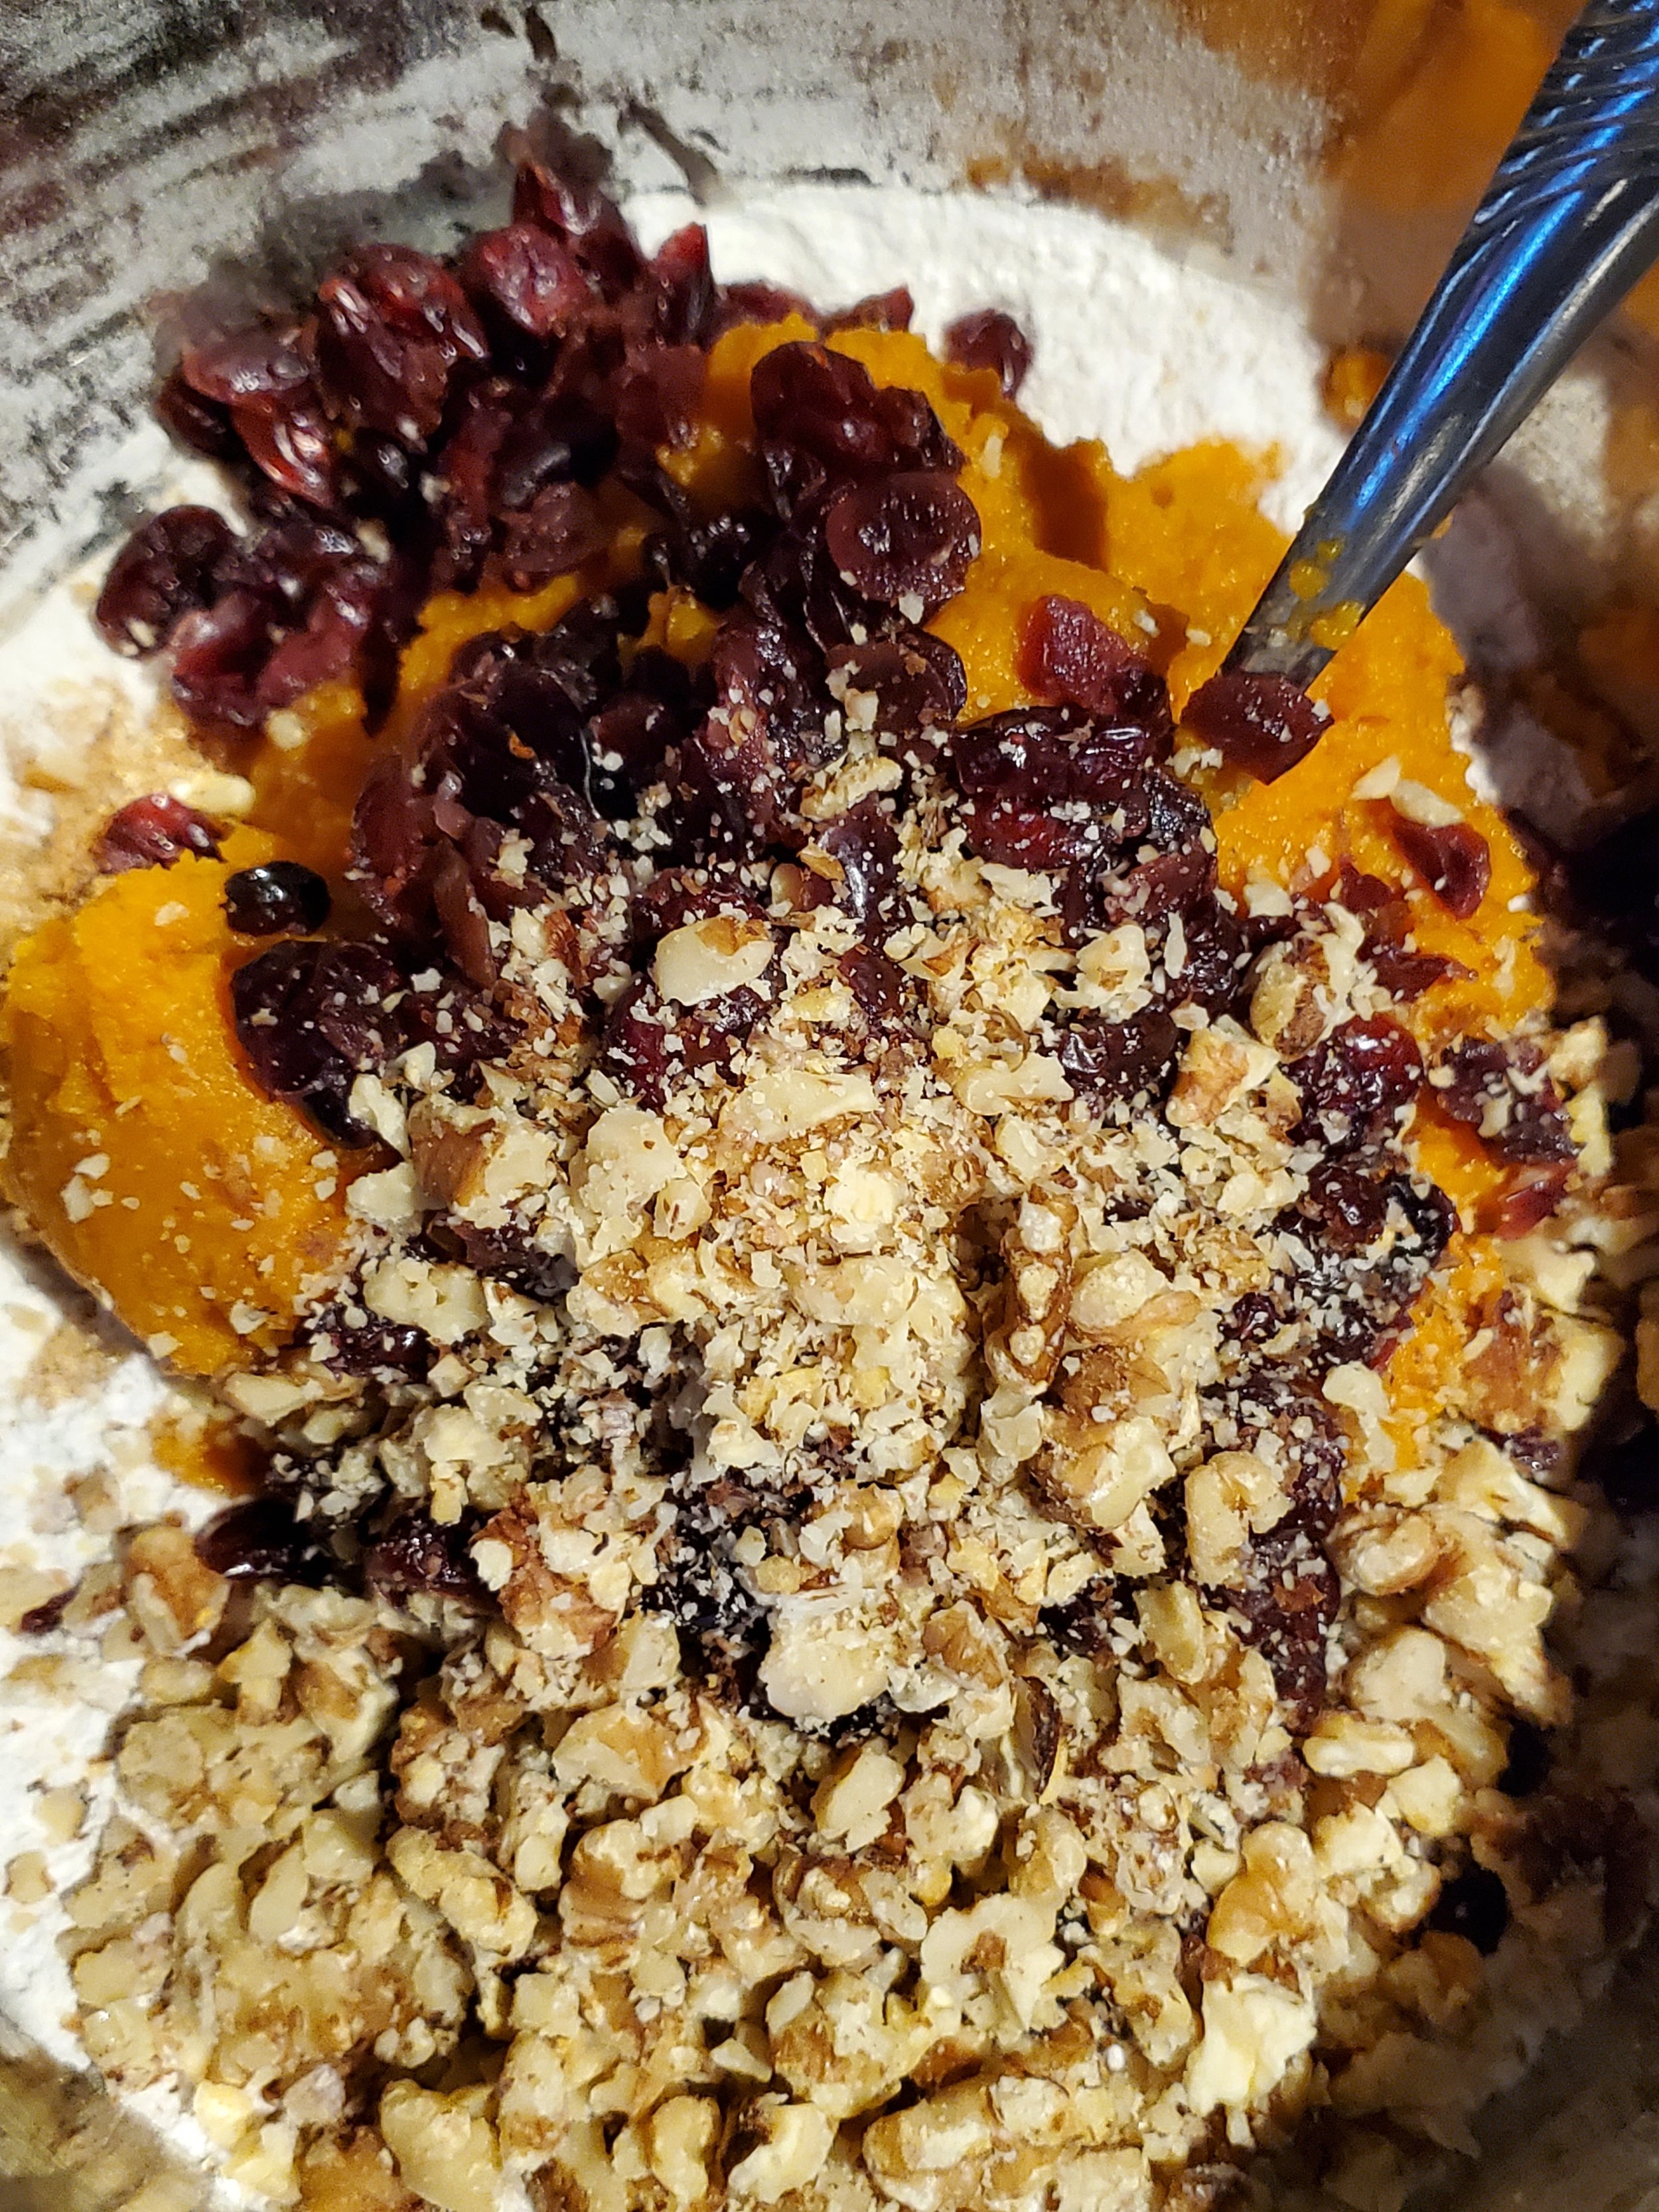
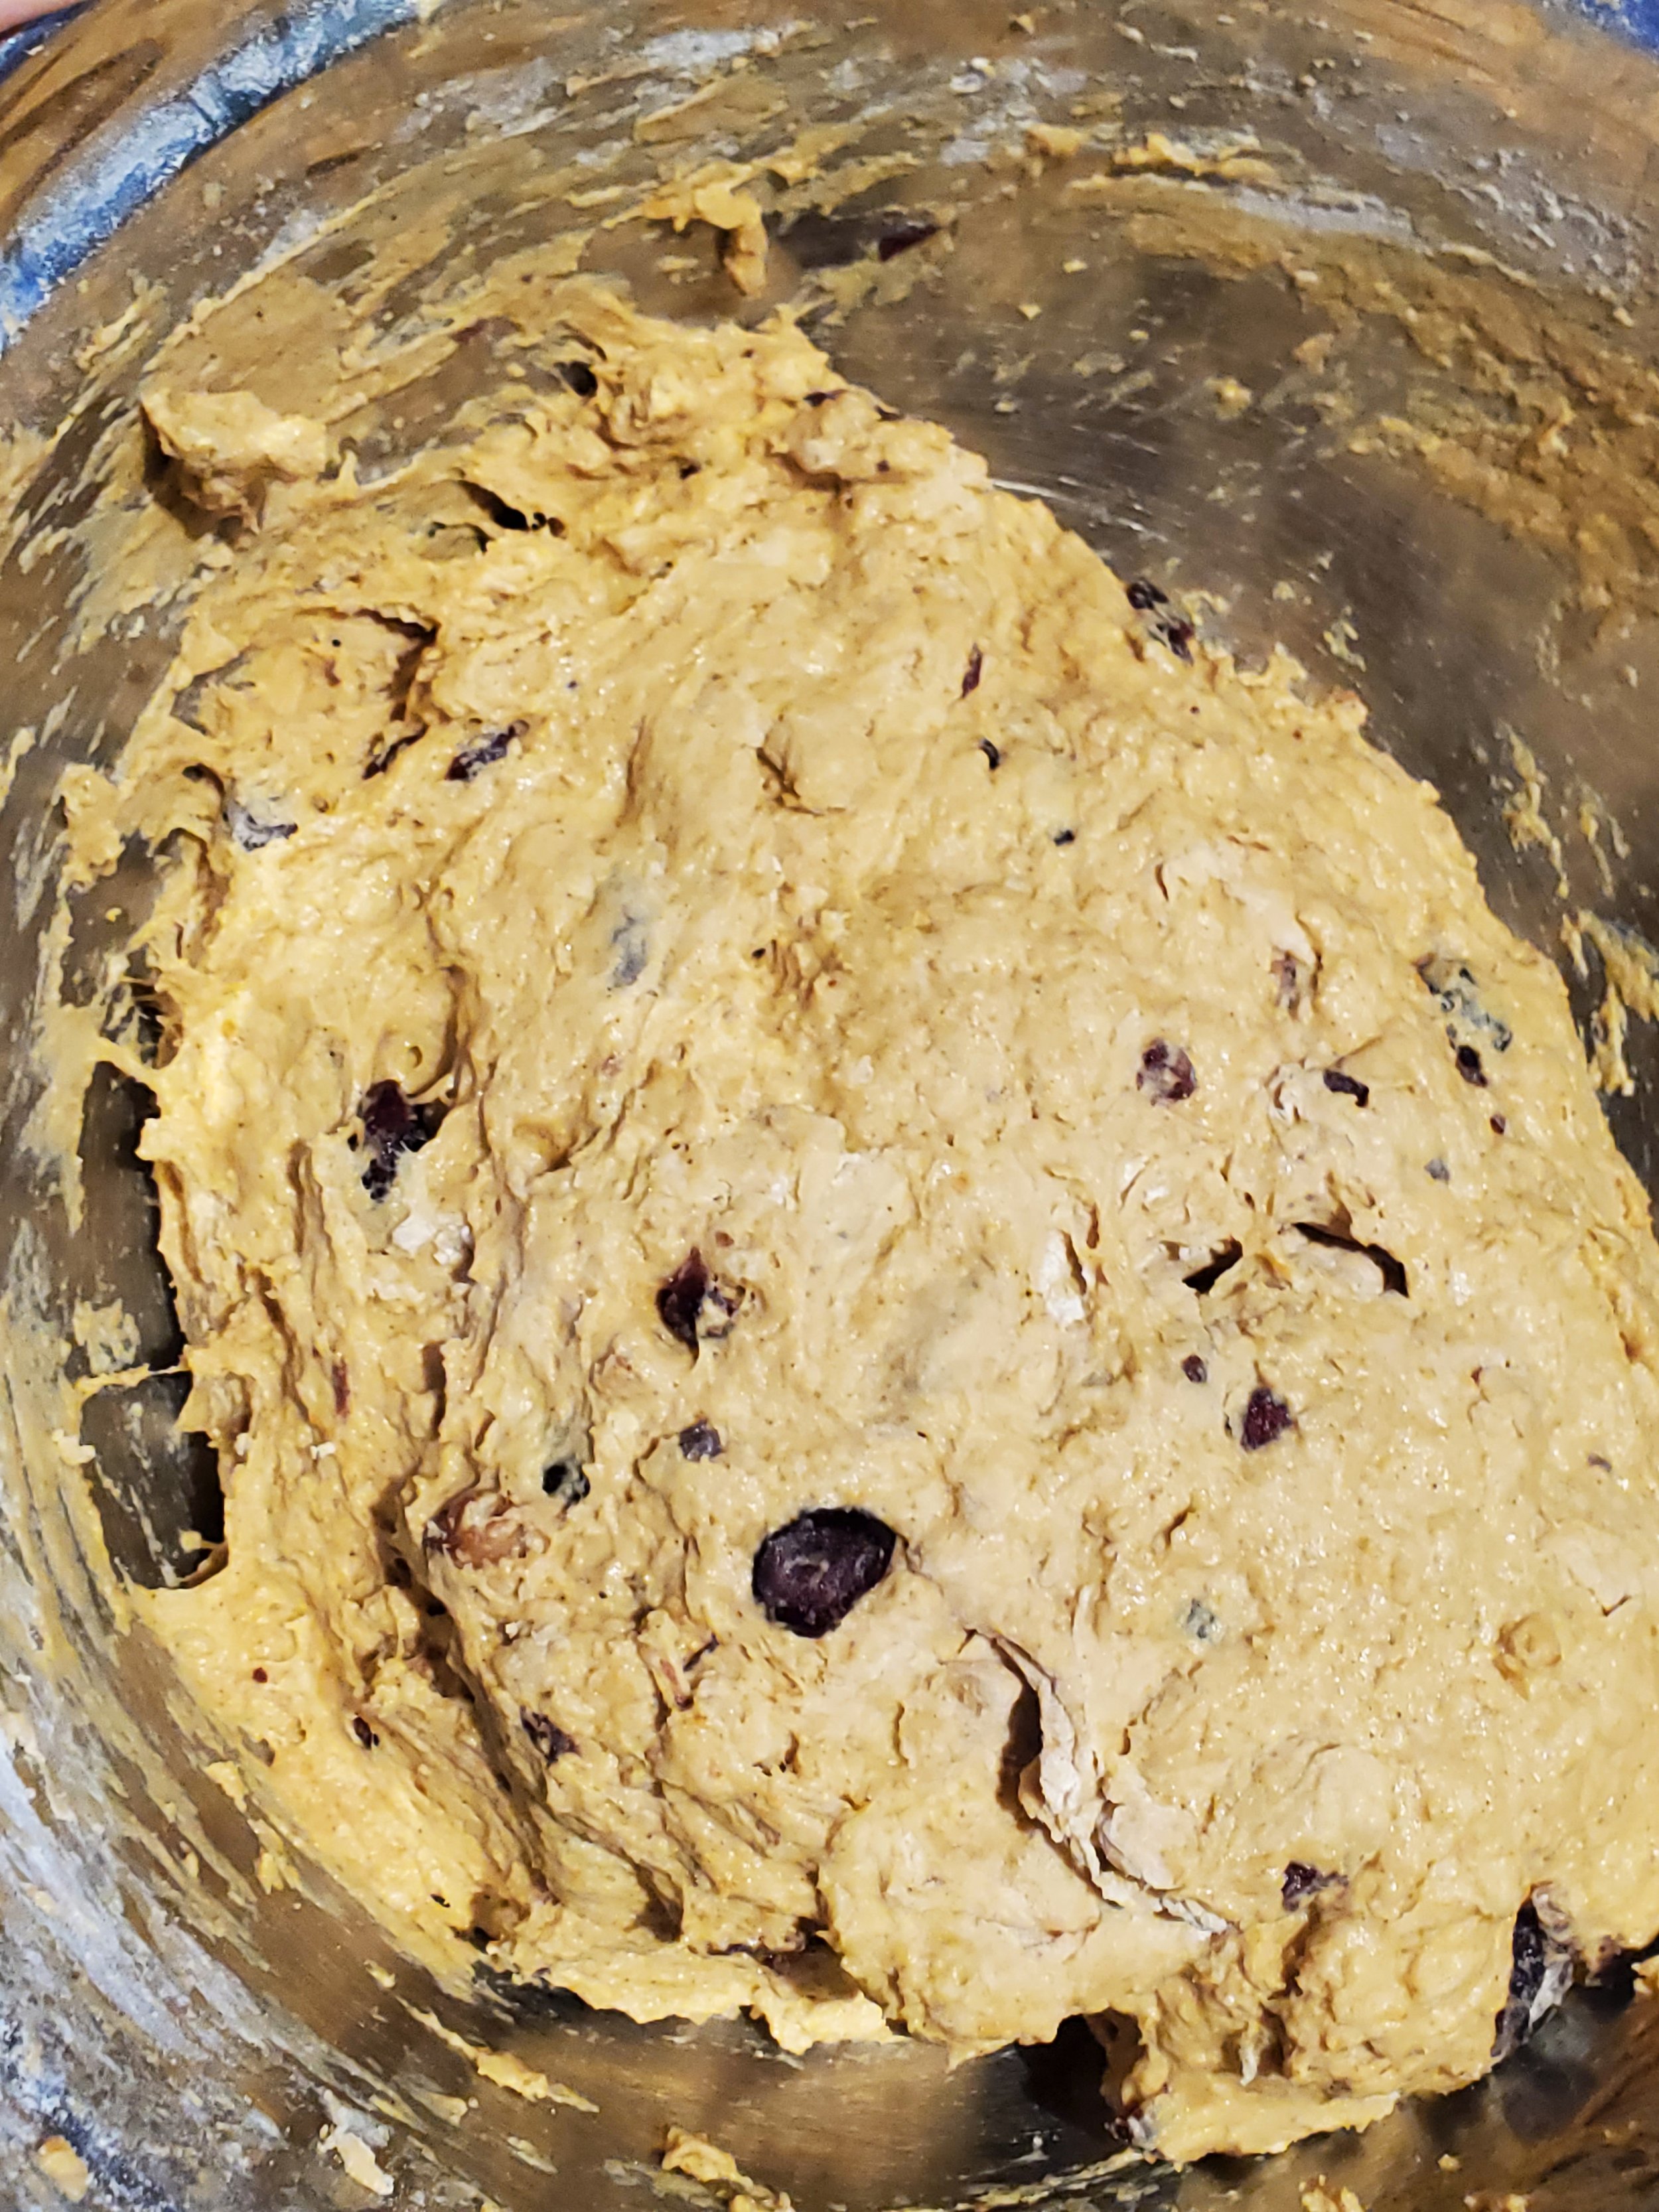
Add the pumpkin and the yeast mixture to the dry ingredients and stir well. Once you've got a relatively uniform consistency, you can add in the chopped walnuts and the cranberries. This is also the first point that your reserved cup of flour will make an appearance - work about half of it into the sticky dough you have here.


Cover the bowl with a clean kitchen towel and let it rise on the counter for three hours.


At the three hour mark, move the dough to the fridge, keeping it covered with the towel. Keep it in the fridge for at least an hour, or as long as overnight (if you're a forward thinker and got this done long enough ahead of time that you can refrigerate it overnight! Congrats on being wiser than us).


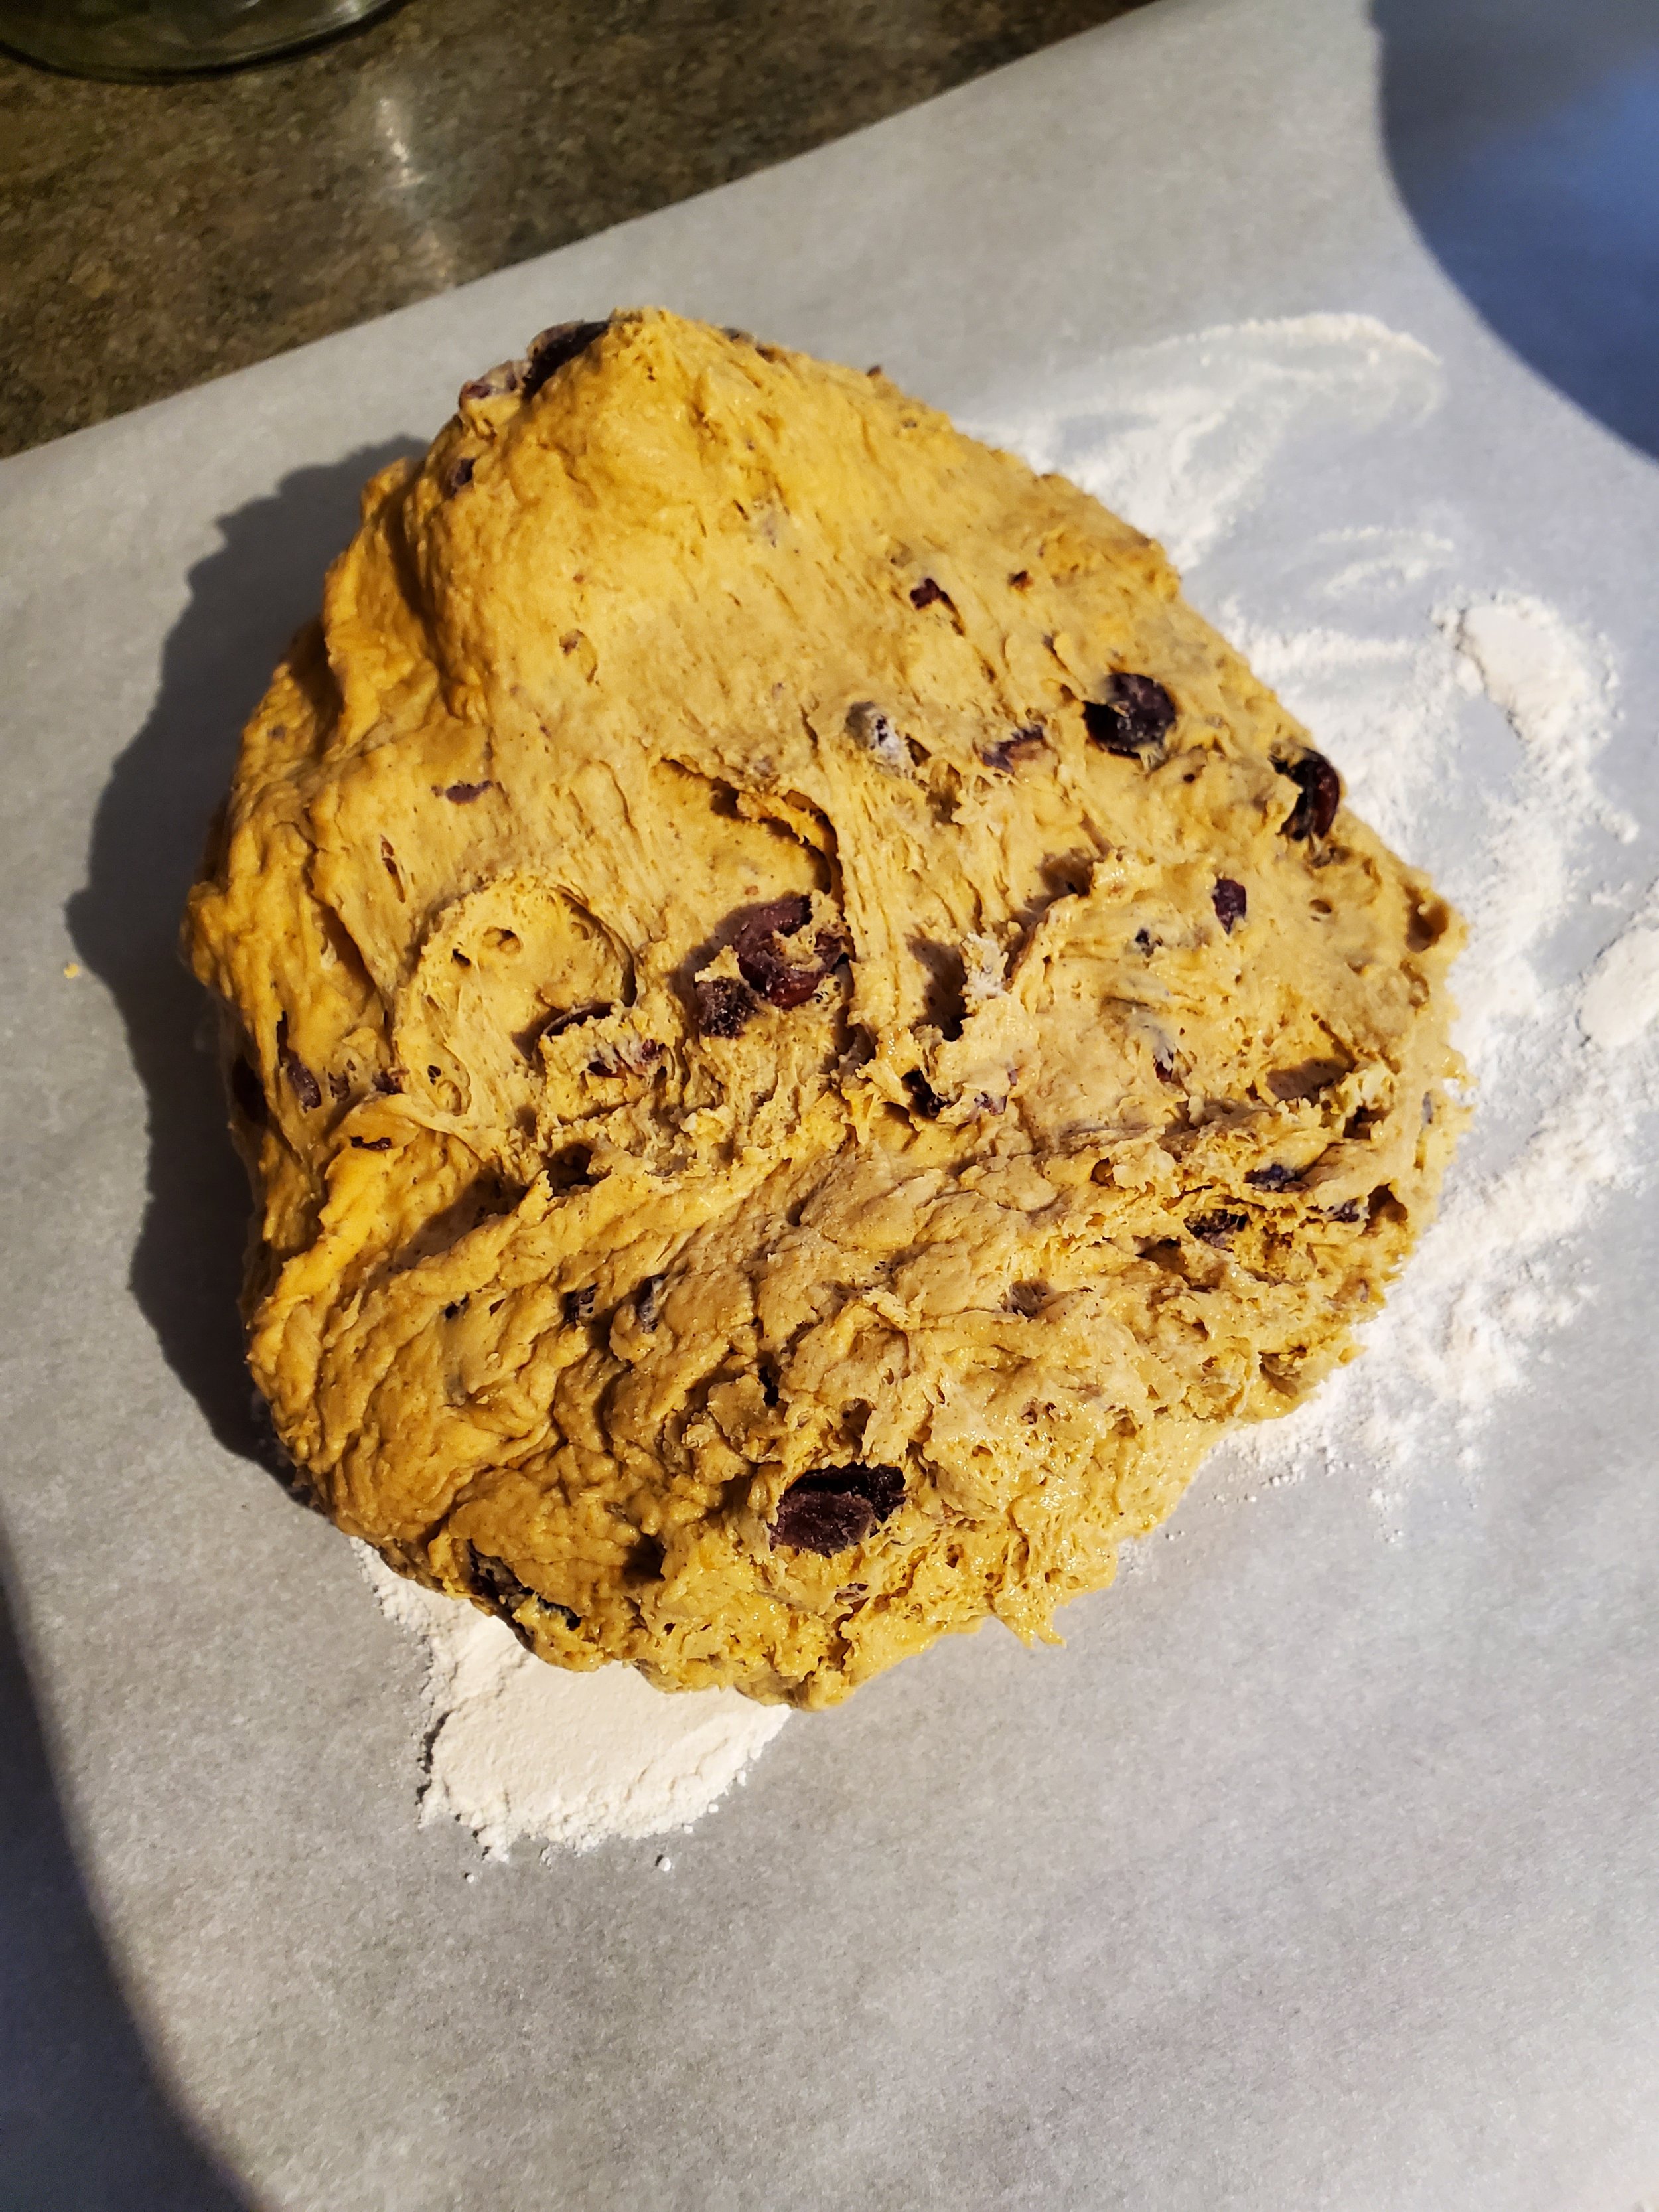
The chilled dough should be easier to work with, but we still recommend a set of food service gloves for this part. Take that reserved flour and dust a surface - a cutting board, the counter, some parchment, the table - whatever you have. We recommend parchment paper for ease of lifting later. Turn the cold dough out onto this floured surface and work it until it's smooth. Allow it to rise again where it sits for about an hour.


Preheat the oven to 450. That is not a typo, we really do mean 450.


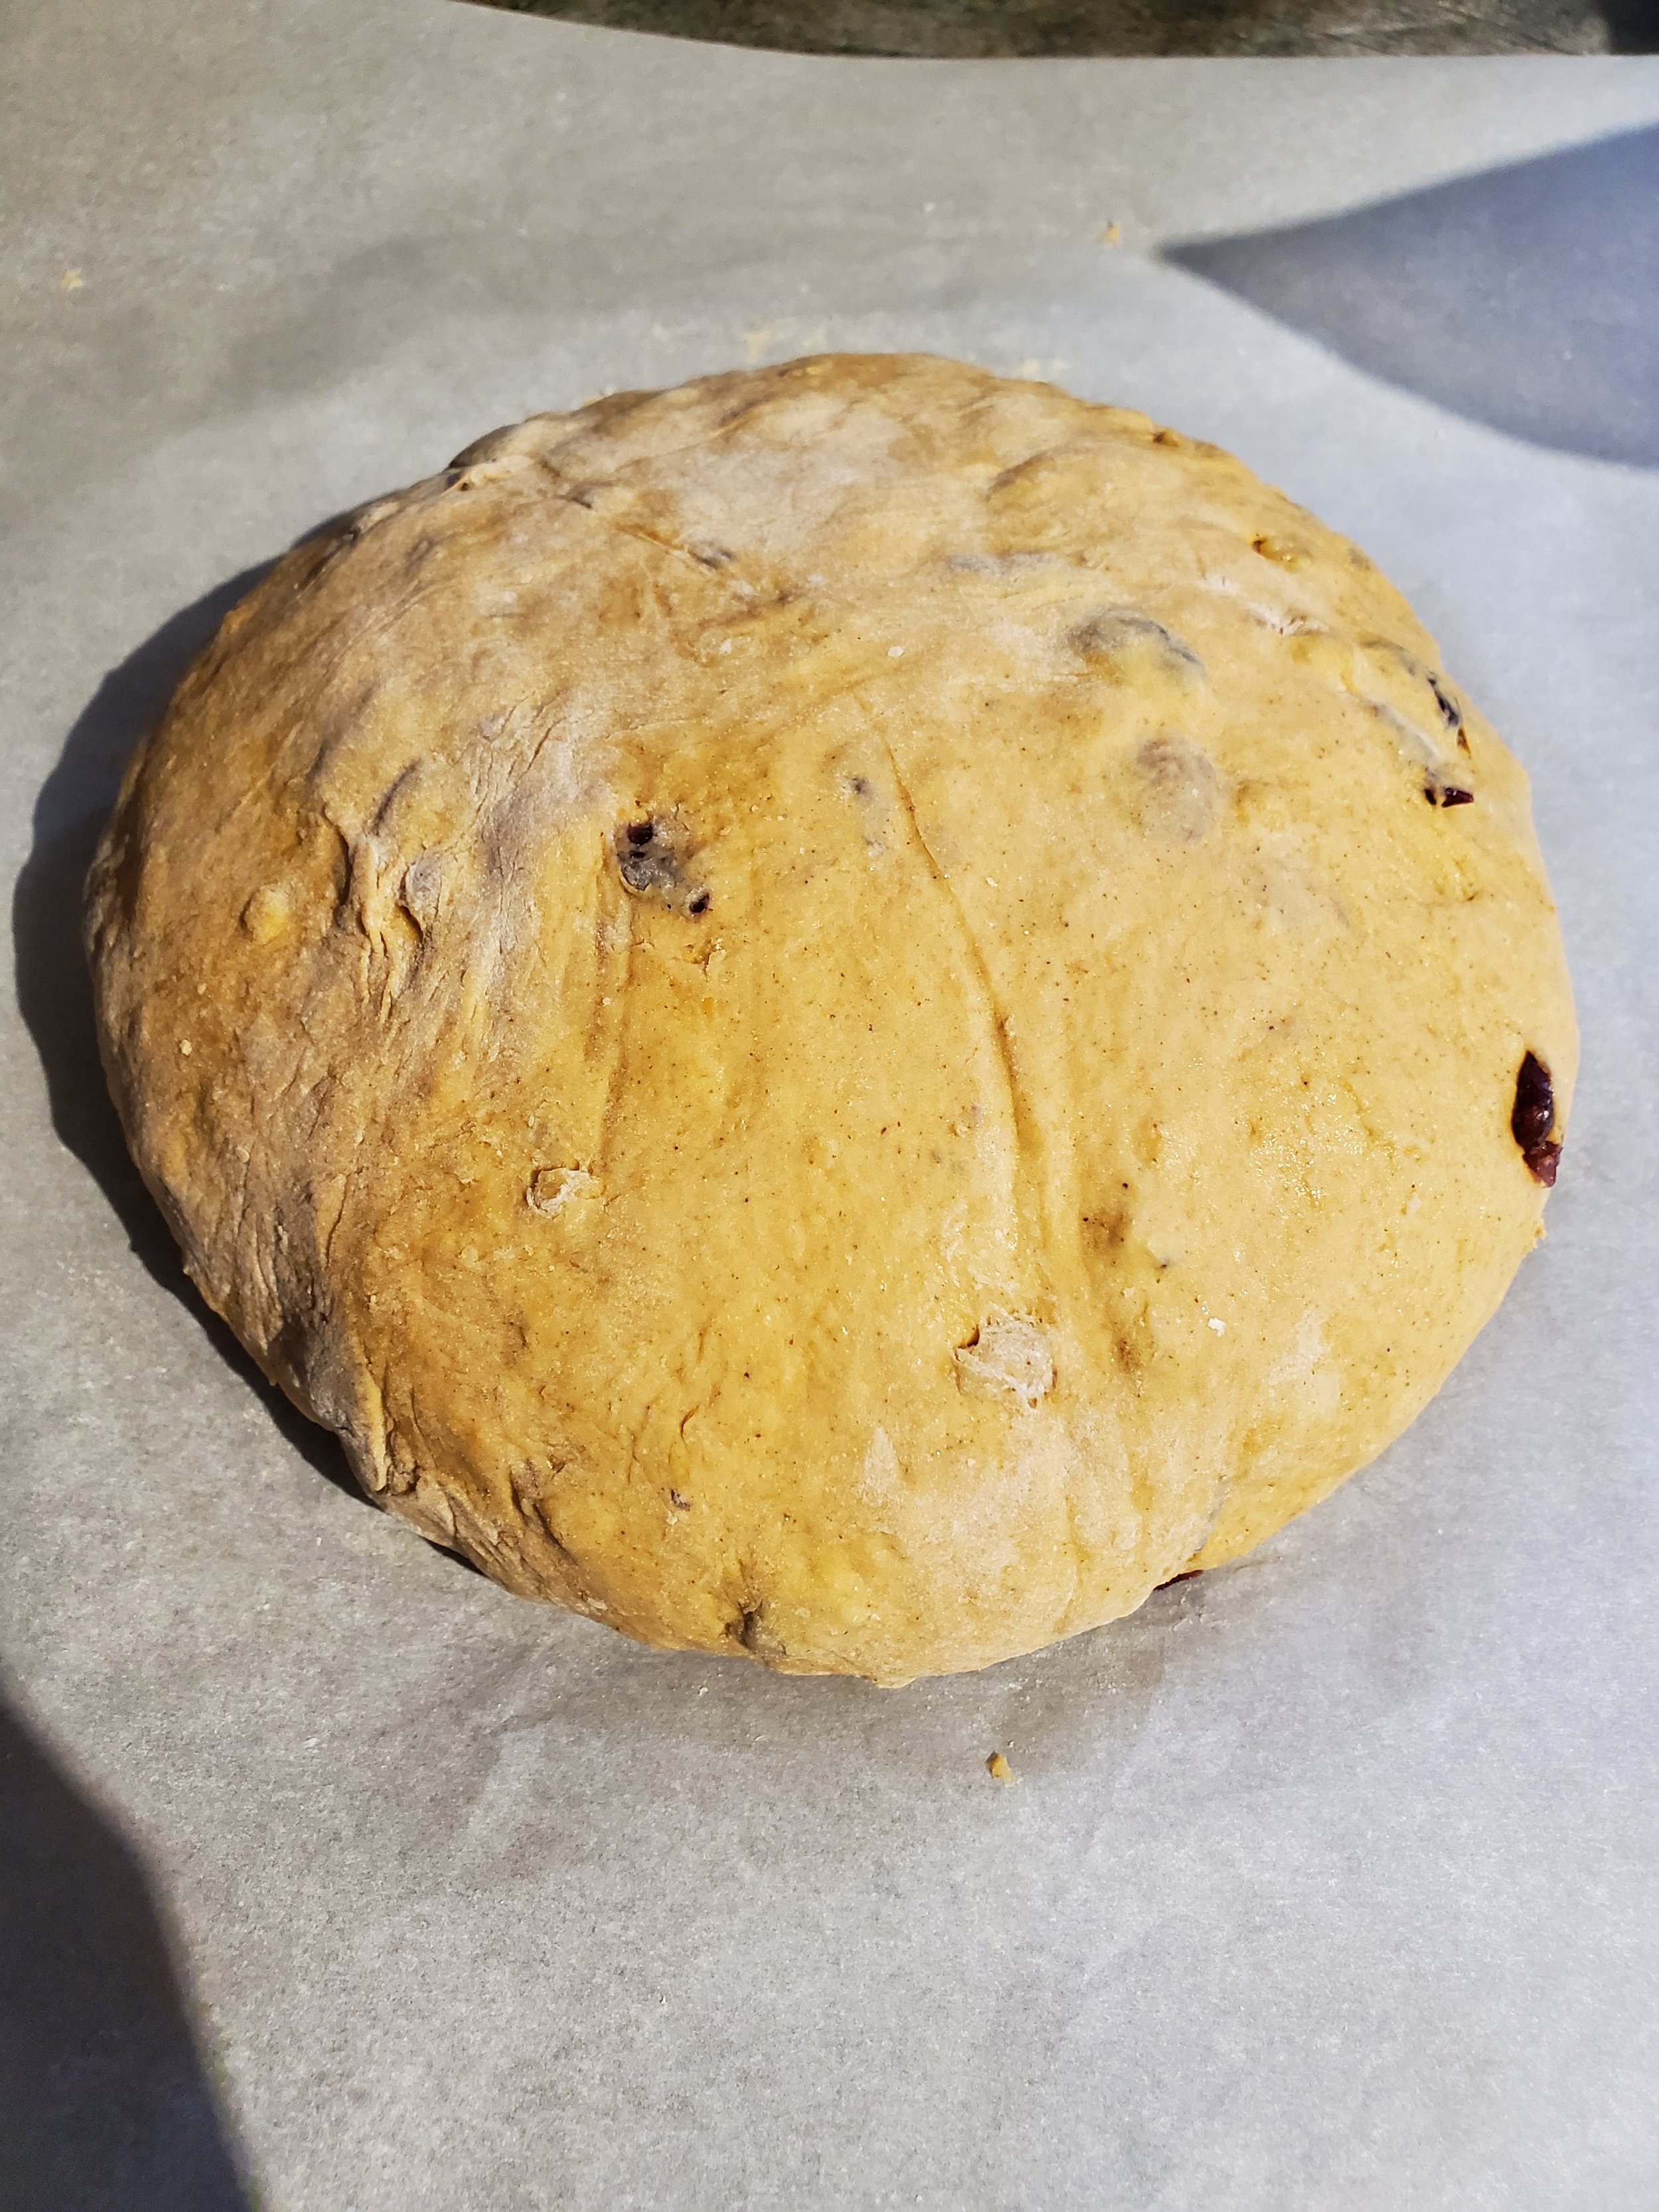
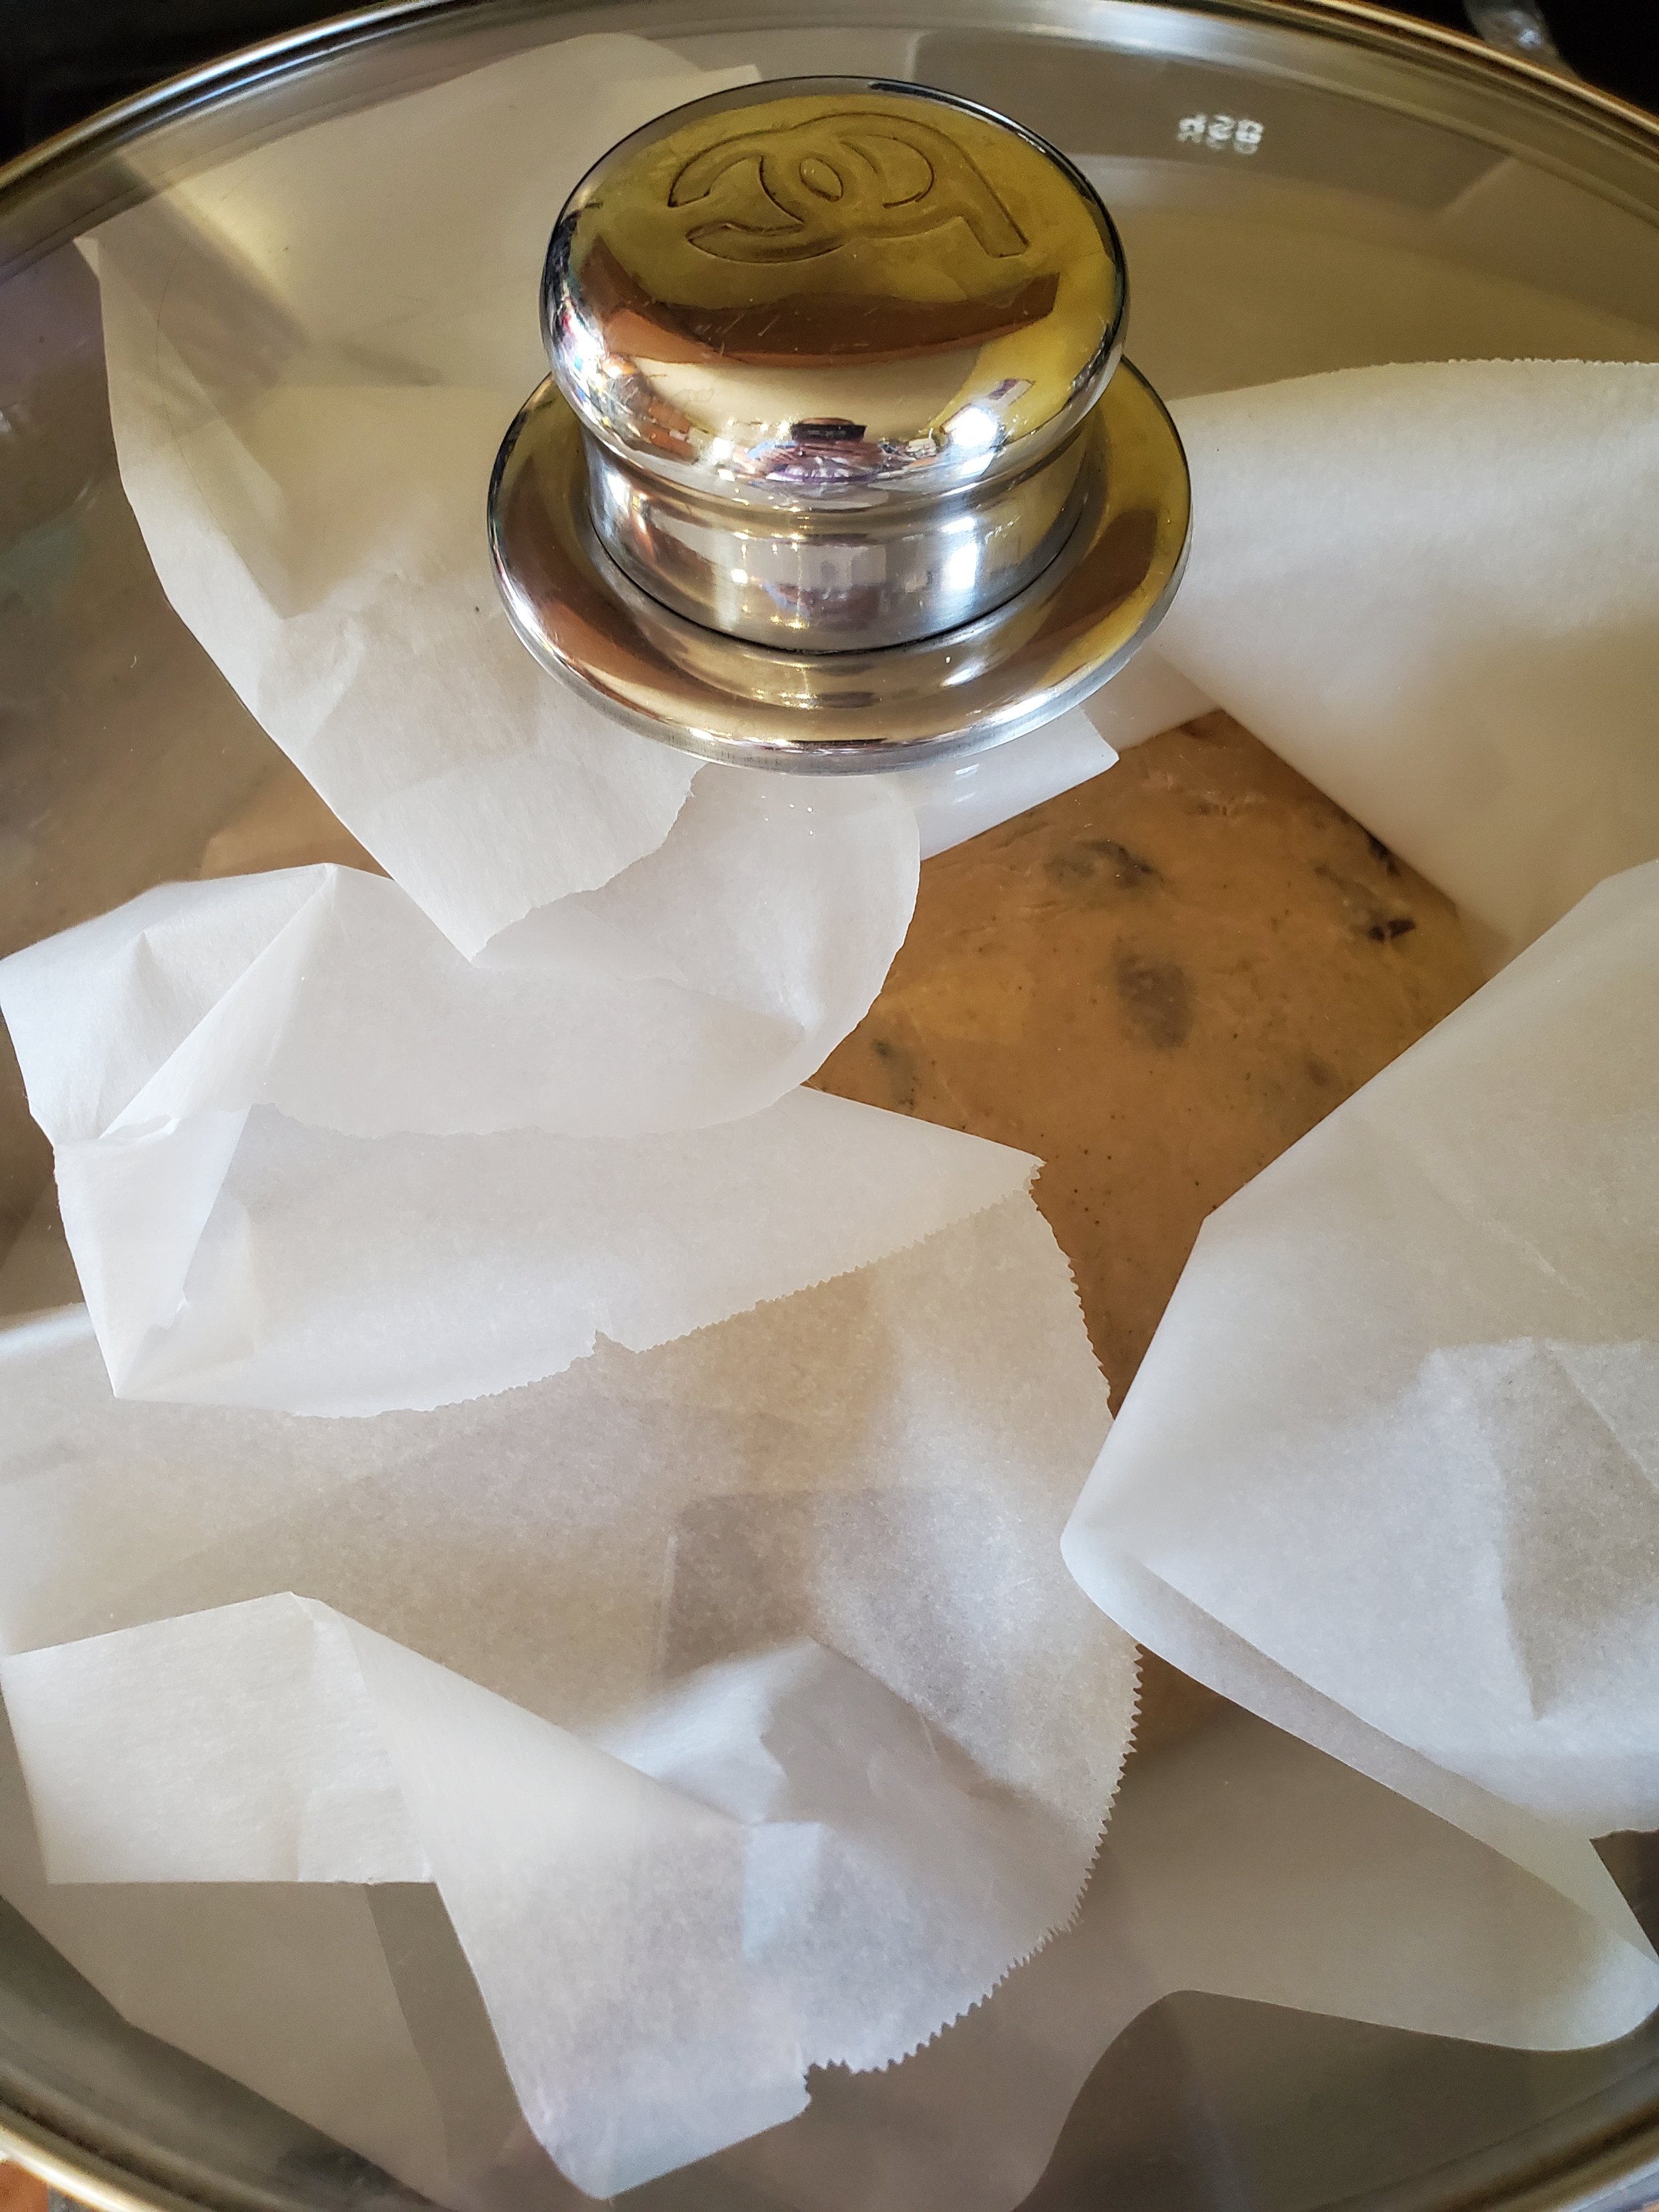
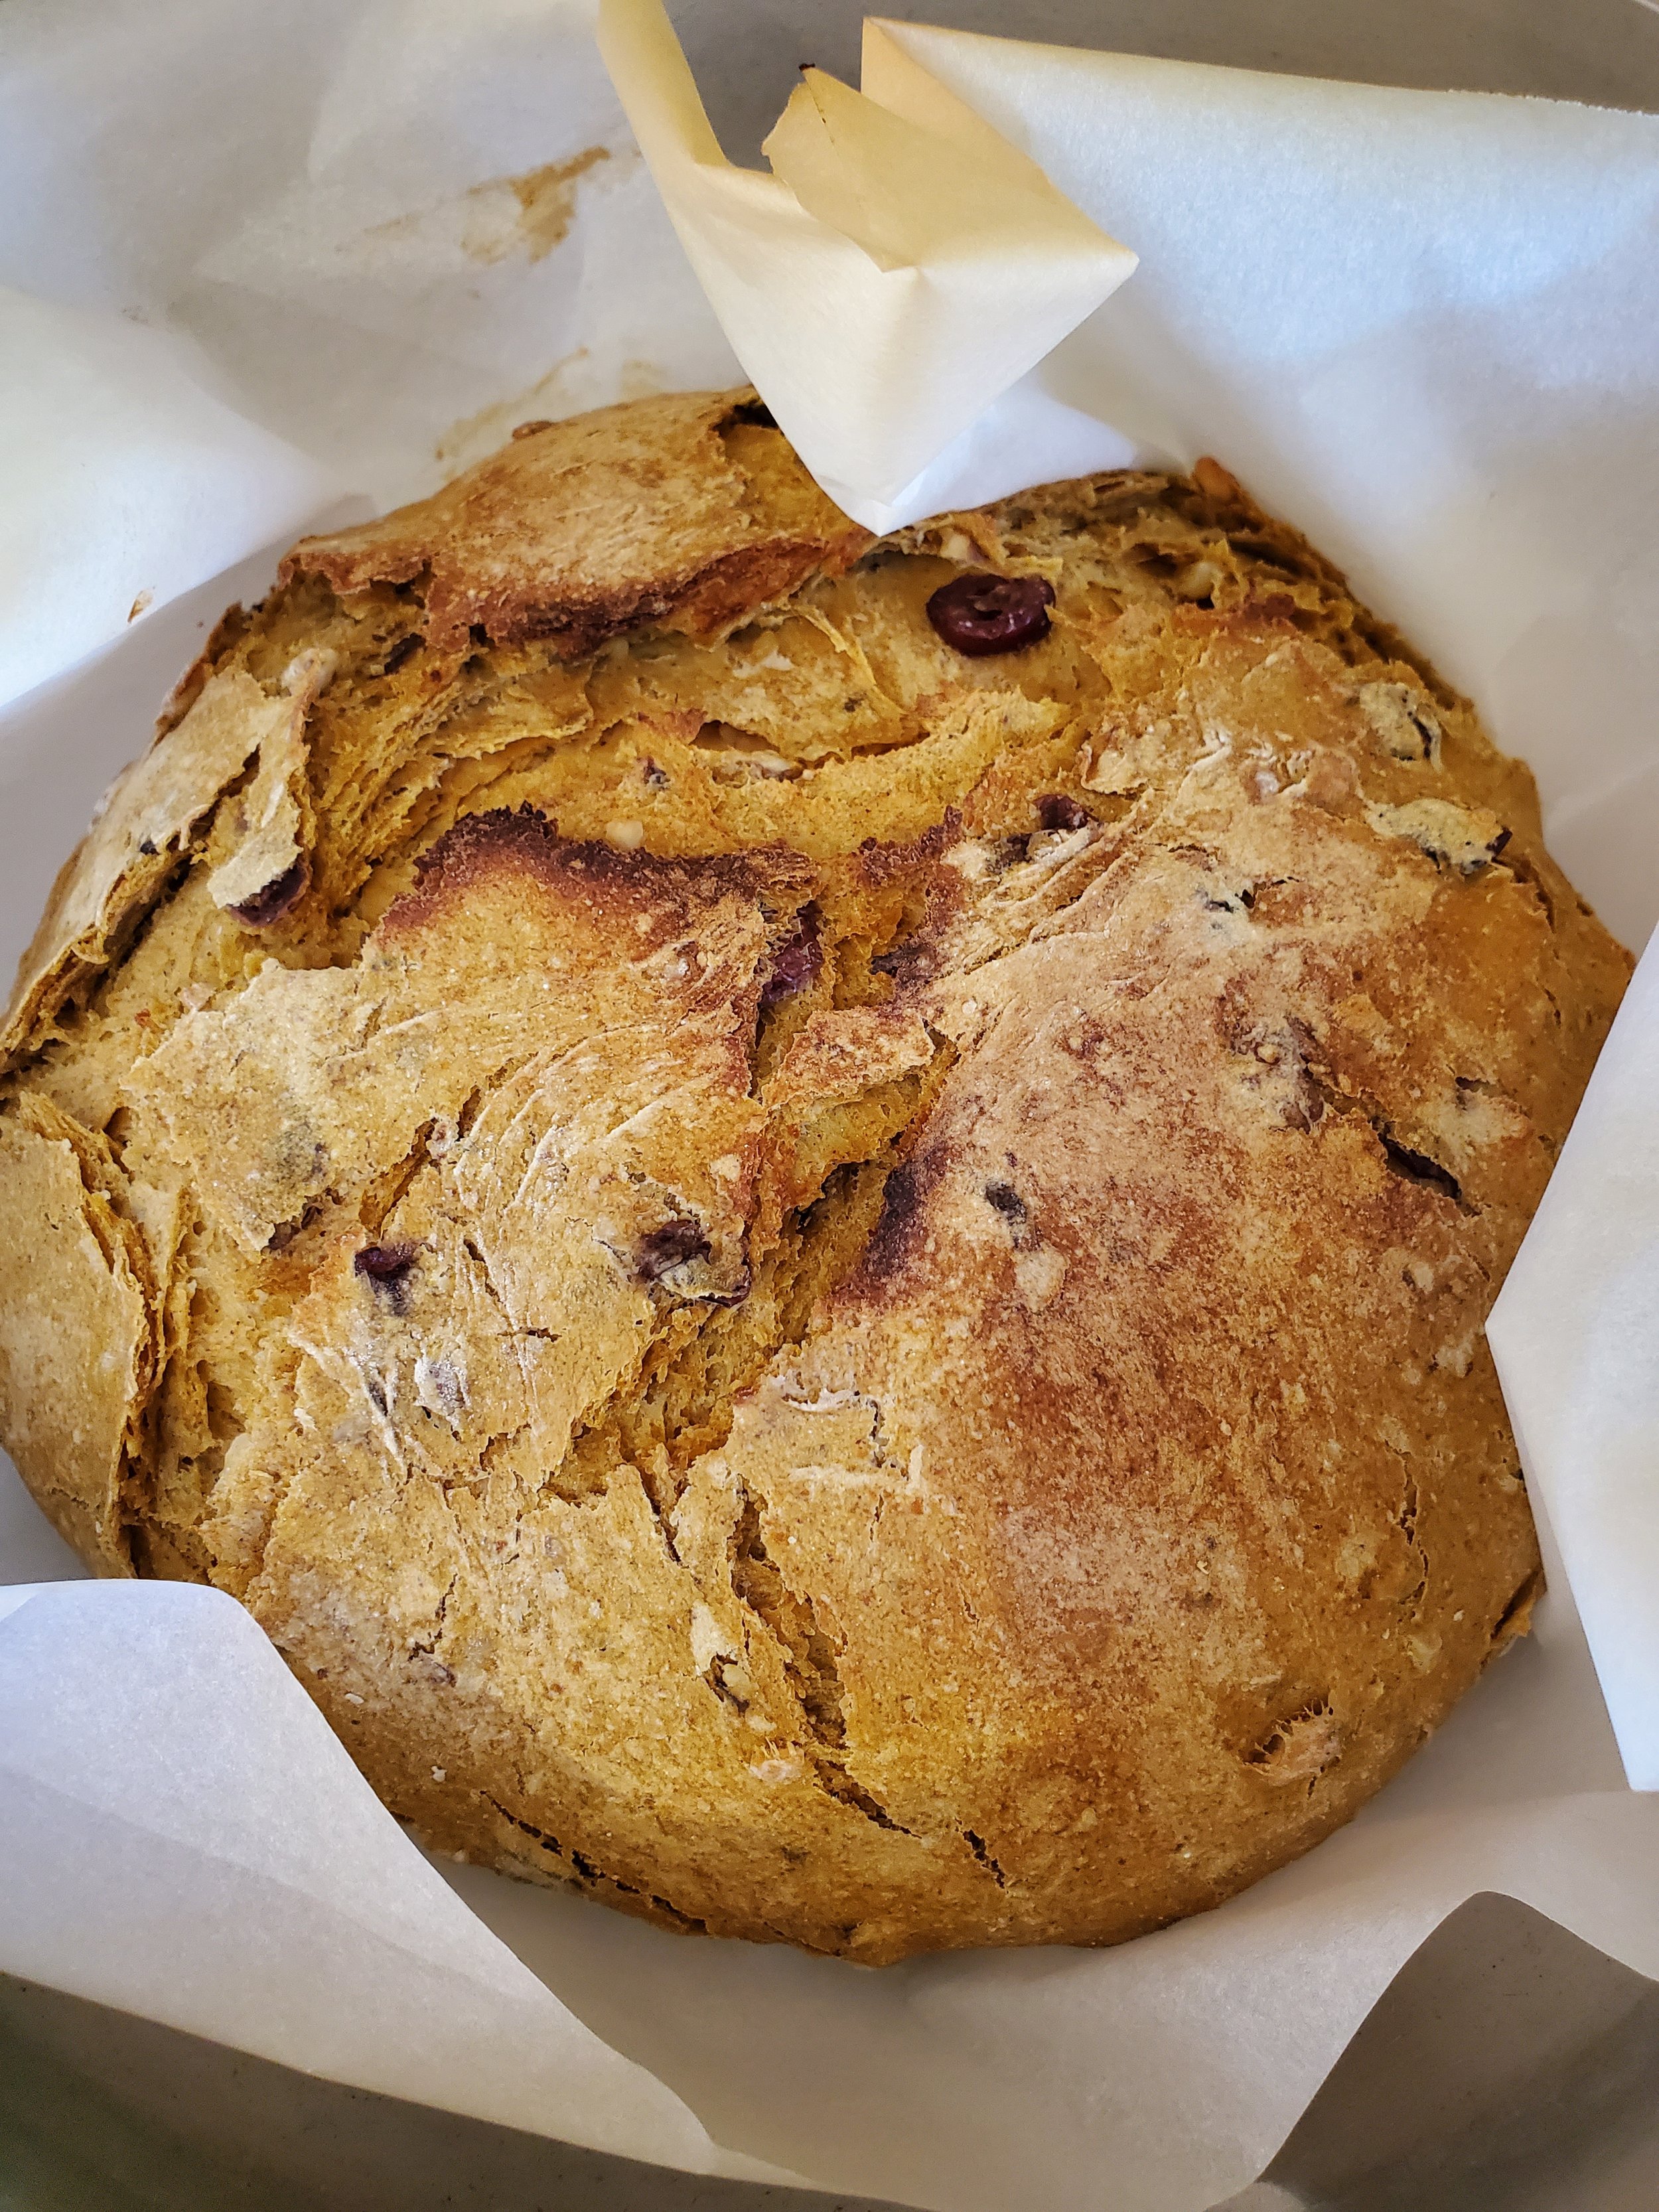
In the photos, we've done this as one large boule in a covered pan - but we find the results to be much better if done as two small loaves in average loaf pans, and doing two loaves reduces the cooking time and the risk of burning dramatically. Learning from our mistakes here.


Toss two loaf pans into the oven to heat up with it, keeping the other two loaf pans out on the counter. Divide your dough in two and shape into two even-sized loaves. Place each loaf on its own sheet of parchment paper.


Once the oven has come up to proper temperature, don your oven mitts or grab a towel and remove the pans. Using the parchment to transfer them, place one loaf into each pan. Place both pans onto the middle rack of the oven. Invert the cool pans over top of the pans in the oven (we're using them like the lid of the Dutch oven here). Set a timer for 15 minutes.


At the 15-minute mark, remove the covers and set them aside to cool. Bake the loaves uncovered for another 15 minutes. When the timer is up, turn the oven off and let the loaves sit in there for another five to ten minutes before removing them. Use the parchment to lift them. Allow them to cool before cutting with a serrated knife.


As you savor every bite of this Cranberry Pumpkin Nut Bread, remember that Appliance Rescue Service is here for all your home needs. Share your baking success on our Facebook page and feel free to contact us for any appliance-related queries at (214) 599-0055 or through our website. From repairs to routine maintenance, count on us for all your major appliance requirements. Let the lingering aroma of this delightful bread remind you that we're dedicated to ensuring your home runs smoothly.


Additional Reading 

Impress Your Guests with This Easy-to-Make Apple Pecan French Toast Bake


Escapee From New York: Chocolate Bagels


Purple People Eater Pieces

A Frightfully Fruitful Crumble From The Crypt

As we move closer to the best holiday of the year (no objections! - they'll just fall on deaf ears), it's time to start looking at creepy party recipes to feed a crowd of little ghouls, gremlins, goblins, or what have you.


Every year we try to conjure up at least one new spooky recipe. This year's is a dessert - purple people eater pieces.


It's a little bit pie and a little bit dump cake, and it's also a whole lot of mess if not carefully contained. So do be cautious in serving this one to littles or the spill-prone.


Ingredients:

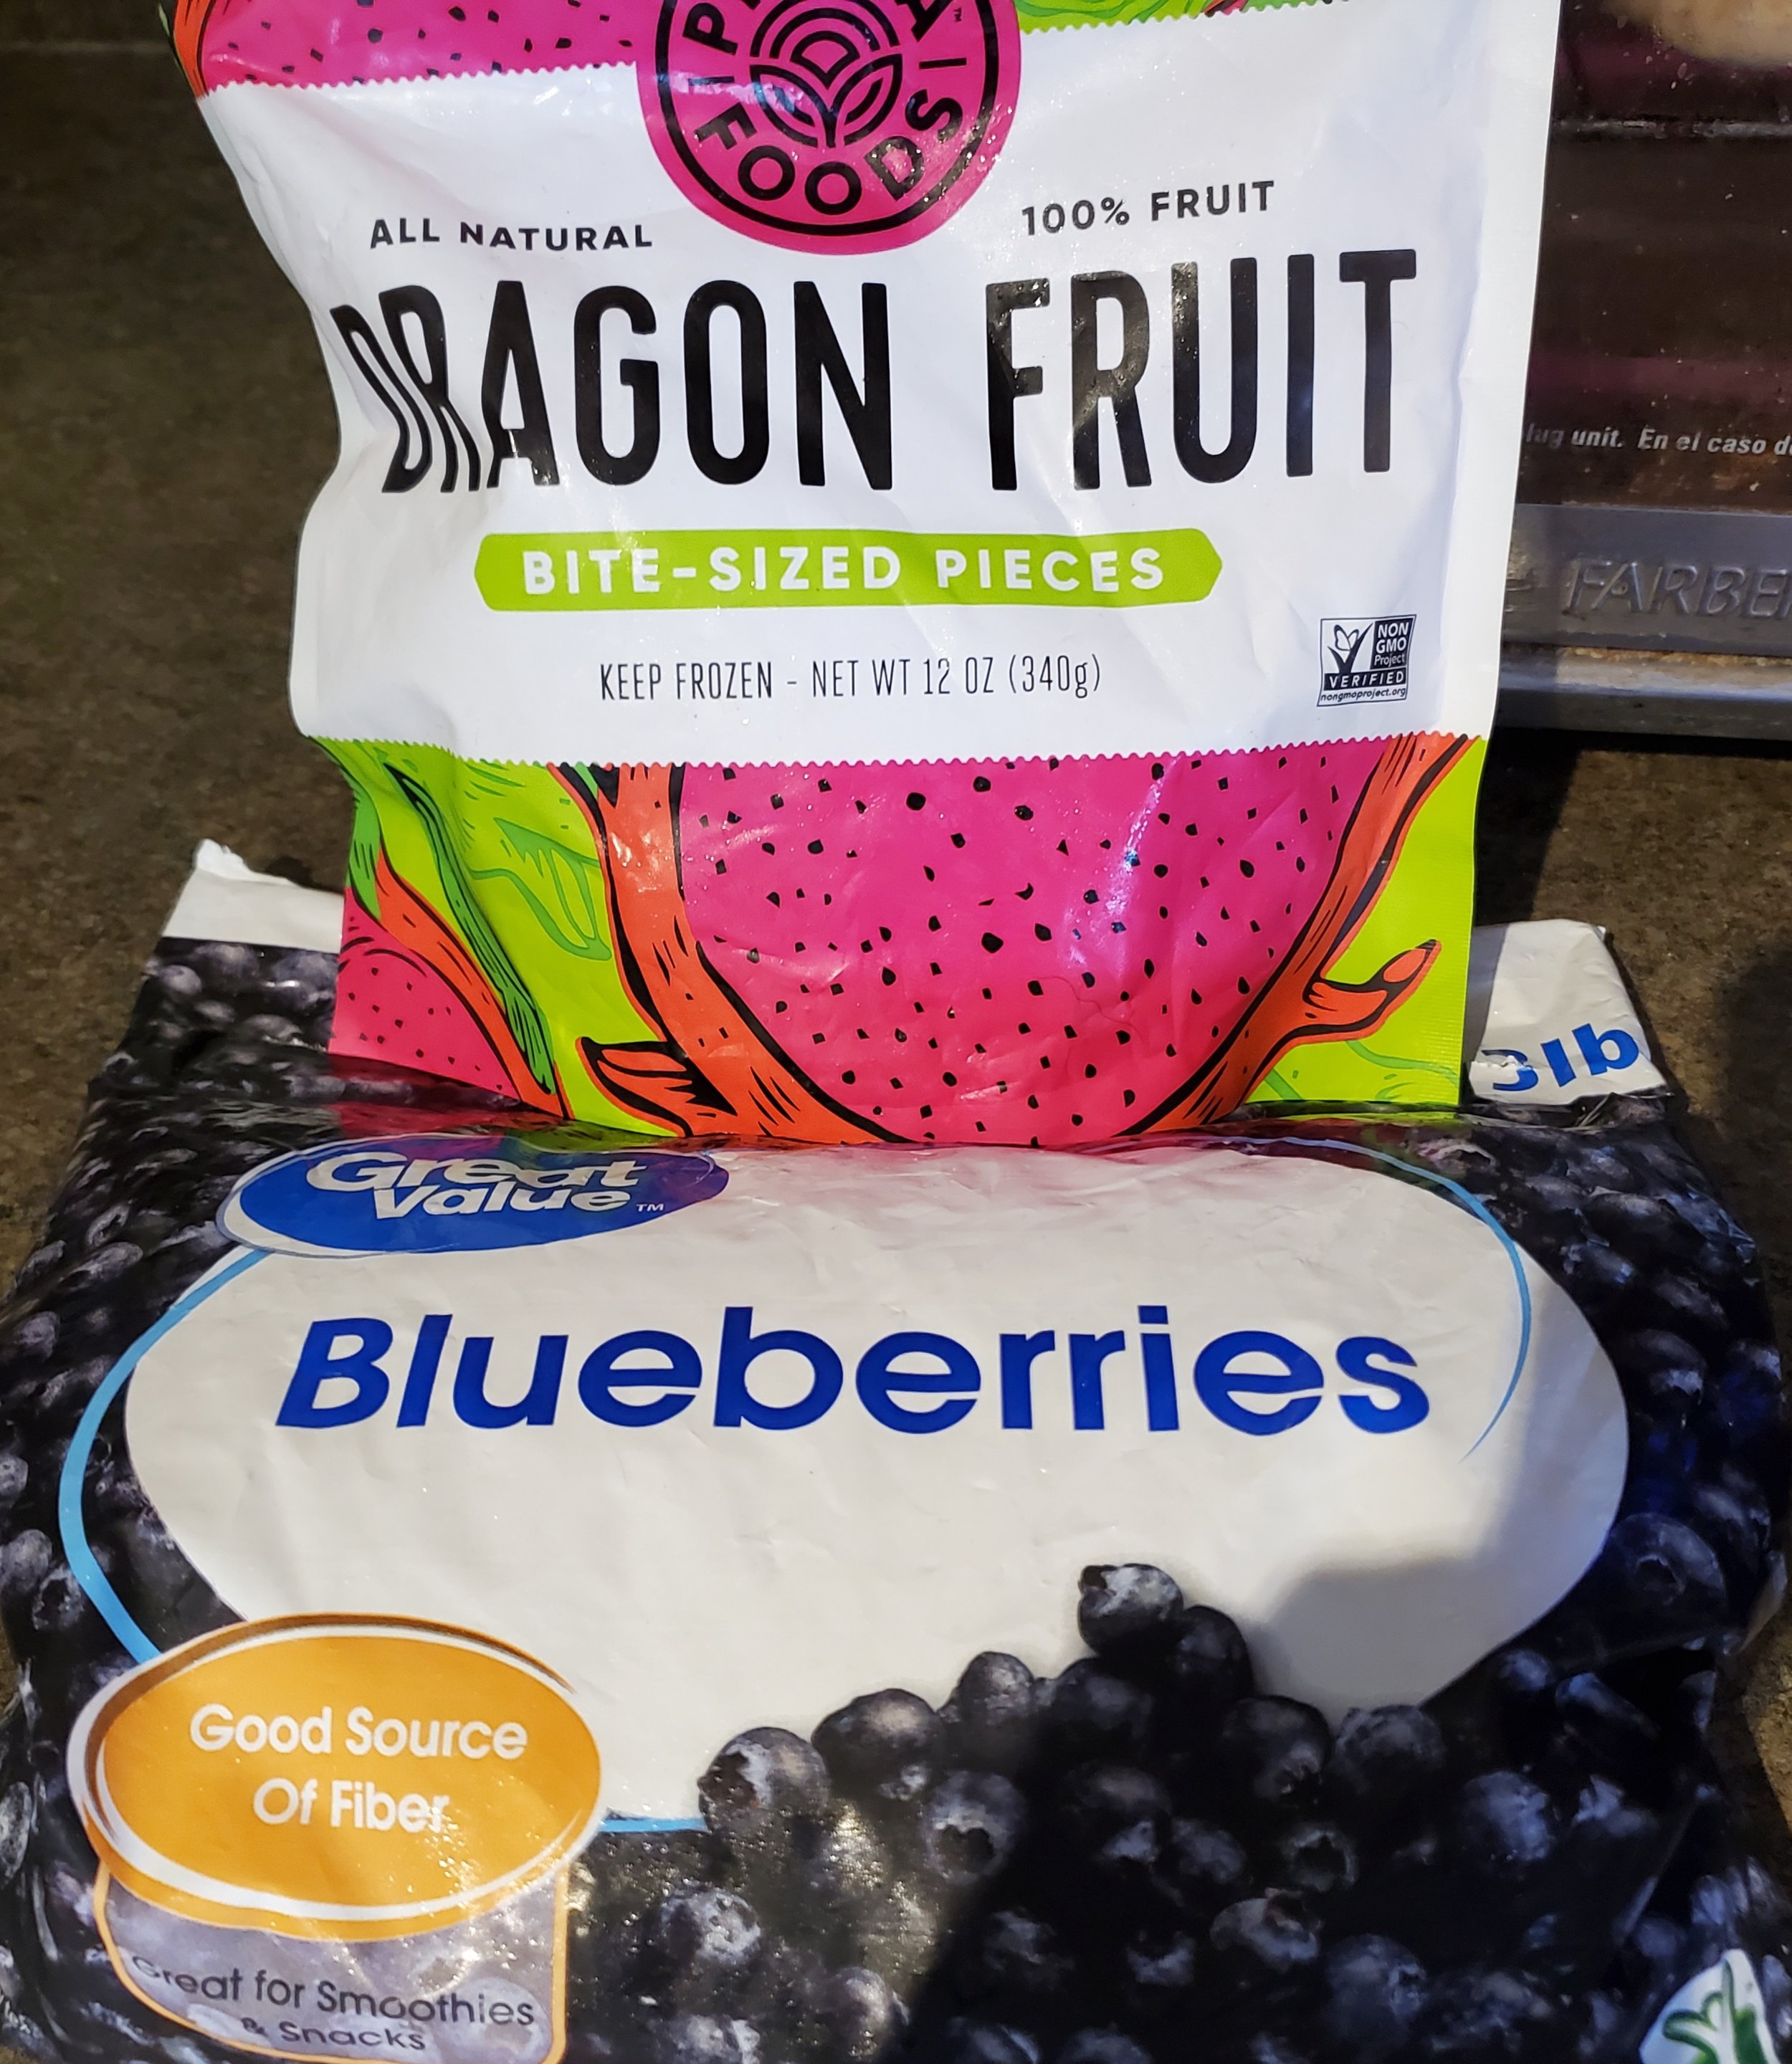
1 1/2 cups frozen blueberries

1/2 cup frozen dragon fruit

1/2 cup brown sugar

1/2 cup water

1 teaspoon lemon juice

1/4 teaspoon five spice

1 container refrigerated biscuit dough


Tools:

large covered pot or Dutch oven

bowl

spoon

measuring cups and spoons

knife

cutting board


Begin with your blueberries - just scoop them out into a bowl. Your measurement doesn't have to be exact. Just get somewhere in the ballpark of a cup and a half.


Add the dragon fruit pieces to the blueberries. We know dragon fruit is not something you find in the produce aisle on a regular basis, but even in the middle of nowhere we were able to pick some up frozen at a big box store. We've also had the opportunity to grab fresh dragon fruit at a local family grocery store. If you don't have the same luck, fear not! Any red- or pink-hued fruit can sub in. Strawberry, cherry, cranberry, pomegranate, guava... Just know the color may not be so vibrant. Dragon fruit is rather exceptionally in-your-face pink.


Measure in your brown sugar and your five spice. We know the five spice doesn't look like much, but just a little of this stuff makes an impact. You'll know it's there.


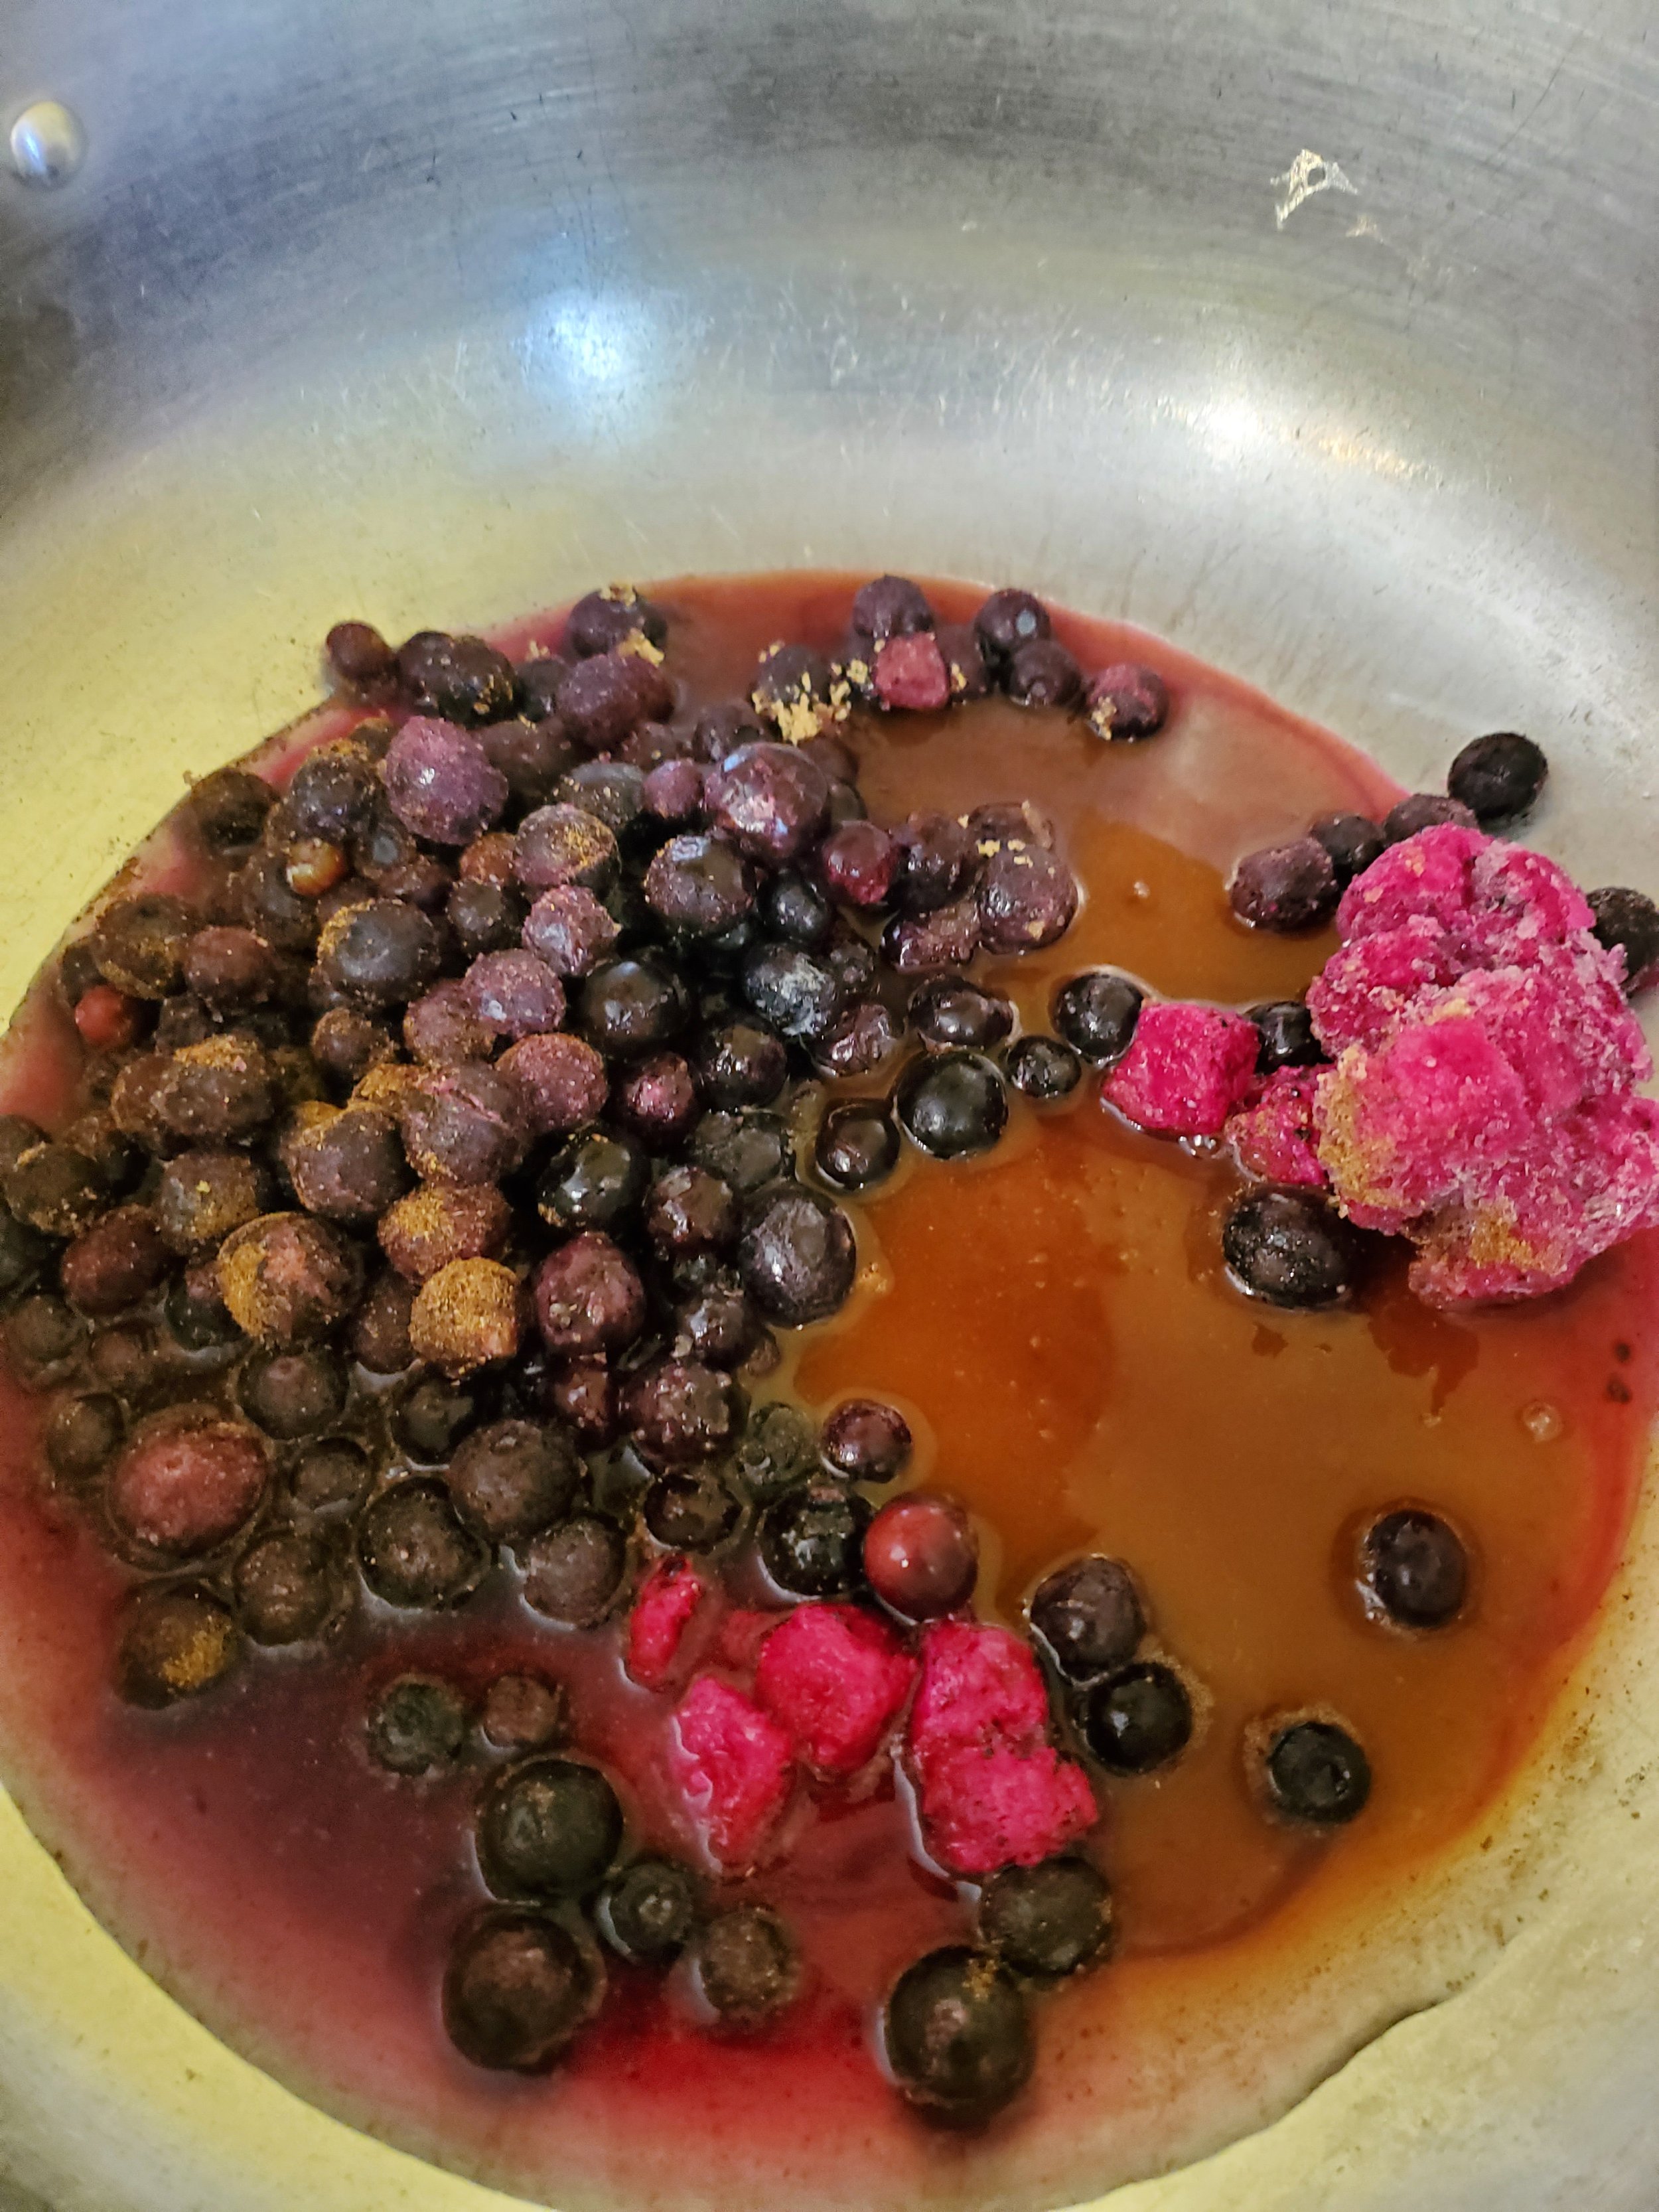
Dump the bowl into the dutch oven. Measure the water into the same bowl to take up as much of the sugar, spice and fruit juice as possible, and pour it over the fruit and spices in the pan.


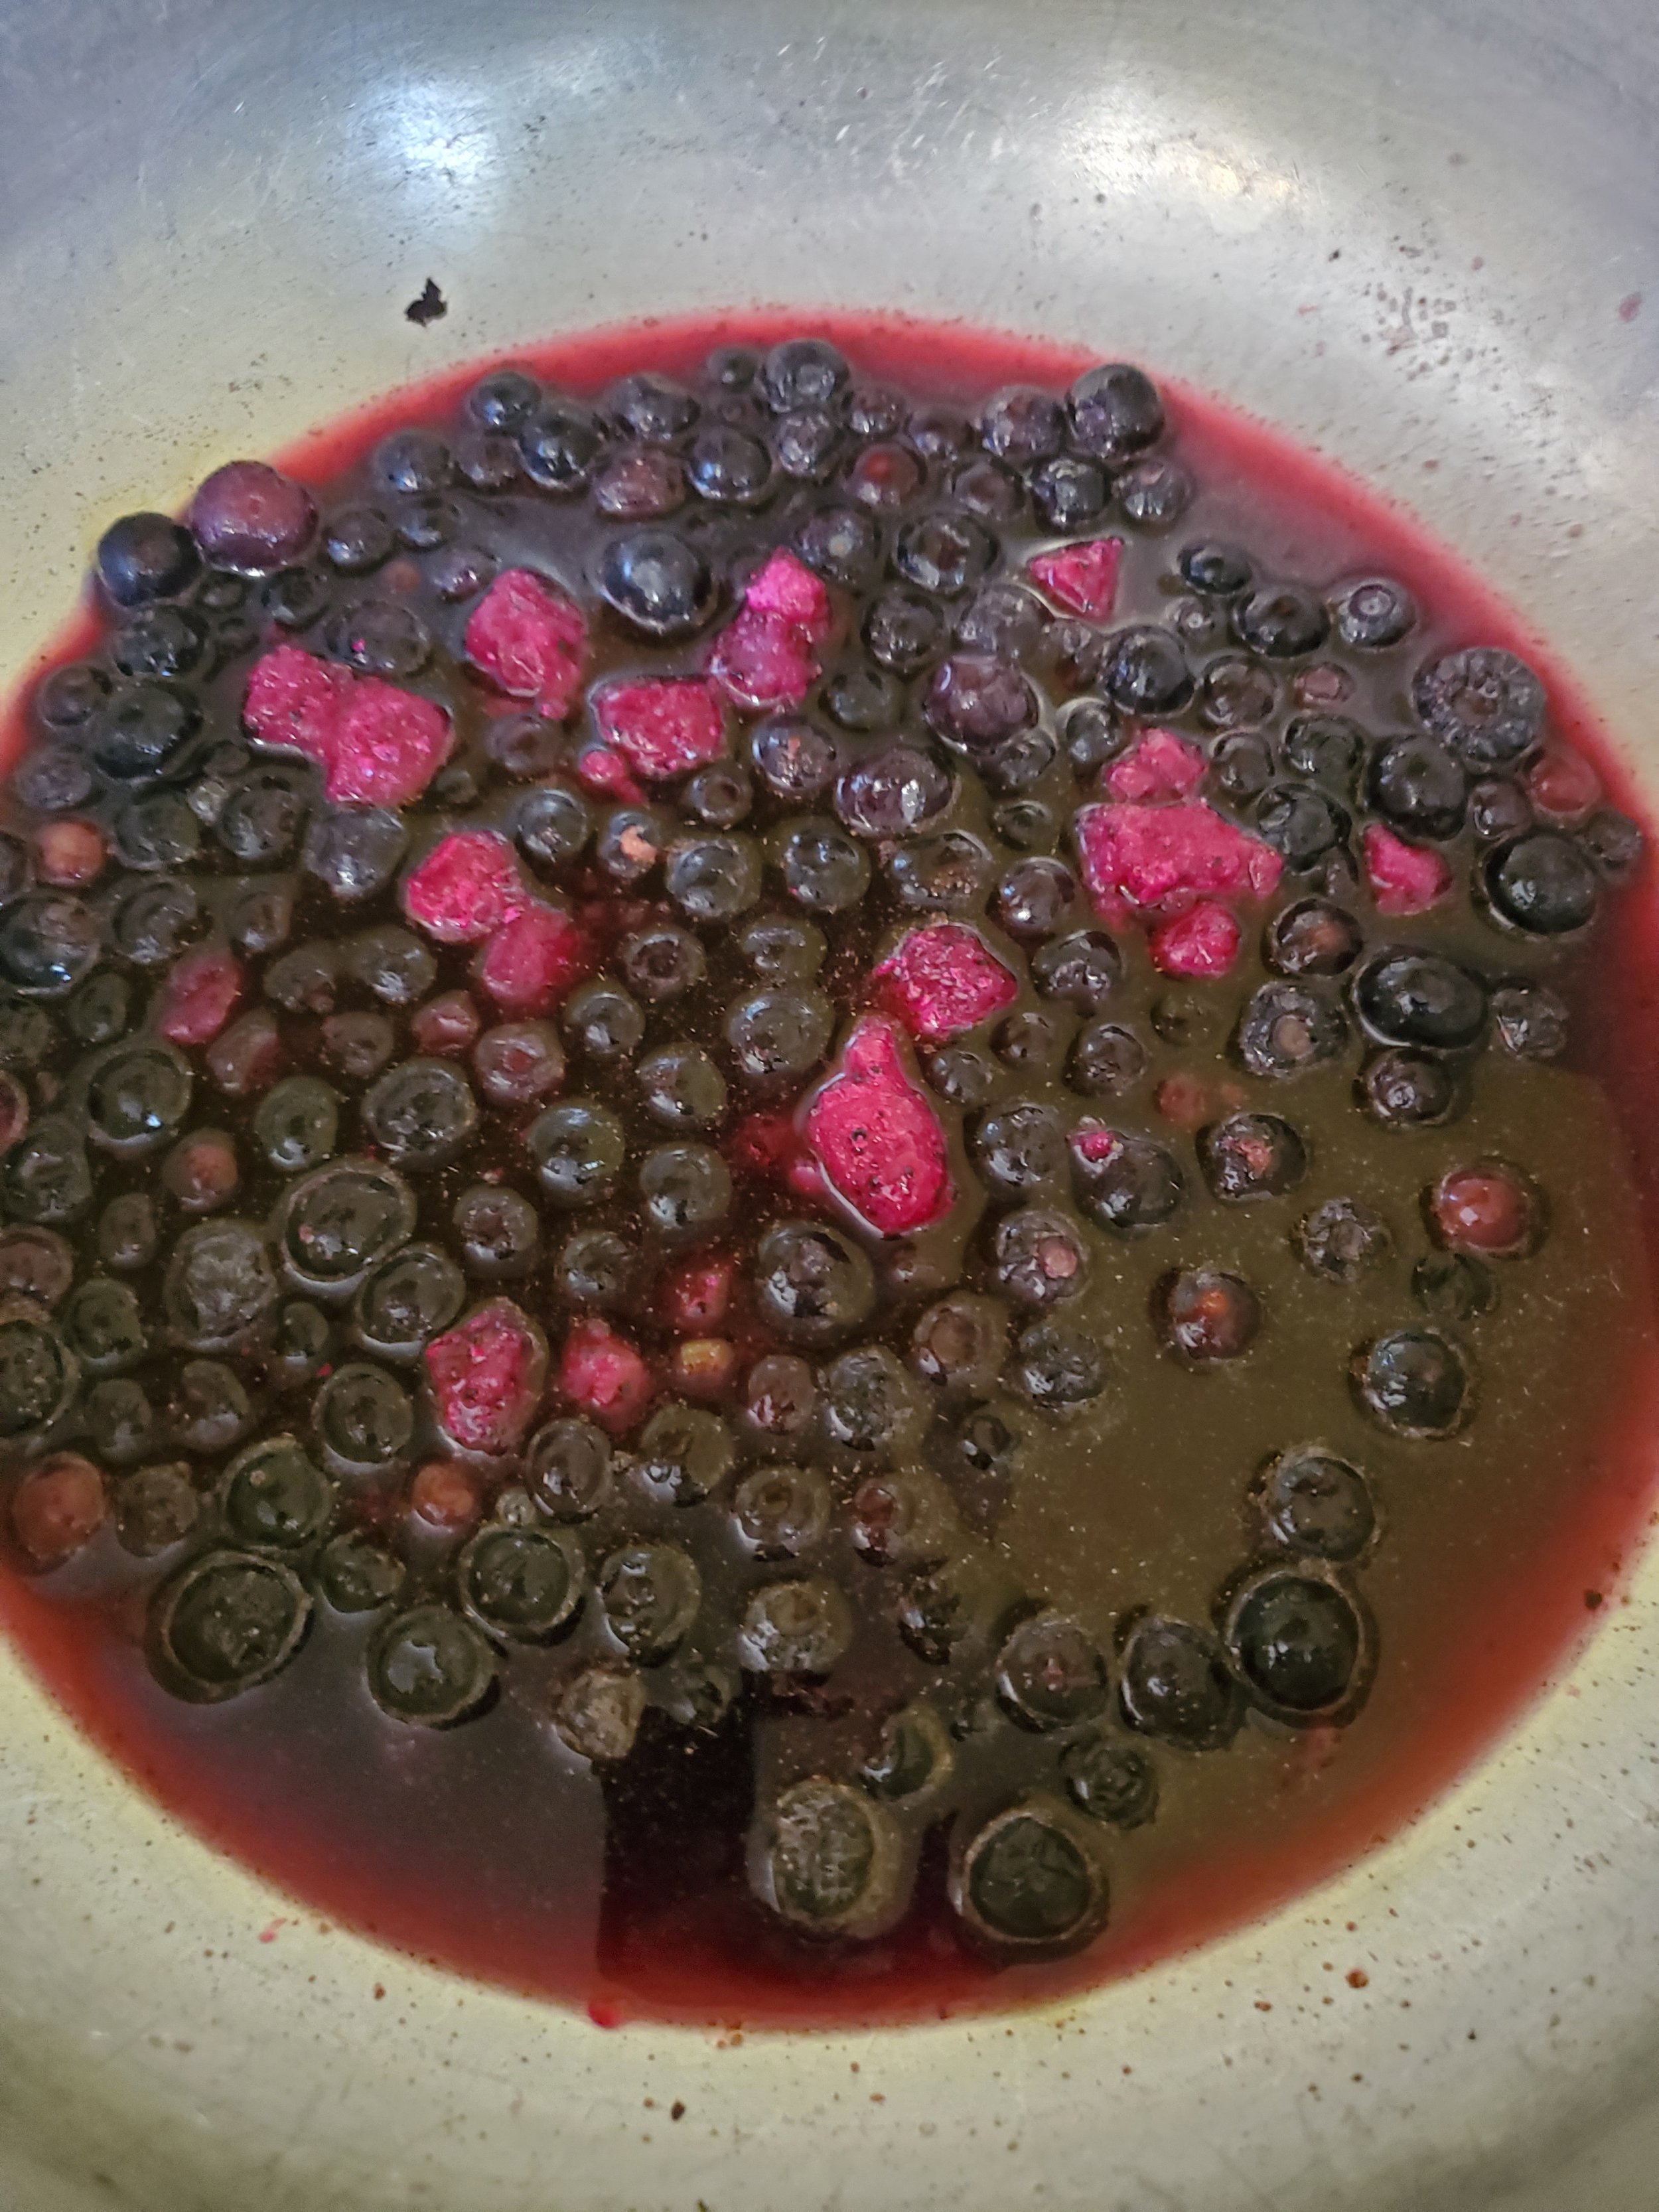
Turn the heat on low and give everything in the pan a good stir. The sugar should dissolve right off the bat, but it will take a bit for everything to heat through.


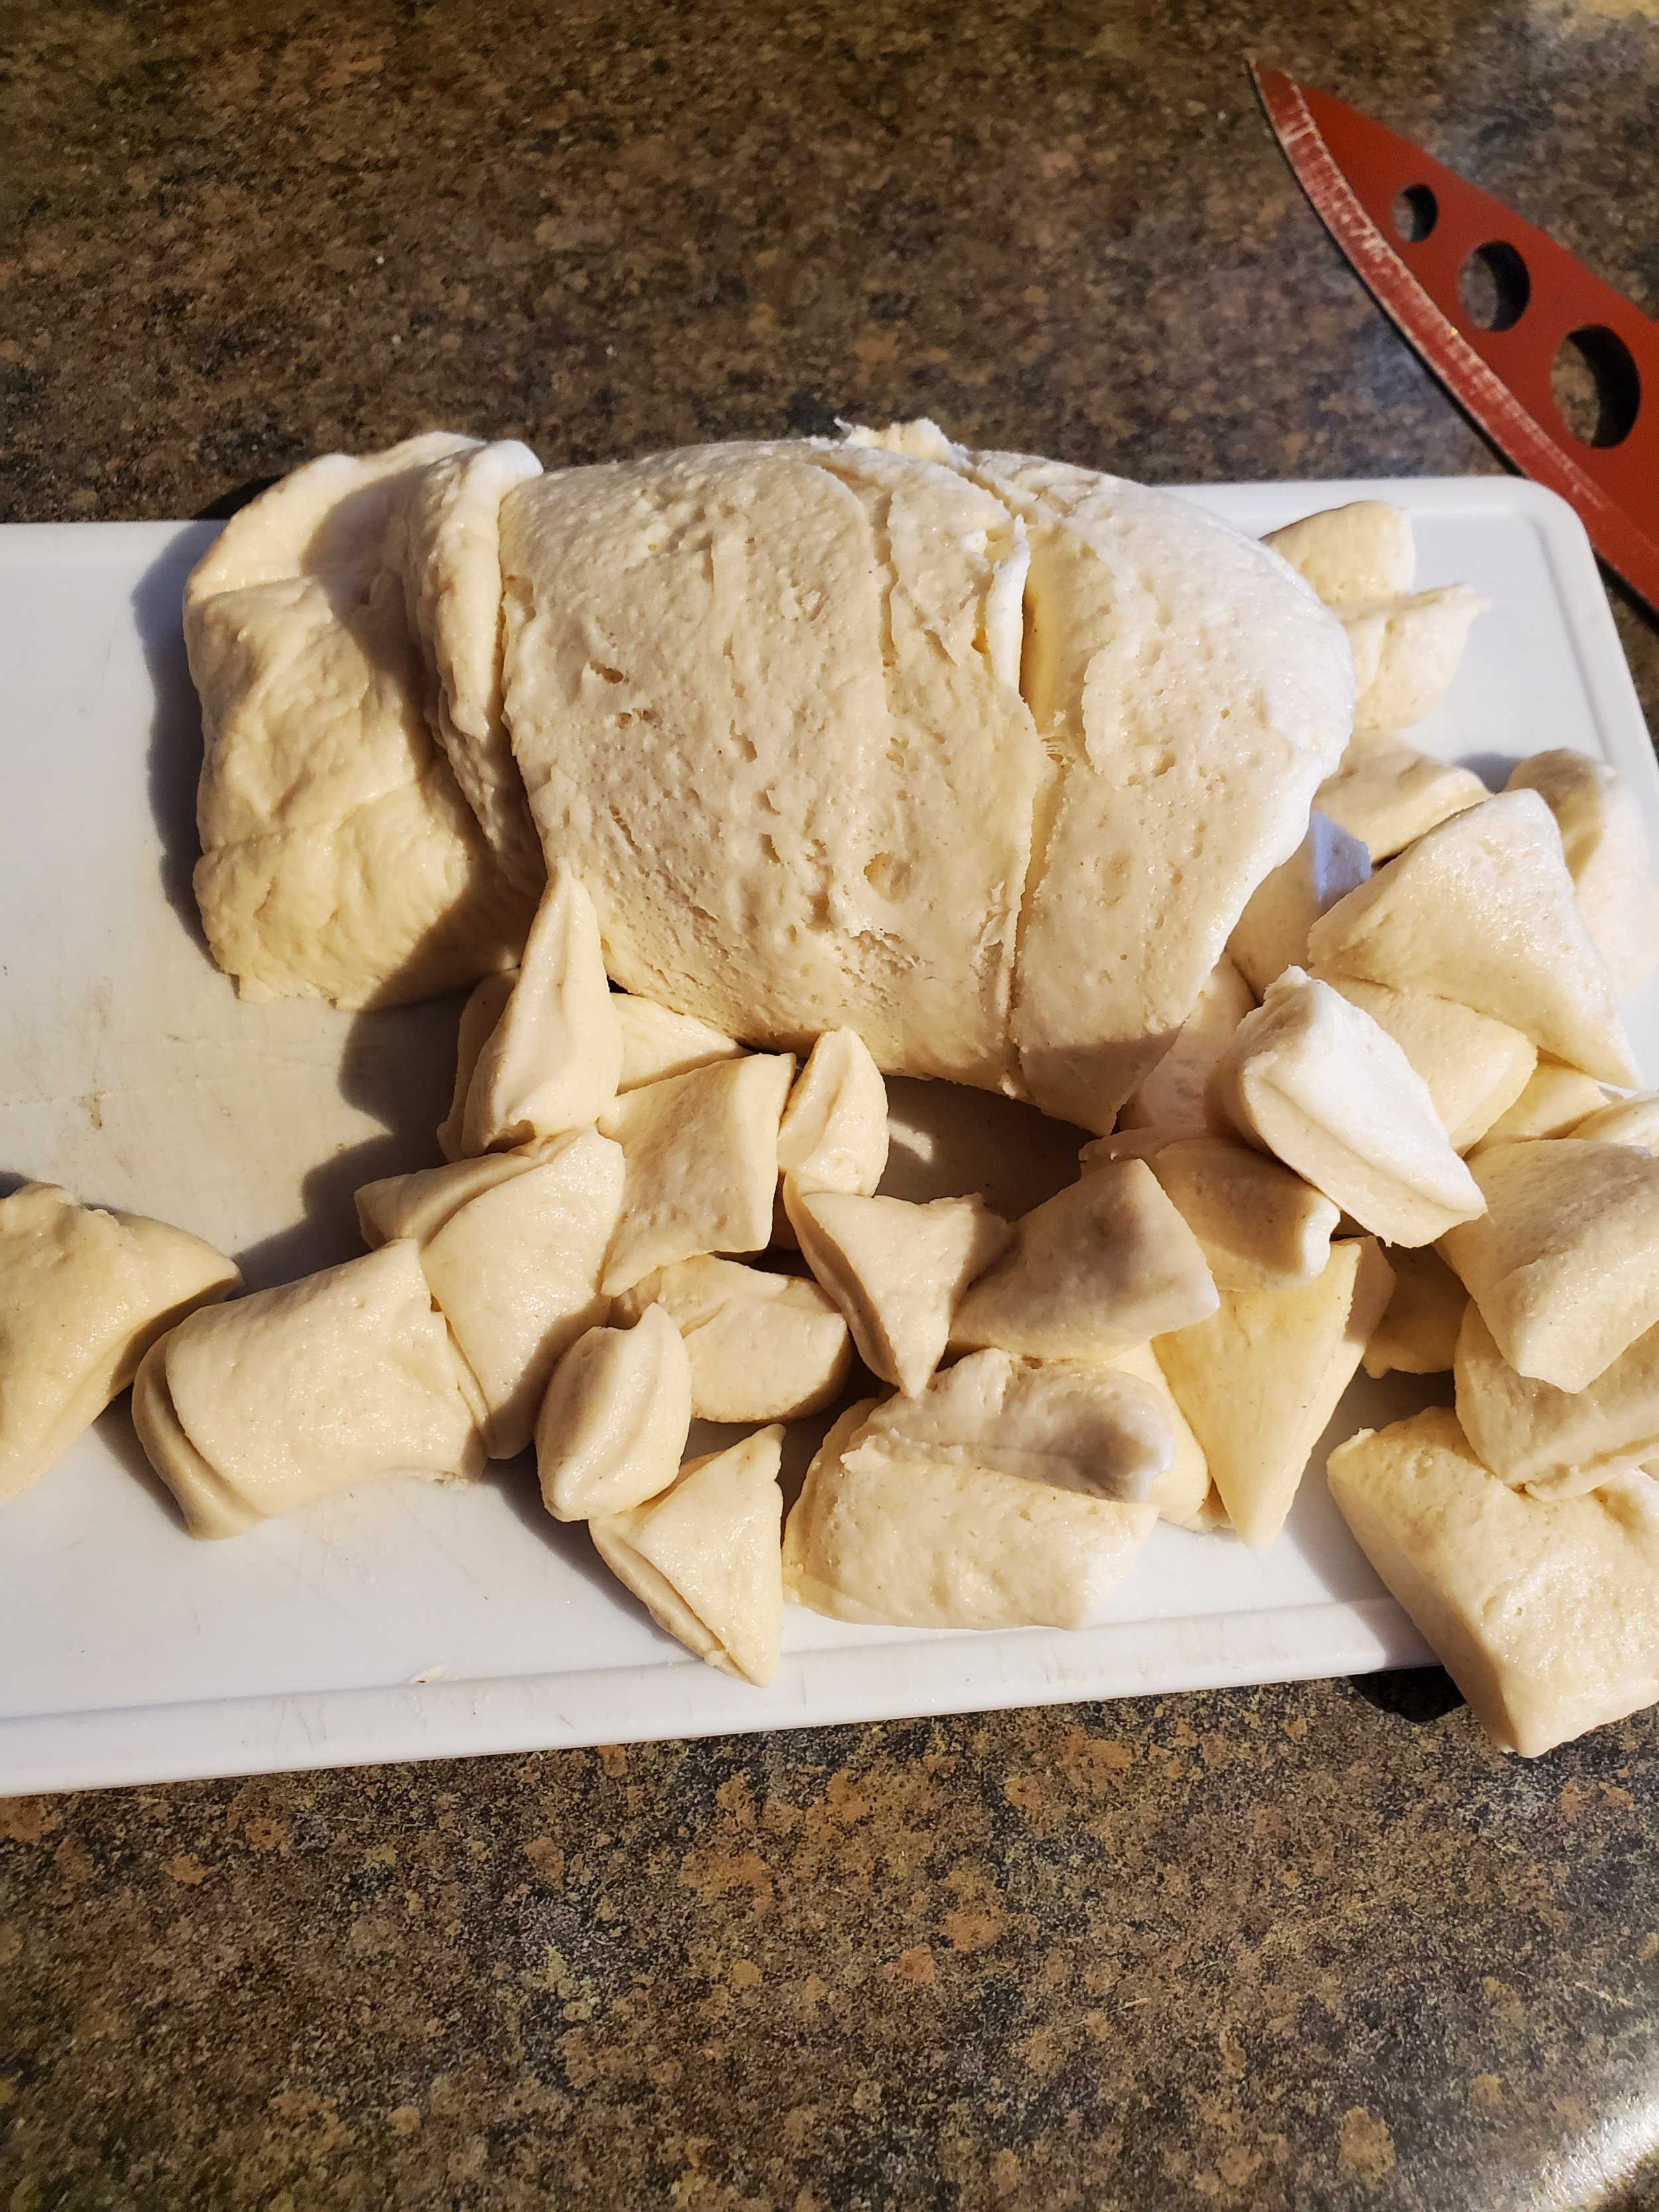
While waiting for it to come up to a simmer, grab your biscuit dough and pop the container open. Split them apart and put them on the cutting board, and cut your biscuits into pieces. We start with roughly quarters, then trim down a little from there. In our experience, there's always one biscuit in the package that's about three times the size of the rest on one side and squished down paper thin on the opposite. That one gets cut into a great many awkwardly shaped chunks.


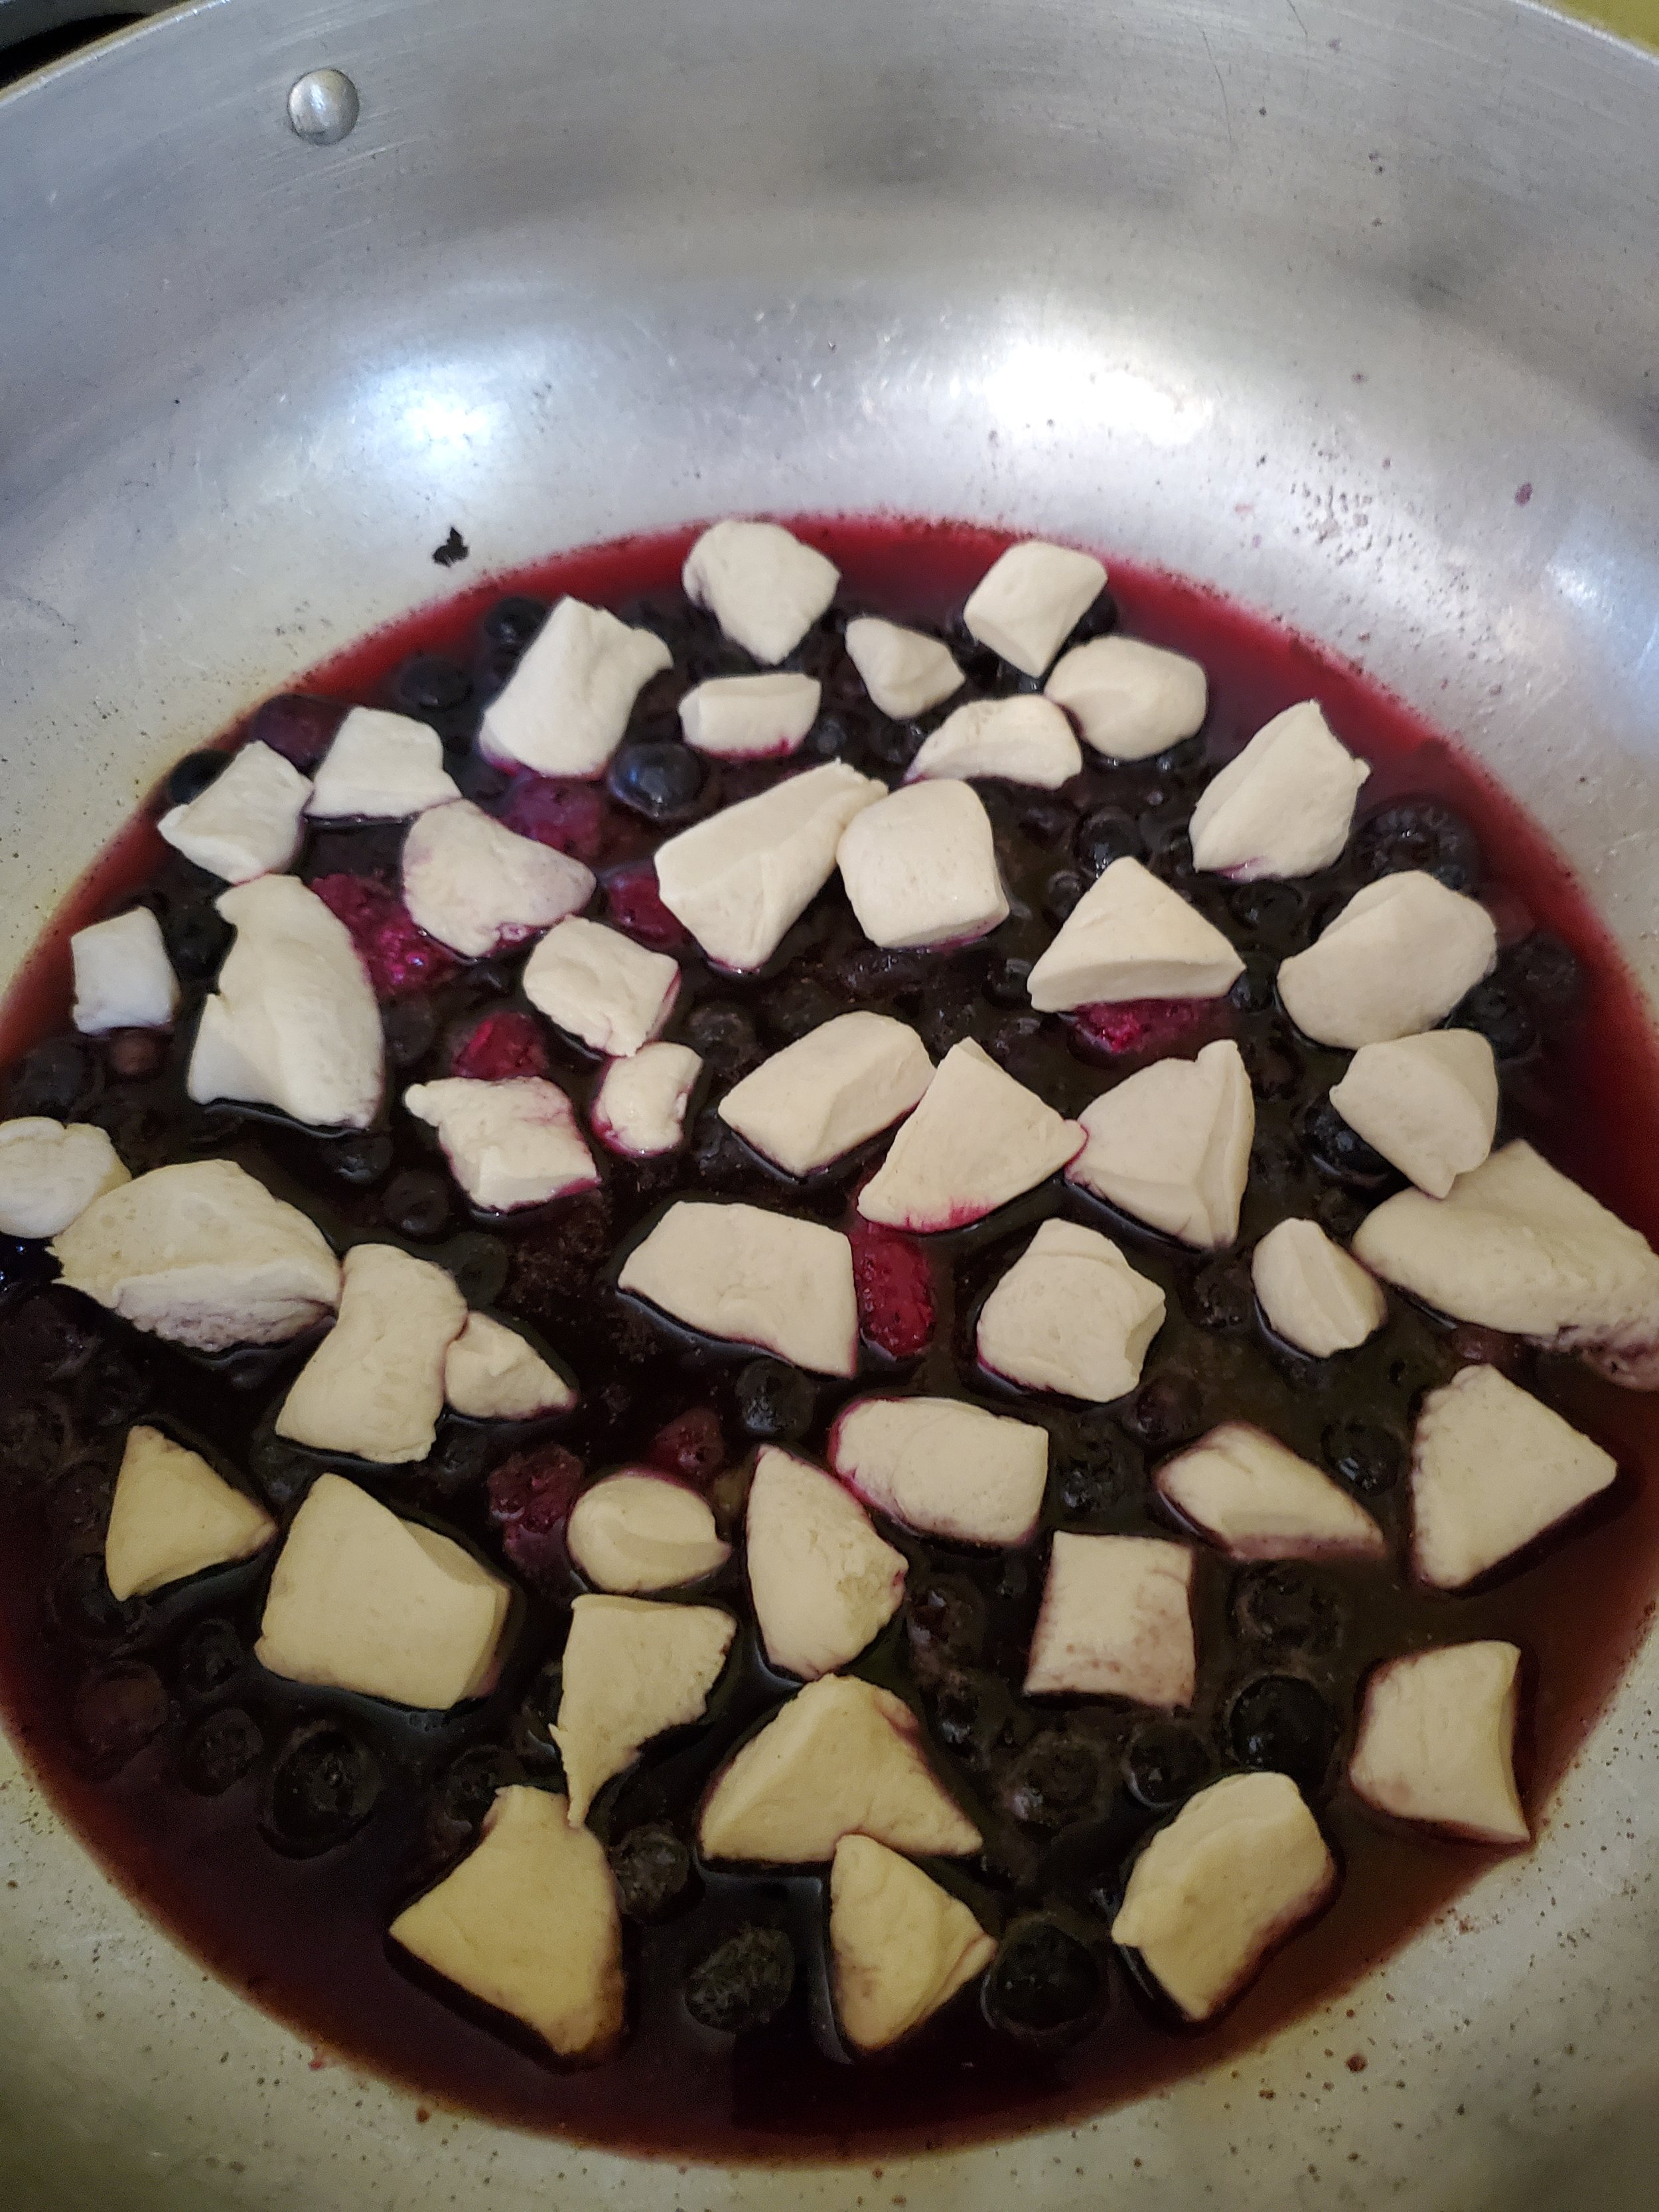
Give the contents of the pan one more good stir, then drop your funny-shaped biscuit pieces on top of the fruit mixture. From this point on, do not stir.


Once you have your biscuit dough on top of the fruit, increase the heat to medium-low. Cover the pan and allow it to simmer untouched for 15-20 minutes. Stay close to the pan - the smell is the best indicator of when it's done. If you can smell the fruit and spices getting fragrant without lifting the lid on the pan, it's close to done. If you have a clear glass lid that's not too fogged up, it should look syrupy between the pale biscuit pieces.


When you feel like it's ready, turn the heat off and lift the lid. Allow it to breathe and set for five minutes before serving.


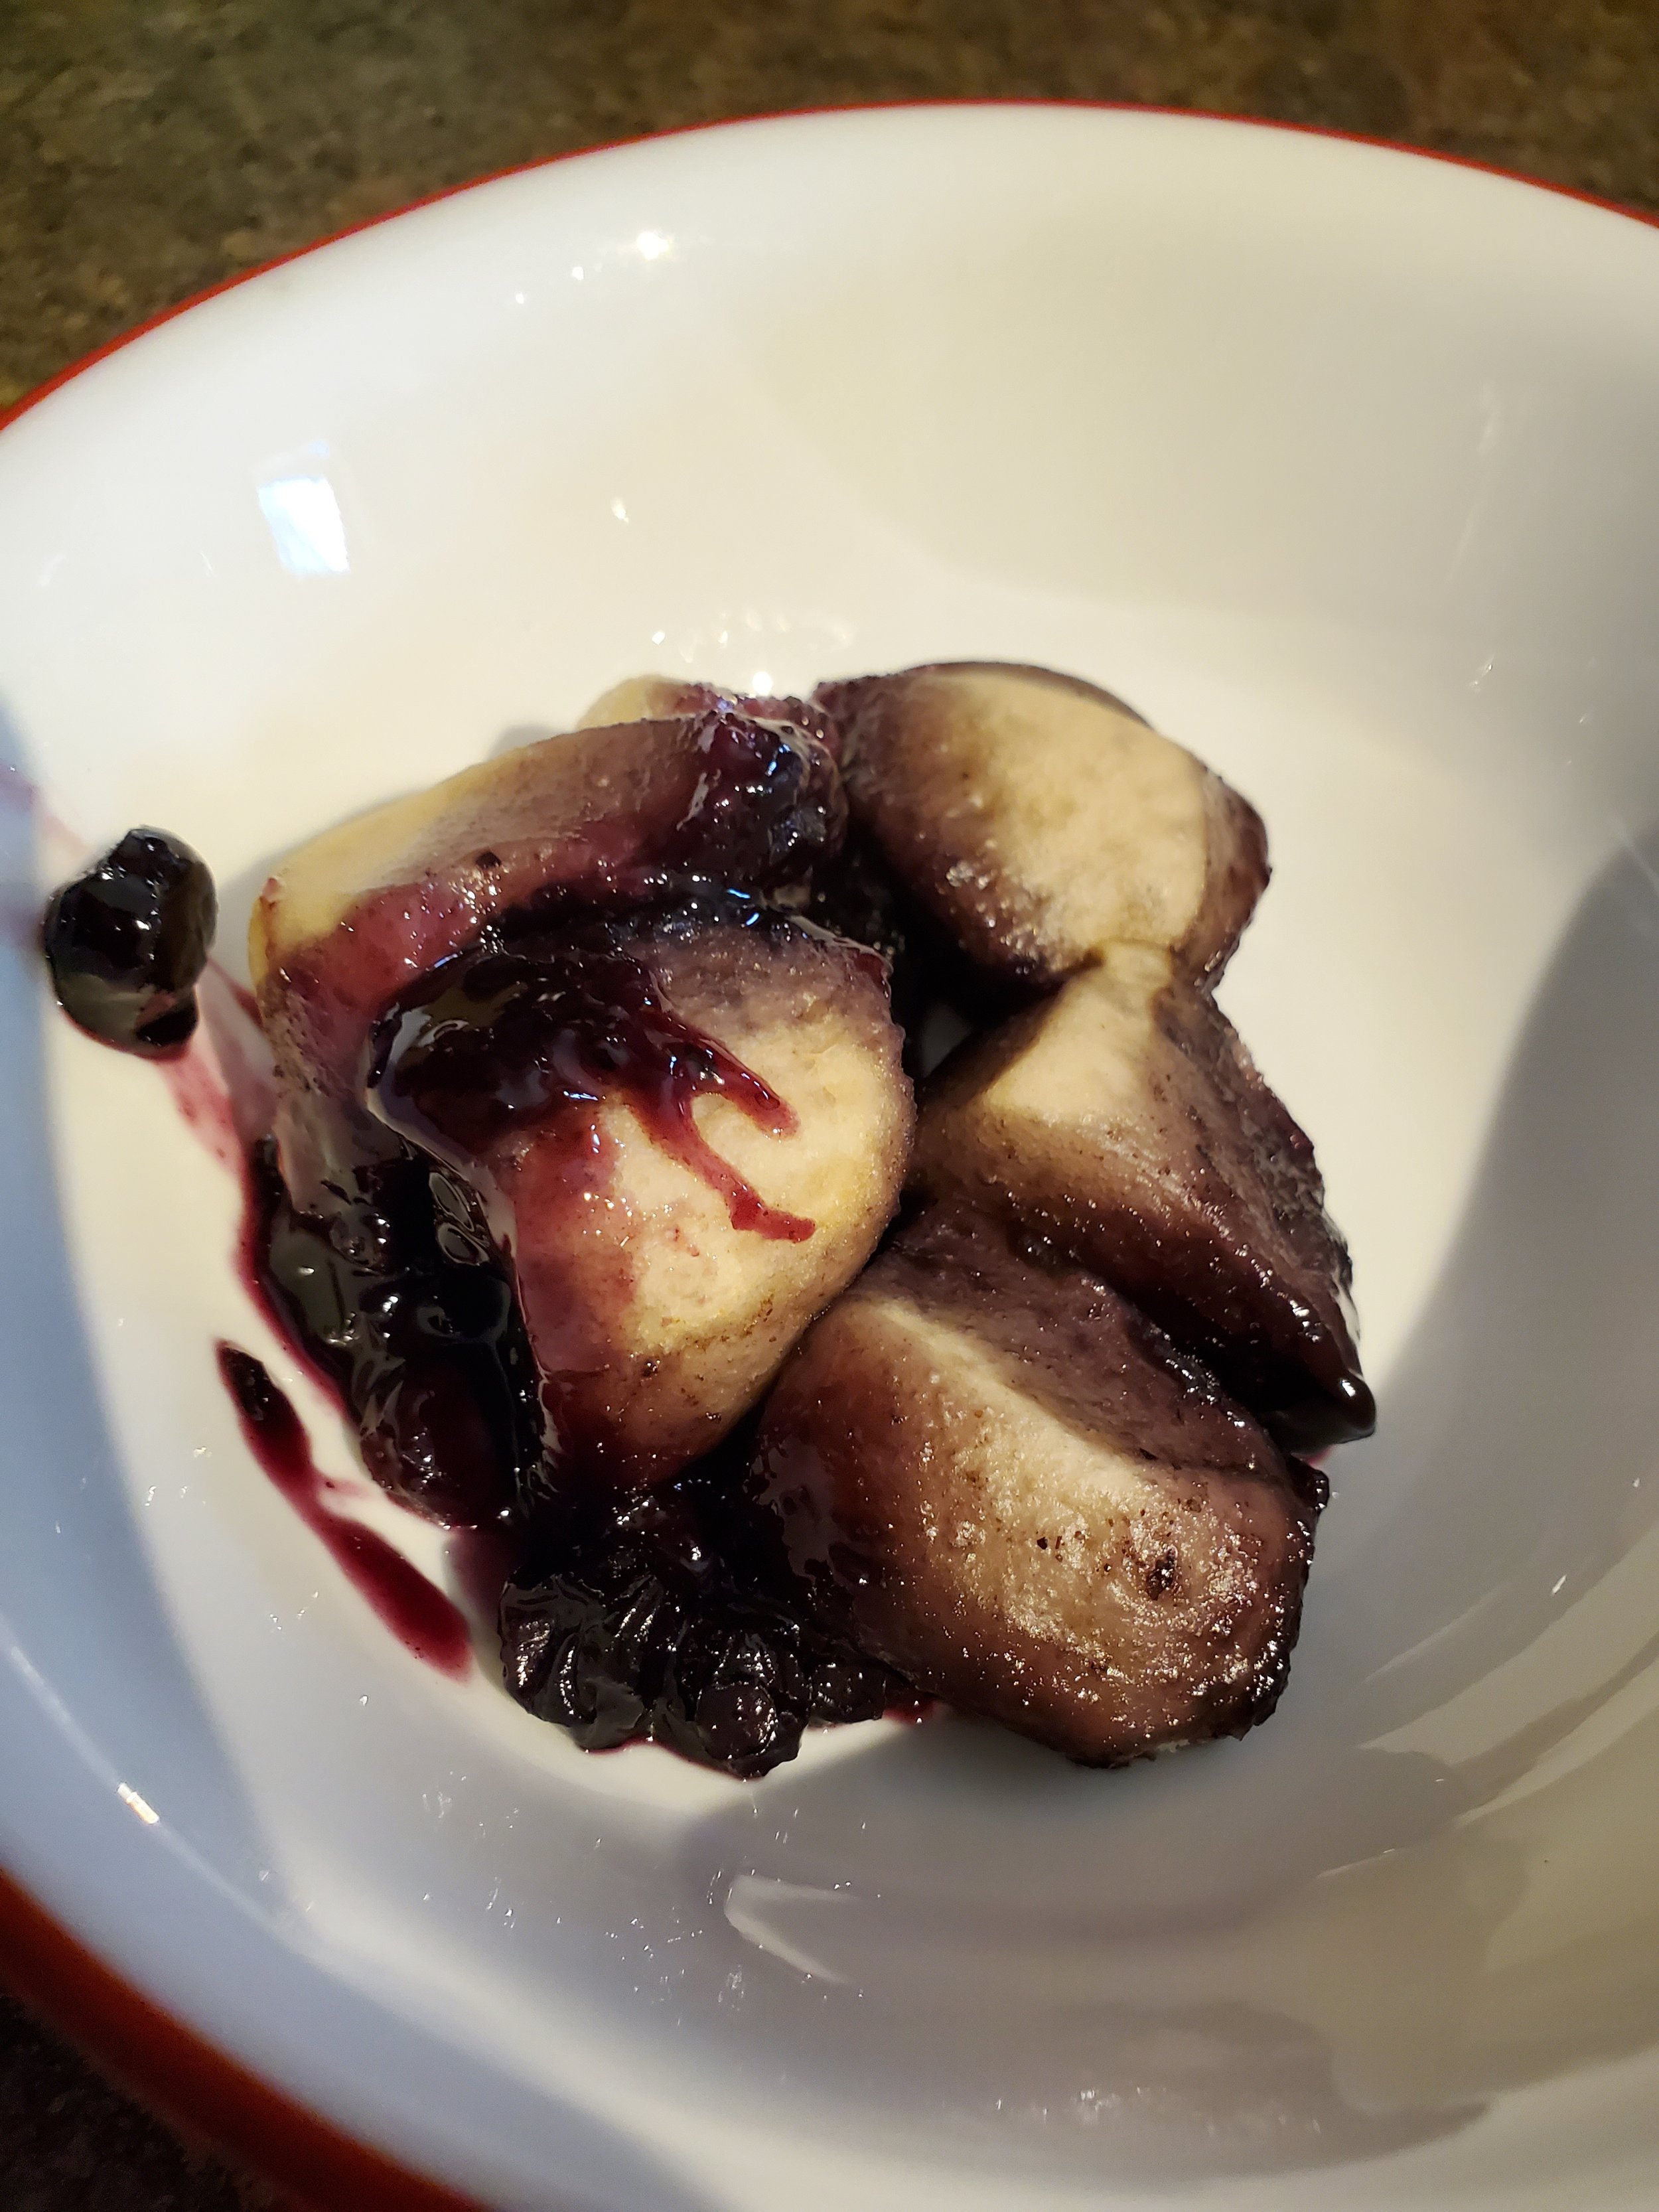
Serve in heaping scoops, with or without a little ice cream.


As our spooky culinary adventure comes to a delicious conclusion, we hope you've enjoyed crafting and savoring "Purple People Eater Pieces" as much as we've relished sharing this unearthly treat with you. Let us know over on our Facebook page how it was received! 


Halloween is a time for enchanting flavors and mysterious gatherings, but it can also be a season of unexpected surprises. If, amid the spectral celebrations, you find yourself in need of a visit from one of our trusted repair technicians at Appliance Rescue Service, don't hesitate to reach out at our website or by giving us a call ((214) 599-0055). Just as we've crafted this bewitching dessert to delight your taste buds, our skilled technicians are ready to ensure your appliances continue to perform their culinary magic, ensuring your celebrations remain seamless and your spooky feasts flawless. Wishing you a hauntingly good time this Halloween season!


Additional Reading:

Chocolate Pecan Cake for a Special Date


Sweet Veggie Tropical Curry


Ladle Love: Wholesome Potato Leek Soup Recipe

Discover the Cozy Comfort of Homemade Potato and Leek Soup

The colder the weather, the more likely we are to have soup on the table for lunch or dinner. We're sure you've heard it before, but we always do seem to transition to soup as a staple around November.


There are a great many types of soups to choose from, so we rarely feel bored with them. This one is hearty and heavy and sneaks in some veggies. Feel free to use it as a sauce over some grilled chicken if you prefer a larger portion of protein. As the recipe is here, if divided into eight servings, each serving will have just under five grams of protein. Anyone on a higher protein diet should make some tweaks.


Ingredients


2 tablespoons olive oil

1 teaspoon marjoram

2 tablespoons thyme

1 tablespoon parsley

cracked black pepper to taste

2 leeks, white only

4 cups chicken broth

1 cup instant potatoes

1 cup half and half or whole milk


Tools


large, heavy-bottomed pot

measuring cups and spoons

spoon or ladle

knife

cutting board

blender


As always, begin by washing the veggies! Those leeks will harbor a lot of hidden dirt, so a surface wash isn't going to do the trick. Definitely give it a surface wash anyway, then grab your cutting board and knife.


Since we're only using the white part of the leek here, go ahead and trim off the leafy part. You can save it to make some soup stock later, or (if you're less soup-obsessed than we are) you can just toss it. Once the leafy part is removed, trim off the root end and make a lengthwise cut up the length of the leek. You don't have to cut all the way through; we only normally cut to about the halfway point. The goal is to create some space to fan the layers enough to let water flow through. Then just hold your leek under cool running water until you've rinsed out all the layers. You can give it a little squeeze if you think it's holding on to some water. Repeat with the second leek.


Return to the cutting board and get chopping. We usually just target quarter inch thin rounds, but it really doesn't matter how you cut your leeks. They'll just be going into the blender later.


While you work on the leeks, pour your olive oil into the heavy bottomed pot and add your dried spices. Let them simmer in the oil on low heat for a few minutes while you chop.


Once the leeks have been chopped, give them a quick once-over looking for any dirt you missed. If you find anything, there's a good chance there's more than you see at the moment. It's safest to just toss the cut leeks into a colander and run them under the tap one more time. Dirt will really ruin dinner, so definitely double check before moving on.


After you're sure there isn't any dirt left, go ahead and add the leeks to the pan. Let them saute with the oil and spices for five minutes. 


Once your five minutes are up, cover the leeks with the chicken broth, give it all a stir, and let them simmer for another 15 to 20 minutes. Feel free to find another quick task to take care of. Soup is forgiving like that.


The next step will be to remove the pot from the heat. Let it cool off for about ten minutes. Putting really hot things into a blender is a recipe for disaster, so do not skip this step or try to hurry it along.


After your short cool down is finished, pour the leeks and broth into the blender. Make sure you get all the leek pieces out of the pot and into the blender. Put the lid in place and hit puree, or whatever similar function your blender has. Let it whirl until you're sure the big chunks are broken down. If you started with larger pieces of leek, this step may take a little longer - but with quarter inch slices, we ran the blender for a minute and a half.


Empty the blender back into the pot, and turn the heat on as low as it will go. Measure your instant potato flakes and add them slowly to the pot, stirring them in as you go. You'll get a pasty consistency once they're all added, but don't worry; there's one more step.


As the soup comes up to heat again, stir in the milk or half and half. We used one cup here, but if you'd prefer your soup be a little thinner, feel free to add more, or to give it some additional chicken broth. Again, soups are forgiving. Do what you will.


Serve it in a crock with some cheese melted on top like a French onion soup, serve a shallow bowl with breadsticks or toast, pour it over a protein, keep it as a side for dunking vegetable sticks...


Now, if you find yourself in a situation where your trusty kitchen appliances are in need of a little magic, just like the enchantment we bring to your recipes, remember that our expert repair technicians at Appliance Rescue Service are here to ensure your appliances continue to work like a charm. You can reach out to us at our website or by giving us a call at ((214) 599-0055). A glitch in your kitchen tools doesn't have to cast a shadow on your culinary adventures. Reach out to us, and we'll have your appliances humming smoothly once more, ensuring your soup-making endeavors remain effortless and the flavors of your creations truly enchanting. Wishing you many warm and delightful soup-filled days ahead! 


Additional Reading

Lazy Weekend Mushroom Pie


Sausage Bread to Get You Rolling 


Impress Your Guests with This Easy-to-Make Apple Pecan French Toast Bake

Make Your Mornings Magical with This Rich and Delicious Recipe

Are you ready to elevate your breakfast game to a whole new level? Look no further than this scrumptious Baked Apple Cinnamon French Toast recipe. With a delightful blend of sweet, tart apples, warm cinnamon, and creamy custard-soaked bread, this dish is a breakfast dream come true. Whether you're preparing a special brunch for loved ones or simply treating yourself to a cozy morning treat, this recipe promises to fill your kitchen with irresistible aromas and your taste buds with pure satisfaction. So, roll up your sleeves , and let's embark on a culinary journey to create a breakfast masterpiece that will leave you craving more.


Ingredients:


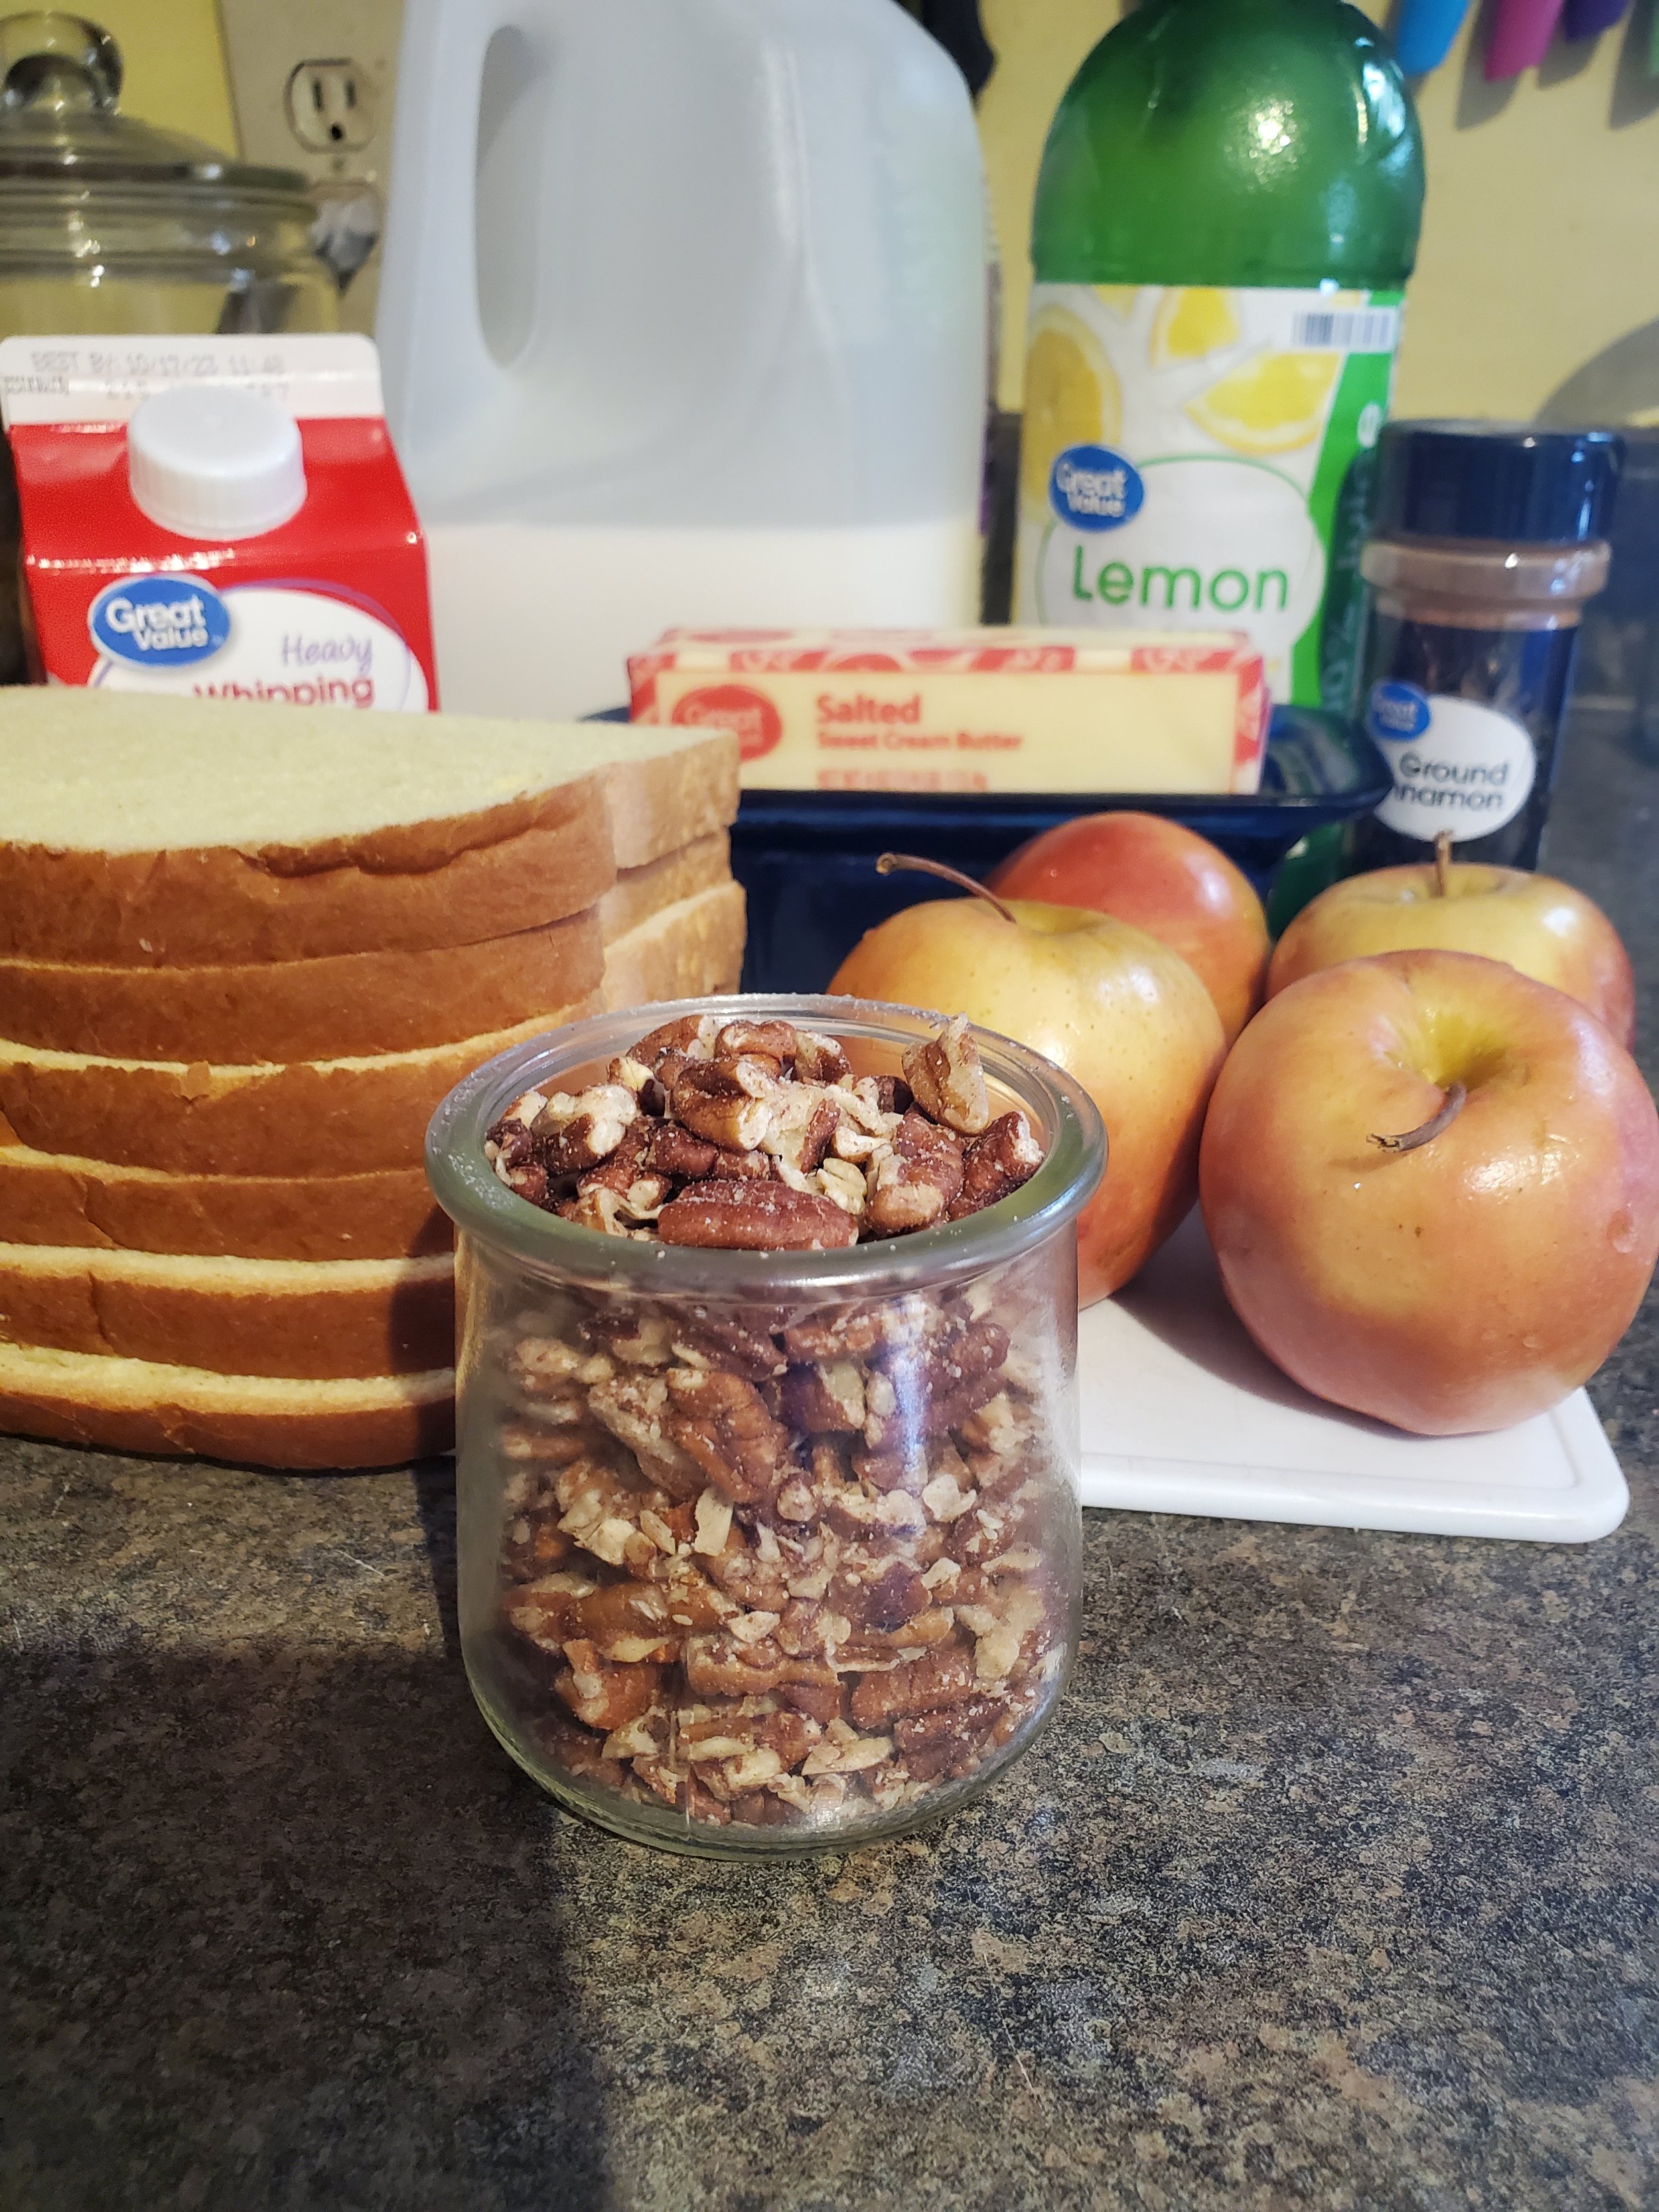
4 or more apples

6-10 slices bread

2 tablespoons butter

3/4 cup heavy cream

3/4 cup milk

5 large eggs

1/2 teaspoon vanilla extract (optional)

2-3 tablespoons lemon juice

1/2 cup light brown sugar

2 teaspoons ground cinnamon

pinch nutmeg (optional)

1/2 cup chopped pecans


Tools:


toaster oven

cutting board

knife

frying pan

glass baking dish

small mixing bowl

shallow dish for dredging

fork(s)

measuring cups and spoons

slotted spoon

heat proof measuring cup


As always, begin with washing your produce! Those apples won't clean themselves, after all.


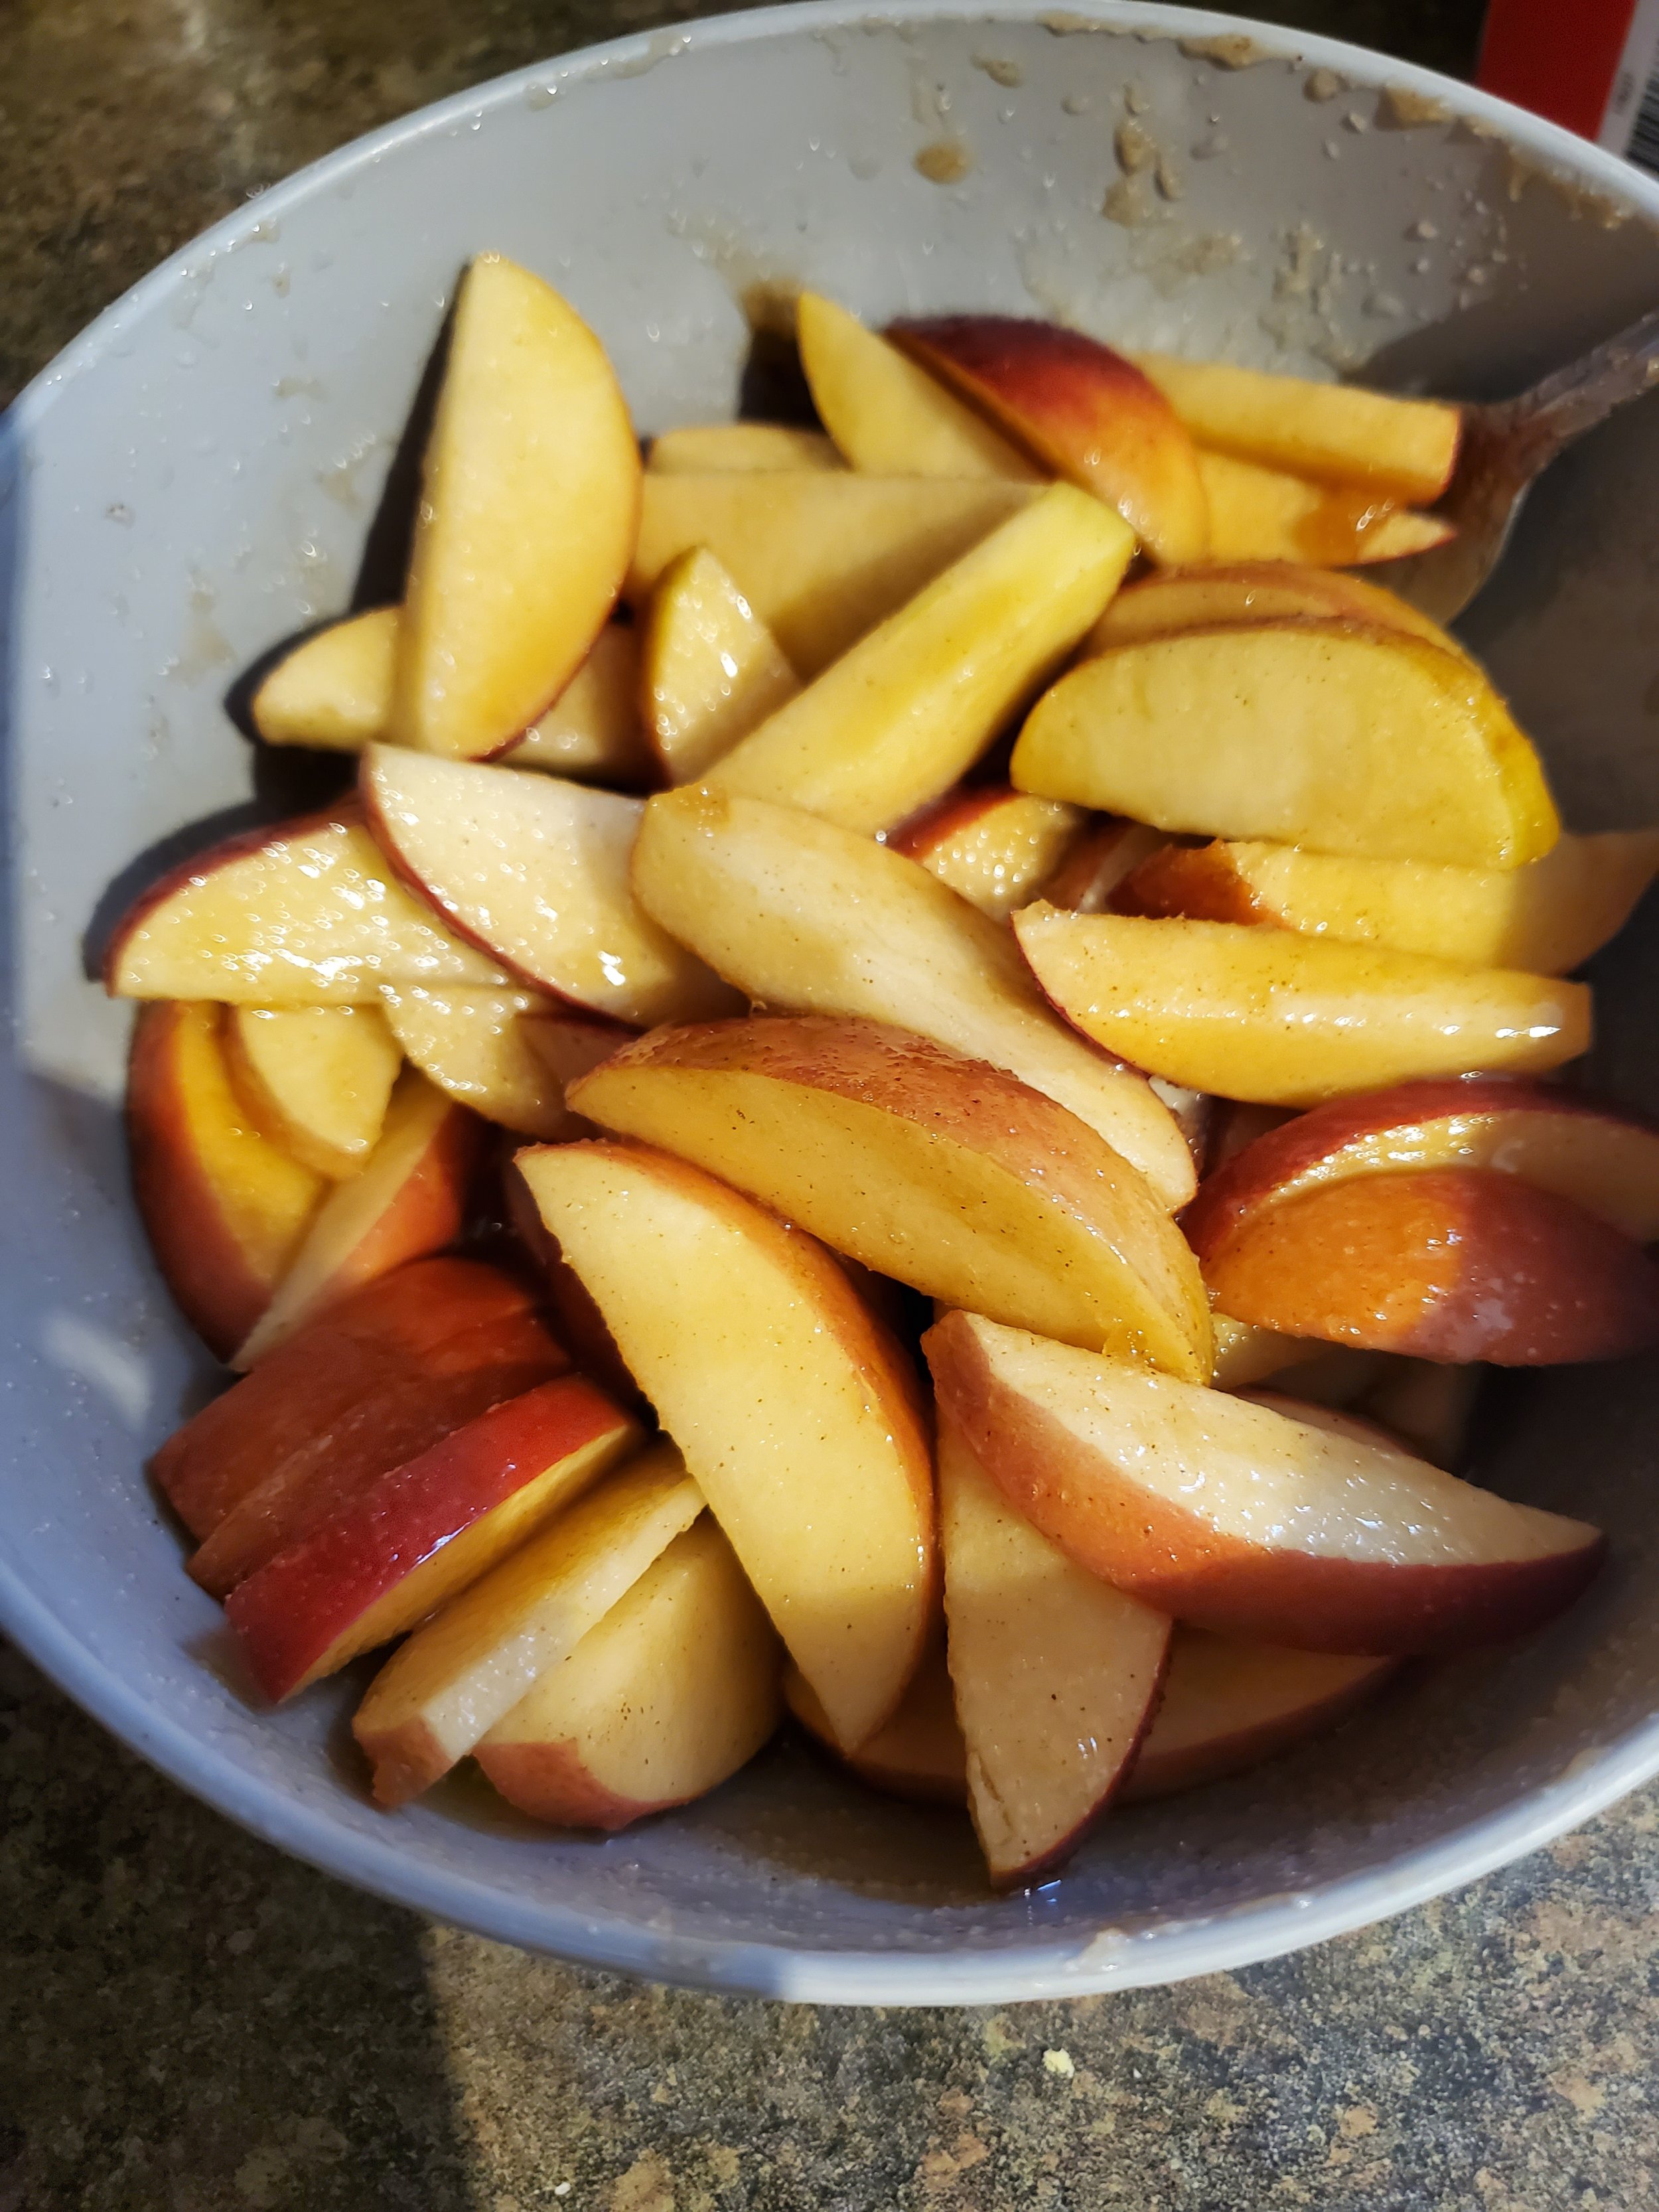
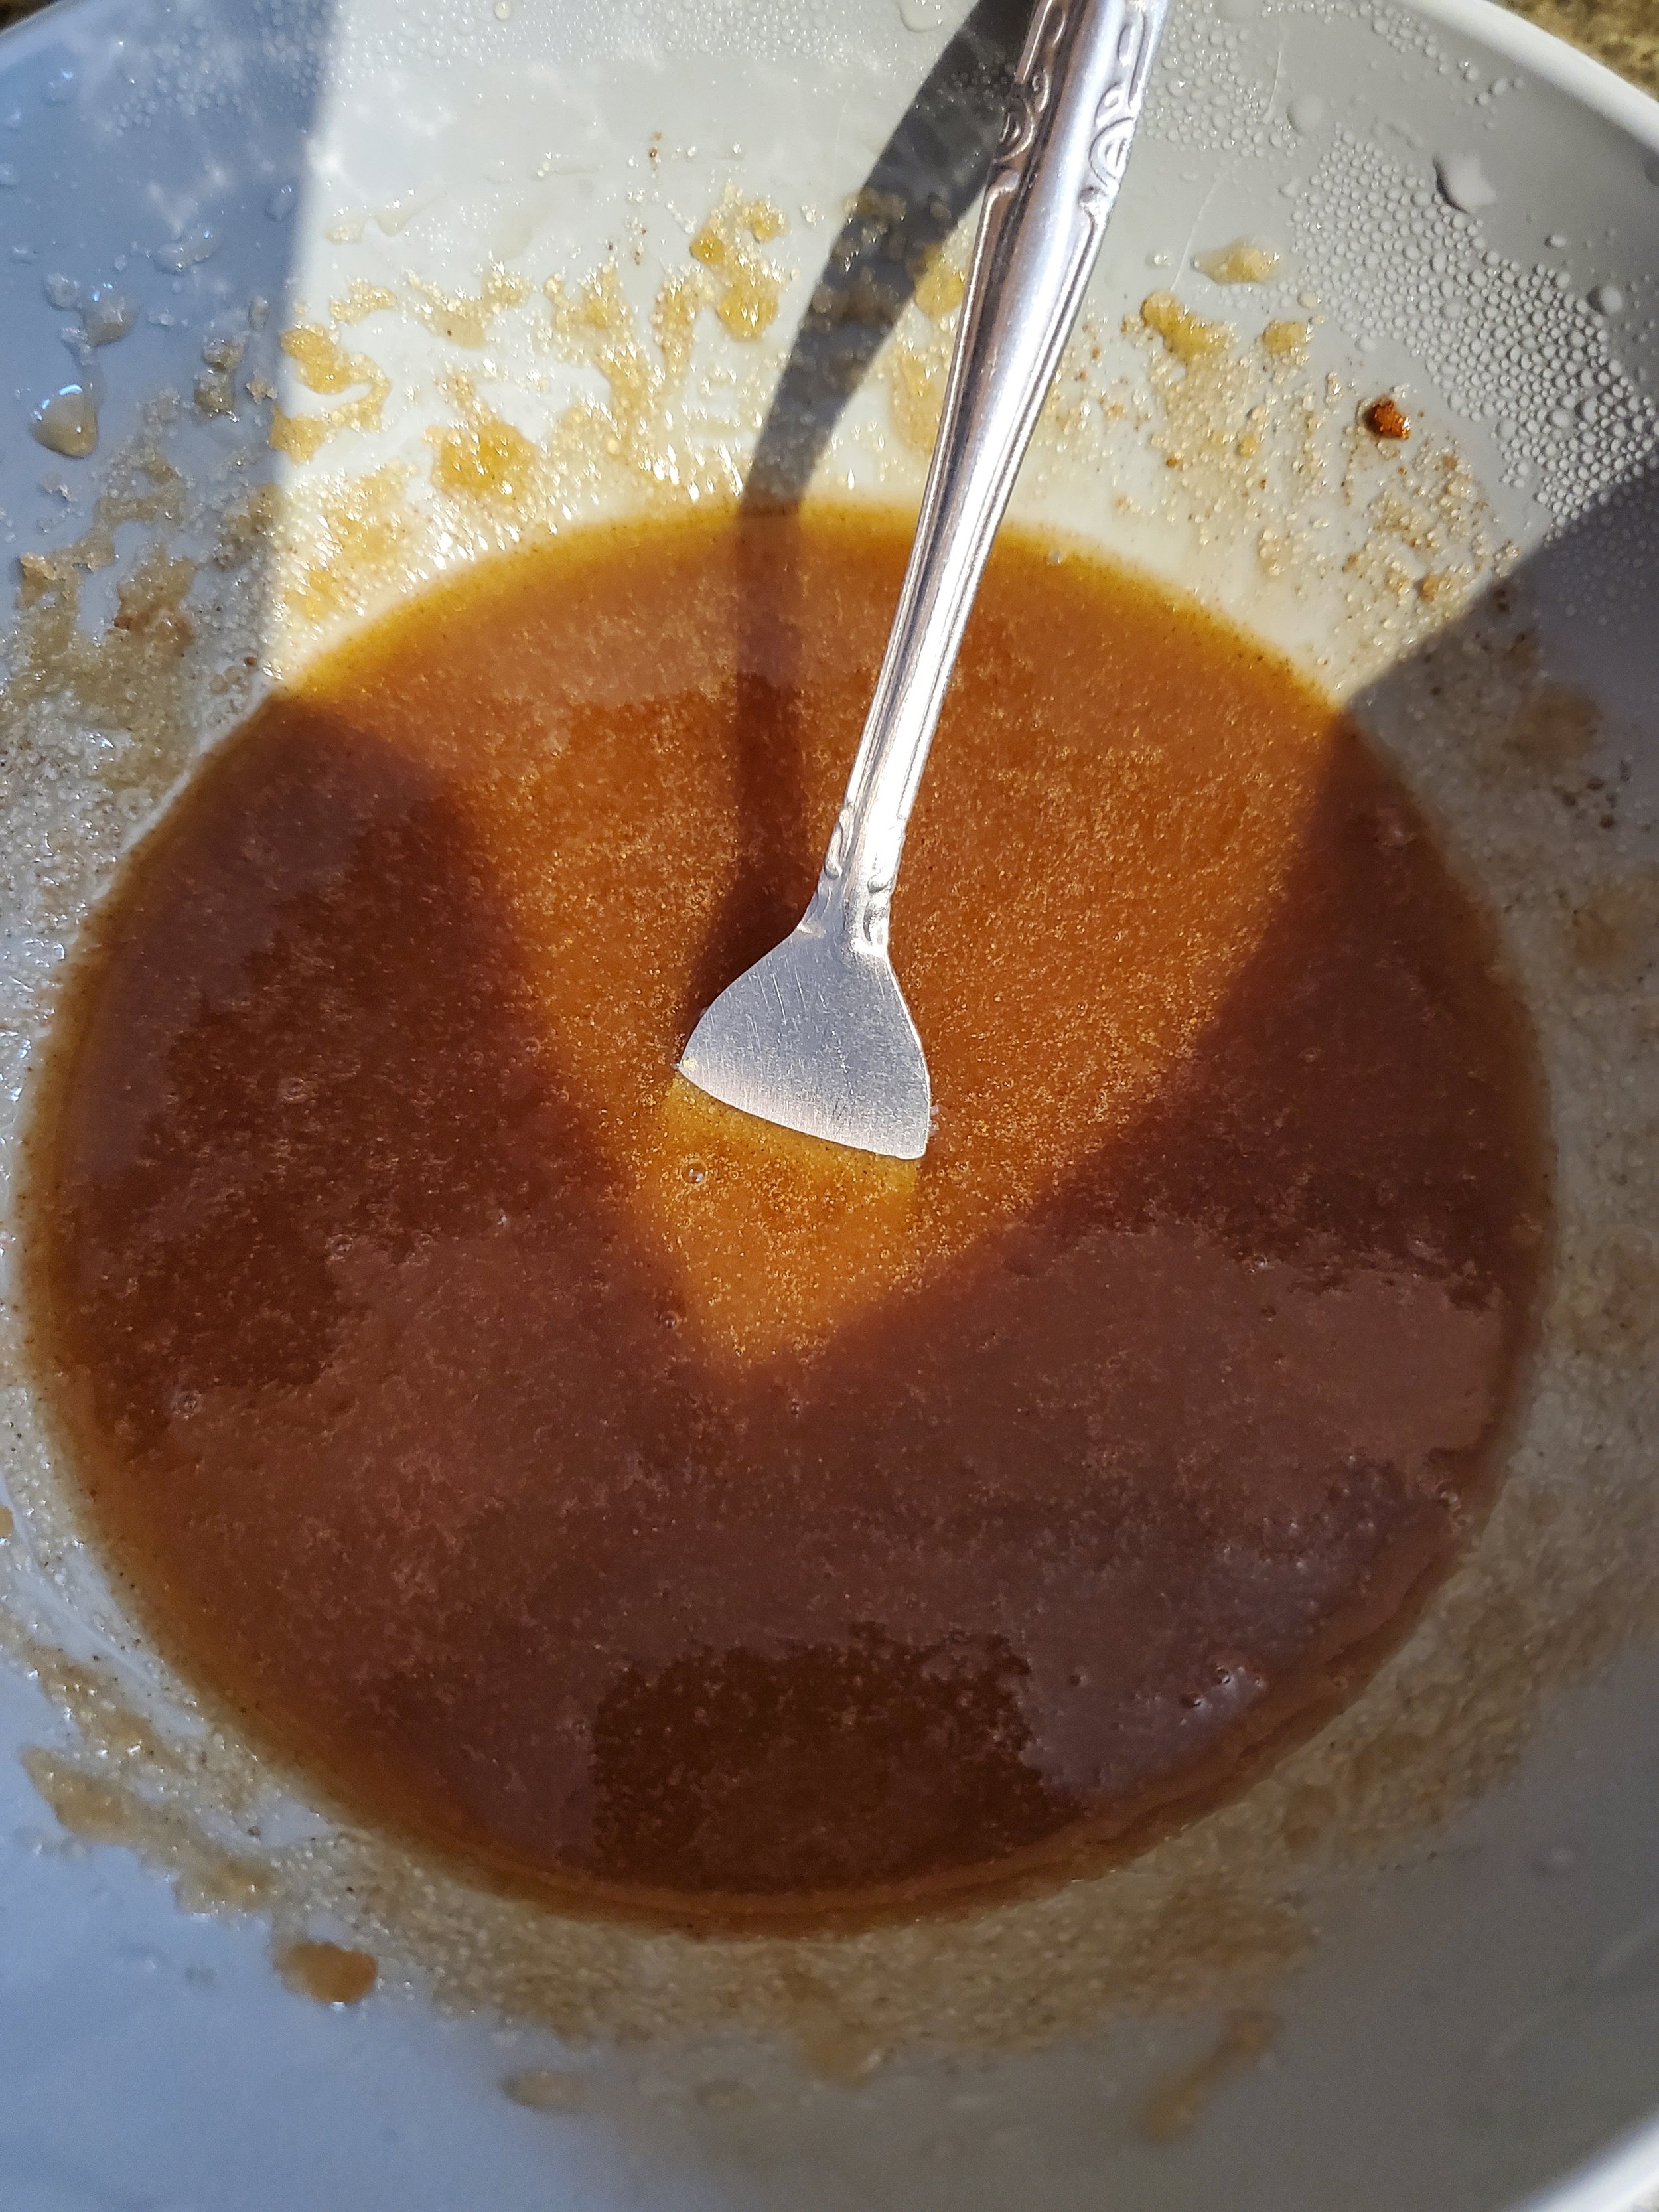
Measure your brown sugar, cinnamon and nutmeg (optional) into the small mixing bowl. Add two tablespoons of lemon juice and whisk until you get a thin, mostly mixed liquid. If it's still a bit thick, go ahead and add that last tablespoon of juice.


Core and cut your apples into no more than half inch thick slices. We used four apples, but feel like this recipe could easily accommodate twice as many. Adjust for your preferences, and if you do shoot for more apples, get a bigger frying pan or be ready to work in waves when it comes time to cook them.


Dump your apple slices into the liquid and give them a good shake or toss to cover them. Let them sit there for a little while and move on to another task.


We split each of our large slices of bread in half in order to fit the maximum amount of bread into the toaster oven in one wave. This is totally optional; this step only exists because our toaster oven is not a standard size.


Whether you split your slices or not, toast them for at least two minutes. We want the bread to be slightly stiff in order to hold up to your eggy, custardy mixture in a minute.


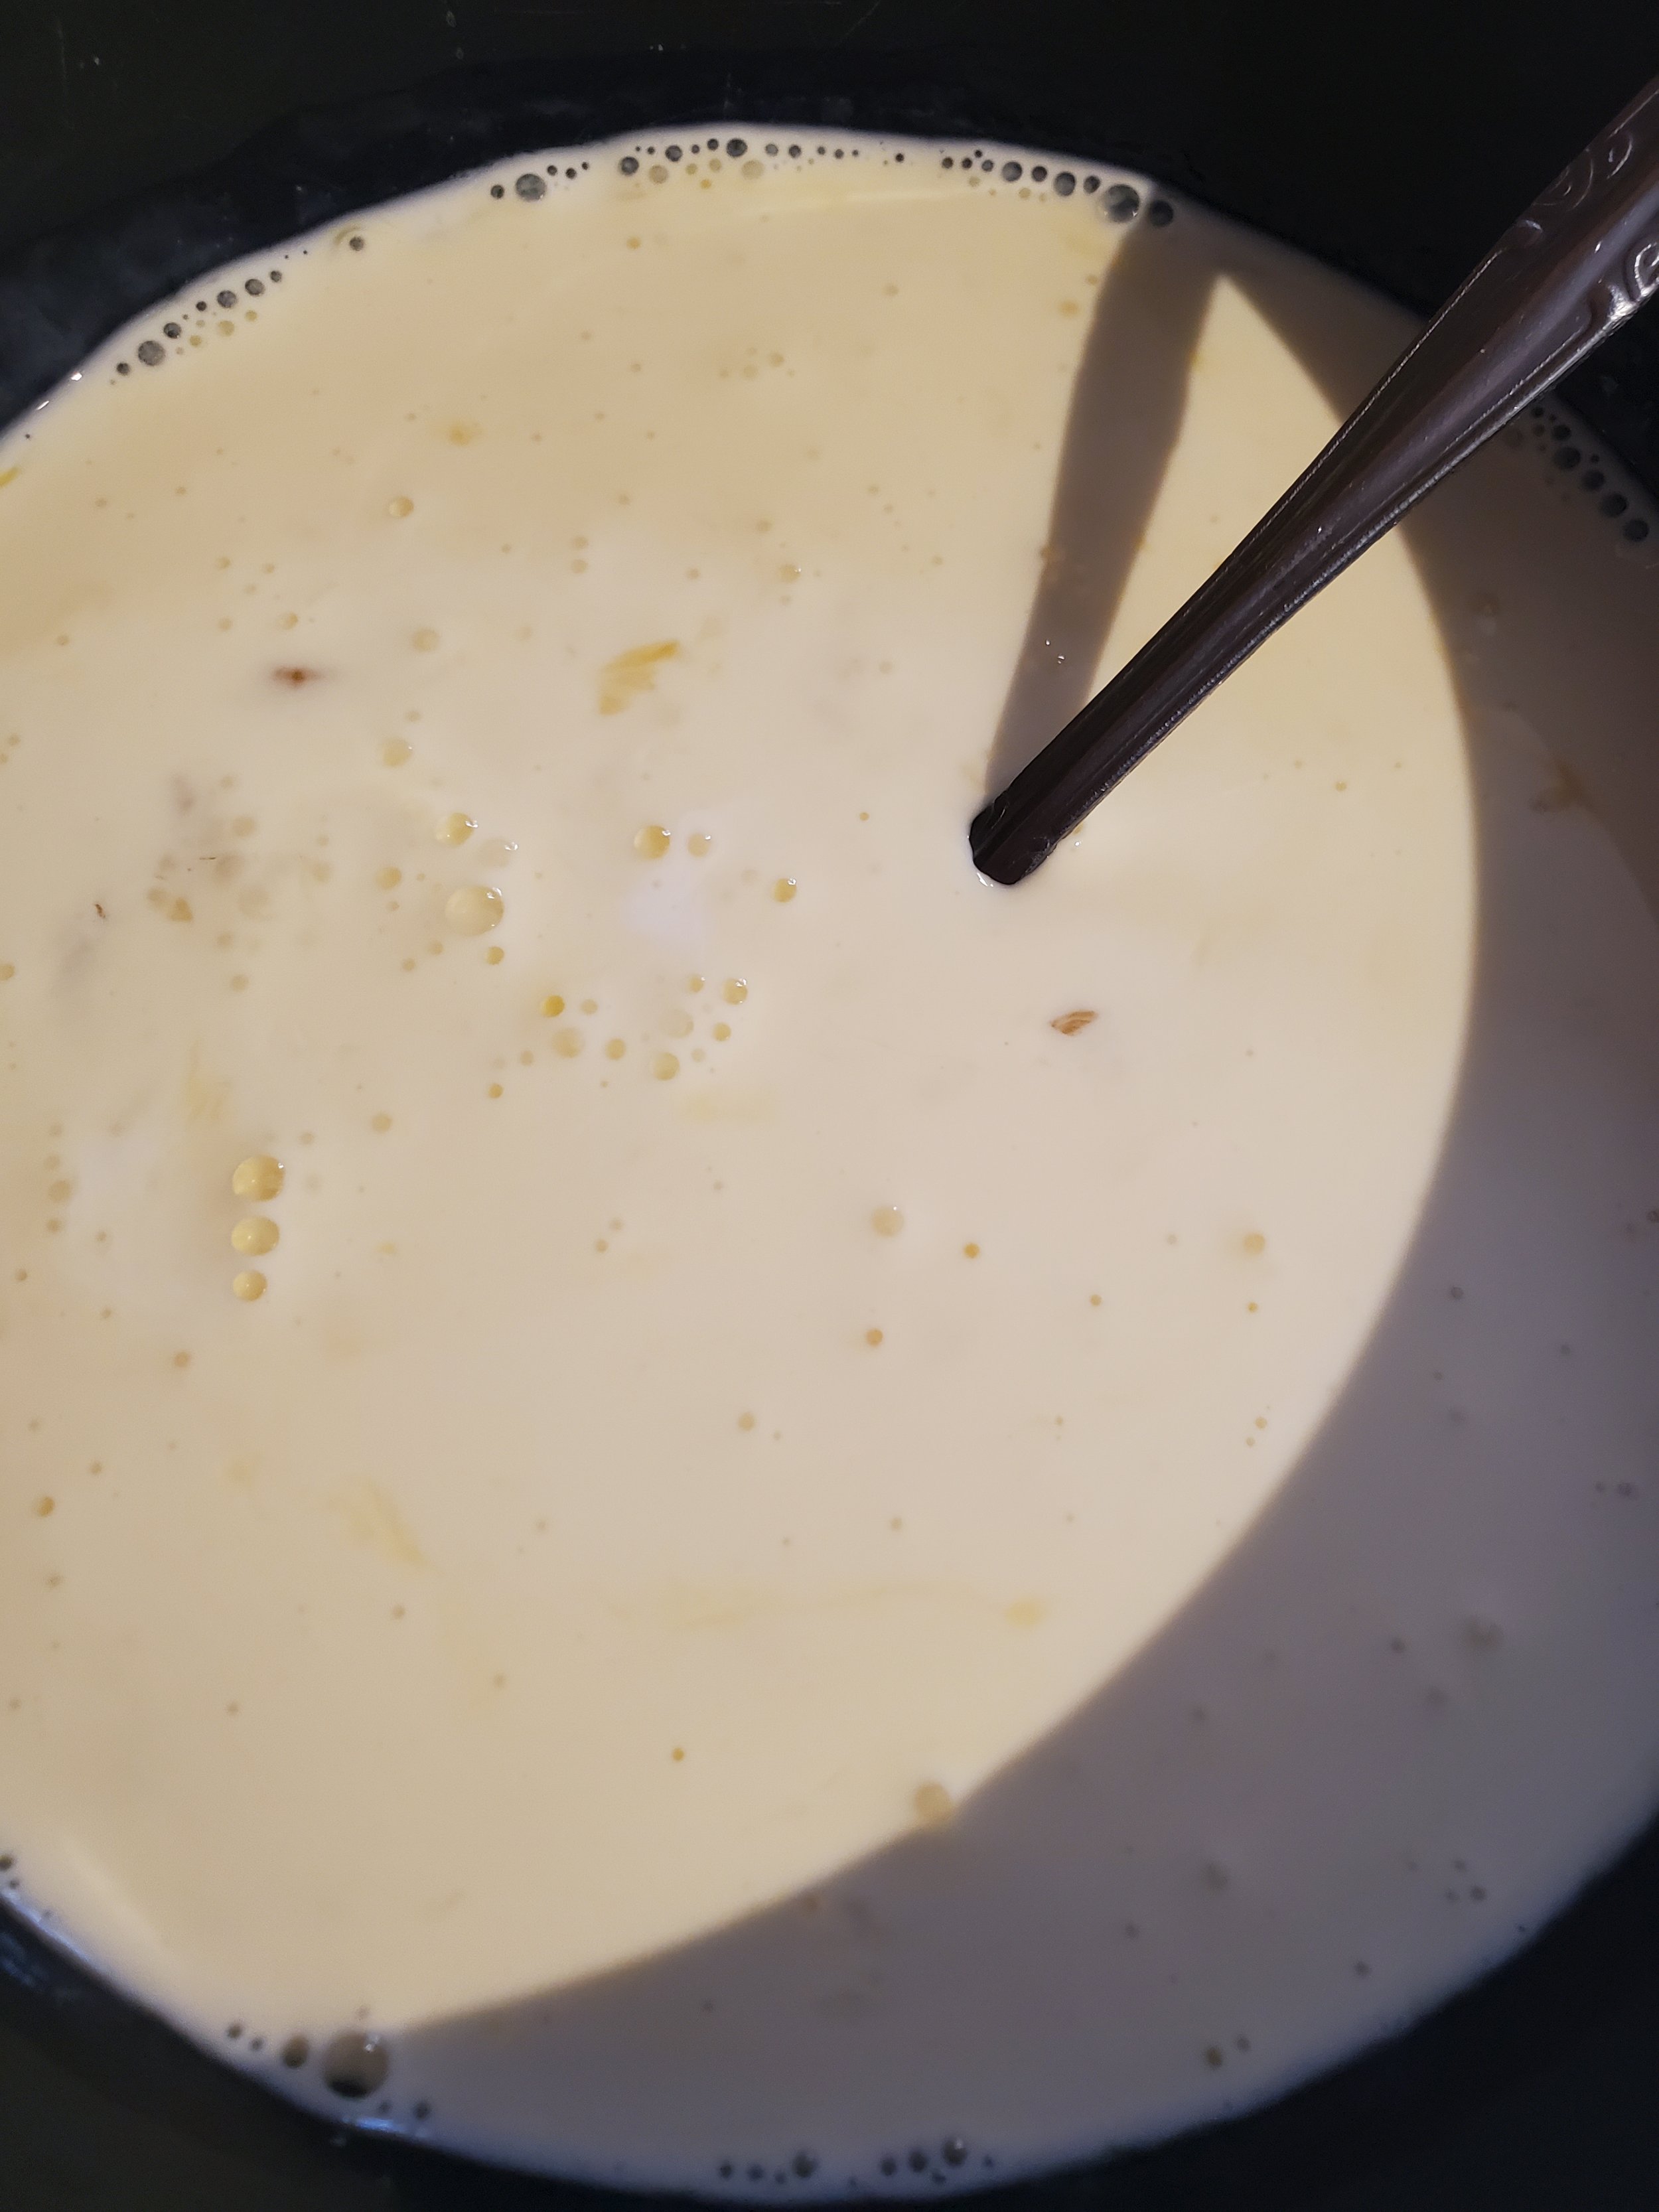
While your bread toasts, measure your cream and milk into the shallow dish and whisk in the eggs. Add vanilla at this stage, if you plan to use it. We like the extra sweet note, but not everyone does.


After your bread has been toasted, grease the bottom and sides of the baking dish and preheat your oven to 350.


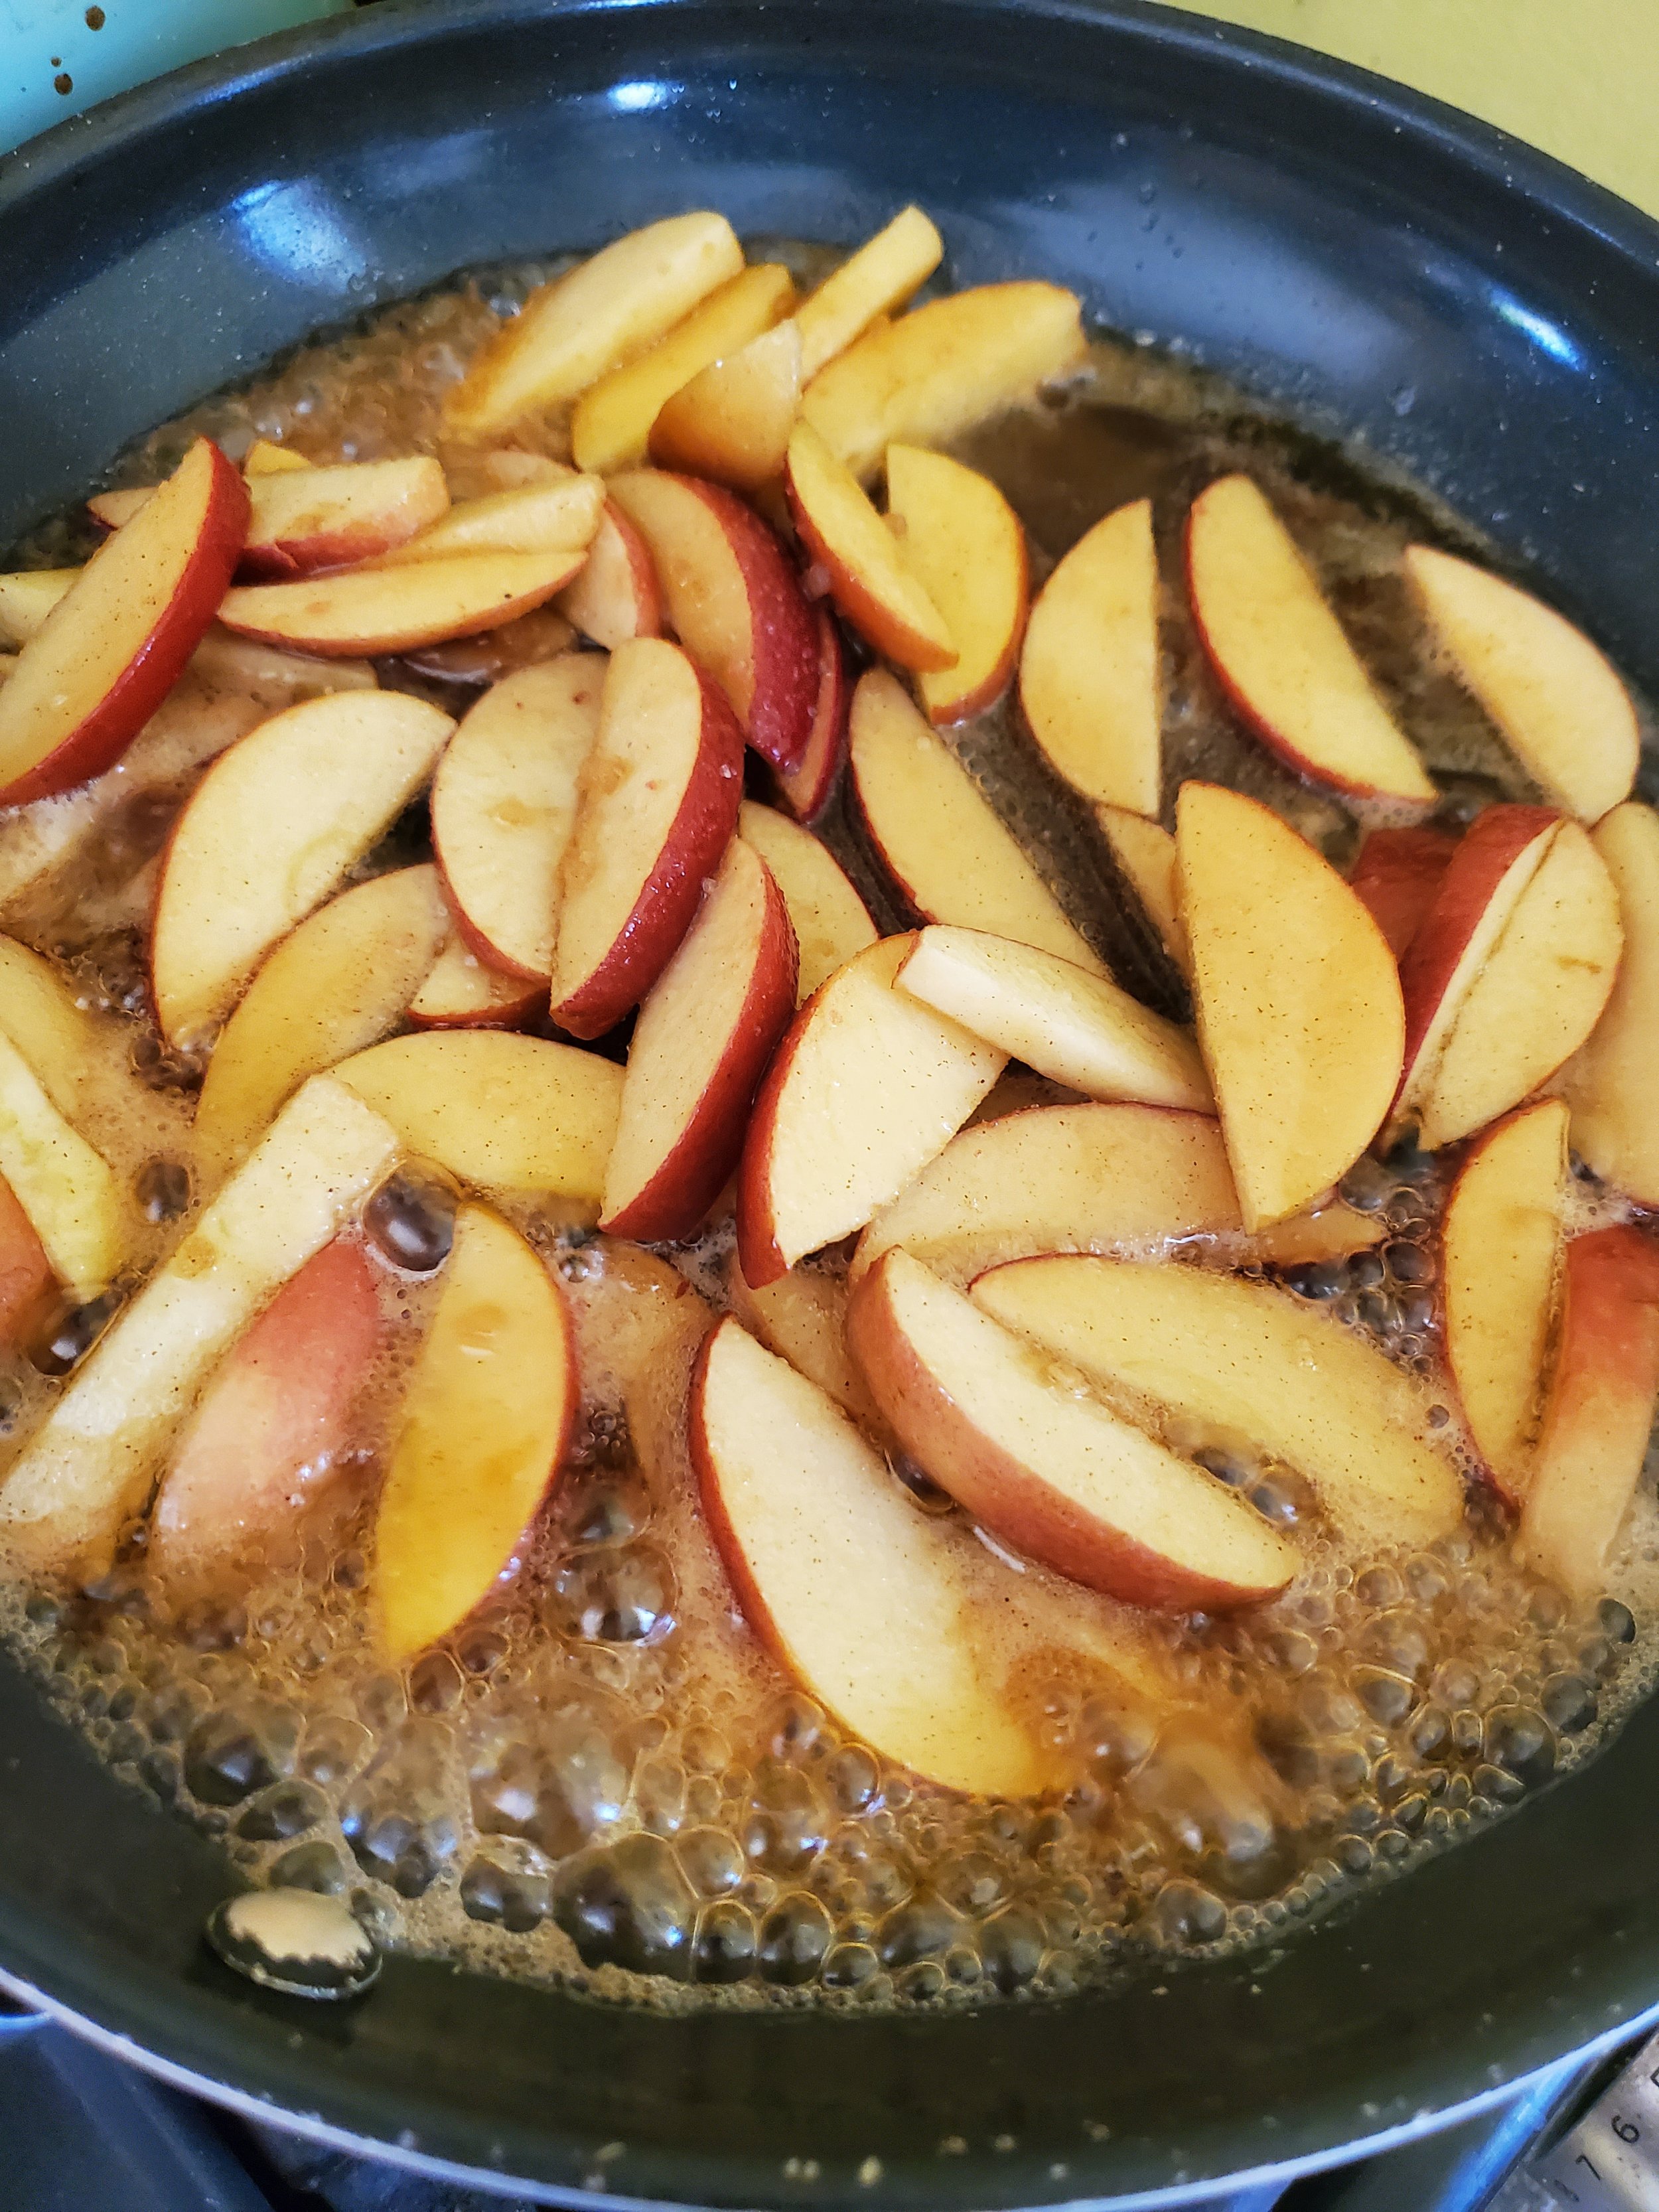
Those apples we told you to leave alone for a while? Go grab them. Melt the butter into the frying pan over low heat, then add all the apples and the liquid. Let them simmer for about five minutes on low. They'll begin to bubble around the edges; this is normal. Give a stir, flip them over, and let them go a minute or two more.


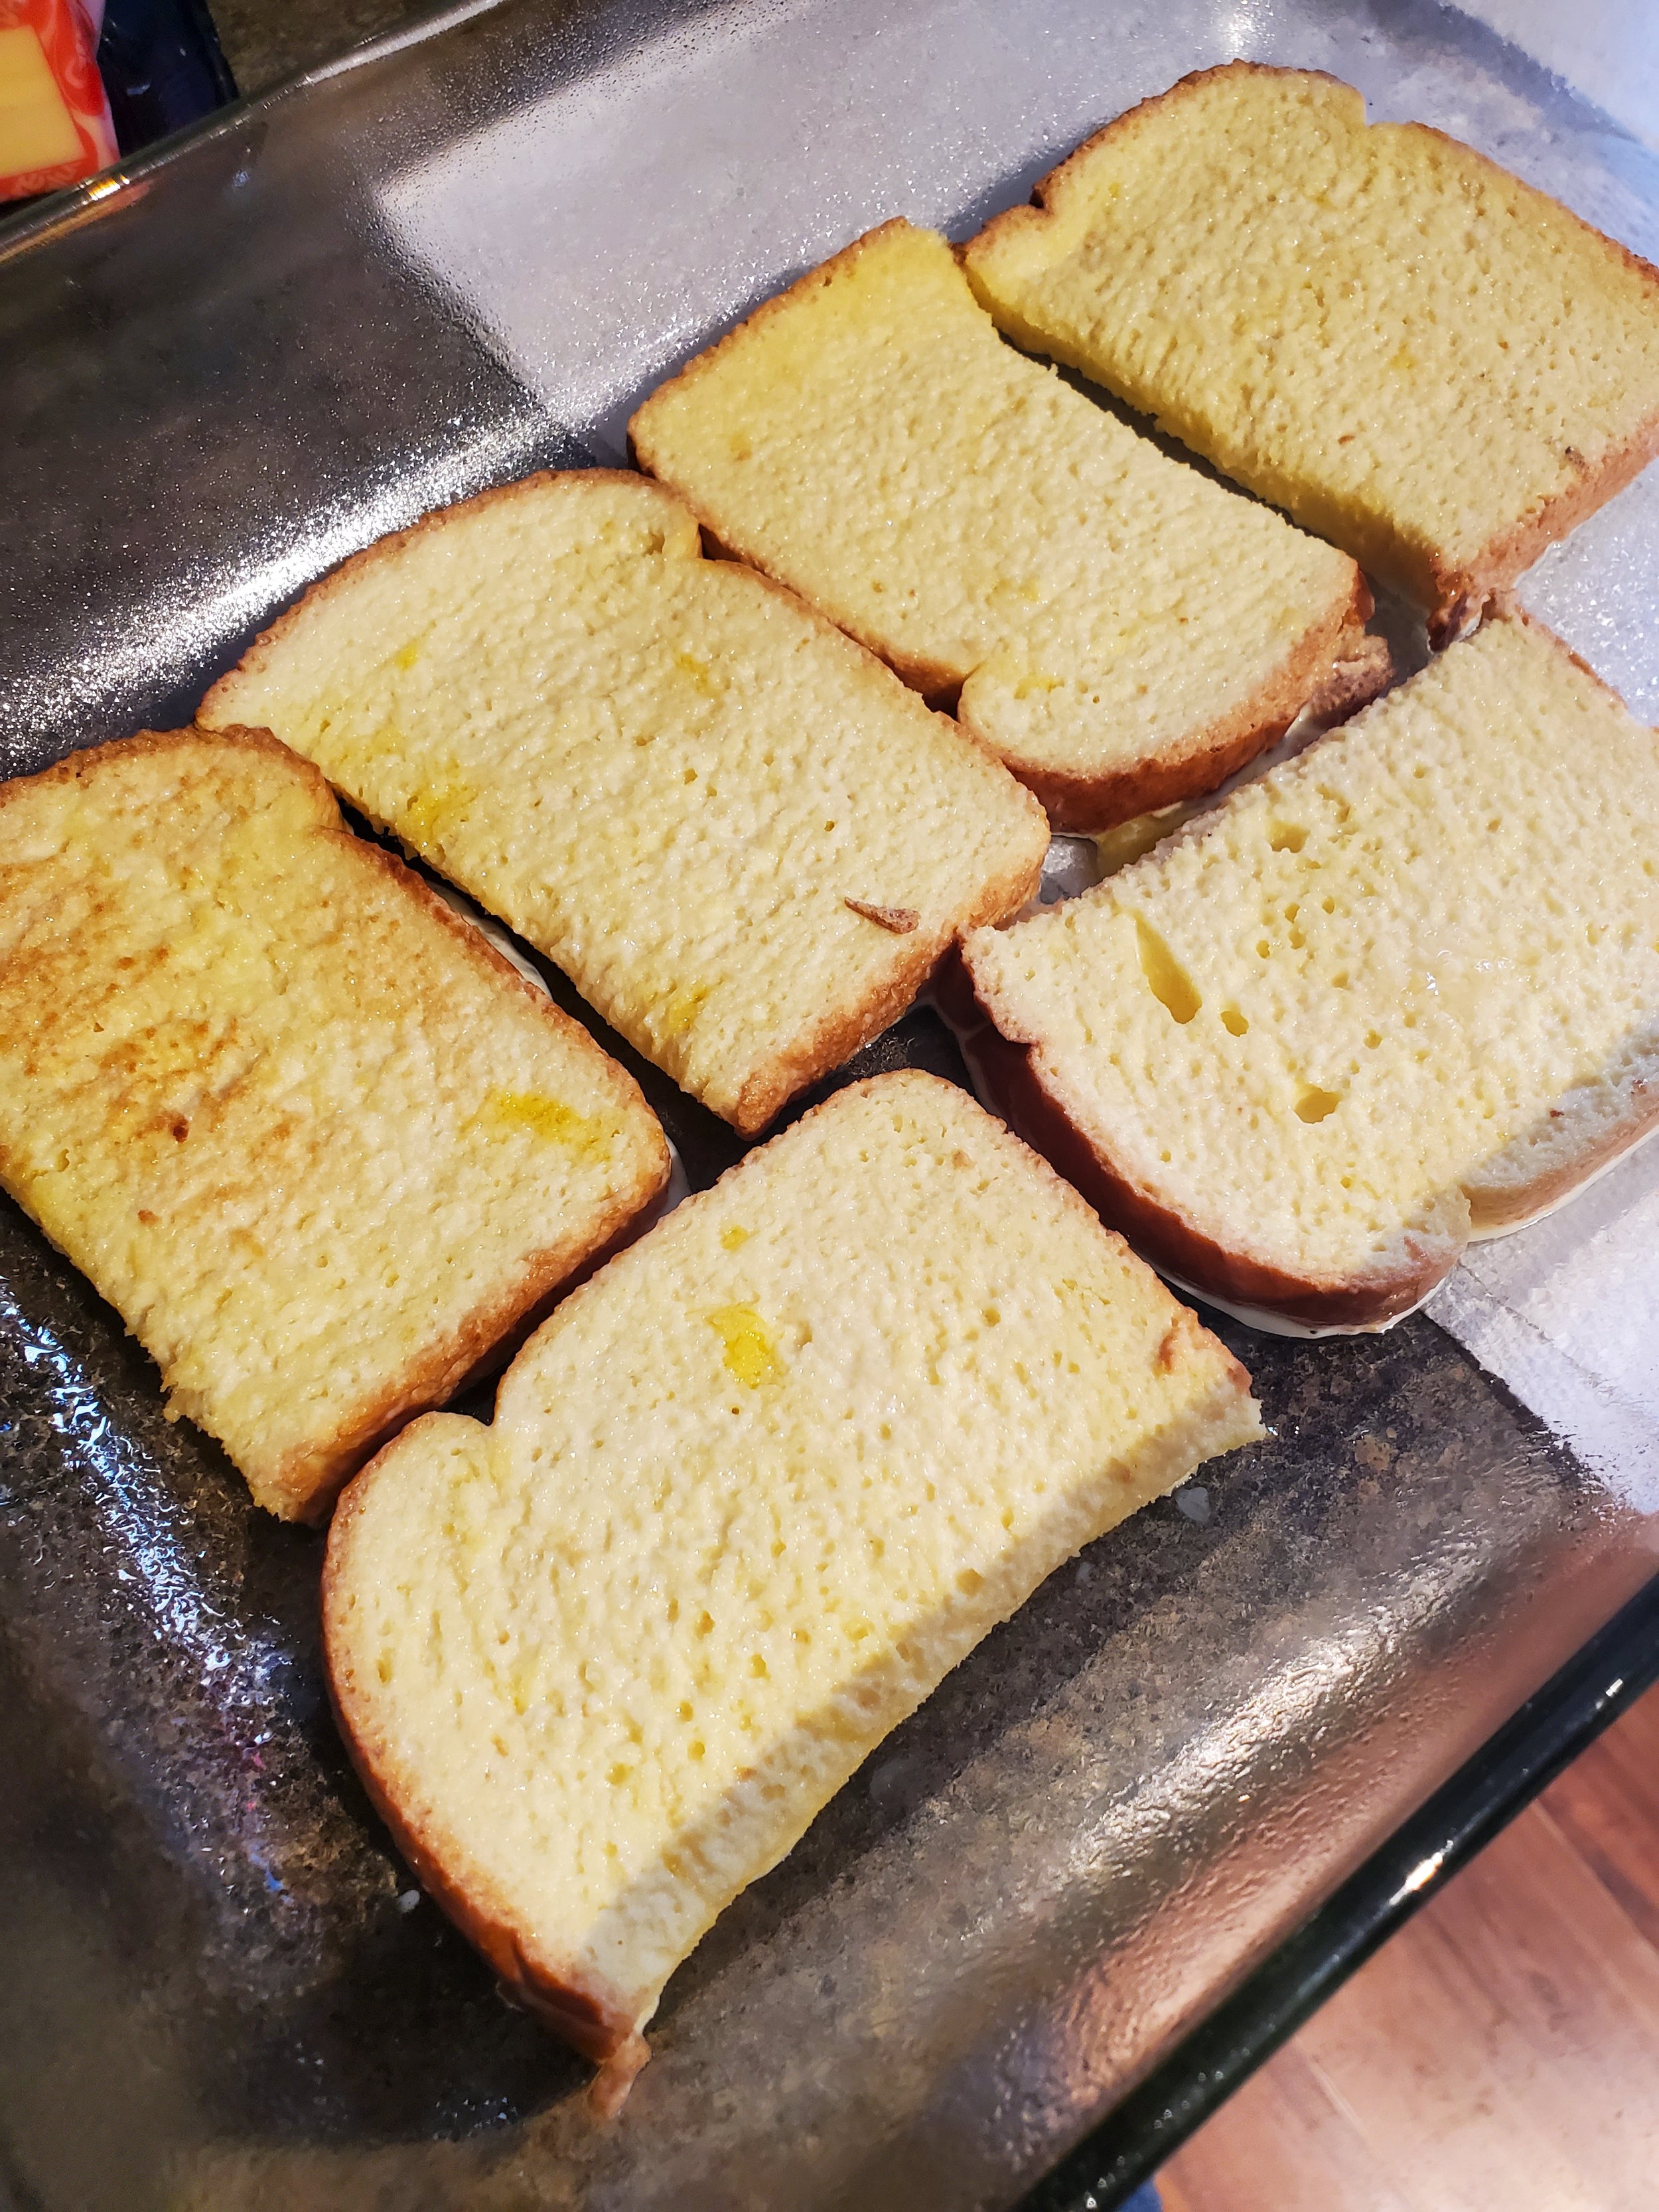
While the apples cook, dredge your toast through the egg mixture, fish it out with a fork, and plop a layer down in the baking dish.


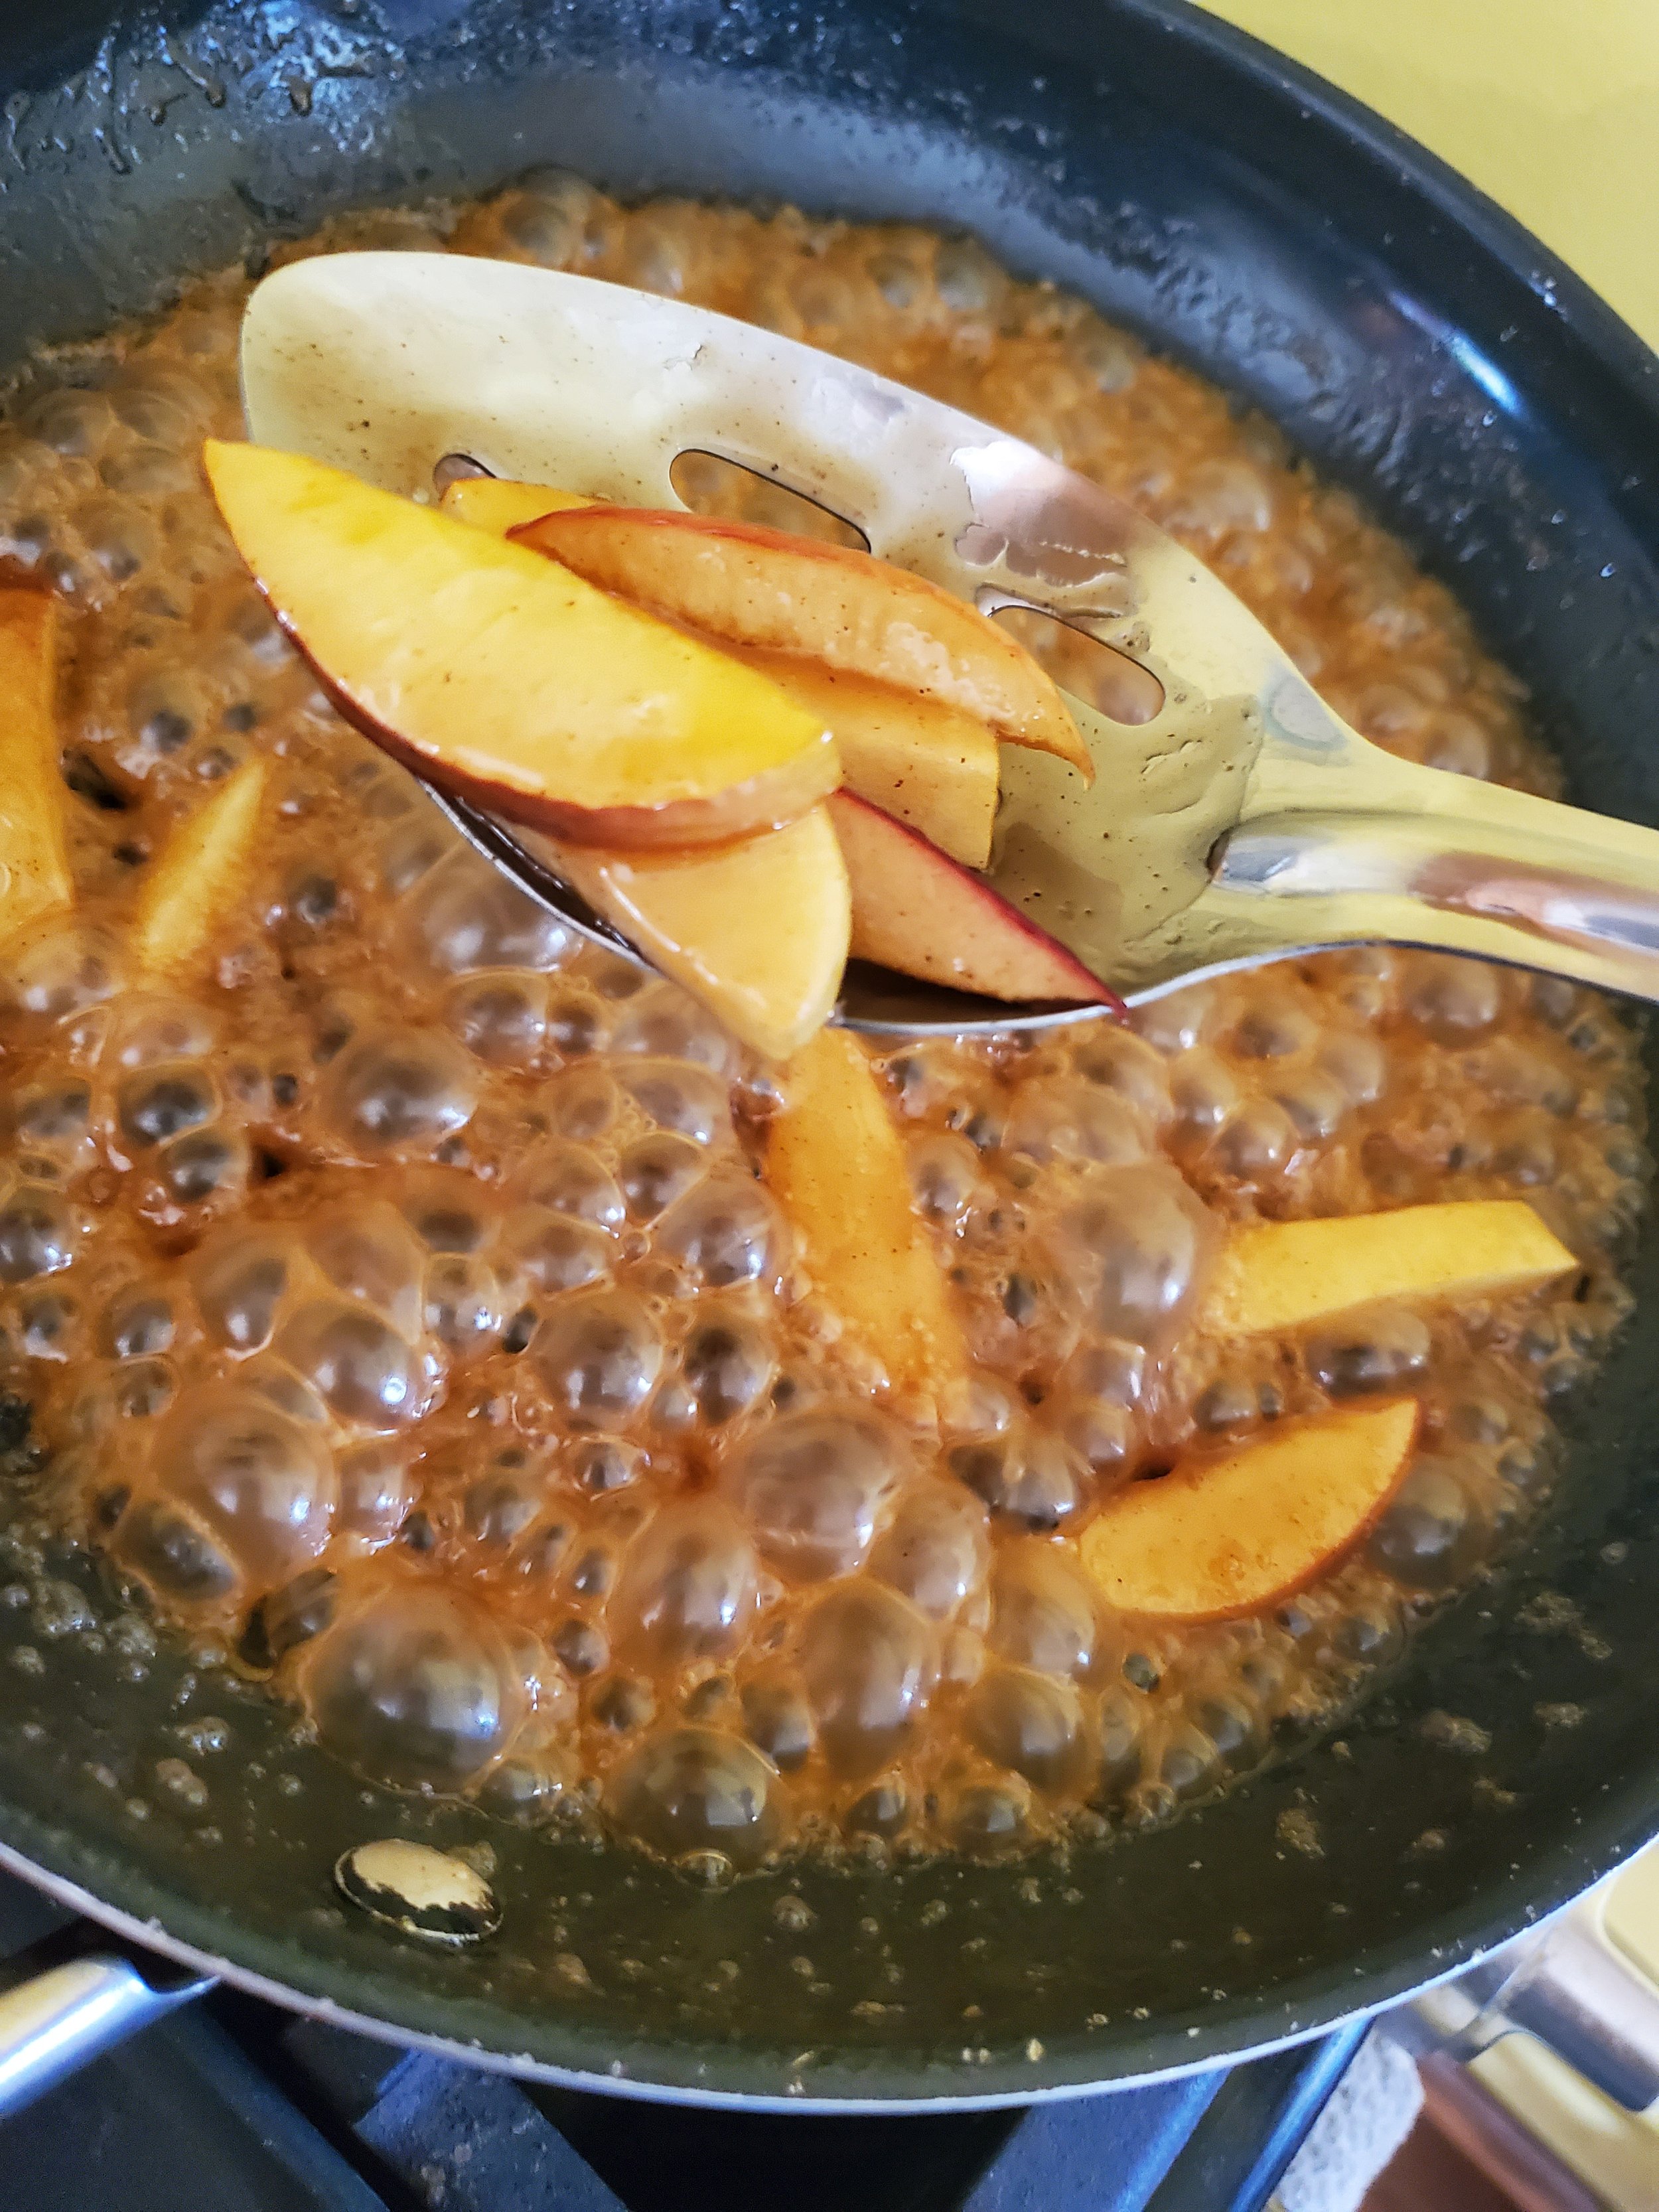
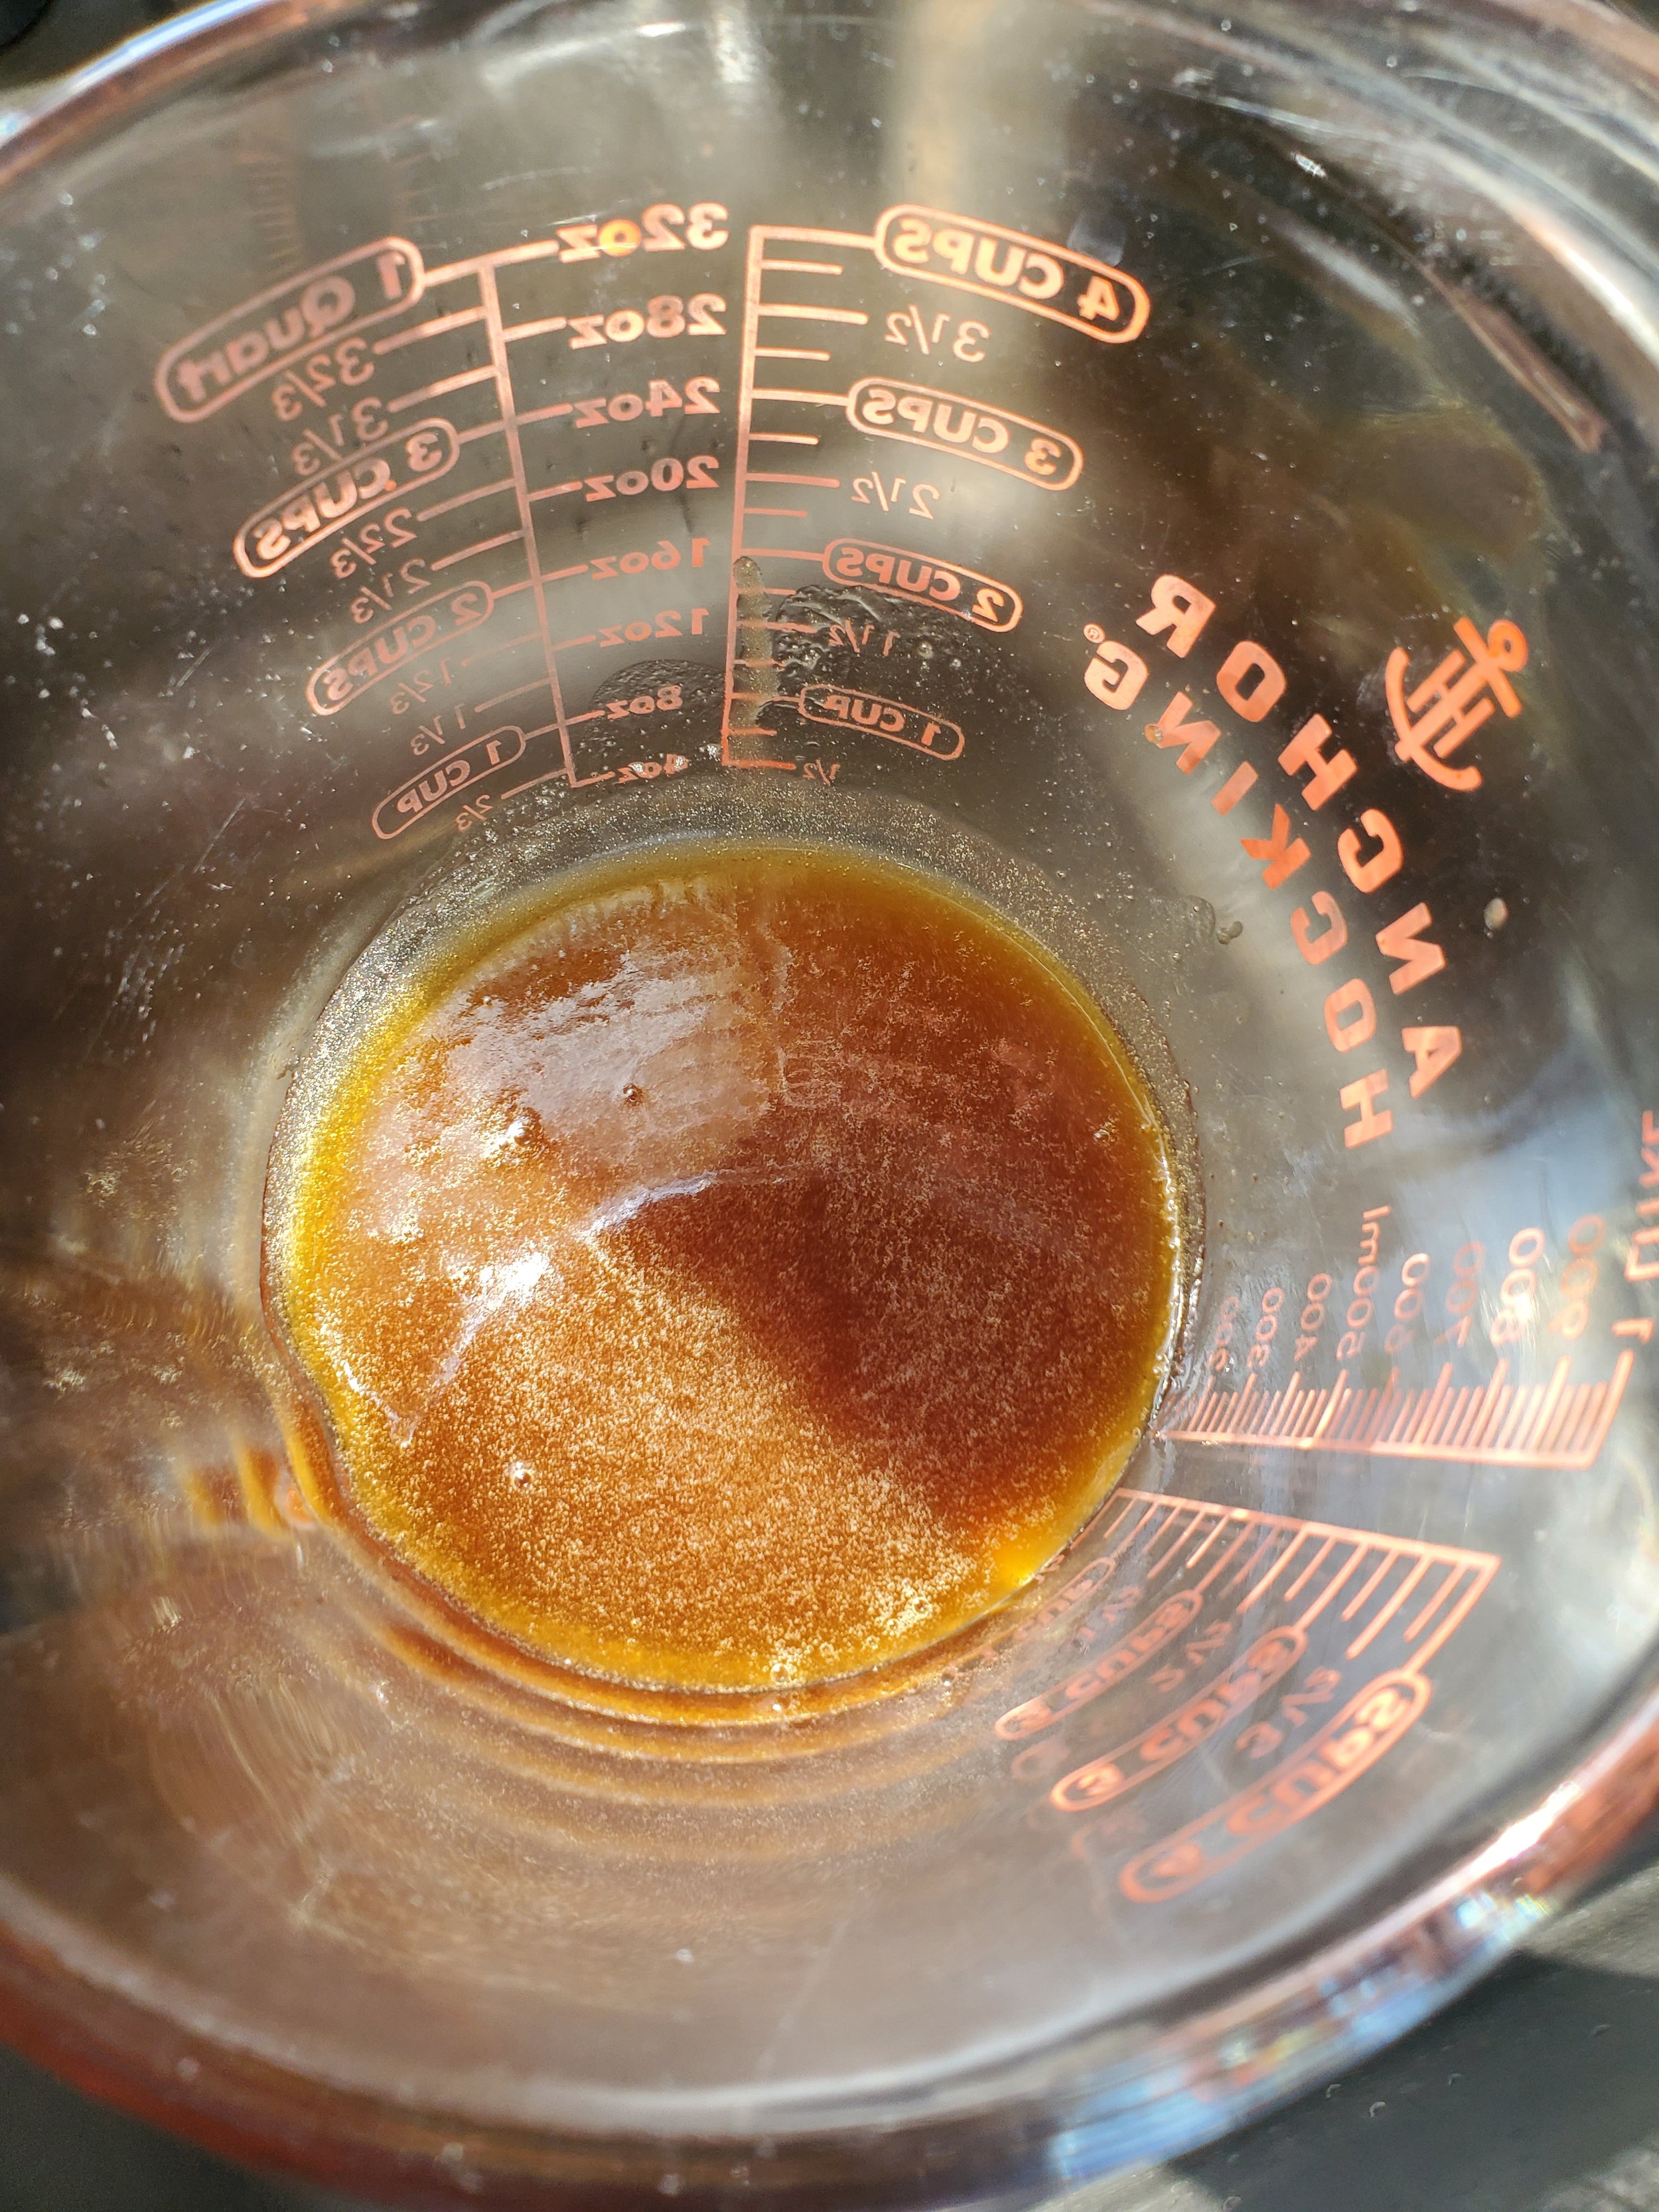
When the apples are done, remove them from the heat and use a slotted spoon to separate the apples from the syrup. Put the apples back into the dish they were soaking in previously, and dump the syrup into the heat proof measuring cup. Do not let the syrup cool in the pan - it candies up and turns to a caramel consistency.


If it's threatening to become caramel, or if you missed that last instruction, add some more butter and a tablespoon of water and stir over the lowest possible heat setting. Stir a lot. Be very patient with it, as it will look at first like nothing is happening. Once it liquefies again, please transfer it to the cup.


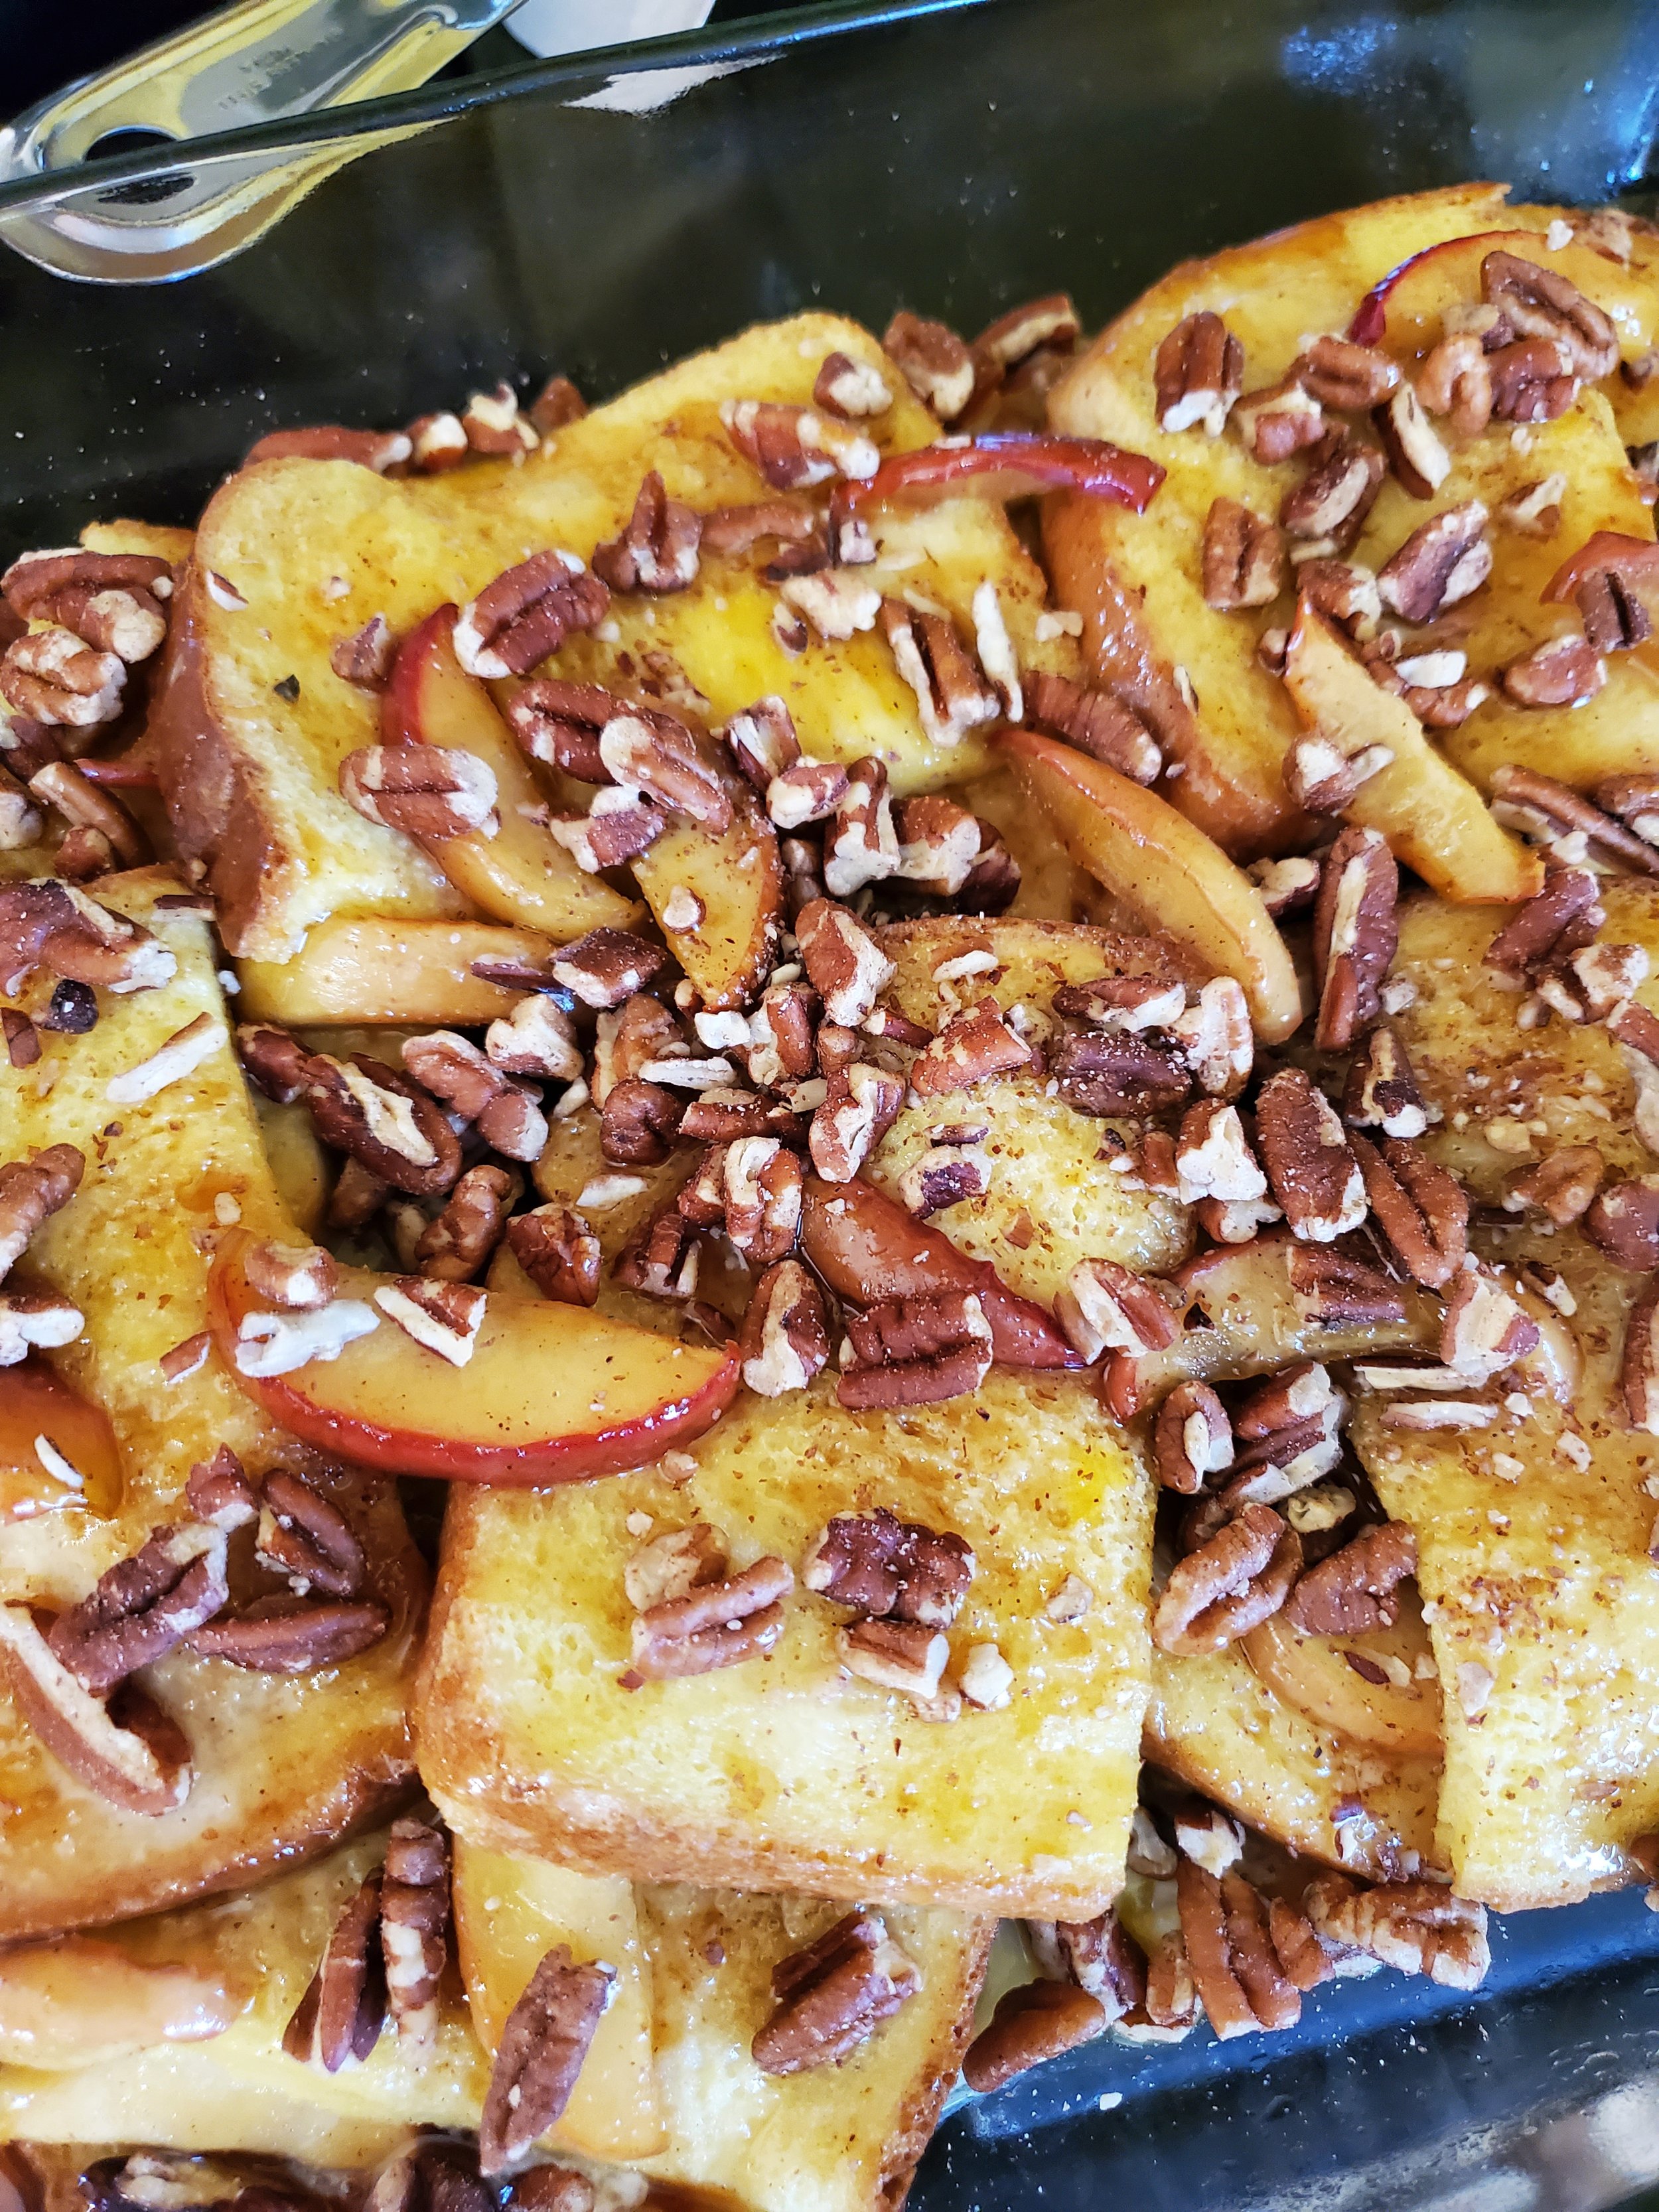
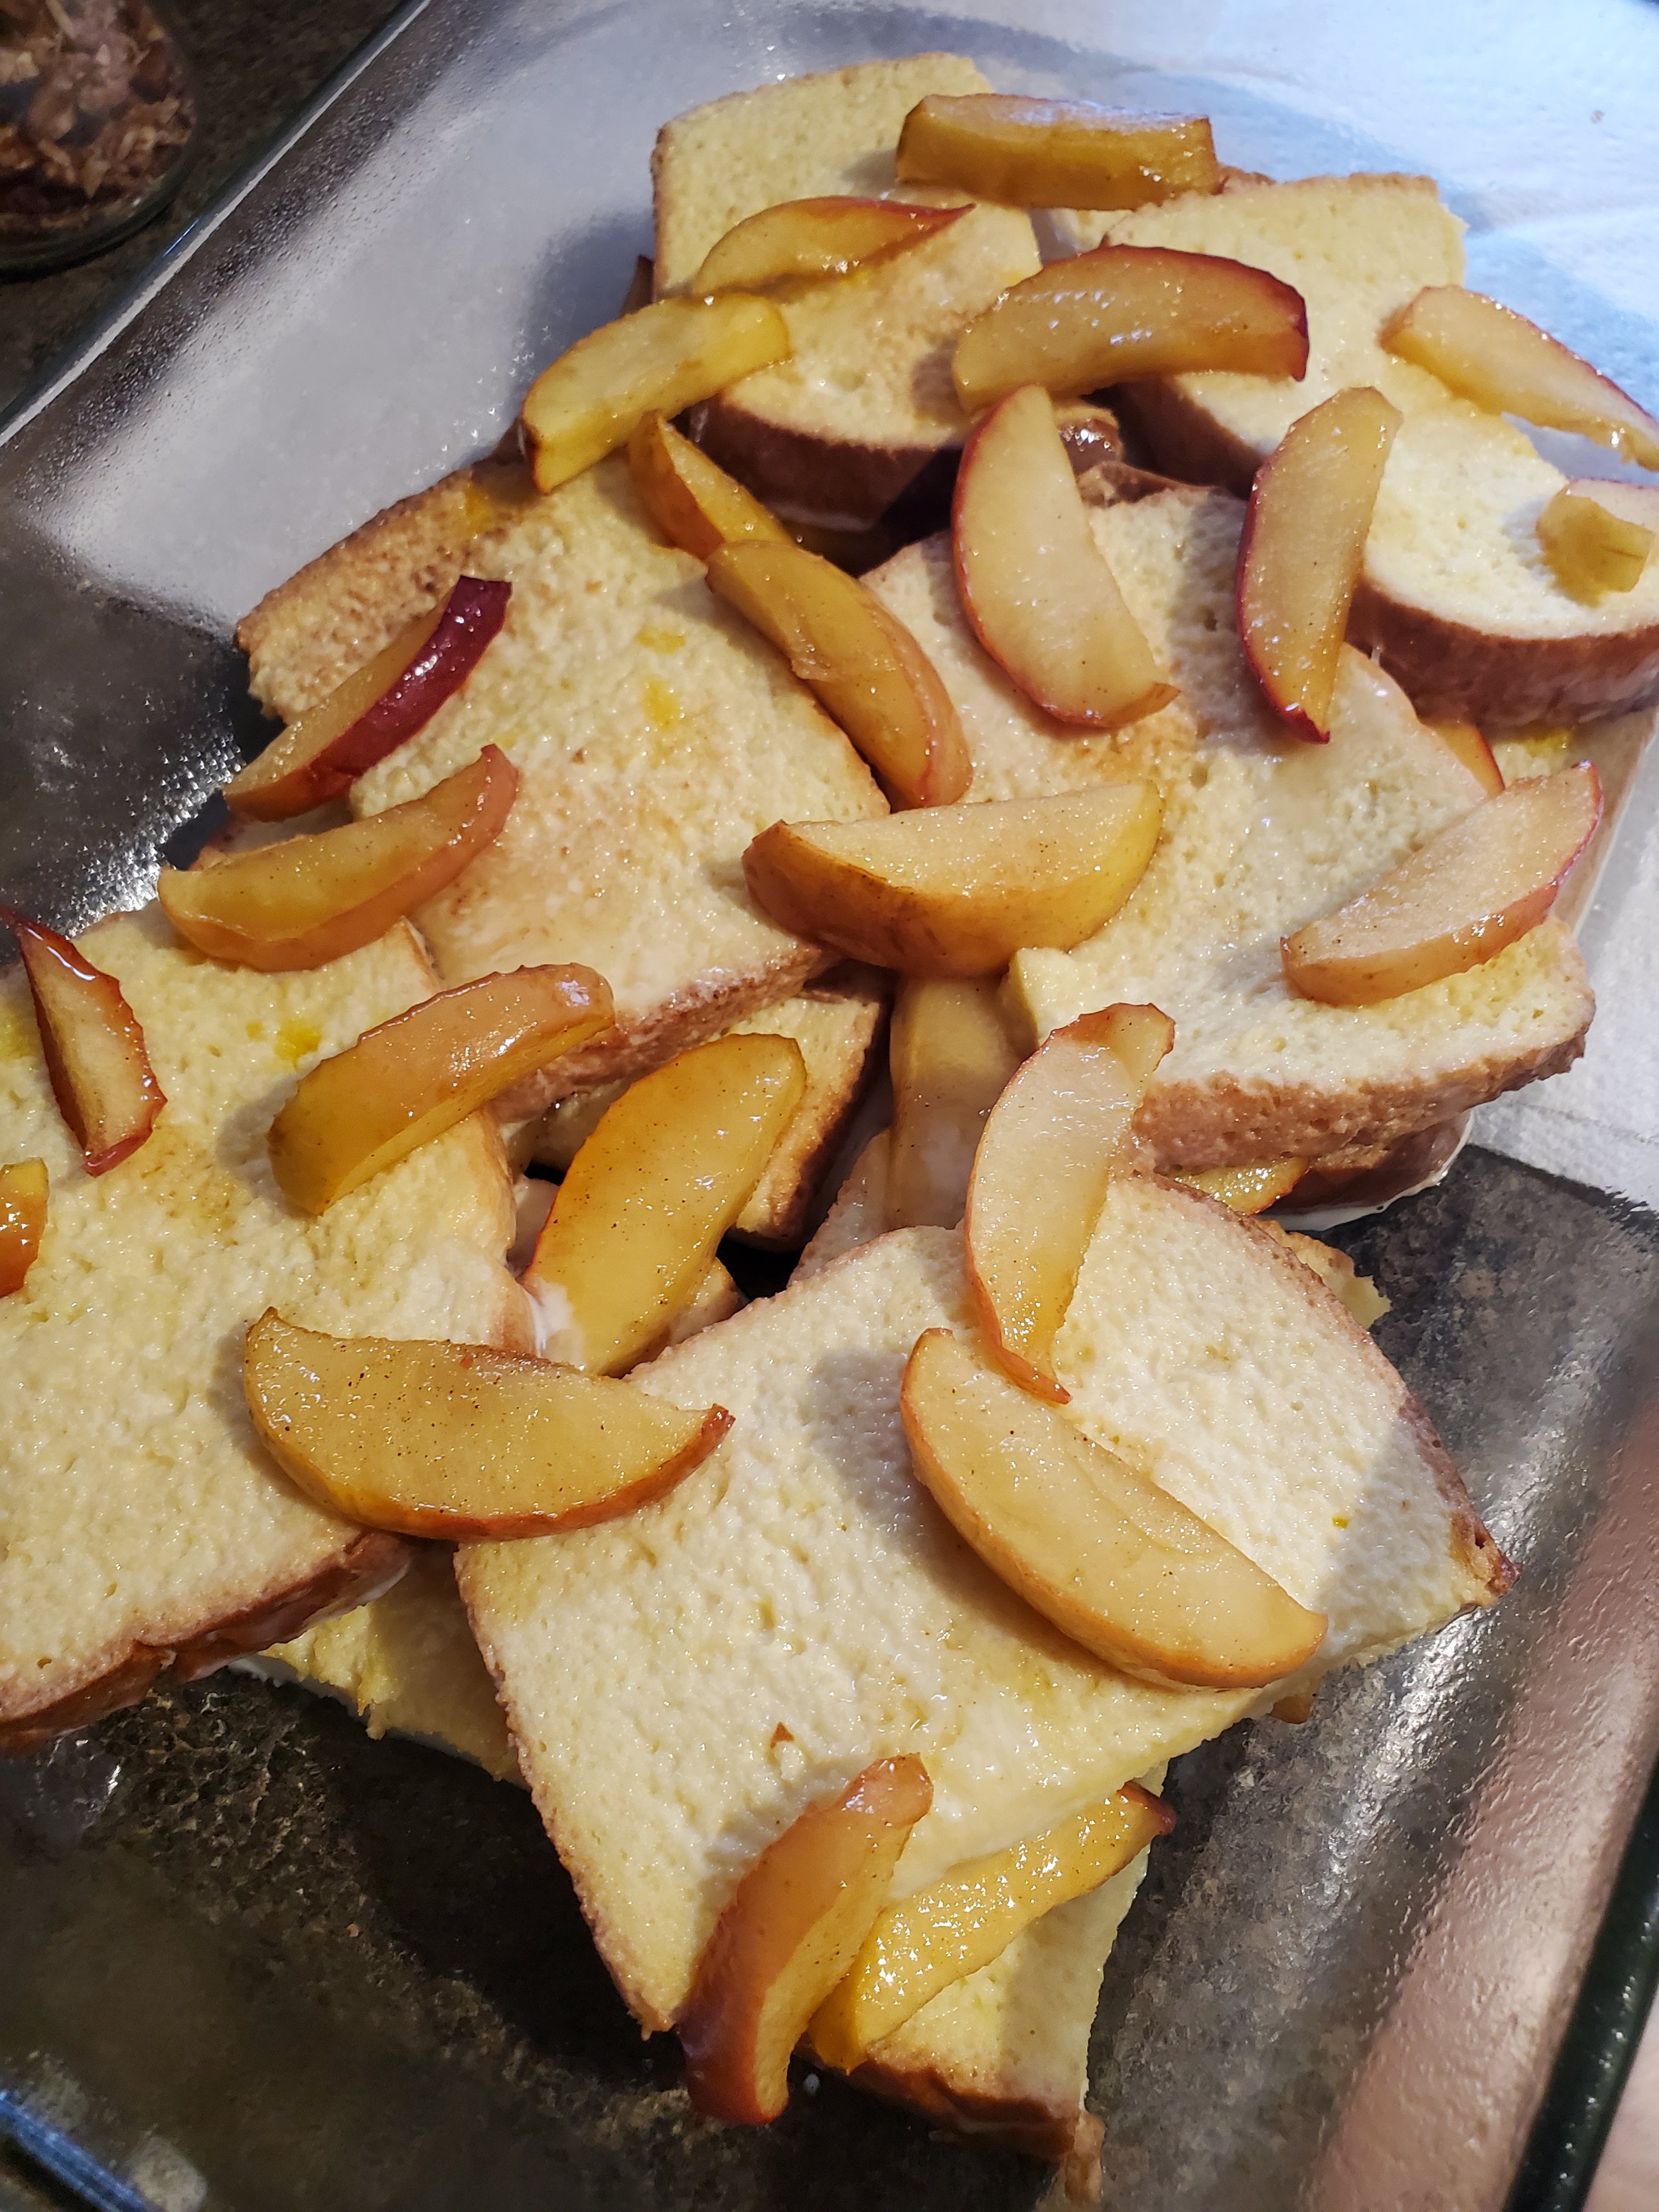
Spread a thin layer of apples over the eggy bread in the bottom of the baking dish. Alternate layers of bread and apples until you're out of bread. Pour the remaining egg mixture evenly over the top and allow it to soak in, then move the dish to the oven.


Let it cook for 25 minutes, then remove it from the oven, add the pecans, pour the syrup over it, and return it to the oven for another 20-25 minutes. Double check it to make sure it's done by the toothpick test - when a toothpick or knife inserted into the middle of the dish comes back out clean, the french toast is ready.


Cut into eight servings and enjoy!


Whether you've prepared this dish to share with loved ones on a special morning or simply pampered yourself with its delicious embrace, it's a culinary journey worth embarking upon time and time again. Let us know if you decide to over on our Facebook page. 


If you wound up here because you’re in need of an appliance repair technician, we can help. You can get hold of us by calling ((214) 599-0055) or by going to our website


Additional Reading: 

Easy No-Cook Not Quite a Cannoli   


Escapee From New York: Chocolate Bagels 


Polish-Style Mac and Cheese: A Savory Twist on a Classic Dish

A Hearty and Delicious Meal You Can't Resist
In the realm of comfort food, few dishes can rival the satisfying embrace of creamy pasta. This recipe for kielbasa and macaroni and cheese is a delightful fusion of flavors and textures that promises to transport your taste buds to a world of culinary bliss. With the heartiness of kielbasa, the earthiness of spinach, and the luscious creaminess of egg noodles, each bite is a harmonious symphony of comfort. Whether you're seeking a quick weeknight dinner or a comforting meal to share with loved ones, this dish will not disappoint. Join us in the kitchen as we unravel the secrets to creating this savory masterpiece that's sure to become a beloved addition to your repertoire of home-cooked favorites.


Ingredients:


1 pound dry egg noodles

1 cup sour cream

2 cups cottage cheese (full fat preferred)

1 whole onion, diced

1 pound kielbasa, chopped

2 tablespoons butter

1 whole package spinach

2-3 teaspoons spice mix


Spice Mix


spice mix:

1/2 teaspoon allspice

1 teaspoon white pepper

1 teaspoon black pepper

1 1/2 teaspoons garlic powder

1 1/2 teaspoons marjoram

1 teaspoon ground mustard

1/2 teaspoon oregano

1/2 teaspoon cumin

1/2 teaspoon salt

1/2 teaspoon coriander


Tools:


knife

cutting board

slotted spoon

measuring cups and spoons

stock pot with lid

colander

covered frying pan or dutch oven


Fill your stock pot up with water (or broth, if you're feeling a little like an overachiever) and bring it up to boil.


While you wait for the water in the pot to boil, grab a little dish. Measure out and stir together all the spices for the spice mix. (We recycle glass yogurt jars for spice mixes, as they're just the right size to hold a few tablespoons of dry spices and leave us some space to stir.)


Once the pot is boiling, add the egg noodles and set a timer - but whatever the package directions say is the recommended cook time, cut it down by half and add one minute. As an example, if the package says 8 minutes, cook them for only 5 minutes. We only want the noodles par-cooked so they won't fall apart later.


Peel, quarter and roughly chop your onion. Dump it all into the pan or dutch oven with the butter, but don't crank up the heat just yet.


Cut your kielbasa (or any other suitable rope sausage) into bite sized pieces, and add them to the pan with the onion. Now you're safe to turn the heat on. Let them cook together, covered, for about five minutes over medium-low heat. Stir occasionally.


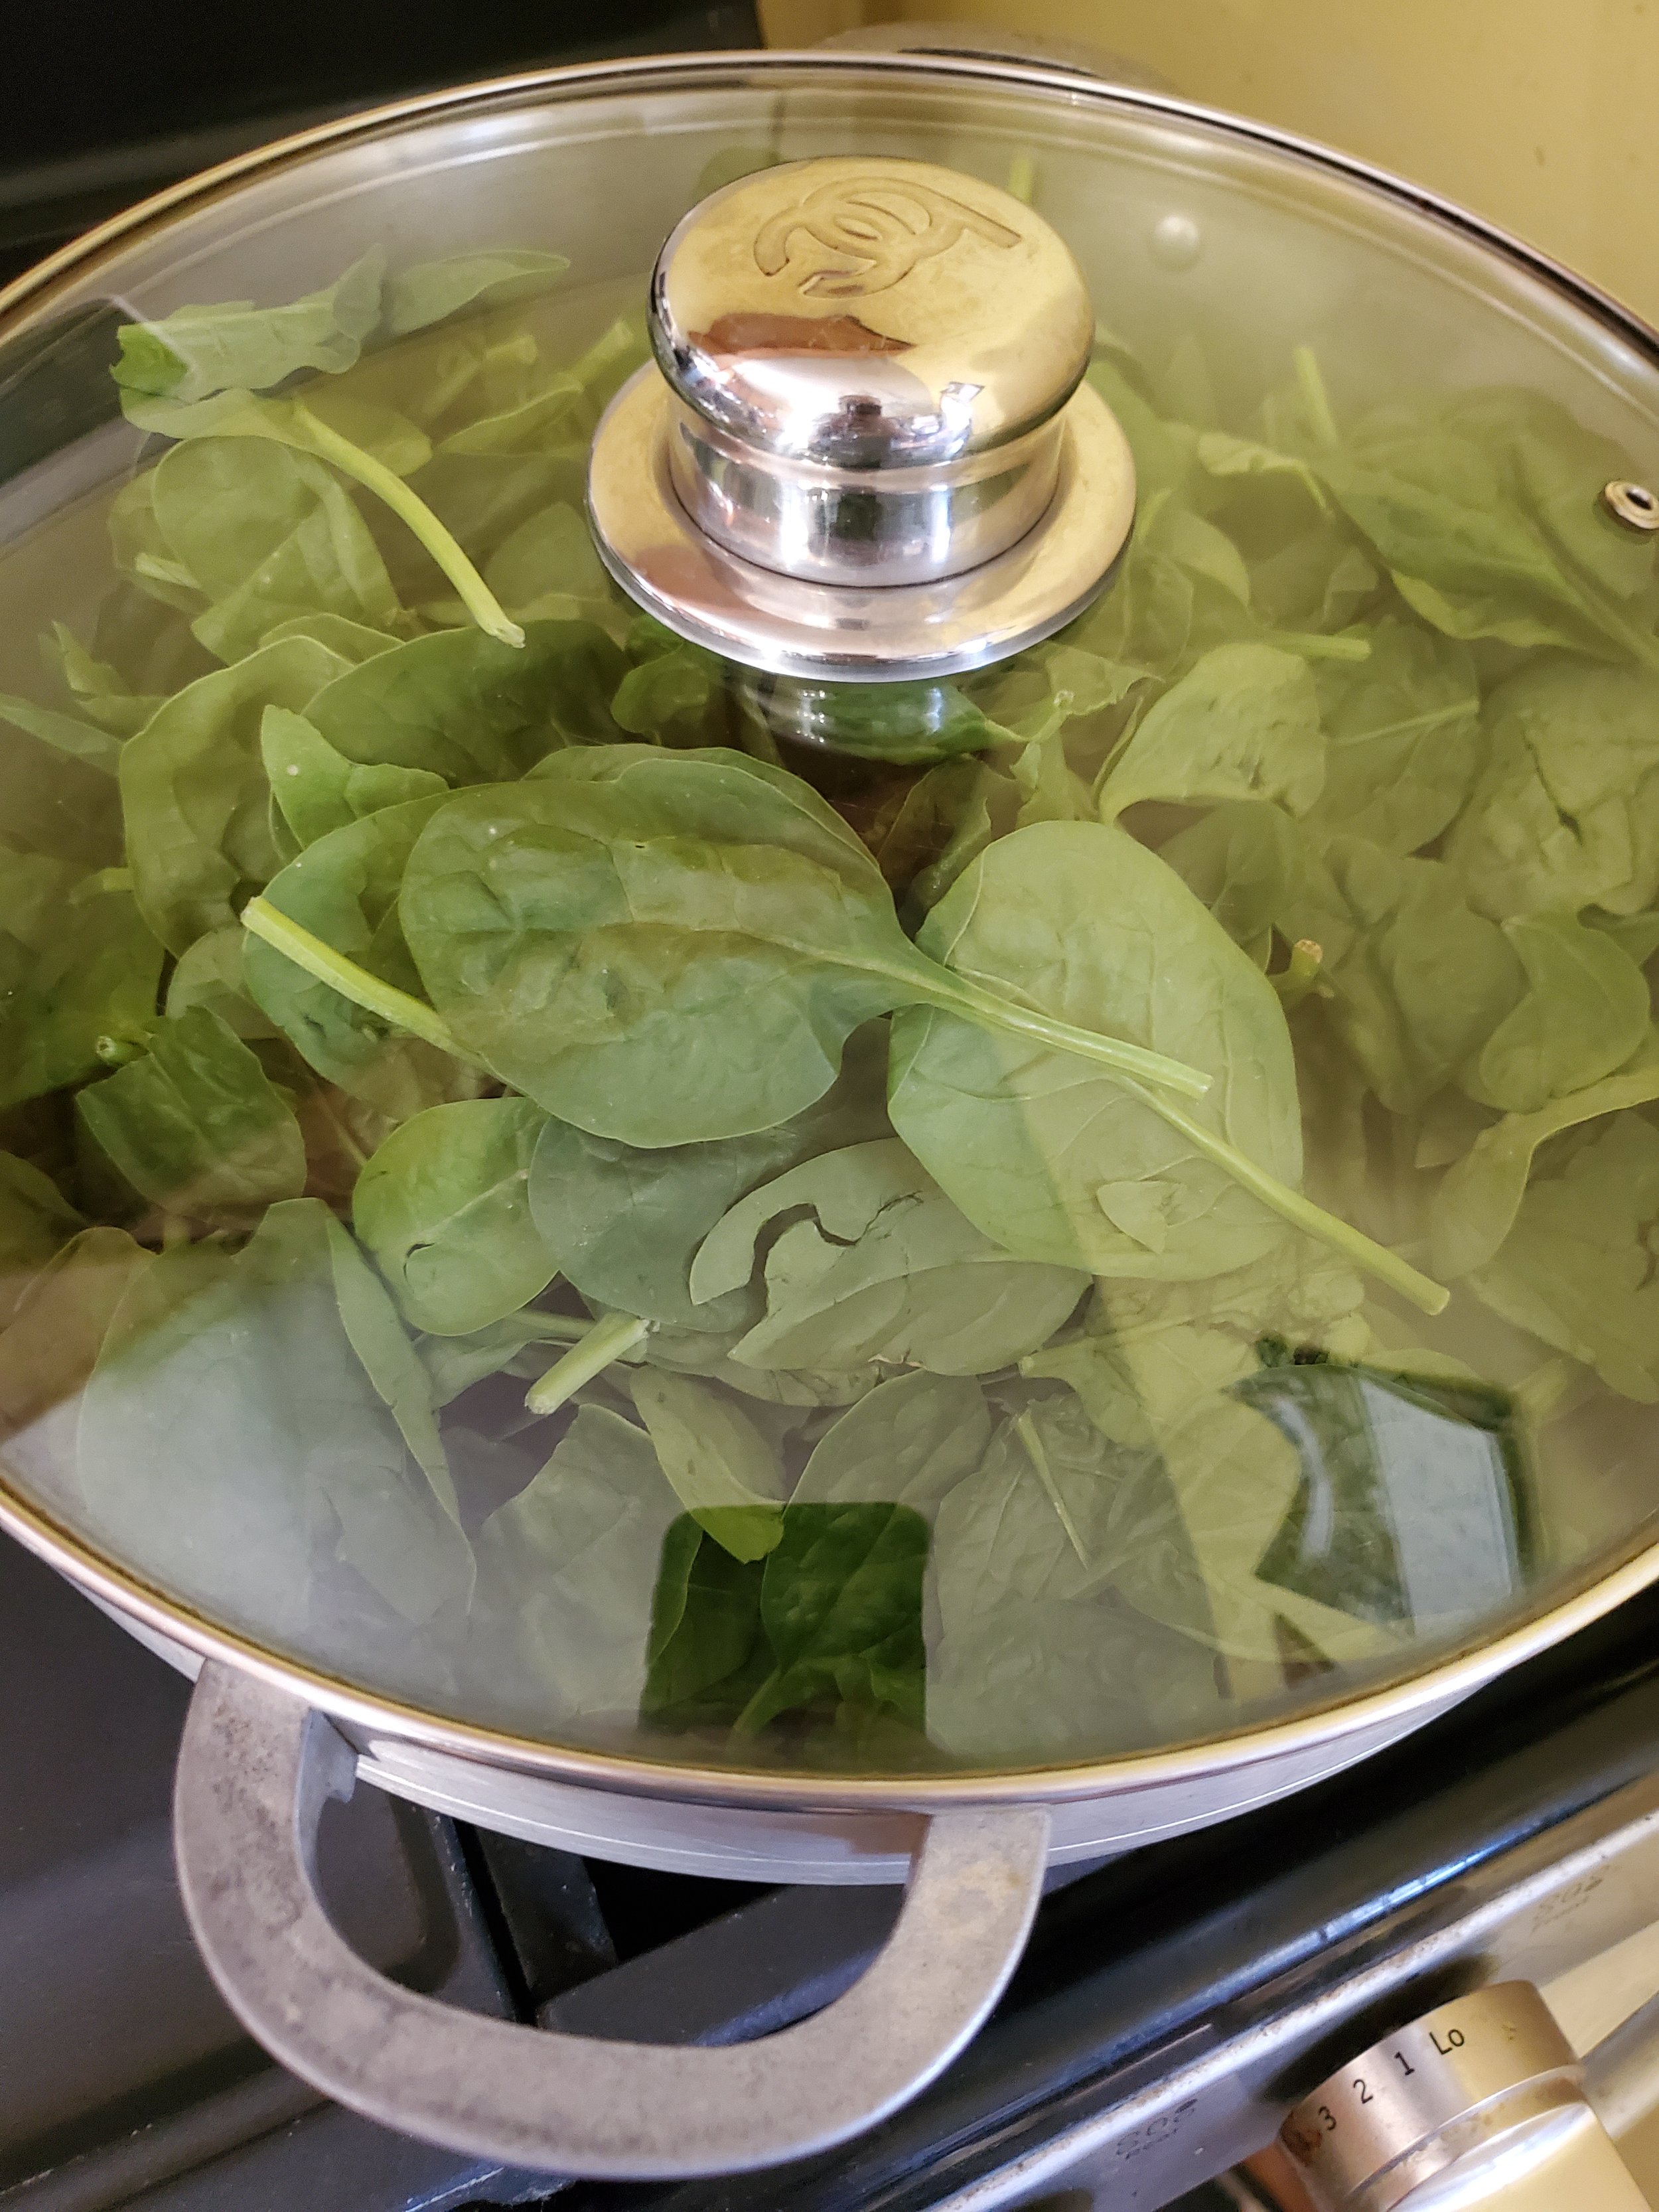
Once the onions are translucent and the fat has rendered out of the sausage, add the spinach. Add so much spinach it looks like the lid won't stay on. Trust us here. Stick the lid on (shove it down if necessary, making sure the spinach stays inside), reduce the heat to as low as it will go, and turn your attention back to the noodles.


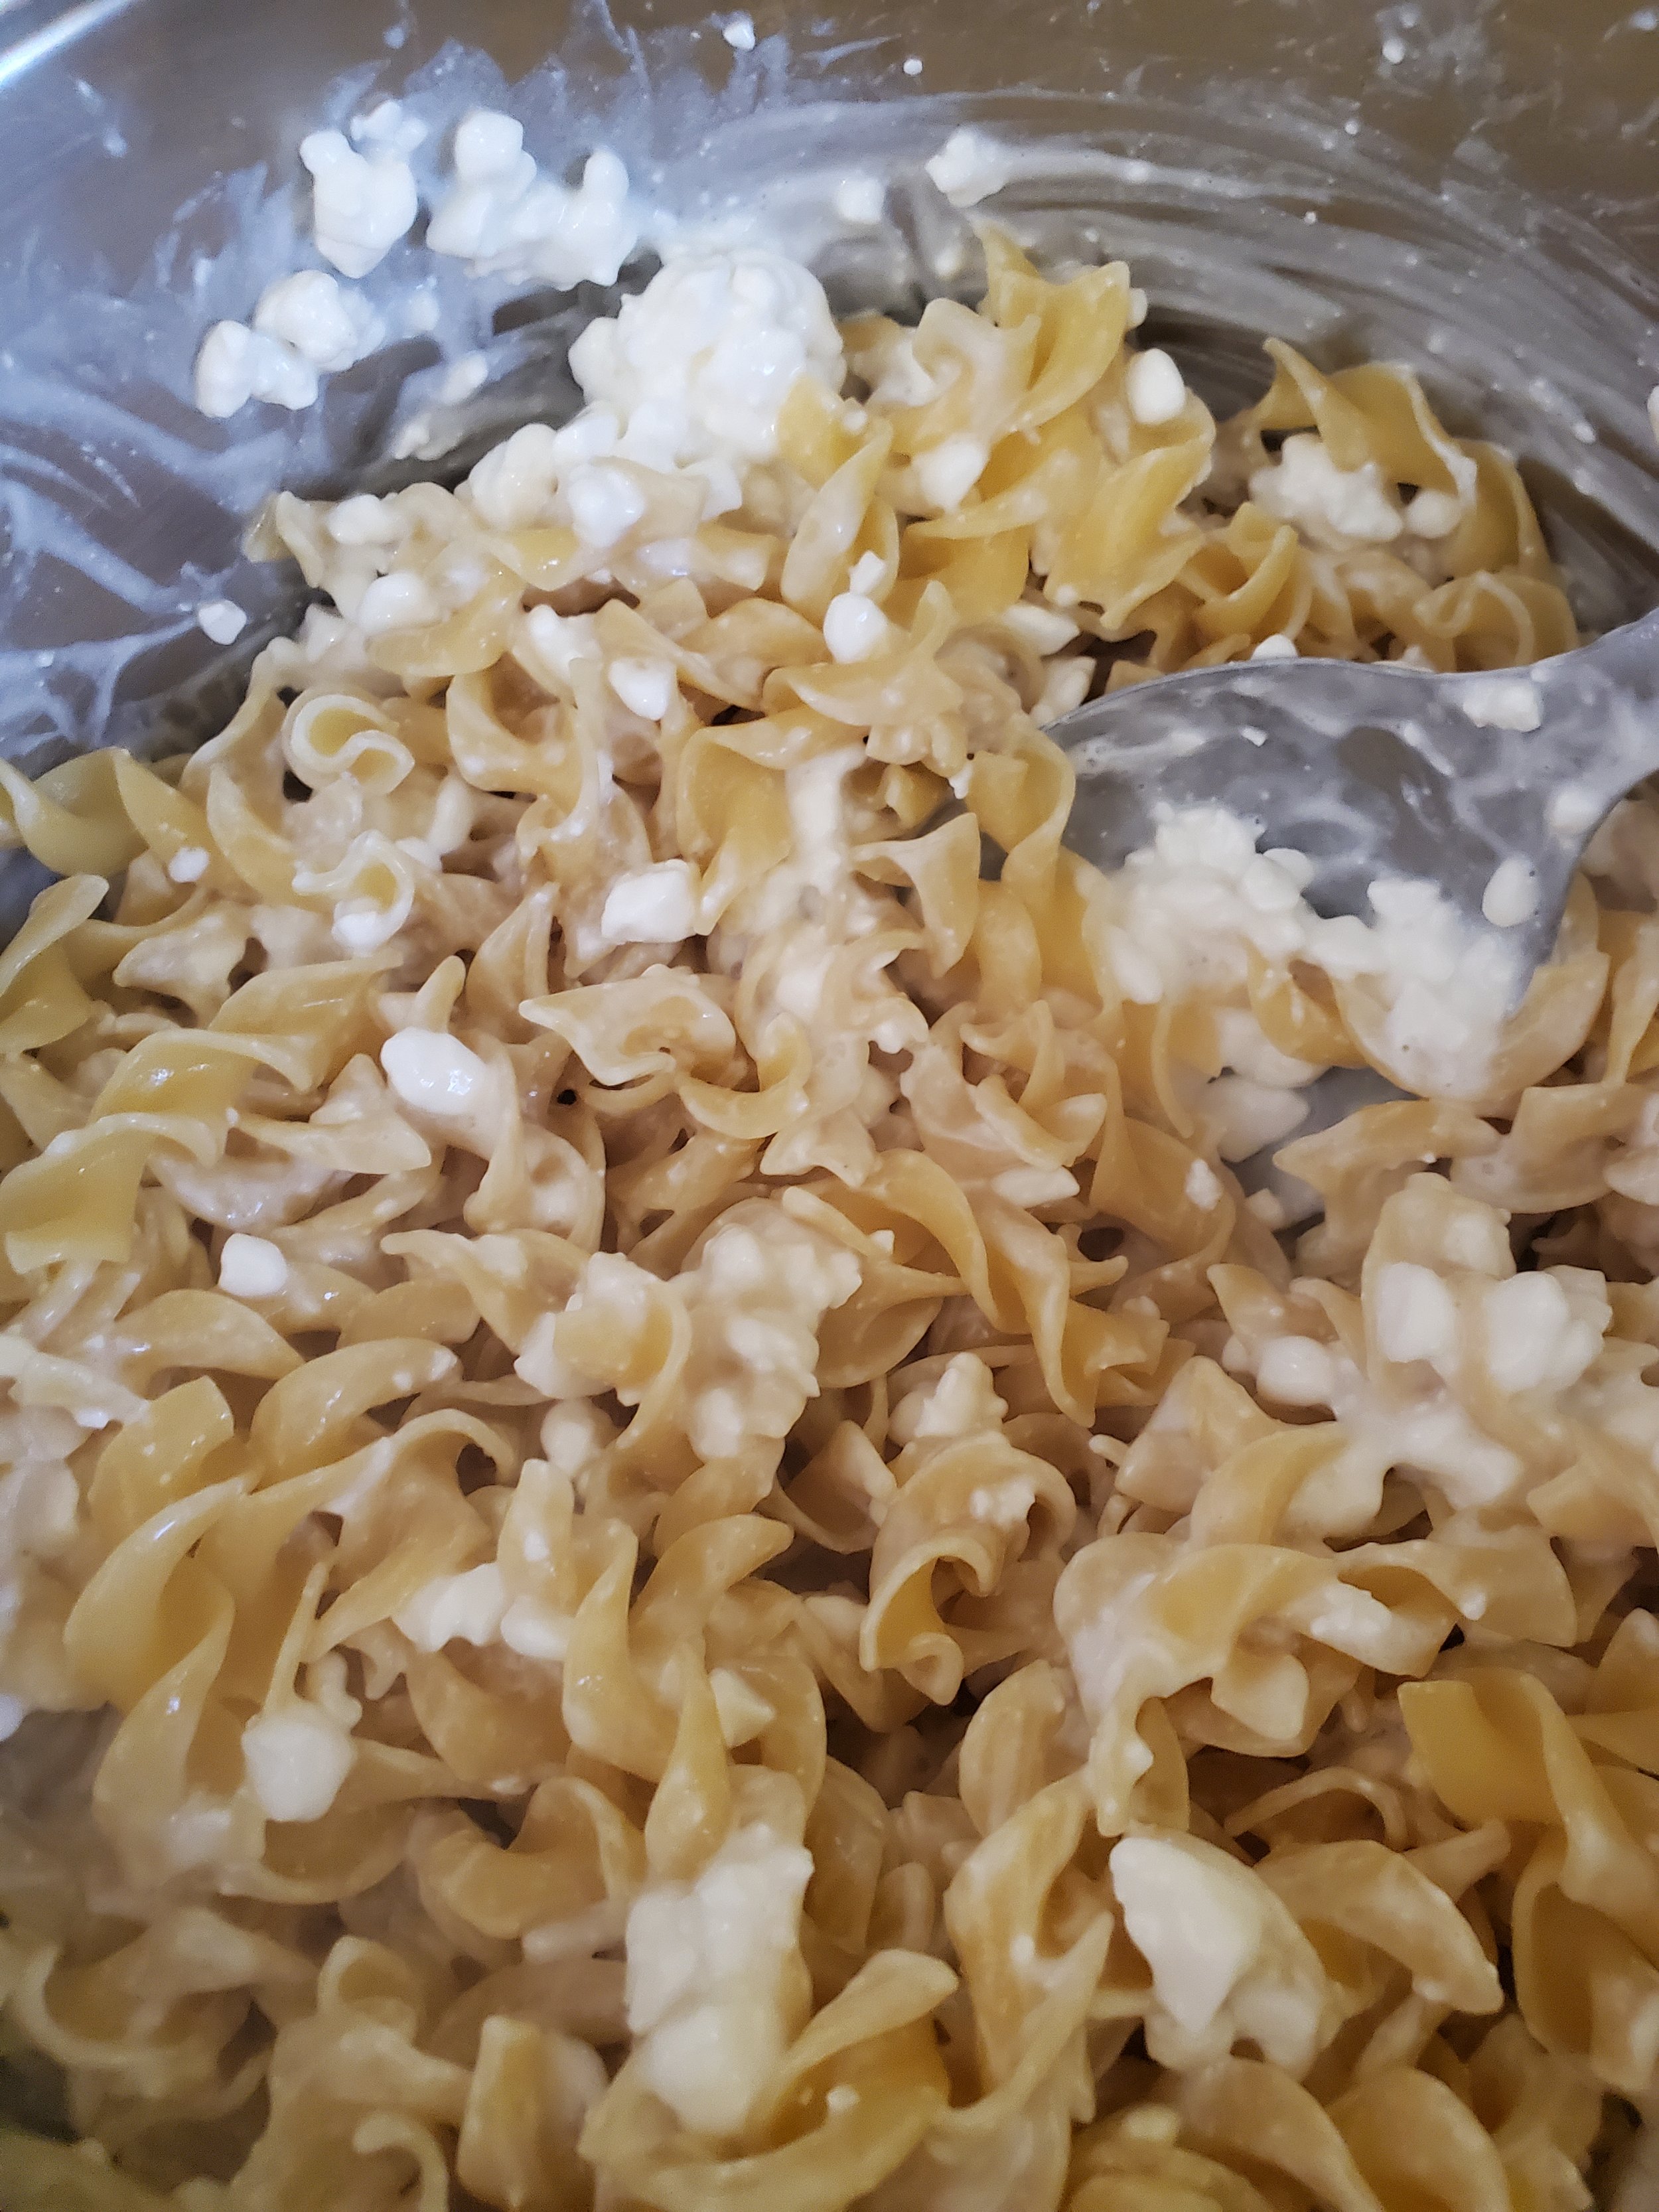
By now, the timer's making irritating noises and wants you to do something. Drain the noodles and put them right back into the stock pot, and measure in your sour cream and cottage cheese. Stir like crazy, then slap the lid on it. This is why we only par-cooked them - they need to hold up to vigorous stirring, and they'll soak up the moisture and steam in the covered pot.


Looking back at the onions, sausage and spinach - hey, wasn't there a lot more spinach a minute ago? - remove the lid and stir gently. Once the spinach is all uniformly wilted, feel free to cut the heat. Make sure it stays covered so it retains its warmth while you go back to working on the noodles.


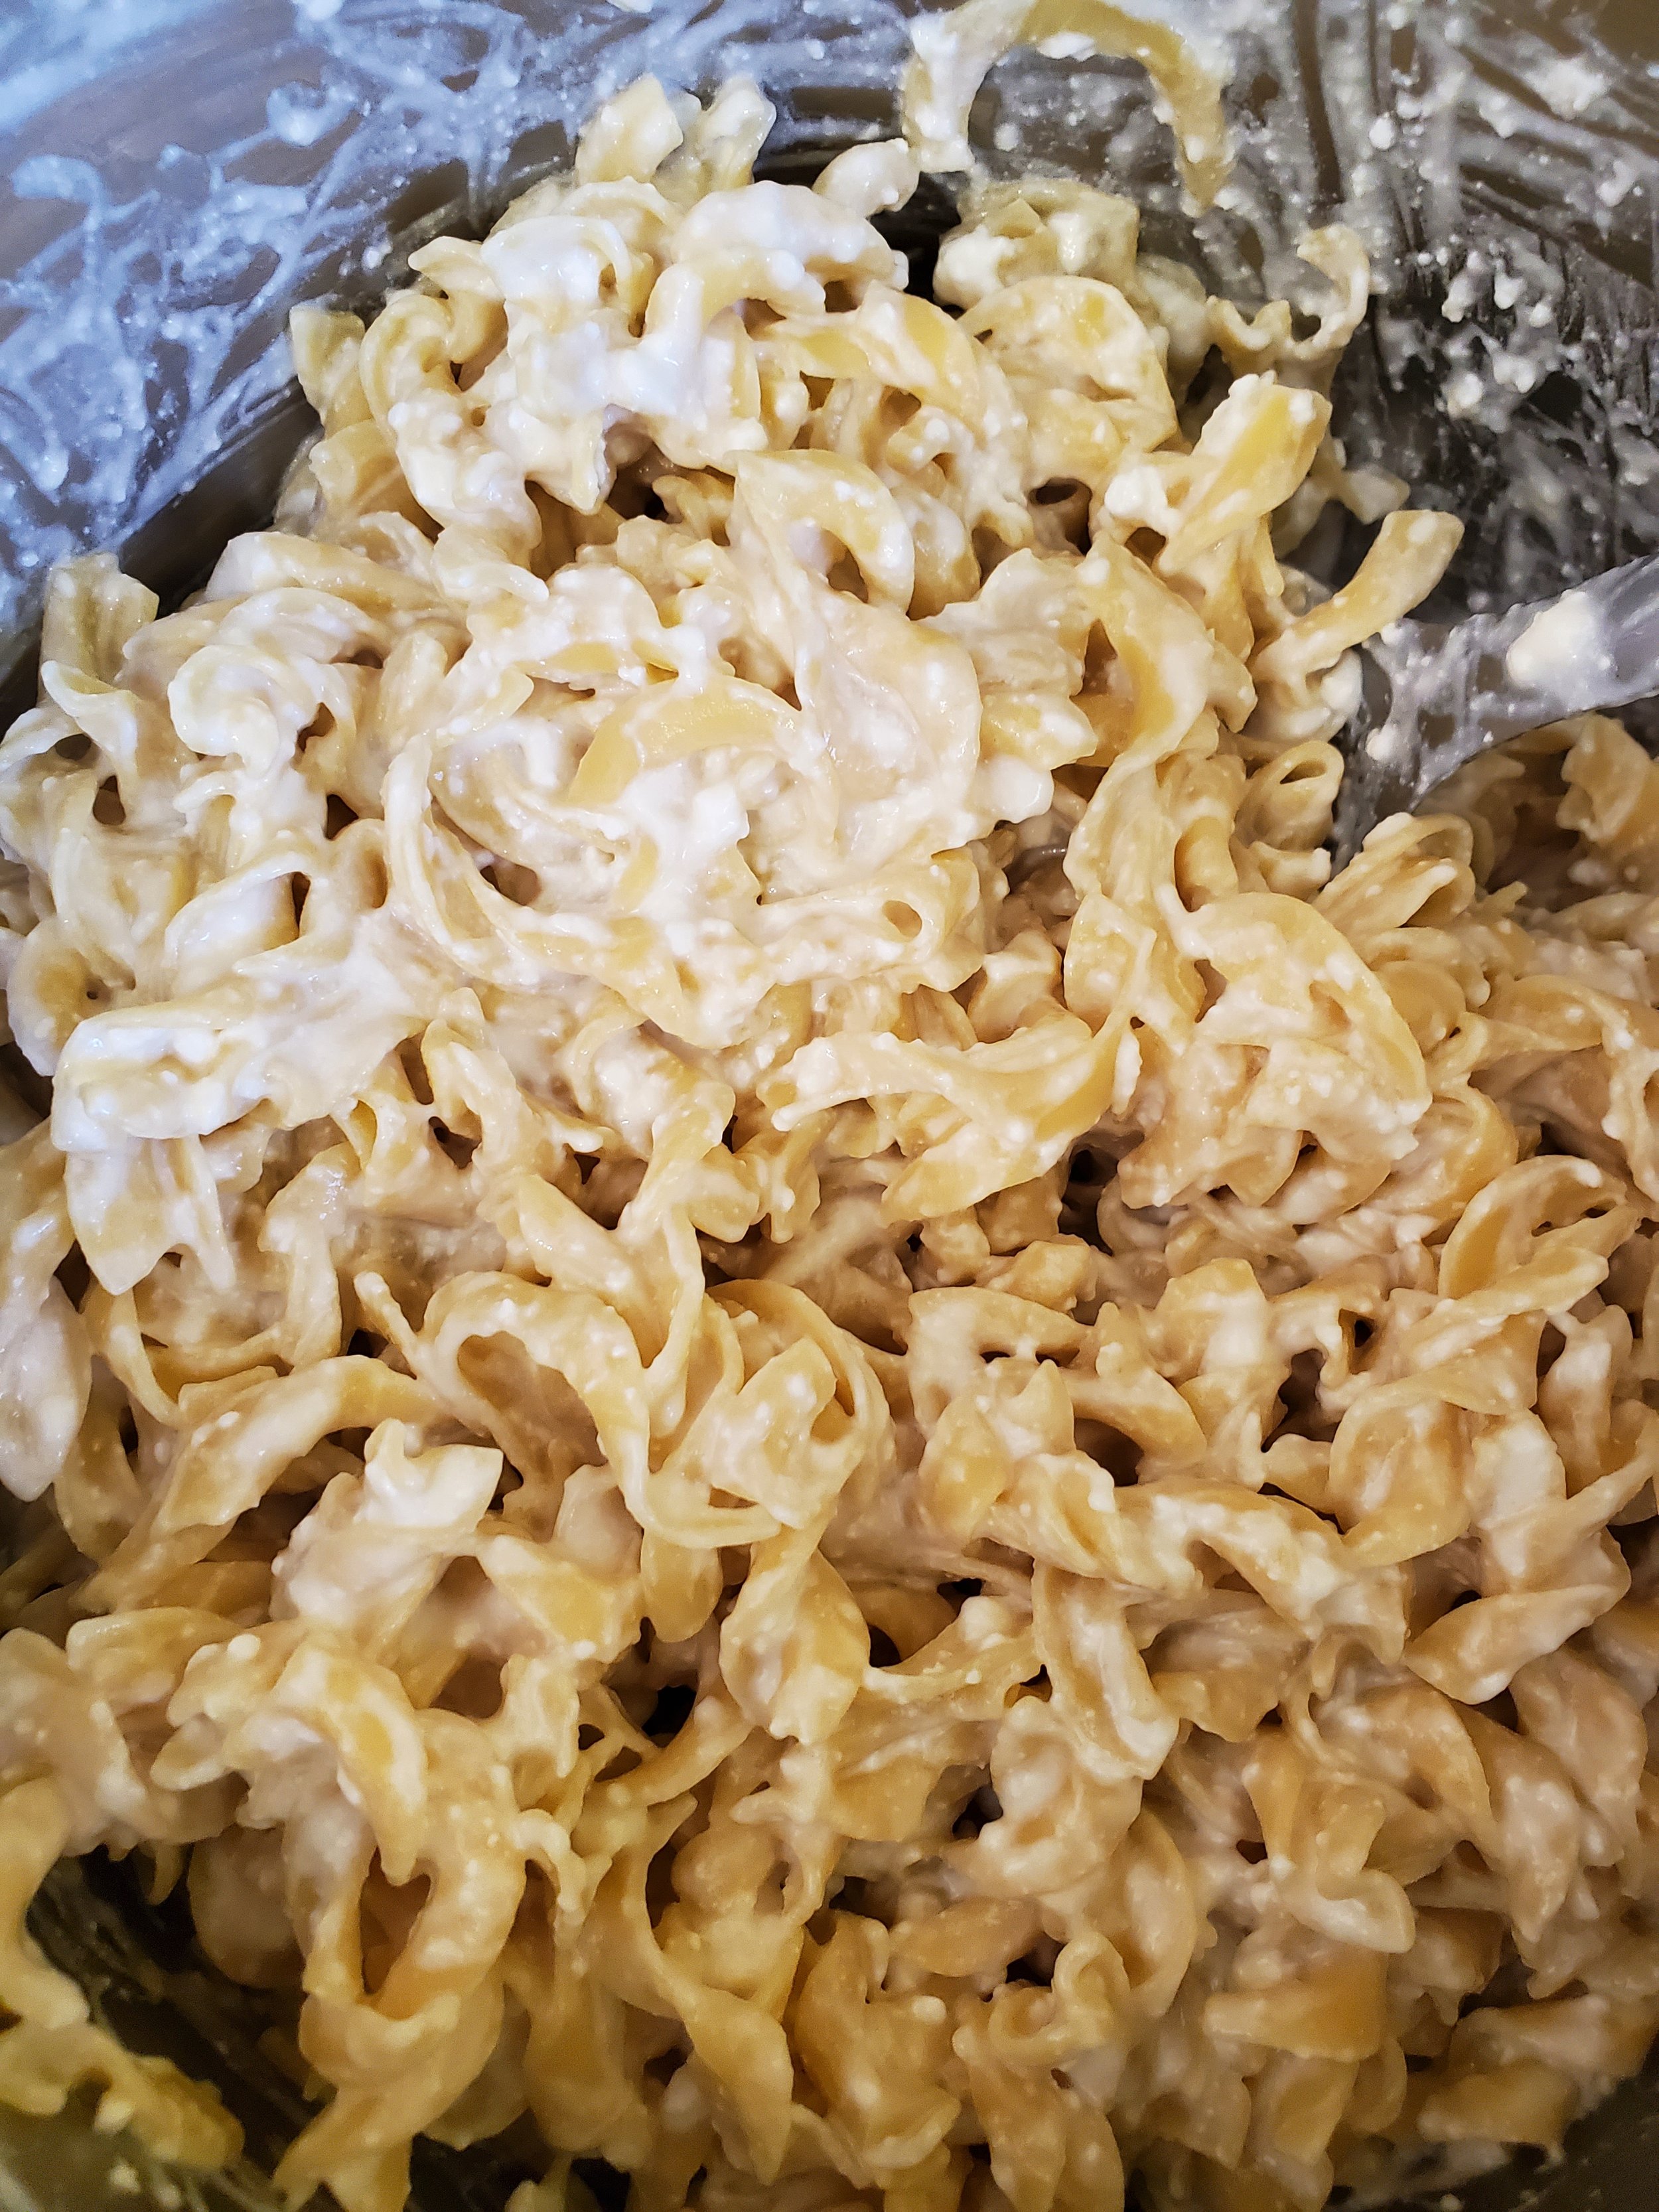
Those lumpy curds from the cottage cheese should have melted down some by now. Remove the lid, stir like crazy some more, and consider adding some milk or heavy cream if you used low fat cottage cheese. (Full fat cottage cheese works much better for this recipe, but we used what we had on hand.) Your goal is a thick, sticky sauce covering egg noodles that have absorbed the excess moisture.


Add a couple teaspoons of your spice mixture and stir well one last time. Serve the noodles with or topped by the sausage and vegetable mixture.


This recipe is a testament to the joy of home-cooked comfort food, where simple ingredients come together to create something truly extraordinary. We hope it has inspired you to embrace the art of cooking and explore the endless possibilities that await in your kitchen. Reach out to us over on our Facebook page if you decided to give it a try! 


If you wound up here because you’re in need of an appliance repair technician, we can help. You can get hold of us by calling ((214) 599-0055) or by going to our website


Additional Reads:  

Pepperoni & Canadian Bacon Stromboli  


Jalapeno Chicken Bowtie Pasta