dessert

Caffeinated Comfort: Pumpkin Muffins with Coffee Cream Cheese Frosting

 A Fusion of Fall Spice and Coffee Indulgence

Welcome to a delightful twist on classic pumpkin muffins! This recipe is a perfect marriage of seasonal flavors—warm pumpkin, aromatic spices, and a decadent coffee cream cheese frosting. With each bite, you can experience the cozy essence of fall combined with the indulgence of a caffeinated treat. Follow along step by step to create your own batch of these deliciously unique muffins.
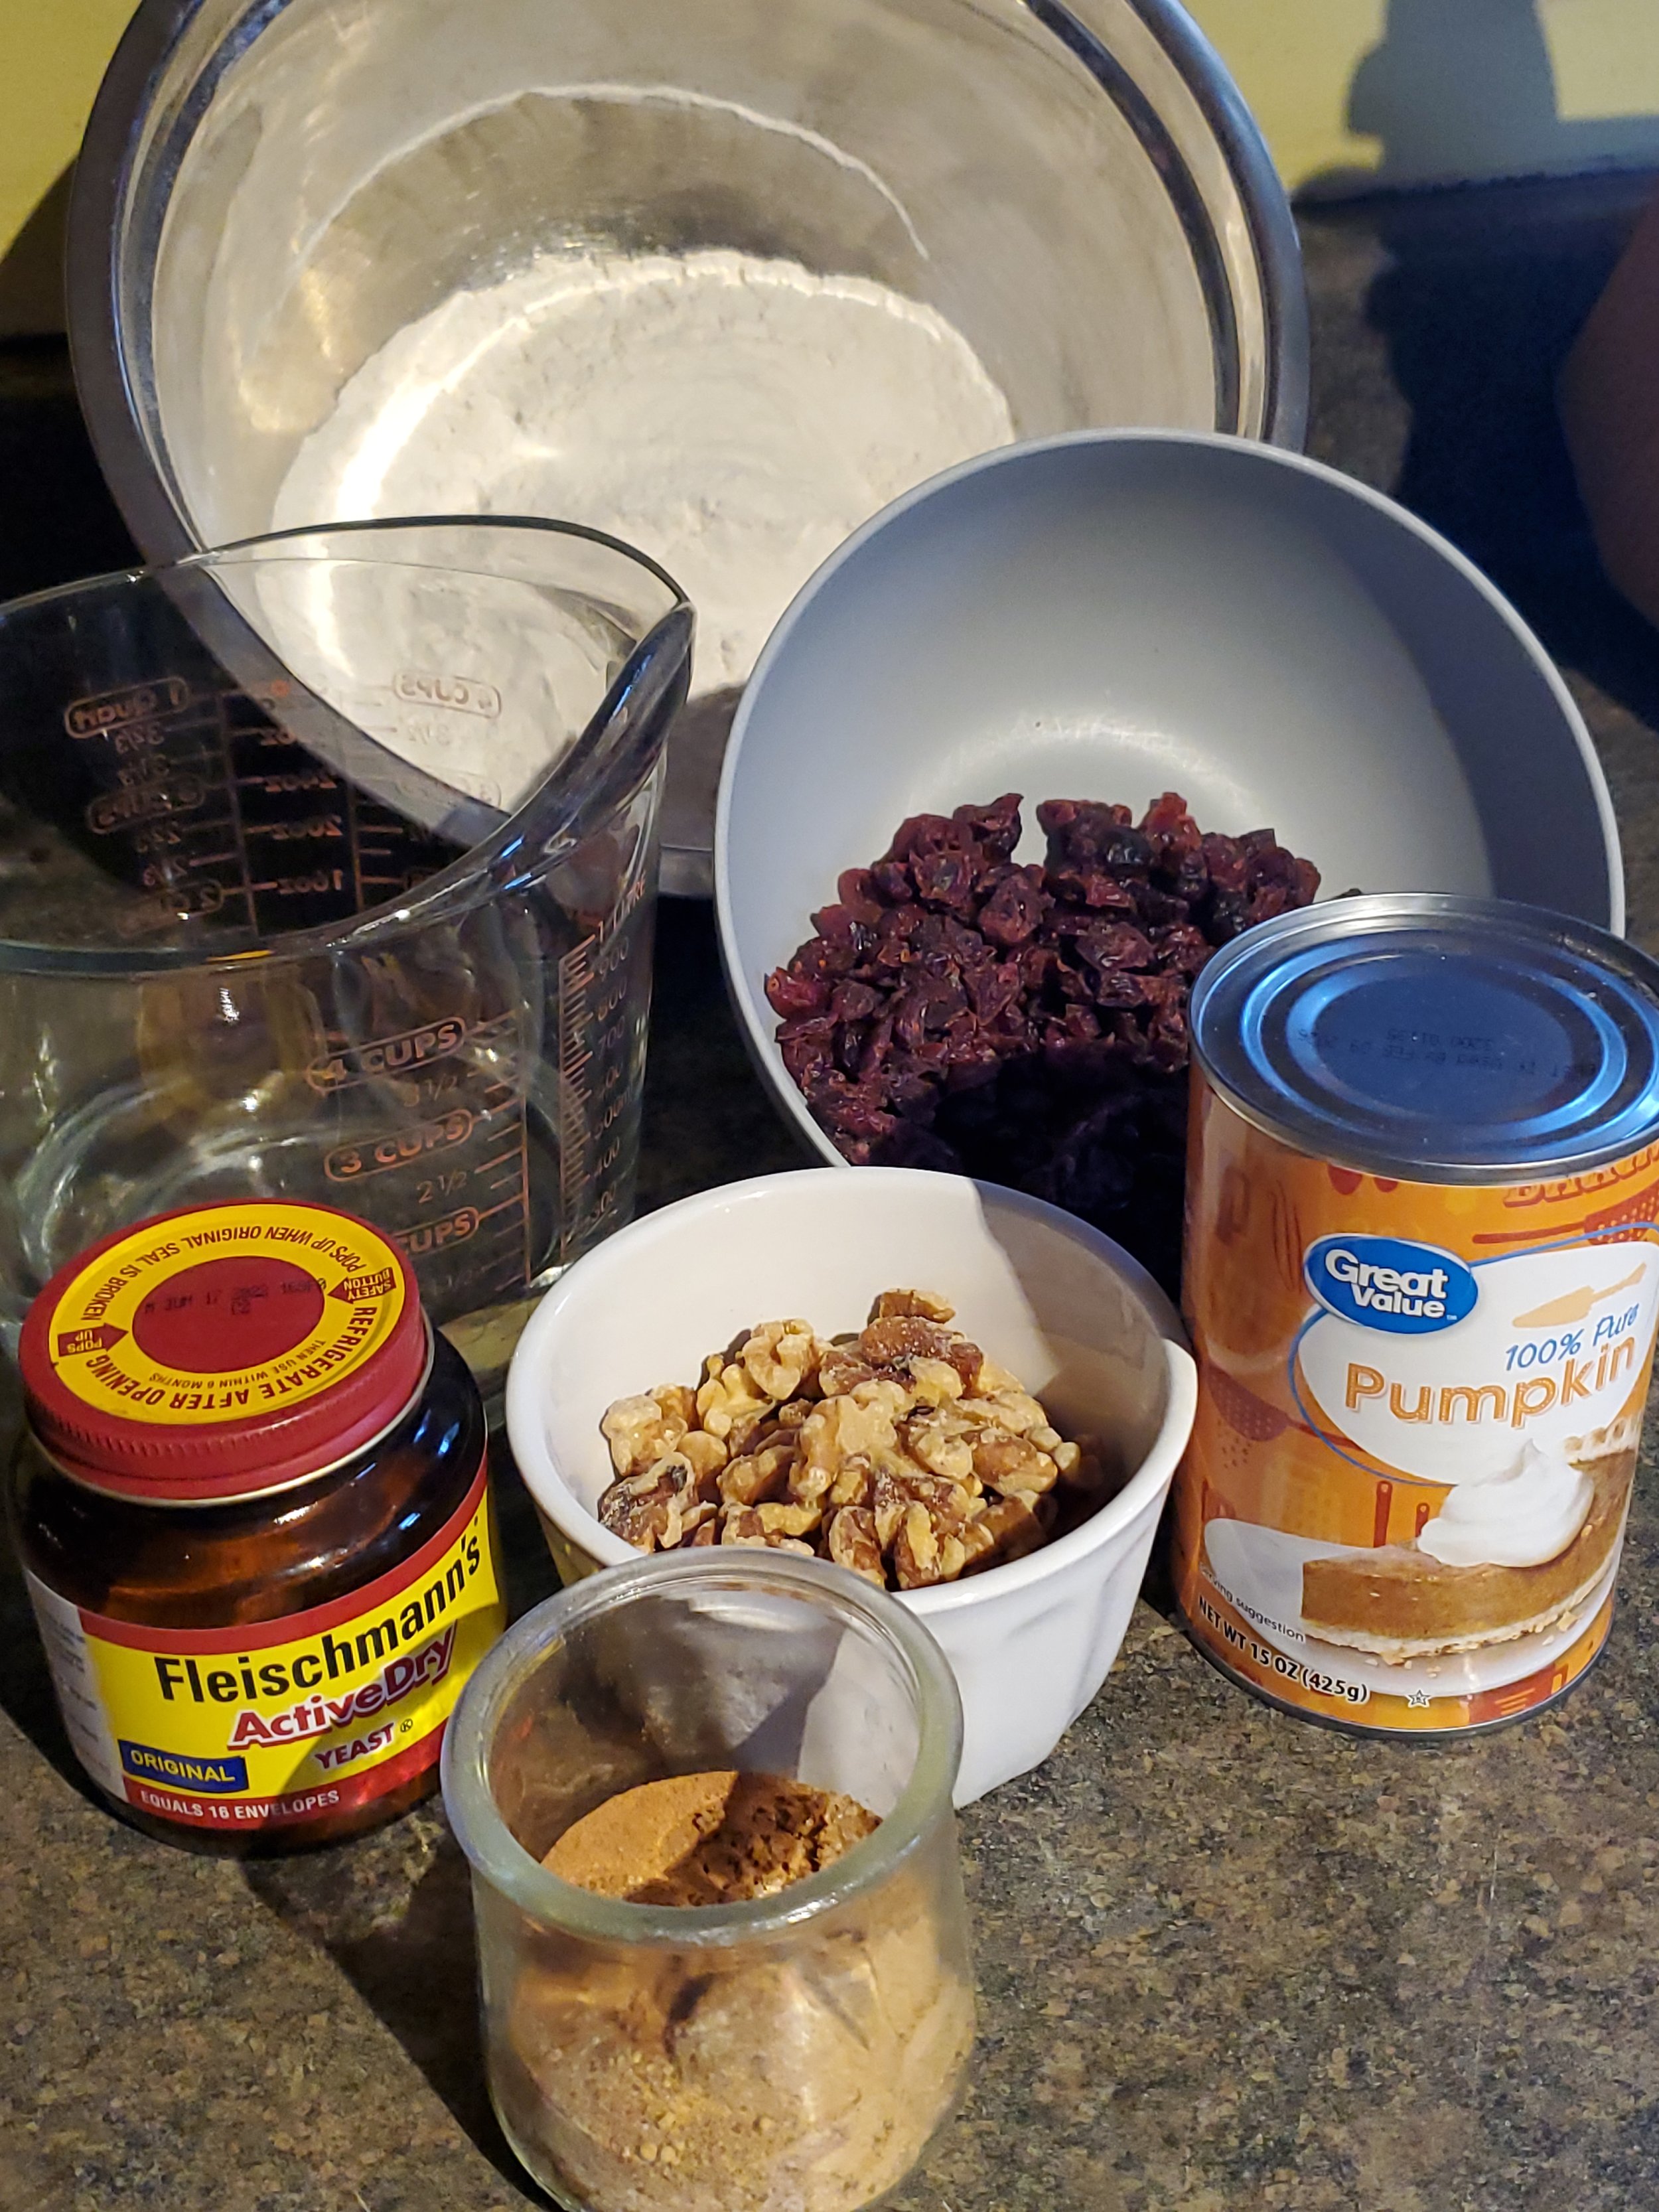
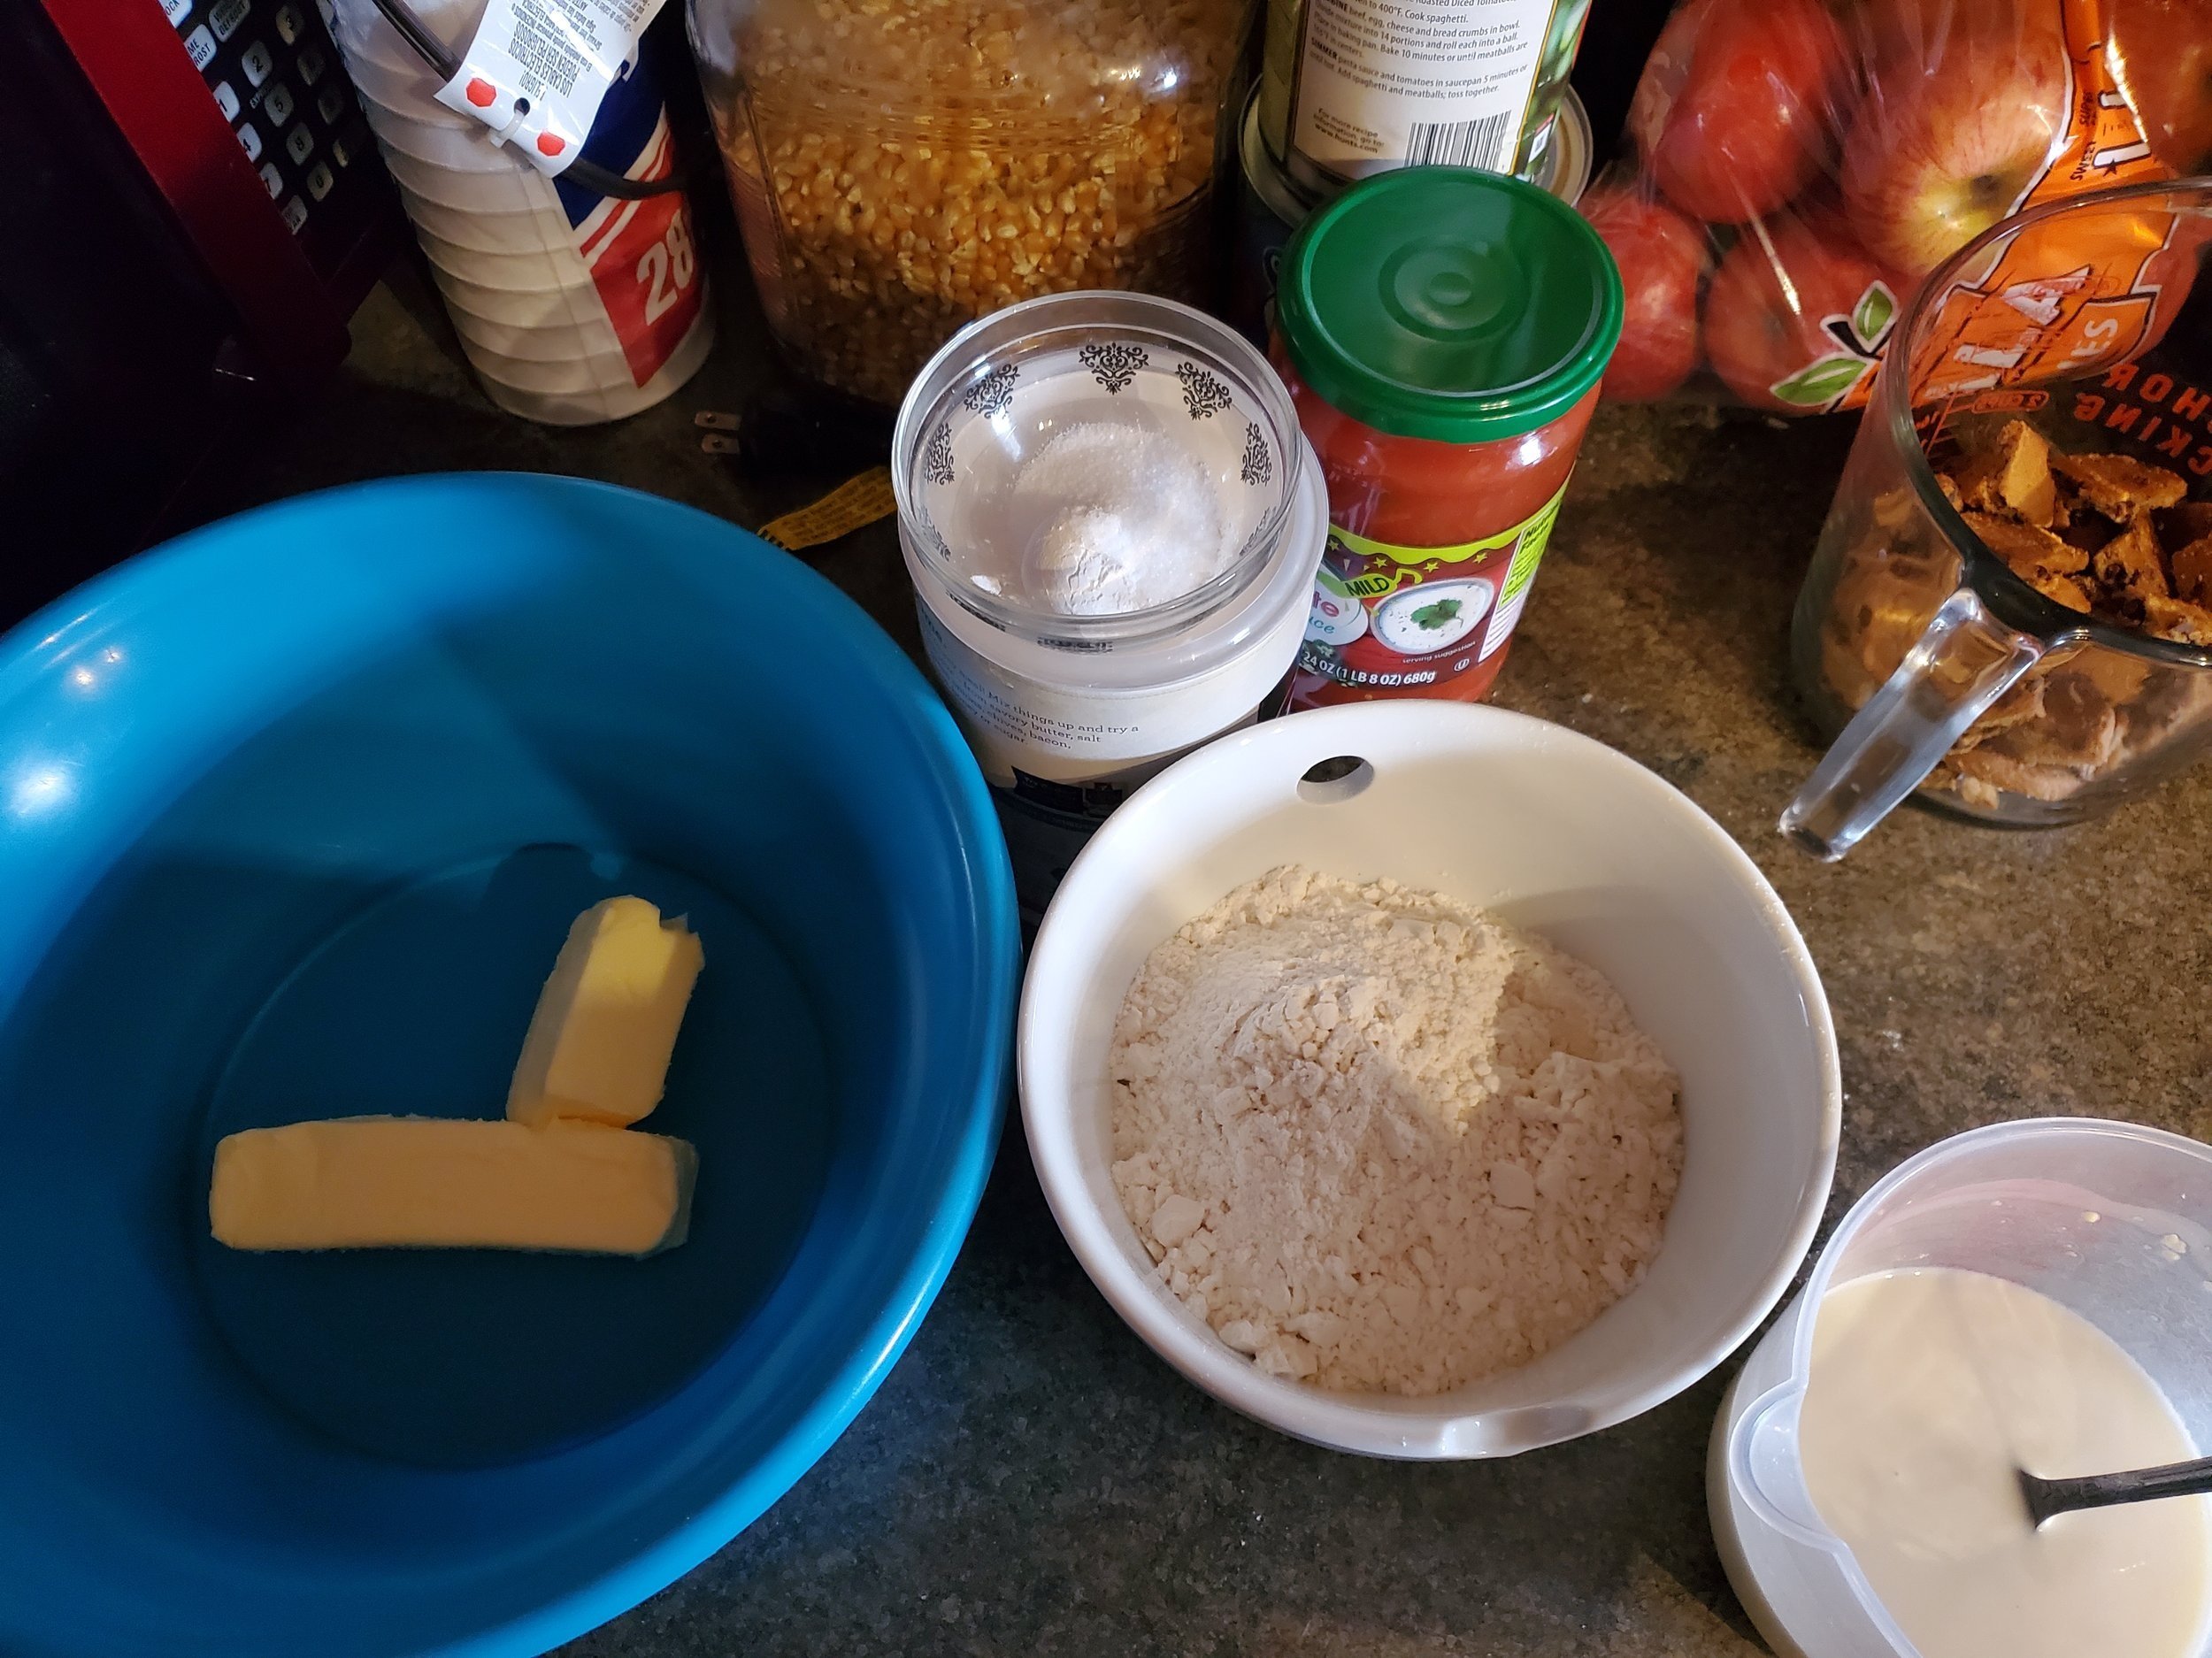
Ingredients:


For the muffins:

1 15 oz can pumpkin puree

1 1/2 cup flour

1/2 cup white sugar

1/2 cup brown sugar

1/4 cup sour cream

2 eggs

1 teaspoon baking powder

1/2 teaspoon salt

1 teaspoon ground cinnamon


For the frosting:

1 stick butter, softened

1/2 brick regular cream cheese, softened

2 cups powdered sugar

2 tablespoons instant coffee

1 teaspoon vanilla extract

3 tablespoons milk


Tools:

can opener

mixing bowls (large and small)

muffin tin or sheet pan

muffin liners or baking cups

spoons

measuring cups and spoons

mixer (hand or stand)


Preheat your oven to 350 and let's get dessert rolling!


Begin with the can opener - go ahead and crack open the can of pumpkin. If you only have pumpkin pie filling on hand, you can sub half a 30-oz can of that, but keep in mind how much sweeter it will make the final result.


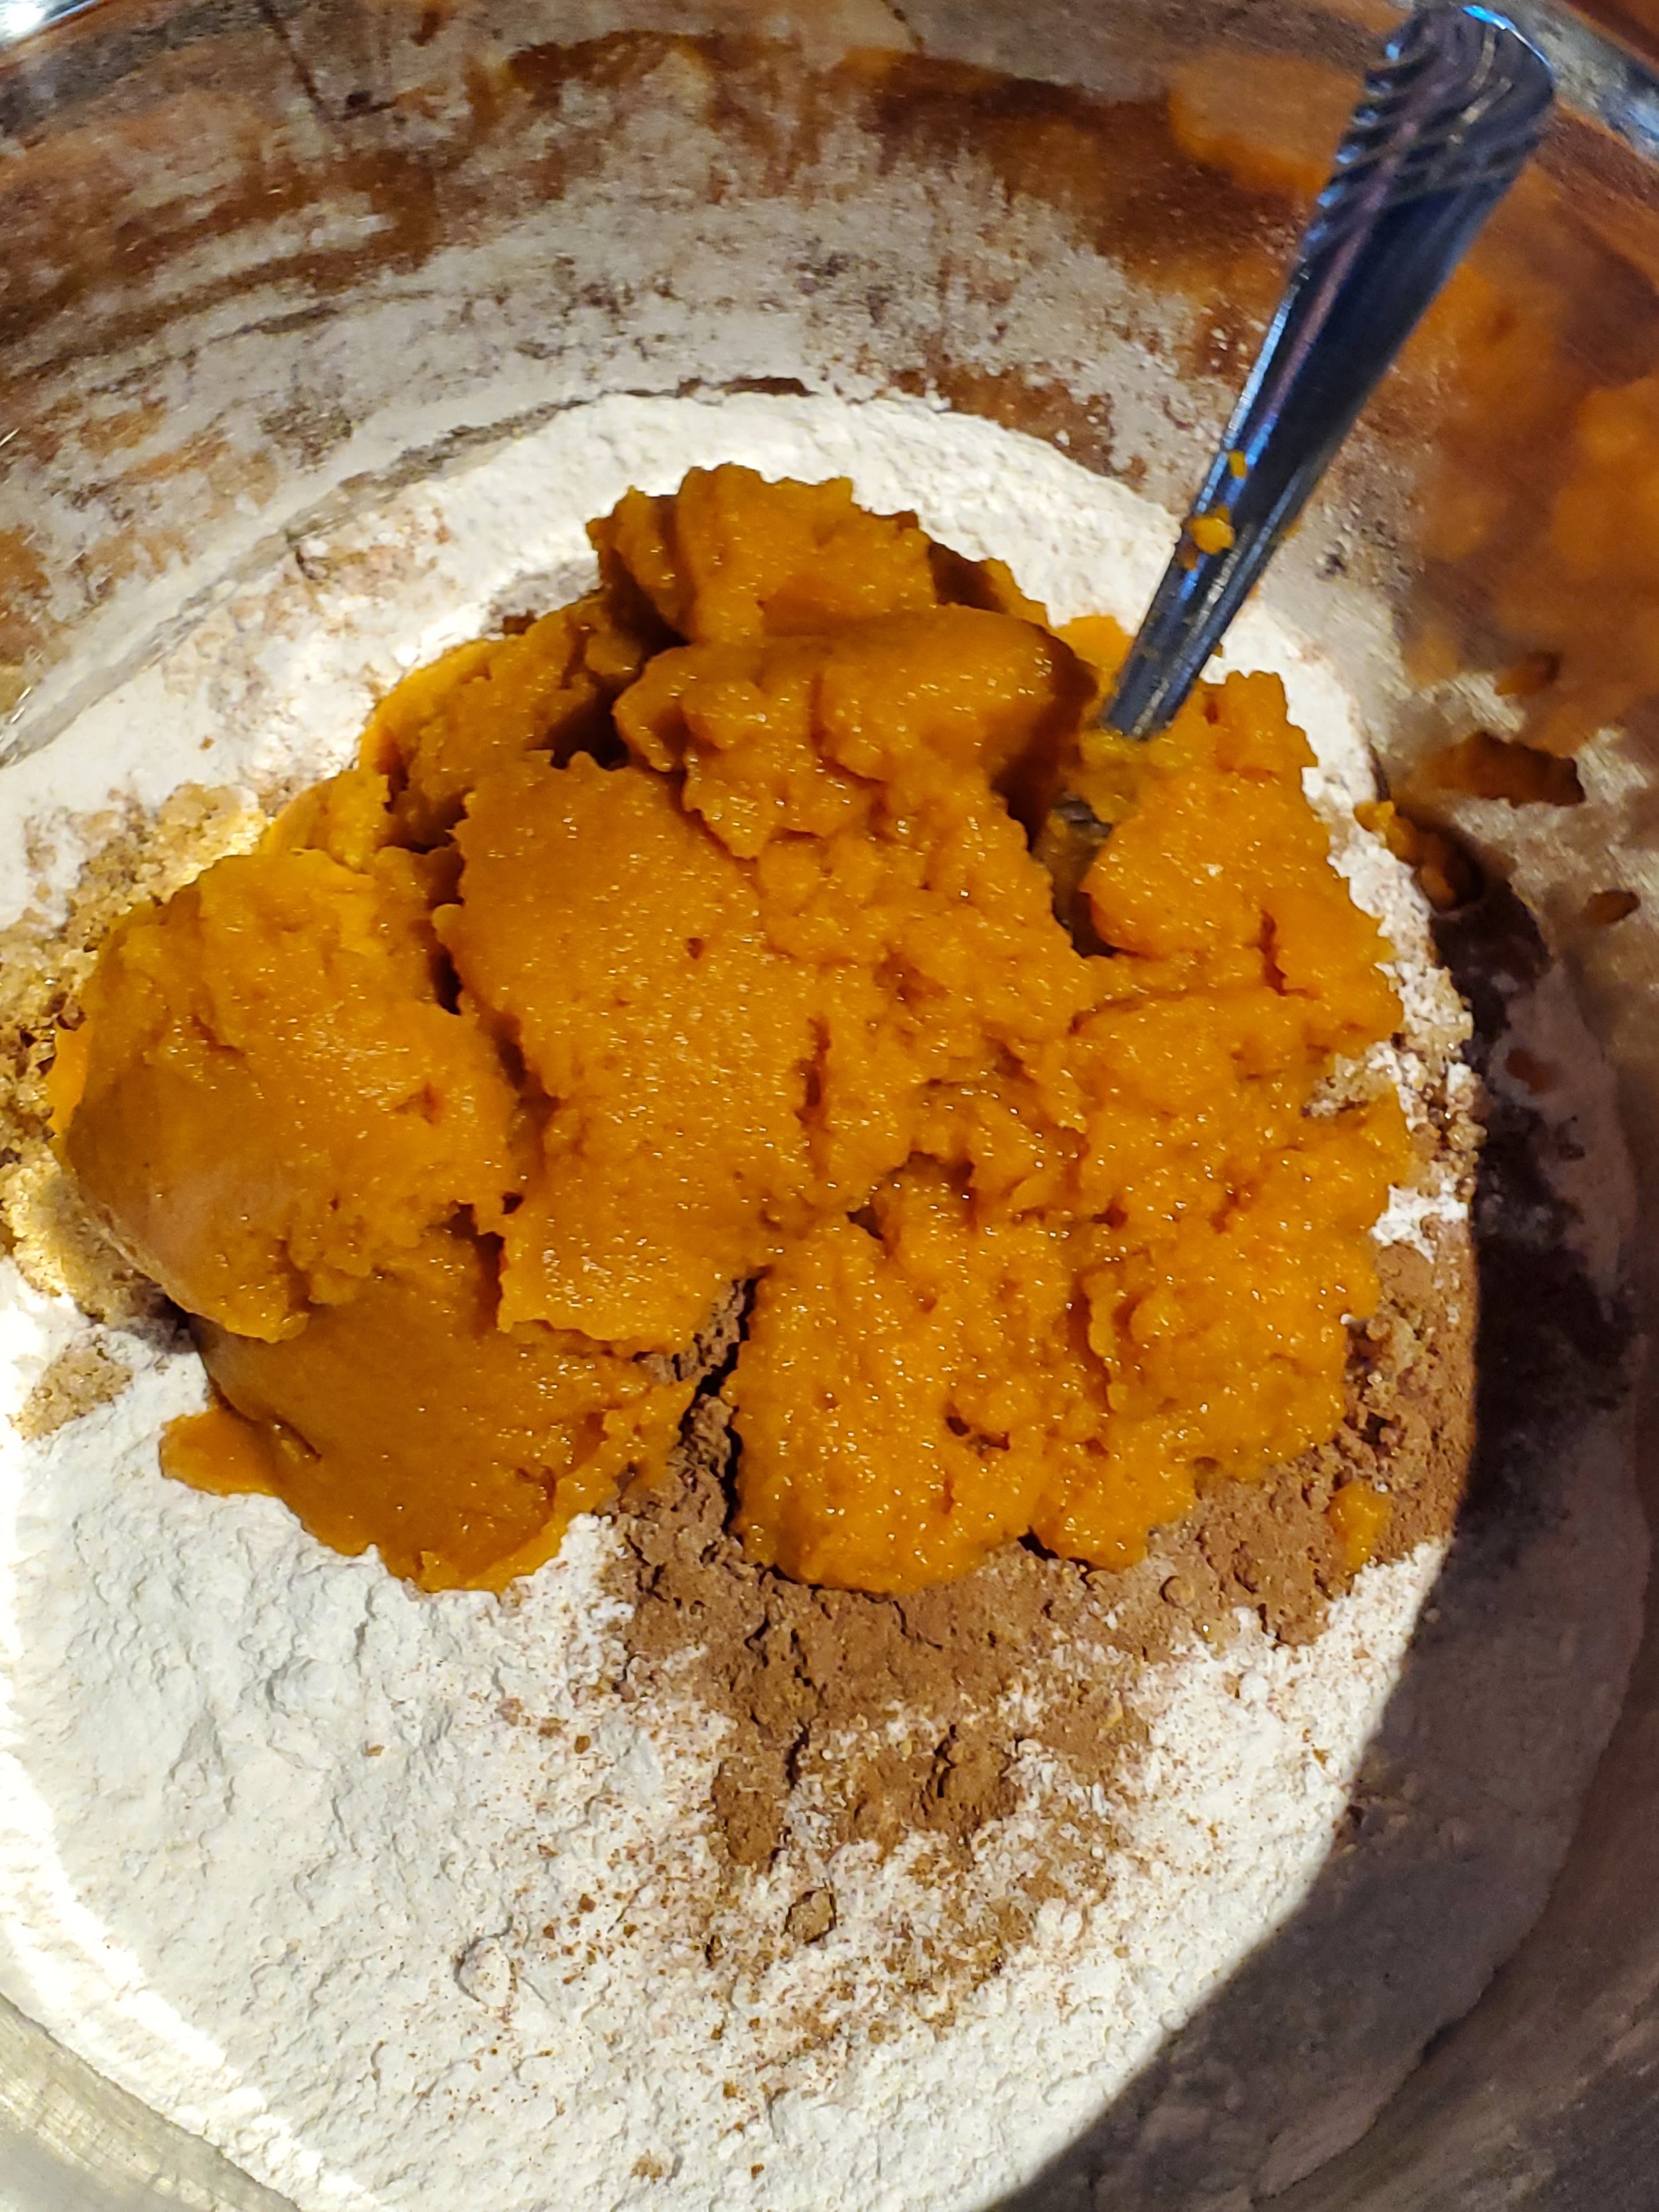
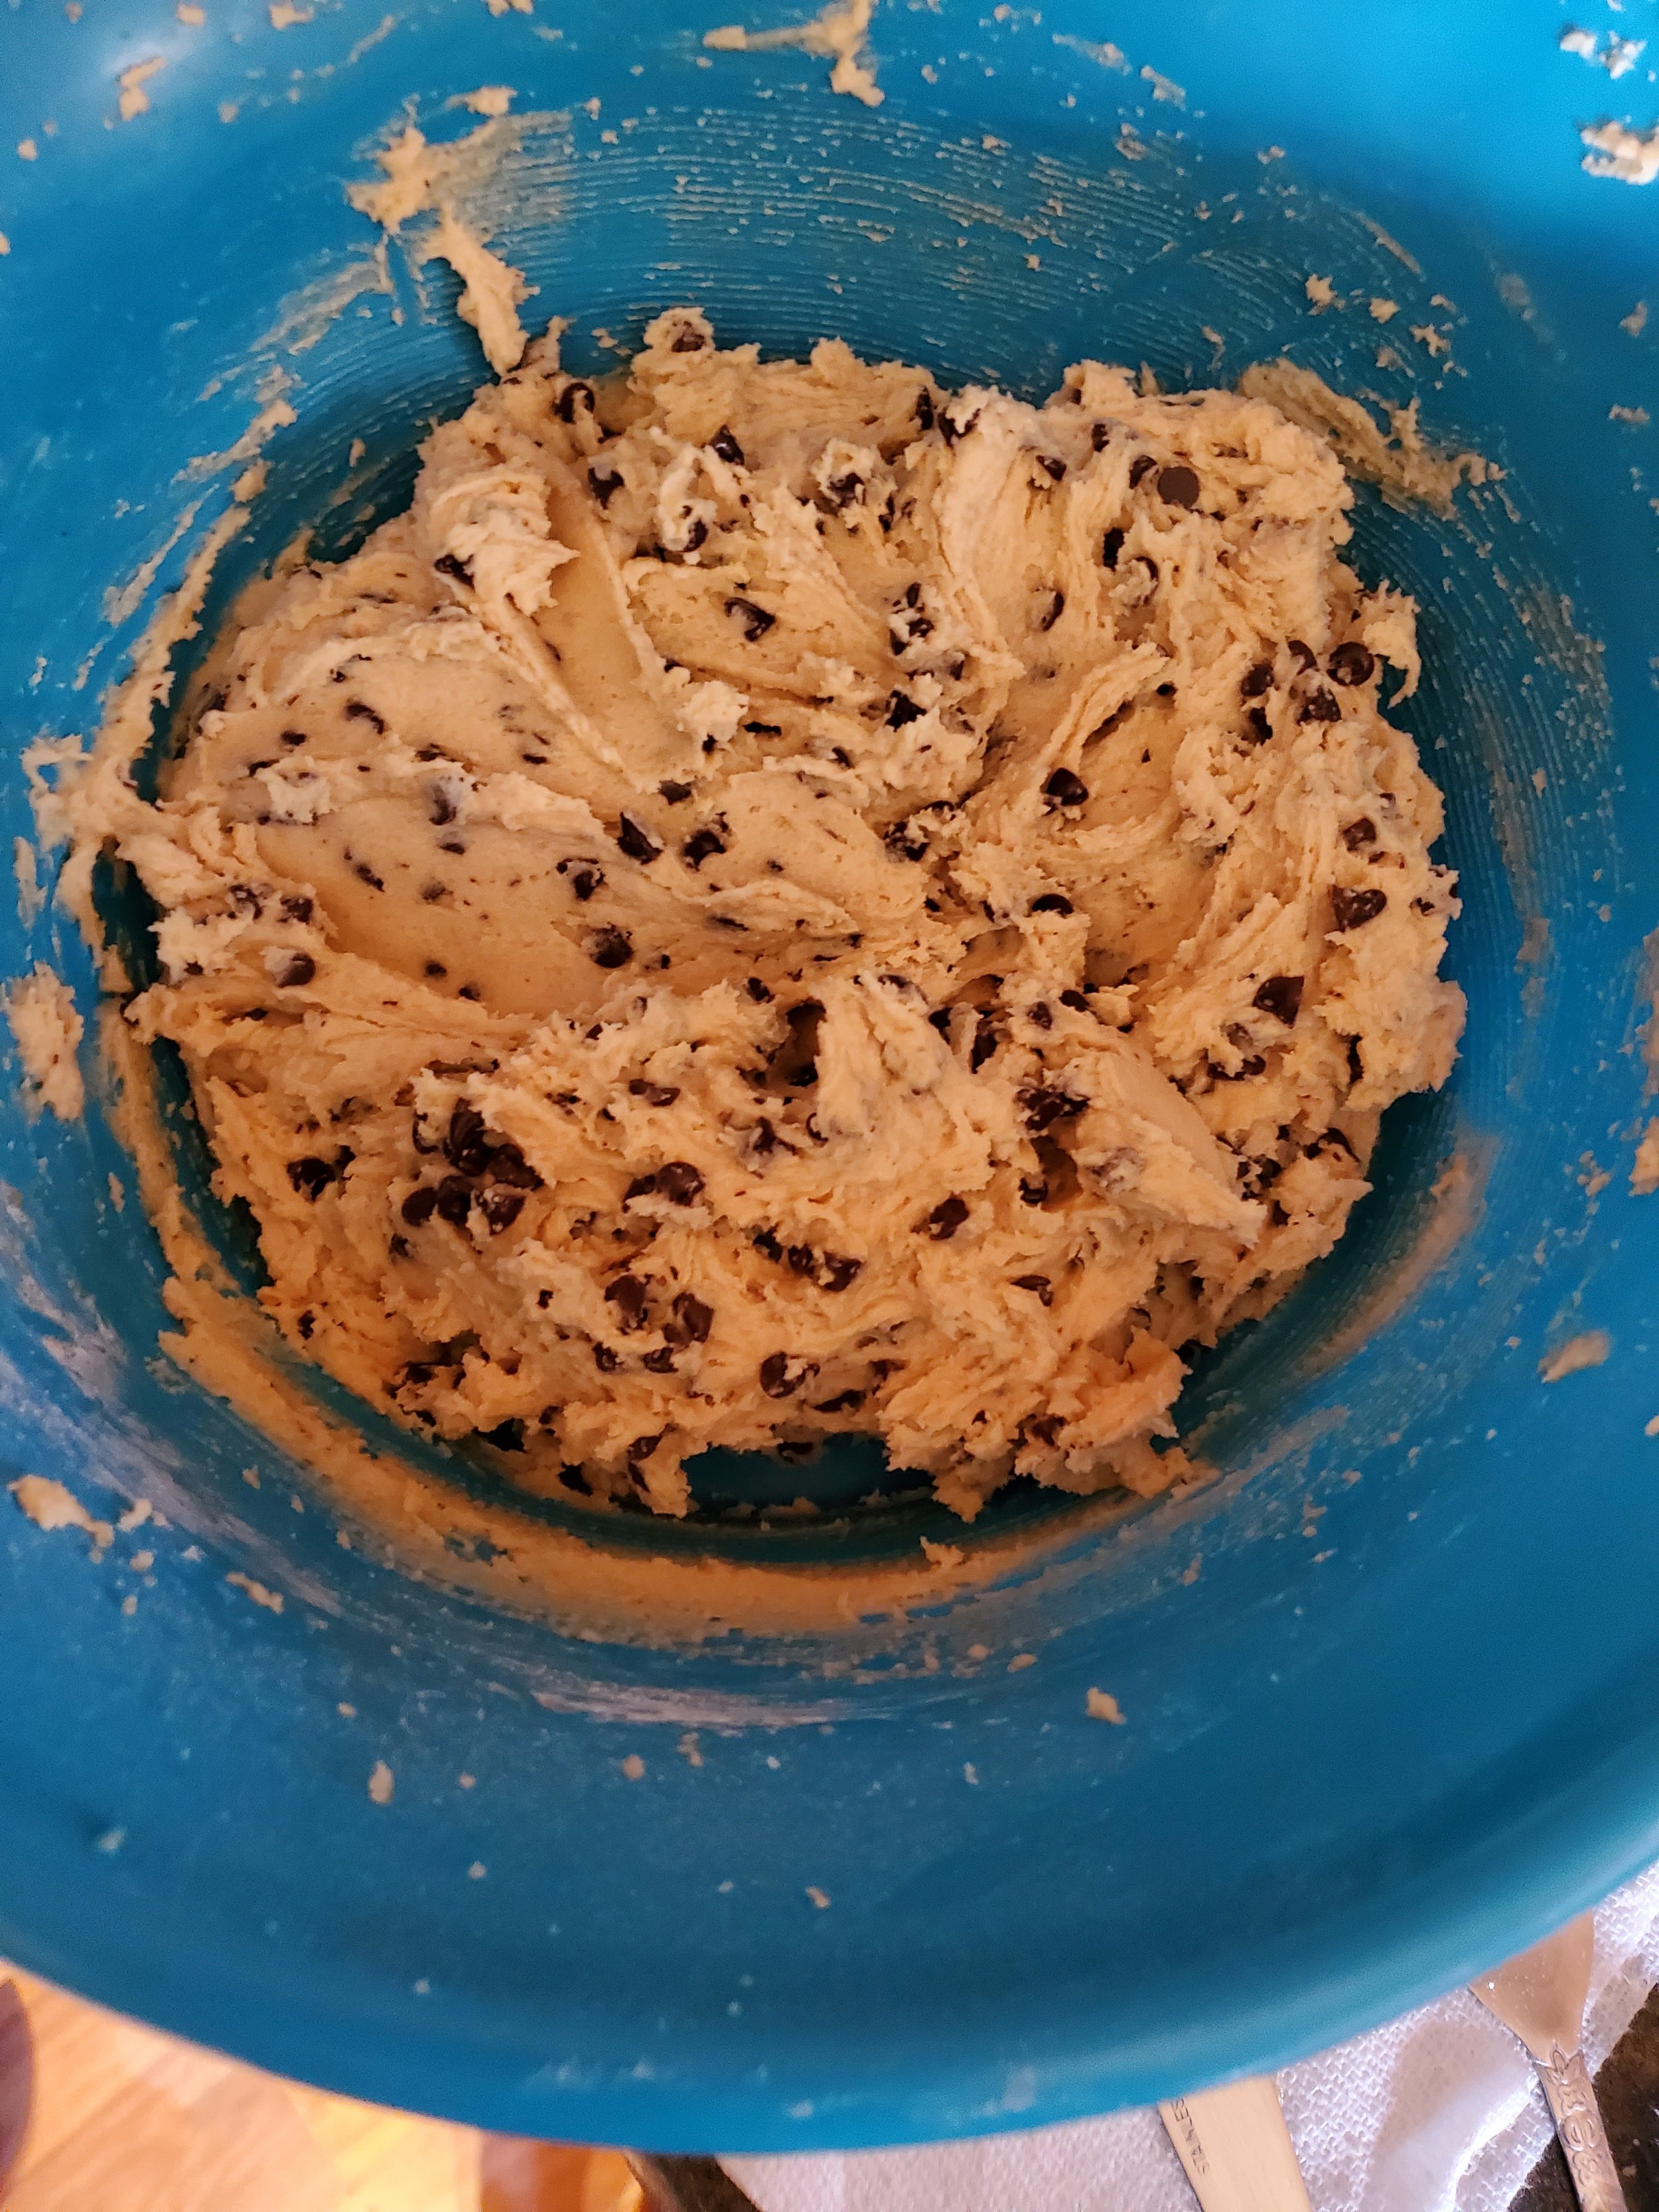
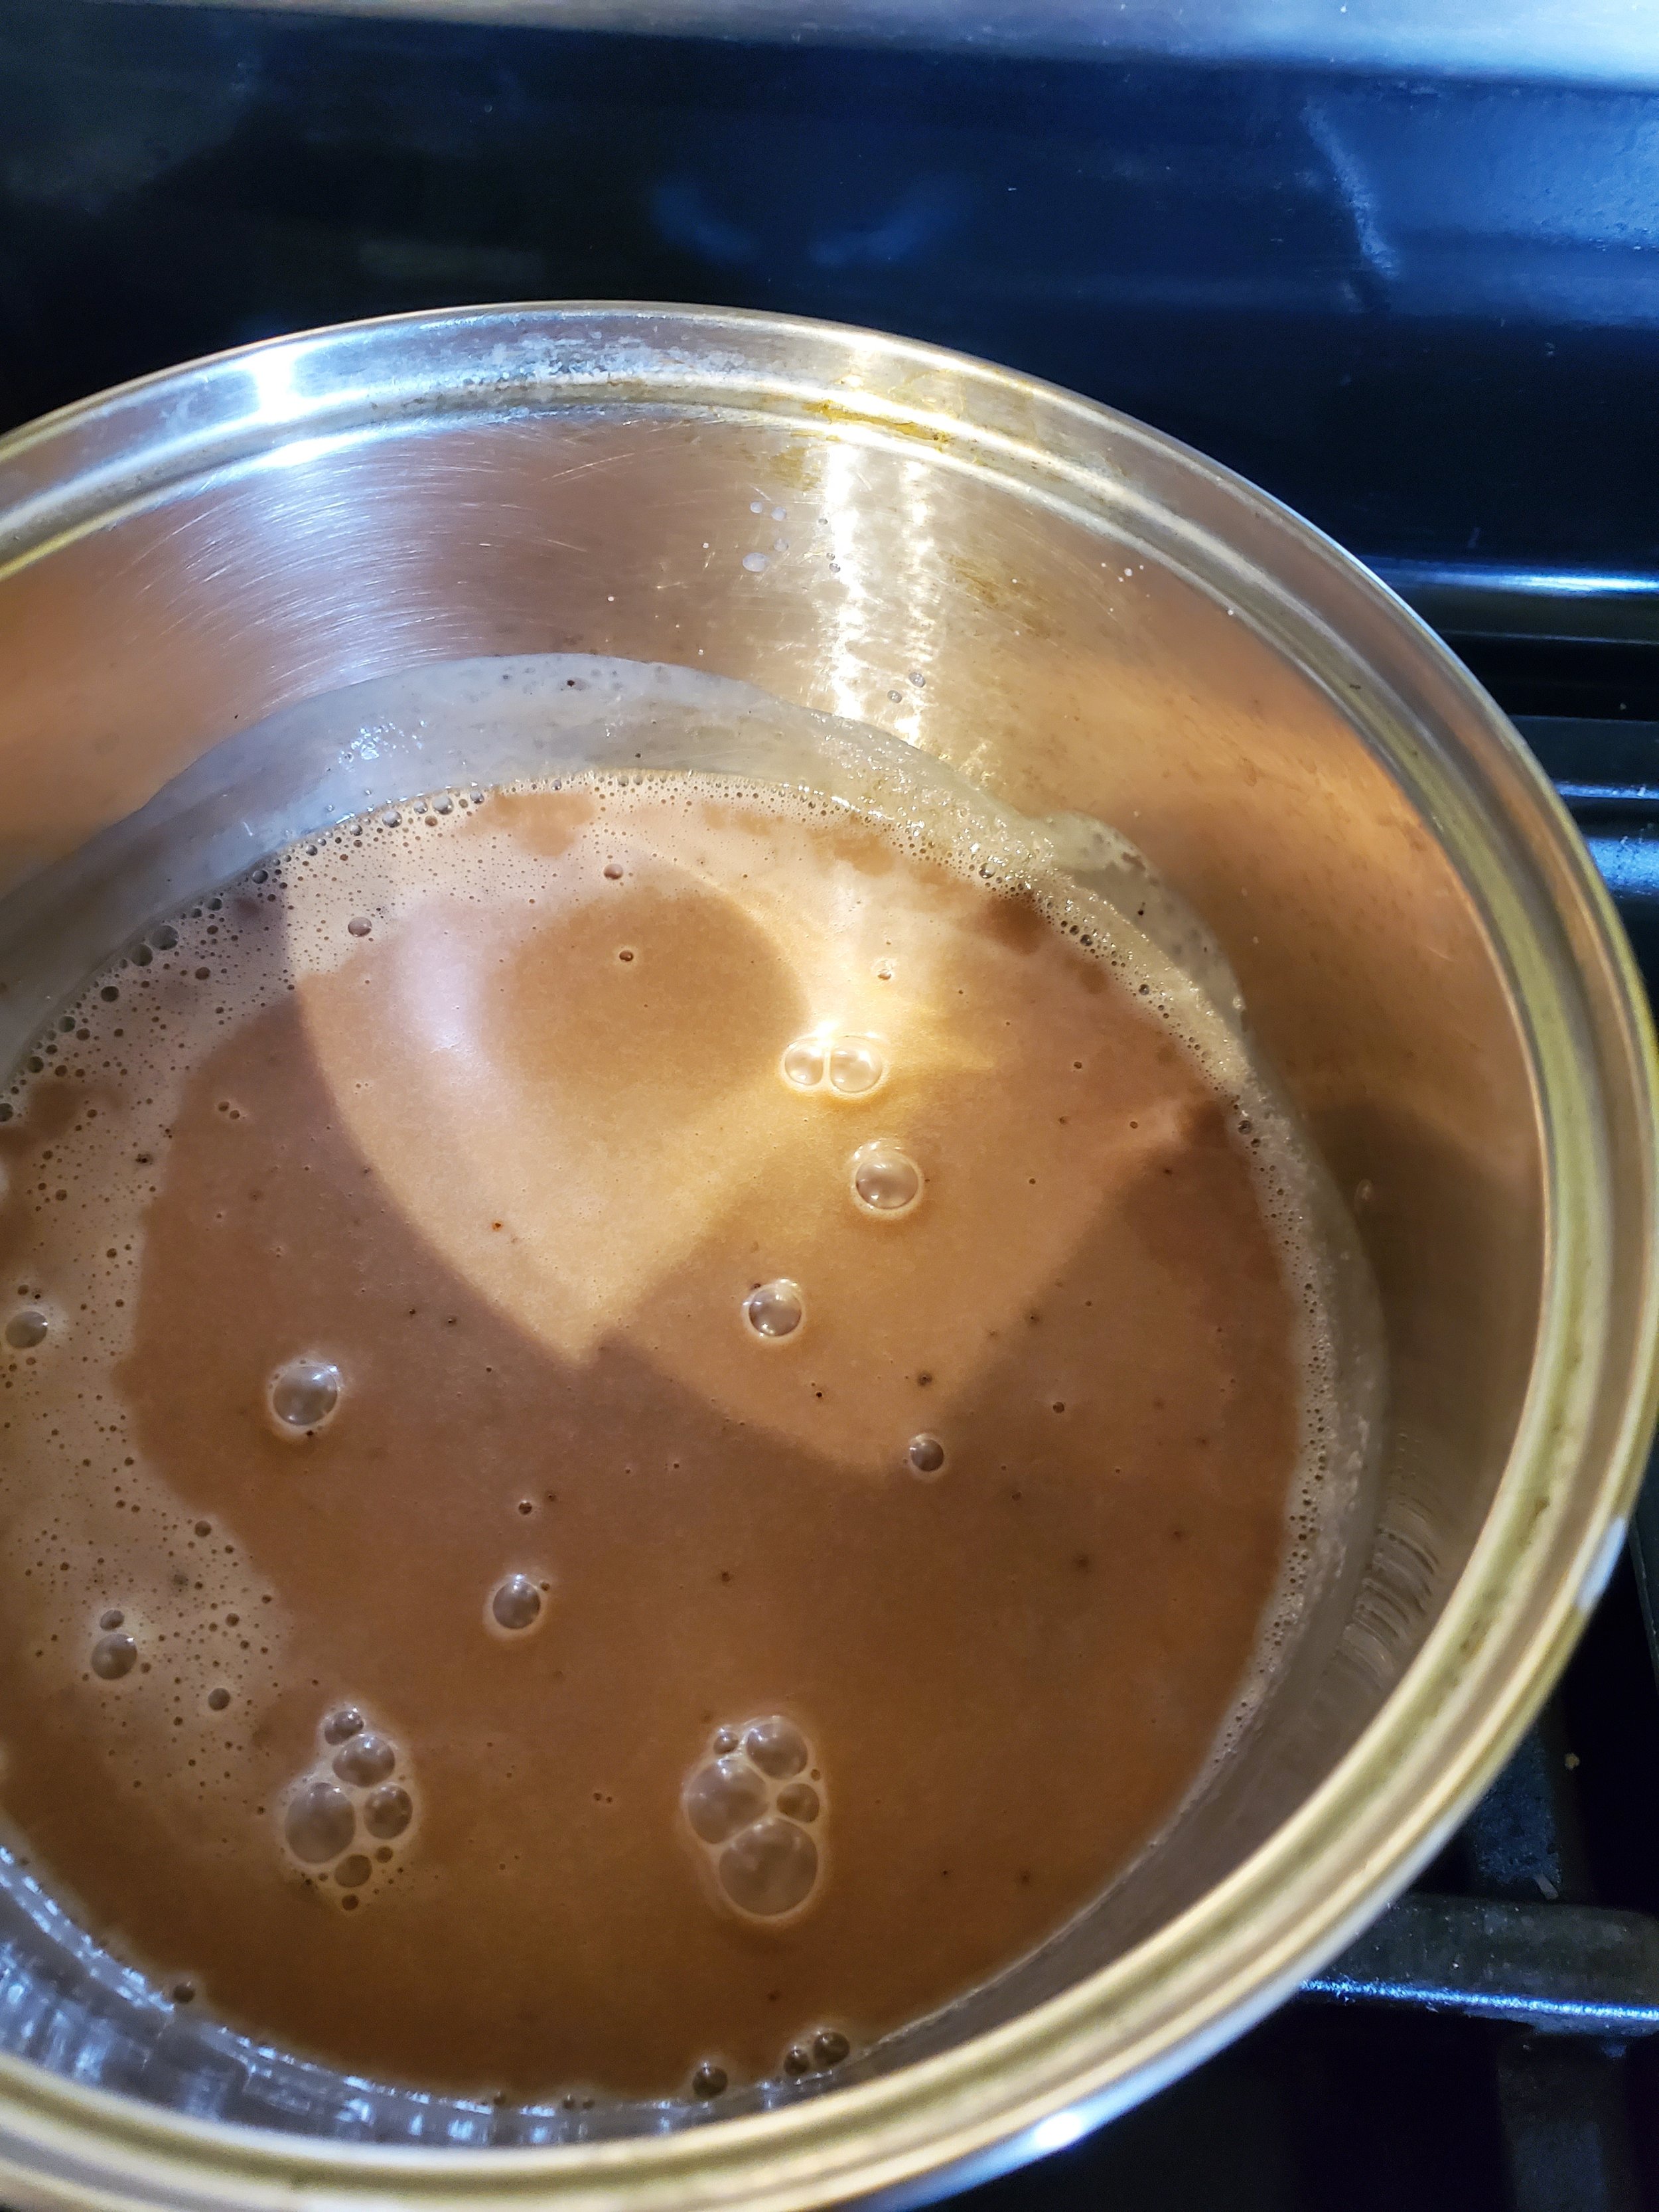
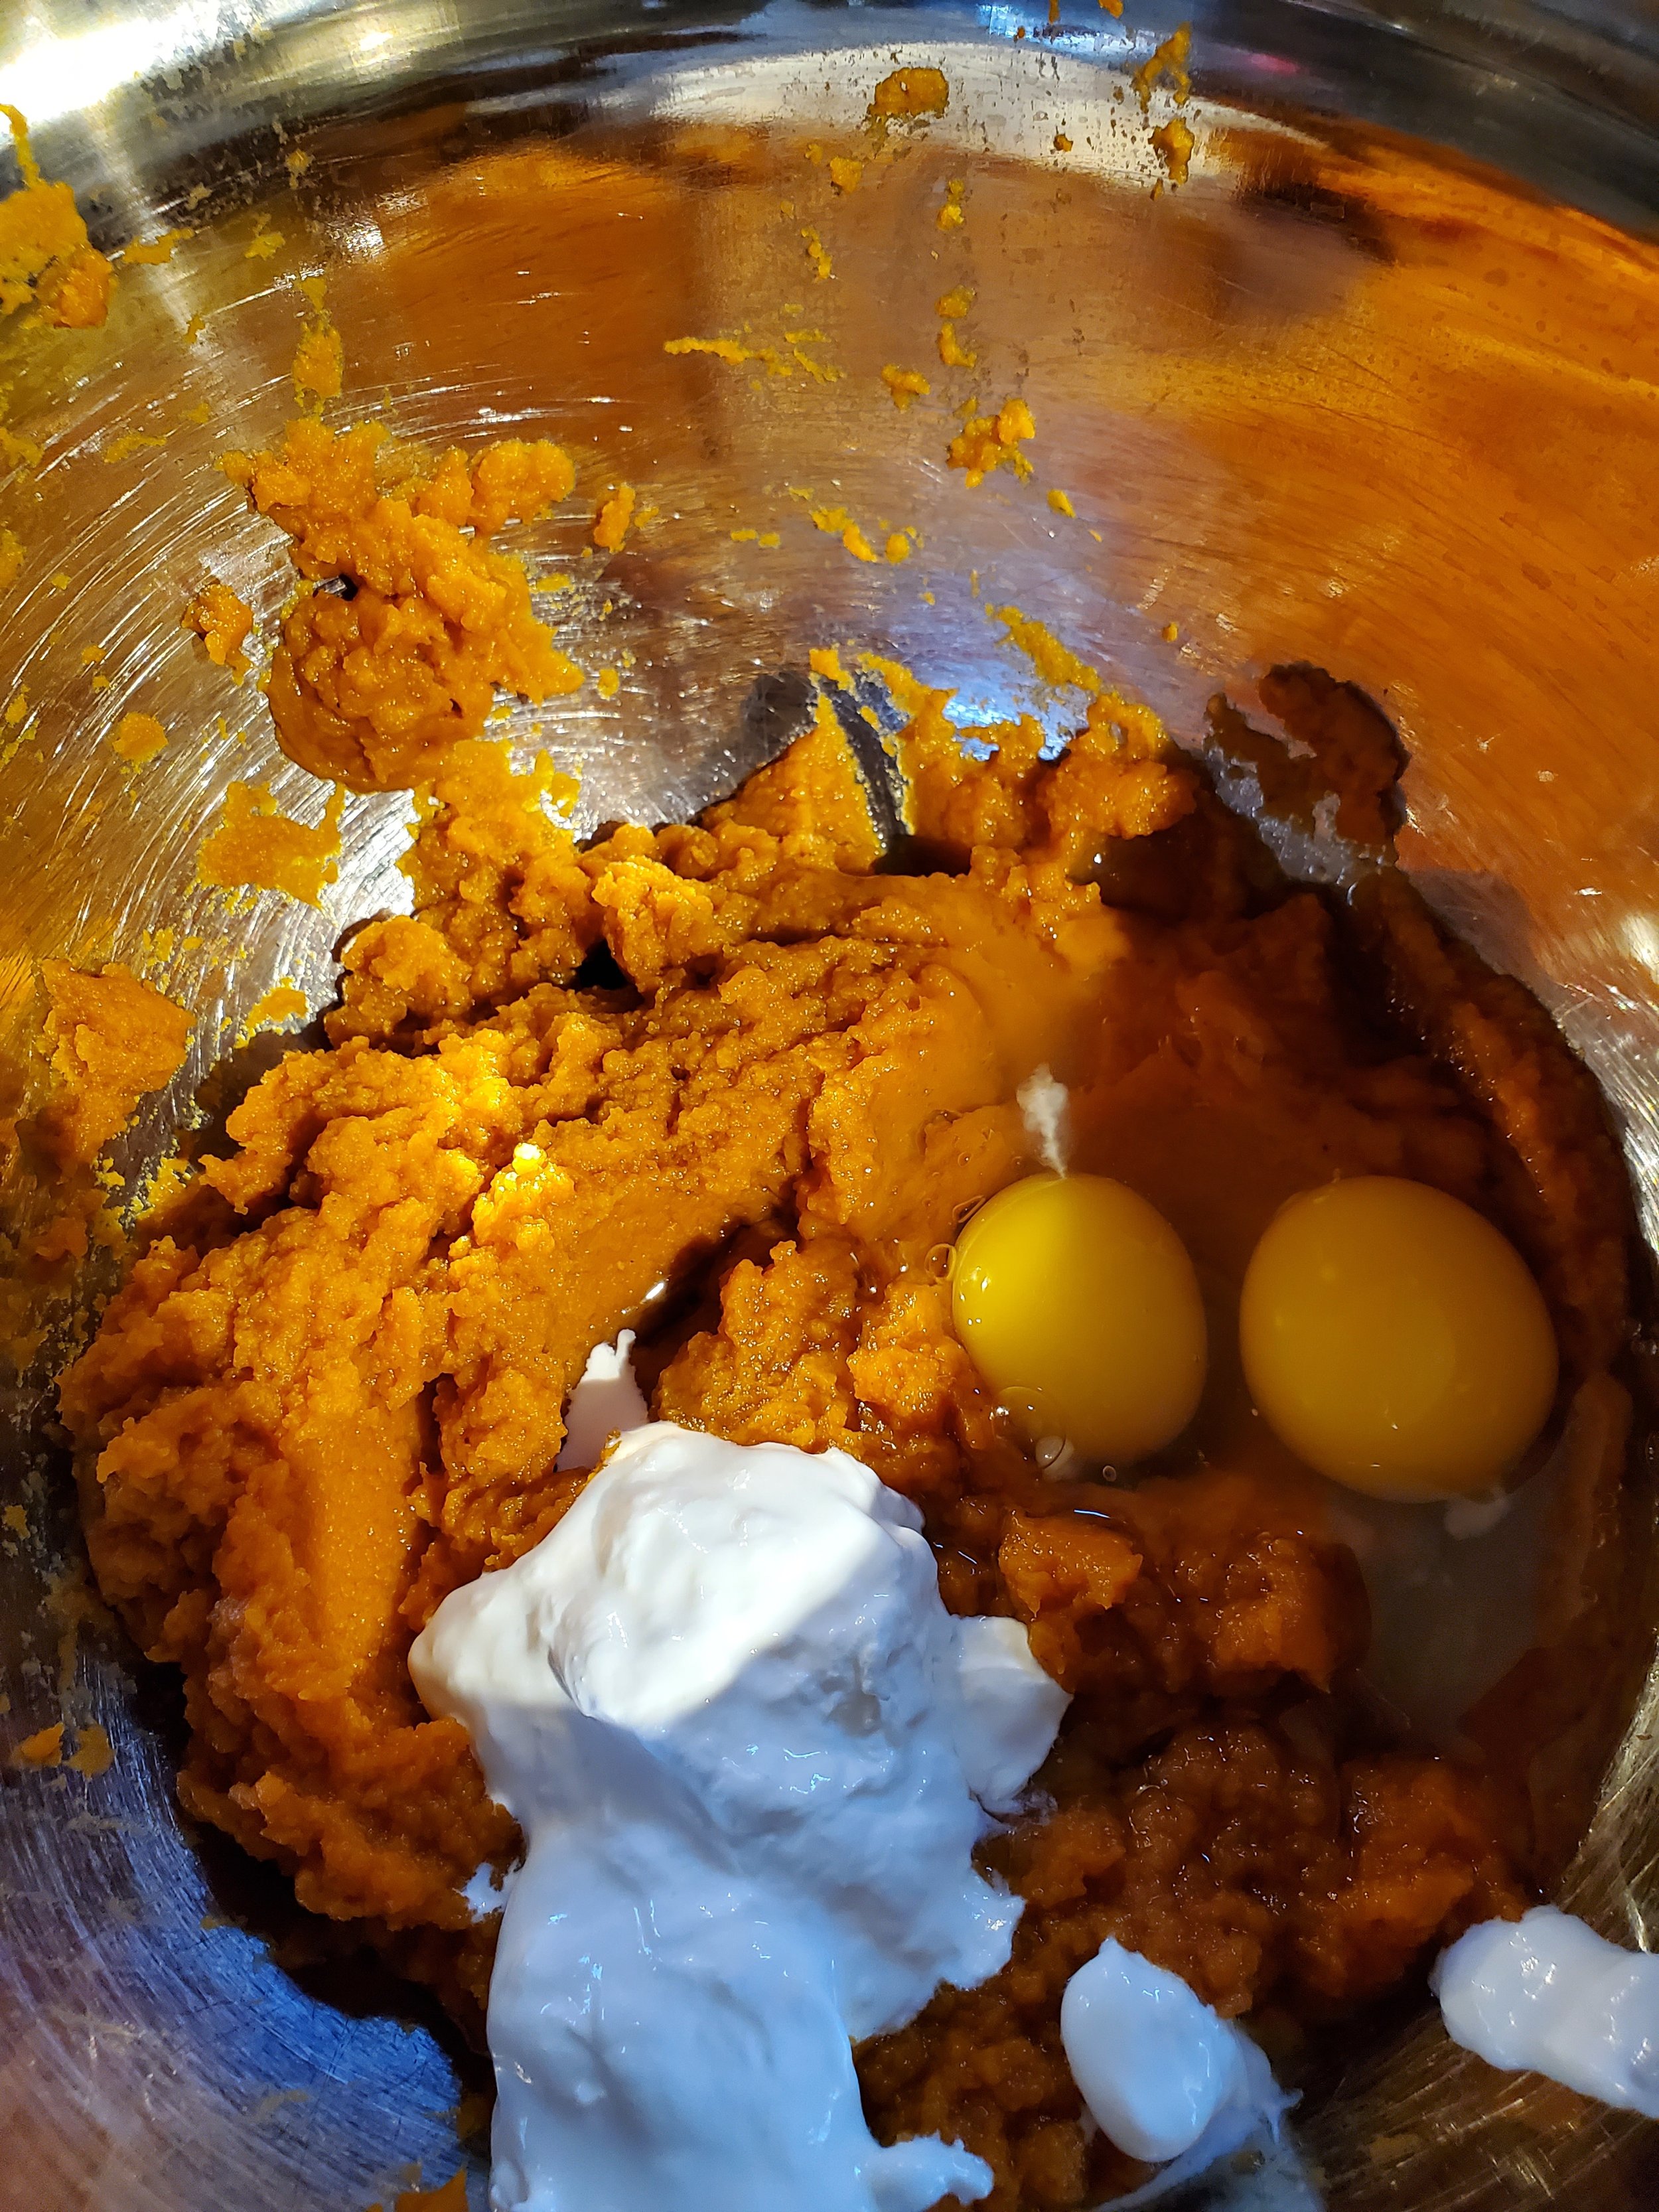
Dump the pumpkin into the mixing bowl (use a spoon to scrape the sides of the can to be certain you get all of it), then add the eggs and sour cream to the bowl and stir together, making sure to break the yolks on the eggs so they're properly incorporated.


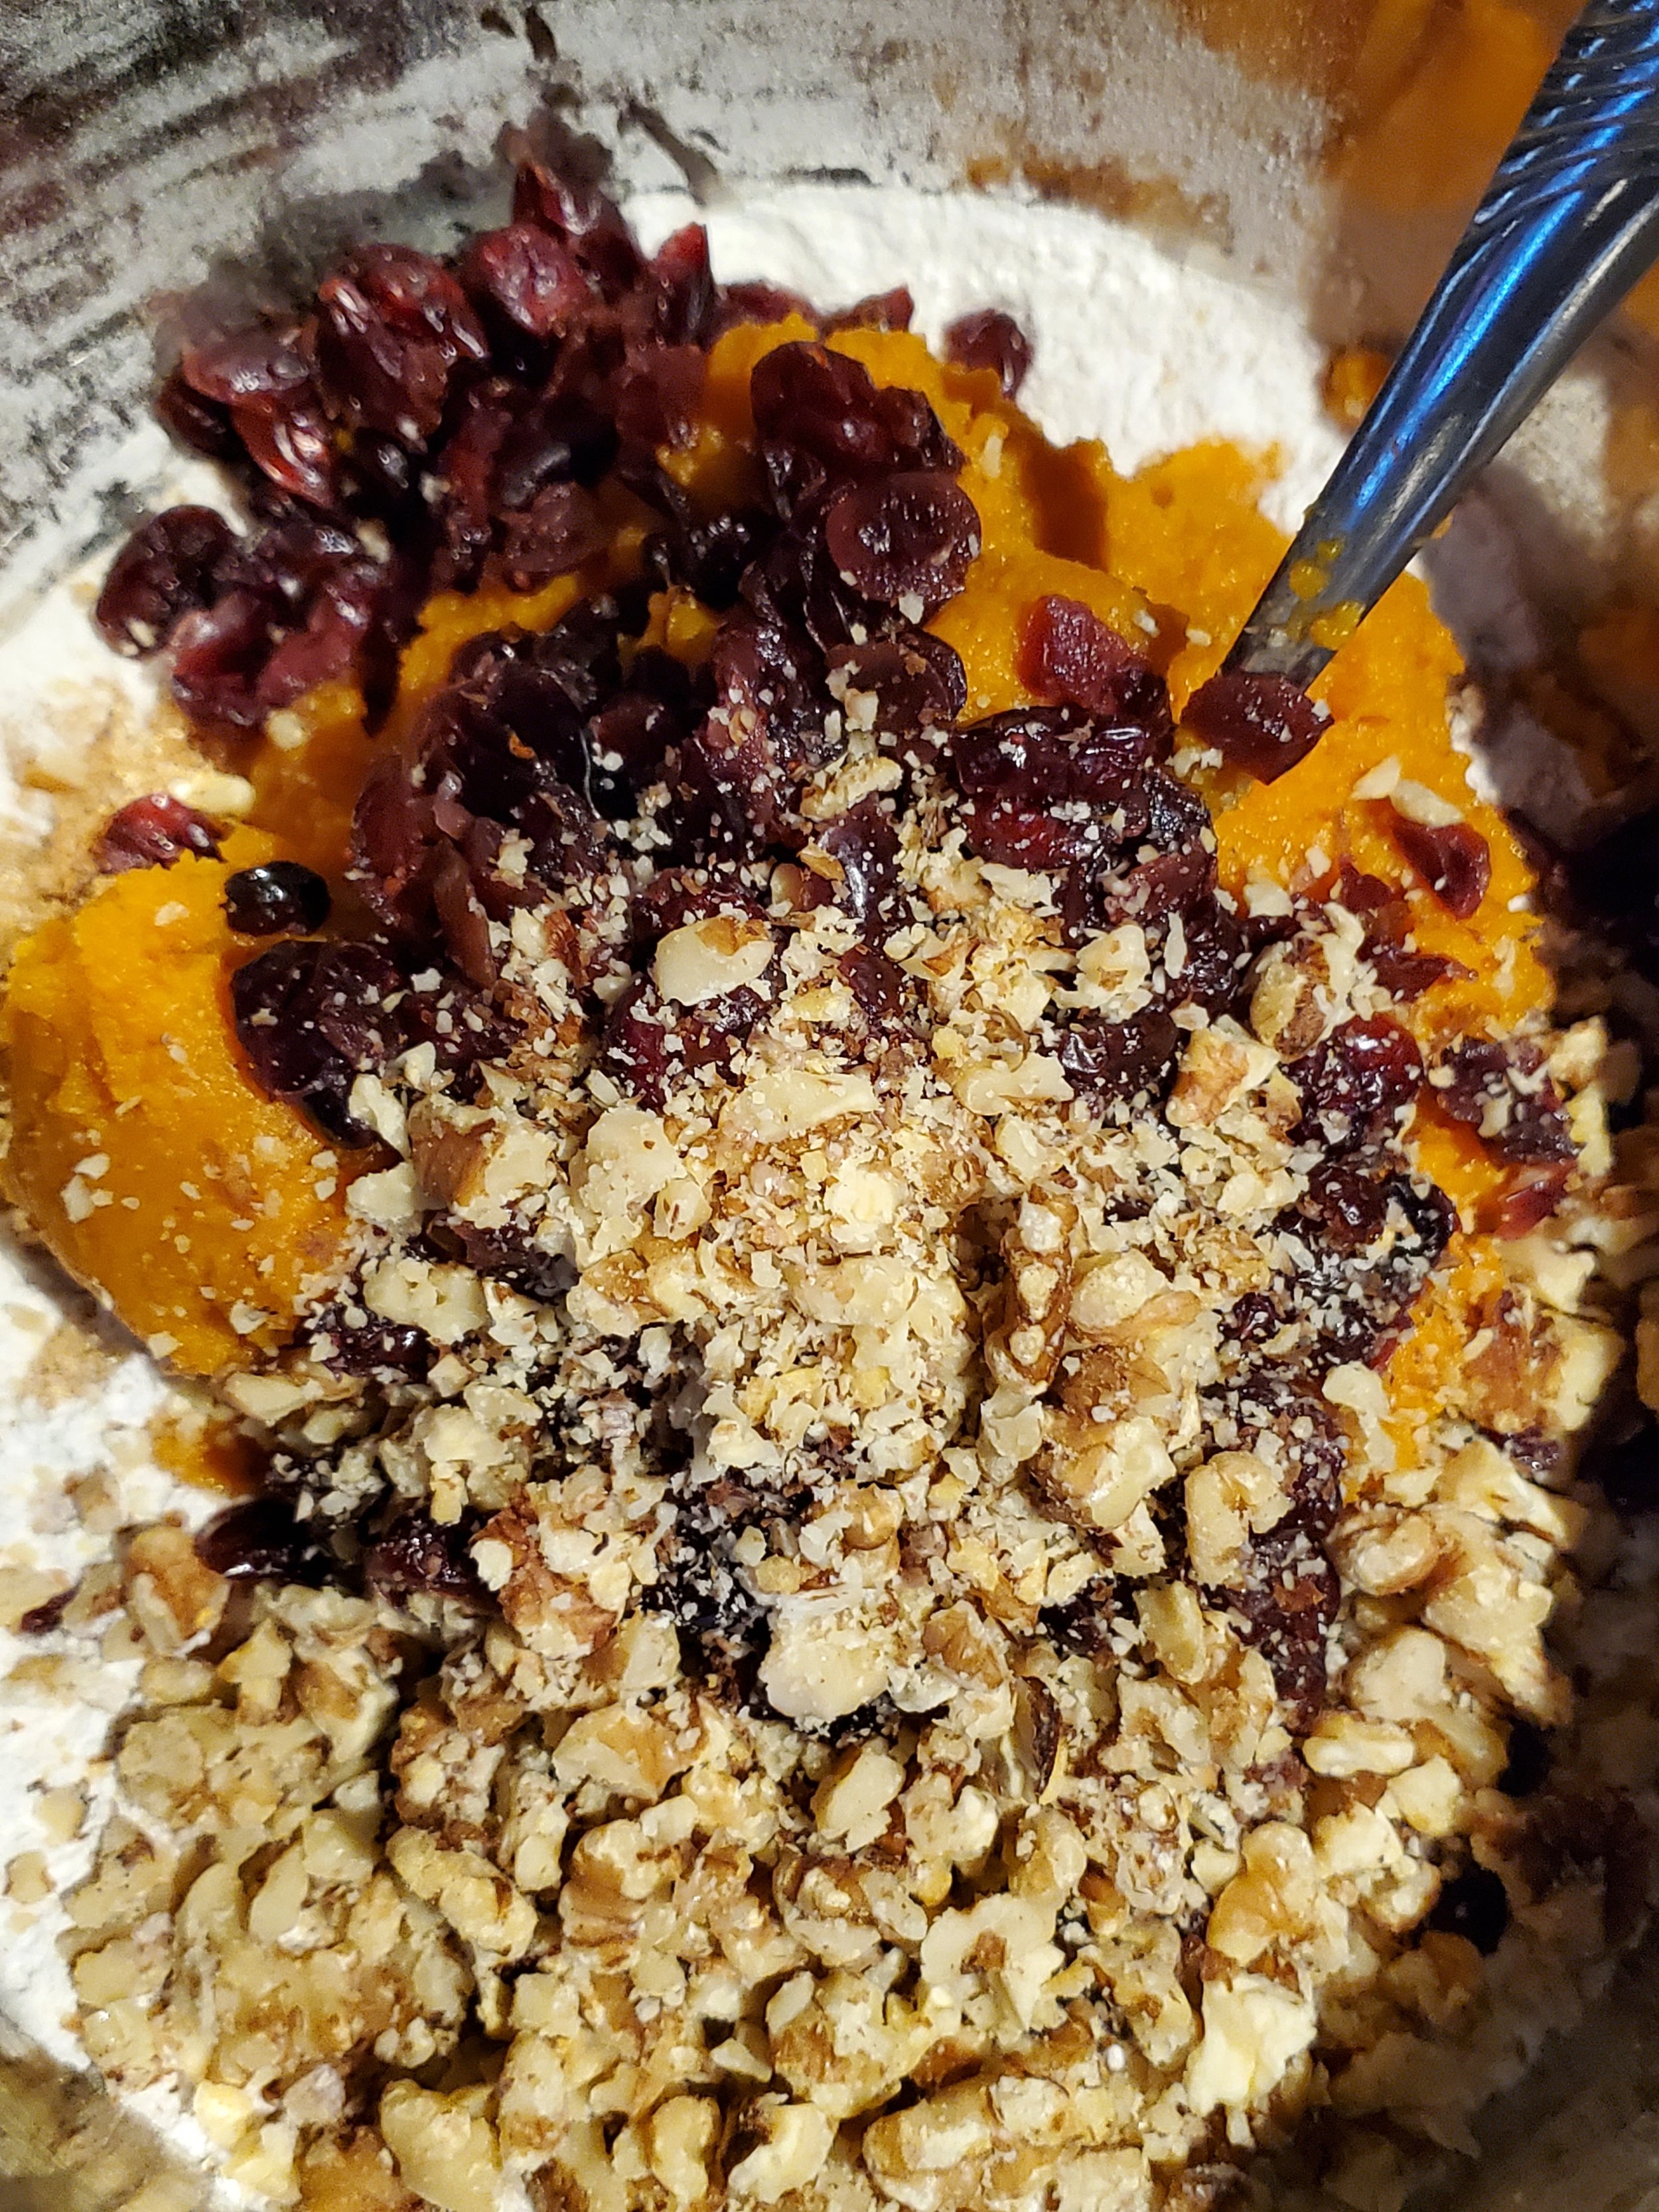
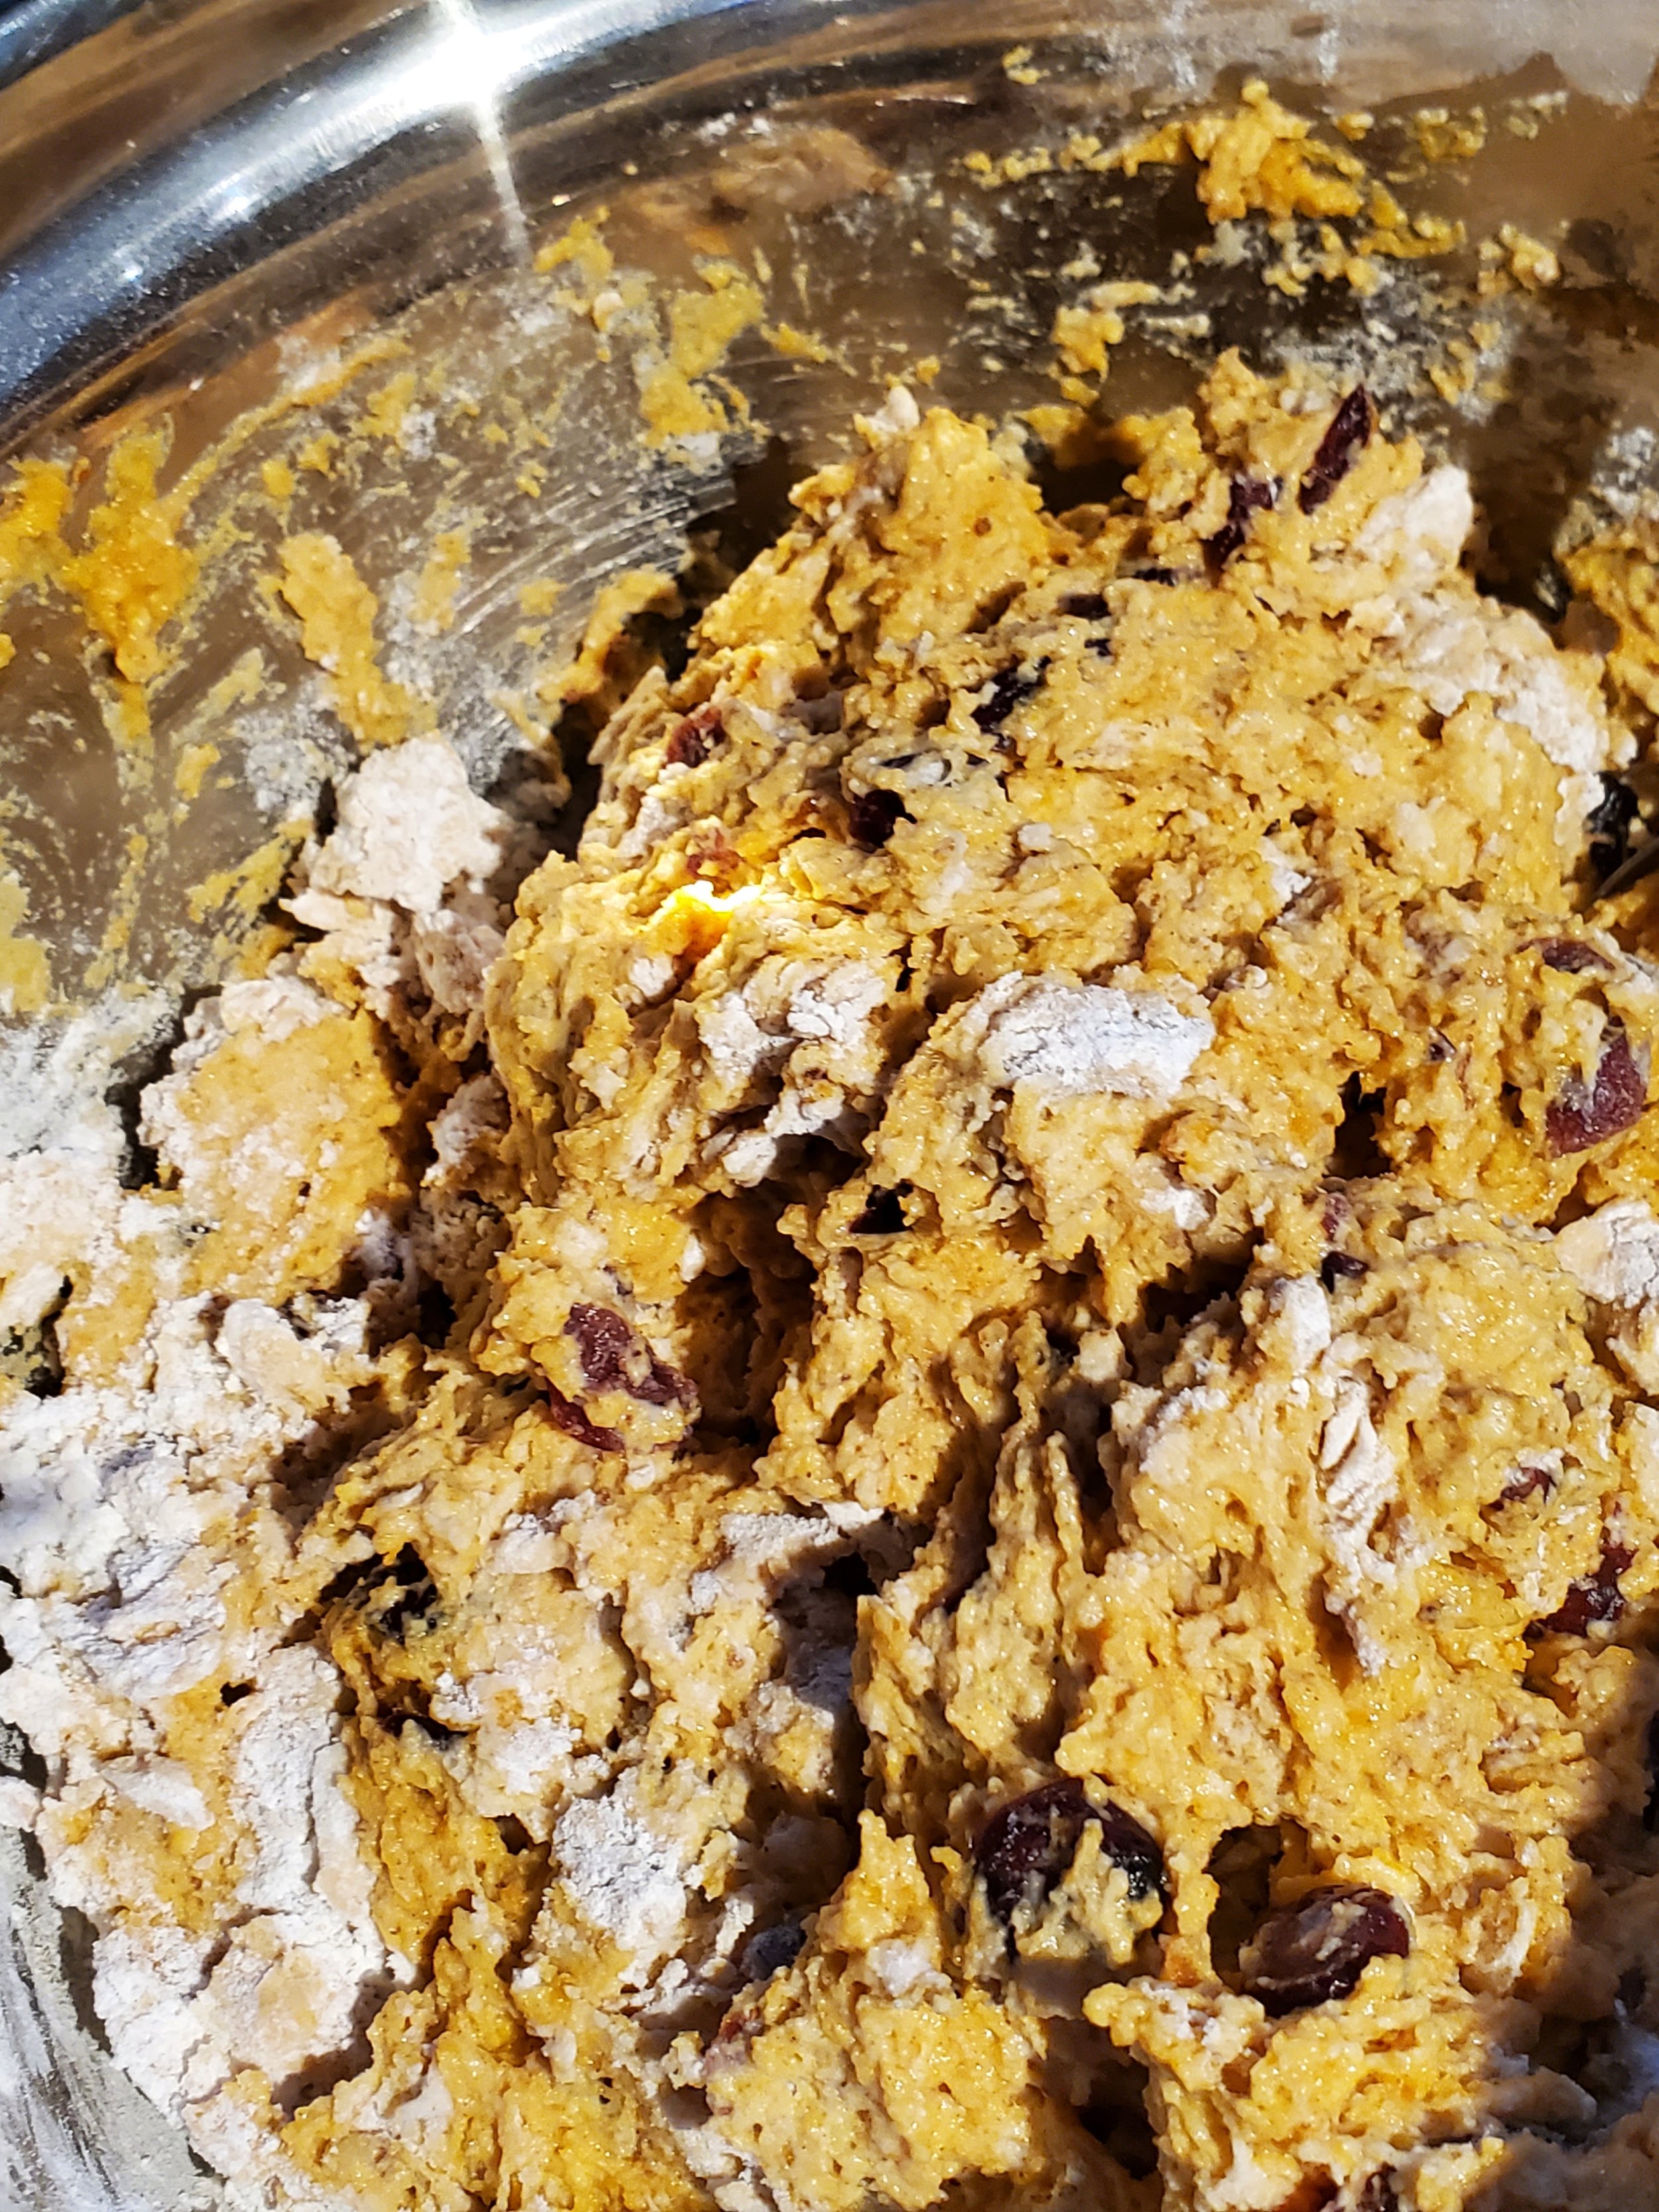
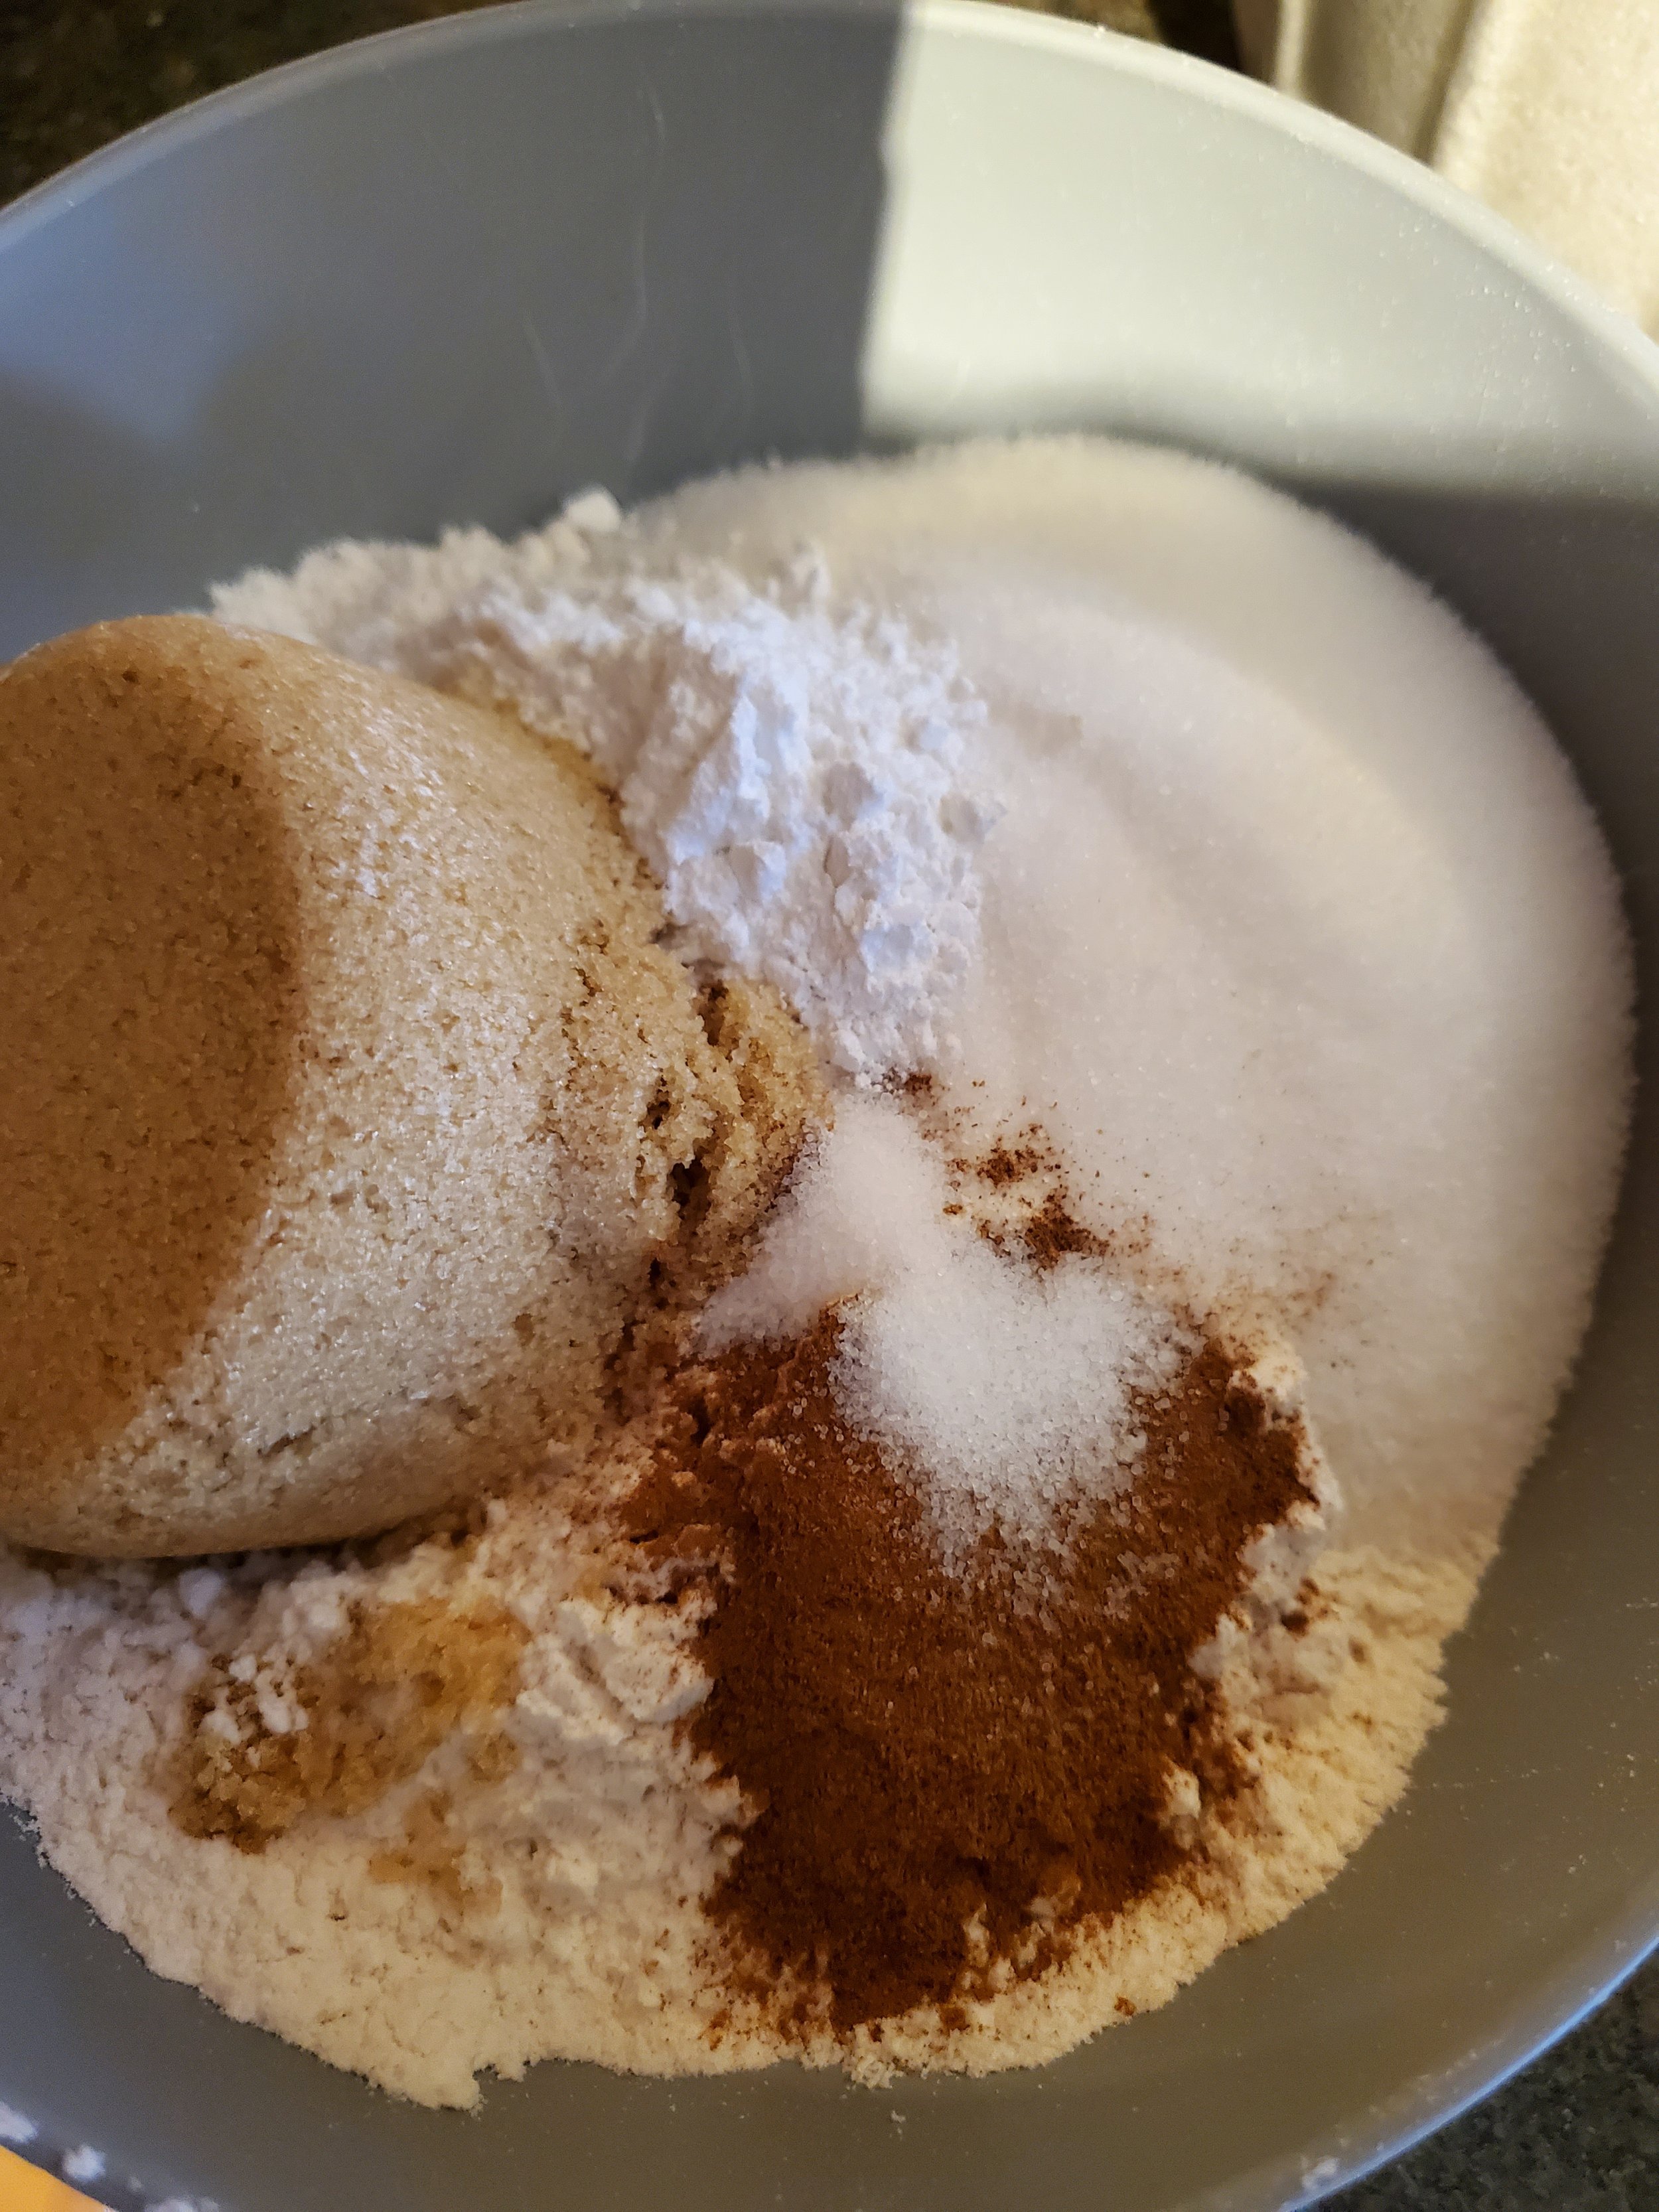
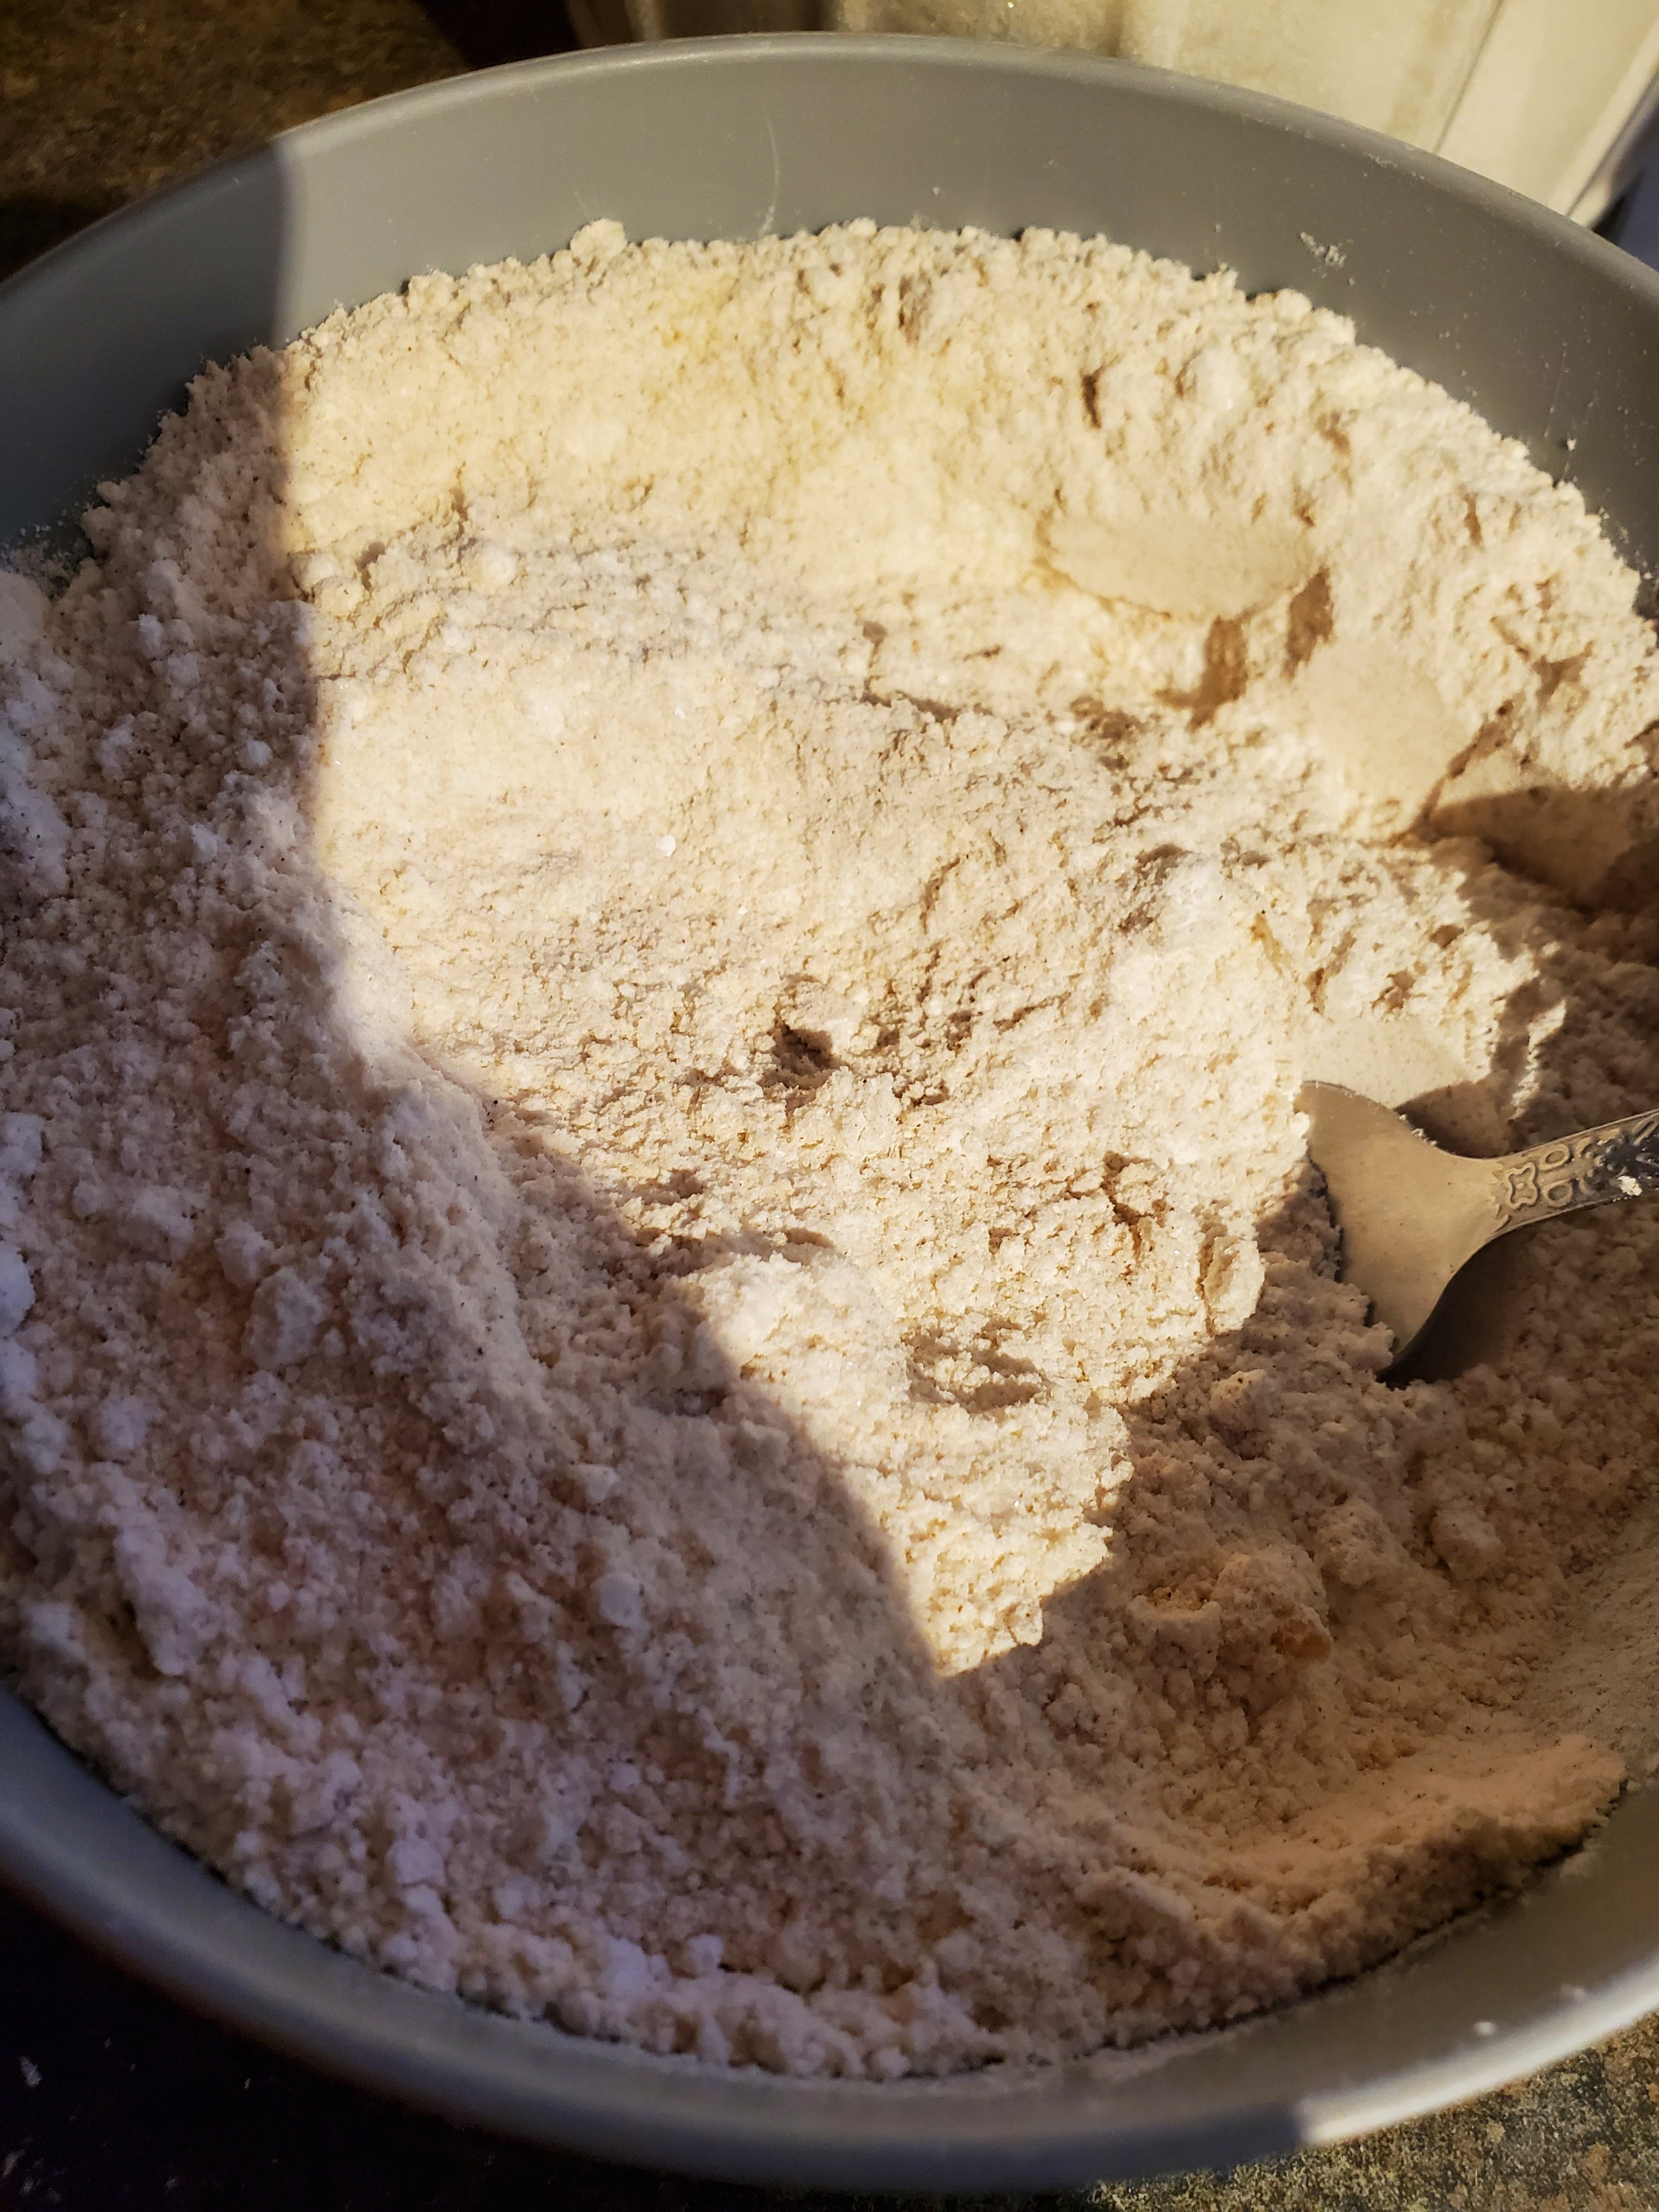
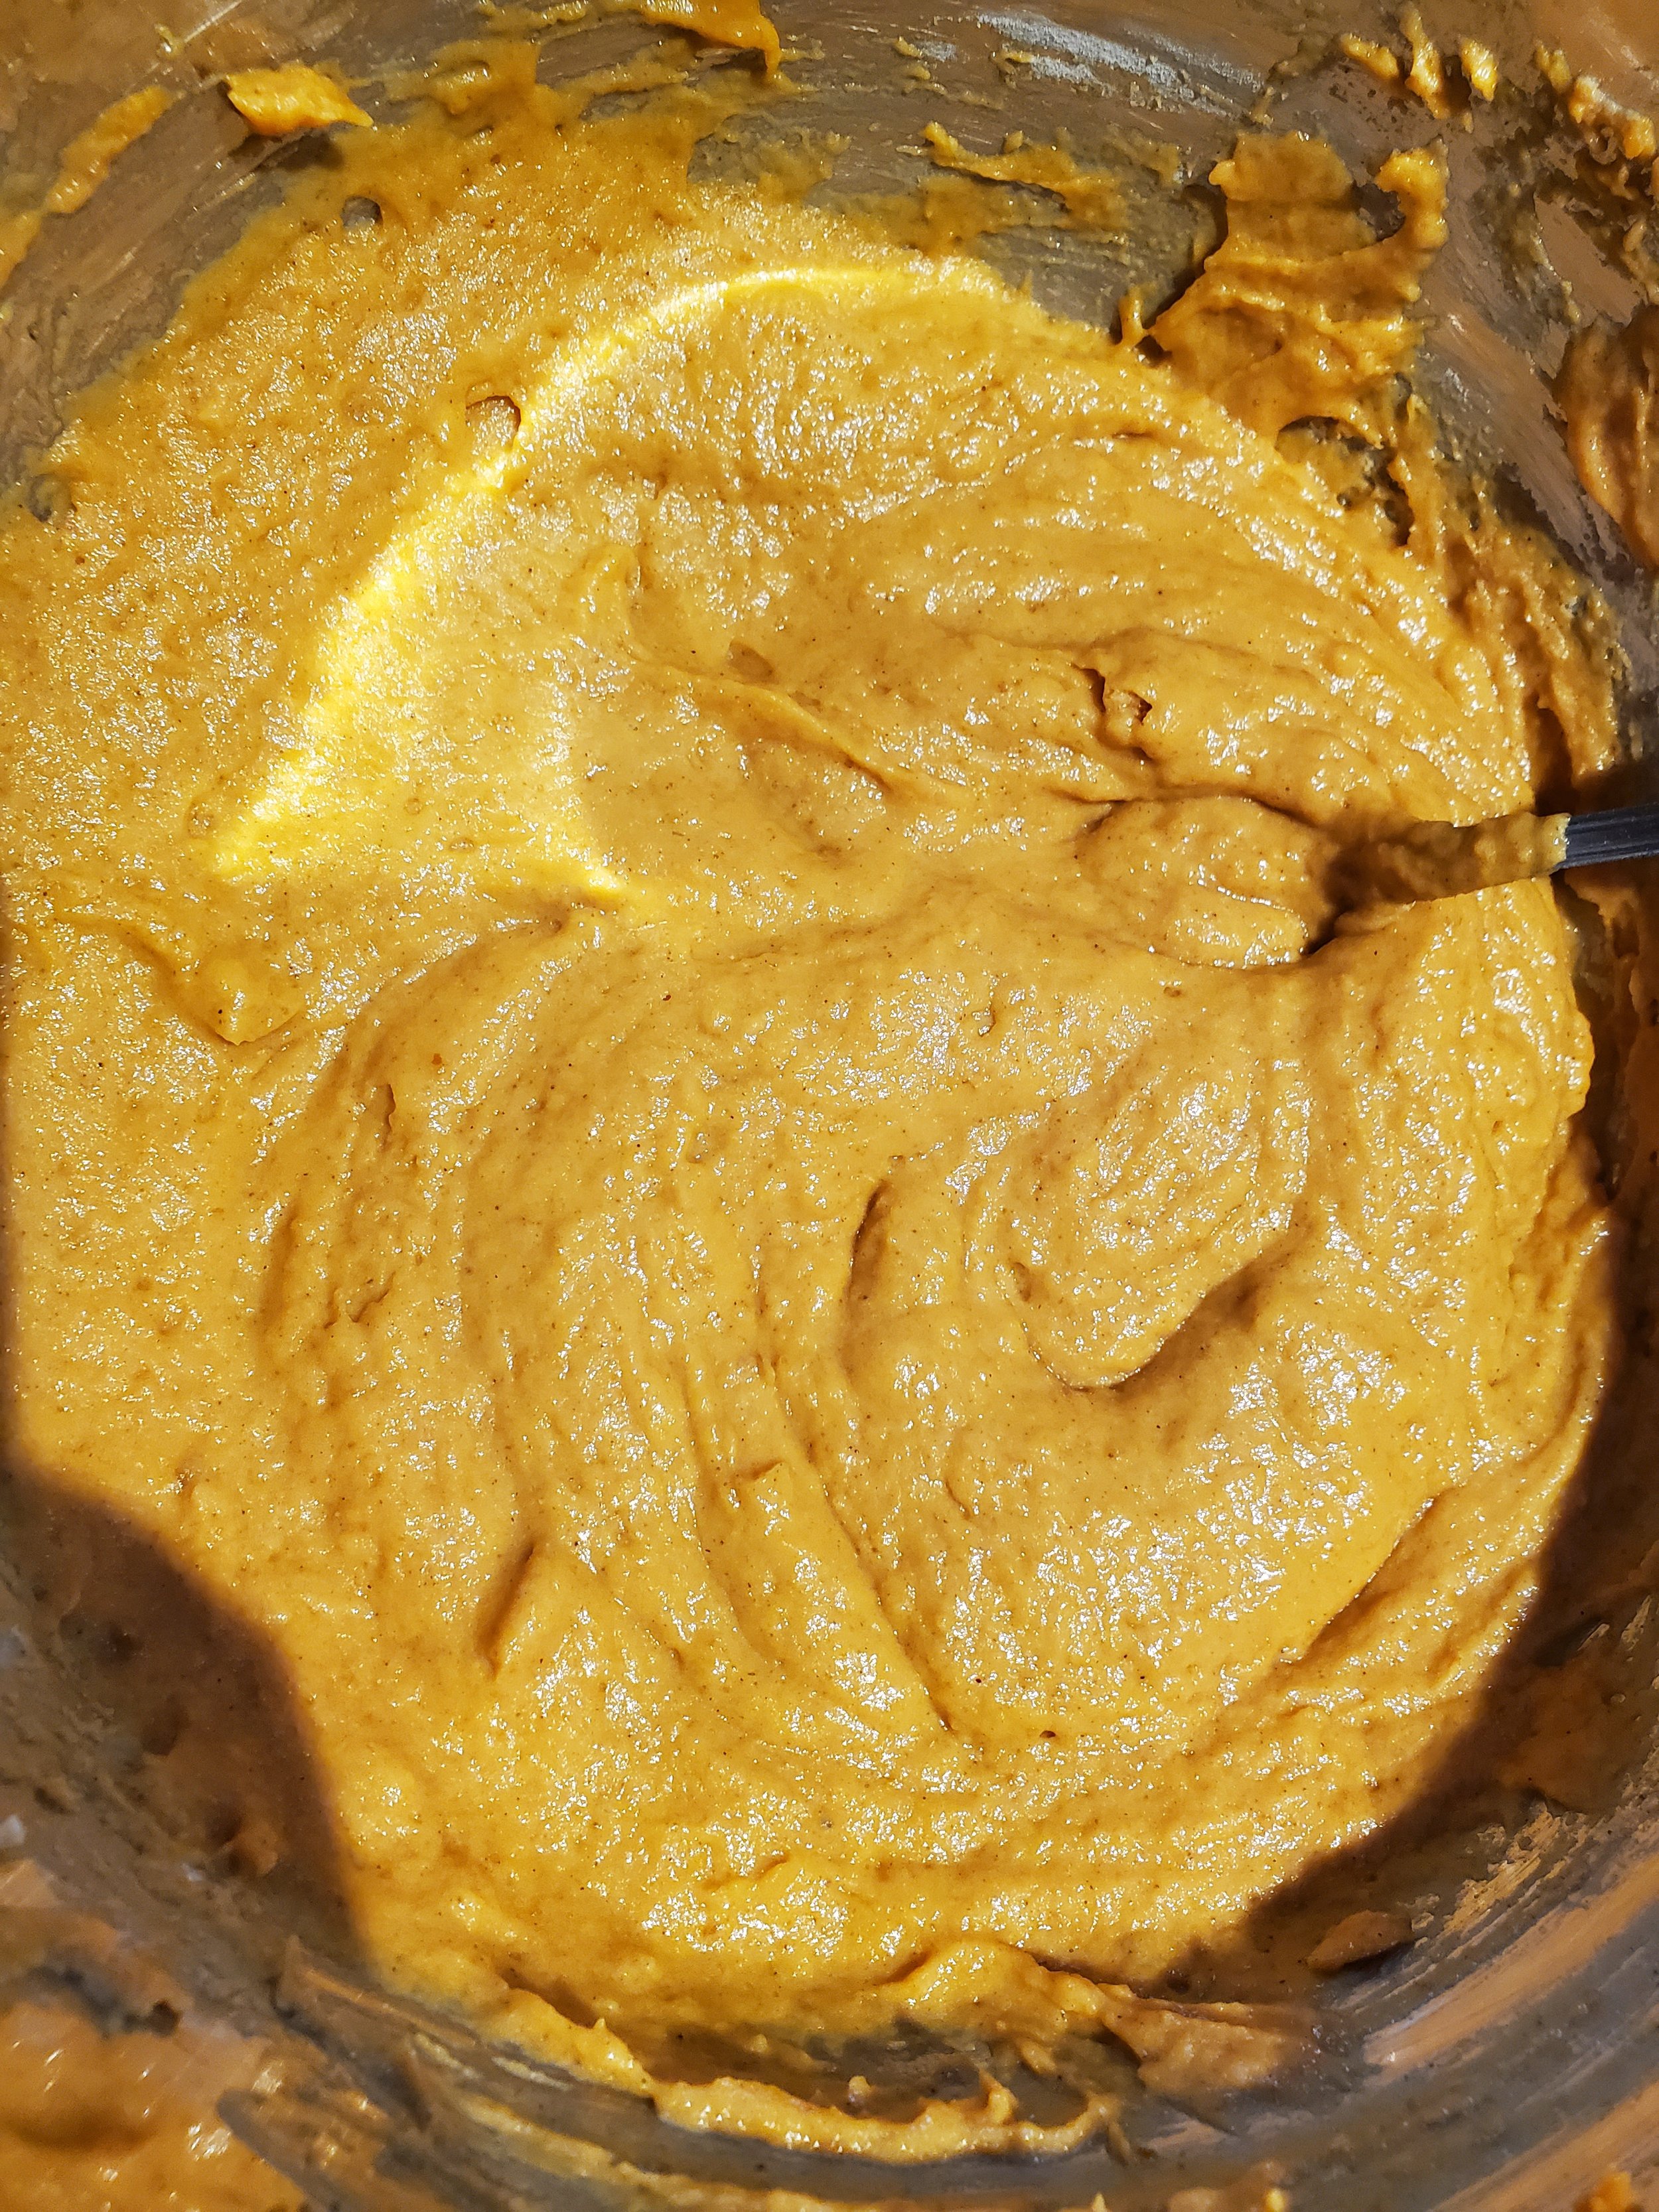
Measure your dry ingredients - sugars, flour, spices, salt, baking powder - into another dish and mix them up. Add the dry ingredients slowly to the wet ingredients, stirring as you go. Try to avoid ending up with any clumps here, but don't stir it to death. Overdoing it will cause the muffins to be rubbery.


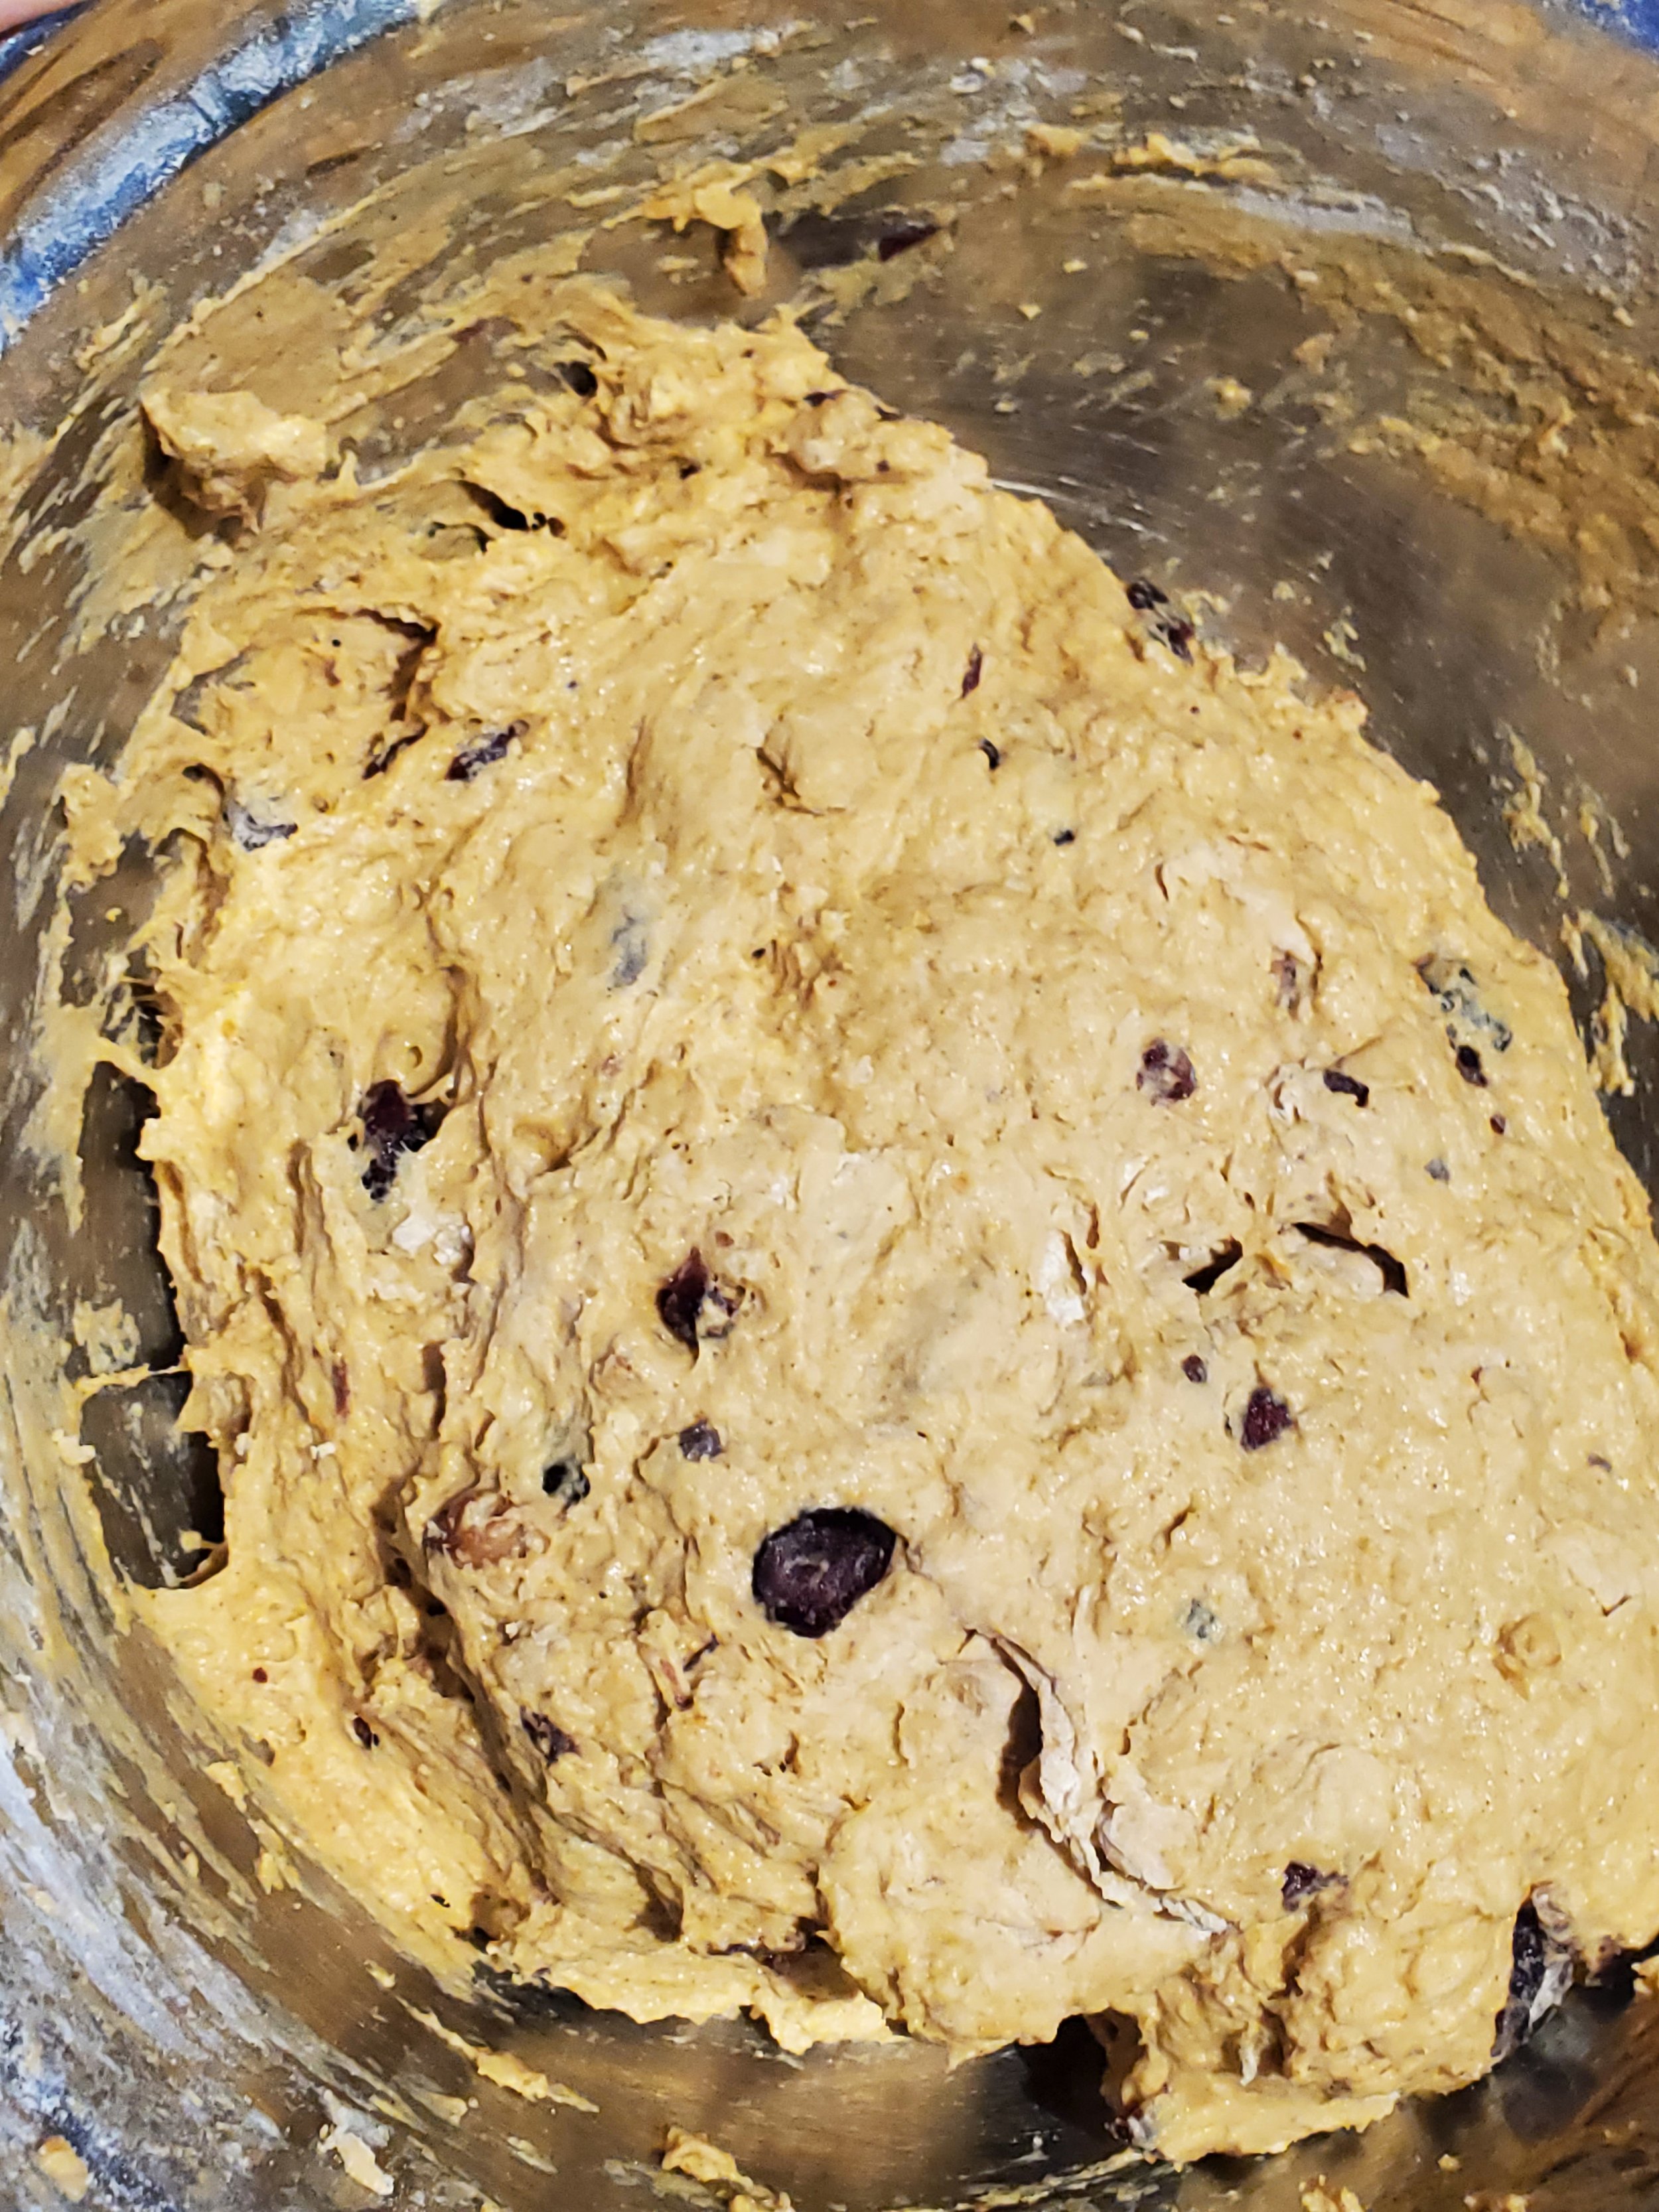
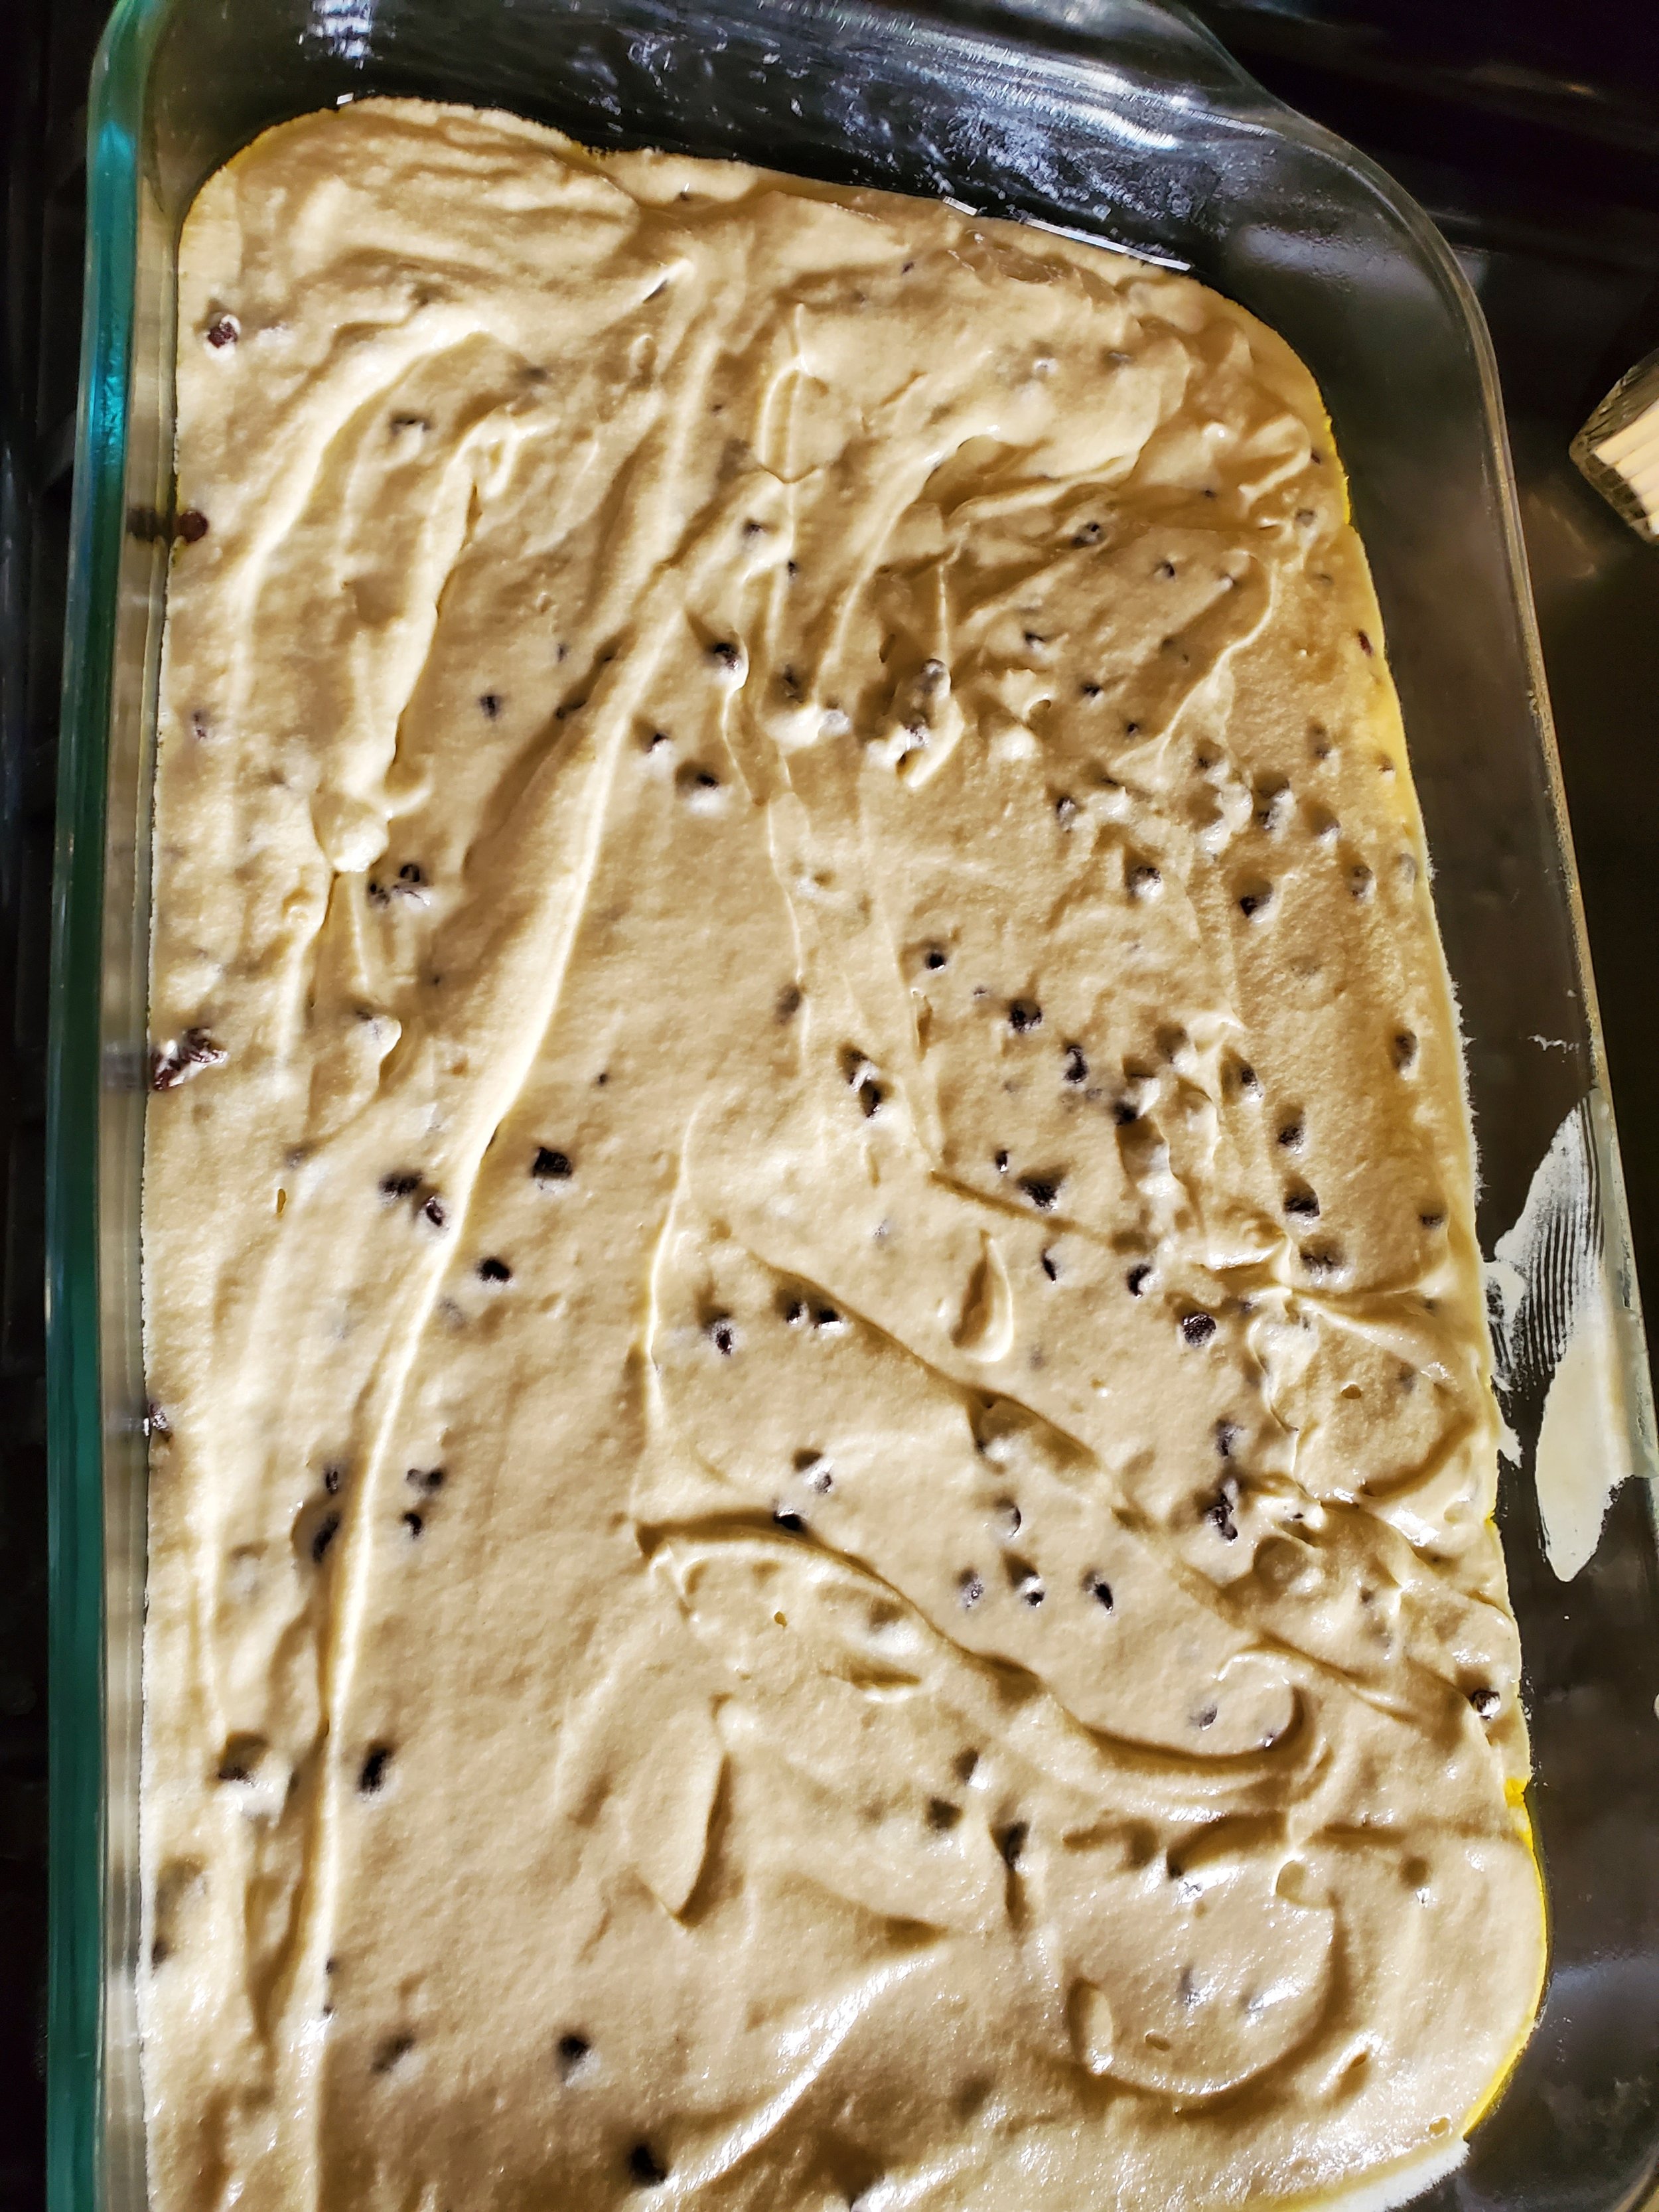
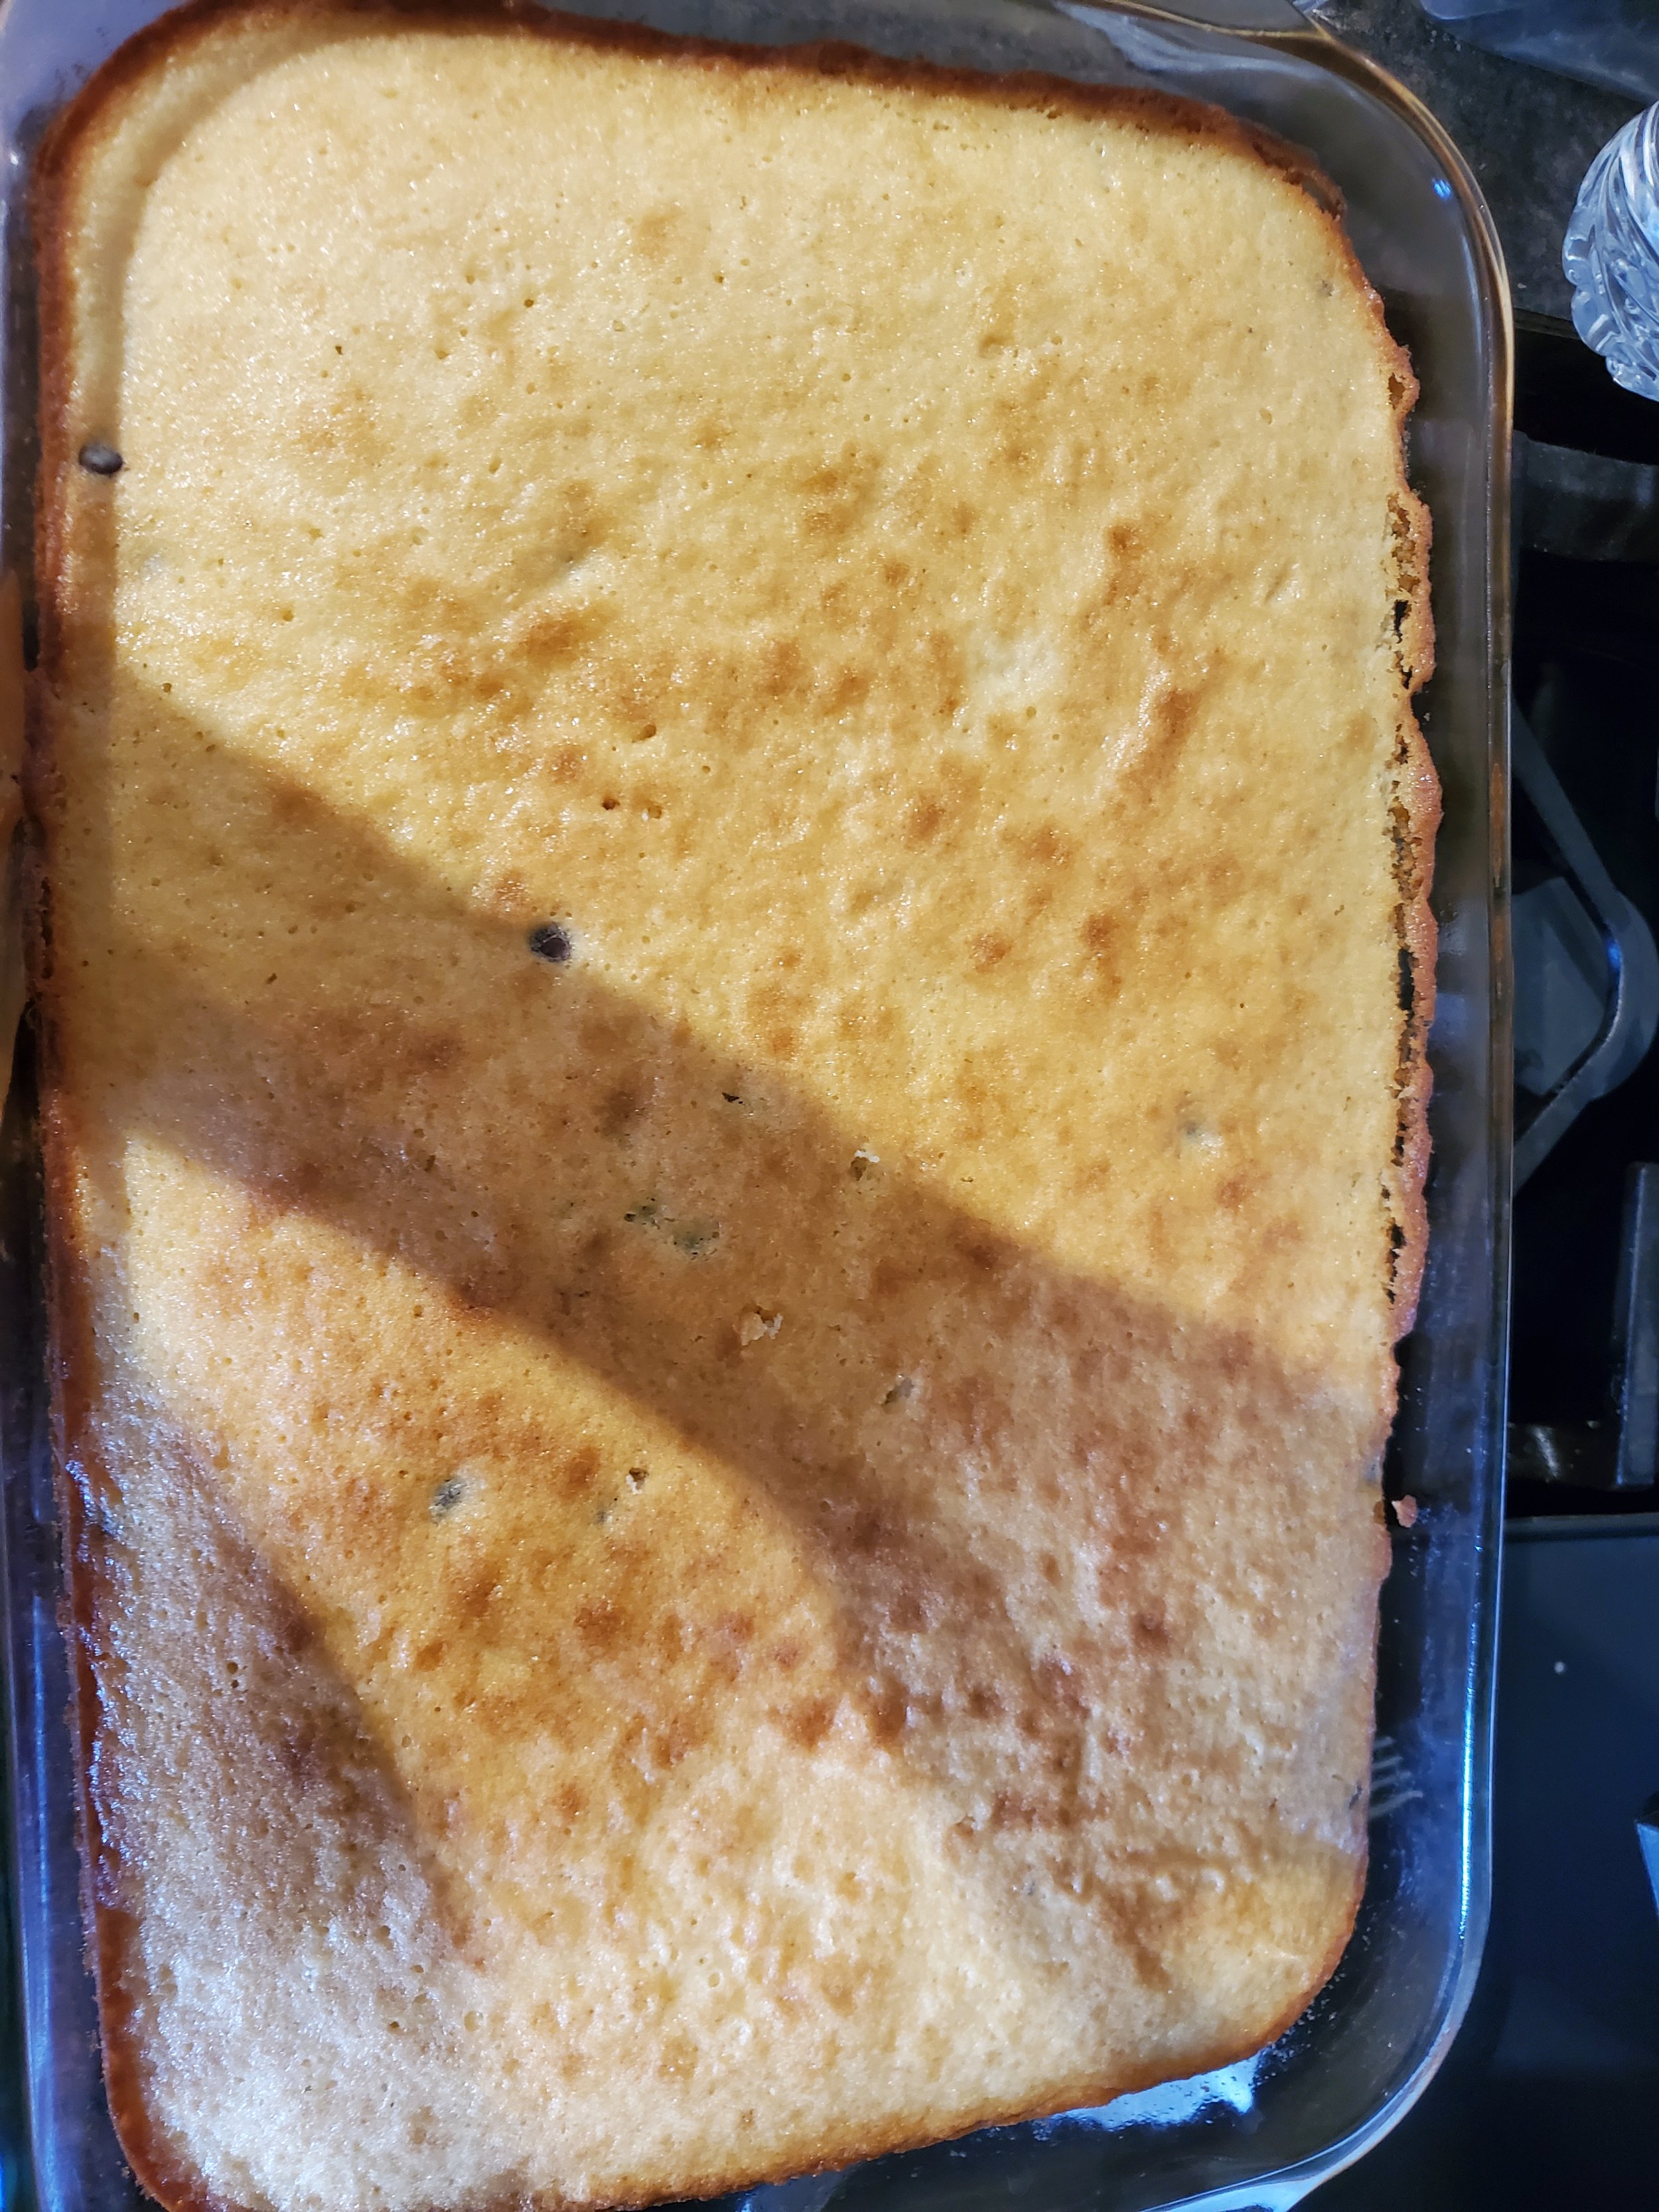
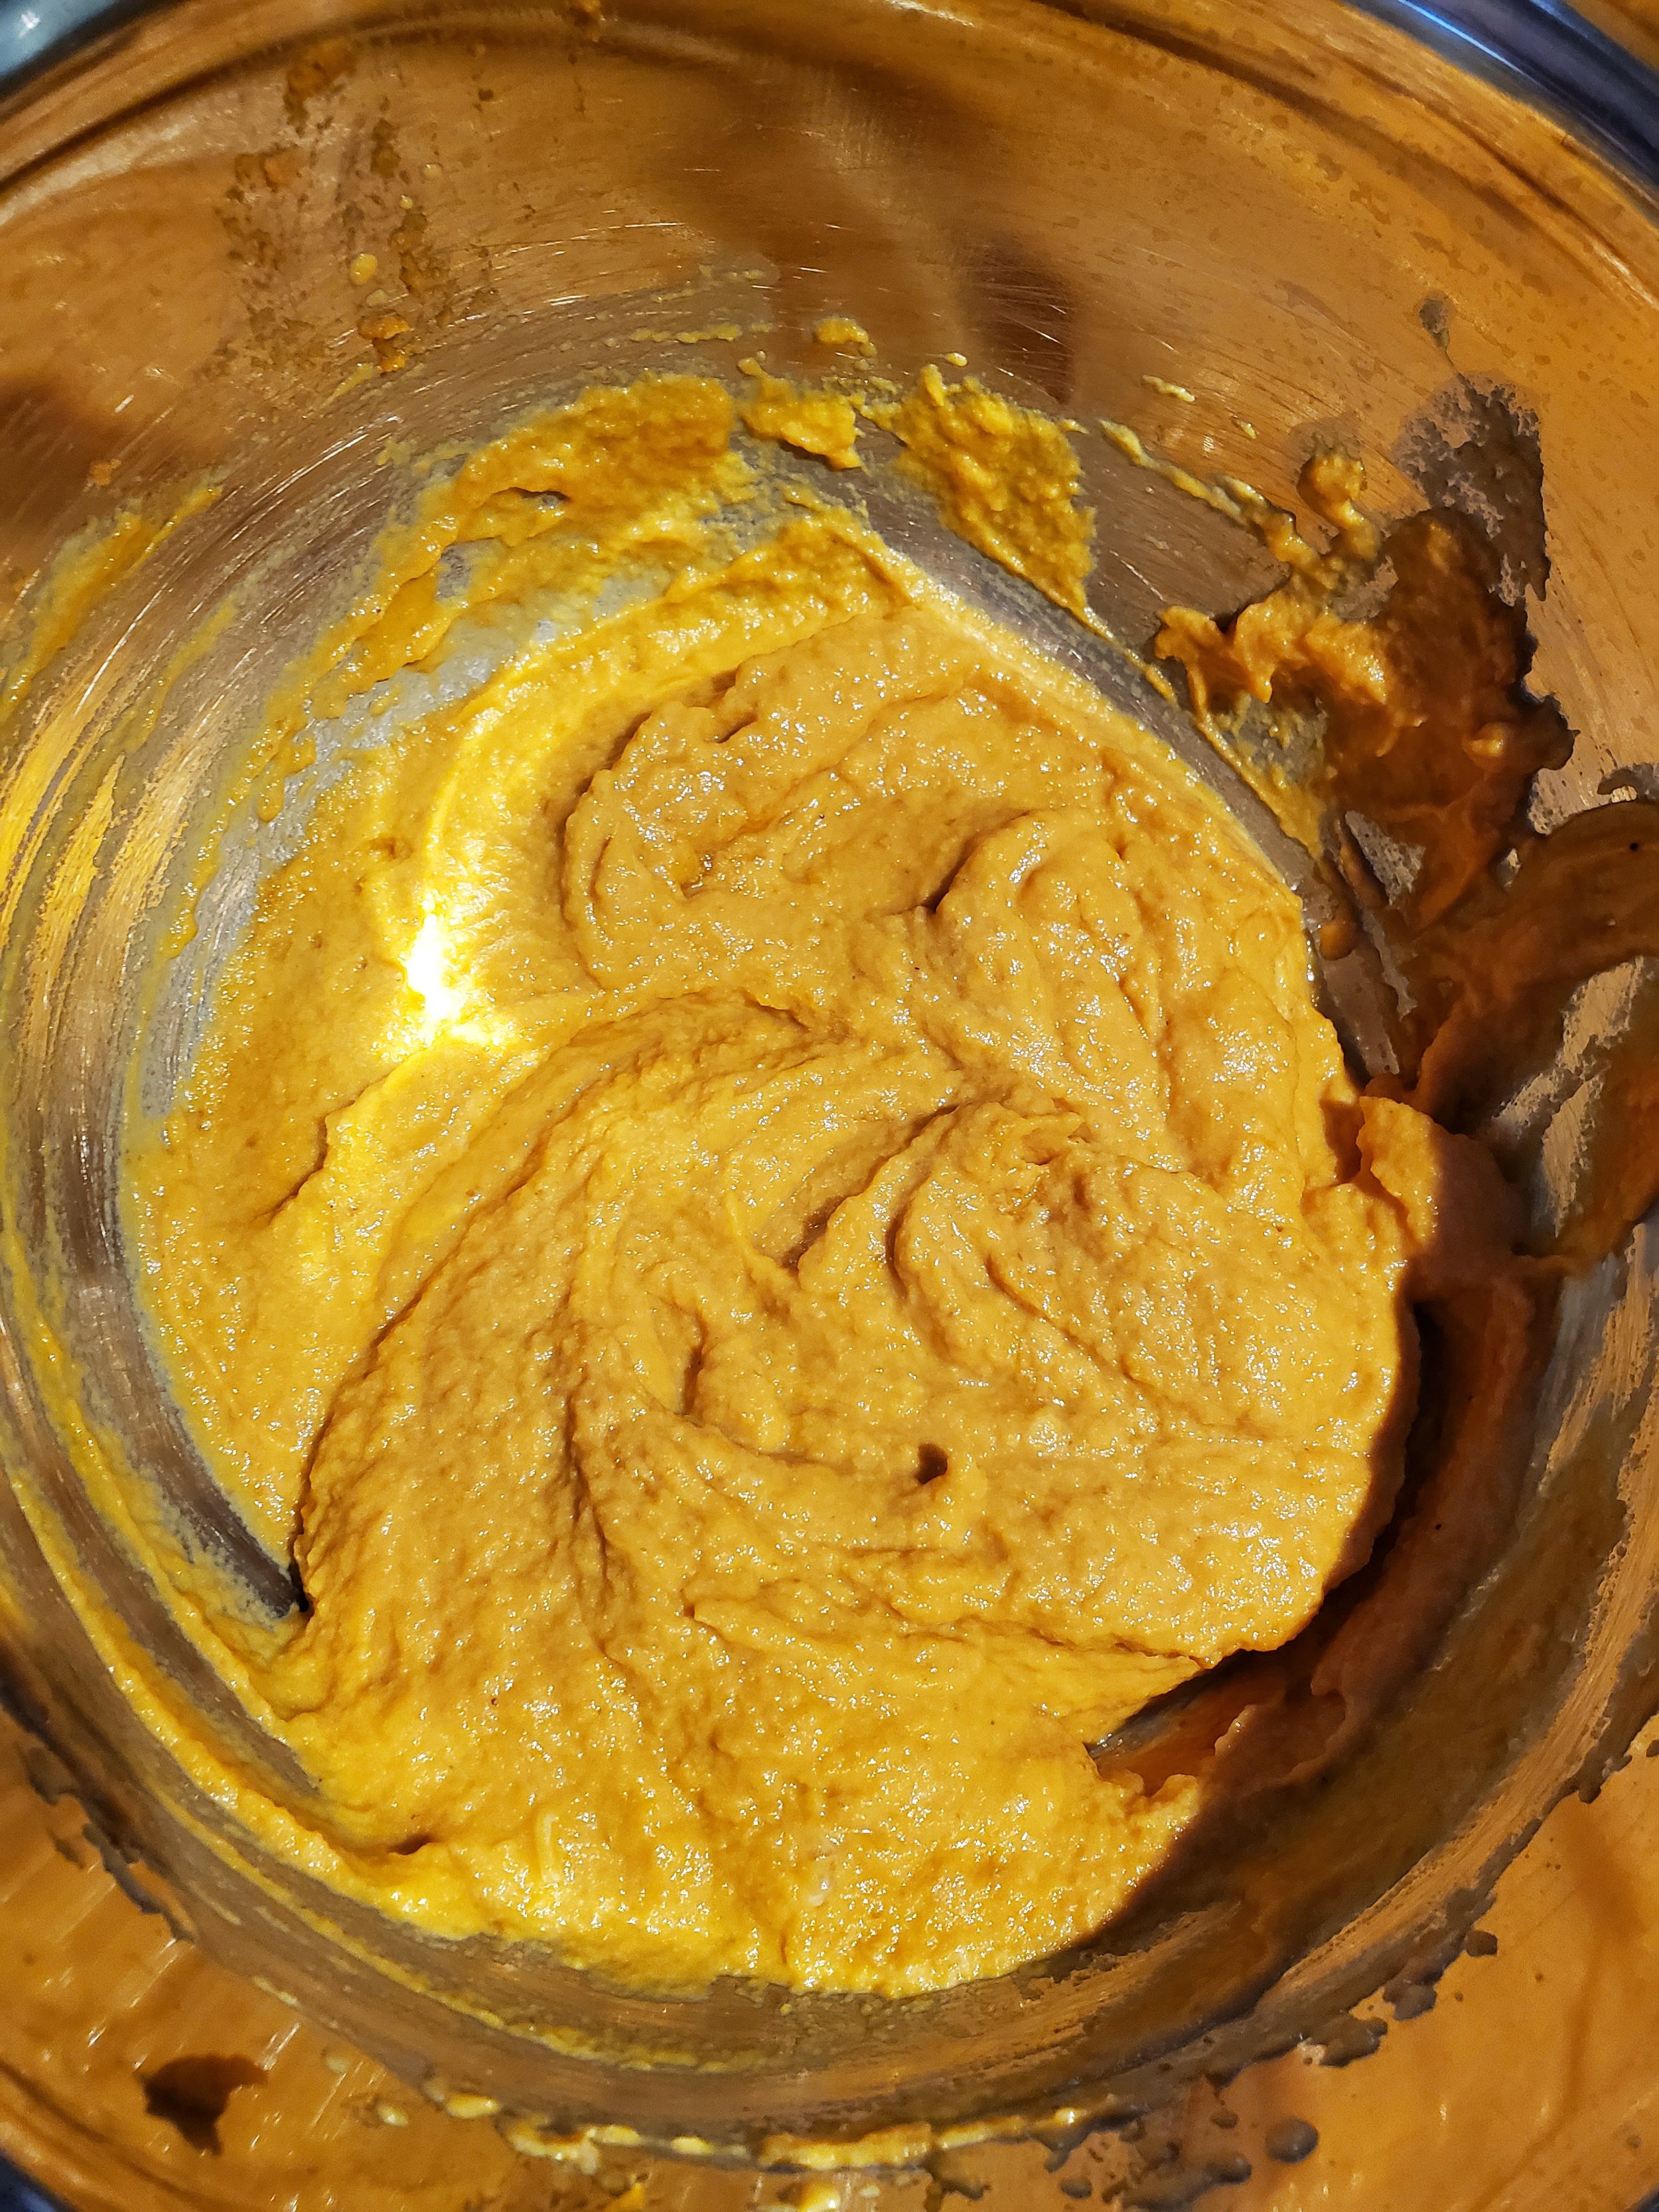
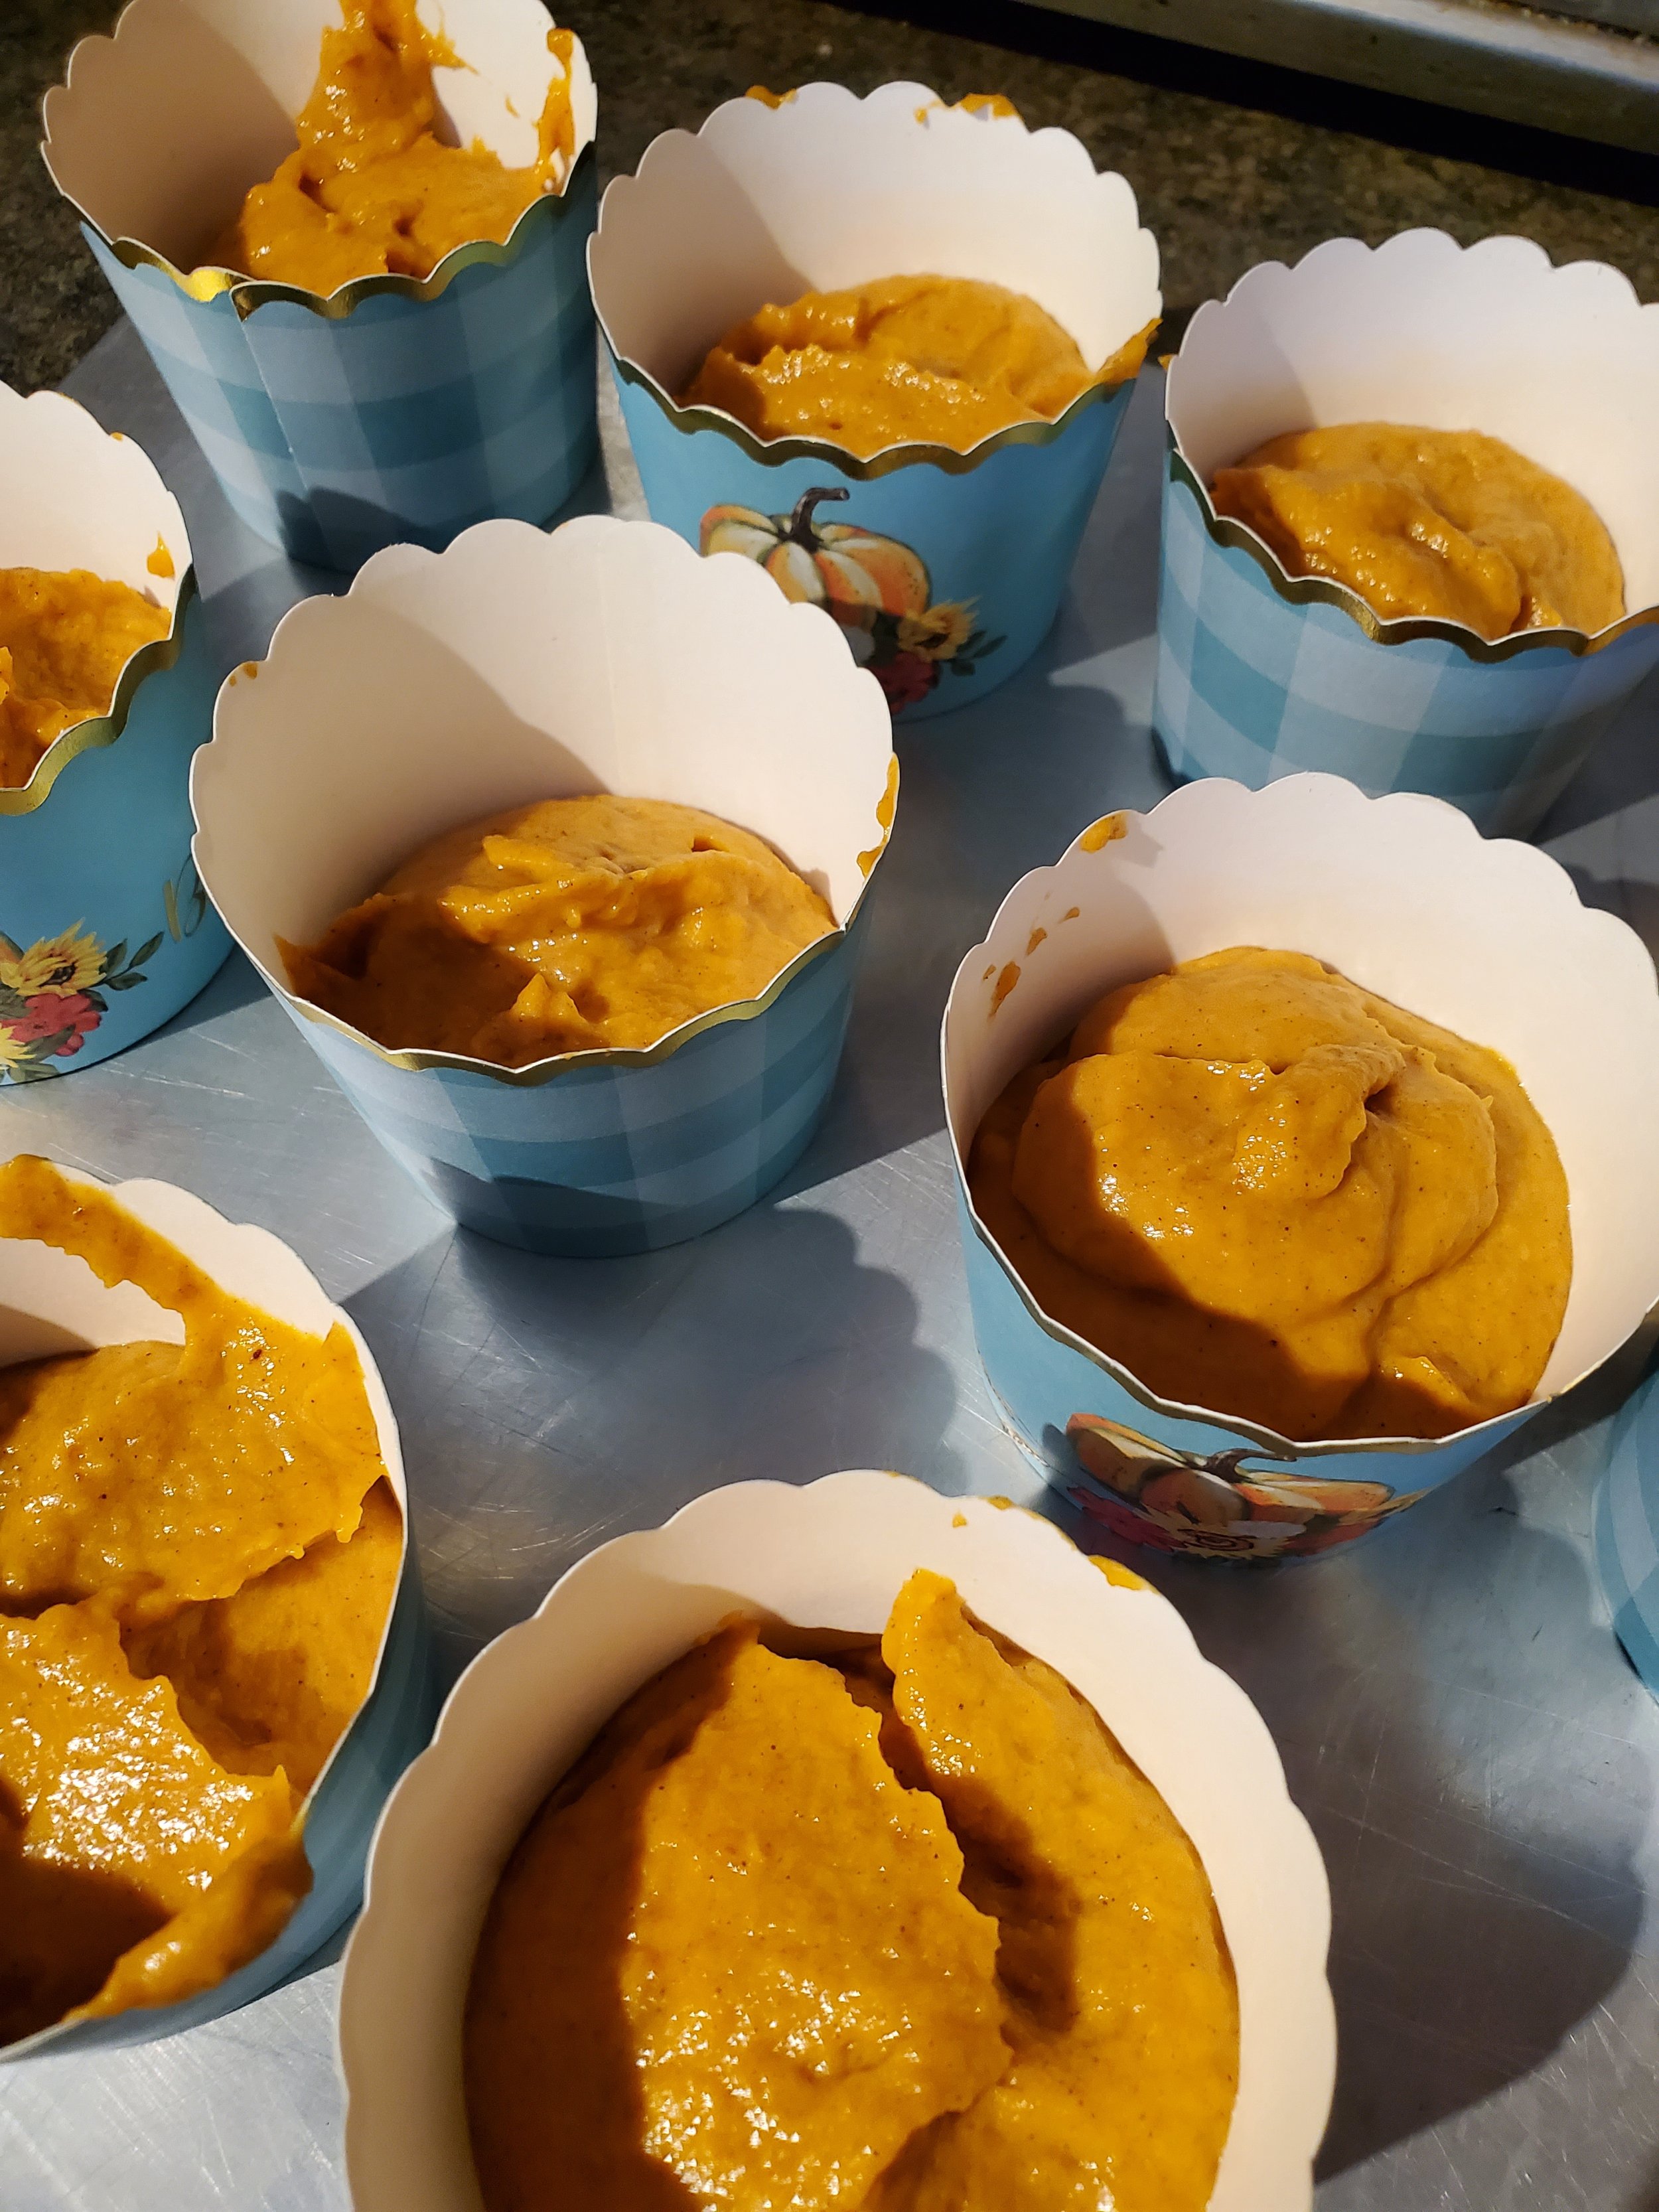
Once you've got the batter thoroughly mixed (but not overmixed), portion it out into your lined muffin tin or baking cups. We used baking cups on a sheet pan because these fall themed cups were just too cute to pass up! Don't worry too much about overfilling; these won't rise very much at all in the baking process.


Pop the muffins into the oven and set a timer for 25 minutes. 


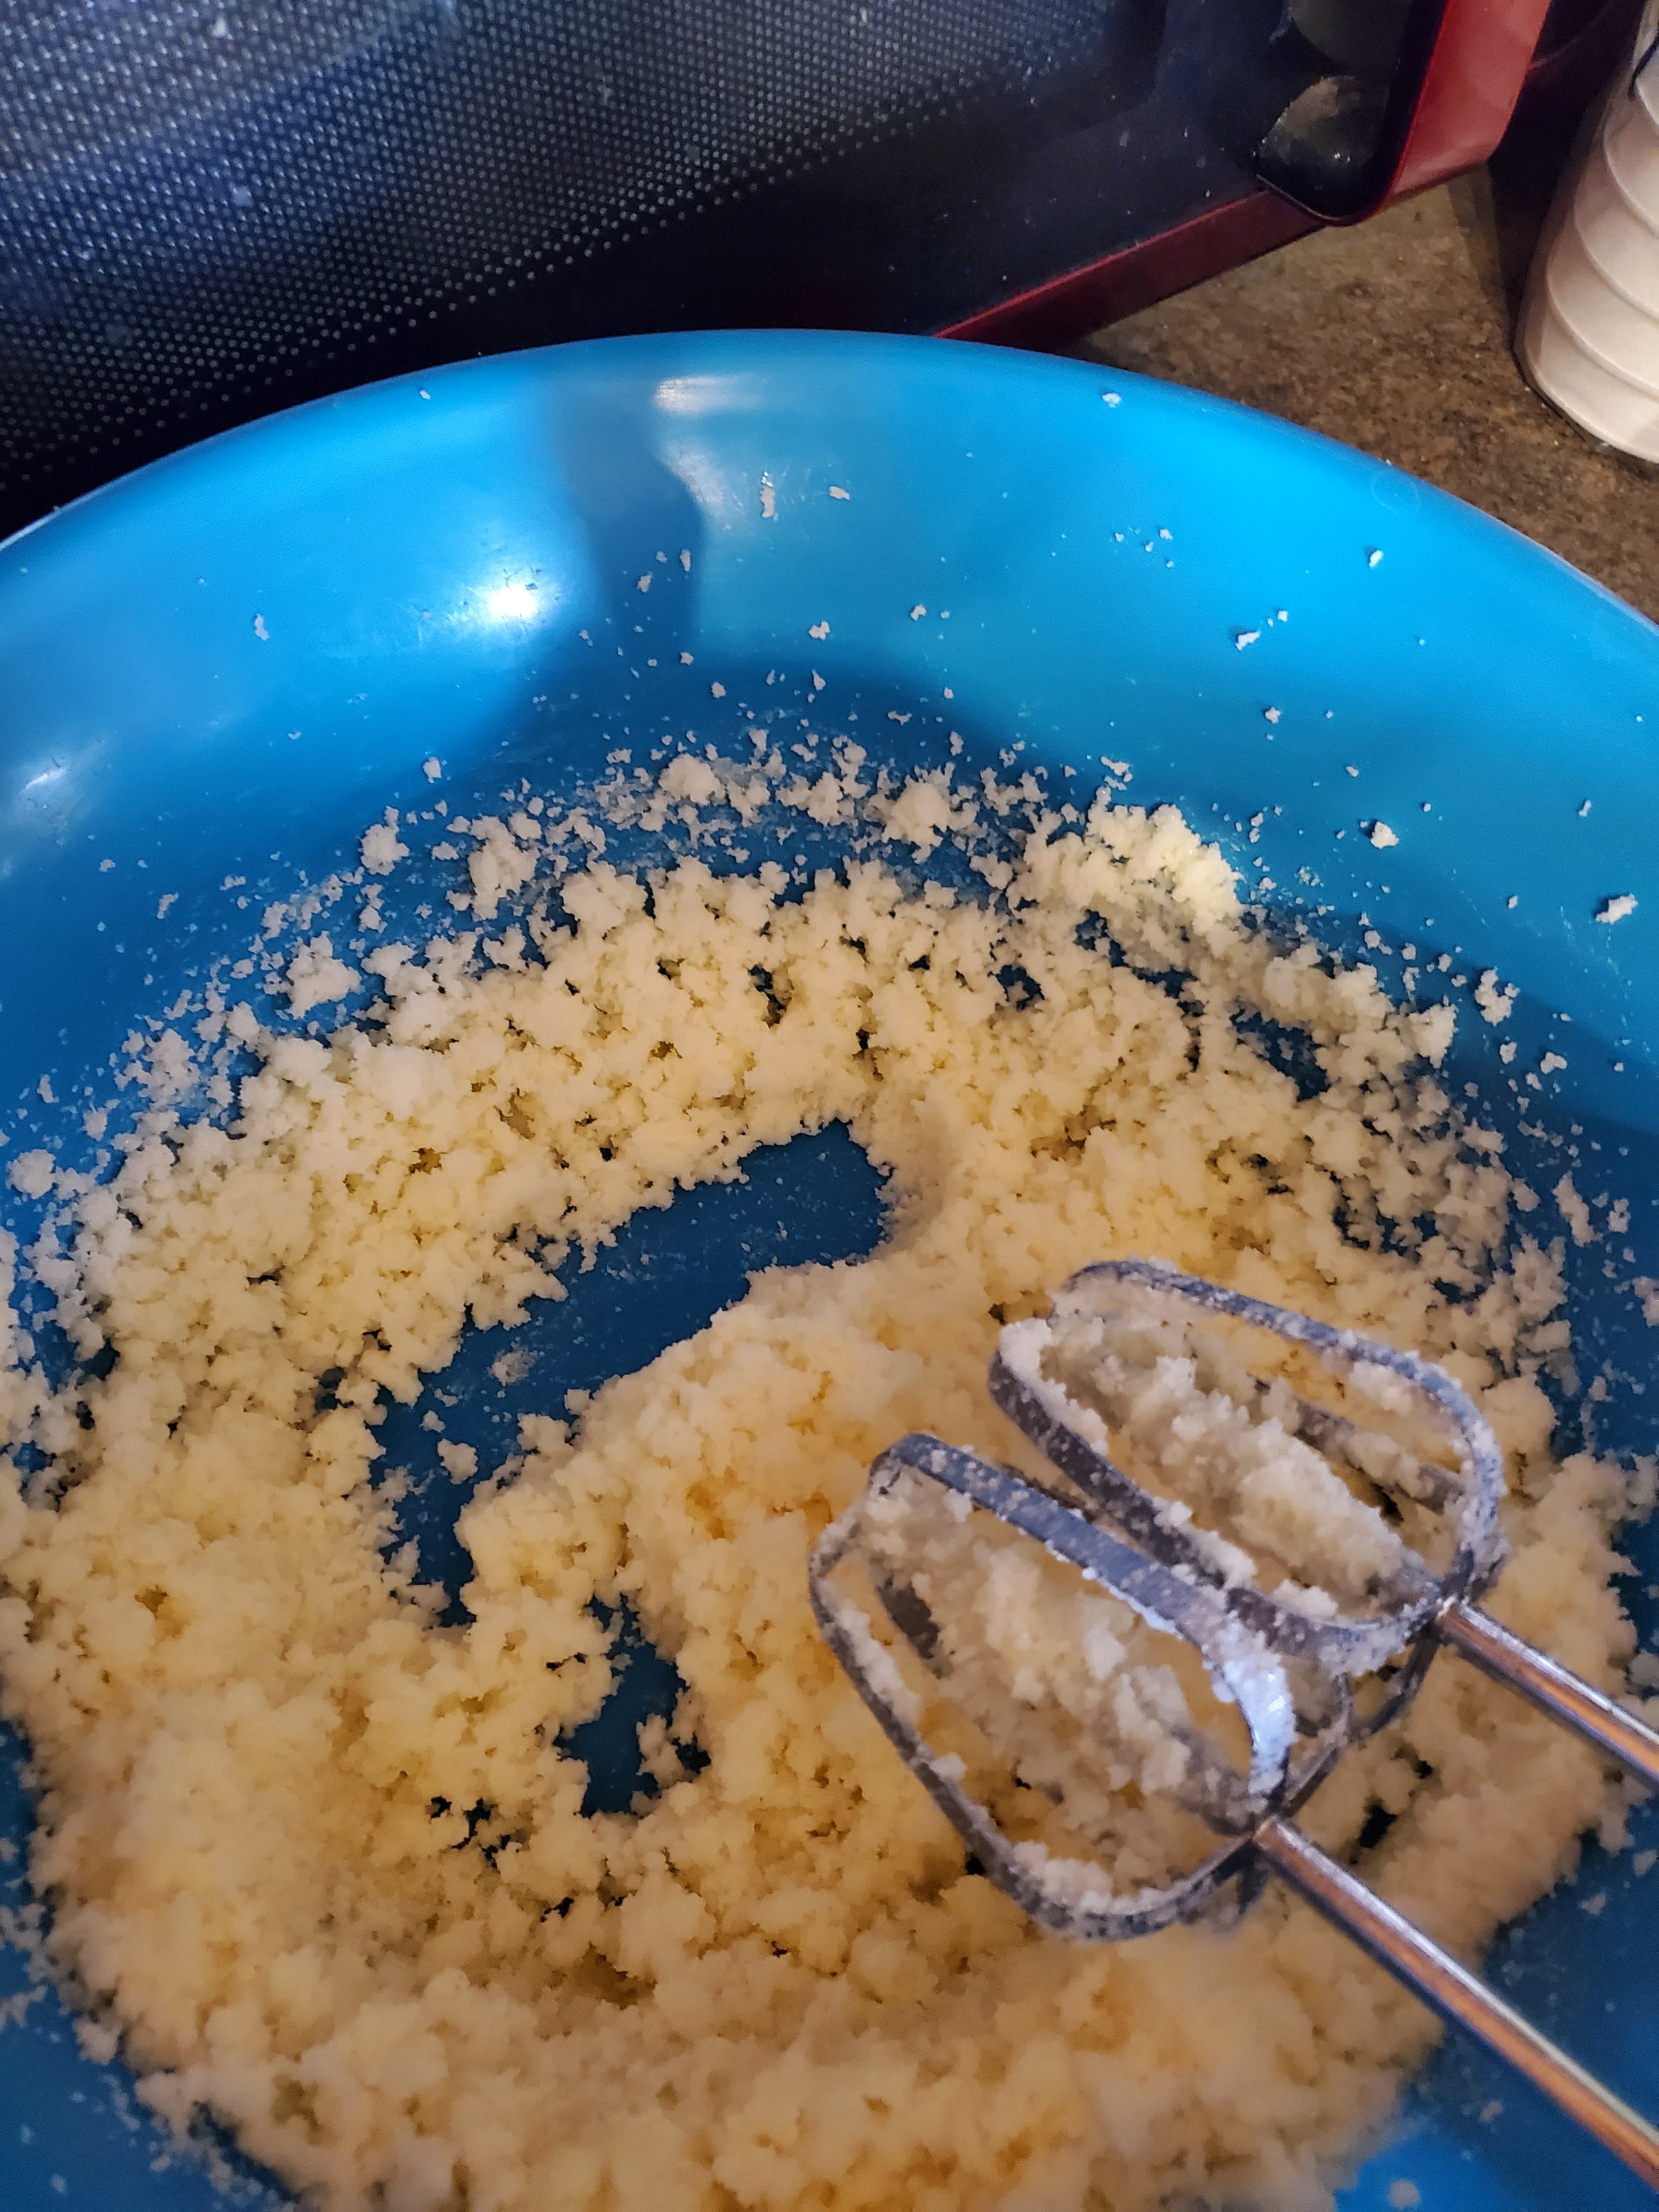
Take a clean mixing bowl and put your softened butter and cream cheese into it, and put the beaters into your mixer. We used a hand mixer, mostly because it would have taken much longer to get the stand mixer out and ready.


Whip the butter and the cream cheese on at least medium speed until it's all fluffy.


With the mixer on, add the powdered sugar slowly. A second set of hands helps here. If you have a little helper you don't mind getting a smidge messy, feel free to recruit them. You don't have to get the powdered sugar fully incorporated at this stage. The goal here is just to get it into the bowl and start combining it with the butter and cream cheese.


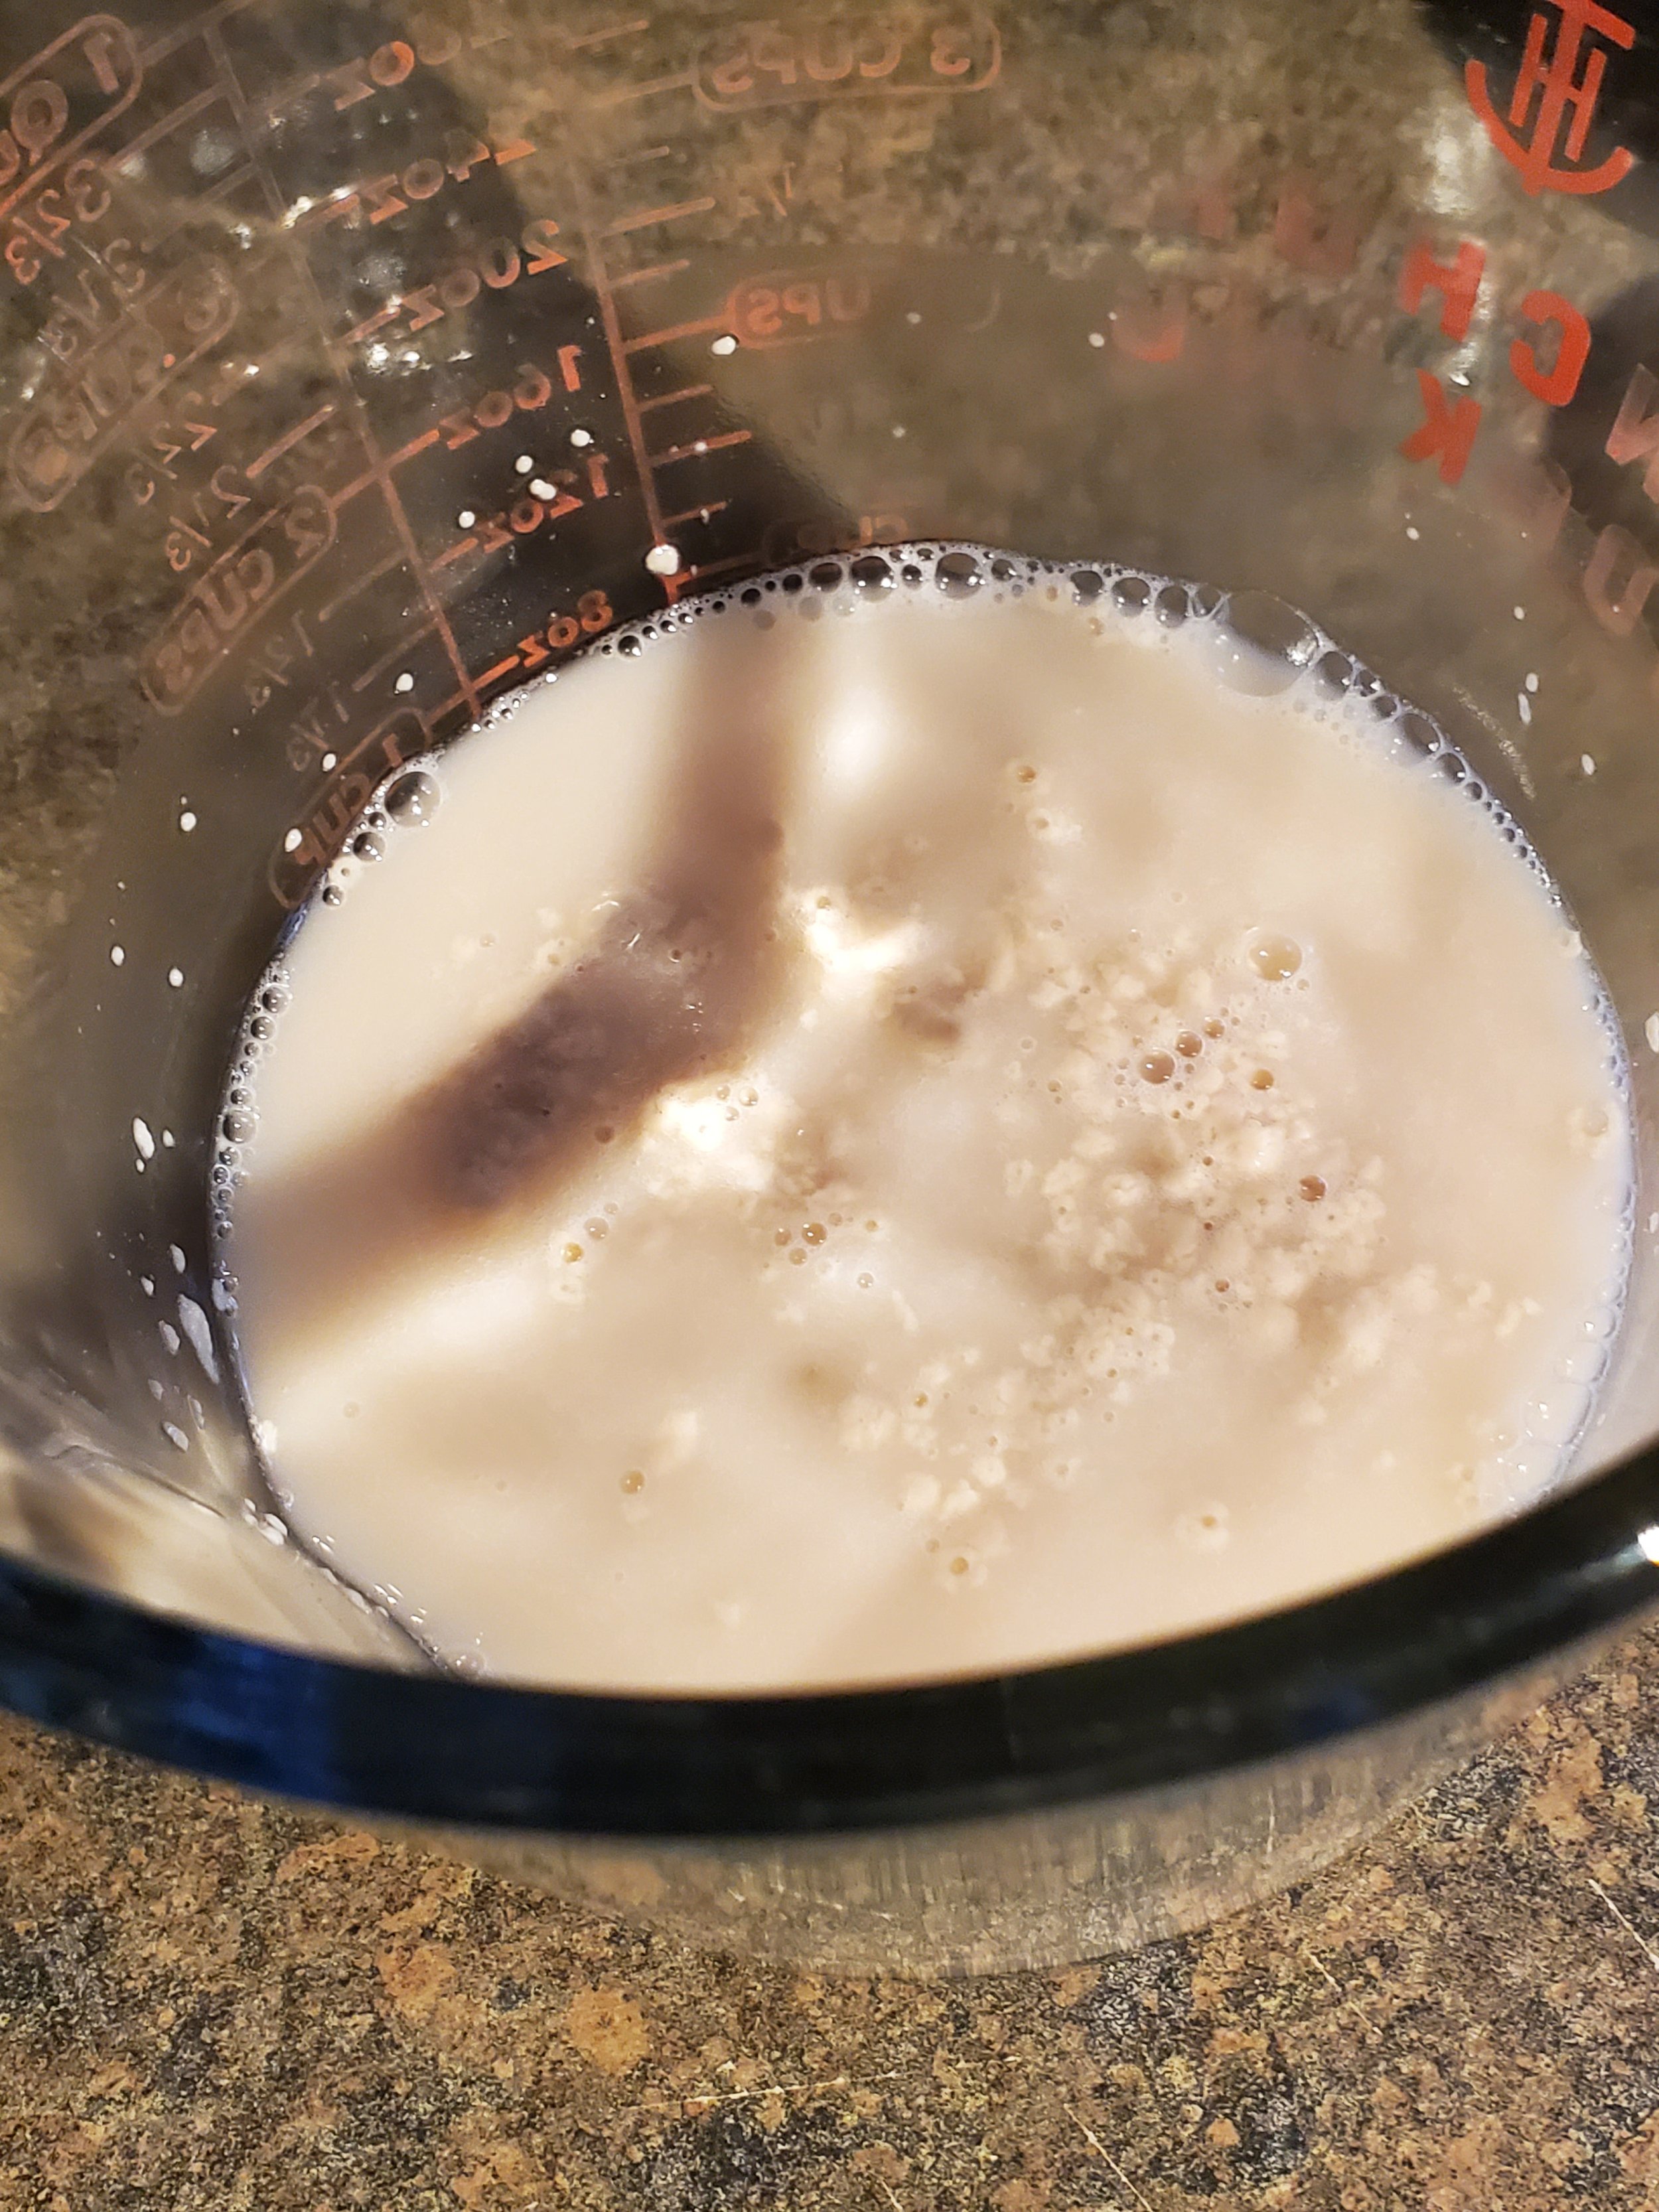
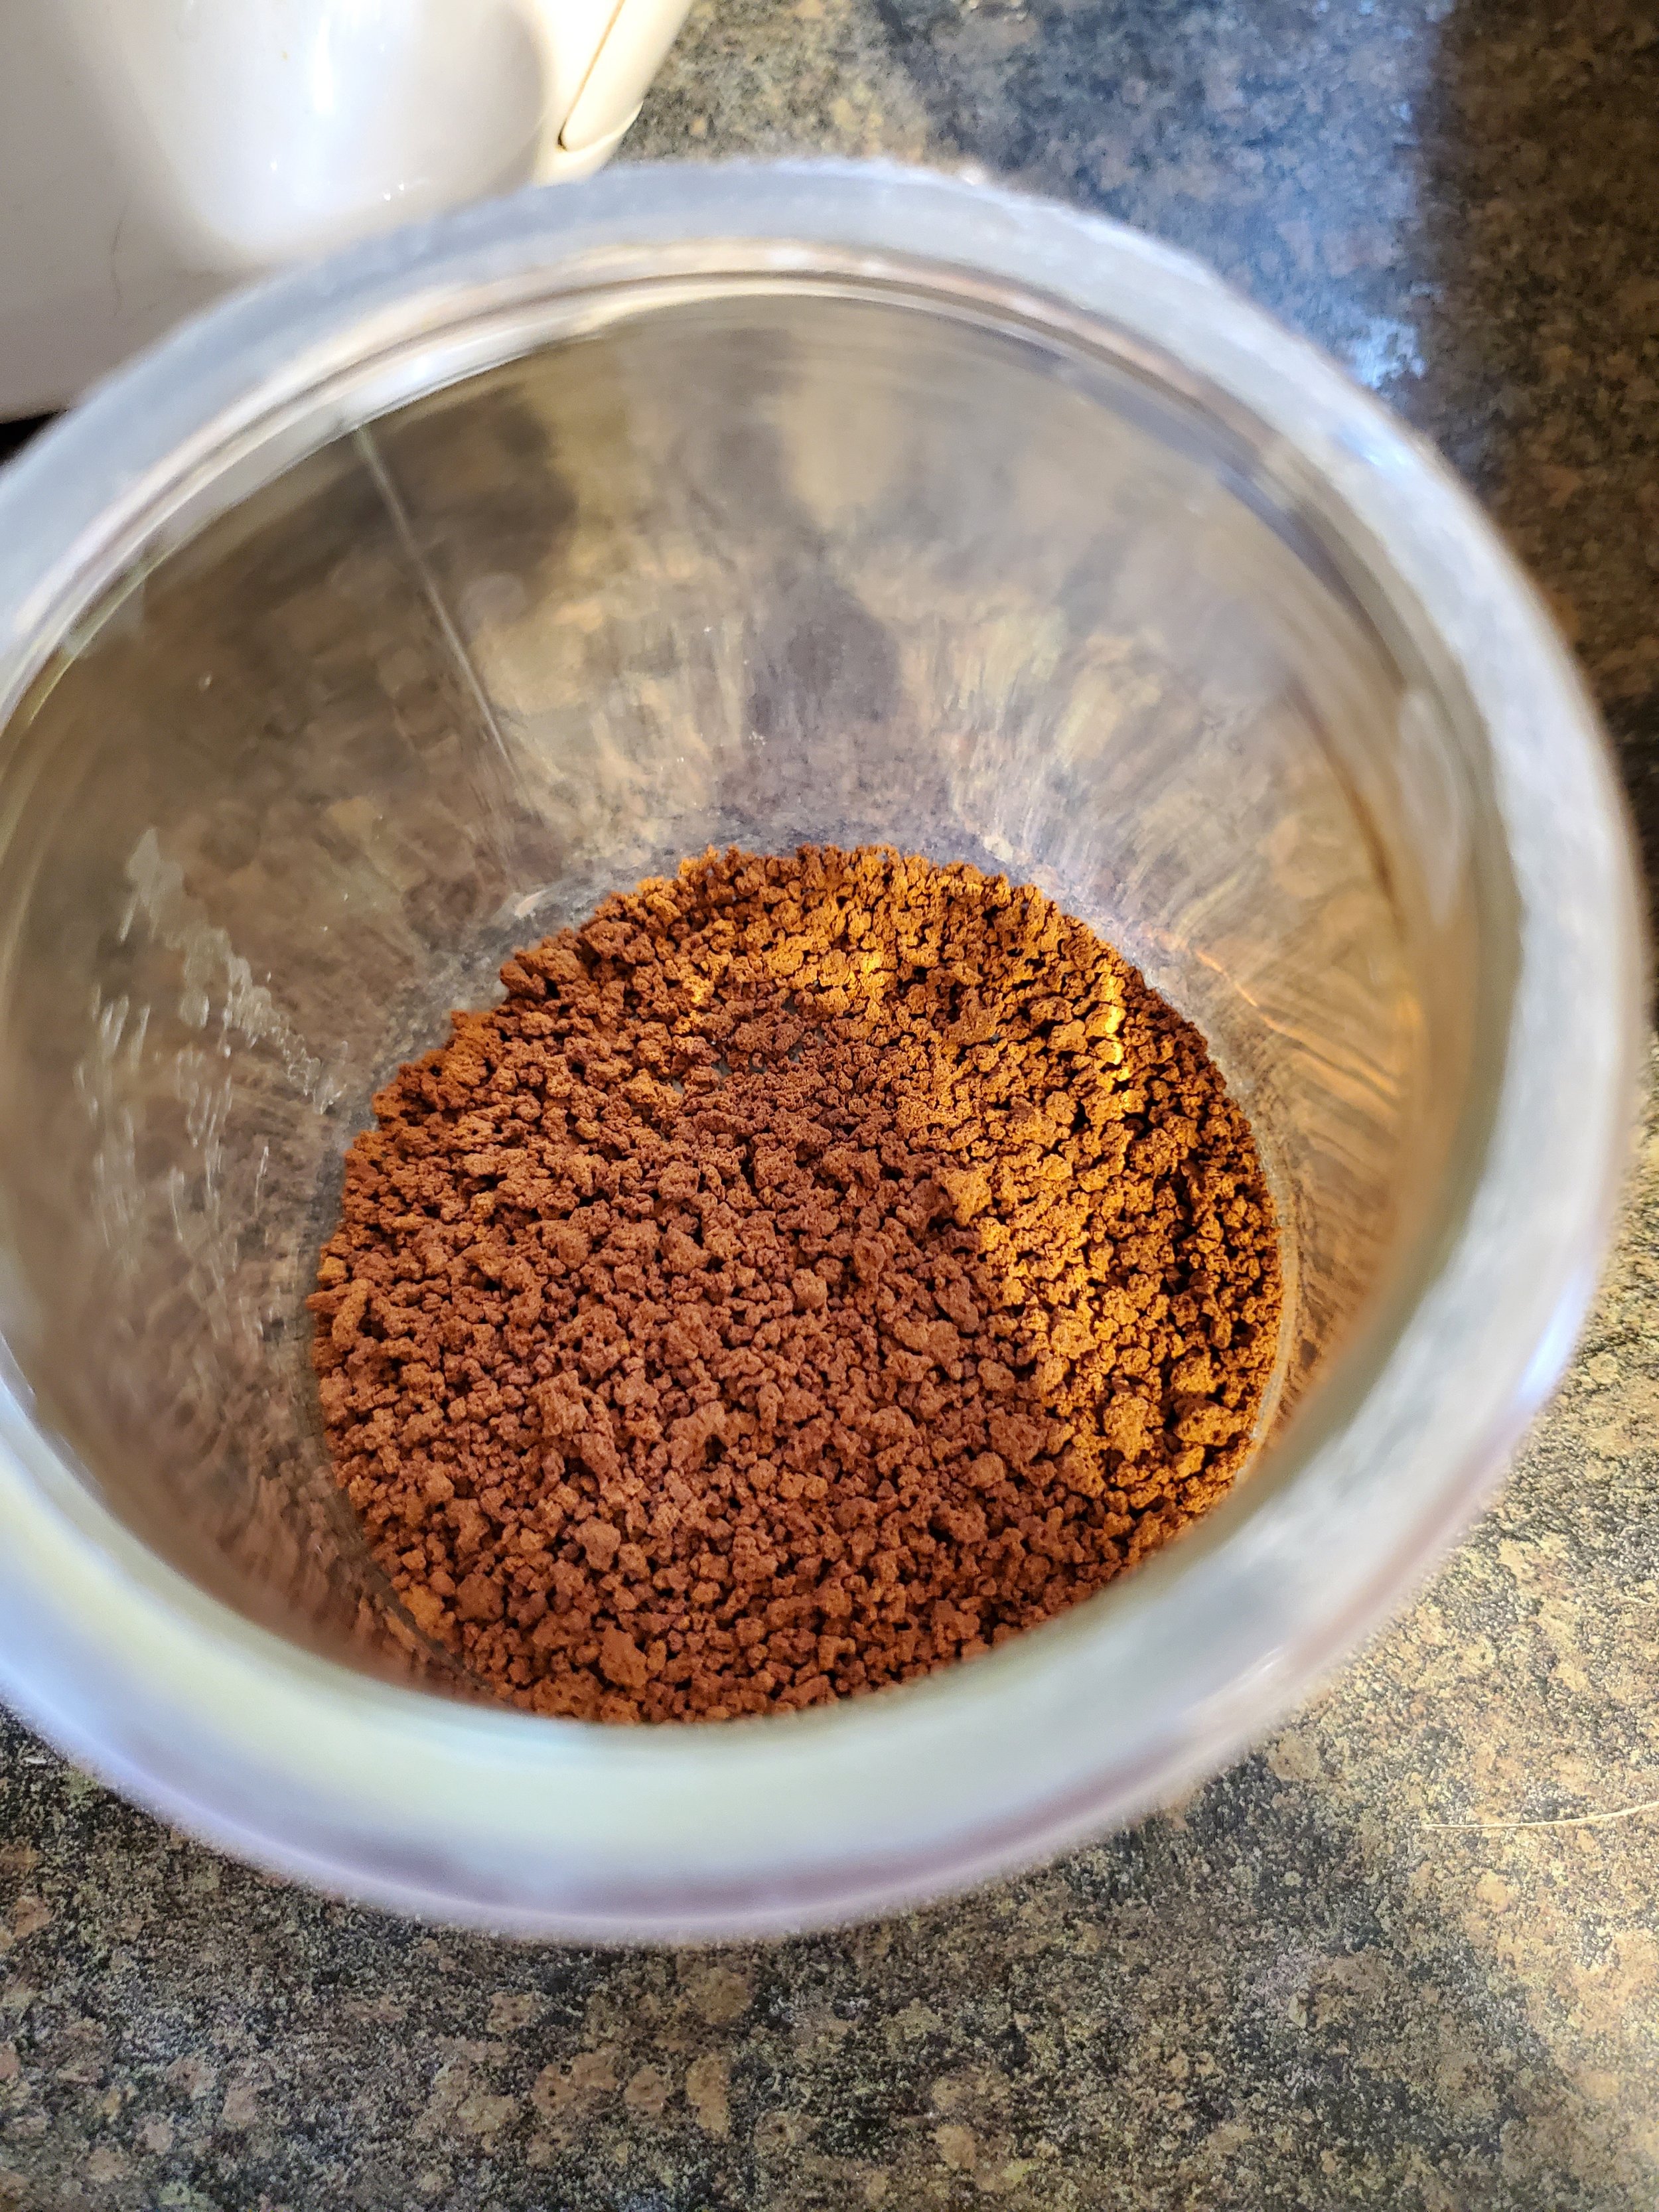
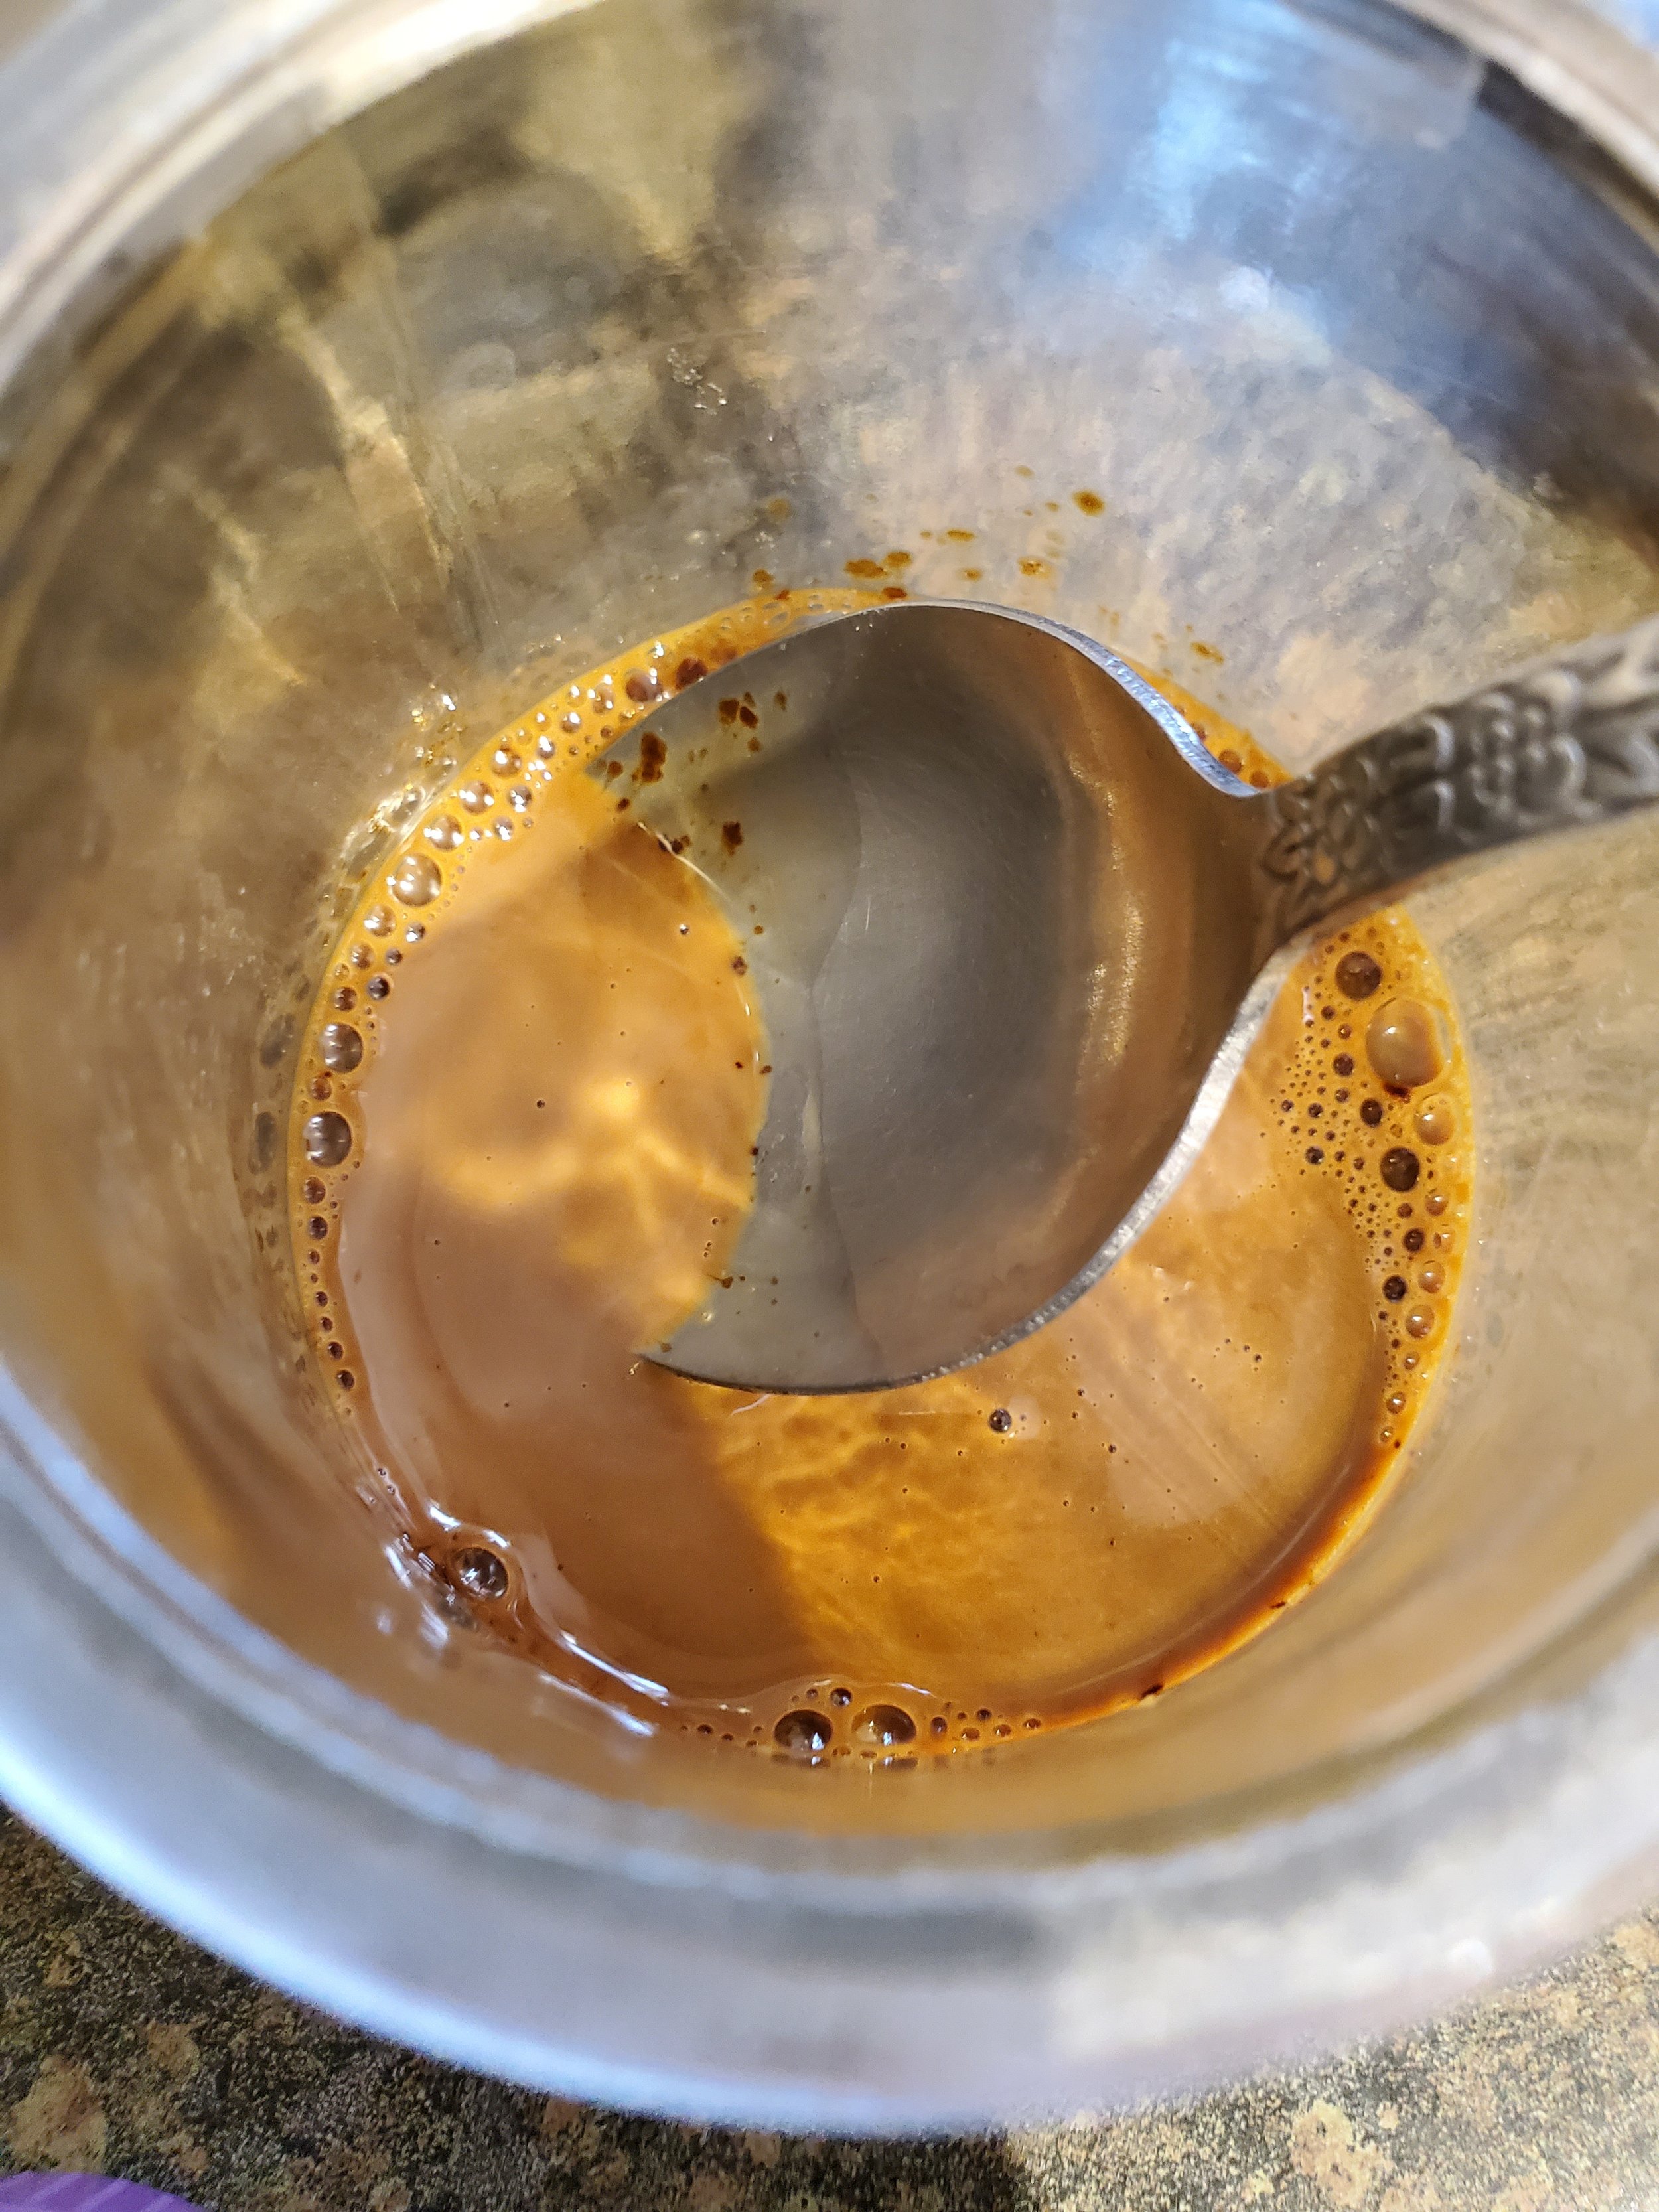
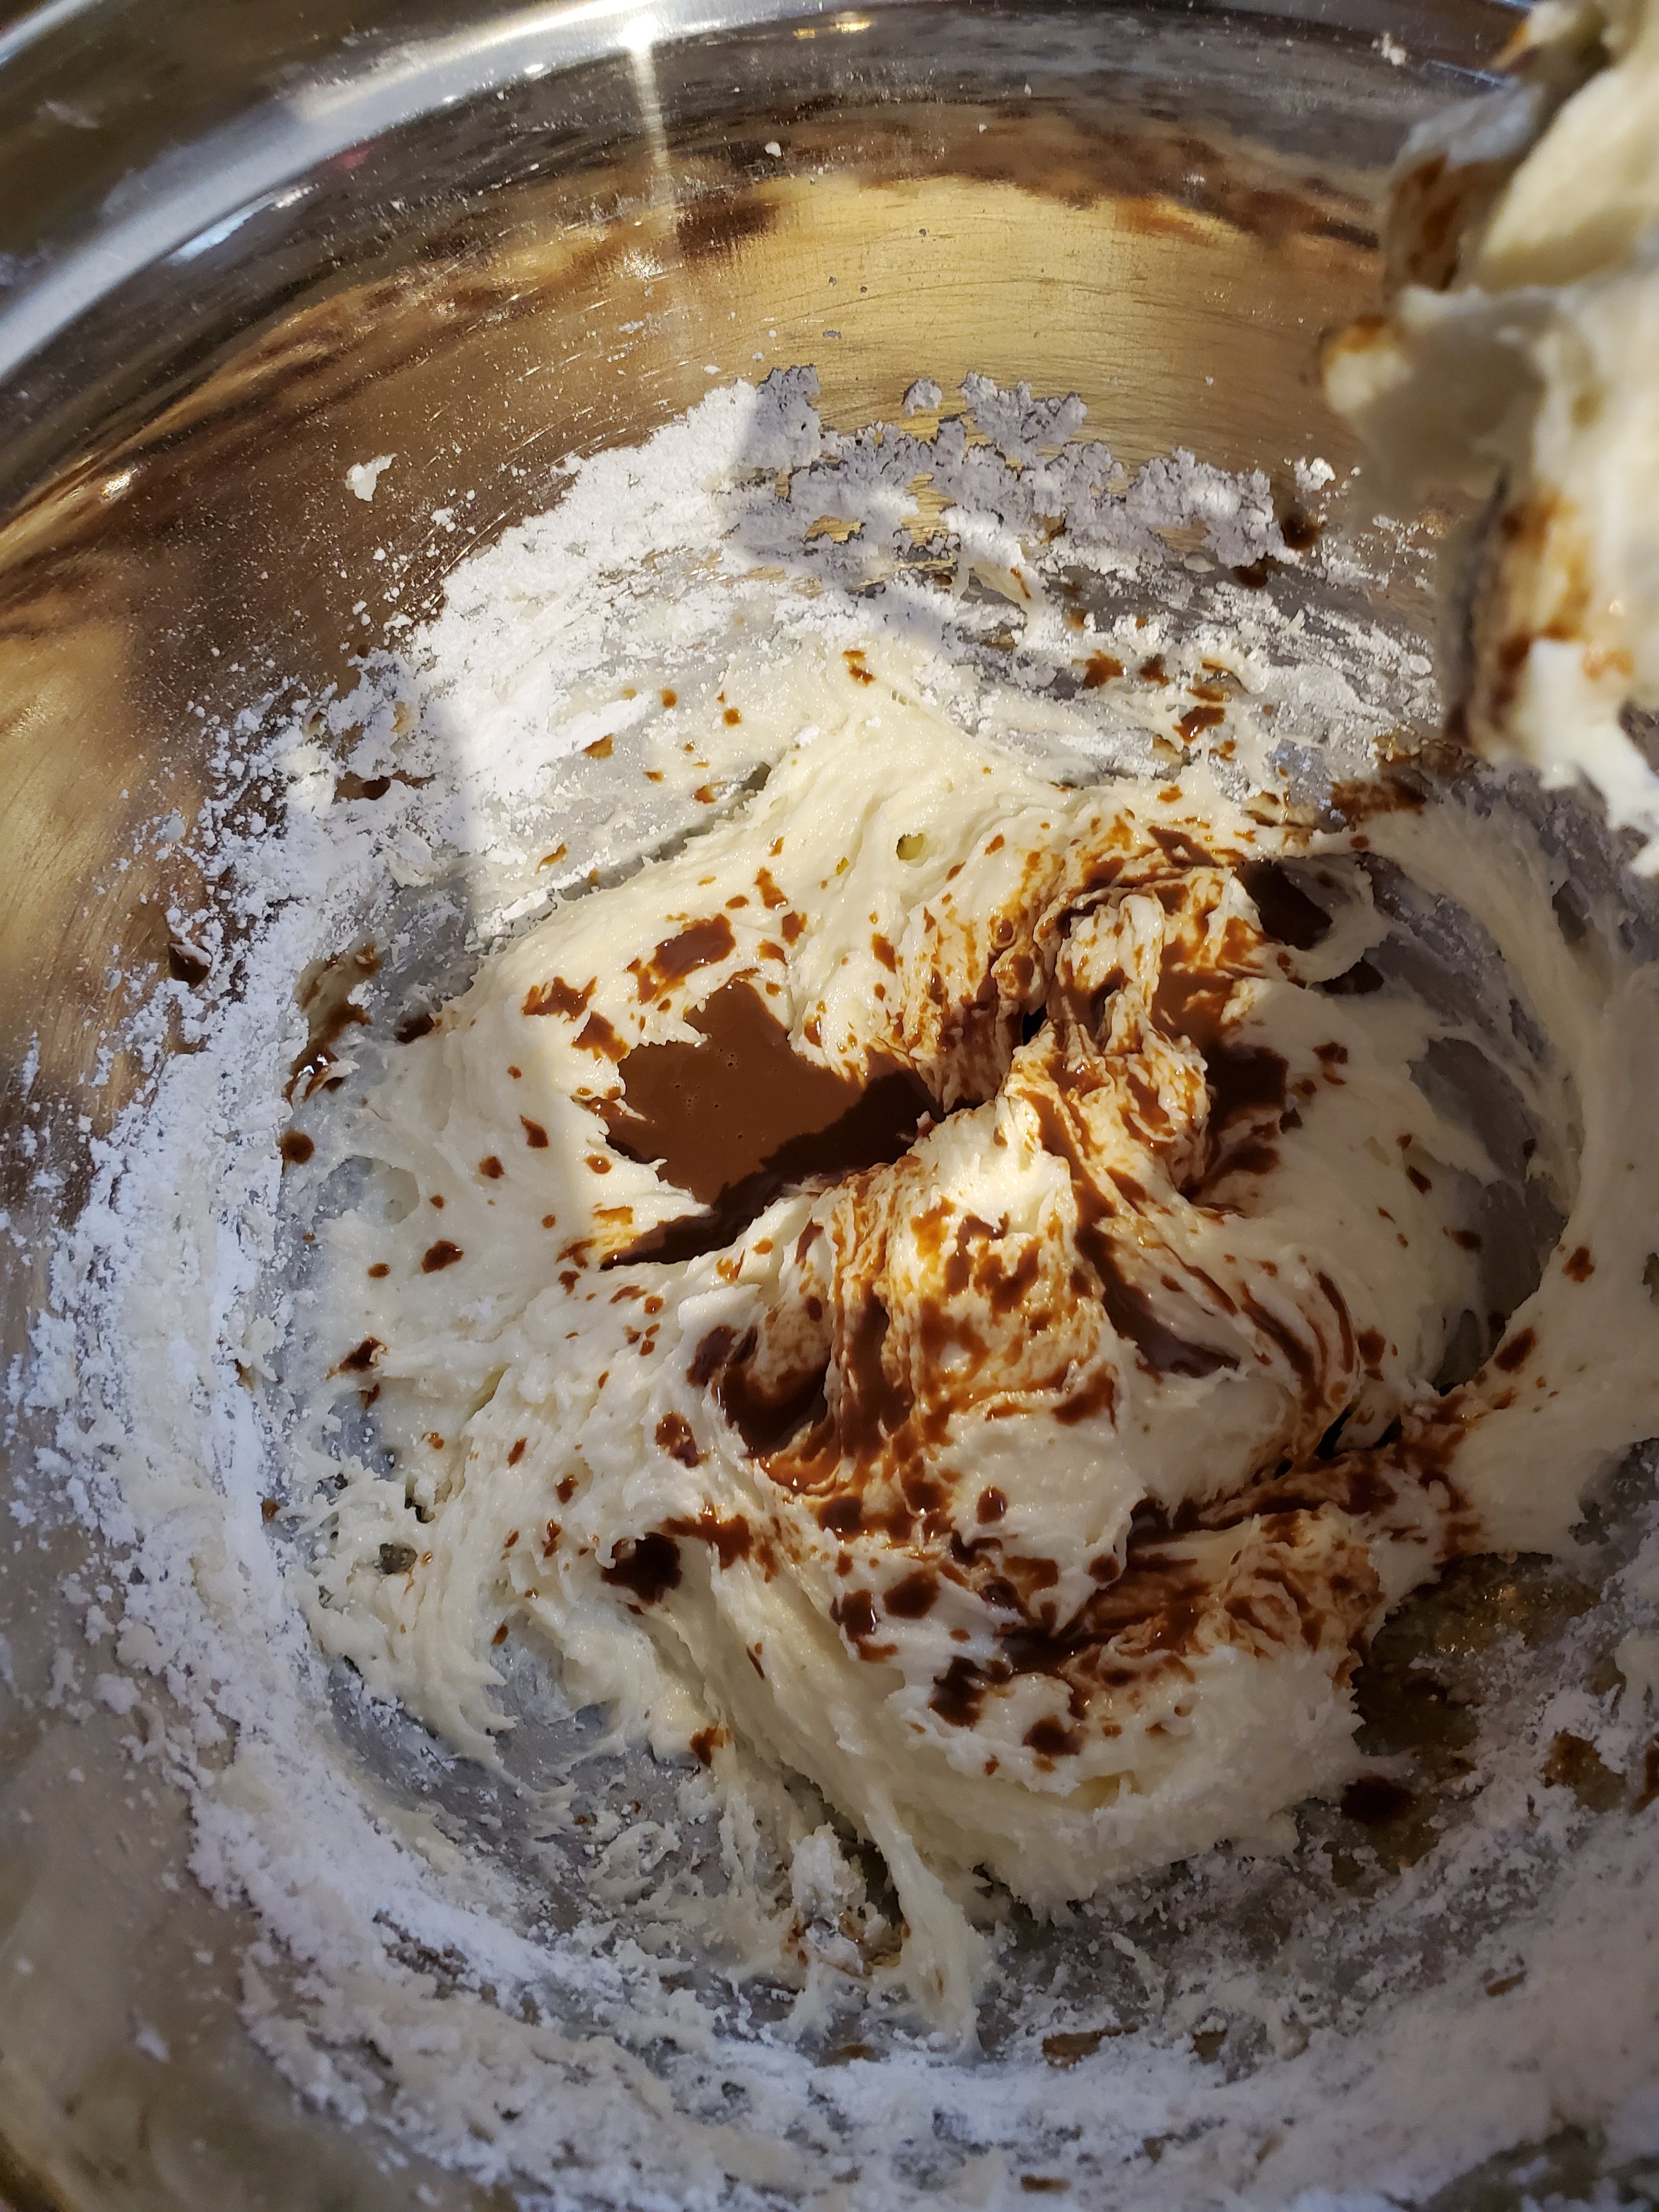
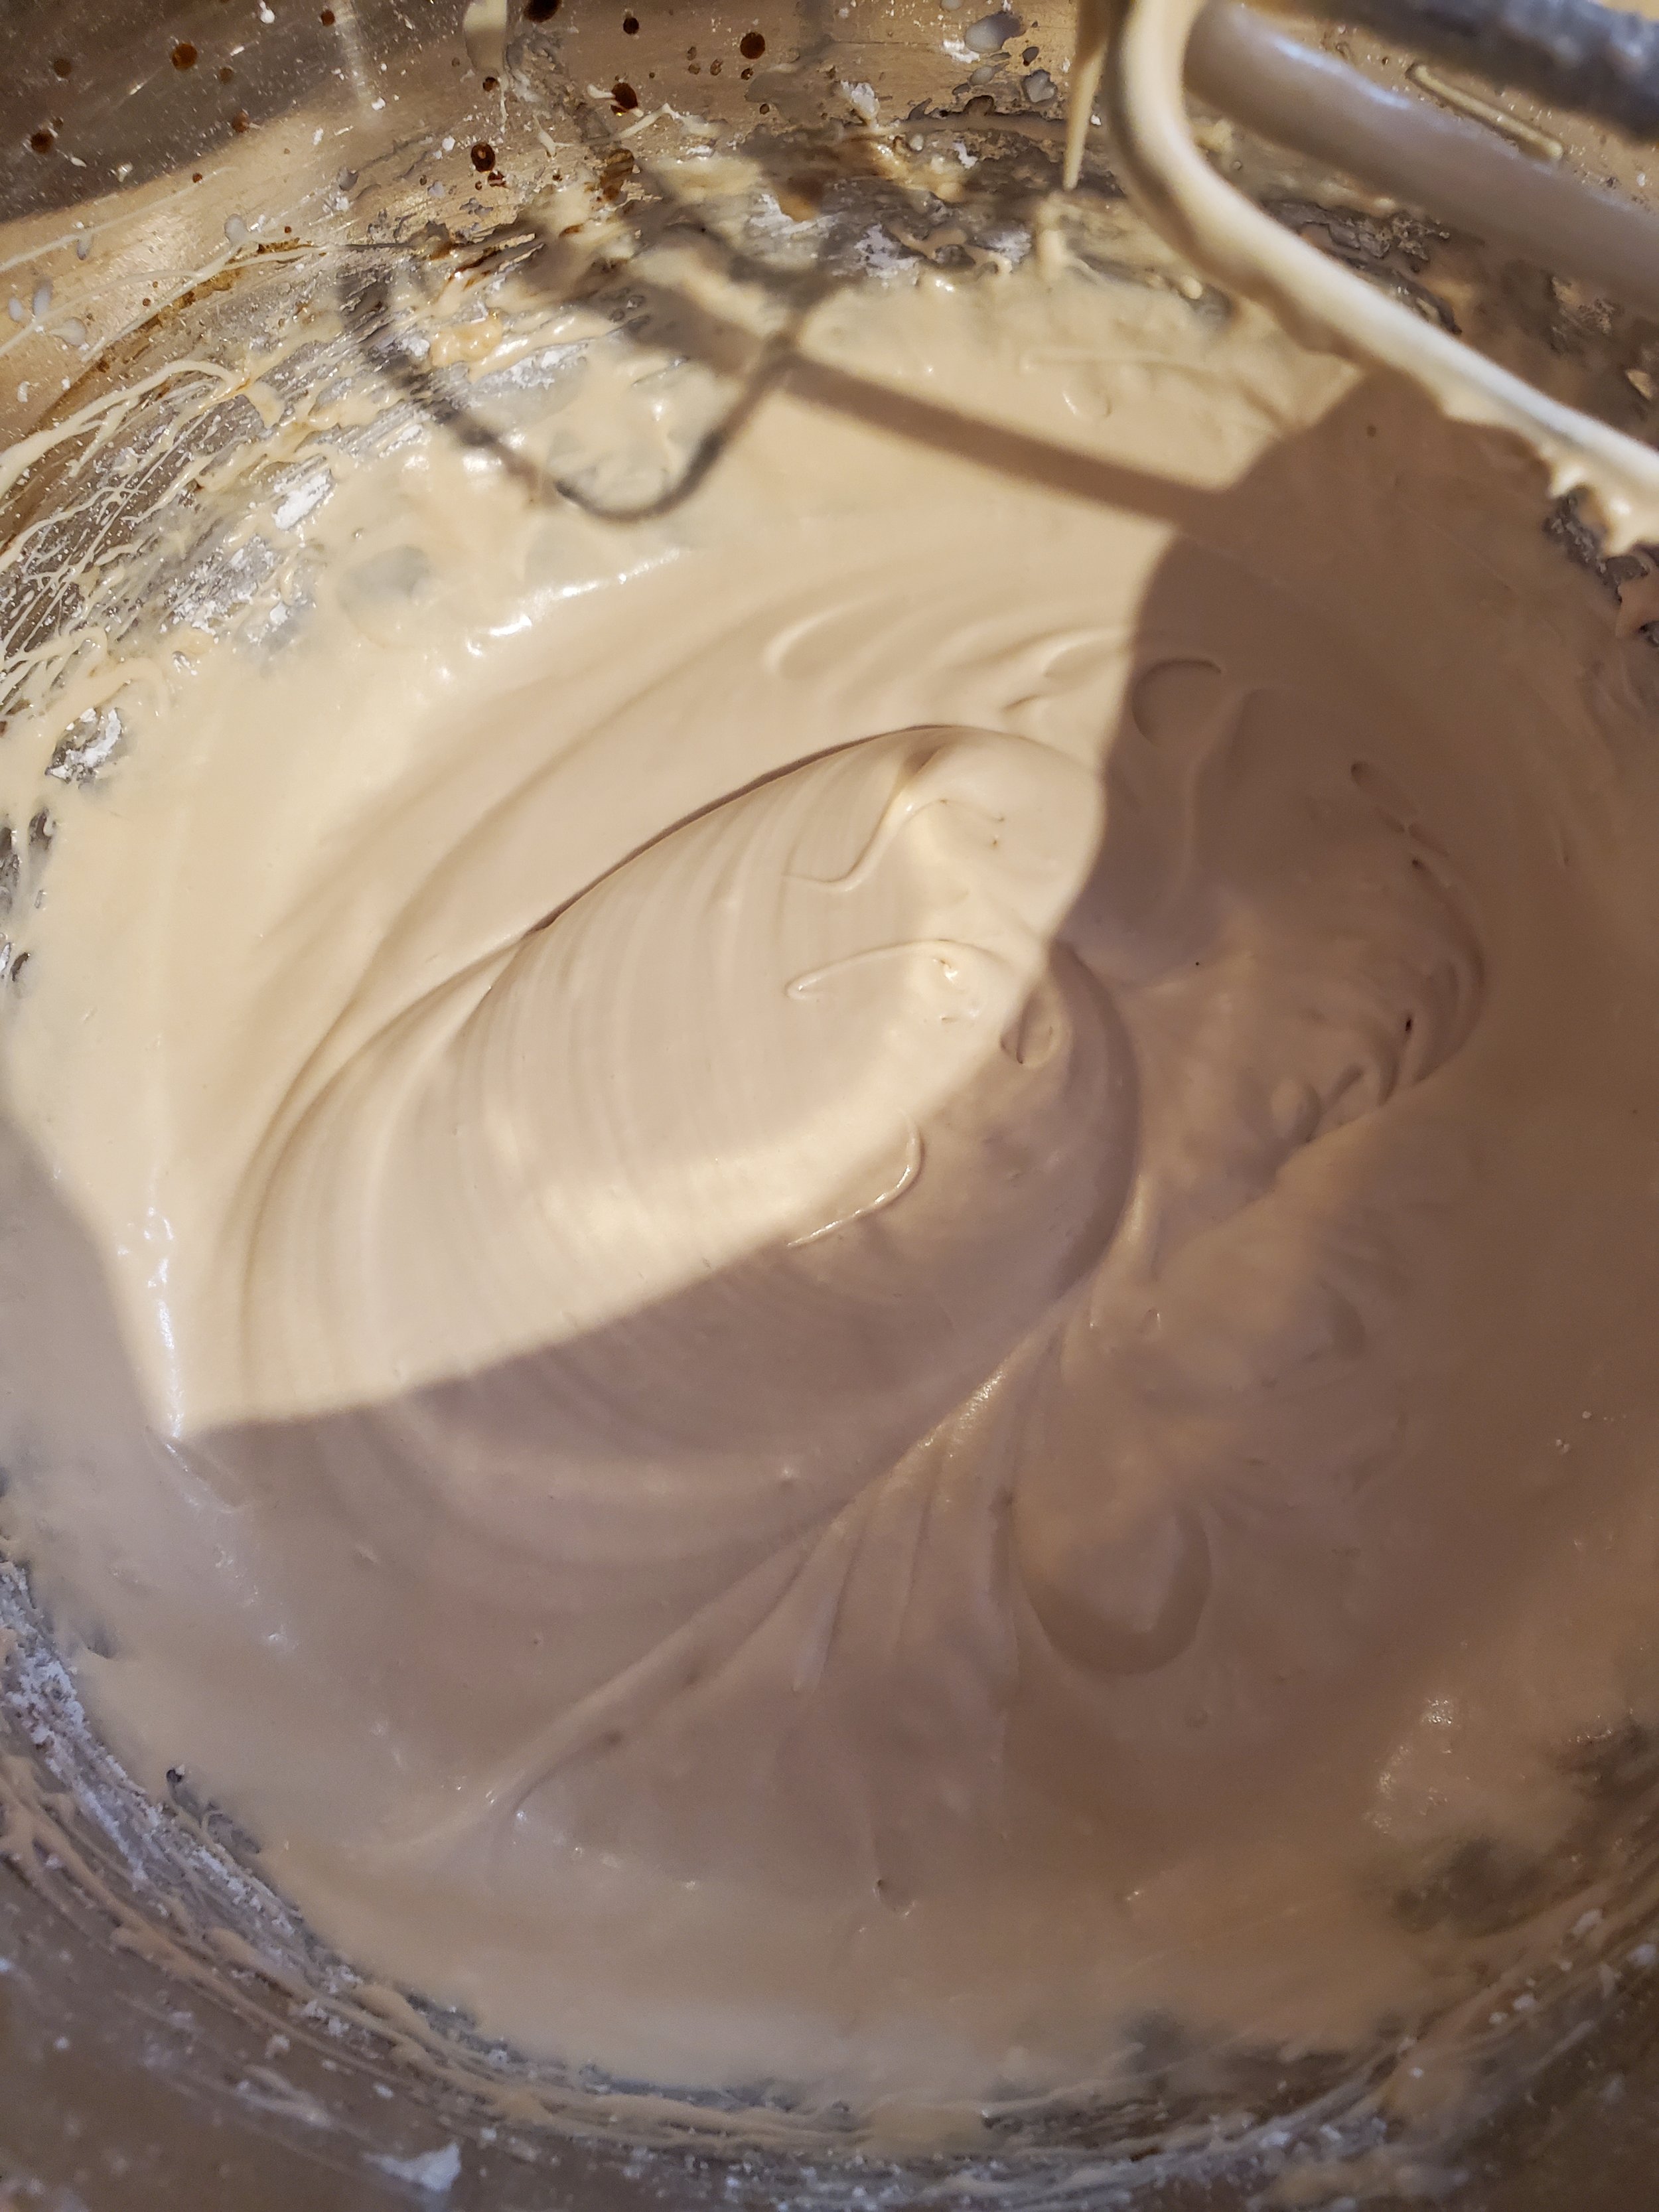
In a shallow dish (or repurposed yogurt container if you're us), dissolve your instant coffee granules in the little bit of milk you've measured out. It shouldn't take much stirring. Once it's all one color and you've minimized the amount of sunken coffee bits, pour the mixture into the cream cheese/butter/sugar dish and turn the mixer back on. Mix thoroughly, until the whole thing is one color.


By now your muffins should be coming out of the oven. It'll be too soon to frost them (they're much too hot), so set them aside to cool and tuck your frosting into the fridge until they're ready.


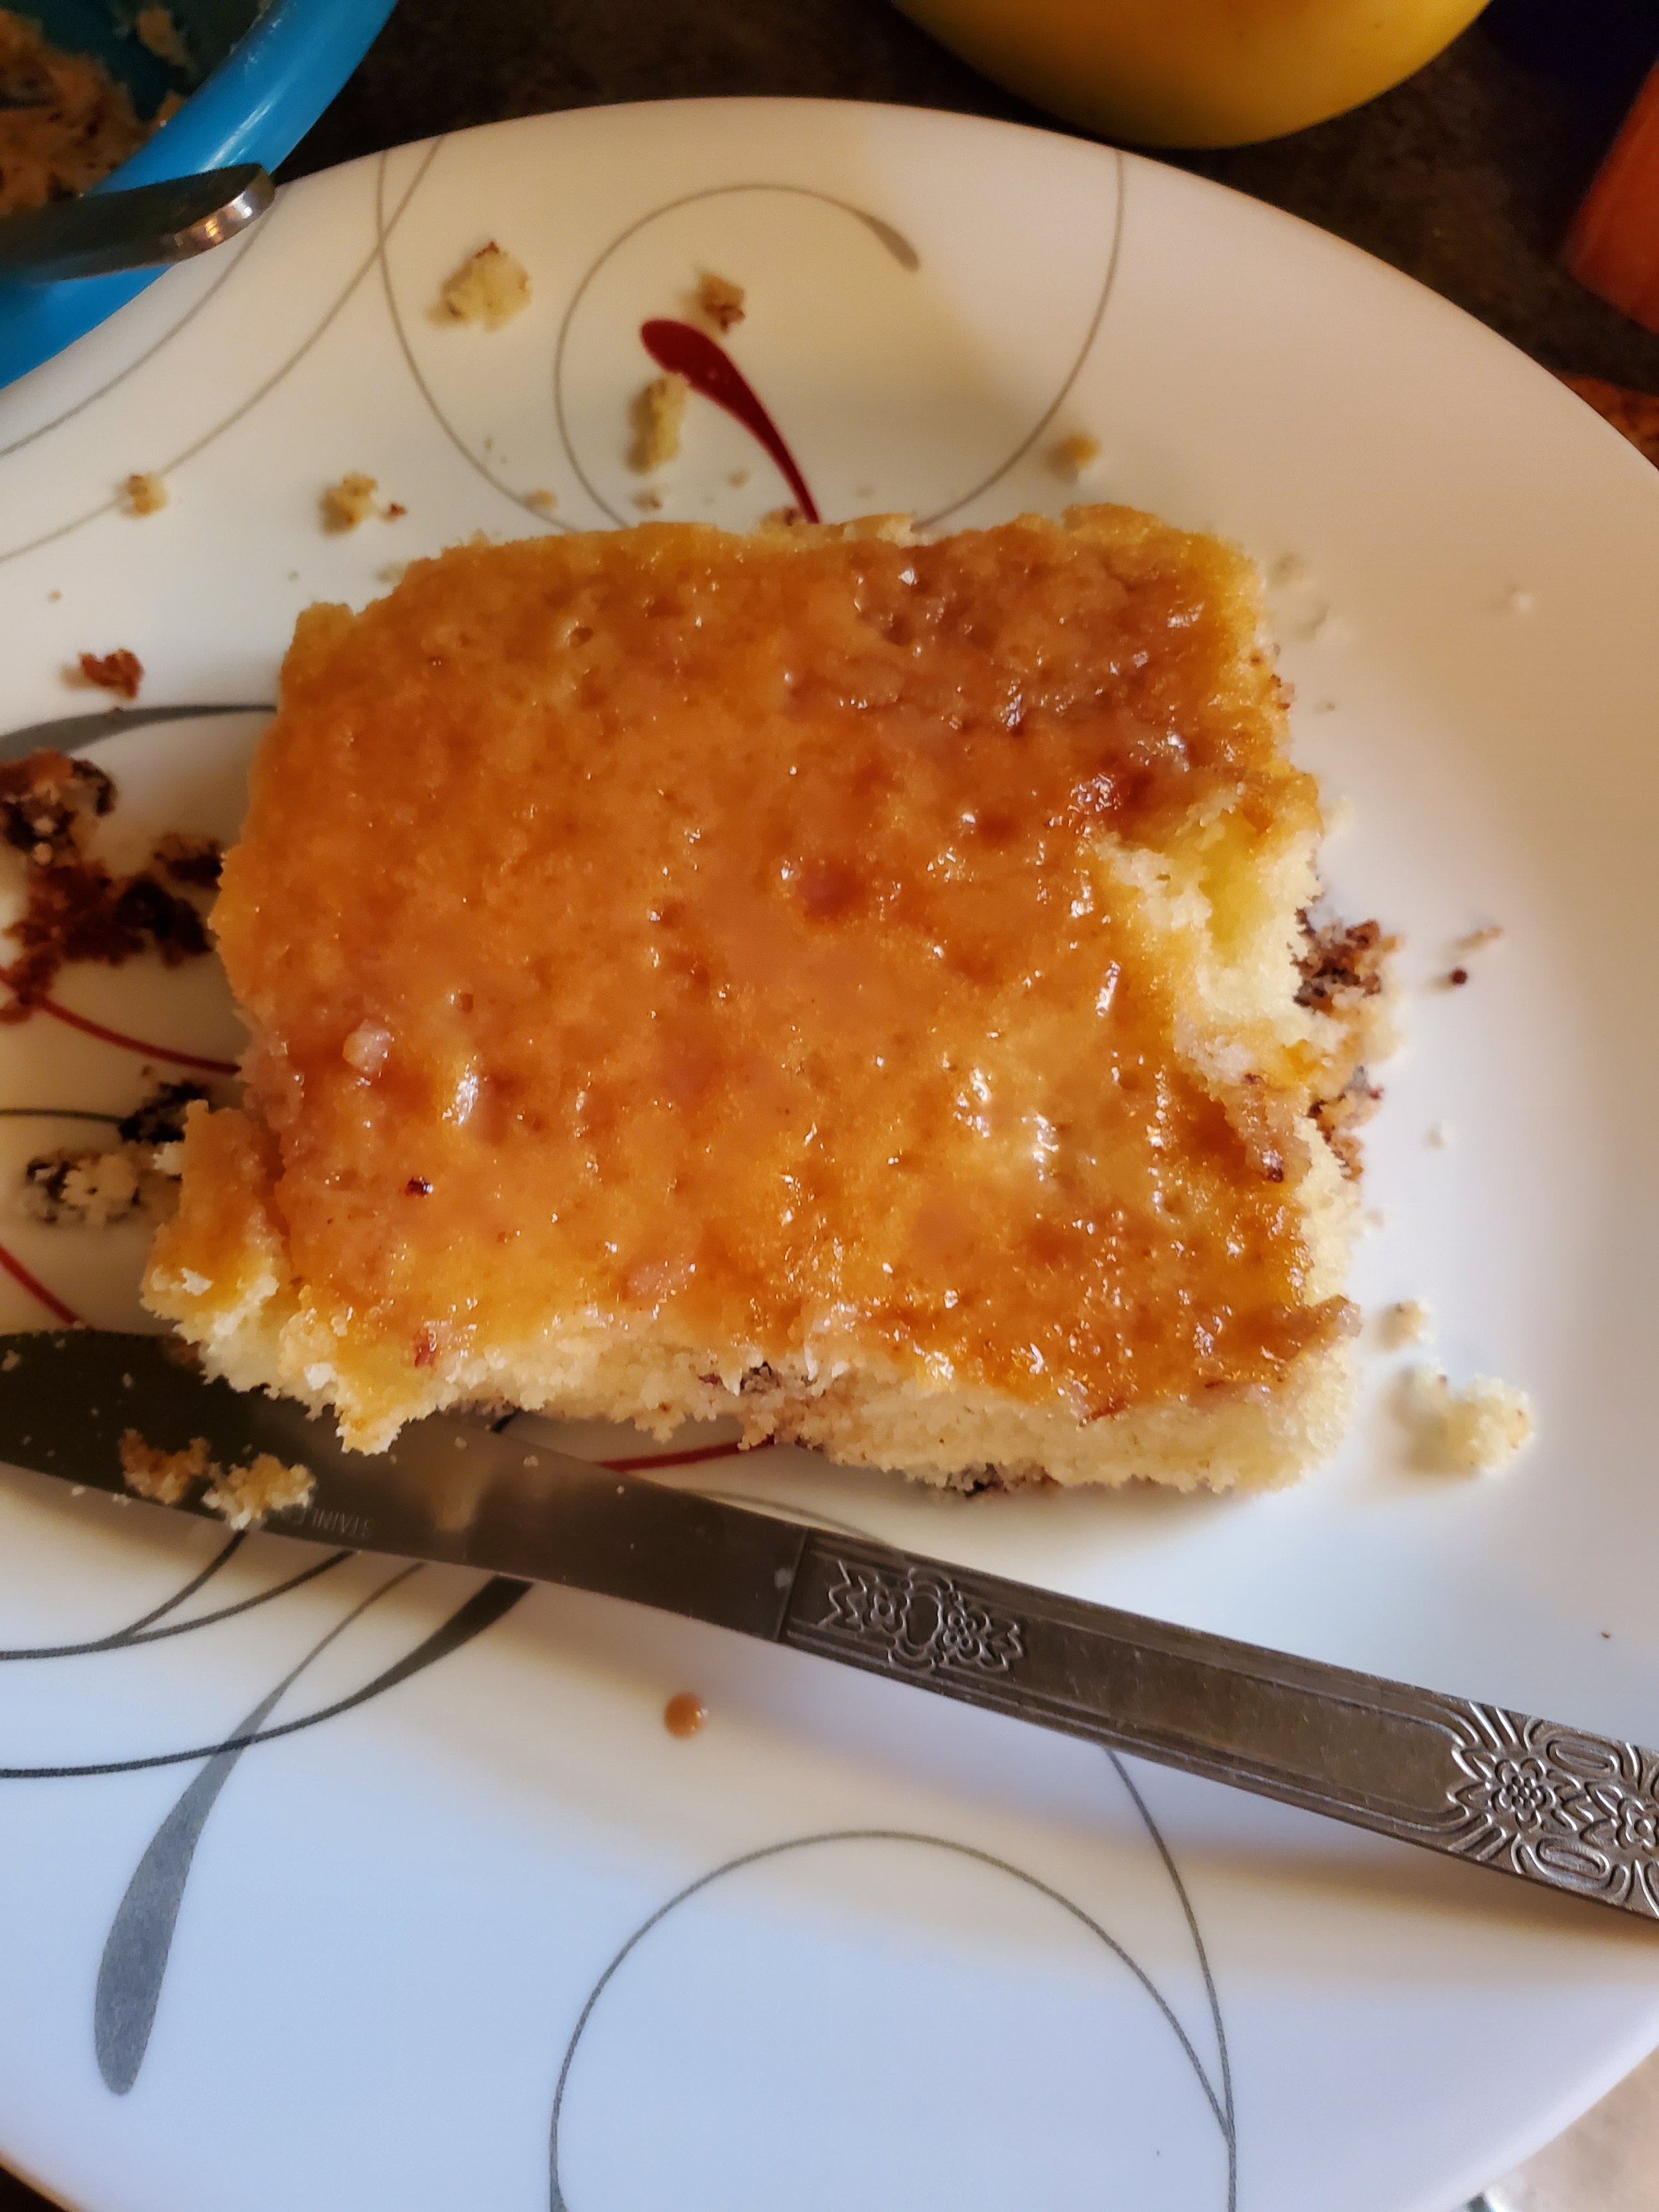
Once the muffins are cooled, pull the frosting back out of the fridge and put your dessert together.


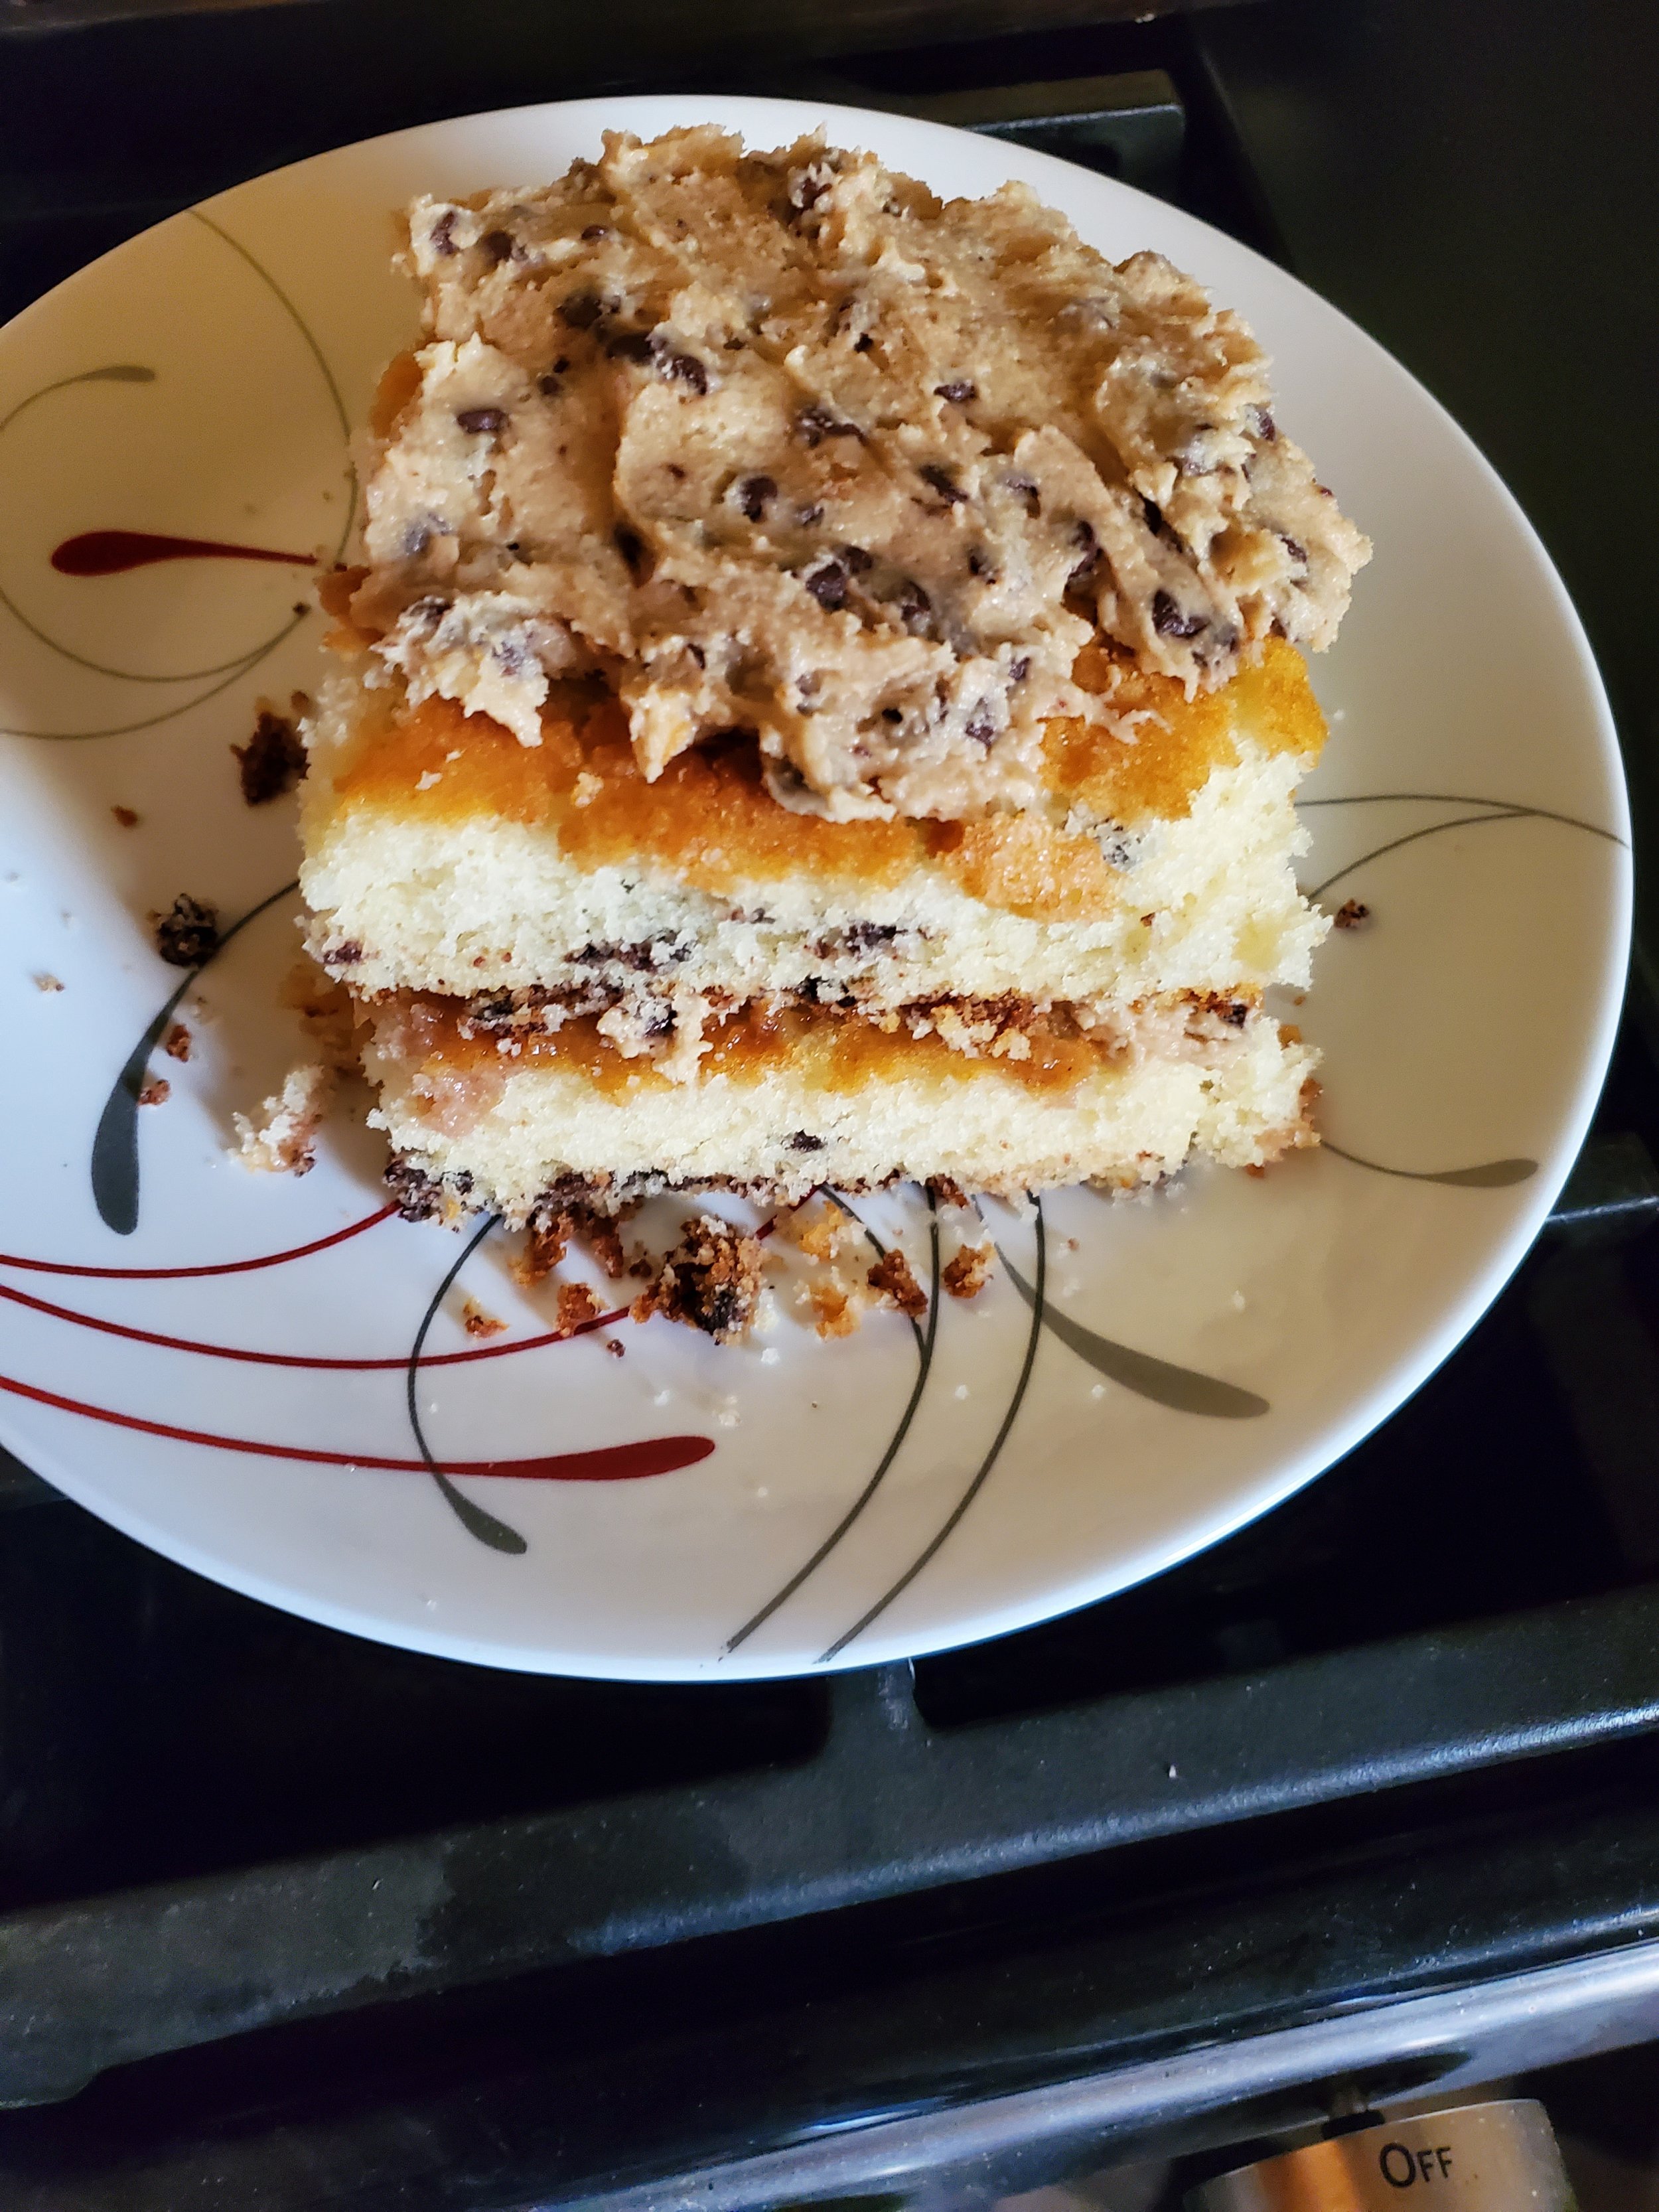
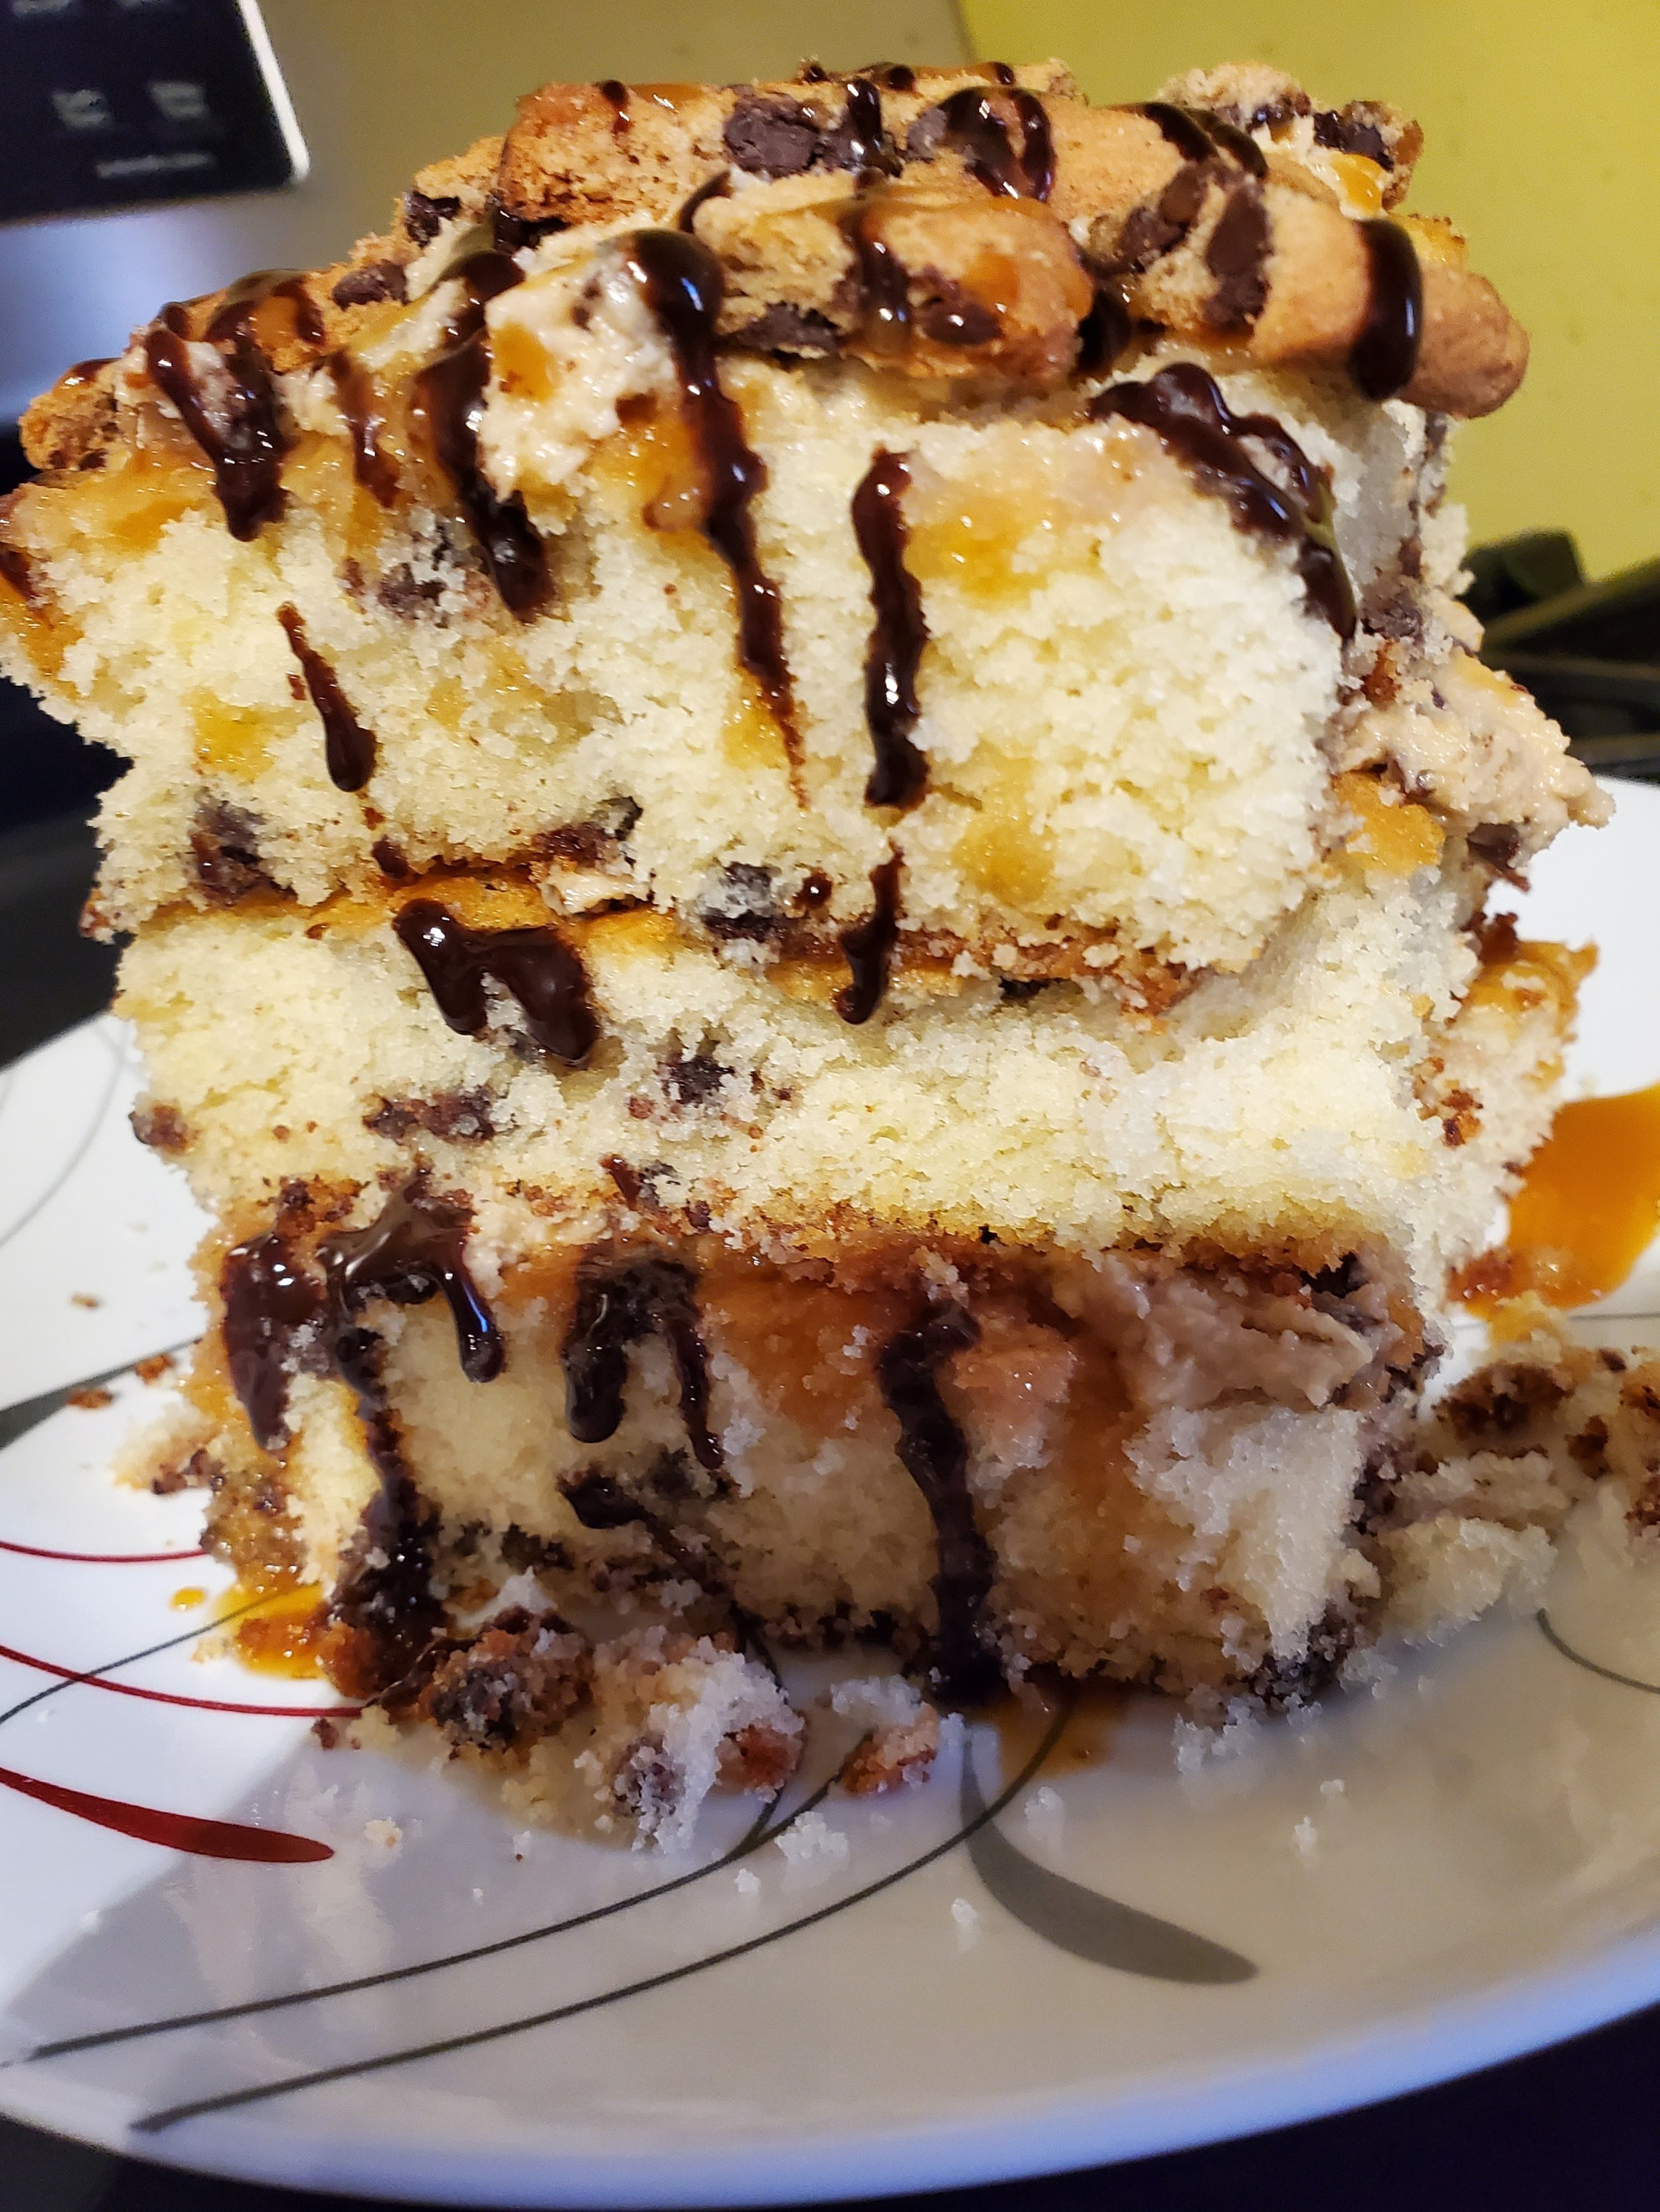
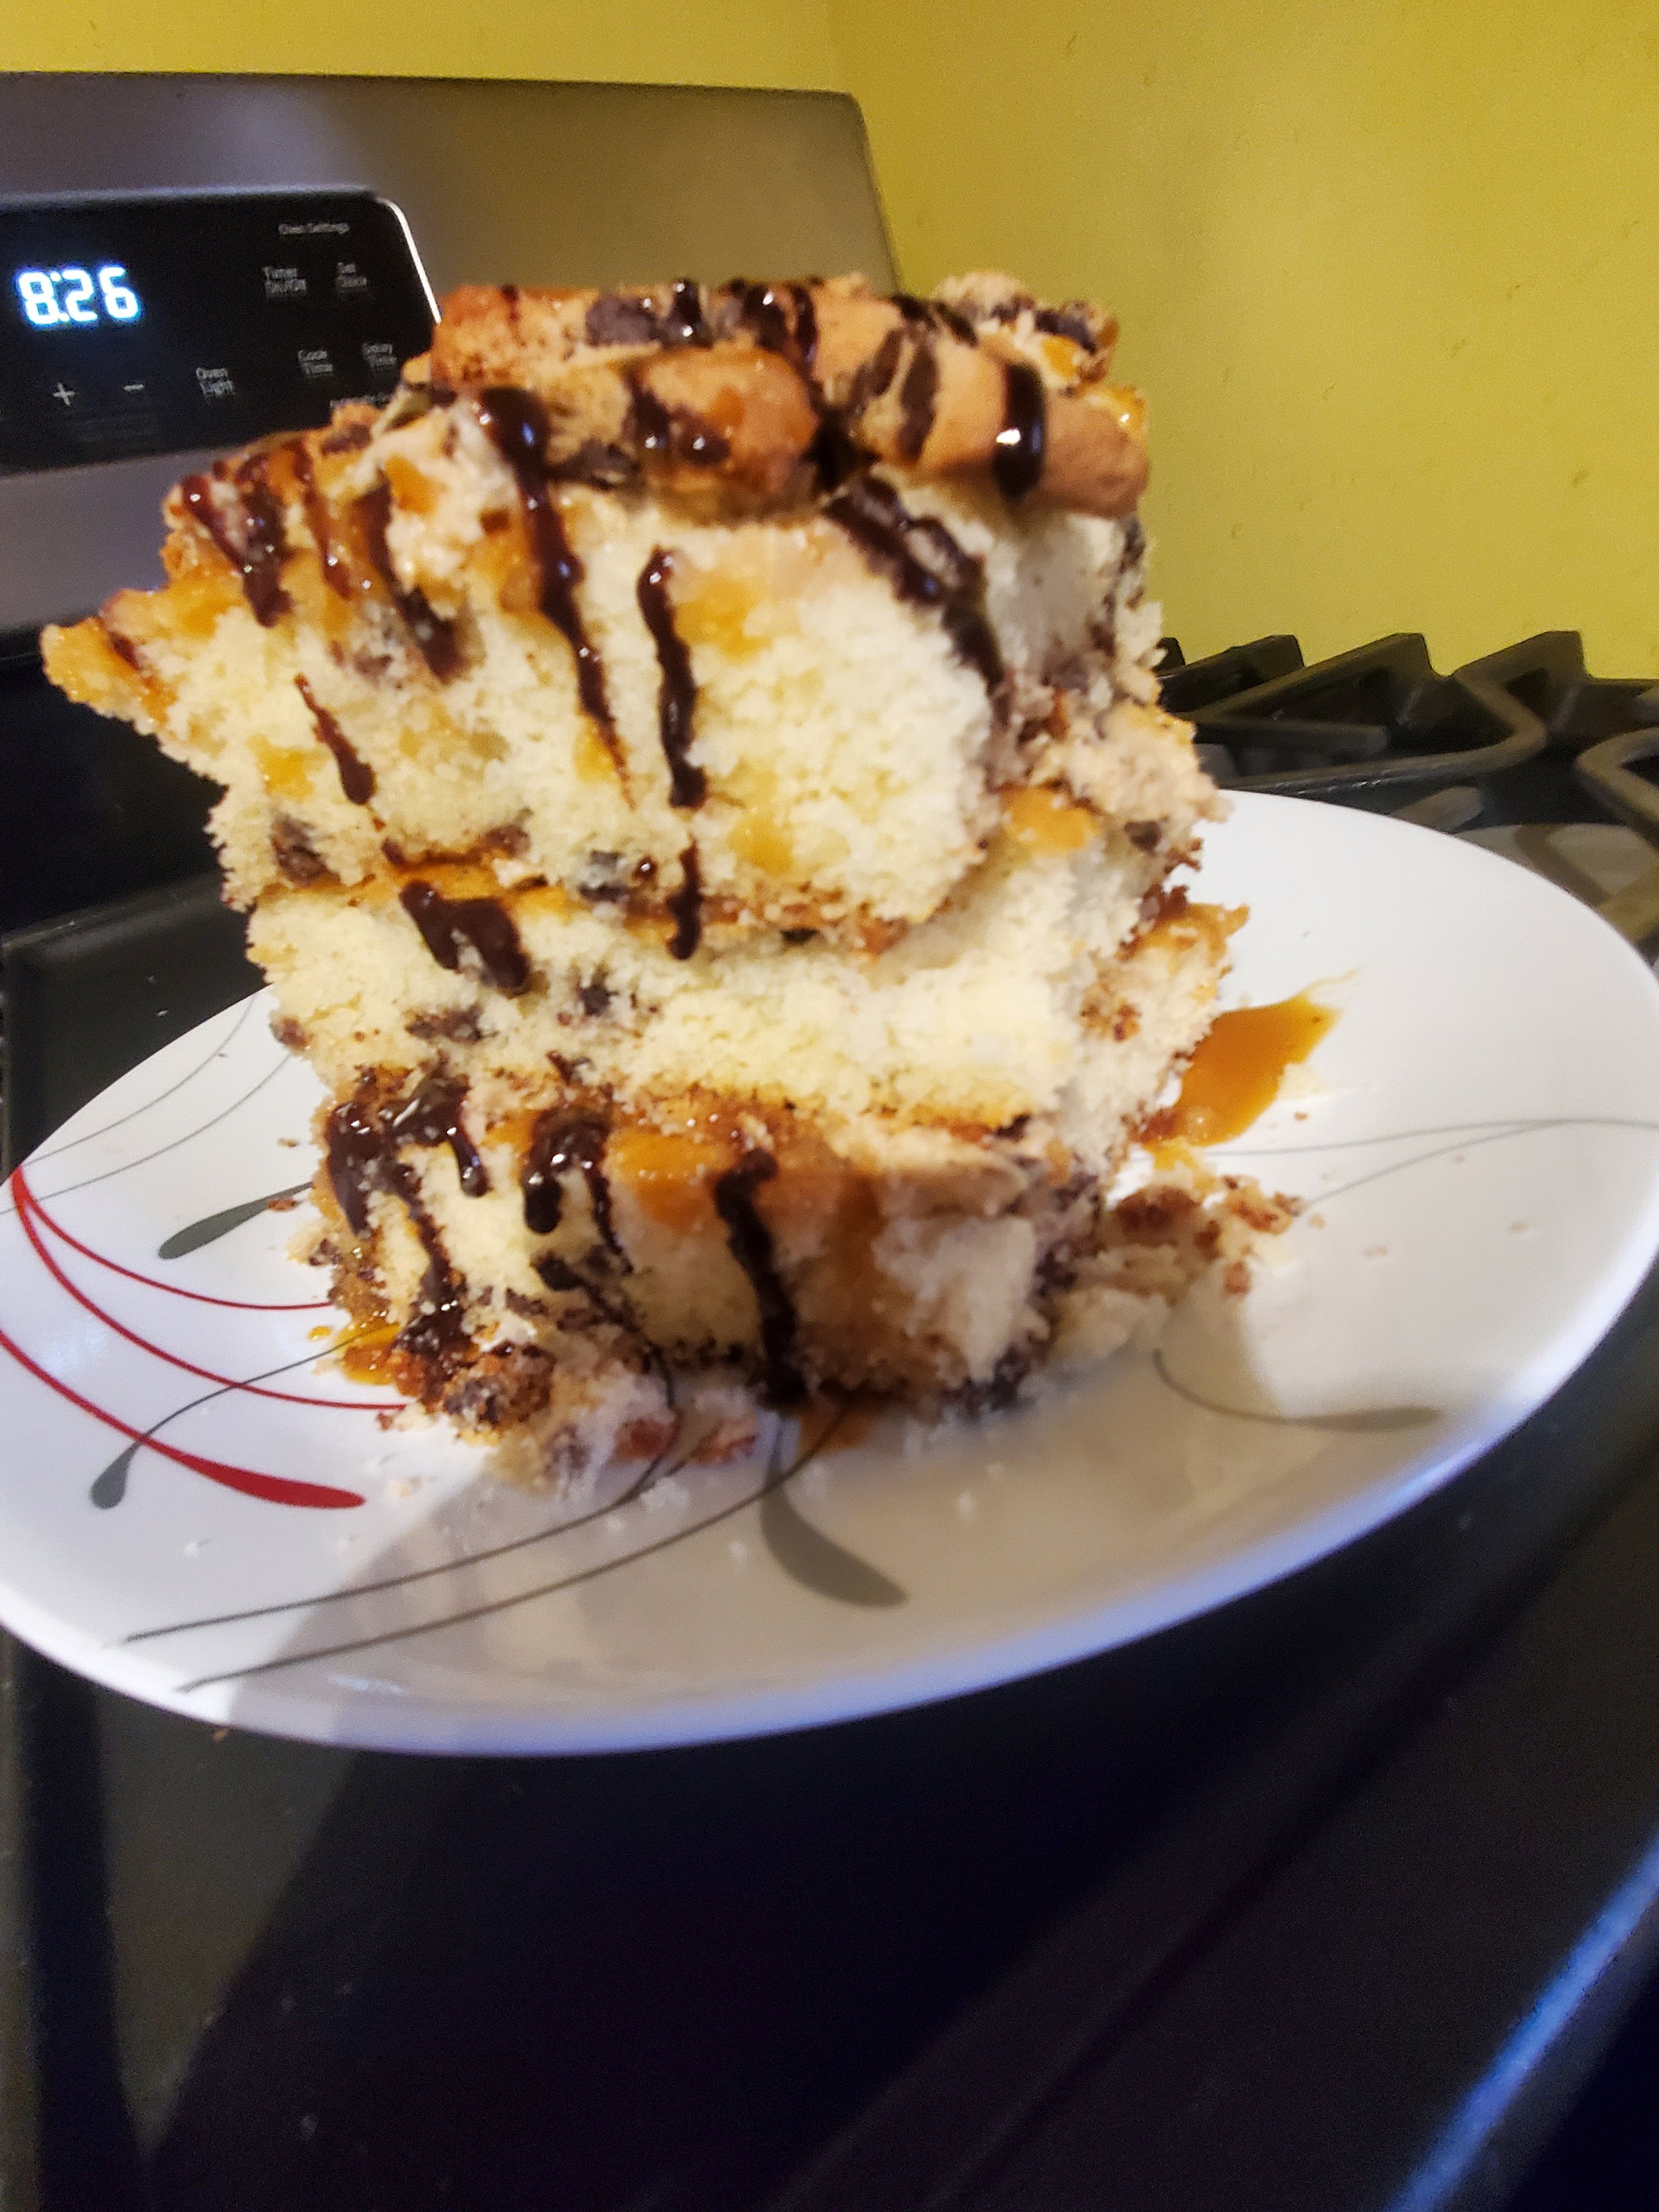
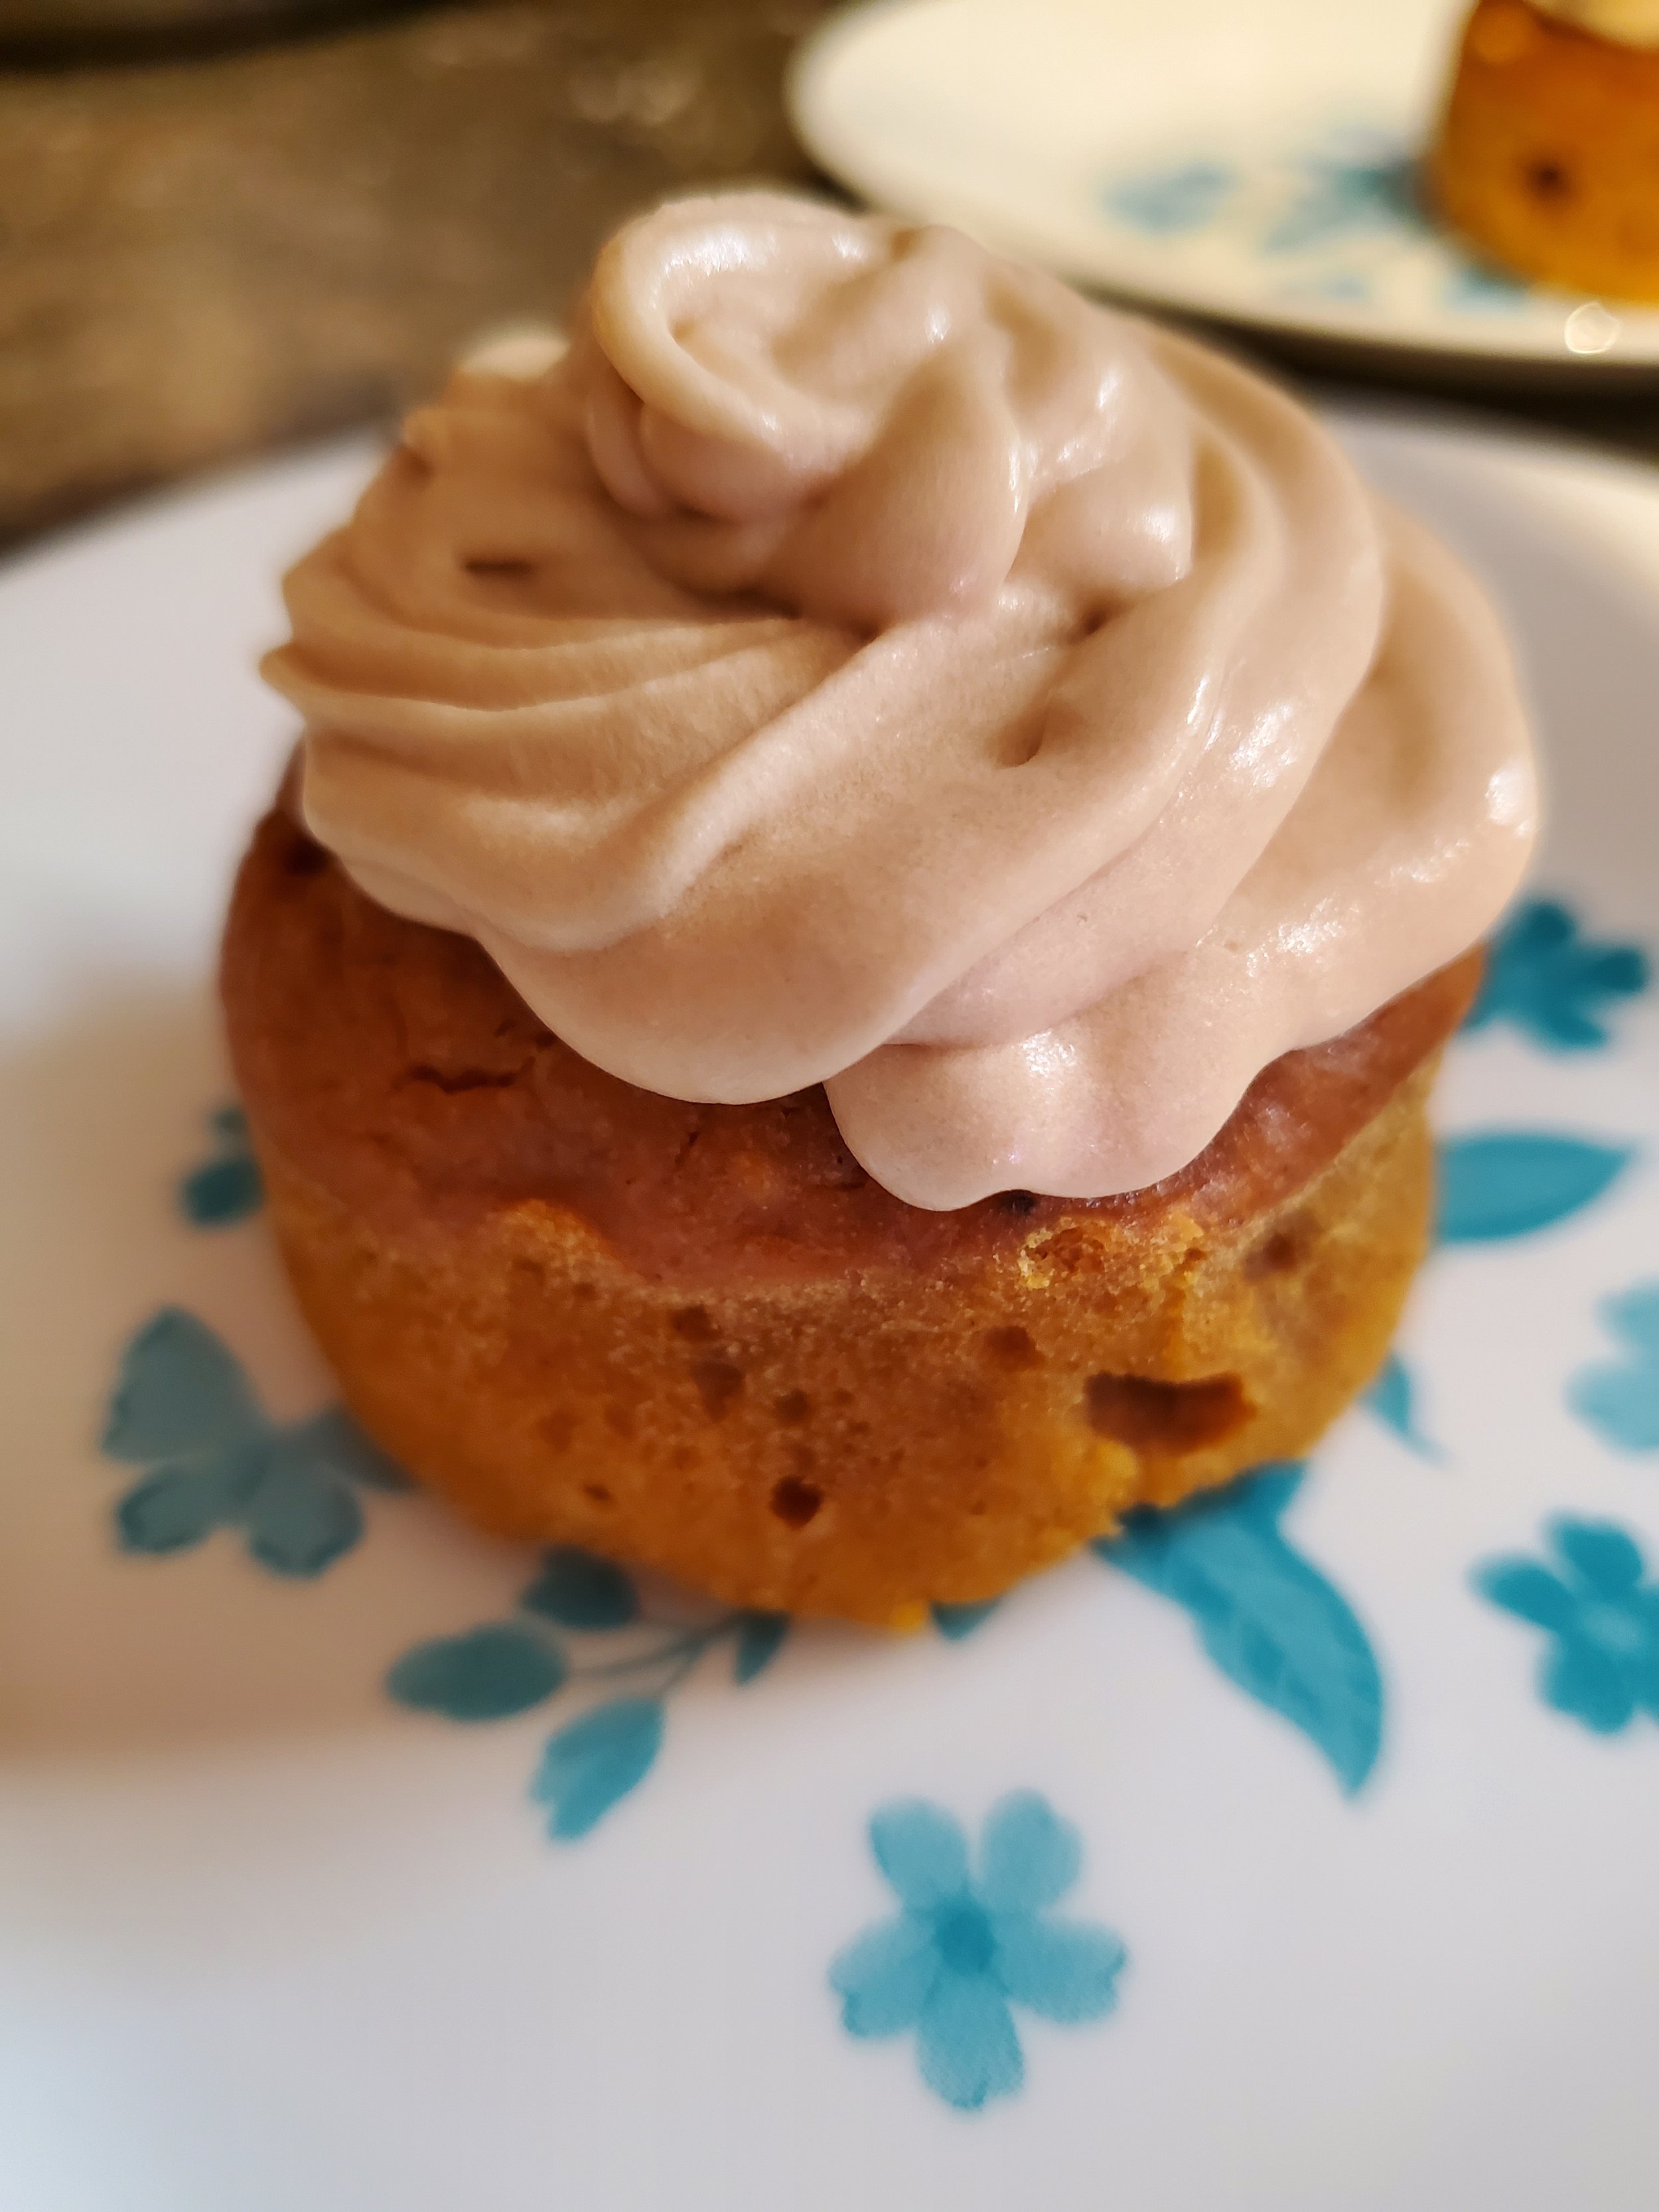
If you're feeling fancy, you can break out a pastry bag and tip and get ready to pipe the frosting. But we swear, it still tastes just as good if all you do is take a spoon or flexible spatula and drop a dollop on top of each muffin.


Enjoy after dinner with a big cup of coffee.


As the aroma of freshly baked pumpkin muffins fills your kitchen, remember that Appliance Rescue Service is here to ensure your cooking experiences are always seamless. Share your baking success on our Facebook page and take a moment to reach out to us at (214) 599-0055 or our website, for any appliance needs. Whether it's repairing a freezer or running routine maintenance on your oven, we're dedicated to keeping your kitchen running smoothly. Treat yourself to these delightful muffins and elevate your fall baking game with a touch of caffeinated comfort. Enjoy this flavorful creation with a steaming cup of coffee and savor the season's joys in every bite.


Additional Reading 

Easy No-Cook Not Quite a Cannoli 

Chocolate Raspberry Thumbprints


Harvest Bliss: Cranberry Pumpkin Nut Bread

A Decadent Fusion of Fall Flavors

Get ready for a delicious adventure with our Cranberry Pumpkin Nut Bread—a recipe that embodies the flavors of fall. It’s not just a bread; it's a hearty combination of pumpkin, spices, and delightful textures. Although it demands a bit of attention, trust me, every effort pays off in each aromatic slice.


Ingredients:

1 cup water, warm, plus enough water to fill a kettle

1 tablespoon active dry yeast

1 15 ounce can plain pumpkin

2 tablespoons sugar

1 1/2 teaspoon ground cinnamon

1/2 teaspoon ground ginger

1/4 teaspoon nutmeg

1/2 teaspoon salt

4 1/2 cups flour, divided

1/2 cup chopped walnuts

1/4 cup dried cranberries


Tools:

parchment paper

Dutch oven, caldero, or four loaf pans

measuring cups and spoons

mixing bowls

tea kettle or pot for water

smaller, heat-proof bowl

colander

clean kitchen towel


Quick word of caution: This will be a messy, time consuming recipe! Do not attempt to do this on Thanksgiving. If you're an experienced baker of bread, you might pull it off. But if you're us... You'll just create a mess and not have the bread til after dinner. 


Well before you intend to get anything going for this recipe, start a tea kettle or a pot of water on the stove. You can use the time while you wait for it to reach a boil to get your other ingredients out.


Once you have all your ingredients handy, begin by measuring your yeast into warm water and setting it aside to double in size. This should take five minutes or so.


Measure the flour, stopping at three and a half cups. Reserve the additional cup in another bowl. Don't forget to level your flour! It's going to be sticky dough and you'll likely be tempted to add more flour, but don't fall for it, and definitely don't sabotage yourself by starting with more than you meant to.


Include your sugar, salt and spices in the dry ingredients. We want to see them evenly mixed into your flour before any wet ingredients join the party, that way you don't end up with bland spots and spots that have too much cinnamon or something.


Around this point, our kettle usually begins to boil. Remove it from the heat, toss the cranberries in the heat proof bowl, and cover them with boiling water. Ignore them for five minutes or so - we just want them to be partially rehydrated so they're not sticky lumps in the bread later. After they've had time to absorb some of the water, strain the water out through the colander.


Add the pumpkin and the yeast mixture to the dry ingredients and stir well. Once you've got a relatively uniform consistency, you can add in the chopped walnuts and the cranberries. This is also the first point that your reserved cup of flour will make an appearance - work about half of it into the sticky dough you have here.


Cover the bowl with a clean kitchen towel and let it rise on the counter for three hours.


At the three hour mark, move the dough to the fridge, keeping it covered with the towel. Keep it in the fridge for at least an hour, or as long as overnight (if you're a forward thinker and got this done long enough ahead of time that you can refrigerate it overnight! Congrats on being wiser than us).


The chilled dough should be easier to work with, but we still recommend a set of food service gloves for this part. Take that reserved flour and dust a surface - a cutting board, the counter, some parchment, the table - whatever you have. We recommend parchment paper for ease of lifting later. Turn the cold dough out onto this floured surface and work it until it's smooth. Allow it to rise again where it sits for about an hour.


Preheat the oven to 450. That is not a typo, we really do mean 450.


In the photos, we've done this as one large boule in a covered pan - but we find the results to be much better if done as two small loaves in average loaf pans, and doing two loaves reduces the cooking time and the risk of burning dramatically. Learning from our mistakes here.


Toss two loaf pans into the oven to heat up with it, keeping the other two loaf pans out on the counter. Divide your dough in two and shape into two even-sized loaves. Place each loaf on its own sheet of parchment paper.


Once the oven has come up to proper temperature, don your oven mitts or grab a towel and remove the pans. Using the parchment to transfer them, place one loaf into each pan. Place both pans onto the middle rack of the oven. Invert the cool pans over top of the pans in the oven (we're using them like the lid of the Dutch oven here). Set a timer for 15 minutes.


At the 15-minute mark, remove the covers and set them aside to cool. Bake the loaves uncovered for another 15 minutes. When the timer is up, turn the oven off and let the loaves sit in there for another five to ten minutes before removing them. Use the parchment to lift them. Allow them to cool before cutting with a serrated knife.


As you savor every bite of this Cranberry Pumpkin Nut Bread, remember that Appliance Rescue Service is here for all your home needs. Share your baking success on our Facebook page and feel free to contact us for any appliance-related queries at (214) 599-0055 or through our website. From repairs to routine maintenance, count on us for all your major appliance requirements. Let the lingering aroma of this delightful bread remind you that we're dedicated to ensuring your home runs smoothly.


Additional Reading 

Impress Your Guests with This Easy-to-Make Apple Pecan French Toast Bake


Escapee From New York: Chocolate Bagels


"Sugar Bomb" Cake

Or You Might Call It Death by Delicious

This isn't a cake for a birthday. This isn't a cake for a little get together. This is cake for a crowd, when you have a ton of people and you want all of the ones that enjoy sugar to walk around in a daze after trying it. This is one of those cakes where you make only once a year. Not because it's difficult. Not because it doesn't taste amazing (it does. We have it on the opinion of a ten-year-old that this is "the best cake in the whole world.") It's because this cake is so overwhelmingly delicious that you can only handle it once a year.  

It started off as an experiment.  We wanted chocolate chip cookies, but we didn't want just cookies. We wanted cake too. And then we thought about cookie dough. Except, it's not smart to eat just cookie dough. You need the crunch to balance it out. We took all of that and the urge for some chocolate milk as well ( we might have been egged on by that same 10-year-old helper) and started brainstorming how to smash all of it together. This is the outcome. Cake. Cookies. Cookie dough. Chocolate milk. All together in one glorious, amazing, and possibly death-defying sugar bomb cake. 

We’re putting all of the photos at the end of the article just to make it easier for y’all, so if you’re looking for those, keep on scrolling down. :)

Cake Ingredients: 

2 1/4 c all-purpose flour plus a bit extra 

2 tsp baking powder

1 tsp salt

1 1/2 c sugar 

3/4 c butter, at room temperature

3 large eggs

4 tsp vanilla

1 1/3 c buttermilk*

1 c mini chocolate chips, tossed in flour 

Chocolate chip cookies 

Tools Needed For all sections: a glass baking dish 9x13, a hand mixer or stand mixer of your choice, a small sauce pan, several bowls to mix in, a sieve, measuring cups and spoons, a cooling rack, toothpicks, and a heat proof glass dish, a rolling pin or mallet, a ziploc bag 

Set your oven to 350* F.

Set your chocolate chip cookies to the side until it's time to assemble the cake.

Take your glass dish and spray it with canola oil, evenly on all sides and the bottom.

In a small dish, pour in your chocolate chips and about 1 Tbsp of flour. Toss to coat. If you feel like not all of the chips are coated, add another tablespoon at a time and repeat until all of the chocolate chips are evenly coated.

In a large bowl combine together your flour, baking powder and salt. If you like, you can experiment and sift the flour to see how that will affect the density of the cake. (It's us, we regularly encourage experimentation when it won't ruin the food.) 

In a separate bowl, cream together your butter and sugar until it's fluffy. You can do this with a stand mixer, a hand mixer, or if you're feeling the need for a workout, you can use a hand whisk. 

Add in one egg at a time, mixing thoroughly and then add your vanilla.

Next up alternate between adding in the flour mix and the buttermilk until everything is combined.

Fold in your chocolate chips 

Pour the mixture into your pan and bake for 45 minutes OR until a toothpick inserted in the middle will come out clean. 

Make sure to rotate the pan halfway through.   

After you've removed your cake from the oven, let it rest five minutes and then run a knife around the edge of the dish to loosen it. Then allow it to cool to room temperature before removing it from the dish and place it on a cooling rack.  Make sure you don't wait more than ten minutes after removing it from the oven to remove it from the dish. It will stick to the pan and then you'll be fighting with your cake to get it out in one piece. You'll find out why we know this later. 

Cookie Dough Filling:

1 1/2 c brown sugar, packed

1 c butter at room temperature

3 tsp vanilla extract

2 1/2 c all-purpose flour

1 tsp salt

1/2 c heavy cream

1 c mini chocolate chips 

Mini chocolate chip cookies 

Beat the brown sugar and butter till fluffy, again you have the choice to use a stand mixer, a hand mixer, or a hand whisk. 

Beat in your vanilla extract, flour and salt till combined. 

Add the cream a little at a time till it reaches the consistency you want. This might not use all of your cream, or it might use more of it like ours did.  

Fold in the chocolate chips.  

If it's a hot day, set this in the fridge until you're ready for it to be used on the cake. If it's cool in your home, it's safe to leave it out on the counter, covered. 

Chocolate Malted Milk Syrup: 

1 c heavy cream

1/2 c sugar

2 tsp vanilla

2 Tbsp chocolate malted milk powder **

In a small saucepan, combine heavy cream, sugar, vanilla and chocolate malted milk powder, whisking until you no longer have bumps. Set your stove to medium-high (or medium if you're working on a gas stove). Put your saucepan on the stove and continue stirring, pressing any lumps against the side to break them up. Bring the pot to a boil. 

Remove from the heat and pour into a heat safe glass dish. Allow it to cool to room temperature and then store it in the fridge until it's time to assemble the cake. (We want to make a reference to a certain group of superheroes, but it doesn't really fit here does it?) 


Assembling the cake:

When your cake has come to room temperature, flip it out onto a cutting board, so that the bottom of the cake is now the top. 

If the dish you used was curved at the edges, cut off those ends of the cake and set aside for munching later.  

Next, measure the remaining cake, we want to create three even rectangles. Cut the cake across the width, so that you have three separate short rectangles. 

Coat each rectangle on the top with the malted syrup. (Don't forget this step, it really does matter for binding the cake top down and keeping it from 'peeling' off during the next stage.) 
Pick a layer and top that with the filling, spreading it carefully. Although you might have tried it with other frosting sorts, we don't advise doing it with this one given the amount of butter in the filling. It will make a mess and you'll end up with something very unappetizing. 

Once the filling is as thick as you want it, add the next layer of cake, top it with more of the syrup if needed, and then the filling. Repeat again with the third slice. 

Once you've got all three slices stacked together, cover the top and sides with the remaining filling/frosting.  

To the top of the cake, add equidistant whole cookies, for decoration. Then take some of the remaining ones and smash them up.  Bag them in a gallon sized bag and grab your rolling pin, and give them a few good whacks. You don't want crumbs, but you don't want whole cookies. 

Once that's done, coat the sides of the cake in your cookie bits. You can do just the bottom 1/3 or you can do the entire side.  

Now if you want to really go crazy, or if the previous steps haven't worked out quite as you imagined, there are ways to save it and still make your cake look as tasty as it will be delicious. That is the baker's secret weapons of chocolate and caramel syrups. Turn your cake so that you're facing a corner of it and drizzle first one syrup and then then other over the top of it, making wide sweeping arcs across your platter.  Surprisingly, it works well. 

As a wrap up, sometimes a cake doesn't look /pretty/ and you need to have a backup plan, like that last step. That's what happened with us, and it was the syrup that ended up making it work in our opinion. Keep in mind though that no matter how this looks, it's still going to be a delicious, overpowering sugar bomb of a cake. We hope you love it and whoever you share it with also loves it.  Let us know how it goes over on our Facebook page or in the comments below. 

If you still have the ability to focus after making this cake, and you actually came to our site because one of your appliances is giving you trouble, we can help. Give us a call at ((214) 599-0055) or go to our contact page to set up an appointment. We'll work with you to find a time and date that works for your schedule to figure out what the problem is and how we fix it.  

*If you can't get your hands on buttermilk at home, there are ways to make your own, or you can use a powder if one of your local stores has it. That gets mixed together with water to give you the needed amount. 

** We know that it might sound weird to have chocolate malted milk powder and still call for vanilla extract, but it brings a very nice depth of flavor that we're fond of.