Getting Great Bagels Right In Your Kitchen
One thing that’s hard to get in Dallas is an honest bagel. However, it’s our opinion that just because we’re living in Texas, doesn’t mean we can’t have good bagels. This recipe is one we had to tweak a few times before it was ready, but we finally got that delicious chewy texture that is unique to New York bagels. It’s especially good when paired with a vanilla cream cheese. Even better? You can start your day with it, or have it for dessert!
Ingredients
Day One:
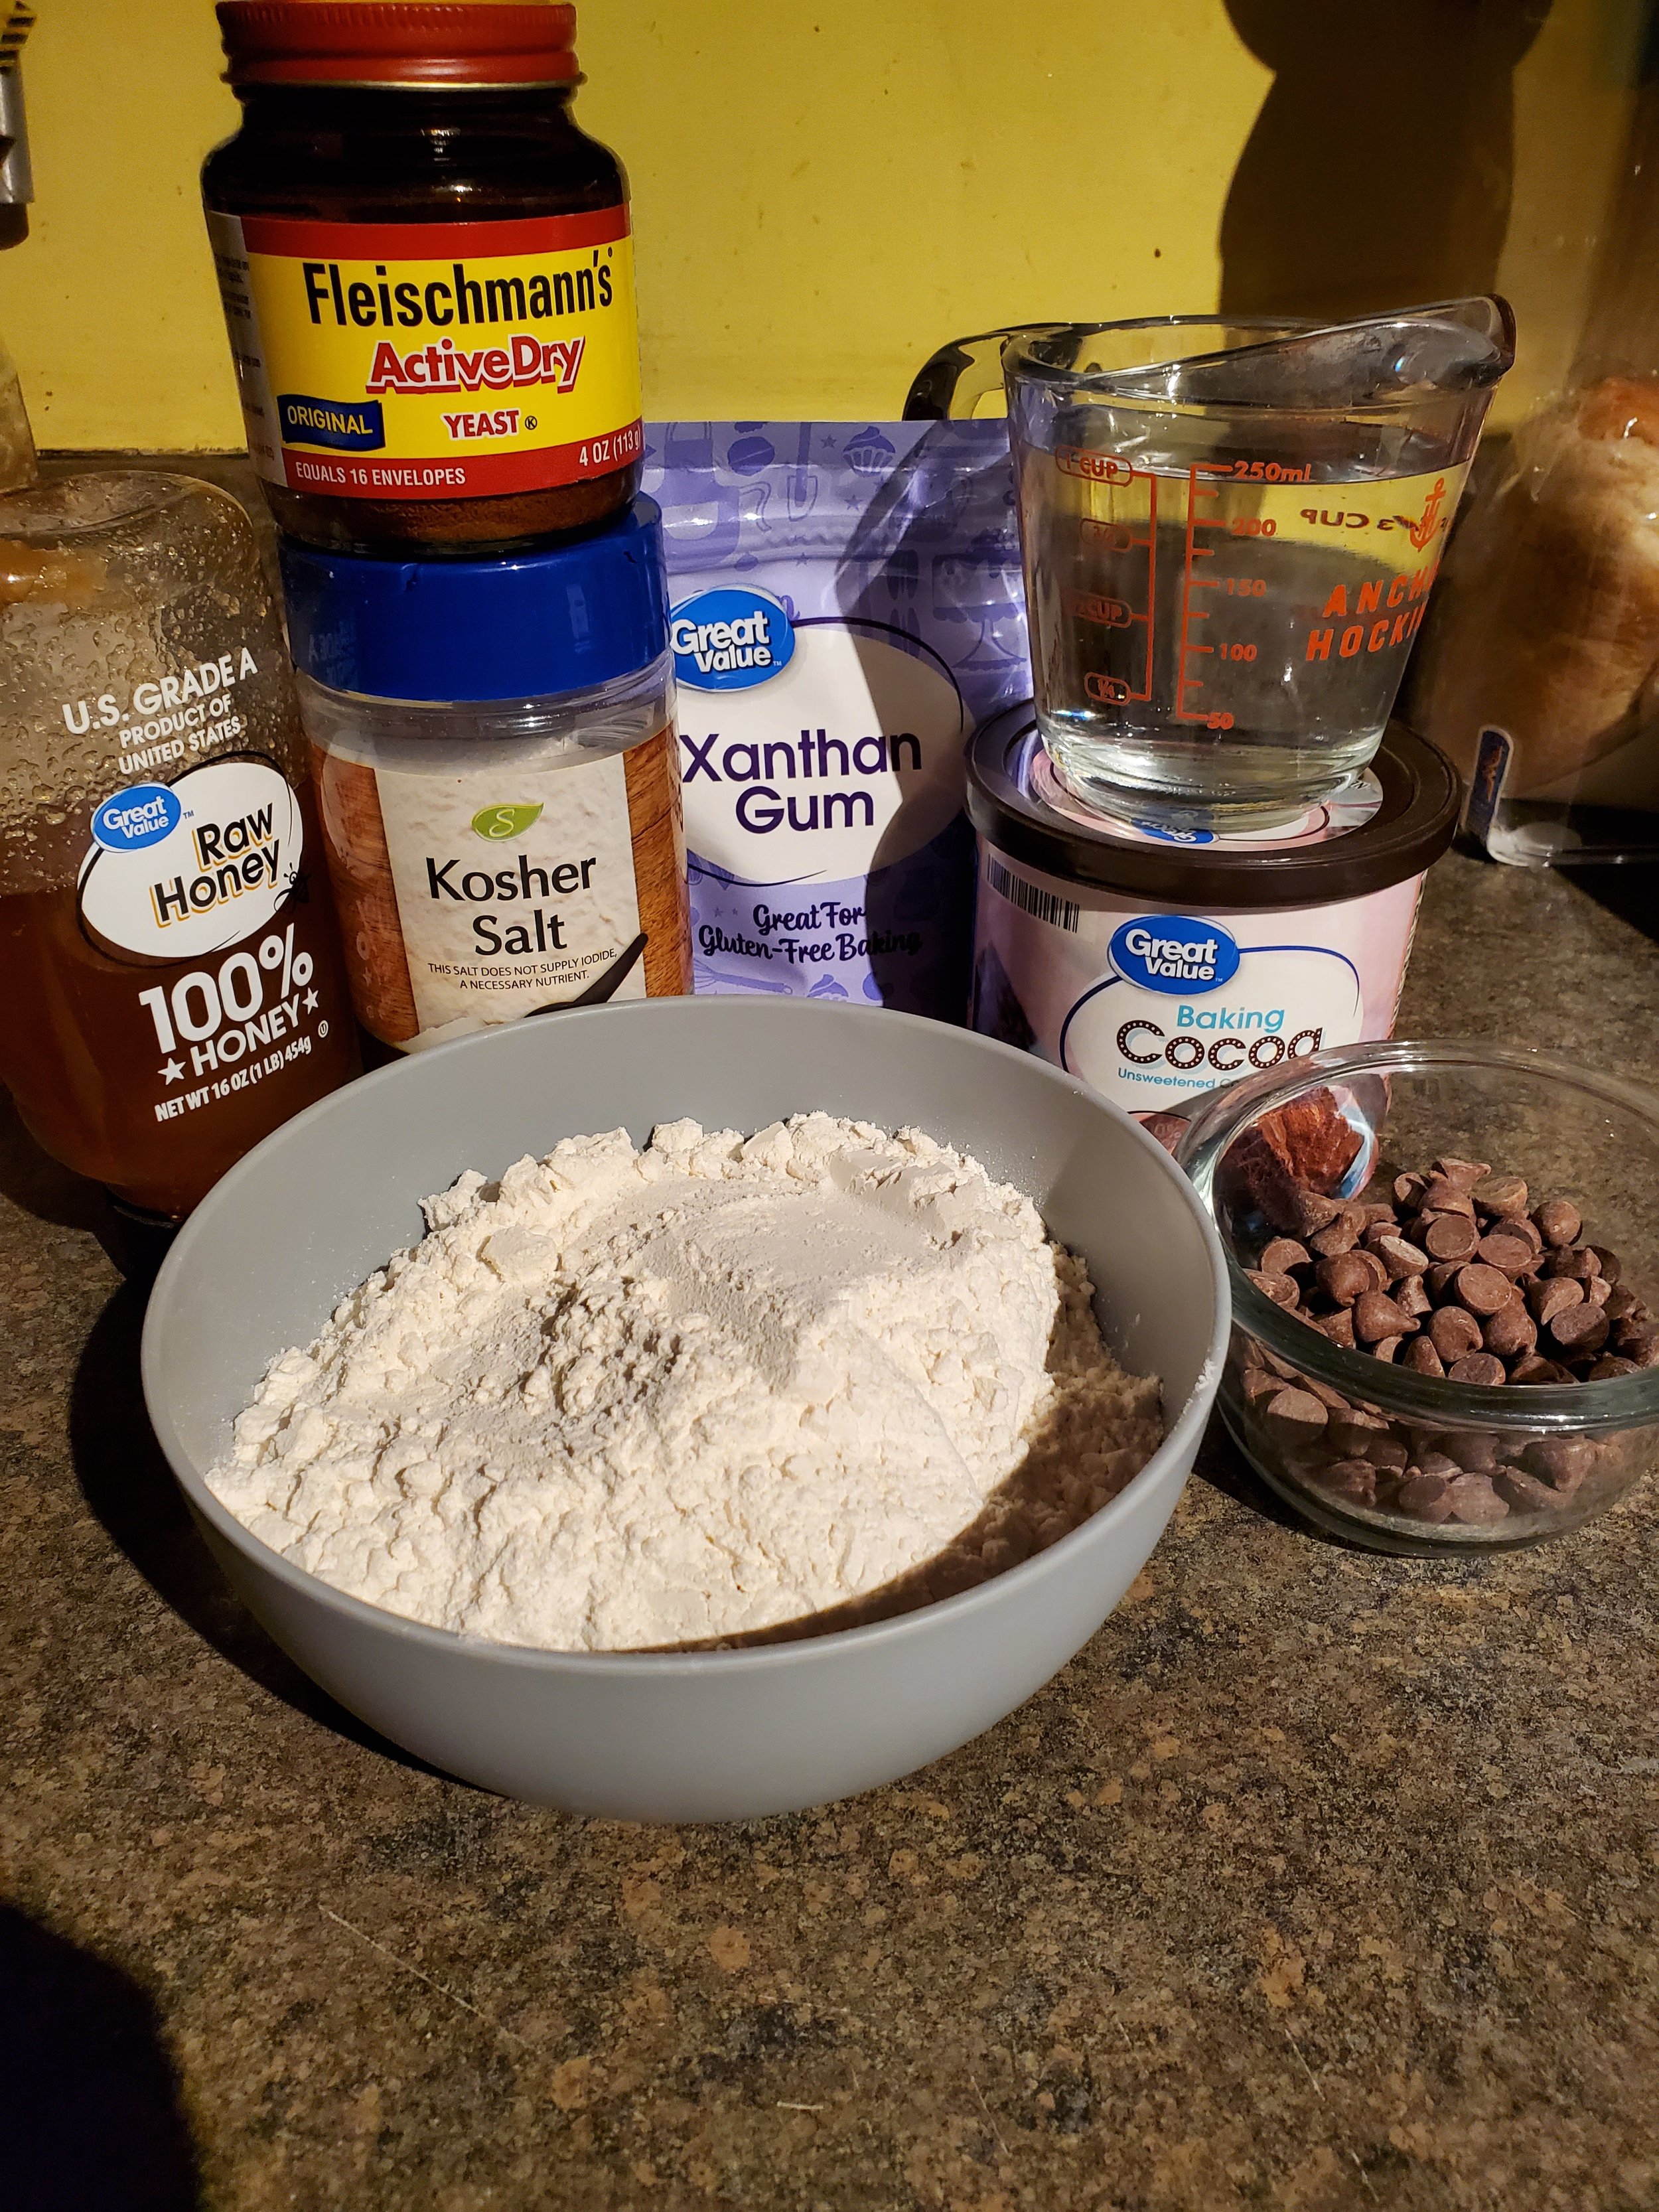
2 1/2 cups flour
2 tablespoons baker's cocoa
4 squares baker's chocolate
2 teaspoons active dry yeast
2 teaspoons kosher salt
1/2 teaspoon xanthan gum
1 cup warm water
2 tablespoons honey
Day Two:
8 cups water
1/4 cup honey
1 egg
1 tablespoon water
Tools: mixing bowl, measuring cups and spoons, large baking sheet (insulated is best), aluminum foil or plastic wrap, kitchen towel, parchment paper, stock pot or caldera,
heatproof bowl or shallow pan (to melt chocolate), large slotted spoon, spatula, small bowl, brush
This one is a labor-intensive recipe - don't panic; you can do this! Just be sure you allow yourself enough time to work on it. We recommend you get to work on them at least a day before you plan to serve them. Bagels will rise two separate times, and it's best to leave them overnight on one of those two rounds.
Measure out your flour and move it to the large mixing bowl. Try not to pack it down when you do this.
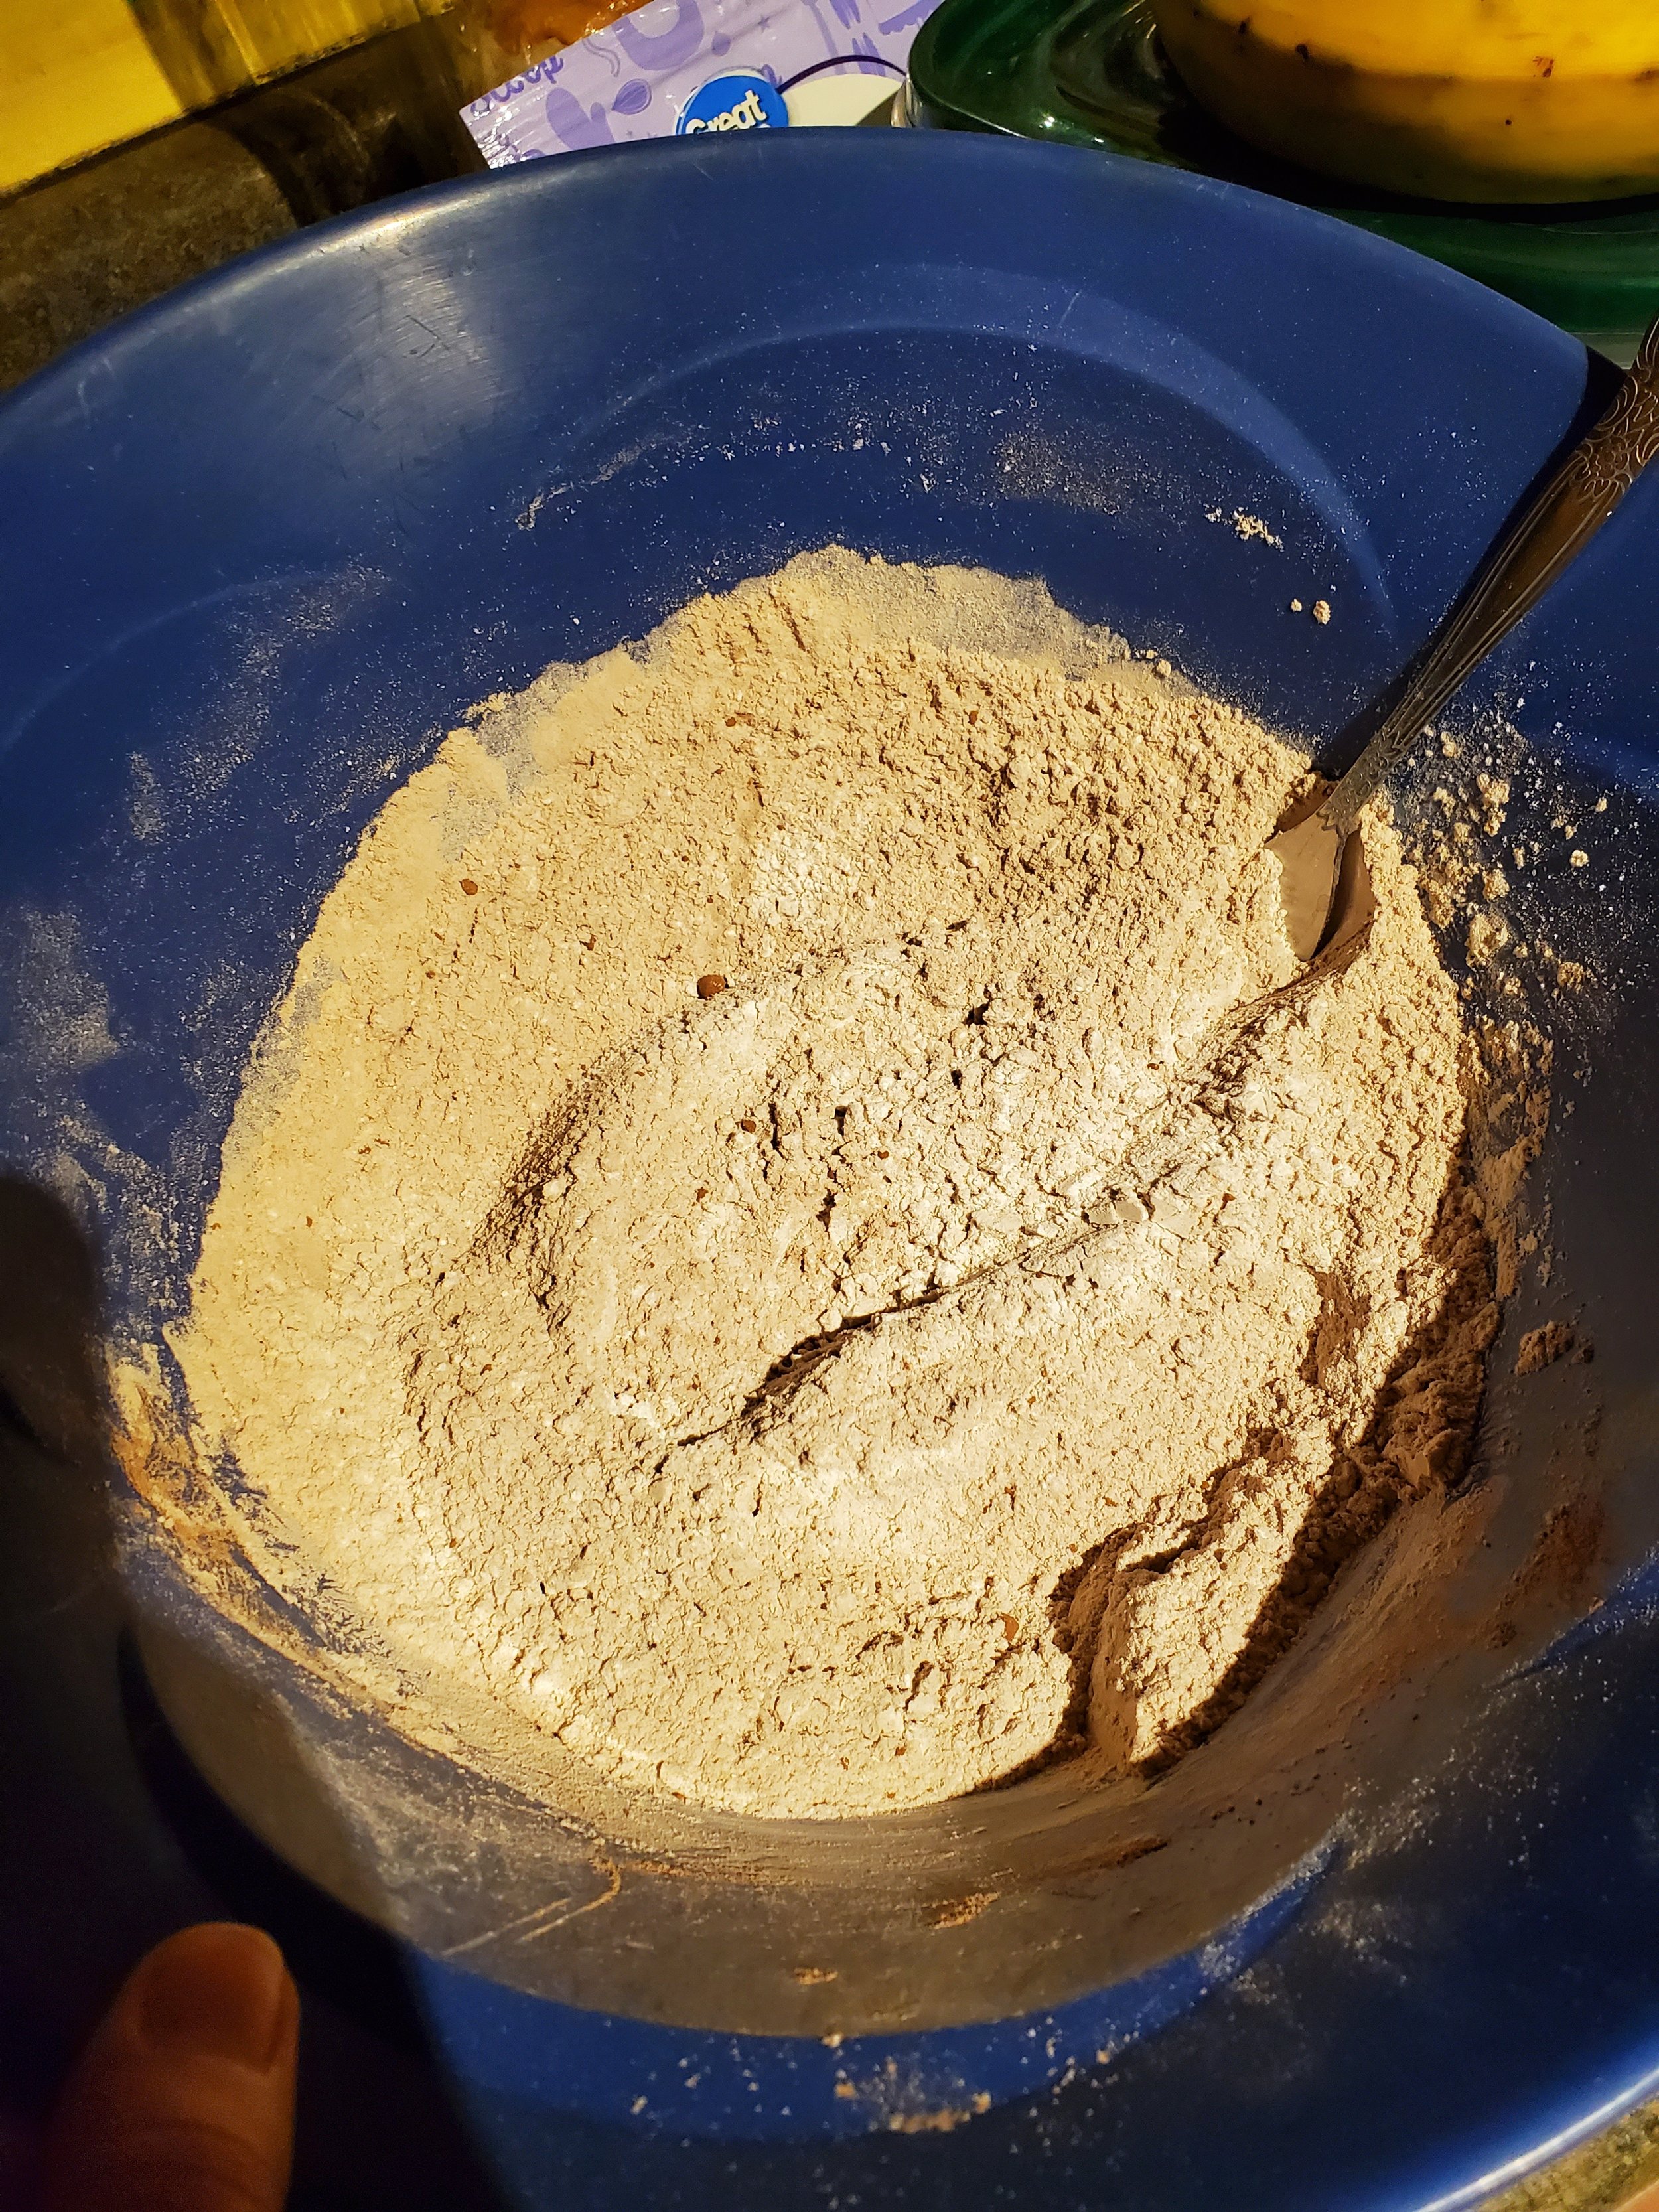
To the flour, add the baker's cocoa and the xanthan gum. Don't go overboard with the xanthan gum! We know it's only a tiny little bit as compared to everything else, but trust us: a little of this stuff goes a long way.
Add your kosher salt and use a regular spoon to give it a quick stir to incorporate all the dry ingredients.
Start your pan on the lowest heat setting and break your chocolate into it, or snap your chocolate into a heatproof bowl to microwave it. Either way, be ready to stir frequently to avoid burning. Once it's all melted, you can add it to your dry ingredients.
Shift your attention to wet ingredients for a minute. Use a measuring cup to get the proper amount of water. You can start with cold water and heat it up in the microwave if you're using a glass measuring cup, or you can let the tap run warm and then fill the cup if you're more comfortable that way. Just make sure it's not too hot, as too much heat will kill your yeast.
To your water, add your tablespoons of honey and stir until the honey has dissolved. This will only take a few moments, as long as the water is warm enough.
After dissolving the honey, measure the dry yeast into the same cup. The water will wake it up, and it should fizz or foam a little as you stir. (If it doesn't, your yeast has kicked the proverbial bucket. It's much better to have to toss a cup of water and spoonful of honey than the whole bowl of ingredients, which is part of why we're doing things this way.)
Add your remaining wet ingredients to your dry, and stir it around a little until it makes a shaggy-looking dough. It will look uneven and swirly because it's not fully incorporated, but that's okay; you're not done with it. Now you get to use your hands and get messy!
With clean, dry hands, knead until it comes together into a smooth ball. Remove it from the bowl and then knead some more on a clean counter. We know you're probably afraid of over-working it, but bagel dough is serious stuff. Knead it on the counter for ten minutes. Resist the urge to add water - it's supposed to be stiff. We set a timer on the microwave or a wristwatch to make sure we don't quit too soon (your hands and forearms will probably get a little tired if you're out of shape like we are).
Once you've reached your ten-minute knead time, move the dough back into the bowl. If there are scraps and spots of flour left in the bowl, wipe it out before you transfer the dough; you really don't want the headache of trying to work excess flour in after this rests overnight. Cover it tightly with foil or plastic wrap and place it in the refrigerator. Leave it there overnight and come back to it in the morning.
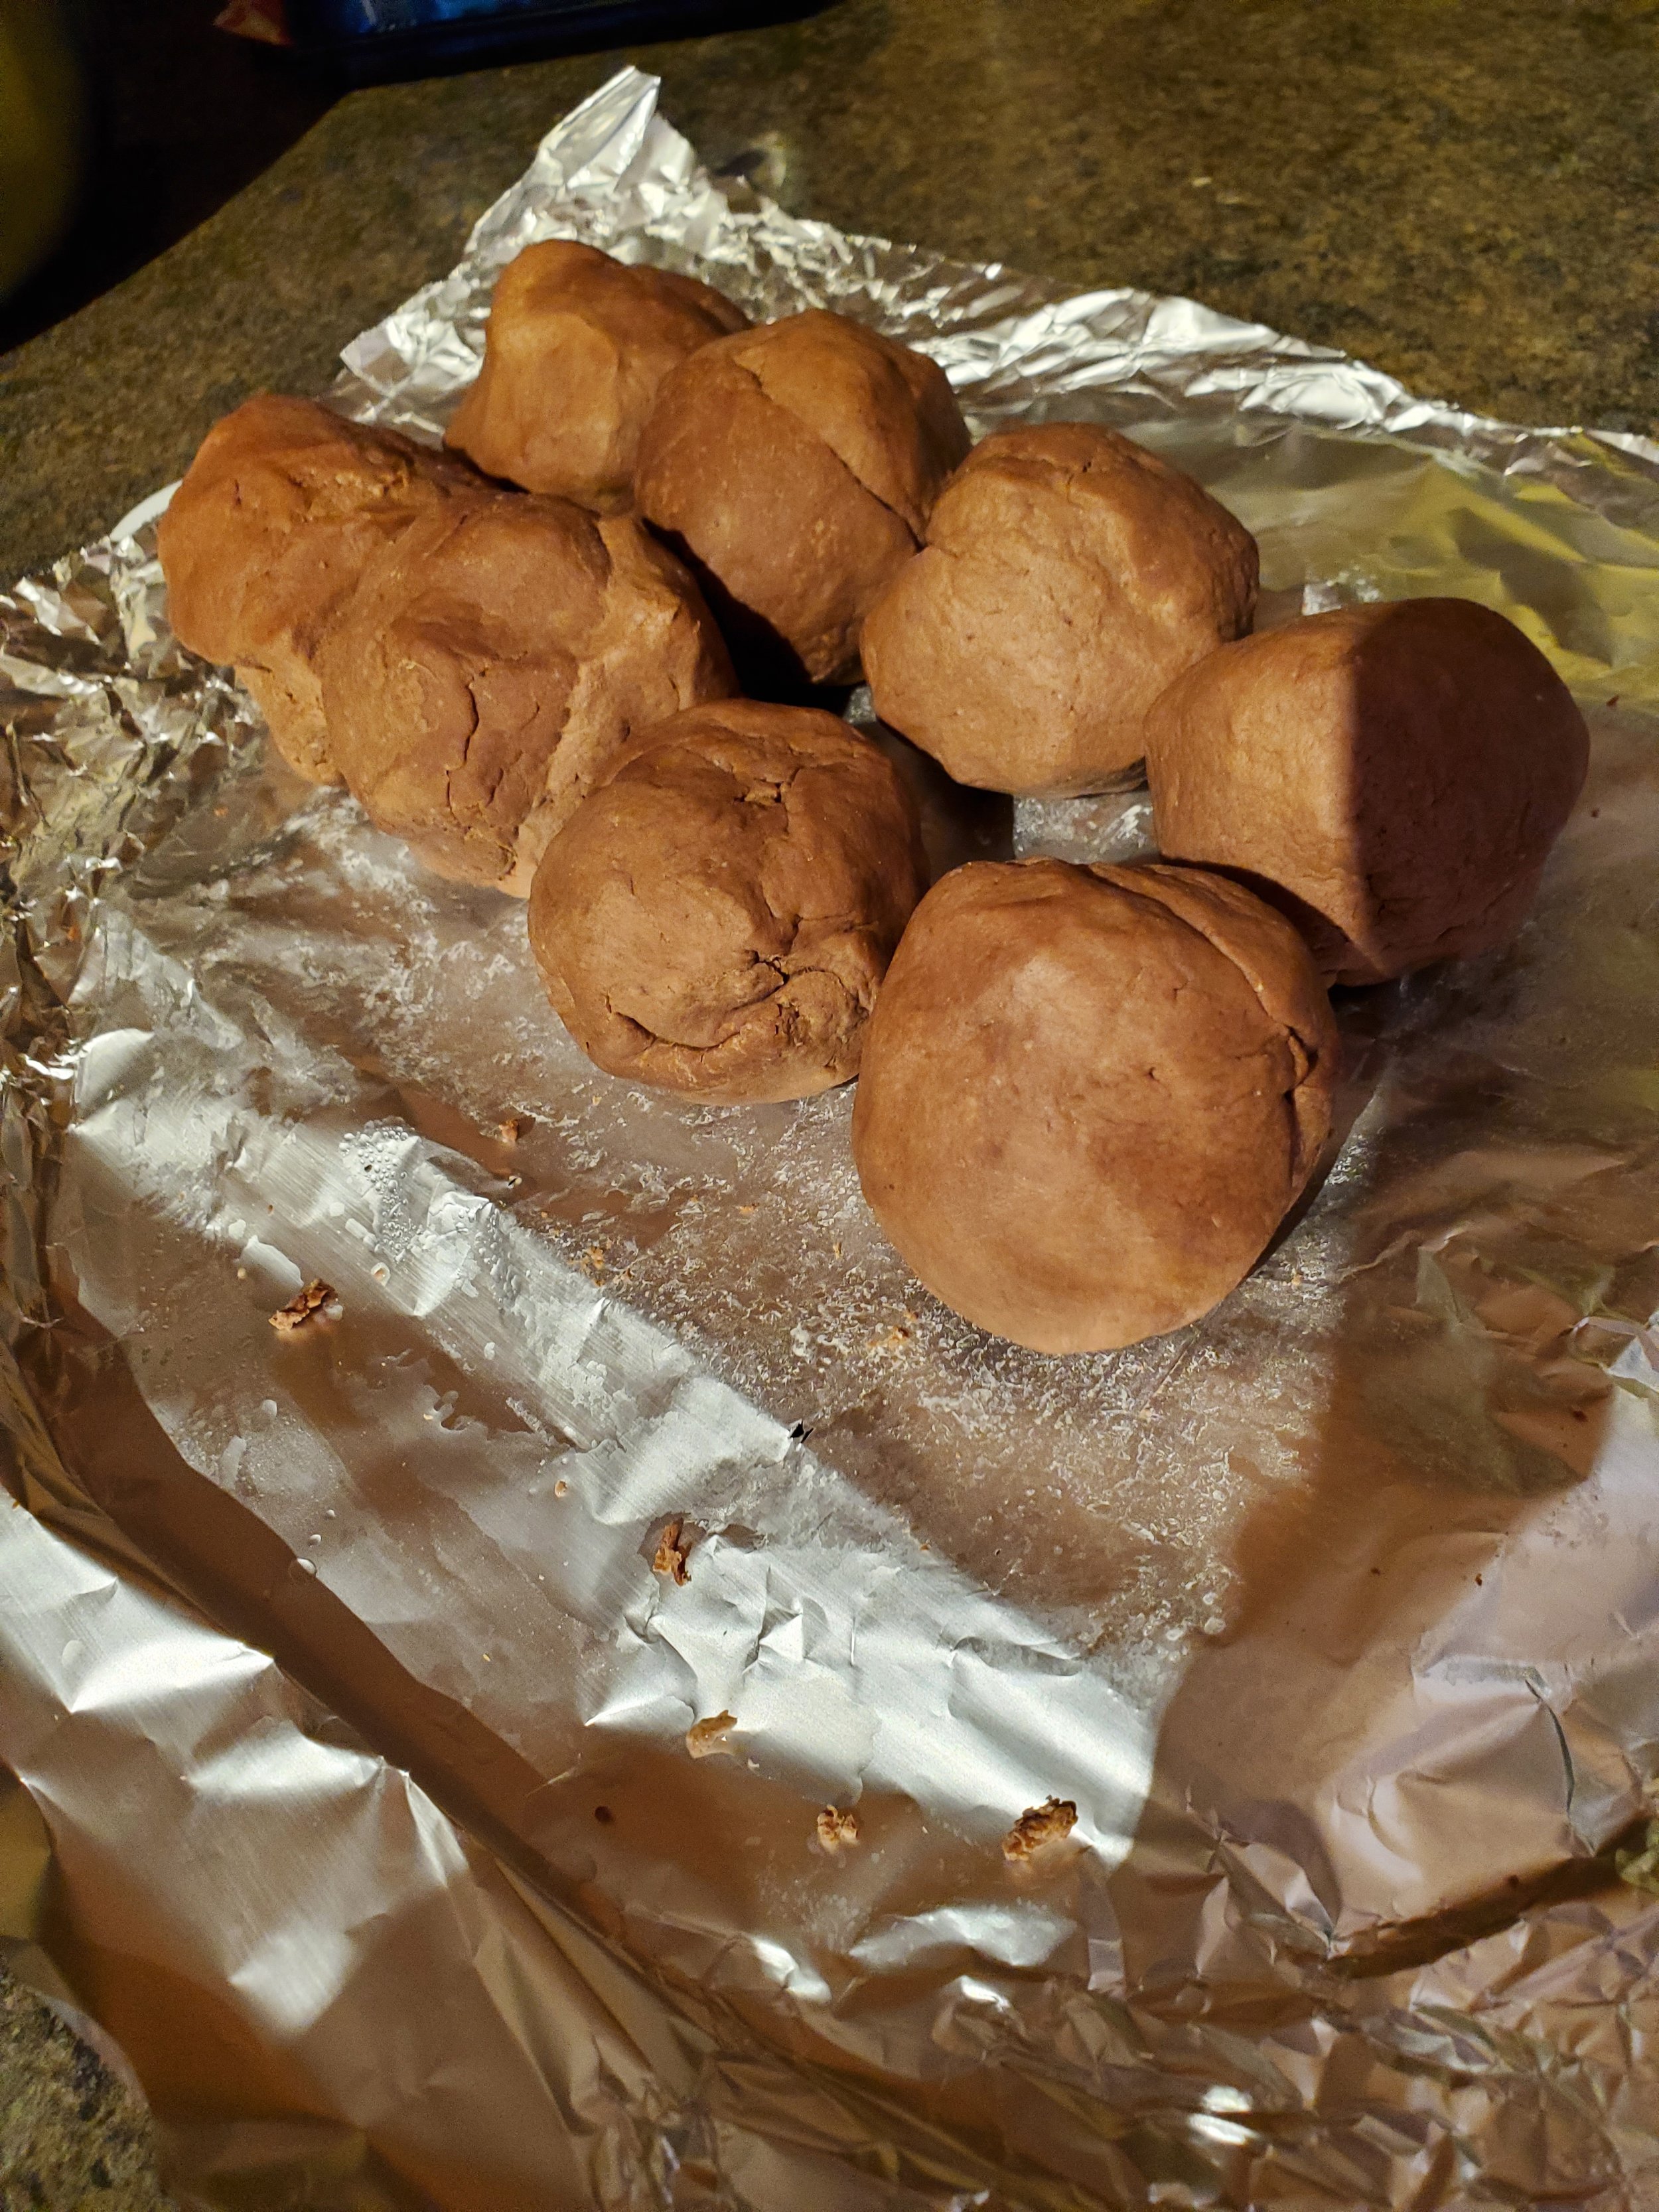
The next day, remove your dough from the refrigerator, turn it out of the bowl onto the counter, and split it into eight even-sized pieces. Work each piece for a few minutes until it's warmed up and softened, and roll it into a ball. Once you've finished all of them, set them back in the bowl. Cover them with a clean kitchen towel and let them rest for 20-25 minutes while your oven preheats to 425*.
Yes, we said 425*. Yes, that's high. No, you won't burn the bagels.
While your oven warms up, you can take care of a few other little tasks. Grab your parchment paper and line your baking sheet. Get out your stock pot, add your eight cups of water and bring it up to boil. Measure your quarter cup of honey. Whisk your tablespoon of water into the egg. Now take a deep breath, and walk away for a few minutes.
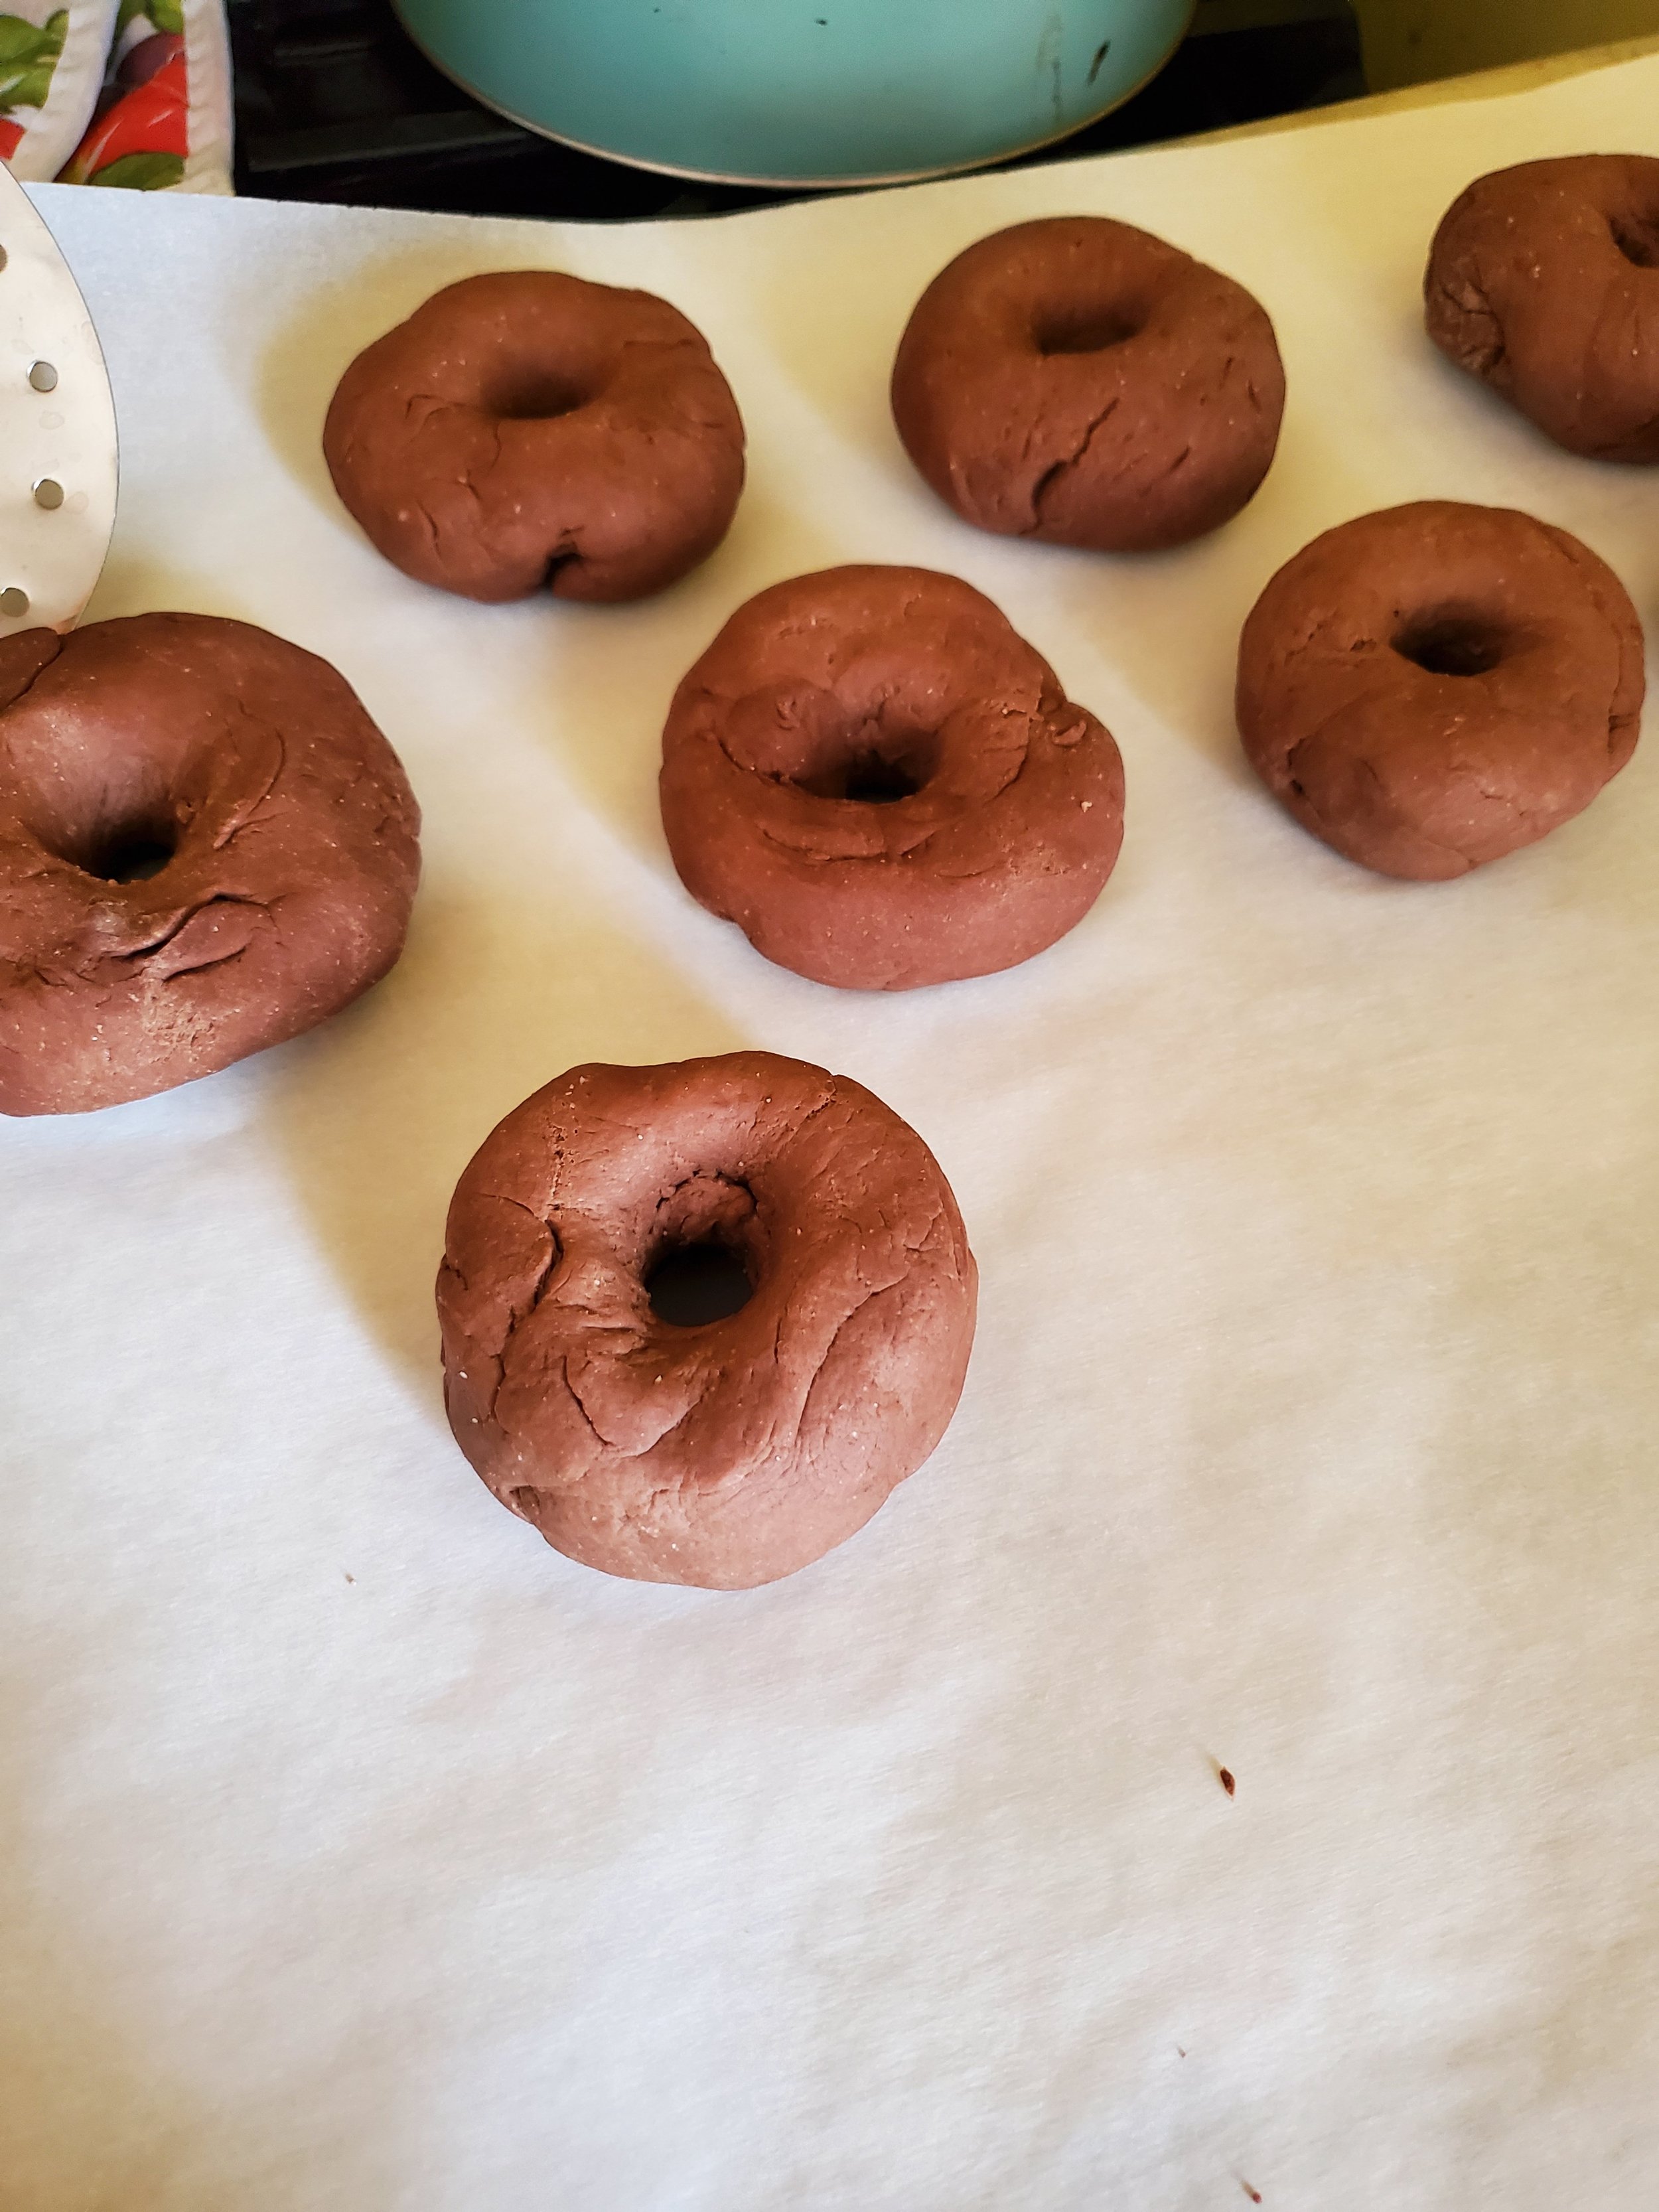
When your timer inevitably summons you back, grab a ball of dough and roll it between your hands. You want to make a disc this time, not a ball (or a log like other recipes may tell you). Put your thumbs in the center as you rotate the dough around, pushing outward gently a quarter turn at a time. After a few turns, your thumbs should be able to push through and create the hole in the center.
Once you have the center opened up, give it a few more turns under gentle pressure to smooth the edges in the center and around the outside of the circle of dough. Be careful to retain the depth you've created - try not to press the dough flat while you work.
When you're satisfied with your bagel shape, place it on the parchment paper-lined baking sheet. We like to keep the sheet next to the oven vent to give the bagels a little last rise (it's a cheater tactic, but fluffy bagels are better bagels).
Repeat until all your bagels have been shaped and smoothed to your liking and transferred to the baking sheet.
Time to check on that pot of boiling water. Assuming it's really boiling and not just simmering, drop in that quarter cup of honey and give it a stir to dissolve. If you can't stir out the boil, your water is hot enough.
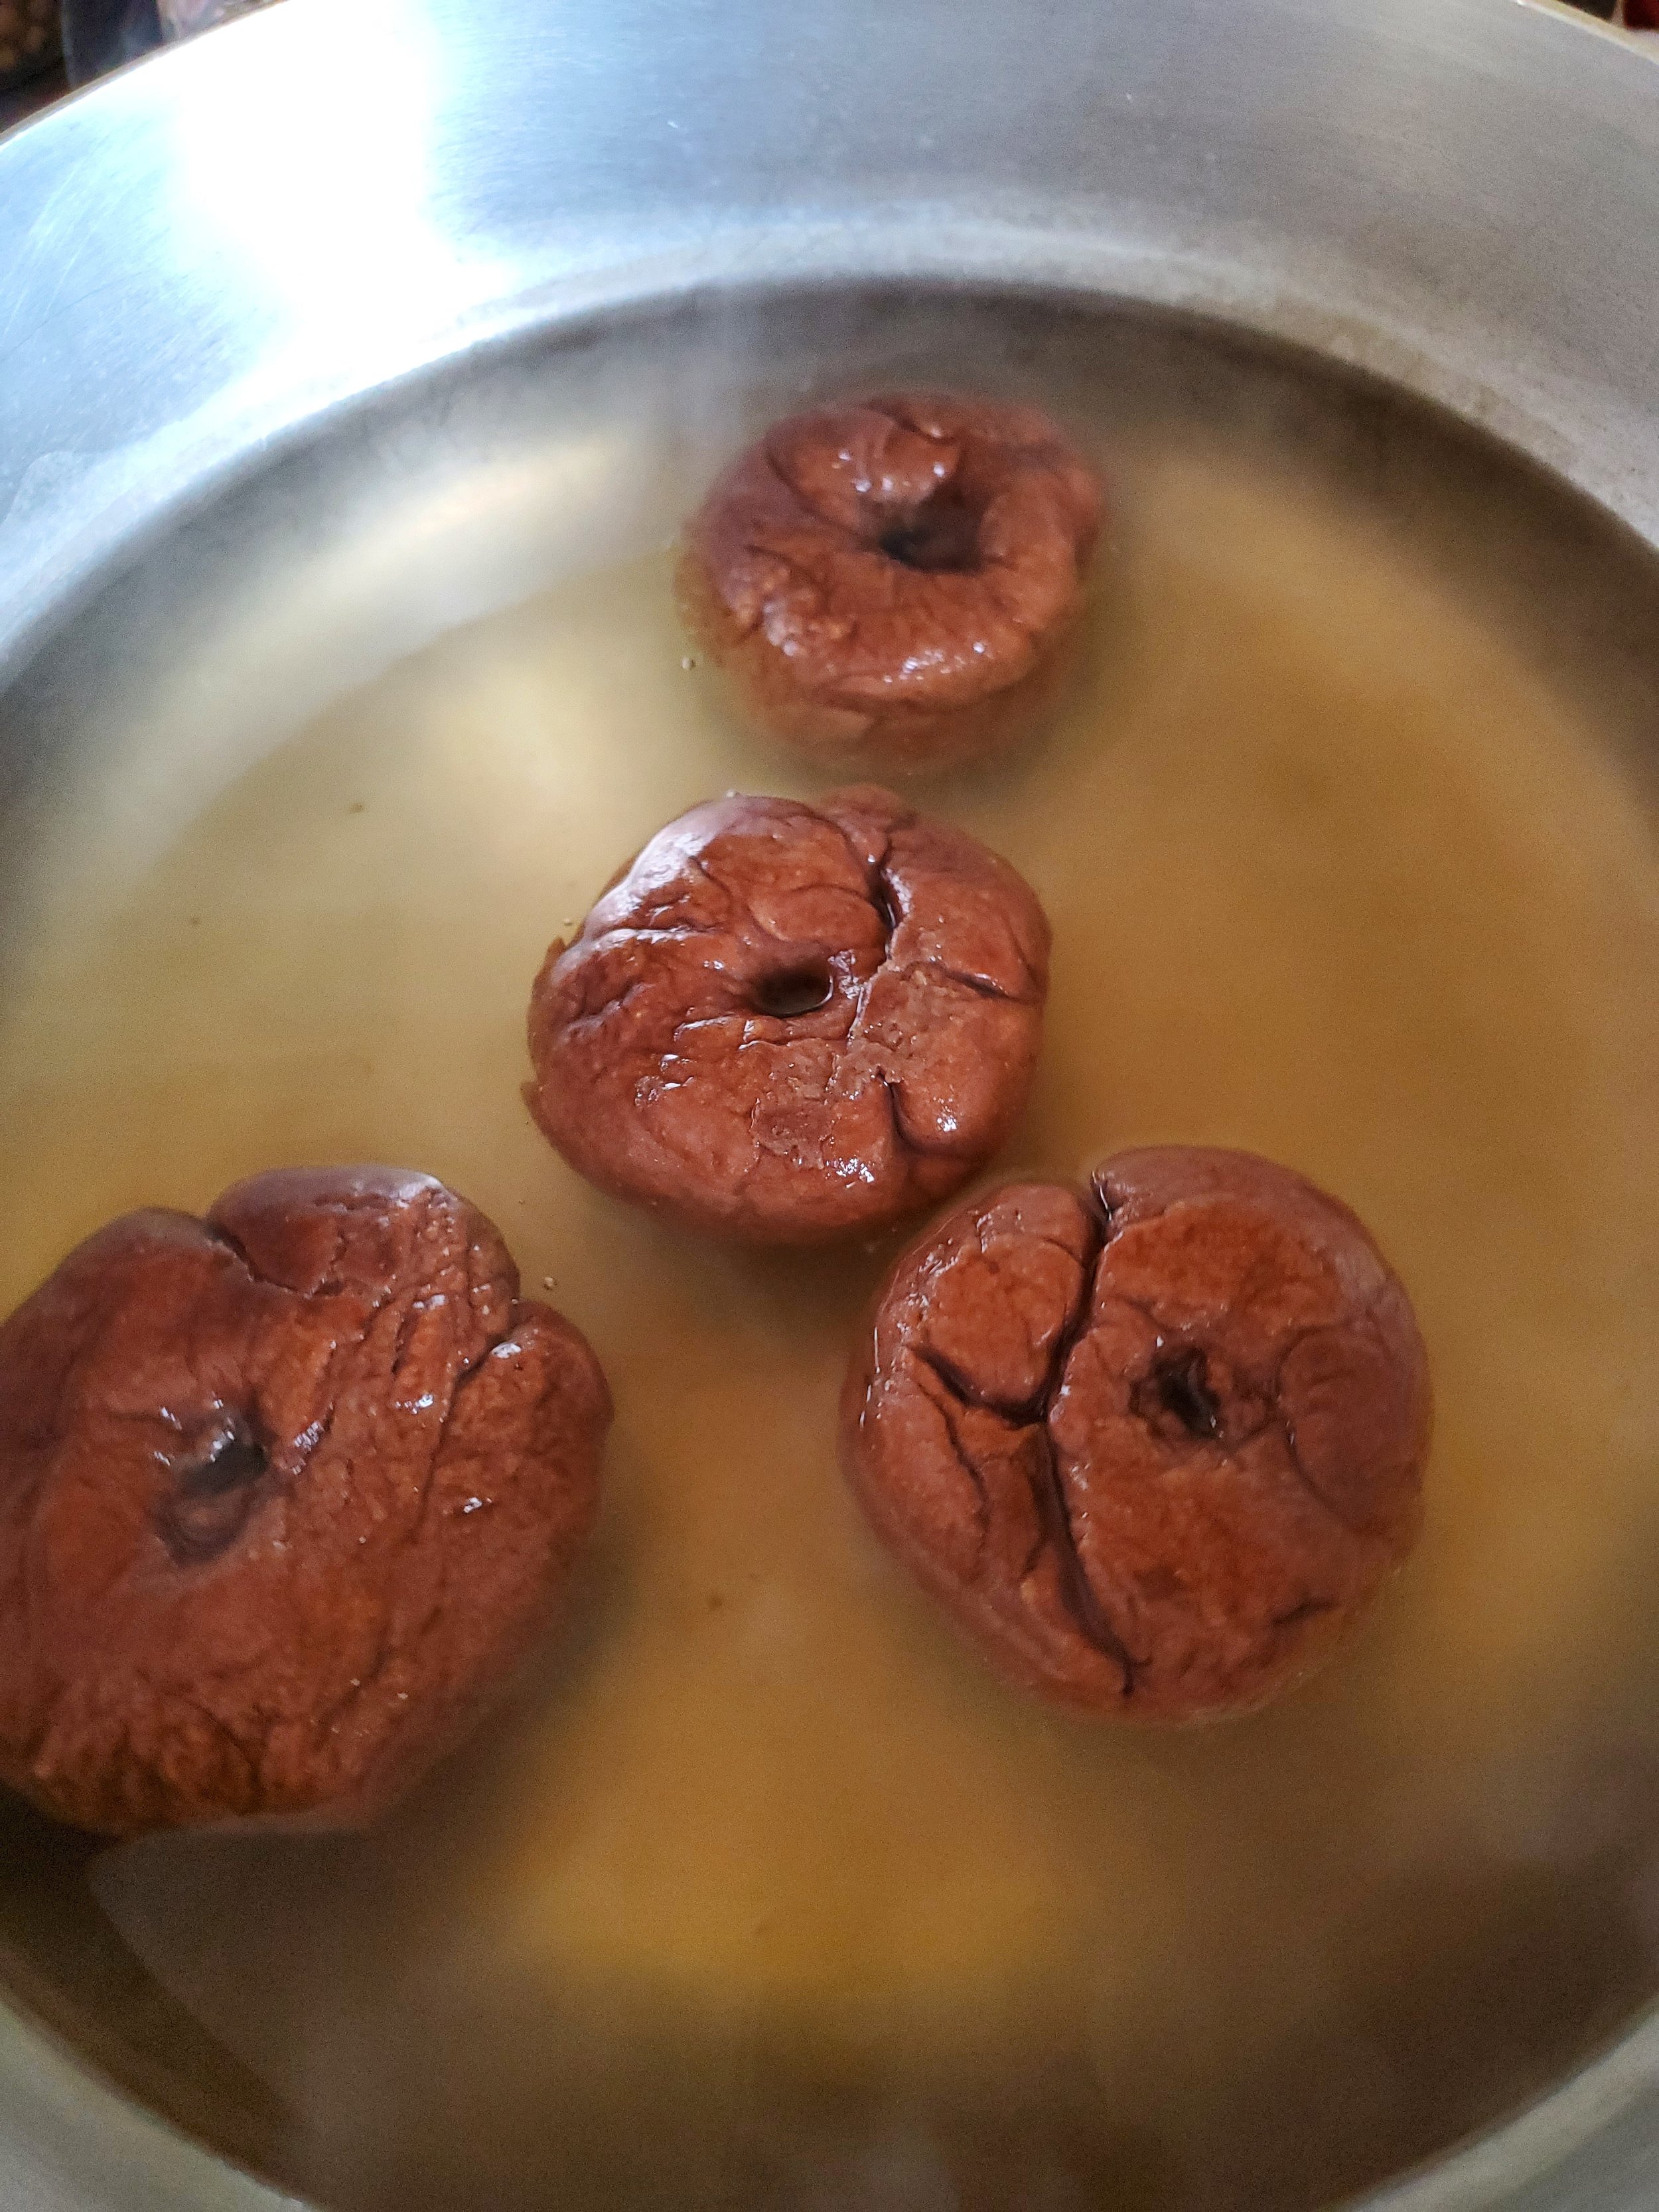
Use a slotted spoon to gently transfer your bagels one by one to the hot water. We do them as two waves of four, but adjust according to the size of the pot you're using - as long as they fit without touching each other or the edges of the pan, they'll be fine. Just make sure not to squish them in there.
Let the bagels sit in the boiling water undisturbed for thirty seconds, then use the slotted spoon to flip them and boil the other side for the same amount of time. Lift them carefully out of the water at the one-minute mark and, after letting the excess water drain off, place them back on the parchment-lined baking sheet.
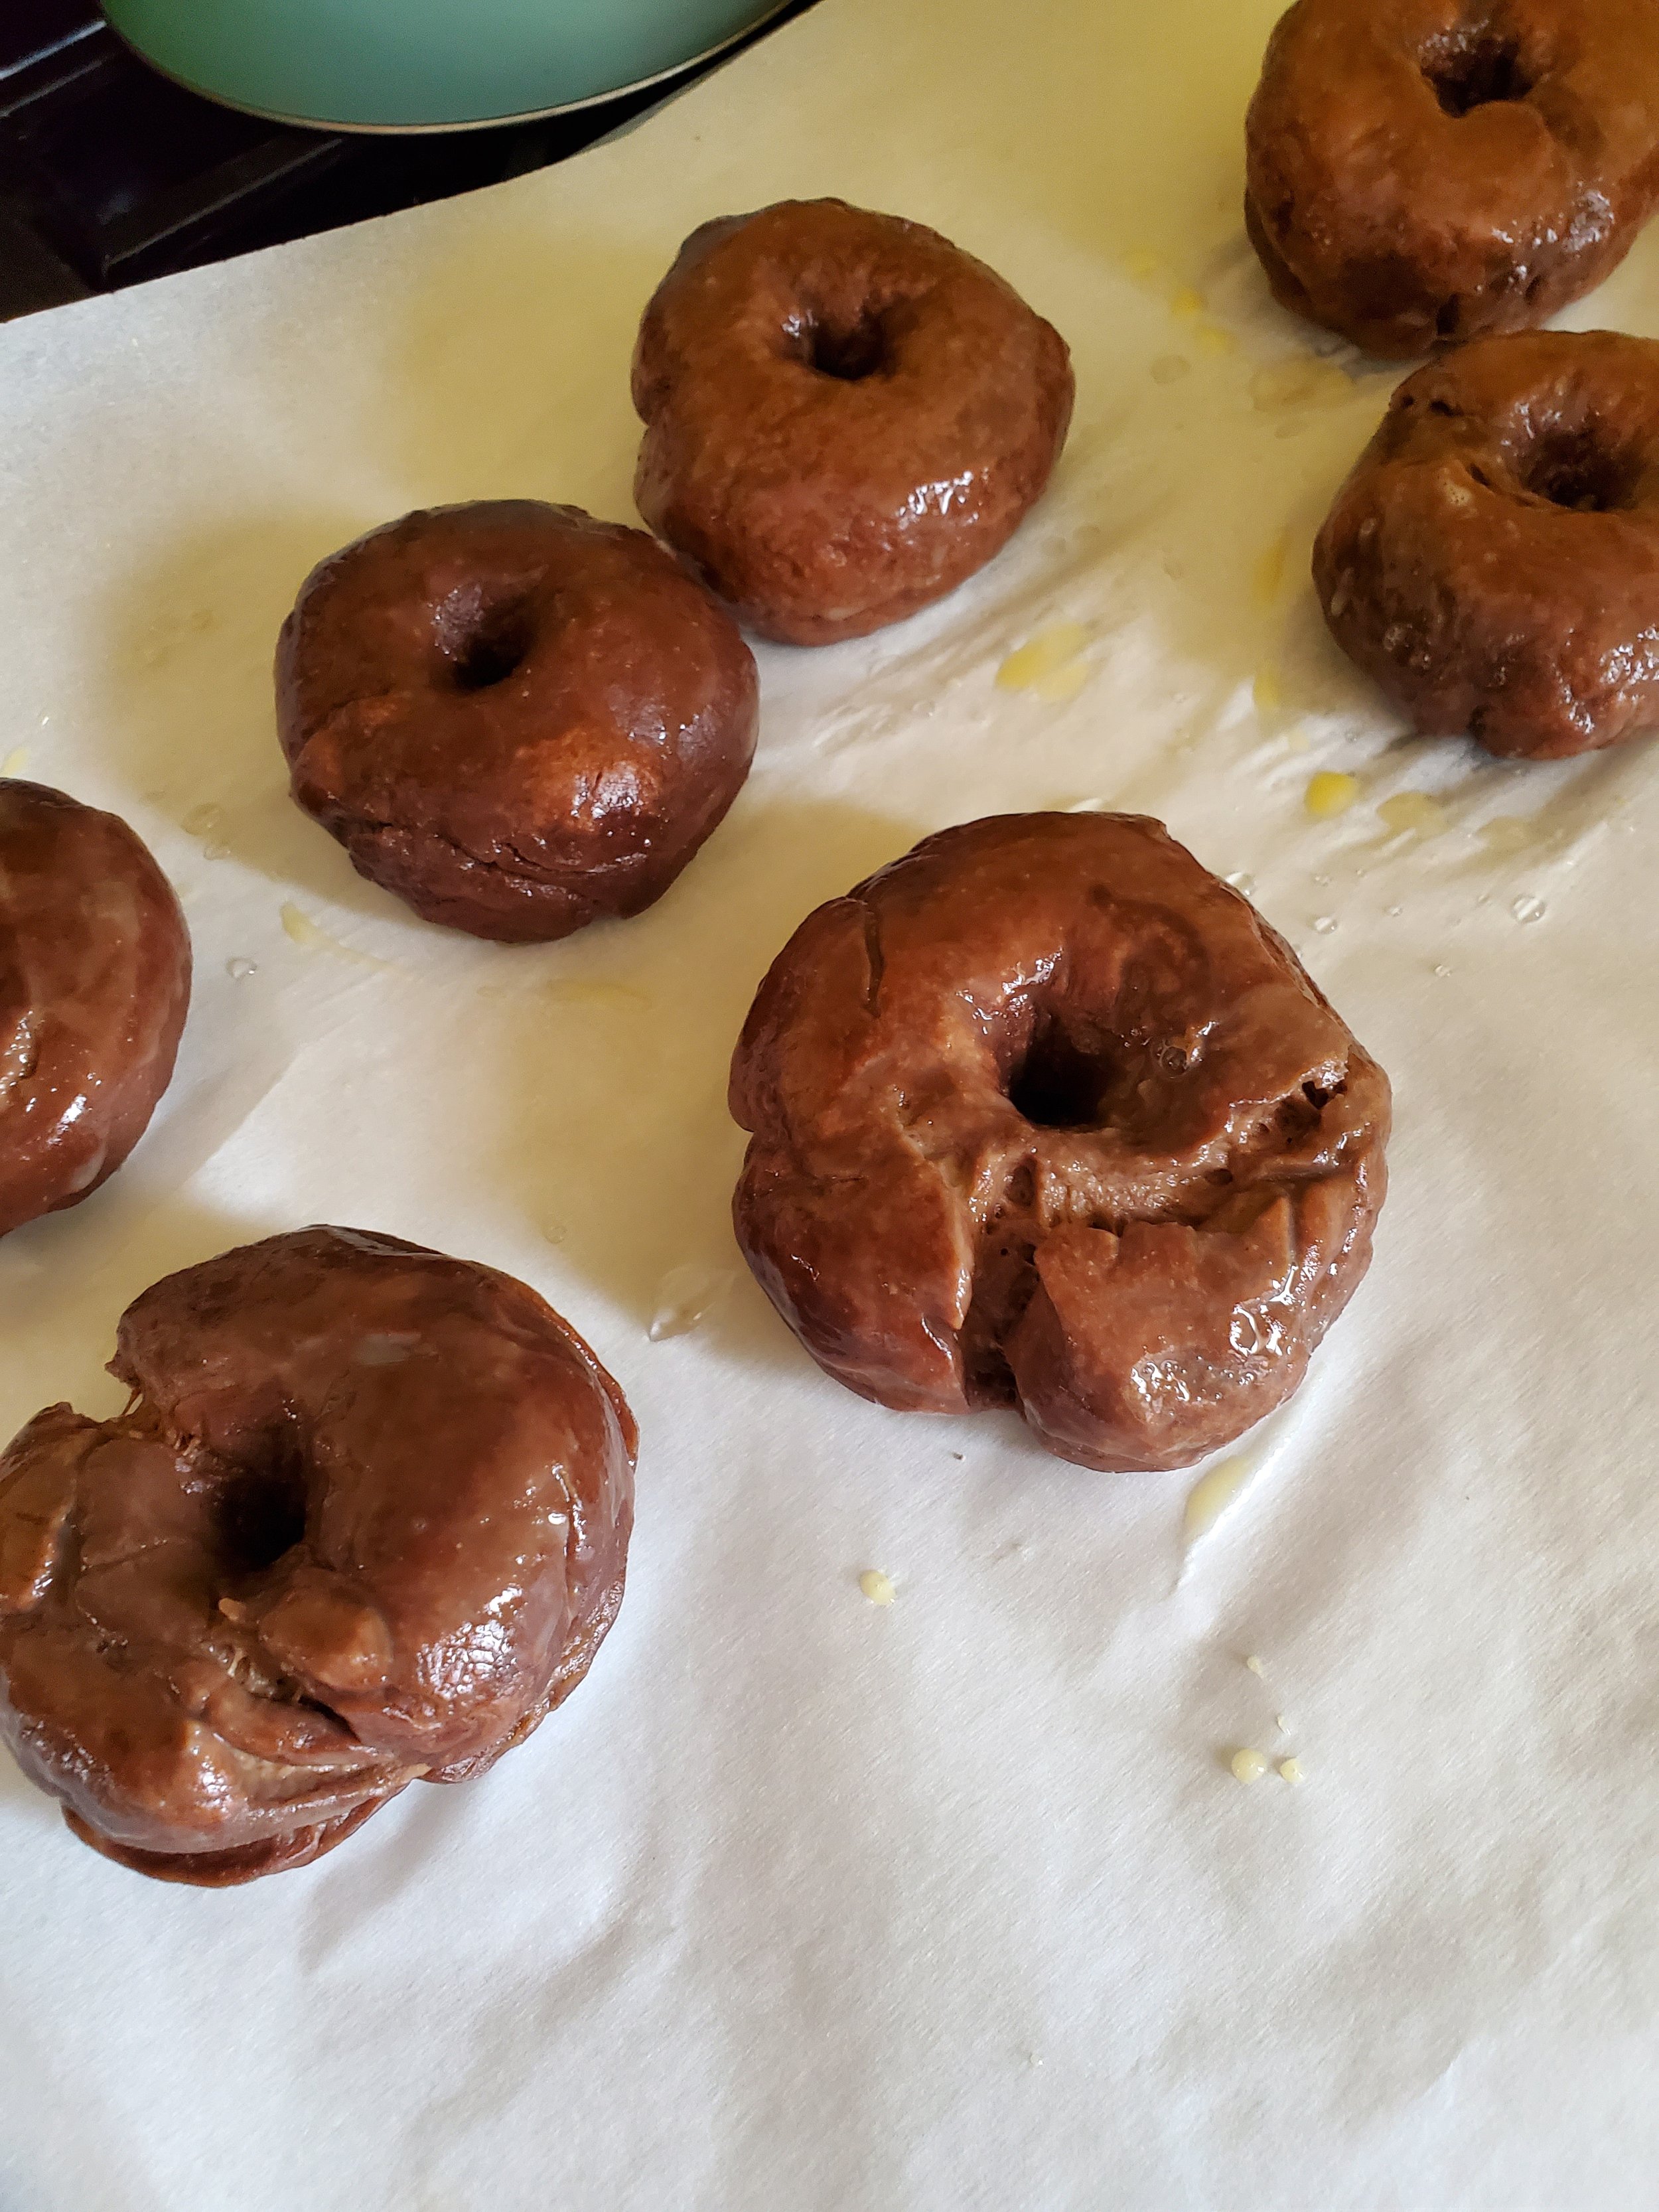
Take up your brush and egg-wash the exposed side of the bagels. It doesn't take much, so start with just enough to lightly coat them. You can add more, but you won't be able to take it away if you overdo it.
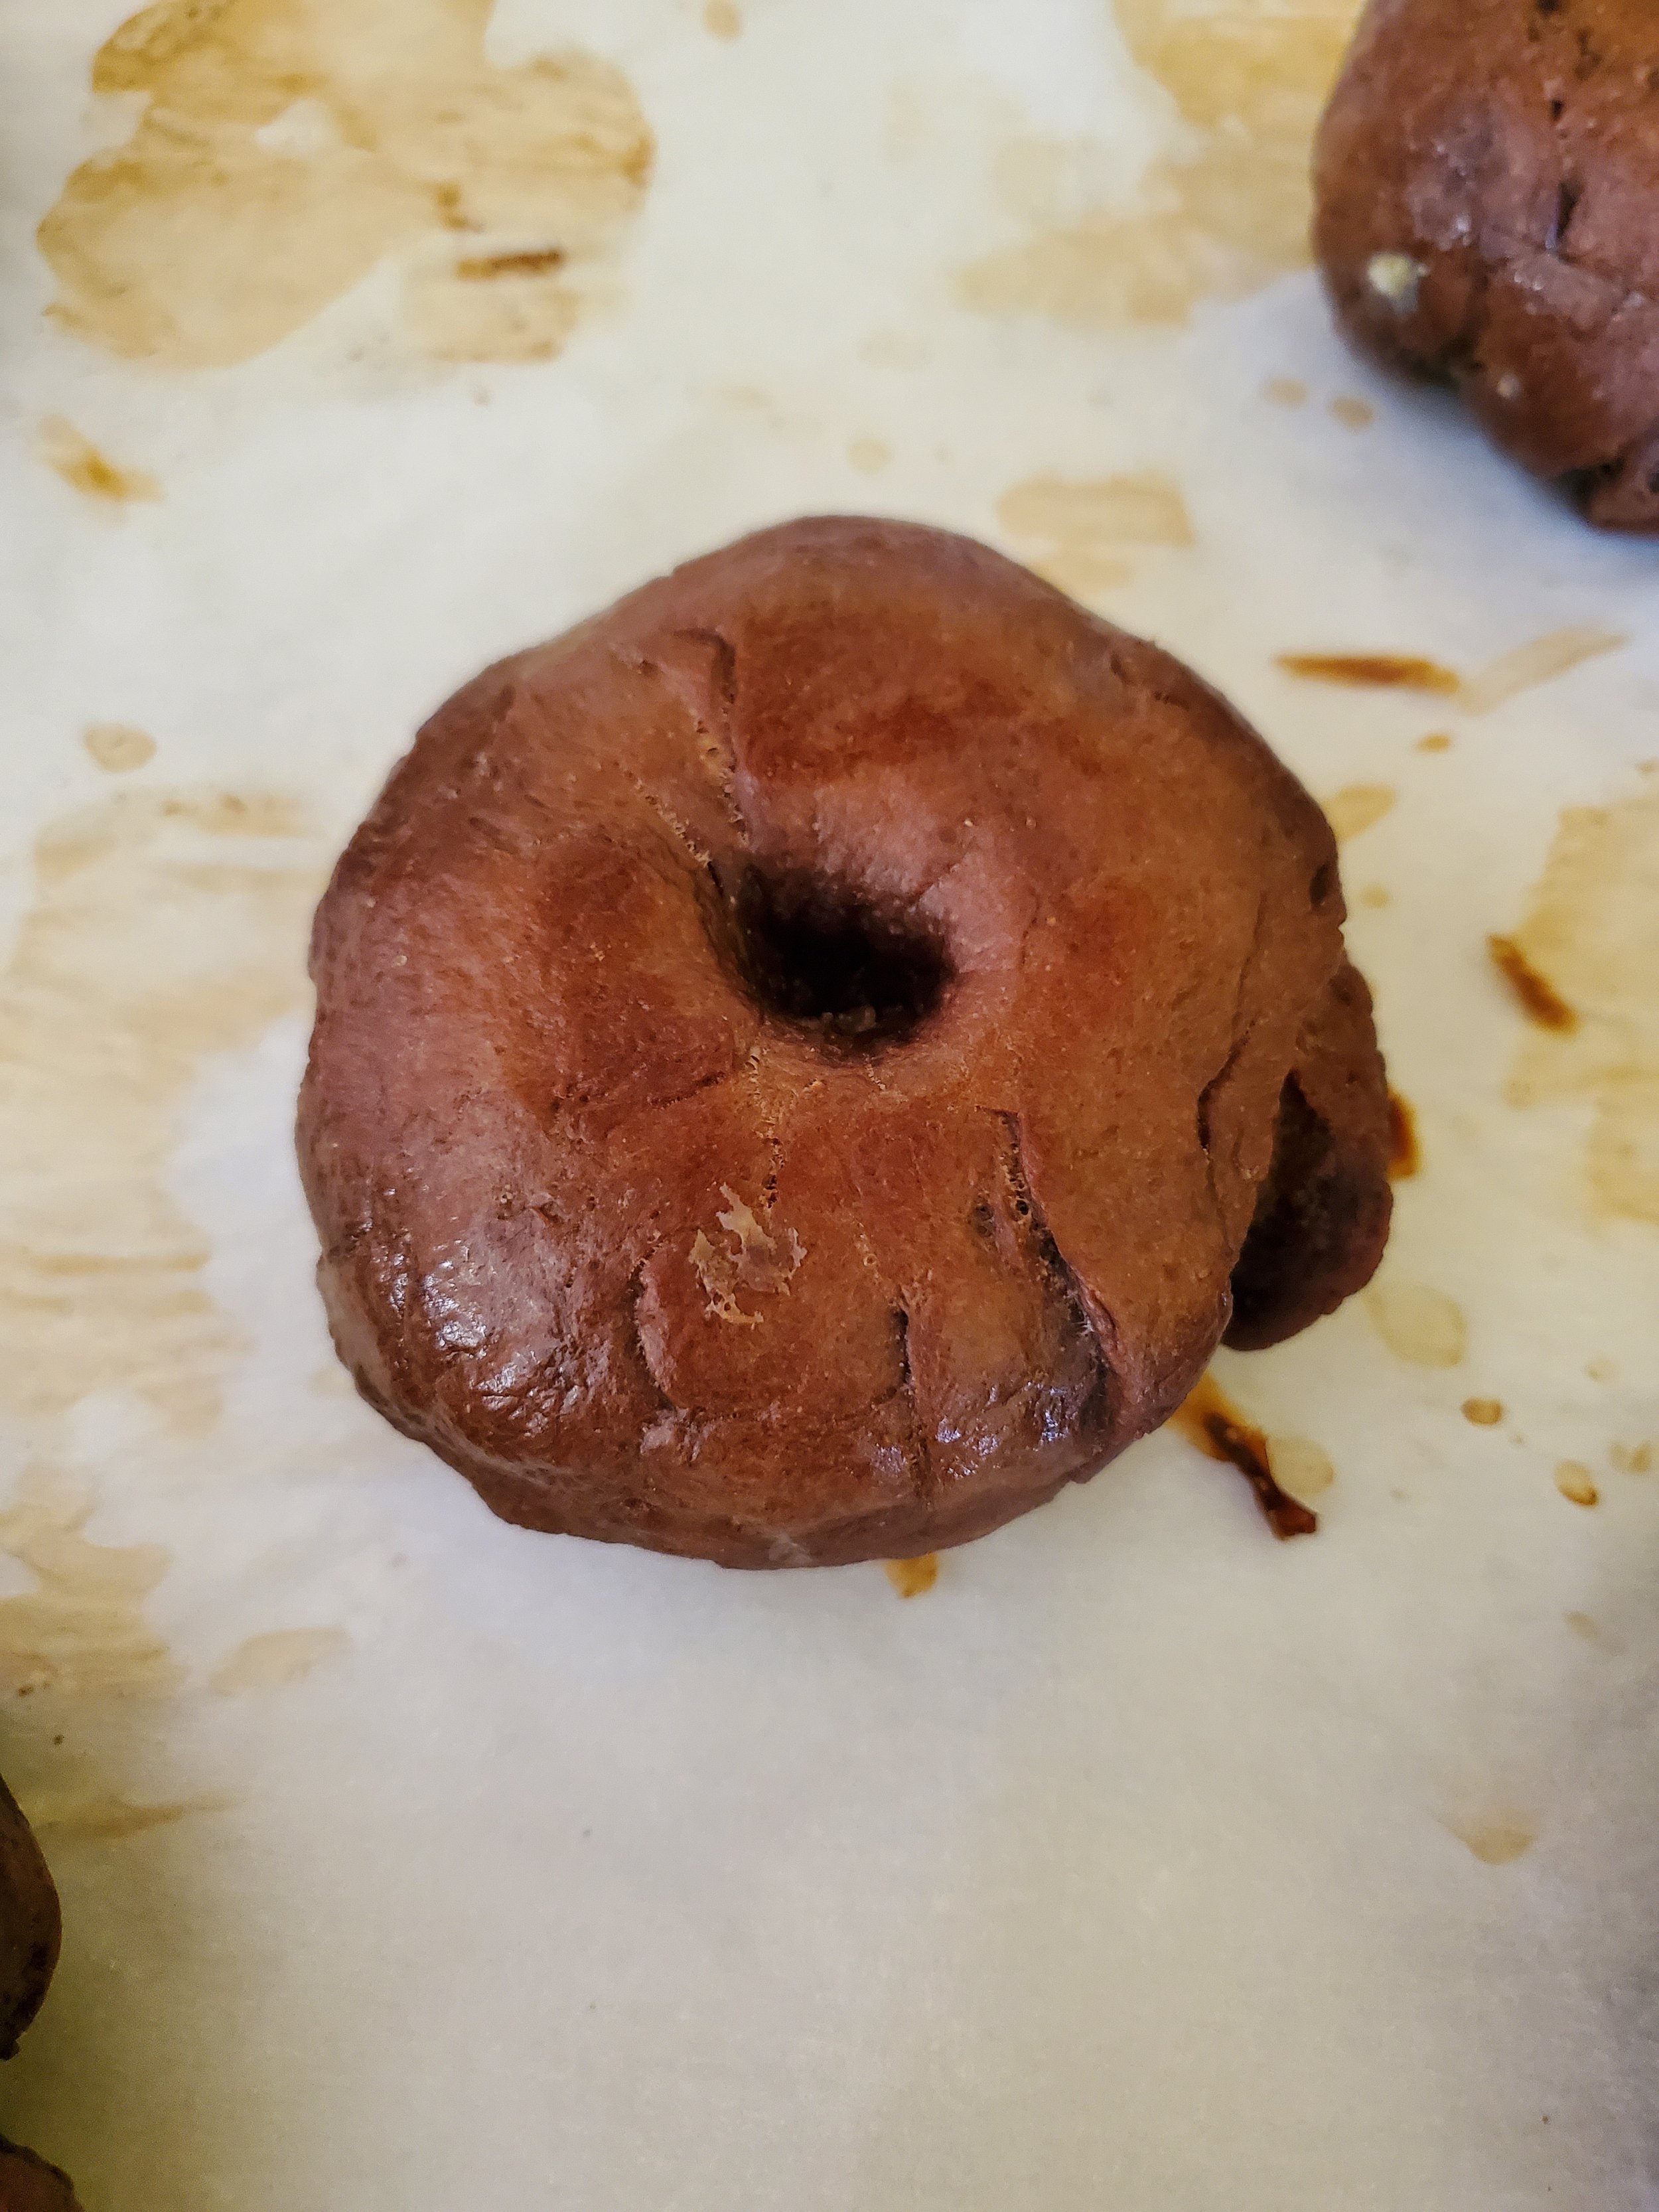
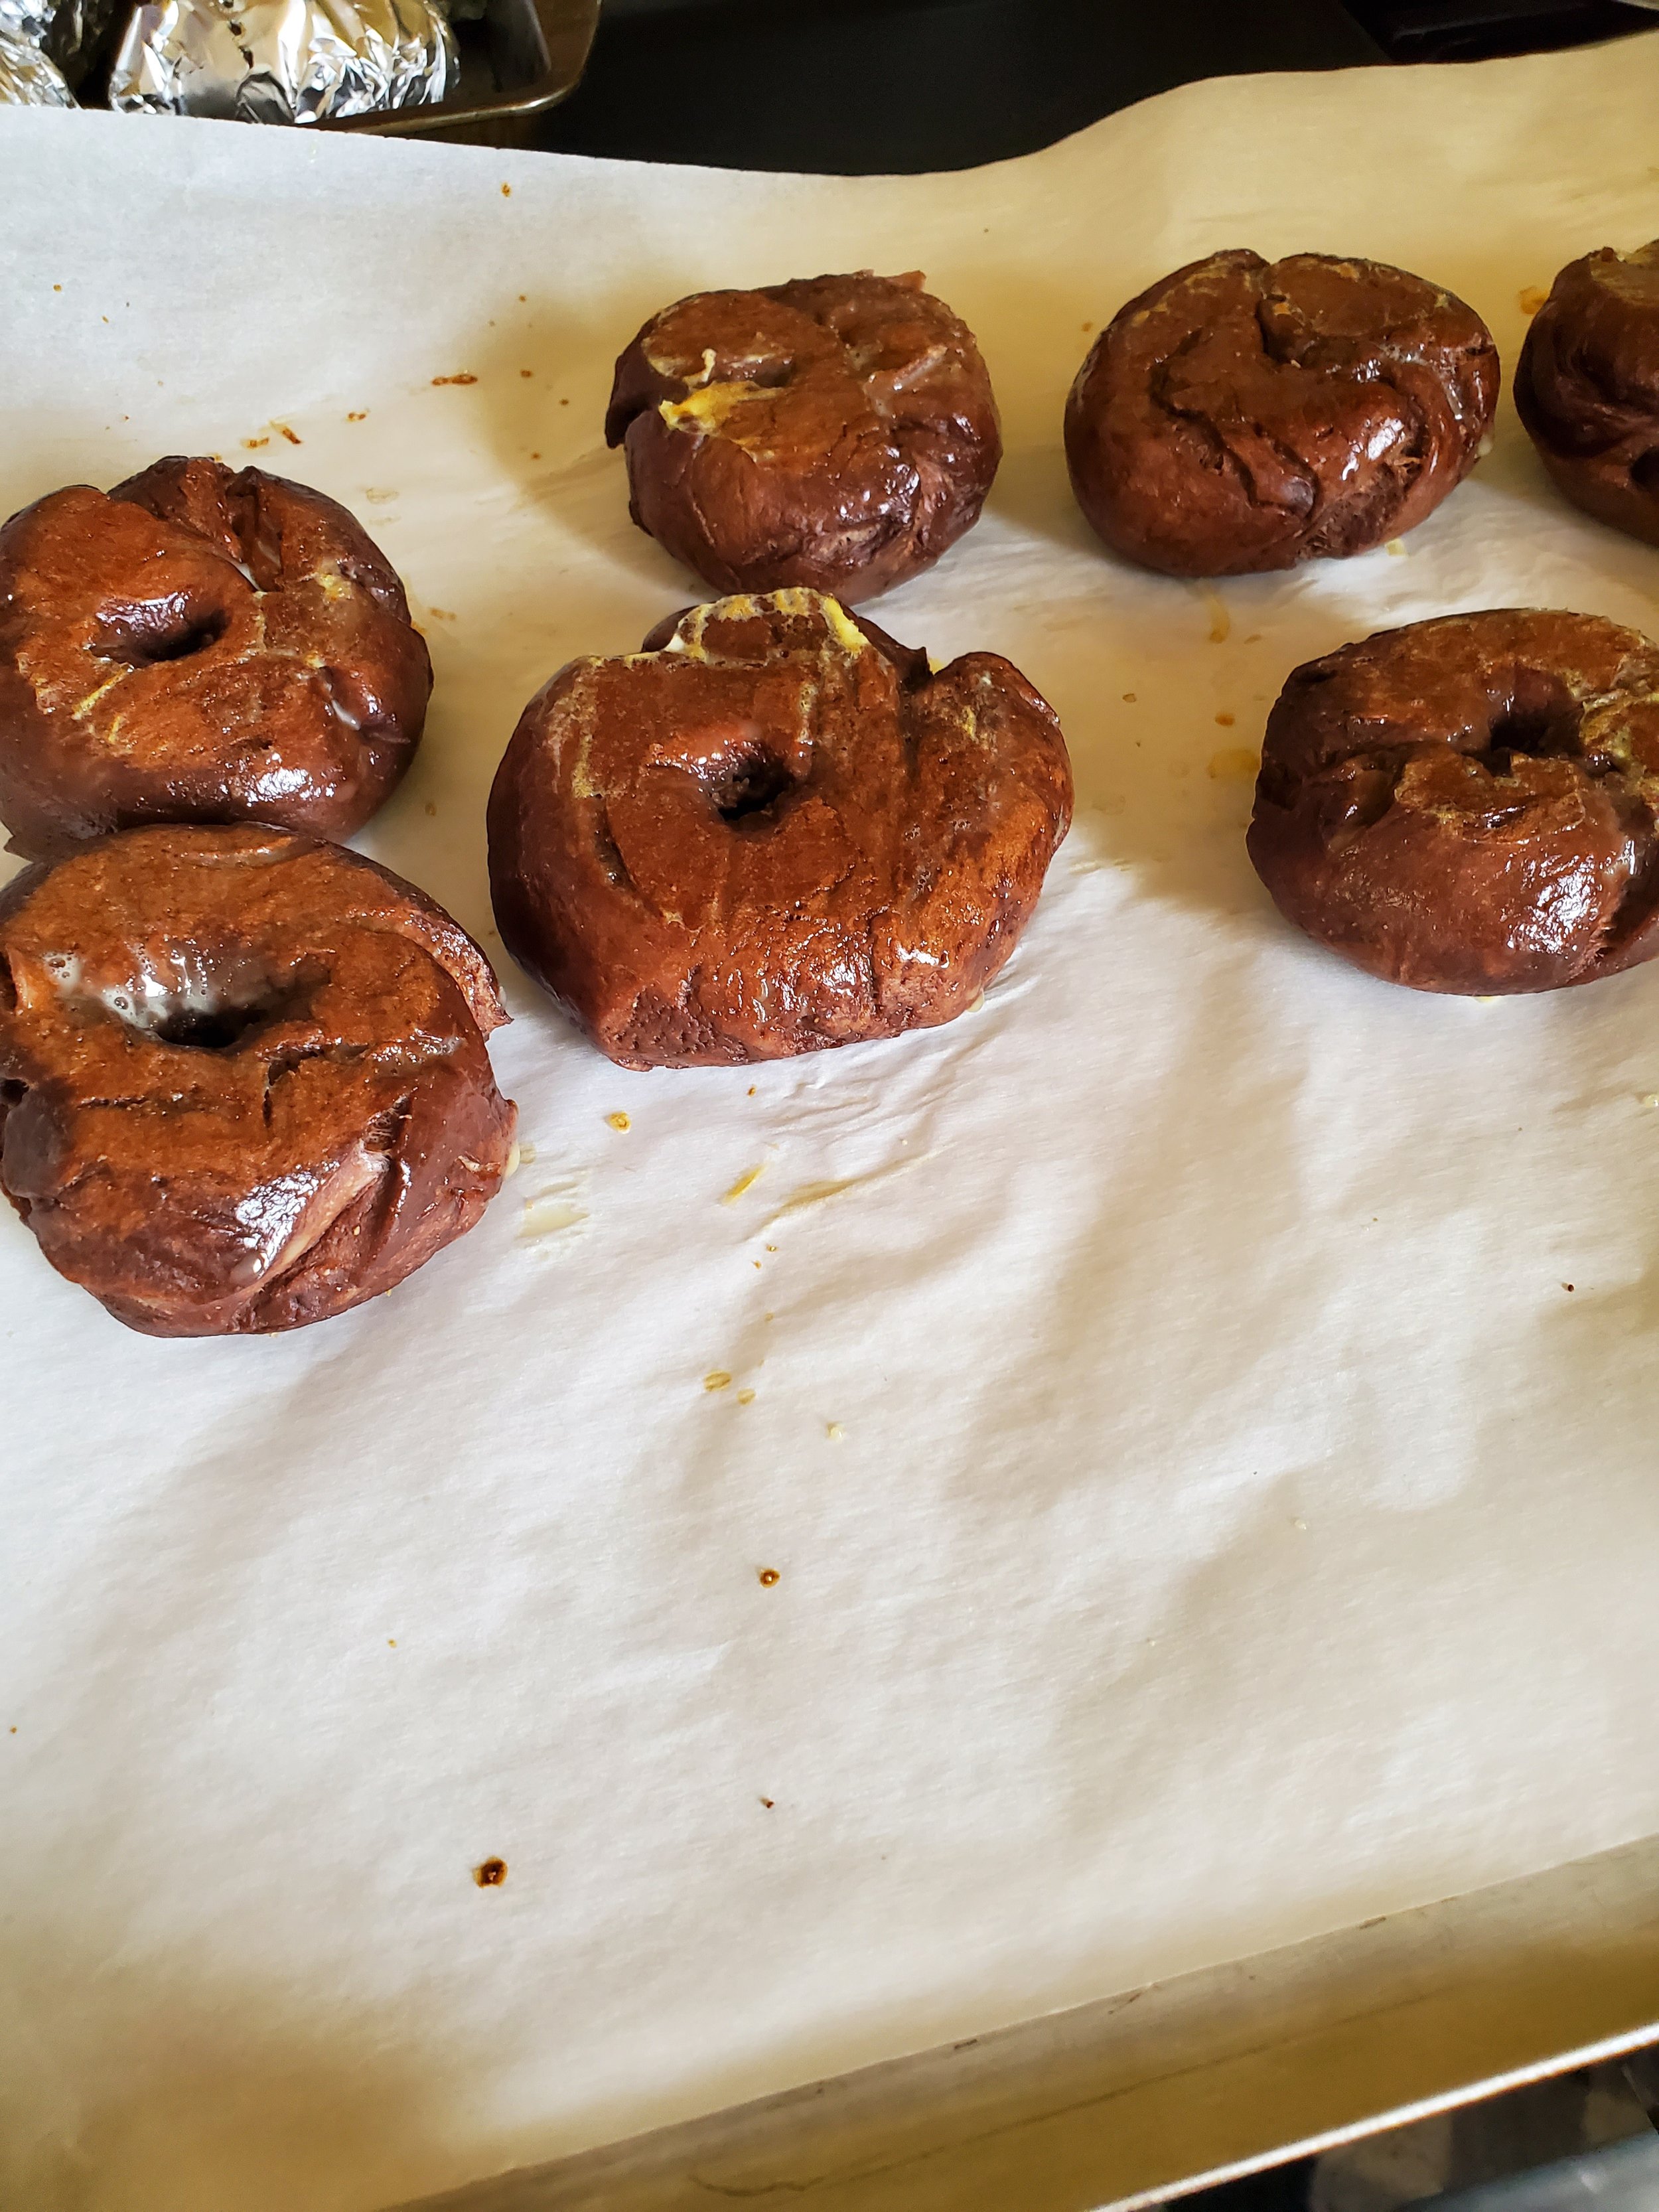
Slide them into the oven on the center rack and set a timer for eight minutes. When your eight minutes are up, remove them and check to be sure they're nice and glossy looking. Assuming so, flip them in place, brush the bottoms with egg wash and put them back in for eight more minutes.
After you've reached the end of the second timer, they're ready to go! We recommend letting them rest on the baking sheet or a cooling rack for ten minutes, but they smell so good it's hard to resist splitting them and tossing them right into the toaster and chowing down with a little cream cheese.
Let us know what you thought of this week’s recipe on our Facebook page! We want to hear all of the interesting ways you make these and see how they turn out!
If you wound up here because your appliances are malfunctioning, give us a ring! You can reach out to us via phone at (214) 599-0055) or by going to our contact page. Wherever you are in the Dallas Metro area, Appliance Rescue Service is here to help. Whether you're in Coppell, Allen, or Plano, we'll work with you to get your home running smoothly again.

