bread

Harvest Bliss: Cranberry Pumpkin Nut Bread

A Decadent Fusion of Fall Flavors

Get ready for a delicious adventure with our Cranberry Pumpkin Nut Bread—a recipe that embodies the flavors of fall. It’s not just a bread; it's a hearty combination of pumpkin, spices, and delightful textures. Although it demands a bit of attention, trust me, every effort pays off in each aromatic slice.


Ingredients:

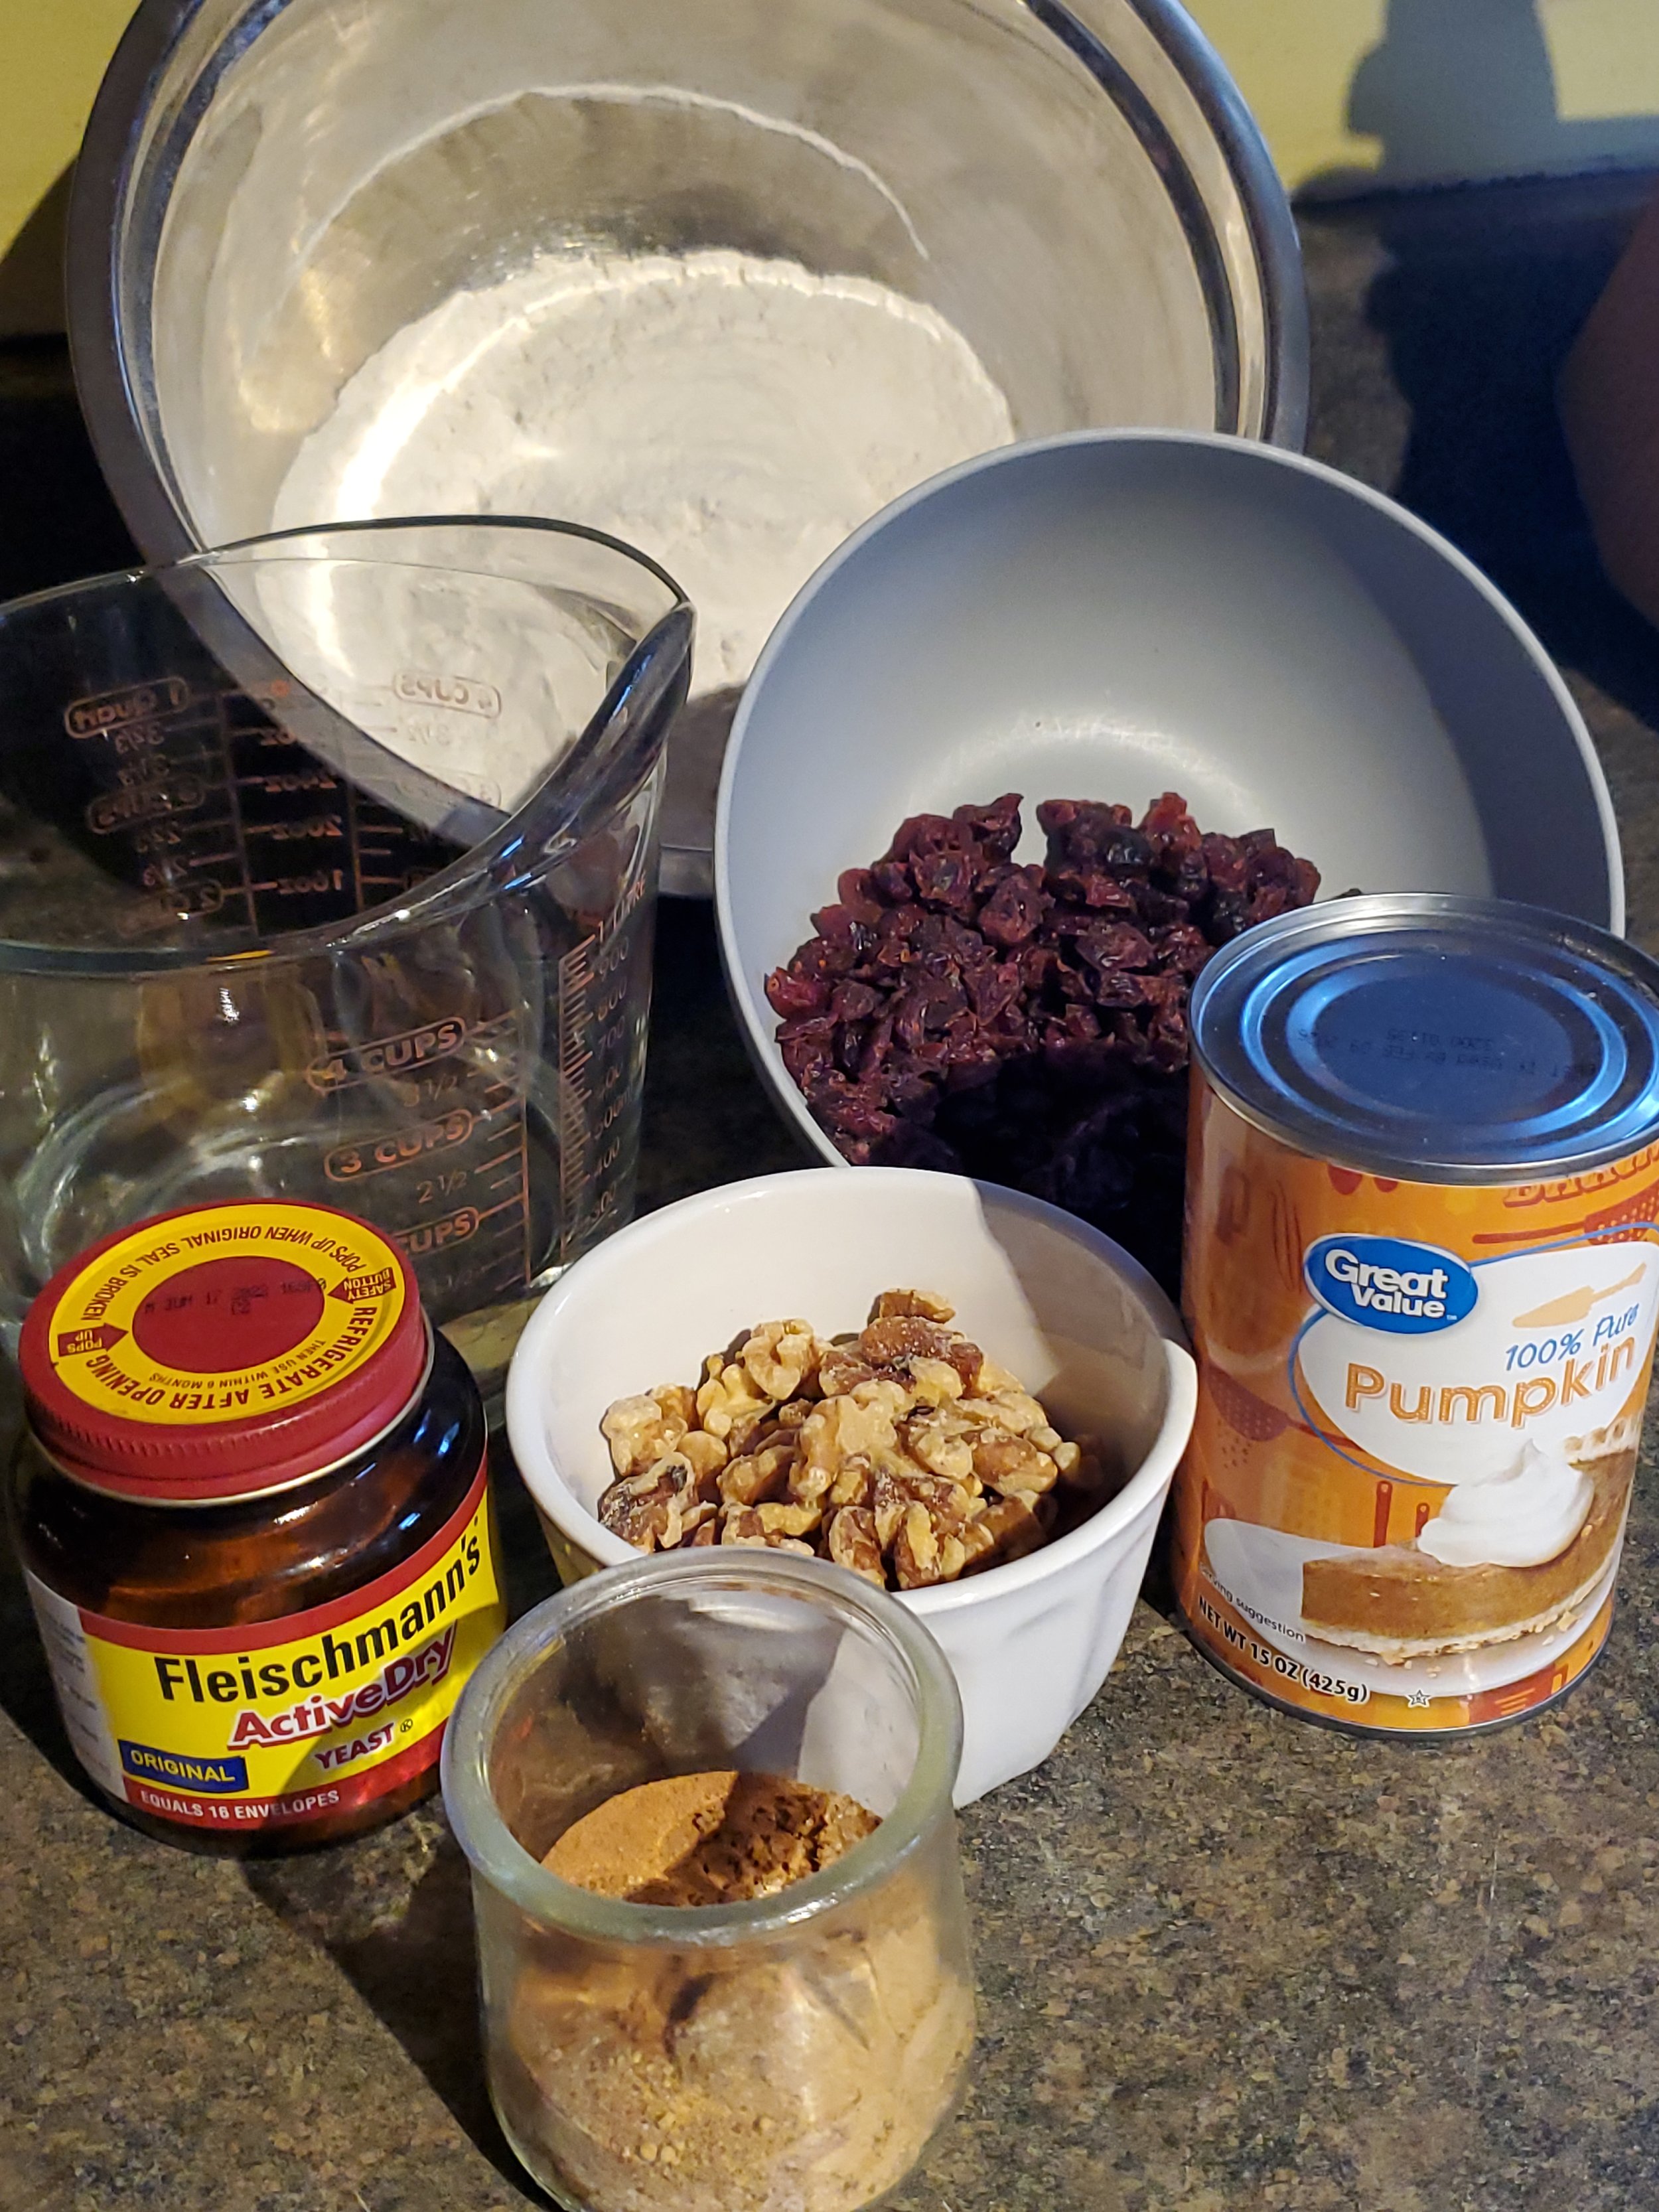
1 cup water, warm, plus enough water to fill a kettle

1 tablespoon active dry yeast

1 15 ounce can plain pumpkin

2 tablespoons sugar

1 1/2 teaspoon ground cinnamon

1/2 teaspoon ground ginger

1/4 teaspoon nutmeg

1/2 teaspoon salt

4 1/2 cups flour, divided

1/2 cup chopped walnuts

1/4 cup dried cranberries


Tools:

parchment paper

Dutch oven, caldero, or four loaf pans

measuring cups and spoons

mixing bowls

tea kettle or pot for water

smaller, heat-proof bowl

colander

clean kitchen towel


Quick word of caution: This will be a messy, time consuming recipe! Do not attempt to do this on Thanksgiving. If you're an experienced baker of bread, you might pull it off. But if you're us... You'll just create a mess and not have the bread til after dinner. 


Well before you intend to get anything going for this recipe, start a tea kettle or a pot of water on the stove. You can use the time while you wait for it to reach a boil to get your other ingredients out.


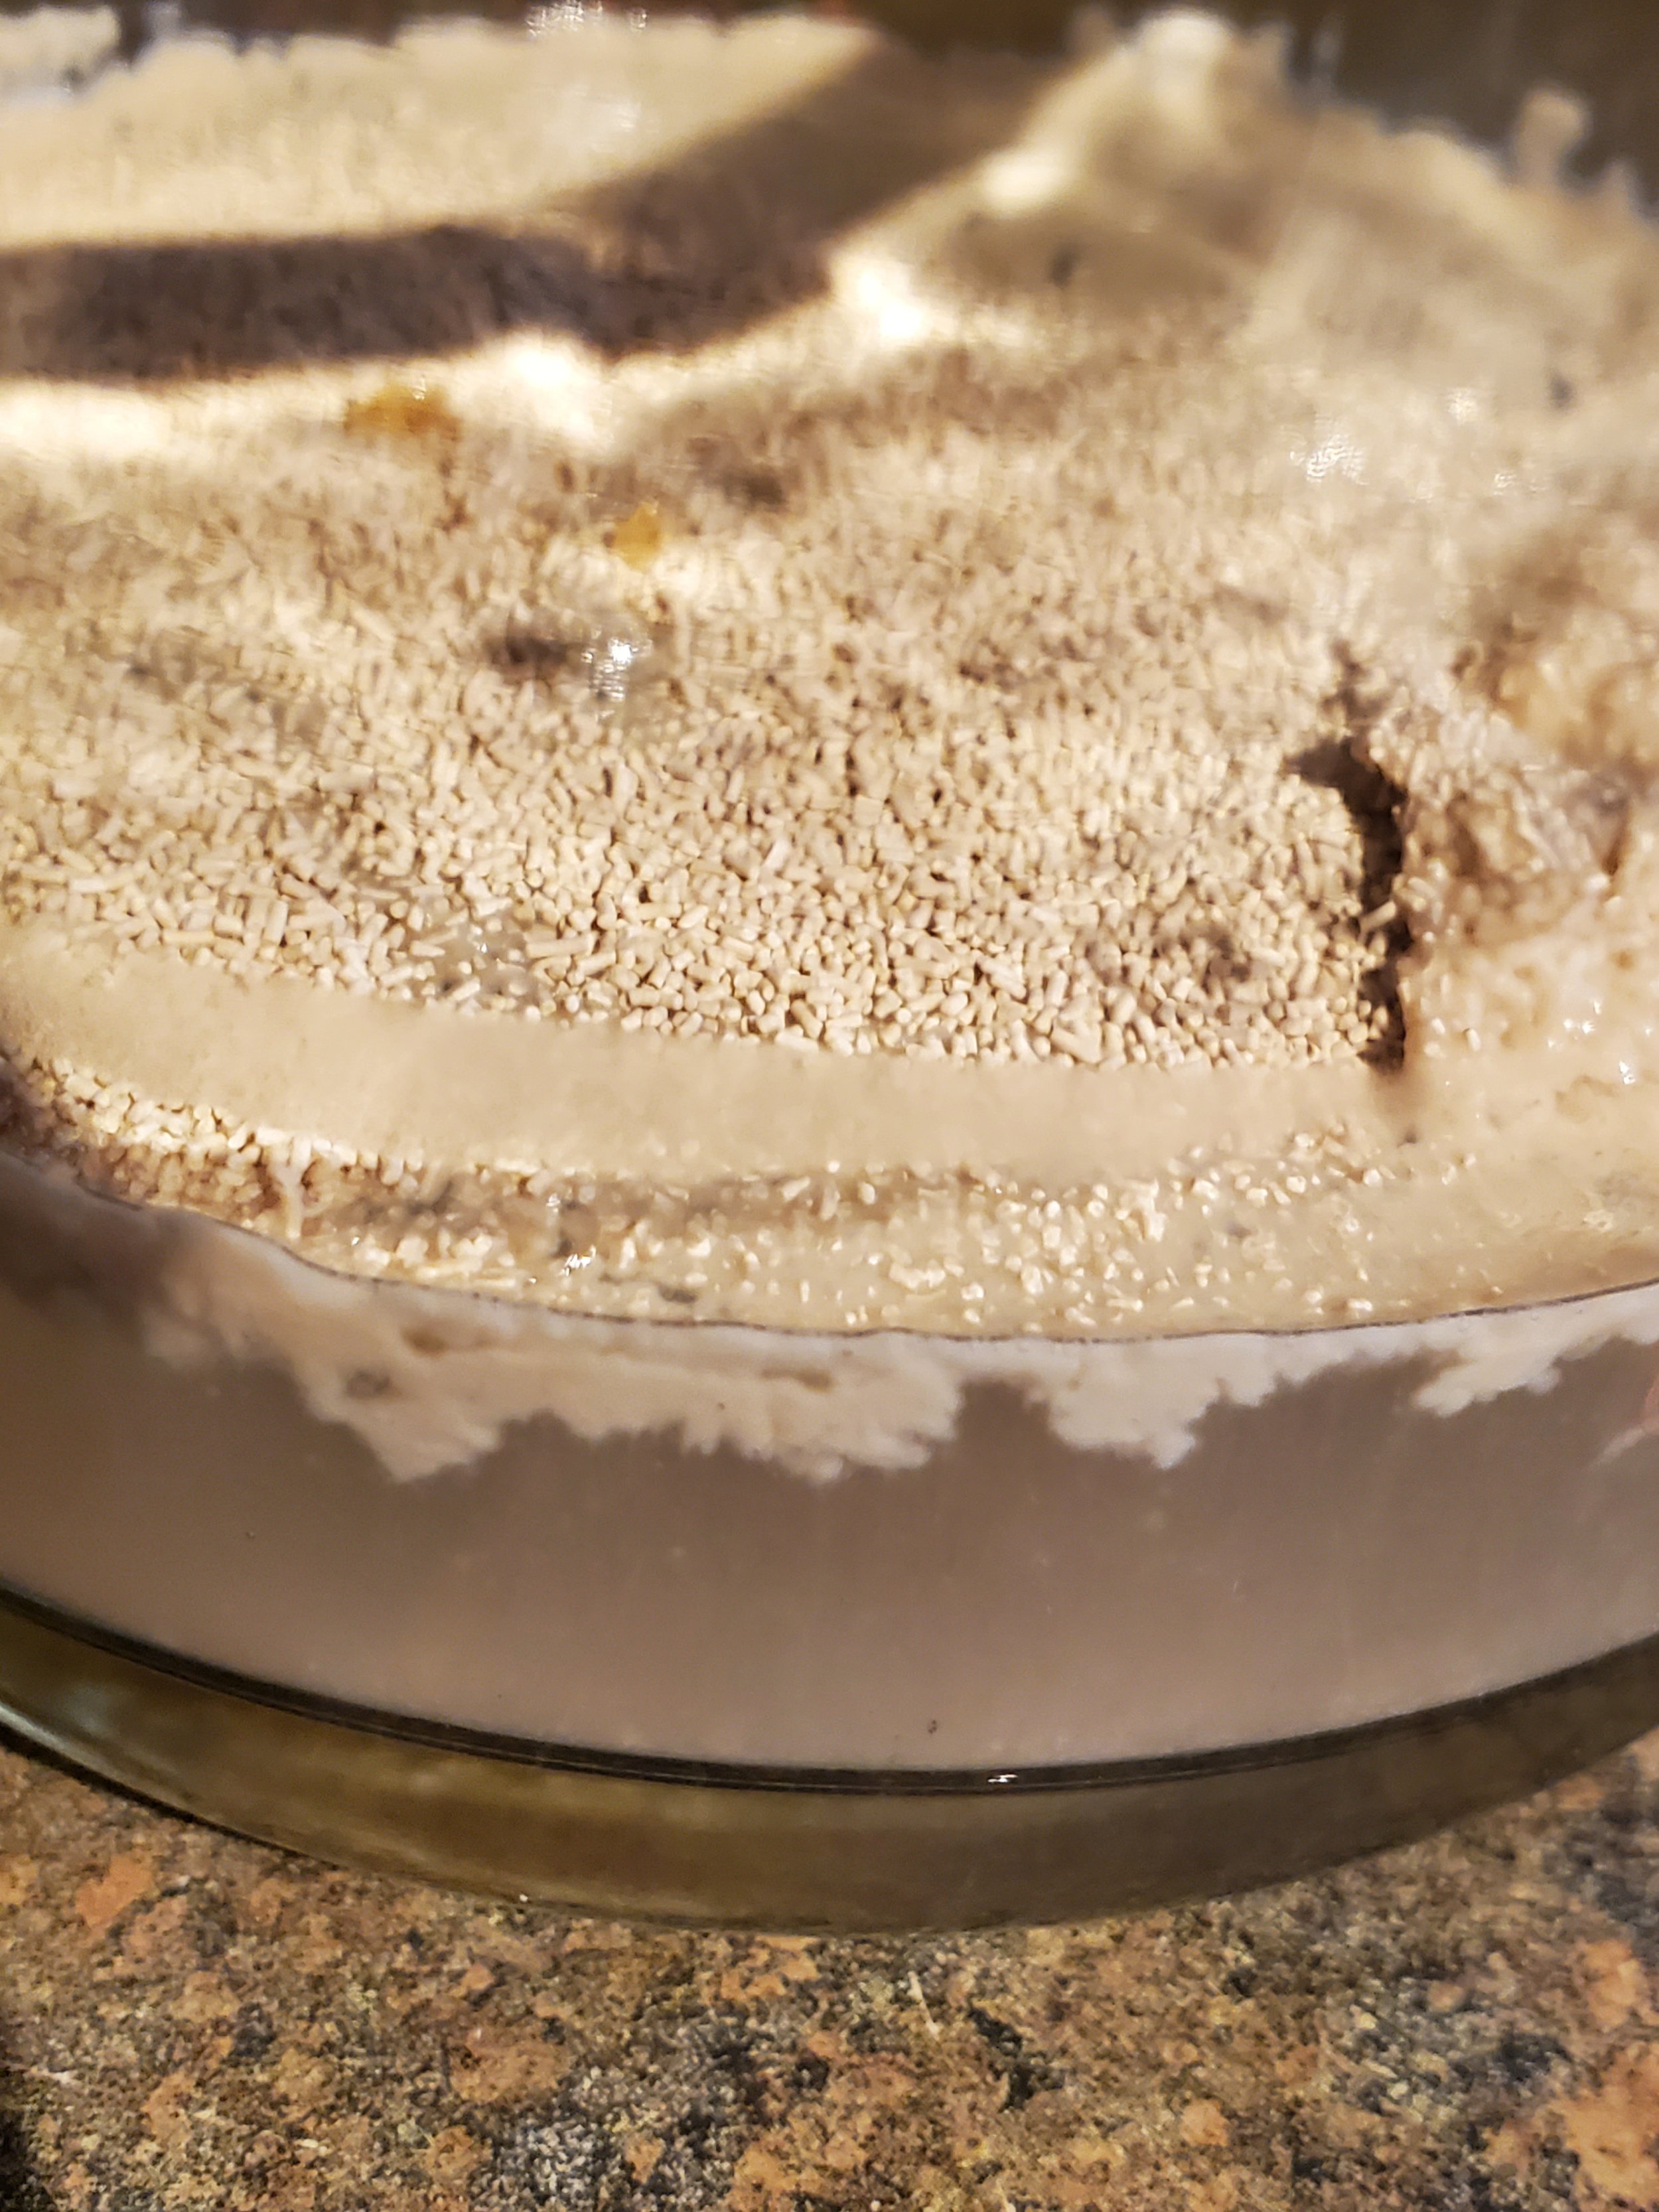
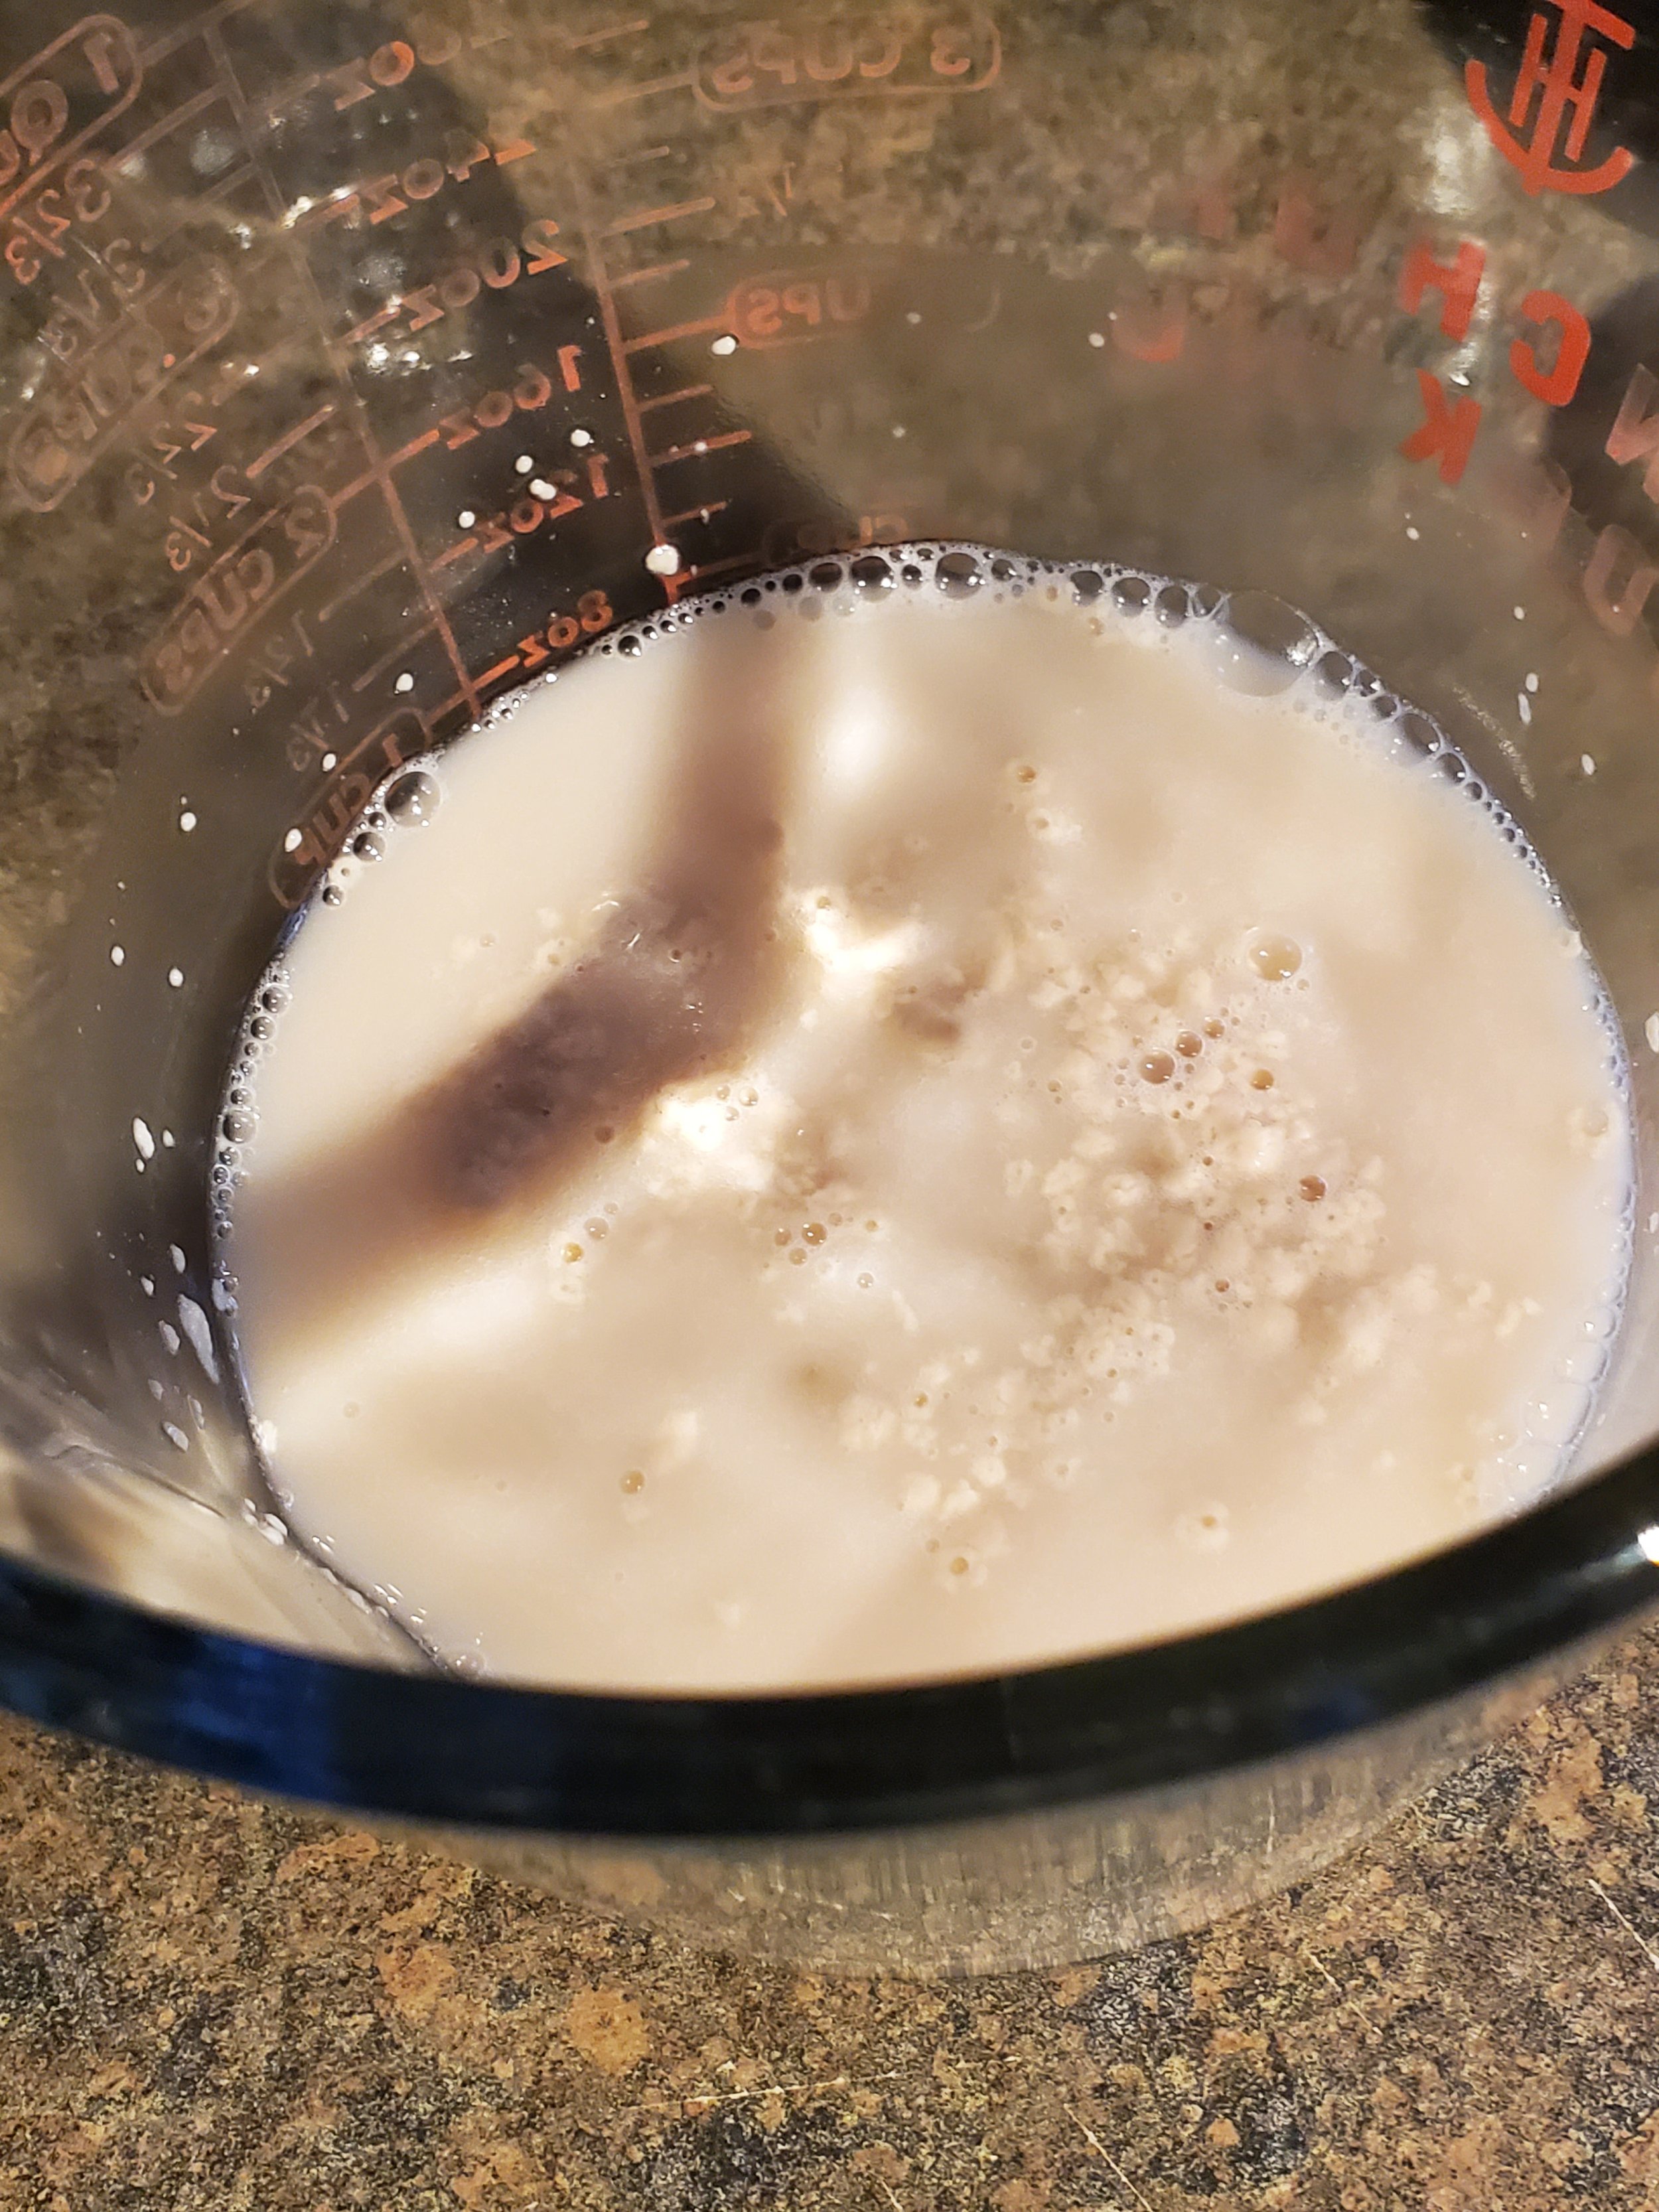
Once you have all your ingredients handy, begin by measuring your yeast into warm water and setting it aside to double in size. This should take five minutes or so.


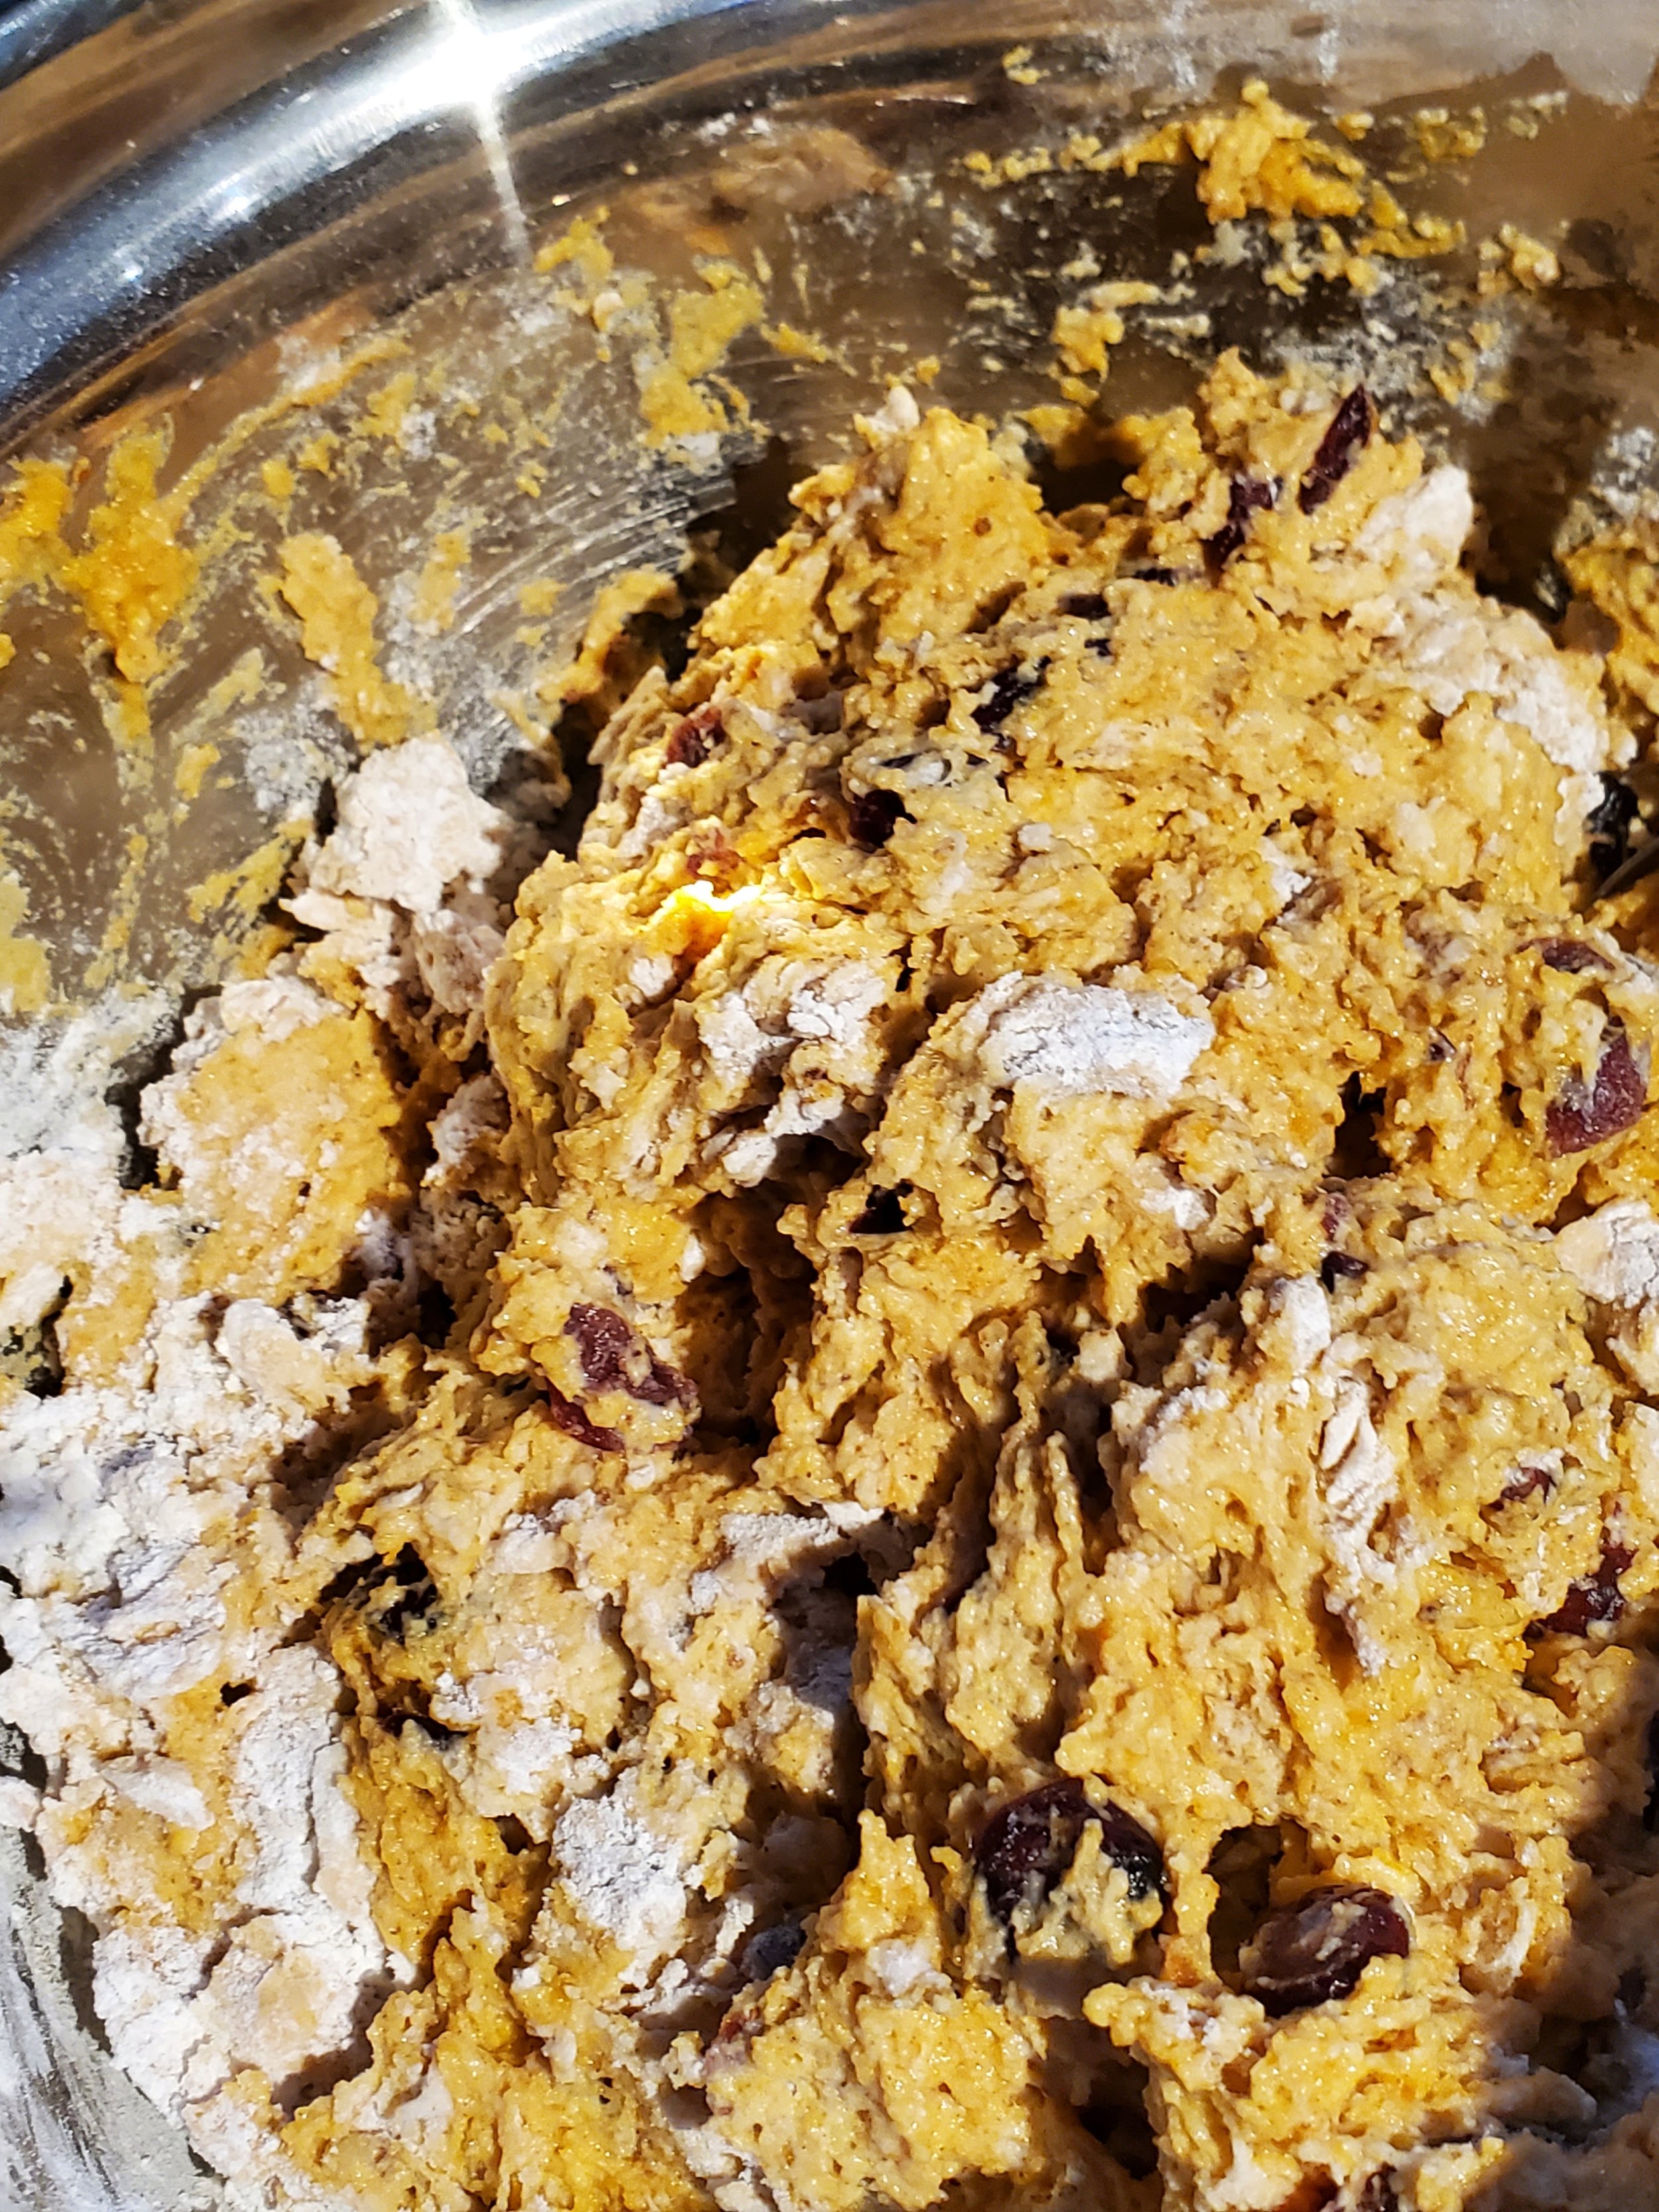
Measure the flour, stopping at three and a half cups. Reserve the additional cup in another bowl. Don't forget to level your flour! It's going to be sticky dough and you'll likely be tempted to add more flour, but don't fall for it, and definitely don't sabotage yourself by starting with more than you meant to.


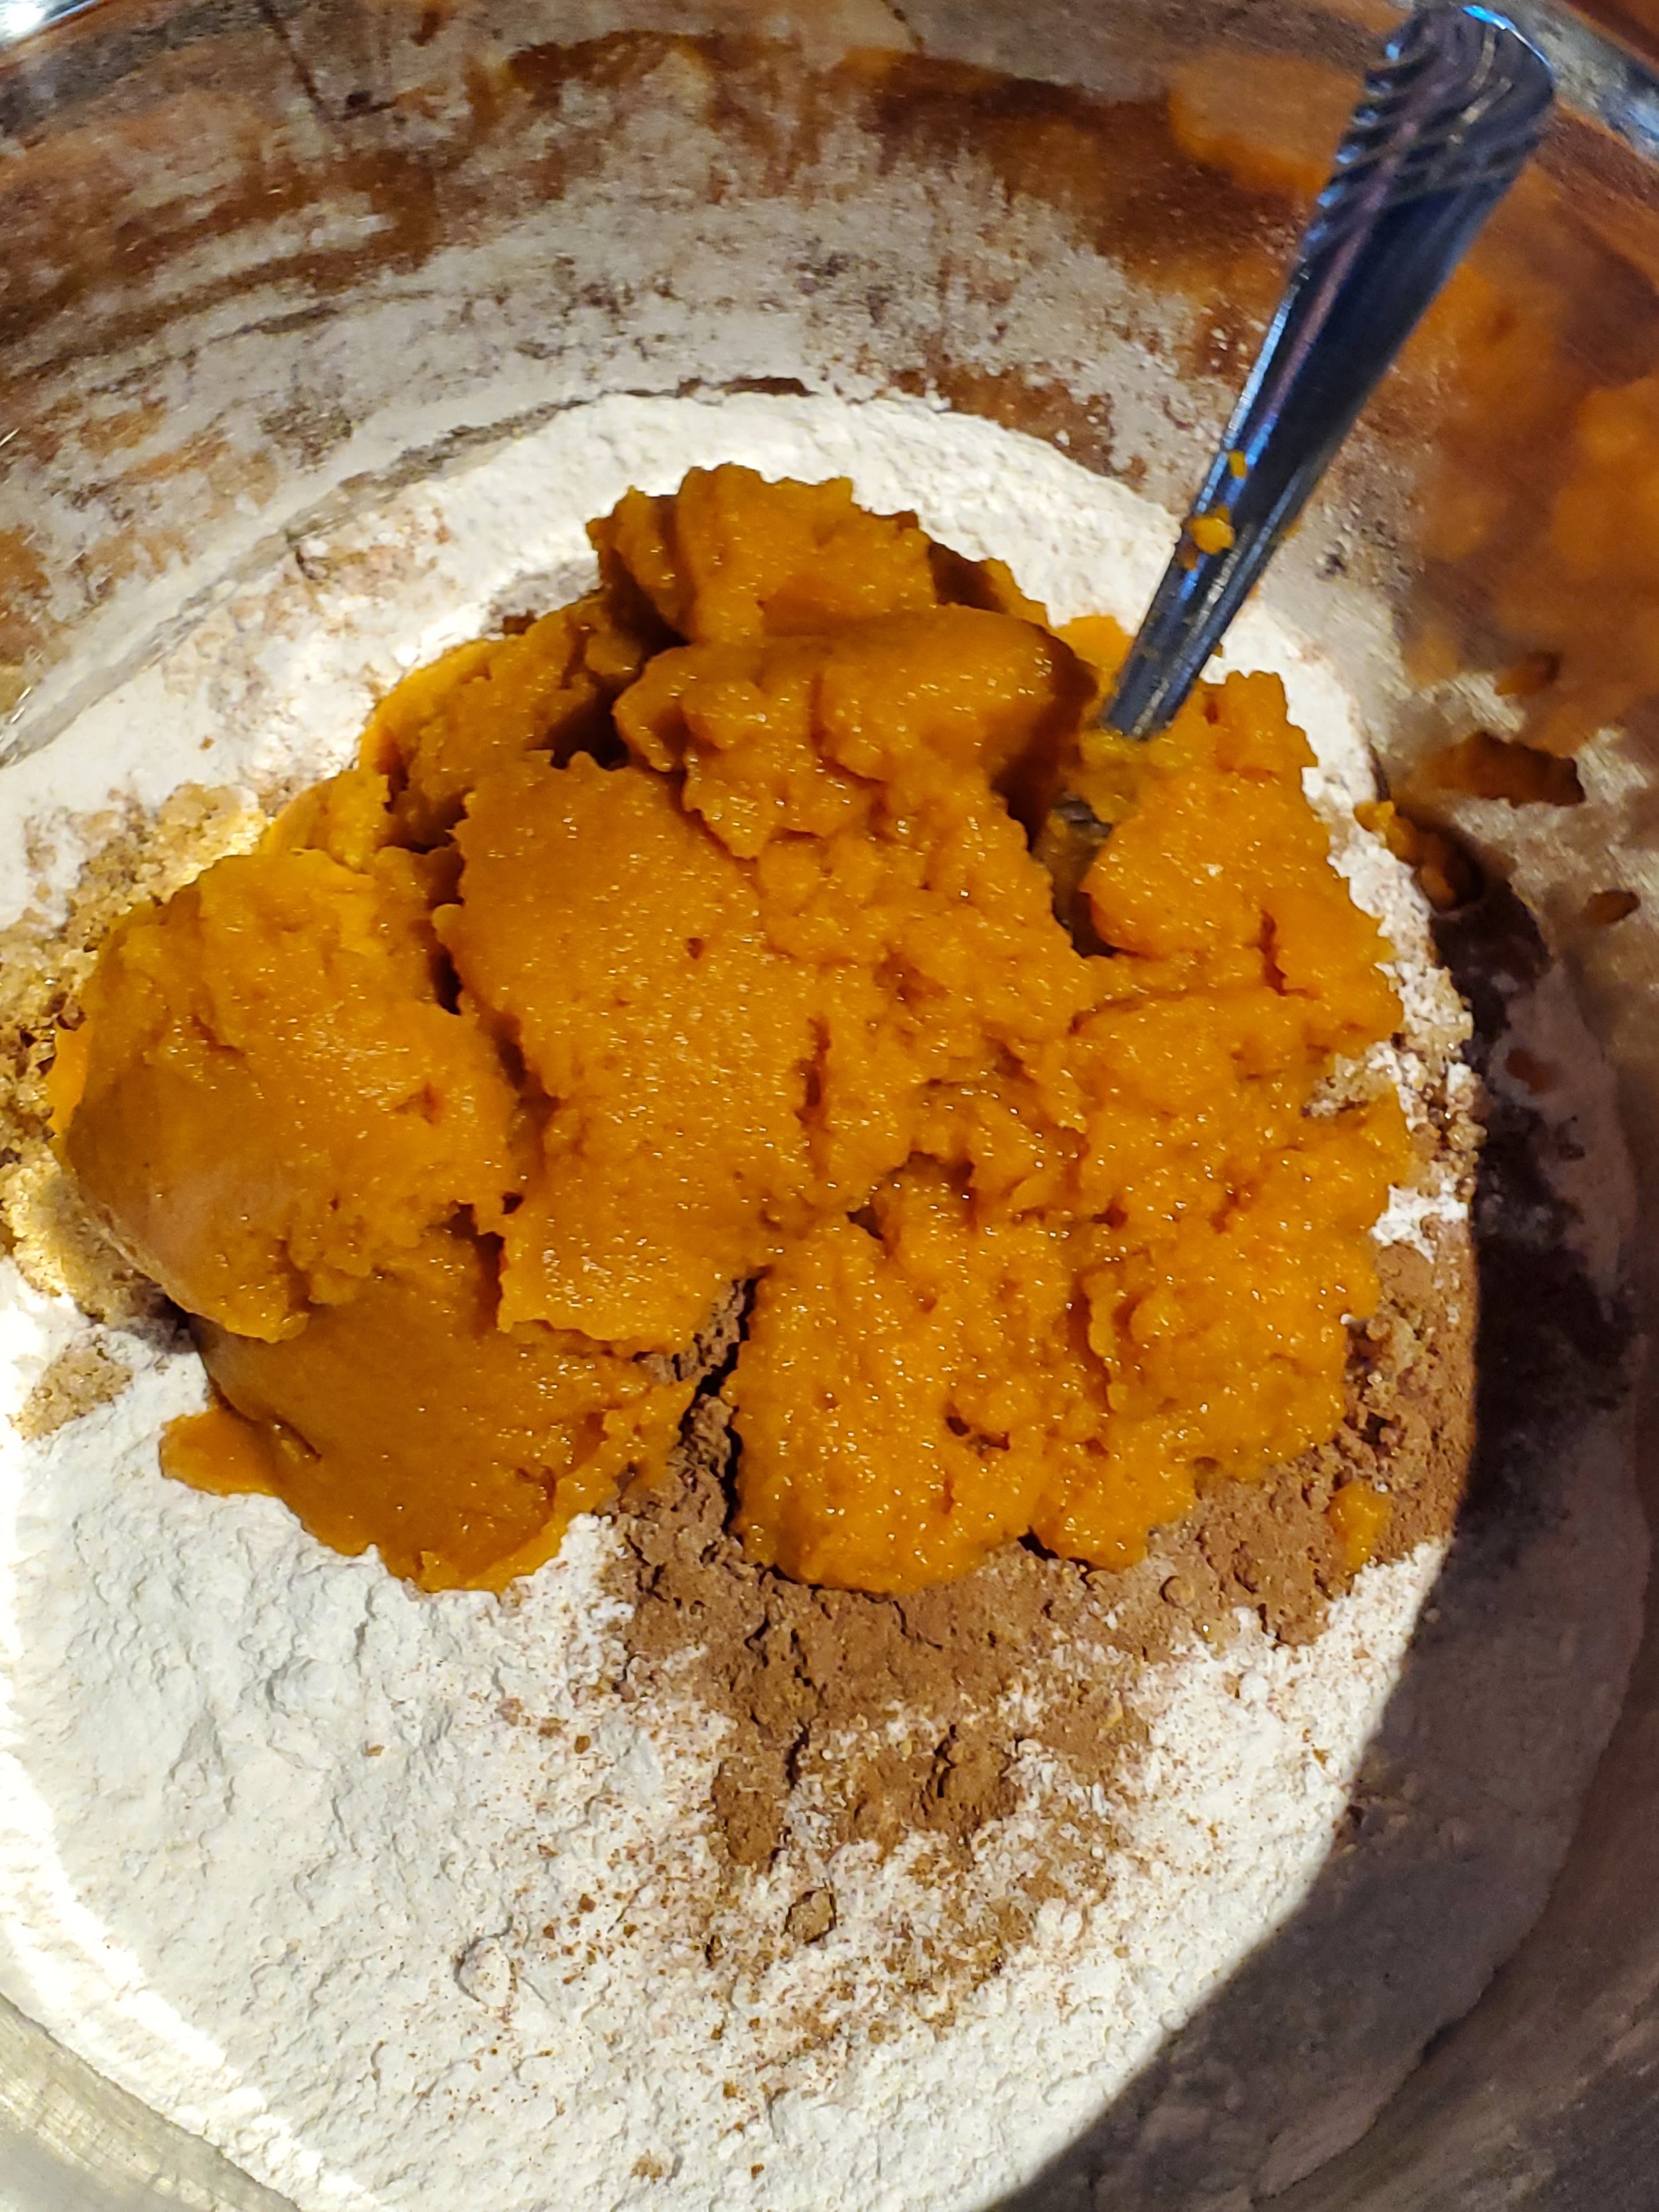
Include your sugar, salt and spices in the dry ingredients. We want to see them evenly mixed into your flour before any wet ingredients join the party, that way you don't end up with bland spots and spots that have too much cinnamon or something.


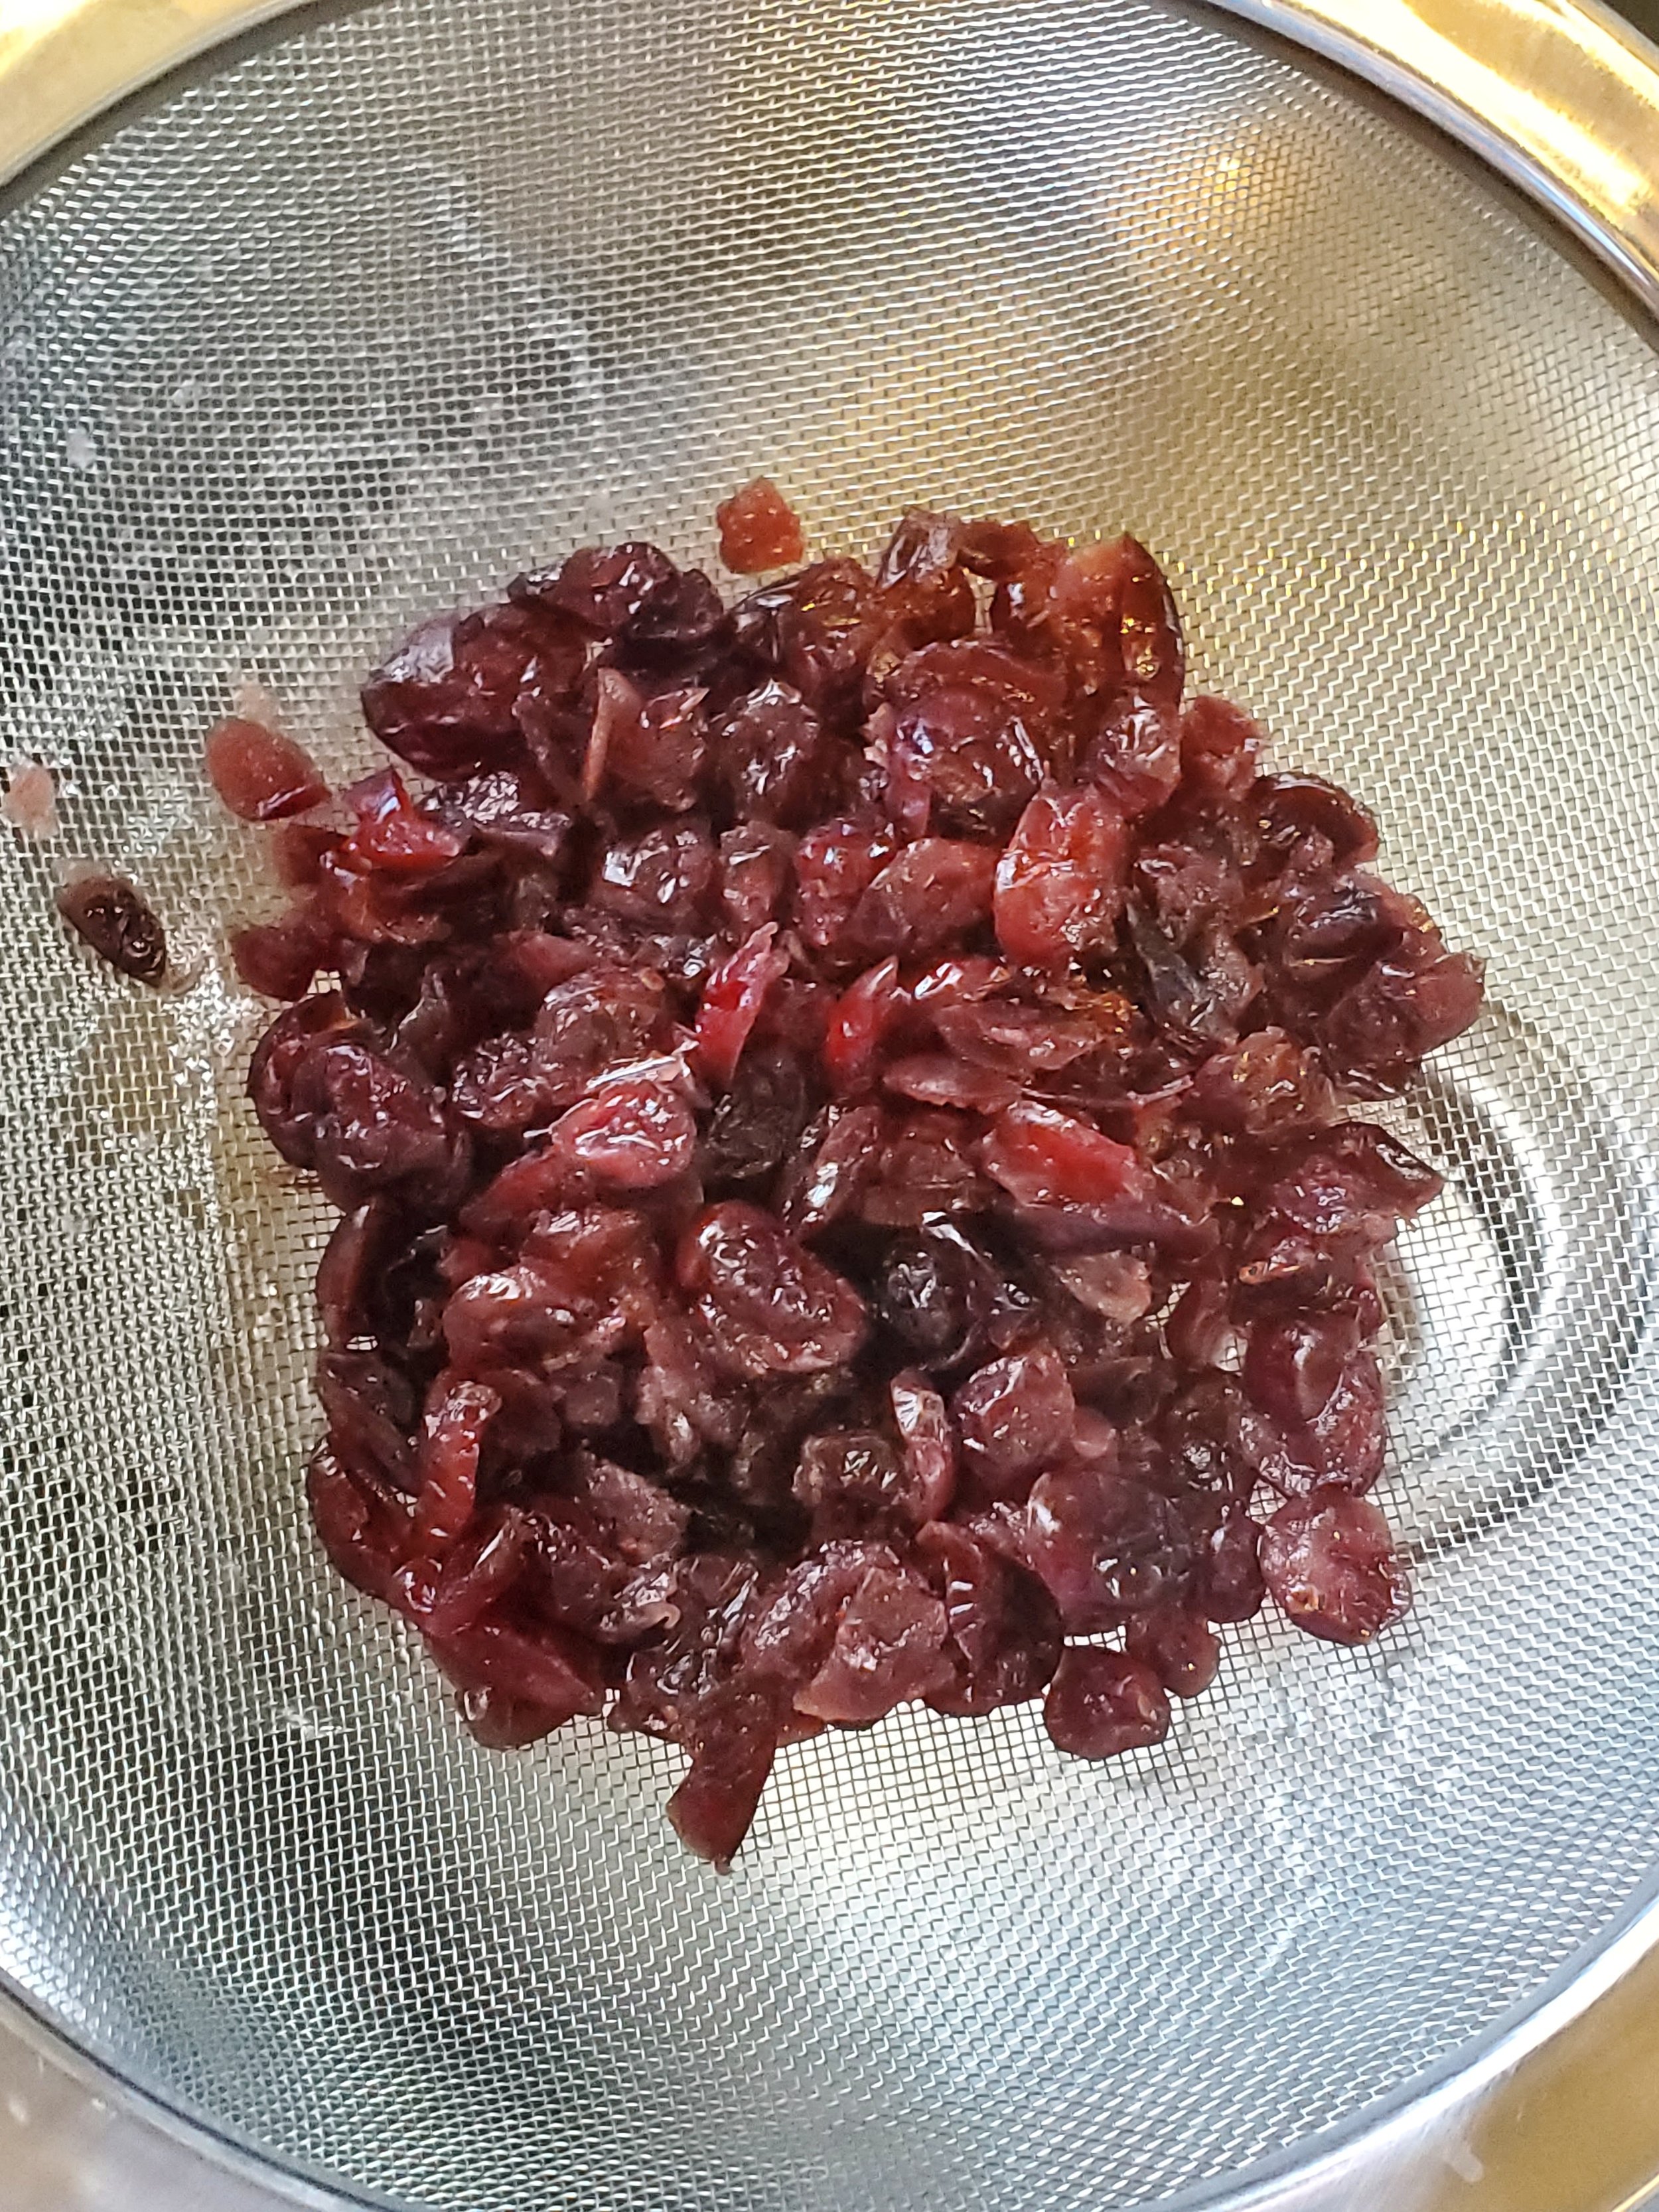
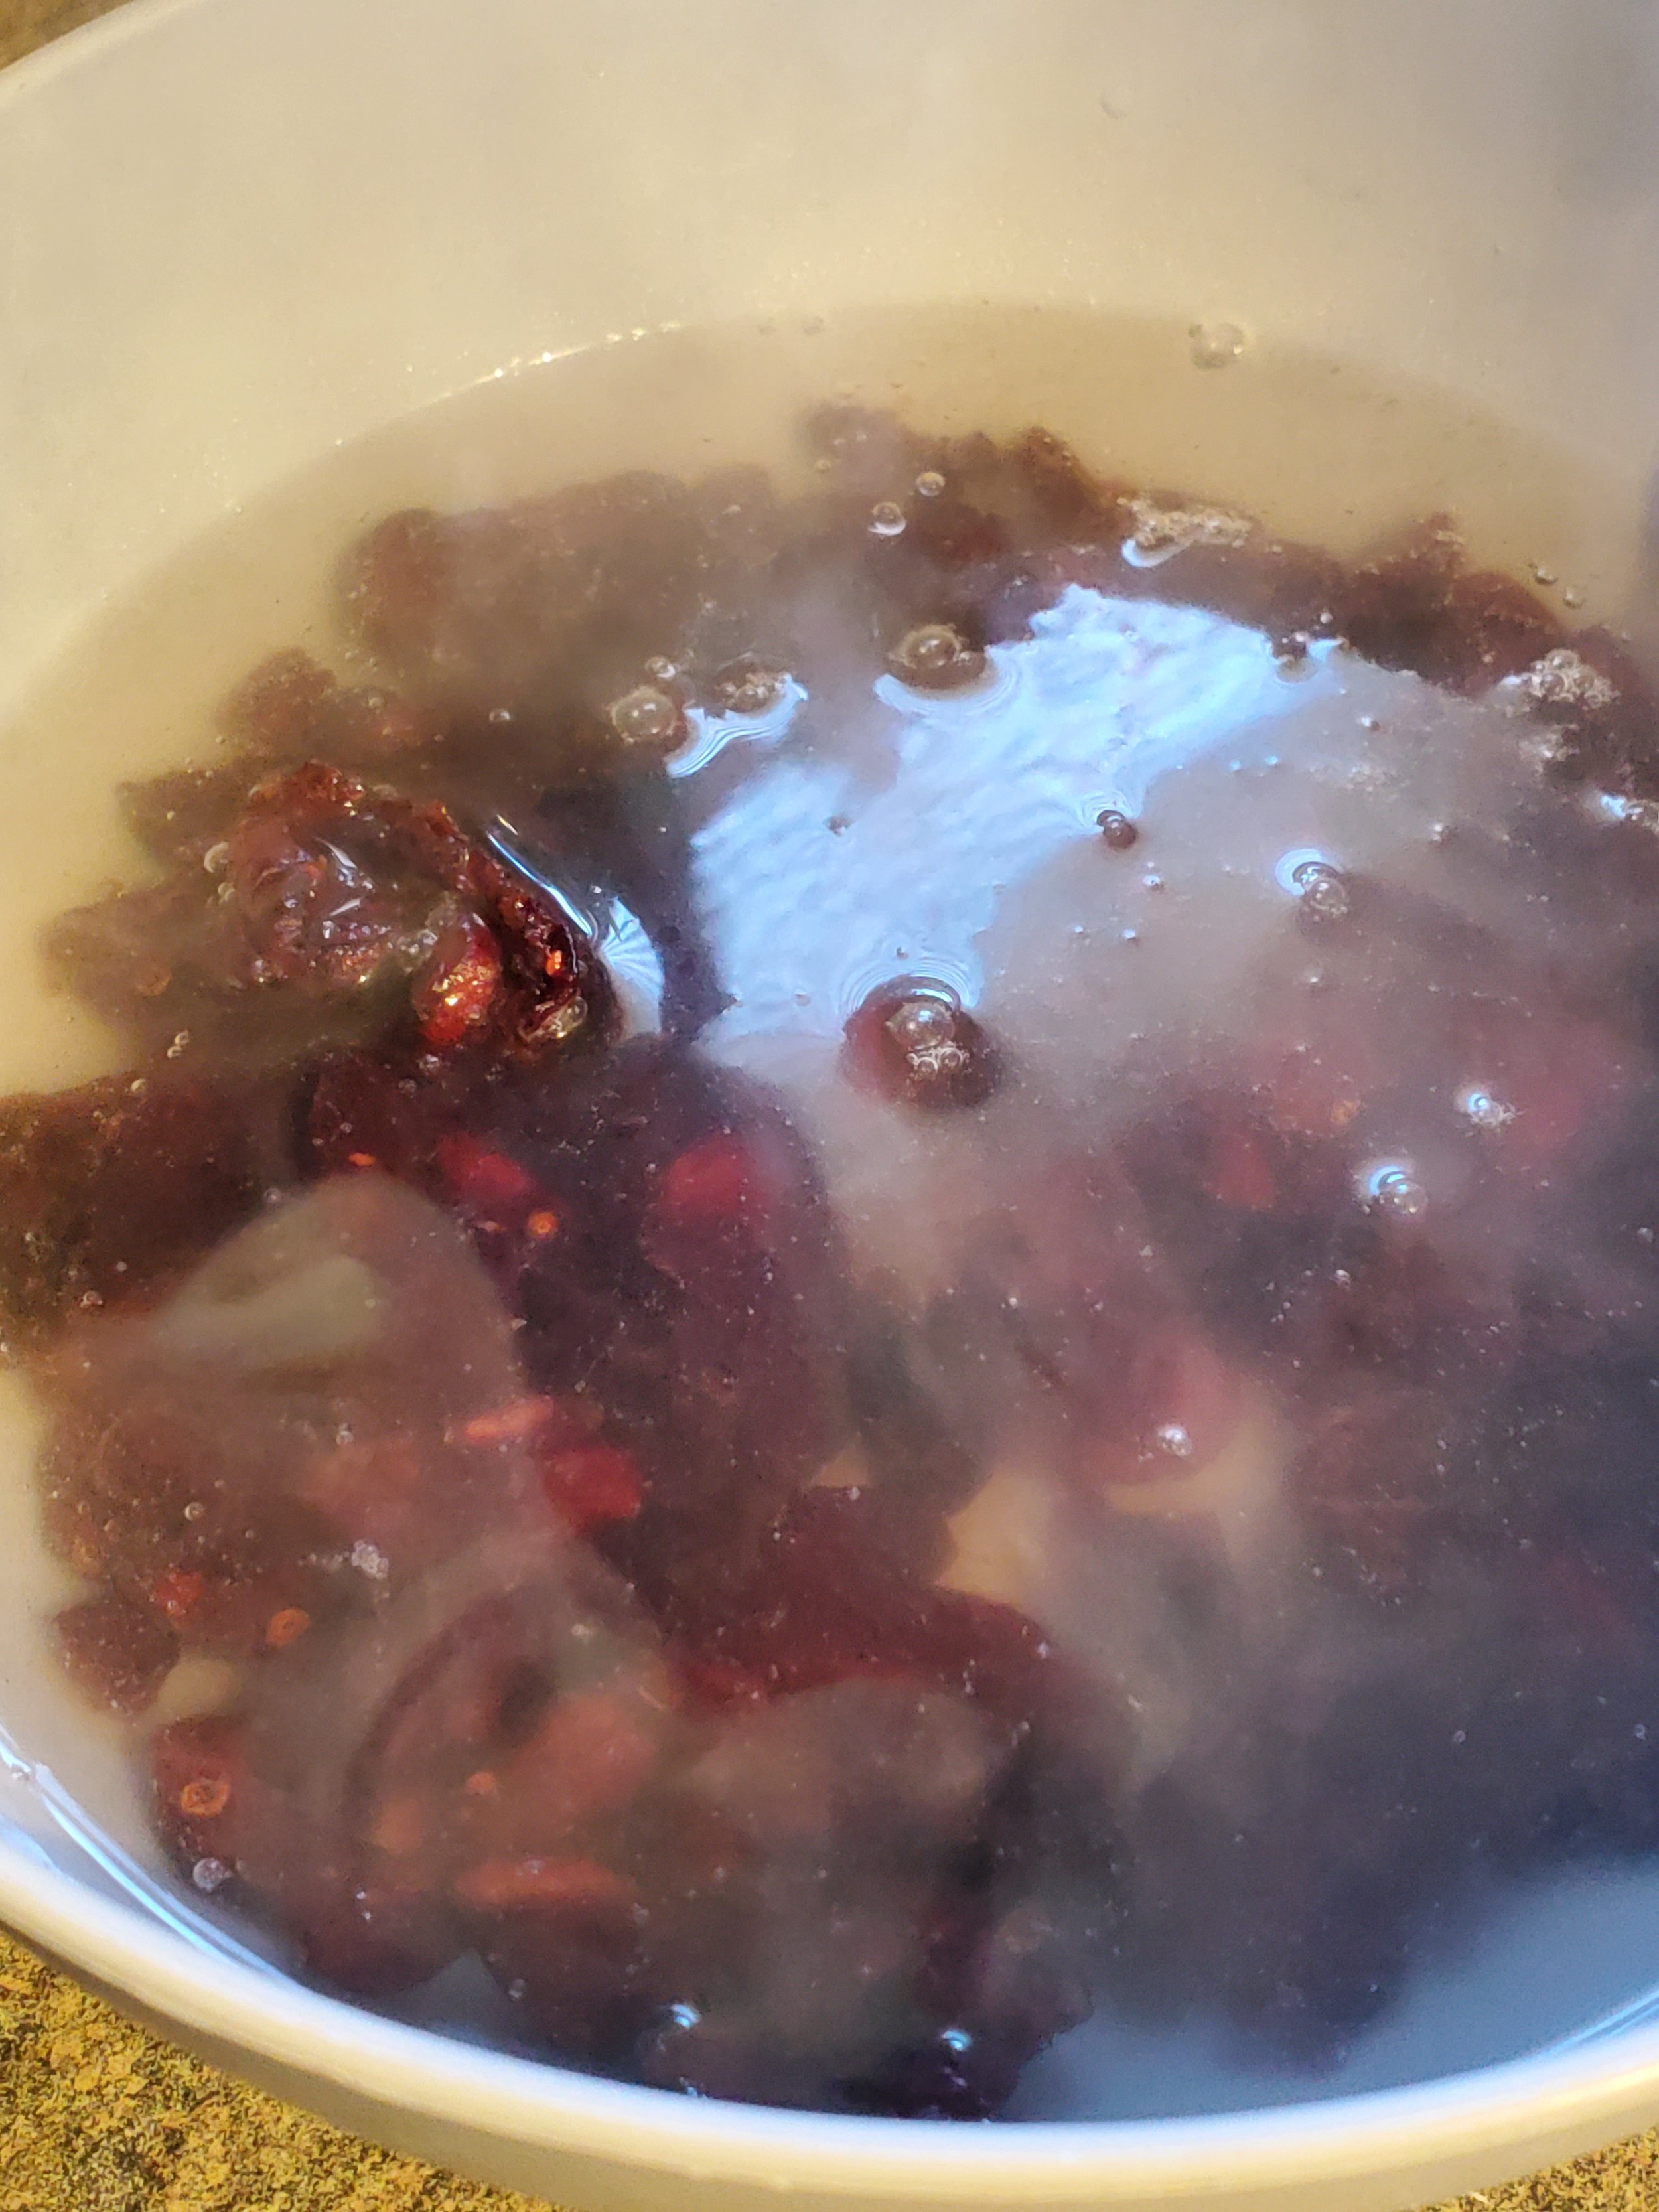
Around this point, our kettle usually begins to boil. Remove it from the heat, toss the cranberries in the heat proof bowl, and cover them with boiling water. Ignore them for five minutes or so - we just want them to be partially rehydrated so they're not sticky lumps in the bread later. After they've had time to absorb some of the water, strain the water out through the colander.


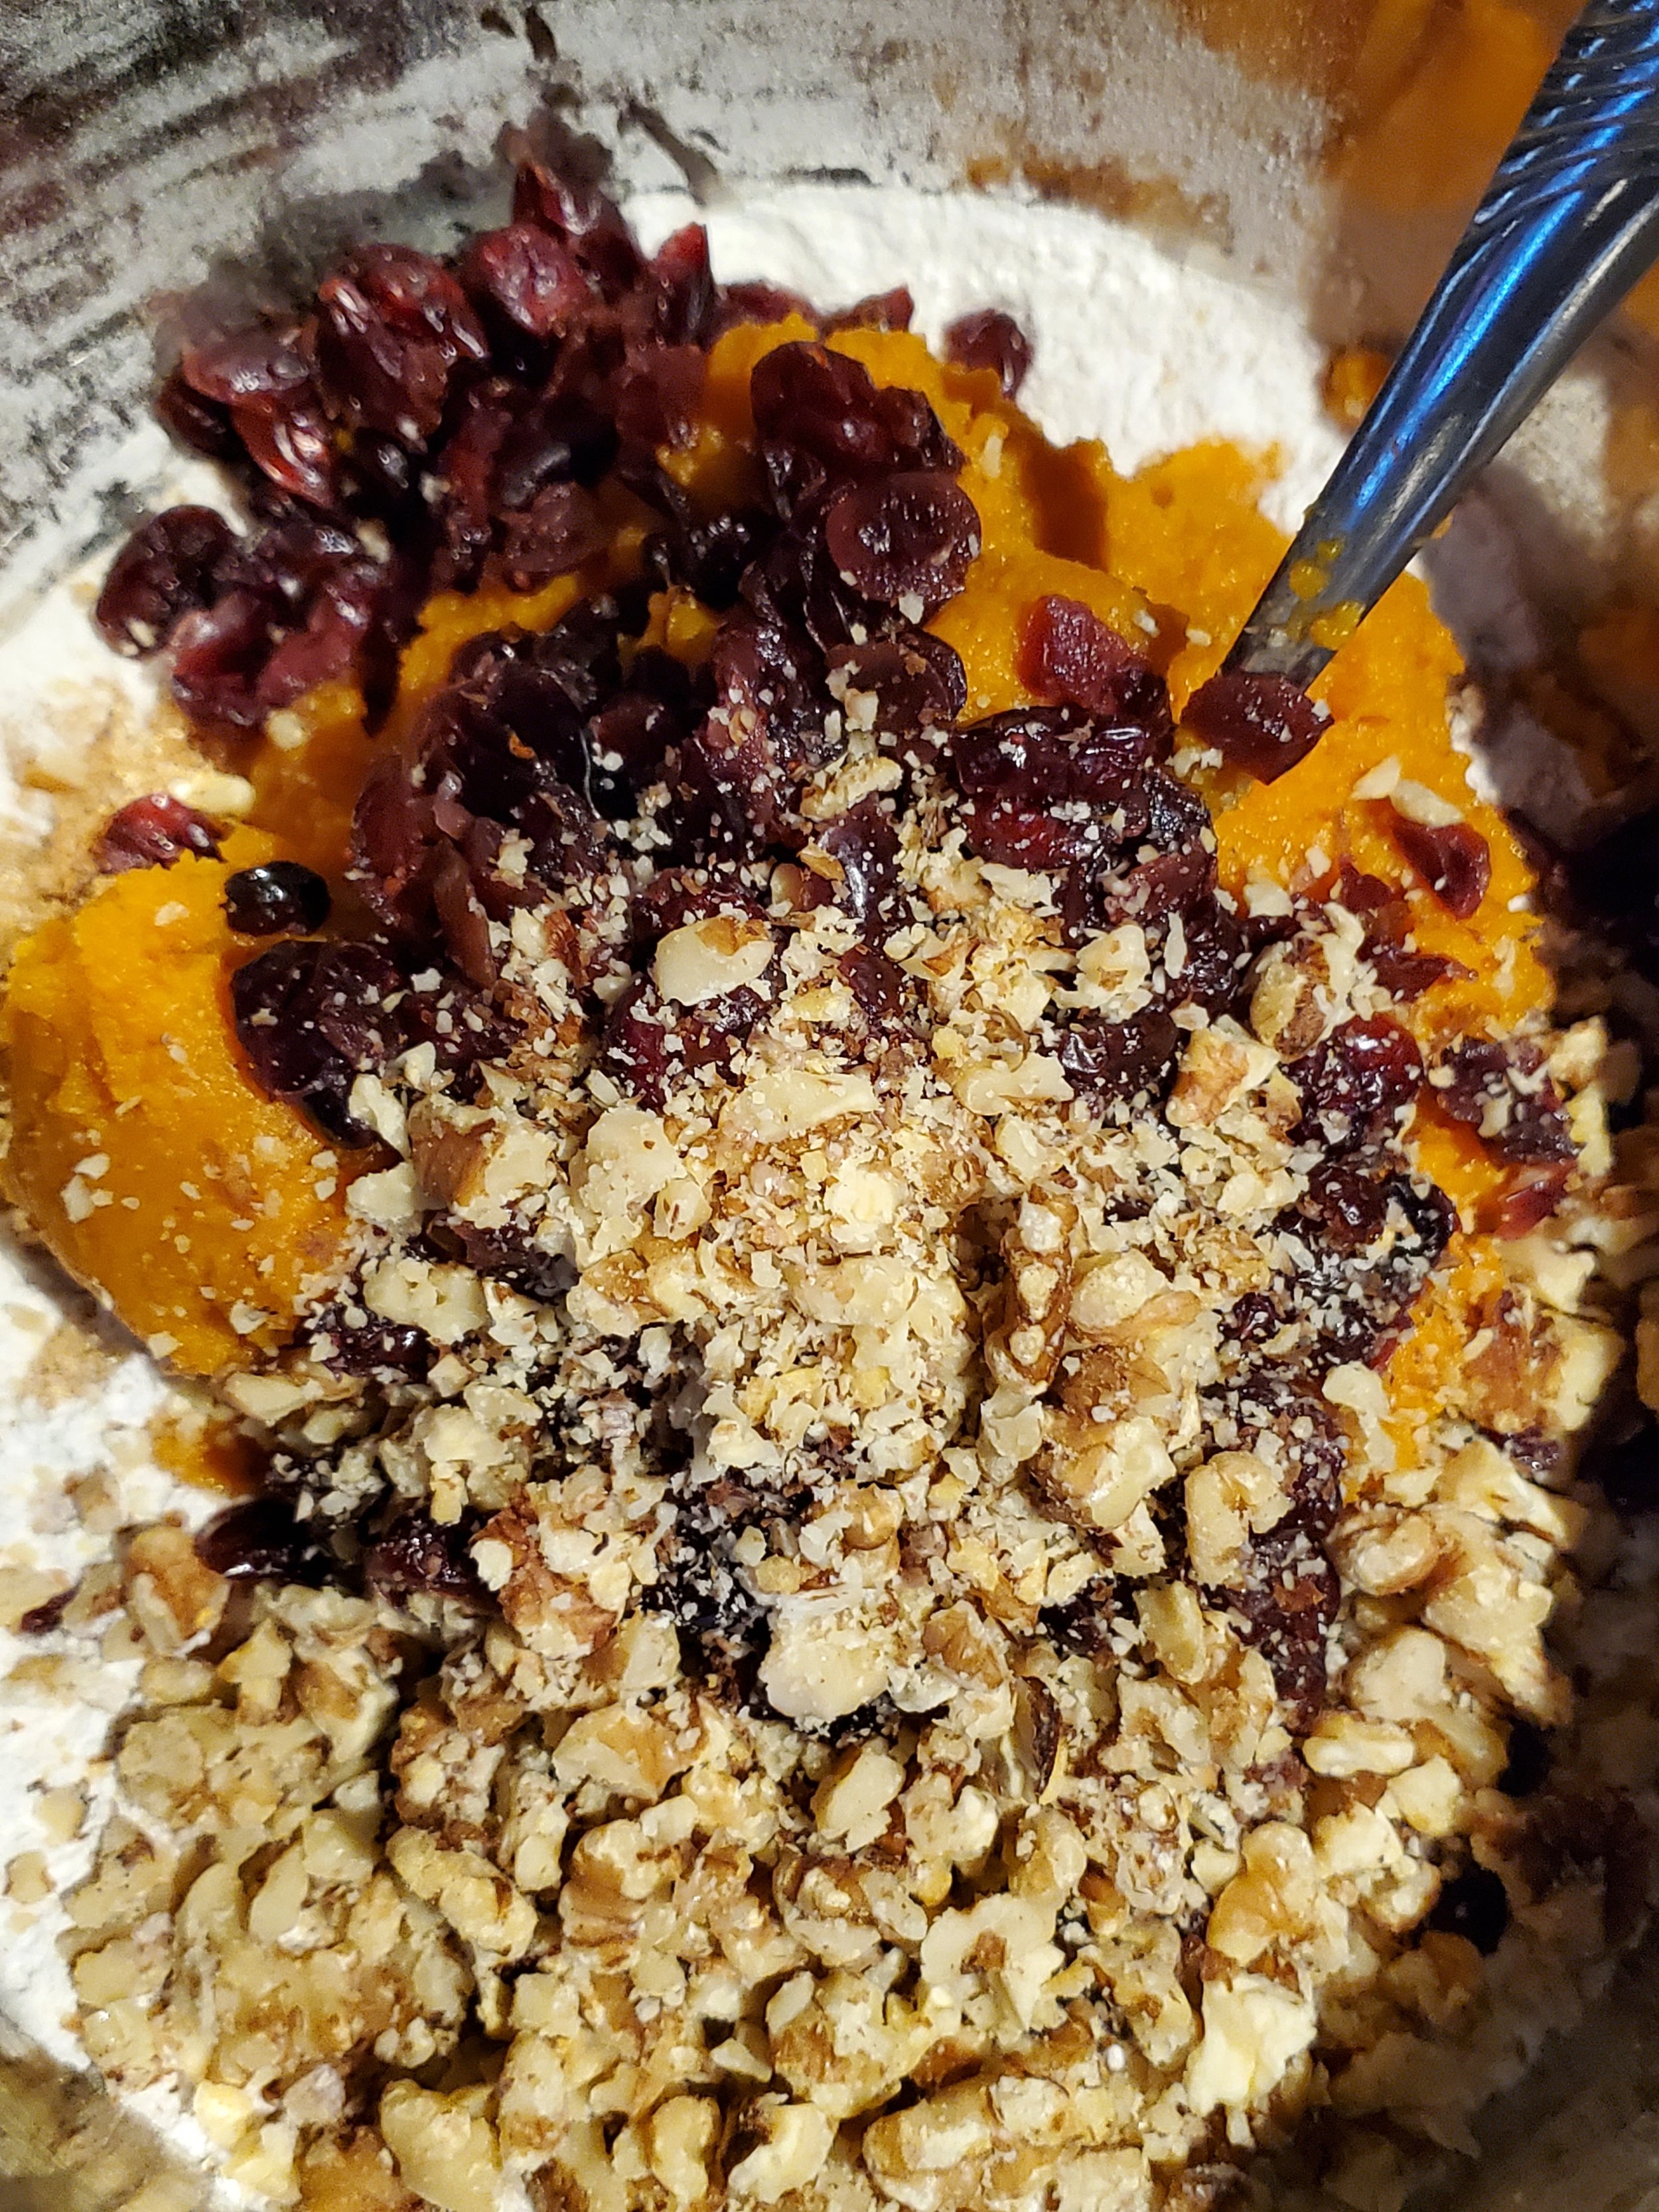
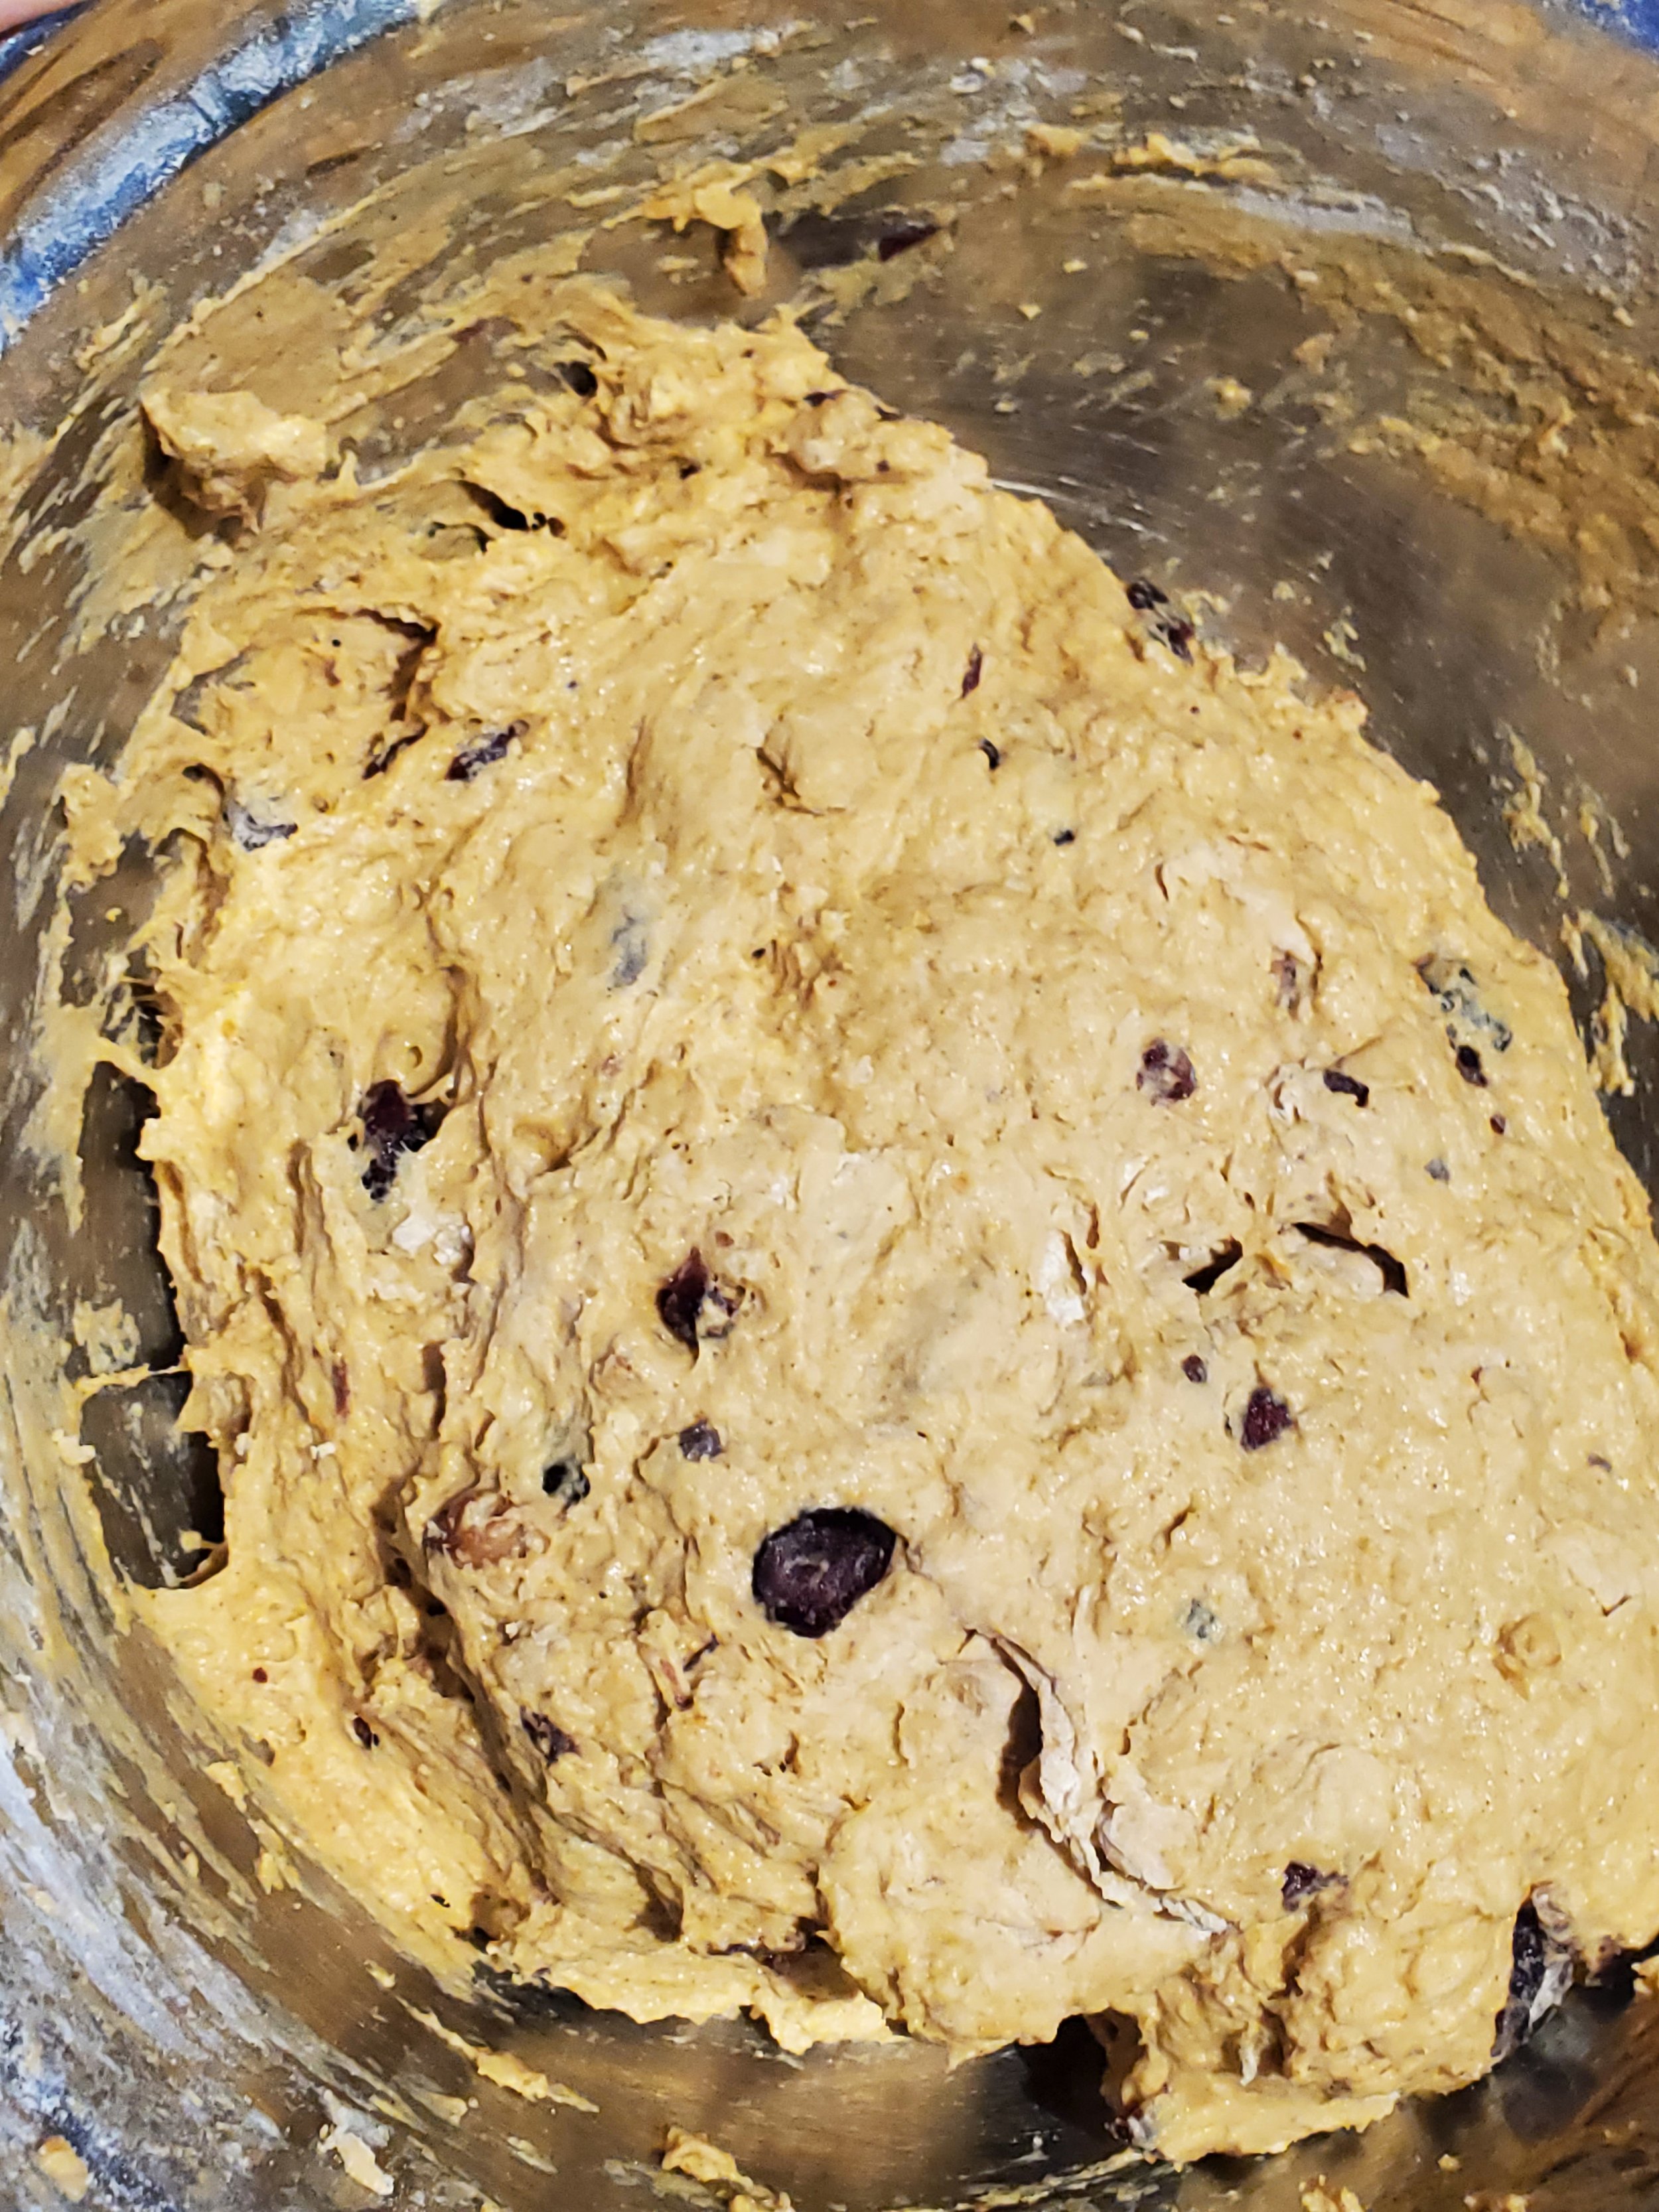
Add the pumpkin and the yeast mixture to the dry ingredients and stir well. Once you've got a relatively uniform consistency, you can add in the chopped walnuts and the cranberries. This is also the first point that your reserved cup of flour will make an appearance - work about half of it into the sticky dough you have here.


Cover the bowl with a clean kitchen towel and let it rise on the counter for three hours.


At the three hour mark, move the dough to the fridge, keeping it covered with the towel. Keep it in the fridge for at least an hour, or as long as overnight (if you're a forward thinker and got this done long enough ahead of time that you can refrigerate it overnight! Congrats on being wiser than us).


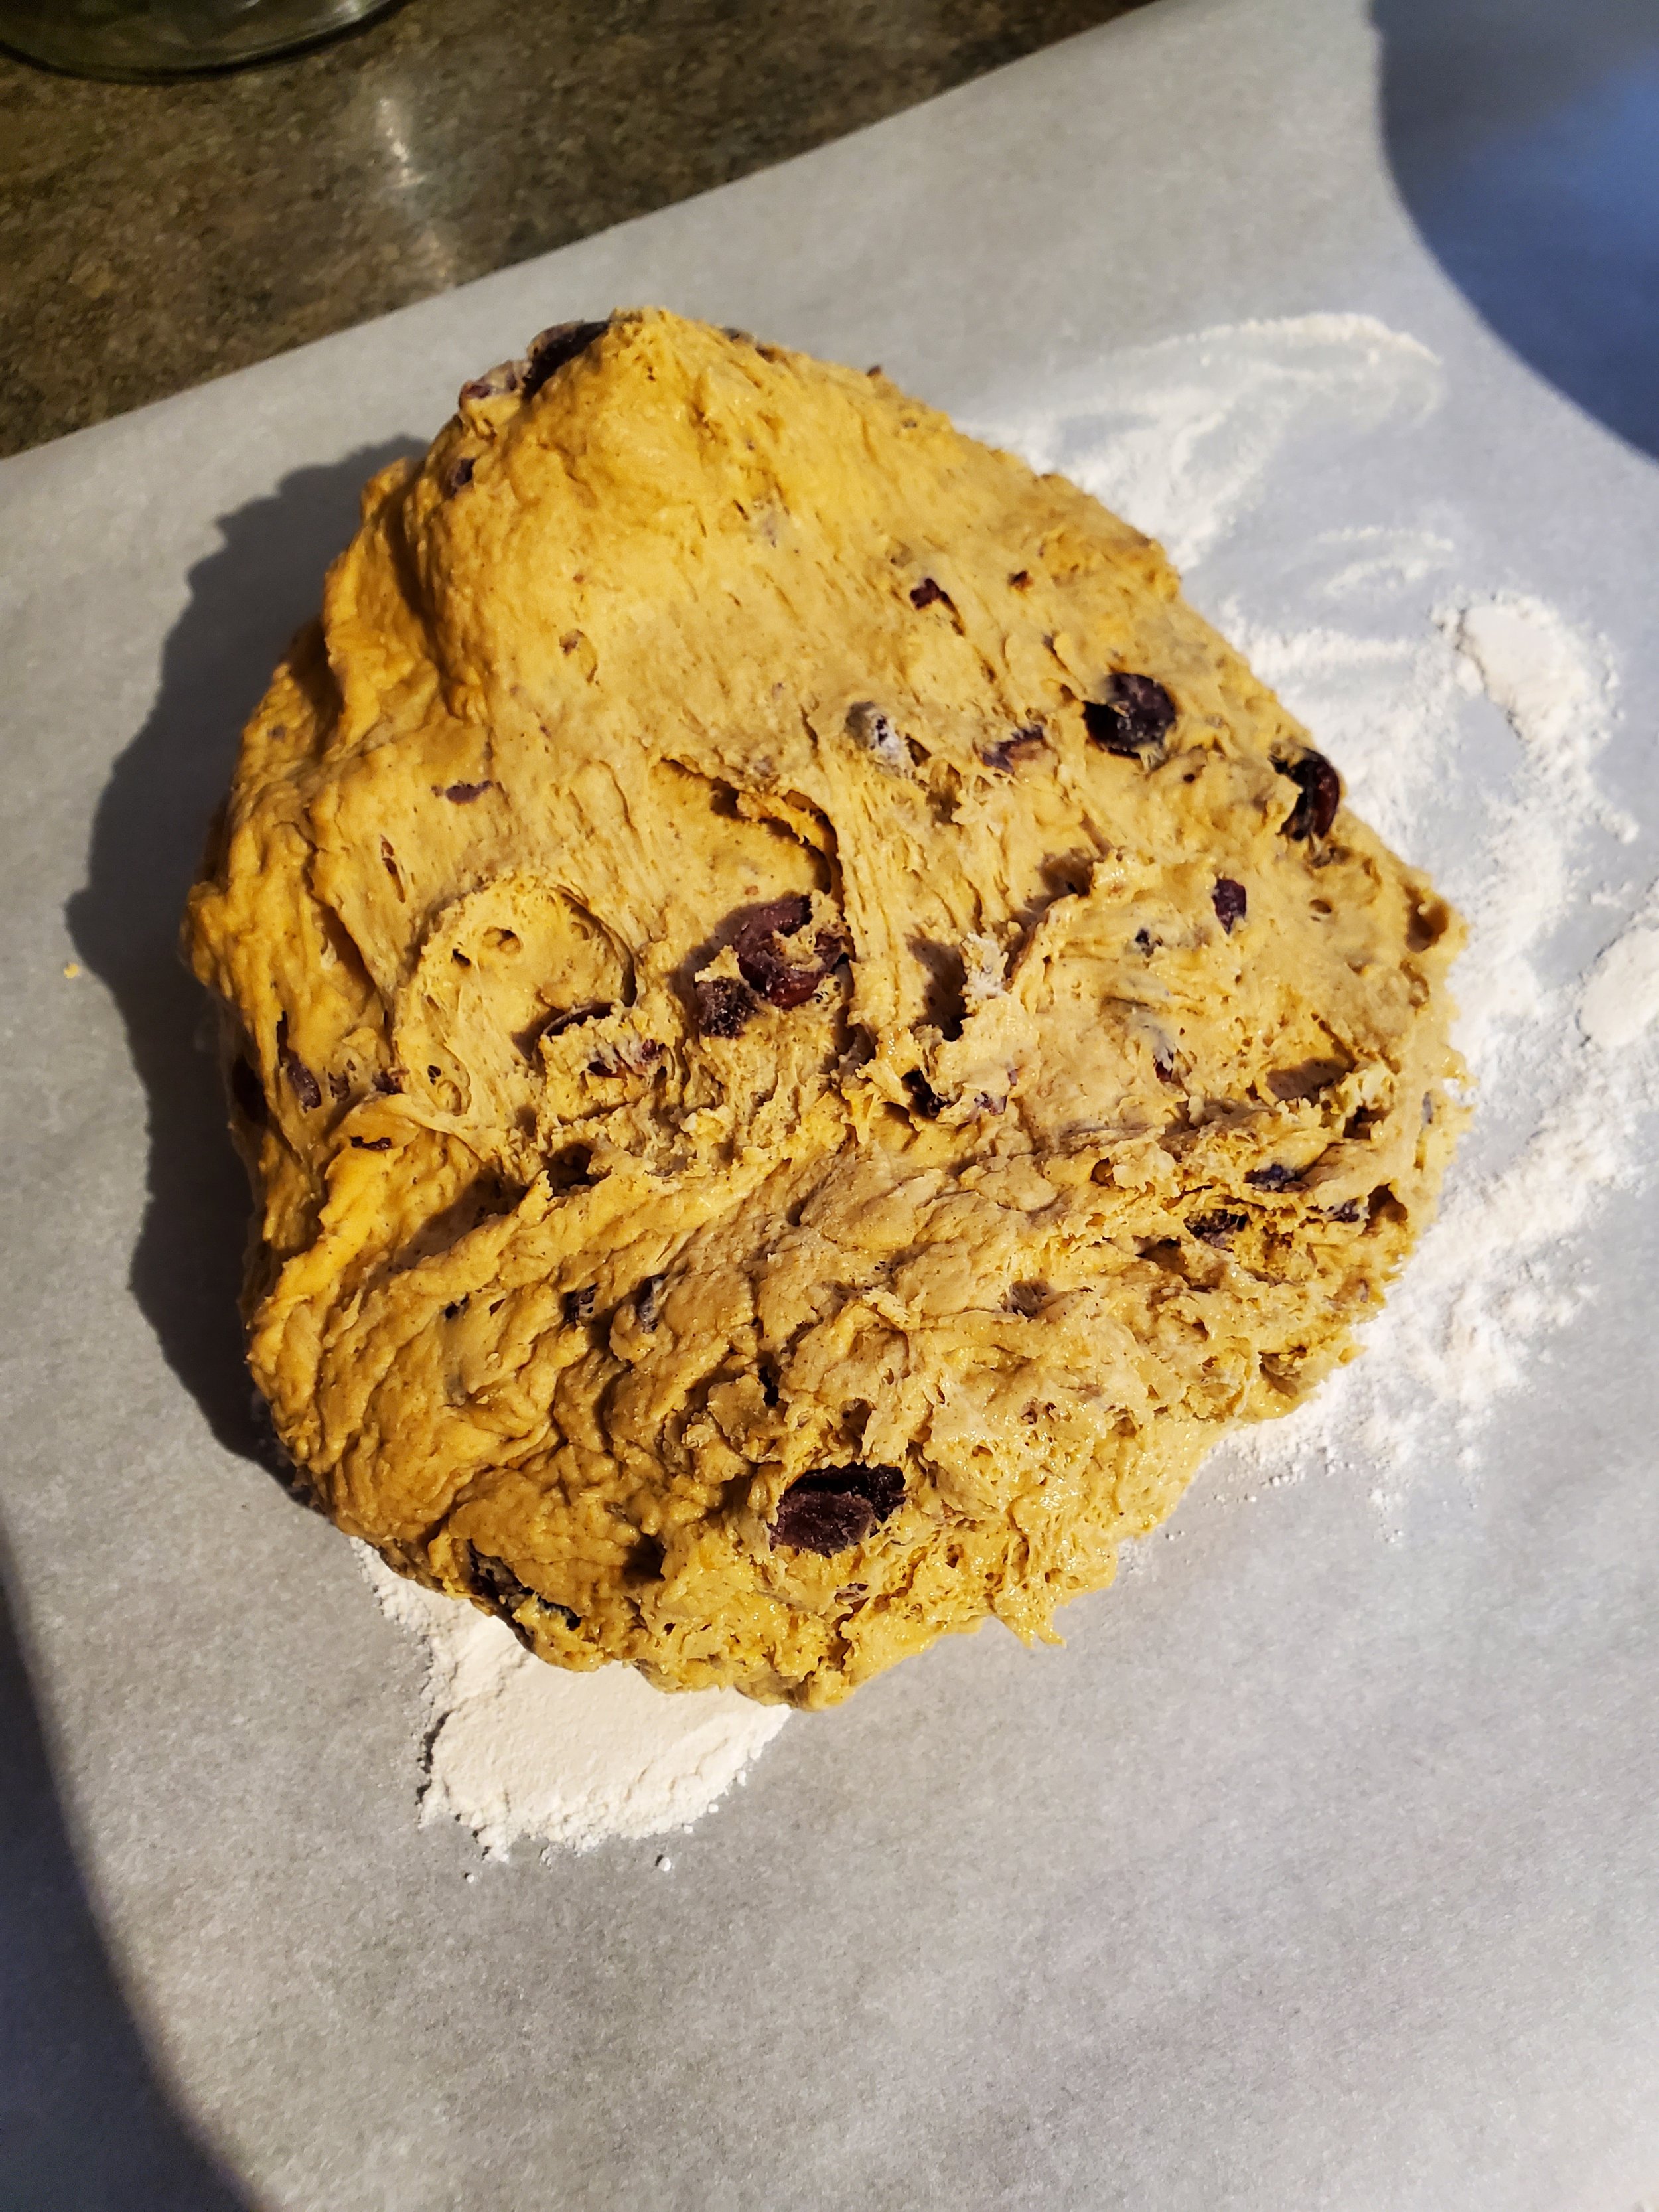
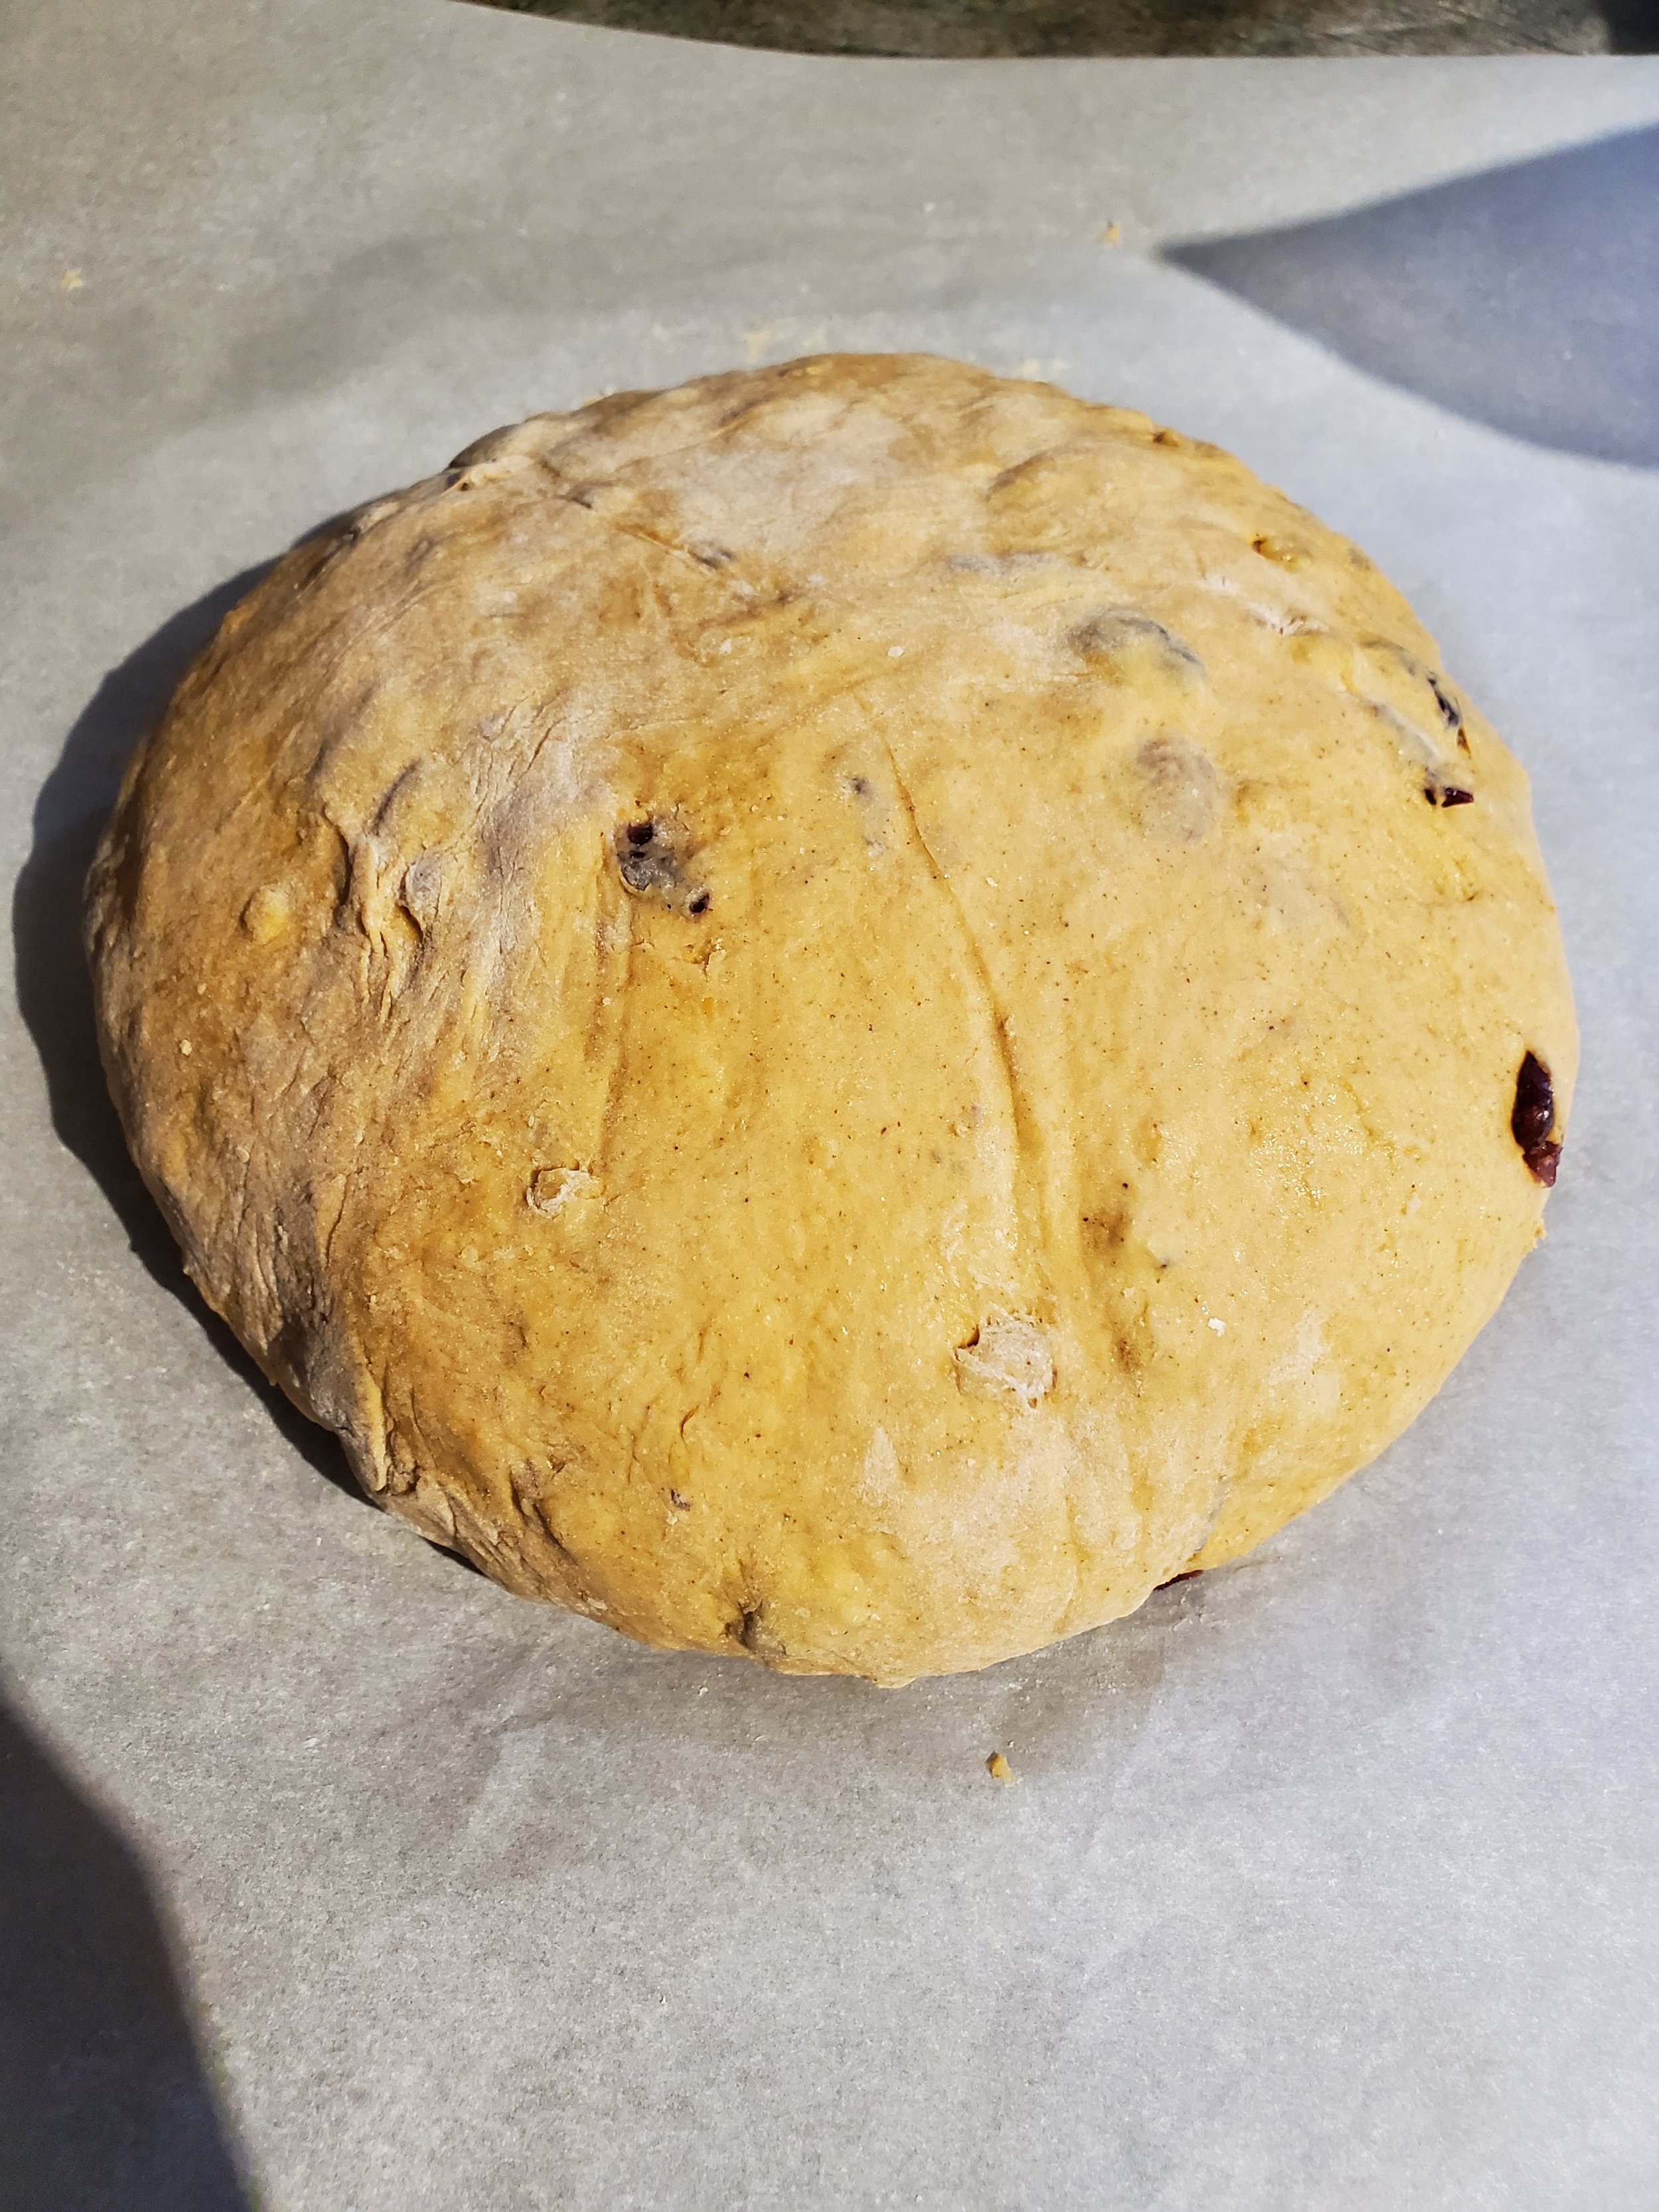
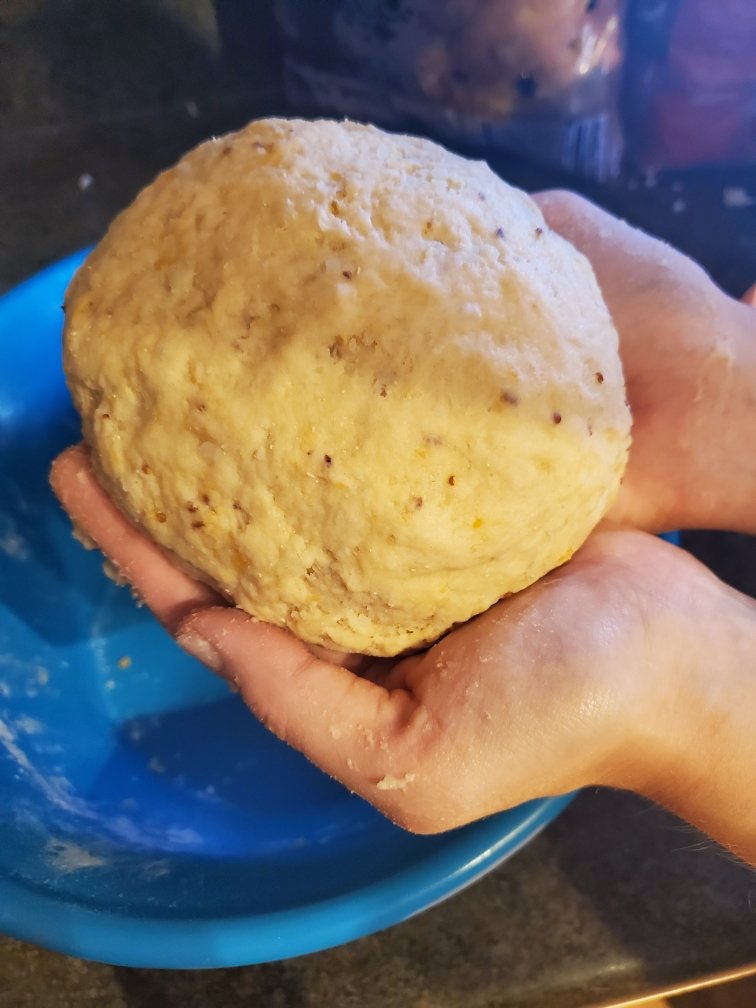
The chilled dough should be easier to work with, but we still recommend a set of food service gloves for this part. Take that reserved flour and dust a surface - a cutting board, the counter, some parchment, the table - whatever you have. We recommend parchment paper for ease of lifting later. Turn the cold dough out onto this floured surface and work it until it's smooth. Allow it to rise again where it sits for about an hour.


Preheat the oven to 450. That is not a typo, we really do mean 450.


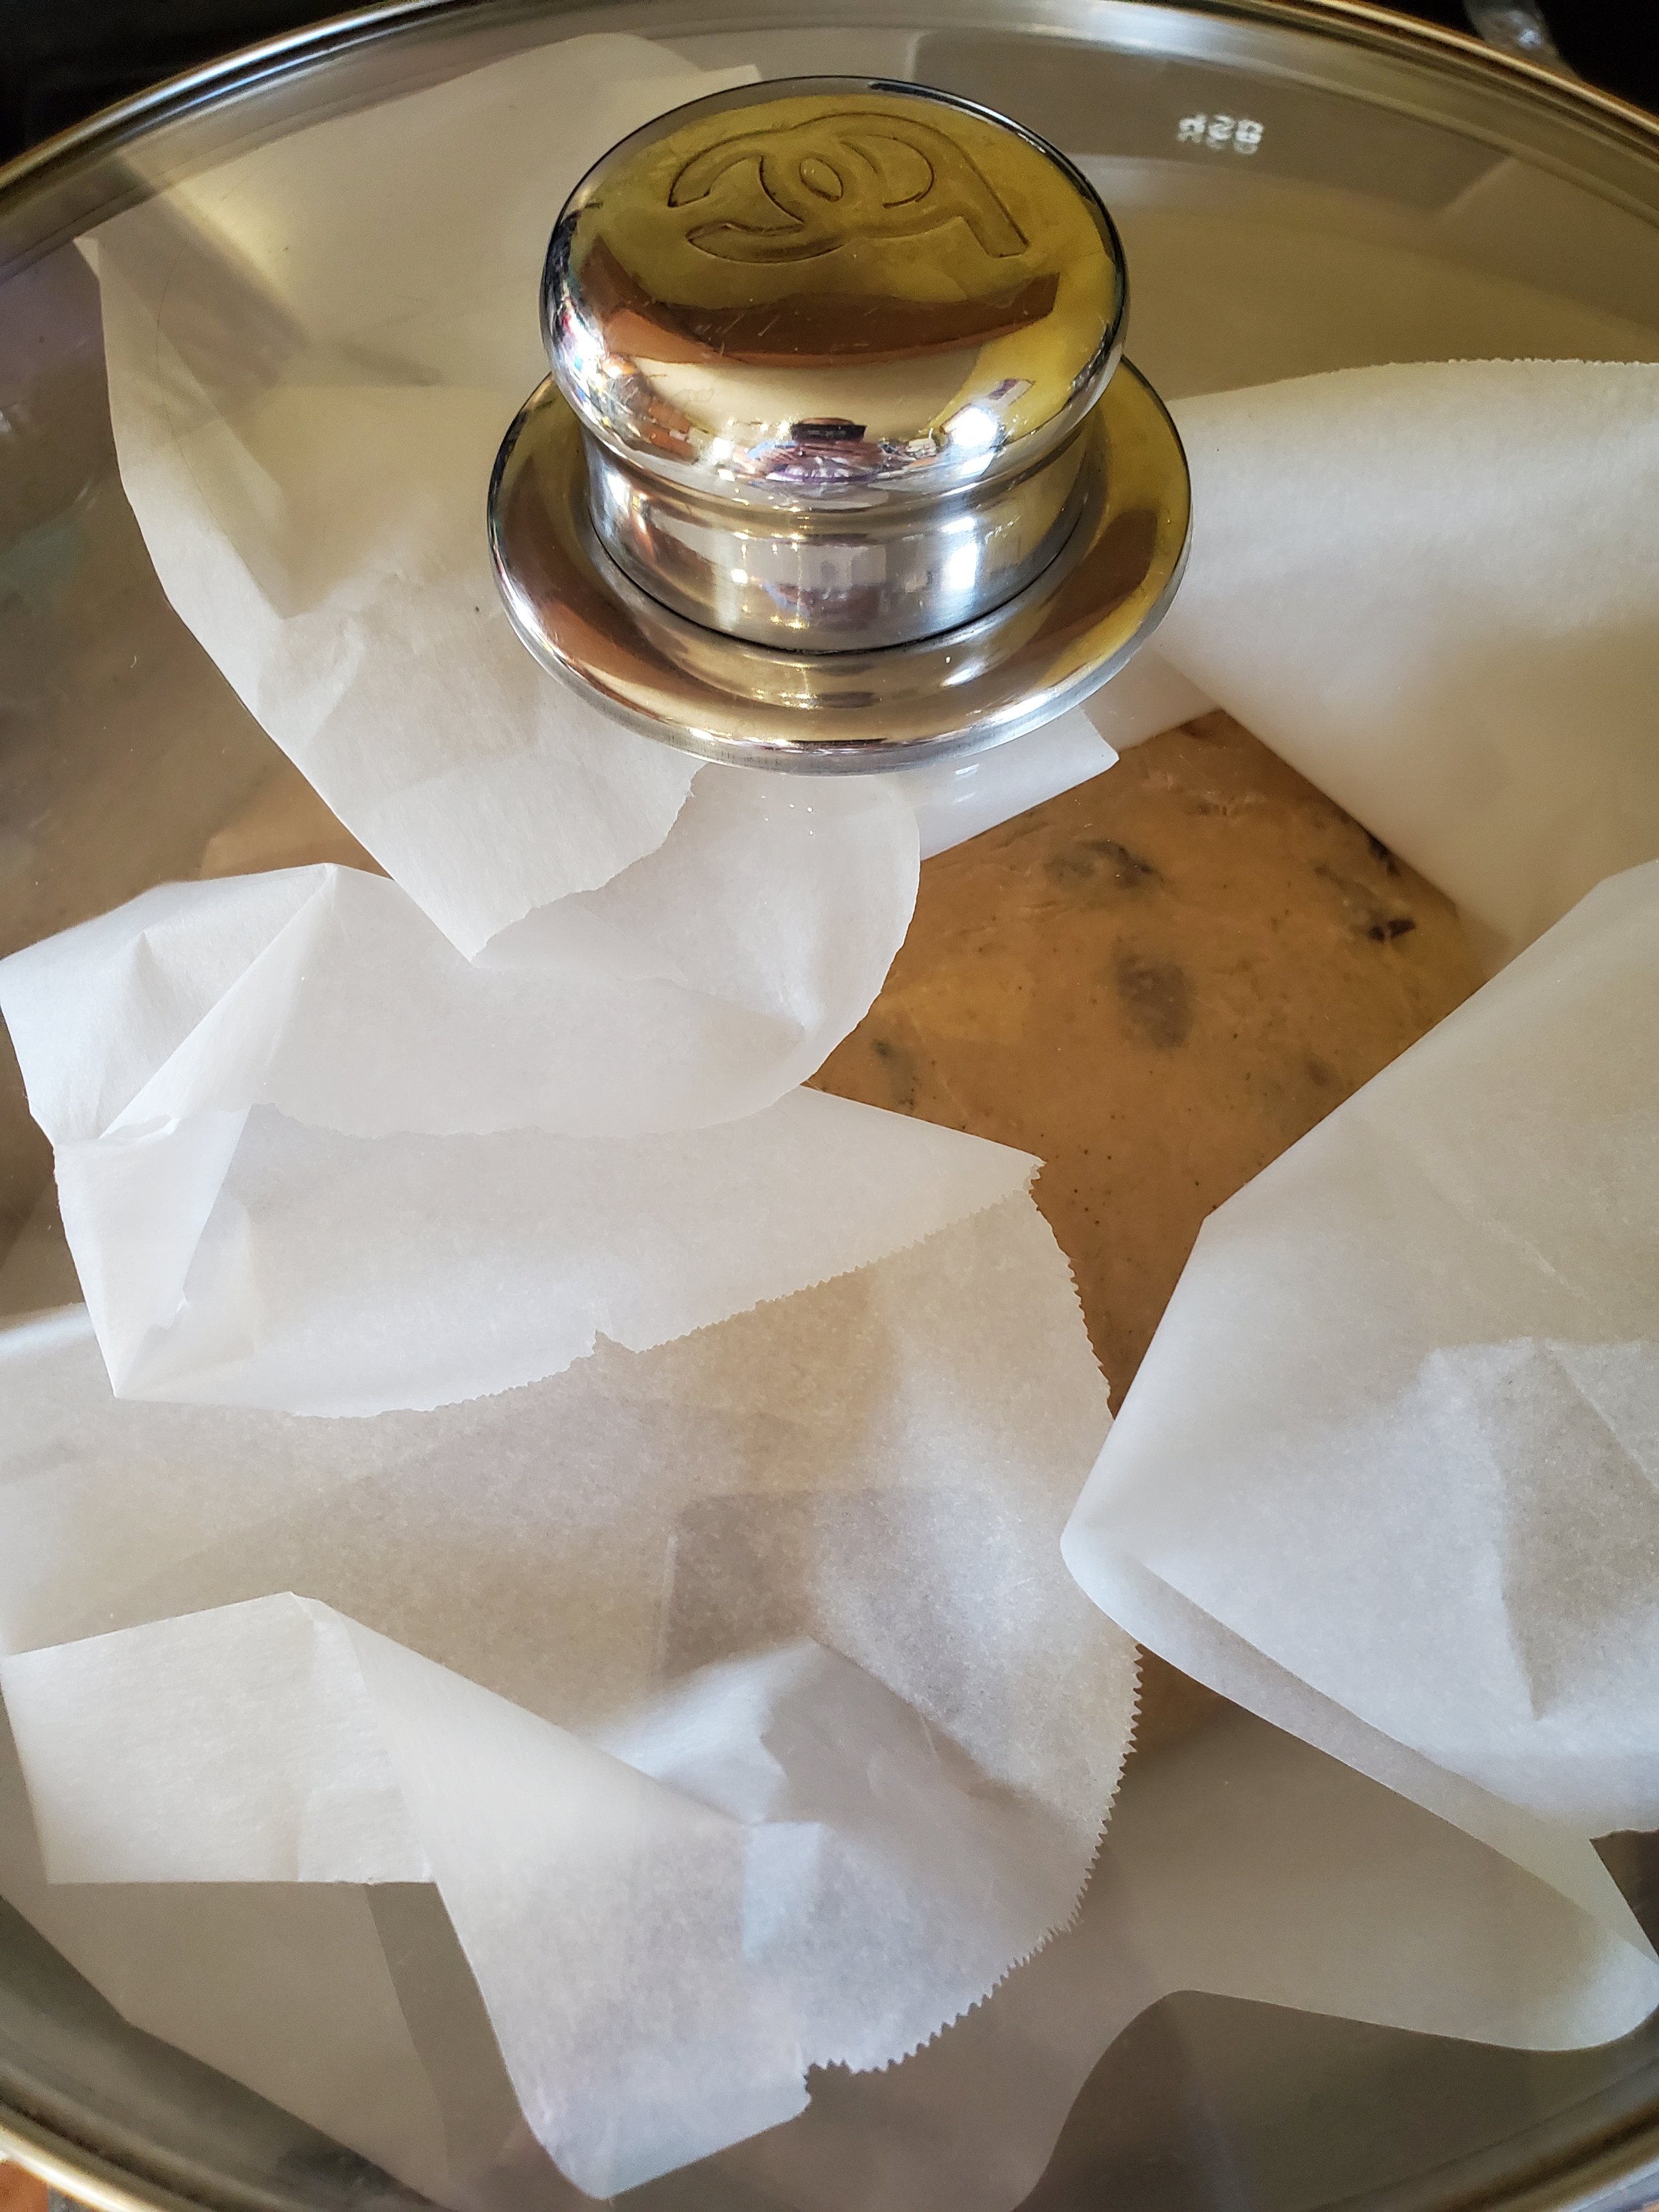
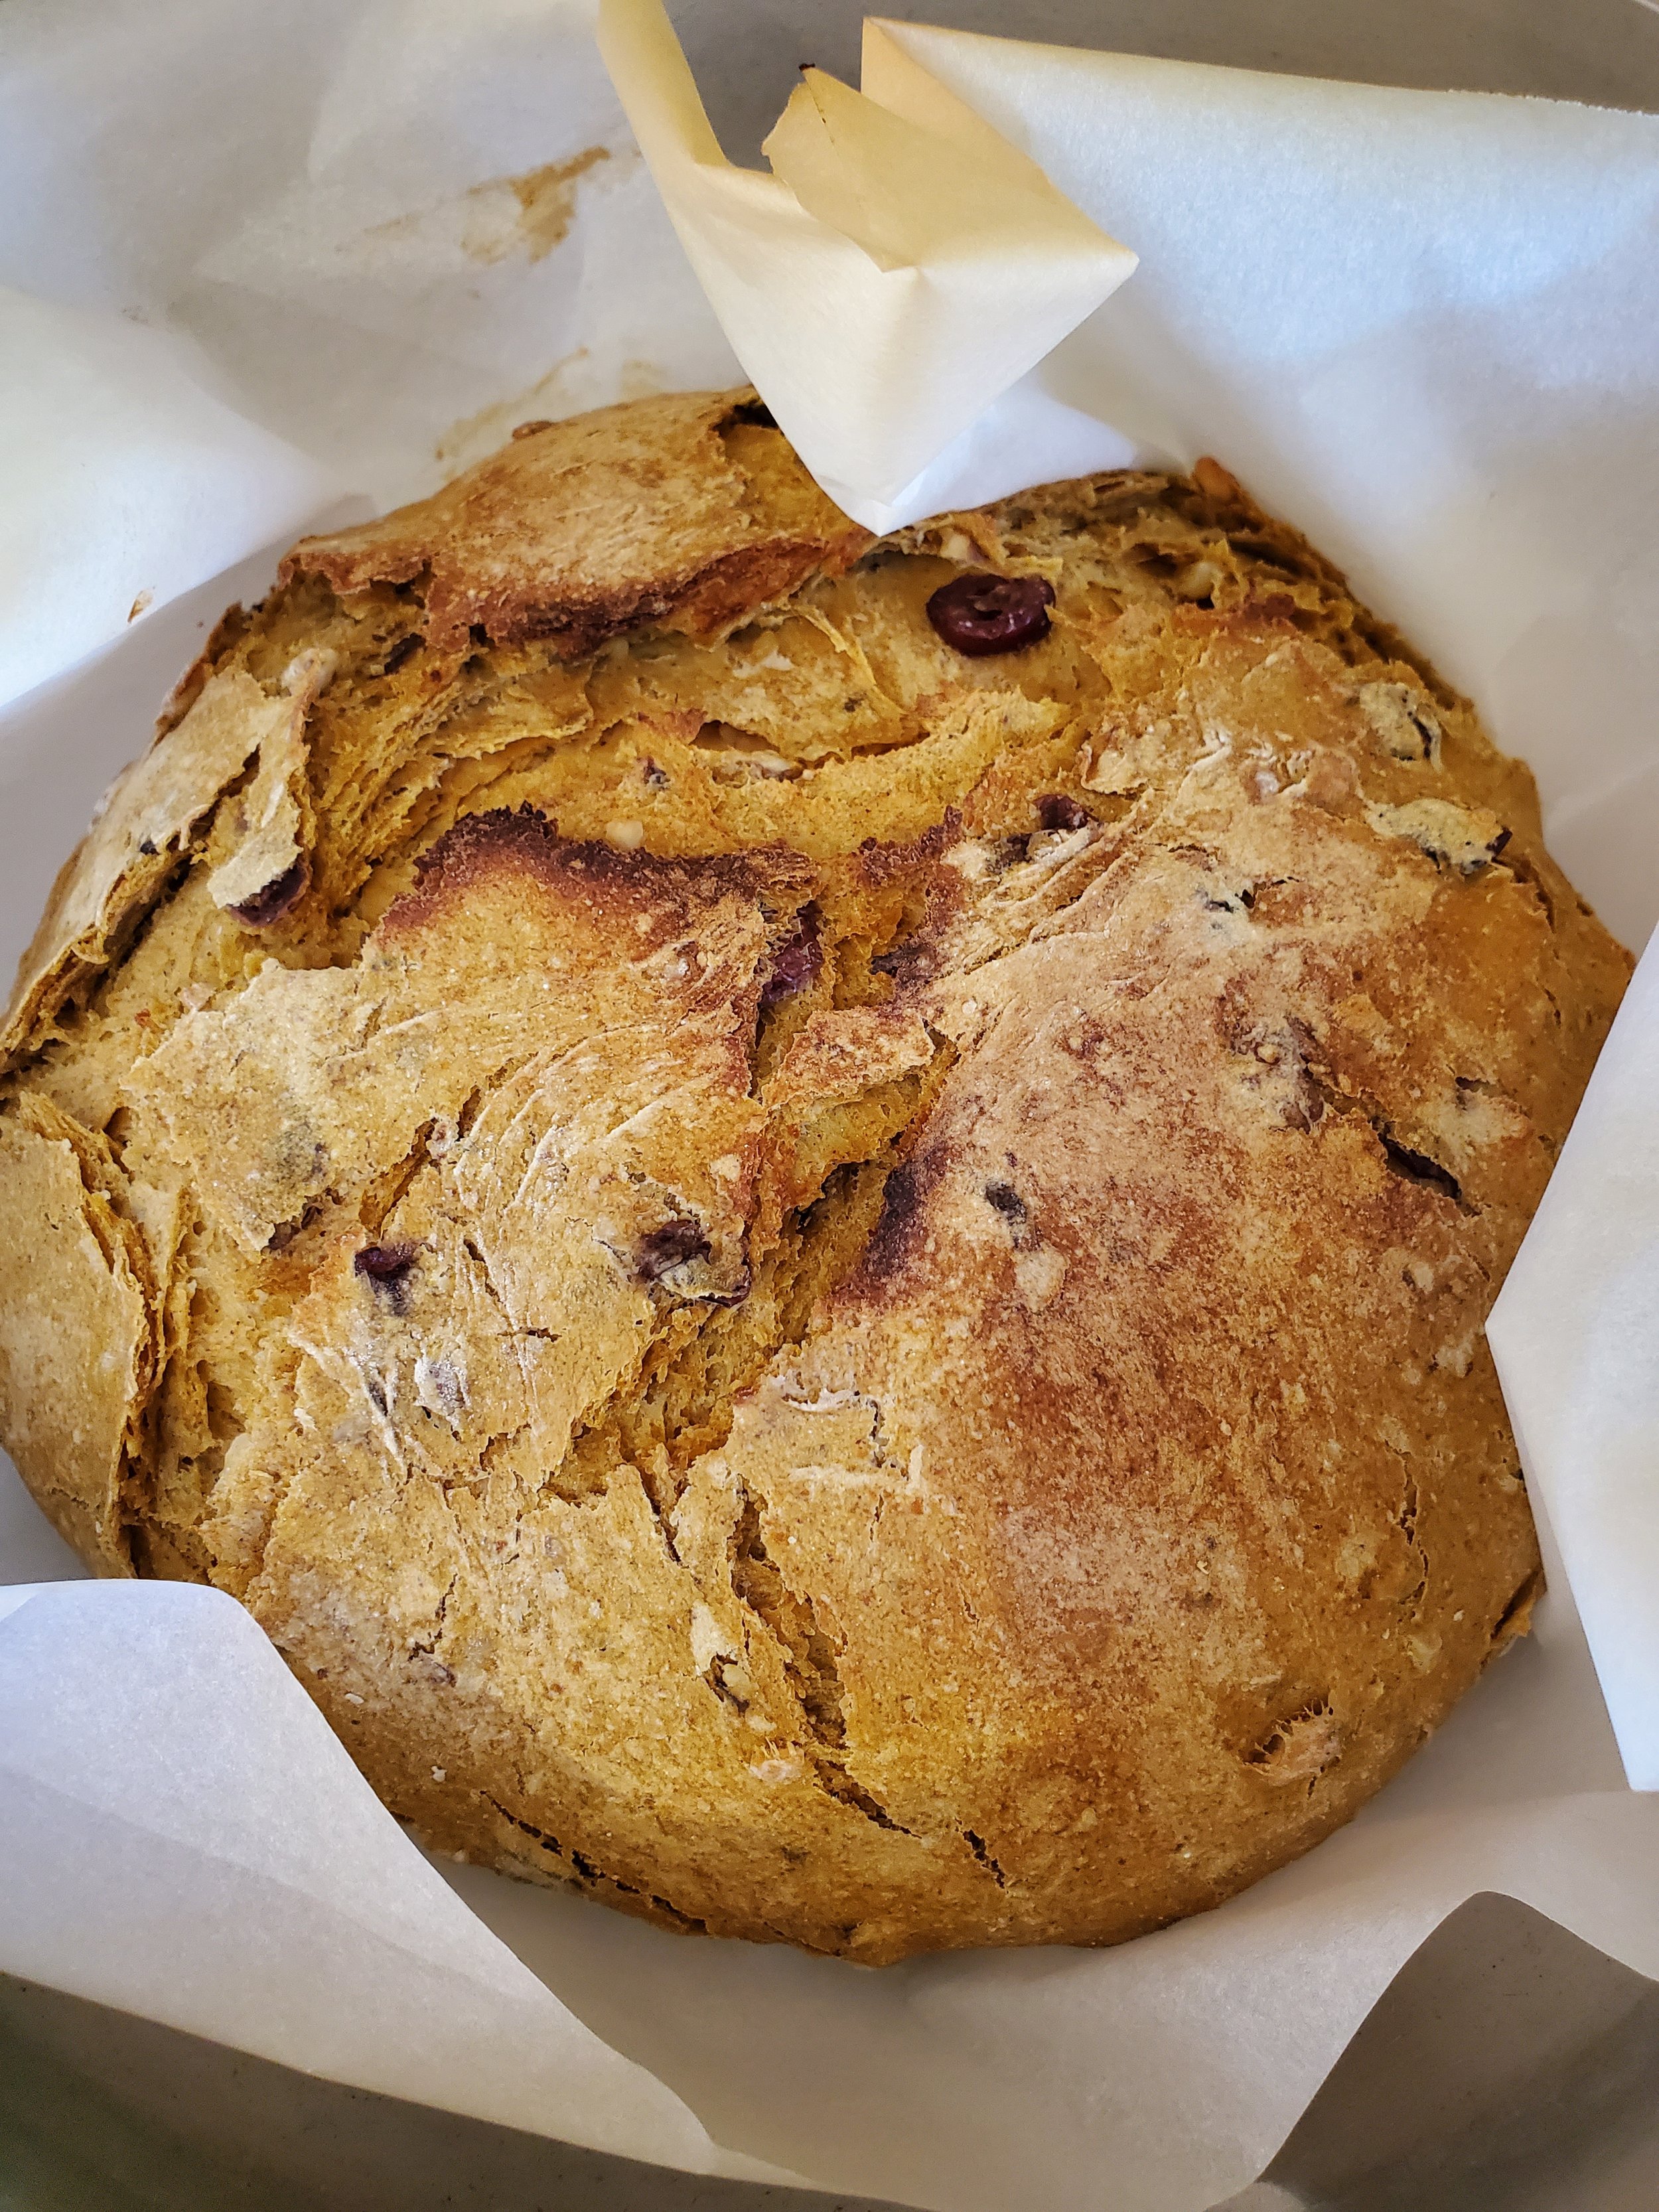
In the photos, we've done this as one large boule in a covered pan - but we find the results to be much better if done as two small loaves in average loaf pans, and doing two loaves reduces the cooking time and the risk of burning dramatically. Learning from our mistakes here.


Toss two loaf pans into the oven to heat up with it, keeping the other two loaf pans out on the counter. Divide your dough in two and shape into two even-sized loaves. Place each loaf on its own sheet of parchment paper.


Once the oven has come up to proper temperature, don your oven mitts or grab a towel and remove the pans. Using the parchment to transfer them, place one loaf into each pan. Place both pans onto the middle rack of the oven. Invert the cool pans over top of the pans in the oven (we're using them like the lid of the Dutch oven here). Set a timer for 15 minutes.


At the 15-minute mark, remove the covers and set them aside to cool. Bake the loaves uncovered for another 15 minutes. When the timer is up, turn the oven off and let the loaves sit in there for another five to ten minutes before removing them. Use the parchment to lift them. Allow them to cool before cutting with a serrated knife.


As you savor every bite of this Cranberry Pumpkin Nut Bread, remember that Appliance Rescue Service is here for all your home needs. Share your baking success on our Facebook page and feel free to contact us for any appliance-related queries at (214) 599-0055 or through our website. From repairs to routine maintenance, count on us for all your major appliance requirements. Let the lingering aroma of this delightful bread remind you that we're dedicated to ensuring your home runs smoothly.


Additional Reading 

Impress Your Guests with This Easy-to-Make Apple Pecan French Toast Bake


Escapee From New York: Chocolate Bagels


Punchy Potato & Cheddar Rolls 

These potato rolls could be the star of their own meal.


Mashed potatoes are a great side dish, but in the case of these rolls, they are the star of the show. Not because you'll taste them but because of the light and crisp texture they give to the rolls.  Rather than dense and chewy bread, you end up with a light and airy roll that can be used alongside soups, stews, or hearty gravies or even used as a quick sandwich. 


Ingredients: 

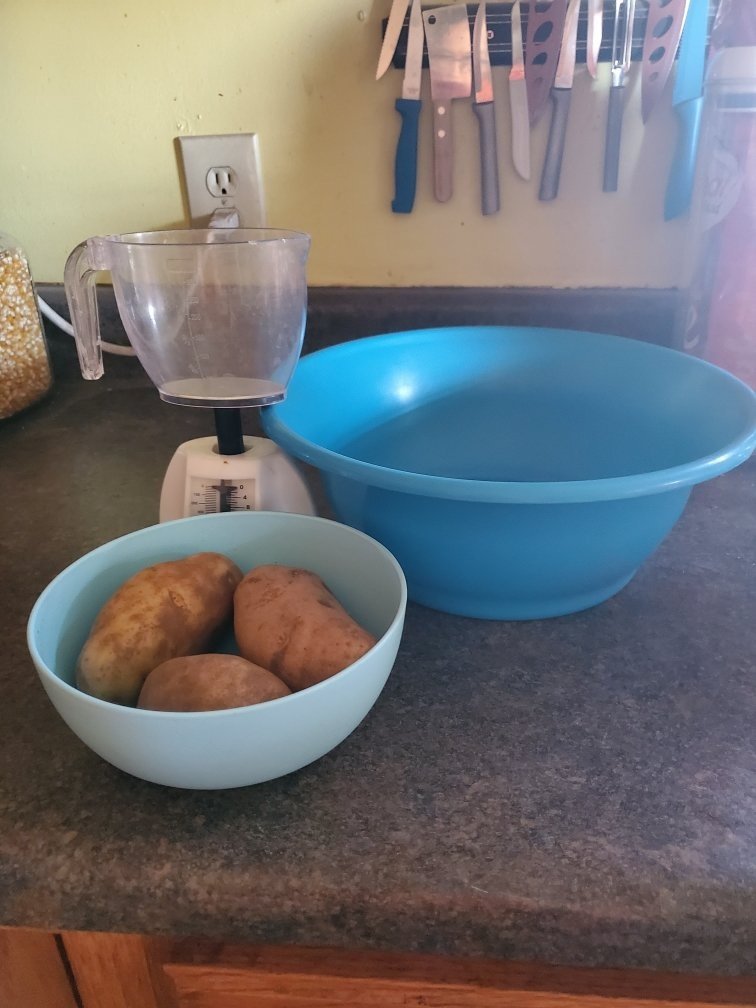
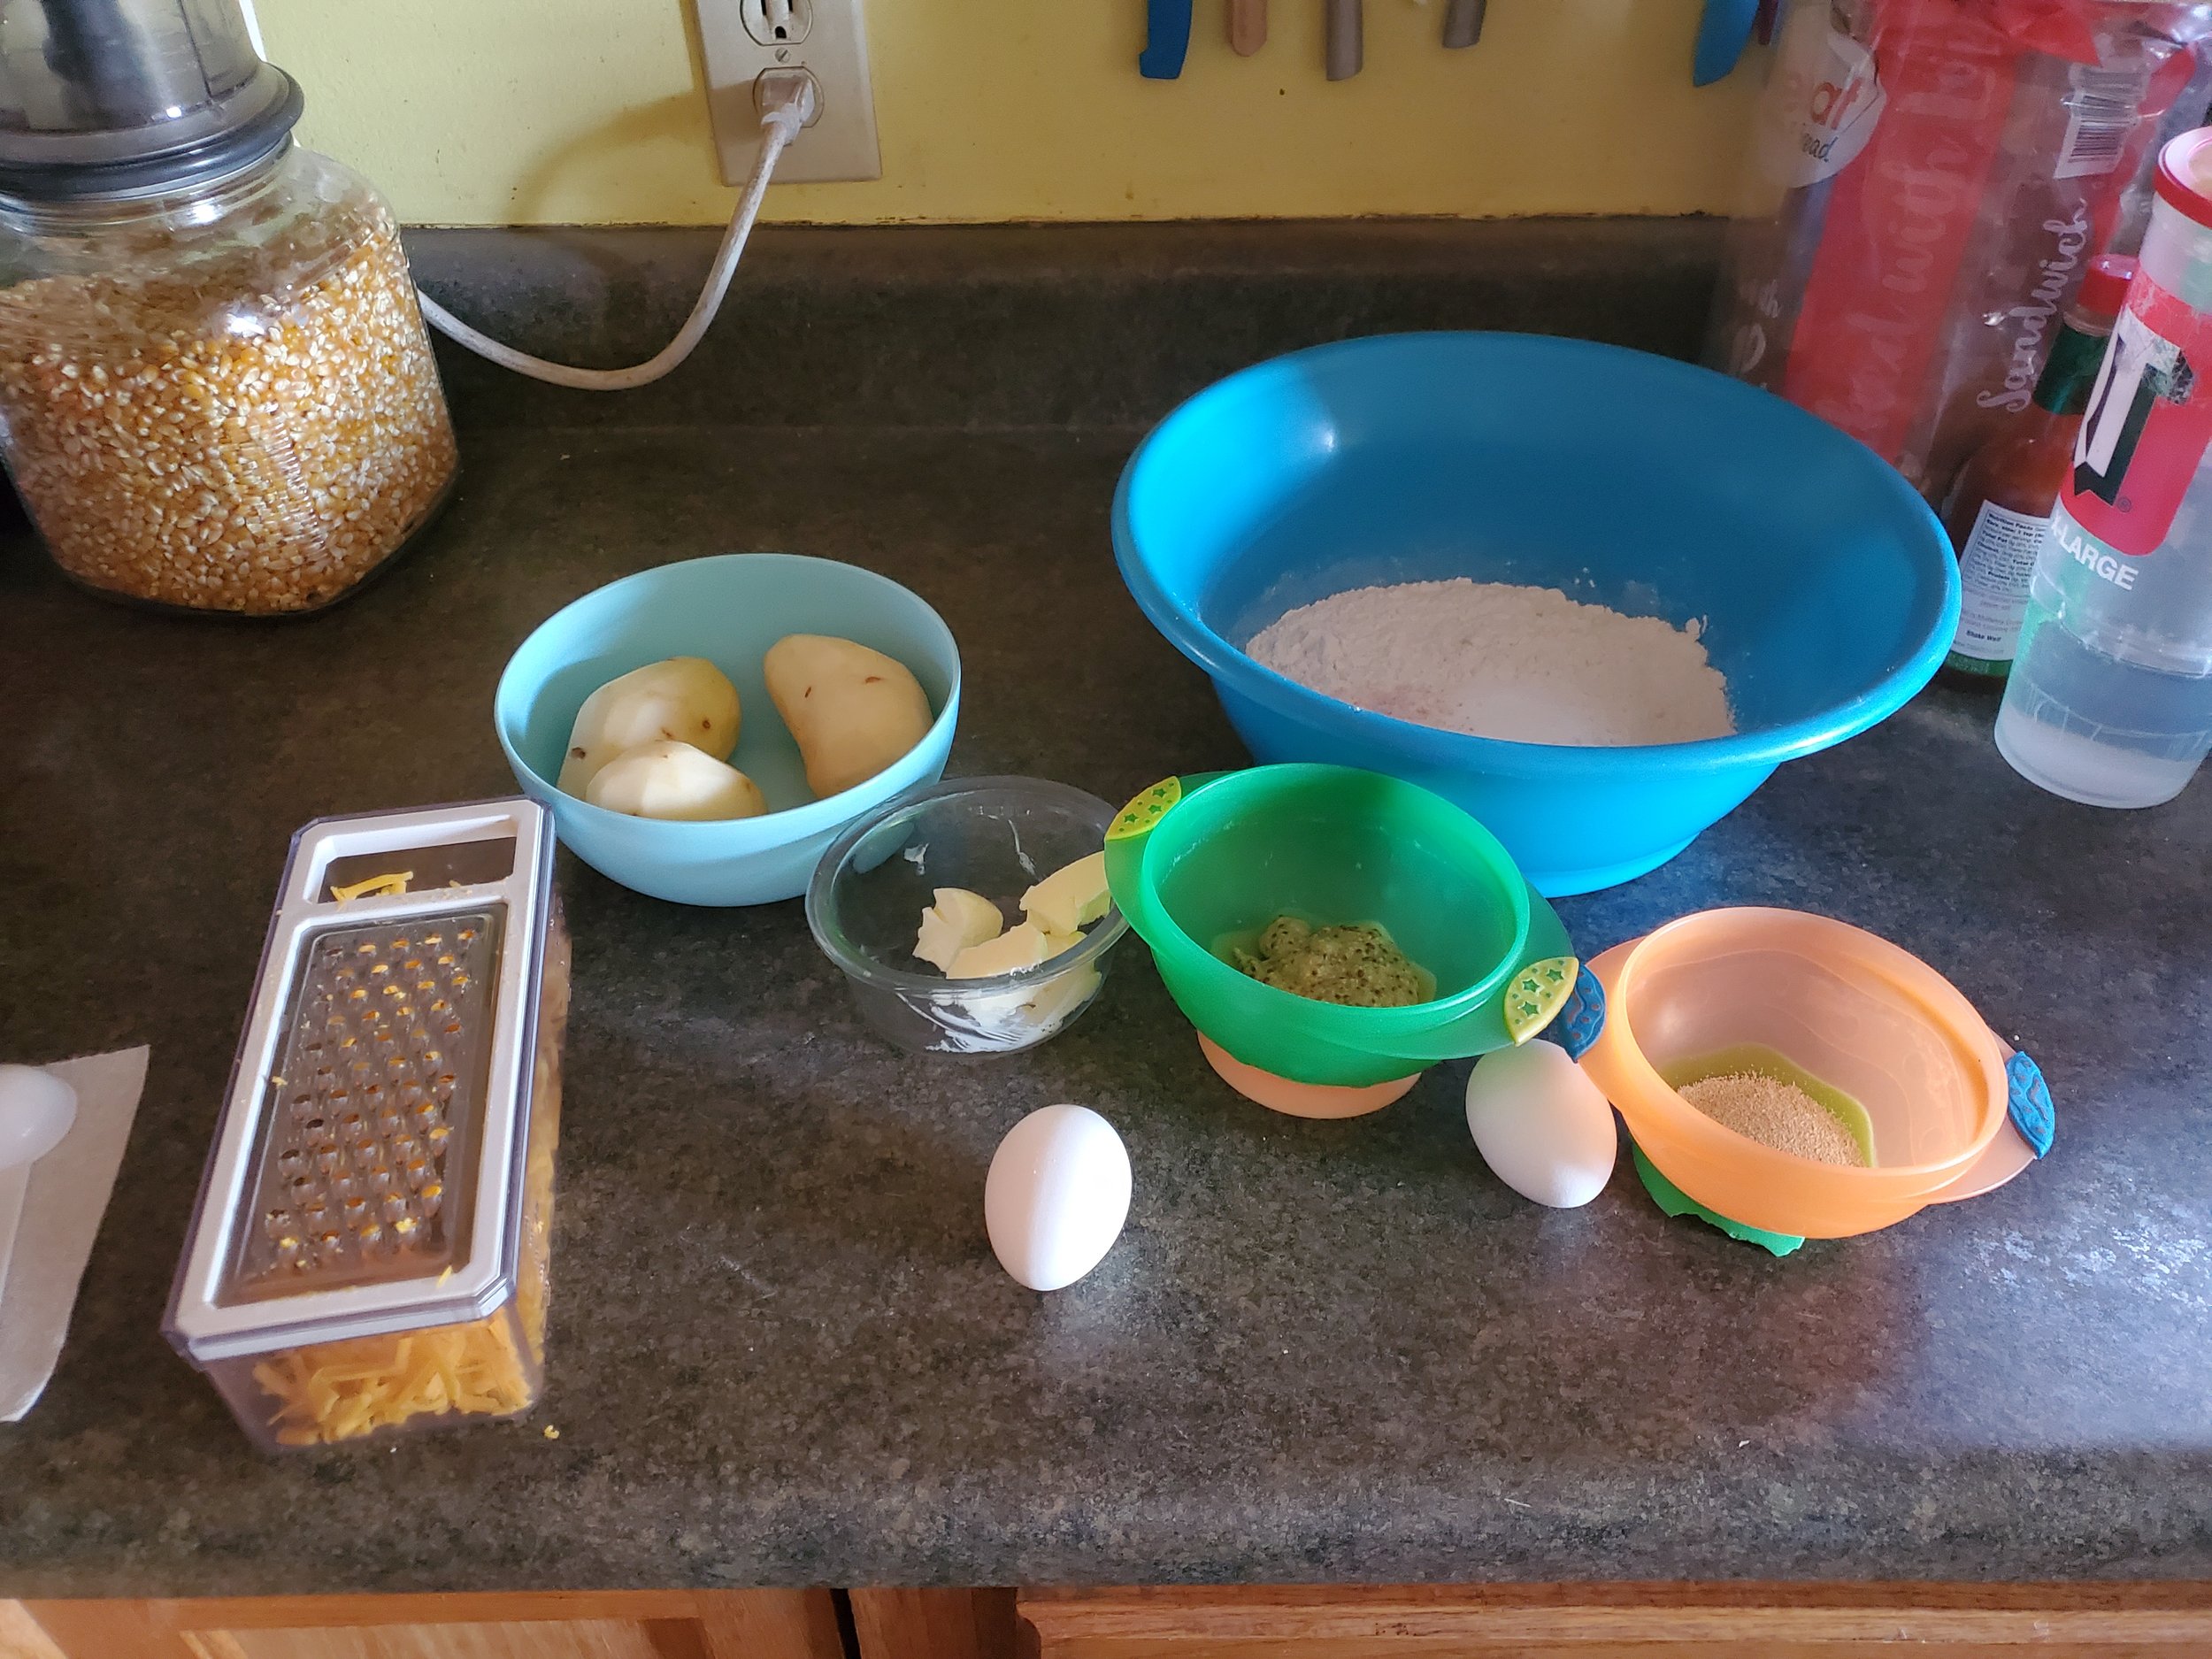
1 pound russet potatoes  (roughly 2-3 good-sized potatoes) 

2 Tbsp unsalted butter 

2 1/4 cups all-purpose flour

3/4 cup sharp cheddar cheese

2 Tsp instant yeast

1 Tbsp sugar

2 Tbsp stone ground mustard

2 large eggs 


Tools: chef's knife, cutting board, a bunch of bowls, fork, saucepan, colander, potato masher, rimmed baking pan, cooking spray, plastic wrap, parchment paper, oven 


1. Skin your potatoes and chop them into 1-inch chunks. Shred your cheddar and set it to the side. Chop up your butter into 4 pieces. And last but not least, take one of your eggs, add 1 Tbsp of water and whisk it all together. Set the last one in your fridge for the time being. 

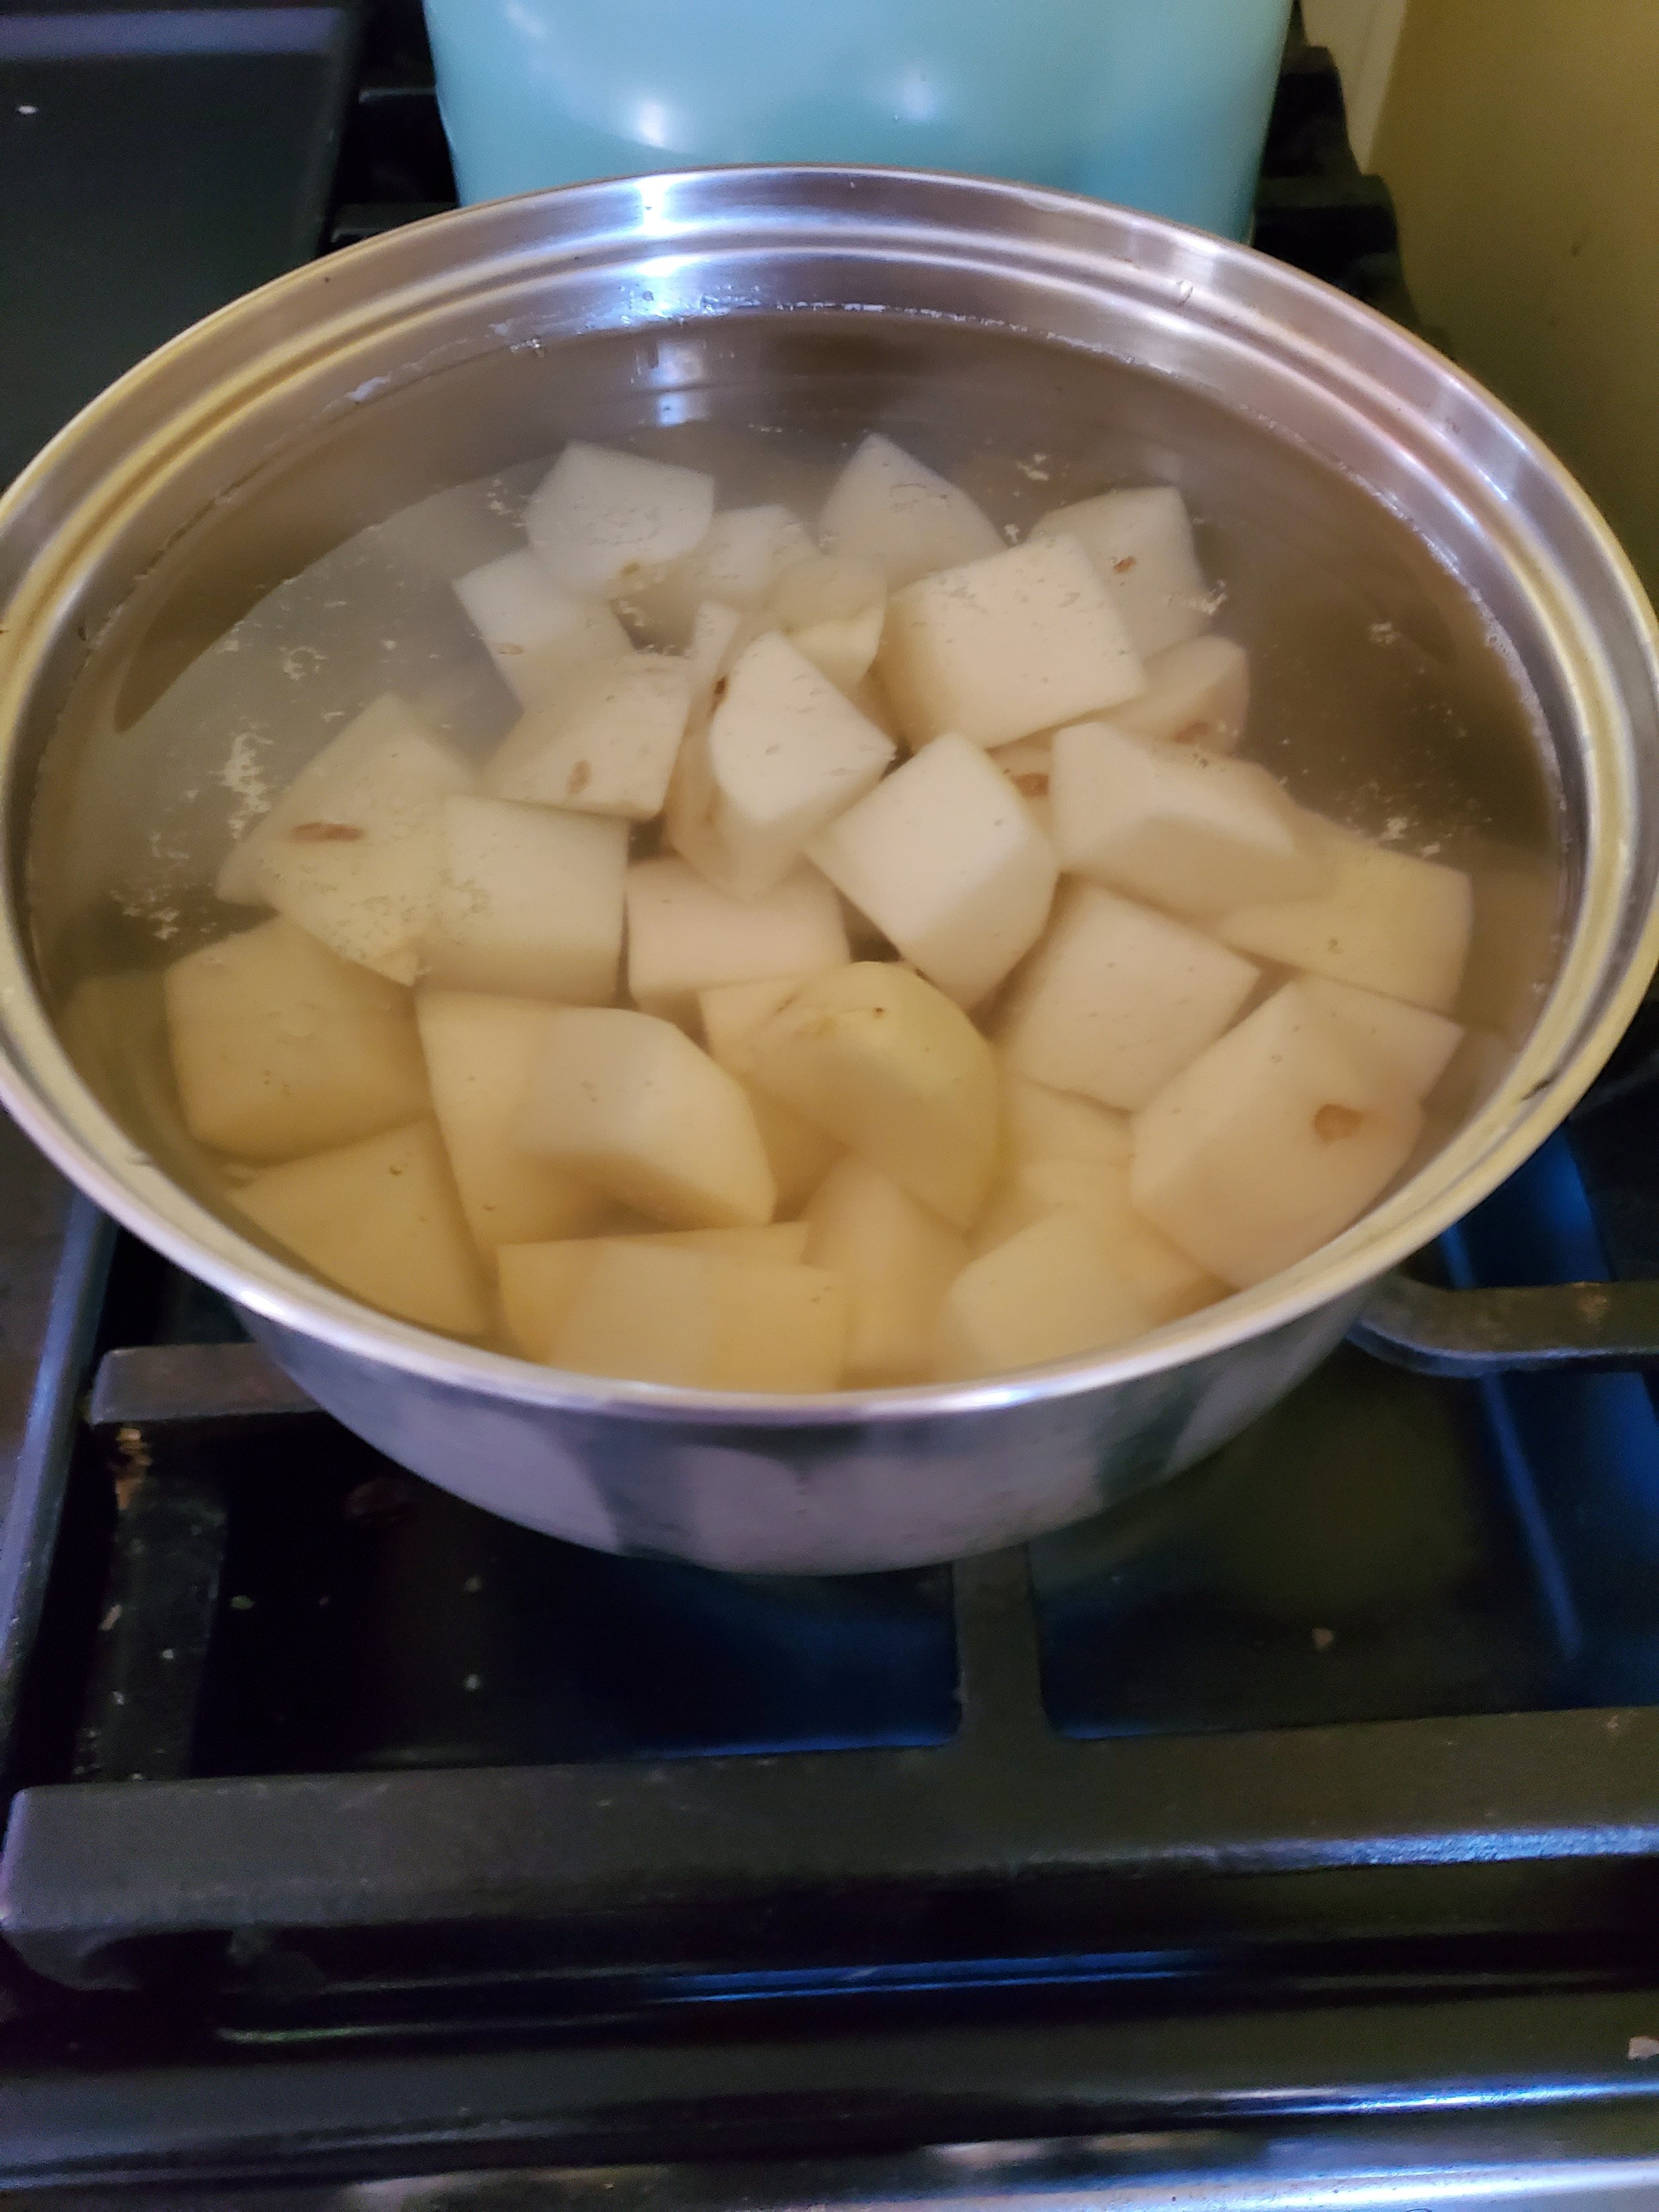
2. Take your potatoes and put them into a medium-sized saucepan, and cover them with cold water, plus an extra inch. Bring the pot up to a boil over high heat, and then reduce the heat to medium-low. At this point, you'll let the potatoes simmer until they're fully cooked, about 10 minutes. At the eight-minute mark, grab a fork and gently press into a potato. If you can cut into it easily, they're done. If not, let them continue cooking.  


3. When they are finished cooking, you'll pull the pan off the burner and reserve 5 Tbsp of the potato water. Set that to the side for now. If you have plants or a garden, you might want to save the rest of the water as well, but either way, you'll need to drain the rest of the water from your potatoes.  Now toss the potatoes back into the pot, and set them on low. Sit here for a minute, shaking the potatoes every few seconds. You're evaporating all of the water off the surface of the potatoes. When that's FINALLY done, remove your potatoes from the heat. 


4. Have you had a rough week? Or maybe just a bad day? Grab your potato masher and go to town.  You want to turn this into a very thoroughly mashed set of potatoes. No lumps or bumps left. When you're done, grab your 1 cup measuring cup and a second smaller measuring cup. Use the smaller one to scoop up the potatoes and pack them into the 1 cup. You want a firmly packed 8 oz of potato. done? Can't add anymore without it going over? Good. Set the rest of the potatoes aside. You can eat those while you let the dough rise later. 


5. Next up, grab yourself a small bowl, add the measured cup of potatoes to it, and mix in your butter until melted and fully incorporated. 


6. In a large bowl, combine your flour, 1/2 a cup of your cheddar cheese, yeast, sugar, mustard, and salt into a bowl. Add the warm potato mixture to this and mix it with your hands until well combined. At this point, some lumps are fine. Take your still whole egg and crack that into the mix. Mix your dough for 8-10 minutes by hand or until your dough is soft and slightly sticky. 


7. Shape the dough into a ball and place it in a lightly greased container. Cover the top of the bowl tightly with plastic wrap and set it to rise. If your kitchen is slightly cool (as ours was the day we made these), no worries. You can set this in front of a toaster oven or on top of your stove. Turn your choice of stove on 350* and let the dough rise until it has doubled in volume. If your kitchen is already warm,  it should take only 30-40 minutes; we ended up going for an extra 30 minutes, though, to make sure it had doubled. 


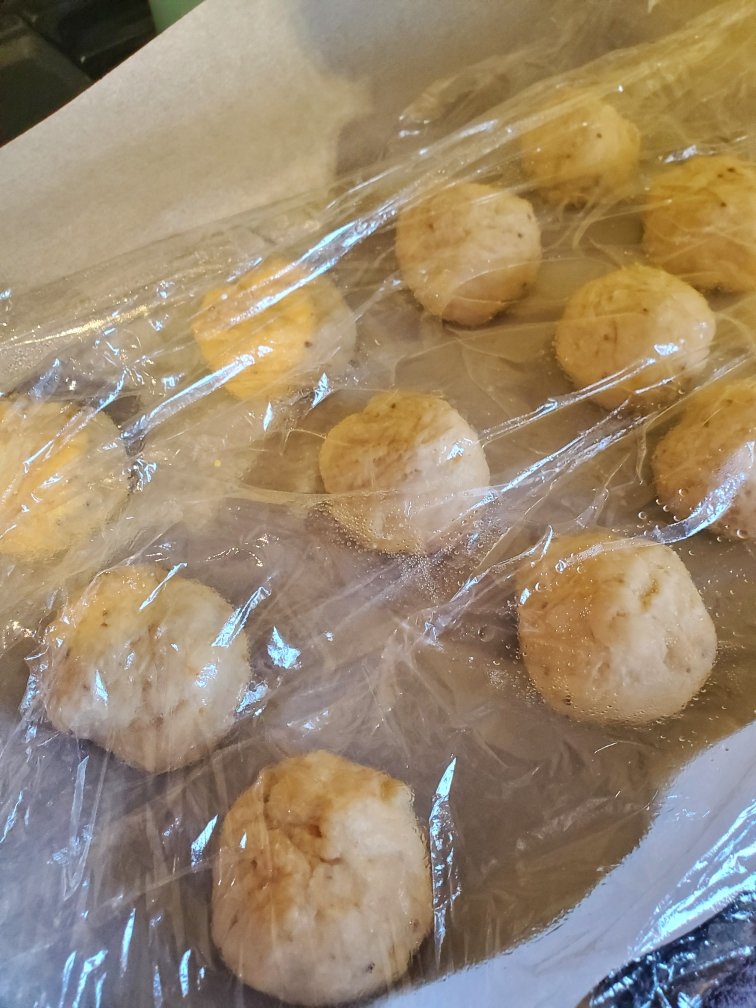
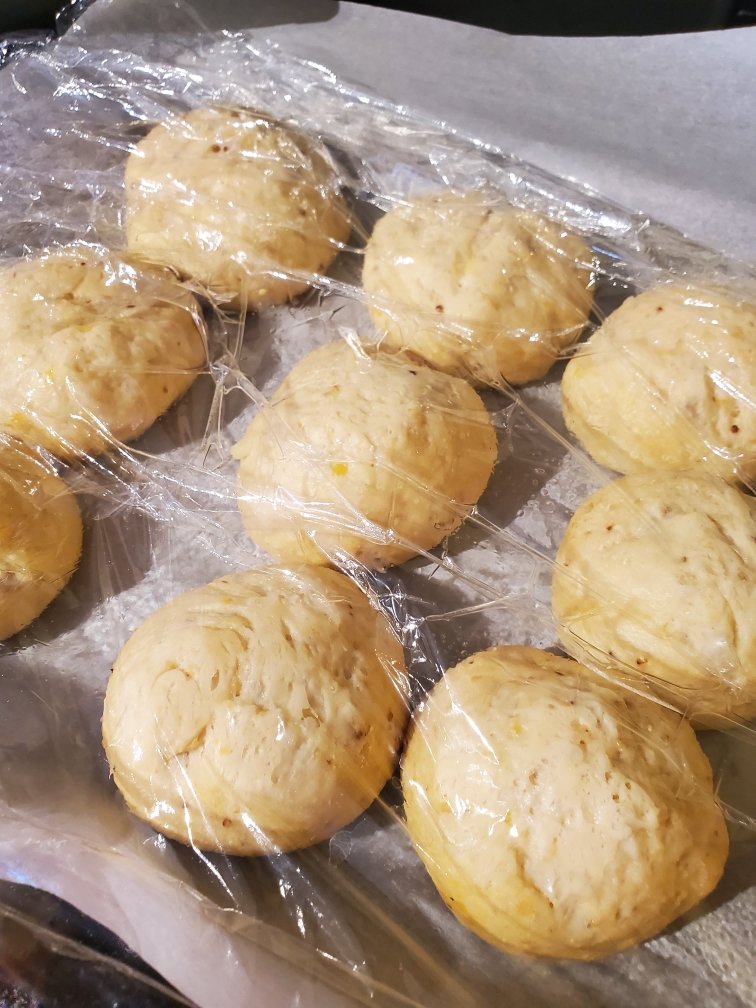
8. Once the time has passed, press down on the dough to deflate it. Turn it out onto a clean counter, and stretch it out into a 12-inch log. Cut that into 12 equal pieces and cover them loosely with greased plastic. 


9. While you let the dough sit, line a rimmed baking sheet with parchment paper. Then head back to your dough,  and grab one piece of the dough. Keep the others covered with the plastic as you work.  You'll form it into roughly a ball shape by stretching it around your thumbs and pinching the edges together.  When you do this, the top will be smooth. Place the ball seam side down onto your clean counter, and using your cupped hand, drag it in small circles until the dough feels round and tight.  When you're finished with one, place it back under the plastic until all of them are finished. 


Tip: If your dough is really sticky, you can lightly dust your fingers with flour. 


10. Arrange your rolls on the prepared sheet and cover them loosely with the greased plastic to let them rise again until almost doubled in size, another 30-40 minutes. (Here again, you can utilize the trick with your oven of choice.)  While the rolls rise, turn your oven to 425 and move one rack to the upper middle position. 


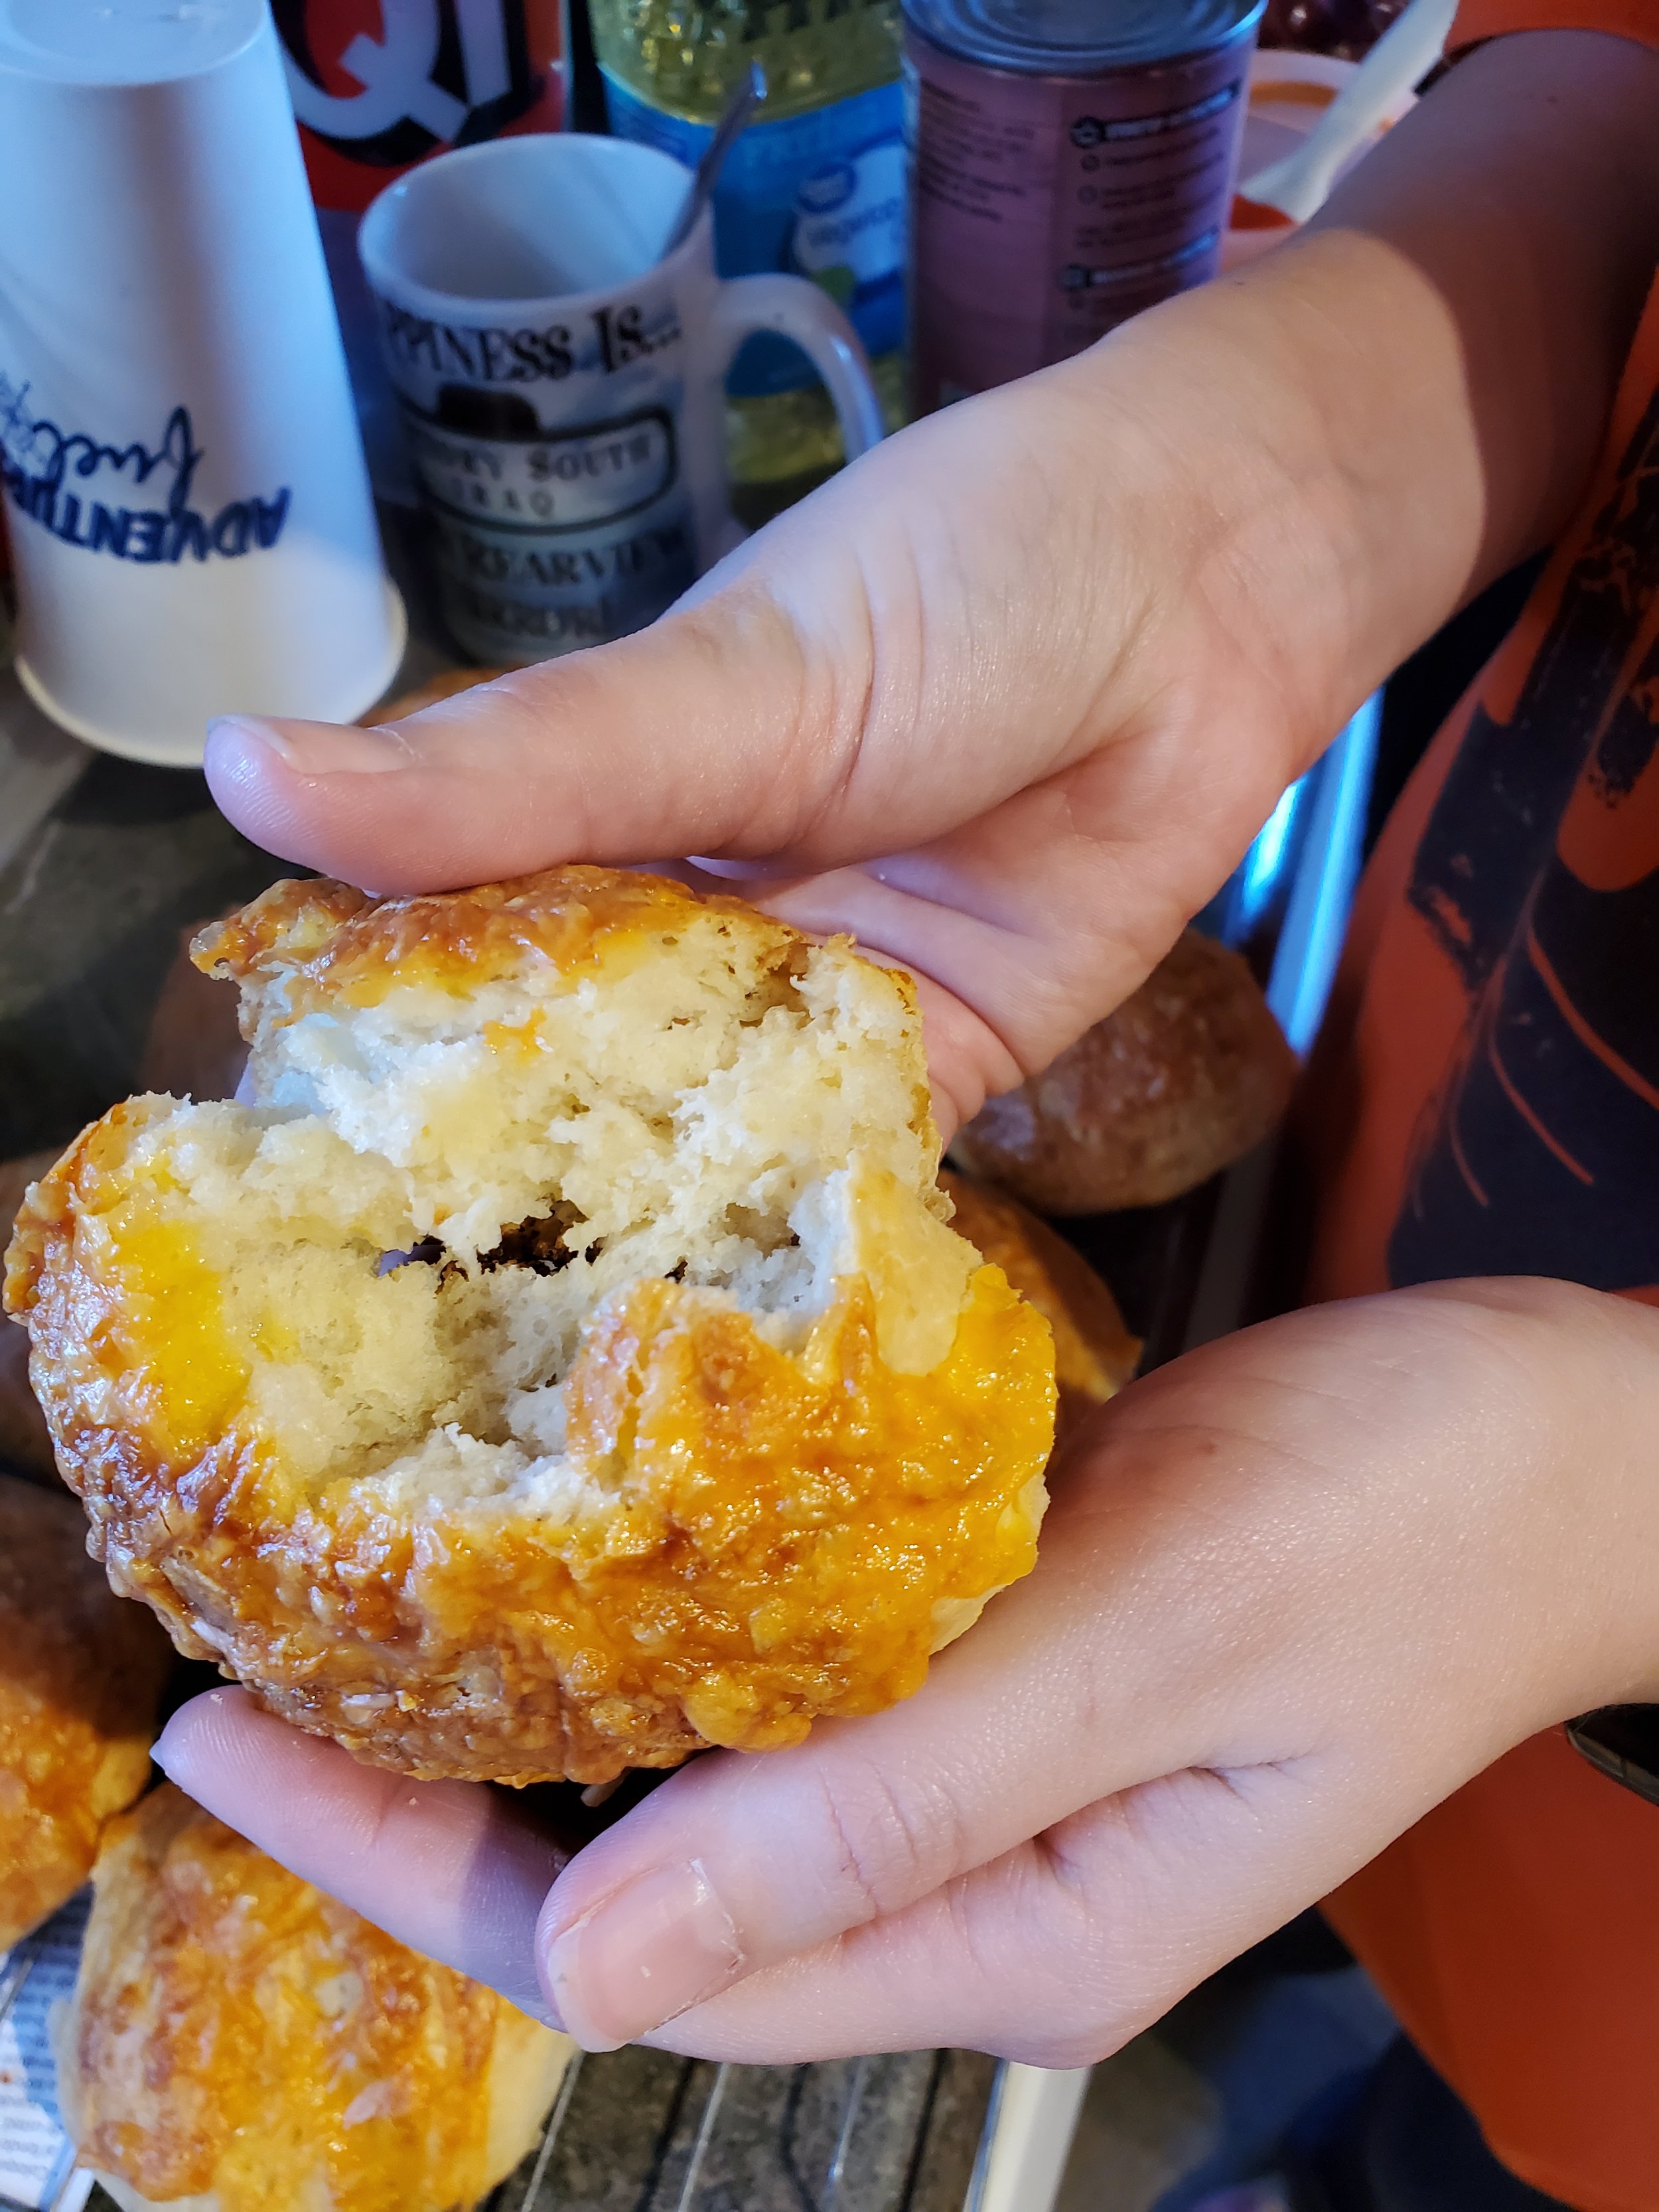
11. Brush the tops of the rolls lightly with the egg wash you made at the beginning, and sprinkle them with the remaining 1/4 cup of cheddar cheese. Bake the rolls until they're golden brown on top, roughly 14 minutes. (Make sure to keep an eye on them, and turn them halfway through the baking.)  When they're finished, transfer the sheet to a wire rack and let them cool for 5 minutes.  You can then serve them warm or at room temperature. Store them in a sealed container if any manage to survive. 


These were absolutely delicious when we made them, and we hope that you enjoy them just as much. One thing that we did note as we were baking was that the type and amount of mustard could be changed depending on preference. We used stone ground this time, but a spicy brown mustard and adjusting the amount could yield a punchier roll. Let us know your thoughts and ideas in the comments below or over on our Facebook page! 


If you're here instead because your stove isn't functioning correctly, you're still in the right place. At Appliance Rescue Service, we want to work with you to get your home running smoothly again. You can reach out to us via our contact page or by giving us a call at ((214) 599-0055). Whether you're in Frisco or Allen, we're here for you. 


Orchard Bread, The Whole Year Round

Using different fruits you can make this tasty treat all year and celebrate the turn of the seasons too!

What's filling, sweet, and easy to carry and won't make you feel like you have a car tire around your middle? Orchard bread. Call it fruitbread, fruitcake, cherrybread, orchard bread, whatever you like. The basic concept is the same. Lots of delicious dried mixed fruits + a sweet bread base.  It's delicious, it's wonderful any time of year, and if you wrap it properly, you'll be able to eat it before it turns into a doorstop. 

Ingredients:

3/4 cup golden raisins

3 Tbsp amber rum

3/4 cup all purpose flour

1/2 tsp baking powder

1/4 tsp baking soda

kosher salt

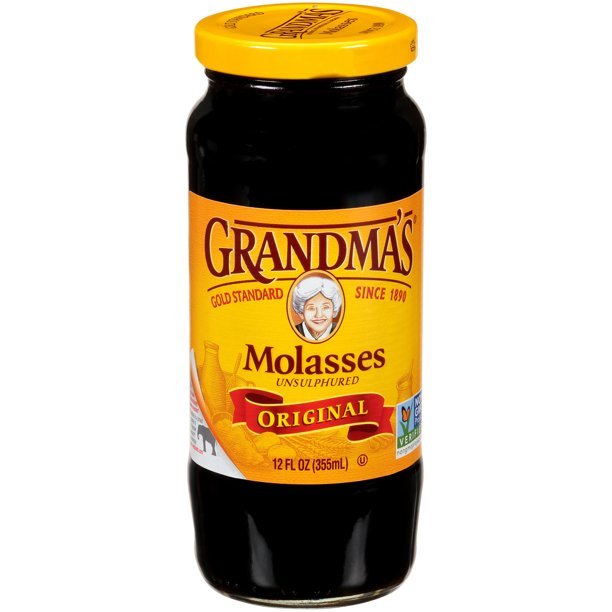
It doesn’t have to be this particular brand, but you want to make sure that it says unsulphured on the bottle so the recipe turns out right.

1/3 C packed brown sugar (dark or light will work, but we suggest light) 

1 1/2 cups packed dried strawberry halves 

1/3 c dried cherries

1/3 c dried cranberries

3 c walnut halves, lightly toasted 

3 eggs

2 Tbsp unsulphured molasses (so this recipe wouldn't work with blackstrap) 

2 tsp pure vanilla extract 

Tools:

small microwave safe bowl, 9x5 inch loaf pan, parchment paper, large bowl, whisk, a small bowl (doesn't have to be microwave safe this time), silicon spatula, tin foil.

To start off, grab your small bowl, and toss in your golden raisins and rum. Cover them with a plate and microwave until their warm, not steaming, roughly a minute. Set that to the side, keeping it covered and check back on it in 15 minutes to give it a stir, and then again at the 45 minute mark. Leave it alone for a further 15 minutes, making it roughly an hour in total. At that point the raisins should have absorbed most of the rum. Drain off any liquor that's left to either use again at another point, or drink it yourself if you're over age. 

Now preheat your oven to 300*F and make sure that there is a rack in the middle of the oven. Grab your loaf pan and parchment paper. Measure out two sheets of parchment paper, one going lengthwise and one going crosswise. You want enough paper here to push down into the corners of the pan and still have 'handles' hanging over the sides. Start from one corner and work to all of the others, slowly smoothing the paper into the corners so that it's flush. Any bumps or wrinkles in the paper or going to lead to bumps or wrinkles in the bread. Use a stick of butter and apply a layer to the parchment paper, making sure to coat everything within the pan. 

Next up, grab your flour, baking powder, baking soda, 1/2 tsp of your salt and then your brown sugar of choice. Whisk all of it together in a large bowl and make sure to break up any clumps as you go. Set aside your whisk and add in your strawberries, cherries and raisins and toss to coat everything. Add in the walnuts and toss again to combine and coat the walnuts. 

Take a clean small bowl and your whisk and beat together the eggs, molasses, and vanilla until everything is well mixed. Now grab your spatula and add your fruit-nut mixture, folding and mixing to combine and coat all of the pieces with the batter. You want to make sure that there aren't any pockets of dry ingredients on the bottom or at the edge of the bowl. Pour the batter into your loaf pan, scraping the bowl to get any remaining bits into the pan. Tap the pan against the counter several times to release any air bubbles, and use the spatula to smooth the top into an even layer. 

Bake the cake for an hour, rotating the pan after 30 minutes. If your bread is browning too much at the halfway mark, you can cover it loosely with a tent of foil. When the top is a deep golden brown, it's done! Remove it from the oven and place to pan on a wire rack to let it cool. 


When it's finally cool, grab the handles you left yourself and remove the loaf from the pan. Use a bread knife and cut it into thin slices and serve. IF you have any leftovers, they can be wrapped well in wax paper and store it in an airtight container for a week at room temperature. 

You can serve it with various butters or fruit jams for a delicious snacks or breakfasts. You could also work up a quick icing with milk and powdered sugar and drizzle it across the top. 

Courtesy of Peggychoucair


So, what do you think? Are you up for doing some experimental baking this weekend? What other fruits would you add into the mix? Let us know in the comments below or over on our Facebook


If you ended up here instead because your stove isn't working properly, give us a call! You can get hold of us at ((214) 599-0055) or by going to our website to set up an appointment that works for you.

Buffalo Bread

 Spicy, sweet and delicious bread to get you through the day. 

Spicy, sweet and delicious bread to get you through the day. 


I Don't Care, Take Me To The Recipe! 


Pre-made meals, freezer meals, meal planning, they're all great ways to try and make lunch easier on us. Lunch is supposed to be a midday meal that gives you enough energy to get through the day without burning you out or leaving you so full you're tired and want a nap.  For many of us though, we don't look in the fridge in the morning and think "oh! I'll take this, I'll feel great after eating it." Instead, we're standing there thinking "what do I have so I can grab it and go?"  Then you end up eating whatever, which could be anything from a salad you had last night, to a giant serving of pasta or rice (1.) Which can be great if you're working out in the afternoon or doing an active job, but for those of us working in an office, not so much. Fortunately, there are ways to make a VERY simple food ahead of time, have it taste amazing and have energy for the rest of the day. What is this sorcery? Chickpeas. 

No! Wait, don't run away on us. It sounds weird, but if you like cornbread, you're going to love this recipe. Chickpeas actually blend into the background so all you taste is the cornbread and buffalo sauce, but you get all the benefits of the protein, iron and fiber of the chickpeas. Win-Win! 


 Ingredients

1 box Jiffy corn muffin mix (8.5 oz) 

1 cup cooked chickpeas  

2 stalks celery 

1 egg

1/3 cup milk

1/4 cup Buffalo sauce (any brand and spice level is up to you.) 


Tools: Mixing bowl, fork, spoon, knife, cutting board, measuring cup(s), aluminum foil, loaf pan, food processor 


As always, begin by washing your hands and then your produce. You don't need to use soap or a veggie wash, just 30 seconds under cold water will do just fine for your veggies.  After you've done that, set them to the side and preheat your oven to 400*F. 

Rough chop your celery. Smaller pieces are better, as we'll want this to mix in well, but they don't need to be uniform. Because your celery will be a bit stringy, rocking the knife as you chop may help some. We don't suggest using a 'chopper' tool, as they don't stand up to celery well. 

At this point you've got a choice to make, you can either grab a can of chickpeas or you can make them from dried. Whether you use canned or cook them yourself, make sure to thoroughly drain them before you use them. Set aside the aquafaba (or bean water) as you can use it for other recipes. 

Measure out your chickpeasa and add them to the food processor. 

Then scrape your chopped celery into the food processor and give it two or three quick pulses.  

Pulse until you have a chunky paste. 

Once your celery and chickpeas have been mixed together, set them aside. 

Turn your attention to the box to the corn muffin mix. Empty it into your mixing bowl and use a fork to break up the biggest clumps. No need to break out the sieve at this point. A few are fine - your batter will be a little lumpy no matter what you do- but definitely give it some attention before adding any of your wet ingredients to avoid overmixing. 

After you've broken up the worst of the clumps, add an egg and 1/3 of a cup of milk. Stir only until barely combined. 

Add your chickpea and chopped celery mixture and pour your measured buffalo sauce over the top. 

Again, stir only enough to make sure everything is thoroughly combined, and you've blended all the sauce in (we want to avoid hot spots after all.) 

Line your loaf pan with aluminum foil - please do NOT skip this step, the loaf will crumble without it- or sub in a muffin tin and paper muffin cups if you prefer. 

Transfer the batter from your mixing bowl to the foil- lined pan with a spoon and smooth the top. You can also give the pan a few taps against the counter to get rid of any air bubbles, that's up to you. 

If you're using a loaf pan, you'll want to bake your bread for 35-45 minutes, checking at 5 minute intervals after the 35 minute mark with a toothpick. 

If you're using a muffin pan, you'll want to bake them for 15-20 minutes, again using a toothpick inserted into the center most muffin to test for doneness. 

Allow it to cool before using the foil to lift it out of the pan.  

Bend back the foil and cut with a sharp knife. Serve with ranch or bleu cheese dressing if desired. 

If you choose to take slices of the bread for lunch, we suggest toasting it in a toaster oven for 2 minutes a side first to reheat it and then to add some crispness to the top. 


An unexpected, but important warning. Do Not eat too much of this at once. 1-2 slices is the most your body is going to be able to handle, no matter how delicious this is. Not because of the spice, but because of the amount of fiber in the chickpeas. You can actually make yourself rather ill if you eat too much. So, instead of packing 3 or 4 slices of this delicious bread, we advise adding a salad or something like a stir fry to the side. You could even go really Southern and add collard greens to the side if you feel the urge. 


Let us know over on Facebook how yours turned out! If you made it with mild sauce (go you for savoring flavor!), or if you made it so hot Scoville is shocked by your tolerance, let us know! 

If your oven died while you were attempting to make this week's recipe, one, we're sorry. We swear it's not a result of the spice. Two, we can help! If you give us a call at ((214) 599-0055) or head on over to our contact page, you can set up a service call that works with your schedule. We service all major appliances, not just ovens though. So if your dishwasher is giving you hell, or your refrigerator is being stubborn, we're ready to help.