Make Your Mornings Magical with This Rich and Delicious Recipe
Are you ready to elevate your breakfast game to a whole new level? Look no further than this scrumptious Baked Apple Cinnamon French Toast recipe. With a delightful blend of sweet, tart apples, warm cinnamon, and creamy custard-soaked bread, this dish is a breakfast dream come true. Whether you're preparing a special brunch for loved ones or simply treating yourself to a cozy morning treat, this recipe promises to fill your kitchen with irresistible aromas and your taste buds with pure satisfaction. So, roll up your sleeves , and let's embark on a culinary journey to create a breakfast masterpiece that will leave you craving more.
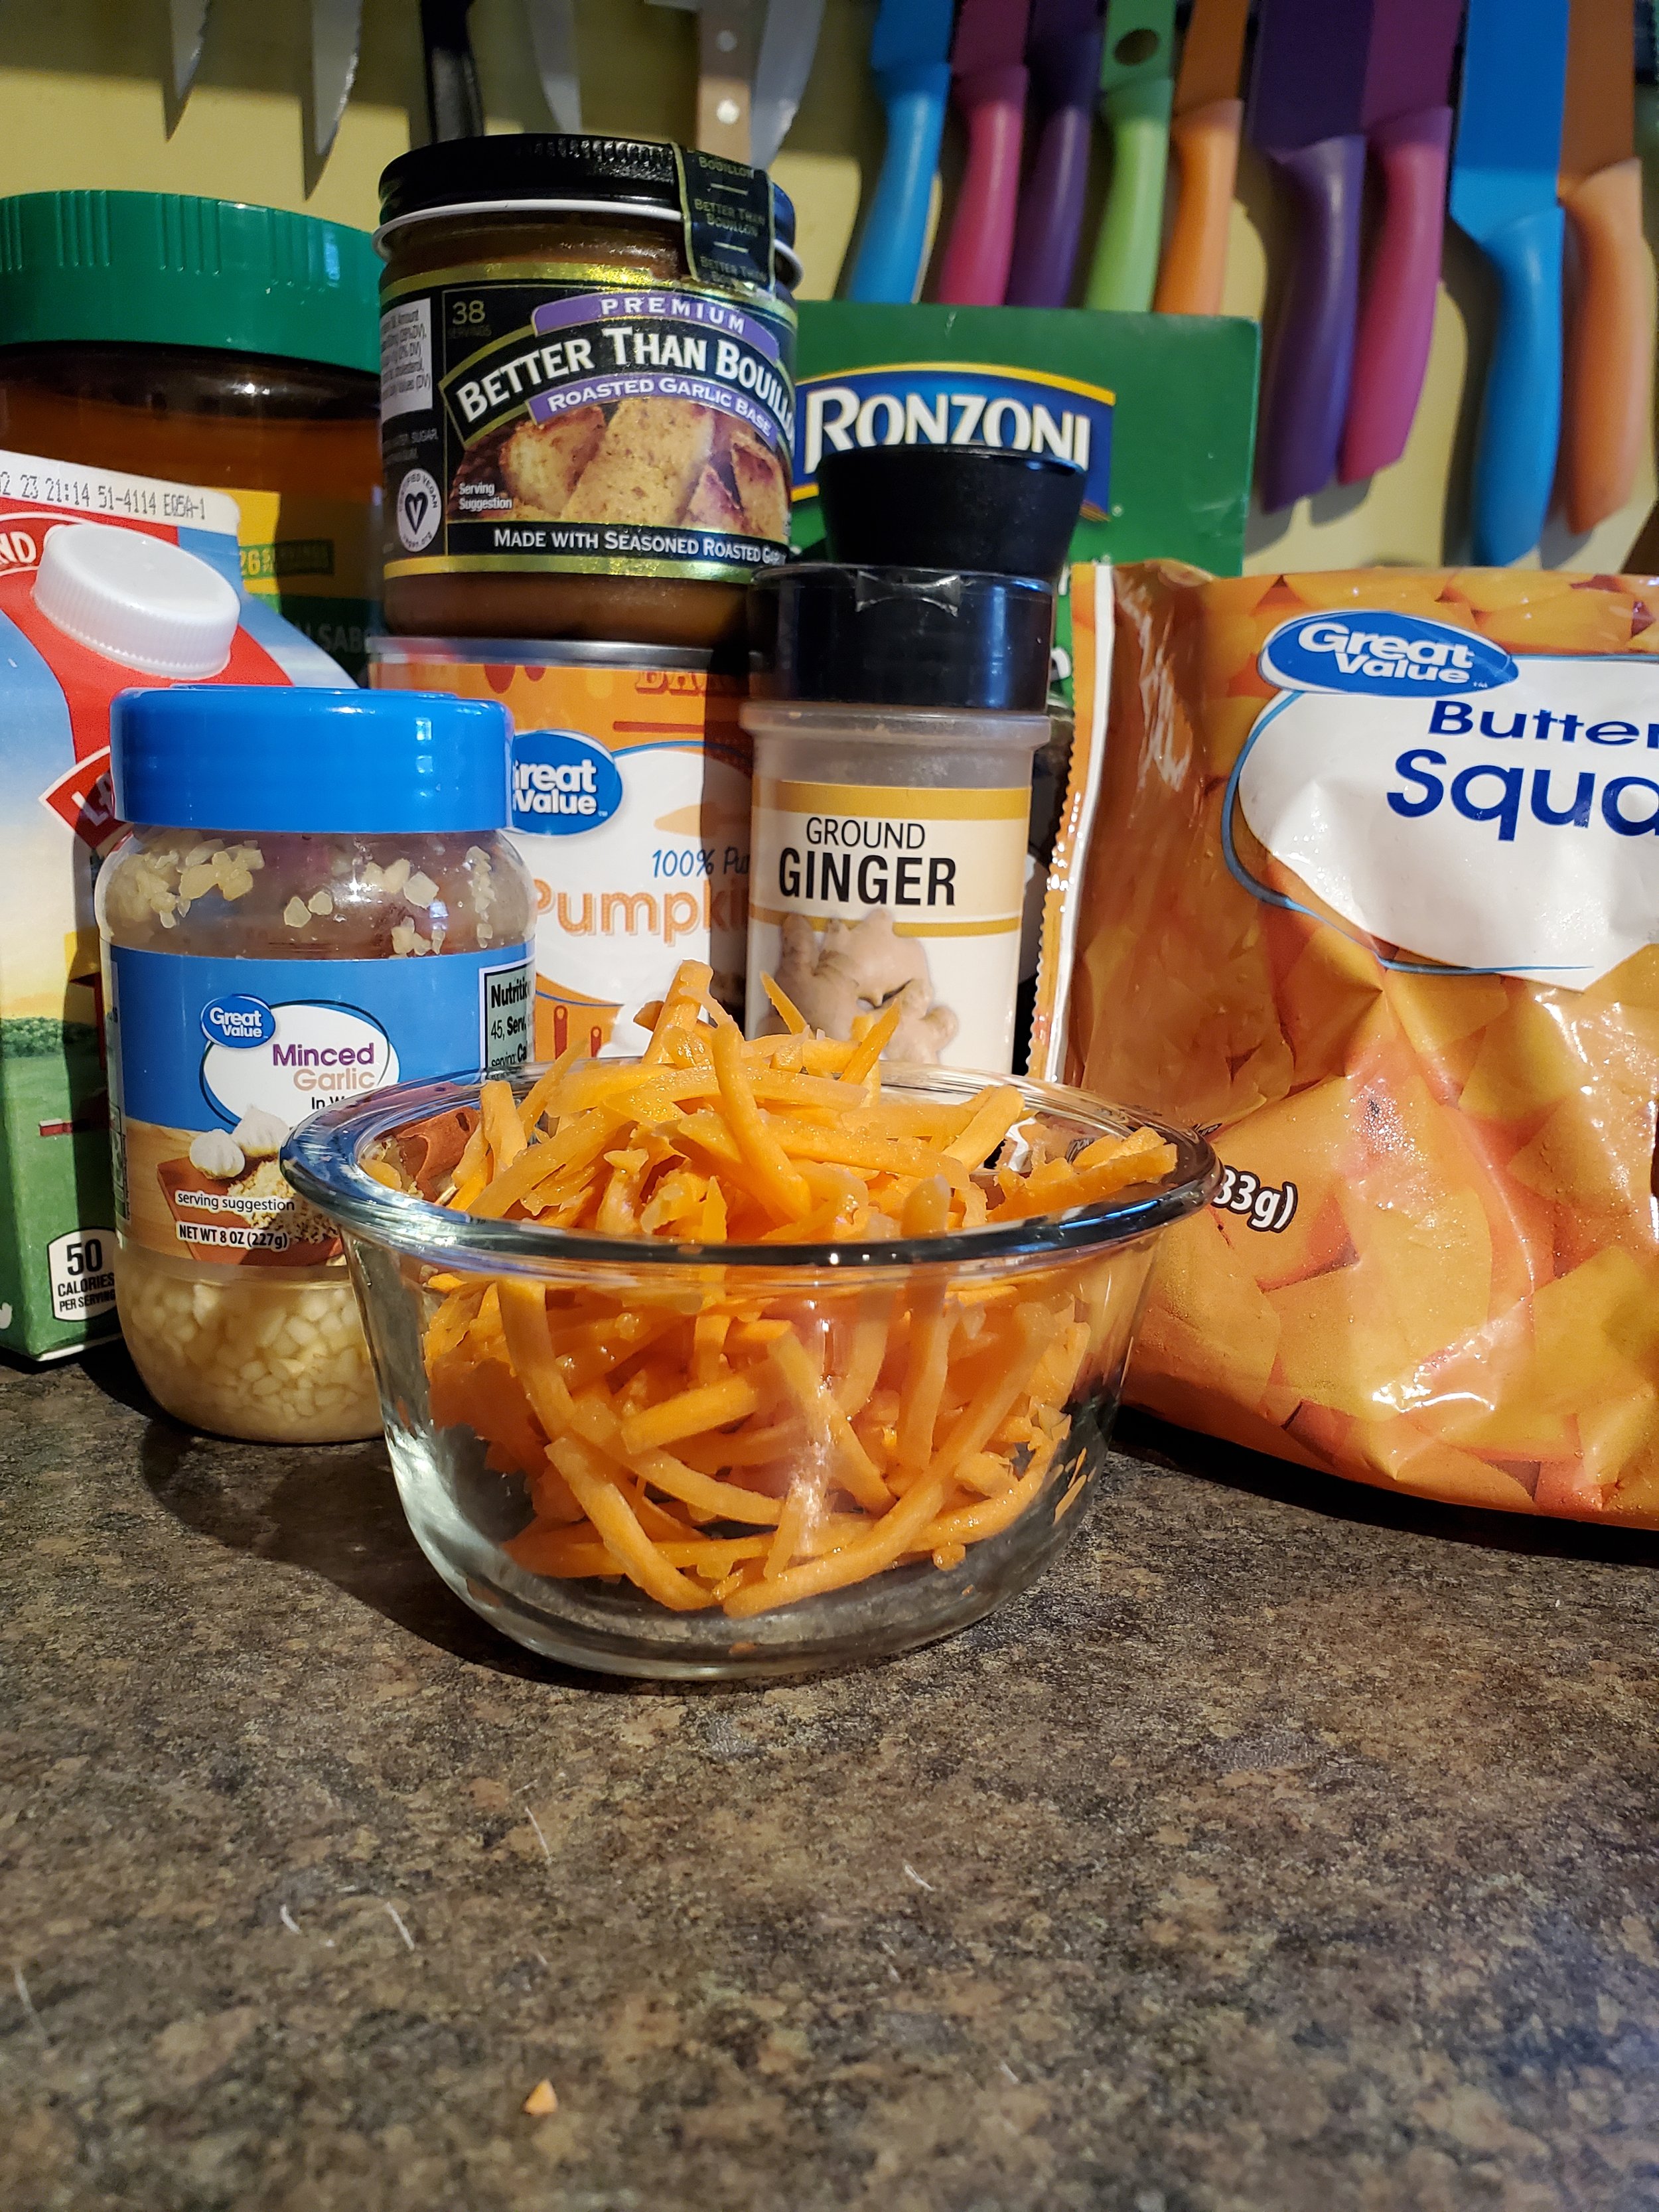
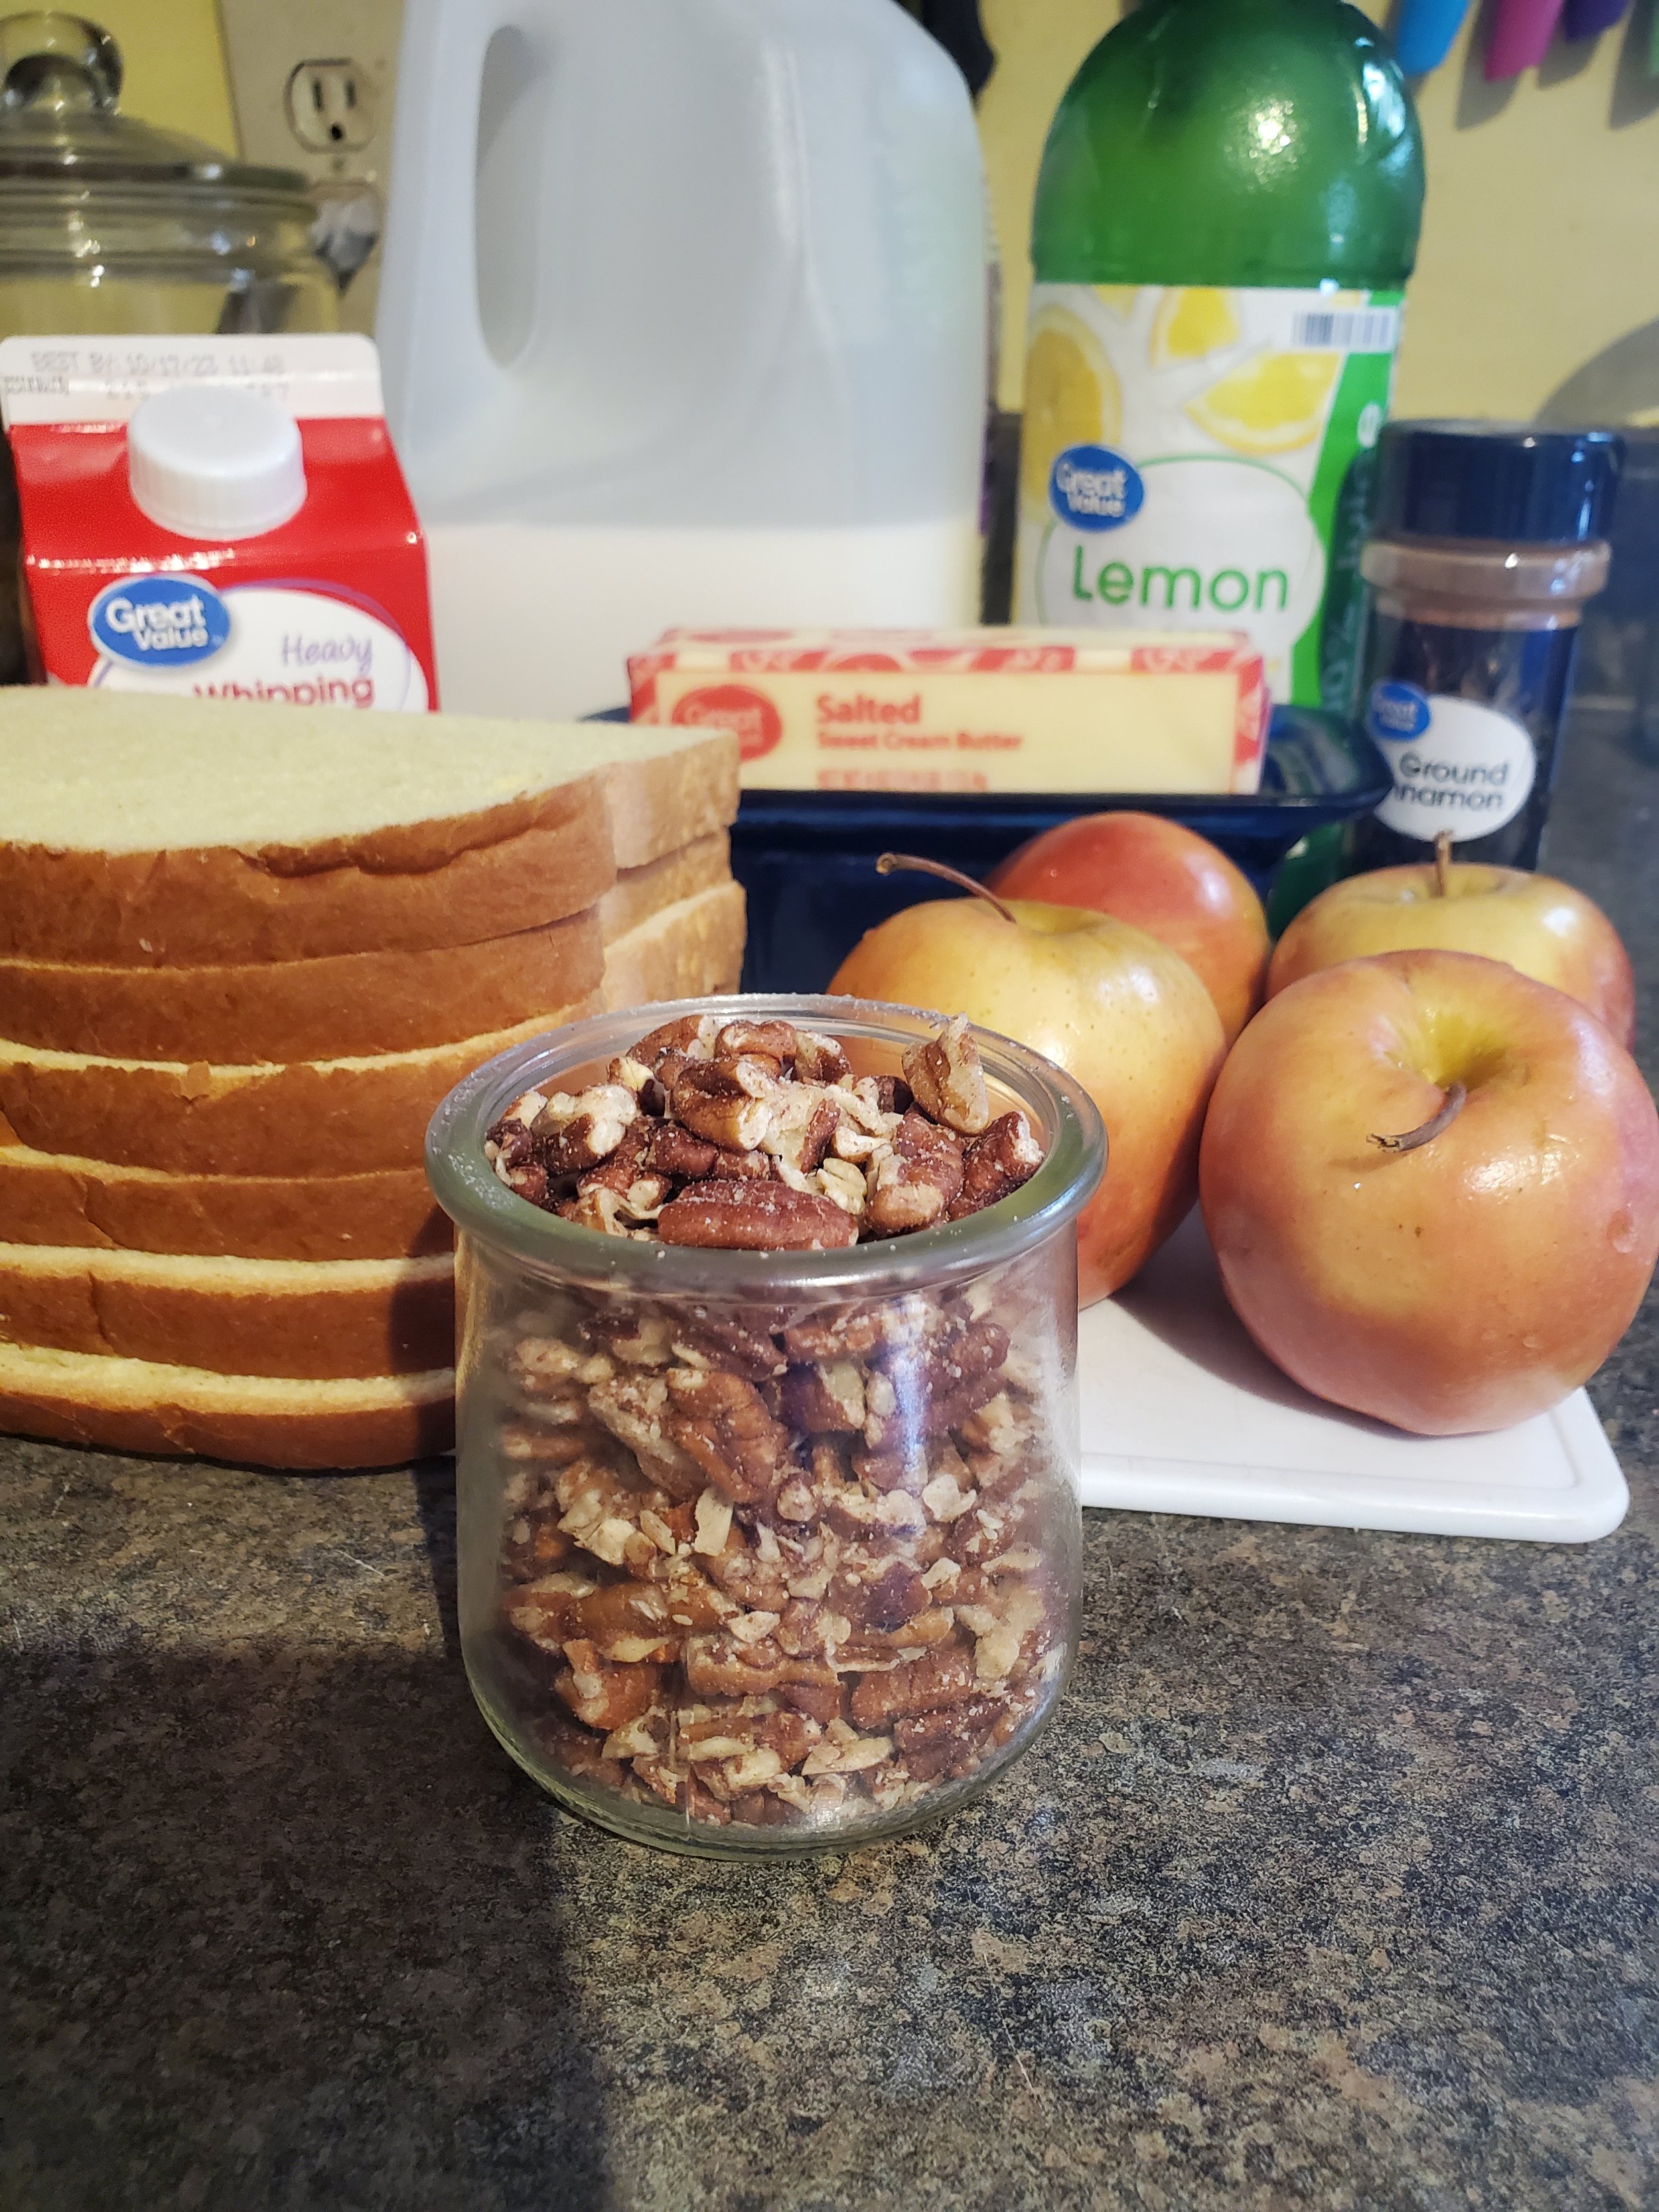
Ingredients:
4 or more apples
6-10 slices bread
2 tablespoons butter
3/4 cup heavy cream
3/4 cup milk
5 large eggs
1/2 teaspoon vanilla extract (optional)
2-3 tablespoons lemon juice
1/2 cup light brown sugar
2 teaspoons ground cinnamon
pinch nutmeg (optional)
1/2 cup chopped pecans
Tools:
toaster oven
cutting board
knife
frying pan
glass baking dish
small mixing bowl
shallow dish for dredging
fork(s)
measuring cups and spoons
slotted spoon
heat proof measuring cup
As always, begin with washing your produce! Those apples won't clean themselves, after all.
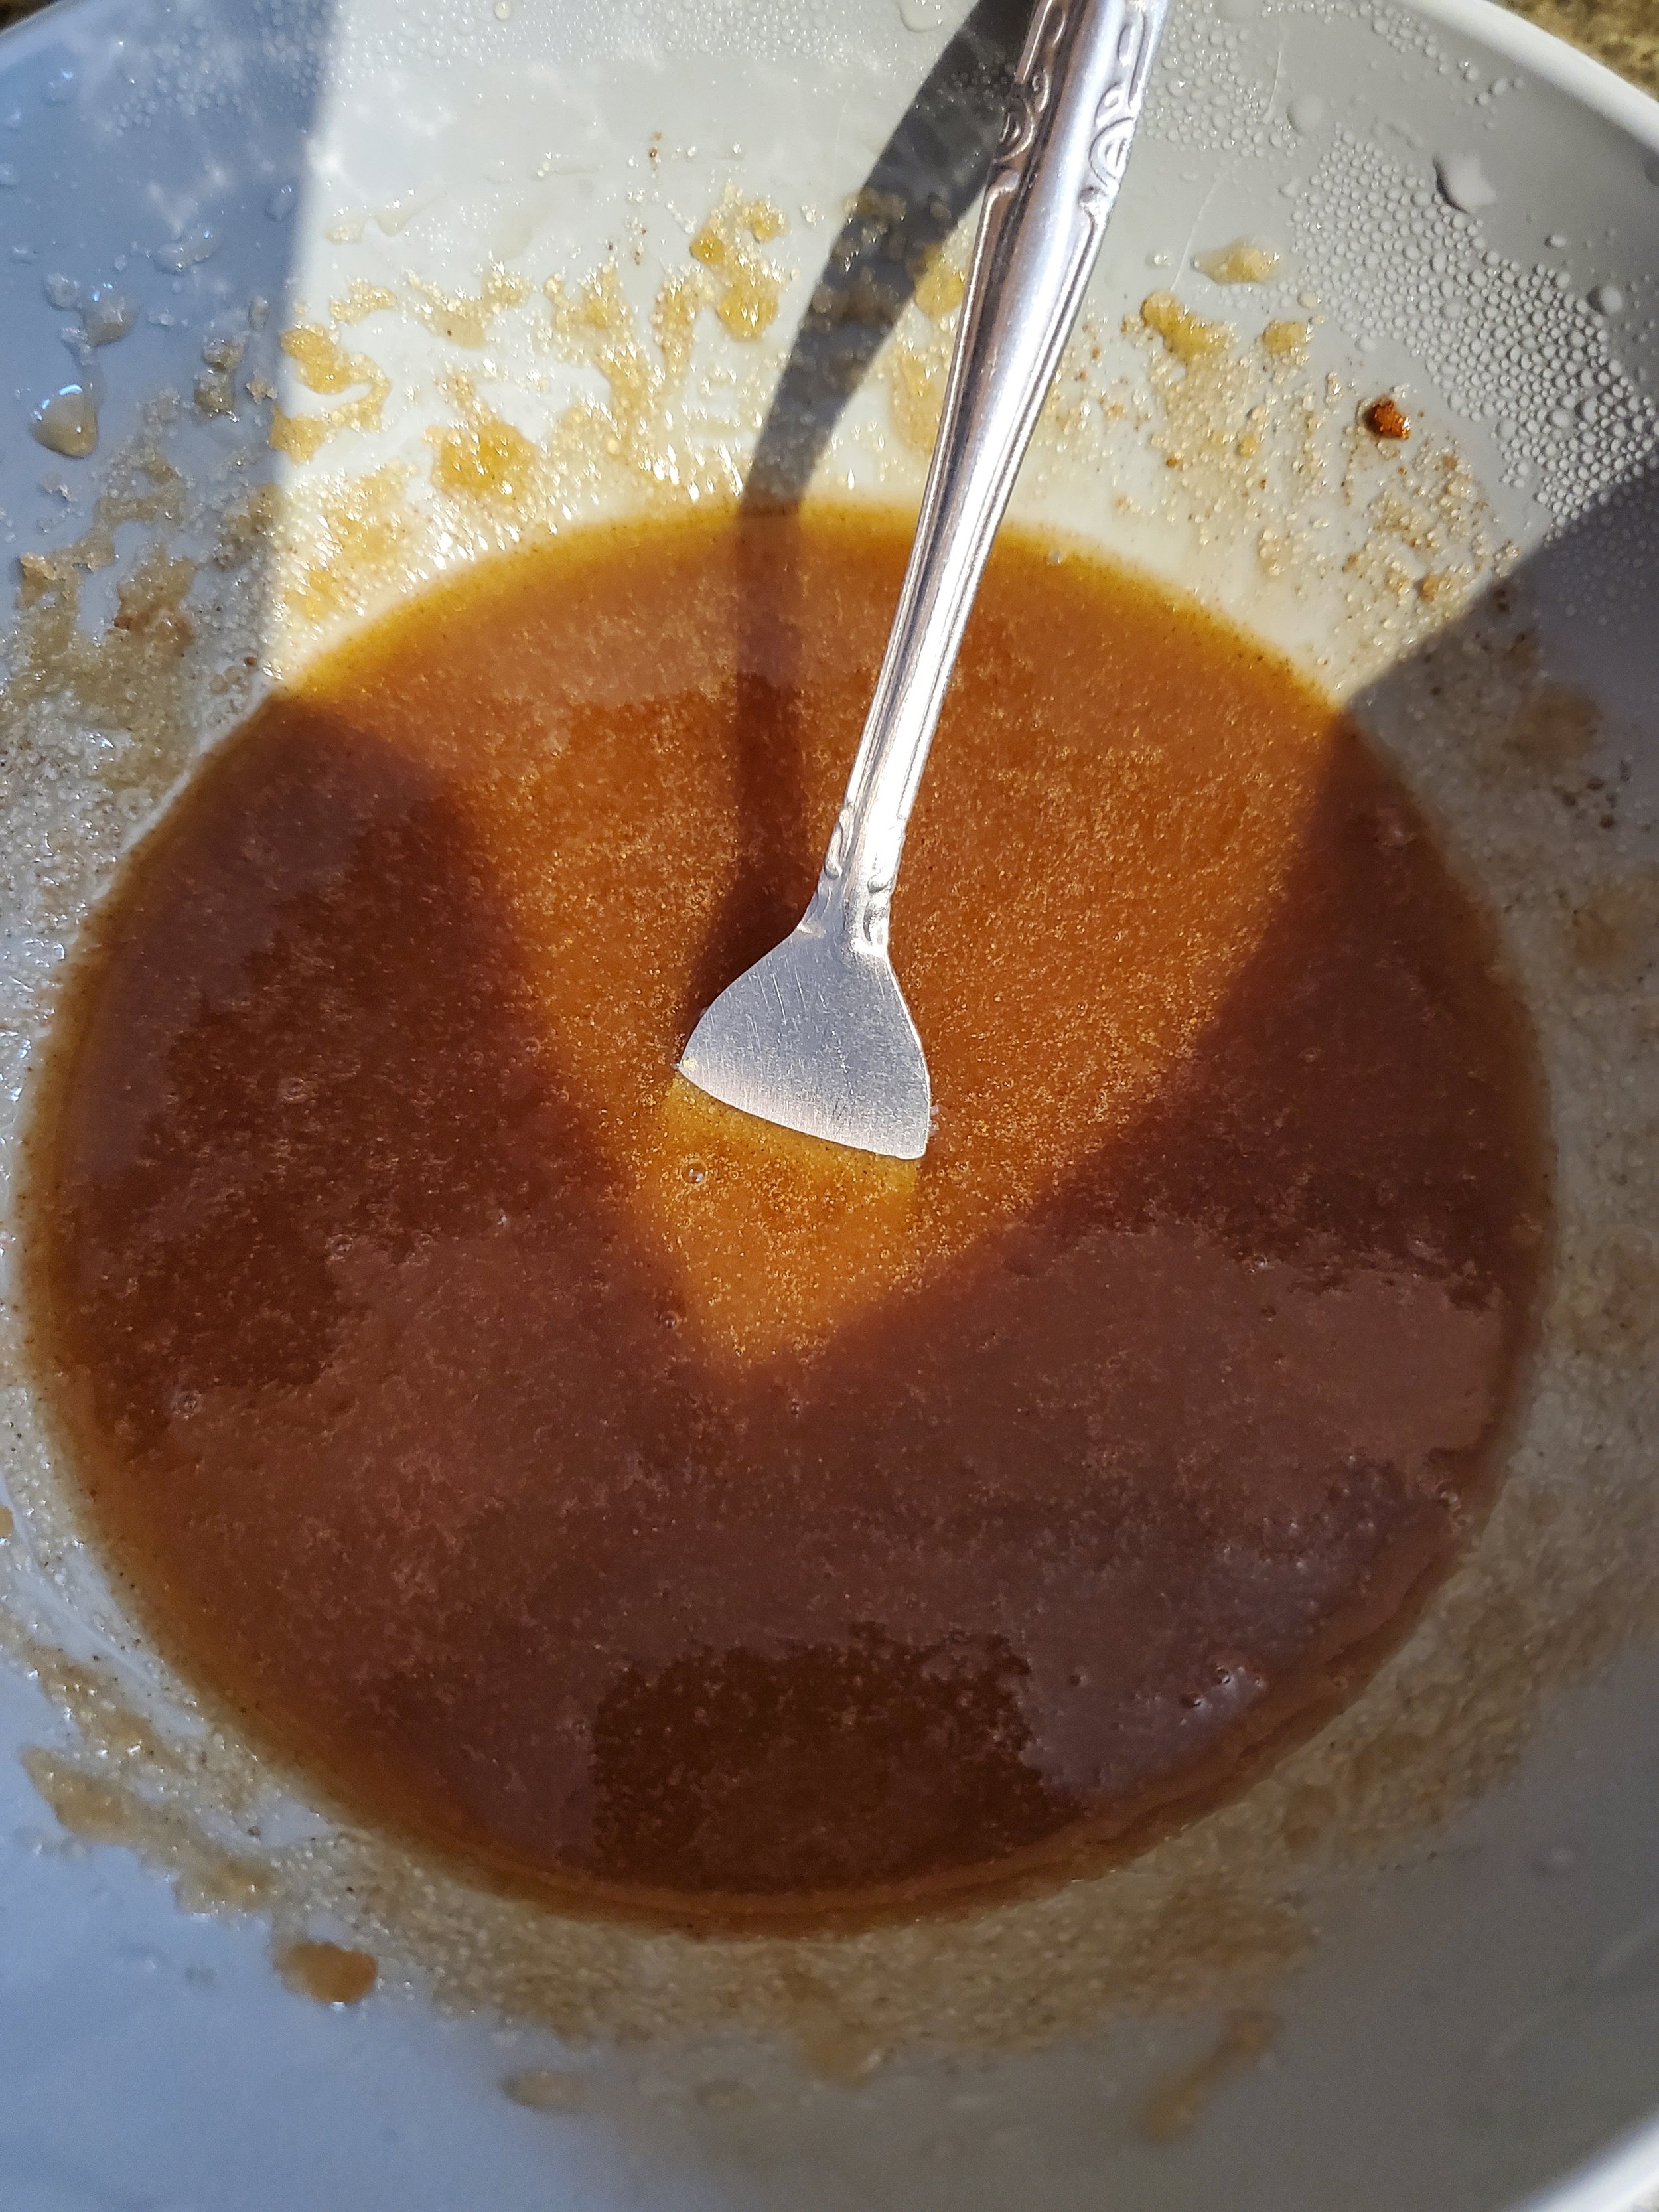
Measure your brown sugar, cinnamon and nutmeg (optional) into the small mixing bowl. Add two tablespoons of lemon juice and whisk until you get a thin, mostly mixed liquid. If it's still a bit thick, go ahead and add that last tablespoon of juice.
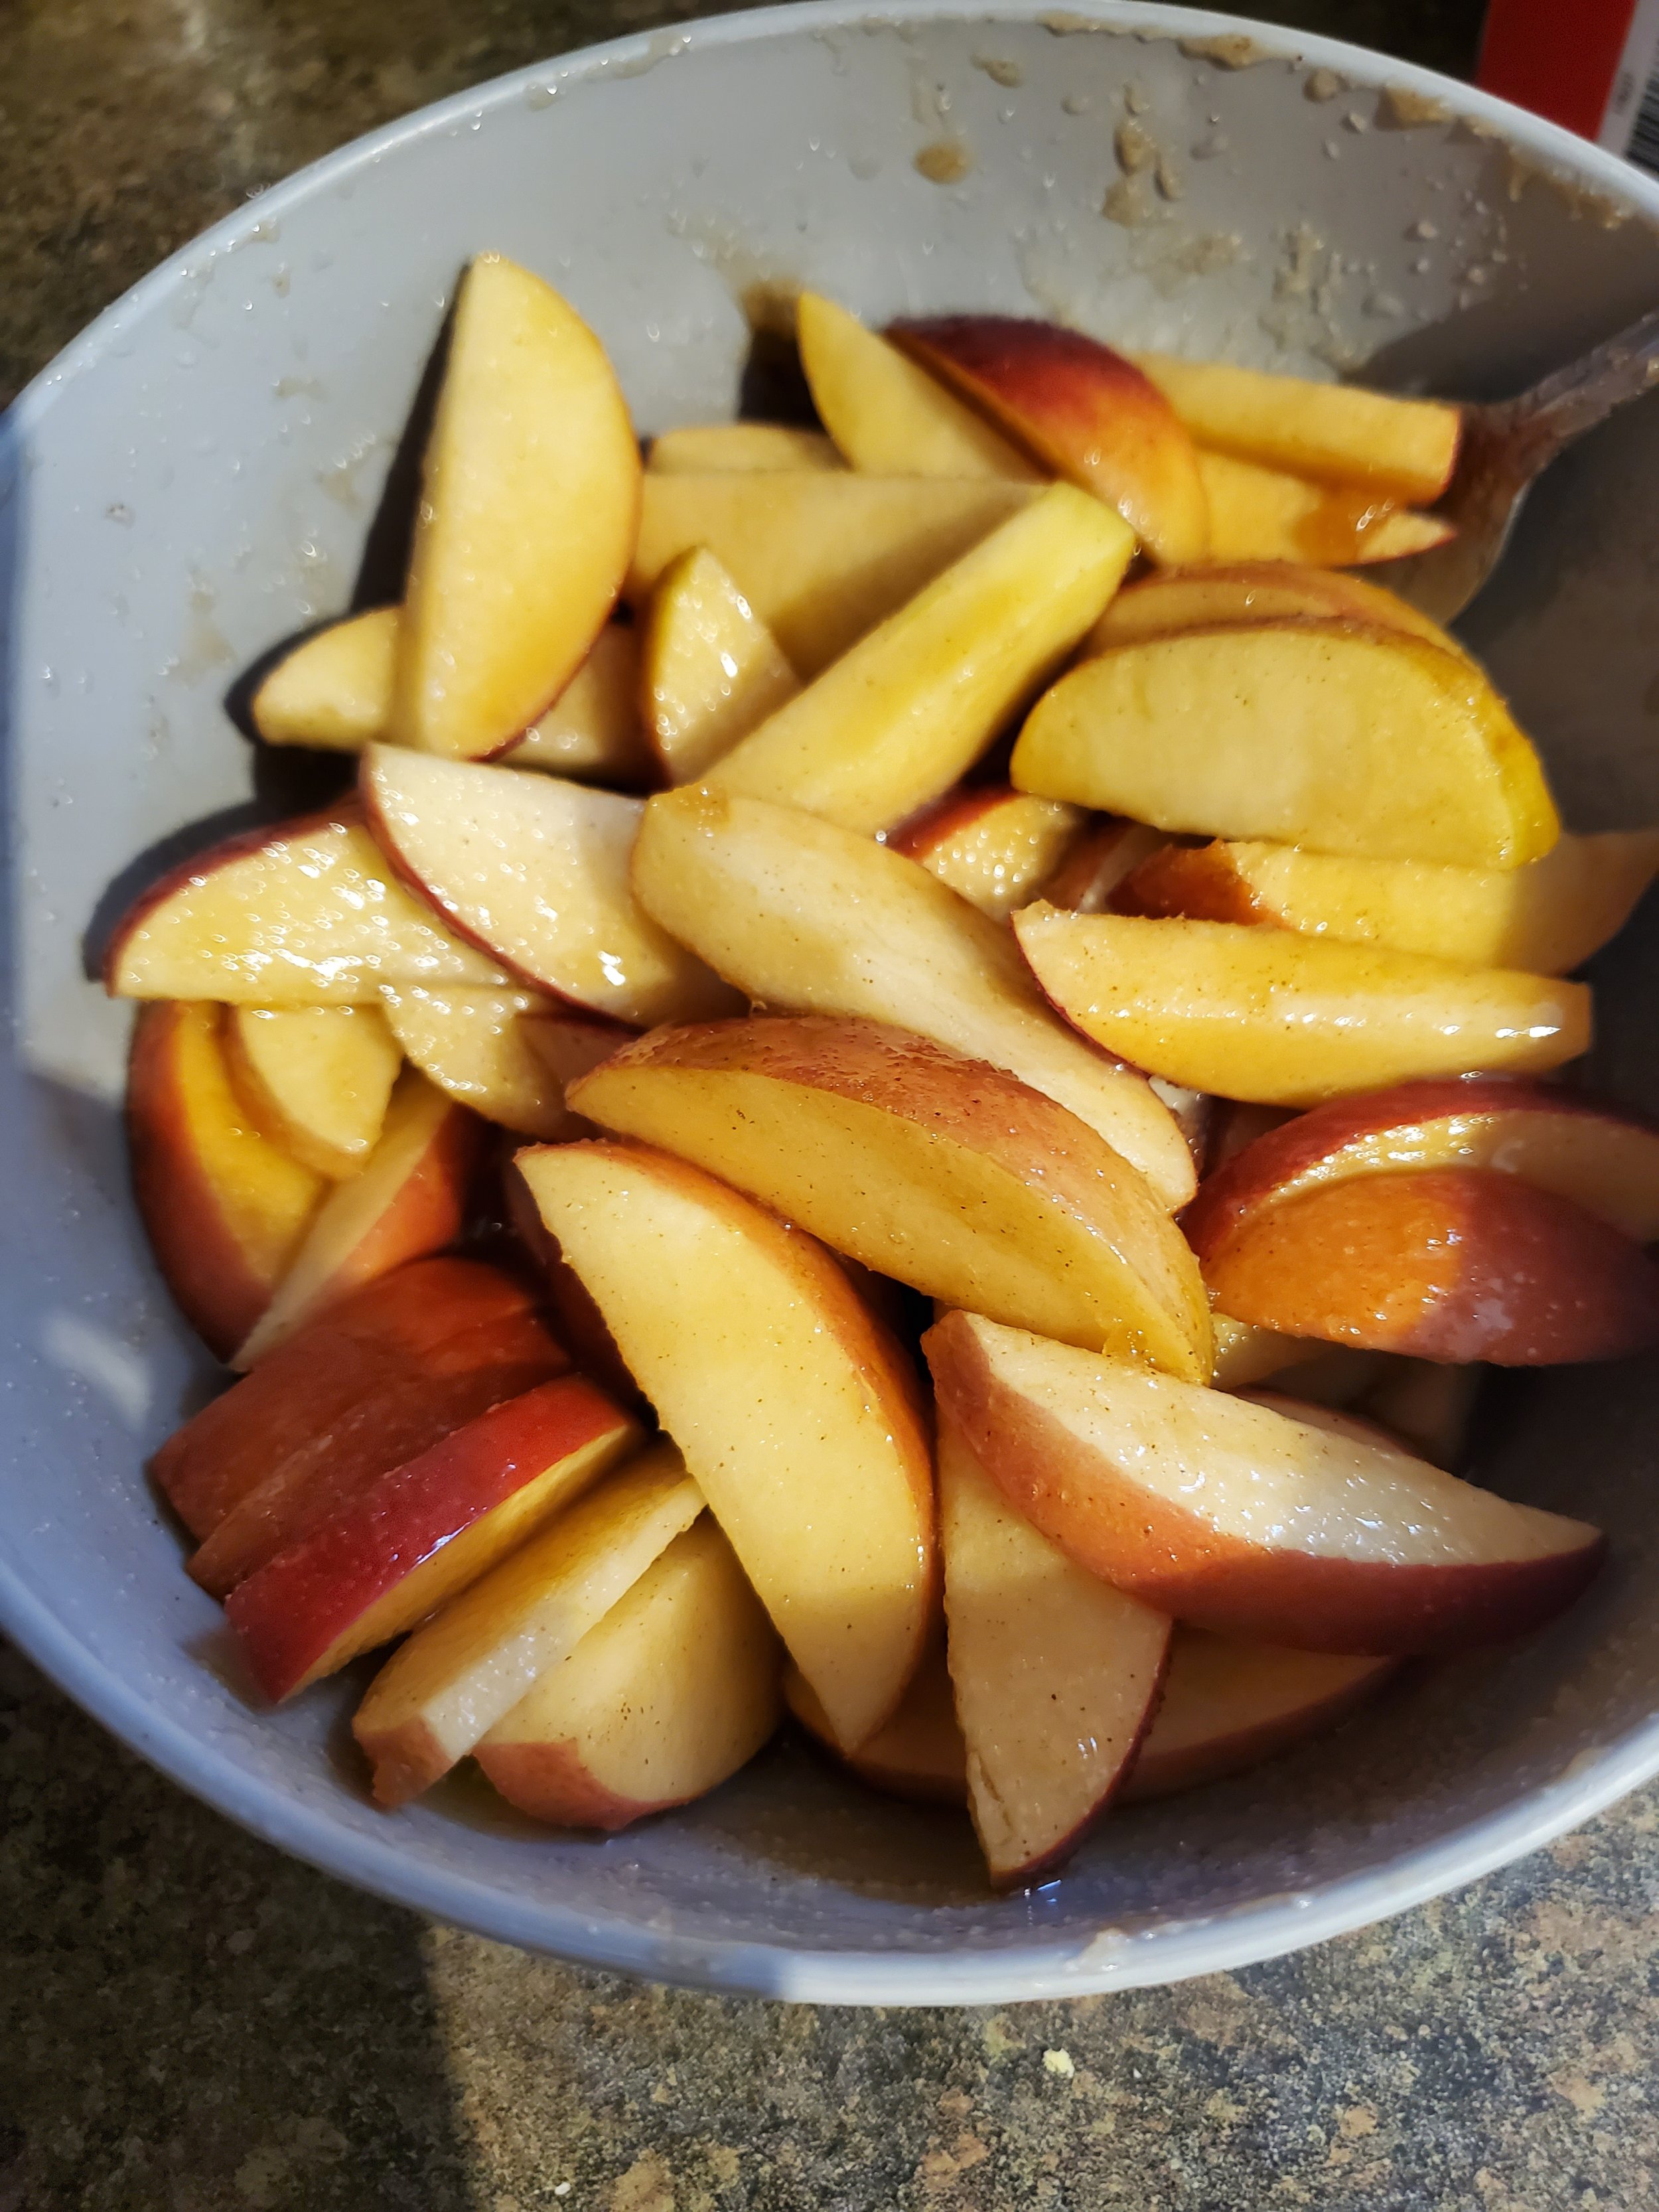
Core and cut your apples into no more than half inch thick slices. We used four apples, but feel like this recipe could easily accommodate twice as many. Adjust for your preferences, and if you do shoot for more apples, get a bigger frying pan or be ready to work in waves when it comes time to cook them.
Dump your apple slices into the liquid and give them a good shake or toss to cover them. Let them sit there for a little while and move on to another task.
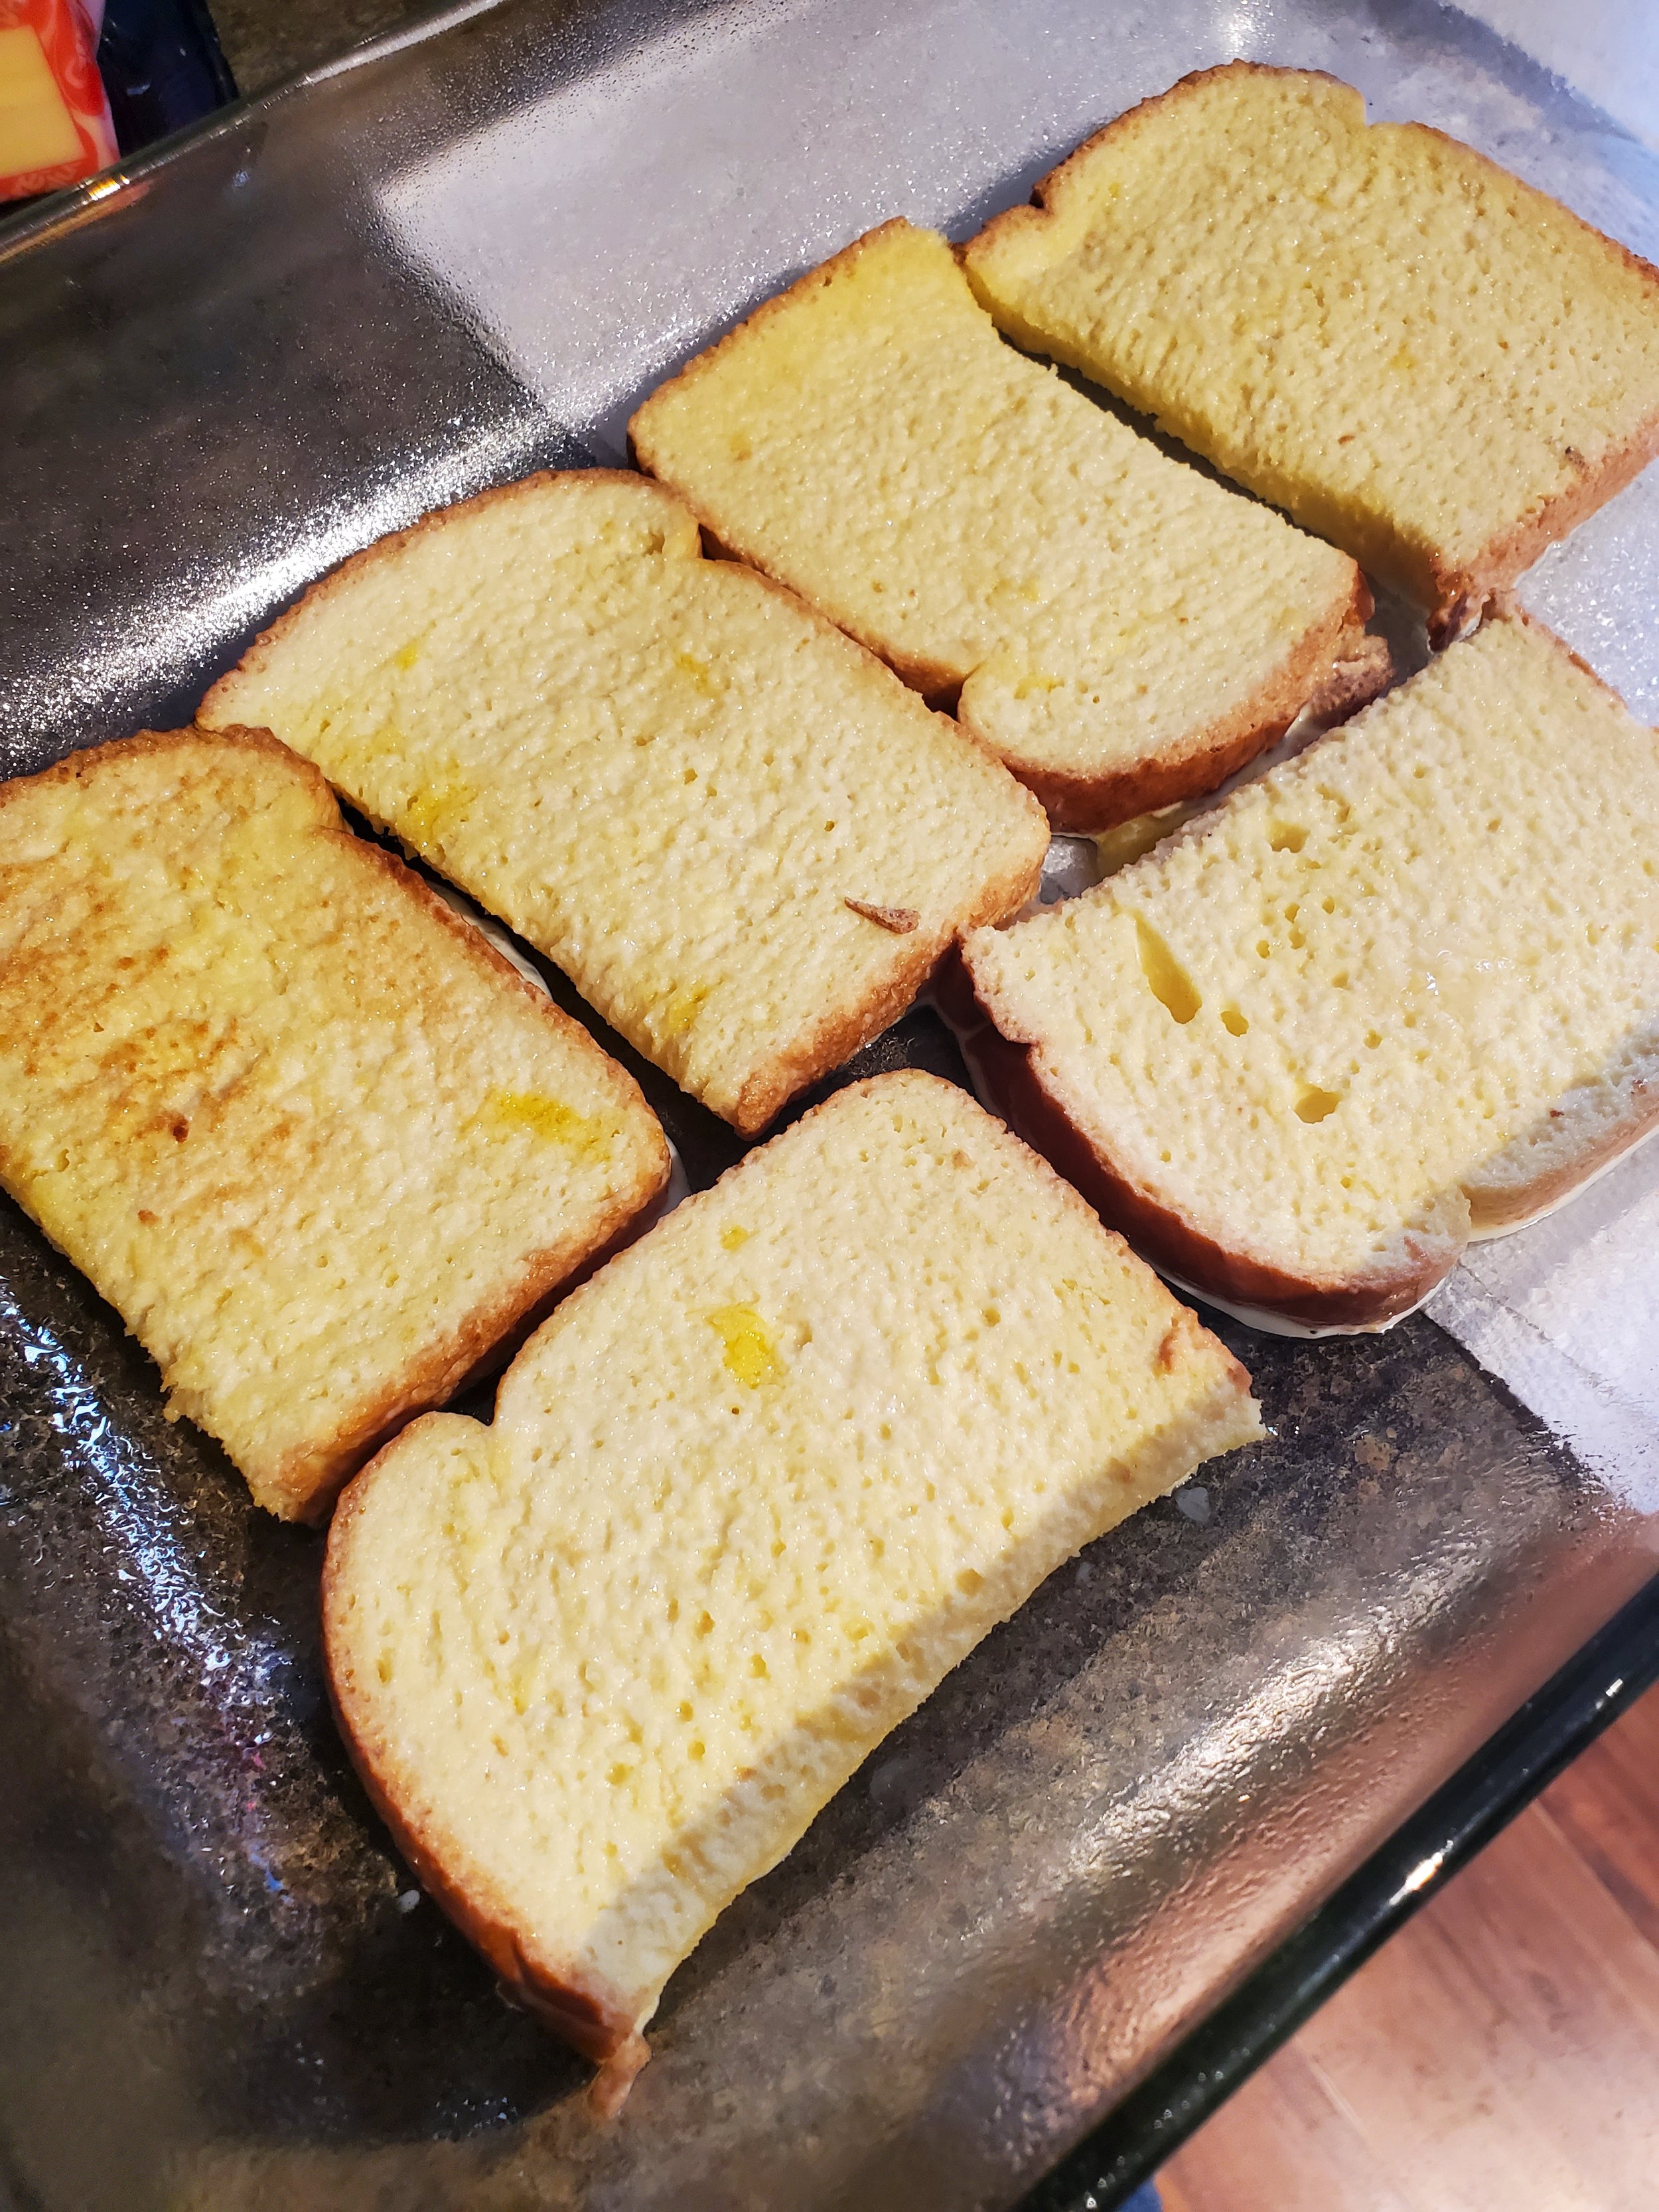
We split each of our large slices of bread in half in order to fit the maximum amount of bread into the toaster oven in one wave. This is totally optional; this step only exists because our toaster oven is not a standard size.
Whether you split your slices or not, toast them for at least two minutes. We want the bread to be slightly stiff in order to hold up to your eggy, custardy mixture in a minute.
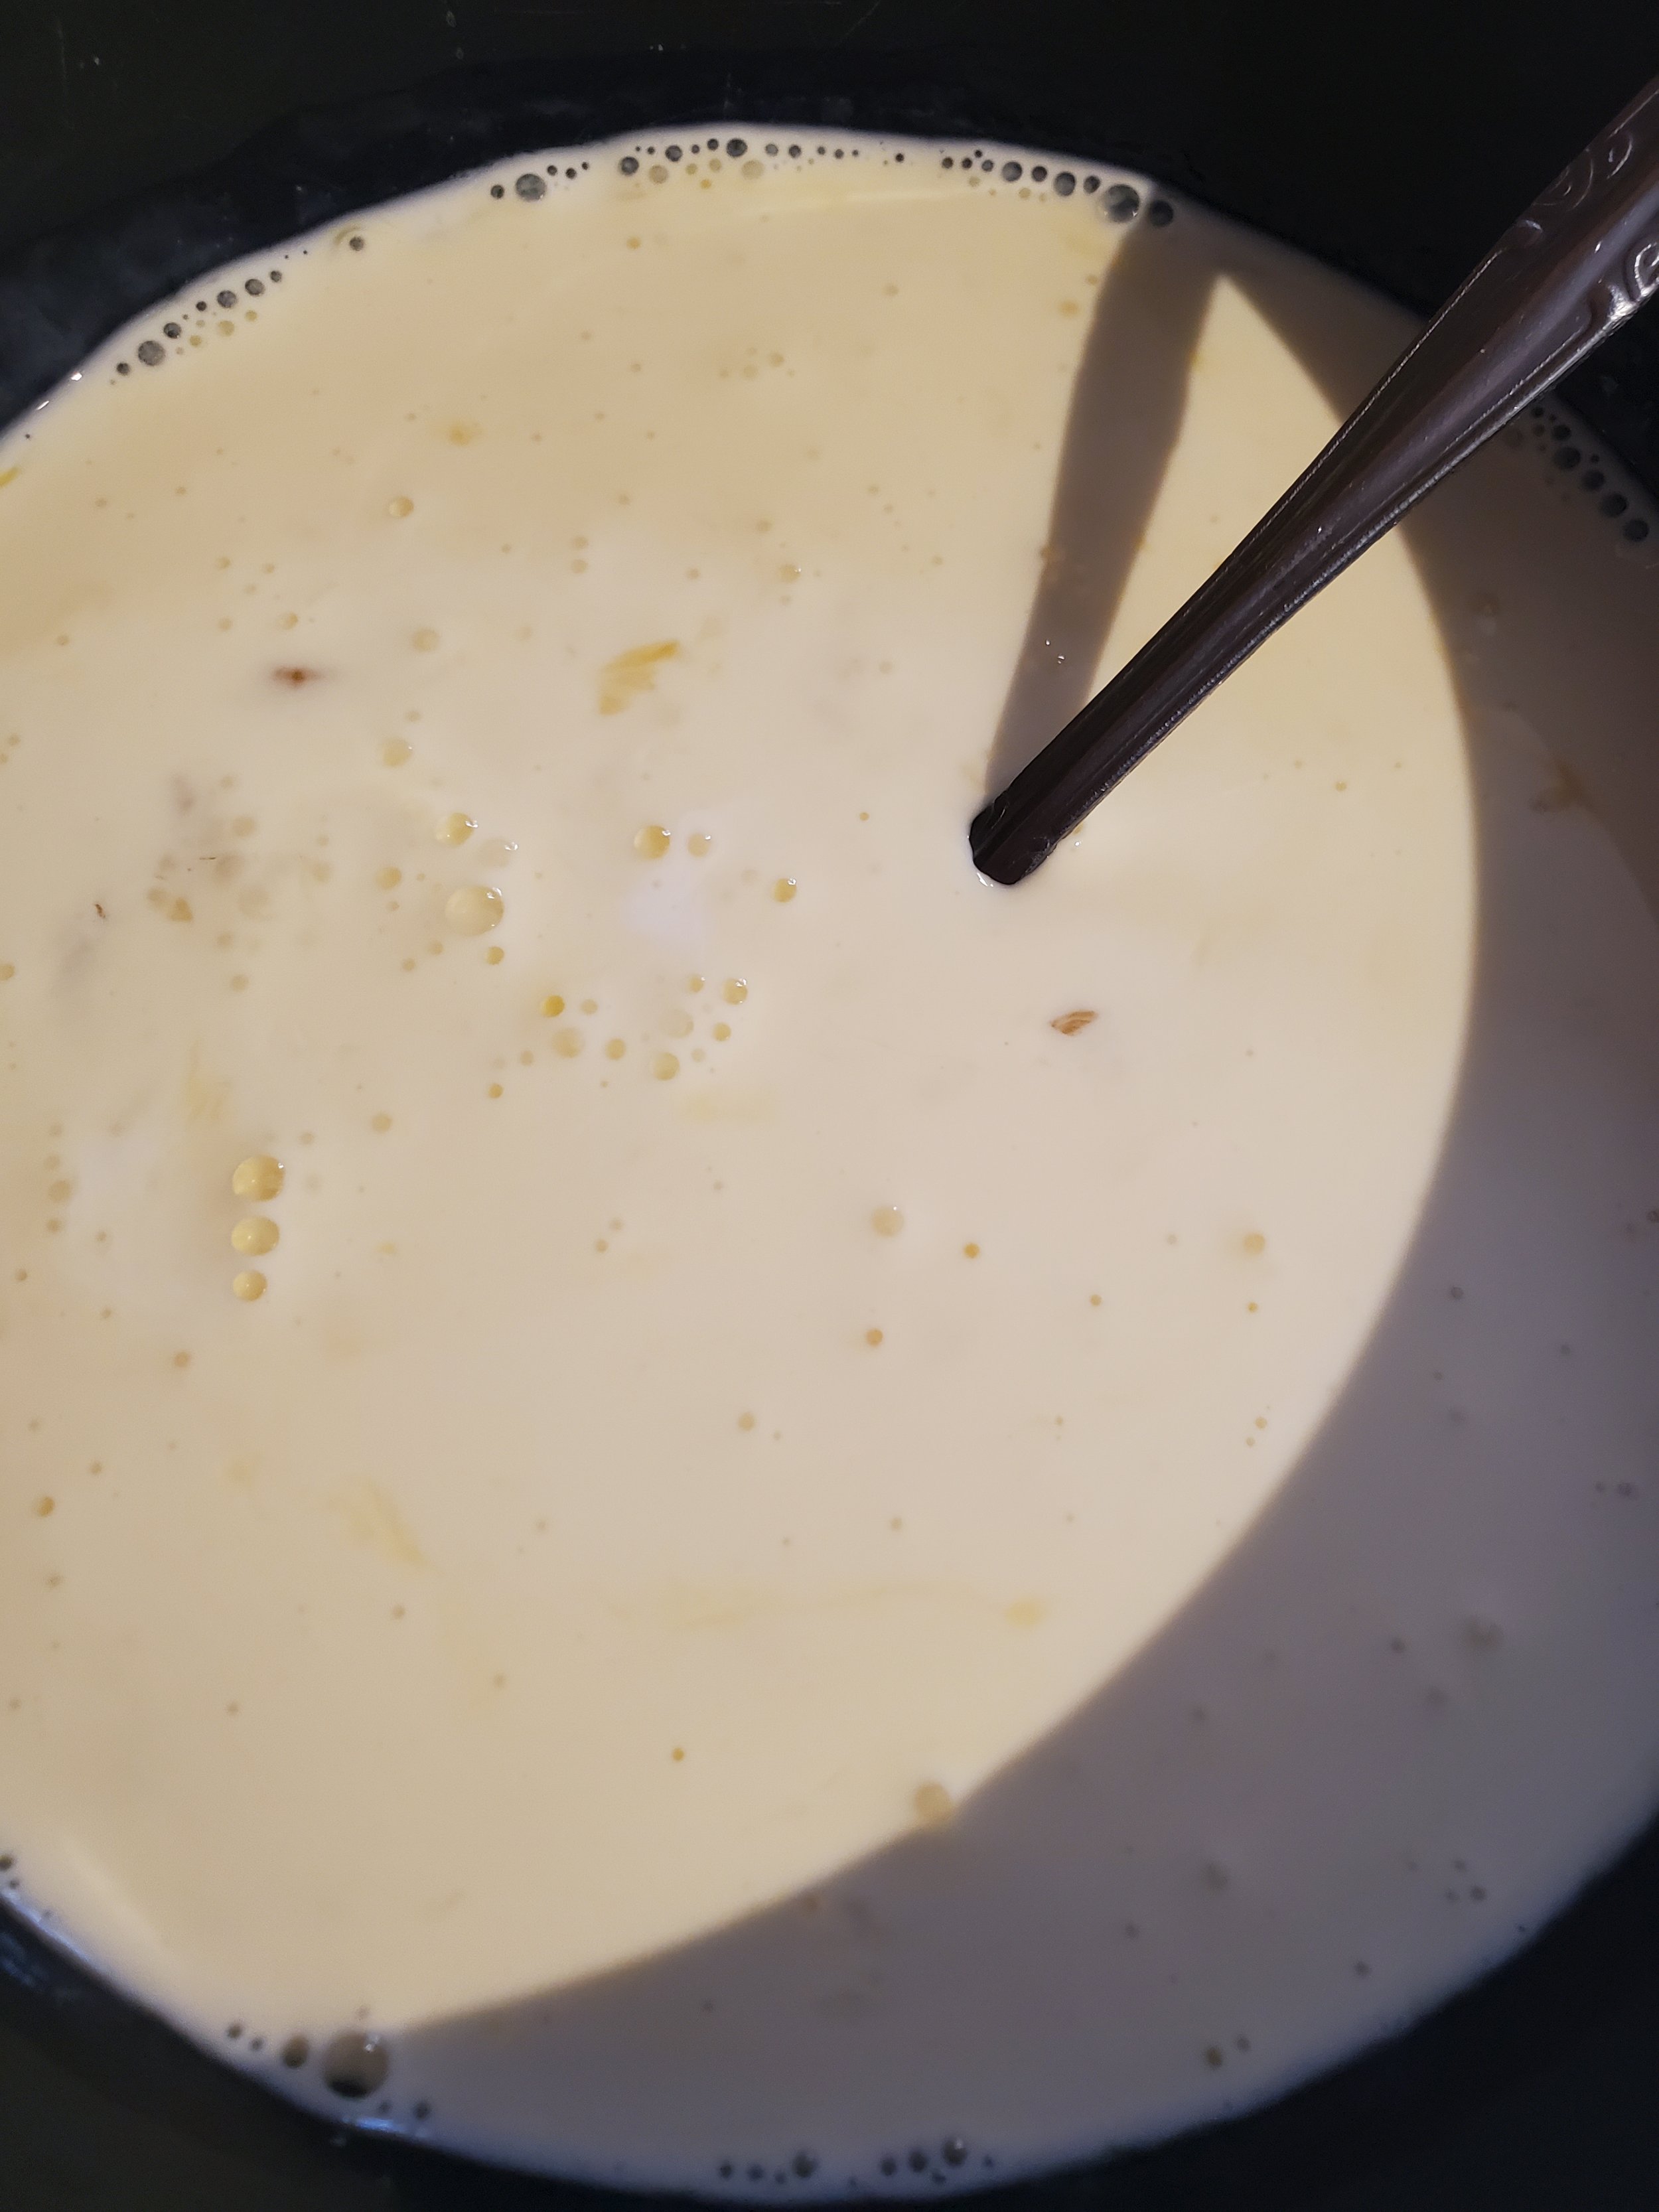
While your bread toasts, measure your cream and milk into the shallow dish and whisk in the eggs. Add vanilla at this stage, if you plan to use it. We like the extra sweet note, but not everyone does.
After your bread has been toasted, grease the bottom and sides of the baking dish and preheat your oven to 350.
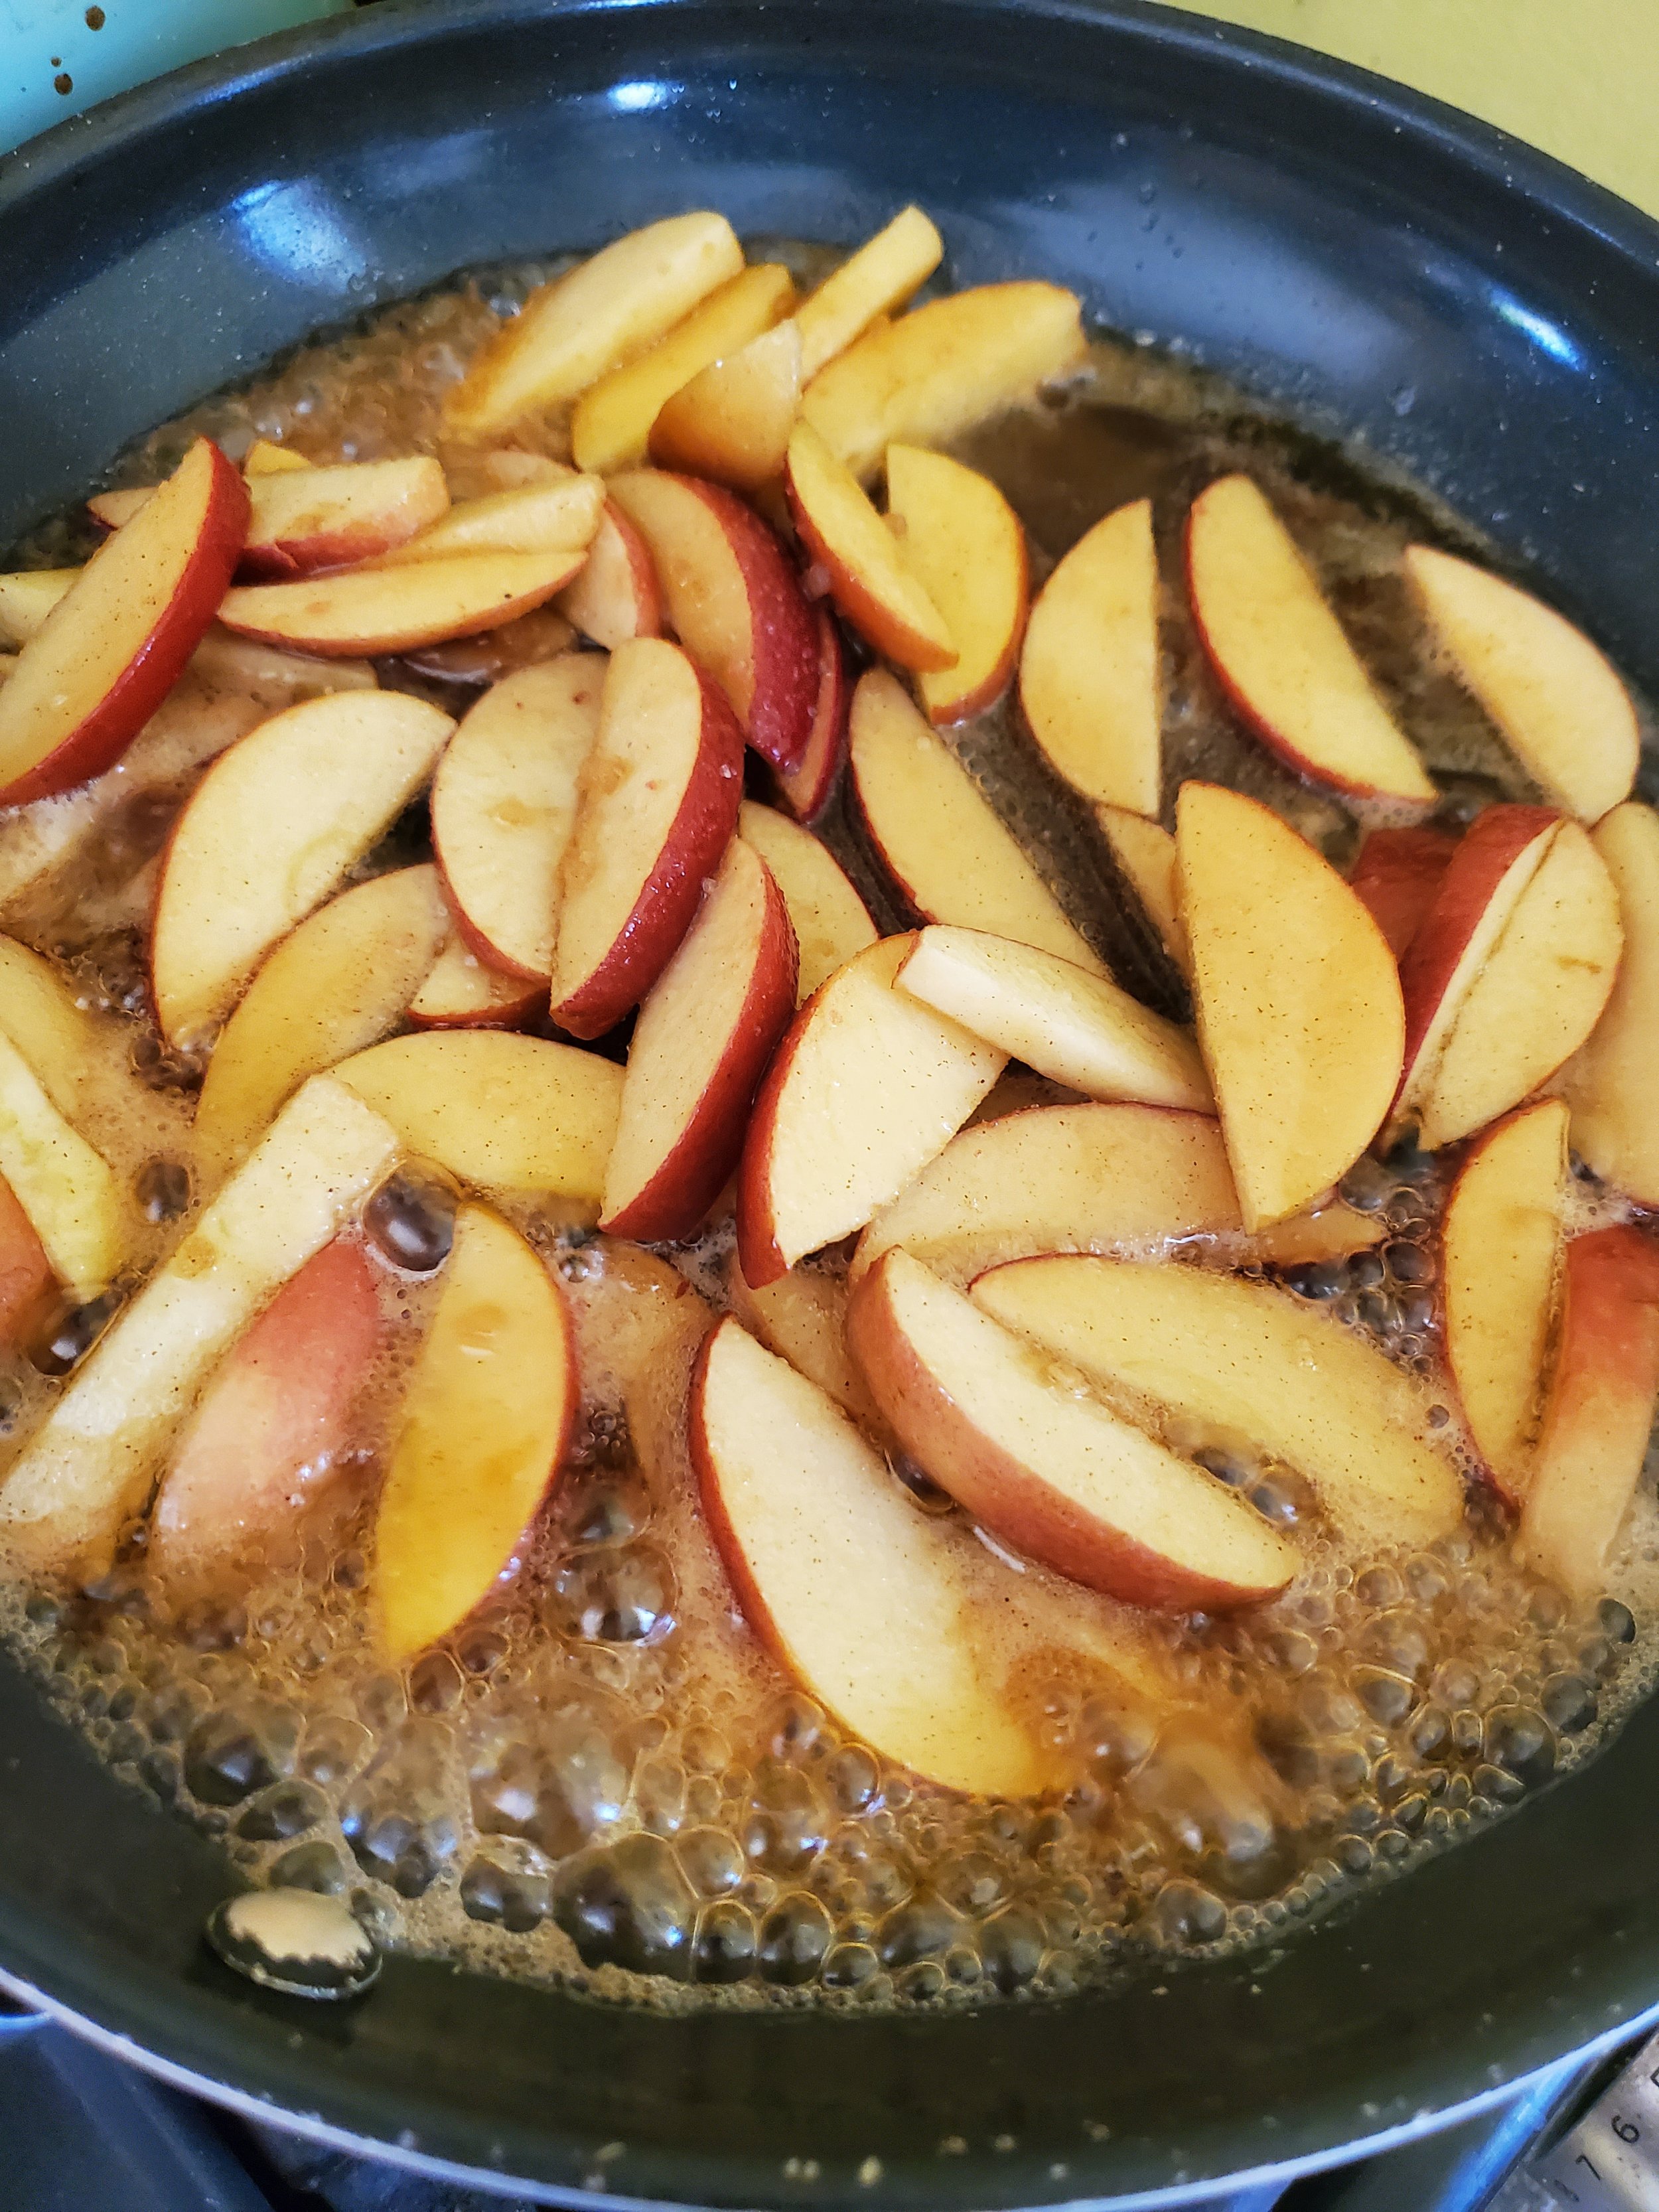
Those apples we told you to leave alone for a while? Go grab them. Melt the butter into the frying pan over low heat, then add all the apples and the liquid. Let them simmer for about five minutes on low. They'll begin to bubble around the edges; this is normal. Give a stir, flip them over, and let them go a minute or two more.
While the apples cook, dredge your toast through the egg mixture, fish it out with a fork, and plop a layer down in the baking dish.
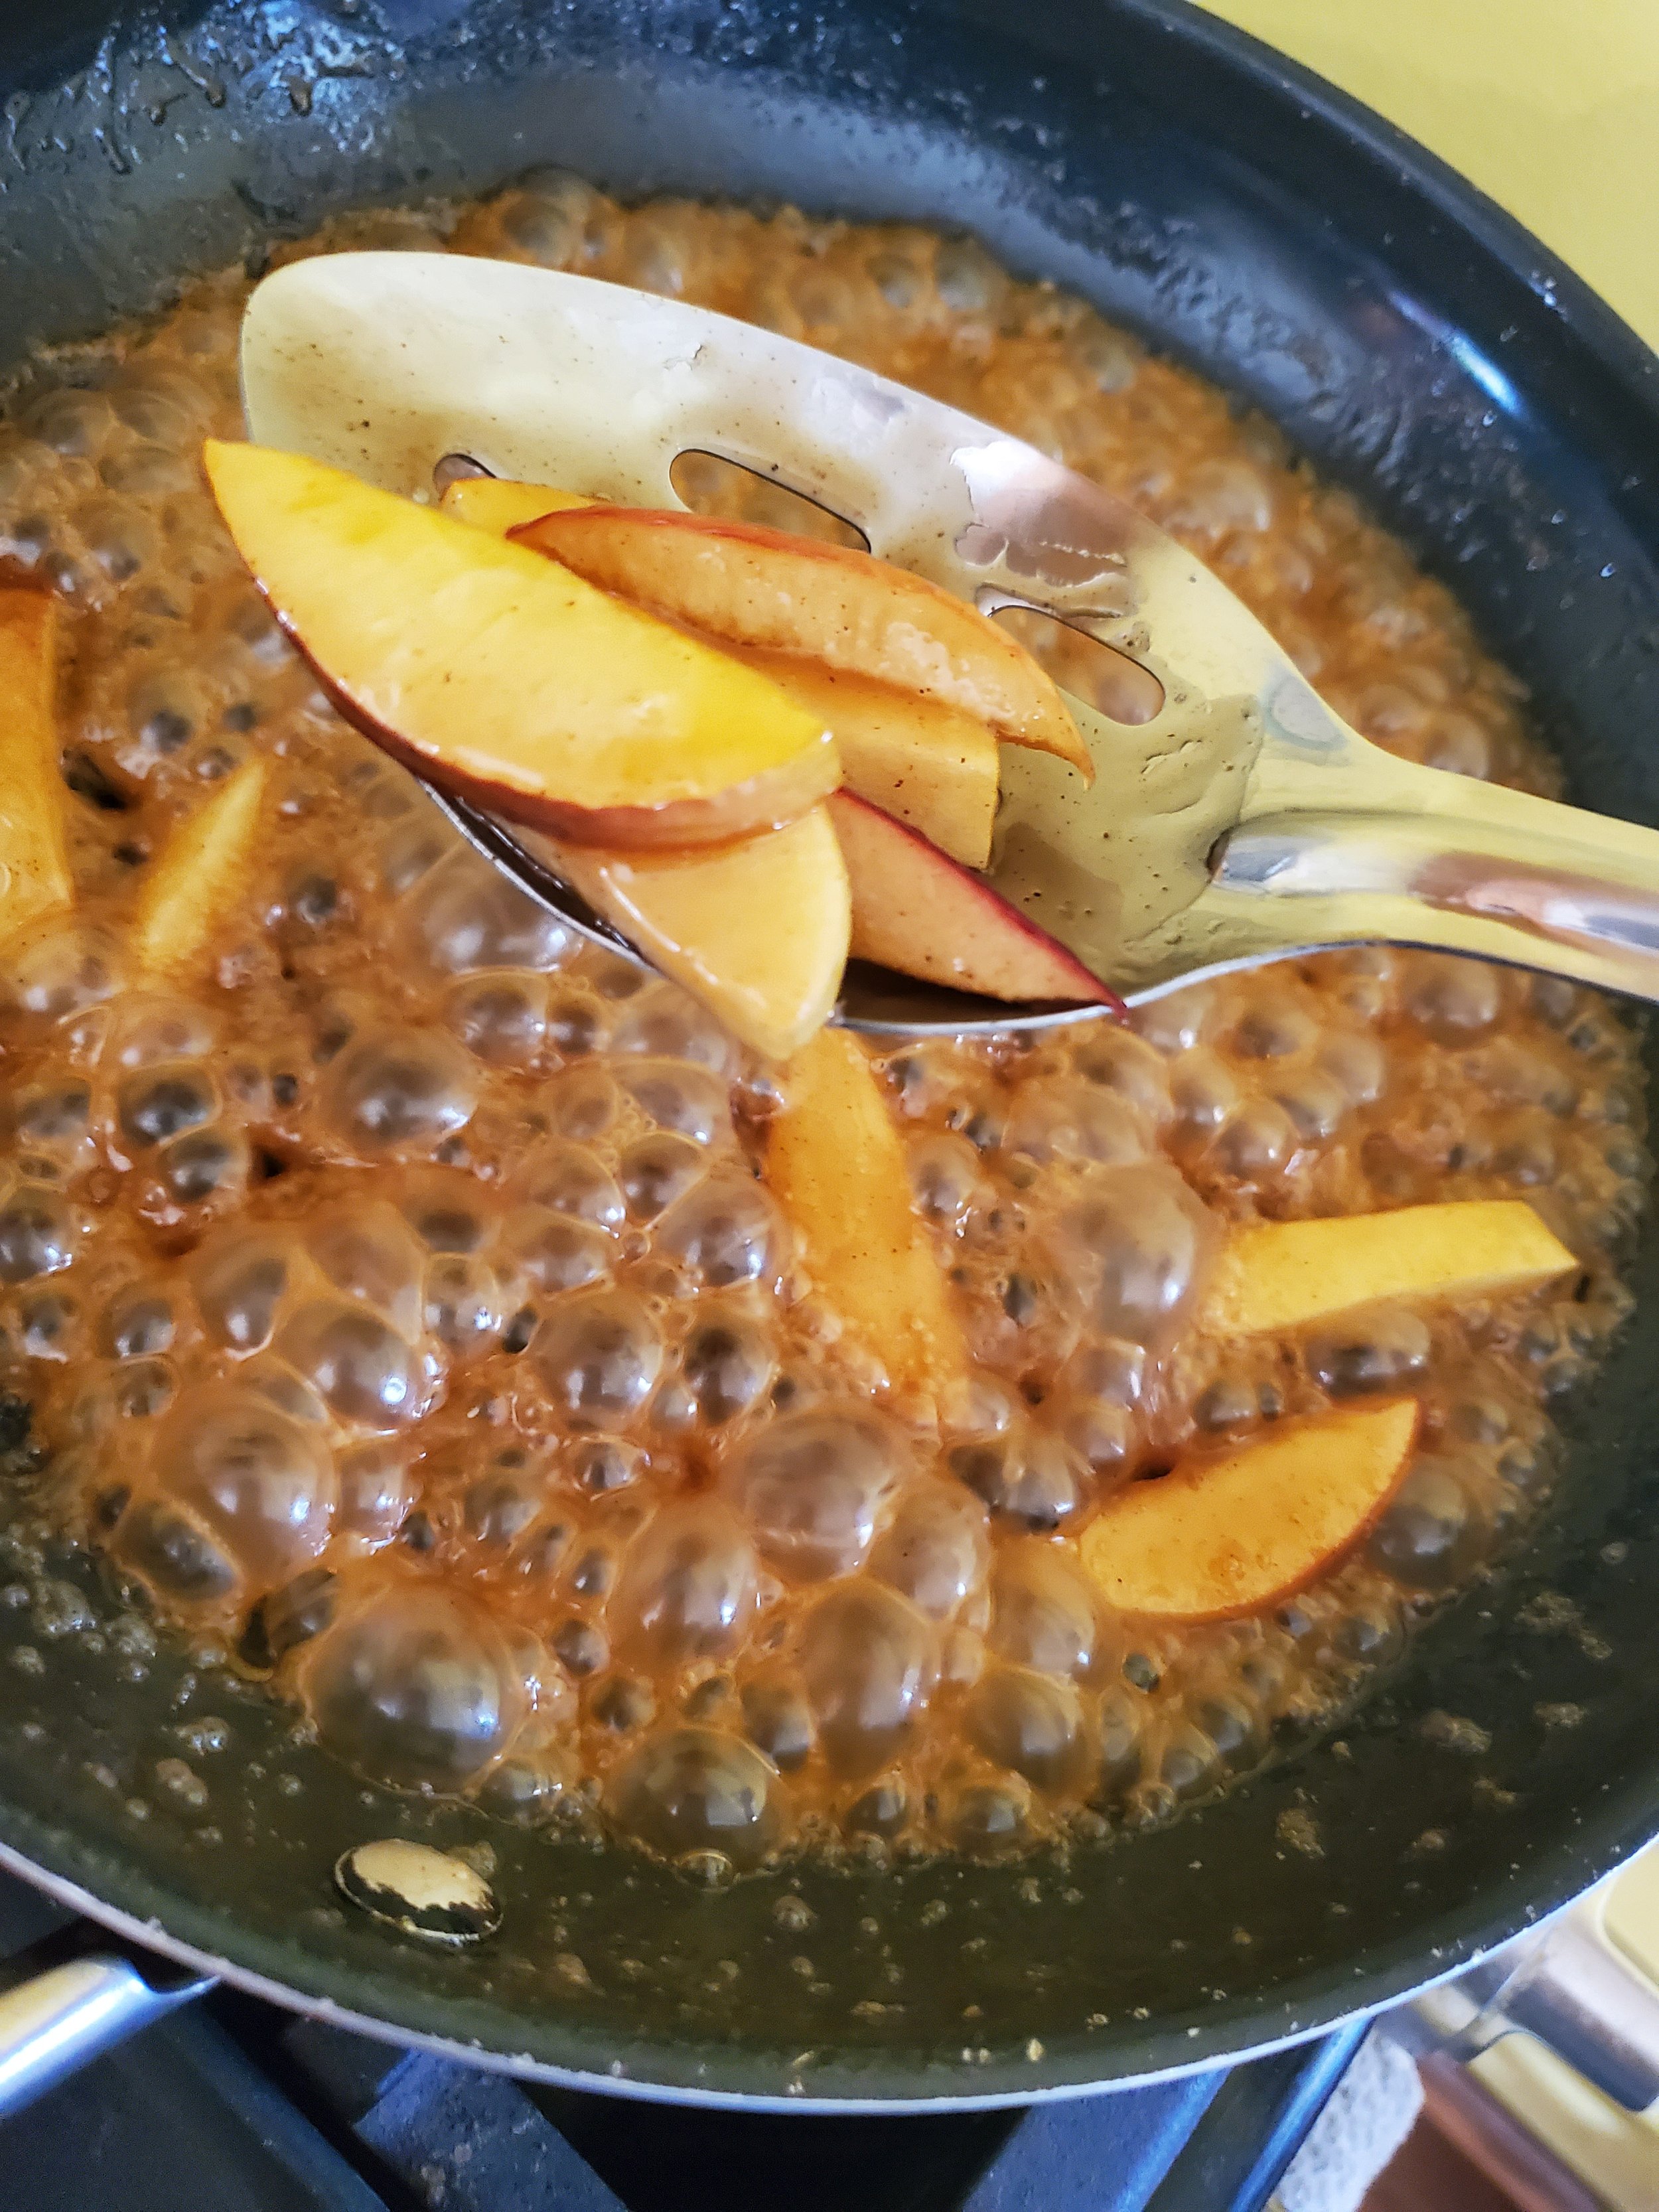
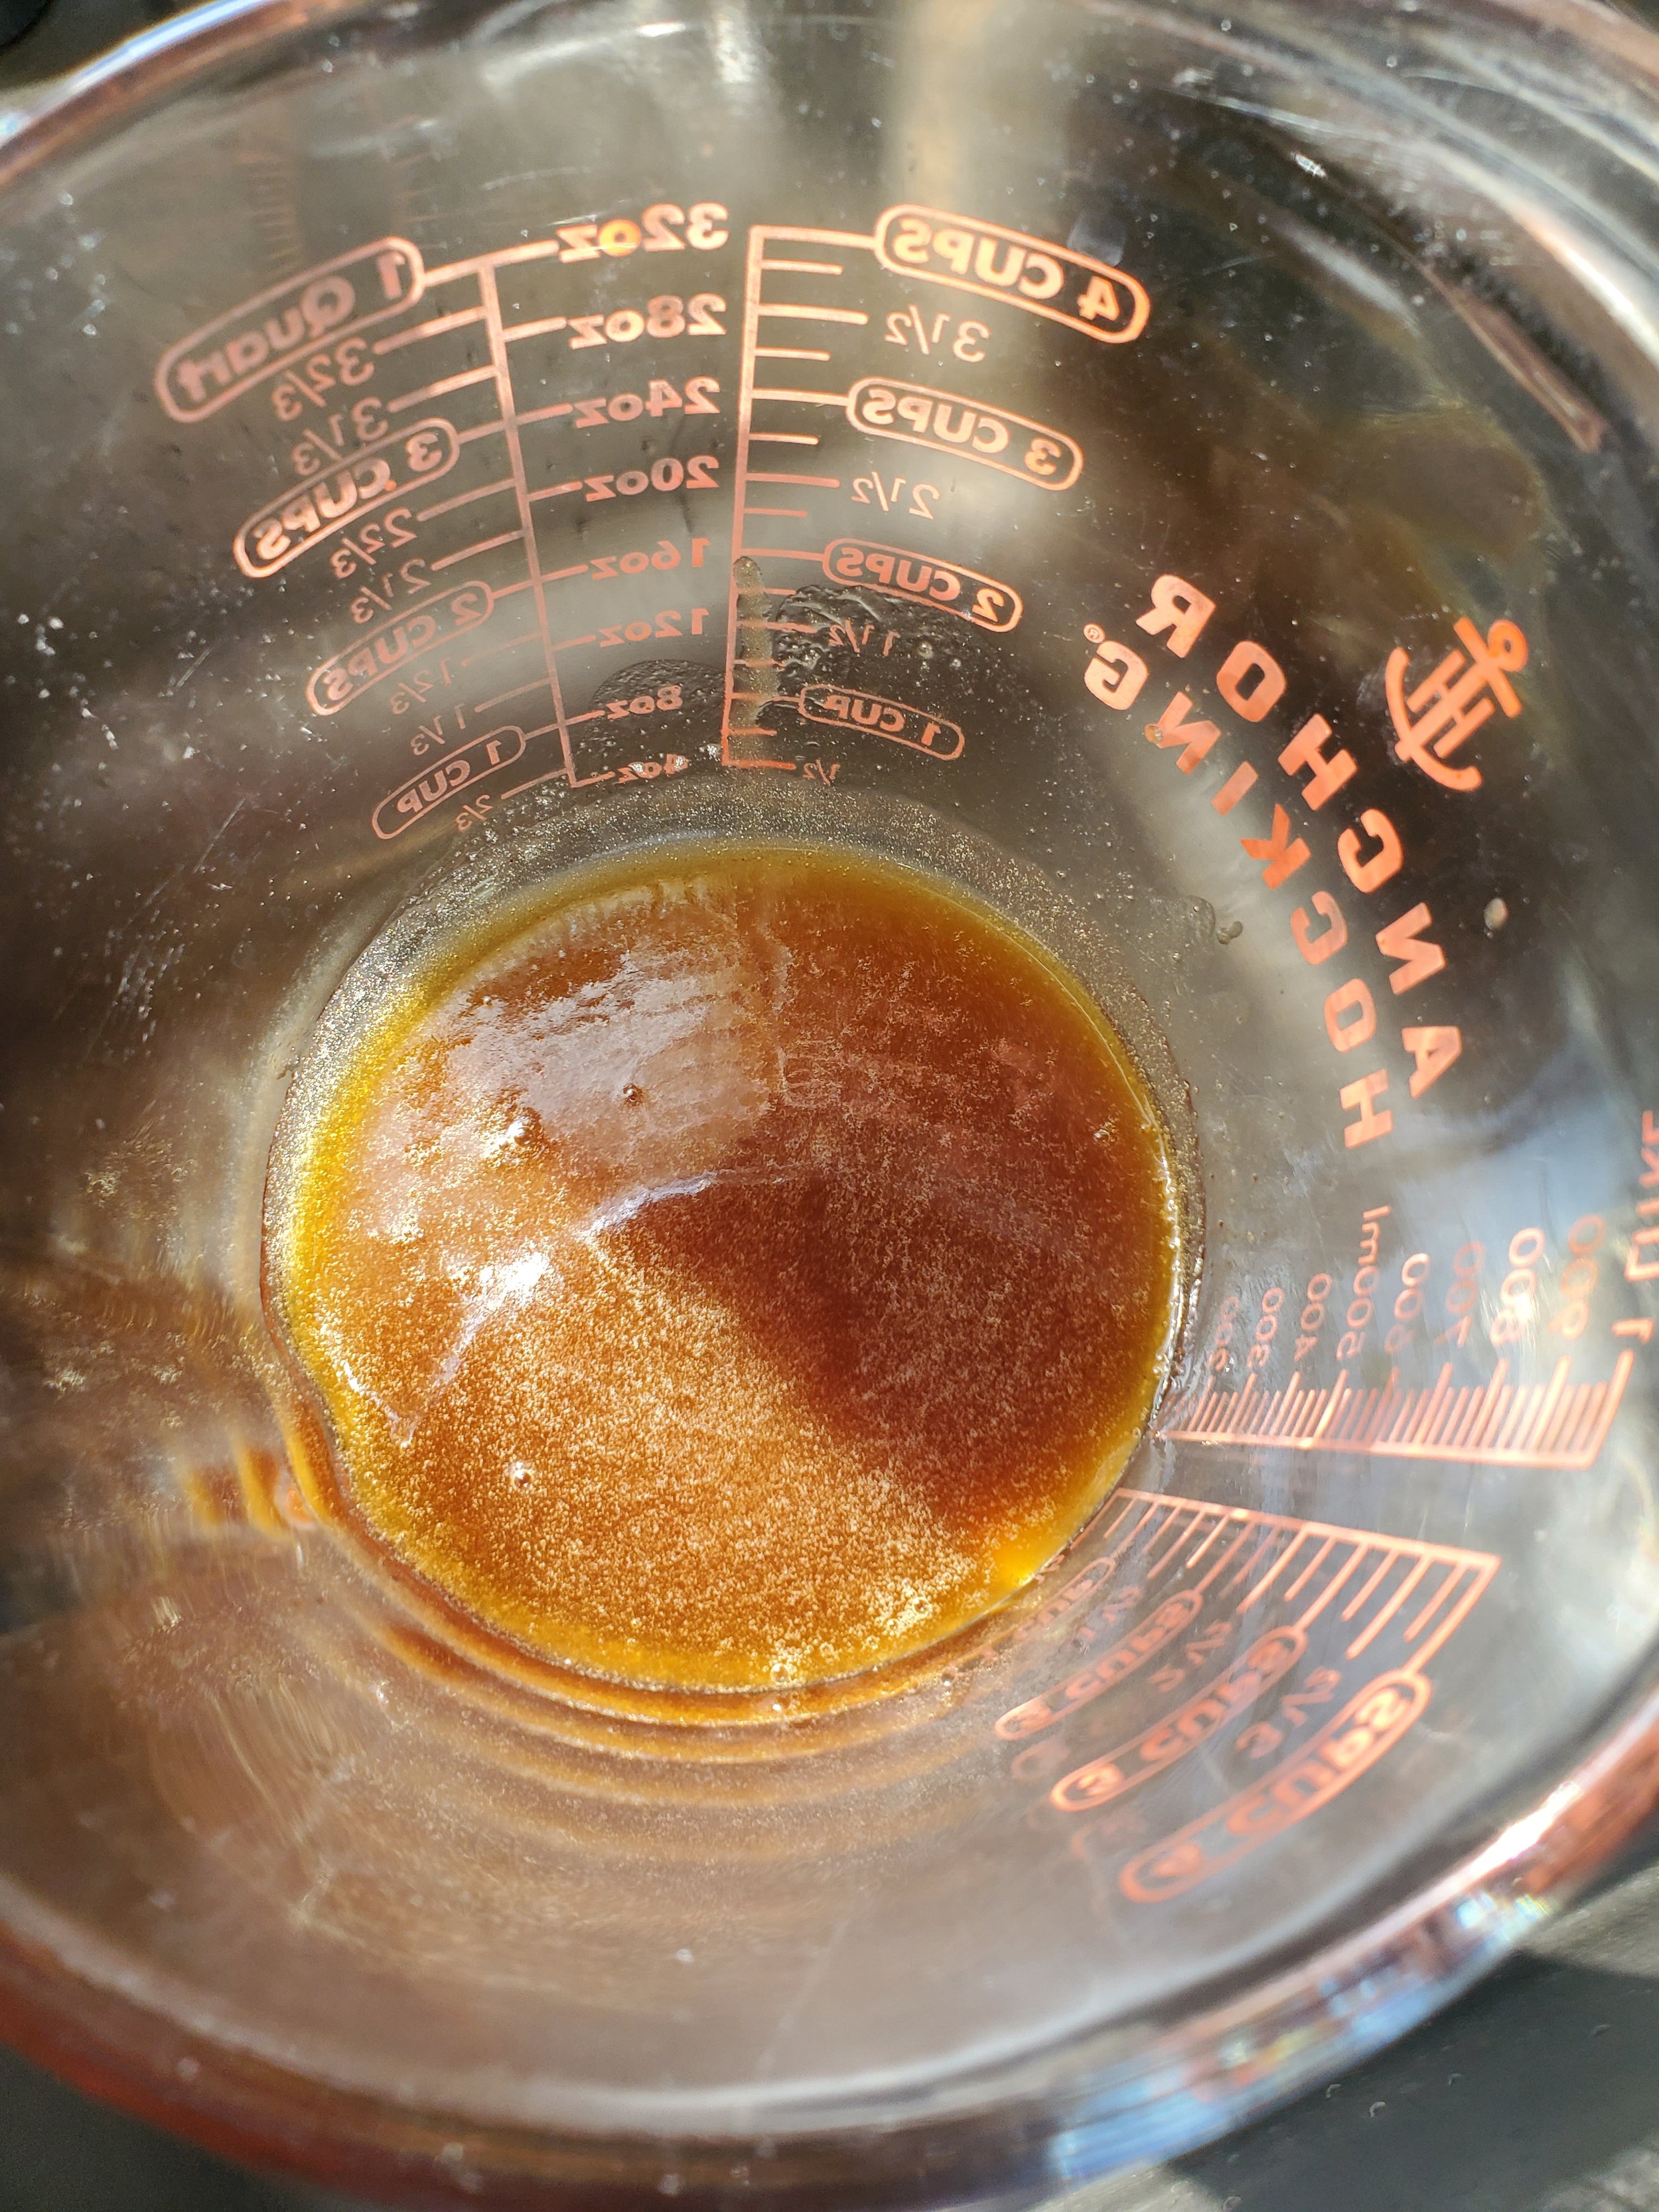
When the apples are done, remove them from the heat and use a slotted spoon to separate the apples from the syrup. Put the apples back into the dish they were soaking in previously, and dump the syrup into the heat proof measuring cup. Do not let the syrup cool in the pan - it candies up and turns to a caramel consistency.
If it's threatening to become caramel, or if you missed that last instruction, add some more butter and a tablespoon of water and stir over the lowest possible heat setting. Stir a lot. Be very patient with it, as it will look at first like nothing is happening. Once it liquefies again, please transfer it to the cup.
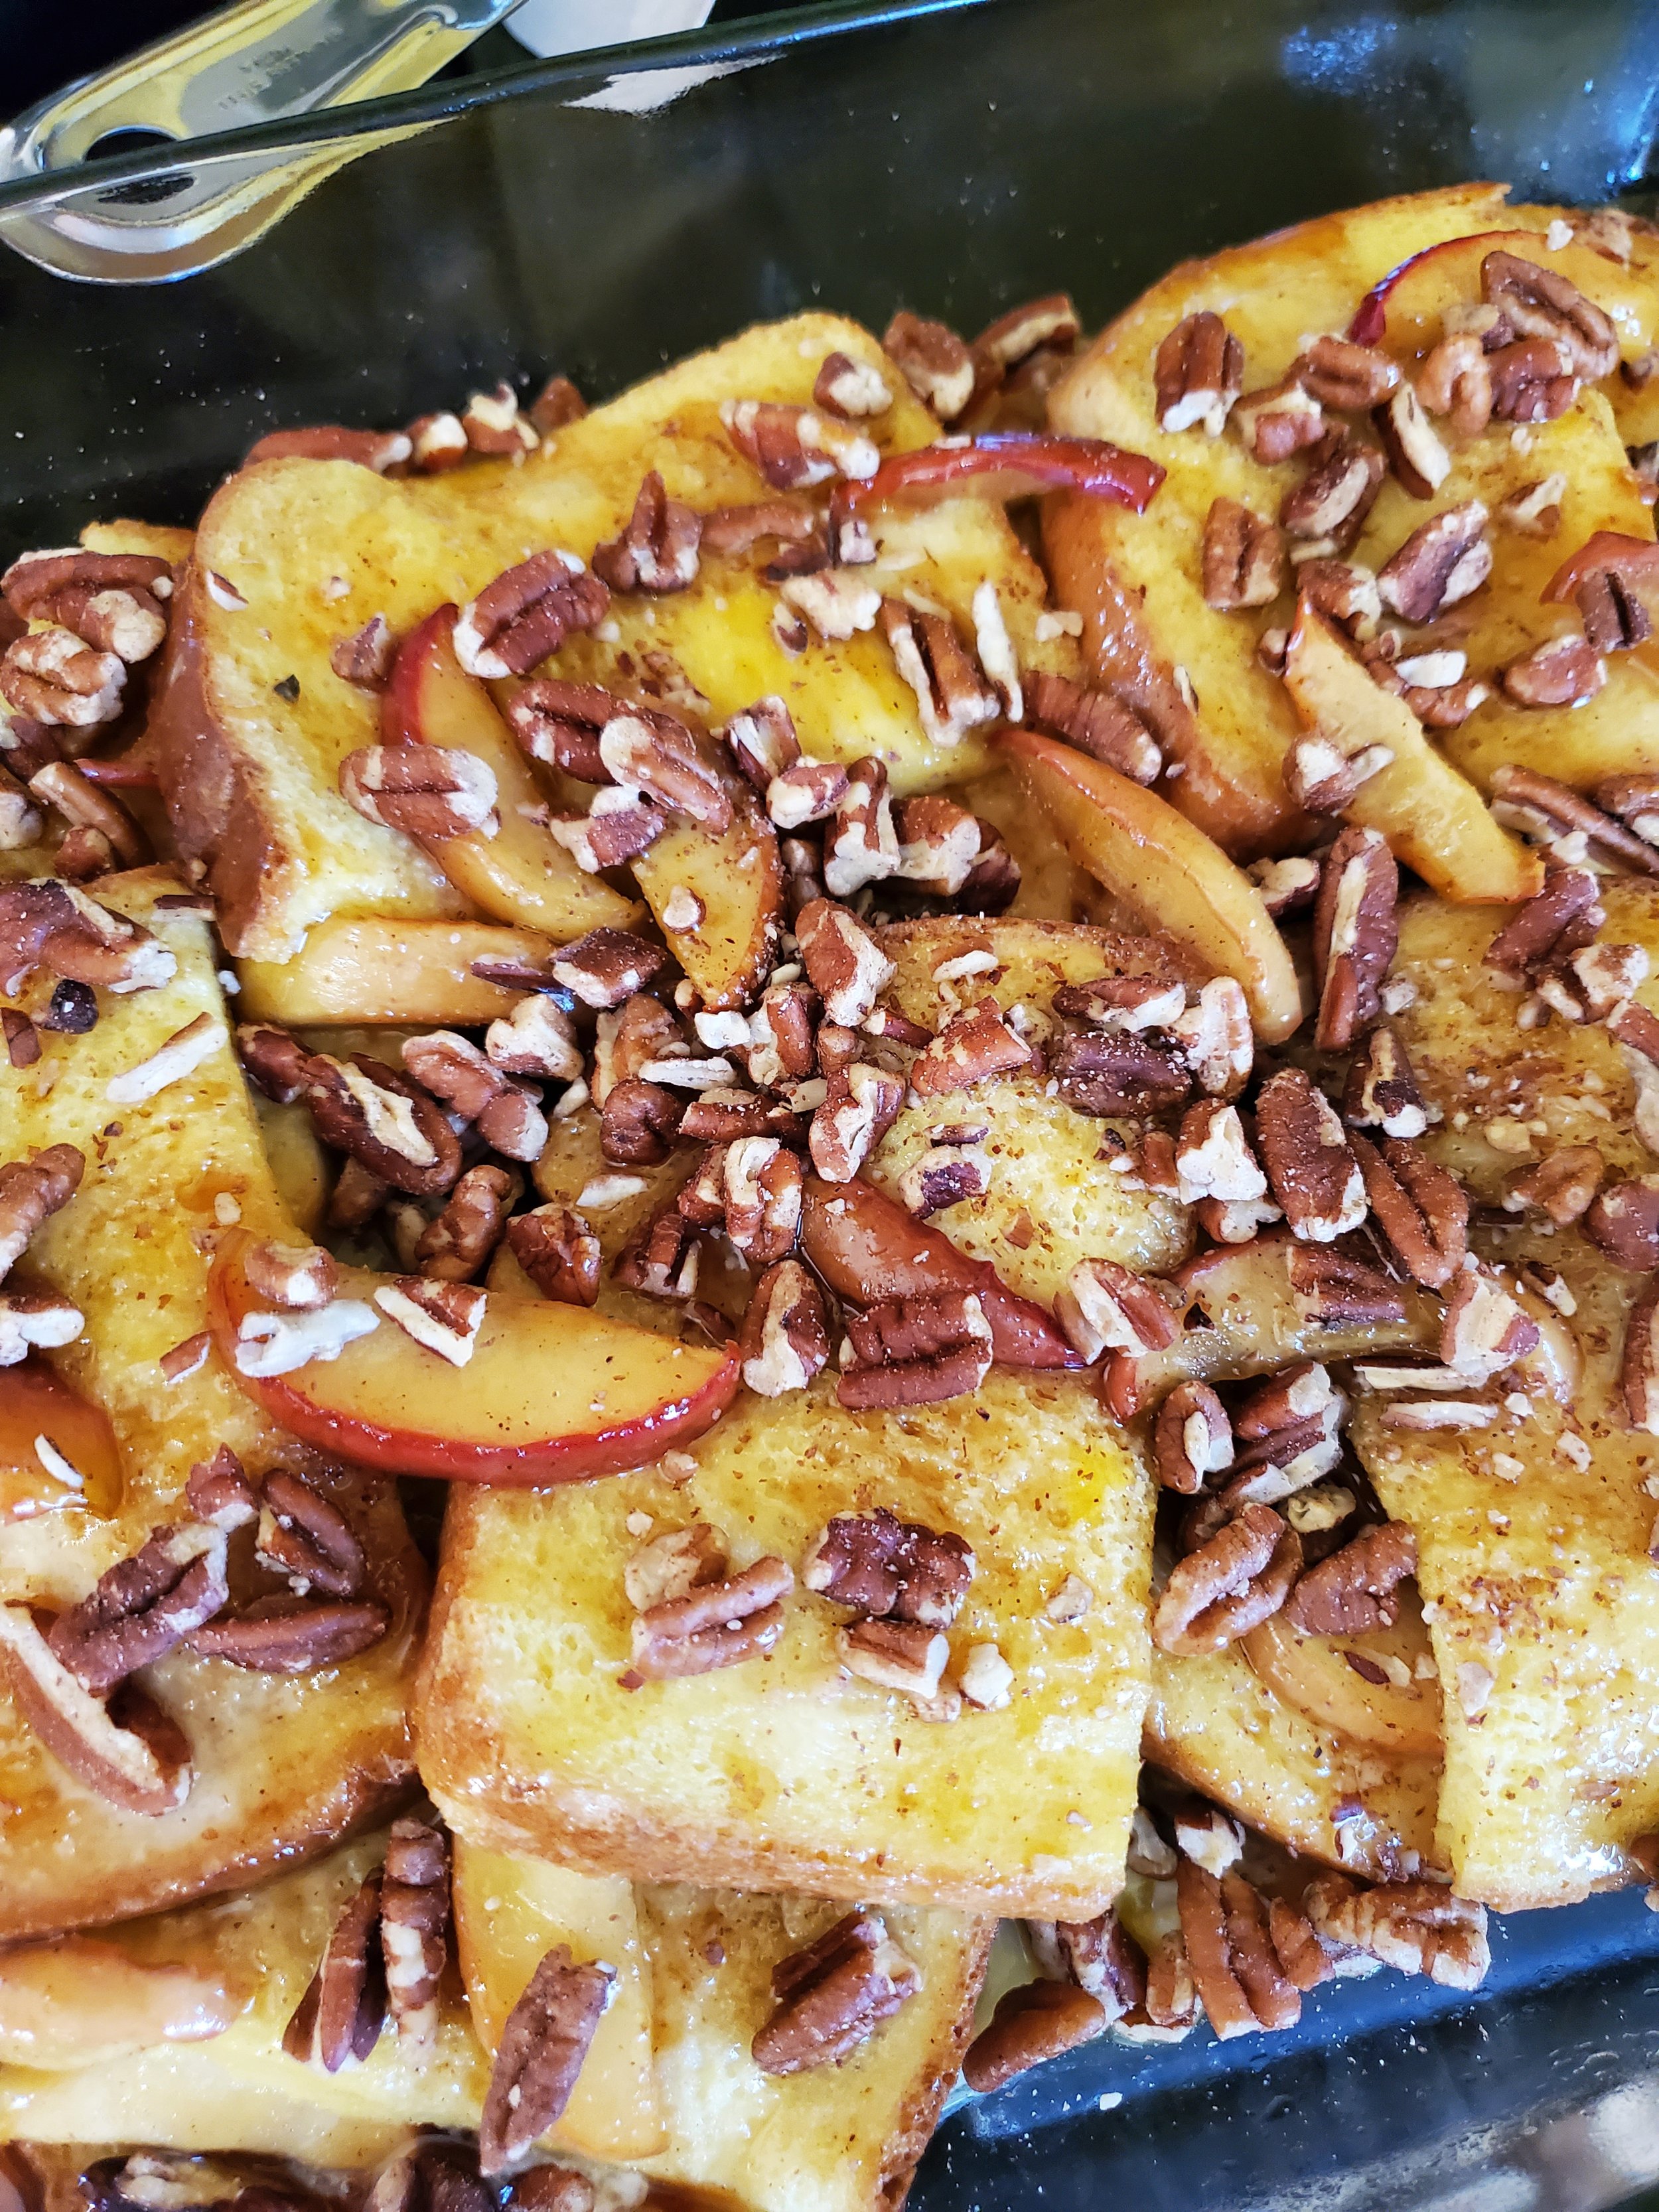
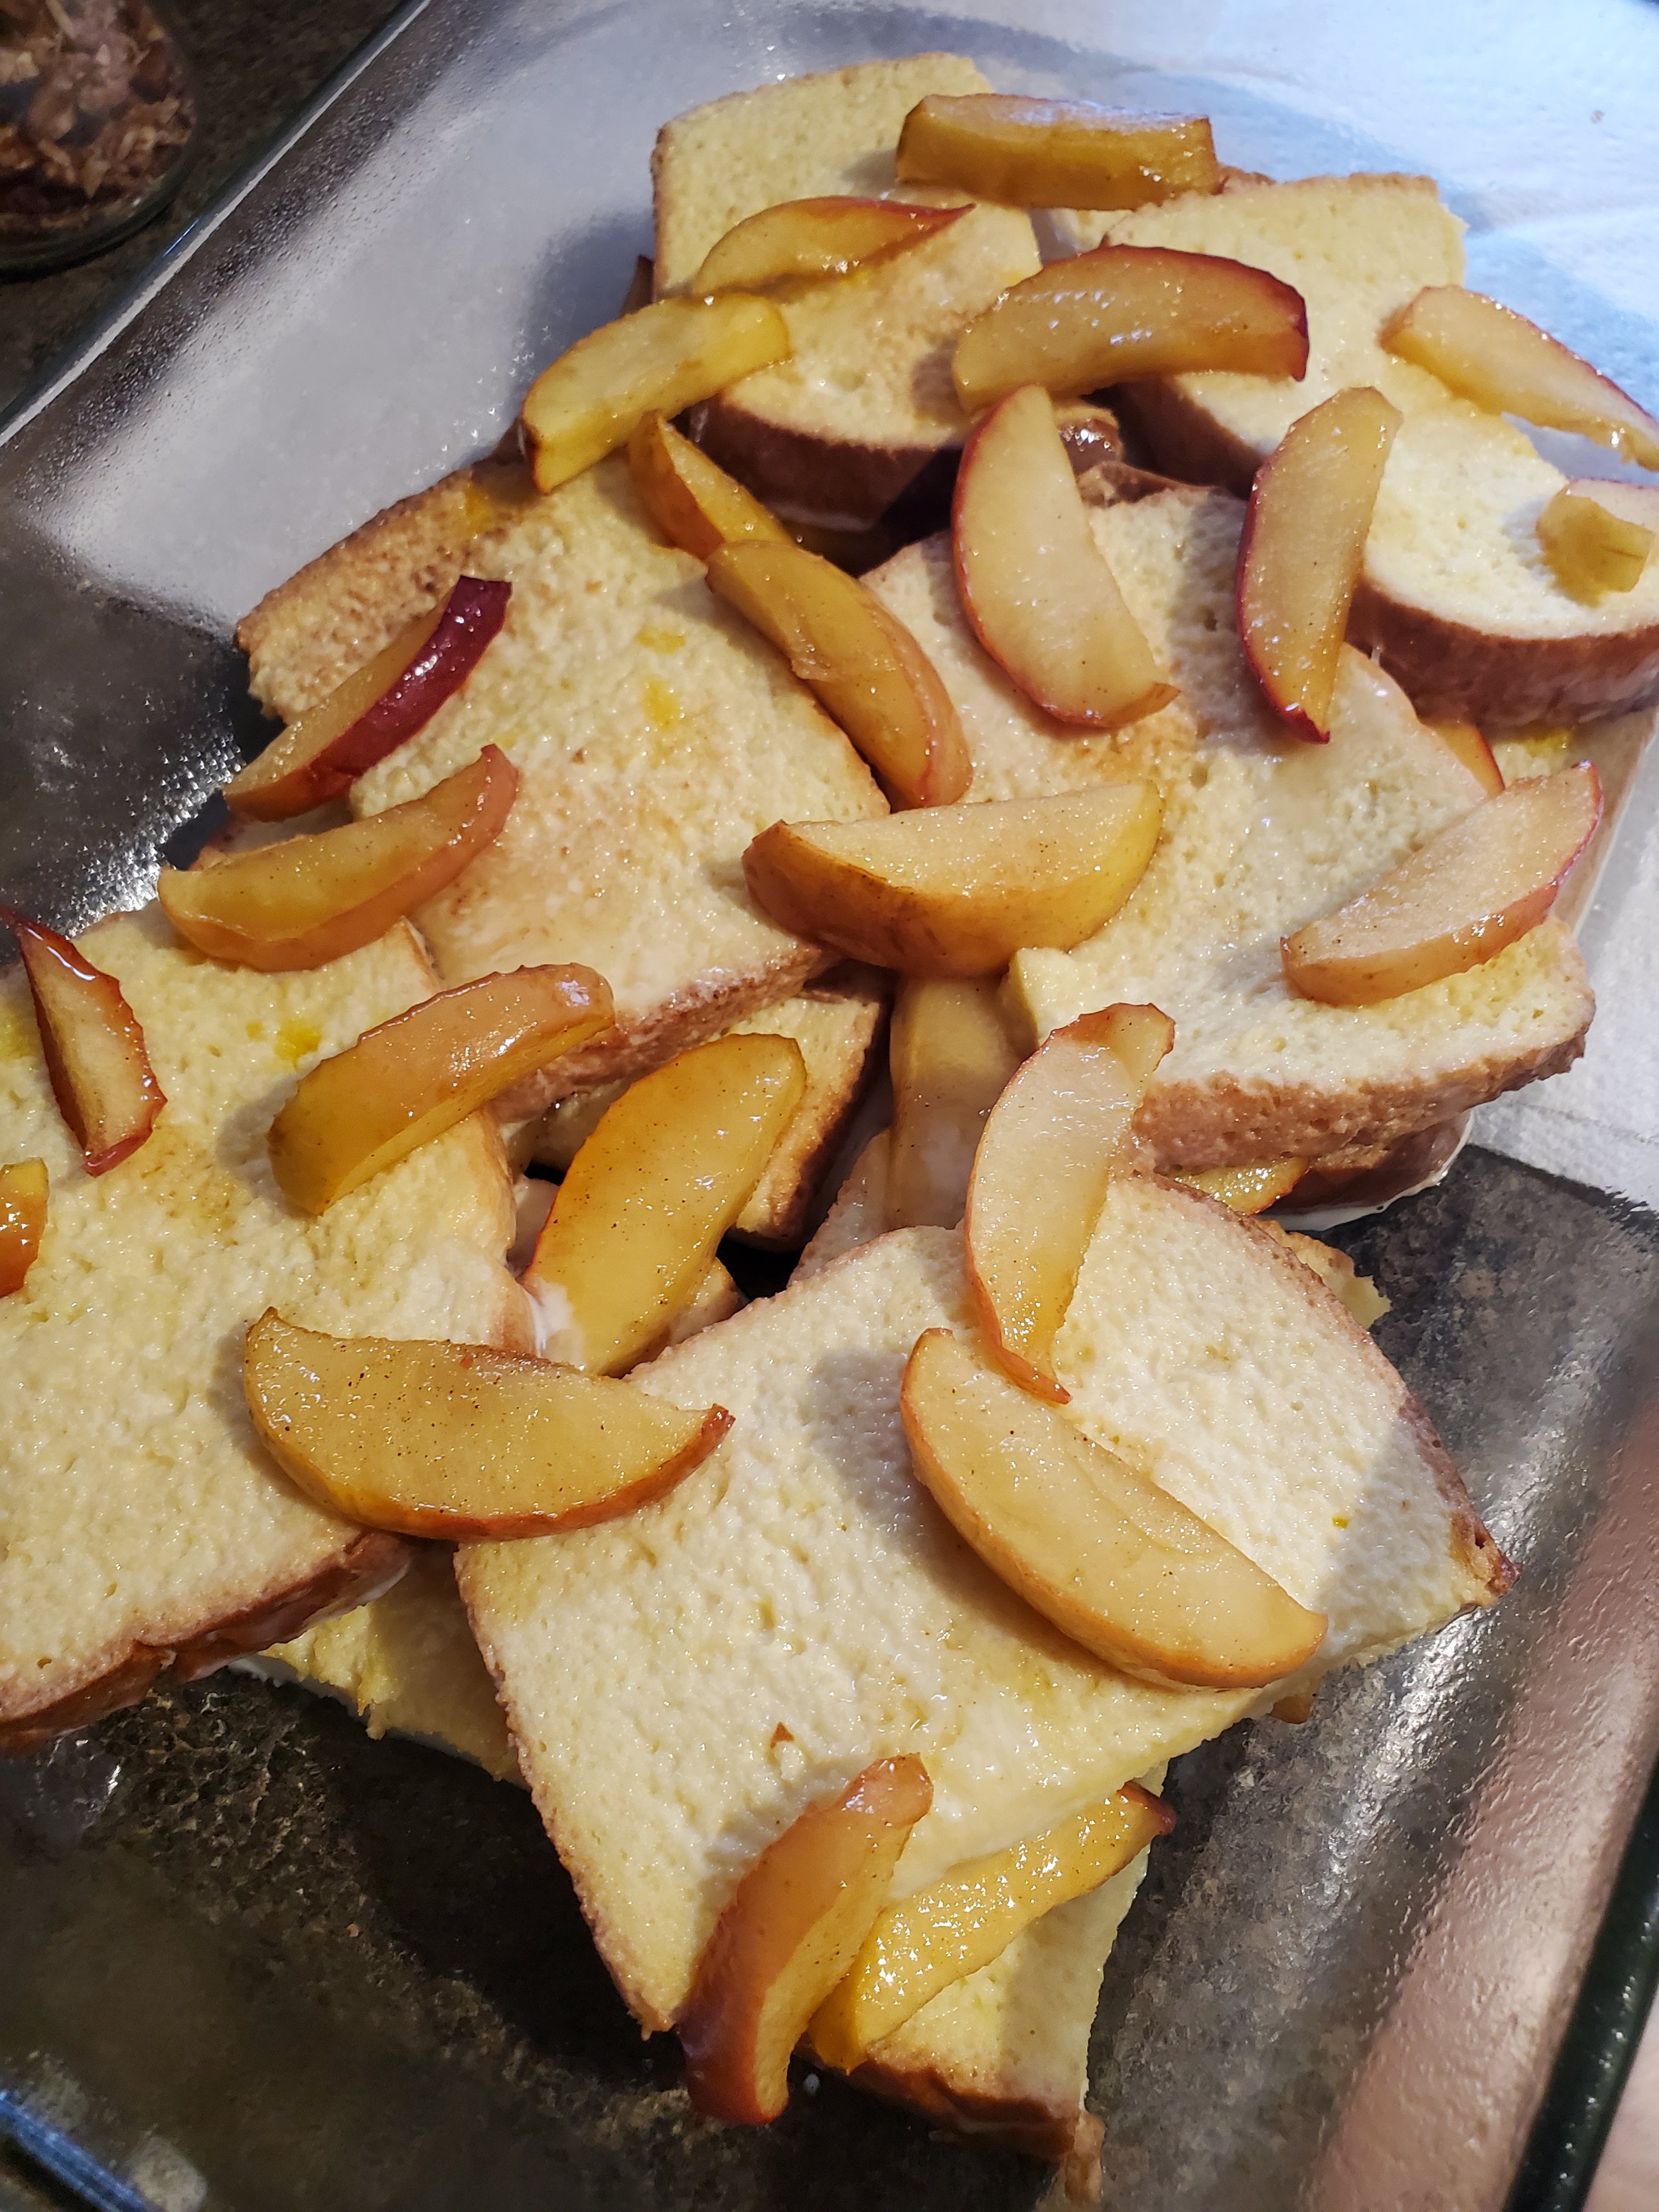
Spread a thin layer of apples over the eggy bread in the bottom of the baking dish. Alternate layers of bread and apples until you're out of bread. Pour the remaining egg mixture evenly over the top and allow it to soak in, then move the dish to the oven.
Let it cook for 25 minutes, then remove it from the oven, add the pecans, pour the syrup over it, and return it to the oven for another 20-25 minutes. Double check it to make sure it's done by the toothpick test - when a toothpick or knife inserted into the middle of the dish comes back out clean, the french toast is ready.
Cut into eight servings and enjoy!
Whether you've prepared this dish to share with loved ones on a special morning or simply pampered yourself with its delicious embrace, it's a culinary journey worth embarking upon time and time again. Let us know if you decide to over on our Facebook page.
If you wound up here because you’re in need of an appliance repair technician, we can help. You can get hold of us by calling ((214) 599-0055) or by going to our website.
Additional Reading:
Easy No-Cook Not Quite a Cannoli
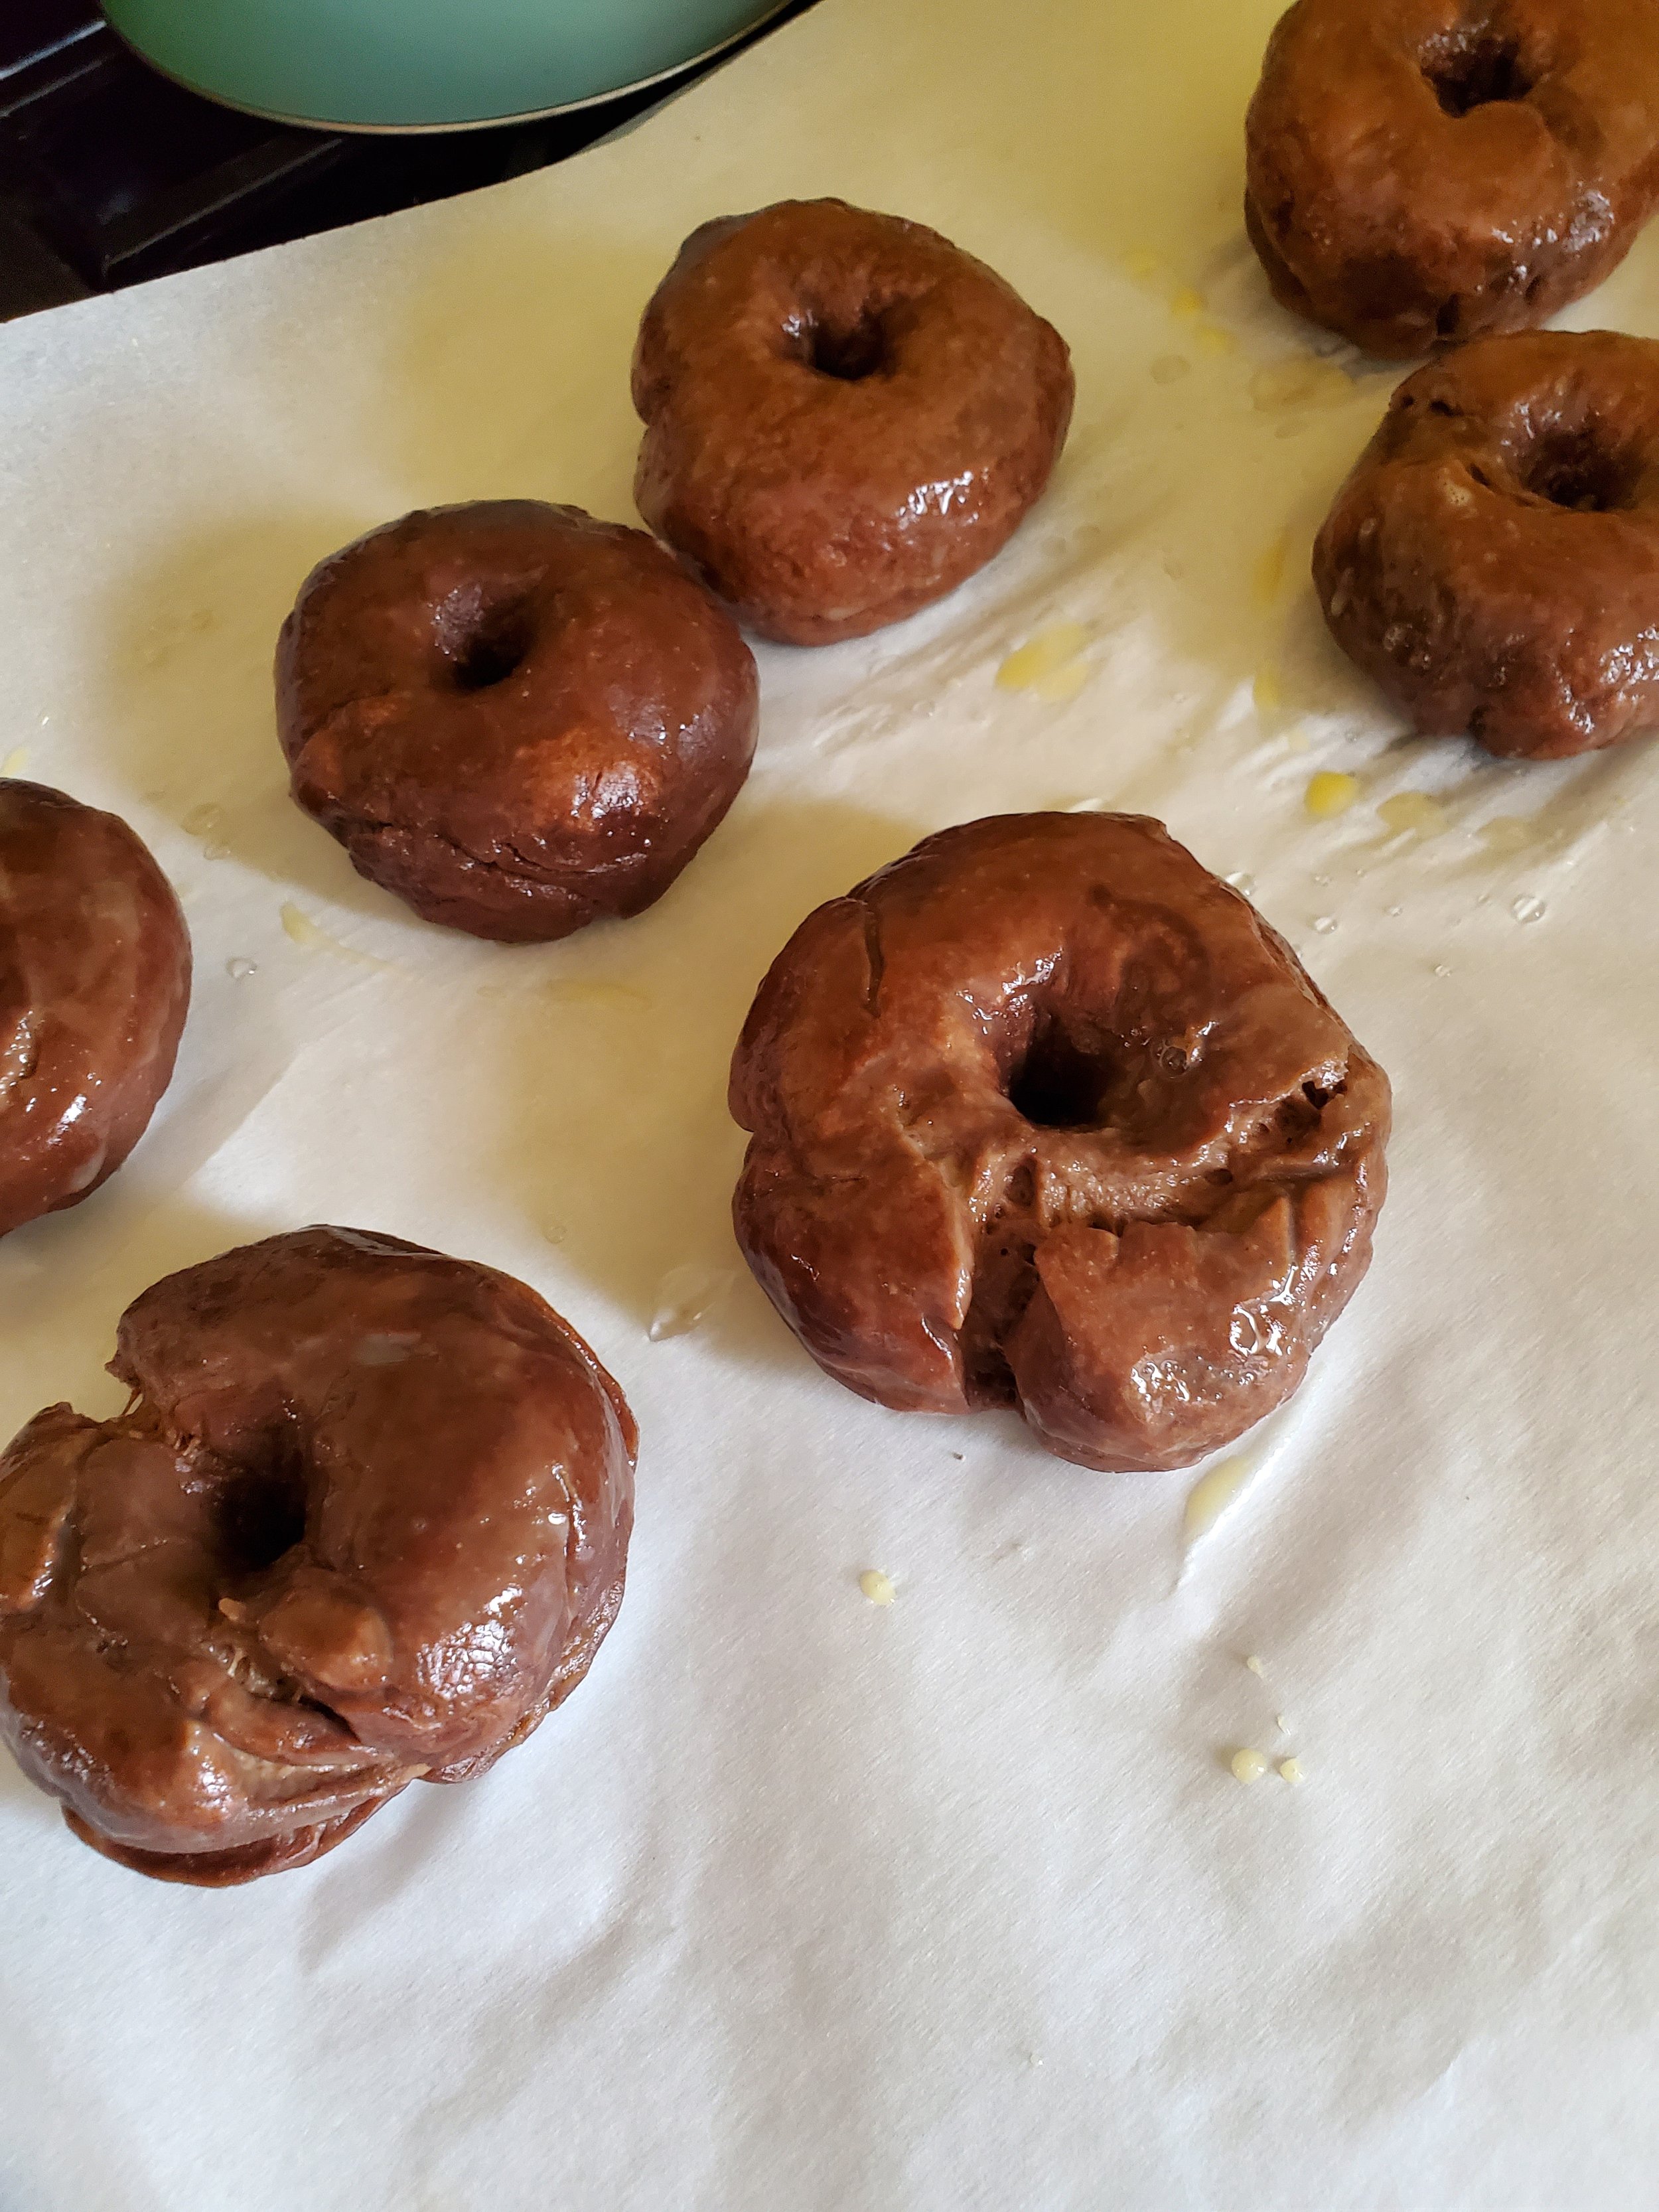
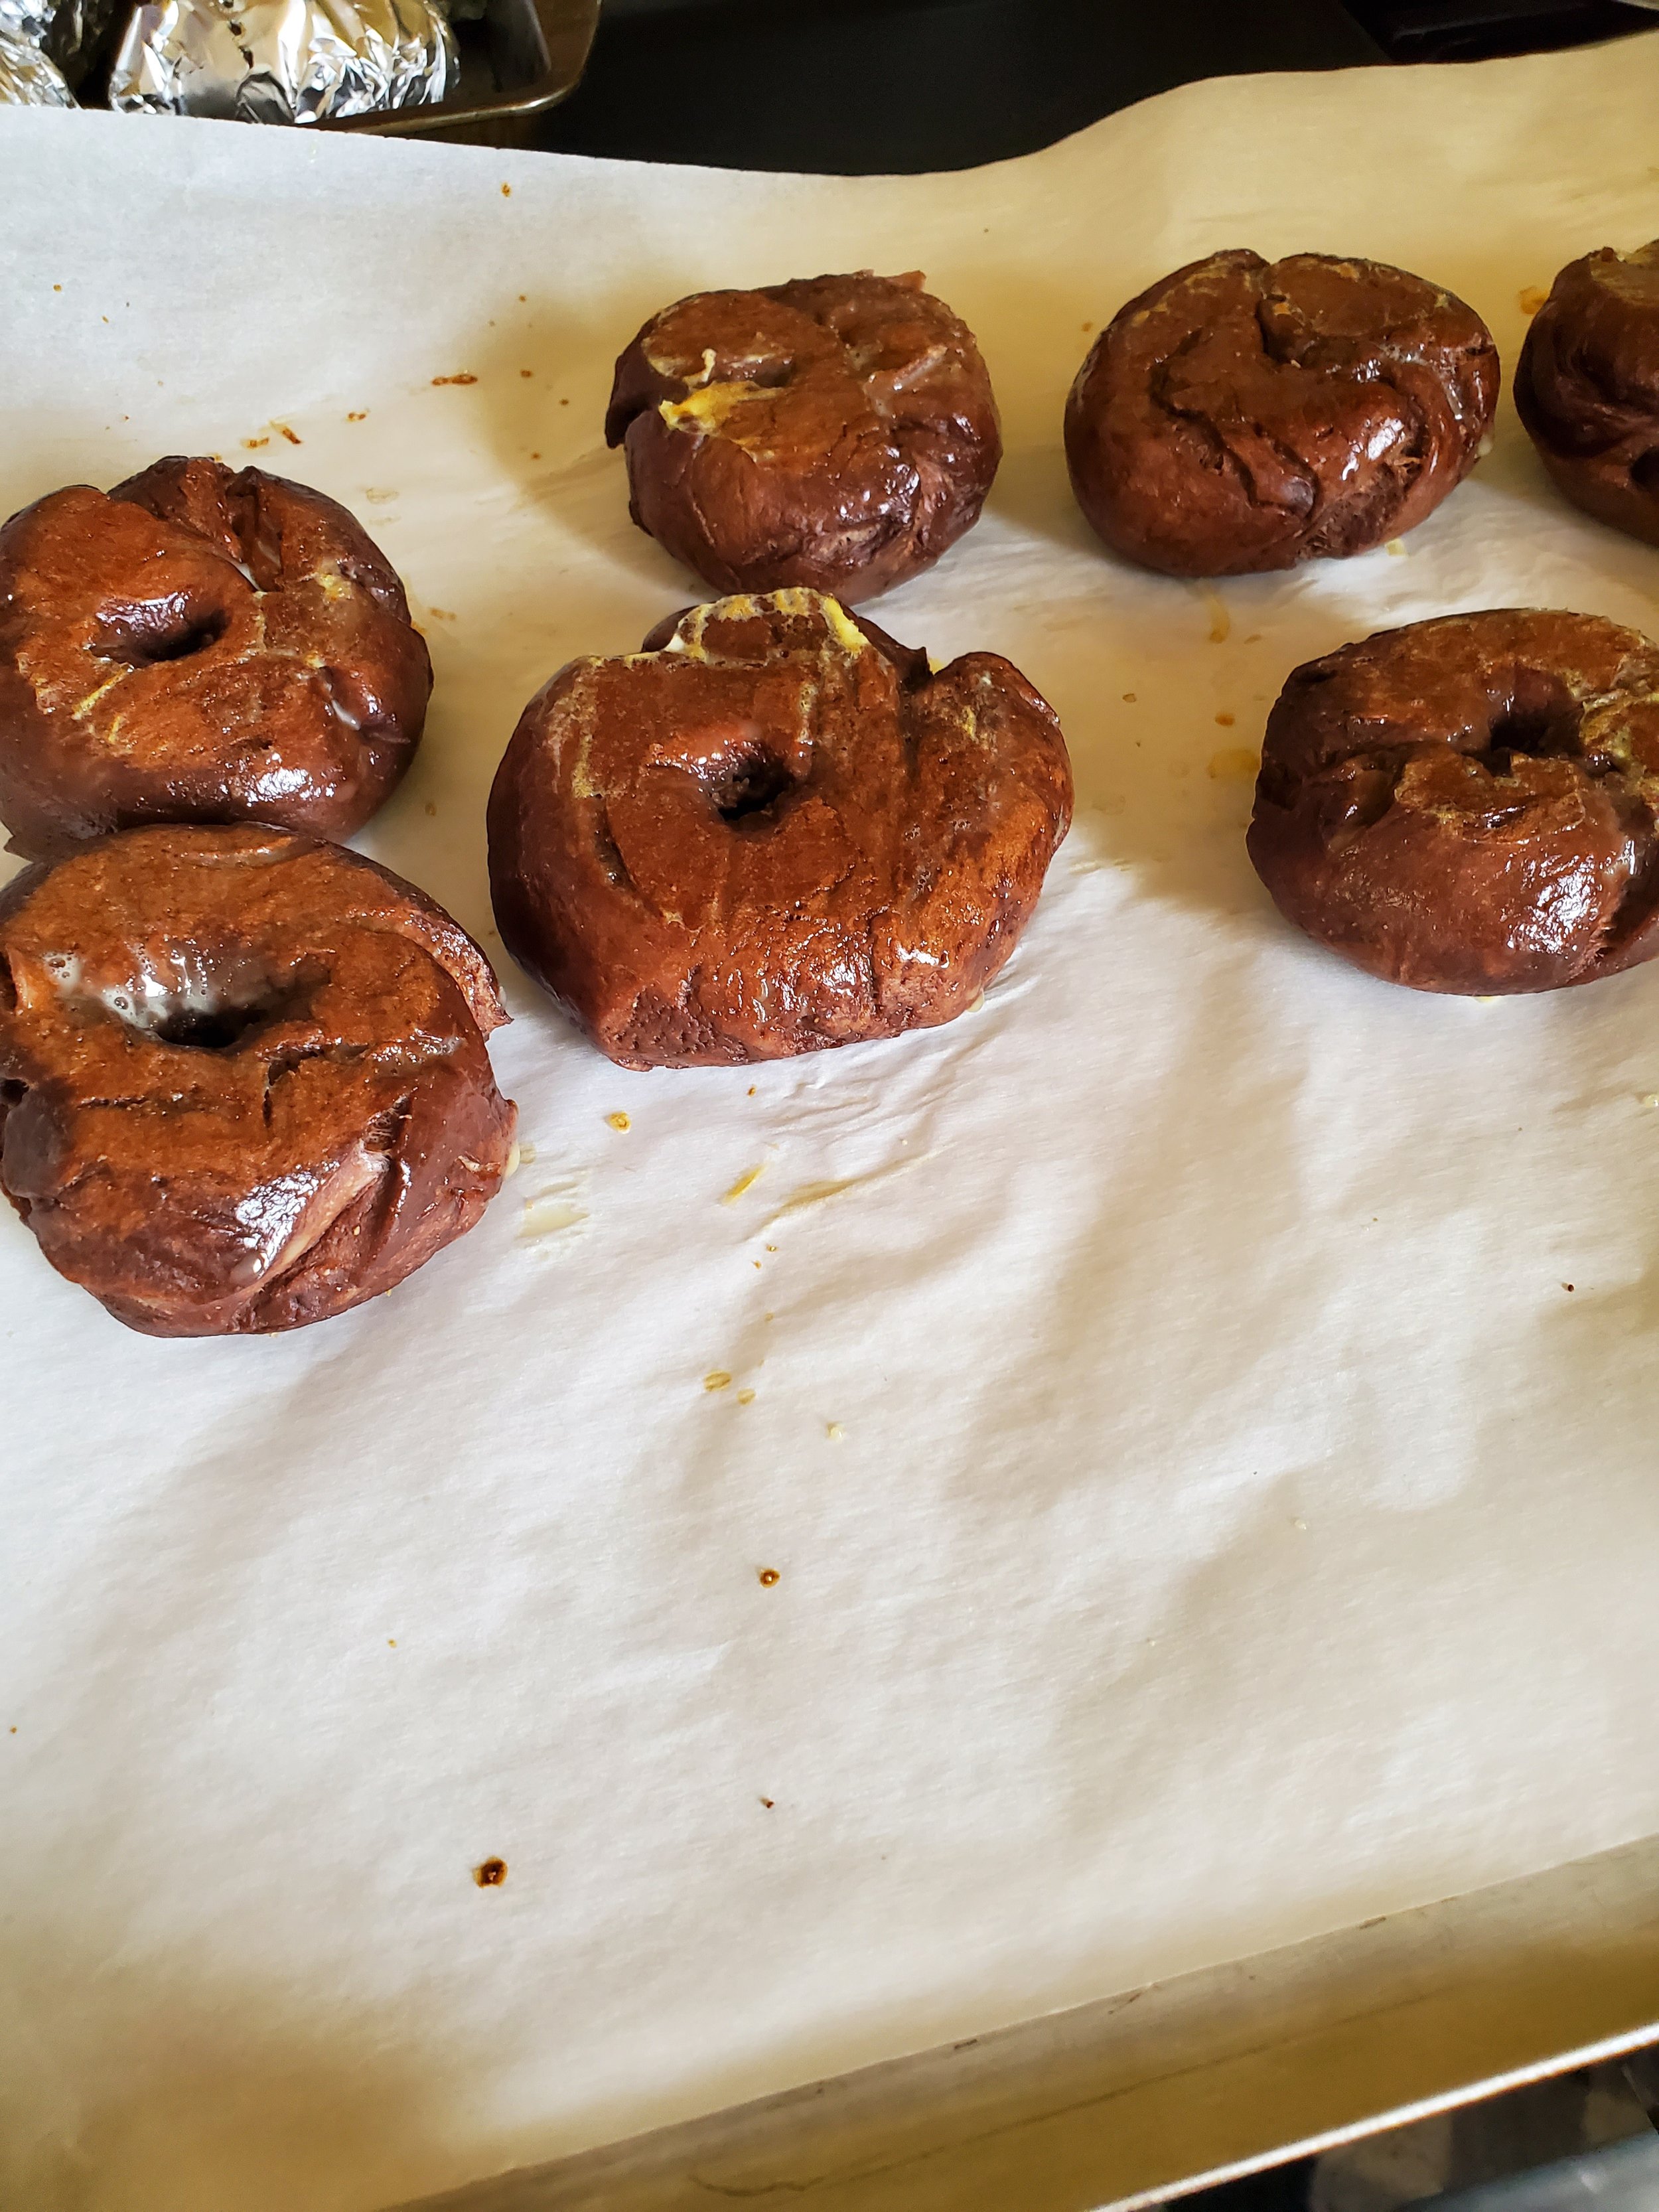
Escapee From New York: Chocolate Bagels