Quick Fix or Costly Mistake? Myths About Appliance Repairs

From resets to DIY parts swaps—debunking the most common myths.

If you’ve ever searched online for appliance repair tips, you’ve likely encountered countless “quick fixes” promising to solve your problems in minutes. While they might sound like an easy fix, and even make sense in the moment many of these so-called solutions can do more harm than good—and cost you more in the long run. Let’s break down some of the most common myths about appliance repairs and why trusting professionals is often the smarter choice.


The “Duct Tape Solution” Myth


Myth: Duct tape can fix almost anything, including your appliances!


Courtesy of WikimediaImages

Reality: While duct tape is a versatile household staple, it’s not a permanent solution for appliance issues. Using duct tape to seal a leaky hose can work temporarily. In the long run, it leads to more extensive damage when the tape inevitably fails or interferes with the appliance’s ability to work. It’s commonly misused on cracked refrigerator shelves, loose washing machine panels, and even air conditioner vents, which can worsen over time. It’s especially important to keep in mind that it’s not designed to withstand heat, moisture or pressure, and shouldn’t be used for a long term solution. Duct tape is meant to be a stop gap. 


The Better Fix: Replace damaged parts with manufacturer-approved components and have them installed by a professional to ensure safety and longevity.


The “Just Reset It” Myth


Myth: Turning an appliance off and on will fix any glitch.

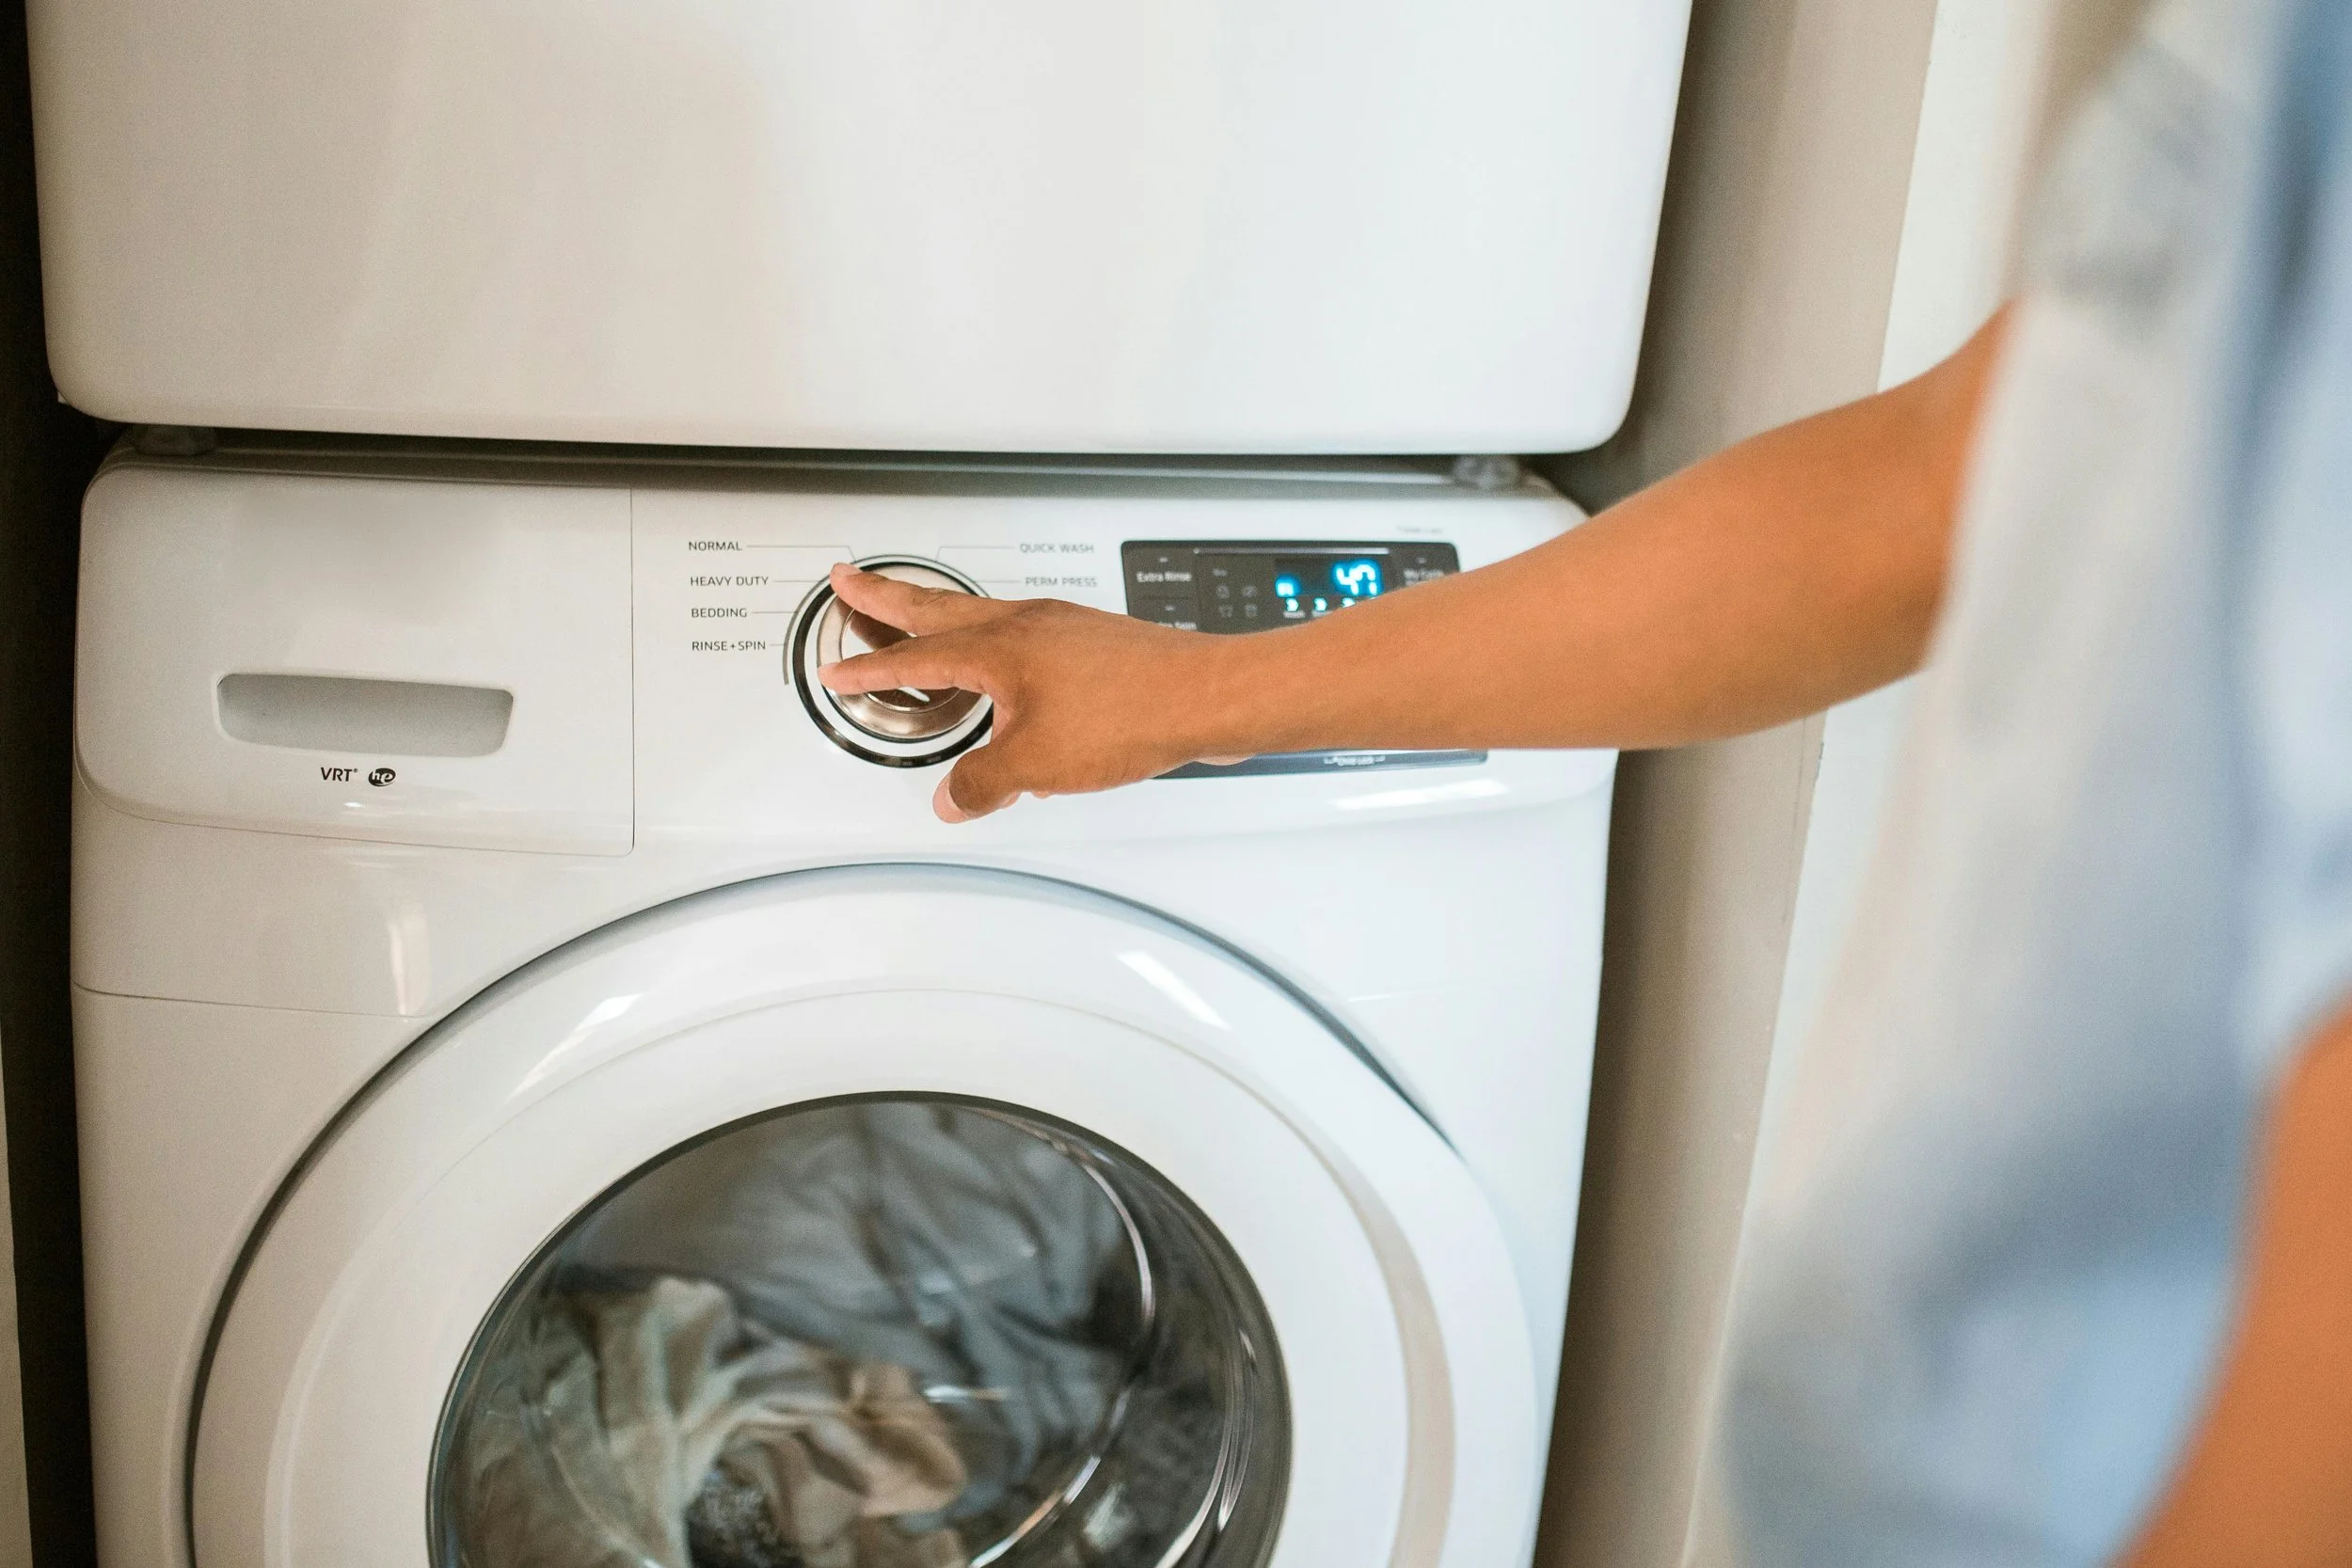
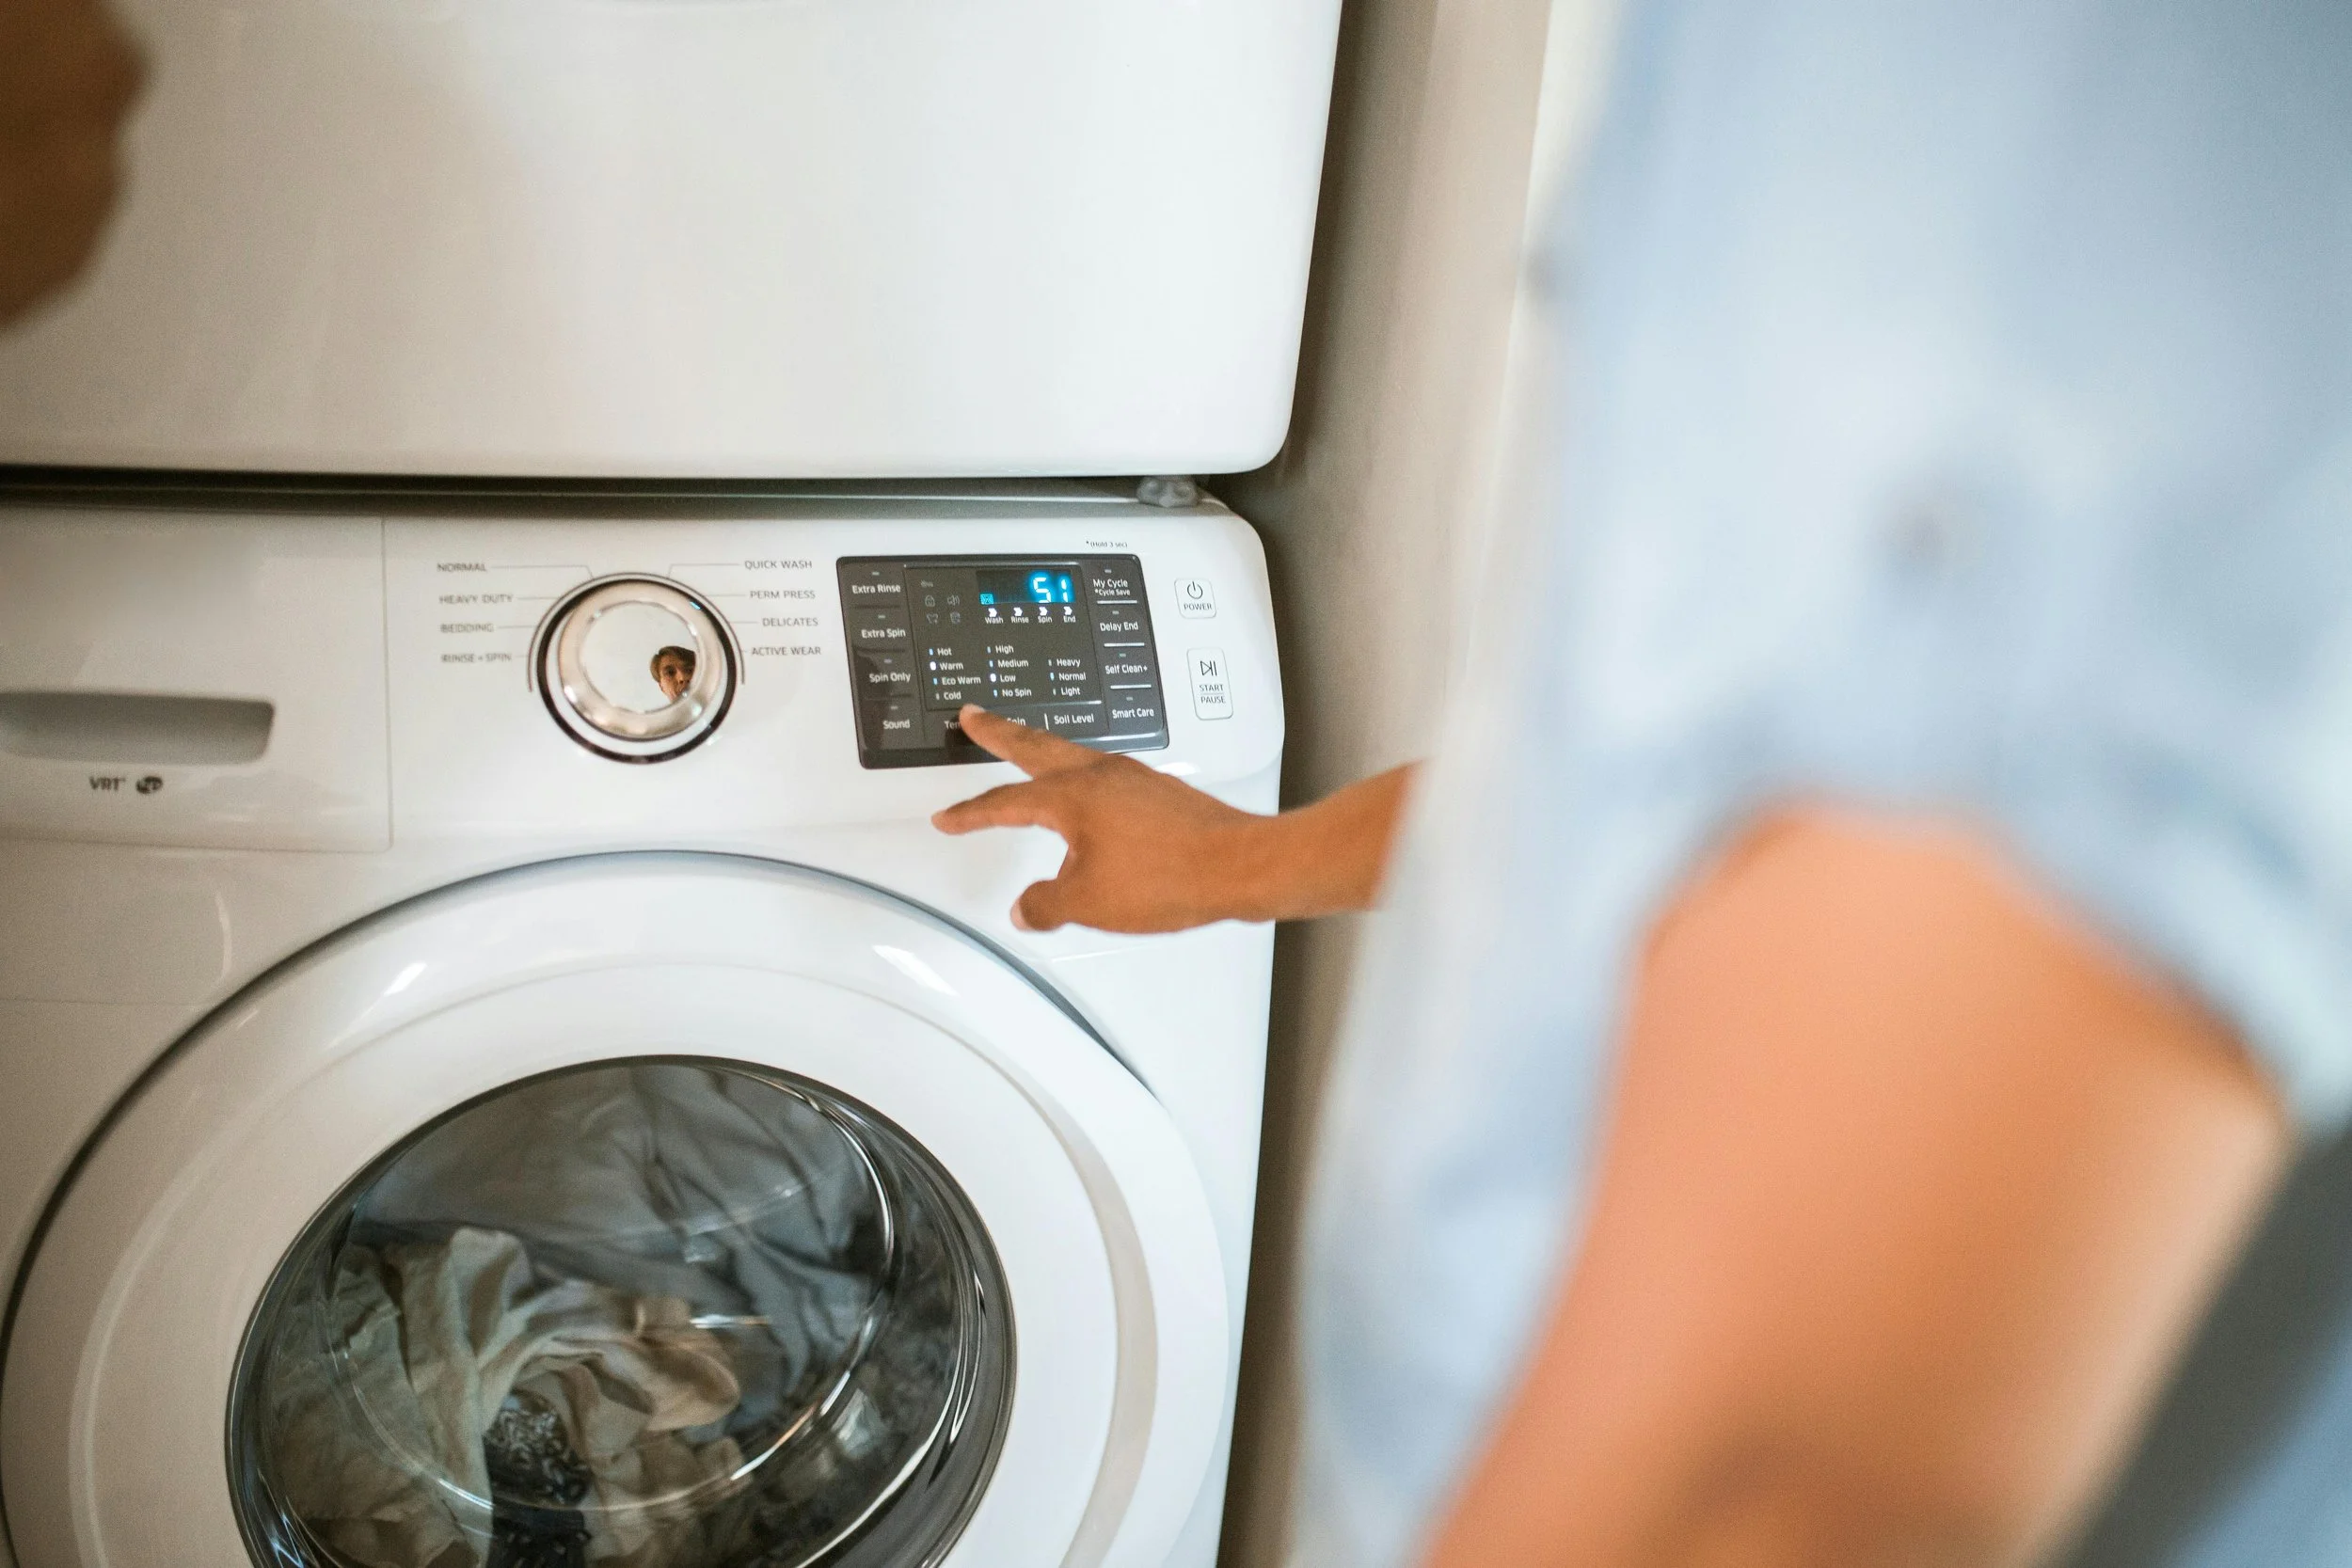
Reality: While resetting is often the first step  a professional will try with a smart appliance, it’s not a cure-all. Many modern appliances do rely on advanced chips to control them, and a simple reset can fix minor glitches. However while chips can be reset, deeper issues like malfunctions in the code, or damaged chips or hardware issues, like faulty wiring, worn motors or failing sensors can’t be ‘reset.’ Ignoring these signs can lead to more than momentary frustration. 

power off symbol on an appliance doesn't usually look like this, but we'll pretend.

Courtesy of Jules A.


The Better Fix: If the issue persists after resetting, it’s time to call in an expert. A professional can diagnose the root cause and prevent the problem from escalating.


The “It’s Cheaper if You Do It Yourself!” Myth


Myth: You can save money by replacing broken parts yourself.


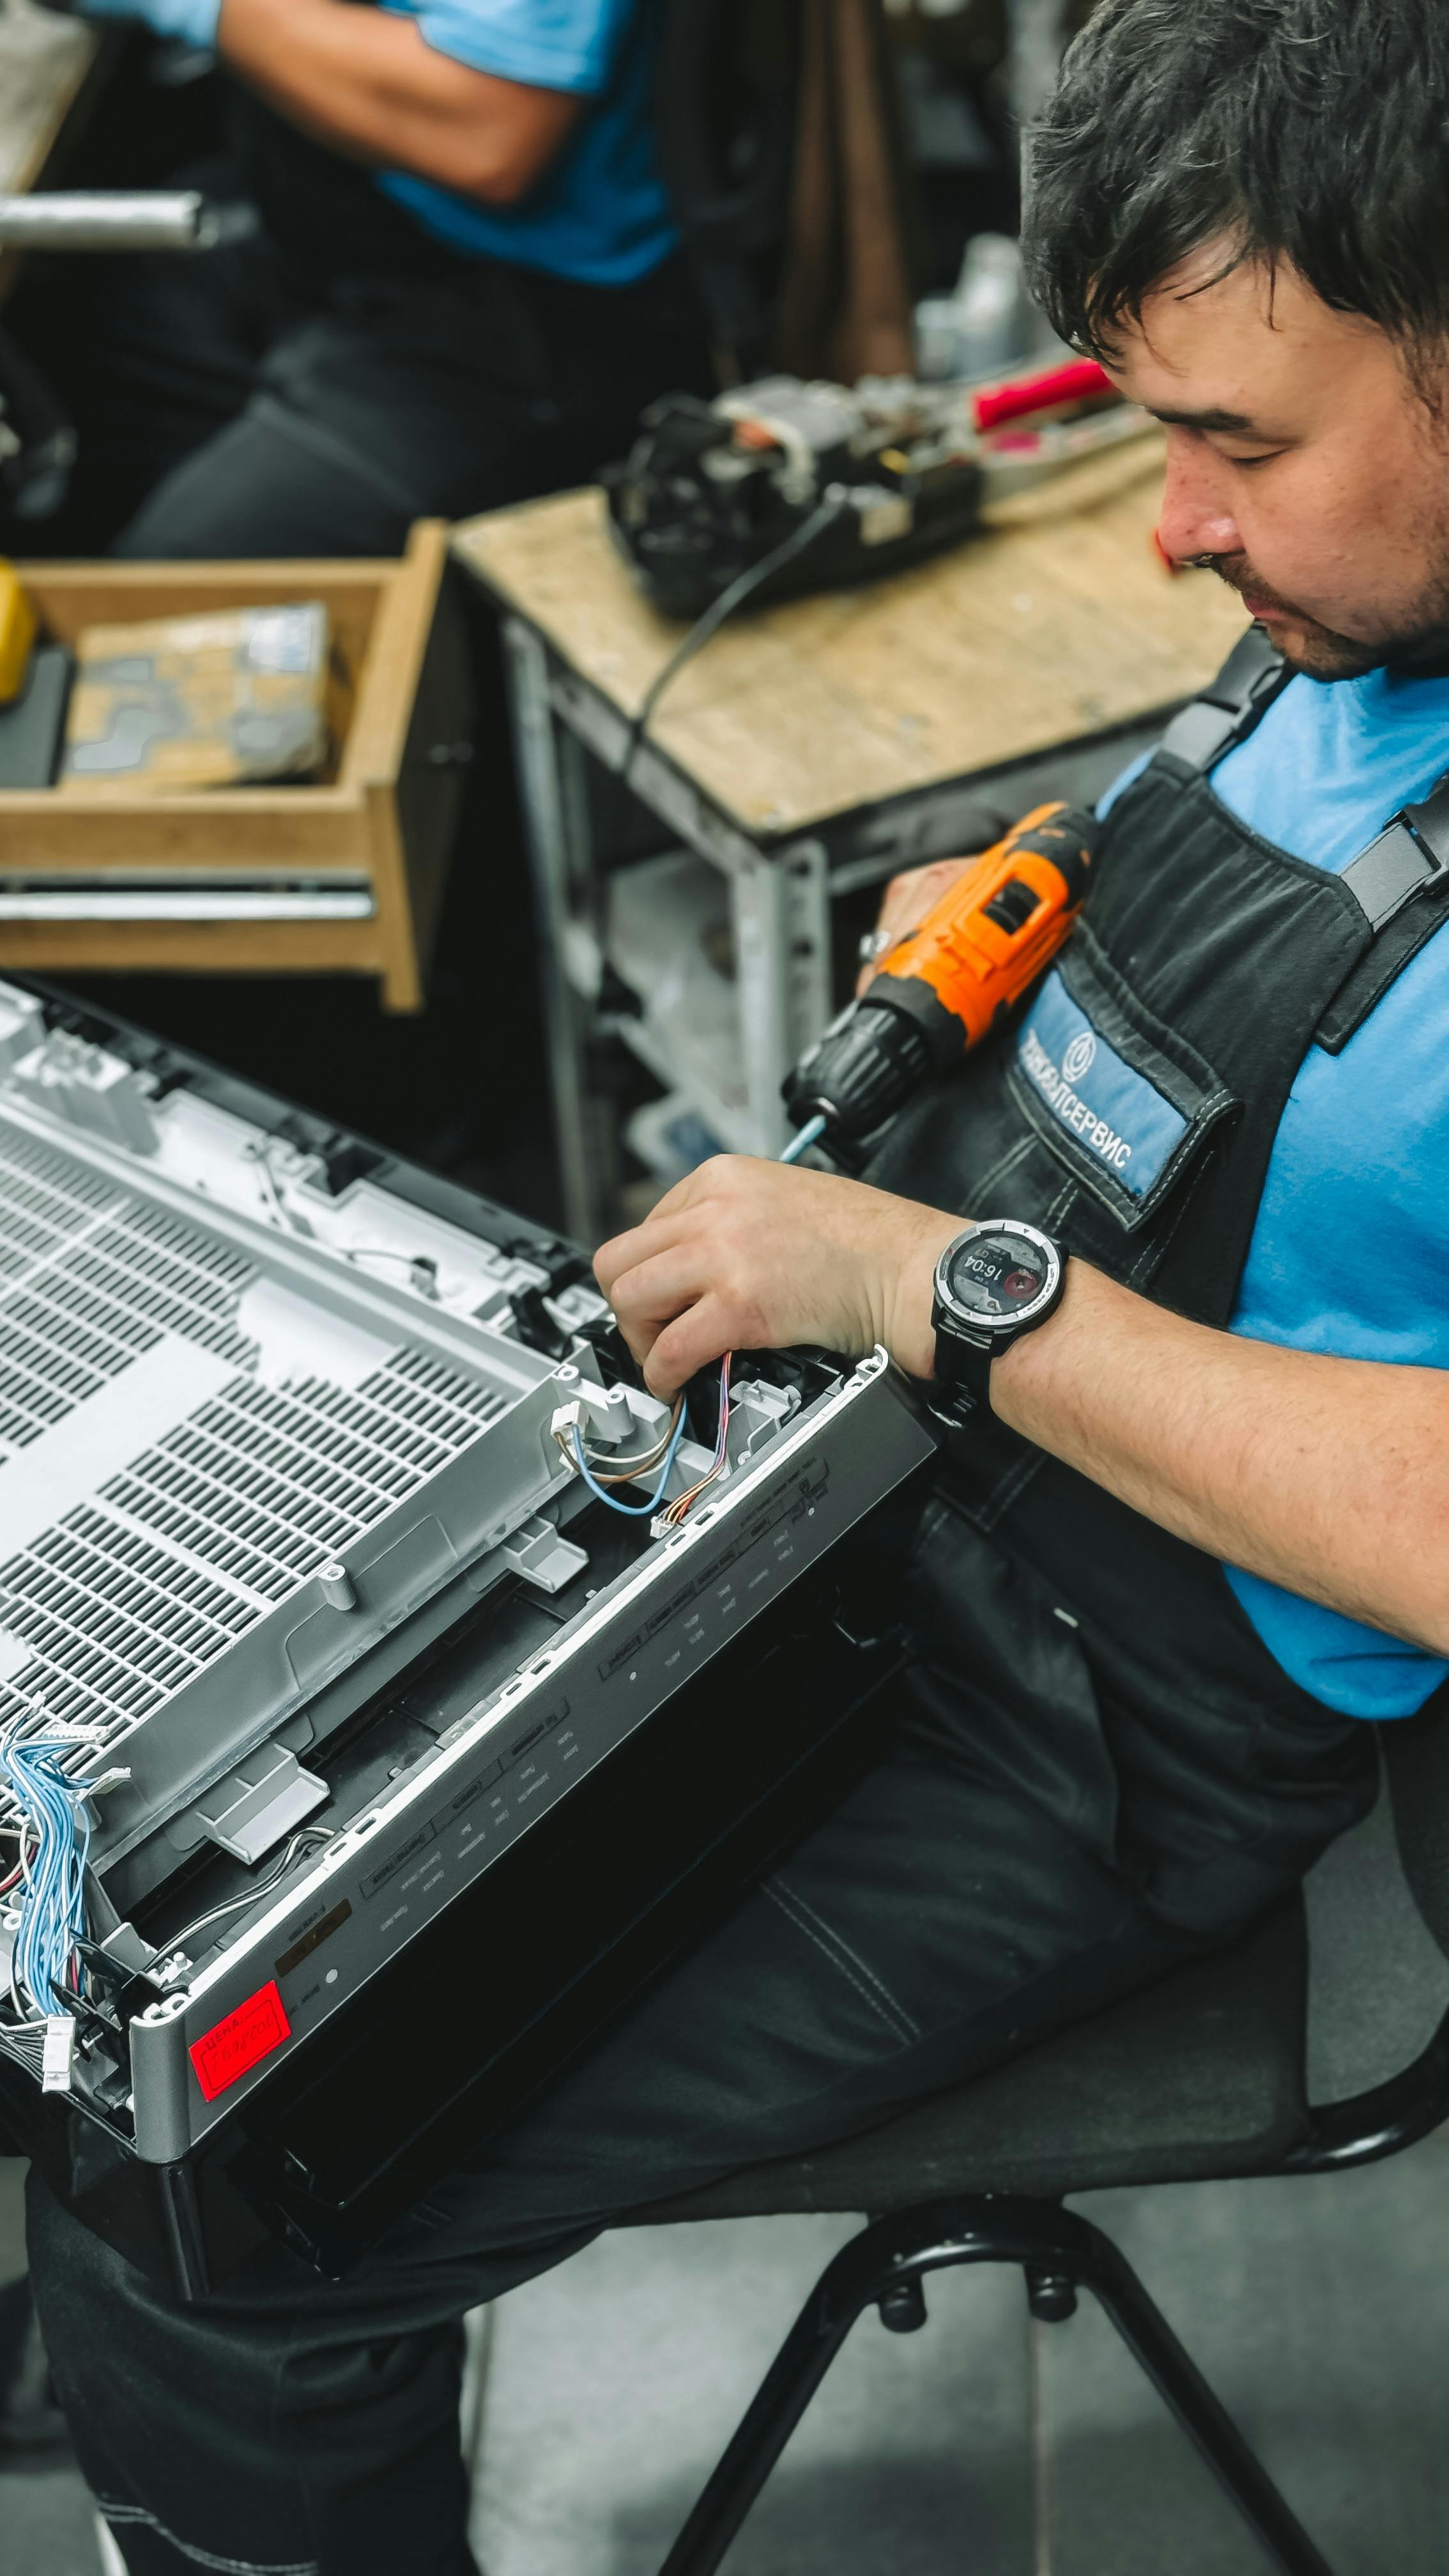
Reality: While it might seem straightforward to swap out a damaged part, modern appliances often have complex systems that require precise installation. They can also be tricky to get to and require a full disassemble of the appliance, or tools made just for the appliance. A DIY attempt can lead to improperly fitted parts, voided warranties, or even safety hazards like electrical shocks or gas leaks.

courtesy of congerdesign.


The Better Fix: Always consult a professional for repairs involving electrical or gas components. This not only ensures safety but also maintains your appliance’s warranty coverage.


The “Overloading Isn’t a Big Deal” Myth


Myth: Appliances are built to handle more than their recommended capacity.


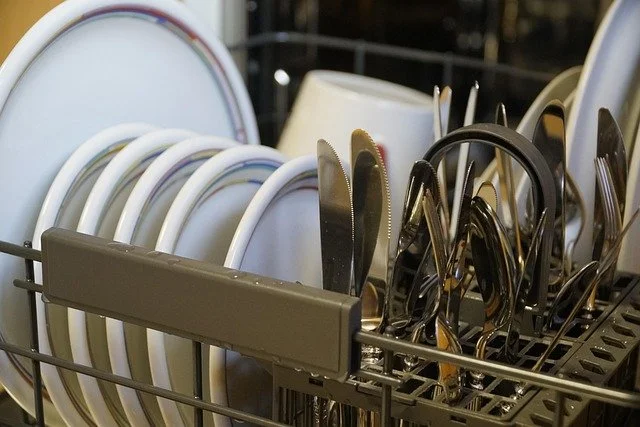
Reality: This one is as much a  time-saving trick that we try as well as an appliance trick. While it’s hard to overload your dishwasher, we all have overloaded our washers and dryers at least a time or two. With your dishwasher, it’s a problem of putting in too many heavy pots and pans or squishing in every single plate. This can present proper water circulation which leaves your dishes dirty, and overworks the dishwasher. With the washer and dryer there is a recommended amount that you can fill it to. When you overload it, that strains the motor, and throws off the balance within the machine. This causes damage to the drum and the bearings, and lands you a hefty bill. This “quick fix” for saving time often results in expensive repairs or even appliance replacement. 


The Better Fix: Stick to the manufacturer’s recommended load capacity. If you’re frequently running out of space, consider whether it might be time to upgrade to a larger machine instead. 

The “Tap It, and It Will Work” Myth


Myth: If your appliance stops working, give it a tap, and it’ll start again.

Reality: While this old-school “fix” might occasionally work for loose connections, it’s not a reliable or safe solution. Repeatedly jostling your appliance can damage internal components and worsen the issue. Besides, “percussive maintenance” may provide a moment of satisfaction, but it rarely provides a lasting fix.

Courtesy of Steve Buissinne


The Better Fix: Don’t rely on a temporary “tap” solution. If your appliance isn’t functioning properly, it’s time for a professional inspection.


When it comes to appliance repairs, quick fixes often lead to long-term headaches. Instead of risking further damage or voiding your warranty, let the professionals at Appliance Rescue Service handle the job. Our skilled technicians know how to address problems safely and effectively, ensuring your appliances keep running smoothly for years to come. Call us today to schedule a repair and give your home the care it deserves.

Website

Call (214) 599-0055

Additional Reading


The Risks of DIY Appliance Repairs and How to Avoid Them
Keep Your Dishwasher in Top Shape

The Hidden Costs of Delaying Appliance Repairs


Smooth Moves: Preparing for Appliance Installation Like a Pro

Get Your Space Ready for Your New Appliance in 5 Easy Steps

Bringing home a new appliance should be an exciting milestone, not a stressful ordeal. By taking a little time to plan ahead, you can sidestep common delivery and installation hiccups. Whether it’s ensuring your space is ready, communicating with the right people, or double-checking critical details, a smooth installation starts with preparation. Let’s dive into the steps that will save you time, effort, and potentially costly mistakes.


Why do this? 

  1. Preparing ahead of time creates a safe and accessible environment for your delivery team.

  2.  Thinking out how appliances are going to be delivered and installed helps you to anticipate and solve any potential problems.

  3. Having a plan in place is key to preventing damage to your new appliances during delivery.


General Tips 

Make Plans For Your Old Appliance

Are you going to be uninstalling it yourself or having someone else do it? Where is it going to be taken? Do you plan on moving it before your new appliance comes or will you be disposing of it afterwards? Do you plan to have a service take care of this? All of these are questions that you want to know ahead of time to reduce the amount of stress you deal with.


Talk To Your Sales Associate Ahead Of Time

When you purchase your appliances make sure to tell your sales associate of any potential hurdles. Will your deliver y need to be on a second floor? Are you expecting them to relocate your old appliance? Do they have to move any venting? 

Details like this can add to the delivery and installation of your new appliances and needs to be accounted for in scheduling. Not only for your sake but for the dispatch department. By talking to your sales associate when you make your purchase you make your life easier and everyone else's.


Map a Path for the New Appliance

Plan out the path that will come from the door that the delivery men will come through all the way to where the appliance will be located. You can do this backwards or forwards to give your brain the best way to see any hurdles. Once you've figured out the path you expect the delivery to take clear that path of anything and everything for at least two feet on either side. This includes the obvious thing like toys and wires, but also rugs or furniture. Remember that if worst comes to worst it is possible to take door hinges off and remove doors from your route. 


Inspect Your Space For The Proper Hookups

Once you have your path mapped out, go back to where the new appliances going to be located. Do you have the proper electrical outlets that your new appliances going to need? For example do you need a 110 volt outlet, a 220 volt outlet, or something entirely different because you opted to purchase something brand new on the market? While ideally you'll ask that question while you're in store it doesn't hurt to triple-check now. If this is a water-based appliance, do you have a water hookup within reach of where the appliance is going to sit? Do you have a gas hookup if that's necessary? 

So long as you're doing this ahead of installation day, you should be able to fix any problems that arise if the answer to any of these questions is no.


Double-Check Your Appliance Cutout Dimensions

Ideally, this should actually be done before you make a final purchase, but let's say that you didn't. Take the dimensions of your new appliance and make sure that they match the space where they're supposed to go. Is the space big enough? Does the appliance have room to breathe? (This is especially important if you're dealing with a refrigerator, freezer or dryer.) Can all appropriate outlets and hookups be reached? 


 Secure Or Move Any Fragile Items Or Valuables 

Finally on the day of delivery, make sure to secure or move any fragile items or any valuables that could be accidentally damaged during the delivery process. 


Appliance Specific Tips 

In the section we are looking at tips when you're preparing for a specific appliance. Although there aren't many that don't apply in the last section, there are a few.


Washers

If you're getting a washer make sure that you have a three-pronged, 110 volt outlet at the location. You also need to make sure that you have both hot and cold water valves within at most 4 feet of the washer. You also want to make sure that the faucets are functioning and that the drain pipe is clear of any blockages. 


Electric & Gas Dryers

If you're getting an electric dryer, check the space for a three or four prong 220 volt outlet, as well as the necessary ventilation port. 

If you're getting a gas dryer you need a 110 volt outlet and still the same ventilation port. You also need to make sure there's a gas shut off valve right behind the dryer and that it is in proper working order. 


No matter which type of dryer you're getting, you want to make sure that the venting path is clear of anything and will match the requirement of your new dryer. You also need to clear the area of lint or other debris to prevent fire hazards.


Refrigerators and Dishwashers


Make sure that you have a three-pronged 110 volt outlet. Also, if your new refrigerator has a ice maker or water line, you'll need a water shut-off valve within 6 ft that's working.

For dishwashers, start by making sure that there is a pathway for venting steam. You'll also need to make sure that there is a source of hot water, a drain connection and an electrical outlet within 6 ft. 


Electric & Gas Ranges

If you're getting an electric range, all you have to check for is that you have a vent hood, as well as a three or four prong 220 volt outlet. 

If on the other hand you're getting a gas range, you need a 110 volt outlet as well as a gas shut off valve right behind the range. If you don't already have gas when you purchase a gas range, you will have to have that run before you can have the appliance installed.


A little forethought goes a long way when it comes to preparing for a new appliance. By ensuring your home is ready, you can enjoy the benefits of your new purchase without unnecessary headaches. If you run into any appliance issues down the road or need help with repairs, our team at Appliance Rescue Service is here to lend a hand. With expert technicians ready to assist, we’ll help keep your home running smoothly so you can focus on what matters most.


The Do’s and Don’ts of Cleaning Stainless Steel Appliances

Essential Tips to Keep Your Stainless Steel Appliances Looking Like New


When it comes to maintaining stainless steel appliances, appearances matter as much as functionality. A sleek, gleaming surface is one of the reasons many of our customers choose stainless steel. But without the right care, your stainless steel fridge, oven, or dishwasher can quickly lose its shine, becoming dull or, worse, permanently damaged.

Understanding the difference between coated and non-coated finishes is a crucial part of keeping your stainless steel looking brand new. This knowledge empowers you to make the right cleaning choices and avoid harsh chemicals that can turn your appliance purple (yes, really!). Let's dive into the good, the bad, and the ugly of stainless steel care, armed with this important information.


Know your coating


Before we start looking at ways to clean your stainless steel, you want to know what it's coating is. Different types of coating will require different consideration for how to clean them.  


Coated

Many appliance manufacturers are now offering a fingerprint-resistant finish. Some even include this as part of the appliance out of the box. Frigidaire is a good example of this, having been offering their smudge-proof stainless steel appliances for several years. In theory, appliances with this finish are easier to clean and more resistant to fingerprints and smudges. Although we haven't done extensive testing, we also tend to see appliances in many different states clean and dirty and haven't seen much difference in how the coating helps.  Generally manufacturers recommend cleaning their coated stainless steel only with soap and water.

It's important to note that the fingerprint-resistant coating is easily damaged. Even though it doesn't dissolve in water, vinegar can strip it away. This cautionary advice underscores the need to check your owner's manual before using any of the recipes that we suggest today, ensuring you don't inadvertently harm your appliance. 


Non-coated 

The most common finishes you are likely to find on your appliances are matt, brushed, and mirror. These three refer to how the steel was finished not a coating that was applied on top or added in the fabrication process. Stainless steel that has been finished by any of these methods is non-reactive to acids so it's safe to clean them with vinegar based cleaners.


Courtesy of Lowes and GE

Like you, when looking to solve a problem, we want to get straight to the solution. So this week, that's just what we're doing. We'll start with the good stuff, the recipes that will work on cleaning your stainless steel appliances. Then we'll move into the things you need to avoid, or else it will damage or destroy those appliances. Finally, we've got two in our last section that are just ugly. 


The Good


1. Olive Oil and Vinegar

 Many people use olive oil and vinegar to clean appliances. You spray down your appliances with a light coat of white vinegar and wipe it down with a microfiber cloth. Then you come back with the olive oil to gently buff the surface and protect it. 


Some swear by combining the two to make a one-and-done product, so that's what we're sharing here. 


Ingredients:

1/2 cup of white vinegar

1/2 cup of olive oil

Instructions


Mix the white vinegar and olive oil in a spray bottle.

Shake hard before each use so that the two liquids will mix into each other. 

Spray the solution onto the stainless steel appliance you're going after.

When wiping down your appliance, it's crucial to follow the grain of the steel. This attention to detail ensures you're not just cleaning, but also preserving the appearance of your stainless steel. 

Finish by buffing the surface to a shine with a dry cloth.


2. Lemon juice and cream of tartar

For a citrus twist, combine lemon juice with cream of tartar. The natural acidity of the lemon will cut through stains, smudges and built on grease, while the cream of tartar acts as a mild buffer. 

Lemon juice's natural acidity can cut through stains and brighten the steel's appearance.


Ingredients:

Lemon juice (from one lemon)

Cream of tartar

Instructions:


Squeeze out your lemon into a bowl and mix in enough cream of tartar to create a paste. 

Apply that paste to any stained areas on your appliance. 

Scrub gently with a soft cloth, and continue until the paste is gone or the stain is. 

Use a clean cloth to rinse with water and dry the area. 


3 Water and Vinegar

For this mixture, you will need a half cup of water, and third cup of white vinegar.  However, this may leave the area smelling like vinegar. You may add some essential oil for a pleasant smell.


The mild acidity of vinegar helps cut through grease and grime without harming the surface. Here's how you can use it:


Ingredients:

1 part white vinegar

1 part water

Instructions:


Mix the white vinegar and water in a spray bottle.

Spray the solution directly onto the stainless steel surface.

Wipe it down with a clean, soft cloth, following the steel's grain.

Rinse with water and dry thoroughly to prevent streaks.


Courtesy of Bosche and Lowes

Just make sure that you don't let the vinegar sit for more than a minute in any area, as the acidity can damage the finish if left alone.


4. Baking Soda Base

For this cleaner, you will need white vinegar, four tablespoons of baking soda, one quart of water, and some lemon juice. Mix all of these ingredients together and let them sit for a few minutes. You may then apply and then rub off the cleaner paste with a dry paper towel. From there, rinse the area with water and dry it with a clean towel.


Ingredients:

Baking soda

Water

Instructions:


Create a paste by mixing baking soda with a small amount of water.

Apply the paste to the stained area.

Gently scrub with a soft cloth or sponge, following the steel's grain.

Rinse with water and dry thoroughly.


For many people this is enough. You have the recipes that work, now you just need to figure out which one works for you. Hang on, though, and you'll find out why these recipes work vs others that don't, plus one that can ruin appliances and another that wastes your time. 


The Bad

Now we're into the warnings. The things that you should be told when you purchase a new stainless steel appliance, but aren't always. There are many things that can damage the pretty outside of your stainless steel appliances. It's surprising, we know, but it's the truth. 


1.  Steel Wool 

Steel wool, like you might use to clean your pans, is straight out. This will scratch and destroy your stainless steel.  These not only scratch the stainless steel, but you can leave behind particles that will rust on the exterior and leave you with a very messy-looking appliance. 


2. Harsh abrasives

DON'T use chlorine bleach, chloride, oven cleaner, or other abrasive cleaners 


Scouring powders

Bleach and other chlorine products

Glass cleaners that contain ammonia, such as Windex

Oven cleaners

All of these cleaners we've listed will damage the finish on your appliance, making it easier for it to be scratched or to begin rusting. 


3. DON'T forget to review the manufacturer's manual.

Your manufacturer's manual will have important tips and tricks, not only for cleaning your appliance in question but also to help with things you need to avoid. 


4. DON'T leave things sitting in a stainless steel sink

Plates, silverware, and dishes can all leave streaks or scratches on your sink when moved around before being put into the dishwasher.  For your sink's sake, don't put off doing dishes. 


5. DON'T ignore chalky, white build-up

Courtesy of Curtis Adams

Tap water, especially if yours tends to be hard water, can leave a build up behind that not only looks gross, but will begin to leave stains given time. Better to wipe away any water or residue when you get the chance. Additionally, make sure that in your cleaning you aren't using hard water, but instead use distilled water. 


The Ugly


1. Avoid streaks; go with the grain. 

Let's face it, no one wants streaky windows or appliances. So, just like when washing down your windows, you need to go with the grain of the appliance. It's not just about streaks, though. Going against the grain can also get pieces of your cloth of choice stuck in the grain, leaving small pieces that can cause rust or damage over time. 


2. Not all cleaners will clean.

Just like we pointed out in the last section, some cleaners just don't mix with stainless steel appliances. One story we found was a woman who used Wood Surface Spray on her stainless steel fridge. In theory, it cleans away smudges, dirt and dust just as well as it does on wood, and it even protects from smudges! 


Except it doesn't?  According to those in the comments that found that not only does it not get the steel completely clean, but the smudges are back the very next day.  


Our final and perhaps most curious tip is this: Do not use any cleaner with ammonia in it.  Not only will it eat through the stainless steel, but it can also dye it purple. 

Courtesy of RDNE Stock projectRDNE Stock project

Taking the time to clean and care for your stainless steel appliances not only keeps them looking stunning but also helps them perform at their best. With the right approach—knowing the finish, using safe cleaning methods, and steering clear of harmful products—you can enjoy spotless, long-lasting appliances. And if your appliances ever need a bit more than a cleaning touch, our team at Appliance Rescue Service is here help. We’ll work with you to keep your appliances running smoothly. Reach out for all your repair and maintenance needs; we’re here to help keep your home in top shape, one appliance at a time. 


Website

Call:  (214) 599-0055


Additional Reading

Fact Check: Common Appliance Maintenance Beliefs Debunked

Oven Deep Dive 

Organizing Your Home Before the Holiday Daze

The Hidden Dangers of Improper Appliance Installation

Protecting Your Home from Costly Risks

The Hidden Dangers of Improper Appliance Installation

Having the same store that you purchased your new appliance from install it in your home might seem straightforward. Unfortunately improper setup can quickly turn that shiny new purchase into a costly hazard. Big box employees are just not given the type of training and time to give you the attention that you deserve. Real world cases from the news highlight the dangers of poor installation - from gas leaks to catastrophic water damage. When installation errors happen, you face unnecessary risks and expenses that could have been avoided. 


Here, we’ll dive into why professional installation matters, the common pitfalls of DIY or poorly done installations, and the benefits of knowing what warning signs to look for. And remember, if an installation mistake leaves your appliance malfunctioning, our team at Appliance Rescue Service is here to keep your home safe with expert repair and maintenance.


Common Risks and Consequences of Improper Installation


1. Safety Hazards

Safety hazards with your appliances fall into one of three common categories: electrical, gas or water. Unfortunately these are the worst ones to deal with and often the most difficult to spot. Which is why we are hitting them first. 


Electrical Hazards: Incorrect wiring can cause short circuits or dangerous sparks, leading to electrical fires. High-draw appliances, like ovens and dryers, must be connected to dedicated circuits to prevent overloading. When wiring isn’t secure, the result can be anything from flickering lights to serious fire risks.


Gas Leaks: Gas-powered appliances, like stoves and water heaters, must have precise connections to prevent leaks. A tiny gap in the gas line can fill the room with flammable gas, risking explosions or carbon monoxide poisoning.


Courtesy of Nino Barbieri

Water Damage: Many household appliances connect to a water source, making improper installation a potential flooding hazard. Loose connections or unaligned hoses in washing machines and dishwashers can lead to sudden water damage, mold growth, or even structural issues over time.

2. Performance and Efficiency Problems


This is the section that your least likely to notice. If you're brand new appliance is heating up your energy bills you more than likely will not notice it straight off. And the consistent strain is not one that is immediately obvious either. But these are still dangers to keep in mind. 


Increased Energy Bills: Appliances like refrigerators and HVAC units are energy-intensive, and incorrect installation can make them work harder than necessary. This strain leads to more power consumption and skyrocketing utility bills, which may go unnoticed until they become severe.


Shortened Appliance Lifespan: an appliance that hasn't been installed properly often breaks down repeatedly. The continuous stress on the components wears down the machine leading to the need for repairs far sooner than expected, especially for a brand new appliance.


3. Financial and Legal Complications


Our final set of dangers are ones that make any homeowner twitch, the financial and legal complications. 


Warranty Voids: Many manufacturers require that a licensed technician performs installations to maintain warranty coverage. DIY or uncertified installations can void your warranties, leaving you responsible for the full repair costs.


Insurance Issues: Homeowners’ insurance may not cover damage resulting from a poorly installed appliance. If a water leak or fire starts because of incorrect installation, you could be left with substantial repair bills that aren’t covered by your policy.

Installation Risks for Specific Appliances

There are also unique installation risks that come with different appliances. We've broken these down into kitchen and laundry.

1. Kitchen Appliances

Dishwashers: If your dishwasher is not securely connected to the plumbing, it can overflow, leading to severe water damage. A professional installation ensures the hose and other connections are tight to prevent leaks.


Ovens and Stoves: Poor venting in a gas stove can allow dangerous gases to accumulate indoors, with carbon monoxide poisoning being the least of your worries.  Electric ovens risk short circuits if wiring isn’t handled correctly. Proper anchoring also prevents these appliances from tipping over, a common issue in hasty installations. 


Refrigerators: These units need adequate ventilation and proper waterline connections, especially for most models today with ice makers. An ill-fitted refrigerator may struggle to keep temperatures stable, increasing energy usage and potentially damaging the appliance over time.

2. Laundry Appliances

Washing Machines: if your water hoses are not secured properly, they can come loose. This leads to leaks or even full on flooding during the spin cycle. A washing machine that isn’t level can also shake excessively, damaging both the appliance and your floor.


Dryers: Venting is crucial for dryers. Lint buildup from poor venting is a leading cause of home fires, as lint is highly flammable and blocks airflow. Proper venting keeps the dryer safe and helps it work efficiently.


Signs of an Improperly Installed Appliance

Knowing the red flags of improper installation can help you catch problems before they become severe. Here’s what you need to look out for:


courtesy of Tuválkin

Electrical Warning Signs: Flickering lights, tripped circuit breakers, and discolored or burnt outlets are common signals of wiring issues.


Plumbing Warning Signs: Water pooling near an appliance or mold growth around water sources can indicate loose hoses or poor connections.


Structural Issues: Appliances that tip over easily or vibrate intensely may be improperly secured or placed on an uneven surface. Such misalignments can lead to further damage or wear.


If you spot any of these issues, it’s time to have a professional inspect your appliance installation. Appliance Rescue Service can ensure that any damage to the appliance caused by poor installation is properly addressed and that the appliance is set up to work as it should.


Preventive Measures and Best Practices

1. Rely on Professional Installation

Courtesy of Antoni Shkraba

Certified Expertise: Hiring certified technicians for appliance installation helps ensure safety and keeps your appliance under warranty. Certified installers know the proper codes and requirements, particularly when gas or plumbing lines are involved.


Customized Installation: Each home is different, and appliances often need adjustments for a perfect fit. A professional installer can adapt the setup for your space, minimizing potential hazards and maximizing efficiency.

2. DIY Precautions

If you’re considering DIY installation, take the time to thoroughly review the appliance manual and understand the installation steps. Never skip testing the connections and making sure the unit is stable. This small investment of time can help prevent costly errors.

3. Regular Maintenance Checks

Routine maintenance checks are a smart way to keep appliances running safely and efficiently. For water lines, inspect for leaks; for gas lines, always check for odor or signs of wear. 


Improper appliance installation poses risks to your safety, your wallet, and your home’s structural integrity. Poorly installed appliances can lead to leaks, fires, energy waste, and frequent malfunctions—each one a significant inconvenience,  financial burden or danger. By opting for professional installation or taking the time to carefully handle installations yourself, you can avoid these pitfalls and protect your investment.


And when issues do arise—whether from installation errors or wear and tear over time—our team at Appliance Rescue Service is here to help. With expert repair and maintenance, we make sure your appliances are running smoothly and safely, keeping your home functioning as it should. Don’t let small mistakes turn into big problems—reach out today for peace of mind with every appliance in your home.

Website

Call (214) 599-0055


Additional Reading
Places to Avoid: The Paw Version!  

Halloween Horrors In Your Home? 

37 Reasons To Have Your Appliances Maintained Regularly

Common Appliance Issues That Could Ruin Your Holiday – And How to Prevent Them

Holiday Prep for Home Appliances: Simple Steps to Stay Stress-Free

The holidays bring joy, laughter, and the occasional kitchen catastrophe. Just as you’re ready to pop the turkey into the oven or start the wash for all your holiday linens, there’s always the chance an appliance might decide now is the time to act up. (As if you don’t have a To Do list longer than your arm, it chooses now??) To help you avoid a festive fiasco, here’s a guide on how to prevent the most common holiday appliance issues—keeping you and your appliances on the right track.

Before Thanksgiving and Christmas roll around, there’s no better time than now to get these maintenance tips checked off your list. A little preparation now can mean smooth sailing later. So let’s dive into how you can keep your home running seamlessly during the holidays! 

1. Do Some Deep Cleaning

We tend to focus on holiday decorations and menus this time of year, after all, that’s the ‘fun’ stuff.  A quick clean of your appliances can go a long way toward ensuring they’re ready for holiday demands though. Here’s a breakdown of essential appliance cleaning tasks and why each one matters.

  • Oven – Holiday cooking often means the oven is in constant use. Grease and food spills in the oven can create burnt smells and smoke. There’s very littel that’s worse than smelling something burning and the shock to your system when you open the door and have smoke pouring out. The self-clean function is still not always trustworthy, and it can lead to issues with different stoves, at worst causing a very dead oven just before the holidays. 

    • Avoid all of this by popping a pyrex dish in the oven, filled halfway with water and a bit of vinegar. No more than a cup. Let that steam in your oven at 350 for 20 minutes, and then shut it off. Once it’s cool enough to touch, go in with a cloth and wipe everything down to get off gunk, food and any dust. Easy as pie. 


  • Stove – Depending on the type of stove you have, a dirty surface can cause problems. If it’s a gas stove, greasy burner heads can prevent them lighting. An electric stove on the other hand, will cause uneven heating if they’re not clean. Instead, take a moment to wipe down the whole stove, and make sure that your burners and grates are clean. Now you’ll avoid any delays in your cooking. Avoid placing aluminum foil near the burners, as it can obstruct airflow and create hot spots.


  • Refrigerator – With guests and extra groceries, your refrigerator’s cooling system has to work harder. Your fridge will soon be overflowing with holiday treats, so give it a little TLC beforehand.  Dusting off the condenser coils (usually found at the back or bottom) can  help your refrigerator to breathe and keep cold. Then wiping down shelves can help with airflow and keep your ingredients fresh.


Courtesy of August de Richelieu

  • Freezer – If you’re like us, our freezers are prime real estate at this time of year. If yours is a bit frosty, consider defrosting it early to keep ice buildup from interfering with temperature. Decluttering and organizing food can help everything stay colder, reducing the risk of items thawing when you least expect it. An organized, decluttered freezer also helps maintain airflow, keeping items evenly frozen without straining the system. 


  • Washer – With guests arriving and linens piling up, your washer will likely be in full swing. To prevent mold or mildew odors, run a cleaning cycle with white vinegar. Follow it up with a quite clean of the gasket, and you won’t worry about telling guests where the laundry room is.


  • Dryer – Dryers collect lint quickly, which can not only reduce efficiency but also create a fire hazard. Make it a habit to empty the lint trap after each load and vacuum around the machine to keep the air moving freely.  If your clothes are taking longer to dry, consider checking the duct for any blockages.

2. Watch for These Common Issues

Even with a solid cleaning routine, appliances can still act up. Here’s a quick look at a few common problems and how to prevent them, to keep your appliances in good shape during the holiday rush.


Courtesy of RDNE Stock project

Oven Troubles – If your oven’s temperature seems off, it could be a simple calibration issue. Testing it with an oven thermometer can reveal if there’s a temperature discrepancy. At that point you'll need a professional to recalibrate it, but youll at least have a spot to point them towards. For inconsistent heating, check the door seal for gaps, as a tight seal is essential for maintaining even cooking temperatures. A worn or loose seal can often be replaced easily to save energy and improve performance.


Refrigerator Concerns – Cooling issues or pooled water are often linked to dirty coils or a clogged defrost drain. Dusting the coils and checking the door gasket for tears or wear can prevent warm air from seeping in. If your fridge has an ice maker, it's about to get a lot of use. Consider changing out the filter before your holiday guests arrive, to make sure you have plenty of clean ice and water. 


courtes of Polina Tankilevitch

Dishwasher Woes – if your dishes aren't coming out clean, it's most likely due to a clogged filter or spray arms. A quick check of your filter for food particles and running a rinse cycle with vinegar can help keep your dishes sparkling. If your dishwasher has begun to leak, check the door seal for any damage. If it's loose or cracking a replacement is a quick fix that can keep you from having to deal with a disaster.


Washer & Dryer Problems – if your washer or dryer starts to shake or make loud noises, it can often be fixed by redistributing the load you have in there. Before you start in on your holiday laundry and refreshing of linens, it's a good idea to check the lint trap and that the vent hoses are clear as they are about to get a workout.


3. Keep an Eye on Your Electrical System

Holiday decorations, more frequent cooking, and constant washing and drying can put a strain on your home’s electrical system. To help your appliances run smoothly without tripping circuits or causing surges, keep these points in mind:

  • Power Supply – Don’t overload outlets with multiple appliances and holiday lights. Instead, distribute your plug-ins around the kitchen and living areas to prevent circuit overloads.

  • Extension cords - Daisy chains are for flowers not electronics. No matter if it would be easier, don't daisy chain surge protector into surge protector or extension cord into extension cord into extension cord. This is a common tactic at this time of year and is also one of the lead reasons for fires at this time of year

  • Dedicated Circuits – Some larger appliances, like ovens or dryers, work best on dedicated circuits. If you’re noticing power inconsistencies, it could be due to the load distribution.

4. Test Everything Early

The best way to prevent holiday appliance breakdowns? Test everything early. Taking a few moments a week or two before your big events to run all your appliances can help you catch any red flags ahead of time. Make it part of your prep checklist to run the oven, start a load of laundry, and turn on the dishwasher just to confirm they’re ready to go.

A little preparation now can make all the difference when the holidays are in full swing. From quick cleaning sessions to troubleshooting the occasional hiccup, these small steps can ensure your appliances are holiday-ready. And if you’d rather leave the hard work to us, don’t hesitate to call or visit our website to schedule an appointment. Not only do we do repairs, we’ll also do maintenance on your appliance, to ensure everything is working, Appliance Rescue Service is here to keep your home running smoothly, so you can focus on what truly matters—enjoying the holiday season with your loved ones.


Website


Call : (214) 599-0055

Additional Reading


Organizing Your Home Before the Holiday Daze

Christmas Gifts We Won't Be Giving 

Chill Hacks Unveiled: Mastering Your Fridge's Microzones for Fresher Foods