fall

Harvest Bliss: Cranberry Pumpkin Nut Bread

A Decadent Fusion of Fall Flavors

Get ready for a delicious adventure with our Cranberry Pumpkin Nut Bread—a recipe that embodies the flavors of fall. It’s not just a bread; it's a hearty combination of pumpkin, spices, and delightful textures. Although it demands a bit of attention, trust me, every effort pays off in each aromatic slice.


Ingredients:

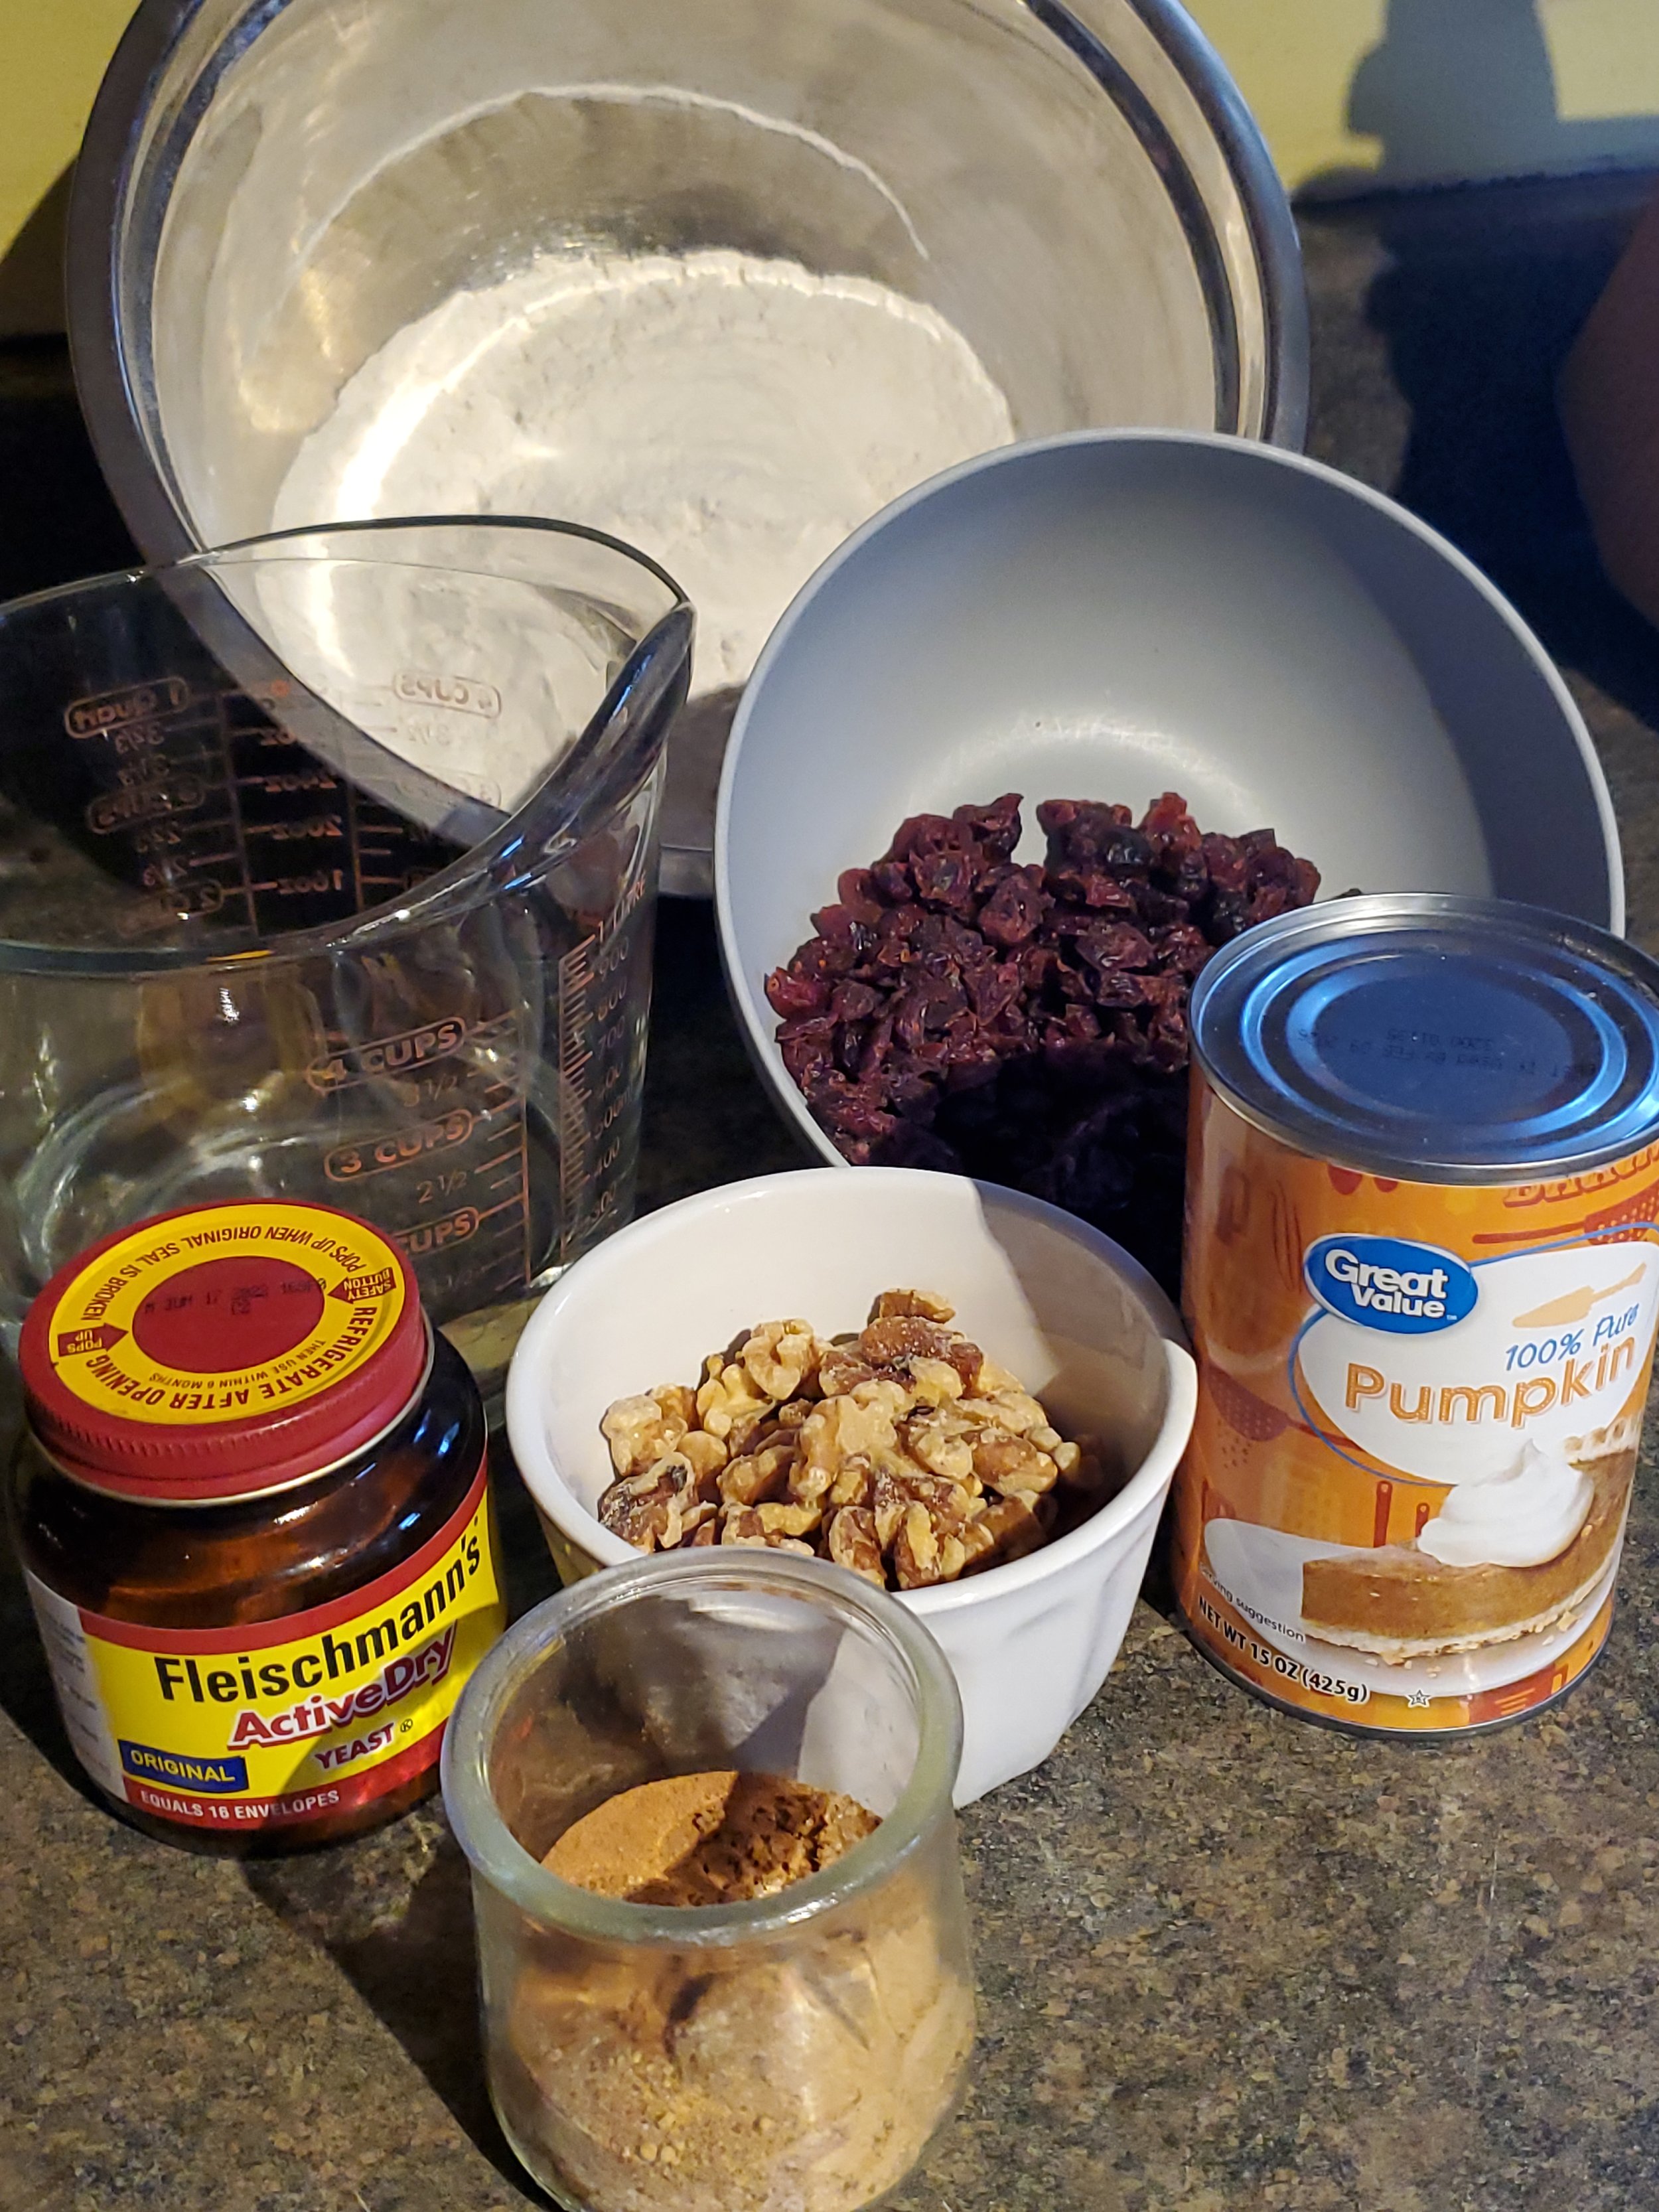
1 cup water, warm, plus enough water to fill a kettle

1 tablespoon active dry yeast

1 15 ounce can plain pumpkin

2 tablespoons sugar

1 1/2 teaspoon ground cinnamon

1/2 teaspoon ground ginger

1/4 teaspoon nutmeg

1/2 teaspoon salt

4 1/2 cups flour, divided

1/2 cup chopped walnuts

1/4 cup dried cranberries


Tools:

parchment paper

Dutch oven, caldero, or four loaf pans

measuring cups and spoons

mixing bowls

tea kettle or pot for water

smaller, heat-proof bowl

colander

clean kitchen towel


Quick word of caution: This will be a messy, time consuming recipe! Do not attempt to do this on Thanksgiving. If you're an experienced baker of bread, you might pull it off. But if you're us... You'll just create a mess and not have the bread til after dinner. 


Well before you intend to get anything going for this recipe, start a tea kettle or a pot of water on the stove. You can use the time while you wait for it to reach a boil to get your other ingredients out.


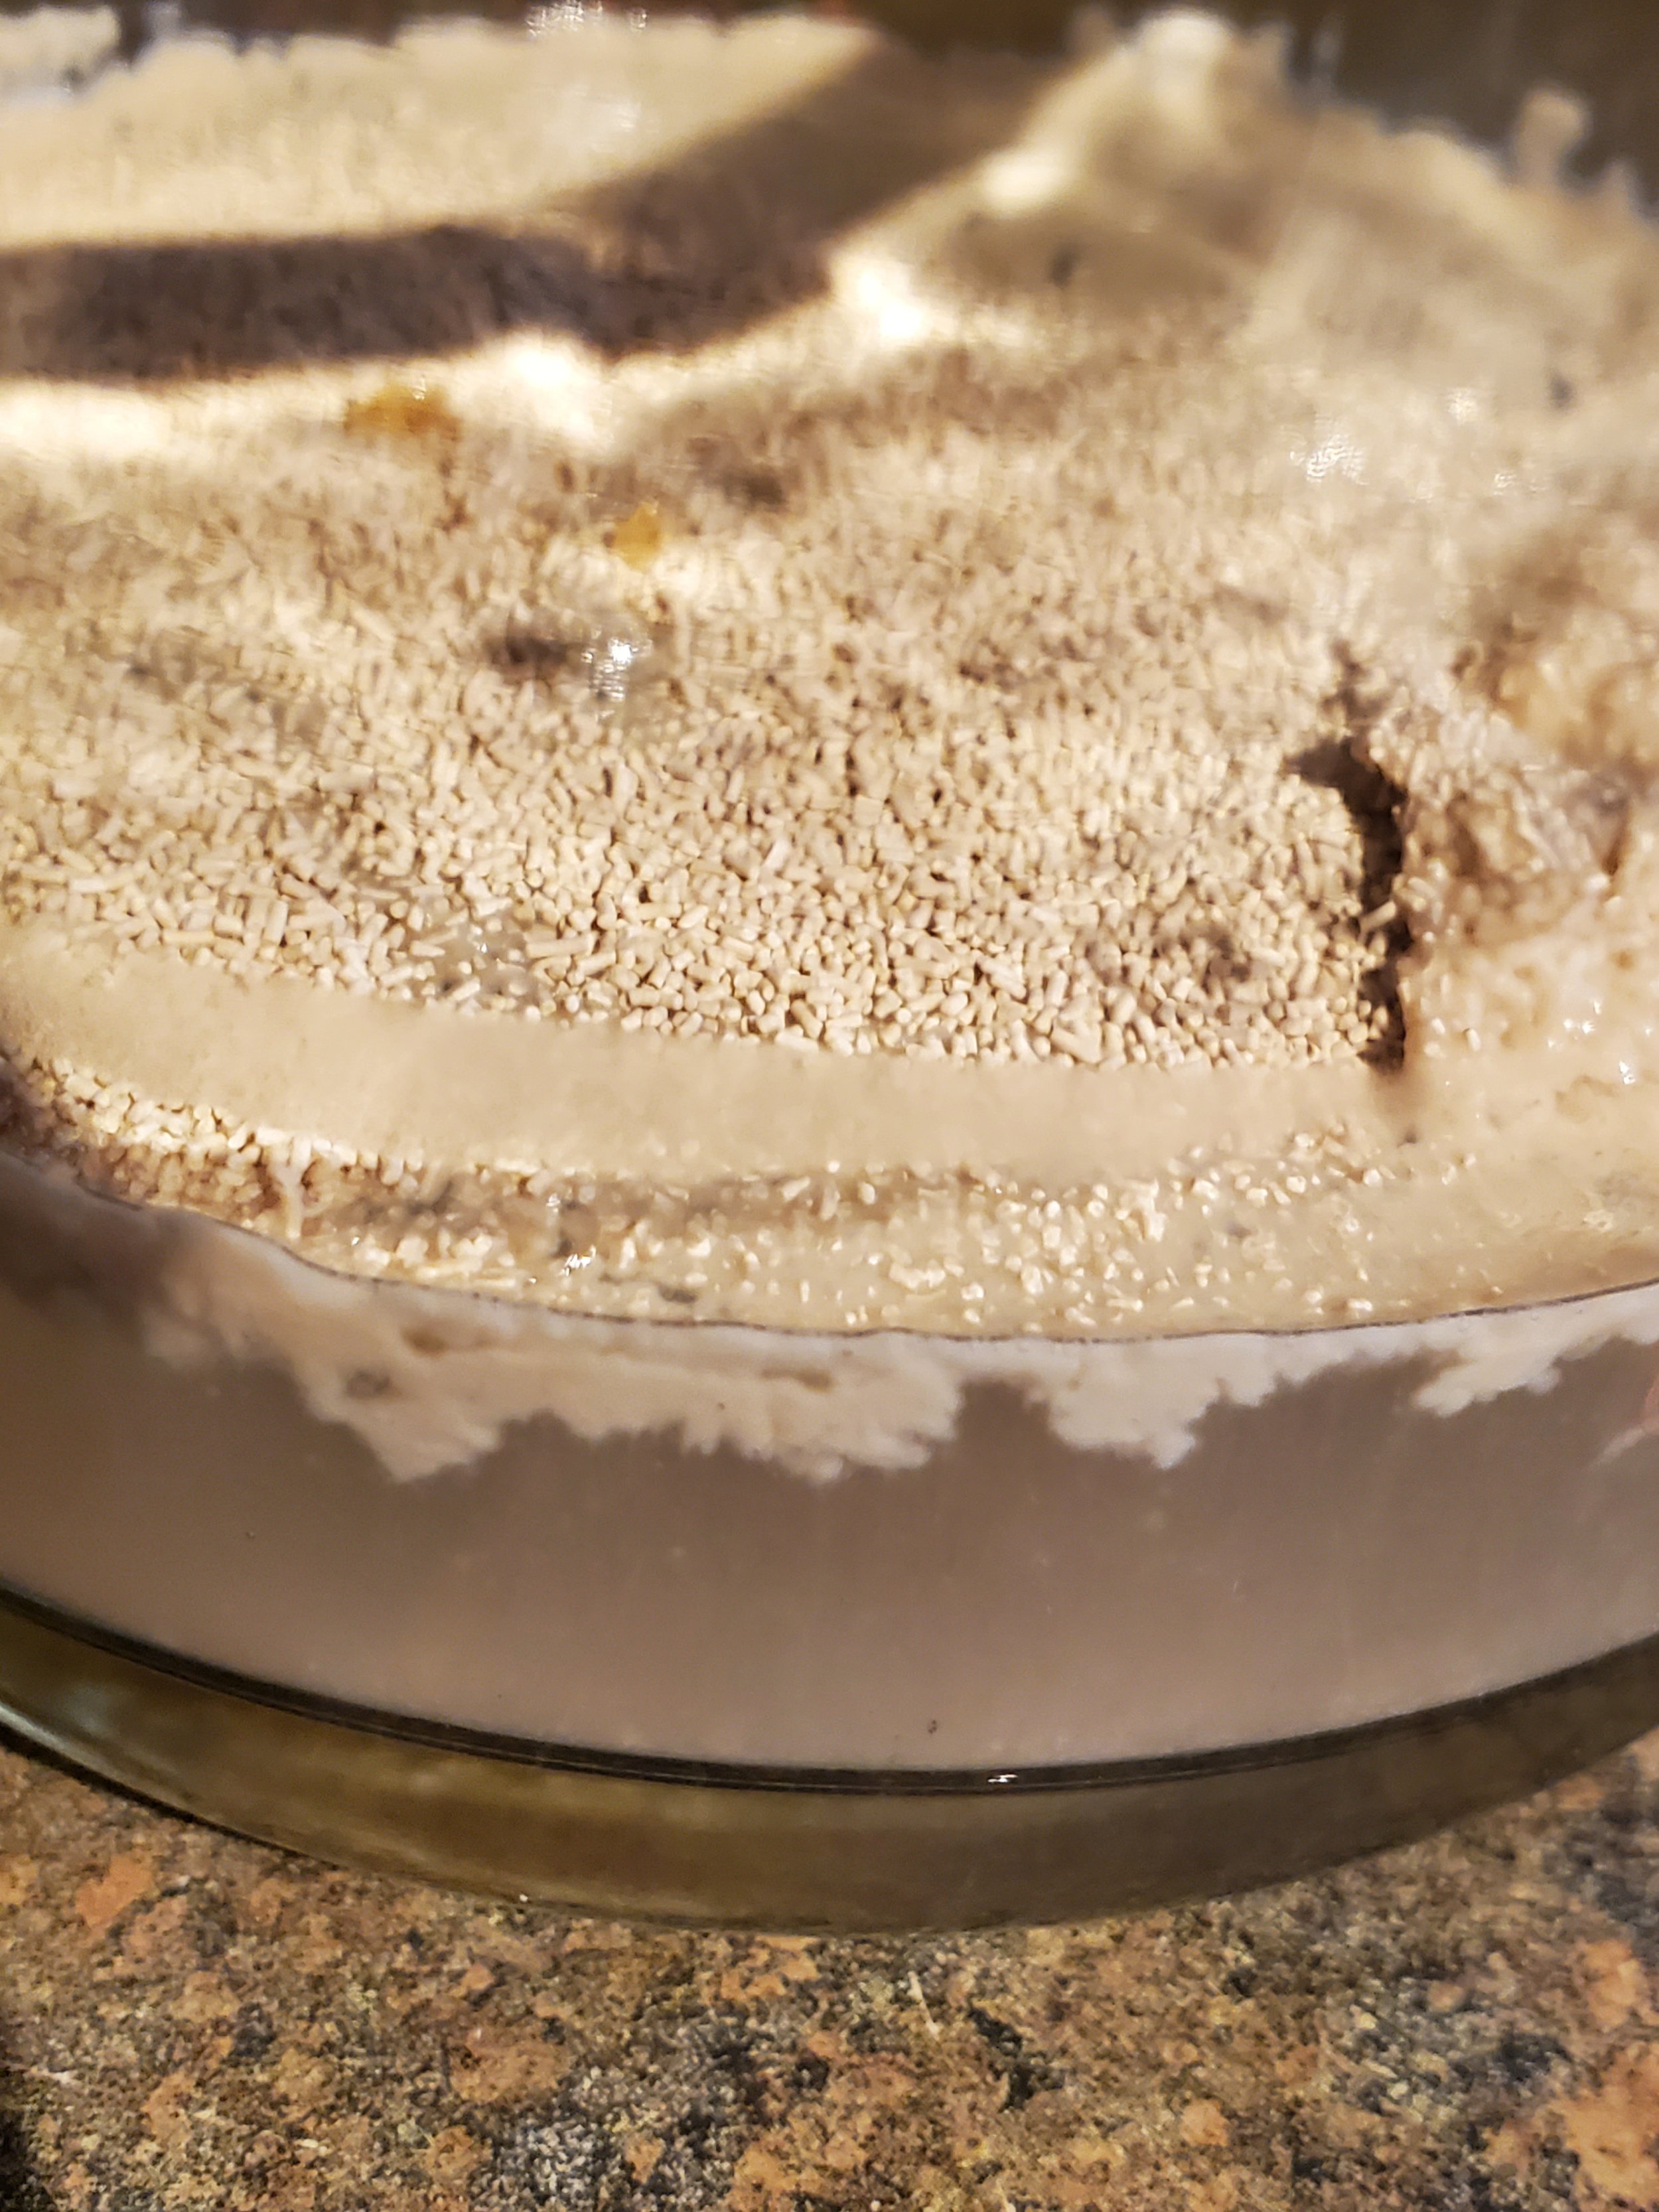
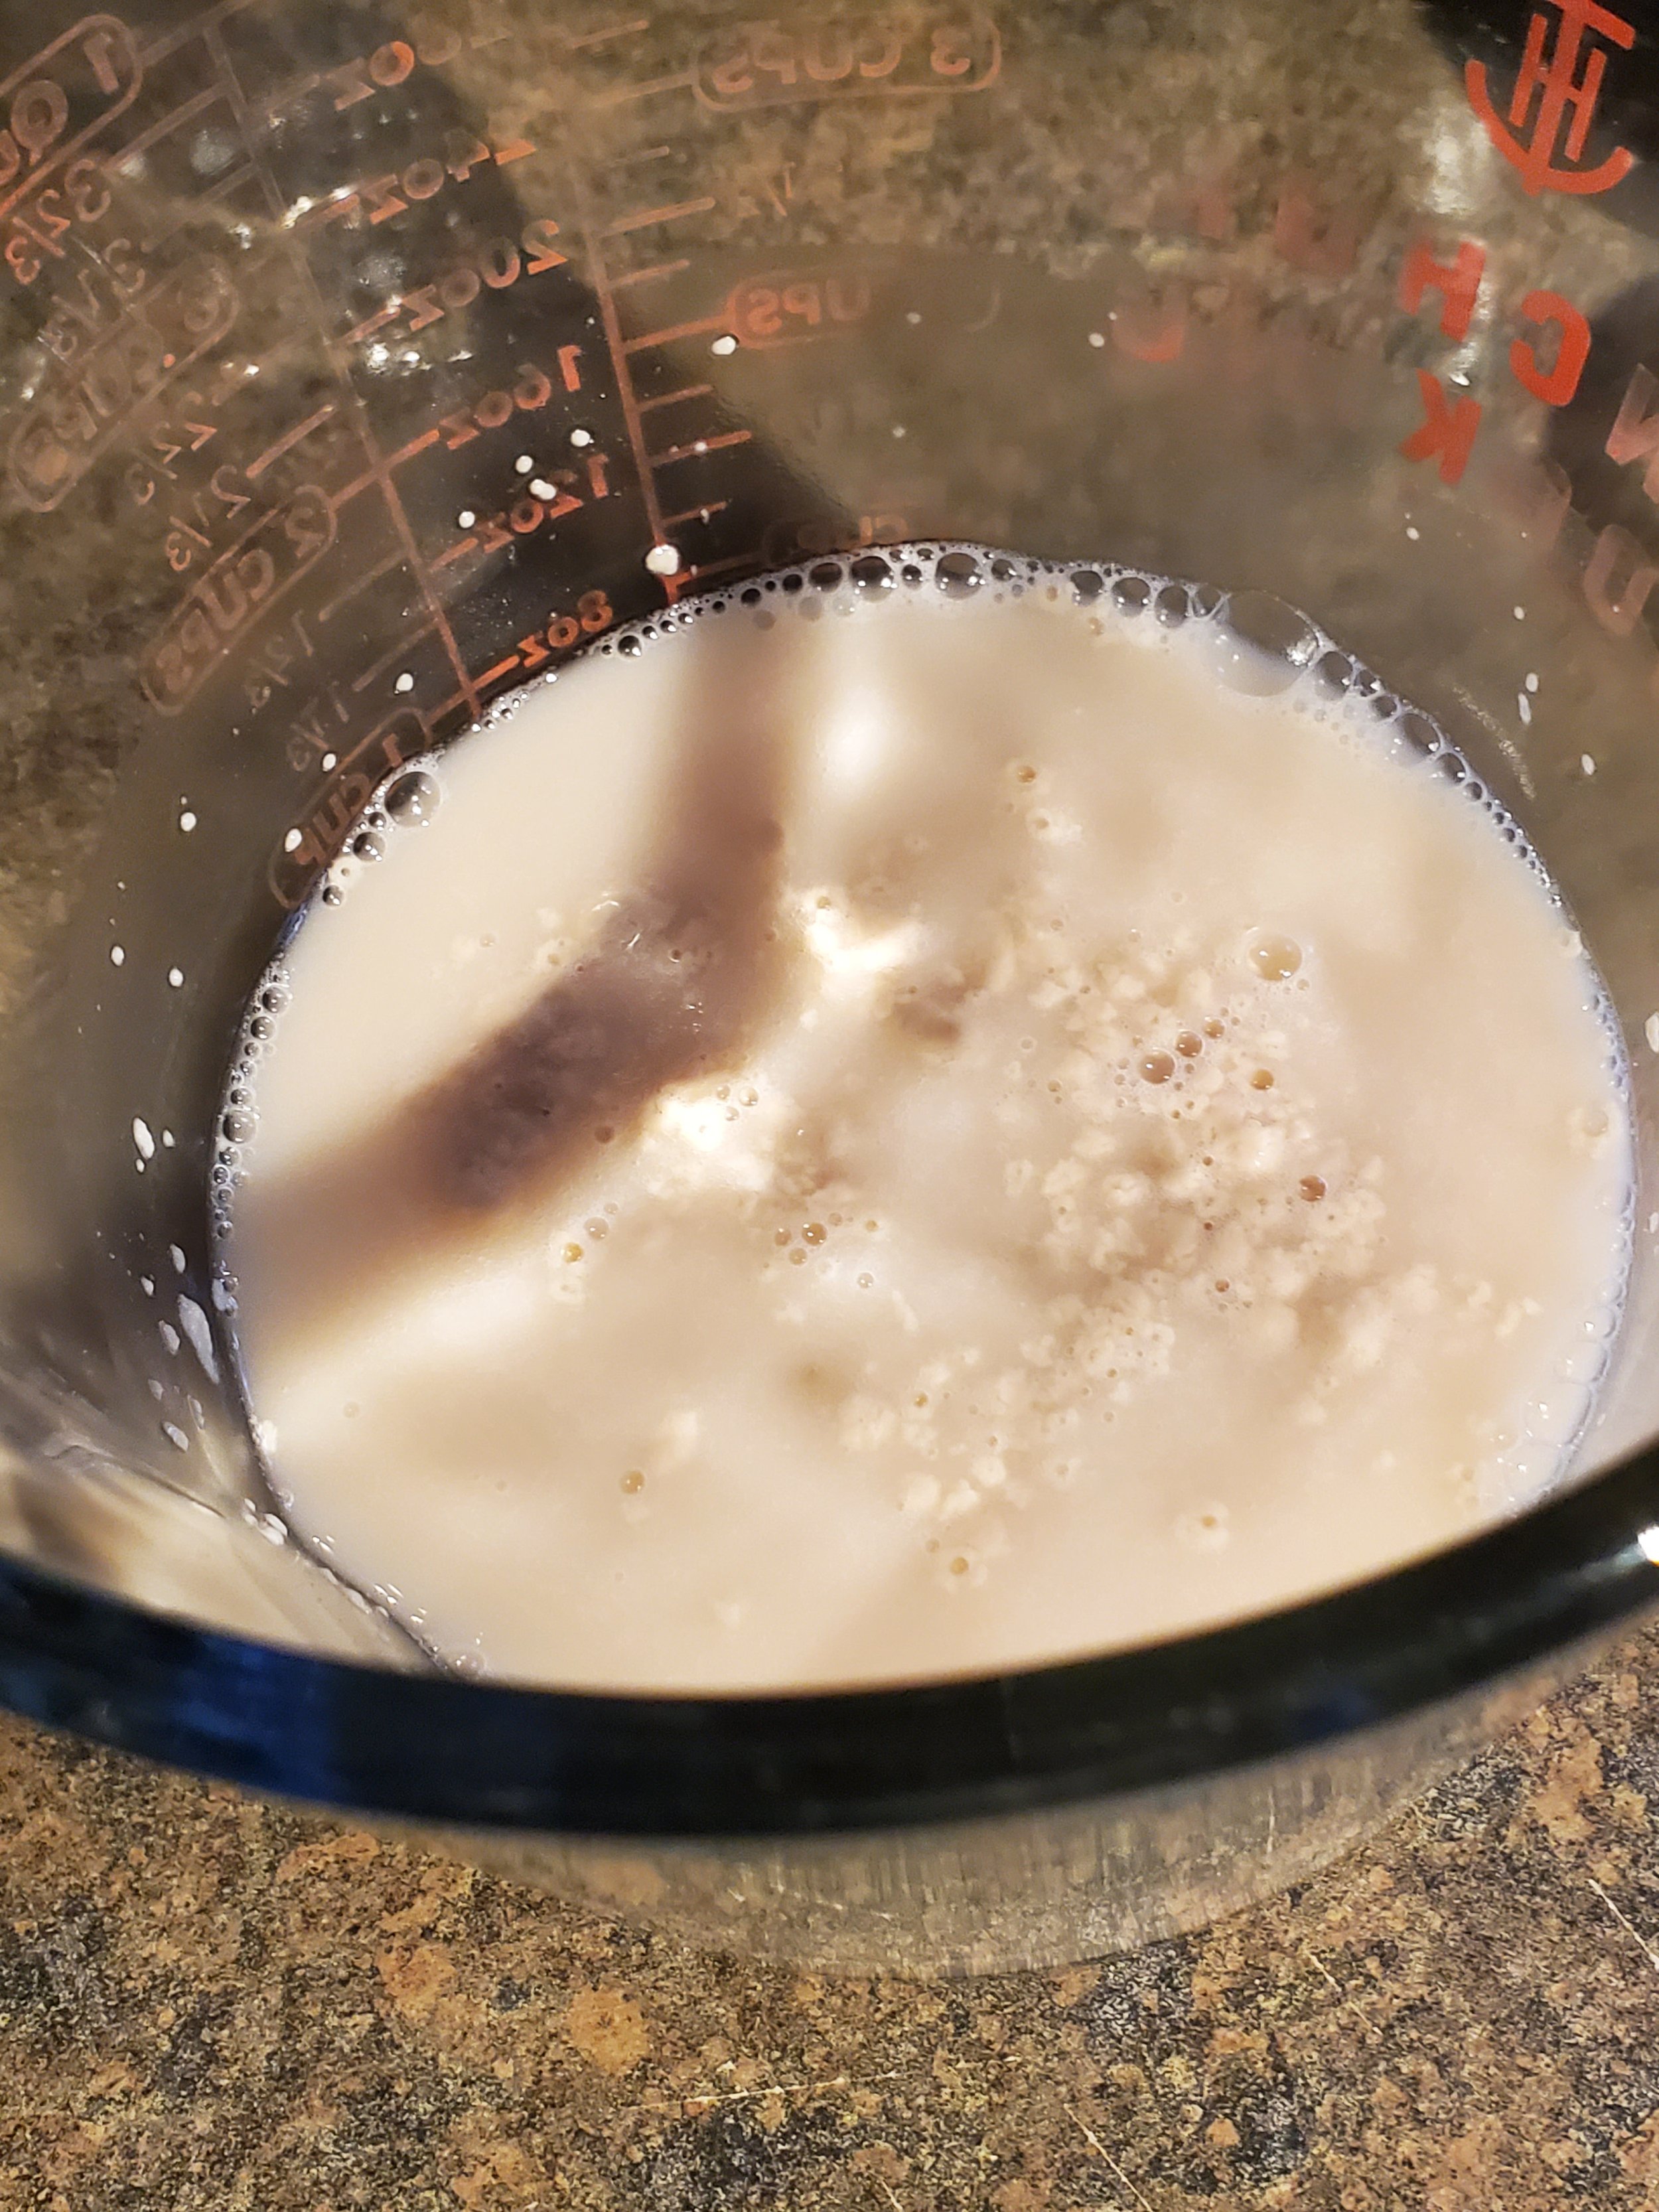
Once you have all your ingredients handy, begin by measuring your yeast into warm water and setting it aside to double in size. This should take five minutes or so.


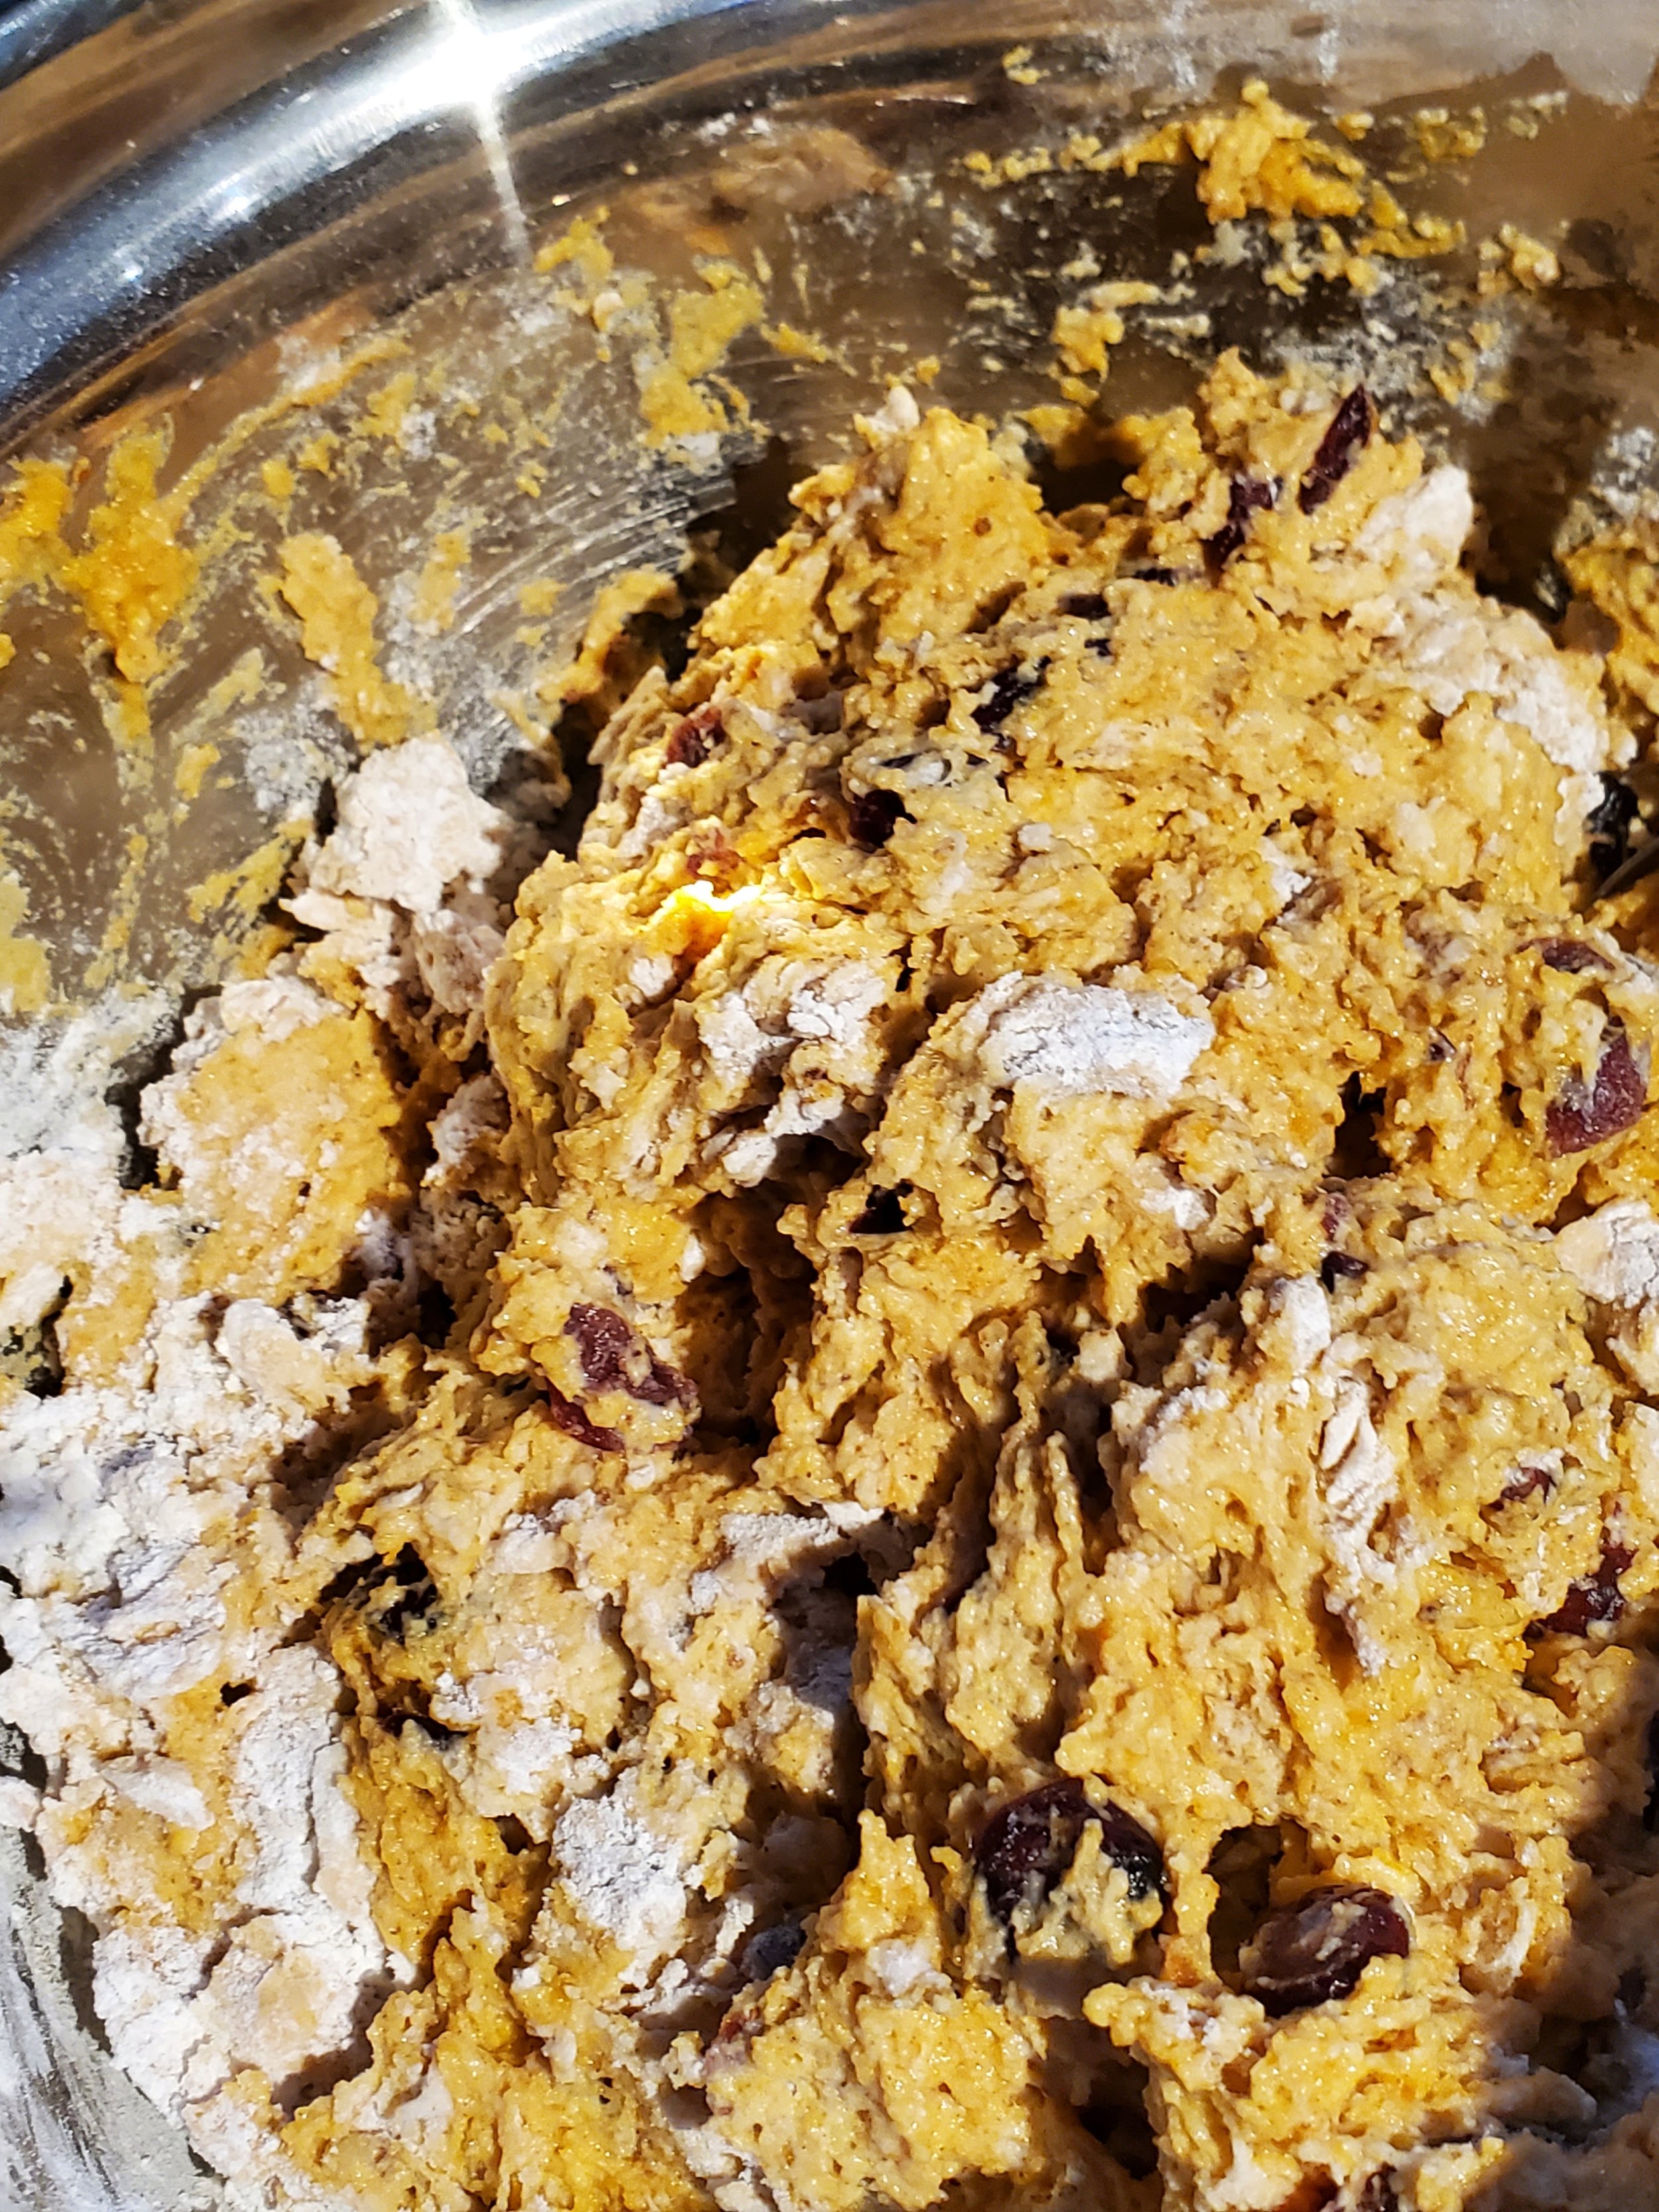
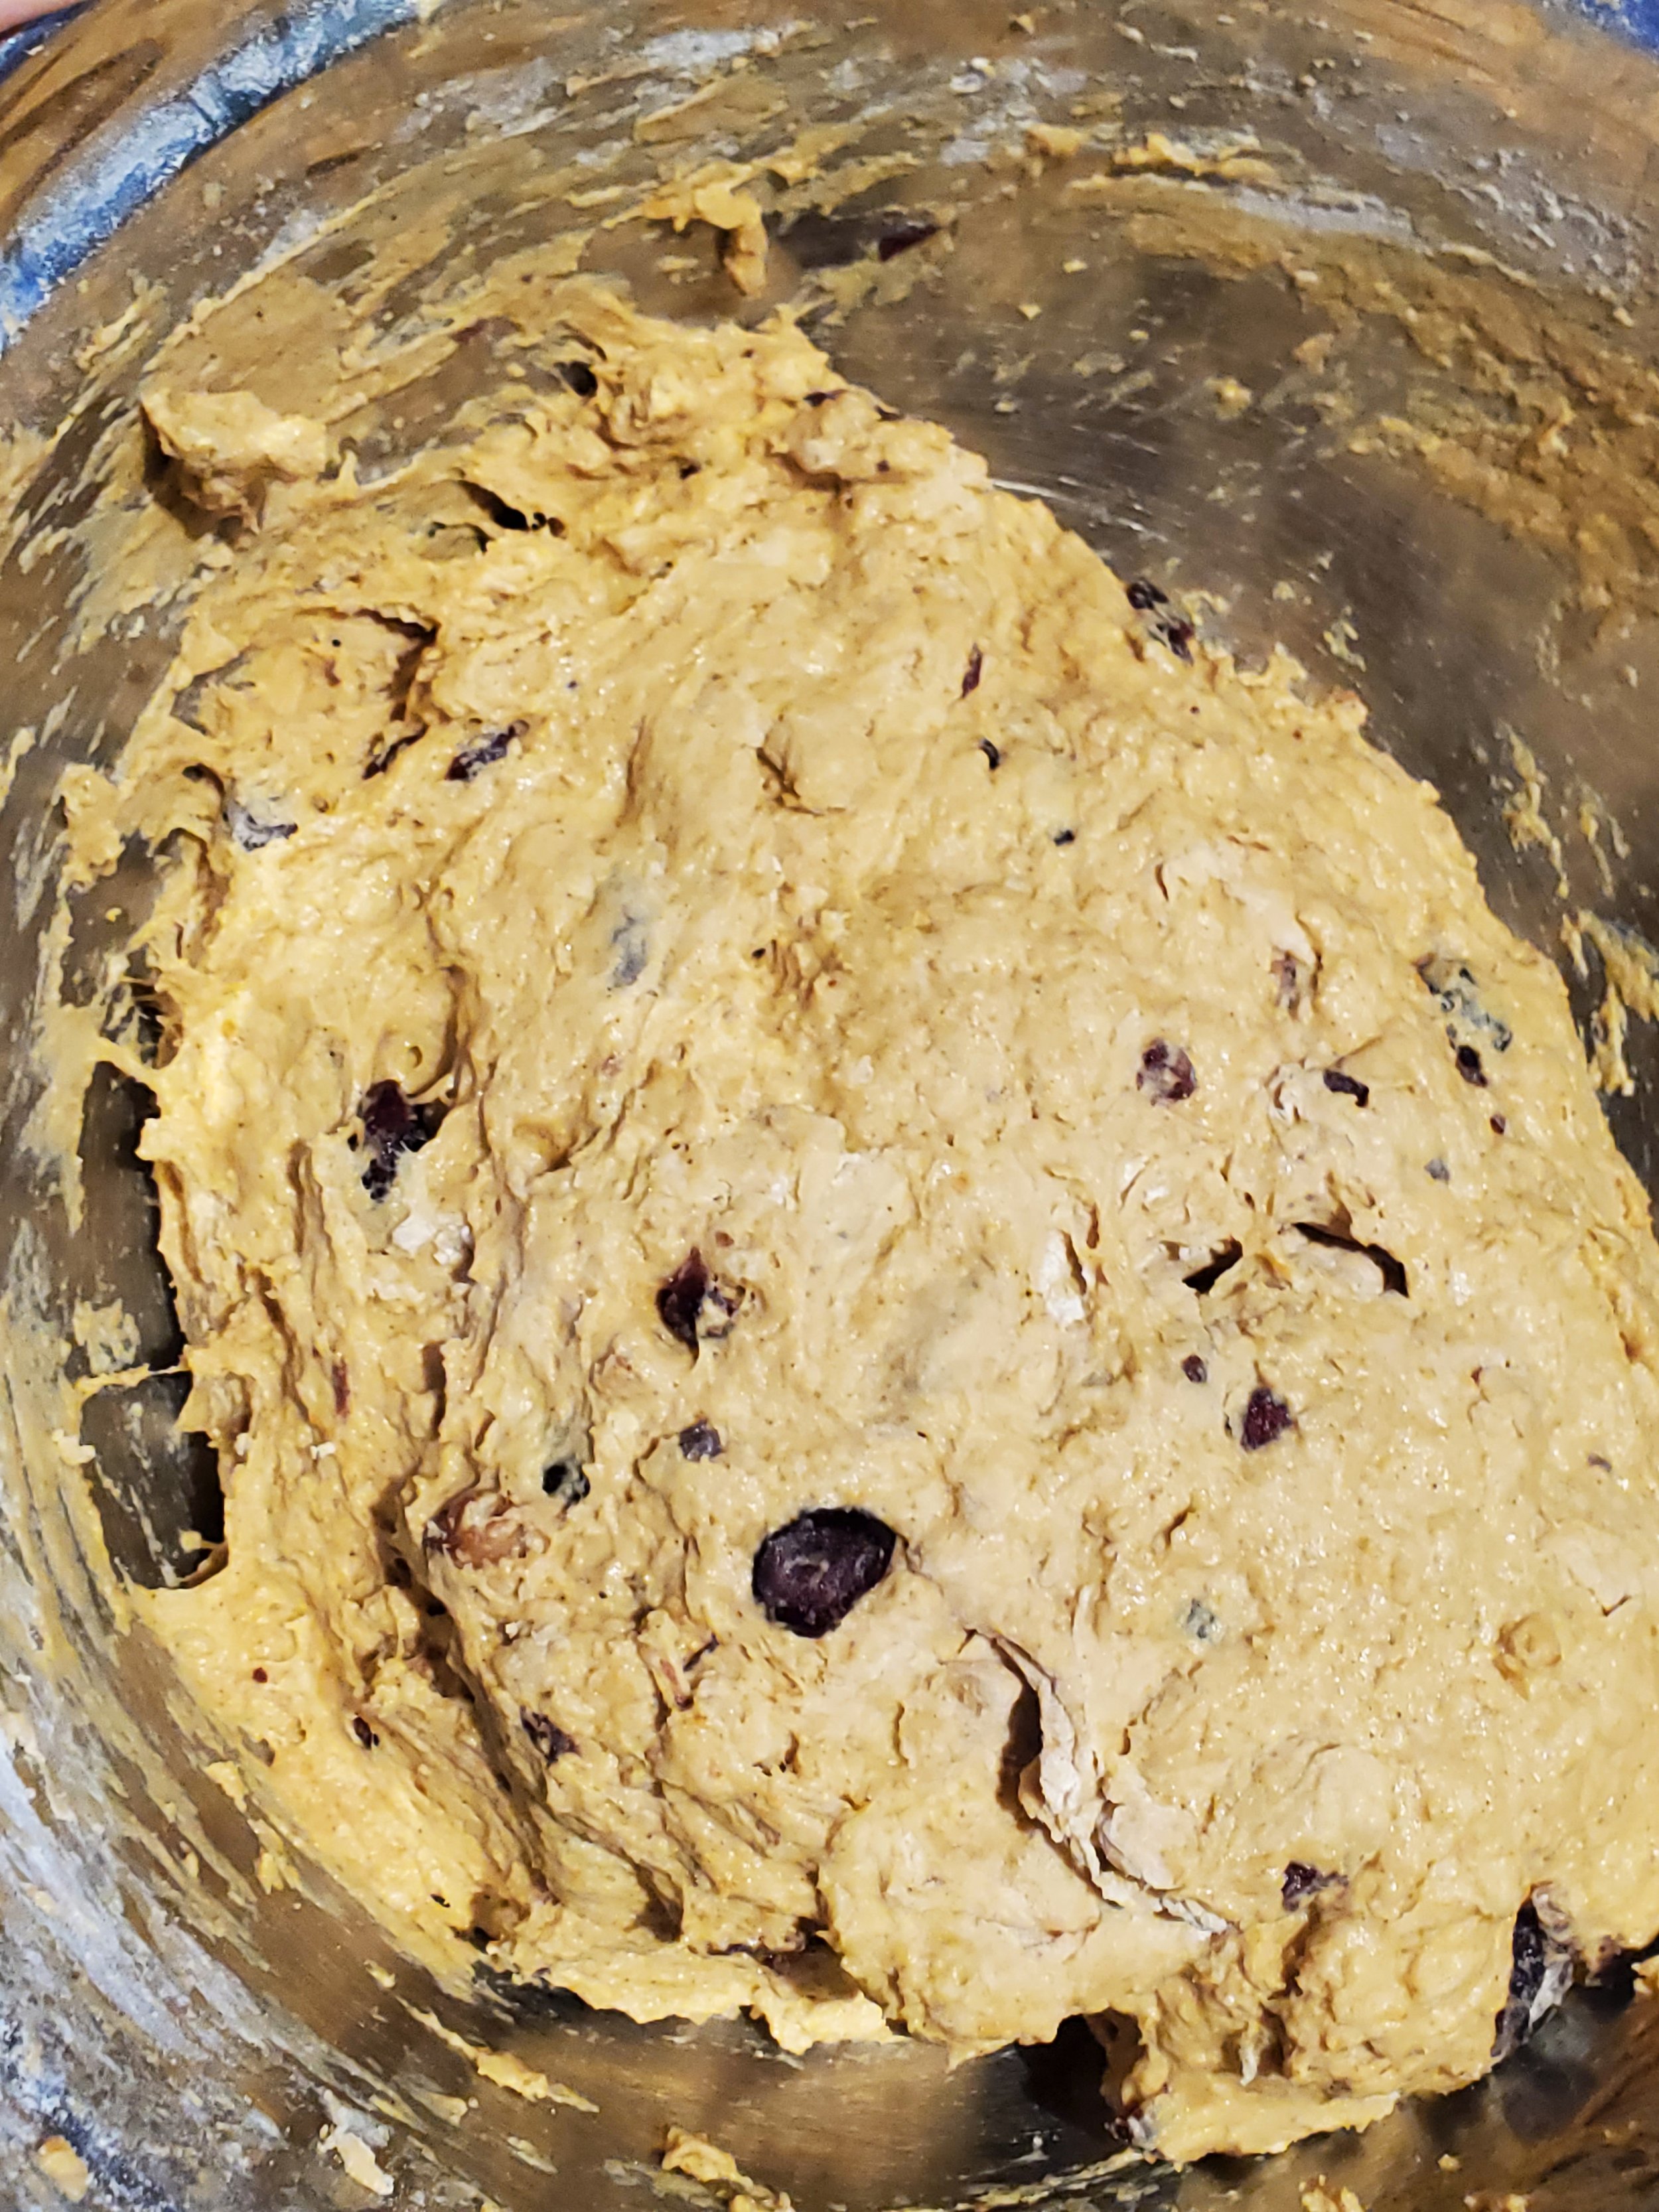
Measure the flour, stopping at three and a half cups. Reserve the additional cup in another bowl. Don't forget to level your flour! It's going to be sticky dough and you'll likely be tempted to add more flour, but don't fall for it, and definitely don't sabotage yourself by starting with more than you meant to.


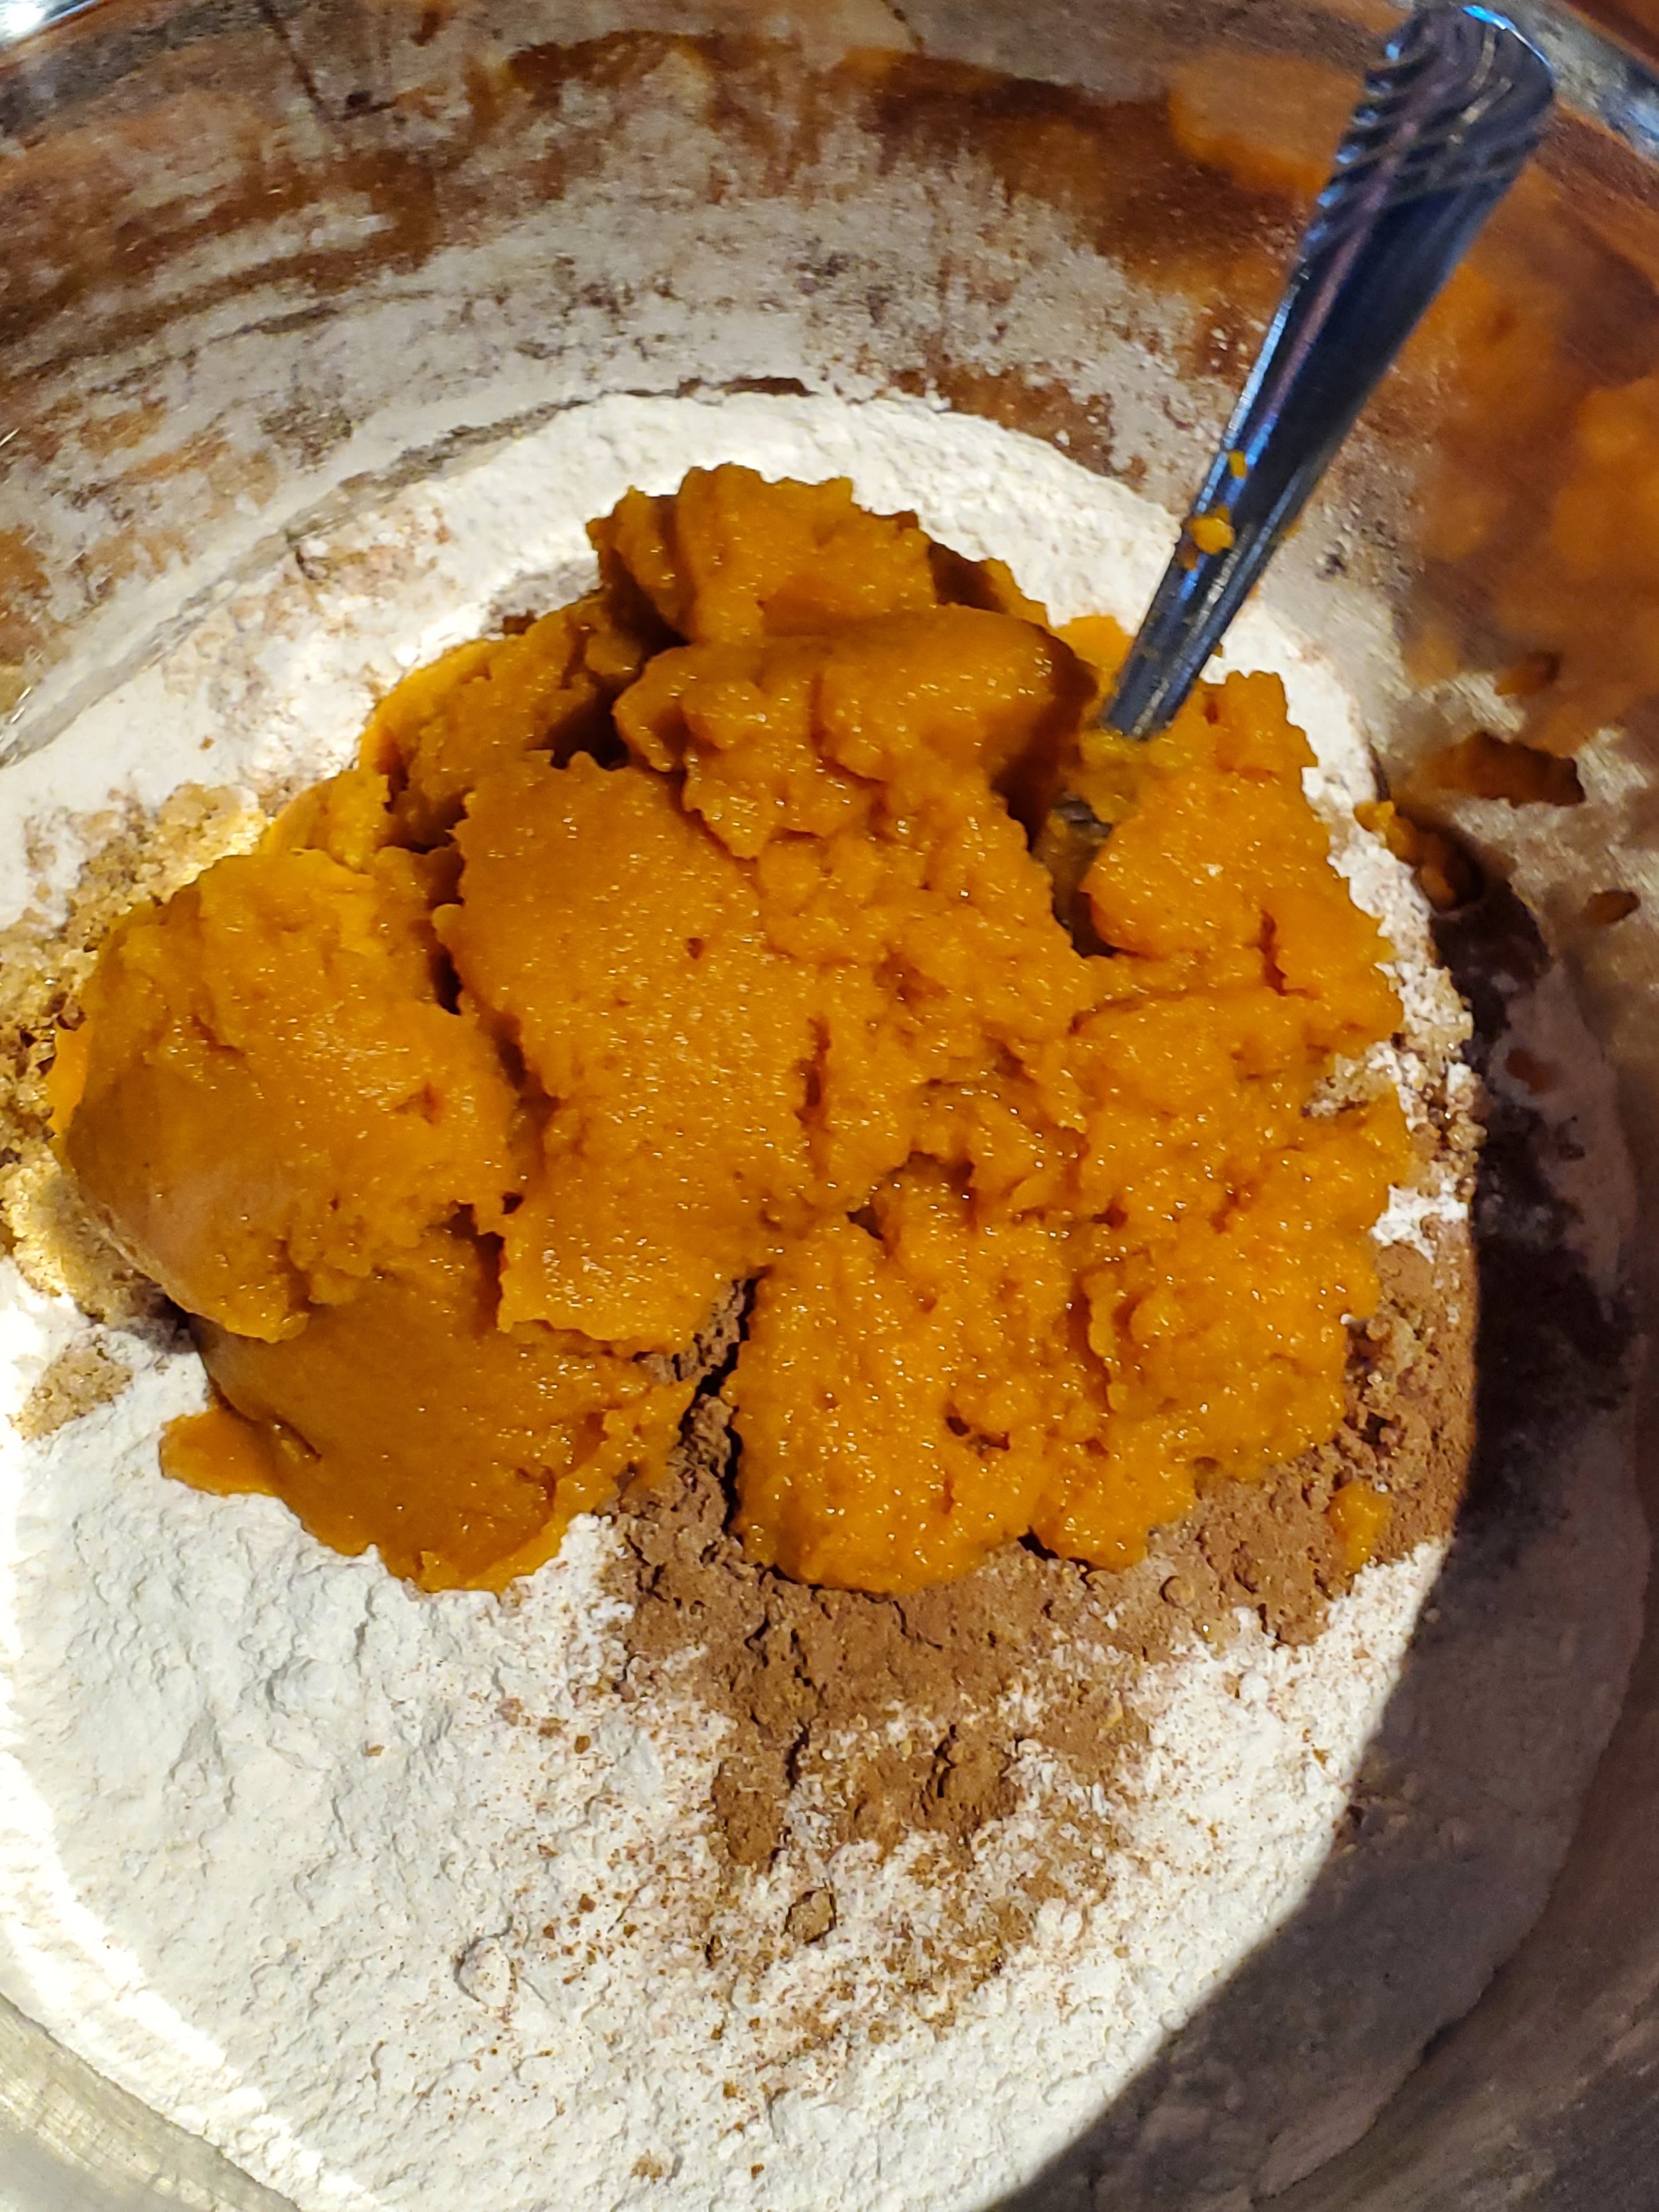
Include your sugar, salt and spices in the dry ingredients. We want to see them evenly mixed into your flour before any wet ingredients join the party, that way you don't end up with bland spots and spots that have too much cinnamon or something.


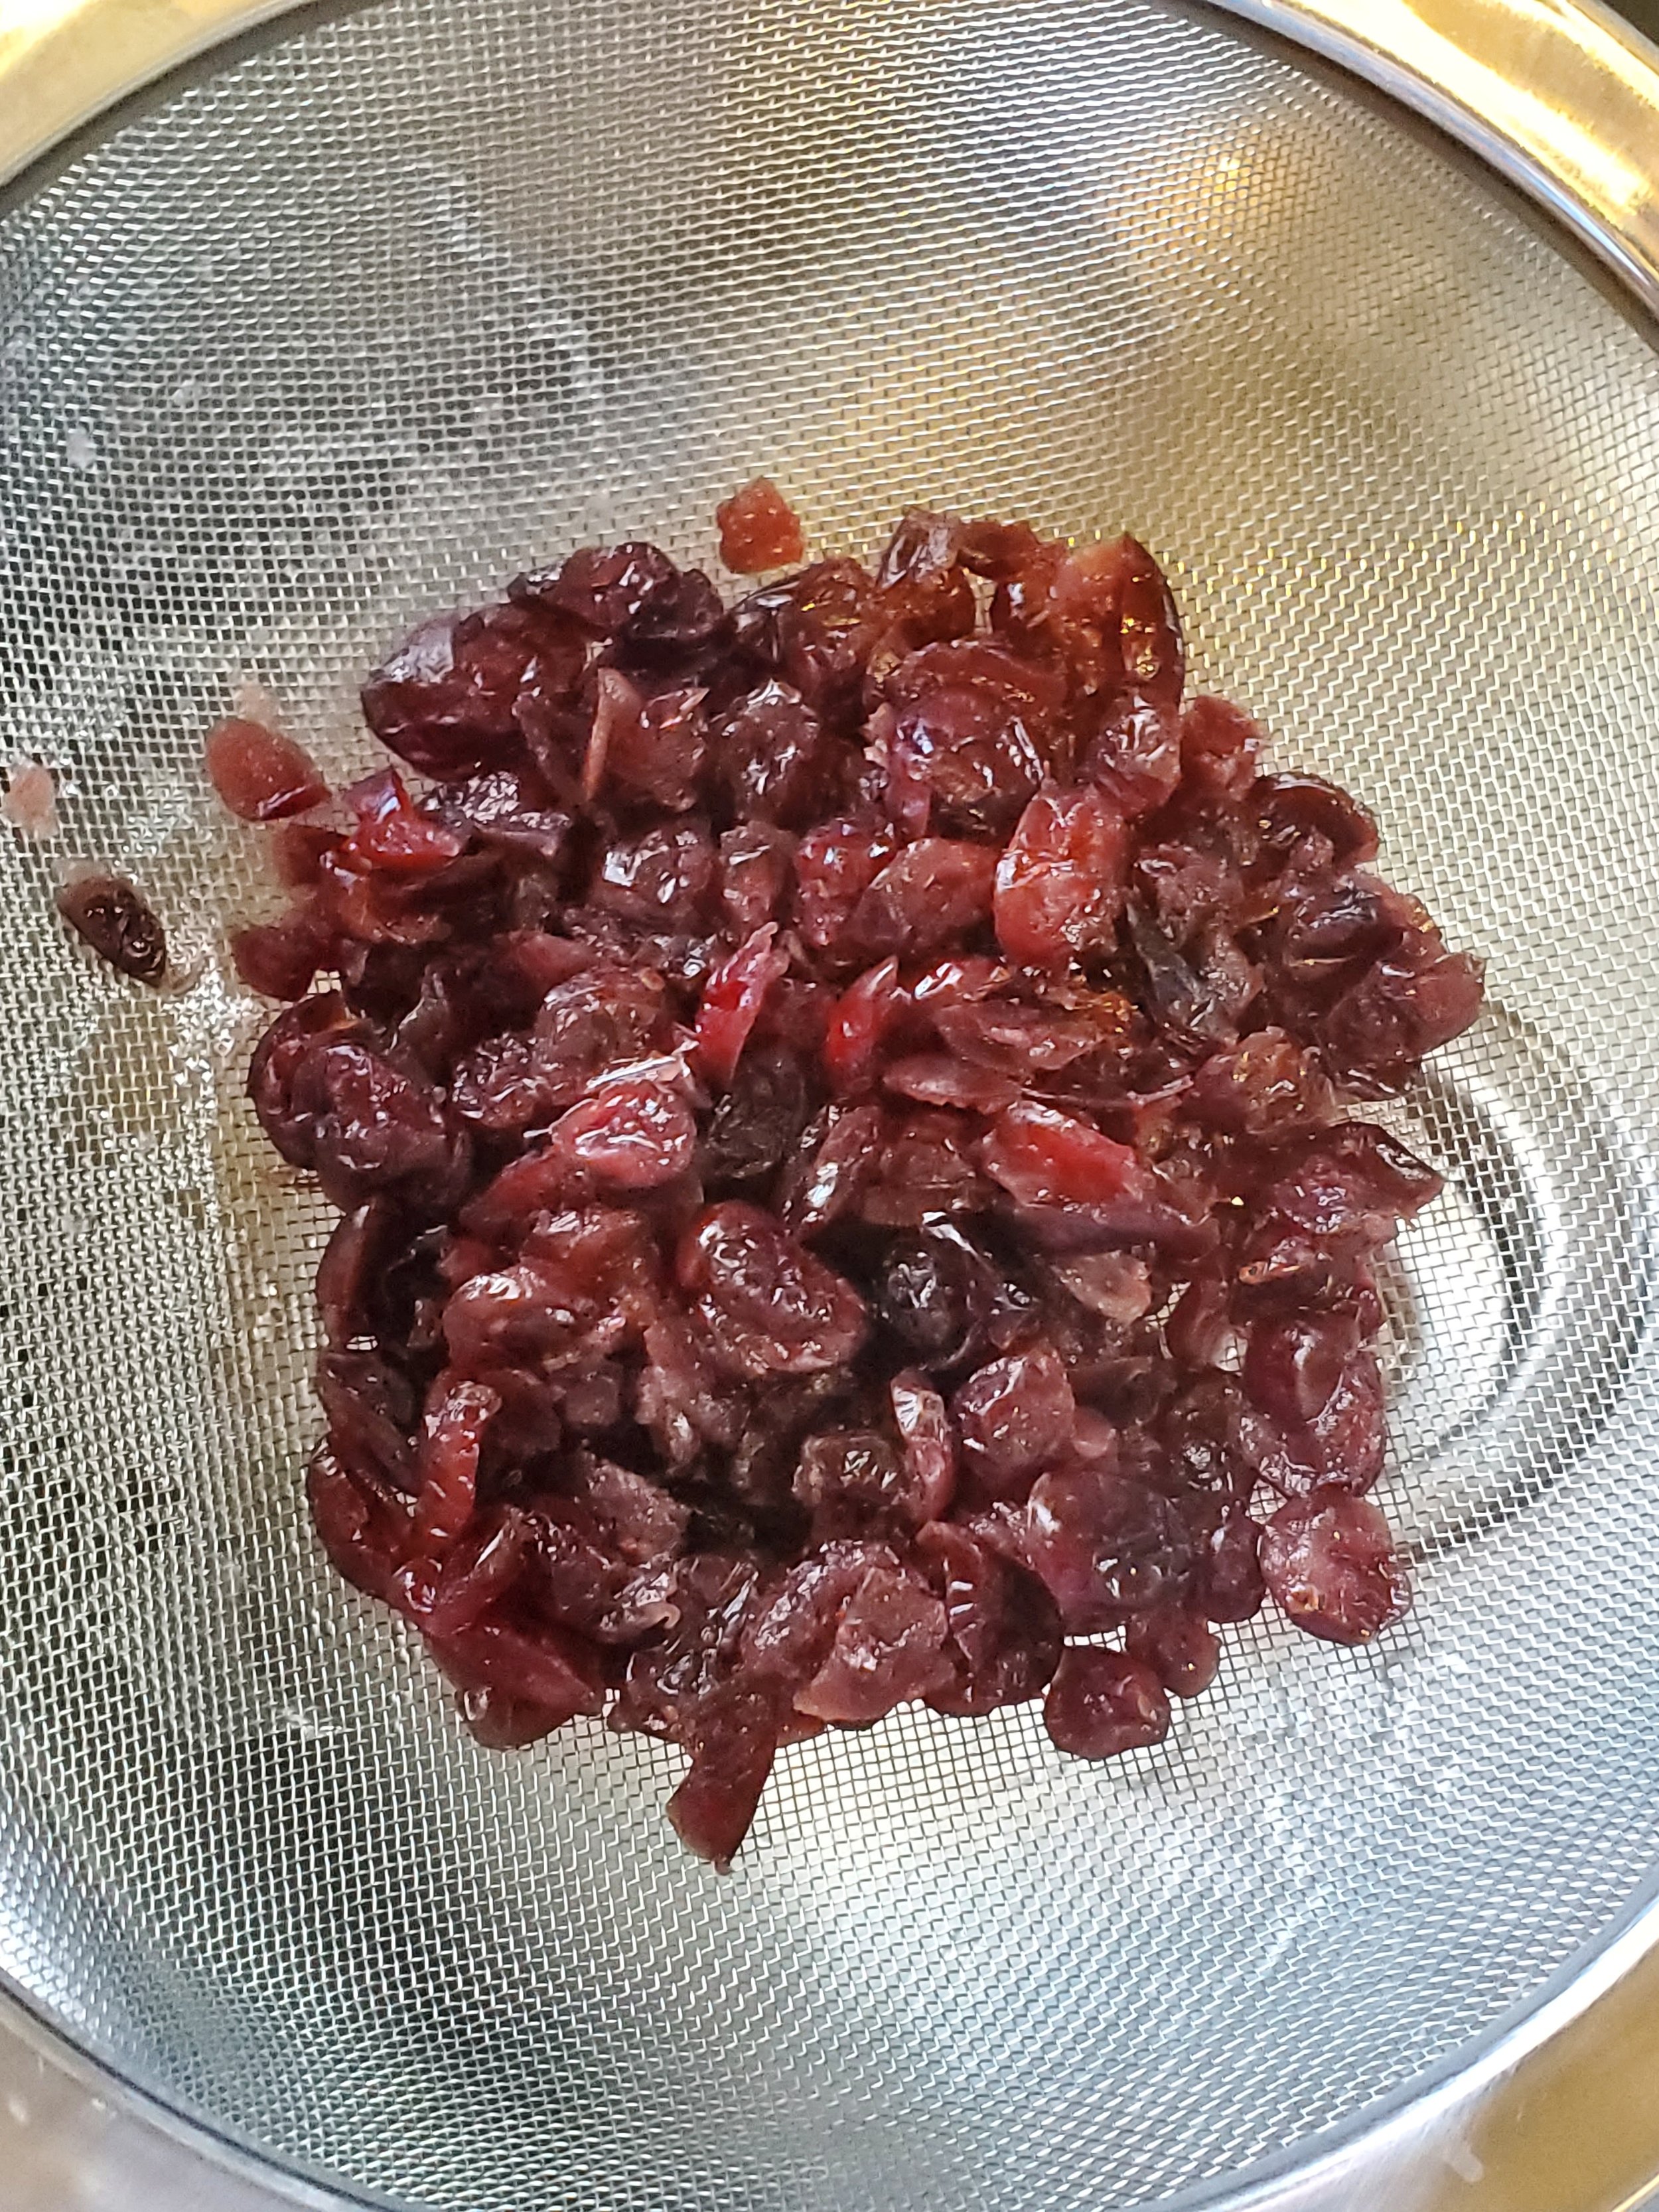
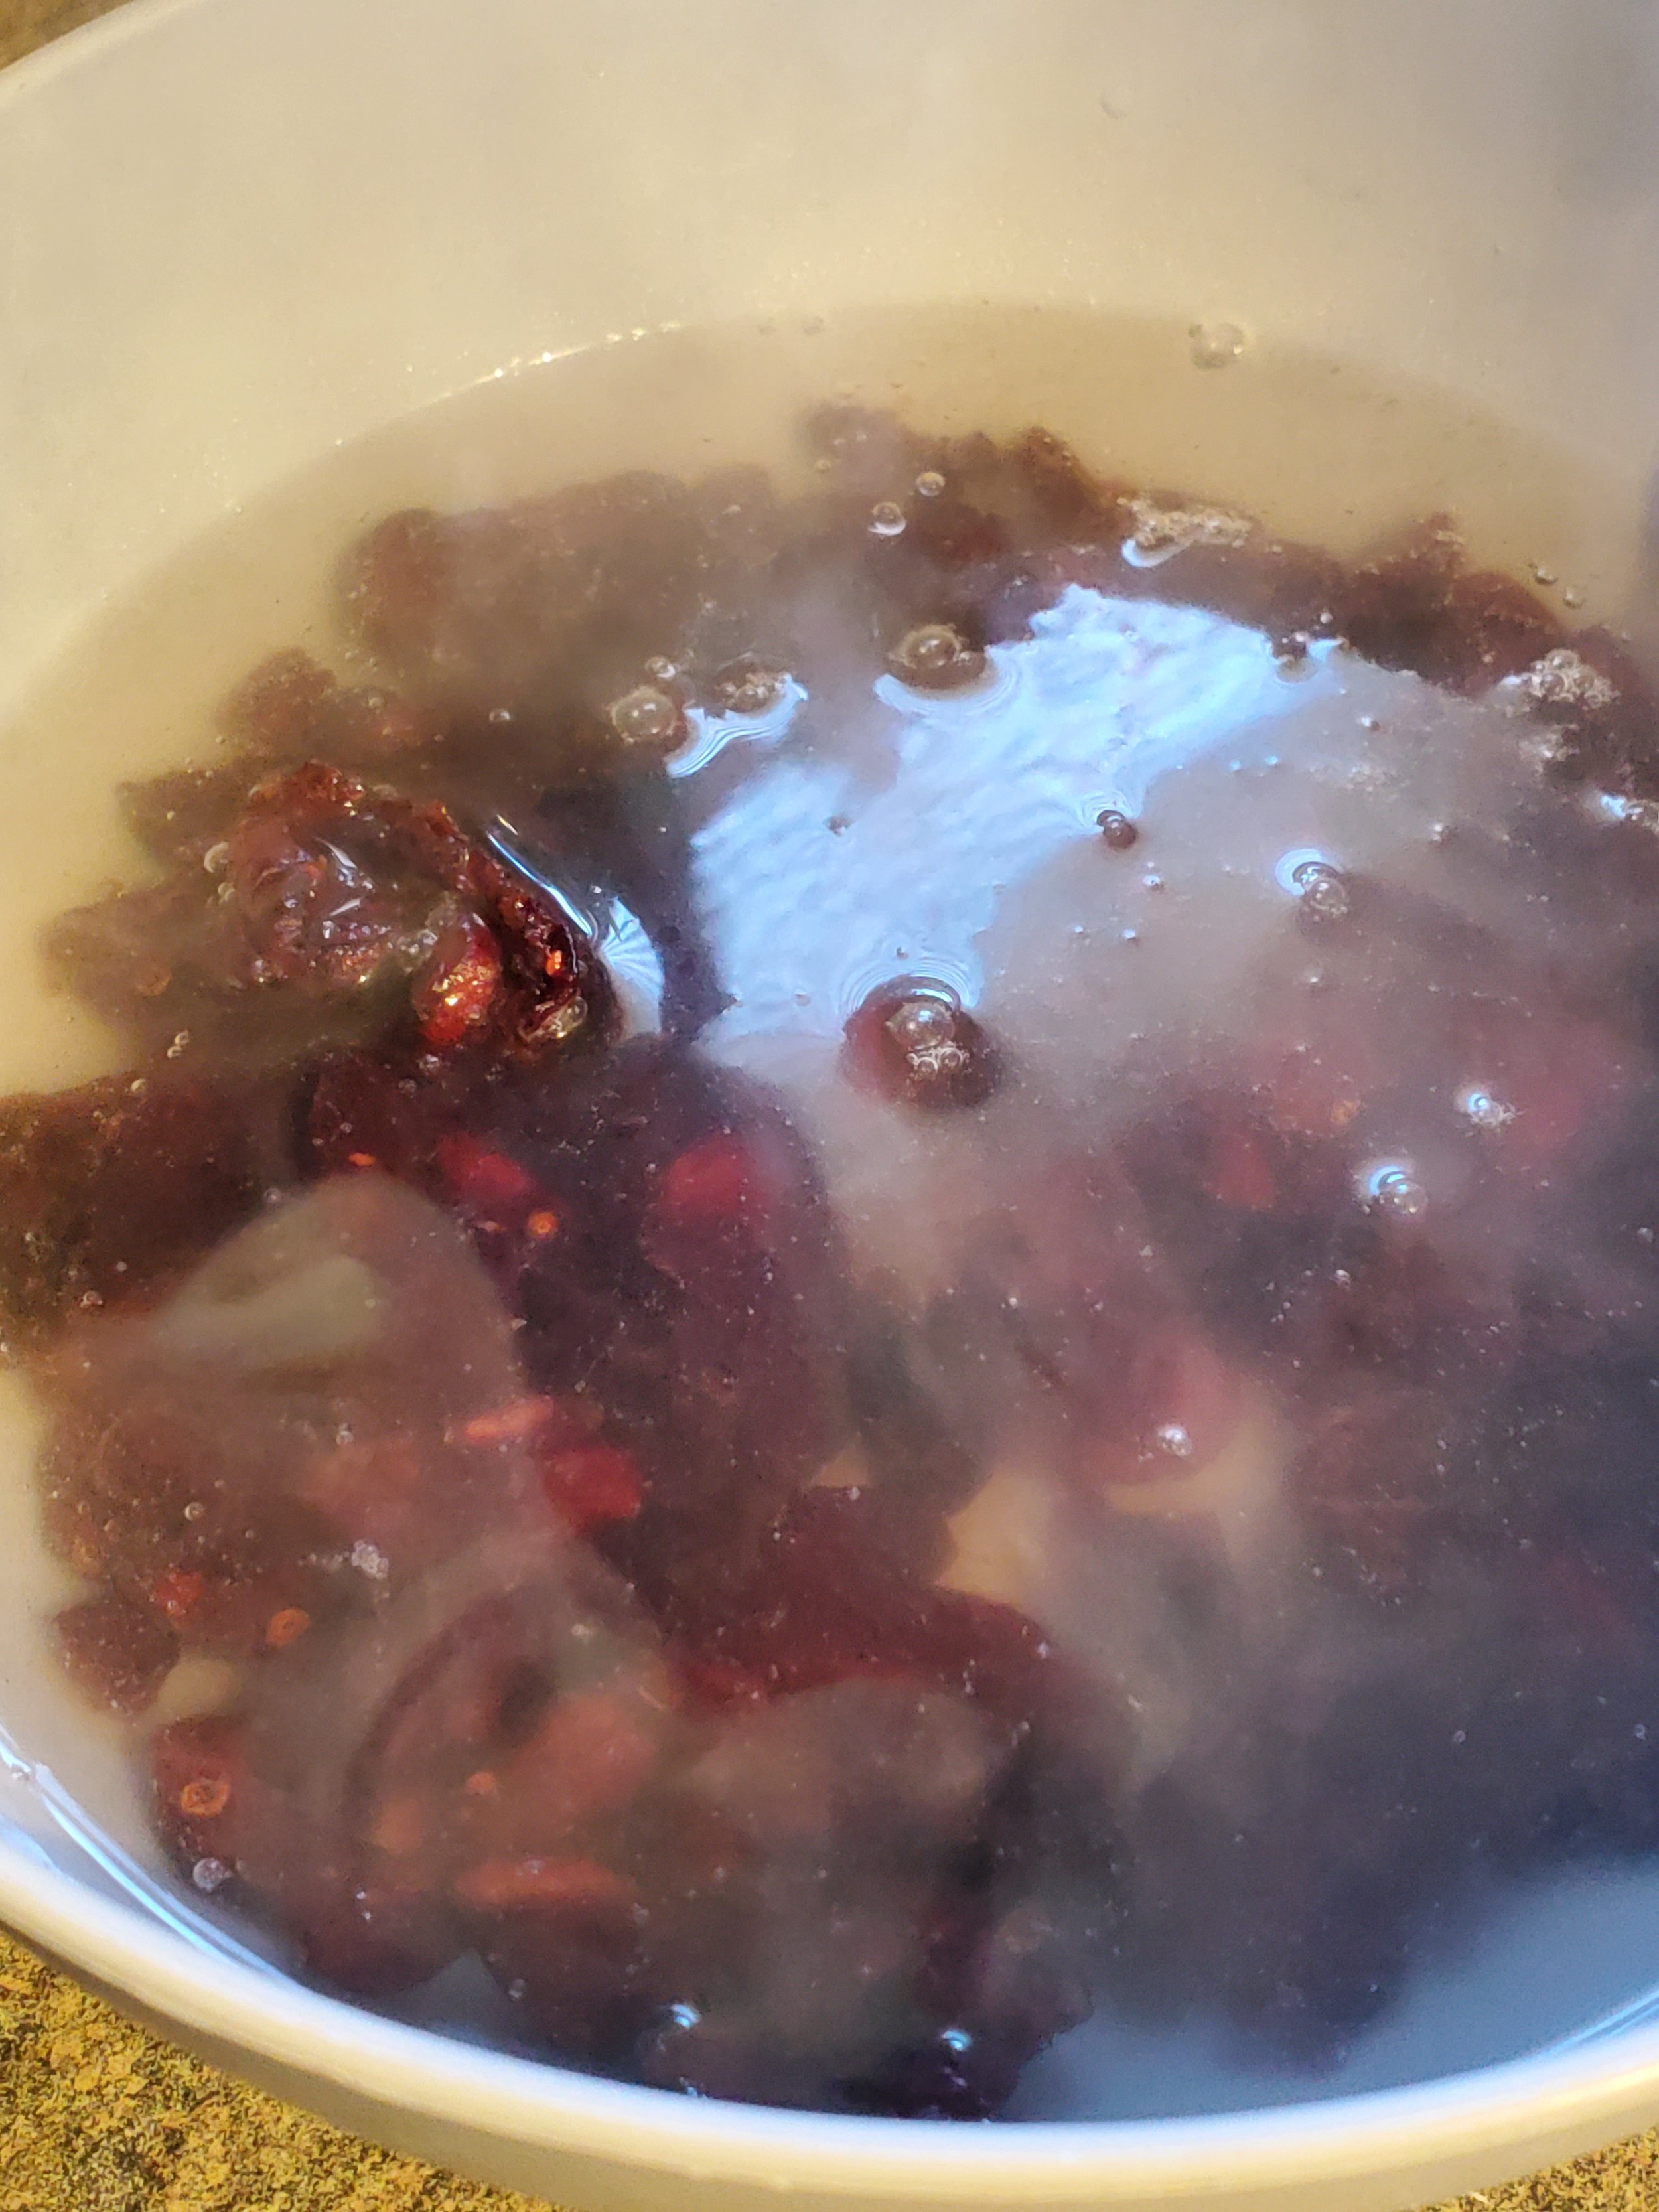
Around this point, our kettle usually begins to boil. Remove it from the heat, toss the cranberries in the heat proof bowl, and cover them with boiling water. Ignore them for five minutes or so - we just want them to be partially rehydrated so they're not sticky lumps in the bread later. After they've had time to absorb some of the water, strain the water out through the colander.


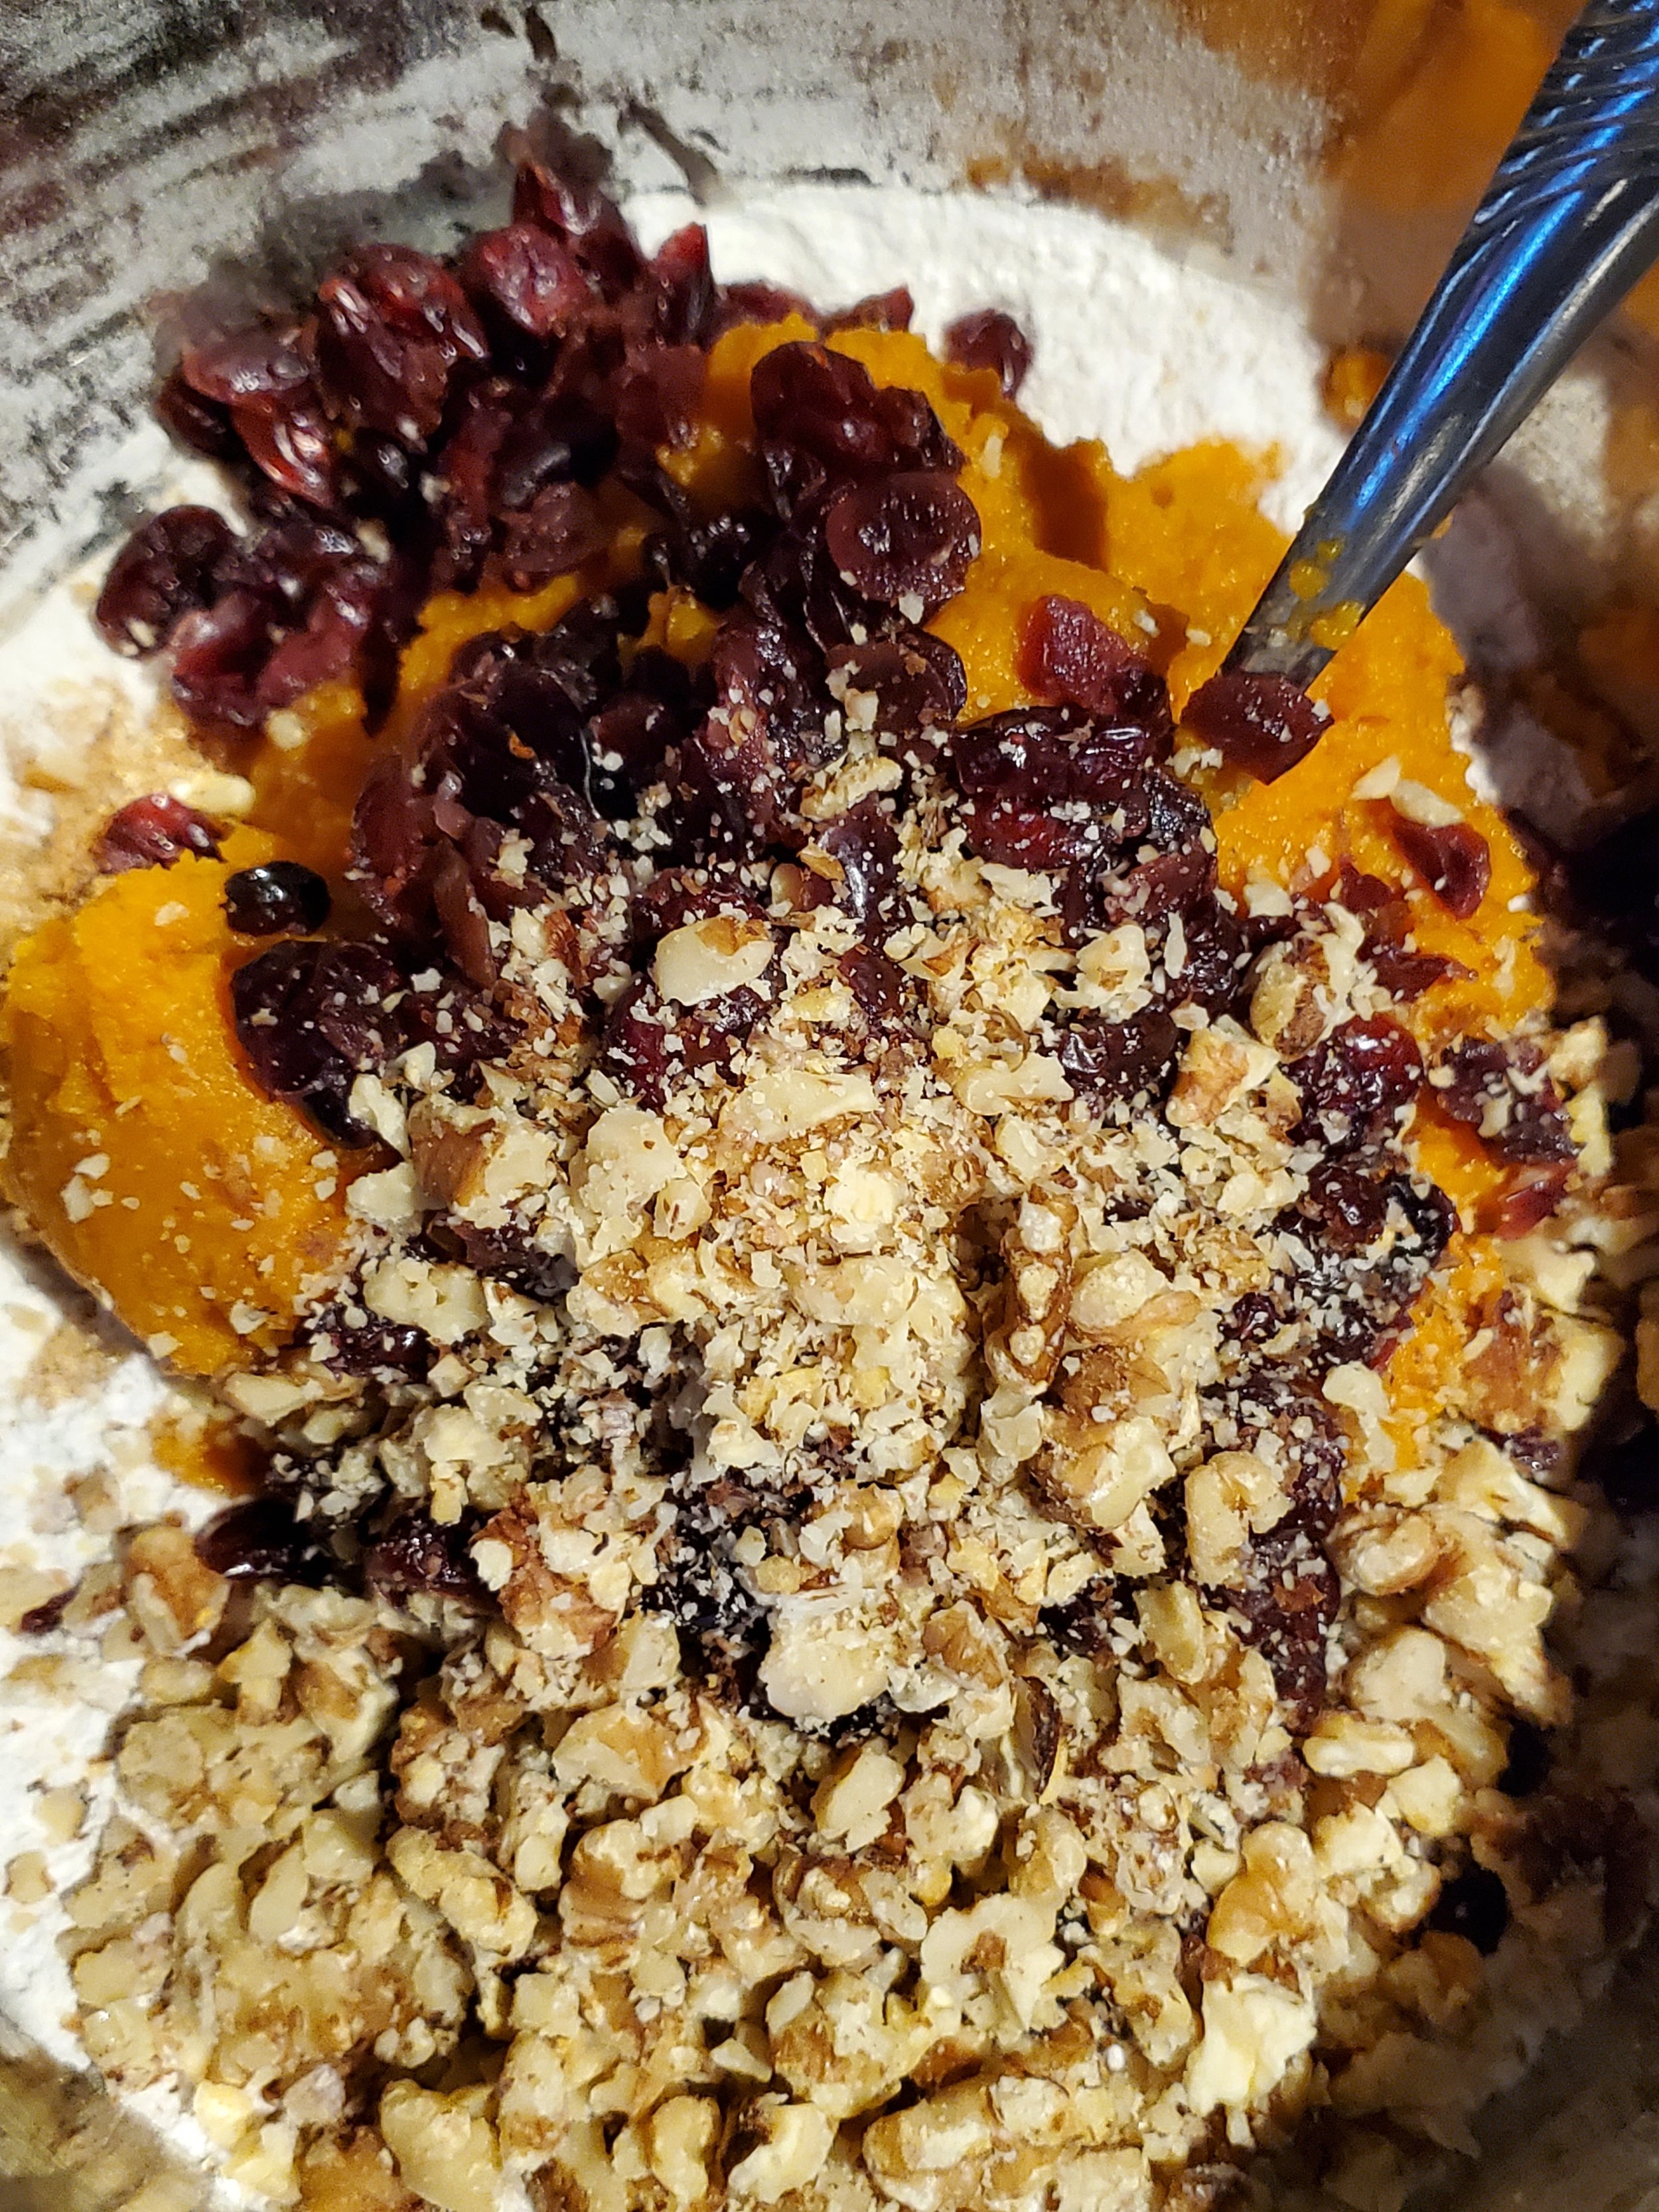
Add the pumpkin and the yeast mixture to the dry ingredients and stir well. Once you've got a relatively uniform consistency, you can add in the chopped walnuts and the cranberries. This is also the first point that your reserved cup of flour will make an appearance - work about half of it into the sticky dough you have here.


Cover the bowl with a clean kitchen towel and let it rise on the counter for three hours.


At the three hour mark, move the dough to the fridge, keeping it covered with the towel. Keep it in the fridge for at least an hour, or as long as overnight (if you're a forward thinker and got this done long enough ahead of time that you can refrigerate it overnight! Congrats on being wiser than us).


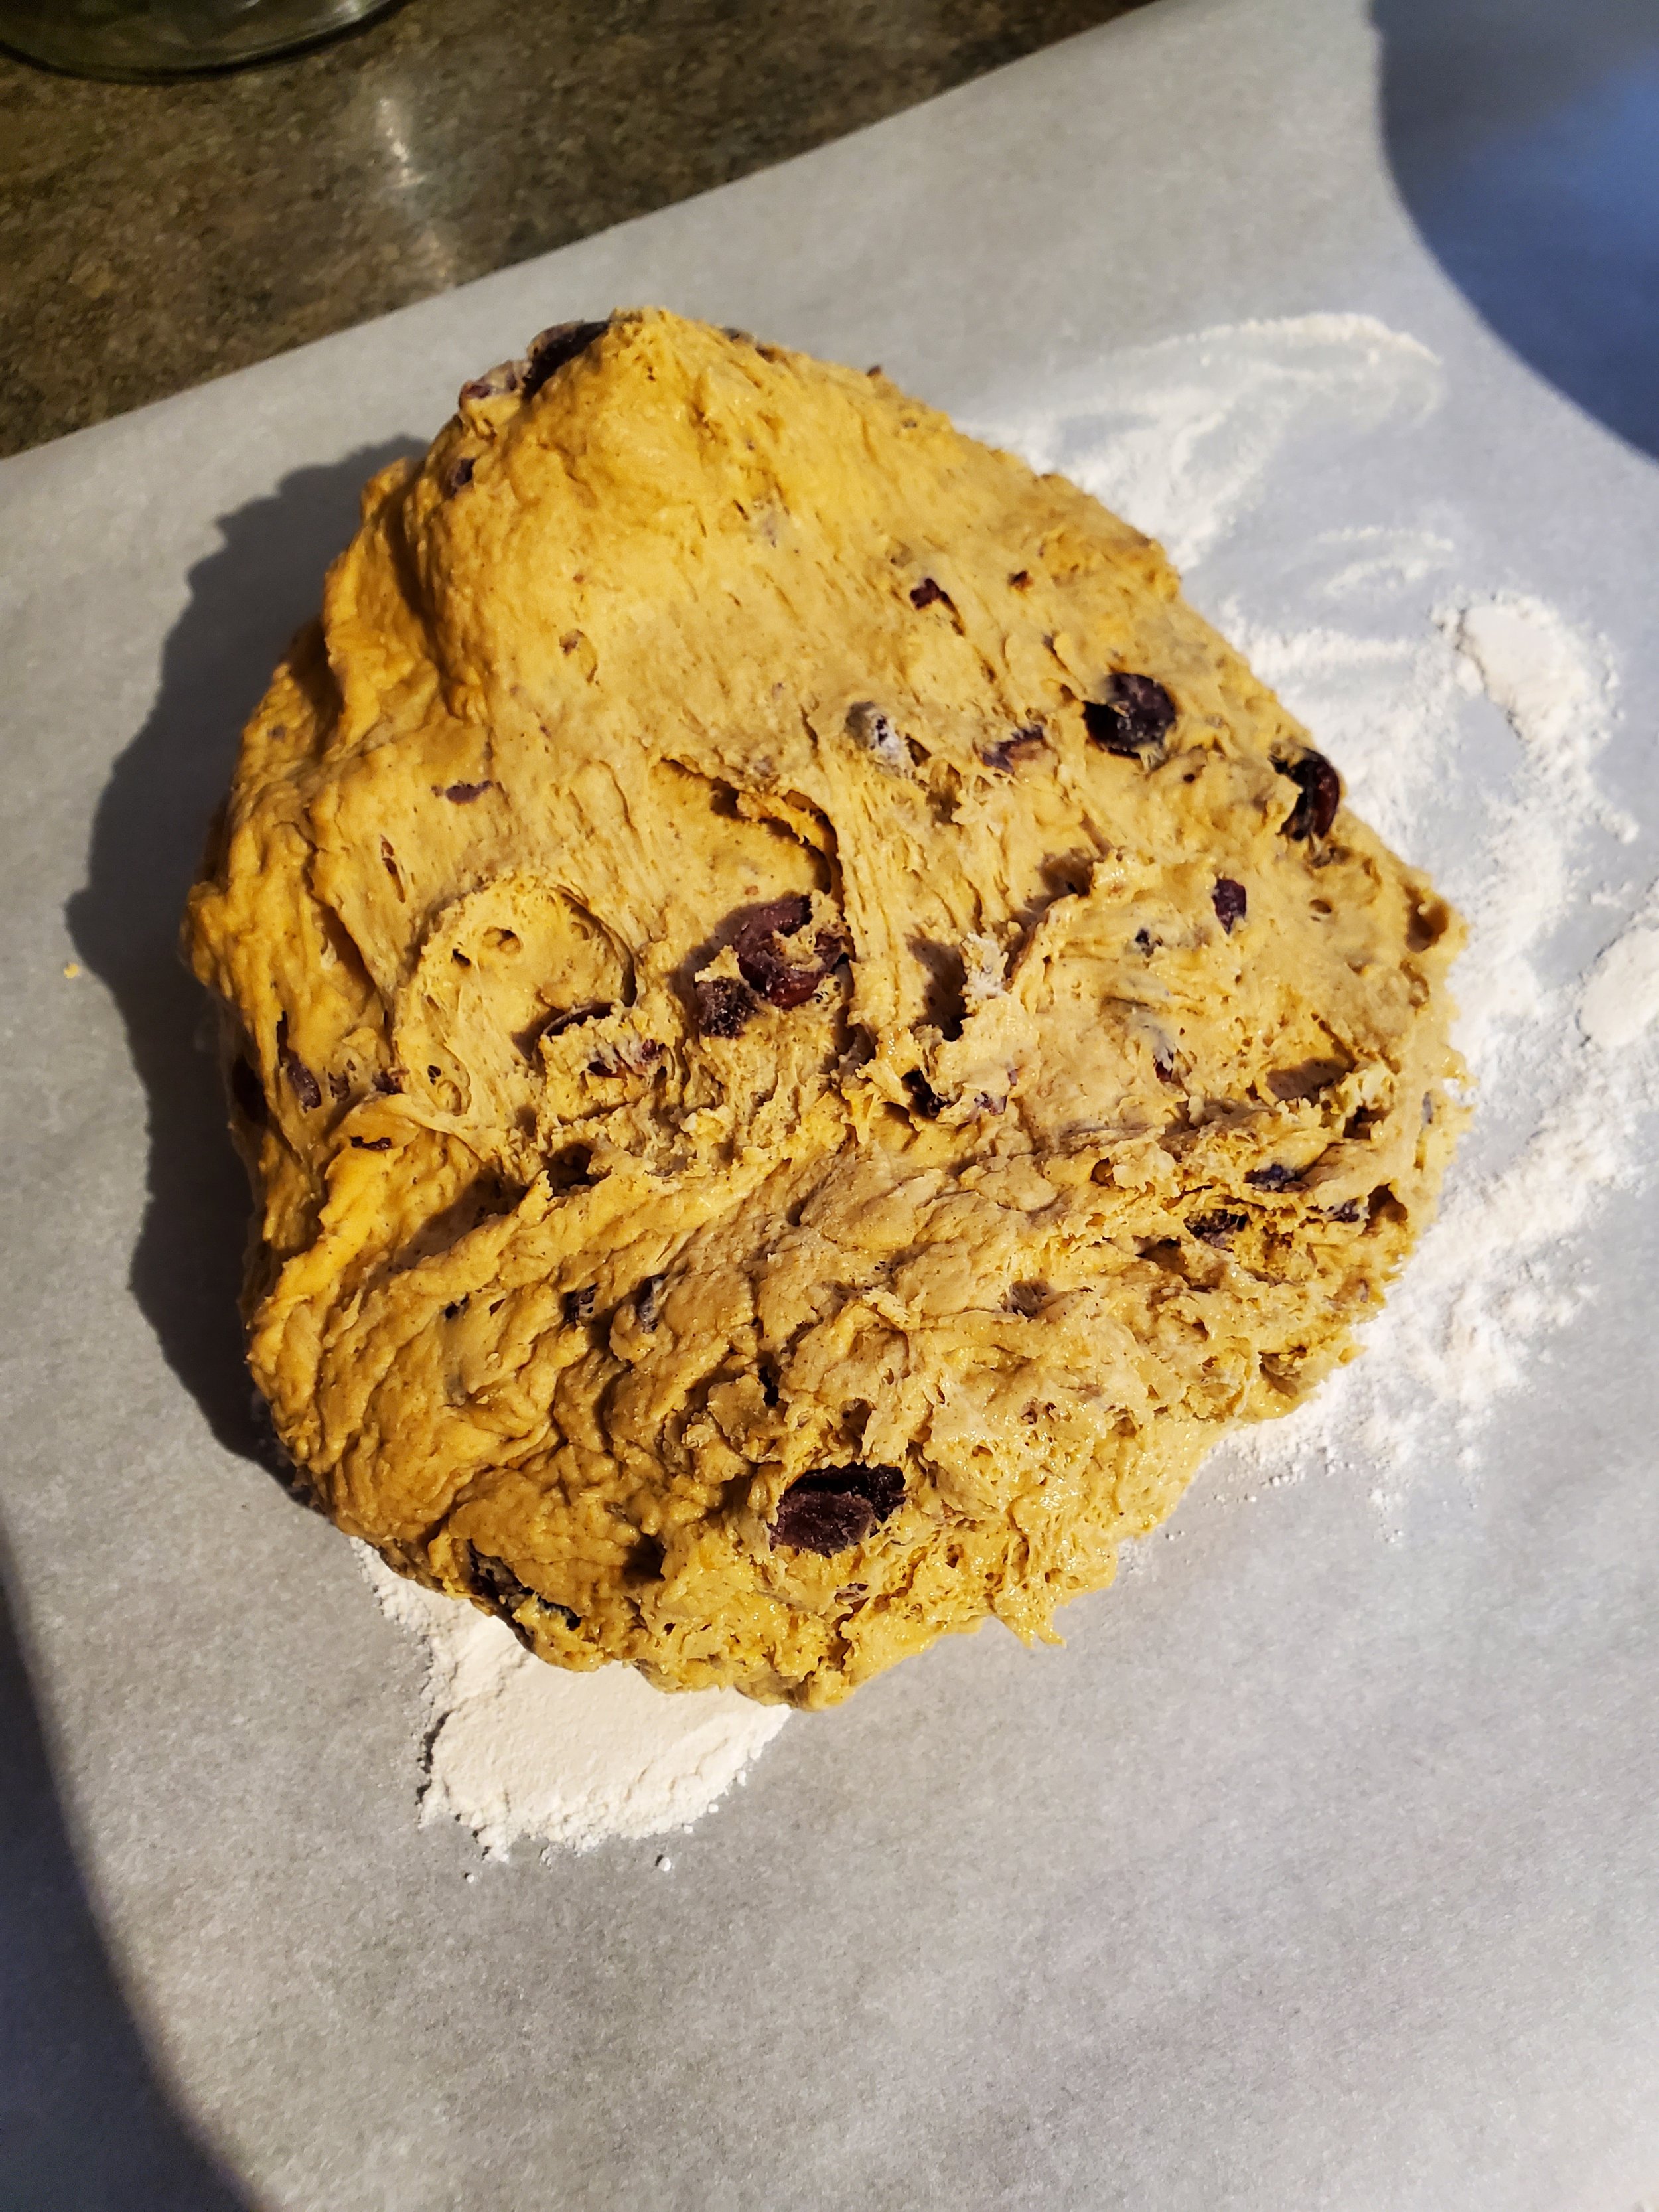
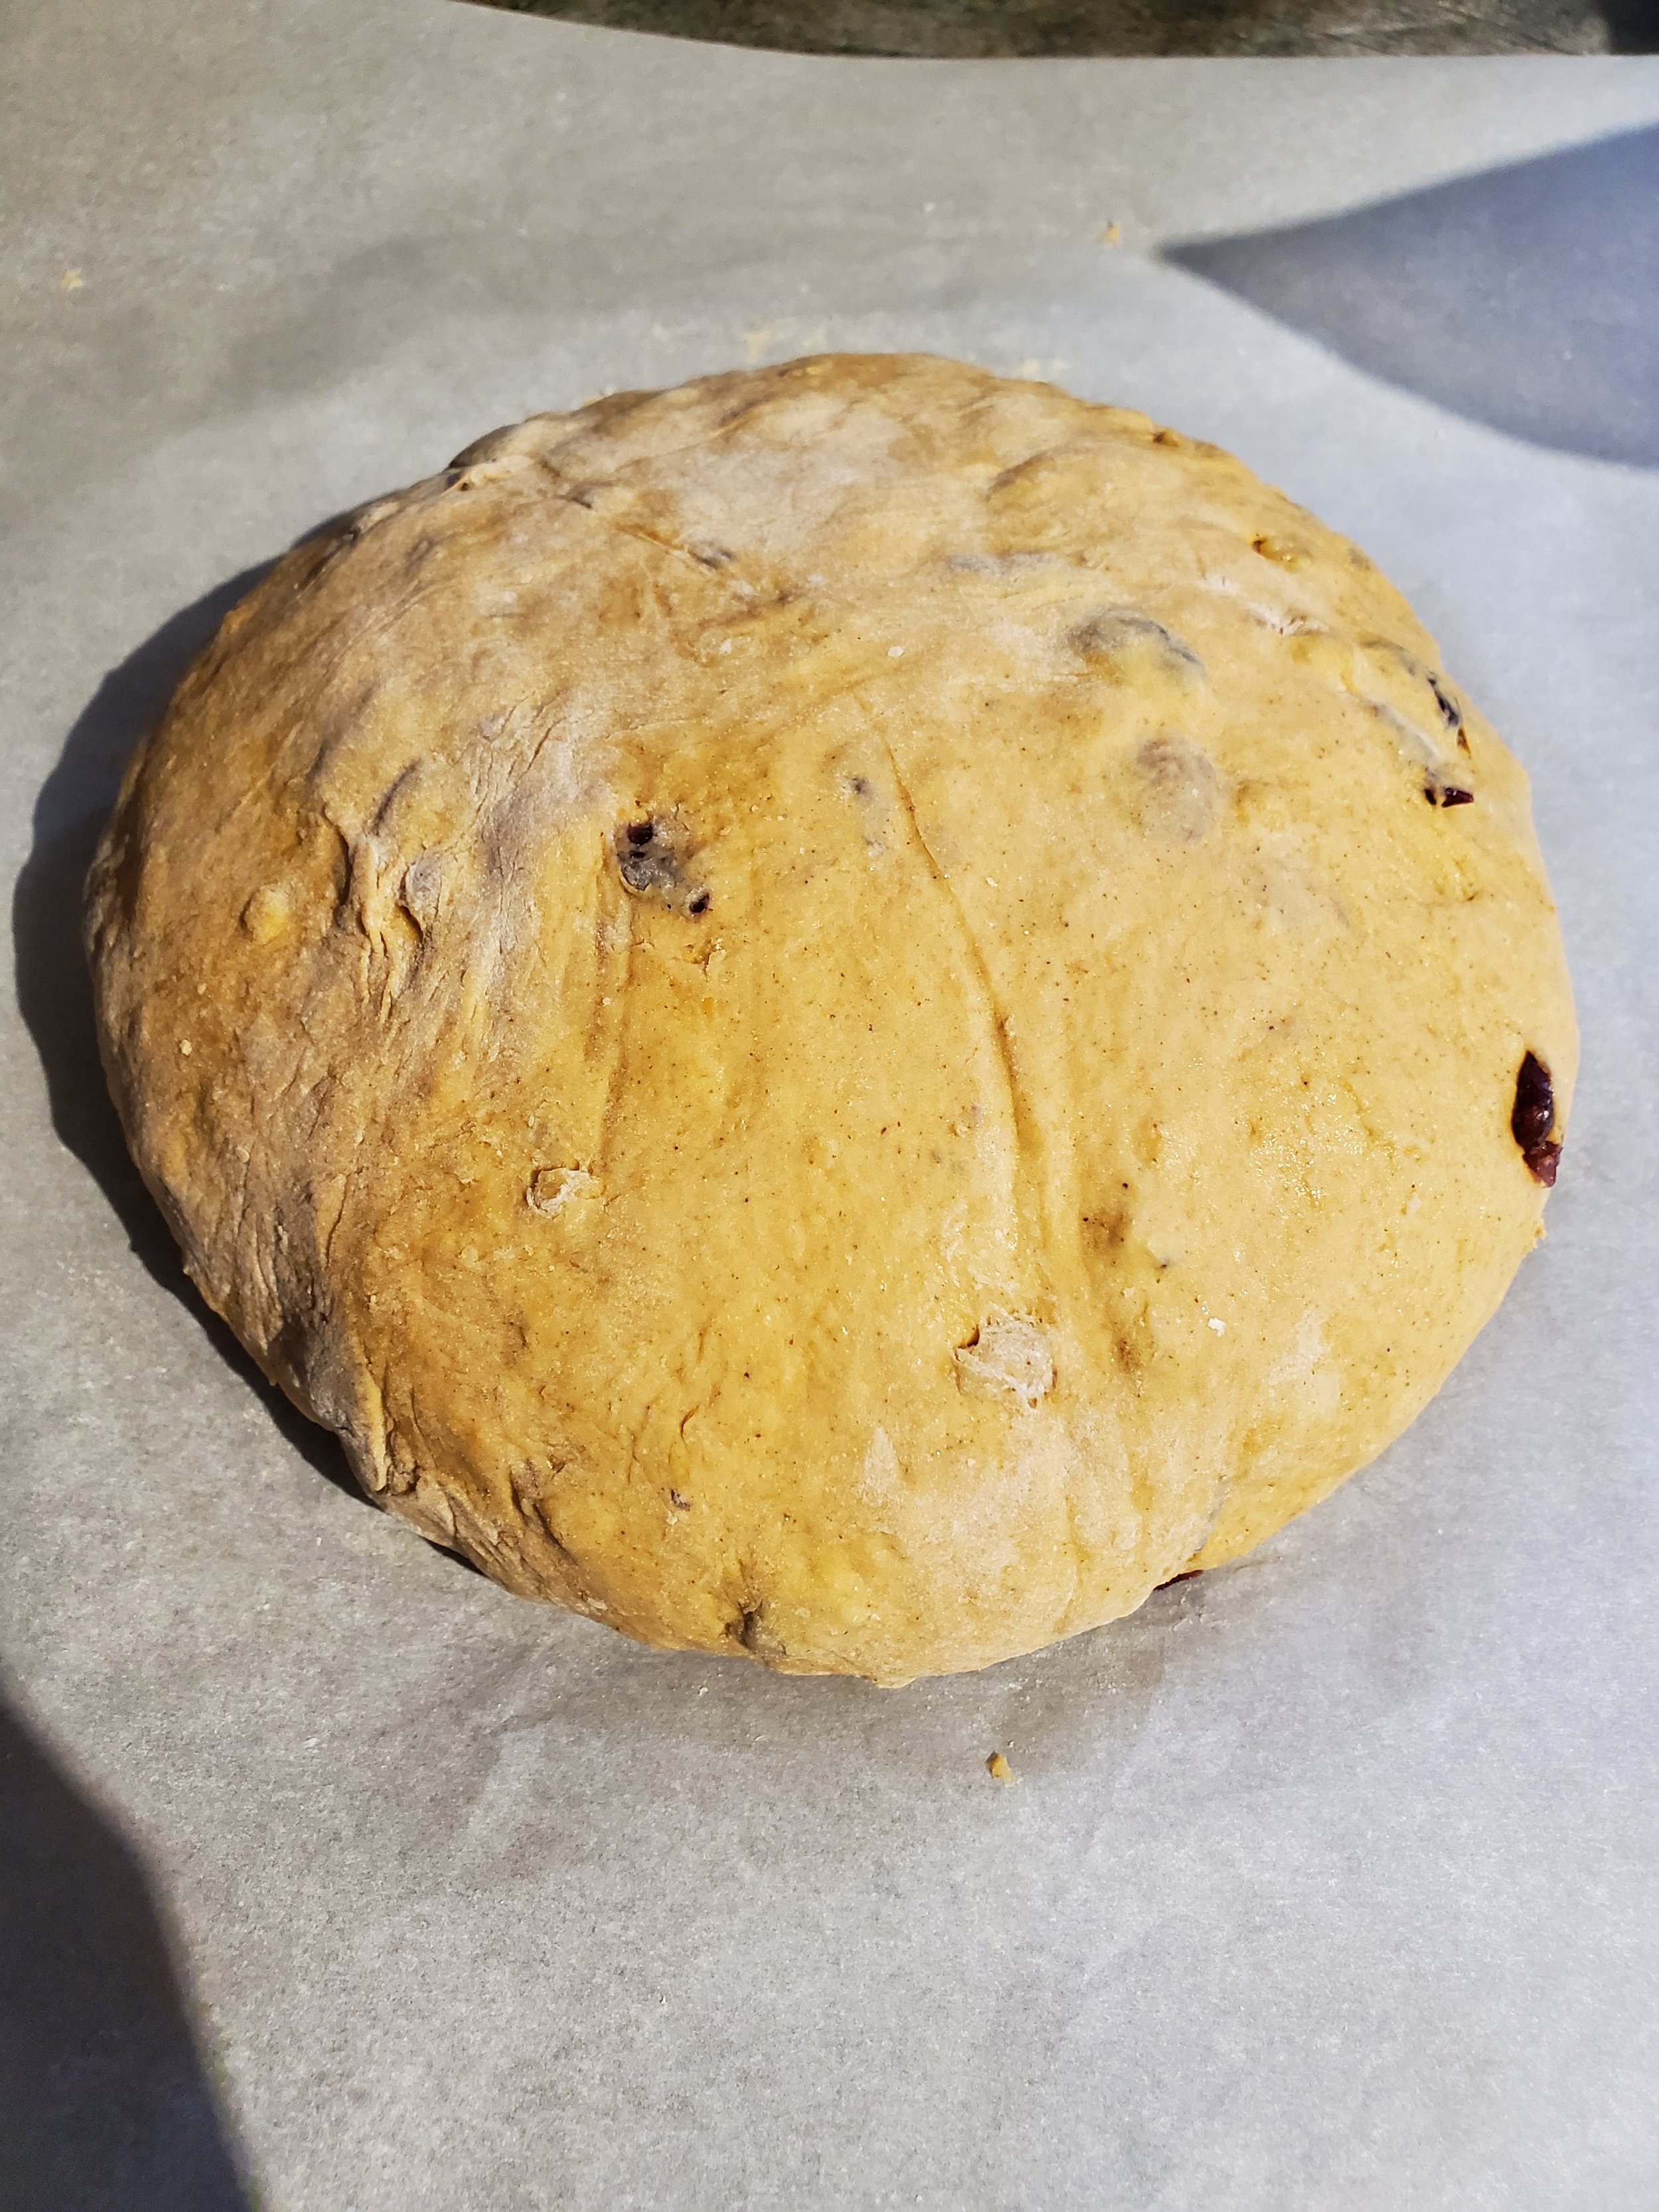
The chilled dough should be easier to work with, but we still recommend a set of food service gloves for this part. Take that reserved flour and dust a surface - a cutting board, the counter, some parchment, the table - whatever you have. We recommend parchment paper for ease of lifting later. Turn the cold dough out onto this floured surface and work it until it's smooth. Allow it to rise again where it sits for about an hour.


Preheat the oven to 450. That is not a typo, we really do mean 450.


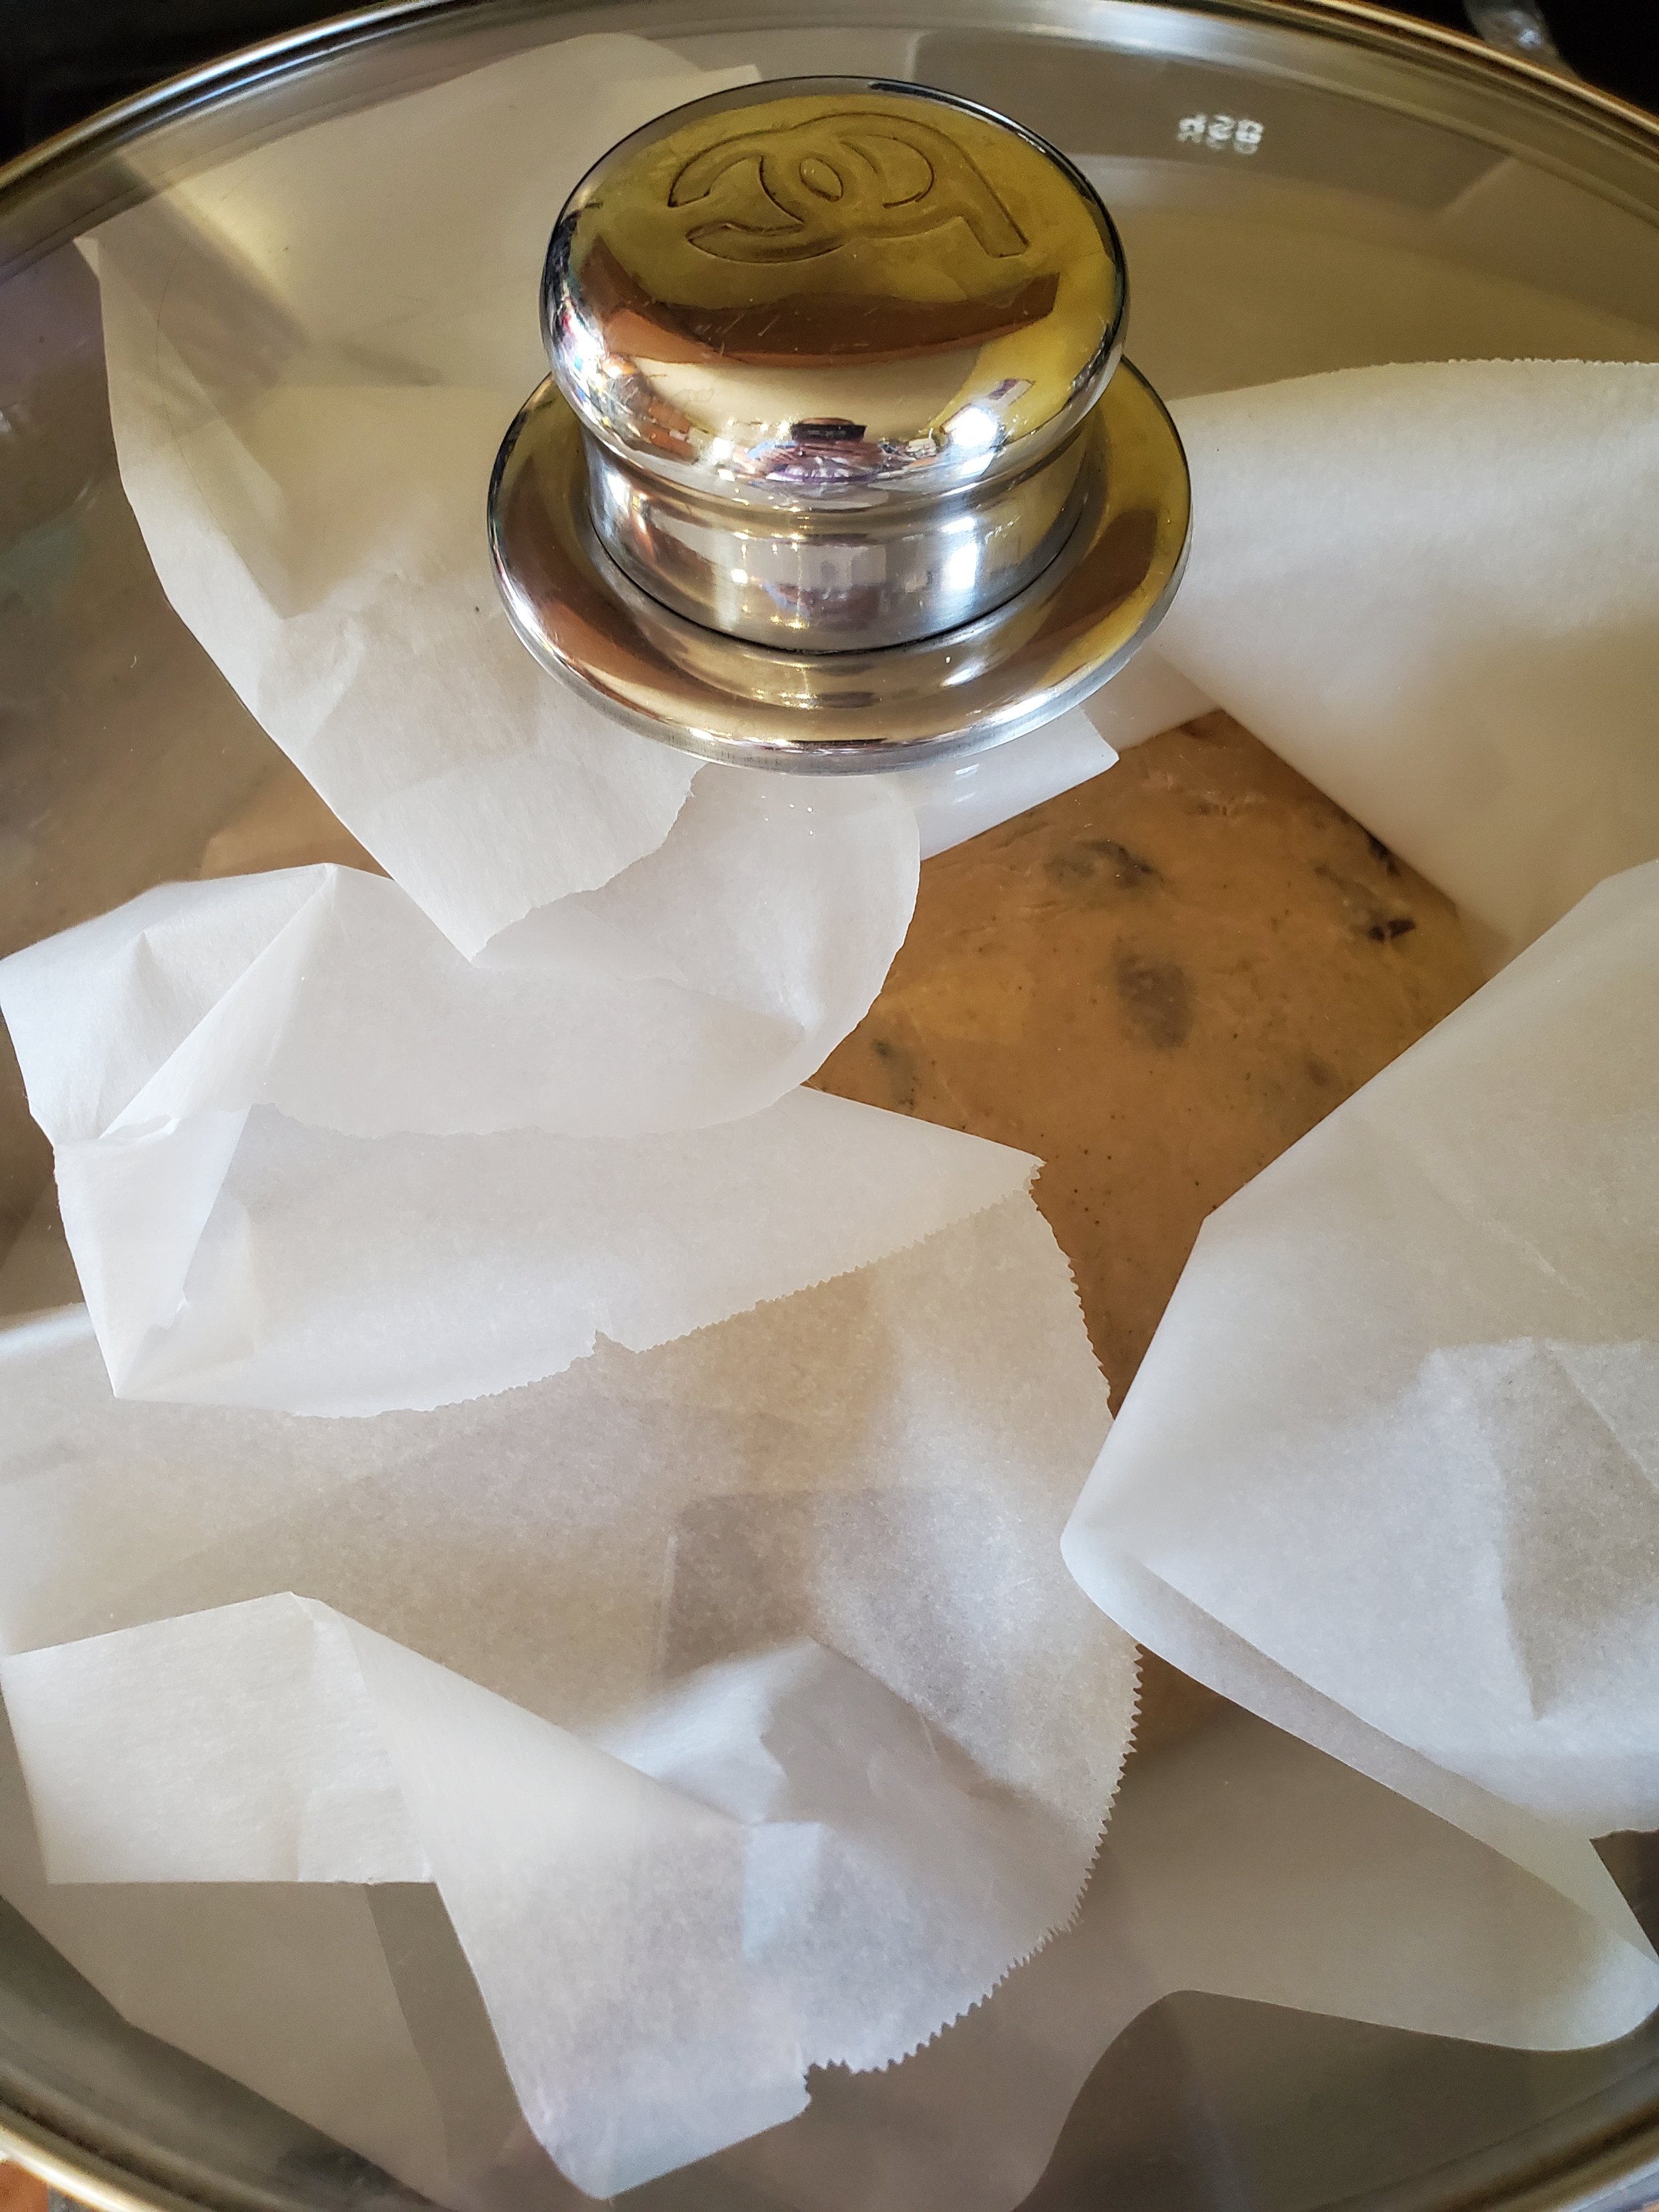
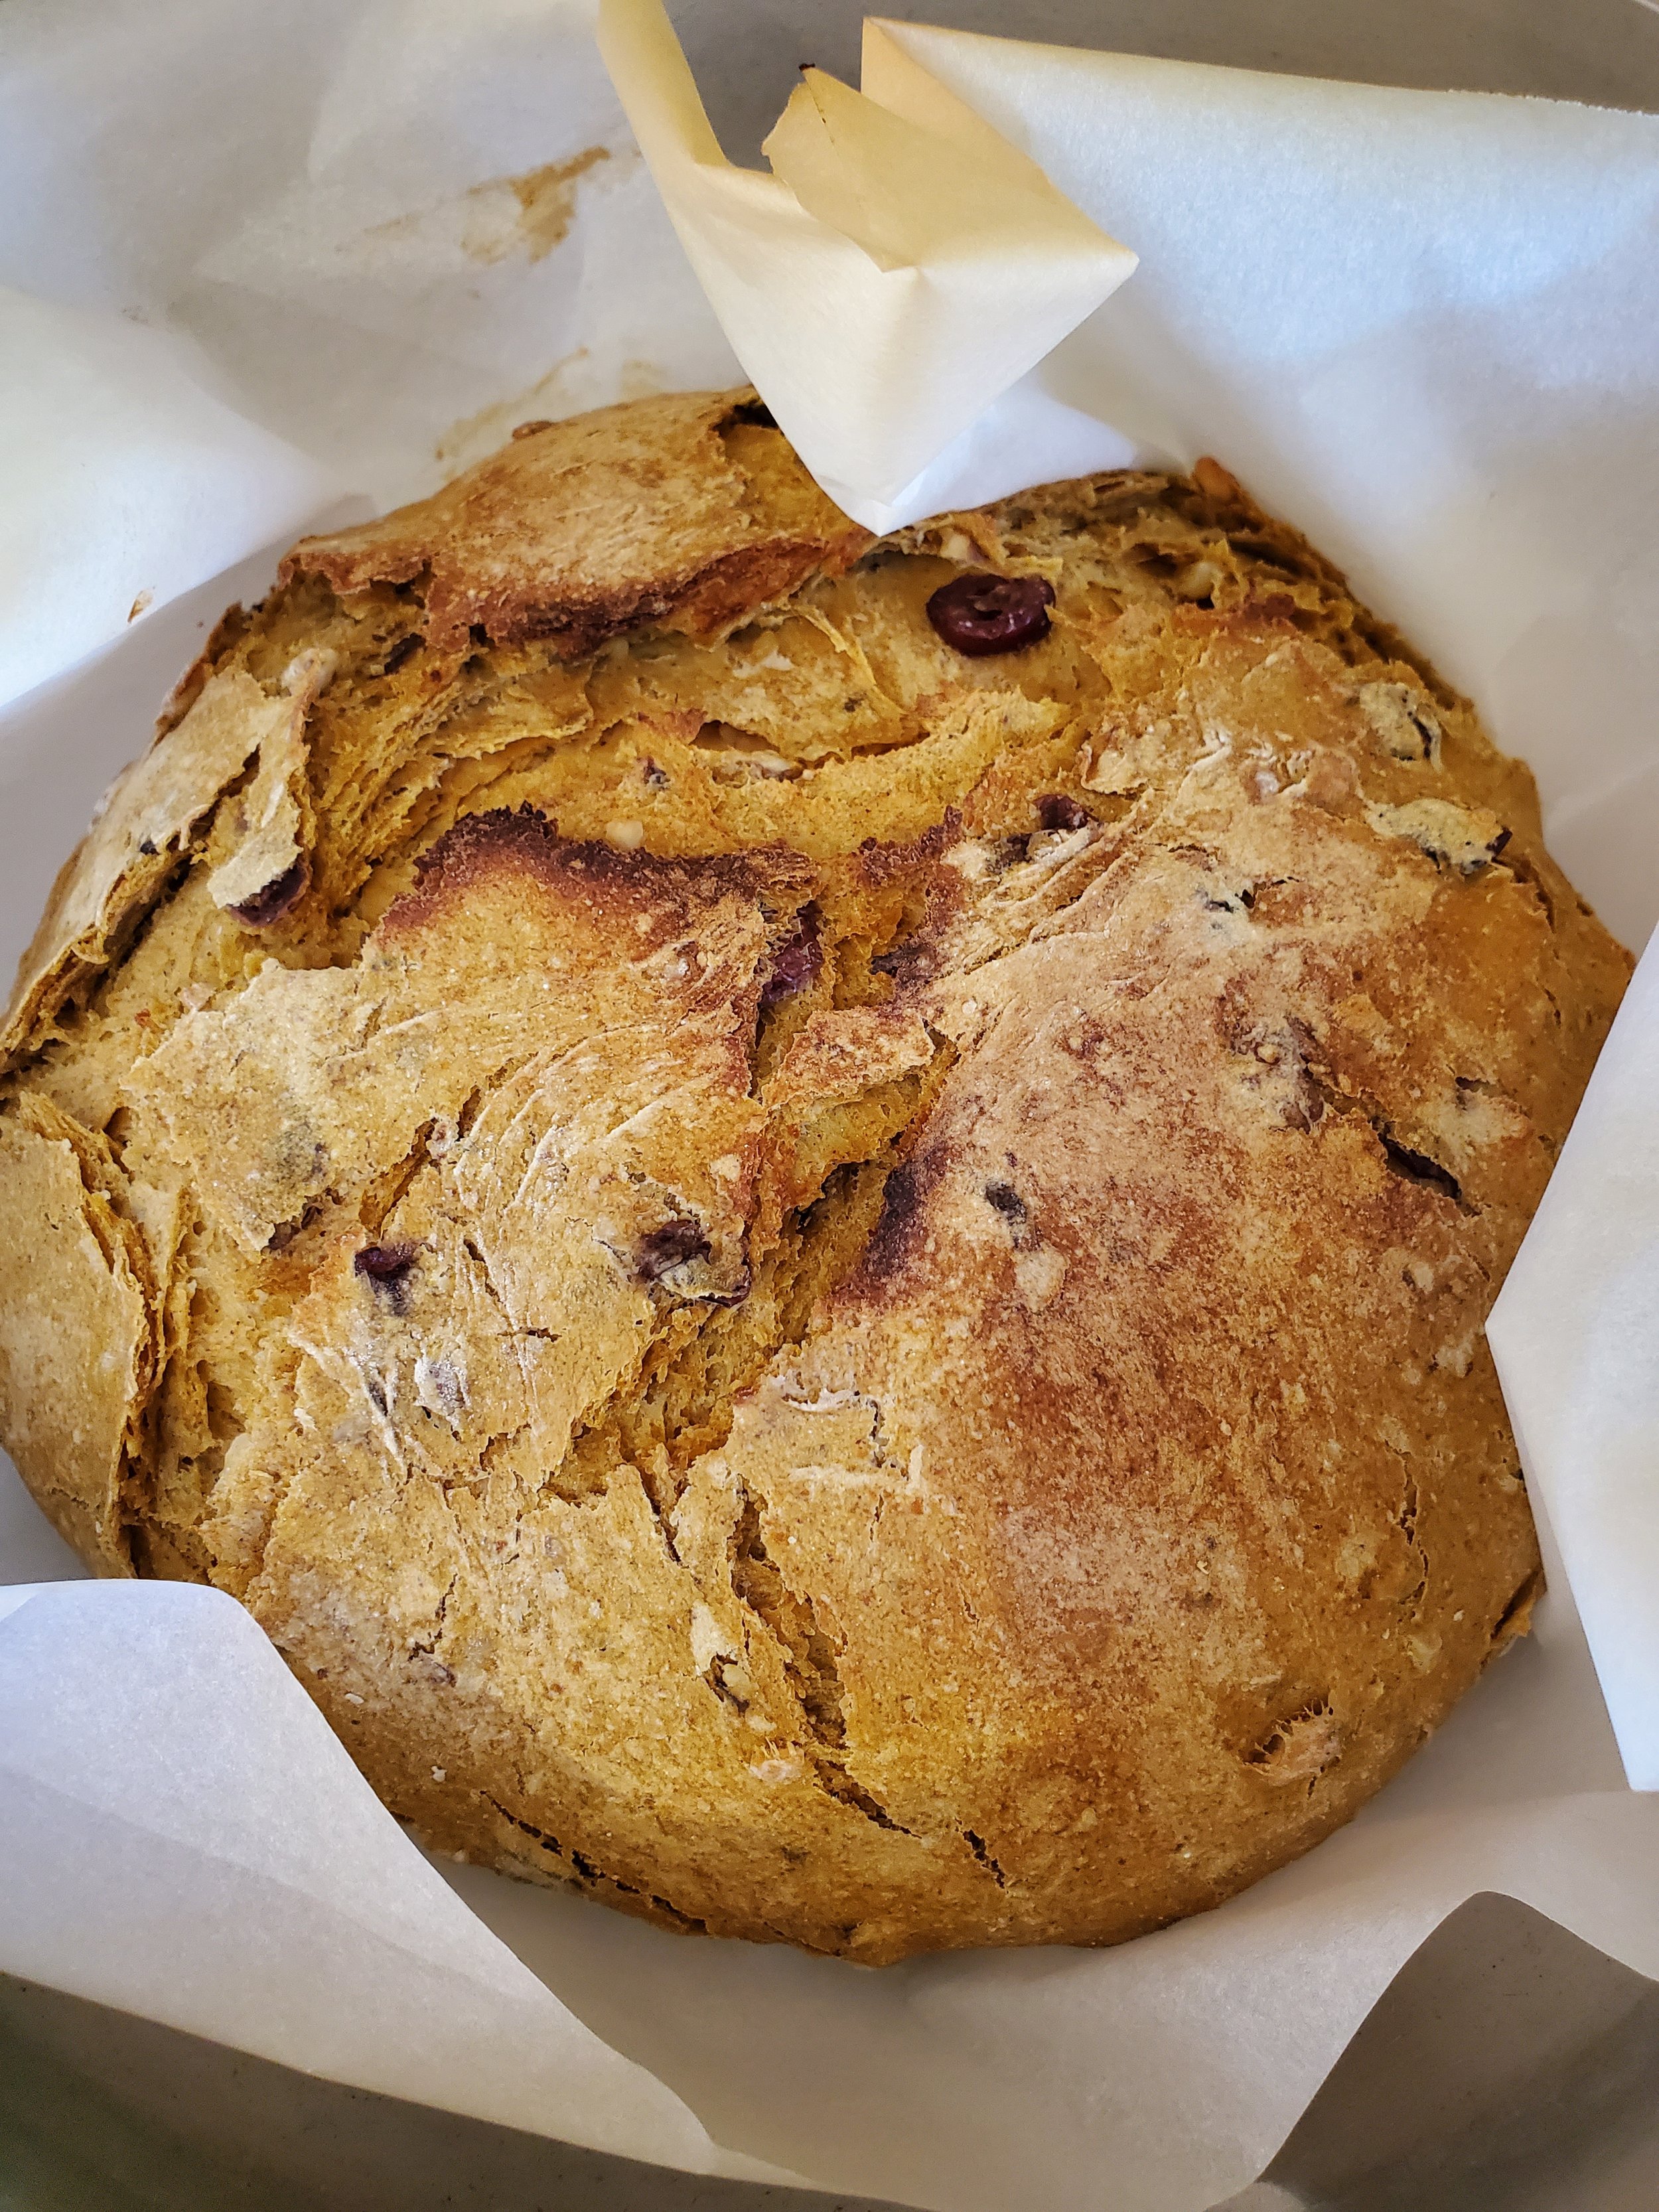
In the photos, we've done this as one large boule in a covered pan - but we find the results to be much better if done as two small loaves in average loaf pans, and doing two loaves reduces the cooking time and the risk of burning dramatically. Learning from our mistakes here.


Toss two loaf pans into the oven to heat up with it, keeping the other two loaf pans out on the counter. Divide your dough in two and shape into two even-sized loaves. Place each loaf on its own sheet of parchment paper.


Once the oven has come up to proper temperature, don your oven mitts or grab a towel and remove the pans. Using the parchment to transfer them, place one loaf into each pan. Place both pans onto the middle rack of the oven. Invert the cool pans over top of the pans in the oven (we're using them like the lid of the Dutch oven here). Set a timer for 15 minutes.


At the 15-minute mark, remove the covers and set them aside to cool. Bake the loaves uncovered for another 15 minutes. When the timer is up, turn the oven off and let the loaves sit in there for another five to ten minutes before removing them. Use the parchment to lift them. Allow them to cool before cutting with a serrated knife.


As you savor every bite of this Cranberry Pumpkin Nut Bread, remember that Appliance Rescue Service is here for all your home needs. Share your baking success on our Facebook page and feel free to contact us for any appliance-related queries at (214) 599-0055 or through our website. From repairs to routine maintenance, count on us for all your major appliance requirements. Let the lingering aroma of this delightful bread remind you that we're dedicated to ensuring your home runs smoothly.


Additional Reading 

Impress Your Guests with This Easy-to-Make Apple Pecan French Toast Bake


Escapee From New York: Chocolate Bagels


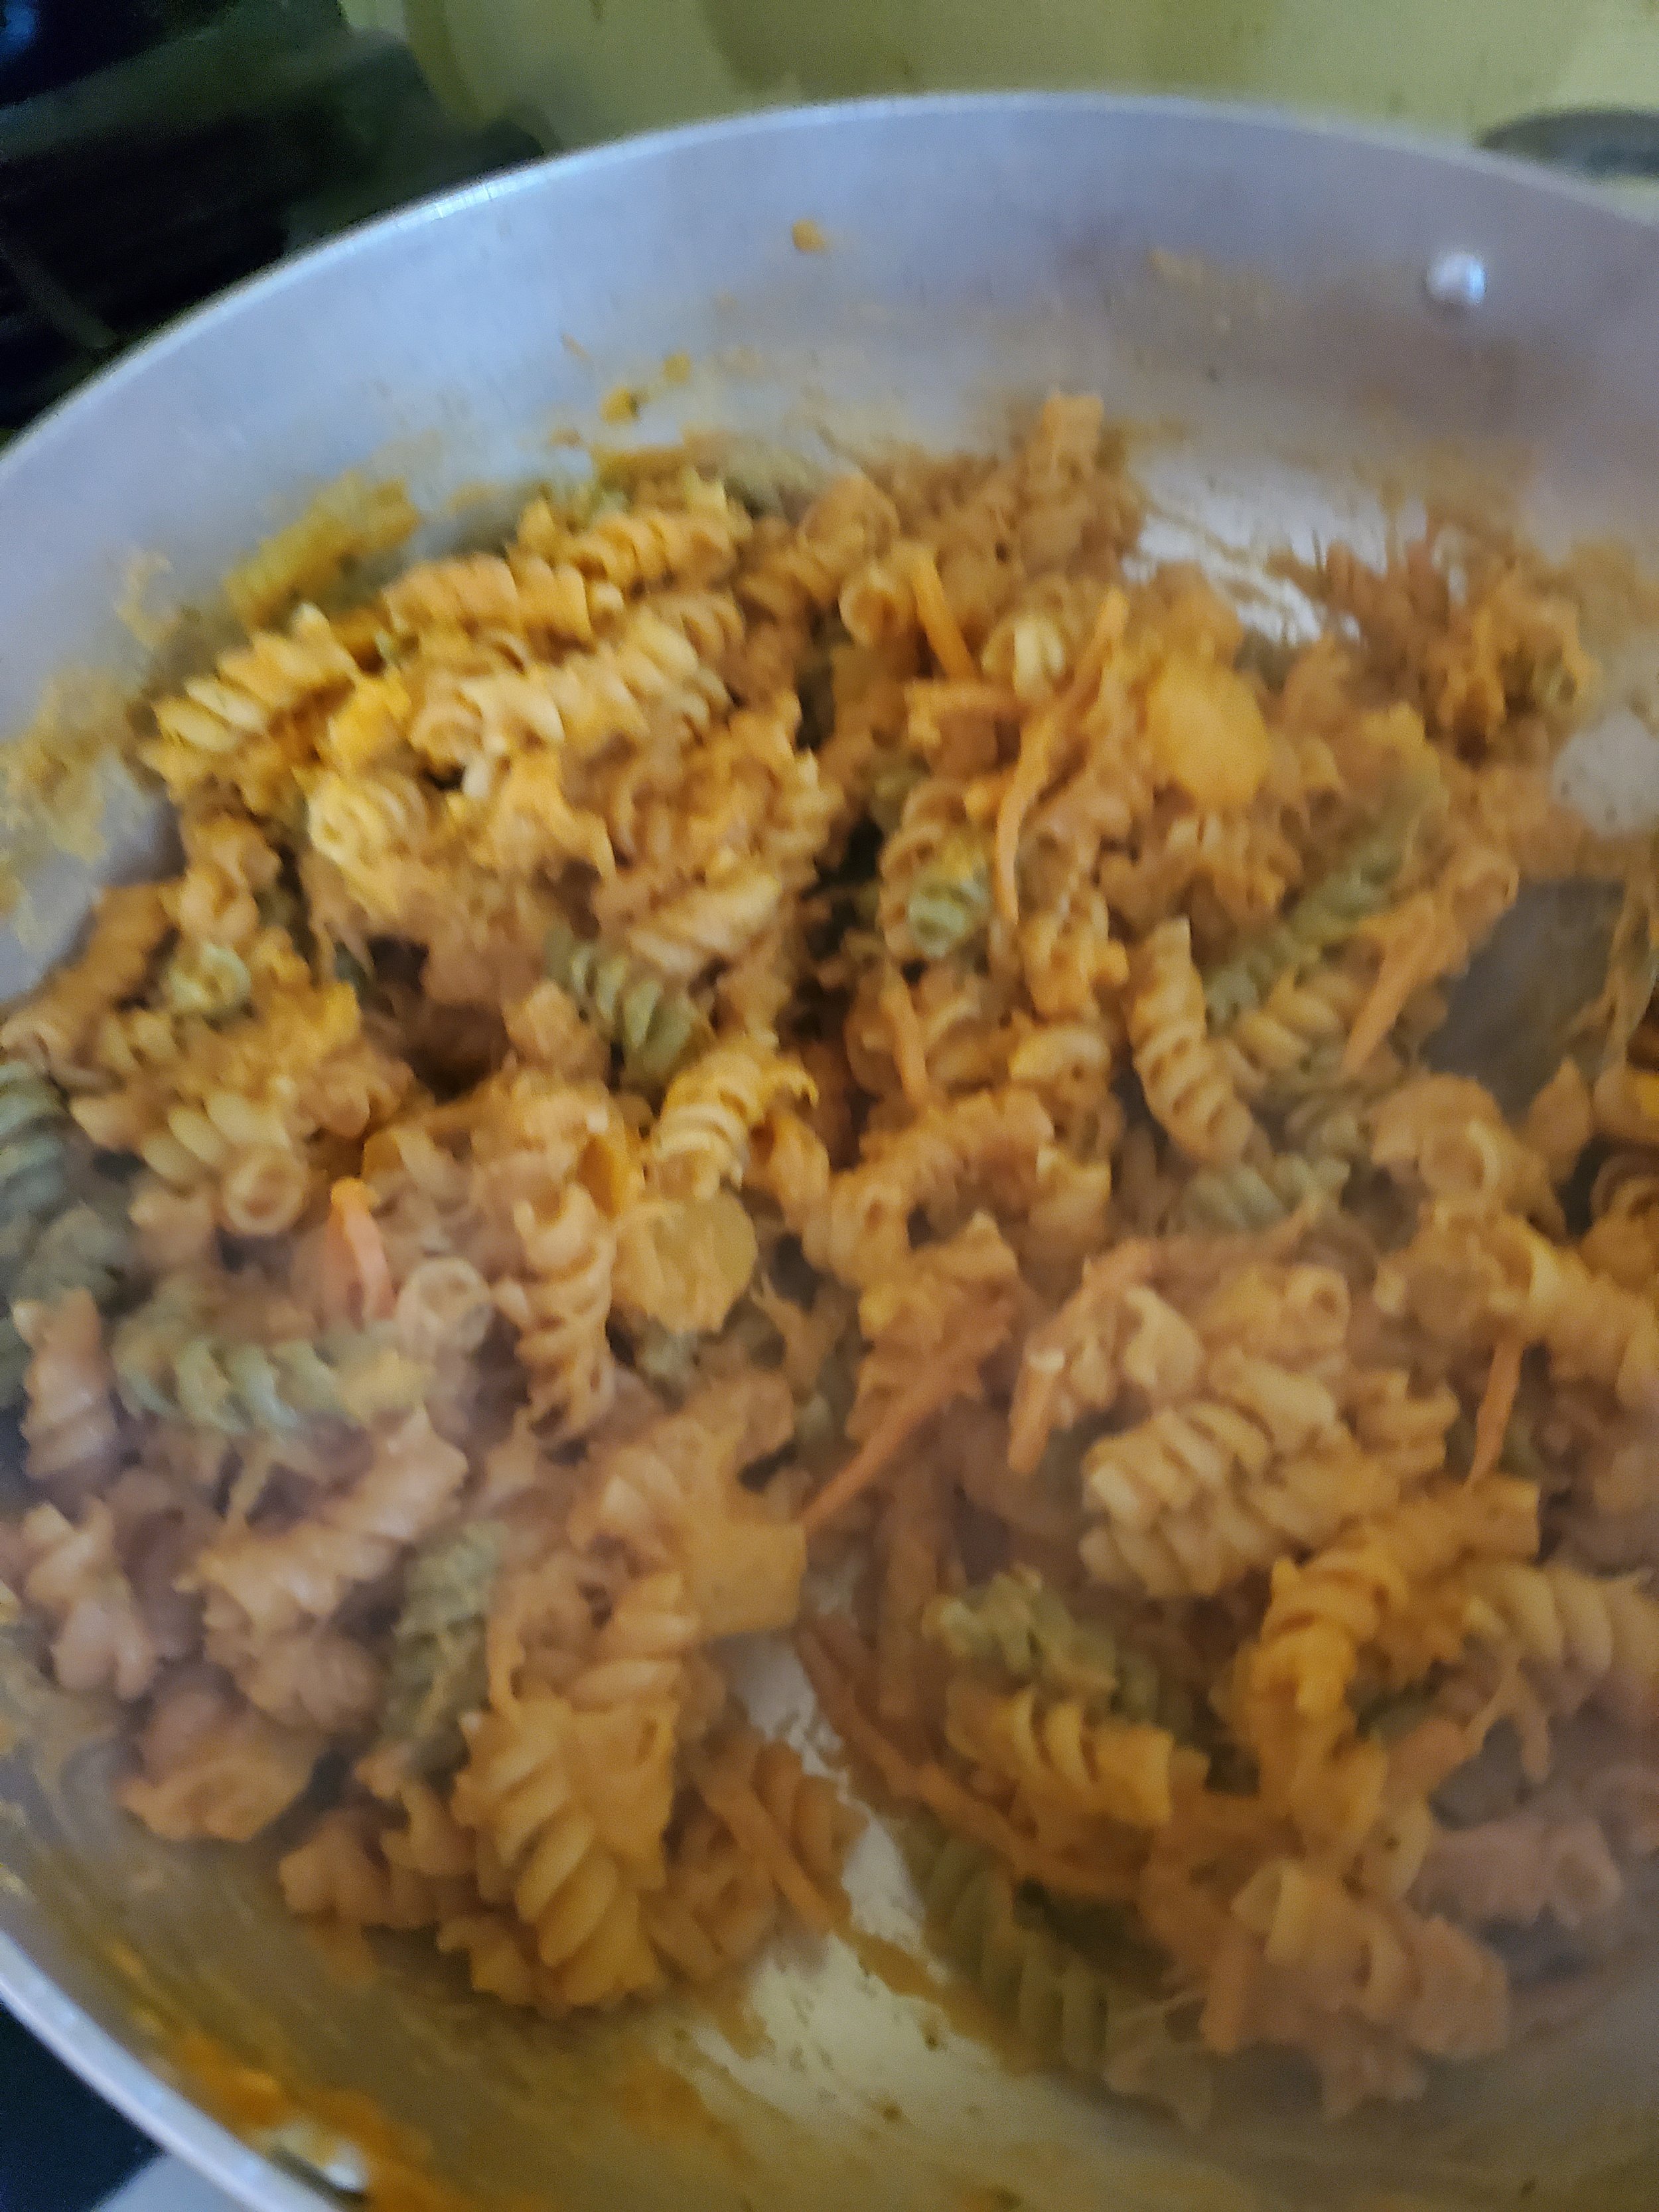
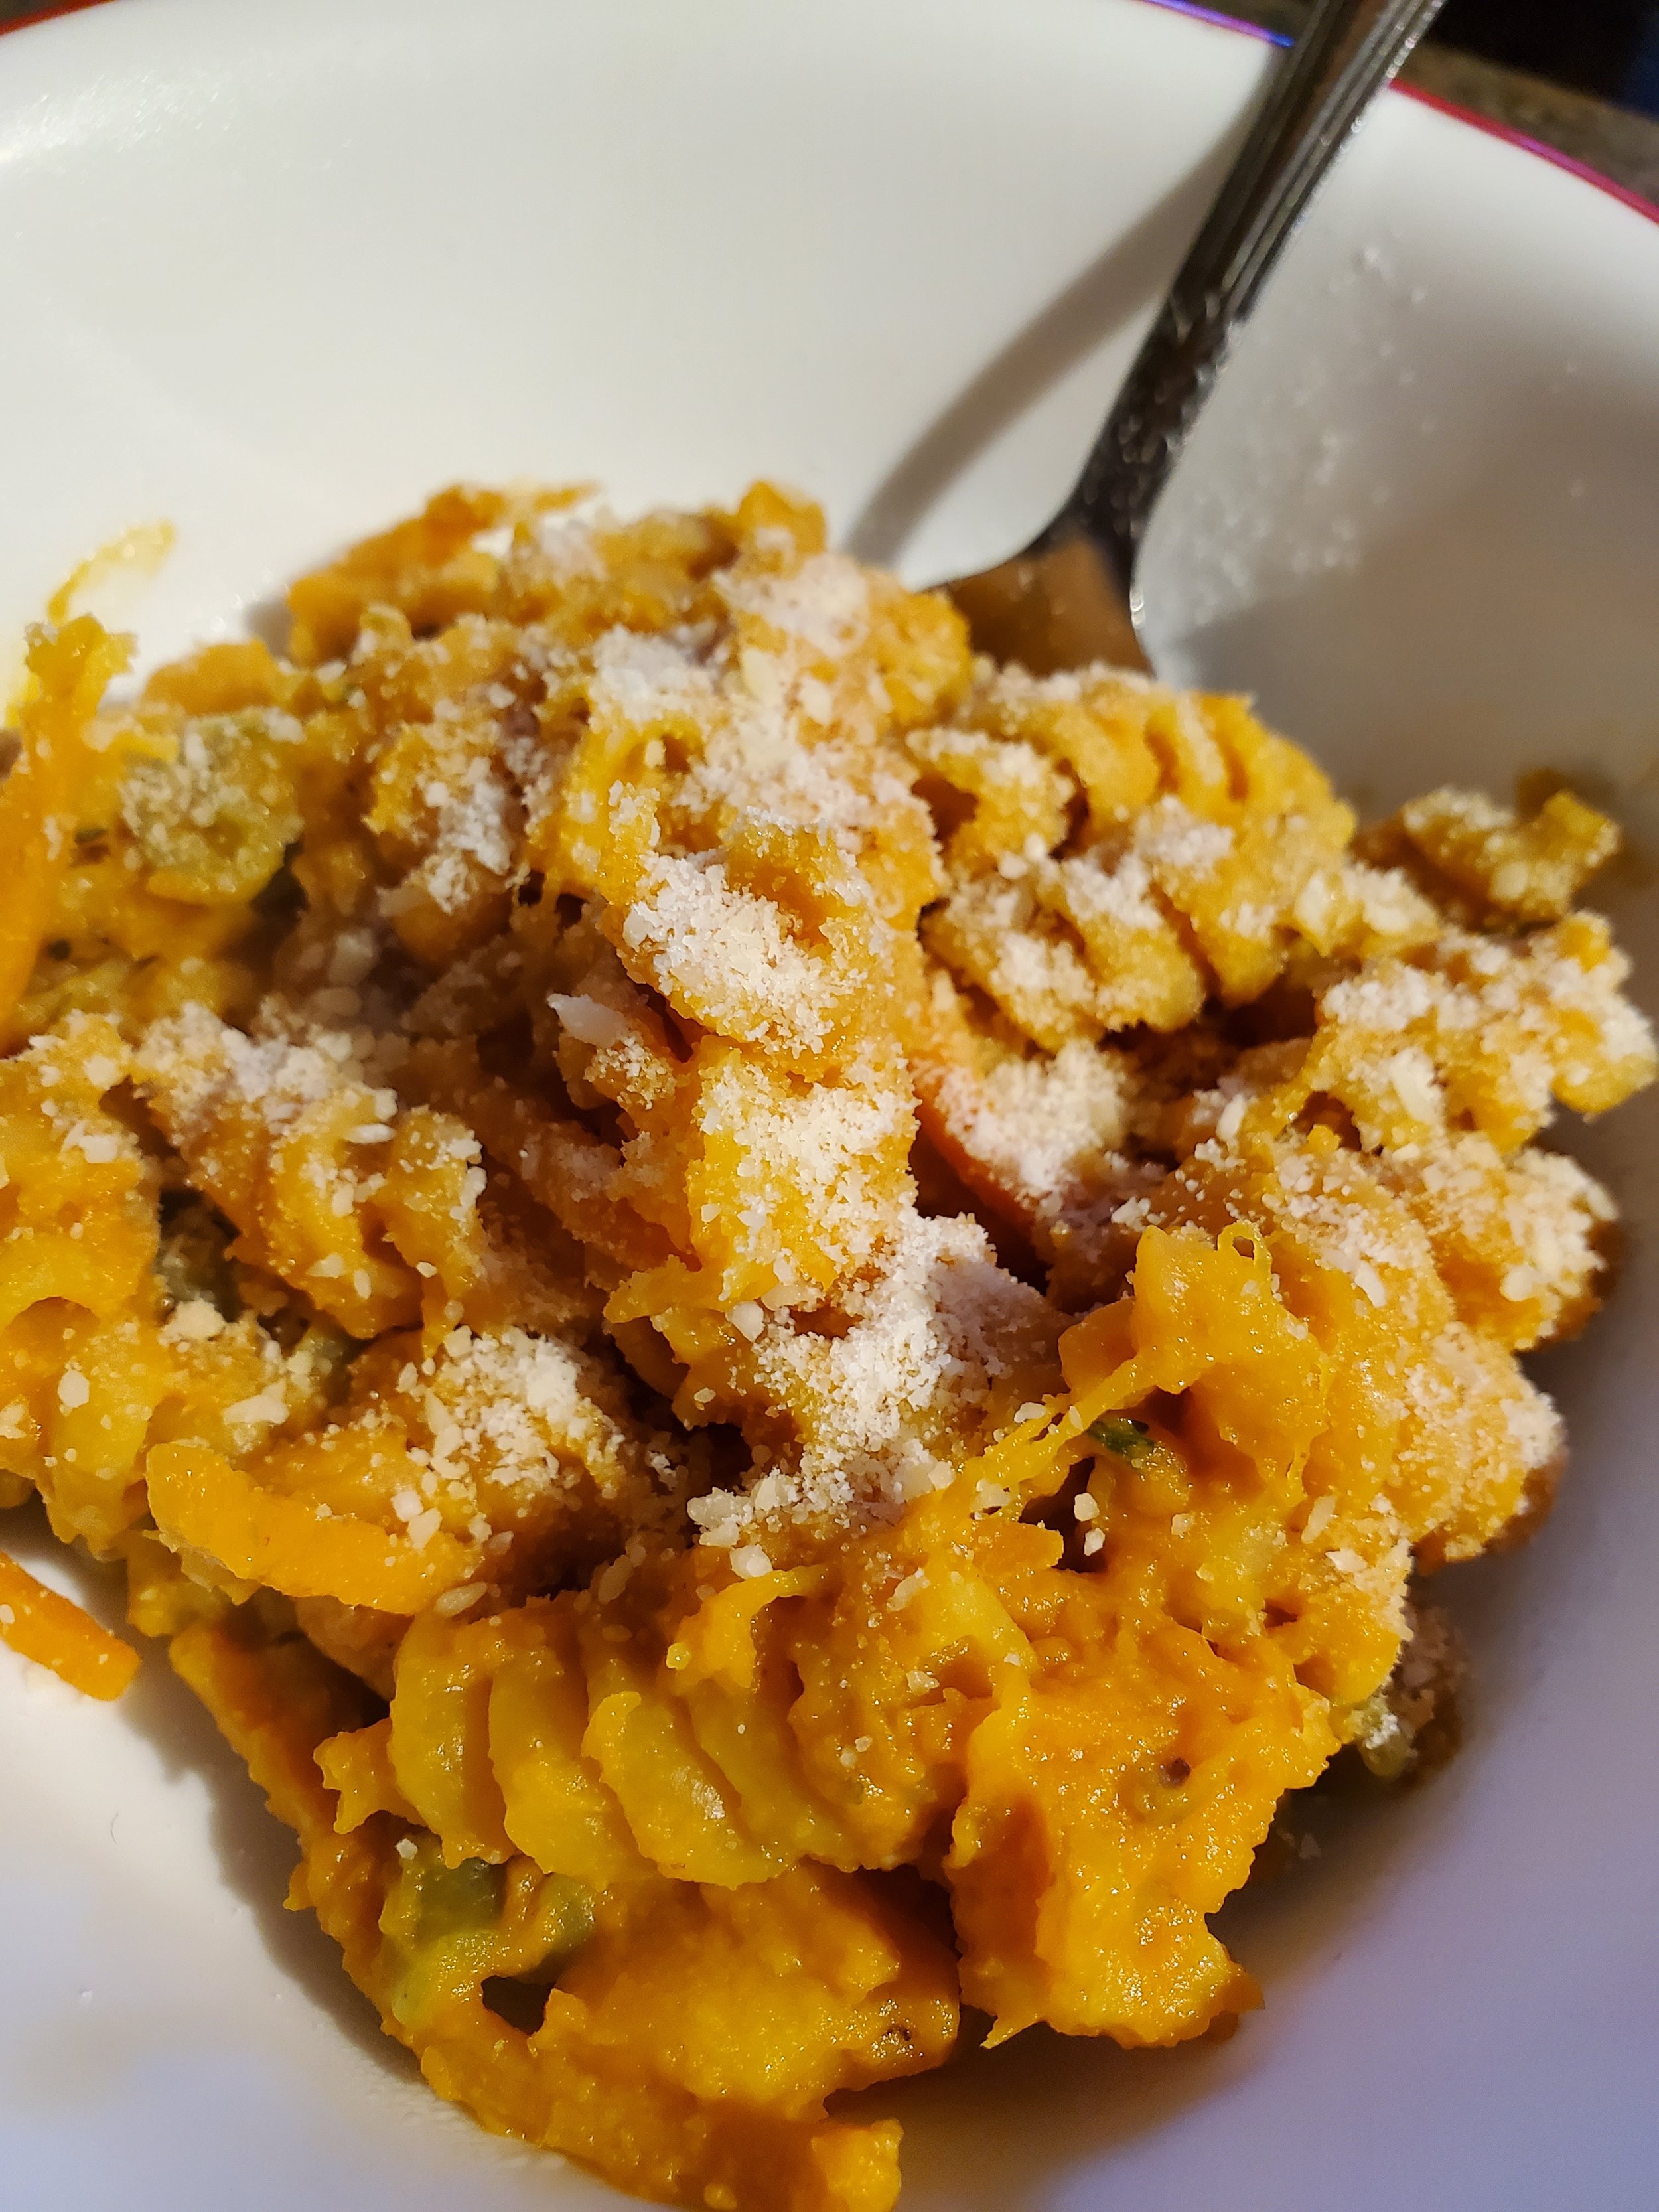
Fall Comfort Food: How to Make Perfectly Creamy Pumpkin Pasta

You know how after it’s been hot for so long, you crave fall and all the things that come with it? That’s how we’ve been feeling. It’s not just the days where it’s over 100 all day and even after the sun has set. No, we want everything to do with fall. We want football and cooler weather, sweaters and some of our favorite comfort foods. Unfortunately, there’s only one thing on that list we can make happen on our own. So, we whipped up a batch of this pumpkin pasta, and turned the AC down as far as it would.

Pumpkin Pasta

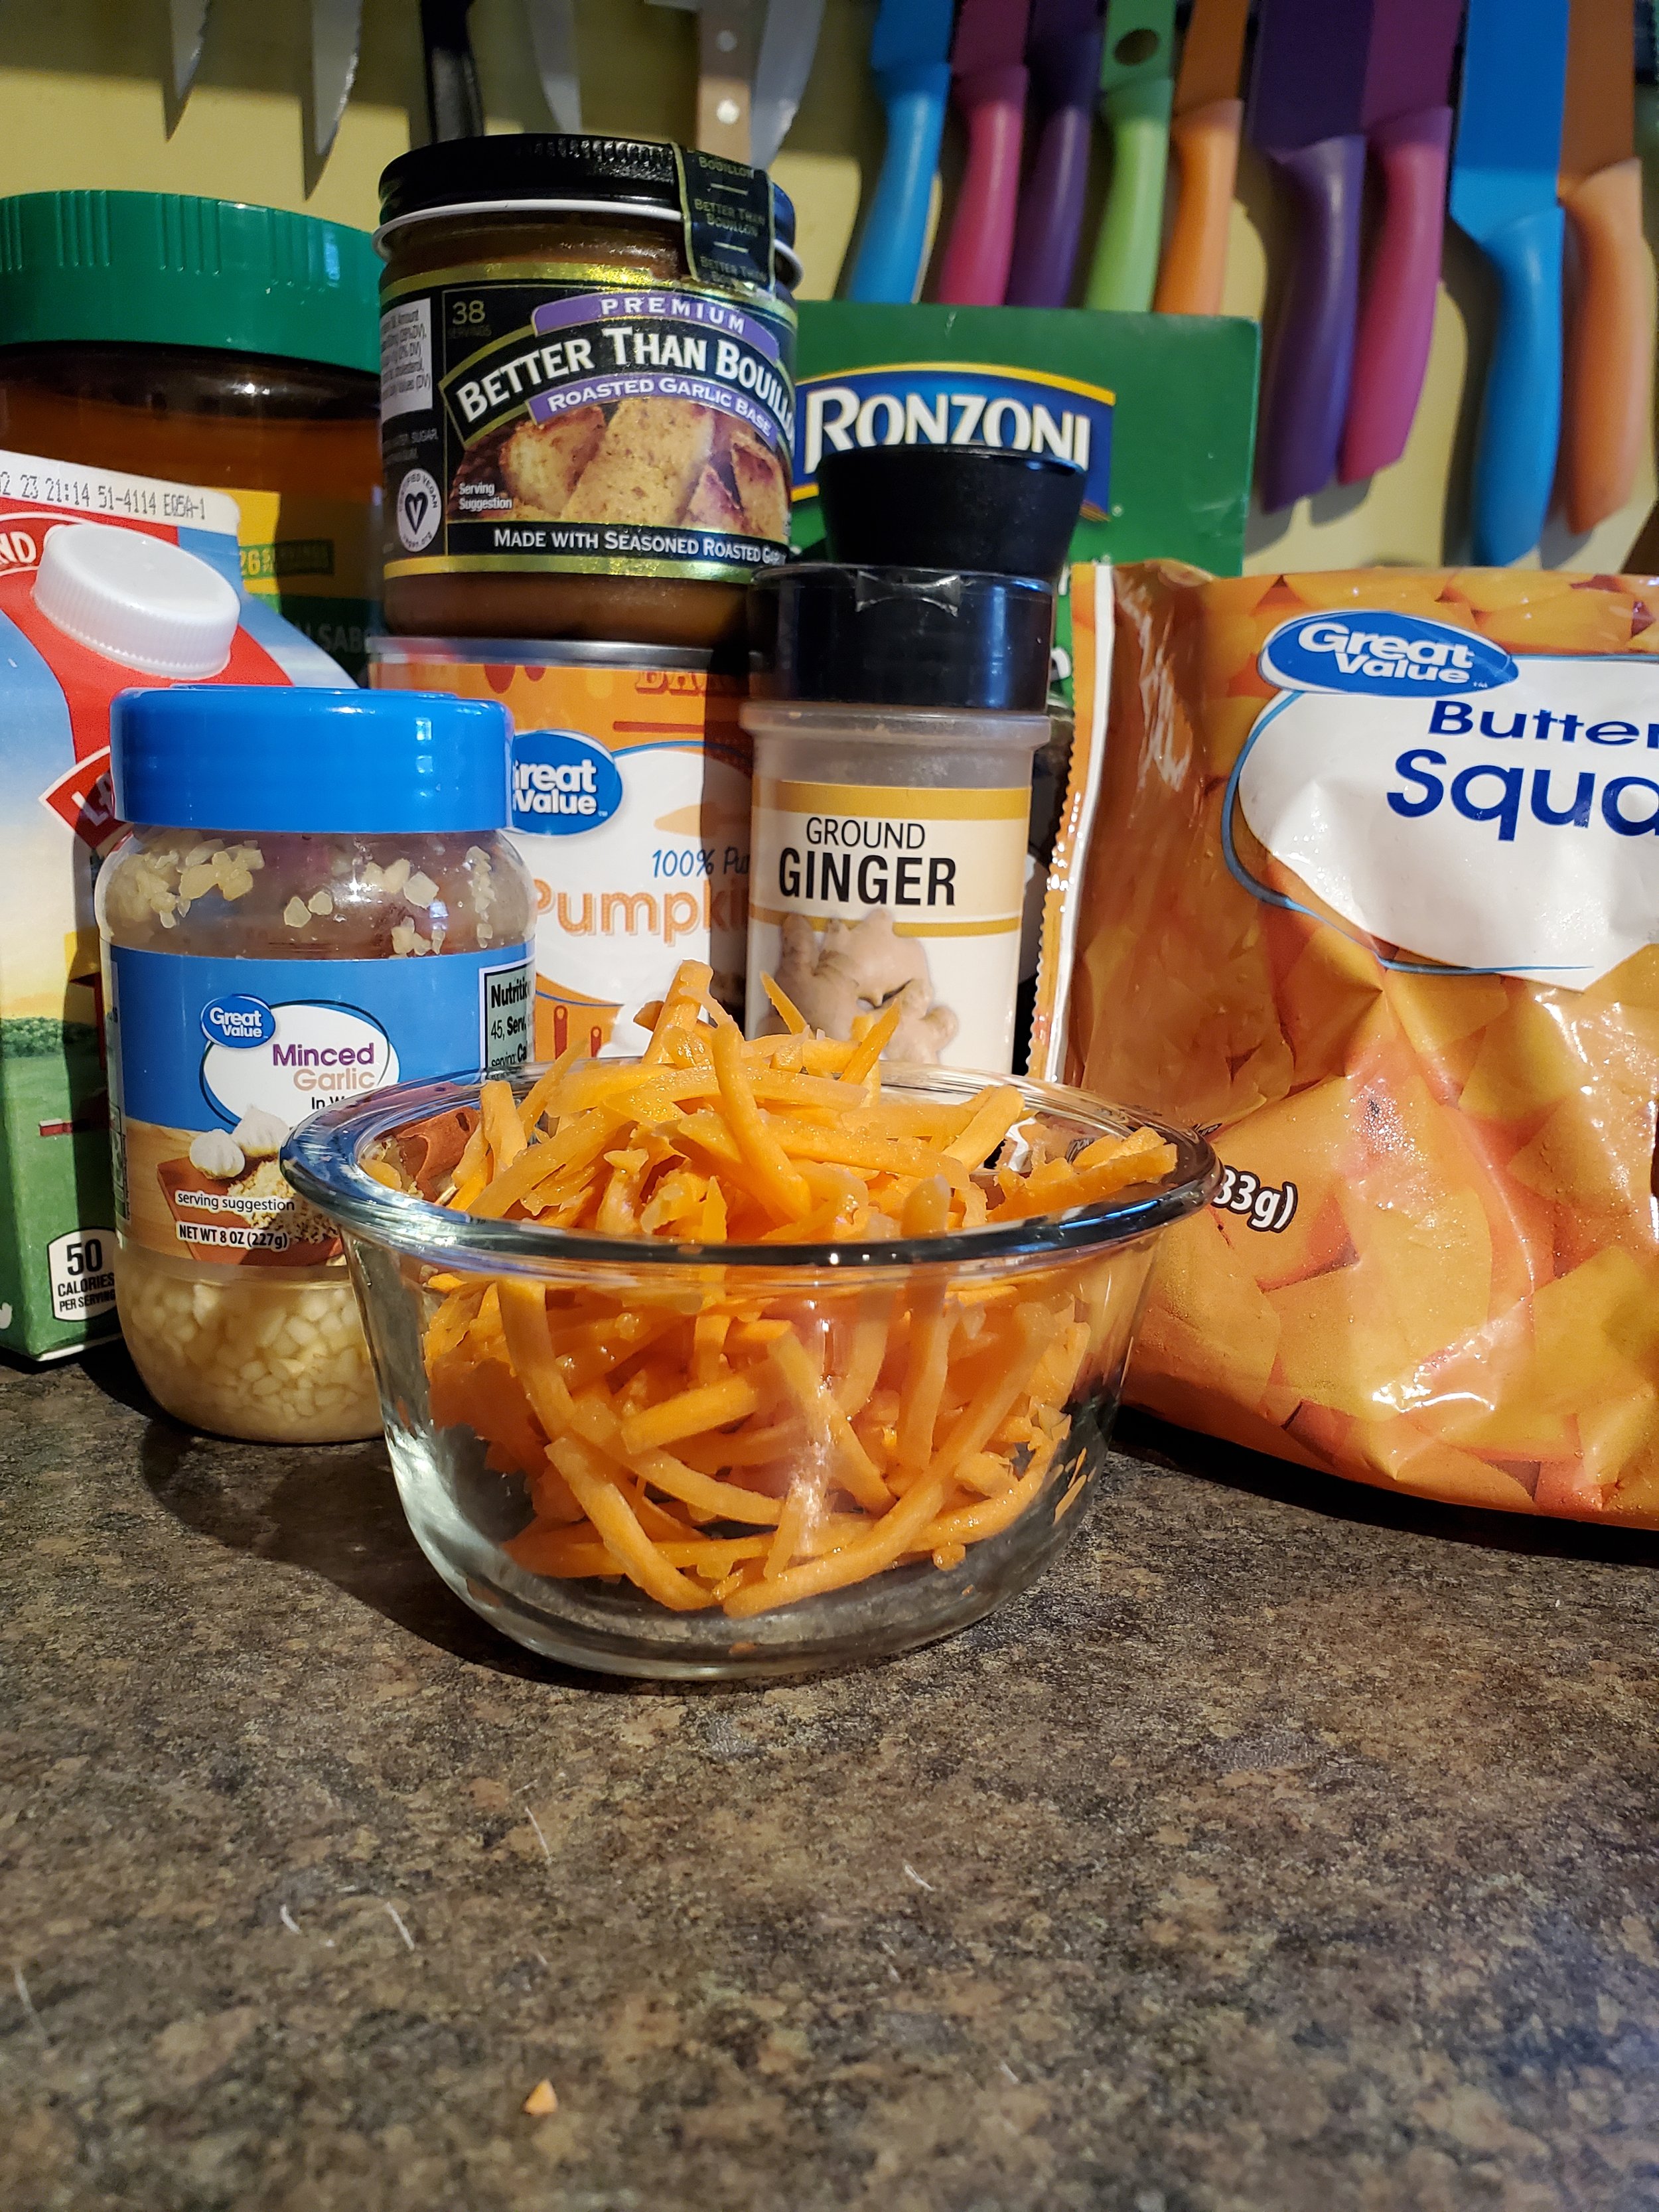
1 12-16 oz box of pasta (recommended: rotini, cavatappi)

1 can pumpkin puree (15 oz)

1/2 cup chicken broth

1/4 cup heavy cream

1 package steamable frozen butternut squash

1 package steamable frozen sweet potatoes

1 cup shredded carrots

1 tablespoon minced garlic

1 teaspoon ground ginger

2 tablespoons olive oil

salt and pepper to taste

Optional but recommended:

pinch parsley

pinch smoked paprika

teaspoon Better Than Bouillon roasted garlic base

parmesan cheese

pinch crushed red pepper

Tools:

can opener

stock pot

colander

large saucepan with lid

serving spoon

measuring cups and spoons

Before we begin: be sure you have plain pumpkin puree and not a can of pumpkin pie filling! This terrible tragedy has happened to us before. Some companies label the two items entirely too similarly, and sleepy cooks (or cooks relying on little helpers' newly acquired reading skills) may fall victim to the same oops. So, double-check your labels before you whip out the can opener.

Fill your stock pot with water and set it on a burner to come up to a boil. Salt the water if you prefer to do so.

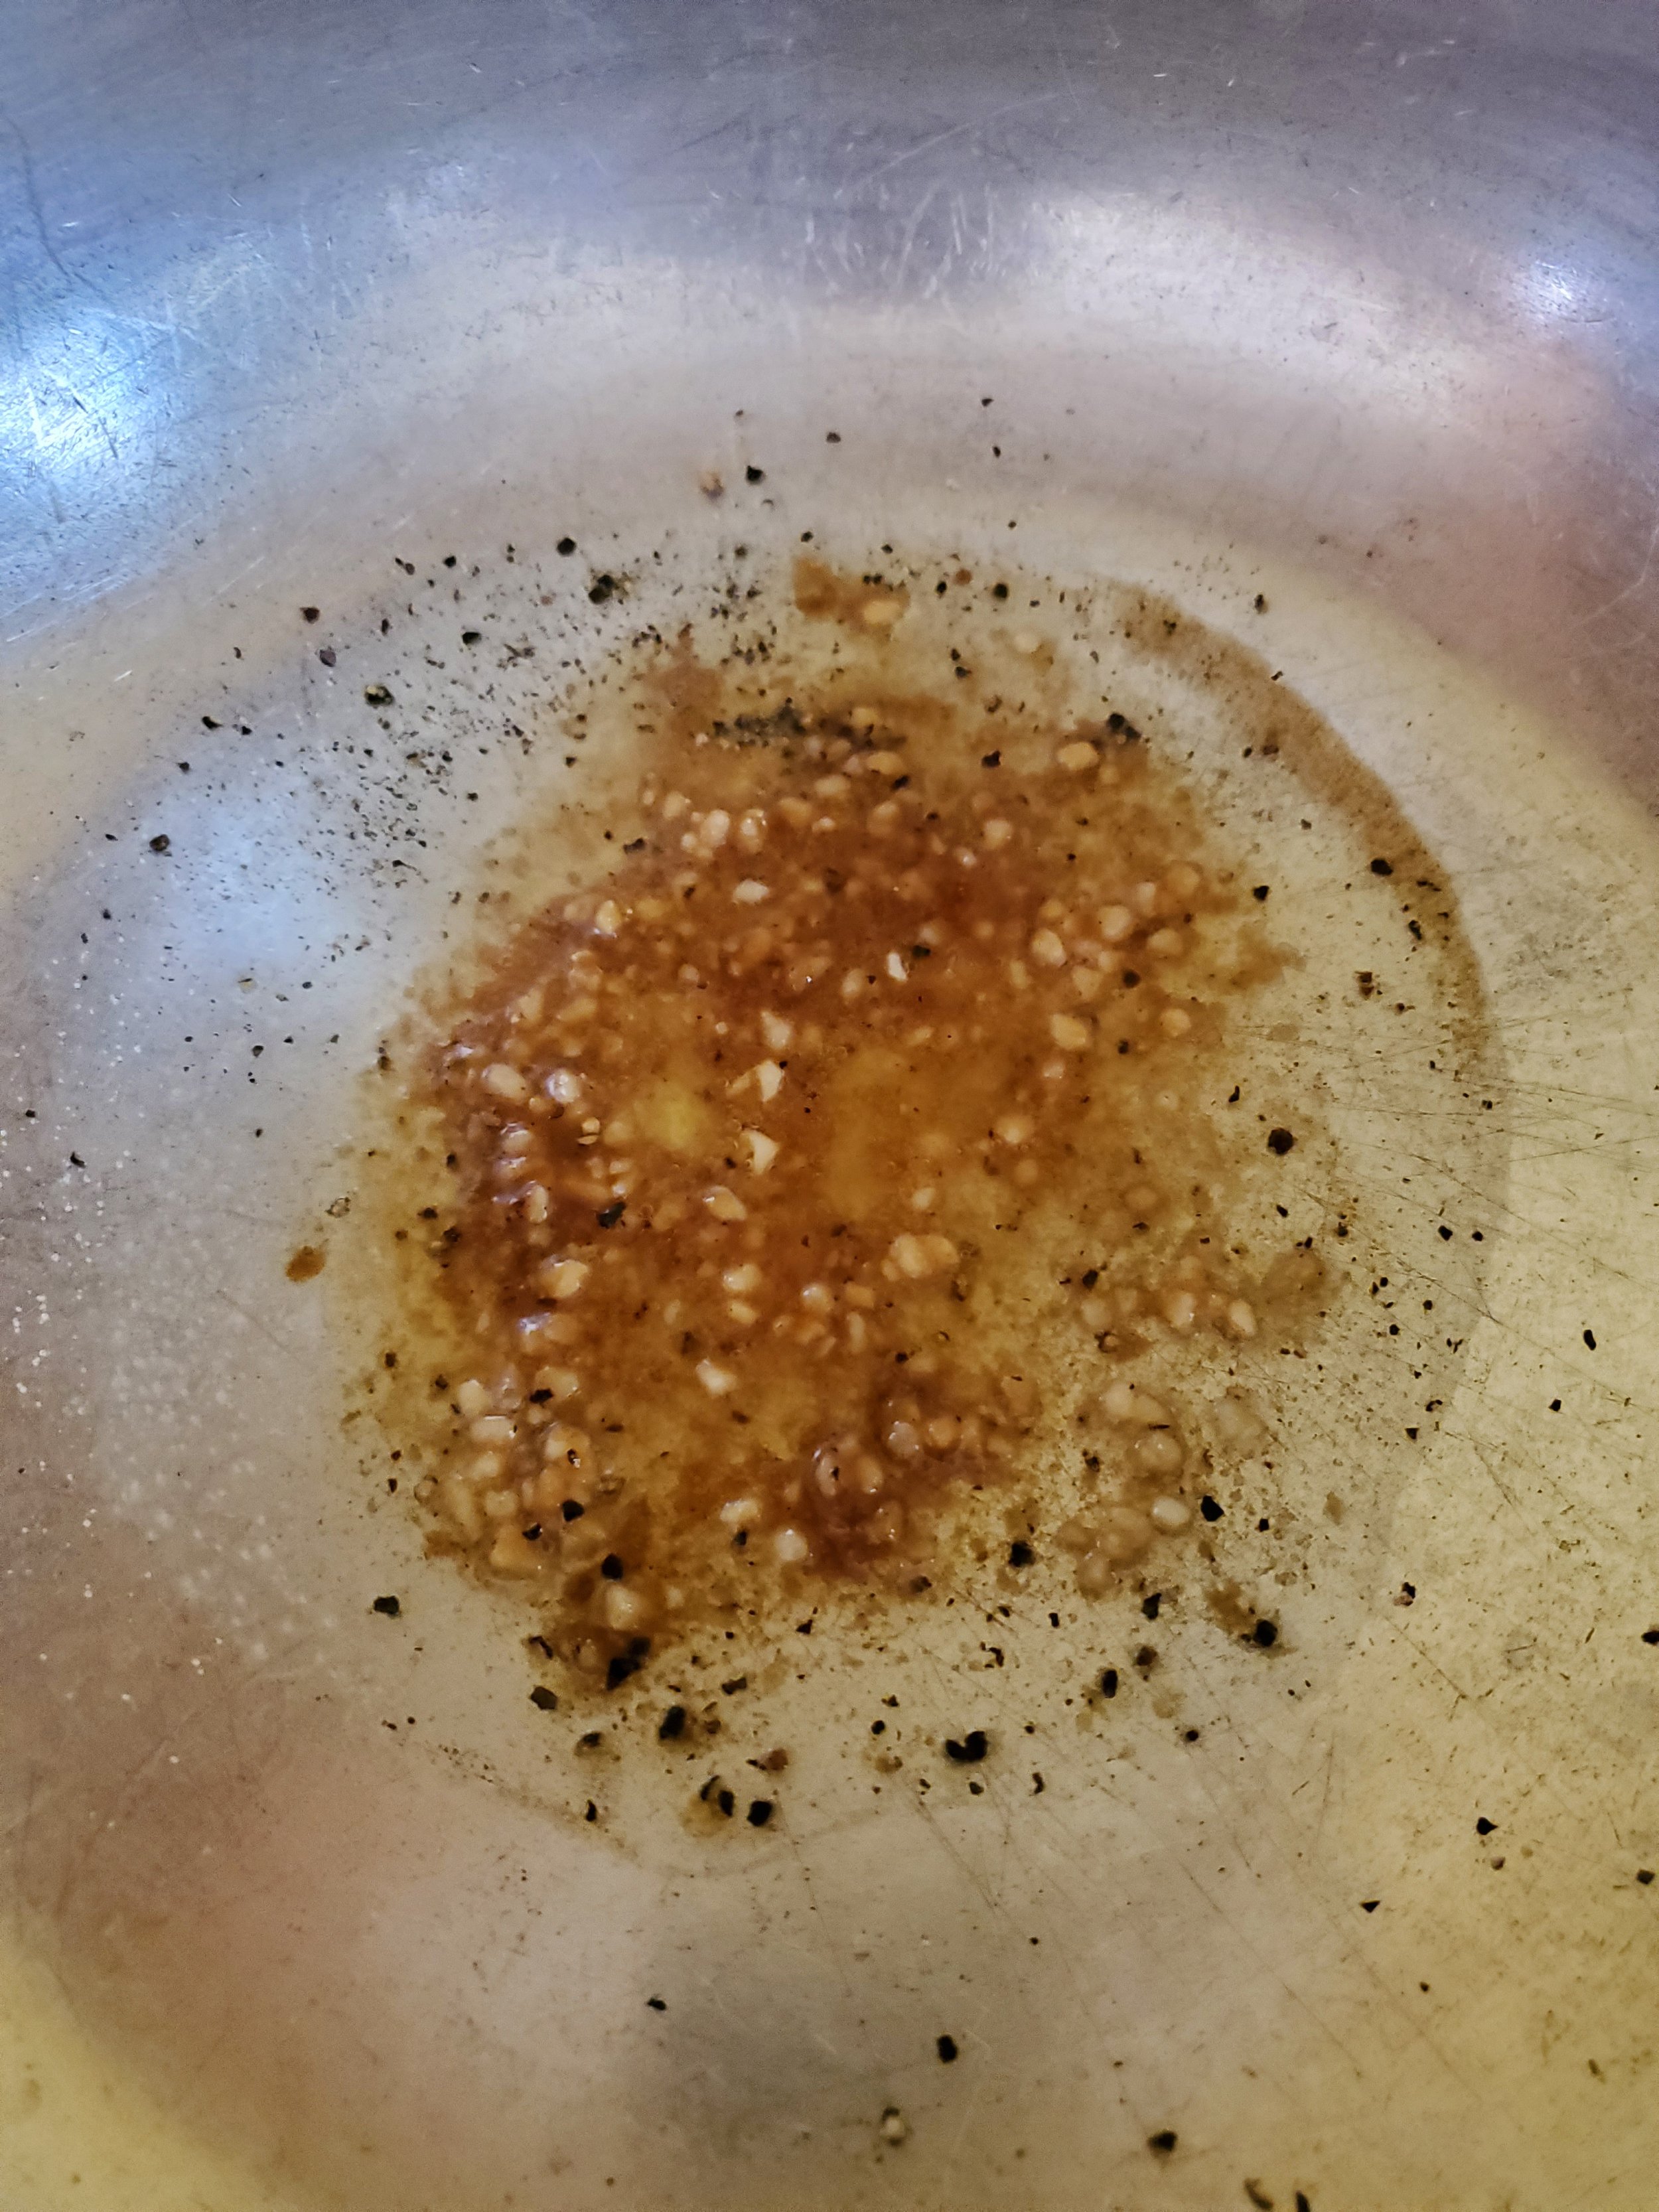
Pour your olive oil into the saucepan and toss in your minced garlic, ground ginger and pepper. If you plan to use the roasted garlic base, smoked paprika and dried parsley, add them too. While they aren't strictly necessary, they do a lot of work to complement and balance what can be a very rich recipe. Slap the lid on the pan and let the spices and oil simmer for a minute or two on low heat.

Shredded carrots are almost always washed, ready-to-eat produce, but if yours are the exception to the rule, please take a minute to wash them while your spices sizzle.

Start your butternut squash in the microwave. The squash can take as little as four minutes or as long as seven, so be sure to follow the directions on the package.

Once your spices are fragrant and the garlic has browned a little, add the carrots and cover again. The carrots don't need a whole lot of time to cook, and we don't want to cook them to death, so it's best to move on quickly here. 

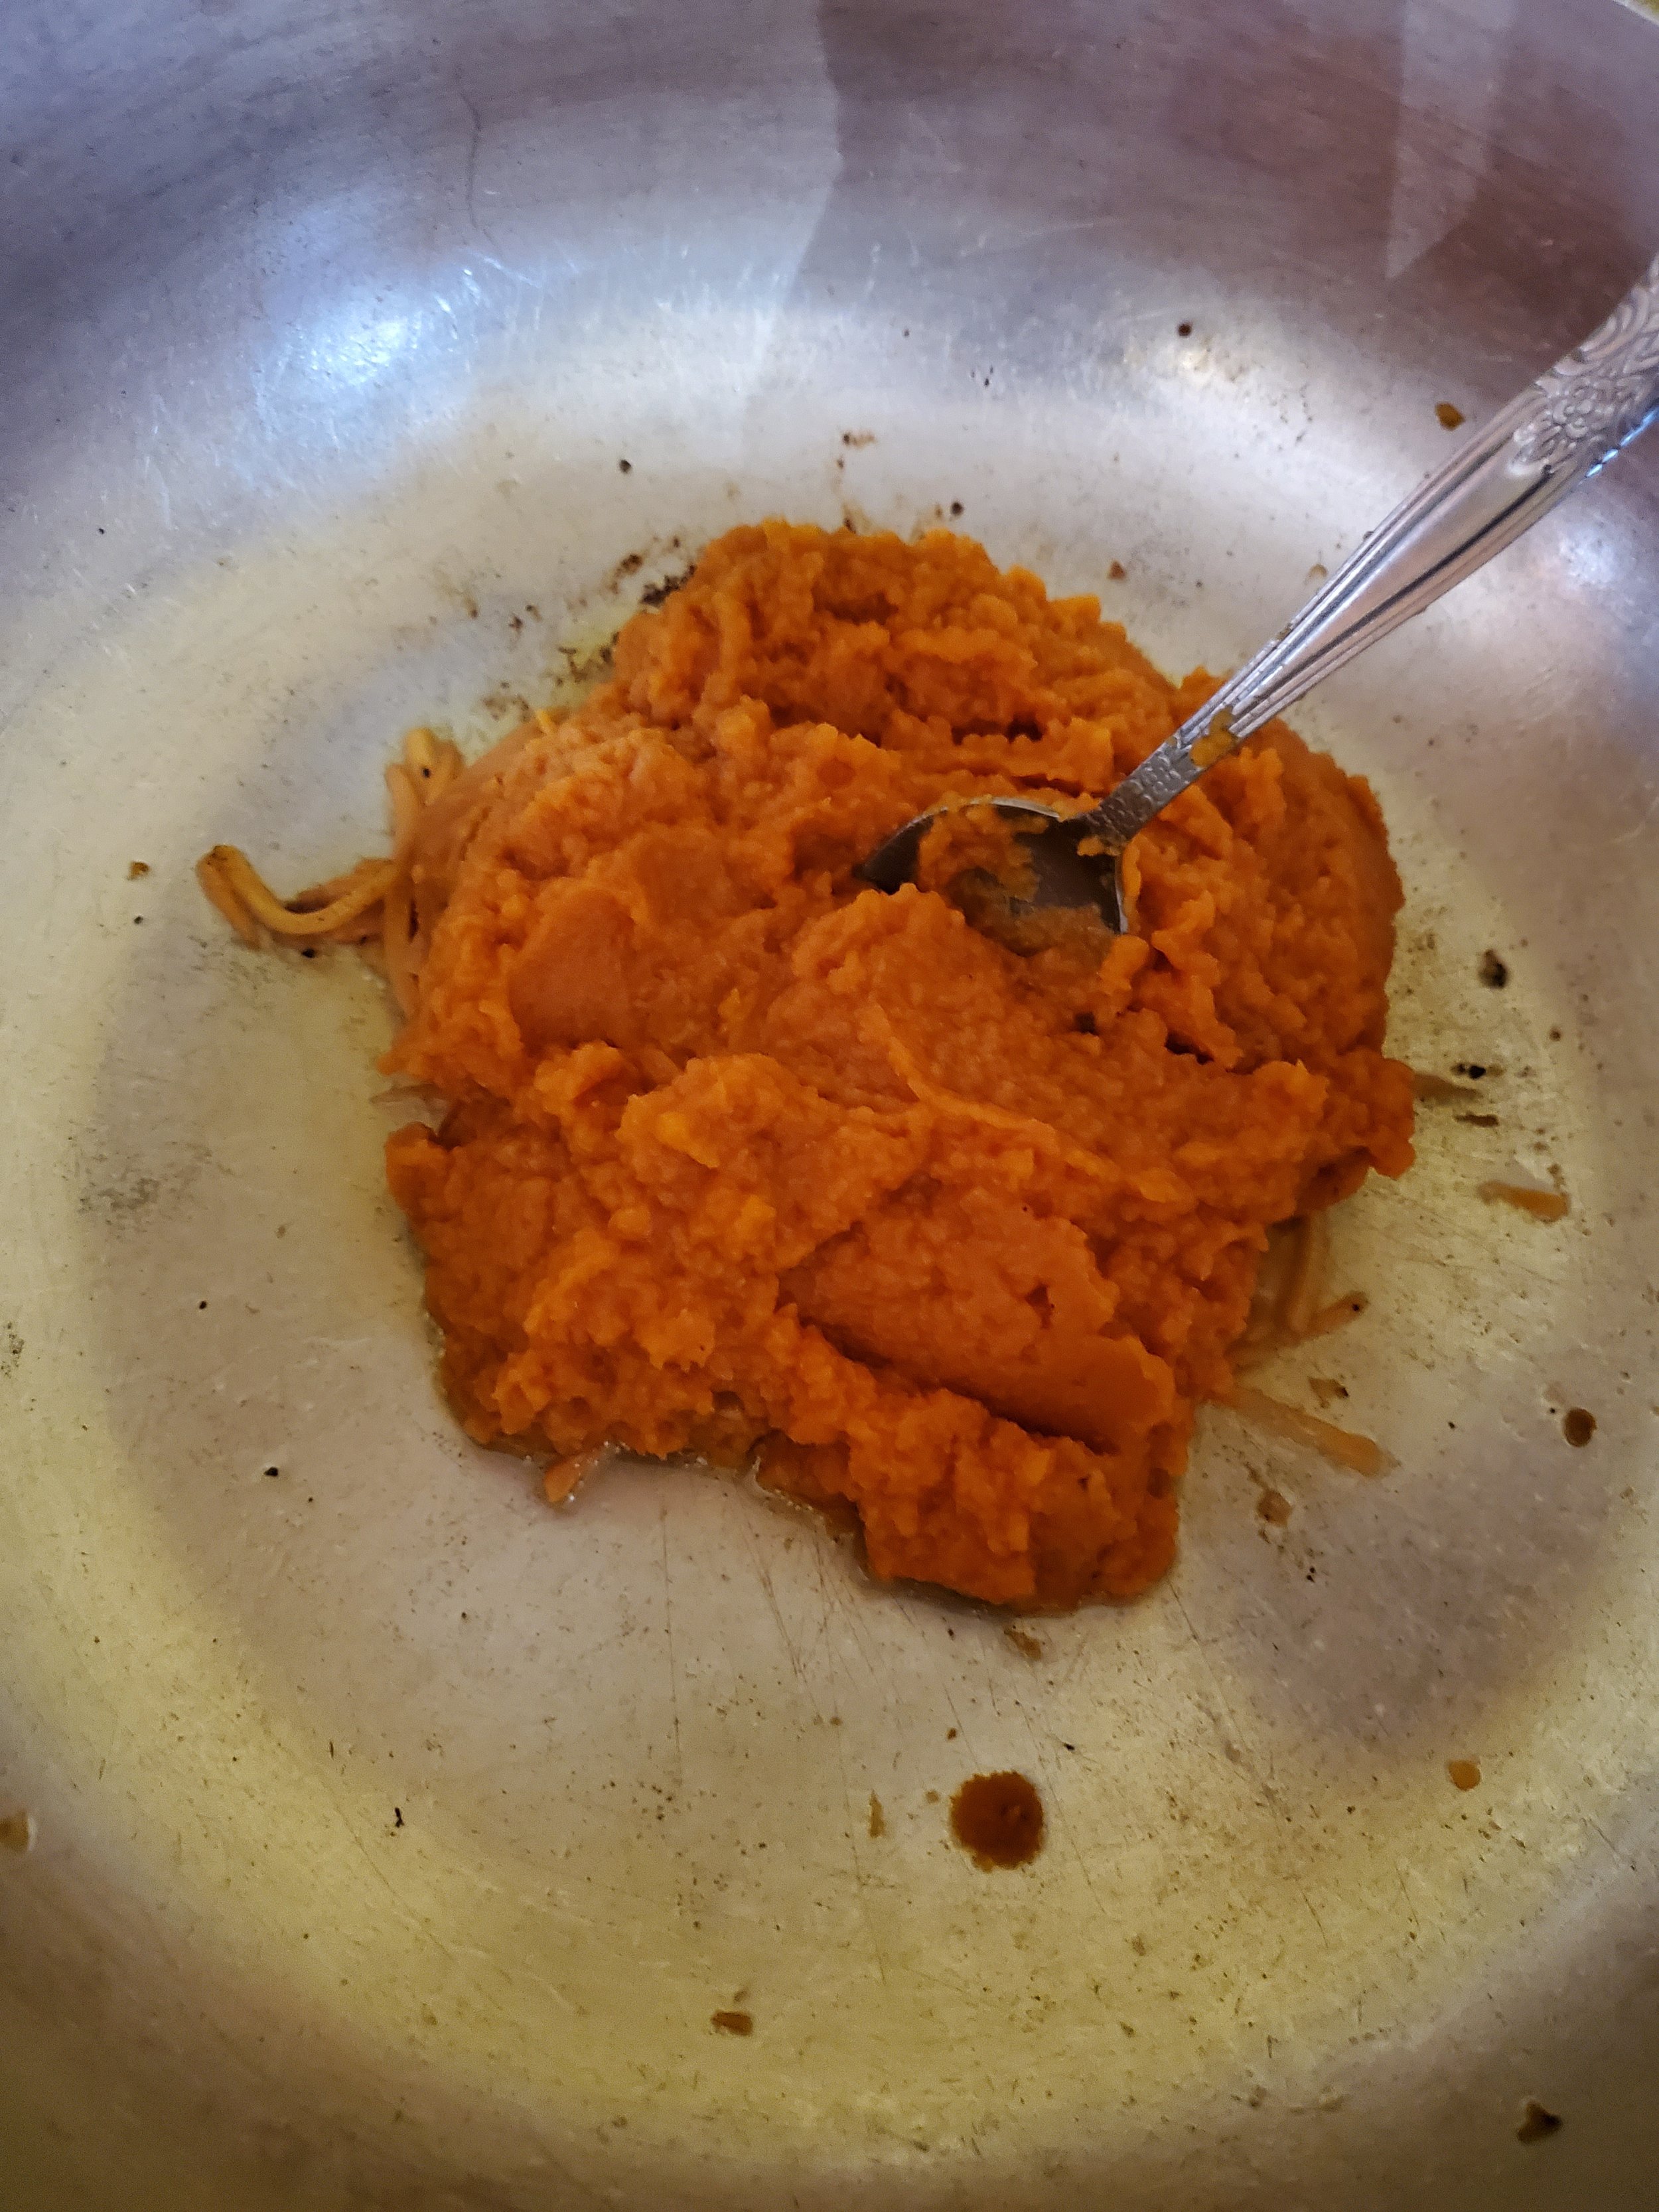
Take your can opener and crack open the can of what you are now double-sure is pumpkin puree and not pie filling. Add the pumpkin puree to the saucepan. We're well aware the pumpkin doesn't always like to exit the can. If there are some stubborn spots, measure your half cup of chicken broth into the can and swish it around a little to dislodge as much of the pumpkin as possible, then pour the chicken broth into the pan.

Stir everything until the pumpkin thins out some, then add the quarter cup of heavy cream and mix it in until you no longer have white streaks. You can use half & half or milk instead, but we feel the heavy cream makes a superior sauce.

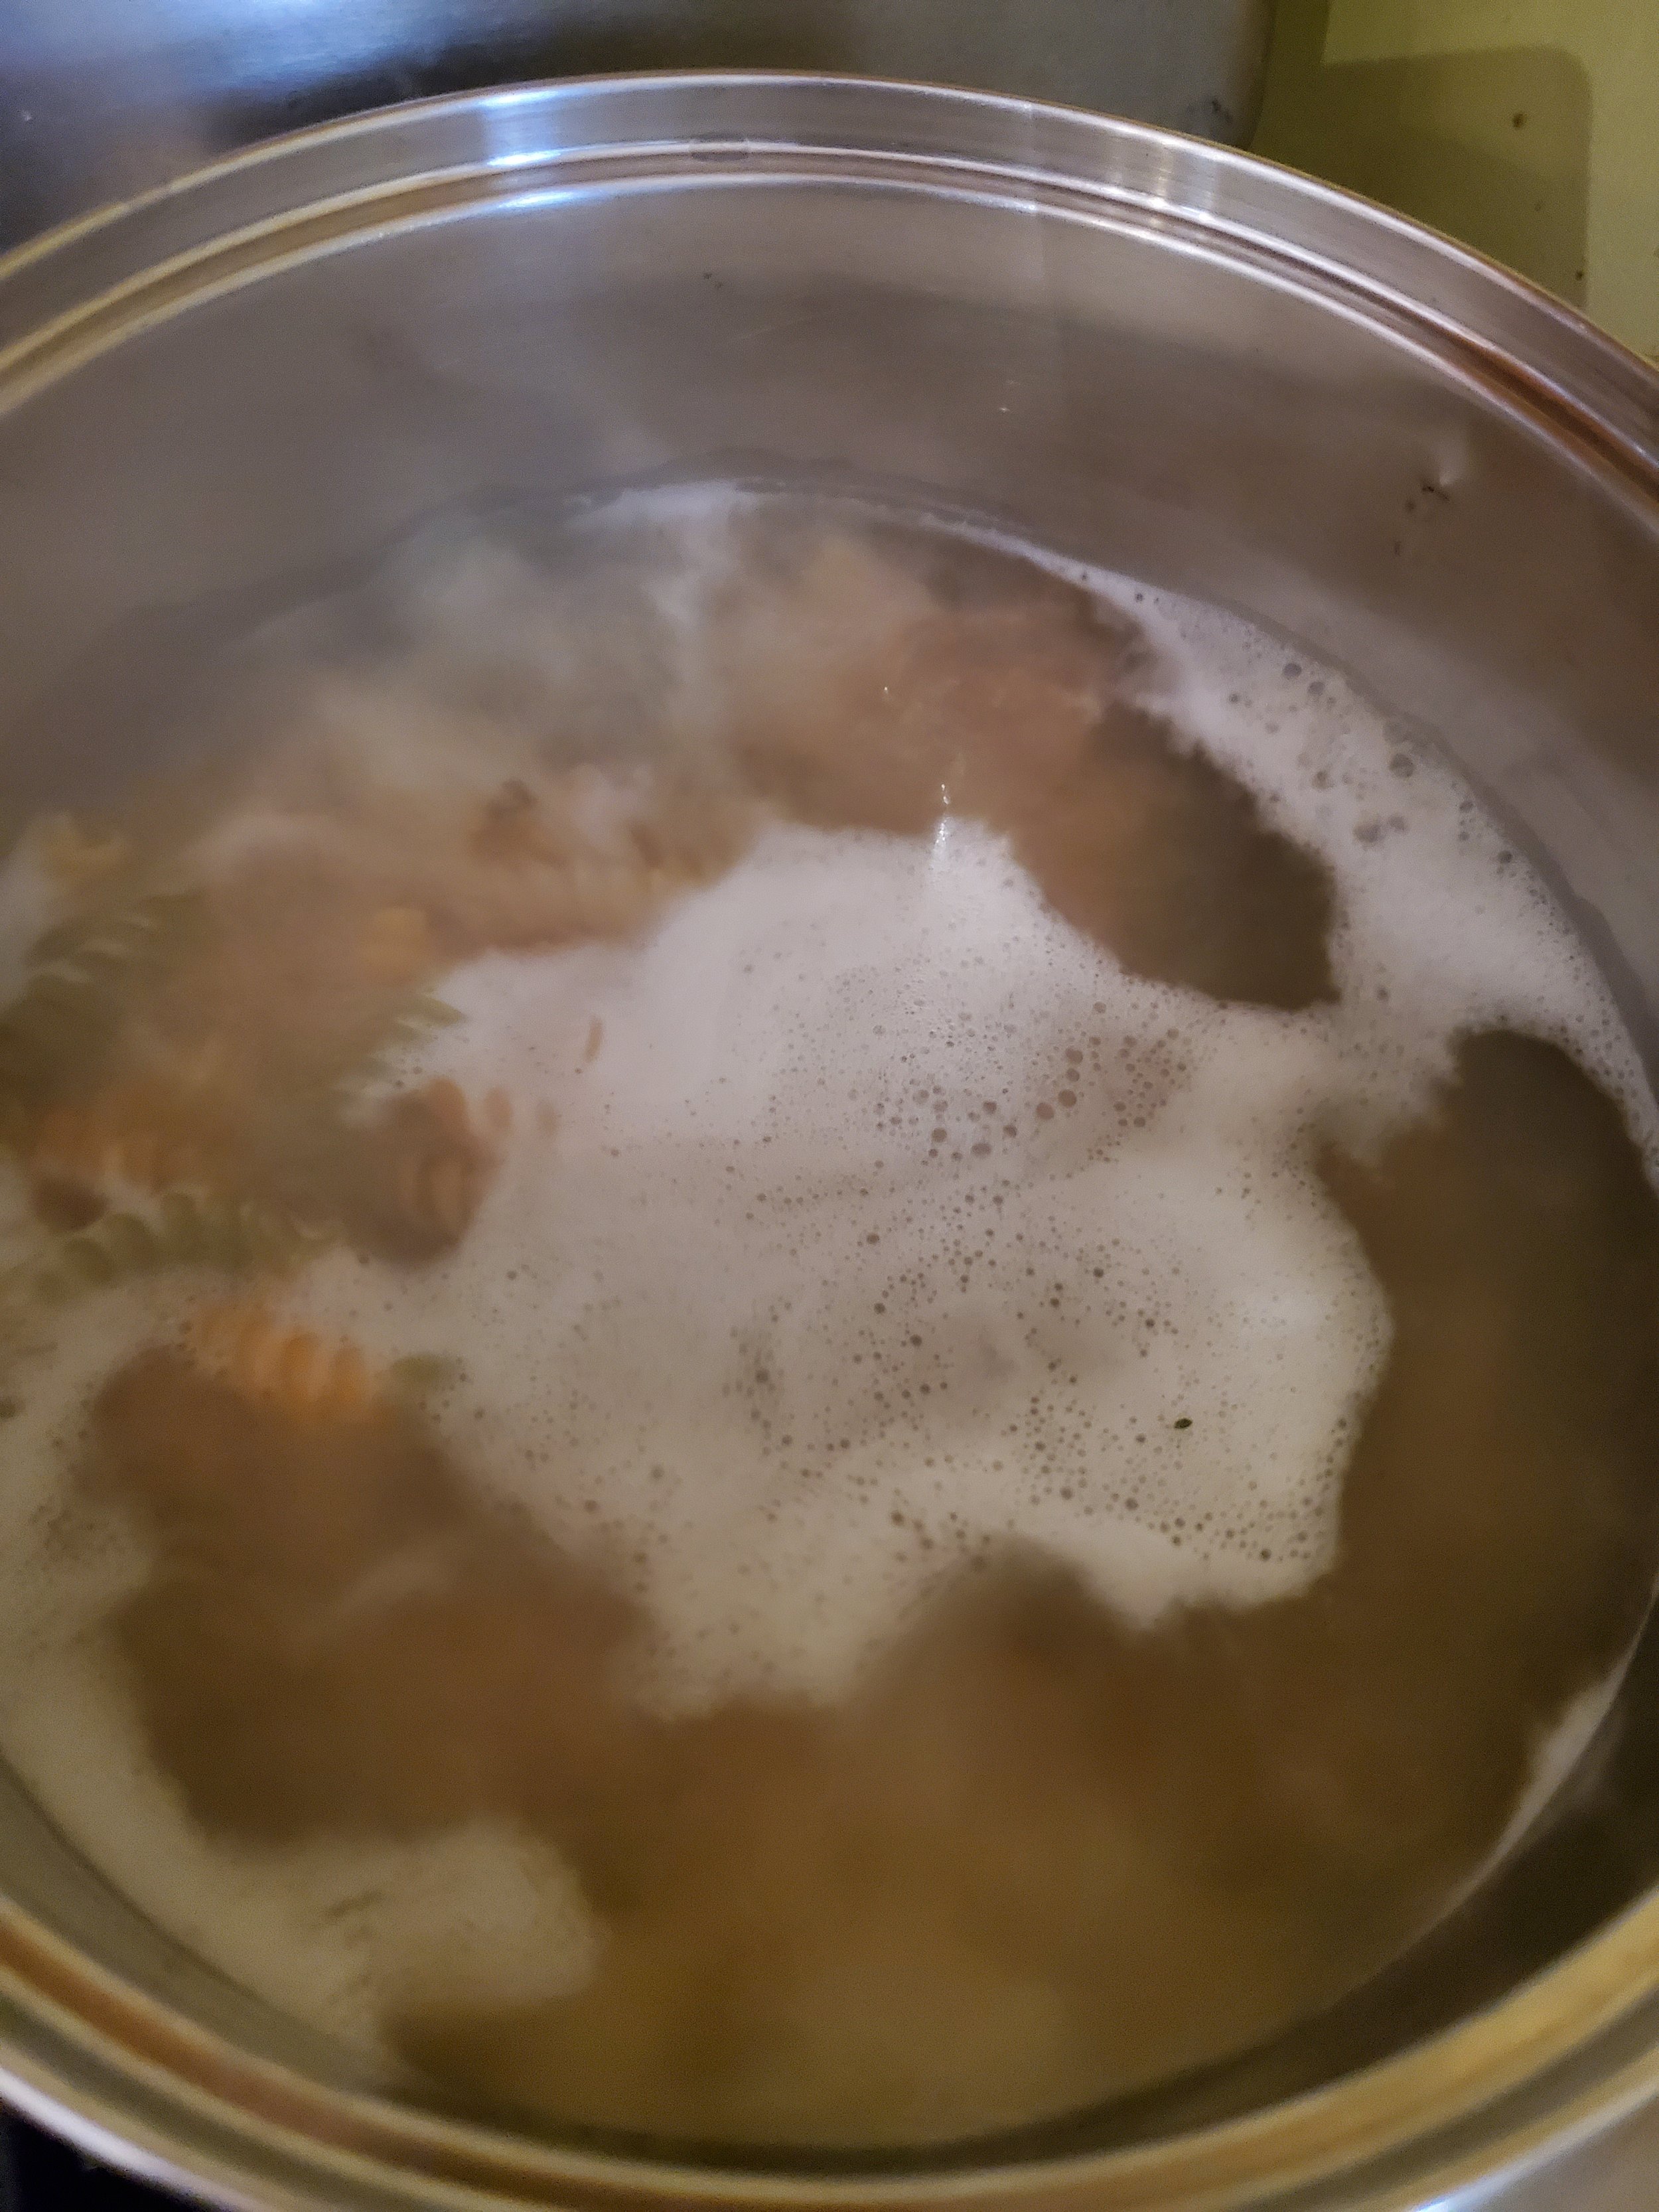
By now your pot of water should be boiling. Add your pasta and give a quick stir to separate. Now you'll just need to check back in on it occasionally while it cooks. We like to shave a minute or two off the time the directions on the box suggest - we hate mushy pasta - and we also like to use a veggie pasta when we can. Sneaking in that extra little bit of vegetables counts!

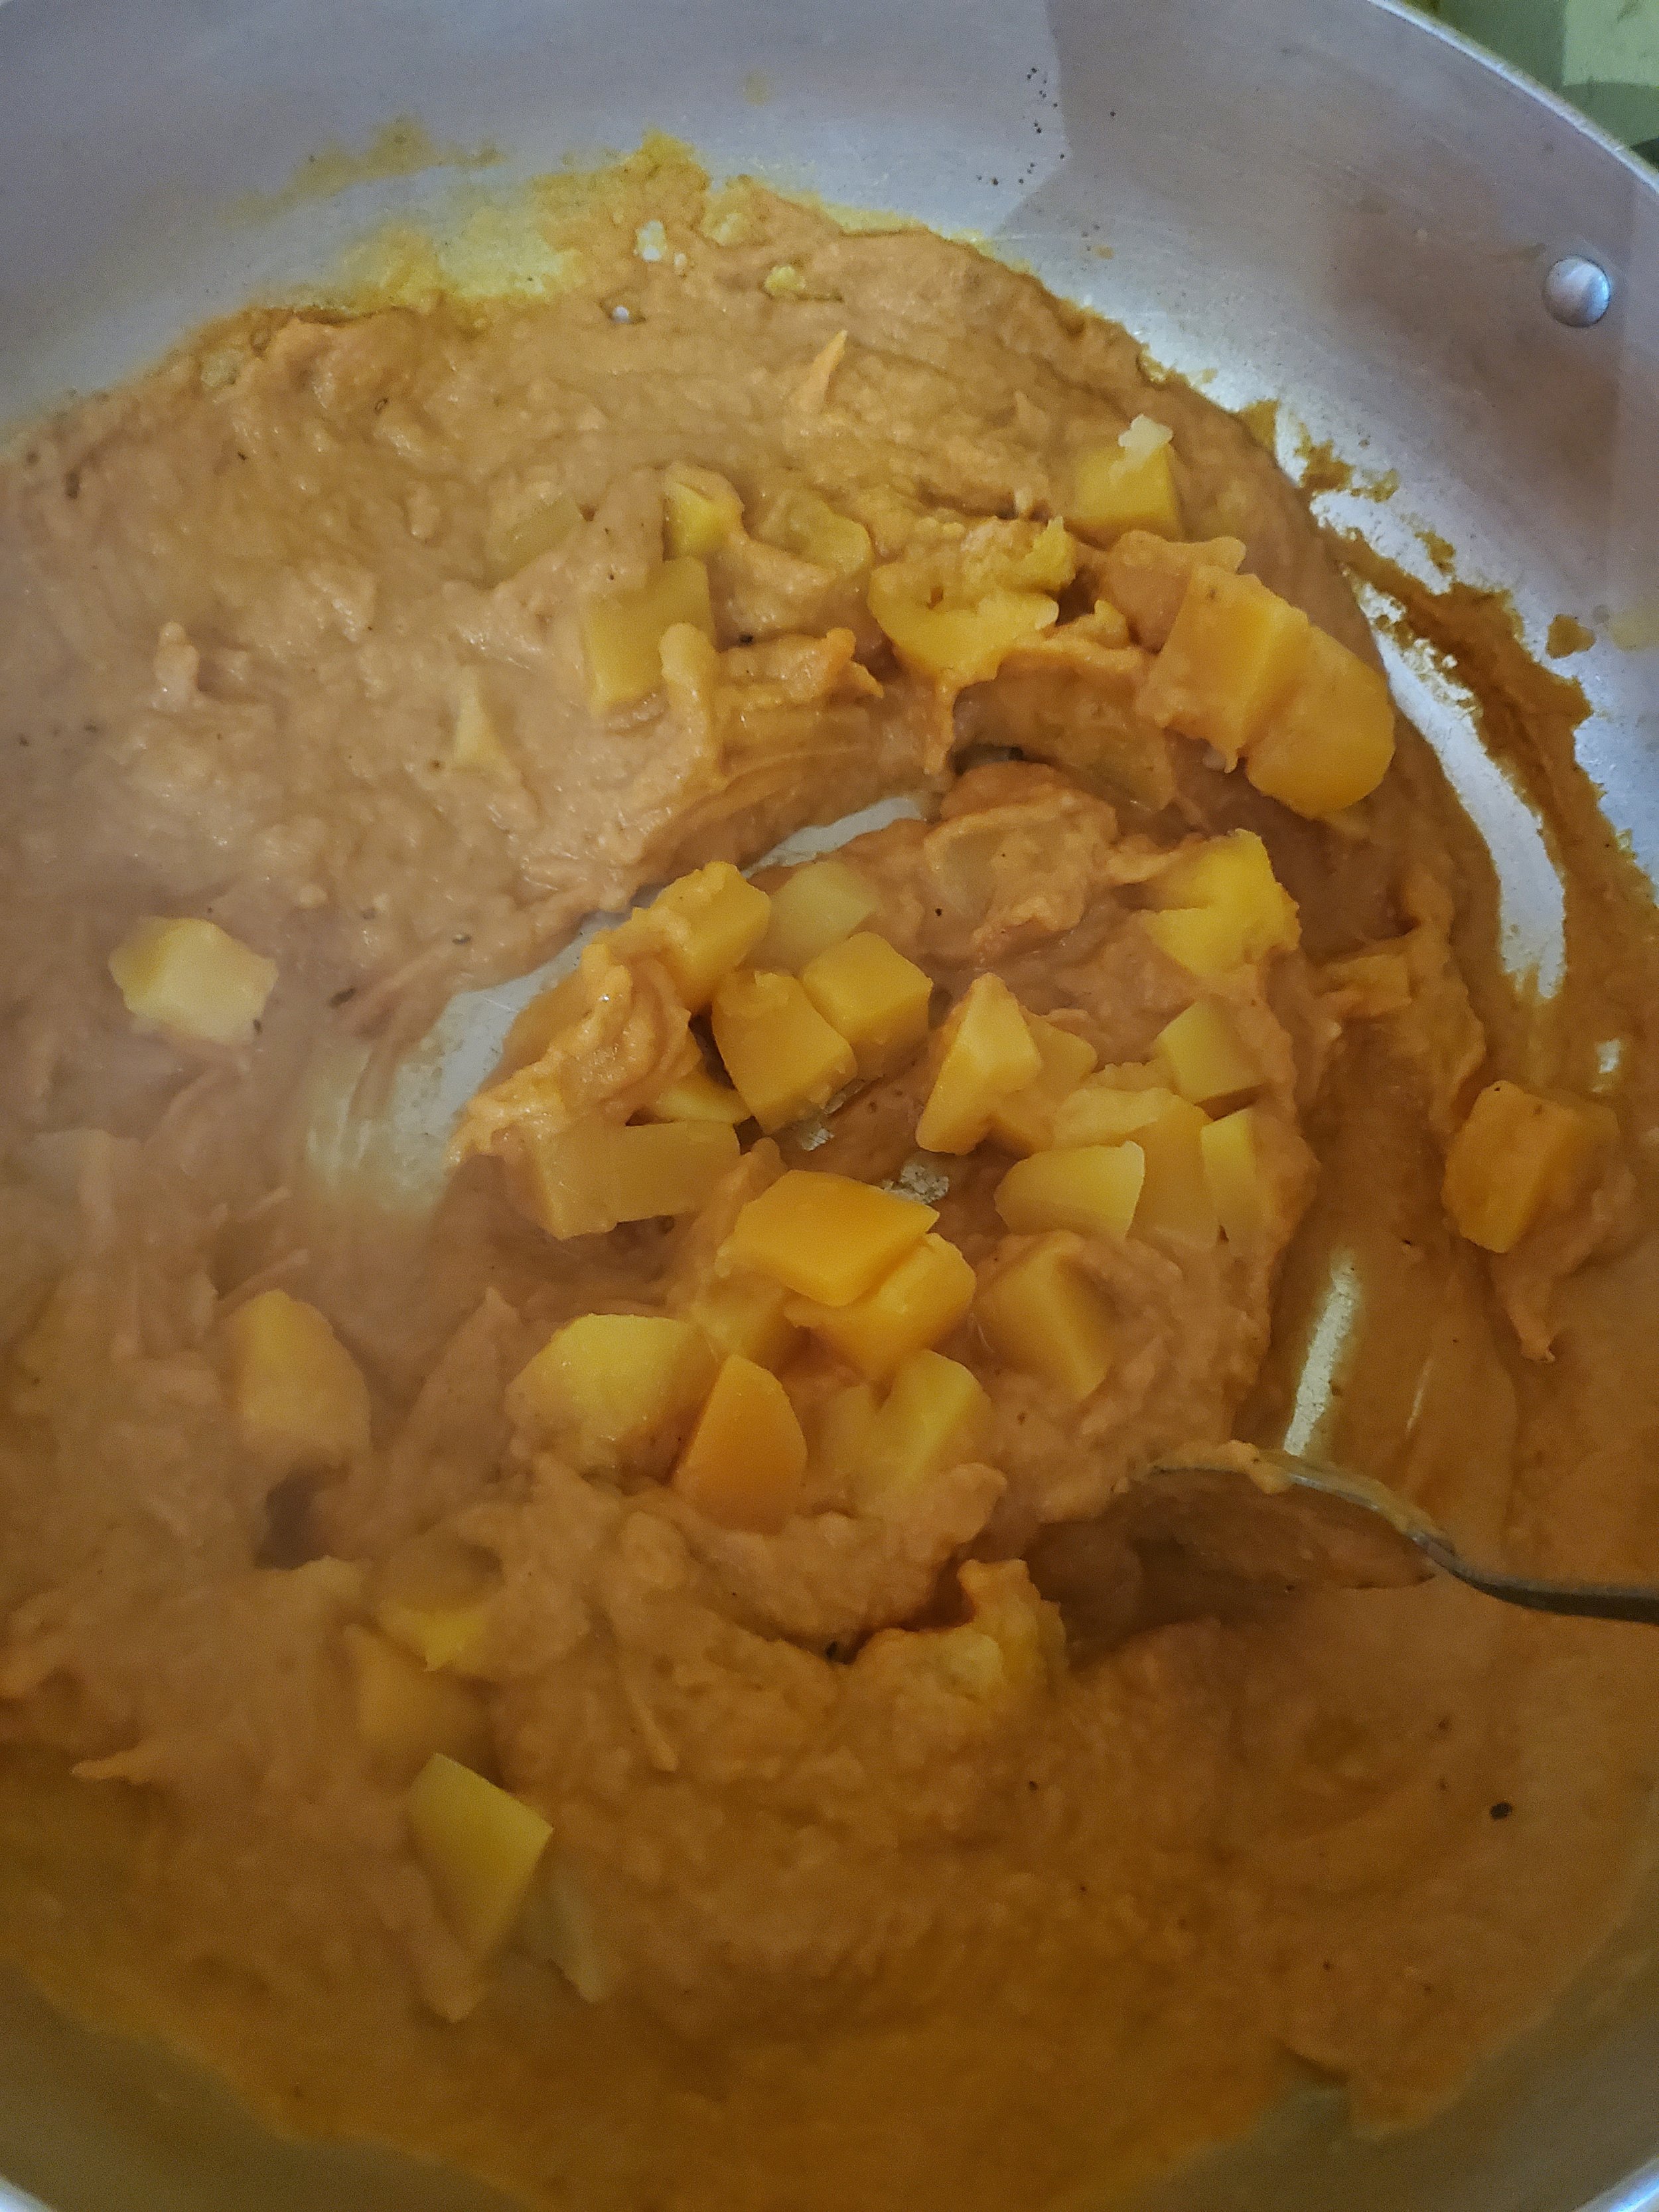
Turn your attention back to the microwave and remove your squash. Replace it with the sweet potatoes and start them cooking. Cut a corner off the bag of squash and drain out the excess water before adding the squash to the pumpkin sauce mixture and stirring it in.

Cover the sauce again and let it simmer for about five minutes.

When the sweet potatoes are done cooking, repeat what you did with the squash: cut a corner, drain the excess water, then add to the sauce and stir to cover.

By this point your pasta is close to ready. Test a piece to be sure the pasta is cooked through, and (assuming it doesn't need more time) drain it into the colander.

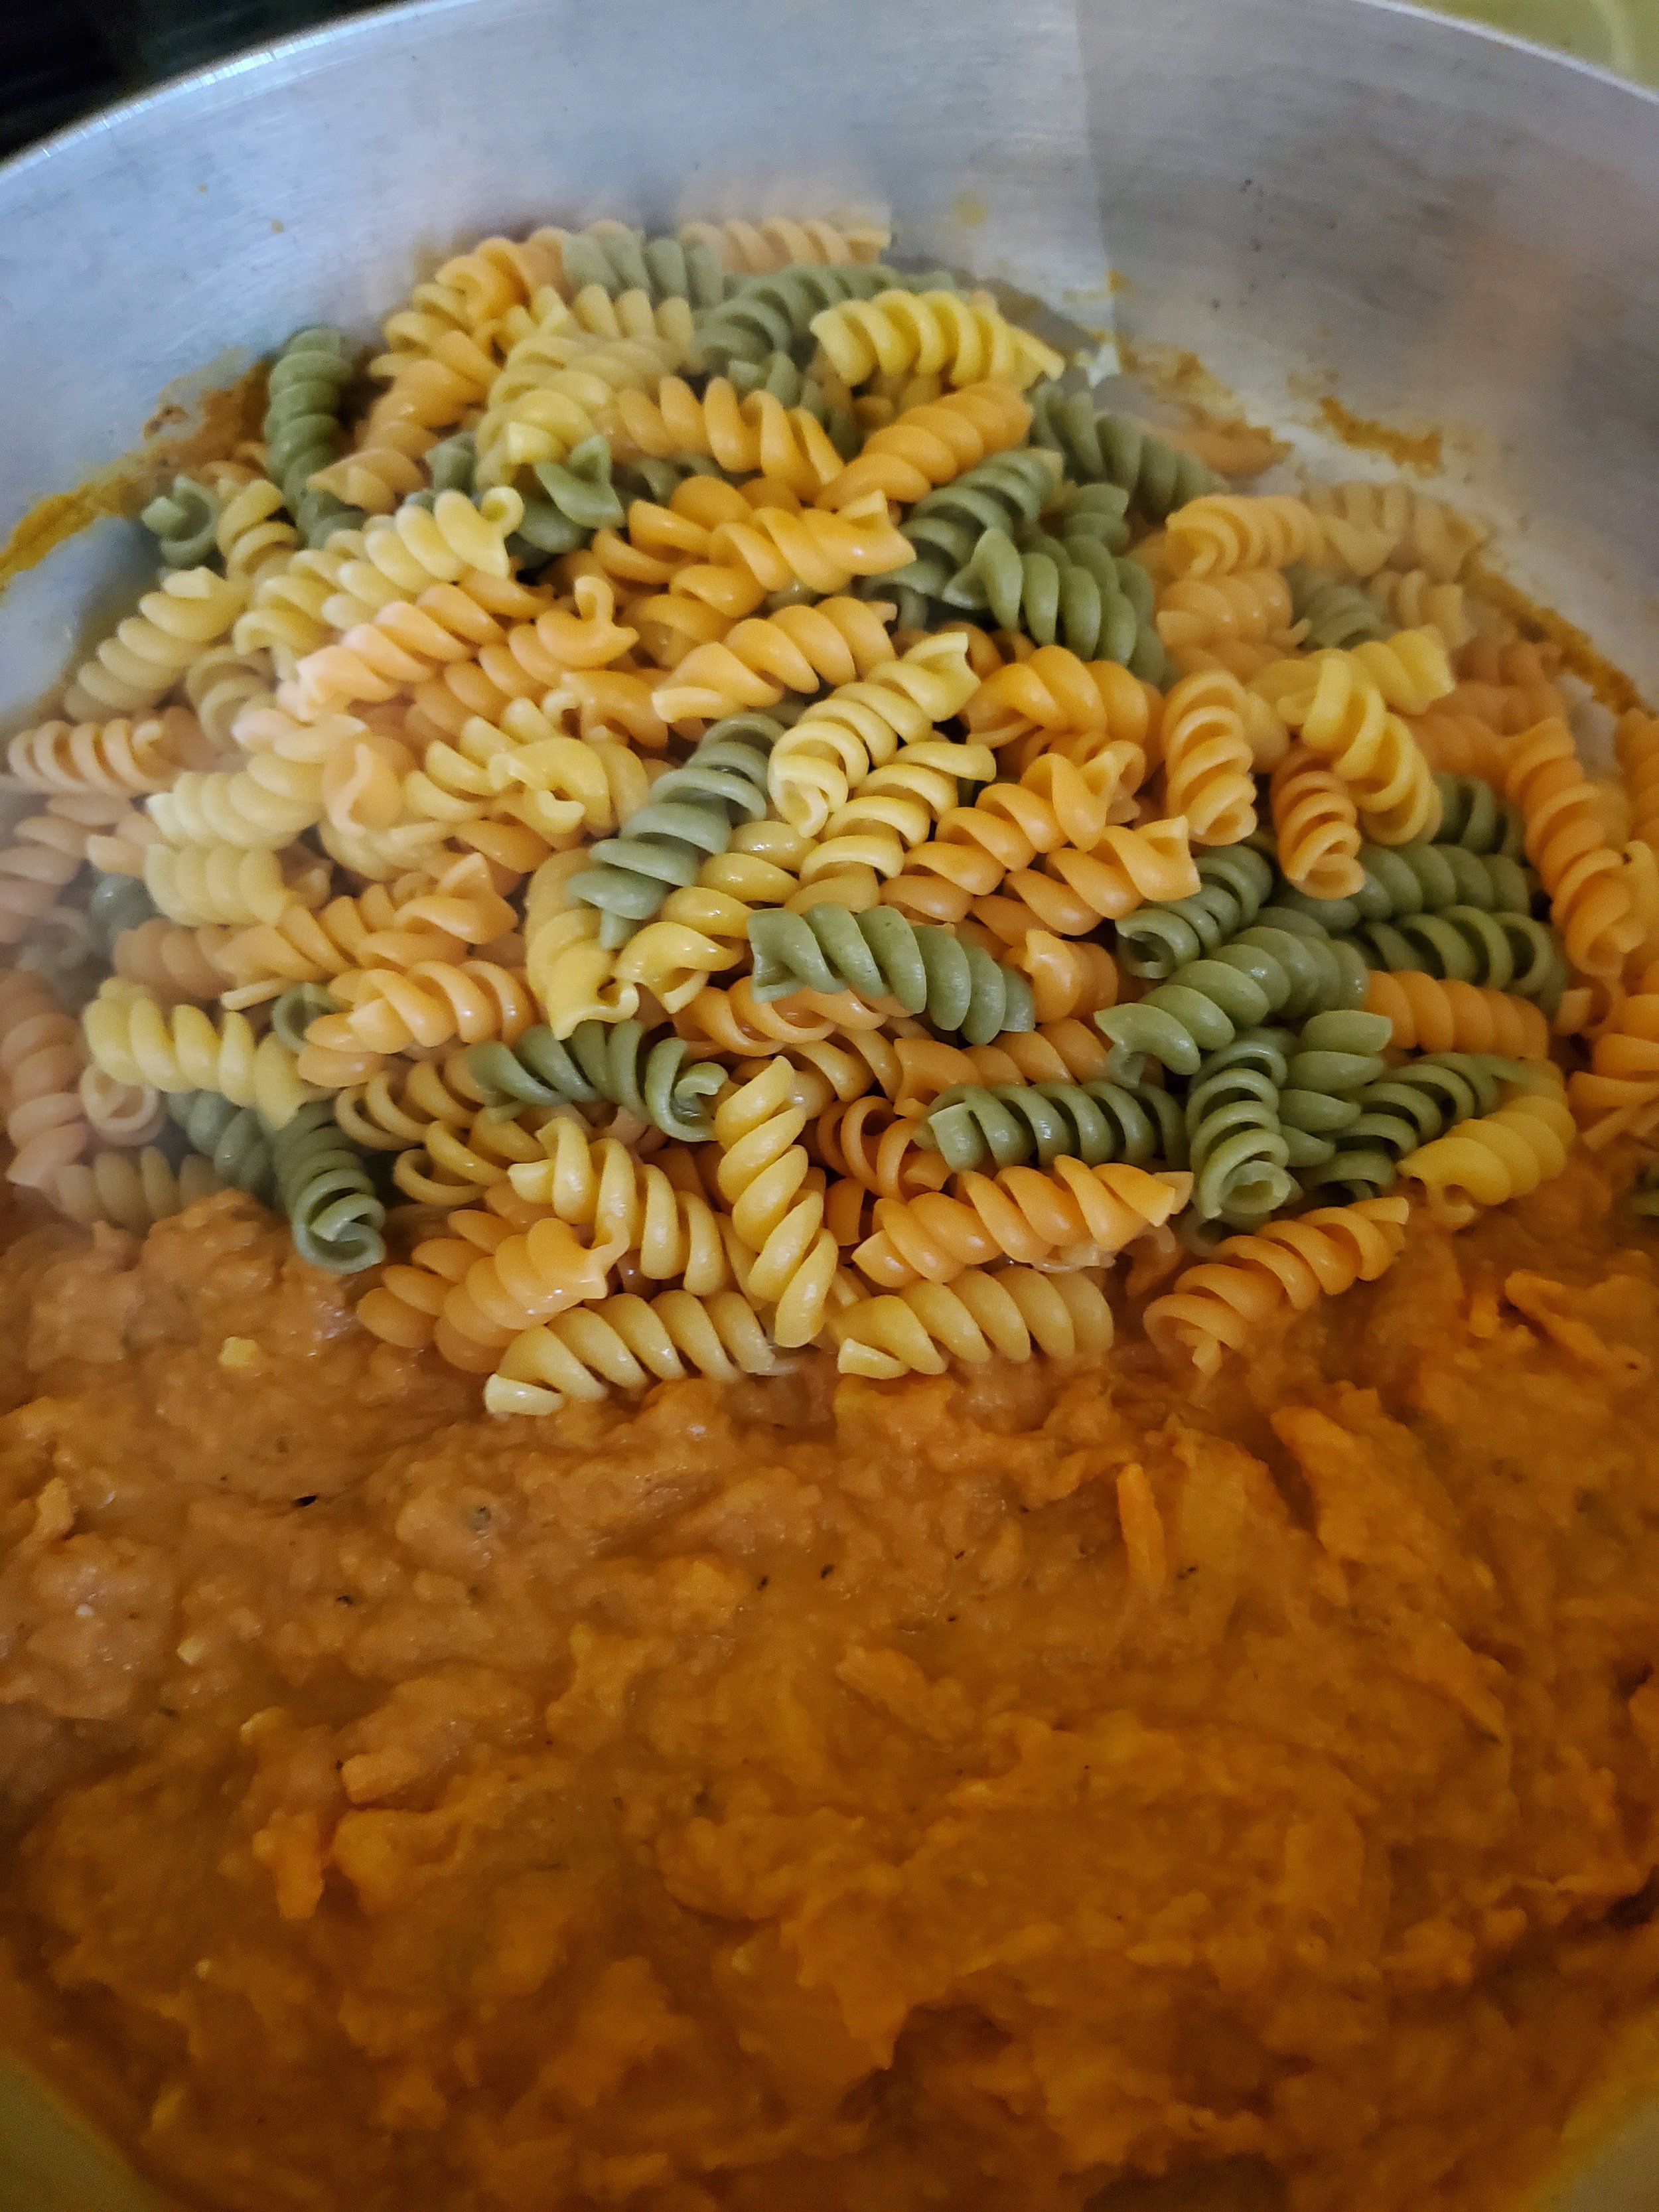
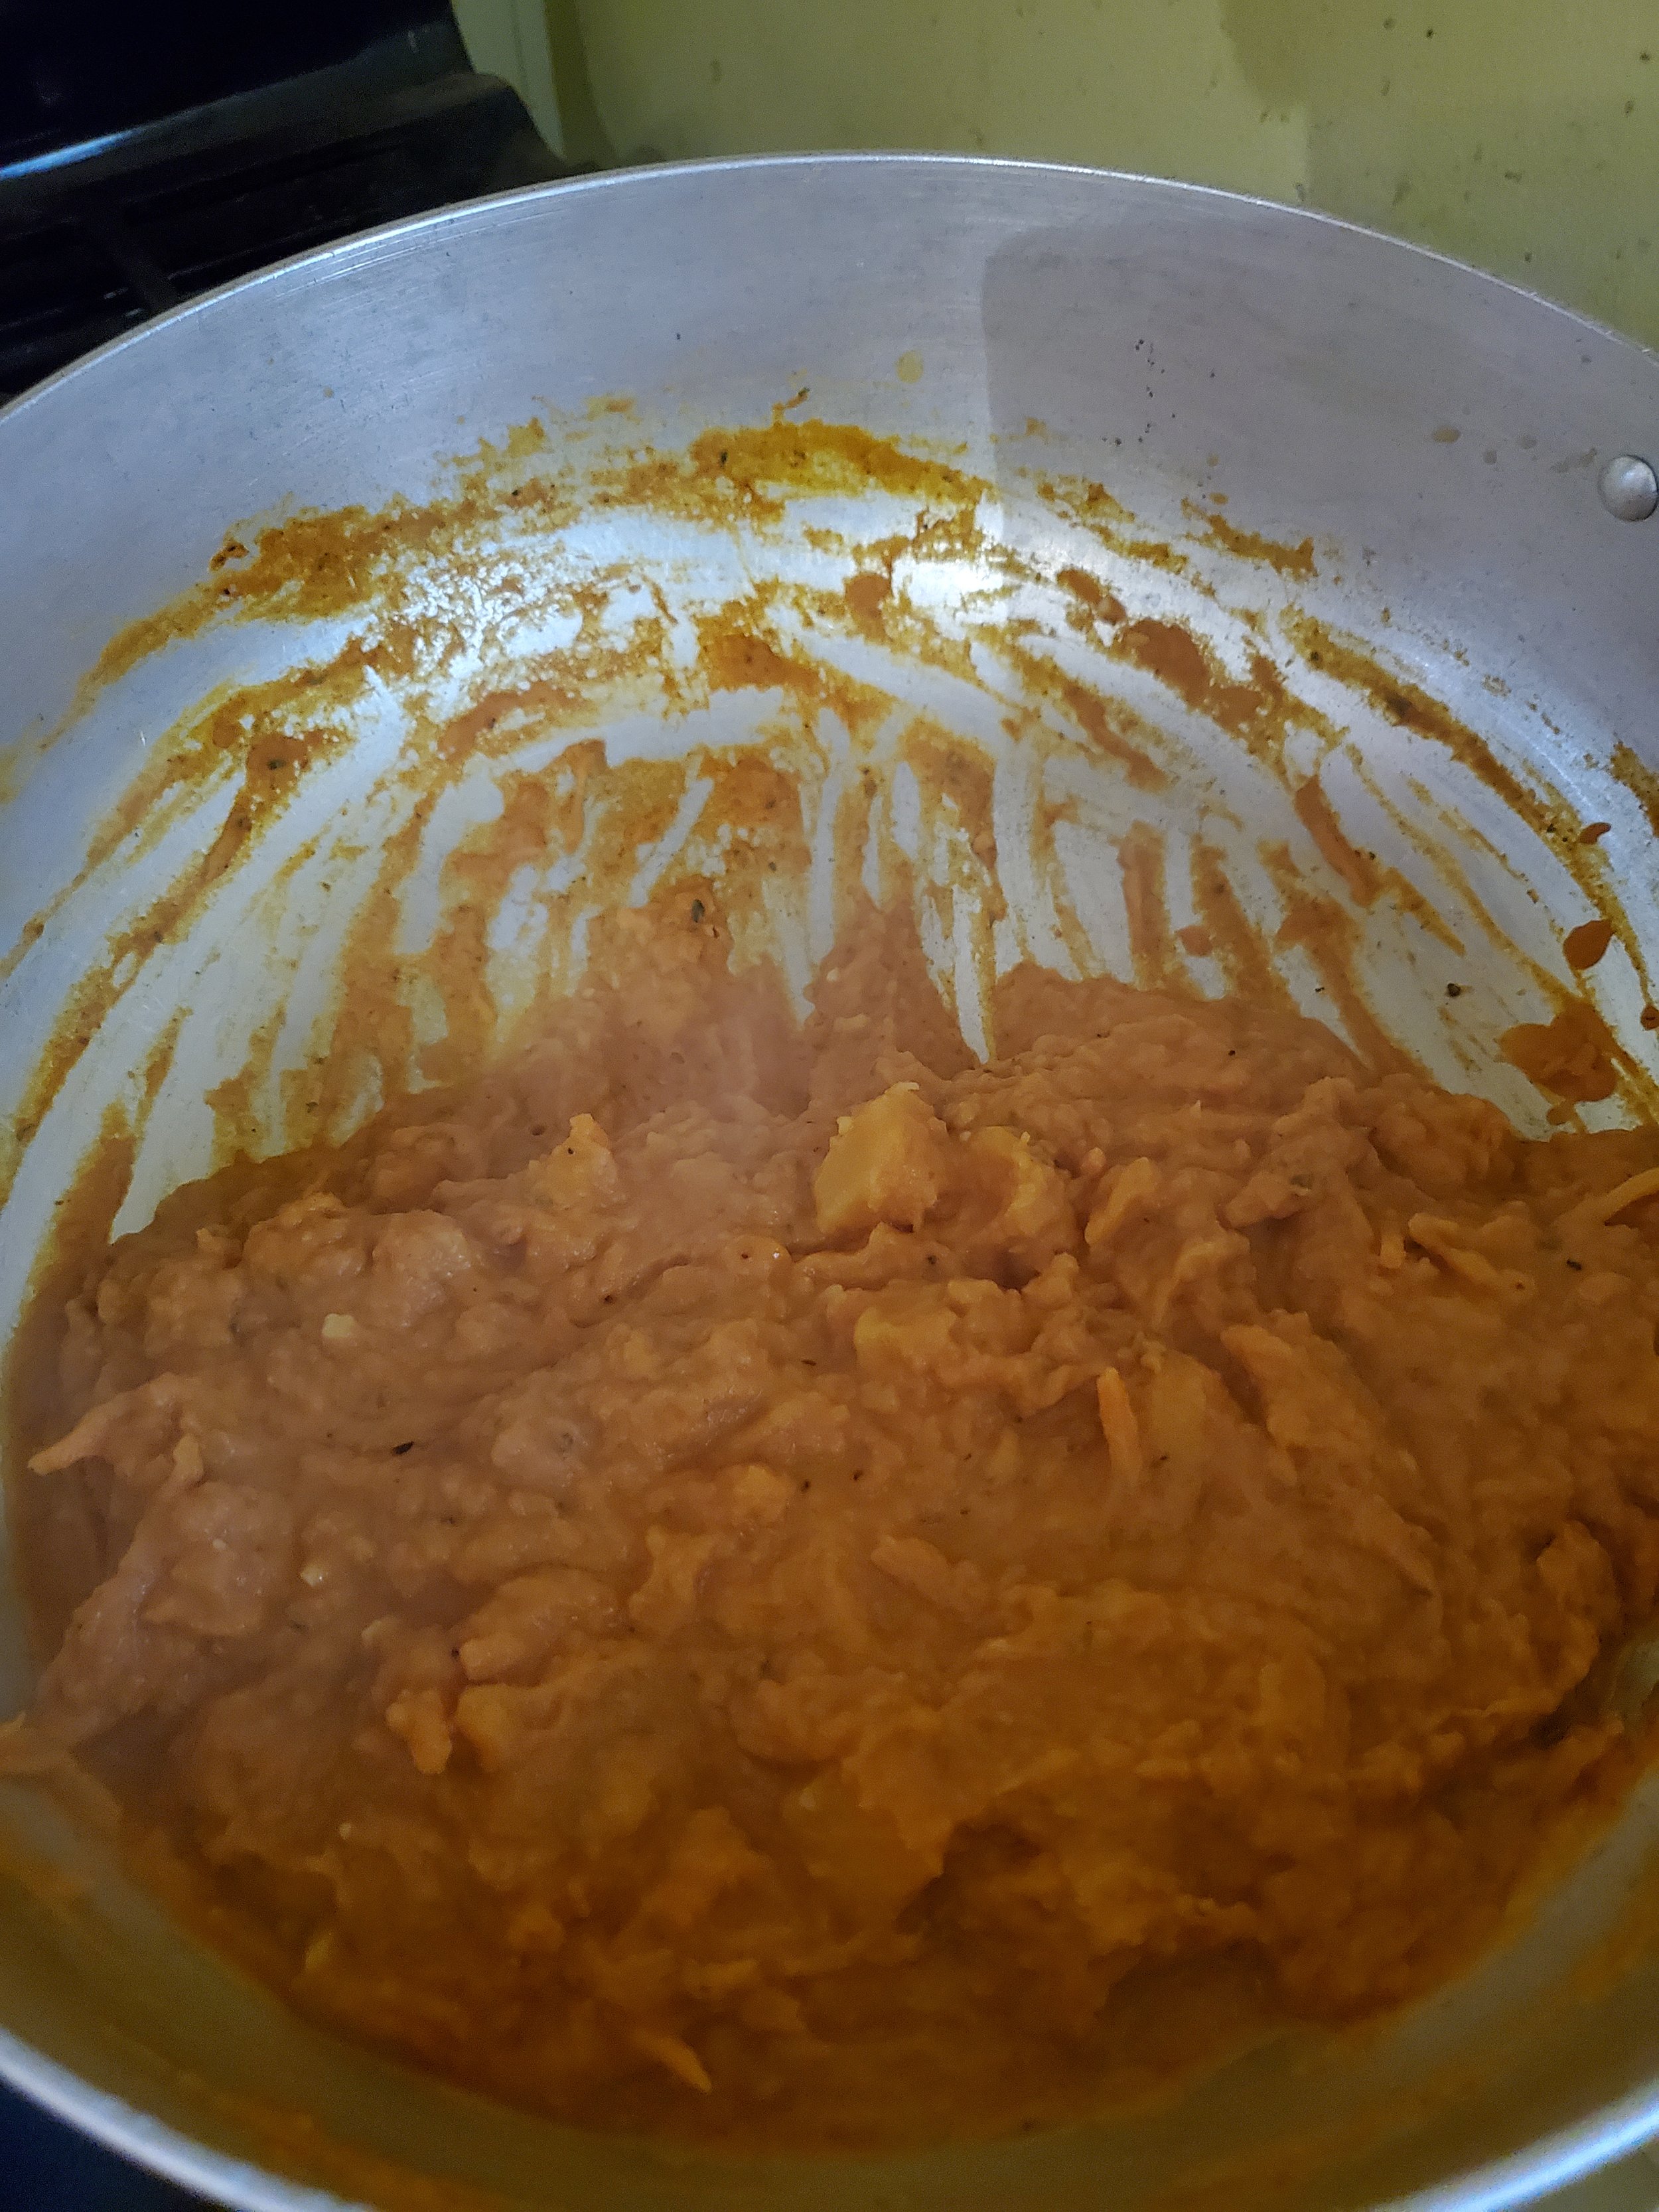
While it's draining, scrape all the sauce to one side of the saucepan. It's heavy, chunky stuff, so it'll mostly stay where you put it.

Once you've made some space in the saucepan, pour the pasta into the open spot. Fold gently to mix the pasta and sauce together without shredding the pasta. Turn the burner off, cover the pan again, and let sit to allow the pasta and sauce to meld for five minutes before serving.

Serve with a little parmesan cheese and/or crushed red pepper, depending on your family's likes and dislikes.


We hope that you enjoyed this recipe! Let us know if you decide to make it over on our Facebook page. As always, we love to hear from you. 


If you discover that your dishwasher just isn’t wanting to wash up after this dish, it might not be the pumpkin’s fault. It might be an issue with your dishwasher instead, and that’s where Appliance Rescue Service can help. We service every model of dishwasher, from LG and Samsung to GE and Bosch. So long as you’re within the DFW area, we’re here to help. You can reach out to us via our contact page or by giving us a call at ((214) 599-0055). We’ll work with you to set up a date and time that fits your schedule so we can get your home running smoothly again. 


Even If Fall Isn’t Here Yet.