lunch

Impress Your Guests with This Easy-to-Make Apple Pecan French Toast Bake

Make Your Mornings Magical with This Rich and Delicious Recipe

Are you ready to elevate your breakfast game to a whole new level? Look no further than this scrumptious Baked Apple Cinnamon French Toast recipe. With a delightful blend of sweet, tart apples, warm cinnamon, and creamy custard-soaked bread, this dish is a breakfast dream come true. Whether you're preparing a special brunch for loved ones or simply treating yourself to a cozy morning treat, this recipe promises to fill your kitchen with irresistible aromas and your taste buds with pure satisfaction. So, roll up your sleeves , and let's embark on a culinary journey to create a breakfast masterpiece that will leave you craving more.


Ingredients:


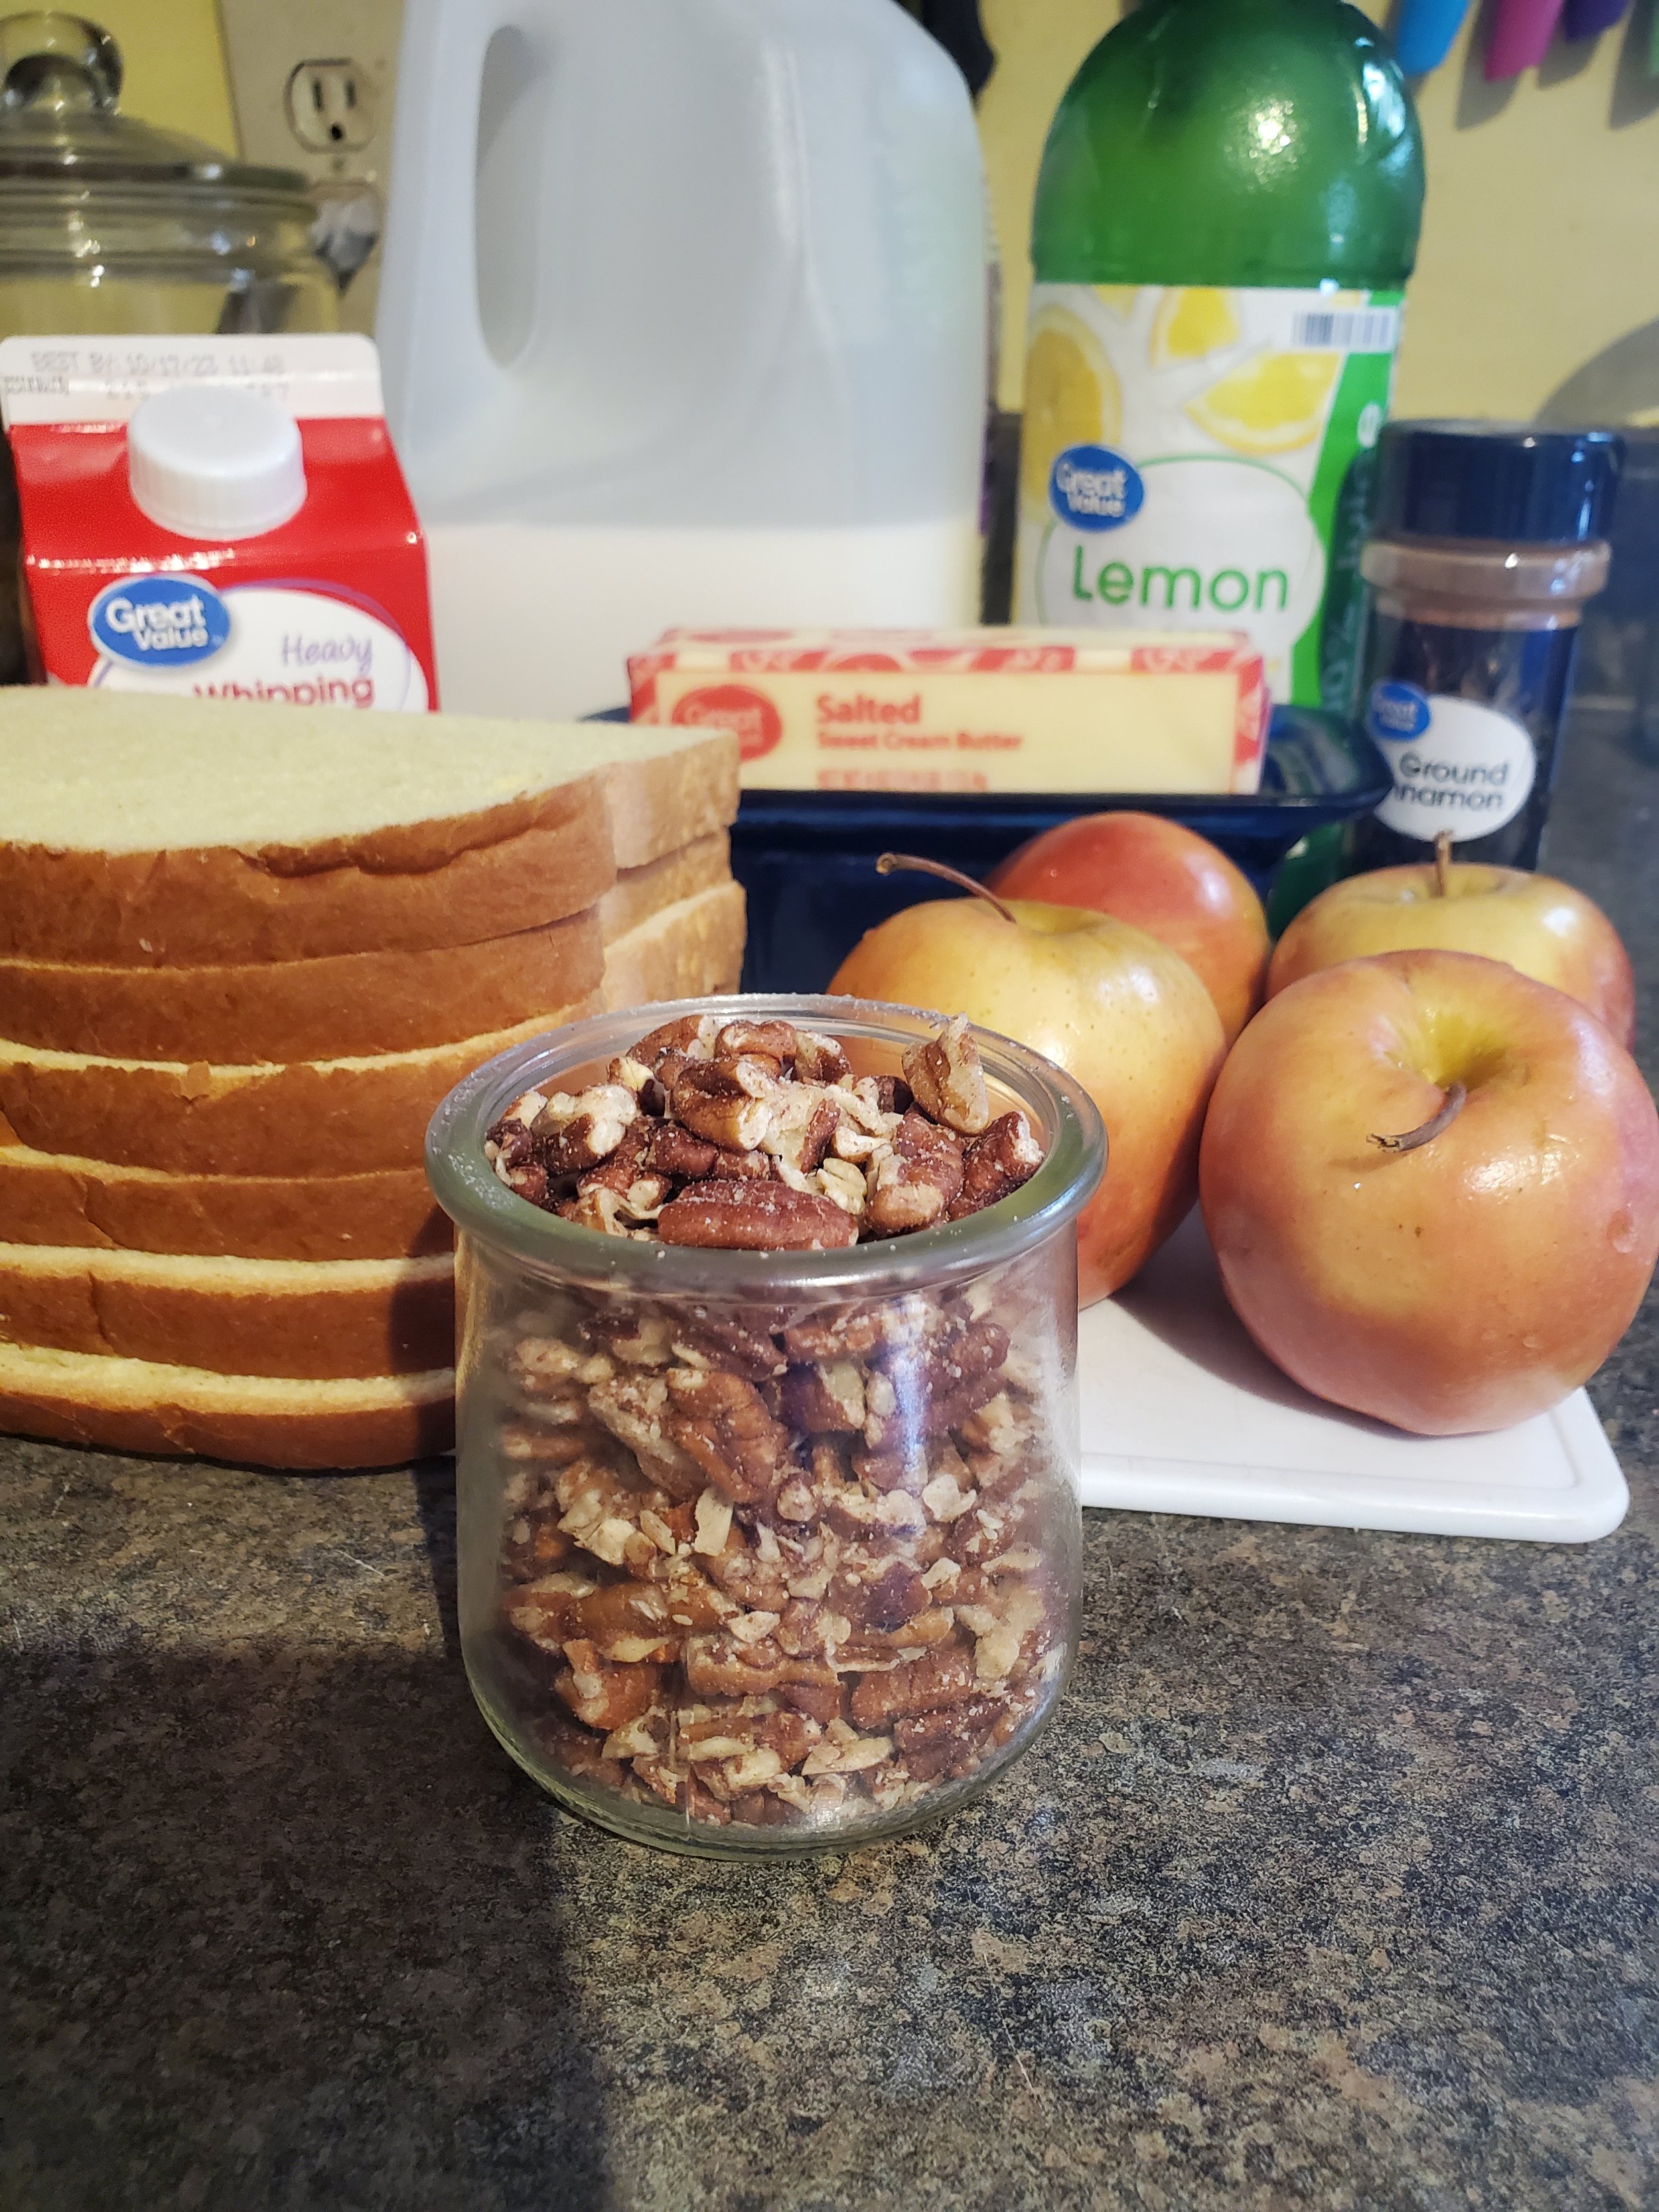
4 or more apples

6-10 slices bread

2 tablespoons butter

3/4 cup heavy cream

3/4 cup milk

5 large eggs

1/2 teaspoon vanilla extract (optional)

2-3 tablespoons lemon juice

1/2 cup light brown sugar

2 teaspoons ground cinnamon

pinch nutmeg (optional)

1/2 cup chopped pecans


Tools:


toaster oven

cutting board

knife

frying pan

glass baking dish

small mixing bowl

shallow dish for dredging

fork(s)

measuring cups and spoons

slotted spoon

heat proof measuring cup


As always, begin with washing your produce! Those apples won't clean themselves, after all.


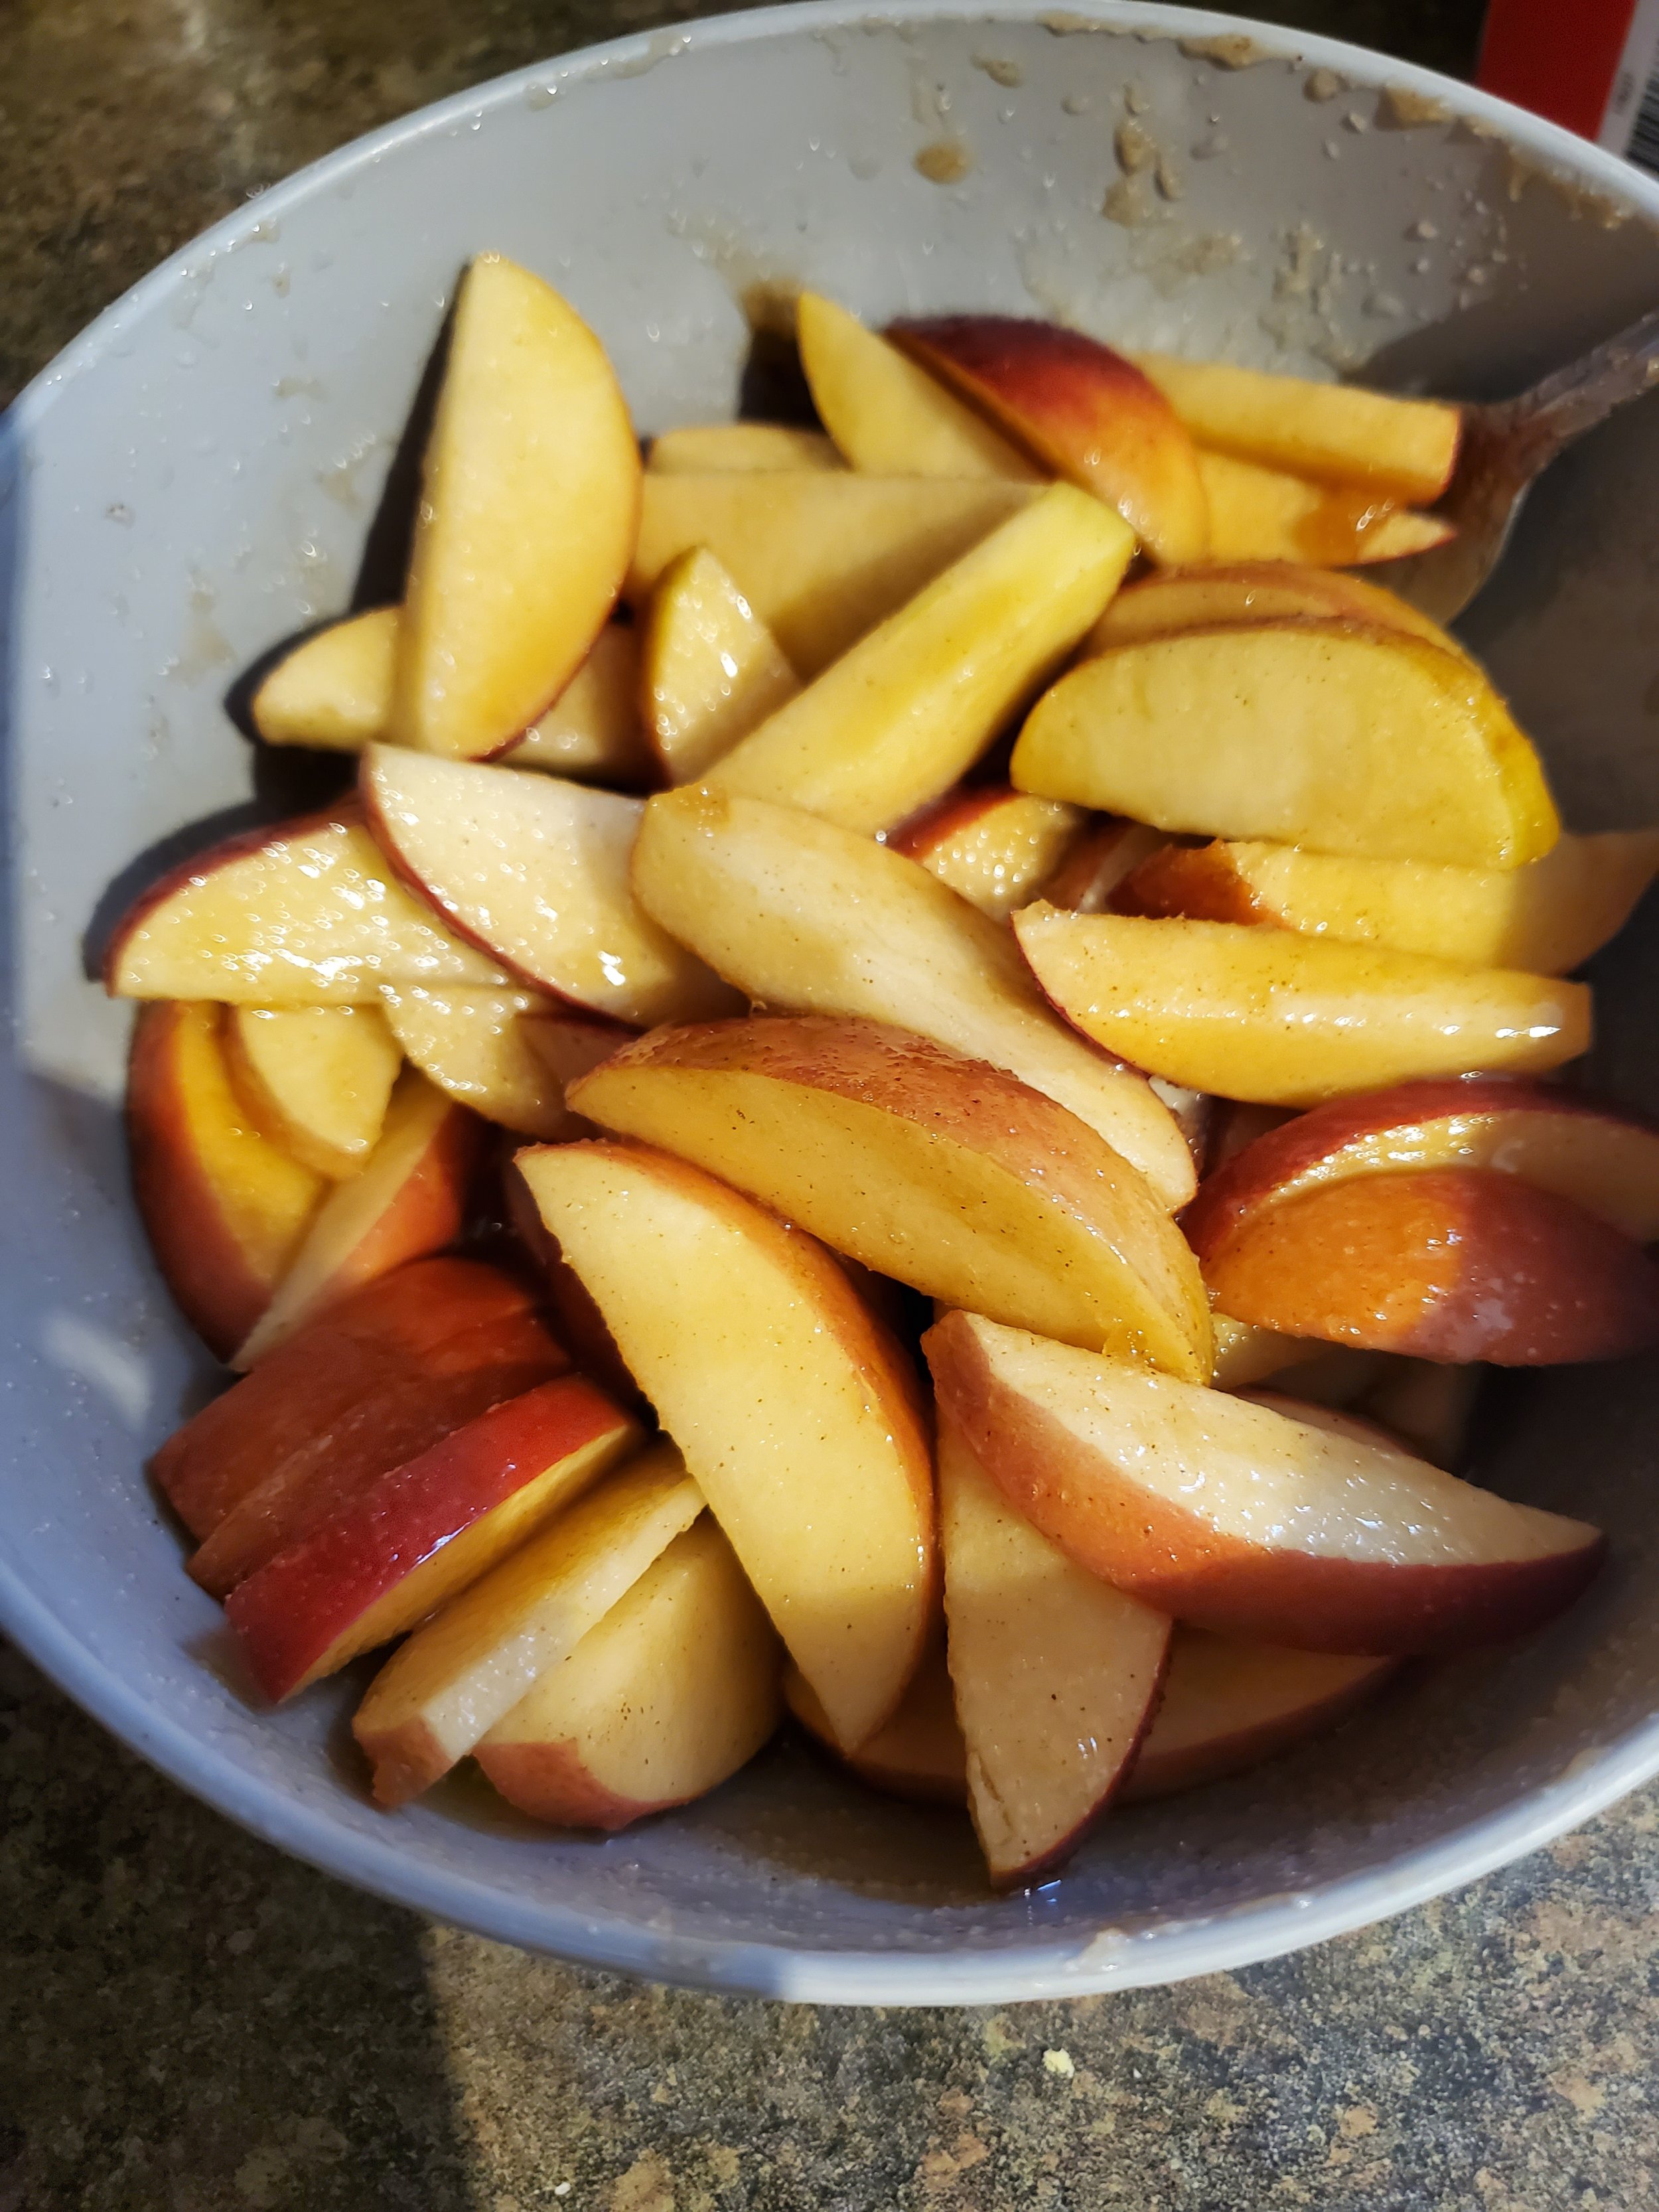
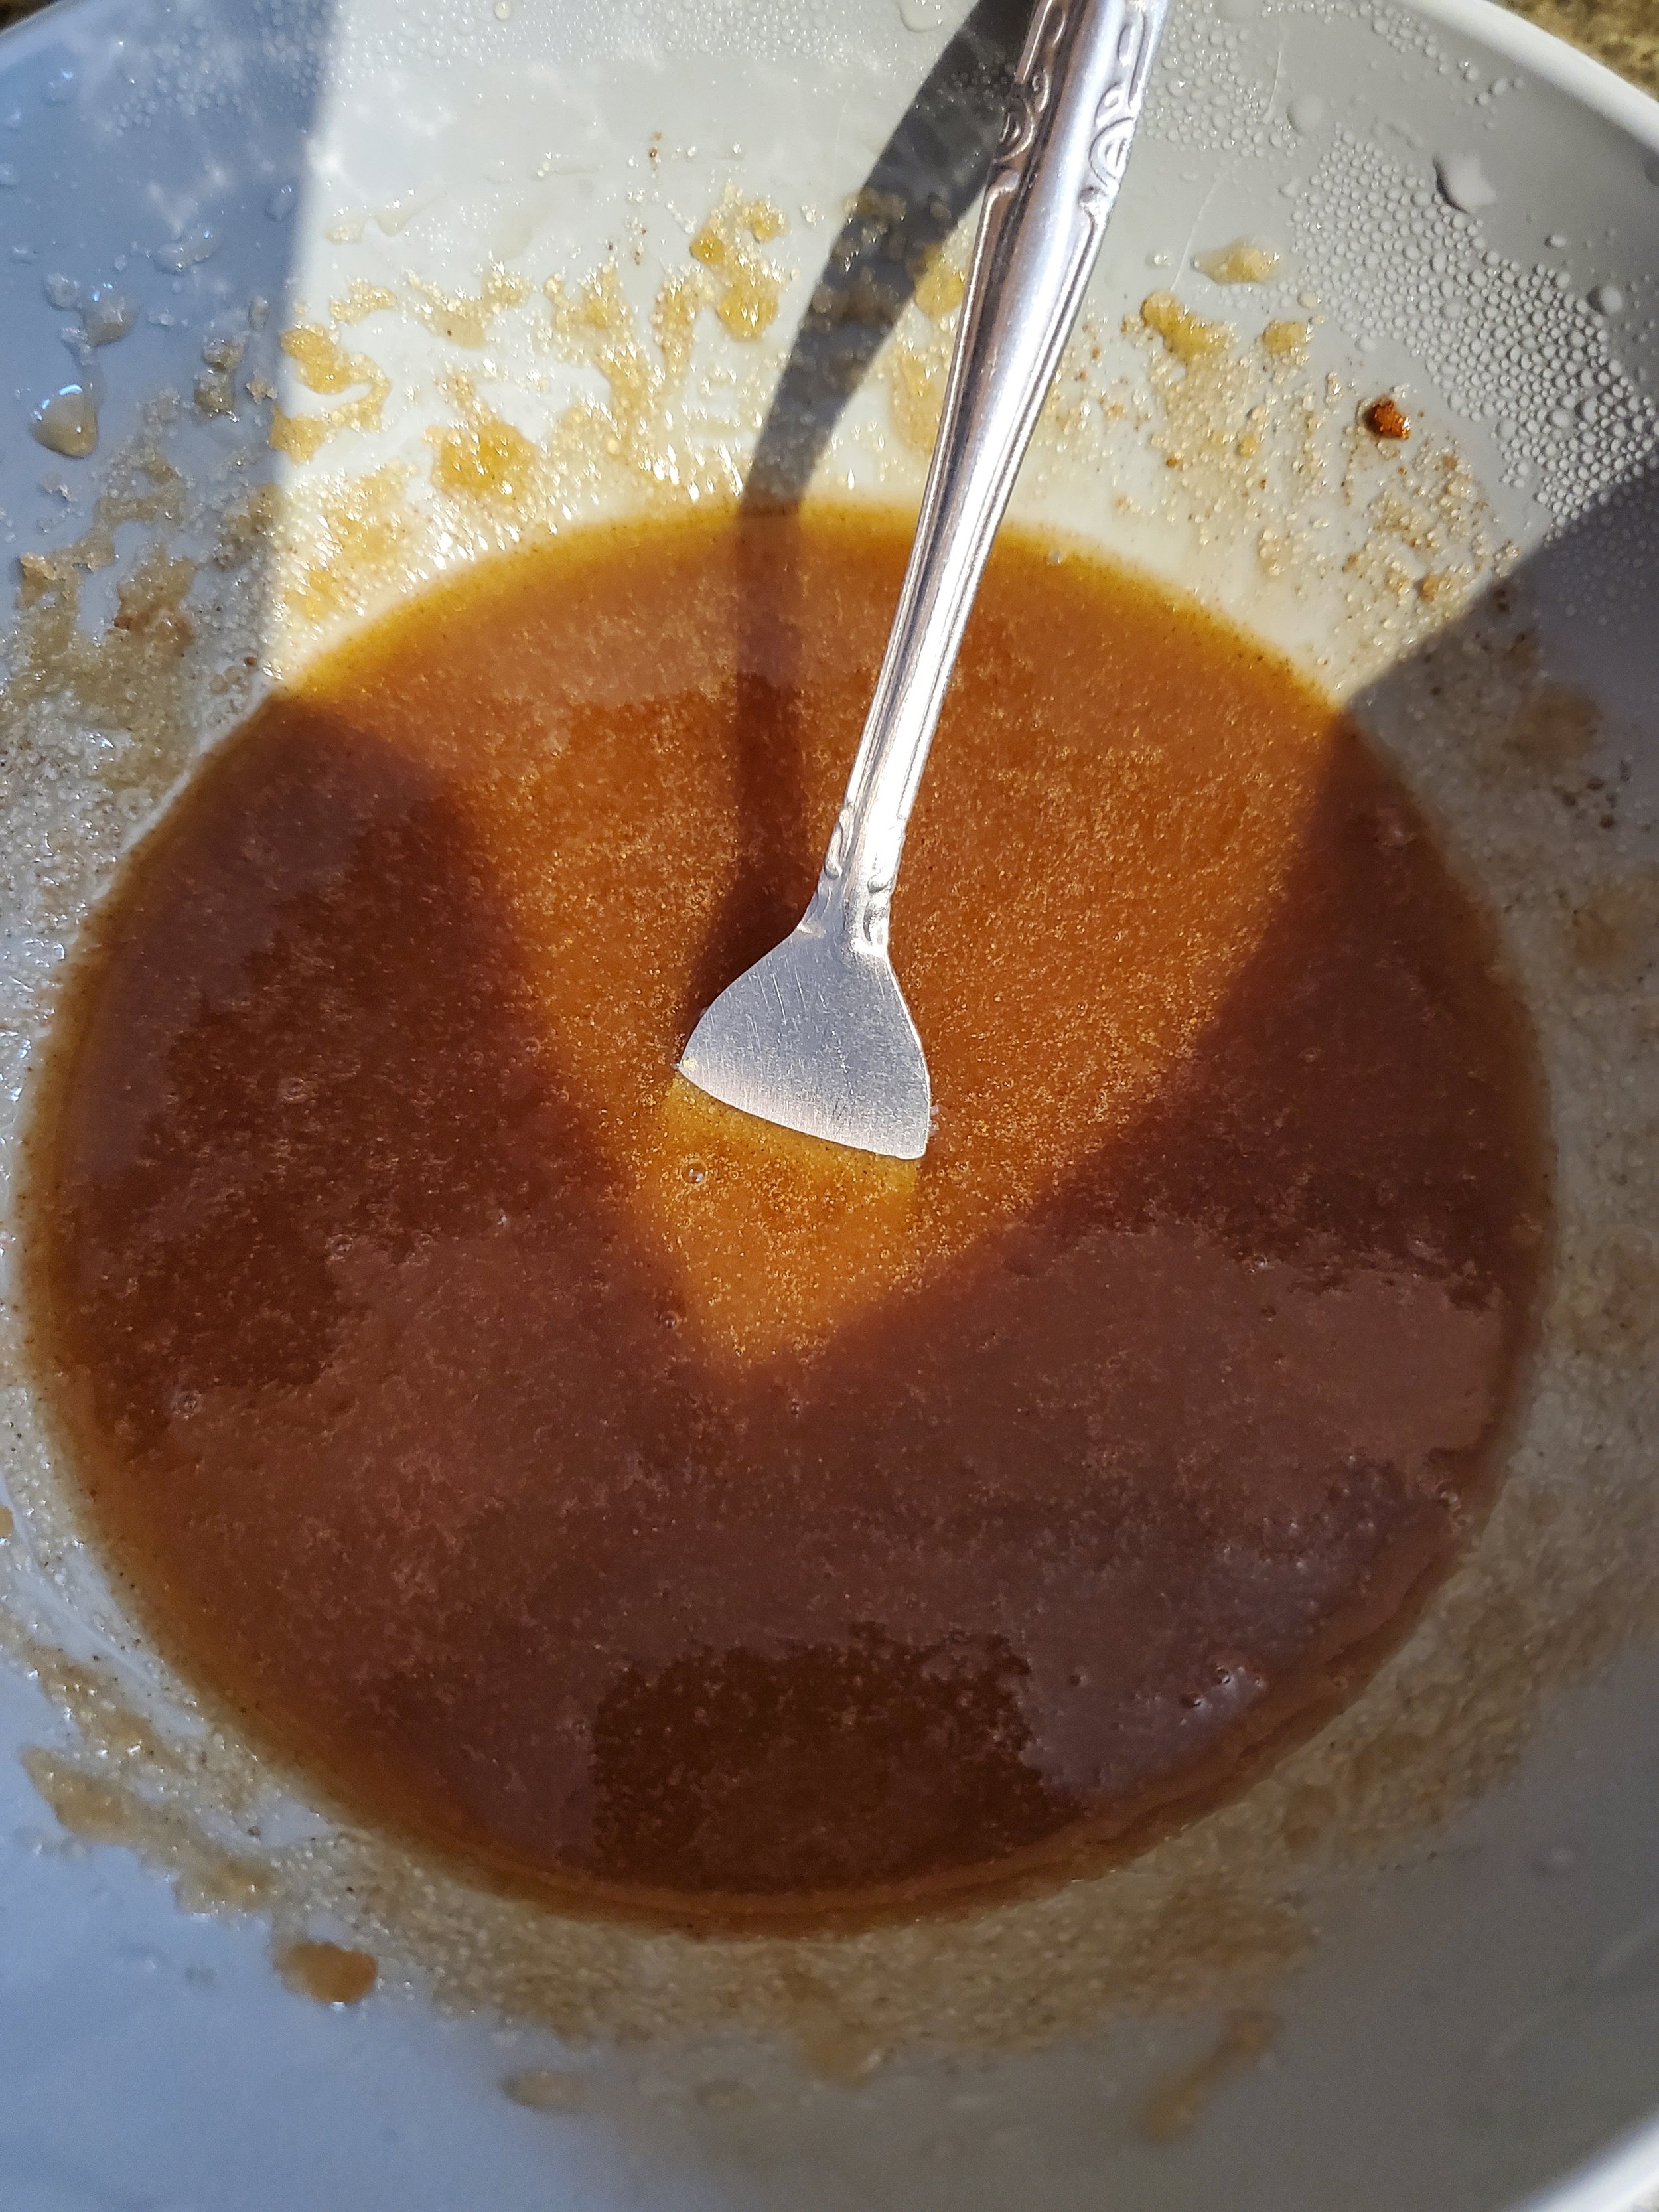
Measure your brown sugar, cinnamon and nutmeg (optional) into the small mixing bowl. Add two tablespoons of lemon juice and whisk until you get a thin, mostly mixed liquid. If it's still a bit thick, go ahead and add that last tablespoon of juice.


Core and cut your apples into no more than half inch thick slices. We used four apples, but feel like this recipe could easily accommodate twice as many. Adjust for your preferences, and if you do shoot for more apples, get a bigger frying pan or be ready to work in waves when it comes time to cook them.


Dump your apple slices into the liquid and give them a good shake or toss to cover them. Let them sit there for a little while and move on to another task.


We split each of our large slices of bread in half in order to fit the maximum amount of bread into the toaster oven in one wave. This is totally optional; this step only exists because our toaster oven is not a standard size.


Whether you split your slices or not, toast them for at least two minutes. We want the bread to be slightly stiff in order to hold up to your eggy, custardy mixture in a minute.


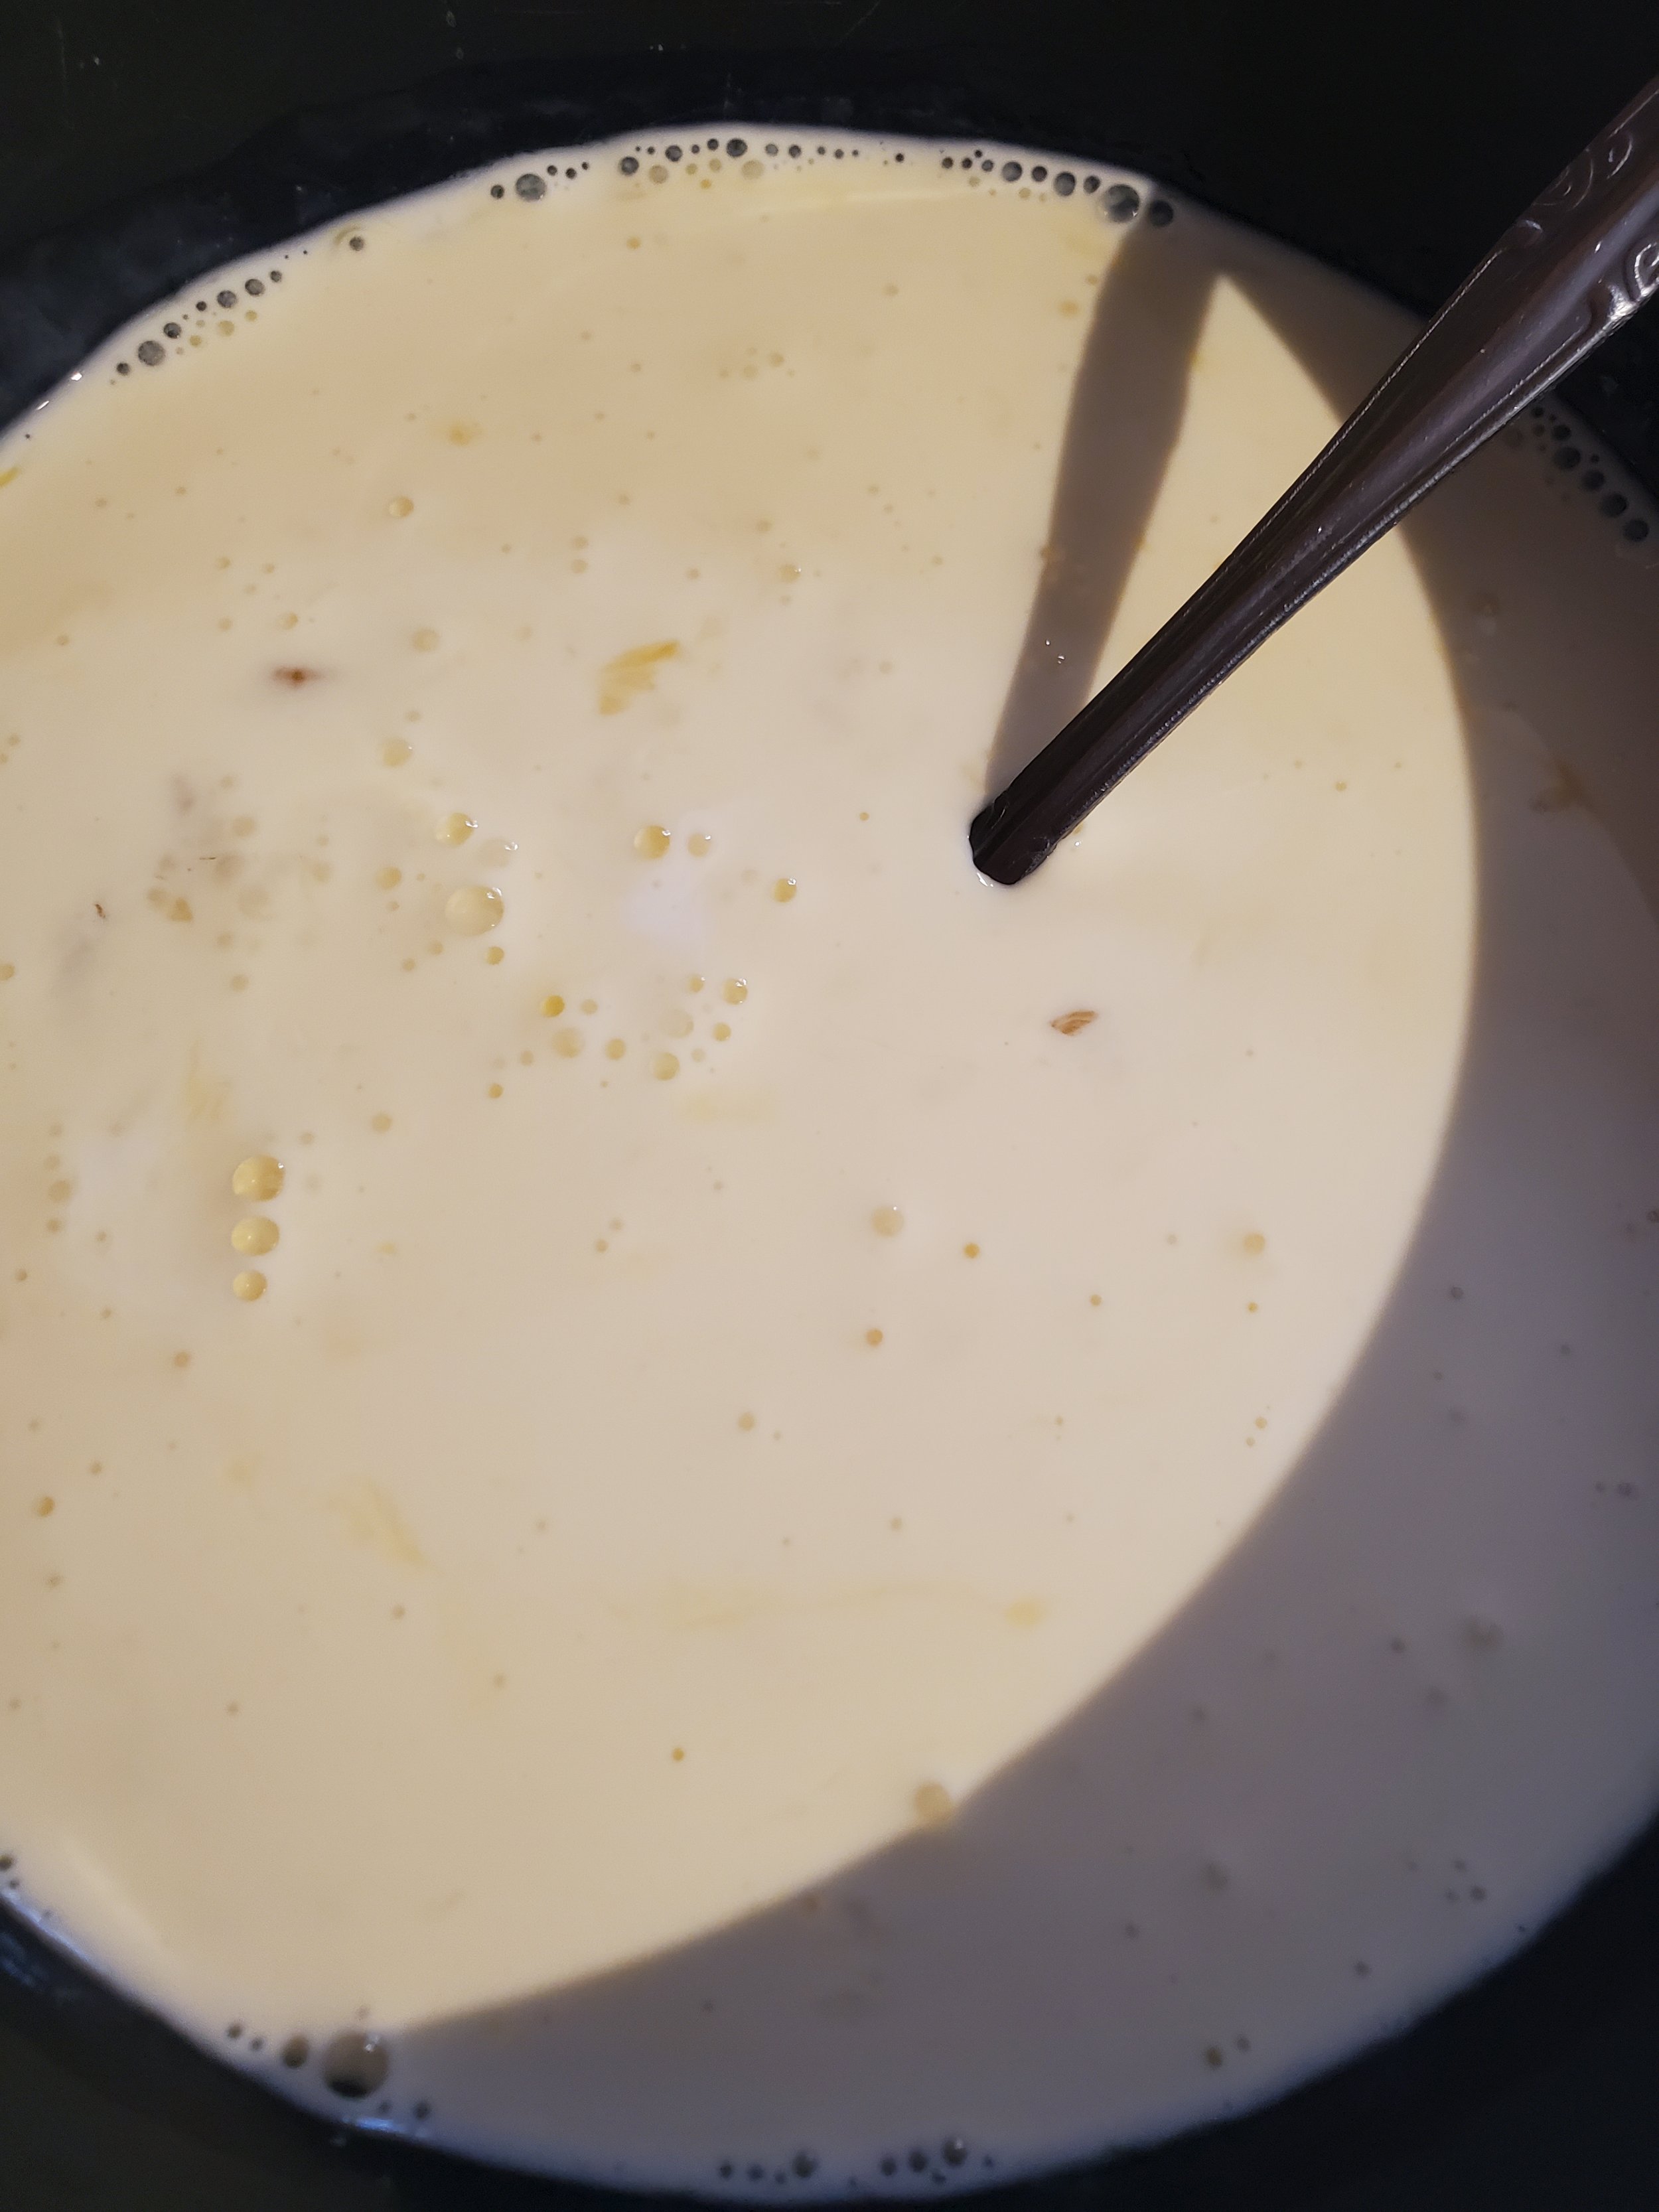
While your bread toasts, measure your cream and milk into the shallow dish and whisk in the eggs. Add vanilla at this stage, if you plan to use it. We like the extra sweet note, but not everyone does.


After your bread has been toasted, grease the bottom and sides of the baking dish and preheat your oven to 350.


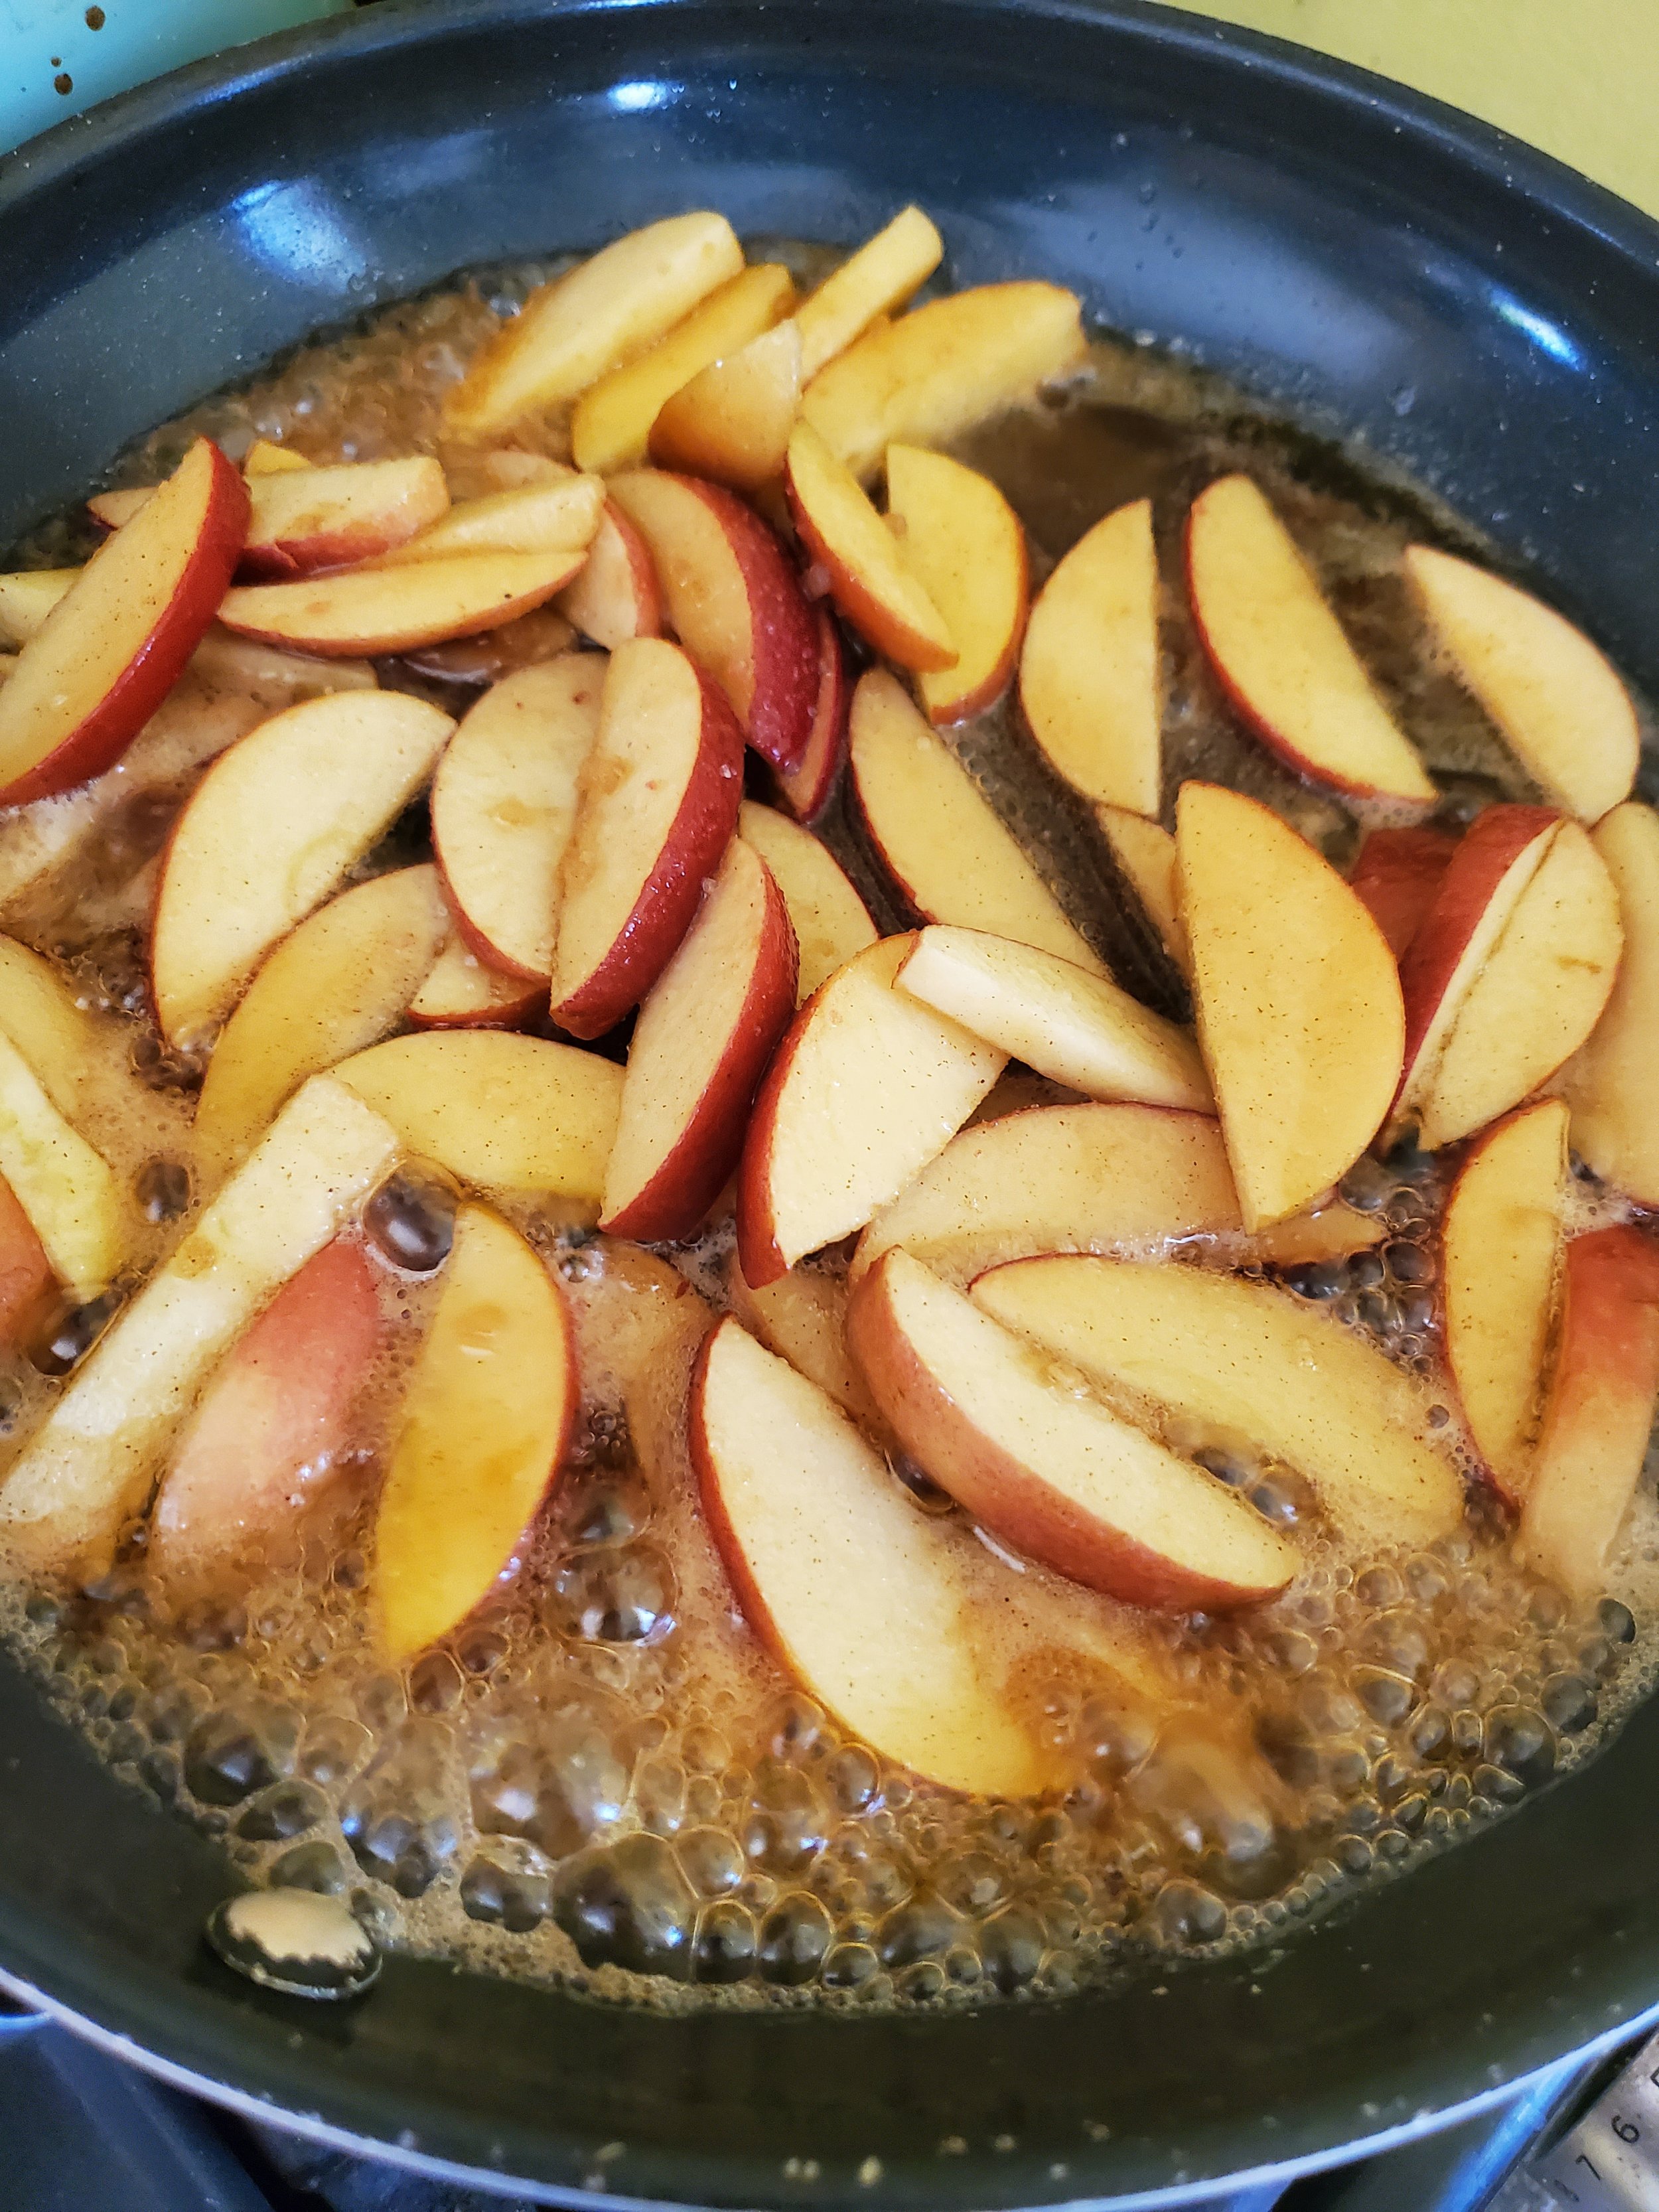
Those apples we told you to leave alone for a while? Go grab them. Melt the butter into the frying pan over low heat, then add all the apples and the liquid. Let them simmer for about five minutes on low. They'll begin to bubble around the edges; this is normal. Give a stir, flip them over, and let them go a minute or two more.


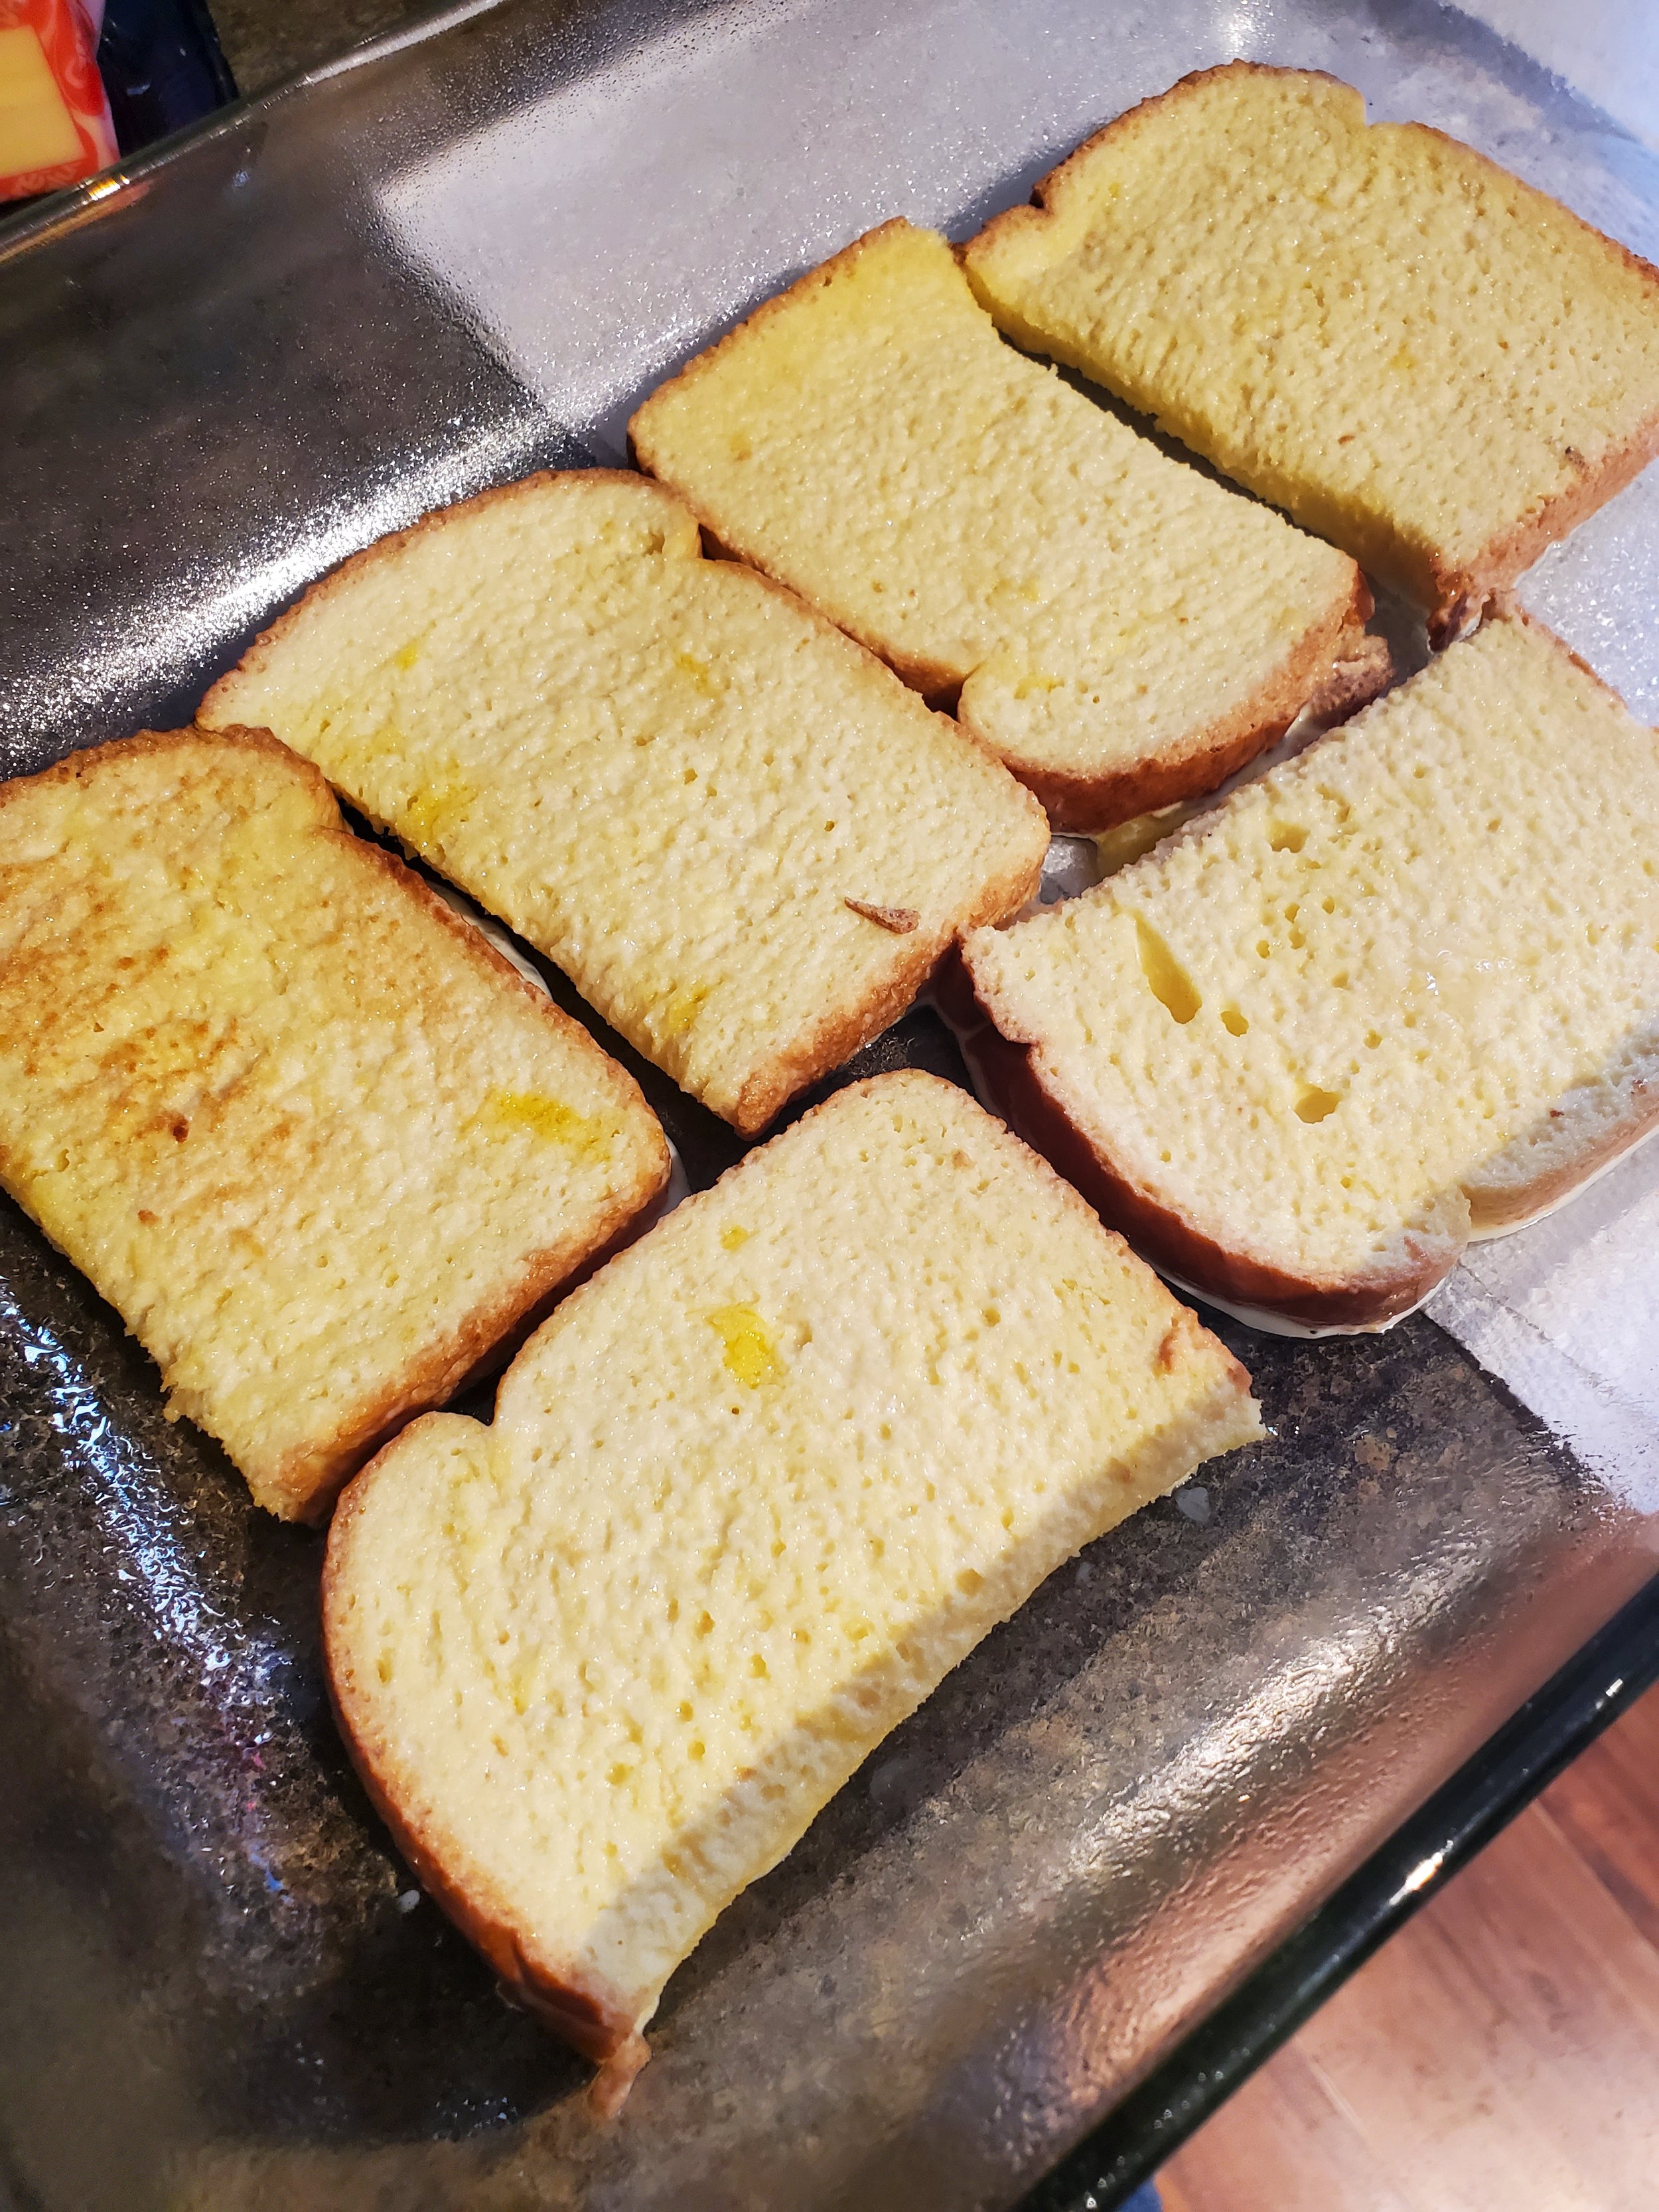
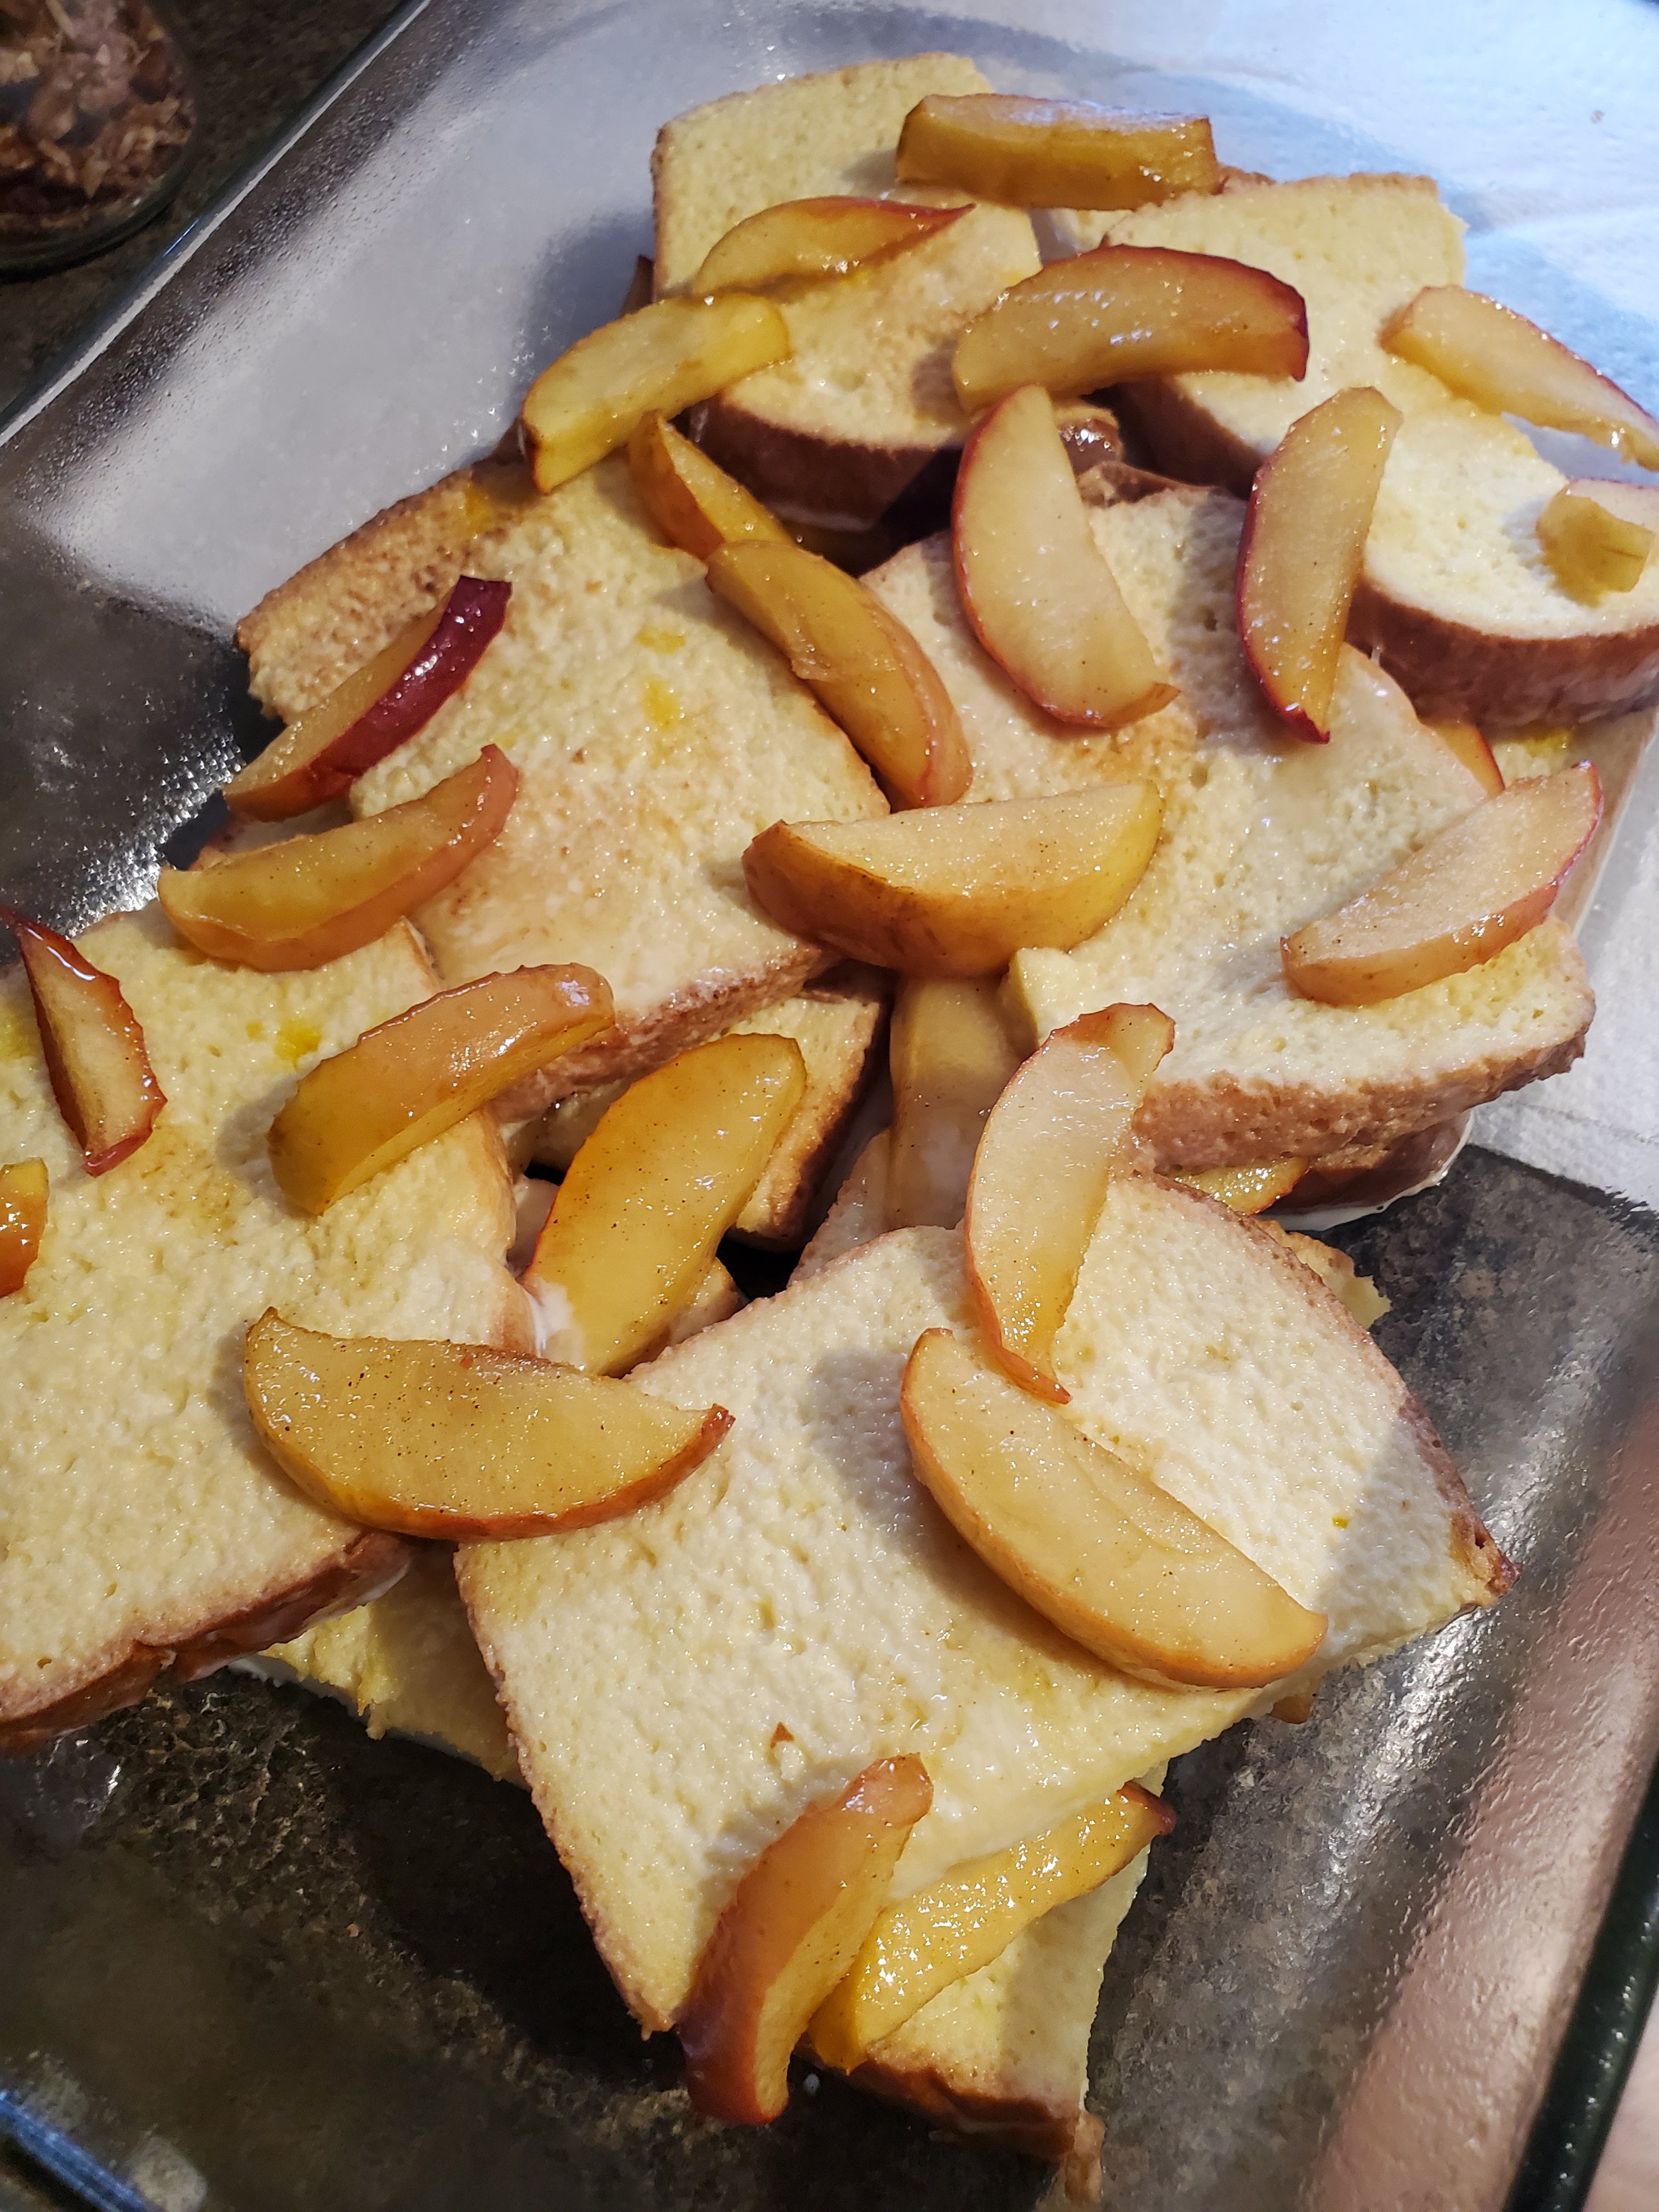
While the apples cook, dredge your toast through the egg mixture, fish it out with a fork, and plop a layer down in the baking dish.


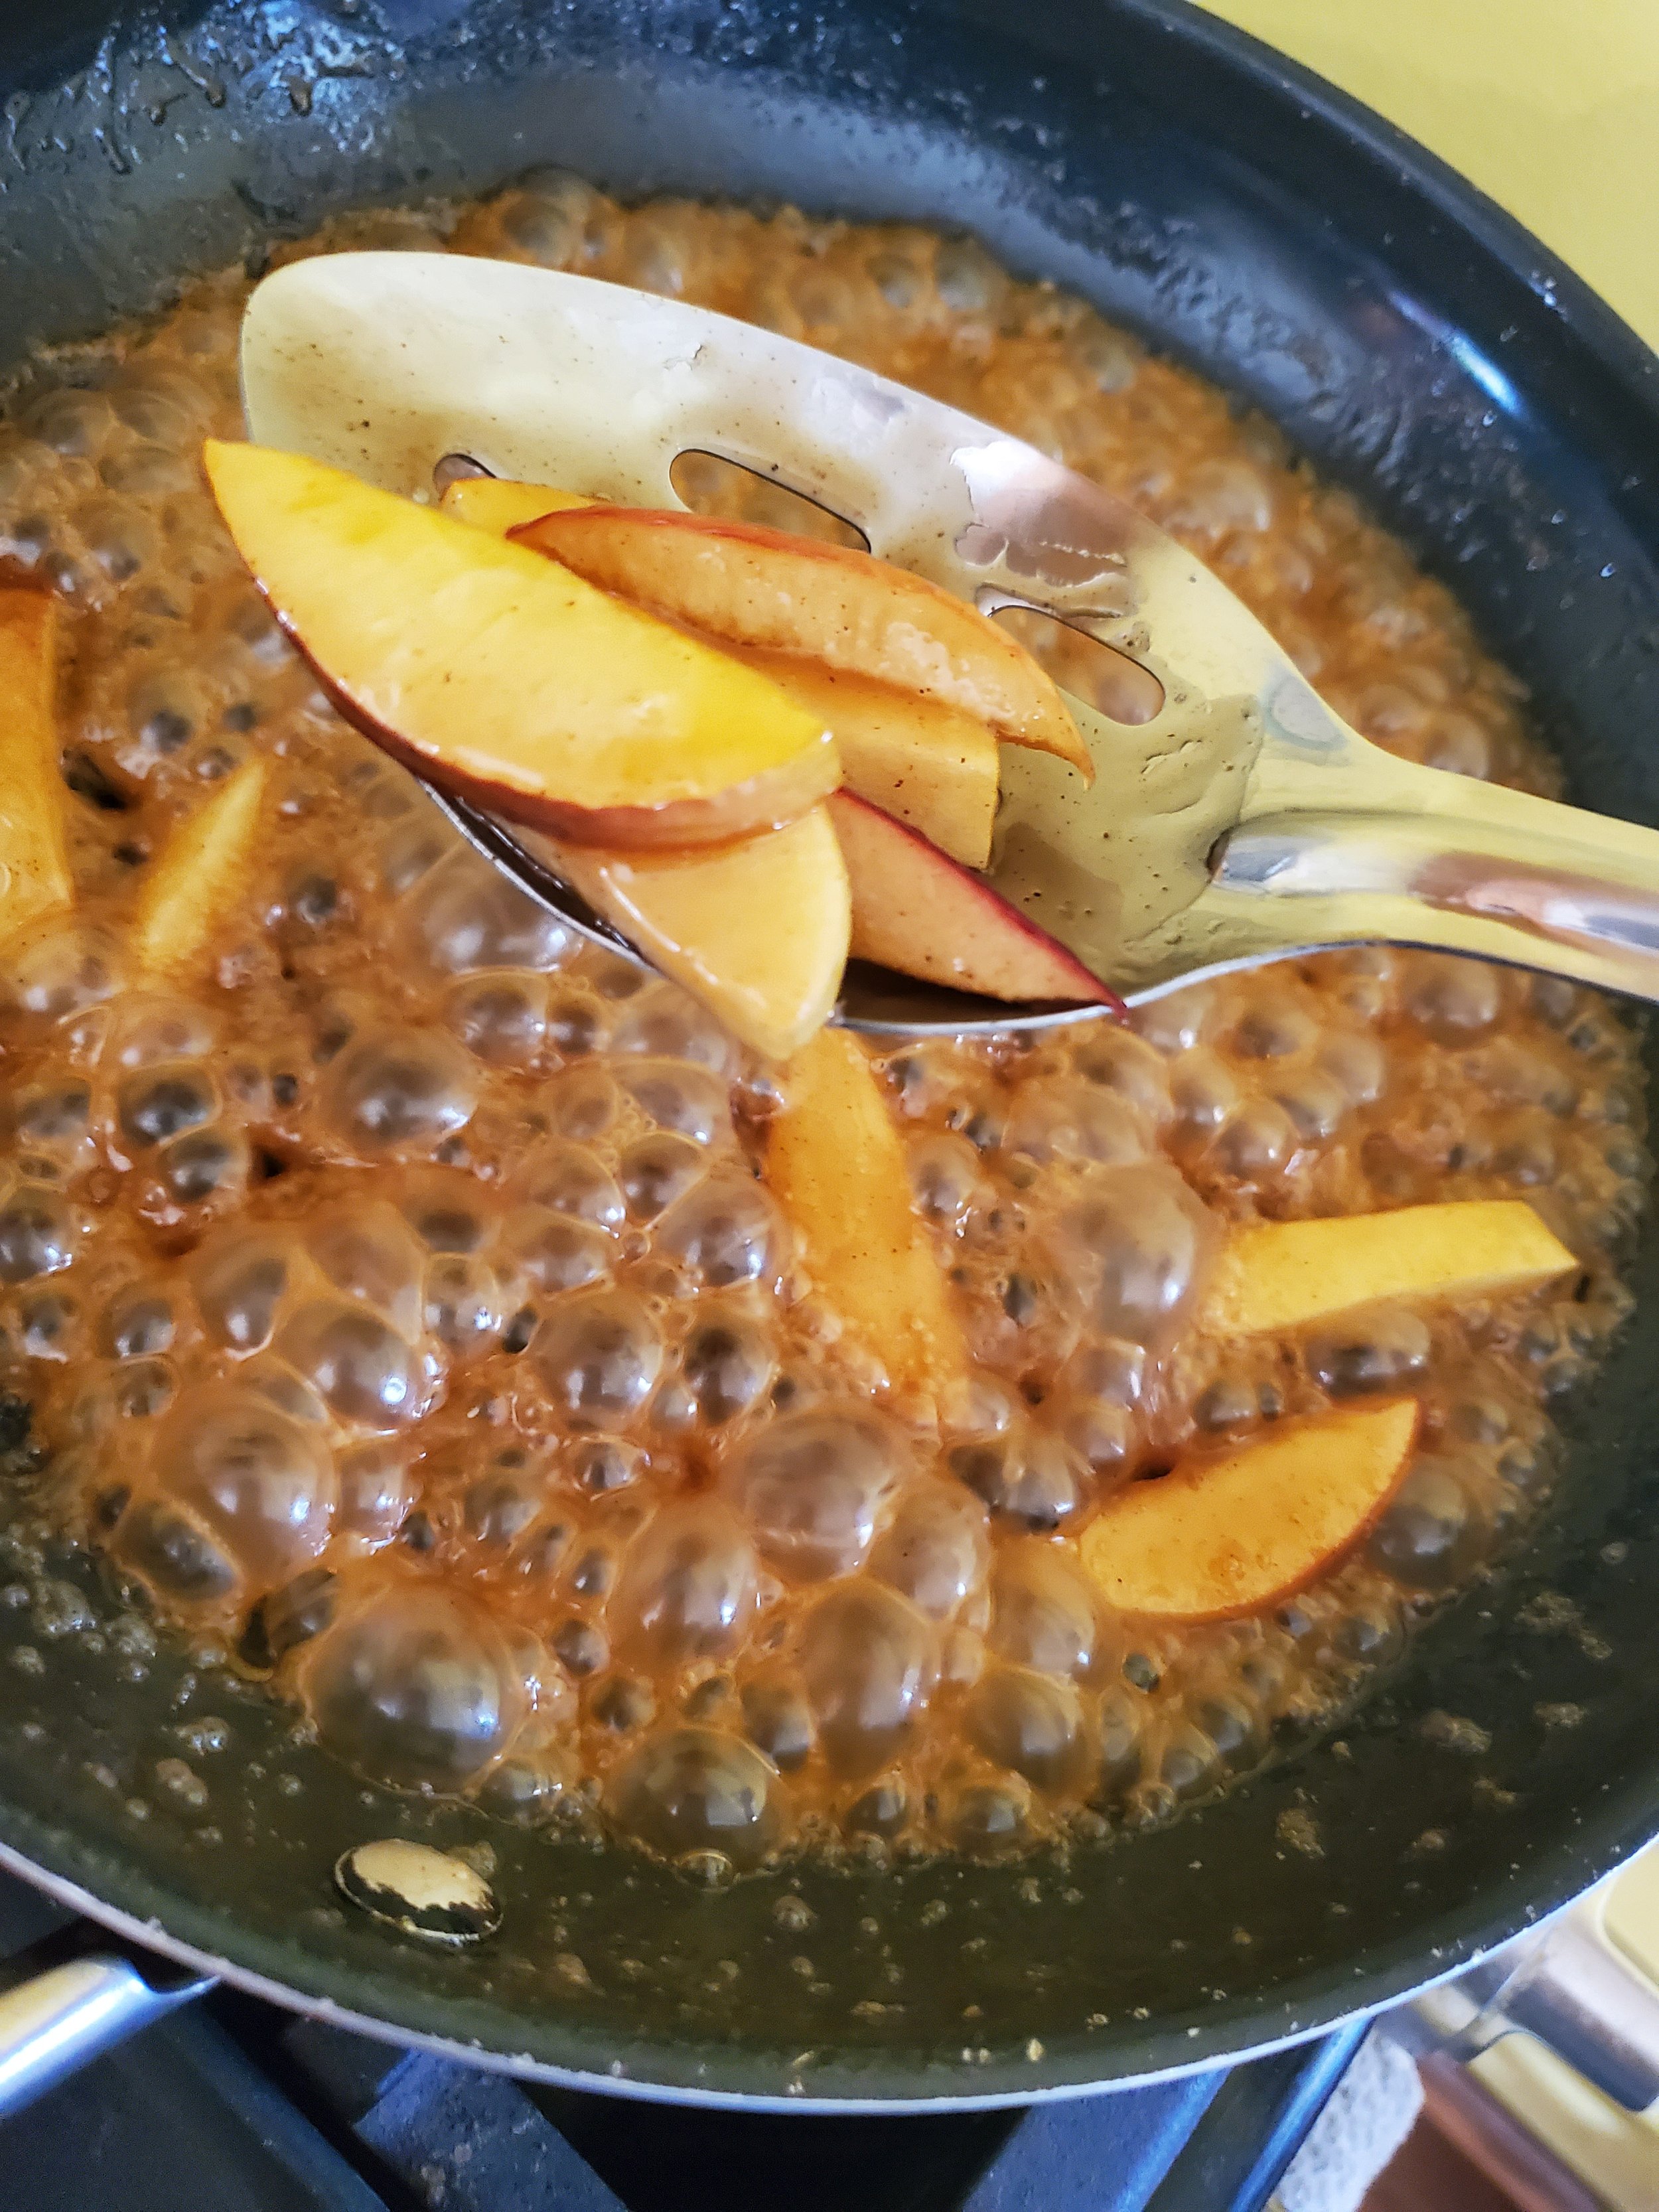
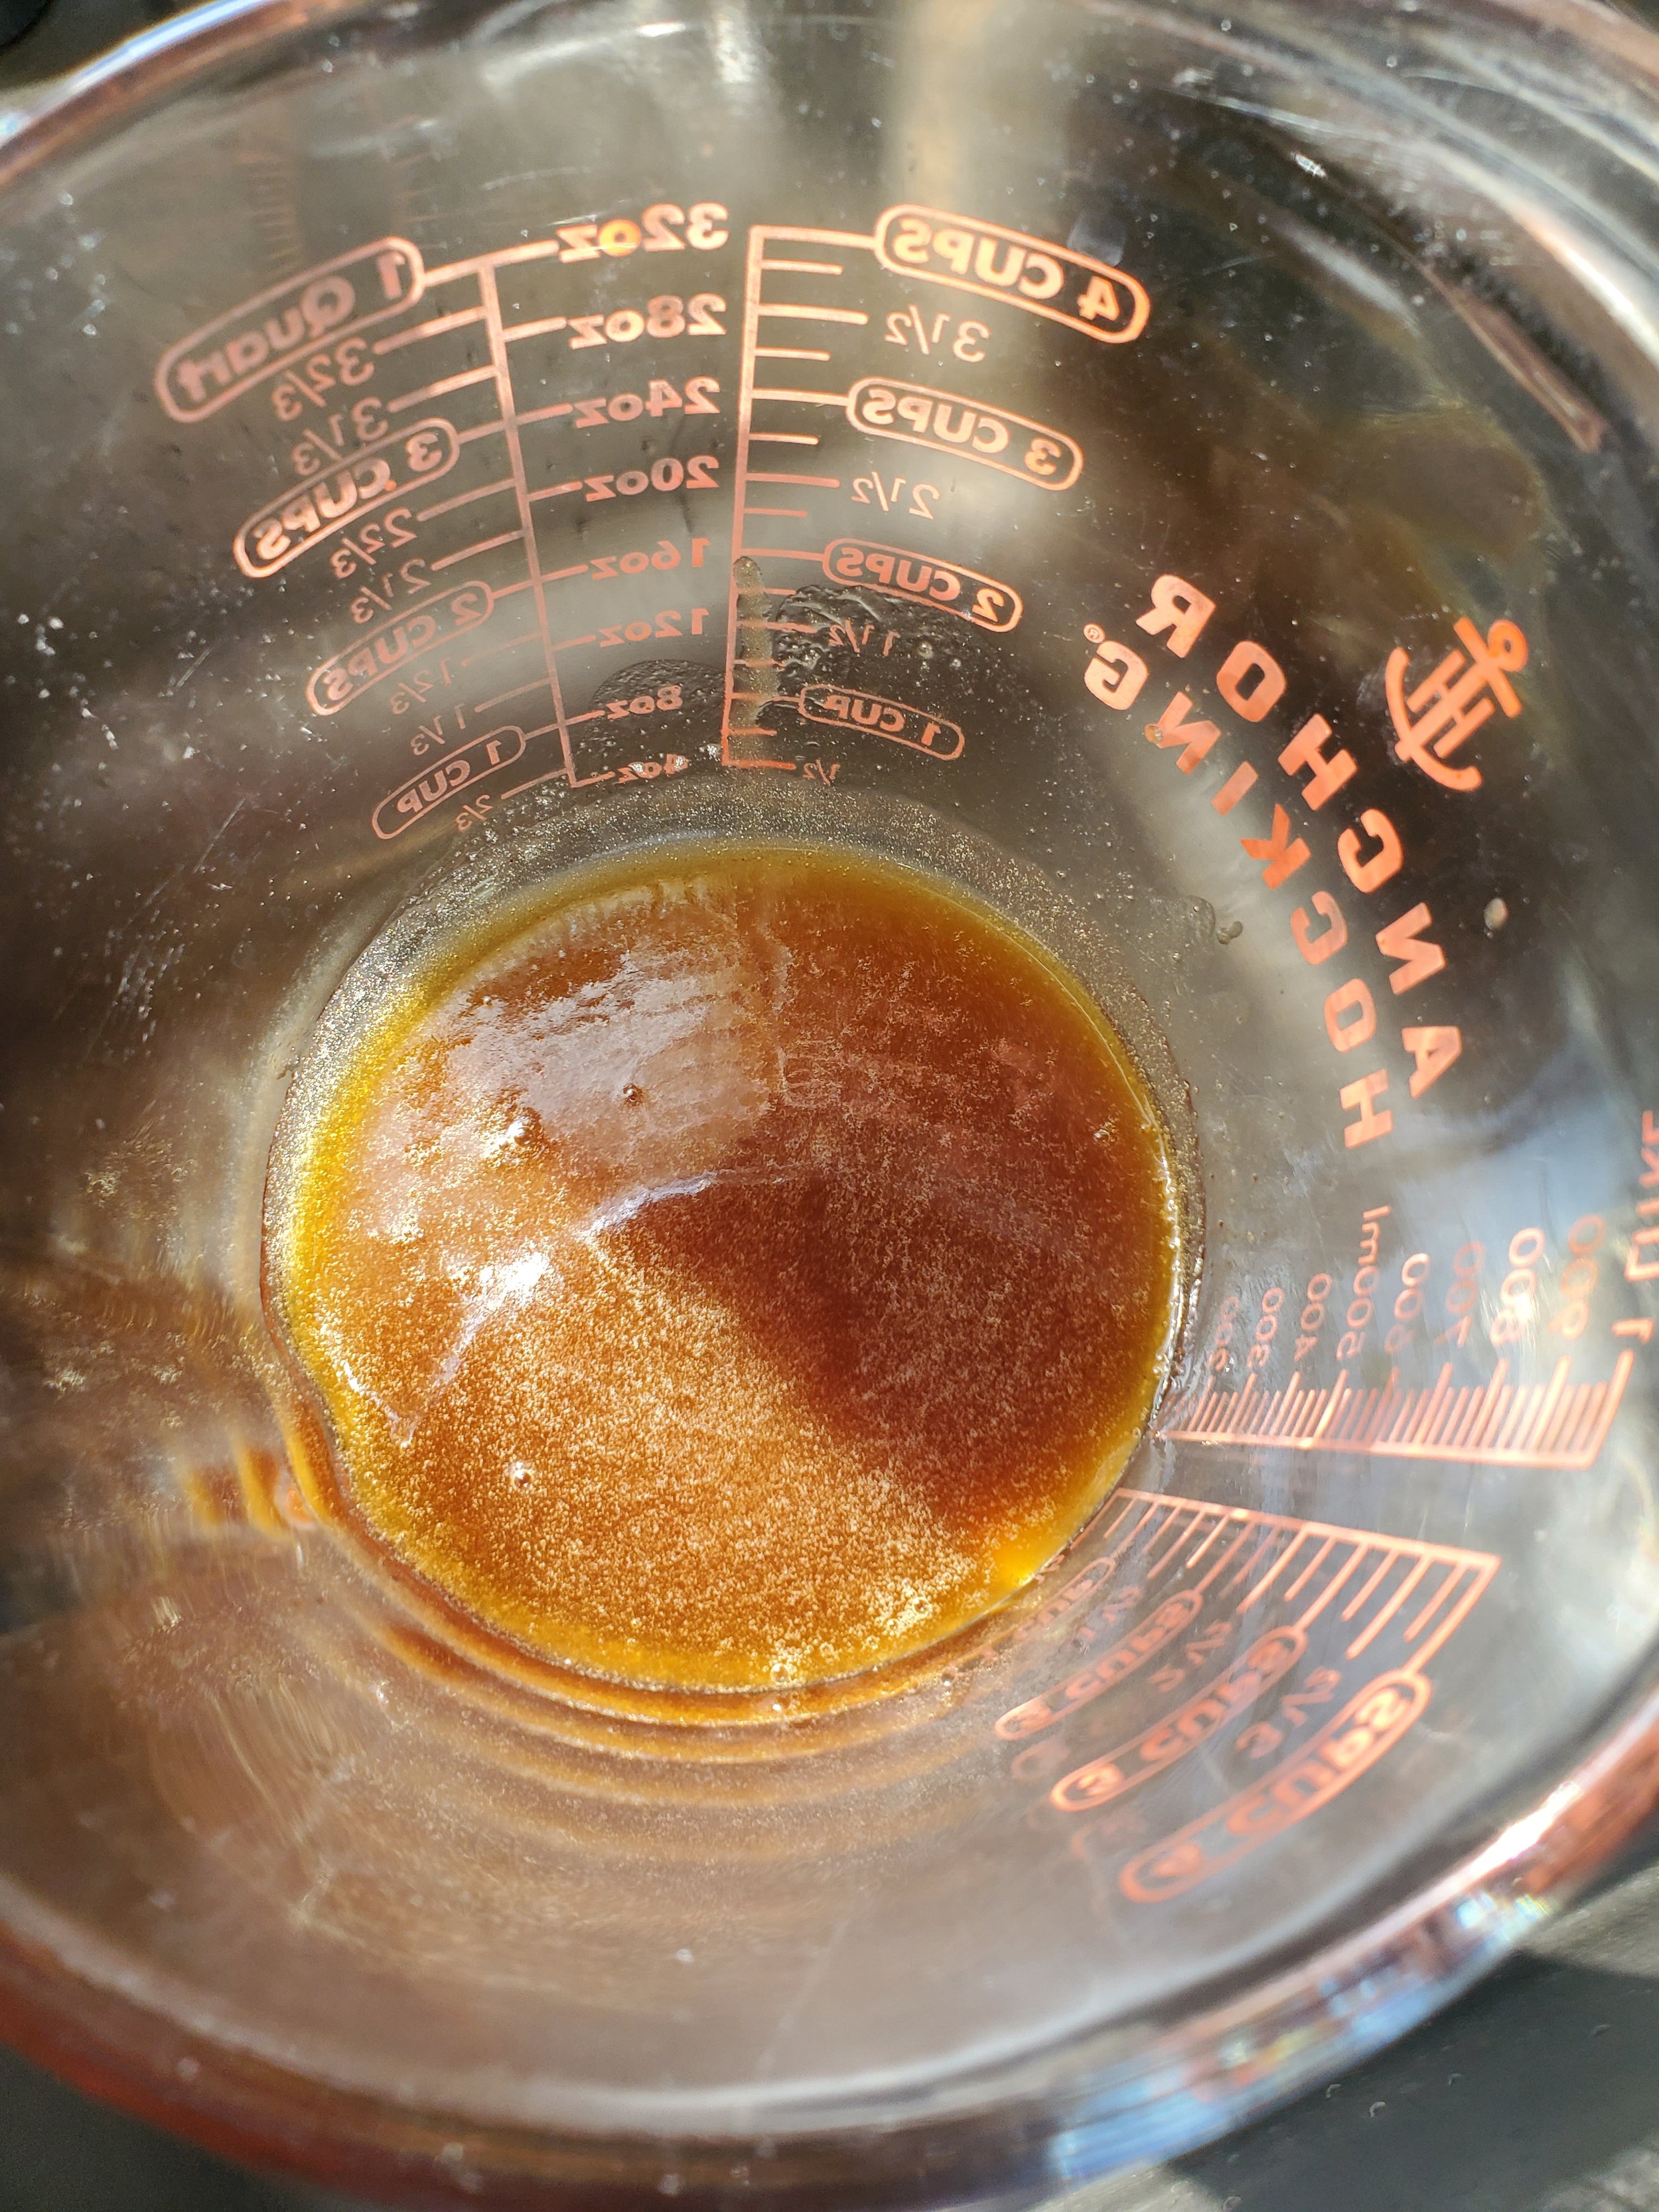
When the apples are done, remove them from the heat and use a slotted spoon to separate the apples from the syrup. Put the apples back into the dish they were soaking in previously, and dump the syrup into the heat proof measuring cup. Do not let the syrup cool in the pan - it candies up and turns to a caramel consistency.


If it's threatening to become caramel, or if you missed that last instruction, add some more butter and a tablespoon of water and stir over the lowest possible heat setting. Stir a lot. Be very patient with it, as it will look at first like nothing is happening. Once it liquefies again, please transfer it to the cup.


Spread a thin layer of apples over the eggy bread in the bottom of the baking dish. Alternate layers of bread and apples until you're out of bread. Pour the remaining egg mixture evenly over the top and allow it to soak in, then move the dish to the oven.


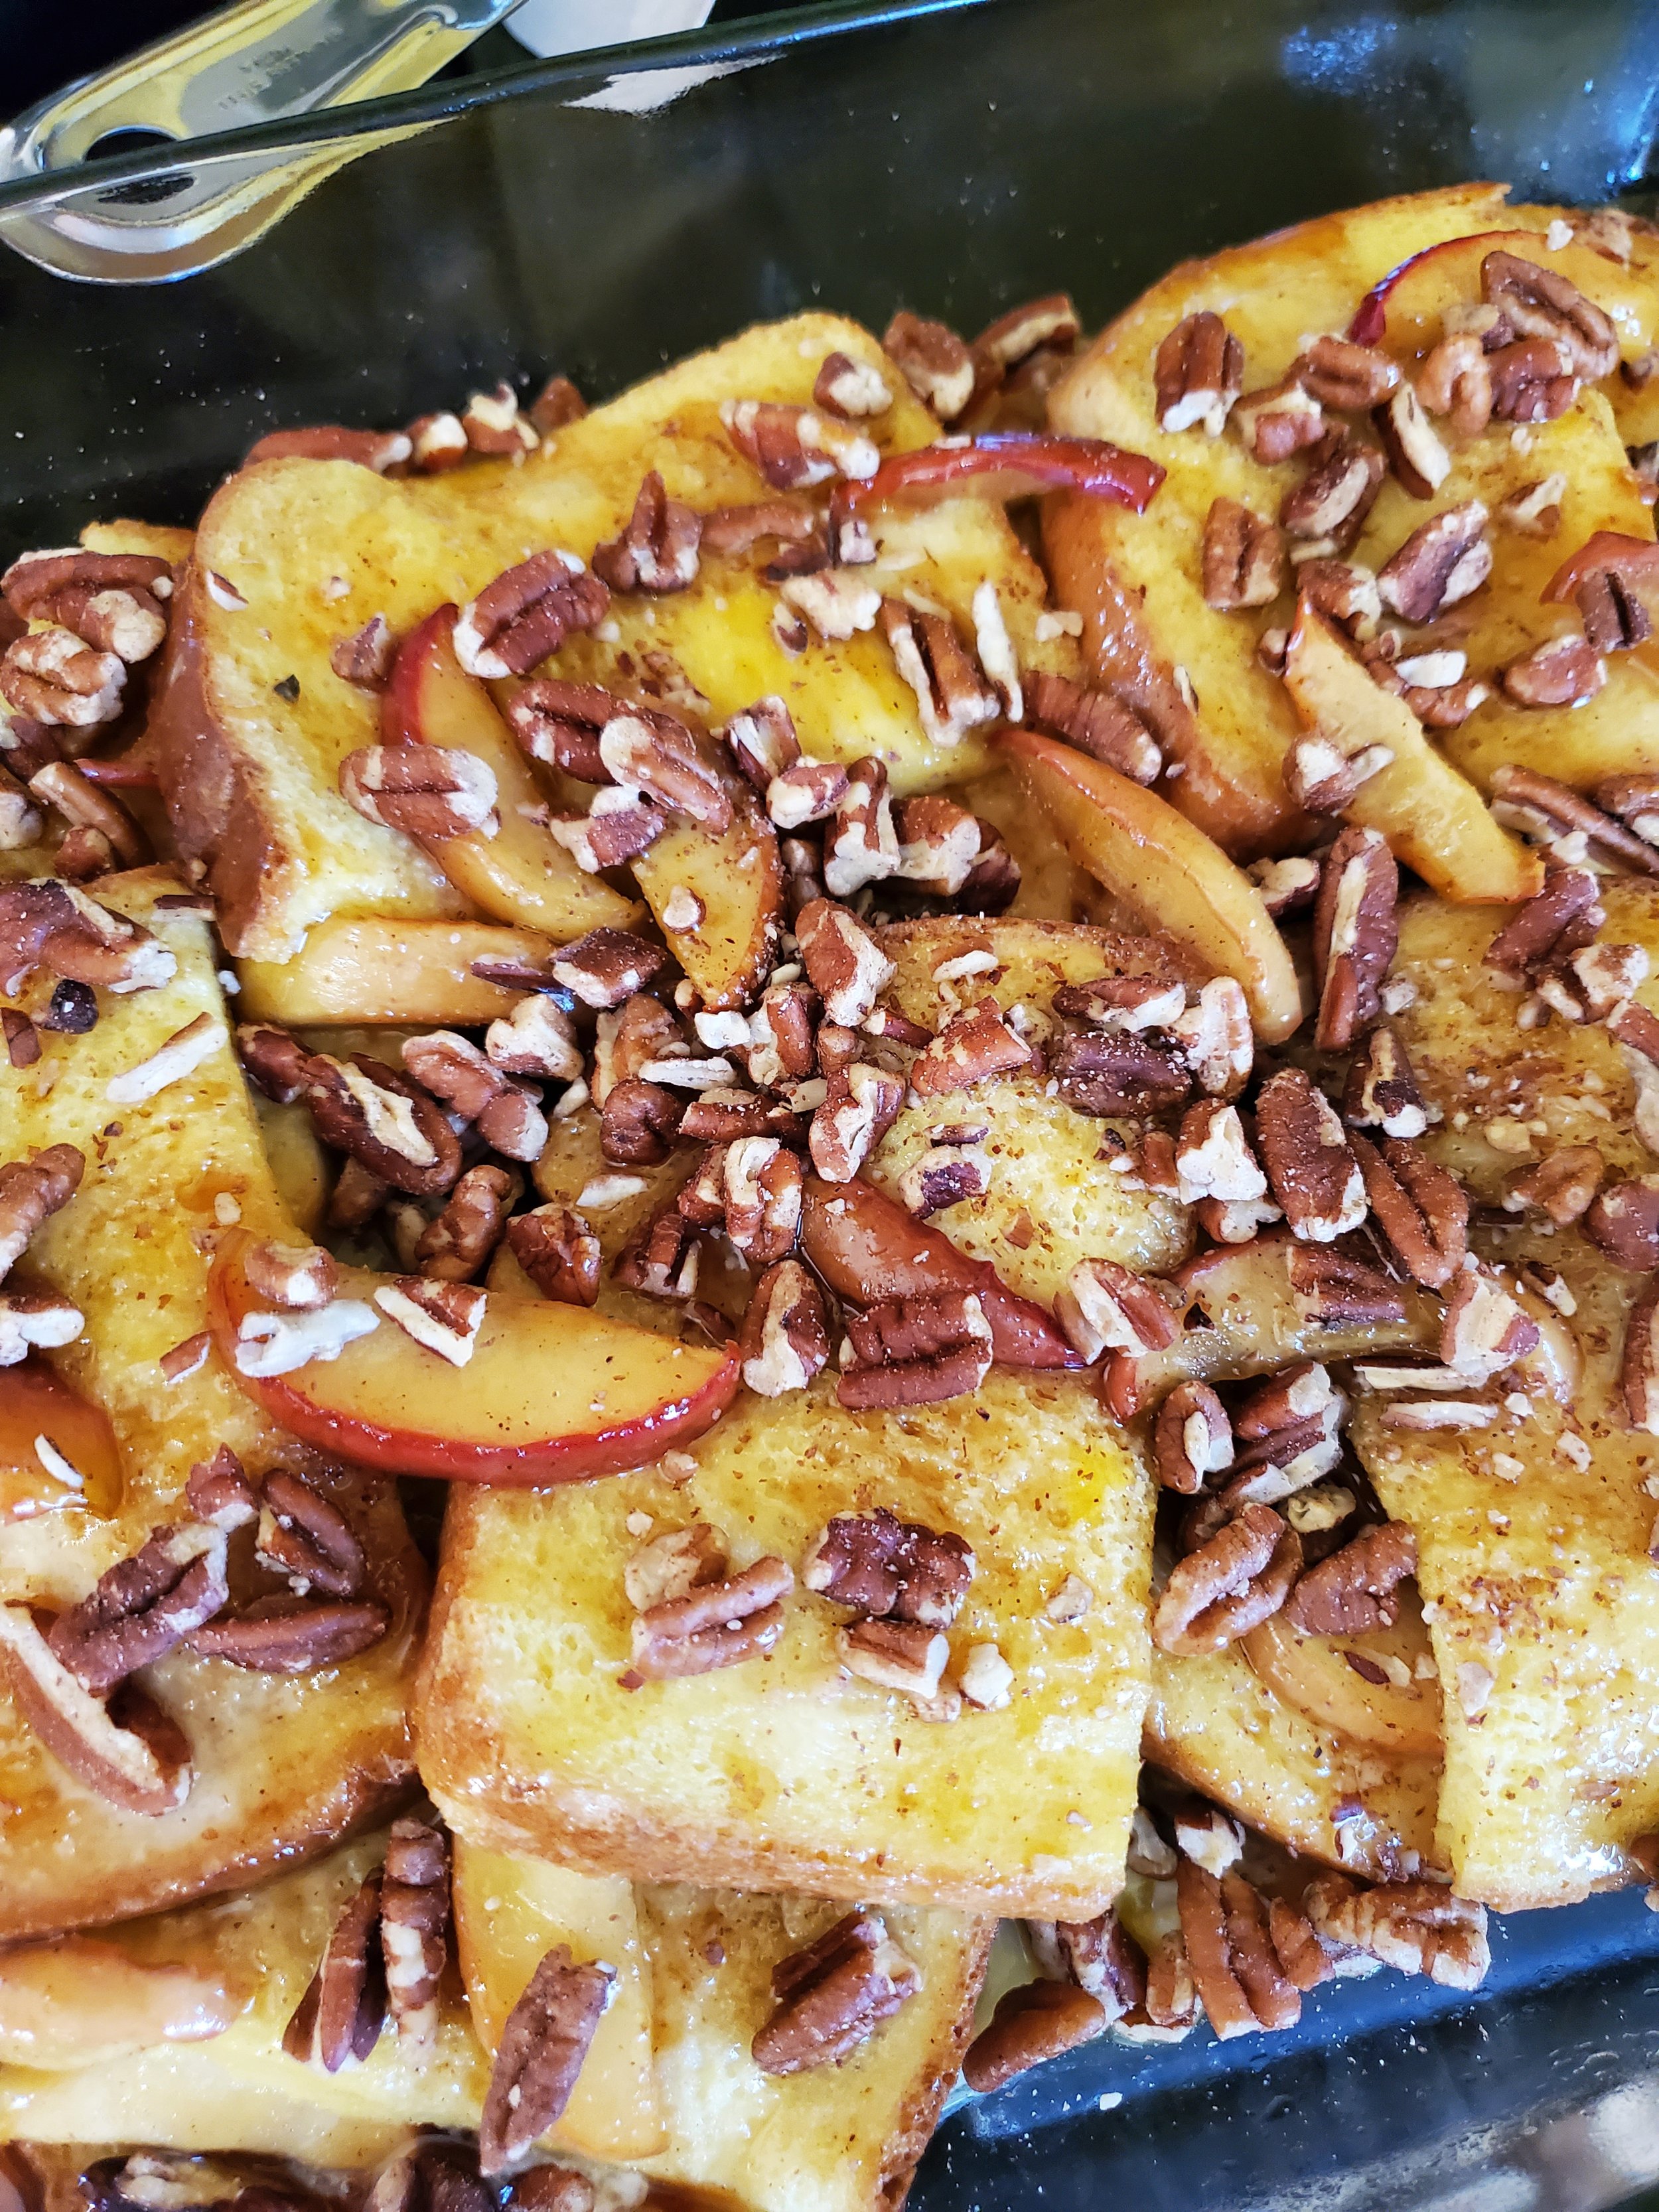
Let it cook for 25 minutes, then remove it from the oven, add the pecans, pour the syrup over it, and return it to the oven for another 20-25 minutes. Double check it to make sure it's done by the toothpick test - when a toothpick or knife inserted into the middle of the dish comes back out clean, the french toast is ready.


Cut into eight servings and enjoy!


Whether you've prepared this dish to share with loved ones on a special morning or simply pampered yourself with its delicious embrace, it's a culinary journey worth embarking upon time and time again. Let us know if you decide to over on our Facebook page. 


If you wound up here because you’re in need of an appliance repair technician, we can help. You can get hold of us by calling ((214) 599-0055) or by going to our website


Additional Reading: 

Easy No-Cook Not Quite a Cannoli   


Escapee From New York: Chocolate Bagels 


Fall Comfort Food: How to Make Perfectly Creamy Pumpkin Pasta

You know how after it’s been hot for so long, you crave fall and all the things that come with it? That’s how we’ve been feeling. It’s not just the days where it’s over 100 all day and even after the sun has set. No, we want everything to do with fall. We want football and cooler weather, sweaters and some of our favorite comfort foods. Unfortunately, there’s only one thing on that list we can make happen on our own. So, we whipped up a batch of this pumpkin pasta, and turned the AC down as far as it would.

Pumpkin Pasta

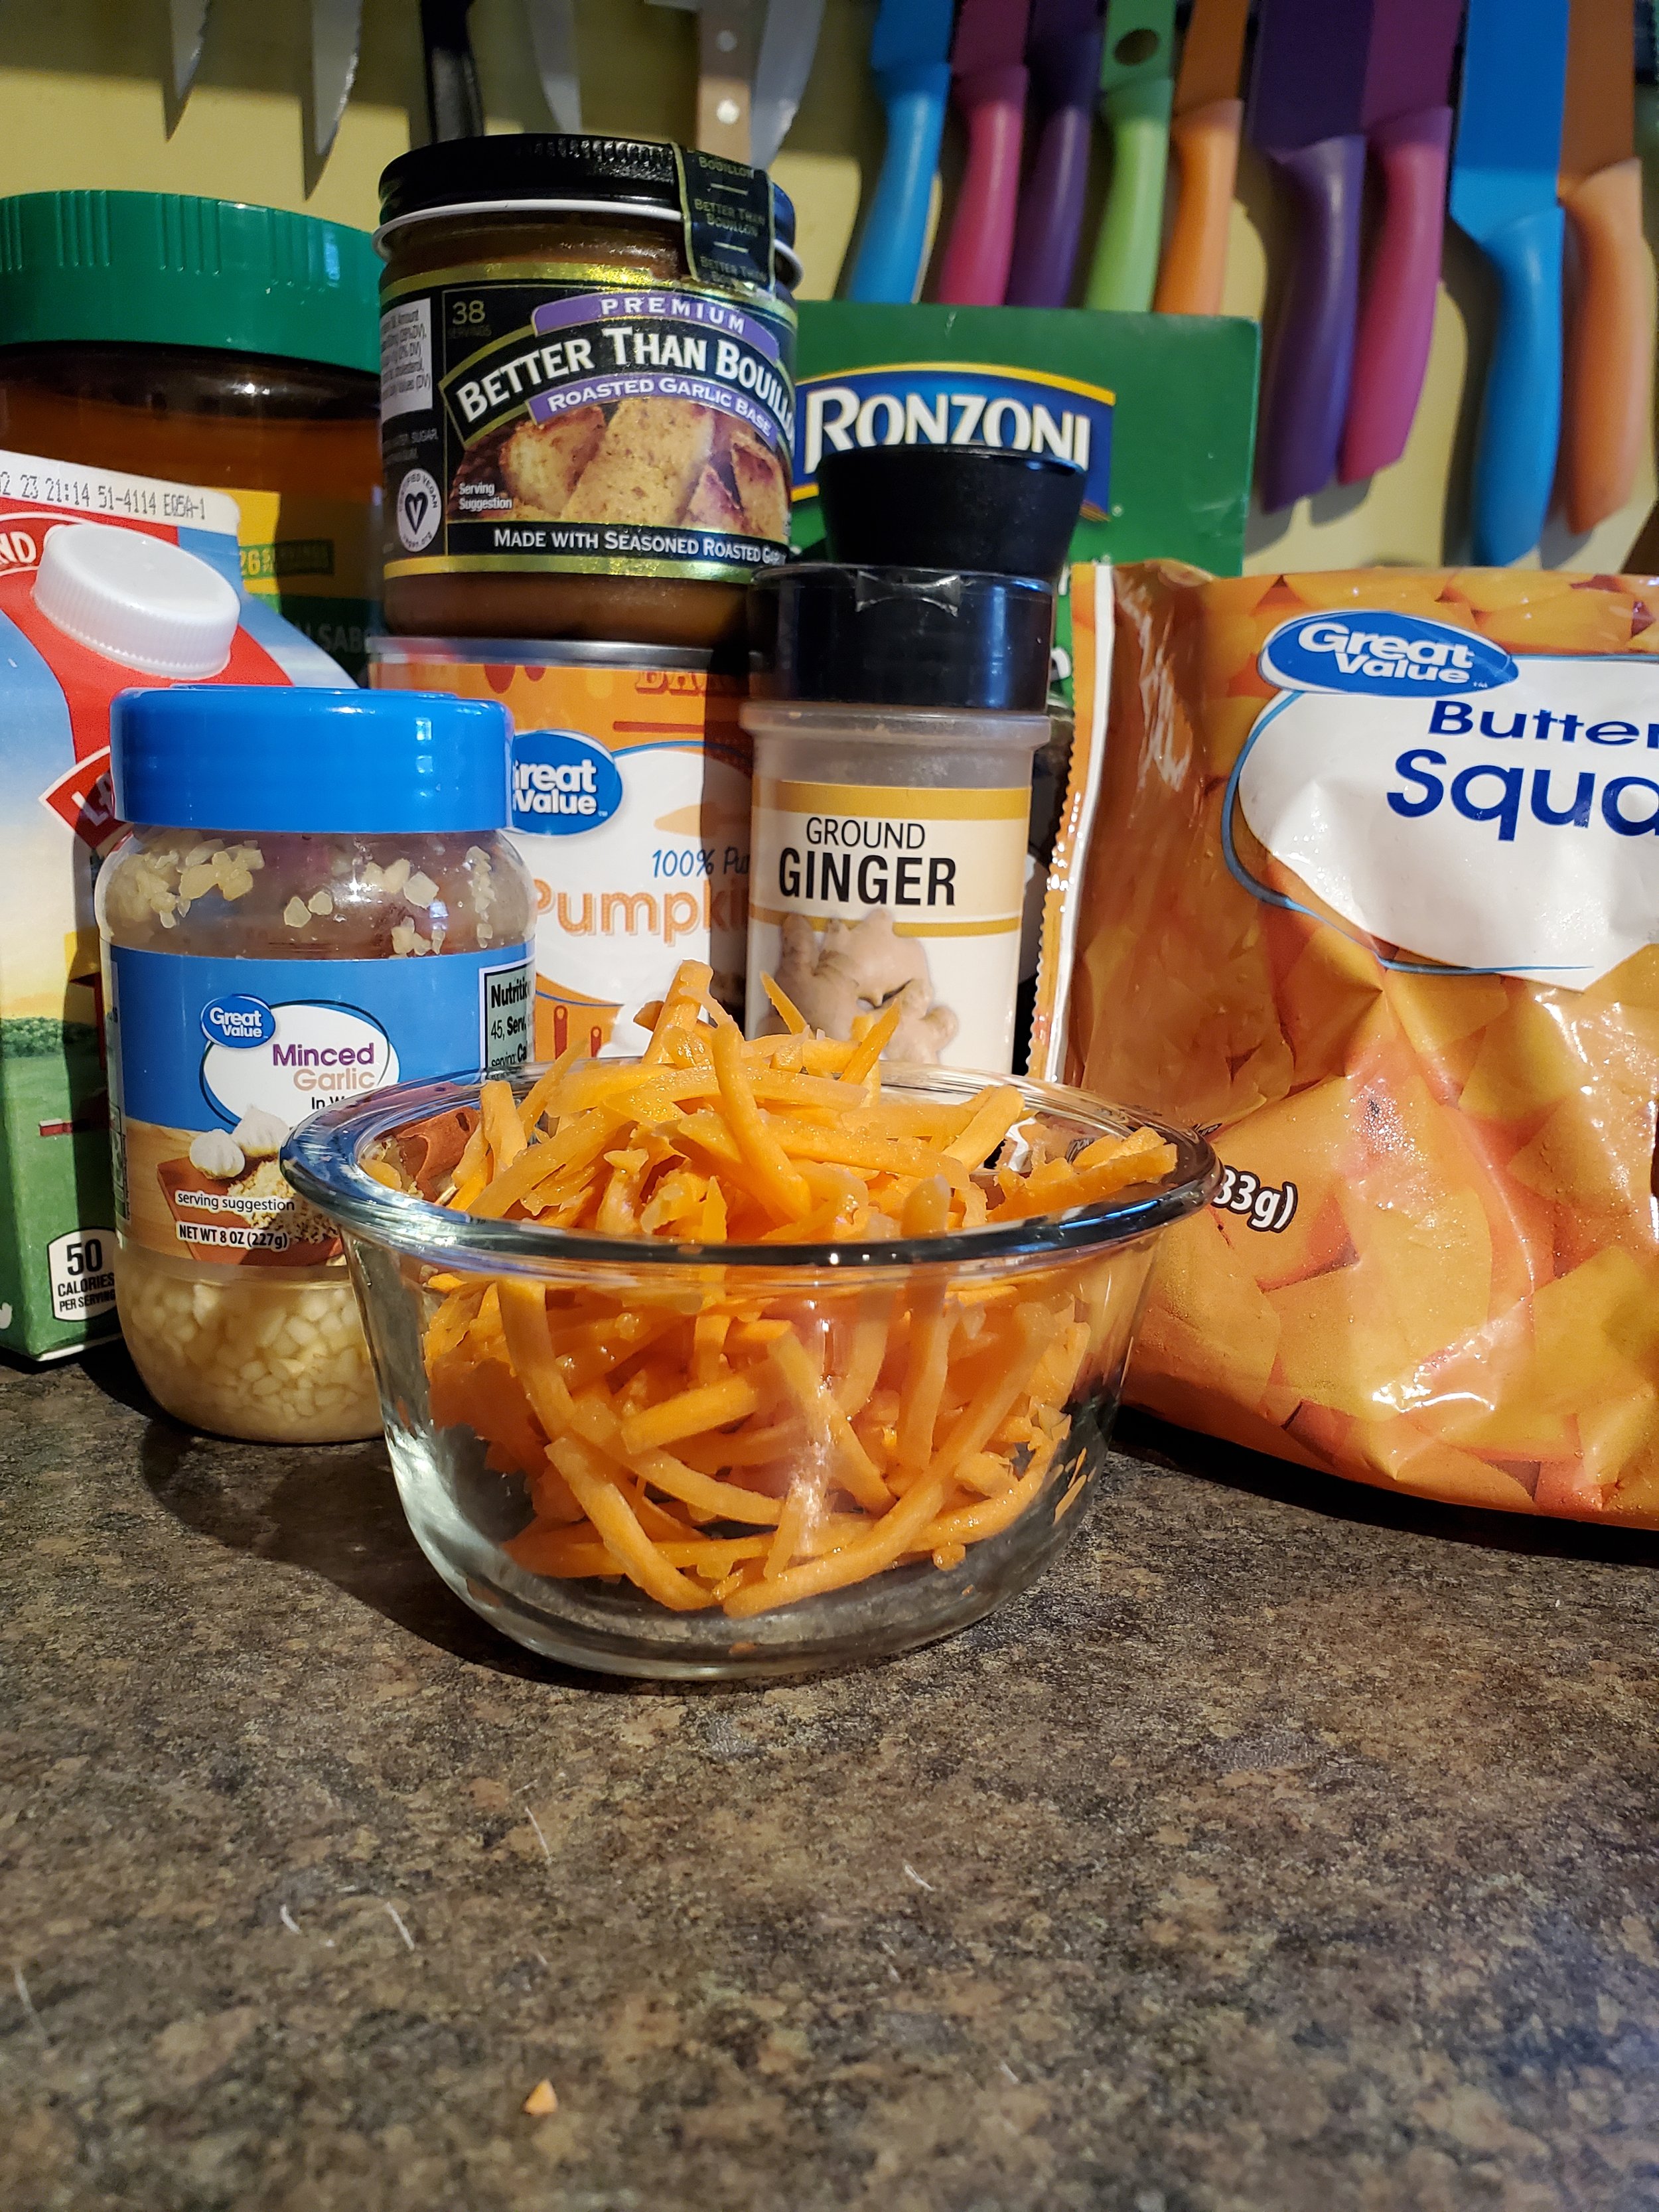
1 12-16 oz box of pasta (recommended: rotini, cavatappi)

1 can pumpkin puree (15 oz)

1/2 cup chicken broth

1/4 cup heavy cream

1 package steamable frozen butternut squash

1 package steamable frozen sweet potatoes

1 cup shredded carrots

1 tablespoon minced garlic

1 teaspoon ground ginger

2 tablespoons olive oil

salt and pepper to taste

Optional but recommended:

pinch parsley

pinch smoked paprika

teaspoon Better Than Bouillon roasted garlic base

parmesan cheese

pinch crushed red pepper

Tools:

can opener

stock pot

colander

large saucepan with lid

serving spoon

measuring cups and spoons

Before we begin: be sure you have plain pumpkin puree and not a can of pumpkin pie filling! This terrible tragedy has happened to us before. Some companies label the two items entirely too similarly, and sleepy cooks (or cooks relying on little helpers' newly acquired reading skills) may fall victim to the same oops. So, double-check your labels before you whip out the can opener.

Fill your stock pot with water and set it on a burner to come up to a boil. Salt the water if you prefer to do so.

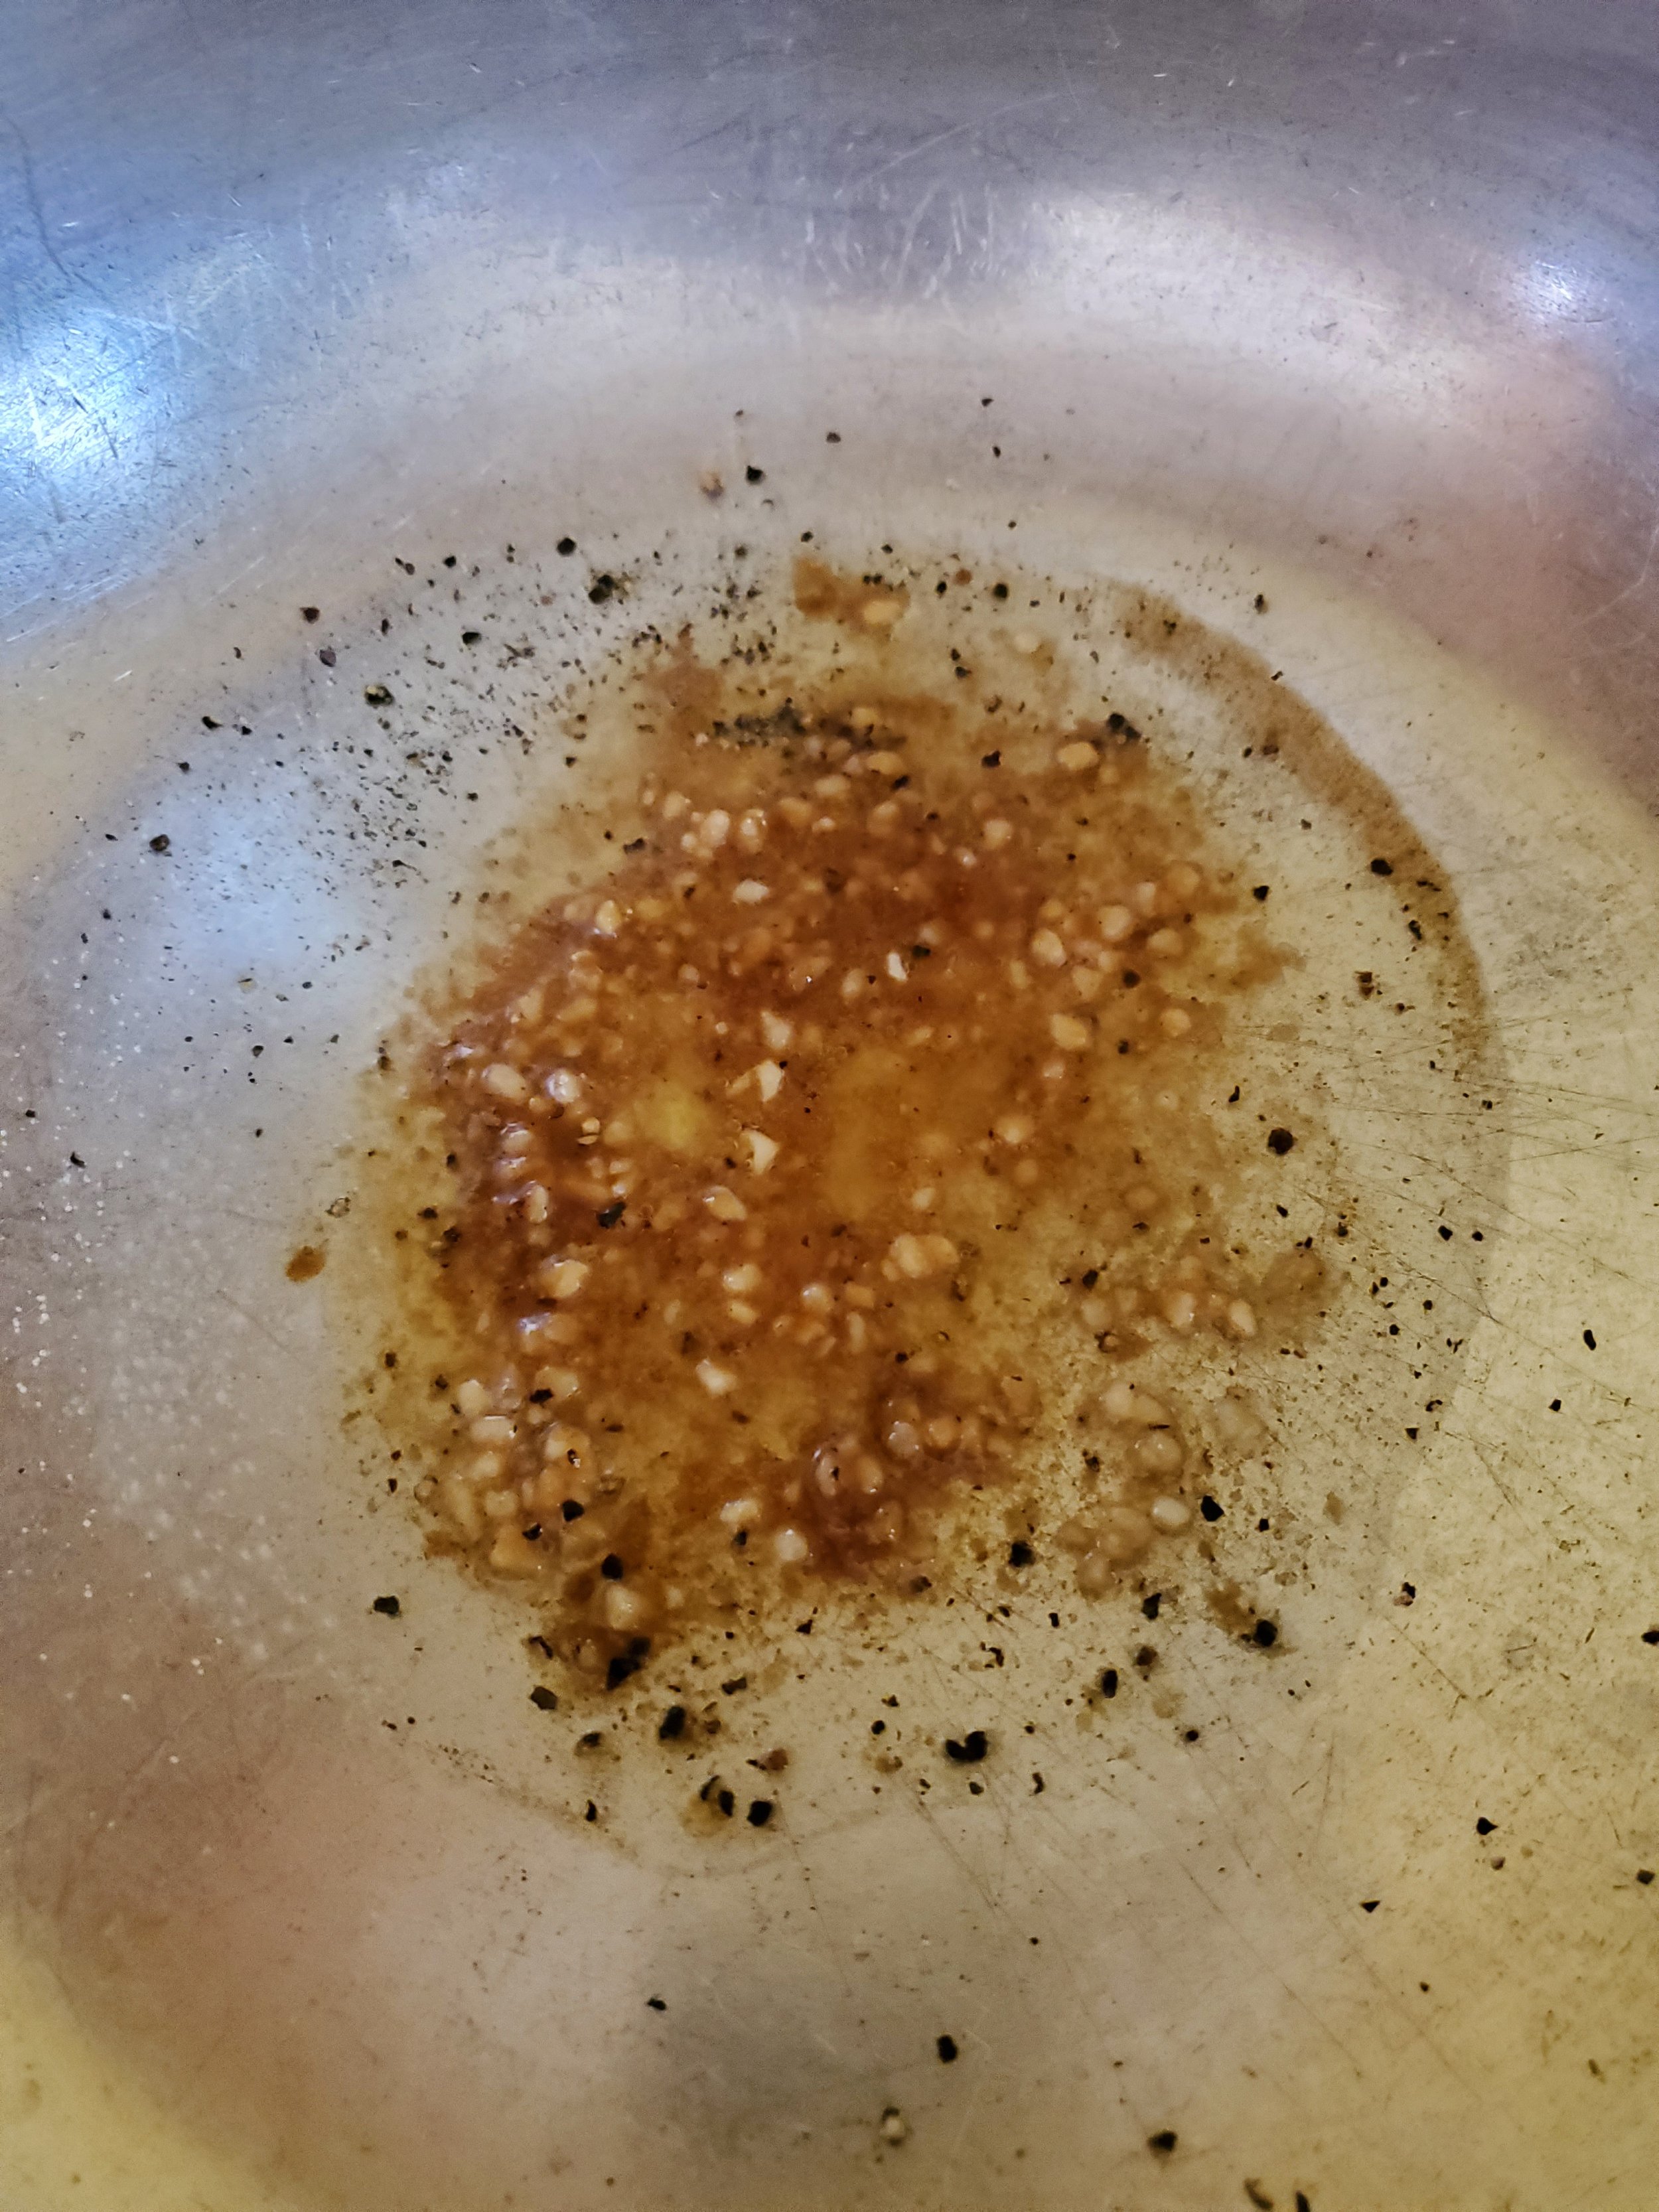
Pour your olive oil into the saucepan and toss in your minced garlic, ground ginger and pepper. If you plan to use the roasted garlic base, smoked paprika and dried parsley, add them too. While they aren't strictly necessary, they do a lot of work to complement and balance what can be a very rich recipe. Slap the lid on the pan and let the spices and oil simmer for a minute or two on low heat.

Shredded carrots are almost always washed, ready-to-eat produce, but if yours are the exception to the rule, please take a minute to wash them while your spices sizzle.

Start your butternut squash in the microwave. The squash can take as little as four minutes or as long as seven, so be sure to follow the directions on the package.

Once your spices are fragrant and the garlic has browned a little, add the carrots and cover again. The carrots don't need a whole lot of time to cook, and we don't want to cook them to death, so it's best to move on quickly here. 

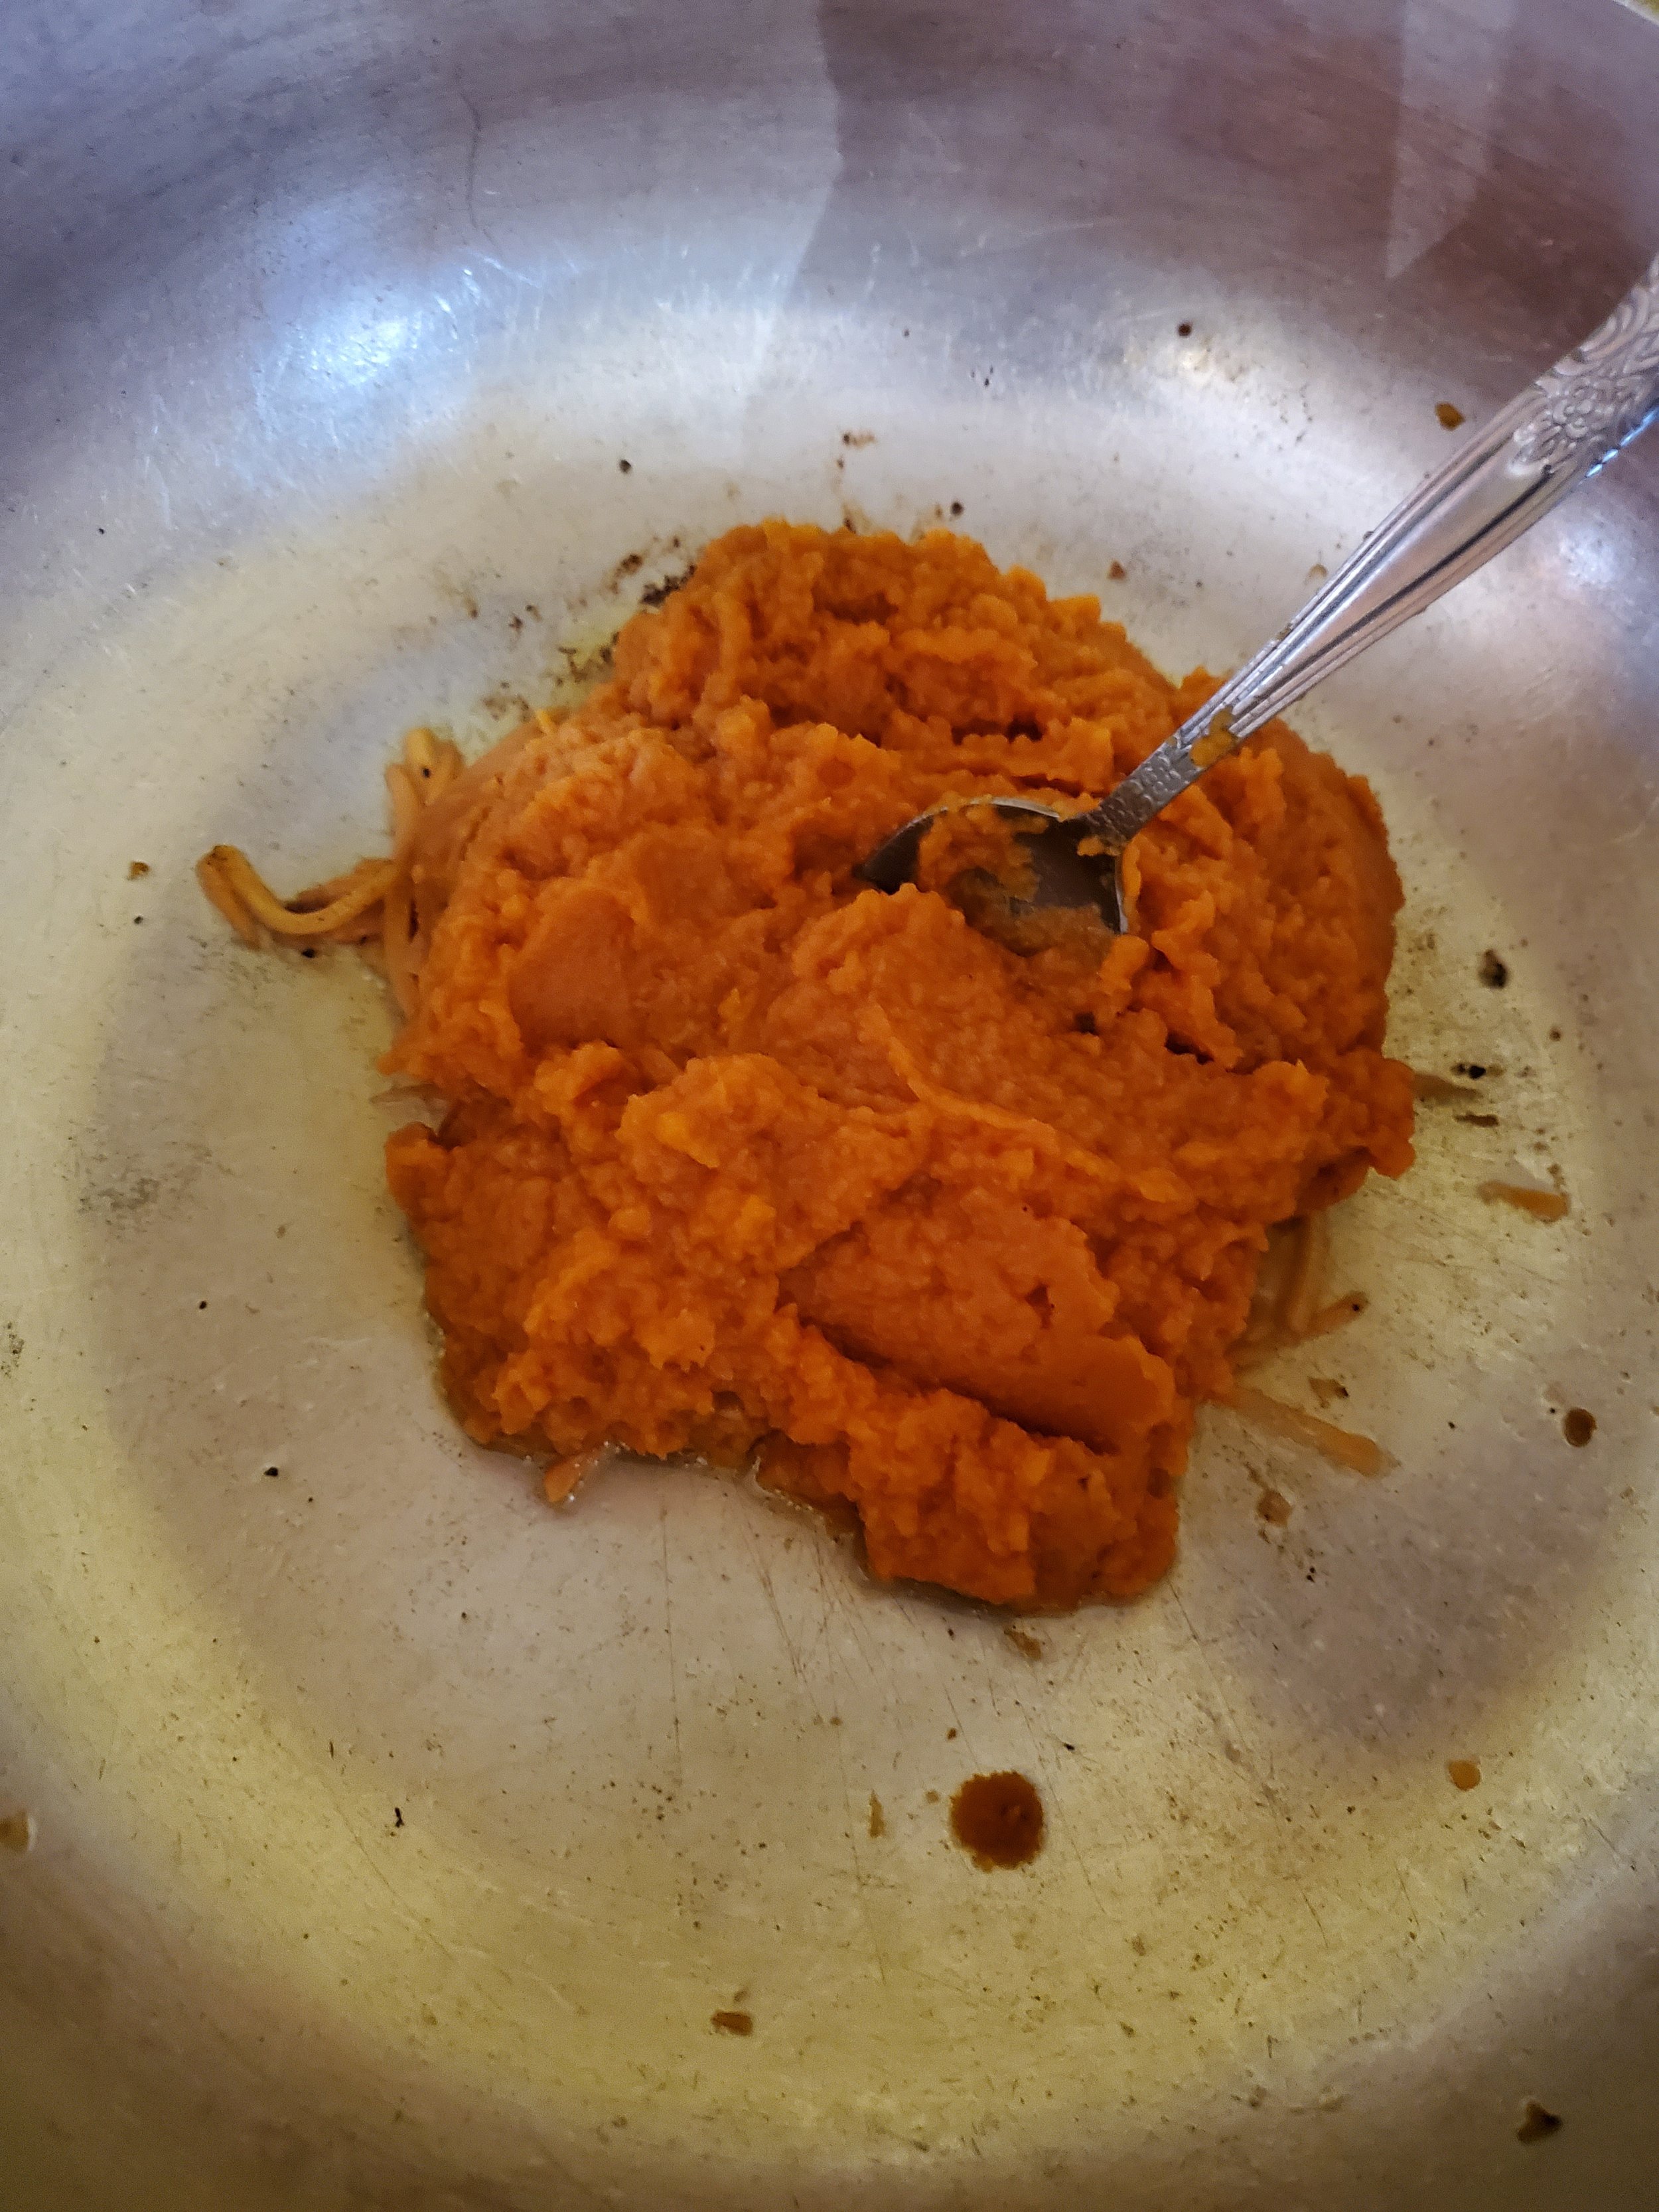
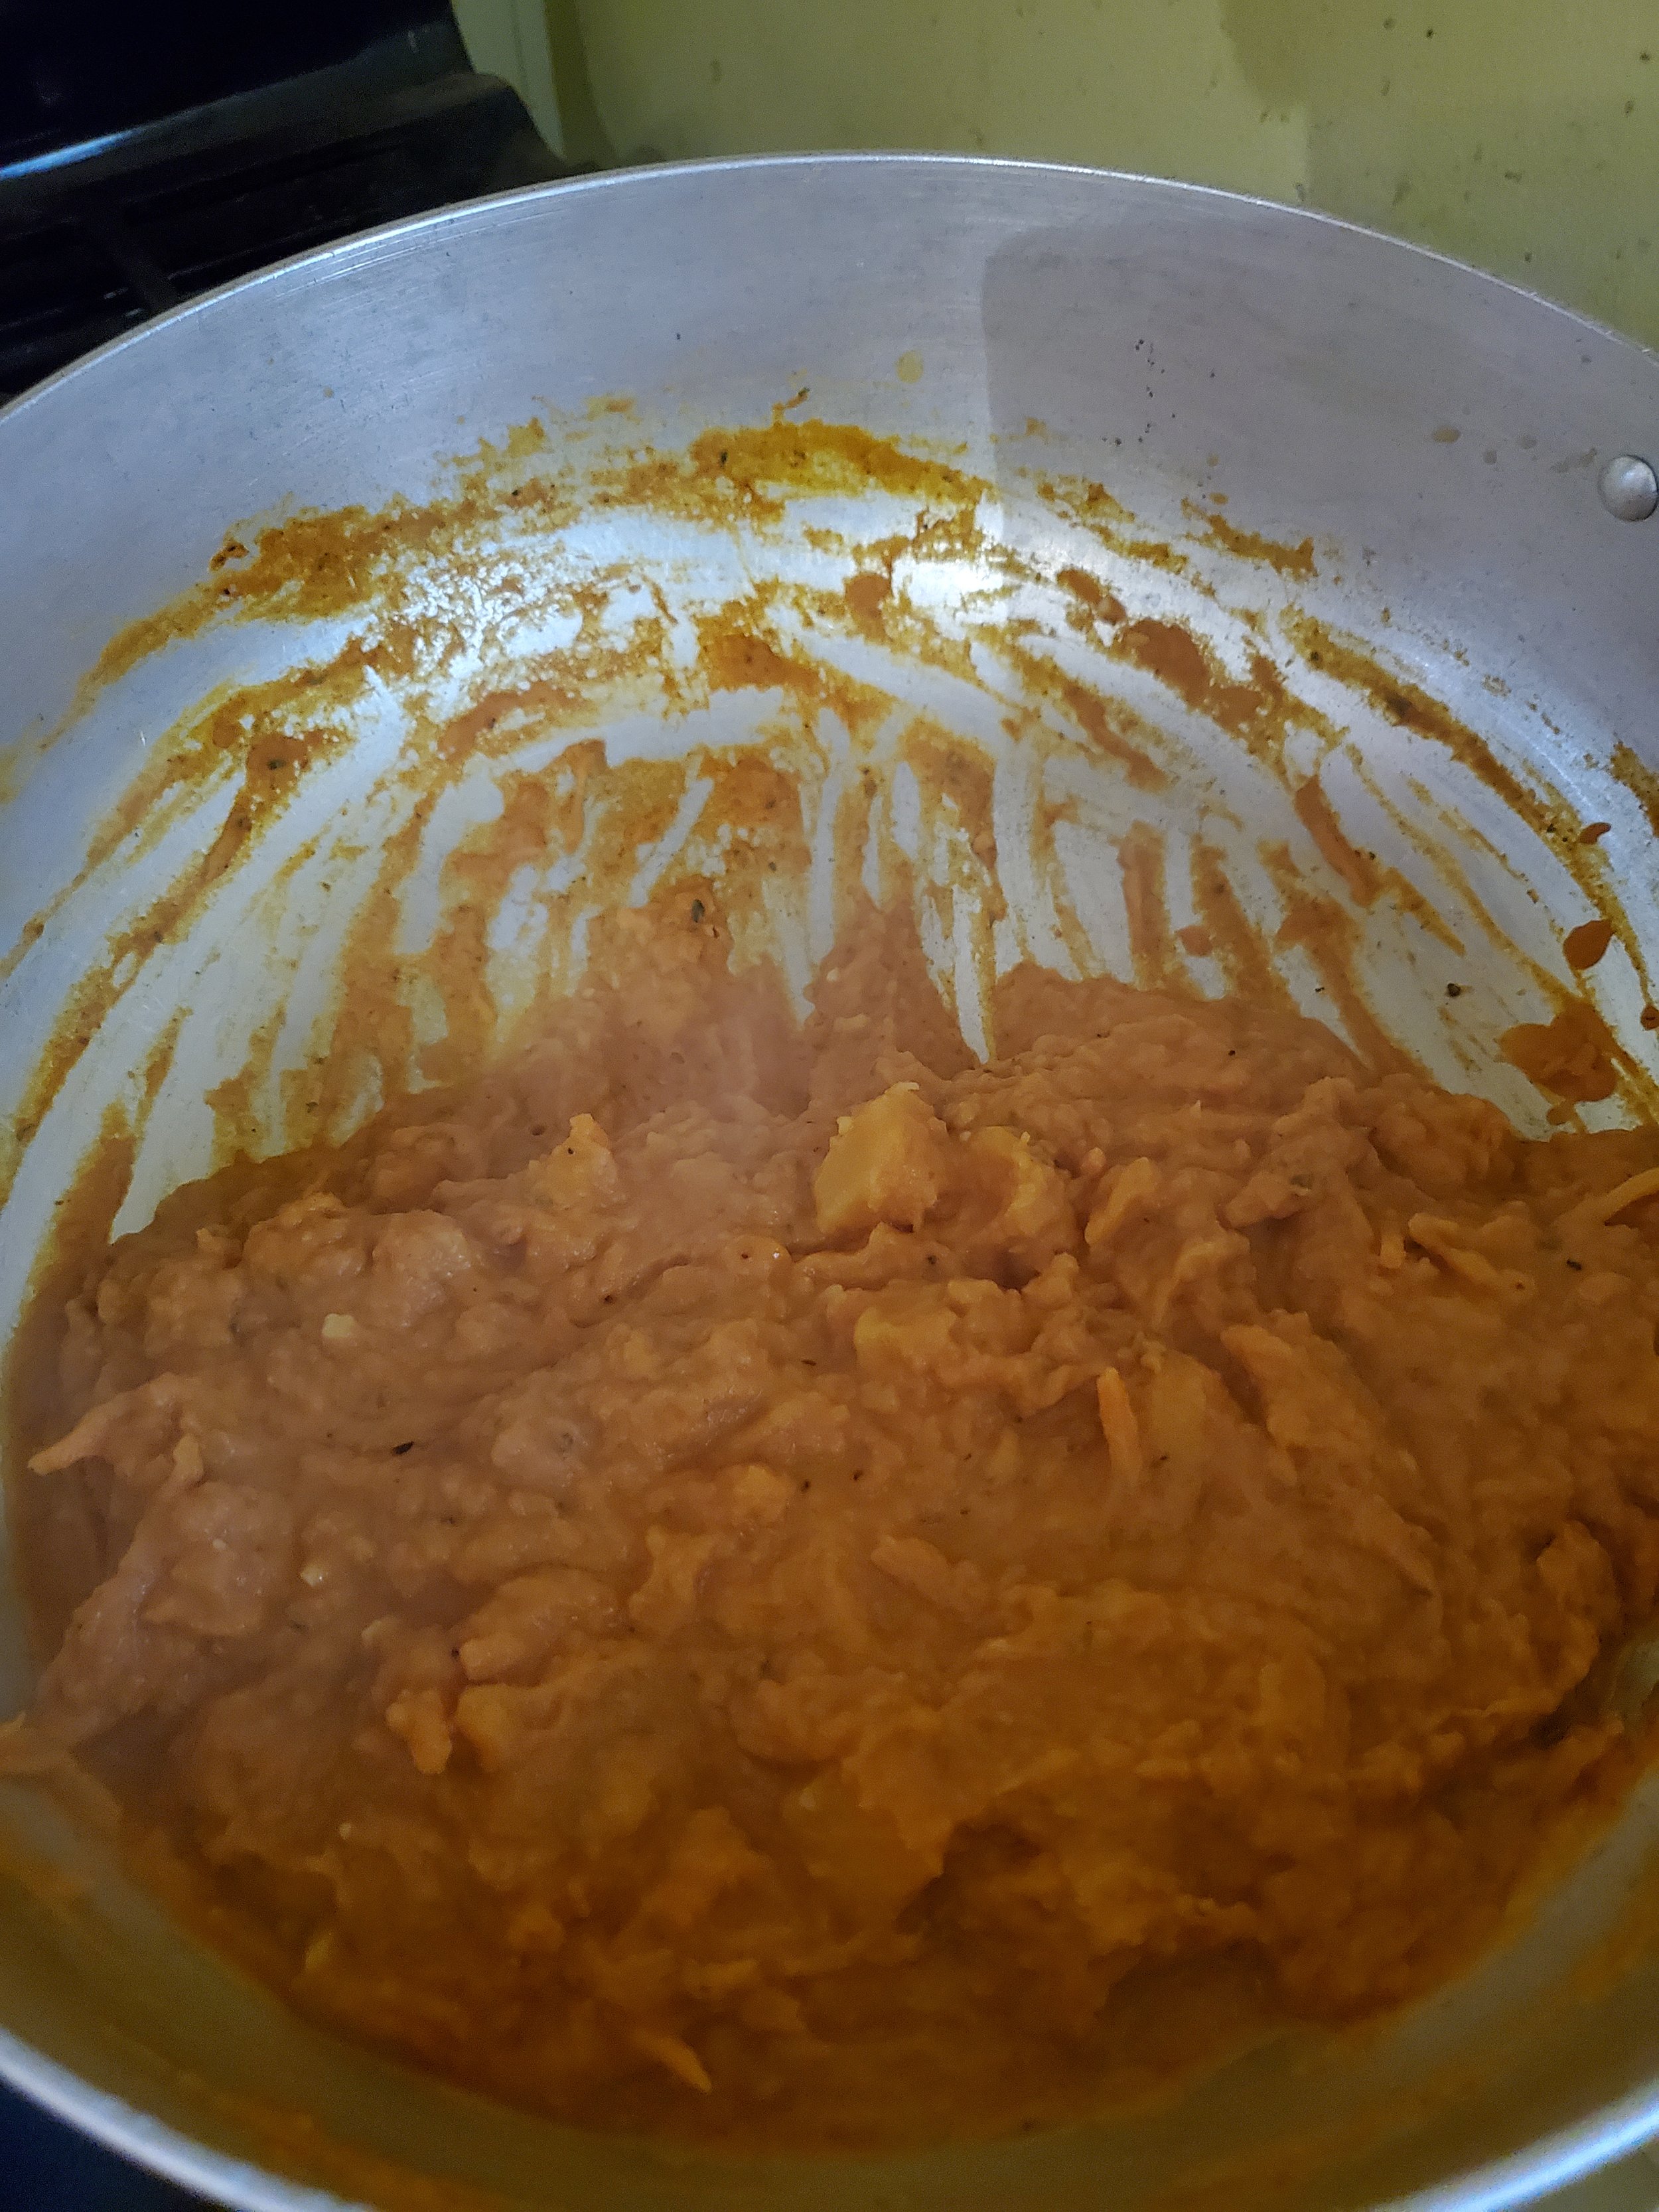
Take your can opener and crack open the can of what you are now double-sure is pumpkin puree and not pie filling. Add the pumpkin puree to the saucepan. We're well aware the pumpkin doesn't always like to exit the can. If there are some stubborn spots, measure your half cup of chicken broth into the can and swish it around a little to dislodge as much of the pumpkin as possible, then pour the chicken broth into the pan.

Stir everything until the pumpkin thins out some, then add the quarter cup of heavy cream and mix it in until you no longer have white streaks. You can use half & half or milk instead, but we feel the heavy cream makes a superior sauce.

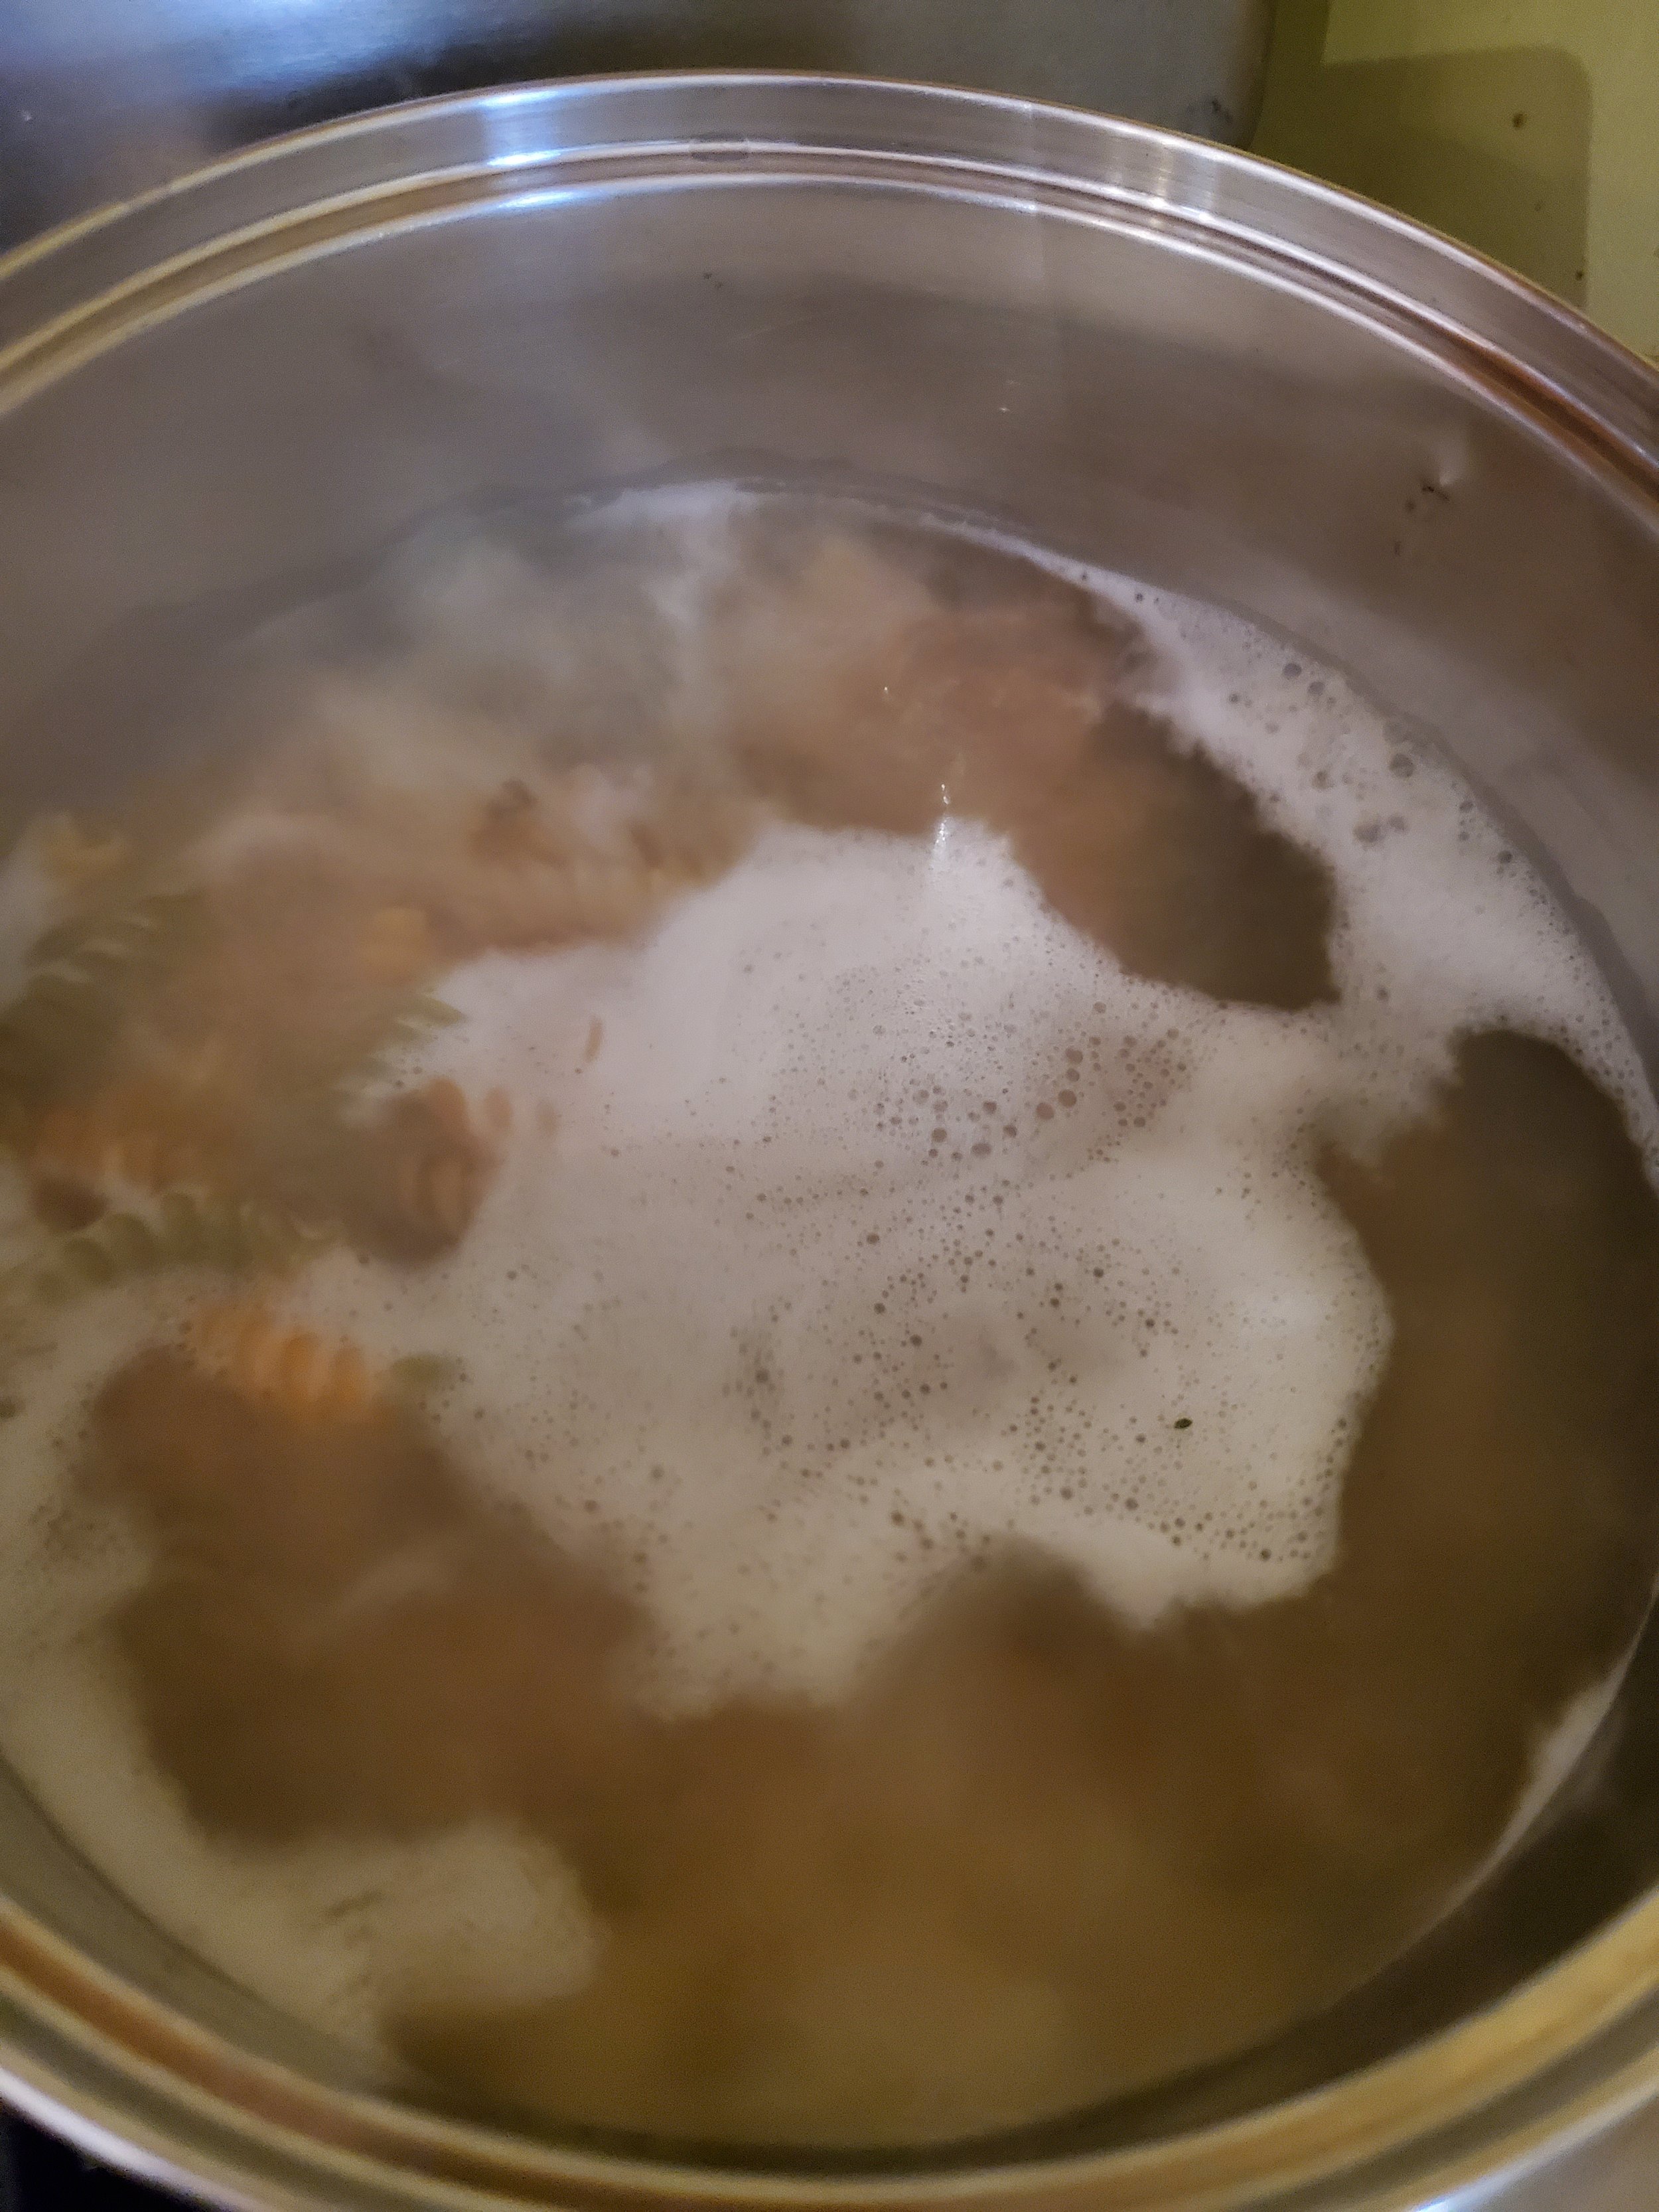
By now your pot of water should be boiling. Add your pasta and give a quick stir to separate. Now you'll just need to check back in on it occasionally while it cooks. We like to shave a minute or two off the time the directions on the box suggest - we hate mushy pasta - and we also like to use a veggie pasta when we can. Sneaking in that extra little bit of vegetables counts!

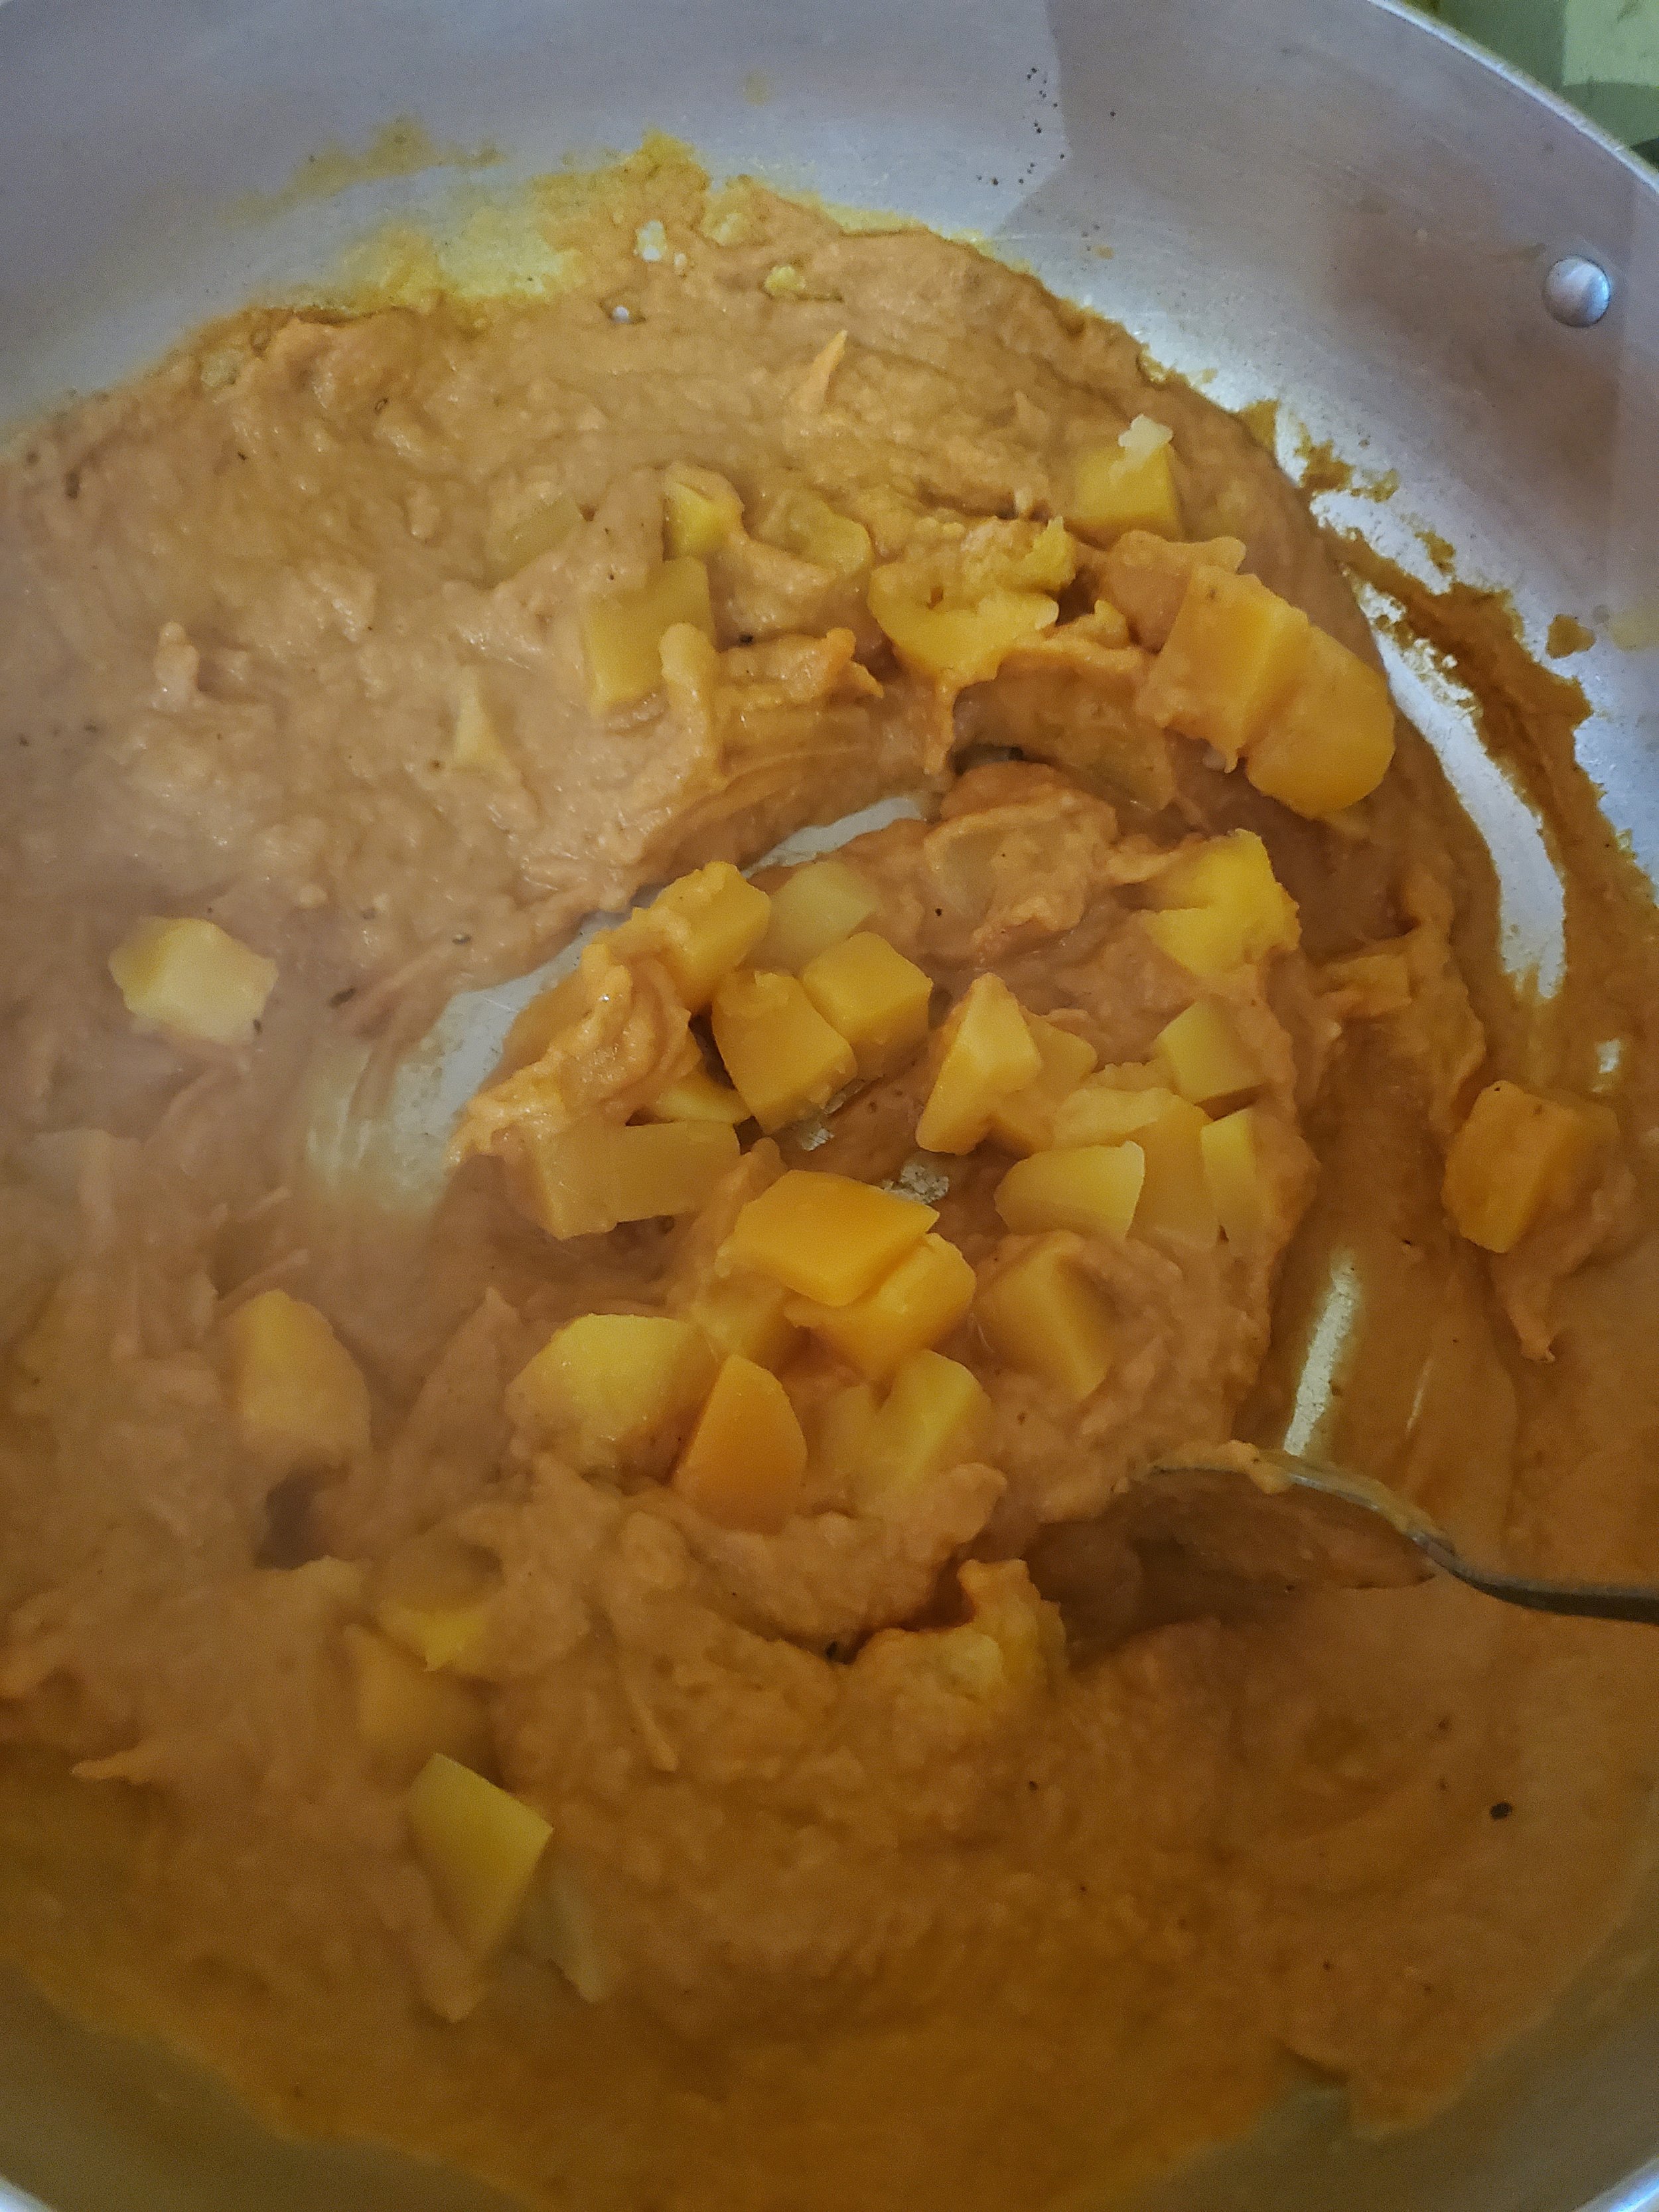
Turn your attention back to the microwave and remove your squash. Replace it with the sweet potatoes and start them cooking. Cut a corner off the bag of squash and drain out the excess water before adding the squash to the pumpkin sauce mixture and stirring it in.

Cover the sauce again and let it simmer for about five minutes.

When the sweet potatoes are done cooking, repeat what you did with the squash: cut a corner, drain the excess water, then add to the sauce and stir to cover.

By this point your pasta is close to ready. Test a piece to be sure the pasta is cooked through, and (assuming it doesn't need more time) drain it into the colander.

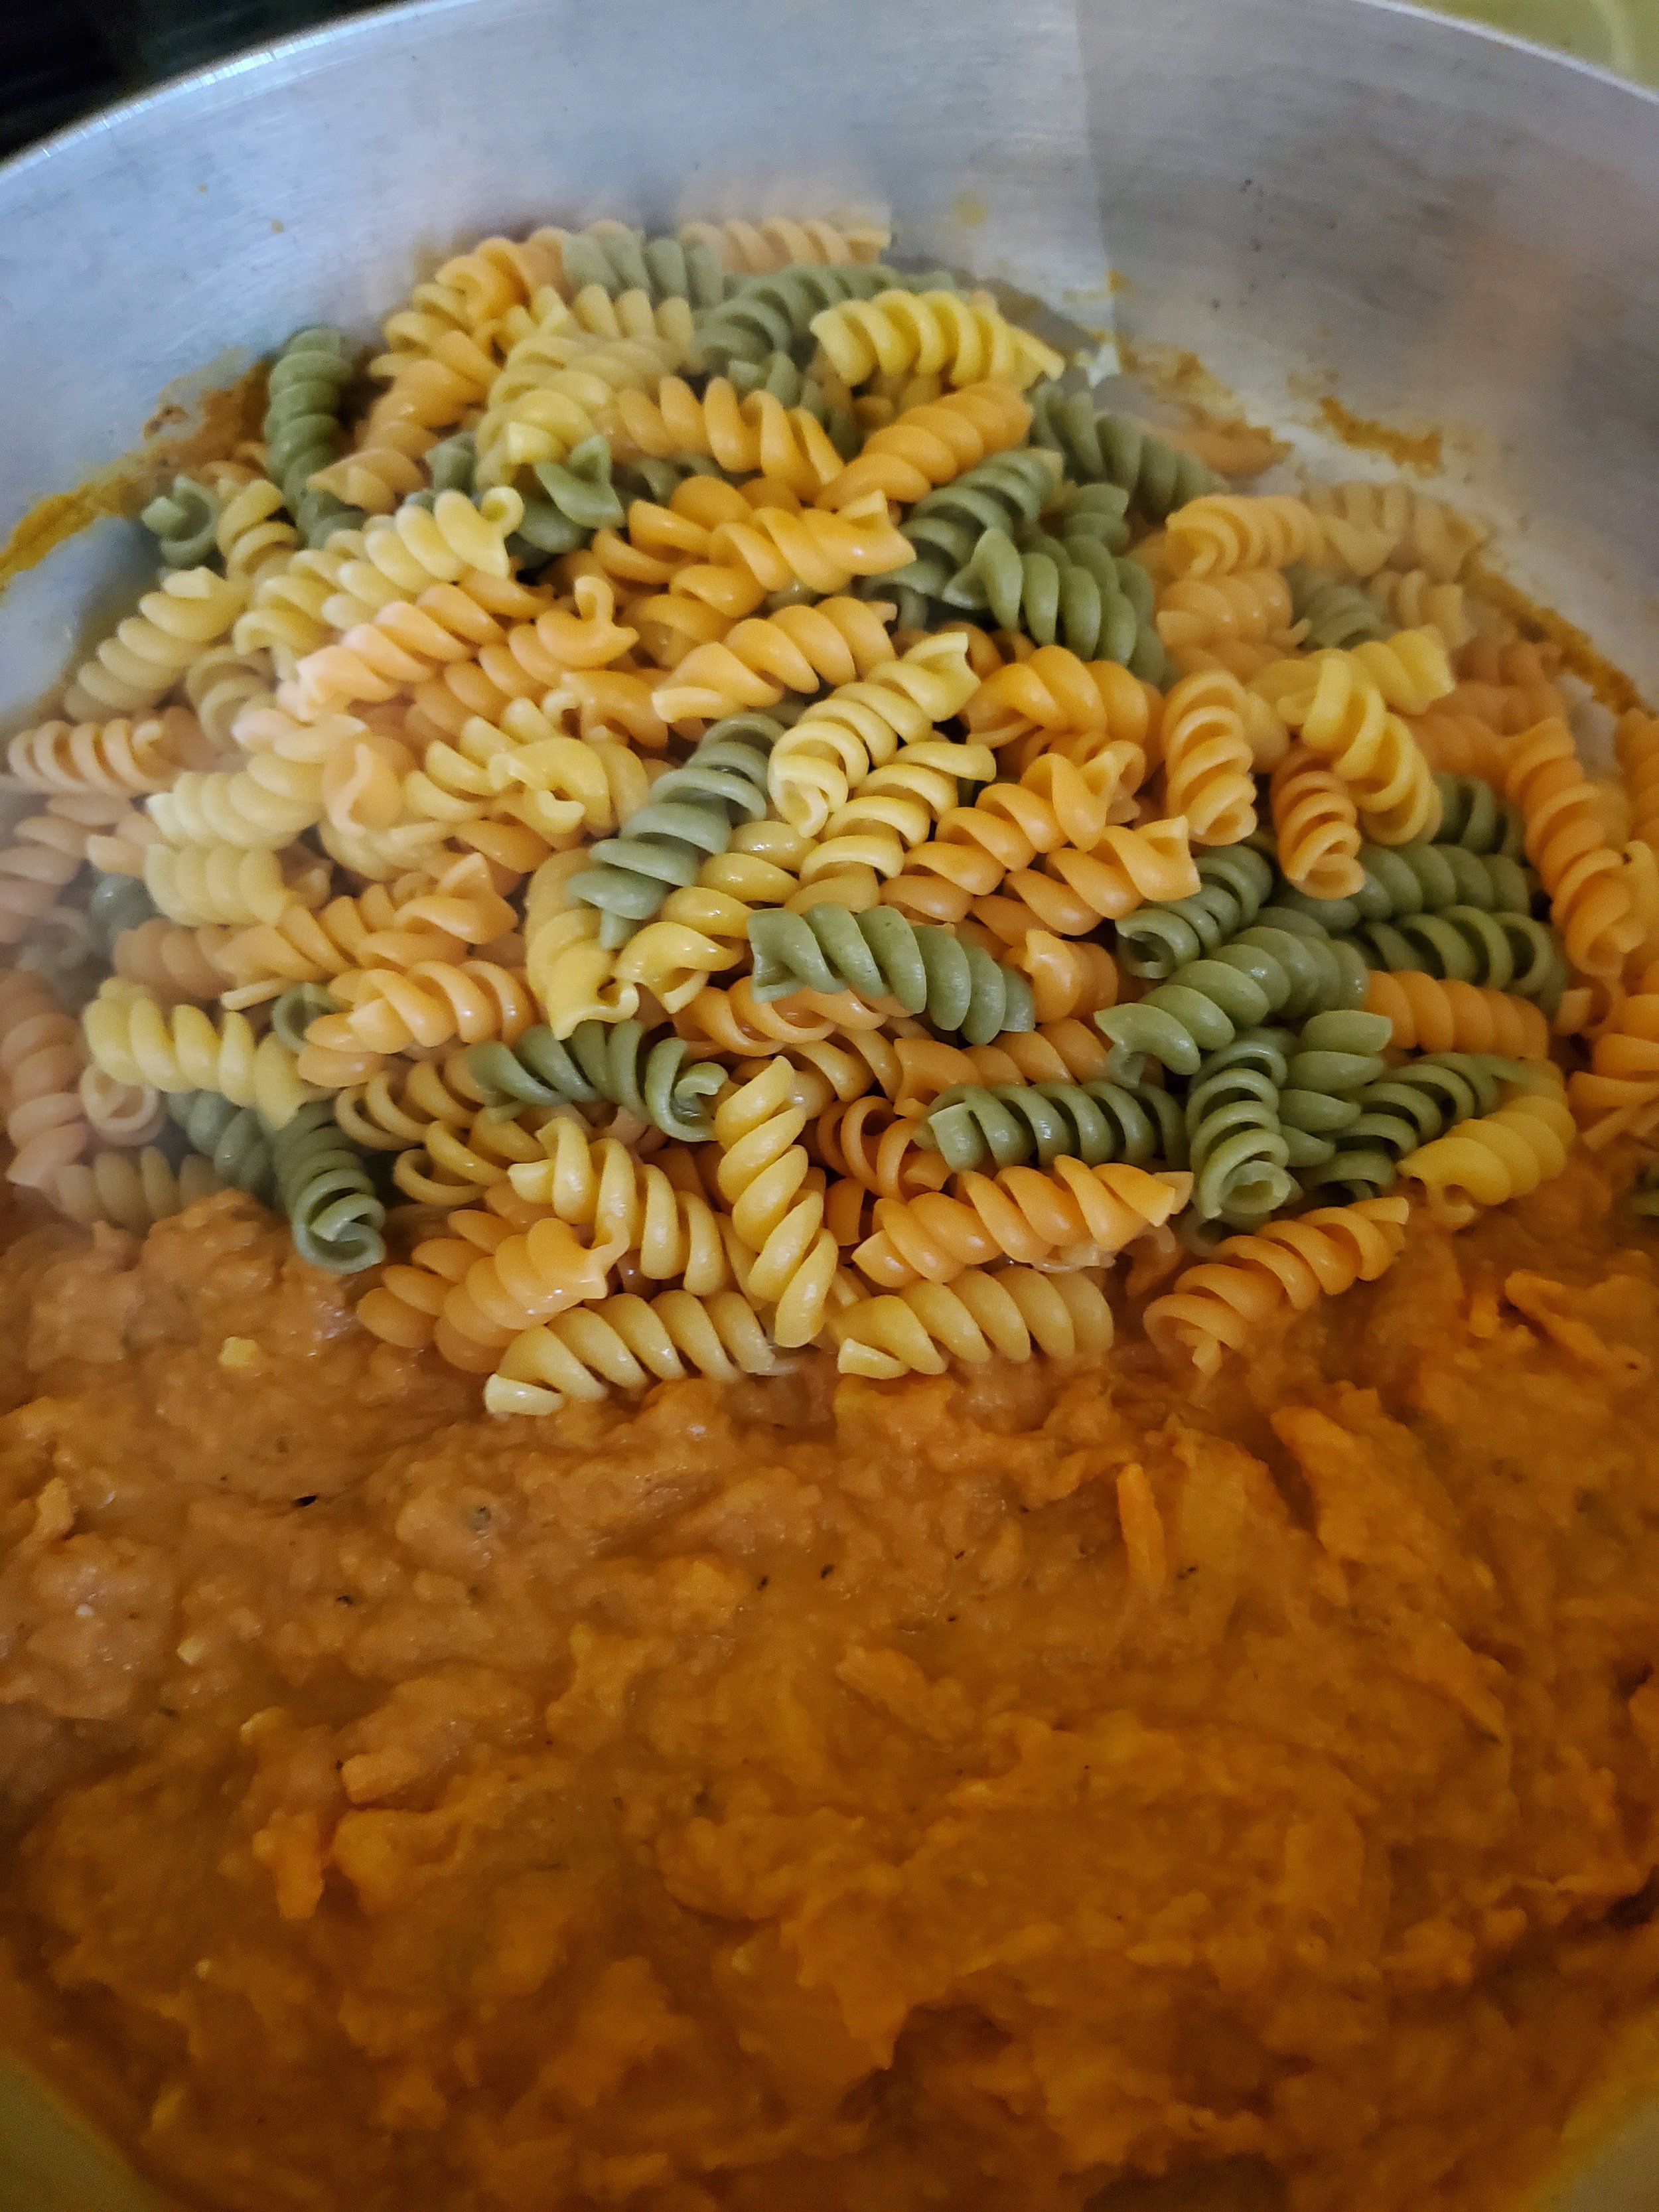
While it's draining, scrape all the sauce to one side of the saucepan. It's heavy, chunky stuff, so it'll mostly stay where you put it.

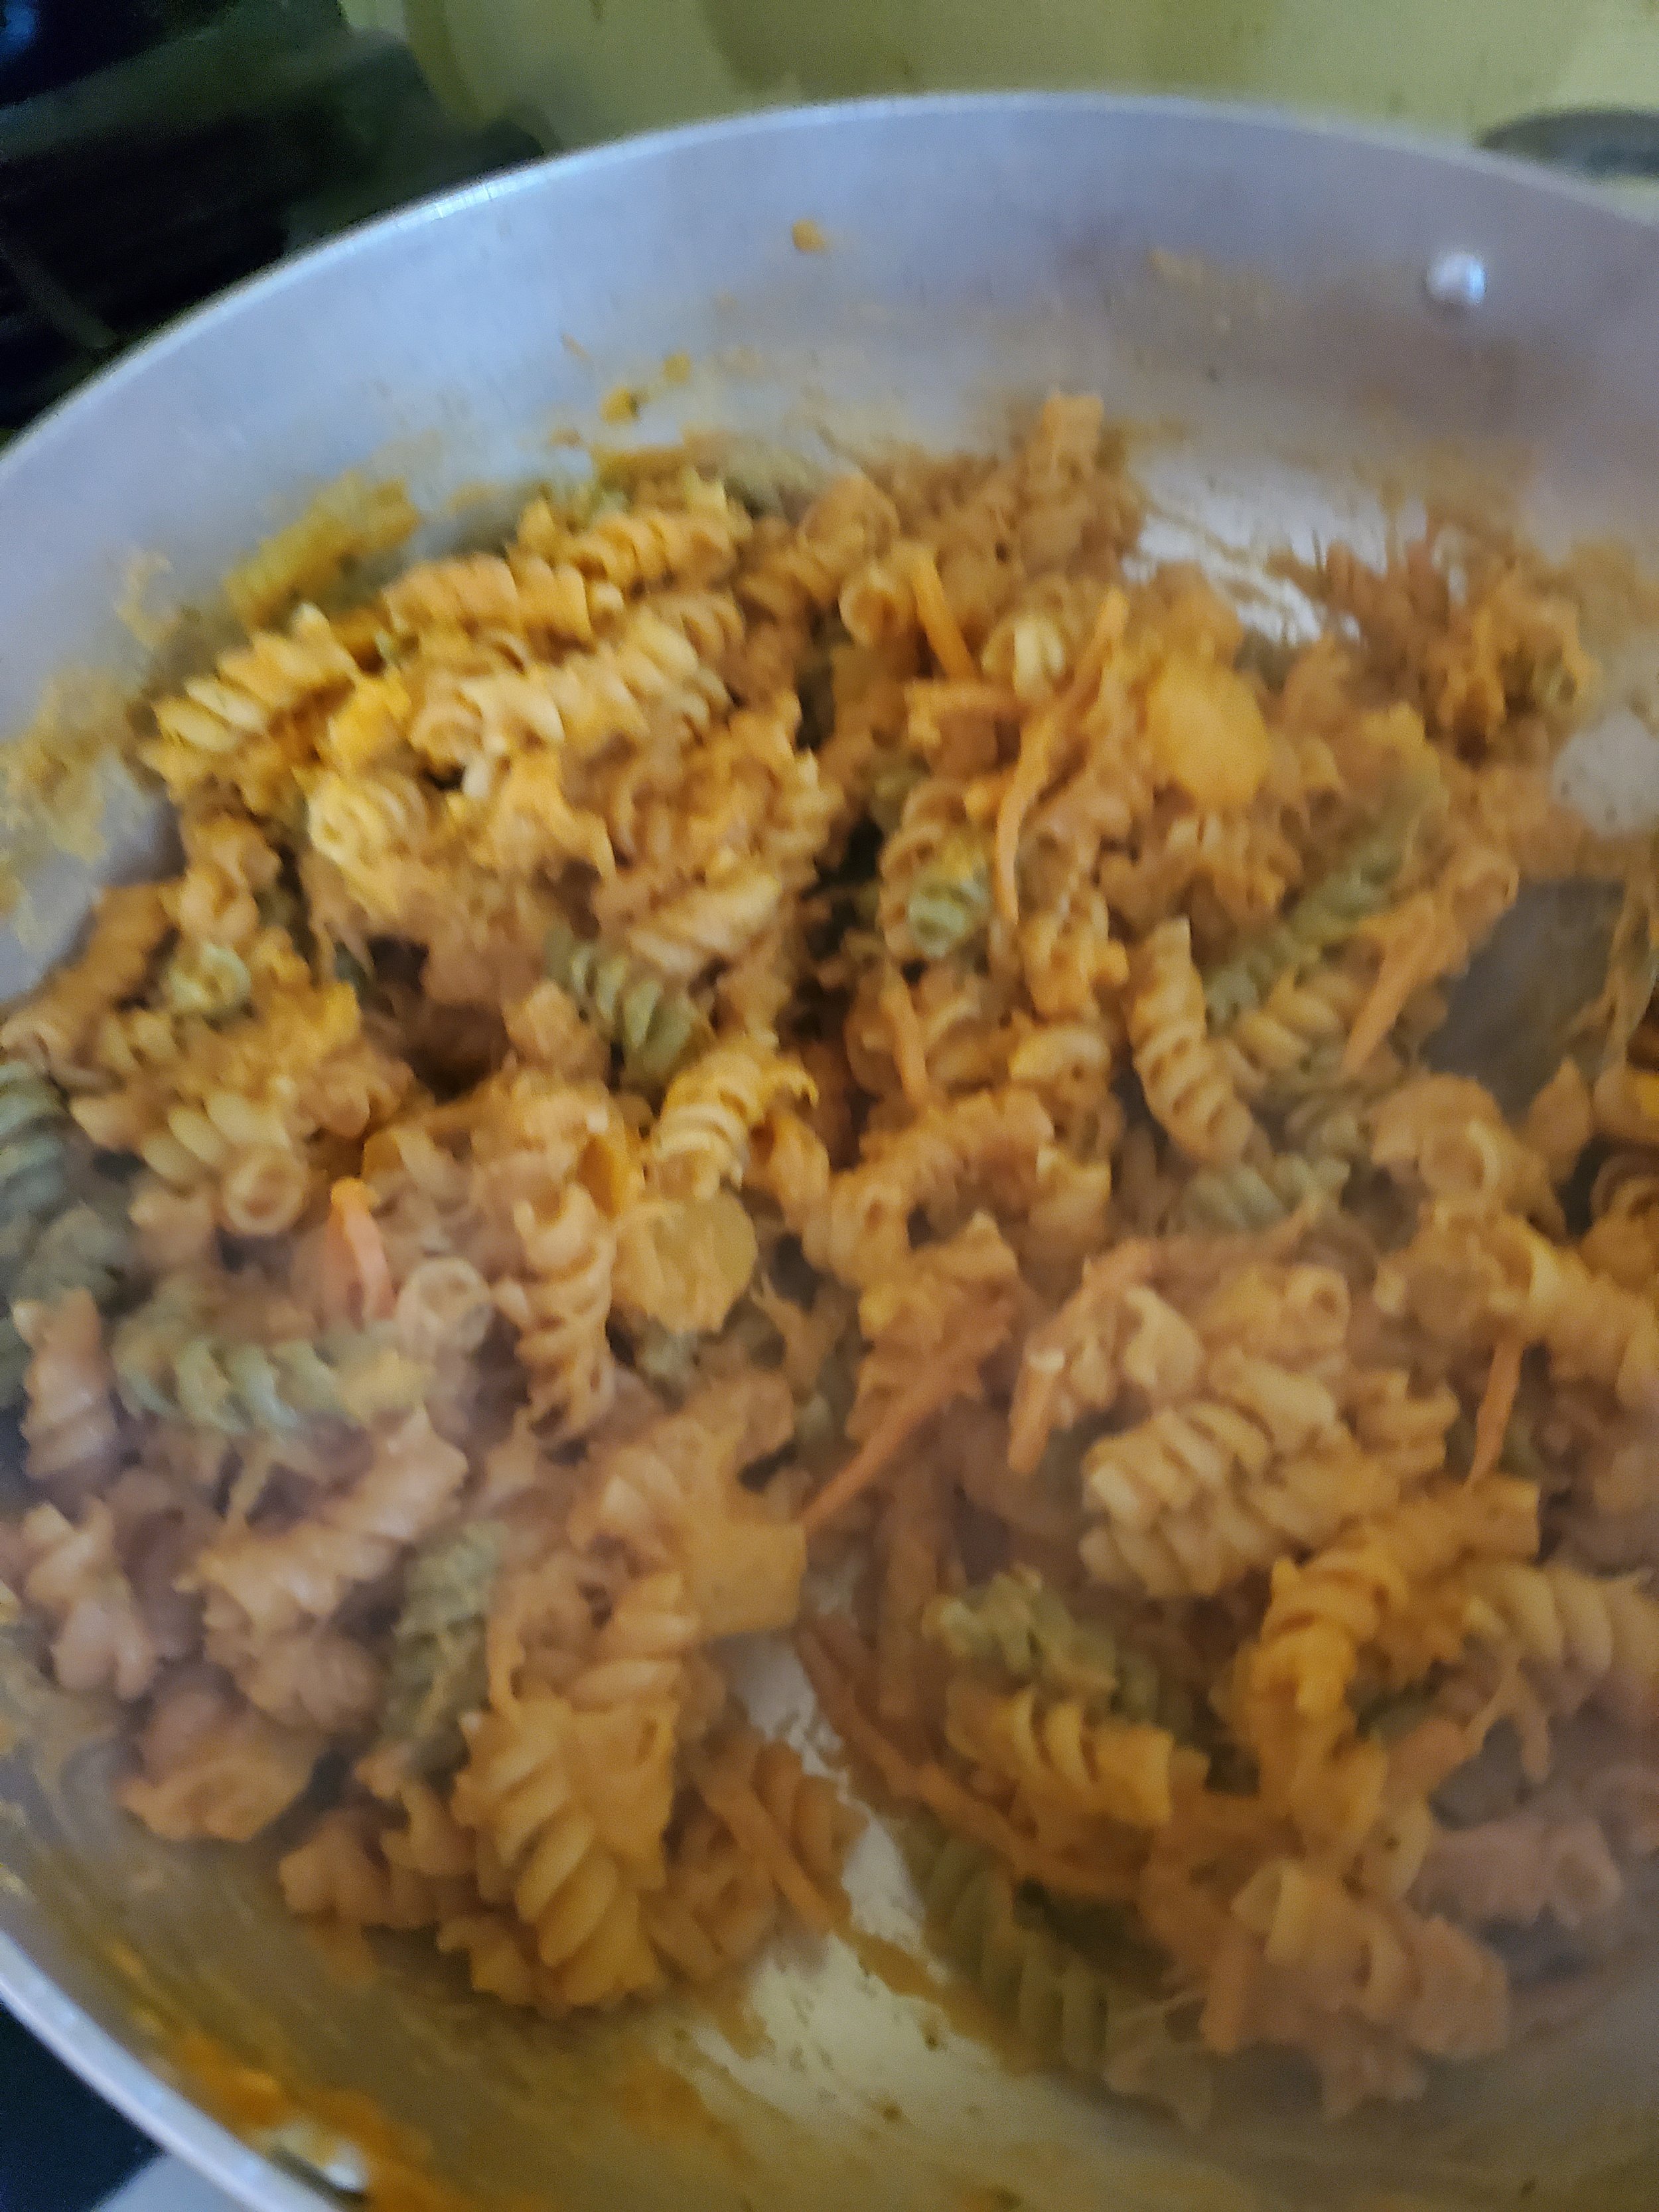
Once you've made some space in the saucepan, pour the pasta into the open spot. Fold gently to mix the pasta and sauce together without shredding the pasta. Turn the burner off, cover the pan again, and let sit to allow the pasta and sauce to meld for five minutes before serving.

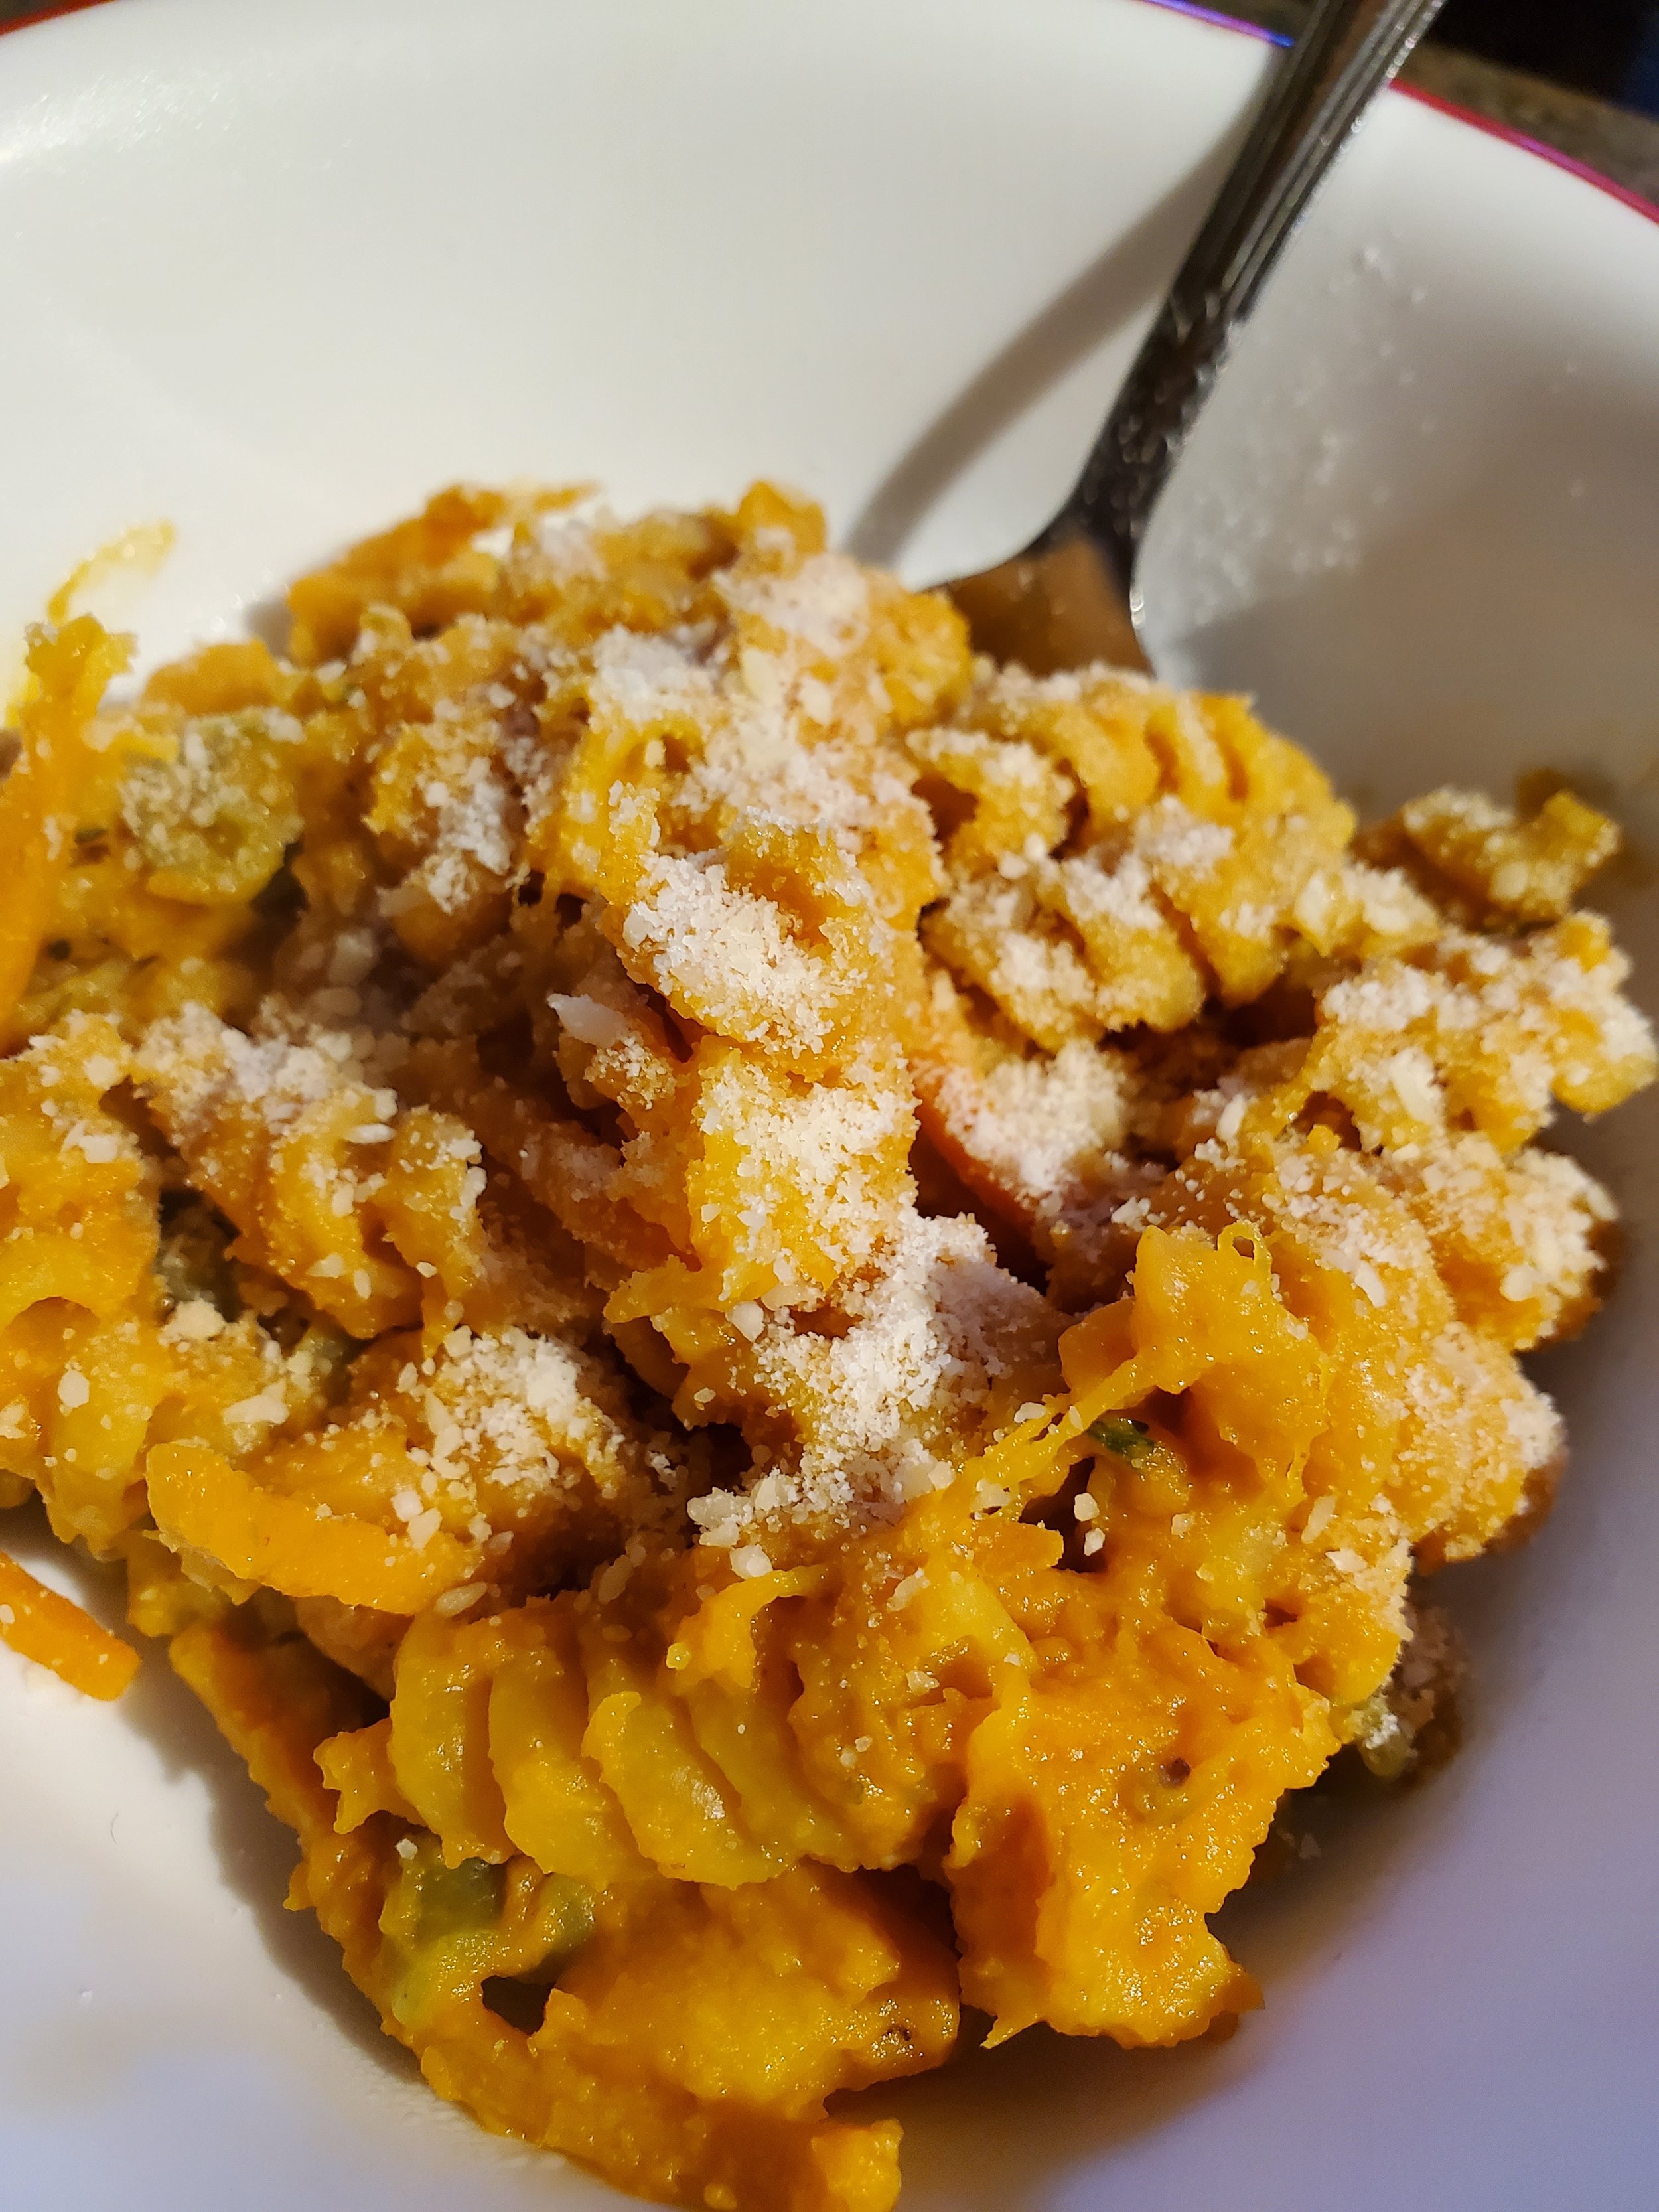
Serve with a little parmesan cheese and/or crushed red pepper, depending on your family's likes and dislikes.


We hope that you enjoyed this recipe! Let us know if you decide to make it over on our Facebook page. As always, we love to hear from you. 


If you discover that your dishwasher just isn’t wanting to wash up after this dish, it might not be the pumpkin’s fault. It might be an issue with your dishwasher instead, and that’s where Appliance Rescue Service can help. We service every model of dishwasher, from LG and Samsung to GE and Bosch. So long as you’re within the DFW area, we’re here to help. You can reach out to us via our contact page or by giving us a call at ((214) 599-0055). We’ll work with you to set up a date and time that fits your schedule so we can get your home running smoothly again. 


Even If Fall Isn’t Here Yet. 

Sunday Summer Dinner: Shrimp Croquettes and Creamed Peas

A meal to fill every "down home" craving under the summer sun.

This is a fantastic meal for a Sunday, it's been hot for weeks and you need something to break the intensity of it. It's not something cool that's going to help though, but instead something savory and rich to celebrate the summer. Croquettes so piping hot they burn your lips even as they melt in your mouth. The pop of fresh sweet peas in a cream sauce to brighten and balance against the savory depth of the croquettes. This is summer, now let's get cooking. 

Ingredients:

Croquettes:

3 Tbsp butter

2 Tbsp finely chopped yellow onion

1/3 c all-purpose flour

1/2 c milk

2 tsp fresh lemon juice

1/3 tsp salt

Pepper to taste

3/4 lb of shrimp (deveined and shelled) finely chopped

1 cup fine dry bread crumbs, or panko 

2 large eggs 

3 cups peanut oil, for frying


Creamed Peas:

2 lbs fresh green peas, shelled

3 Tbsp salted butter

2 Tbsp all-purpose flour

2 c milk

1 tsp salt

fresh ground black pepper to taste

Tools: medium skillet, wire whisk, pie pan, two cookie sheets, parchment paper, colander, one deep heavy pot, slotted spoon a roll of paper towels. 


A pile of shrimp, shelled and deveined but still raw

courtesy of shutterbug75

Start off by setting your skillet over medium-high heat. Add in your onion and saute until softened, but not yet clear, roughly 3 minutes. Use a wire whisk to stir in your flour. Cook the roux for 1 minute and stir in the milk slowly, stirring continuously. Cook the mixture until it's really thick, stirring it constantly for 1 minute. Remove the skillet from the heat and add in lemon juice, salt and pepper. 

Allow the roux to cool slightly and then stir in your shrimp. Let it cool until you can handle it and then shape the mixture into small balls, about the size of a ping pong ball, or 1 1/2 inches in diameter. Lay them out on parchment paper on a cookie sheet so that they don't touch. 

Place your breadcrumbs into a shallow dish like a pie pan. Take your second pan, crack open the eggs and beat them thoroughly, then add in 1/4 cup water. 

Fresh sweet peas sit in a pile with two pods cracked open to show the peas still inside.

courtesy of piviso

Bring your croquettes over to one side of the eggs and breadcrumbs and set your empty cookie sheet on the other side. You'll be double coating the croquettes, to make sure that they hold their shape as they cook. Start by rolling the croquettes in the crumbs, pressing firmly. Then roll them in the egg mix, use a spoon if you have to, to get everything coated. Now go back to the breadcrumbs and again make sure everything is coated.  Set this one on the empty sheet. Repeat the process until all of your croquettes have been coated. Toss the parchment paper from your now empty sheet and use it as a cover for the full one.  Set the croquettes aside, it's time to make the creamed peas. 

We know, the concept sounds weird to some people. We know, but we promise, it tastes so much better. So, bring 1 pot of lightly salted water to a boil. Add in your peas and cook for 6 to 7 minutes or until the peas are tender enough to pierce with a fork but not to mash. Drain them into a colander and set aside. Melt the butter in a medium saucepan over medium heat. Stir in your flour, making sure to break up any clumps. You want the roux to be smooth and lightly browned, it takes about a minute. Slowly whisk in your milk, stirring carefully and continuously. Continue cooking the gravy over meidum heat, stirring often. Add in your salt and pepper to taste.  Continue cooking until the mixture is smooth and thick, about 5 minutes. Next stir in the cooked peas and then cover the pot, setting it aside. You want to keep the gravy warm, but not to keep it cooking. Now for frying the croquettes. 

A deep pan of oil shimmers slightly, with a thermometer sitting in it, measuring the temperature.

Courtesy of Hans

Set your oven to preheat to 150*F, and pour your oil into your heavy pot. Use a digital thermometer to check as you bring it up to 375*F. 

Once your oil has come up to temperature, add in 10 of your croquettes at a time to cook, until they're golden brown. This isn't really a "timed" thing, so much as a "watch them carefully" thing. When they're done, use a large slotted spoon to scoop them up, drain the oil and transition them to paper towels and allow them to stay warm in the oven as you cook the rest. Take a moment and allow the oil to come back up to 375* before you add any more croquettes to the pot. Doing this makes sure that the croquettes cook quickly and evenly rather than soaking up the oil, becoming greasy and sodden. Repeat the process twice more to finish off all of your croquettes, making sure to not overcrowd the pot. 

Golden croquettes topped with a dusting of parsley sit on twisted wire racks to cool in a shallow pan

Courtesy of Allybally4b

Serve up 4-5 croquettes with the creamed peas on the side or on top, depending on preference. The peas add a sweet note that cuts through the oil, giving the meal a nice balance. This is great served alongside some fresh green beans and cornbread for a terrific Sunday dinner during the summer. And, if you end up having any extras, you can always eat them cold the next day, or toss them into oil for five minutes to reheat them. 


Do you like this picture of a Sunday dinner? Let us know over on our Facebook page or in the comments below. As always we'd love to hear from you and find out what you think of the recipe! 


If you wound up here because your dishwasher isn't getting the pots from this recipe clean, we can help. Working on appliances is our specialty and we want to make sure yours are working properly. You can give us a call at ((214) 599-0055) or reach out to us on our contact page. Wherever you live in the DFW area, we're here to help. 


Chicken and Vegetable Quinoa

All the best of chicken soup without the soup

I Don’t Care, Take Me To the Recipe!

March is.. March. We've had snow, we've had rain, and we've had temperatures so cold your blogger thought she might turn into an ice-pop. BUT! This is part of March and we accept it as it is, we just need warm hearty foods to combat it. With that in mind we went digging to see what we could come up with. Chicken soup? We've done it. Stew? We've done that too. What about biscuits? Nope. We needed something hearty and warm that would still give you enough energy to tackle all of the gardening many of us want to do now that it's (theoretically) spring. With that, we bring you something new. Take the best of chicken soup and dumplings and then make it easy to eat on the run. That's this recipe and we know we're already eager for fall to get here so we have an excuse to make it again. 

Ingredients 

1/2 cup tricolor quinoa

1 cup water

2 whole carrots or 10 baby carrots

2 stalks celery

1 can campbells cream of chicken soup 10.5 oz 

1/2 tsp garlic powder

1 tsp parsley flakes 


Tools: Large skillet with lid, stirring spoon, measuring cups and spoons,  knife, cutting board, fine sieve (possibly can opener) 


Measure out your half cup of quinoa. We find it easiest to use a much larger measuring cup for this, as it leave plenty of room for your next step. On top of that it means that you aren't going to have the grains bouncing out of the cup due to static. (We wish we were kidding on that one.) 

Rinse your quinoa and drain through a fine sieve.  Quinoa often has a bitter outer coating (naturally! It's not a byproduct of harvesting or processing - it's there to keep the grain from being eaten) that will throw off the flavor of whatever you're making with it. Just run it under cold water, swirling it around a few times under the water, then remove it and tap until most of the water has drained out. Repeat this until your water runs clear. You can skip this step if the package says "pre-washed" or "pre-rinsed." 

Once your quinoa has been rinsed and drained, drop it into your ungreased skillet and turn up the heat. We use medium-low heat, but feel free to adjust for your own preferences The goal here is to dry the individual grains and lightly toast them. Keep them moving during this step to make sure they don't end up scorched on one side and soggy on the other. A wooden spoon is best for this step so it doesn't transfer the heat the way a metal one will or melt like a silicone one can. 

When you feel your quinoa has been sufficiently toasted, add your water and turn the heat down as low as it will go. Turn your attention to the vegetables. Like the quinoa, these will need to be washed. Rinse all of them in clean, cold water for 30 seconds or so and then pat them dry. No need for soaps or produce washes. 

After your veggies are dry, chop them down to quarter inch pieces. Push them off the cutting board into the pan with the quinoa and water and give everything a stir. We advise doing the carrots first and then the celery to give the carrots more time to cook. Turn the heat up to medium, then measure in your parsley flakes and garlic powder. Give everything another good stir and put the lid on. Allow everything to simmer for five minutes while covered. 

Open up your can of soup. For ours, we used cream of chicken - but you're welcome to use whatever cream soup you'd like - perhaps cream of mushroom to make this a vegetarian recipe. Maybe even cream of shrimp if you're feeling particularly adventurous. We might avoid cream of celery (too much celery is in fact a thing in our opinion) - but maybe celery is your favorite food. Experiment and let us know what you discover! 

Pour your soup over the quinoa and vegetable mixture. We know the water hasn't had a chance to be fully absorbed by the quinoa, and that's fine. It's part of why we're not adding any water to the condensed soup. 

Once again, give everything a stir - but this time, let it simmer uncovered. Continue to stir frequently and watch for the individual grains to uncurl - that's how you know your dish is done.  

Allow it to sit for two to five minutes and stir once more before serving.  

This meal tastes even better the next day after the quinoa has had a chance to really soak up the soup. So, if you're making this as a meal for a  whole week's worth of lunches, you're in for a treat. 


We will add that additional veggies are something we are always going to advocate, so some examples you might consider adding are: pearl onions, green beans, corn, (more) carrots, parsnips, or turnips. Alternatively, you can just double, or even triple the quantities of the vegetables and experiment from there. We will say that if you're going to do that you /might/ need to add more in the way of water to ensure that your quinoa gets enough, but go with caution. 

Some other additions you might consider, to mix things up. 

Beans - great for additional fiber and protein, as well as making sure you have enough energy for the day. 

Chicken- If you're already adding in cream of chicken, and you have some leftover chicken in the fridge, it's a great way to get that used up and bulk up the meal. 

Diced and sauteed mushrooms - Although we wouldn't advise adding them in during the standard cooking process, we definitely think some sauteed mushrooms would go great with this. 

Shrimp - If you're looking to be adventurous, might as well go all in and add some actual shrimp to the meal. You can get them already pre-cooked in the grocery store for relatively cheap and just heat them back up in the pan before adding them on top. Again, because of how delicate the shrimp can be, we don't advise adding them during the standard cooking process. 


With that, we're handing this recipe over to you! What do you think? Like it, love it, hate it? Let us know in the comments below or over on our Facebook page. If you end up making it, let us know how it goes, we'd love to hear from you! 


If you wound up here not searching for food, but because your dryer is making  a strange whining sound, we can help. (although we are confused how you ended up on this page and not our post about dryer sounds, we hope you enjoyed the recipe anyway.) You can get hold of us over on our contact page or by giving us a call at ((214) 599-0055). We'll work with you to choose a date and time that works for your schedule so we can get to the heart of the problem and get your home running smoothly again. 


Ravioli Alla Caprese

 Proving that delicious pasta is absolutely possible to make at home.

This week’s recipe is all about Italy.  Delicious ravioli is a comfort food when many of us need a little comfort. What are you supposed to do though if you can’t get out to the store? It’s a really complicated thing to make right? Well actually, no. The only thing that’s complicated about the dough is the need to balance ‘enough’ mixing versus ‘not enough.’ Once you’ve got that, the rest is easy. 

Ingredients

For The Dough: 

1 cup water

¼ tsp kosher salt, plus more for the pasta water

2 ½ cups all purpose flour plus more for dusting 

For The Filling

1 cup whole milk ricotta cheese, drained

¾ cup finely grated mozzarella or mild sheep’s milk cheese

½ cup freshly grated Parmigiano-Reggiano cheese

½ tsp dried oregano

1 large egg

½ tsp kosher salt

For The Sauce

3 Tbsp extra-virgin olive oil

2 cloves garlic, smashed and peeled

1 25-ounce jar tomato puree

3 springs basil, plus torn leaves for topping

1 4-inch piece Parmigiano-Reggiano cheese rind, plus grated cheese for garnish

¼ tsp kosher salt 

To make the dough: Grab a small saucepan and put in on high heat, bring the water and ¼ teaspoon salt to a simmer.  Place your flour in a medium sized mixing bowl. Pour the hot water over the flour and mix together using a  silicone spatula or a wooden spoon. Continue mixing until it becomes a shaggy dough. Dump the mixture out onto a lightly floured surface and knead the dough for 5 minutes or until smooth and elastic.  Wrap your dough with plastic wrap and let it rest for 10 minutes on the counter. 


While that’s resting, let's make the filling.  In a medium bowl, mix together the ricotta, mozzarella, Parmigiano, oregano, egg and salt. 

To make the sauce: Take a clean pot and heat it over medium heat, add the olive oil and garlic. Cook the garlic for 2 minutes, or until the garlic is lightly browned and aromatic. Pour in the tomato puree, the basil springs, the cheese rind and a bit of salt. Let the sauce simmer for 12 minutes, stirring often. When the sauce has thickened slightly, remove and discard both the basil and the cheese rind.  

Roll your pasta dough out on a lightly floured surface to a ⅛ rectangle 6 inches by 36 inches. Place little mounds of the filling (roughly 2 teaspoons each) of the filling at an inch apart on the long edge of the dough. Fold the dough in half long ways, covering the filling and carefully press around the filling sealing the dough. 

Cutting apart the dough can done in two different ways. You can use a glass or a cookie cutter if you want round ravioli.Or you can cut them apart using a knife if you want square ravioli. Remove any scraps and repeat. You should end up with roughly 30 ravioli at the end of the process. 

Put a large pot of water on high heat and season liberally with salt.  Once it’s boiling, it’s time to start cooking. Add the ravioli in batches and simmer for about 3 minutes, or till they float. At that point you’ll know they’re cooked through. Using either a ladle or a slotted spoon, remove them from the pot. To serve, ladle spoonfuls of sauce to the center of a plate and position the ravioli on top.  Sprinkle with grated Parmigiano and torn basil. 


Notes: 

Let’s start with this “what the heck does ‘alla Caprese’ mean??” In this case it means in the style of Capri, which is an island off the western coast of Italy. The style of Capri is (almost) anything made with tomato, basil, olive oil and mozzarella.  

Now, if you want to make this process even easier you can go into your freezer and grab out an empty ice cube tray. Next, lay the dough over the tray and carefully push the filling into each of the wells. Fold the other half of the dough over the top, as in the original instructions and use the walls between the wells to press together the two layers of the dough. Finally, flip the tray over onto a lightly floured surface and using a sharp knife cut about the cubes. If you want to get really nifty you can even take a fork and press down the edges both to make sure they’re firmly attached and also to make them look nice. 

Additions to the filling- You most definitely can add to the filling, but make sure that if you do that the additions are small in size.

Some good examples for additions might be: mushrooms, ground beef, Italian sausage, crab, prosciutto, chicken, or sweet potatoes. 

Let us know how it goes! We want to hear about your attempts and how they turn out, either here in the comments below or over on our Facebook page. 

Don’t forget, if you want to schedule a check up for your appliances, that is something we do! You can also count on us to help fix them if they’ve been rude enough to break on you. We don’t stop until the job is done right. You can reach us by phone ((214) 599-0055)or by making an appointment on our website.