Vegetable based

Ladle Love: Wholesome Potato Leek Soup Recipe

Discover the Cozy Comfort of Homemade Potato and Leek Soup

The colder the weather, the more likely we are to have soup on the table for lunch or dinner. We're sure you've heard it before, but we always do seem to transition to soup as a staple around November.


There are a great many types of soups to choose from, so we rarely feel bored with them. This one is hearty and heavy and sneaks in some veggies. Feel free to use it as a sauce over some grilled chicken if you prefer a larger portion of protein. As the recipe is here, if divided into eight servings, each serving will have just under five grams of protein. Anyone on a higher protein diet should make some tweaks.


Ingredients


2 tablespoons olive oil

1 teaspoon marjoram

2 tablespoons thyme

1 tablespoon parsley

cracked black pepper to taste

2 leeks, white only

4 cups chicken broth

1 cup instant potatoes

1 cup half and half or whole milk


Tools


large, heavy-bottomed pot

measuring cups and spoons

spoon or ladle

knife

cutting board

blender


As always, begin by washing the veggies! Those leeks will harbor a lot of hidden dirt, so a surface wash isn't going to do the trick. Definitely give it a surface wash anyway, then grab your cutting board and knife.


Since we're only using the white part of the leek here, go ahead and trim off the leafy part. You can save it to make some soup stock later, or (if you're less soup-obsessed than we are) you can just toss it. Once the leafy part is removed, trim off the root end and make a lengthwise cut up the length of the leek. You don't have to cut all the way through; we only normally cut to about the halfway point. The goal is to create some space to fan the layers enough to let water flow through. Then just hold your leek under cool running water until you've rinsed out all the layers. You can give it a little squeeze if you think it's holding on to some water. Repeat with the second leek.


Return to the cutting board and get chopping. We usually just target quarter inch thin rounds, but it really doesn't matter how you cut your leeks. They'll just be going into the blender later.


While you work on the leeks, pour your olive oil into the heavy bottomed pot and add your dried spices. Let them simmer in the oil on low heat for a few minutes while you chop.


Once the leeks have been chopped, give them a quick once-over looking for any dirt you missed. If you find anything, there's a good chance there's more than you see at the moment. It's safest to just toss the cut leeks into a colander and run them under the tap one more time. Dirt will really ruin dinner, so definitely double check before moving on.


After you're sure there isn't any dirt left, go ahead and add the leeks to the pan. Let them saute with the oil and spices for five minutes. 


Once your five minutes are up, cover the leeks with the chicken broth, give it all a stir, and let them simmer for another 15 to 20 minutes. Feel free to find another quick task to take care of. Soup is forgiving like that.


The next step will be to remove the pot from the heat. Let it cool off for about ten minutes. Putting really hot things into a blender is a recipe for disaster, so do not skip this step or try to hurry it along.


After your short cool down is finished, pour the leeks and broth into the blender. Make sure you get all the leek pieces out of the pot and into the blender. Put the lid in place and hit puree, or whatever similar function your blender has. Let it whirl until you're sure the big chunks are broken down. If you started with larger pieces of leek, this step may take a little longer - but with quarter inch slices, we ran the blender for a minute and a half.


Empty the blender back into the pot, and turn the heat on as low as it will go. Measure your instant potato flakes and add them slowly to the pot, stirring them in as you go. You'll get a pasty consistency once they're all added, but don't worry; there's one more step.


As the soup comes up to heat again, stir in the milk or half and half. We used one cup here, but if you'd prefer your soup be a little thinner, feel free to add more, or to give it some additional chicken broth. Again, soups are forgiving. Do what you will.


Serve it in a crock with some cheese melted on top like a French onion soup, serve a shallow bowl with breadsticks or toast, pour it over a protein, keep it as a side for dunking vegetable sticks...


Now, if you find yourself in a situation where your trusty kitchen appliances are in need of a little magic, just like the enchantment we bring to your recipes, remember that our expert repair technicians at Appliance Rescue Service are here to ensure your appliances continue to work like a charm. You can reach out to us at our website or by giving us a call at ((214) 599-0055). A glitch in your kitchen tools doesn't have to cast a shadow on your culinary adventures. Reach out to us, and we'll have your appliances humming smoothly once more, ensuring your soup-making endeavors remain effortless and the flavors of your creations truly enchanting. Wishing you many warm and delightful soup-filled days ahead! 


Additional Reading

Lazy Weekend Mushroom Pie


Sausage Bread to Get You Rolling 


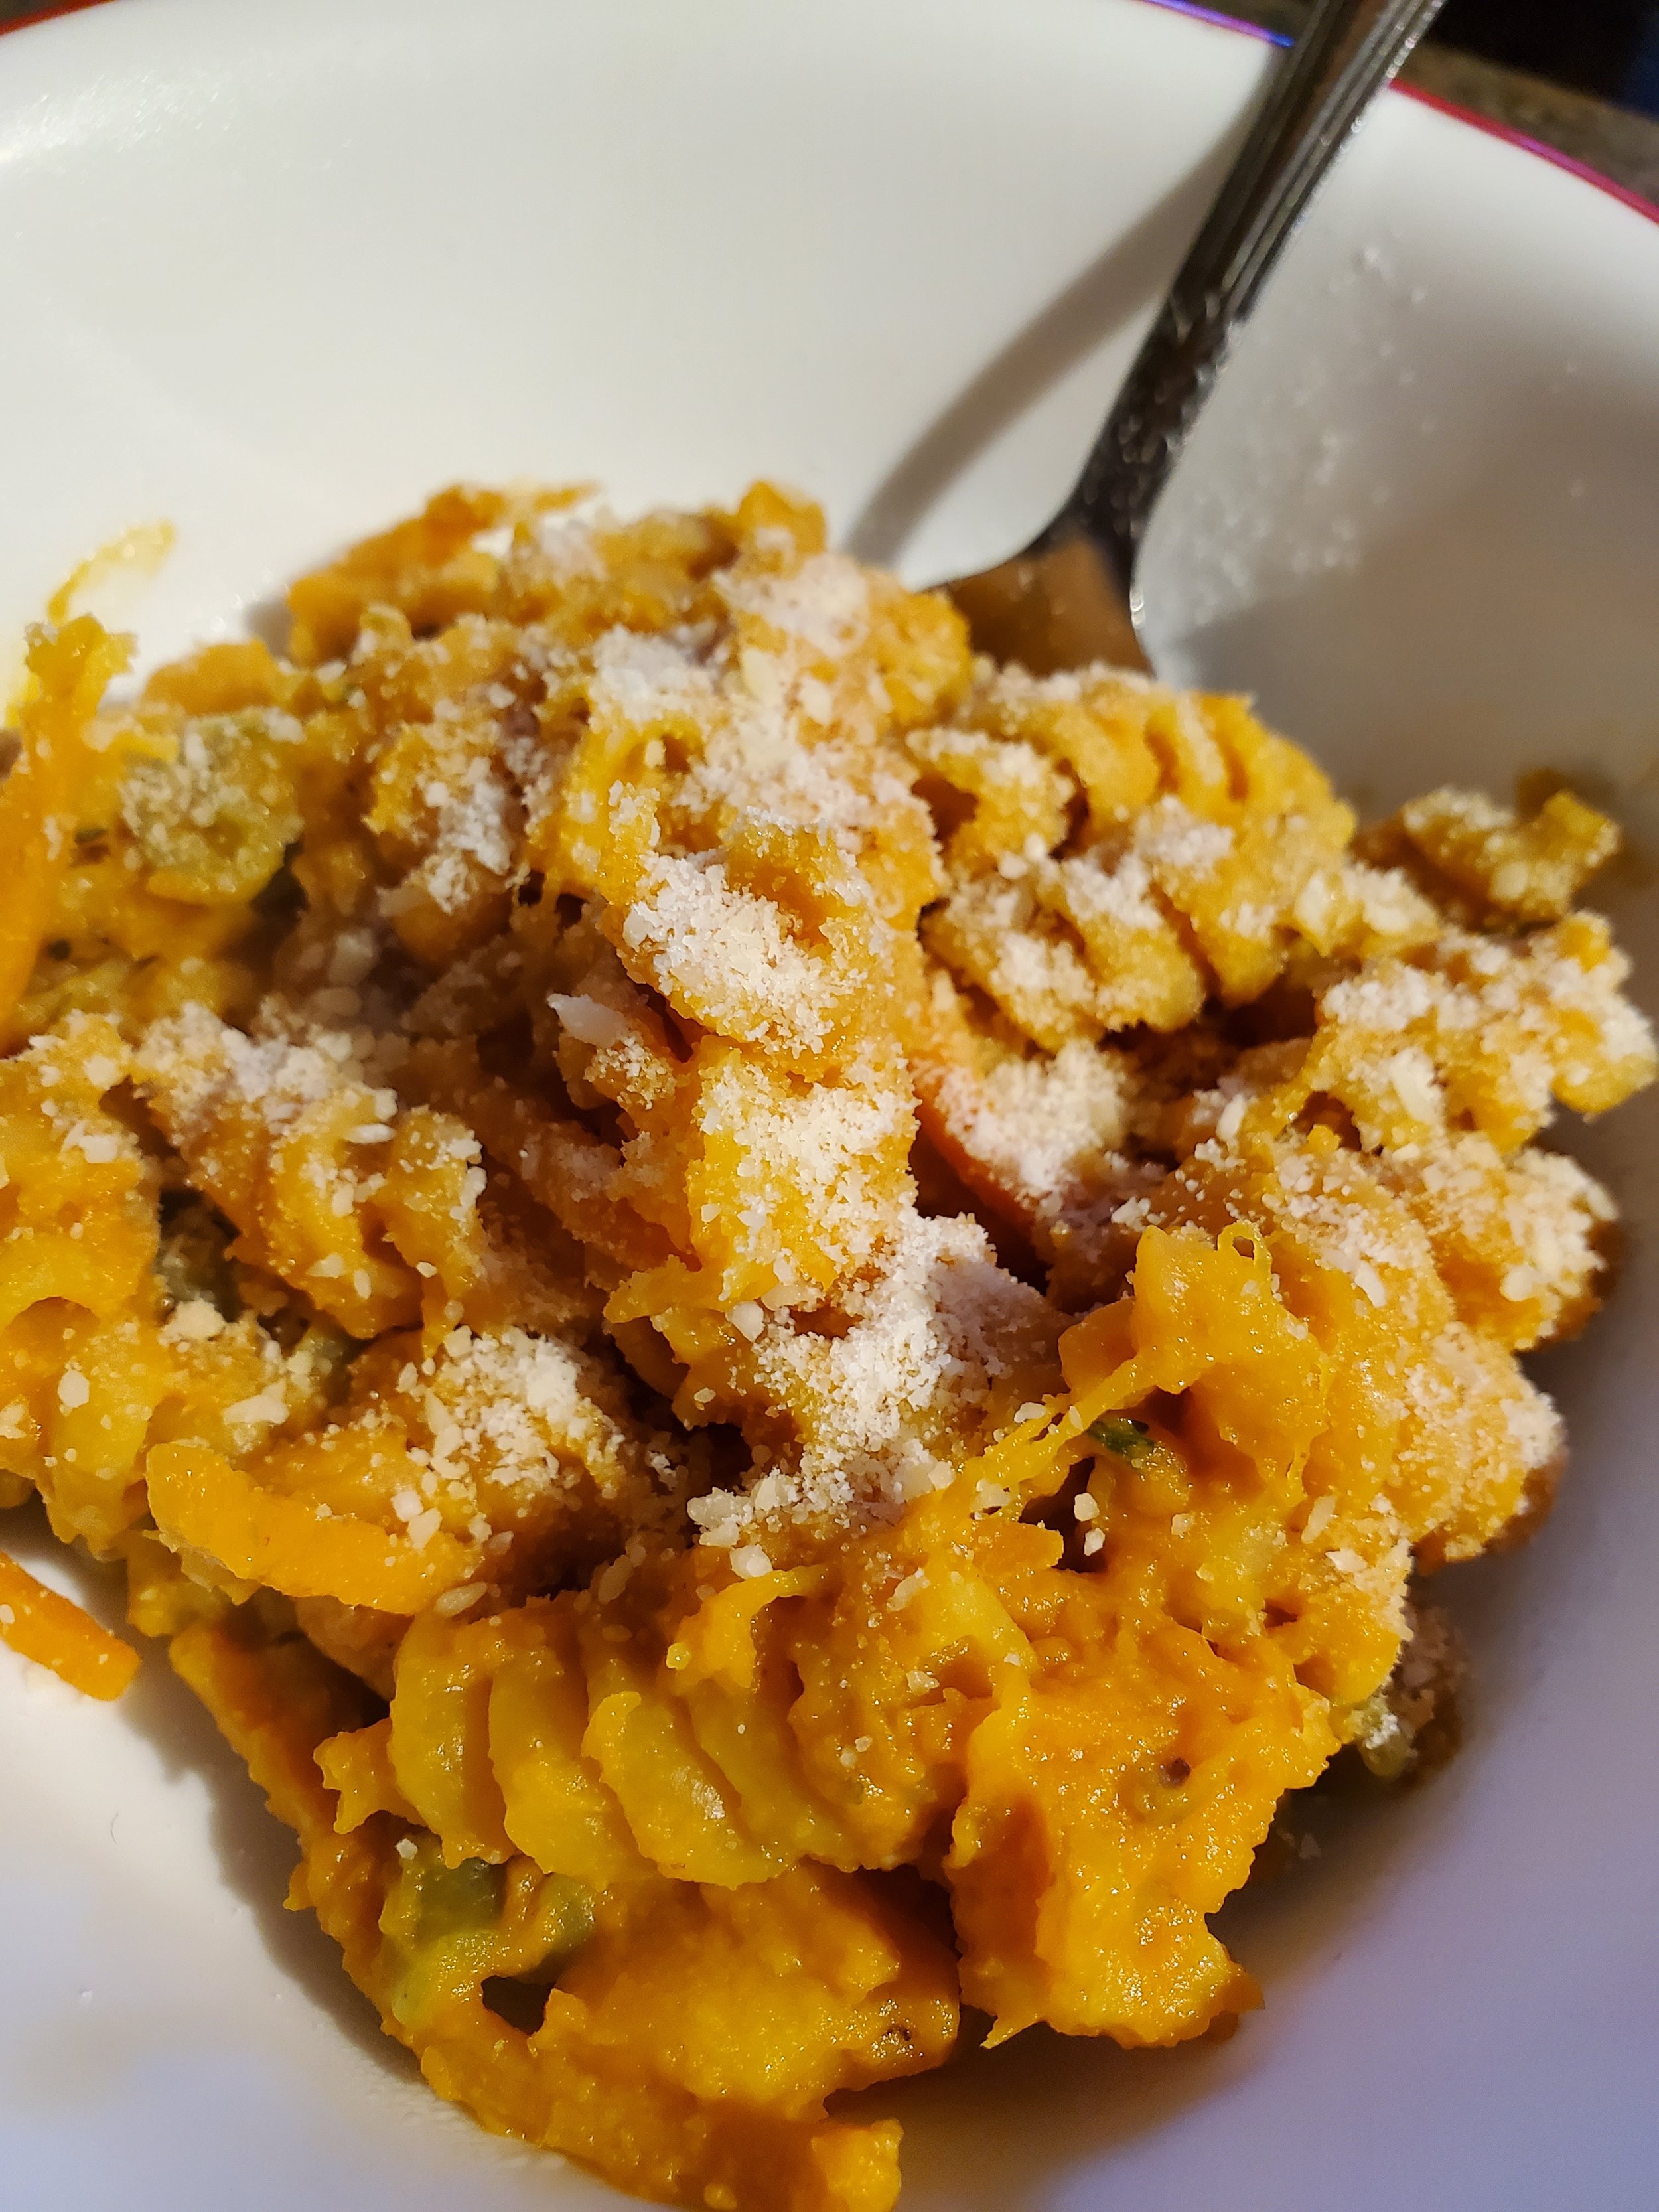
Fall Comfort Food: How to Make Perfectly Creamy Pumpkin Pasta

You know how after it’s been hot for so long, you crave fall and all the things that come with it? That’s how we’ve been feeling. It’s not just the days where it’s over 100 all day and even after the sun has set. No, we want everything to do with fall. We want football and cooler weather, sweaters and some of our favorite comfort foods. Unfortunately, there’s only one thing on that list we can make happen on our own. So, we whipped up a batch of this pumpkin pasta, and turned the AC down as far as it would.

Pumpkin Pasta

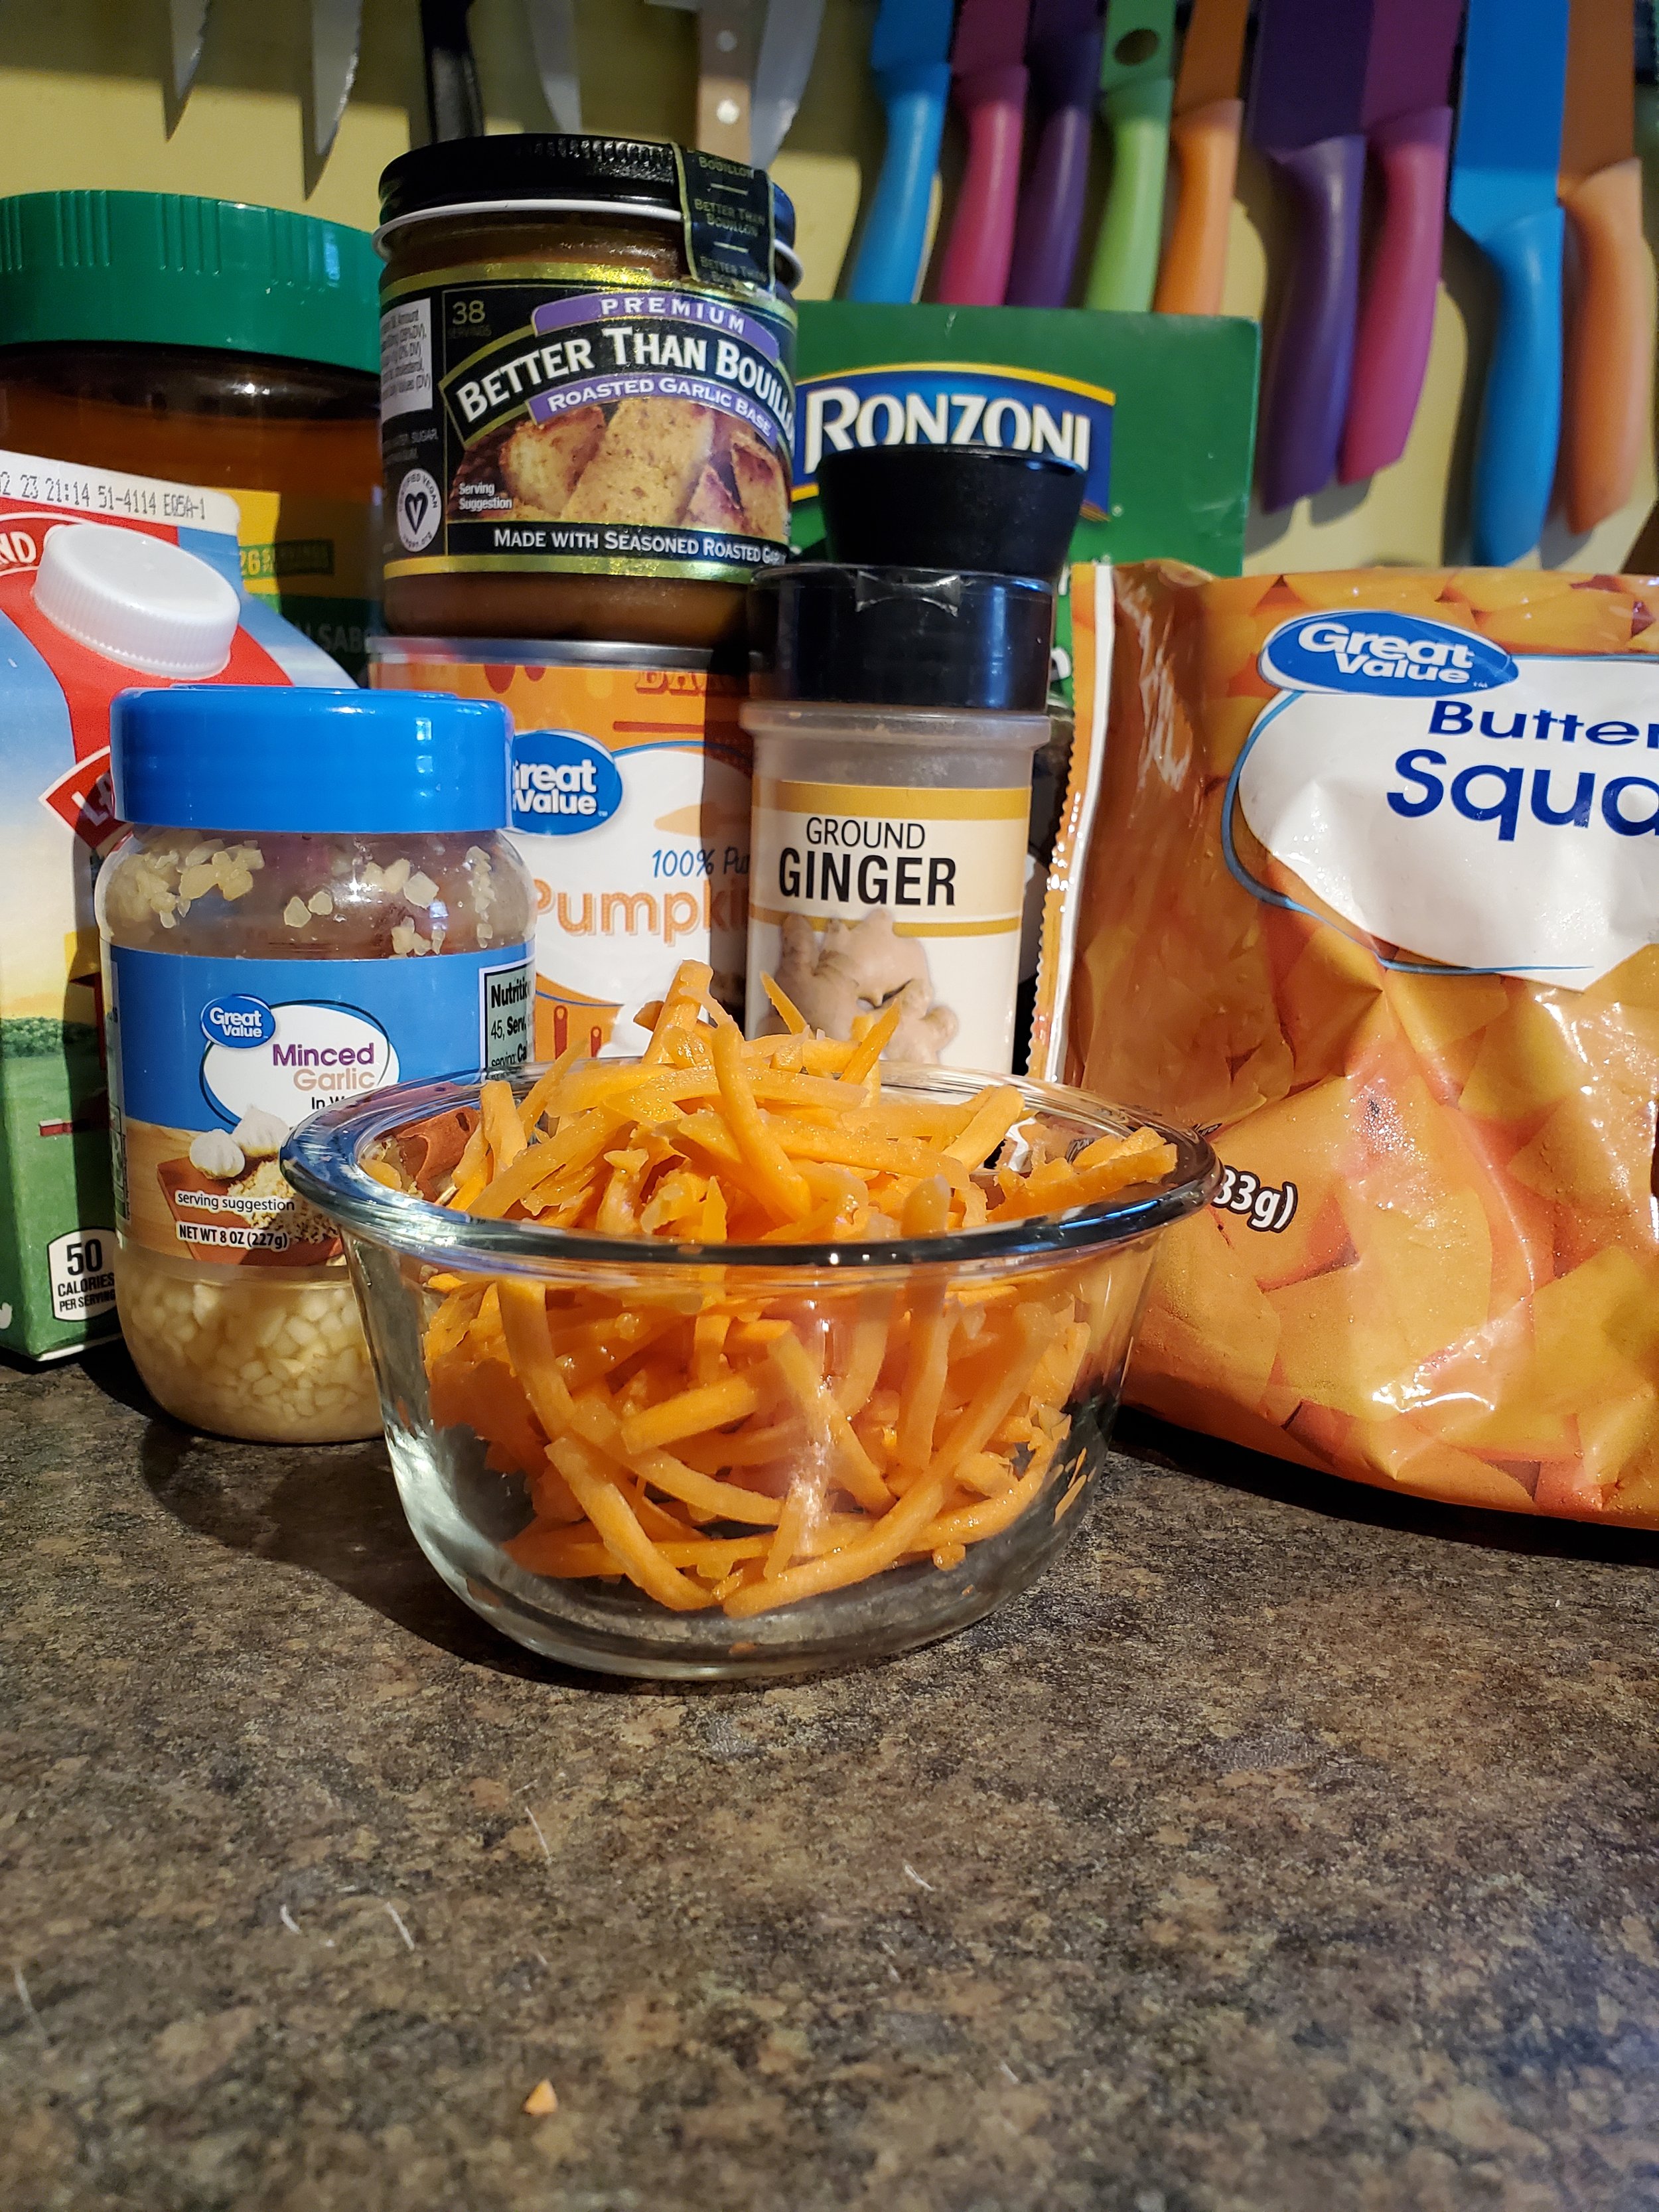
1 12-16 oz box of pasta (recommended: rotini, cavatappi)

1 can pumpkin puree (15 oz)

1/2 cup chicken broth

1/4 cup heavy cream

1 package steamable frozen butternut squash

1 package steamable frozen sweet potatoes

1 cup shredded carrots

1 tablespoon minced garlic

1 teaspoon ground ginger

2 tablespoons olive oil

salt and pepper to taste

Optional but recommended:

pinch parsley

pinch smoked paprika

teaspoon Better Than Bouillon roasted garlic base

parmesan cheese

pinch crushed red pepper

Tools:

can opener

stock pot

colander

large saucepan with lid

serving spoon

measuring cups and spoons

Before we begin: be sure you have plain pumpkin puree and not a can of pumpkin pie filling! This terrible tragedy has happened to us before. Some companies label the two items entirely too similarly, and sleepy cooks (or cooks relying on little helpers' newly acquired reading skills) may fall victim to the same oops. So, double-check your labels before you whip out the can opener.

Fill your stock pot with water and set it on a burner to come up to a boil. Salt the water if you prefer to do so.

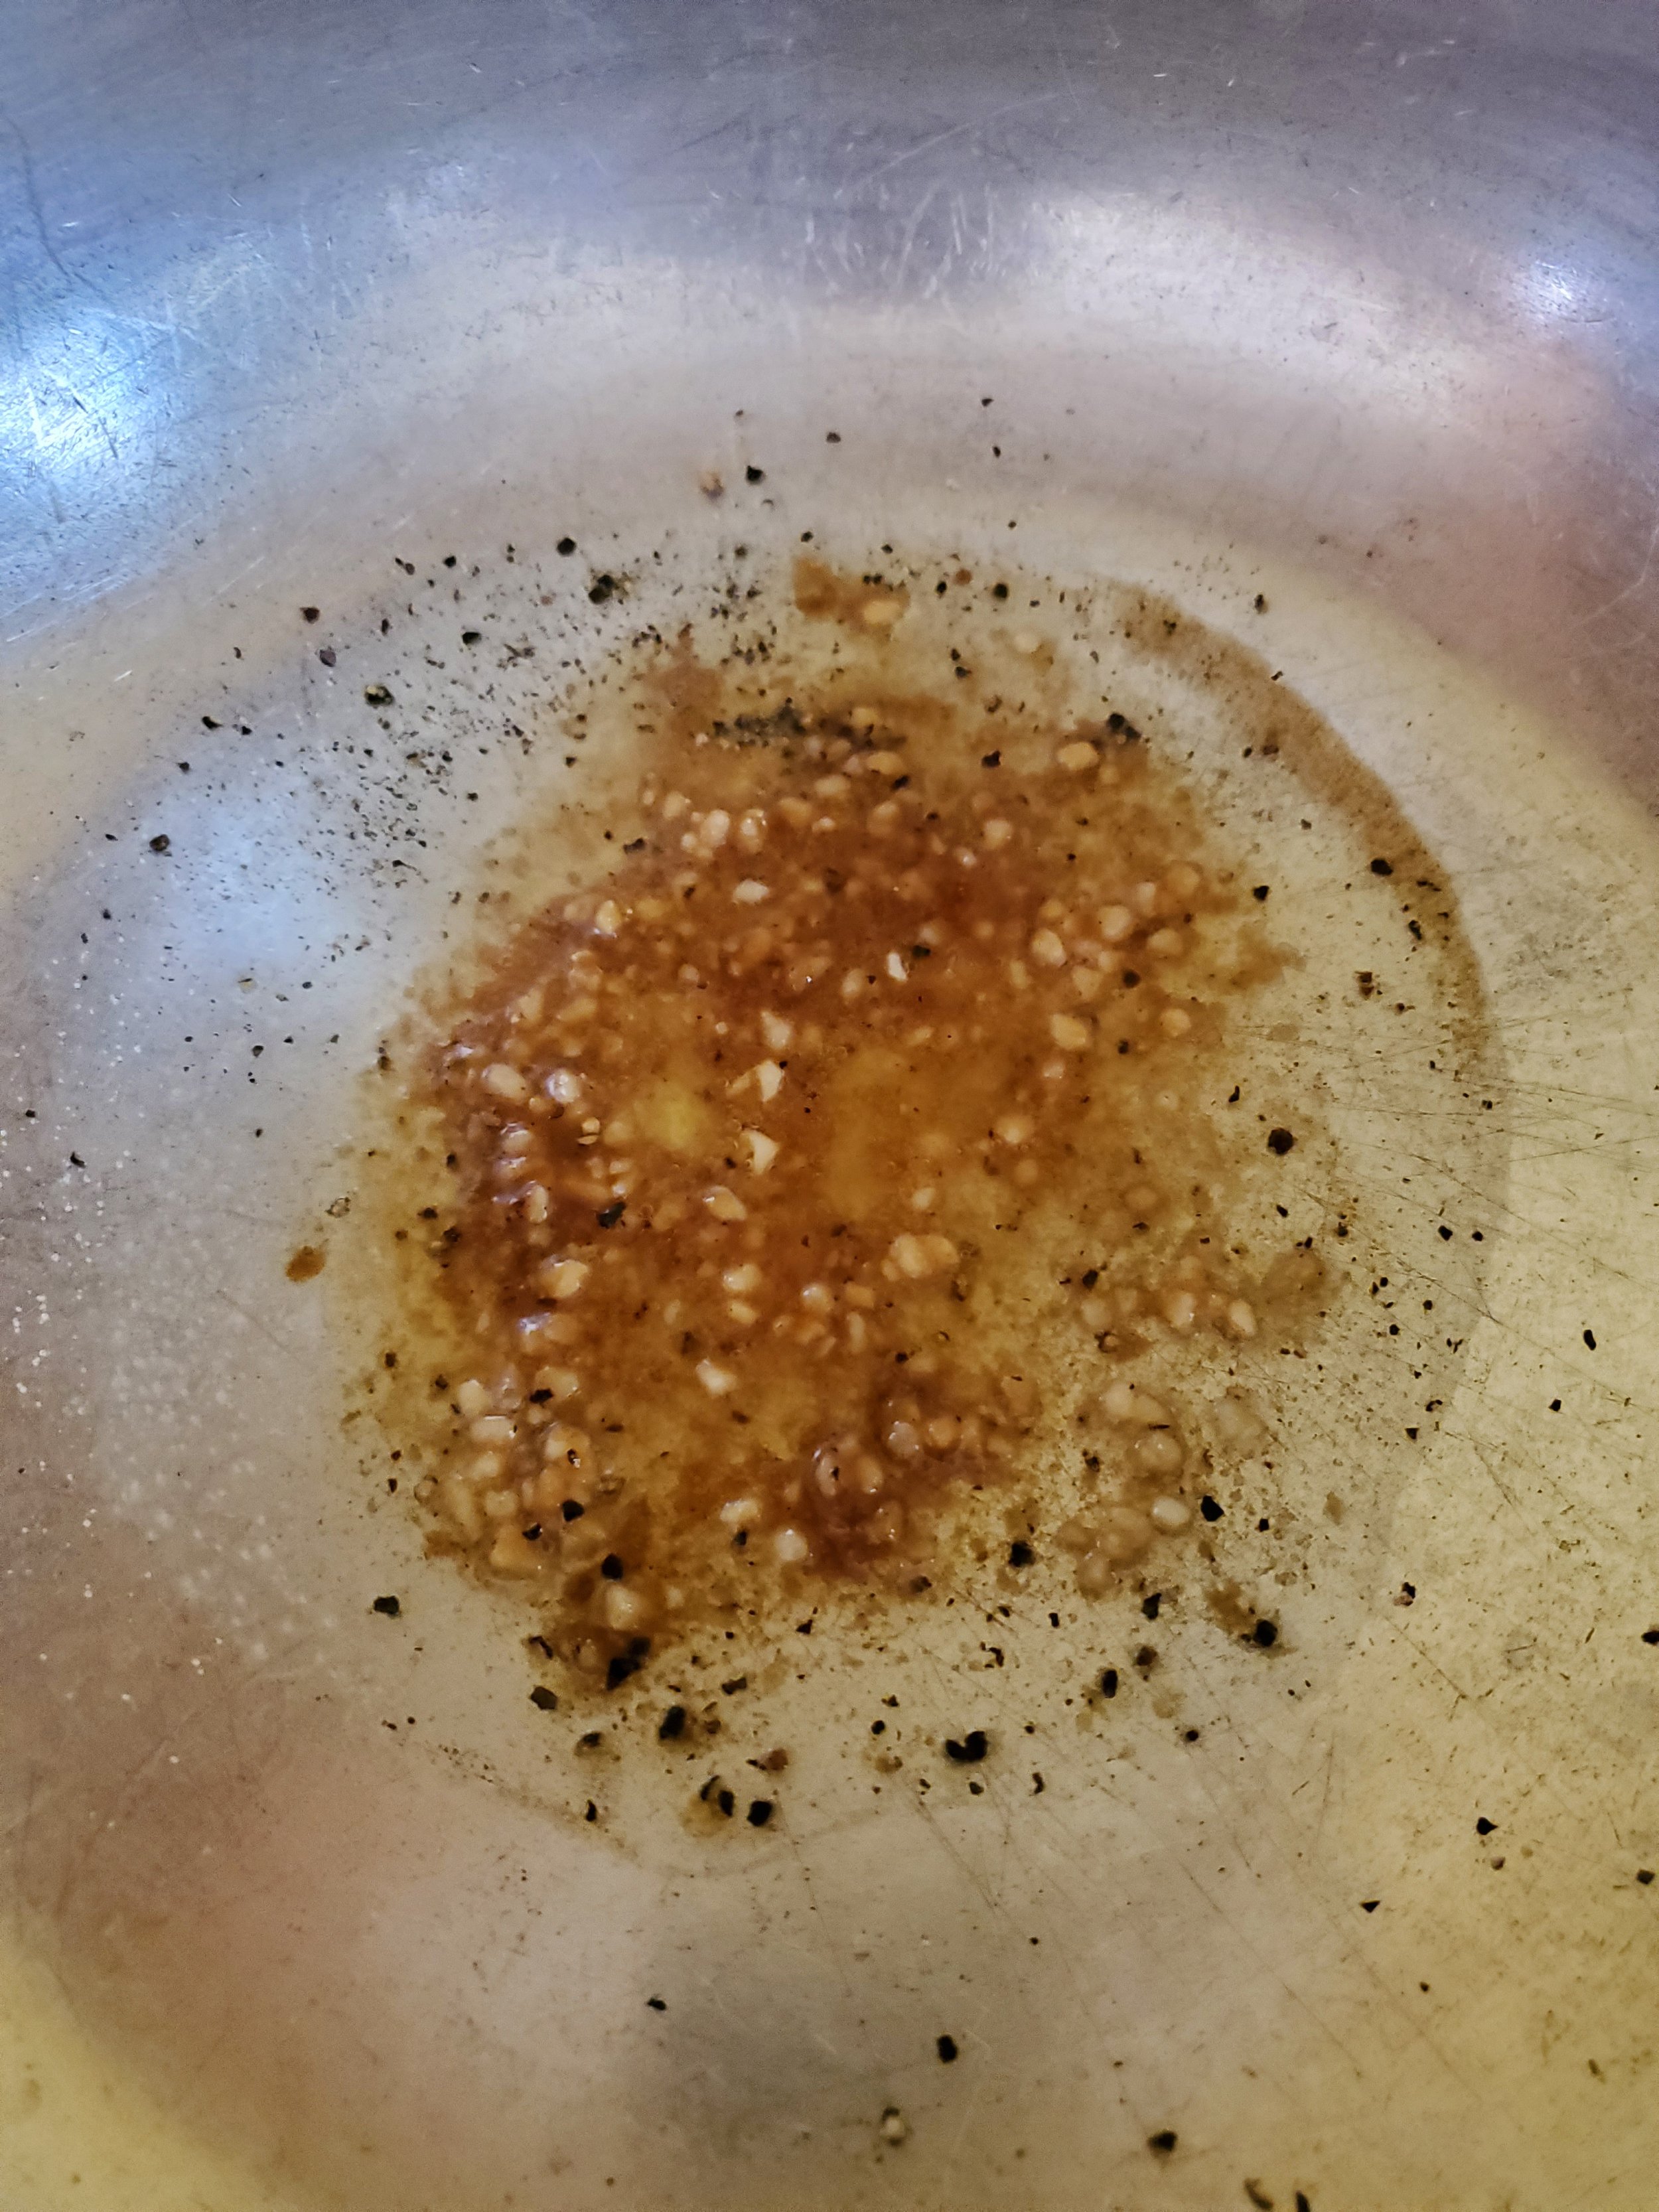
Pour your olive oil into the saucepan and toss in your minced garlic, ground ginger and pepper. If you plan to use the roasted garlic base, smoked paprika and dried parsley, add them too. While they aren't strictly necessary, they do a lot of work to complement and balance what can be a very rich recipe. Slap the lid on the pan and let the spices and oil simmer for a minute or two on low heat.

Shredded carrots are almost always washed, ready-to-eat produce, but if yours are the exception to the rule, please take a minute to wash them while your spices sizzle.

Start your butternut squash in the microwave. The squash can take as little as four minutes or as long as seven, so be sure to follow the directions on the package.

Once your spices are fragrant and the garlic has browned a little, add the carrots and cover again. The carrots don't need a whole lot of time to cook, and we don't want to cook them to death, so it's best to move on quickly here. 

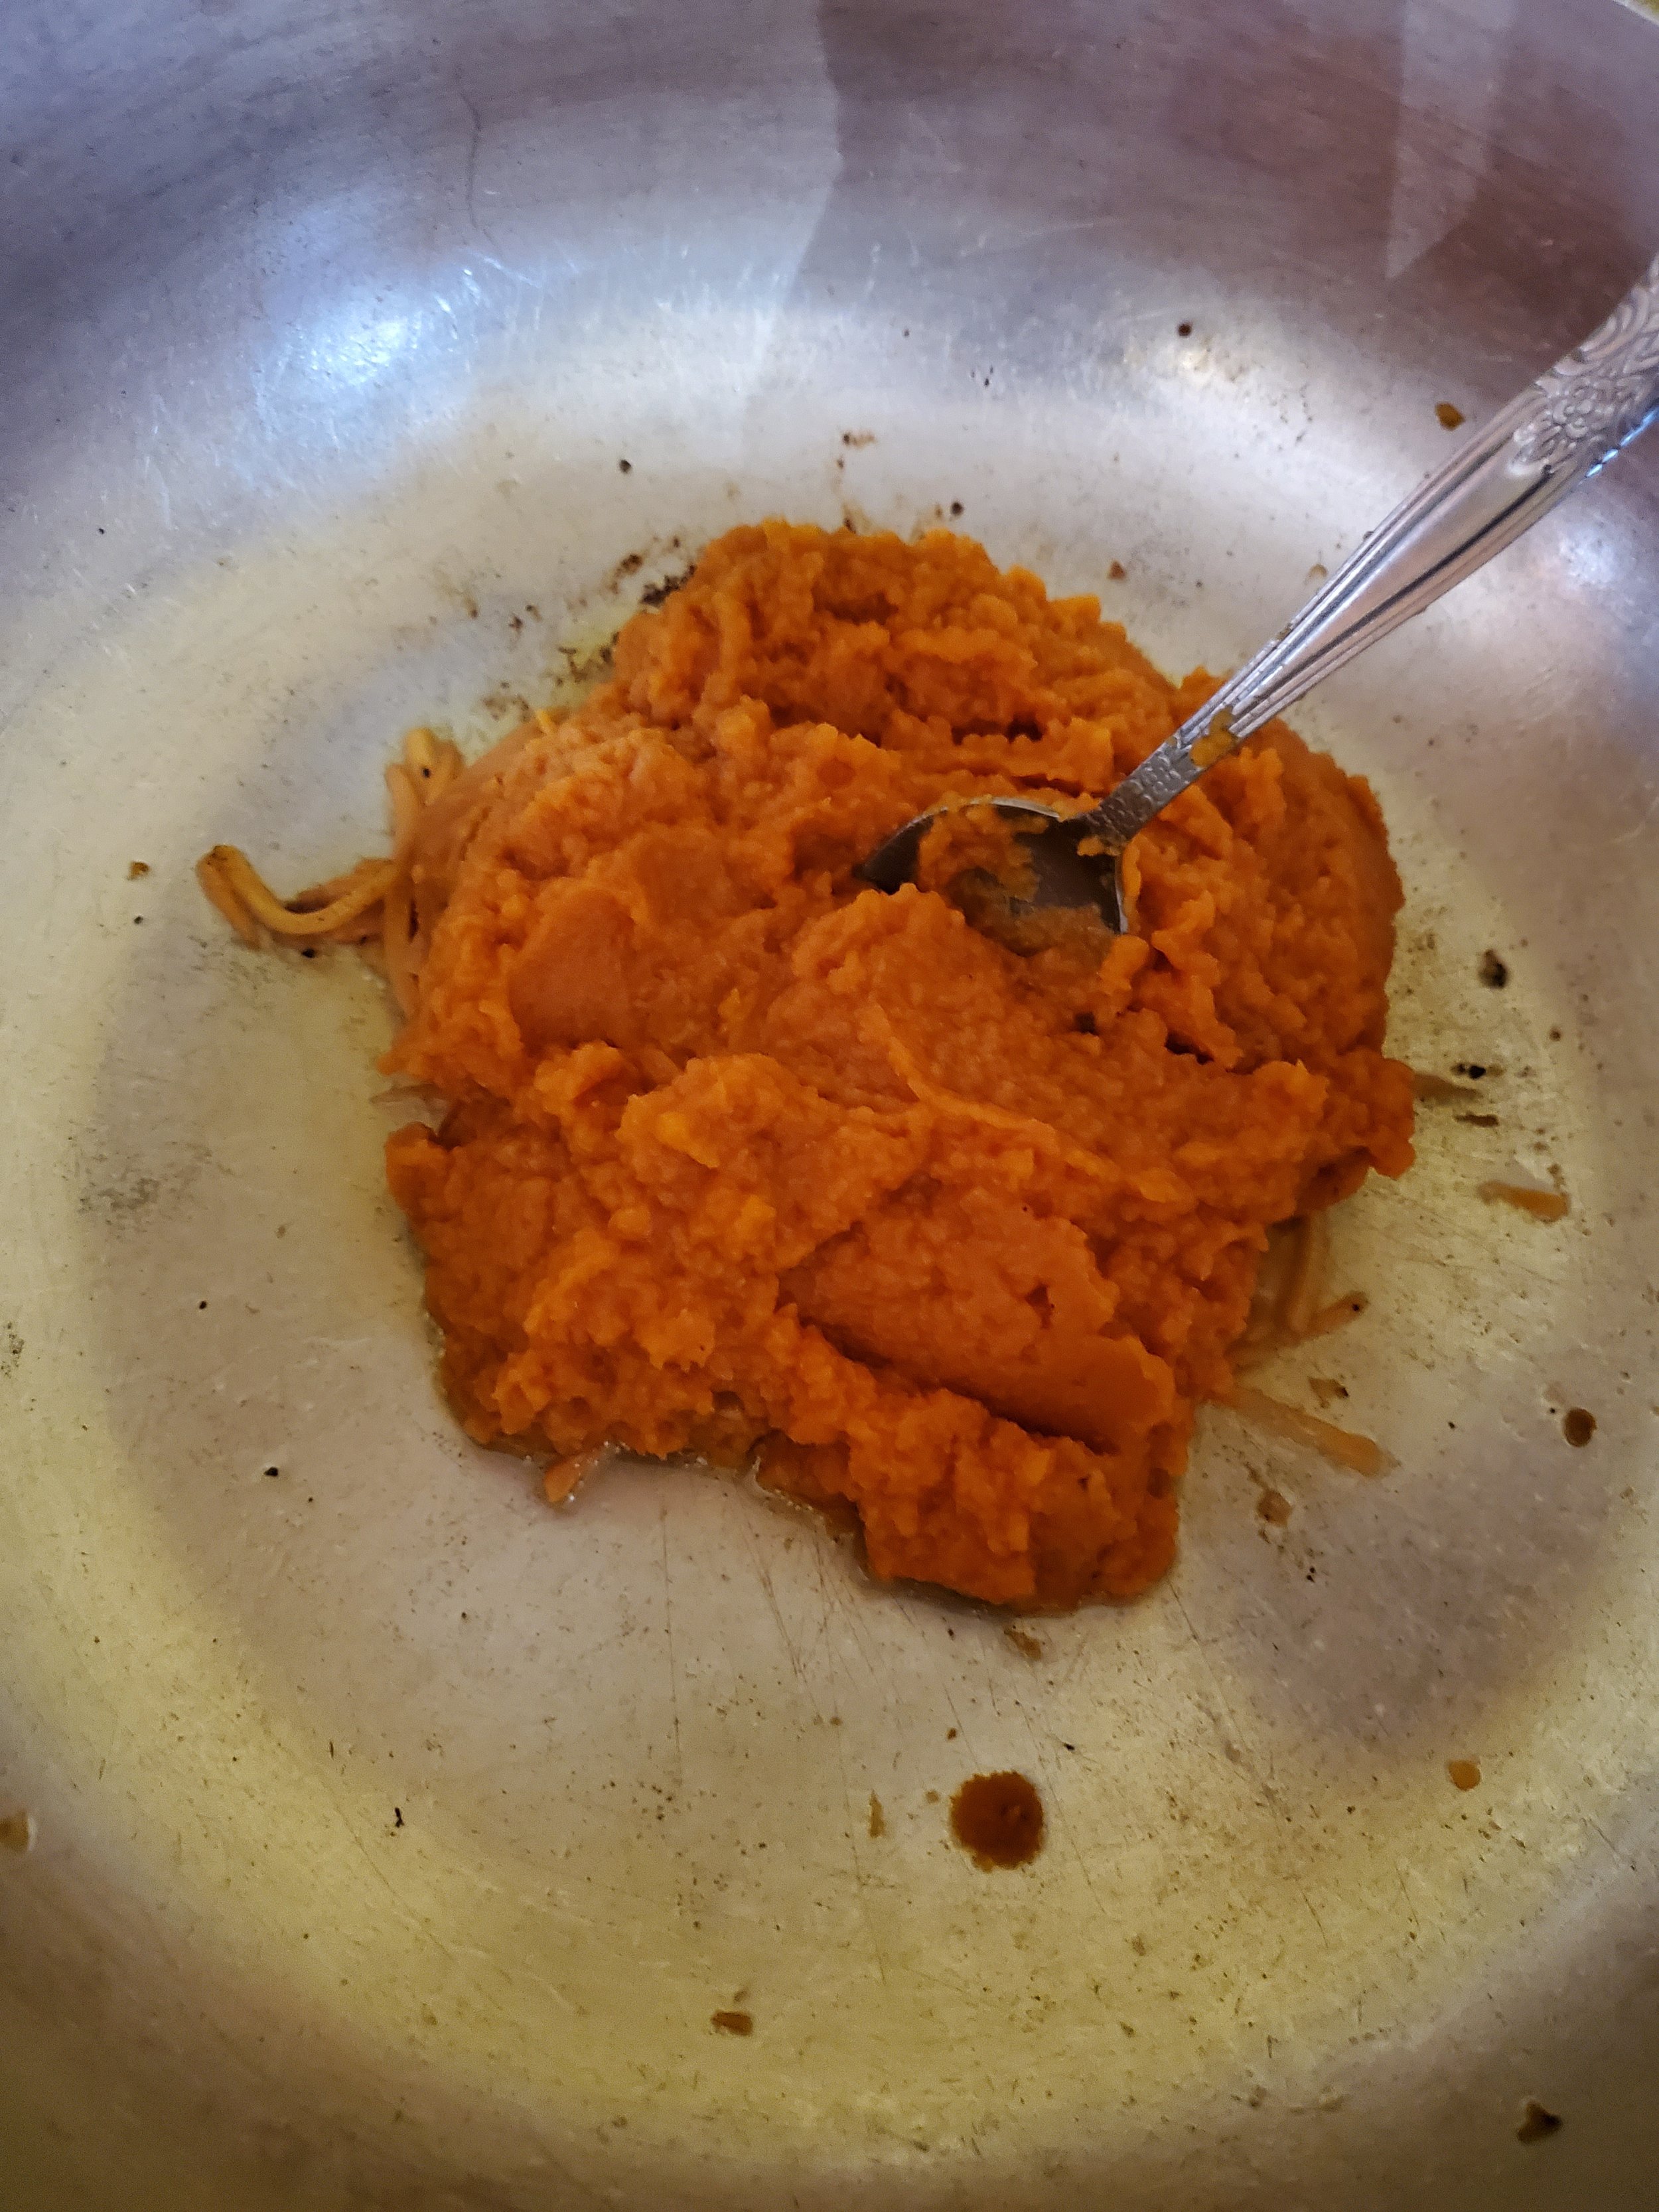
Take your can opener and crack open the can of what you are now double-sure is pumpkin puree and not pie filling. Add the pumpkin puree to the saucepan. We're well aware the pumpkin doesn't always like to exit the can. If there are some stubborn spots, measure your half cup of chicken broth into the can and swish it around a little to dislodge as much of the pumpkin as possible, then pour the chicken broth into the pan.

Stir everything until the pumpkin thins out some, then add the quarter cup of heavy cream and mix it in until you no longer have white streaks. You can use half & half or milk instead, but we feel the heavy cream makes a superior sauce.

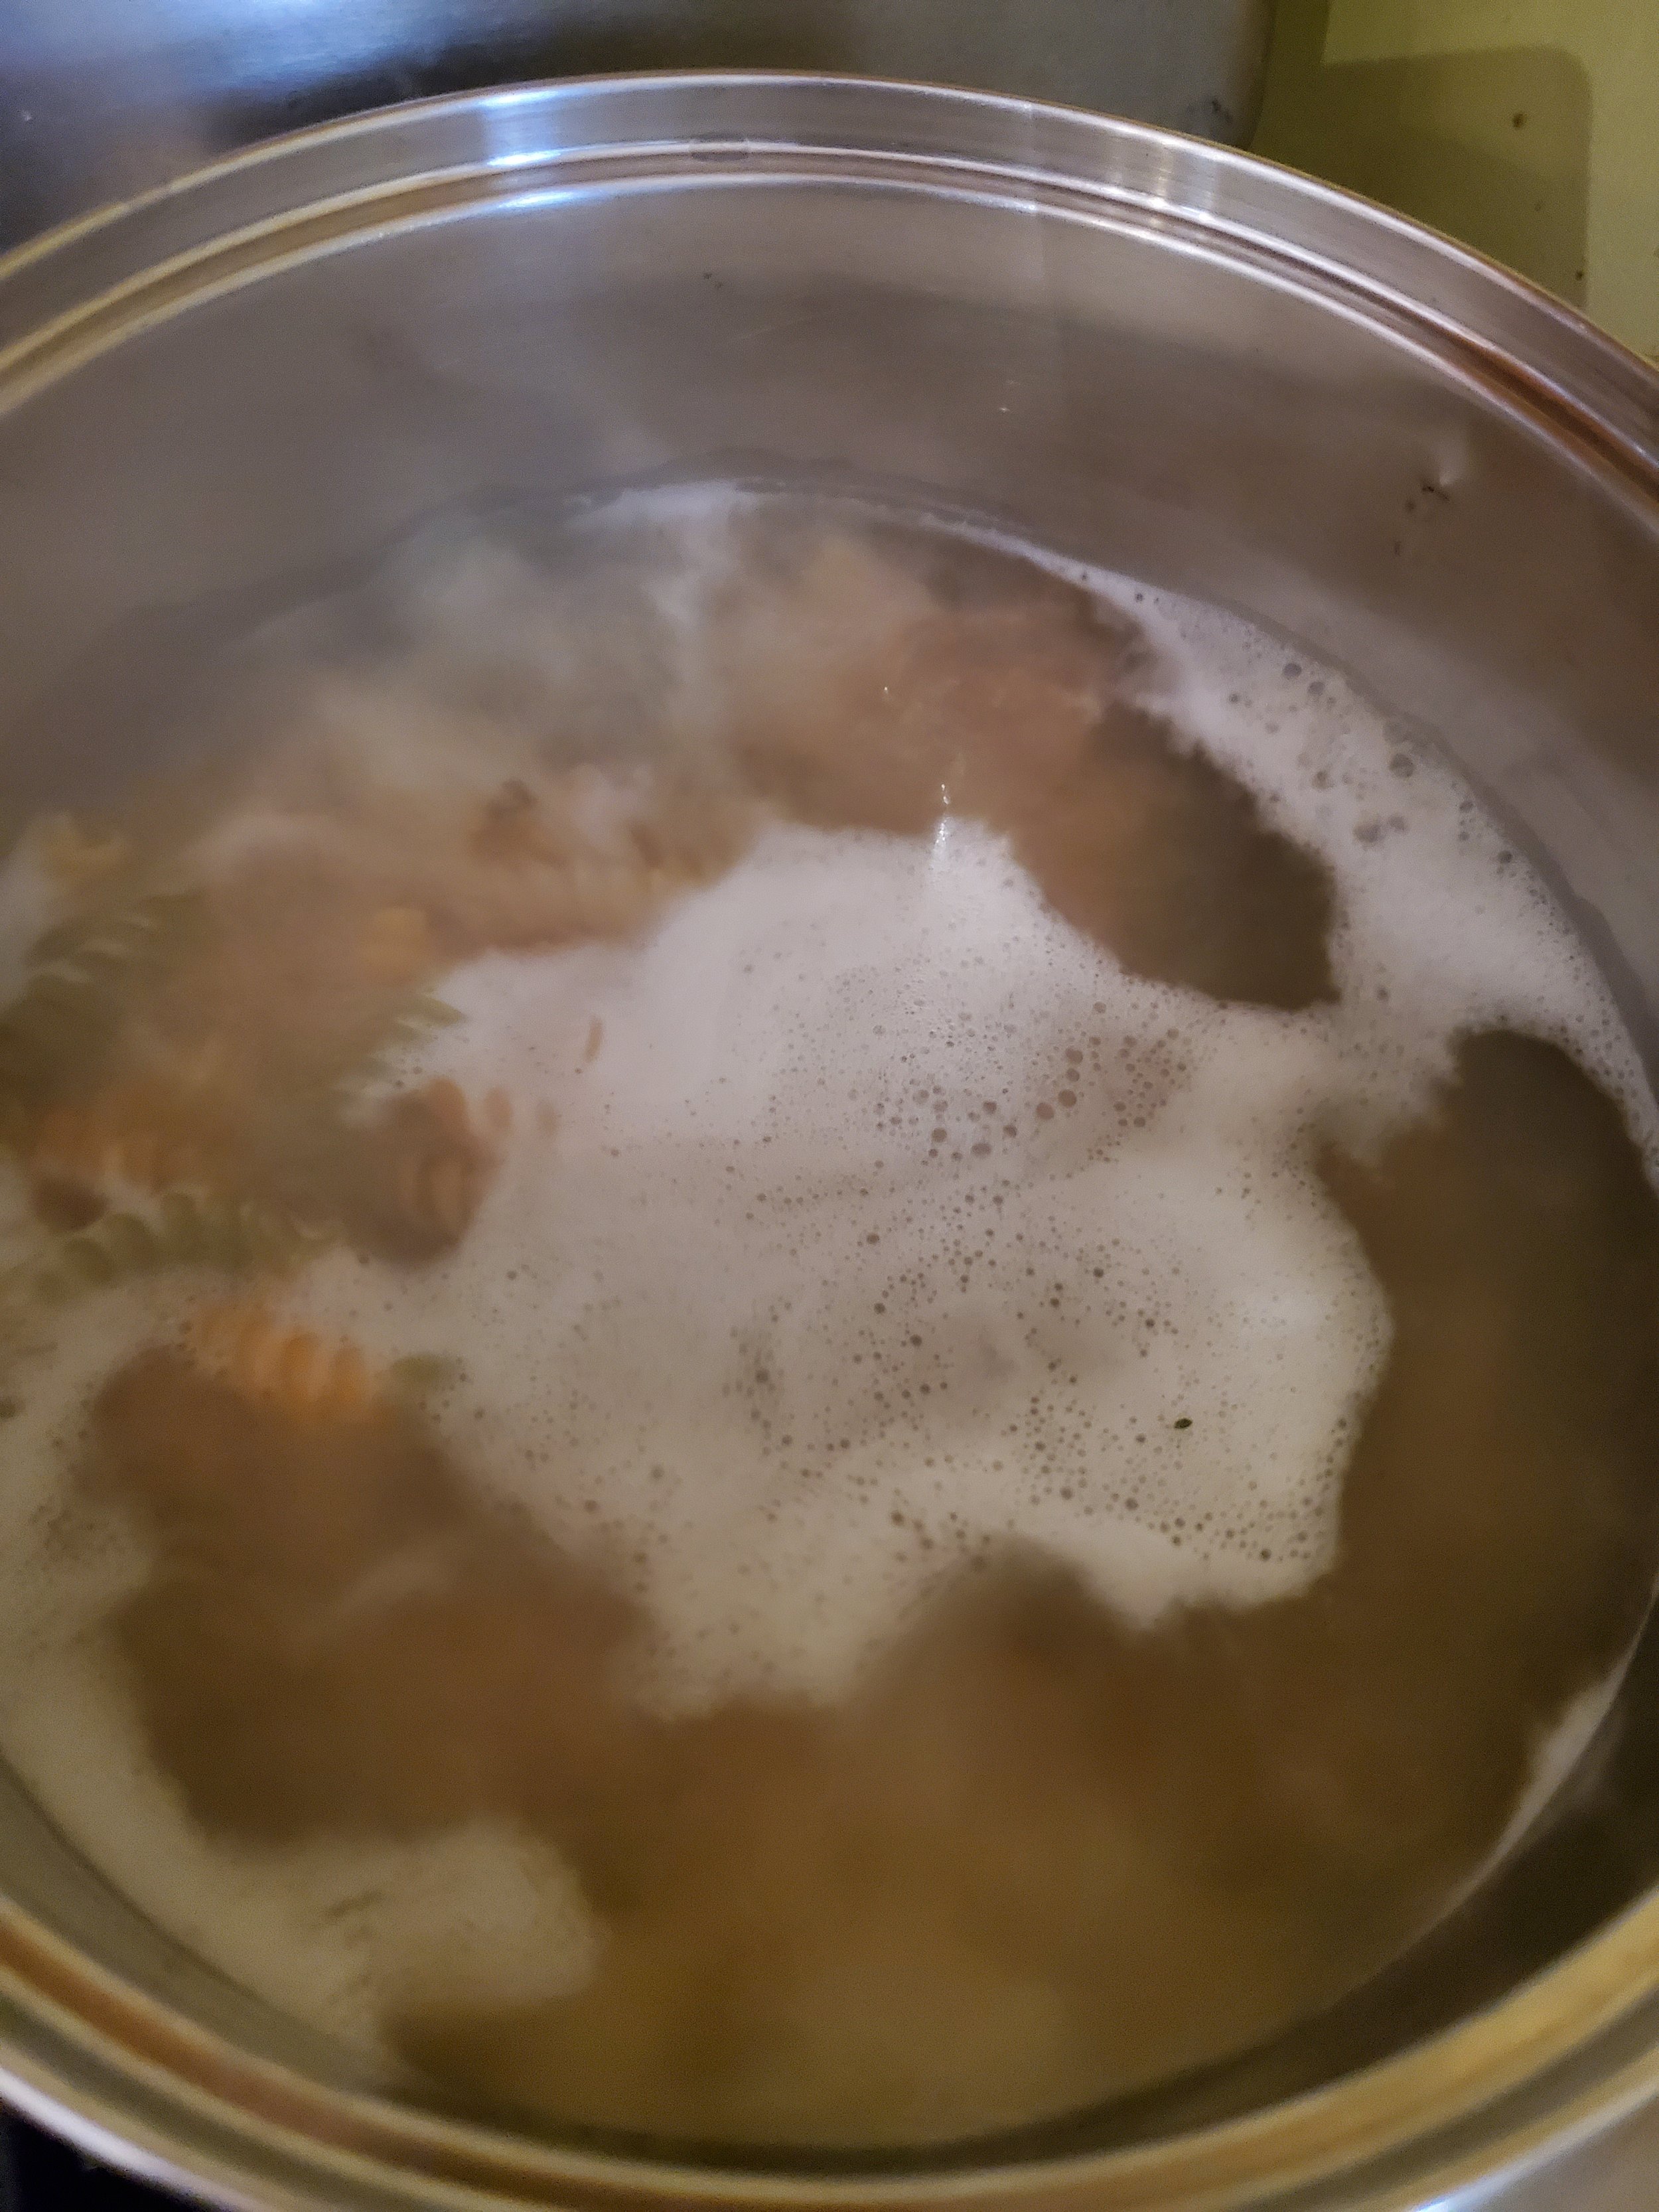
By now your pot of water should be boiling. Add your pasta and give a quick stir to separate. Now you'll just need to check back in on it occasionally while it cooks. We like to shave a minute or two off the time the directions on the box suggest - we hate mushy pasta - and we also like to use a veggie pasta when we can. Sneaking in that extra little bit of vegetables counts!

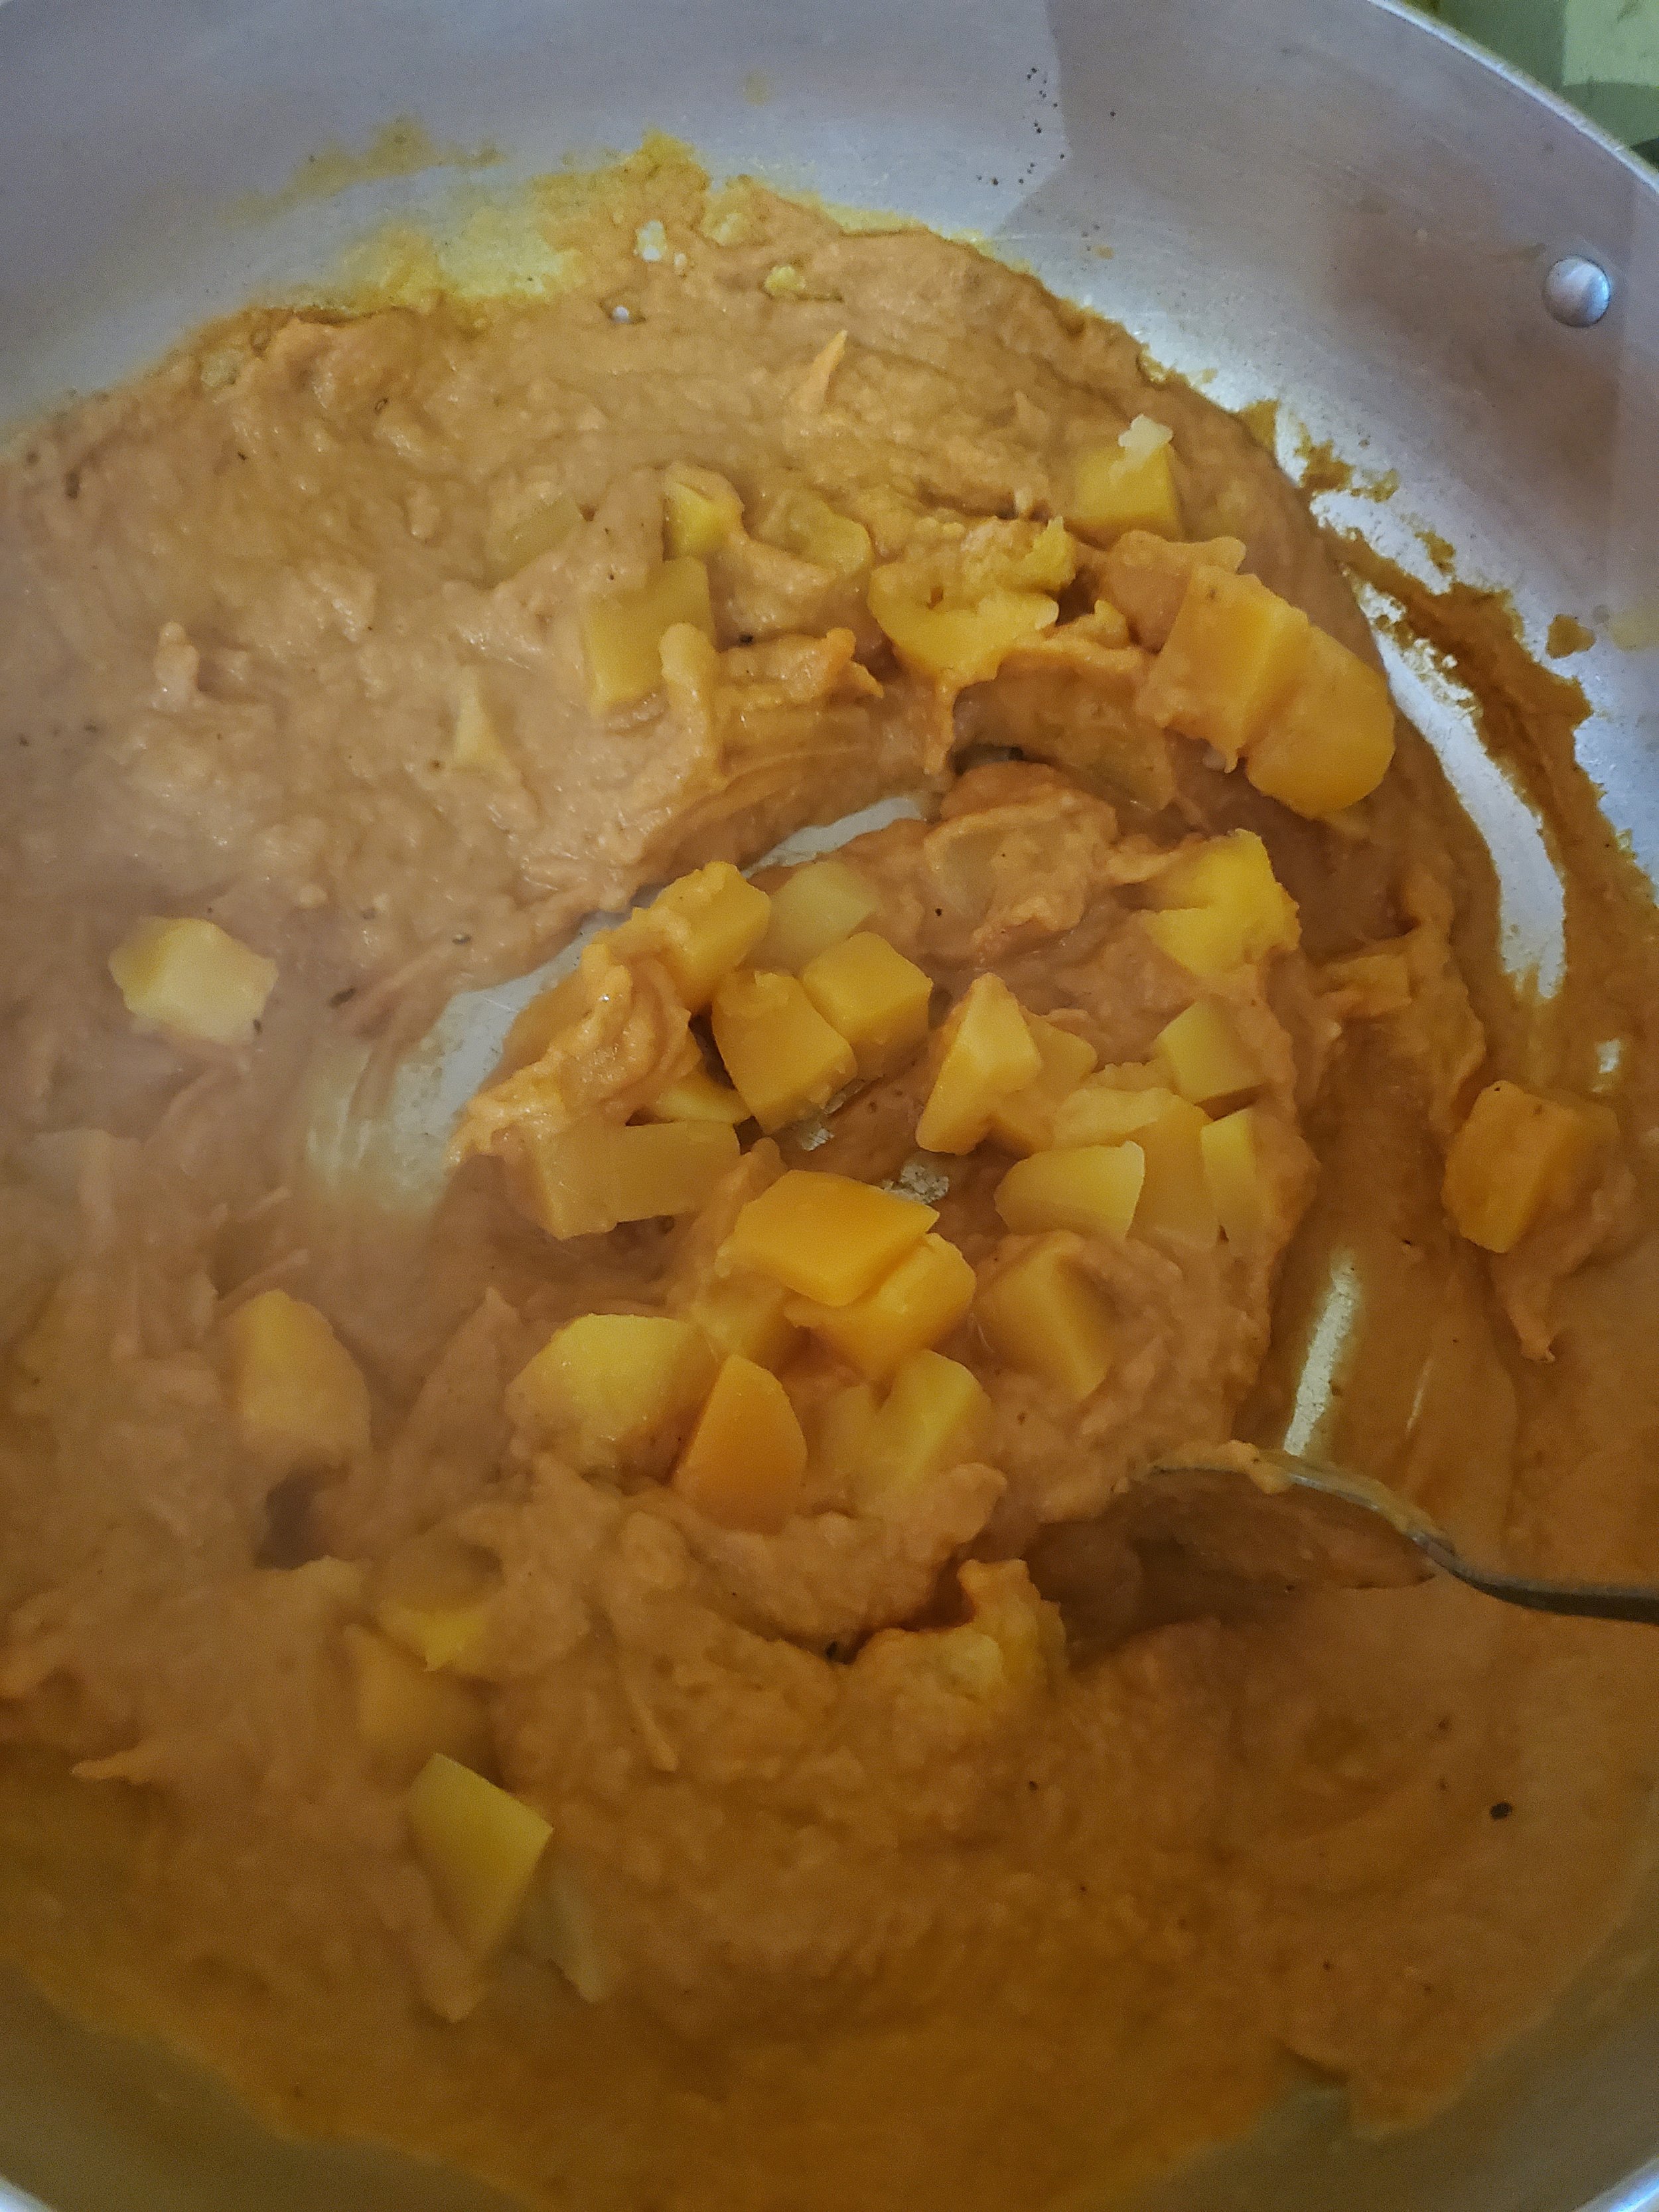
Turn your attention back to the microwave and remove your squash. Replace it with the sweet potatoes and start them cooking. Cut a corner off the bag of squash and drain out the excess water before adding the squash to the pumpkin sauce mixture and stirring it in.

Cover the sauce again and let it simmer for about five minutes.

When the sweet potatoes are done cooking, repeat what you did with the squash: cut a corner, drain the excess water, then add to the sauce and stir to cover.

By this point your pasta is close to ready. Test a piece to be sure the pasta is cooked through, and (assuming it doesn't need more time) drain it into the colander.

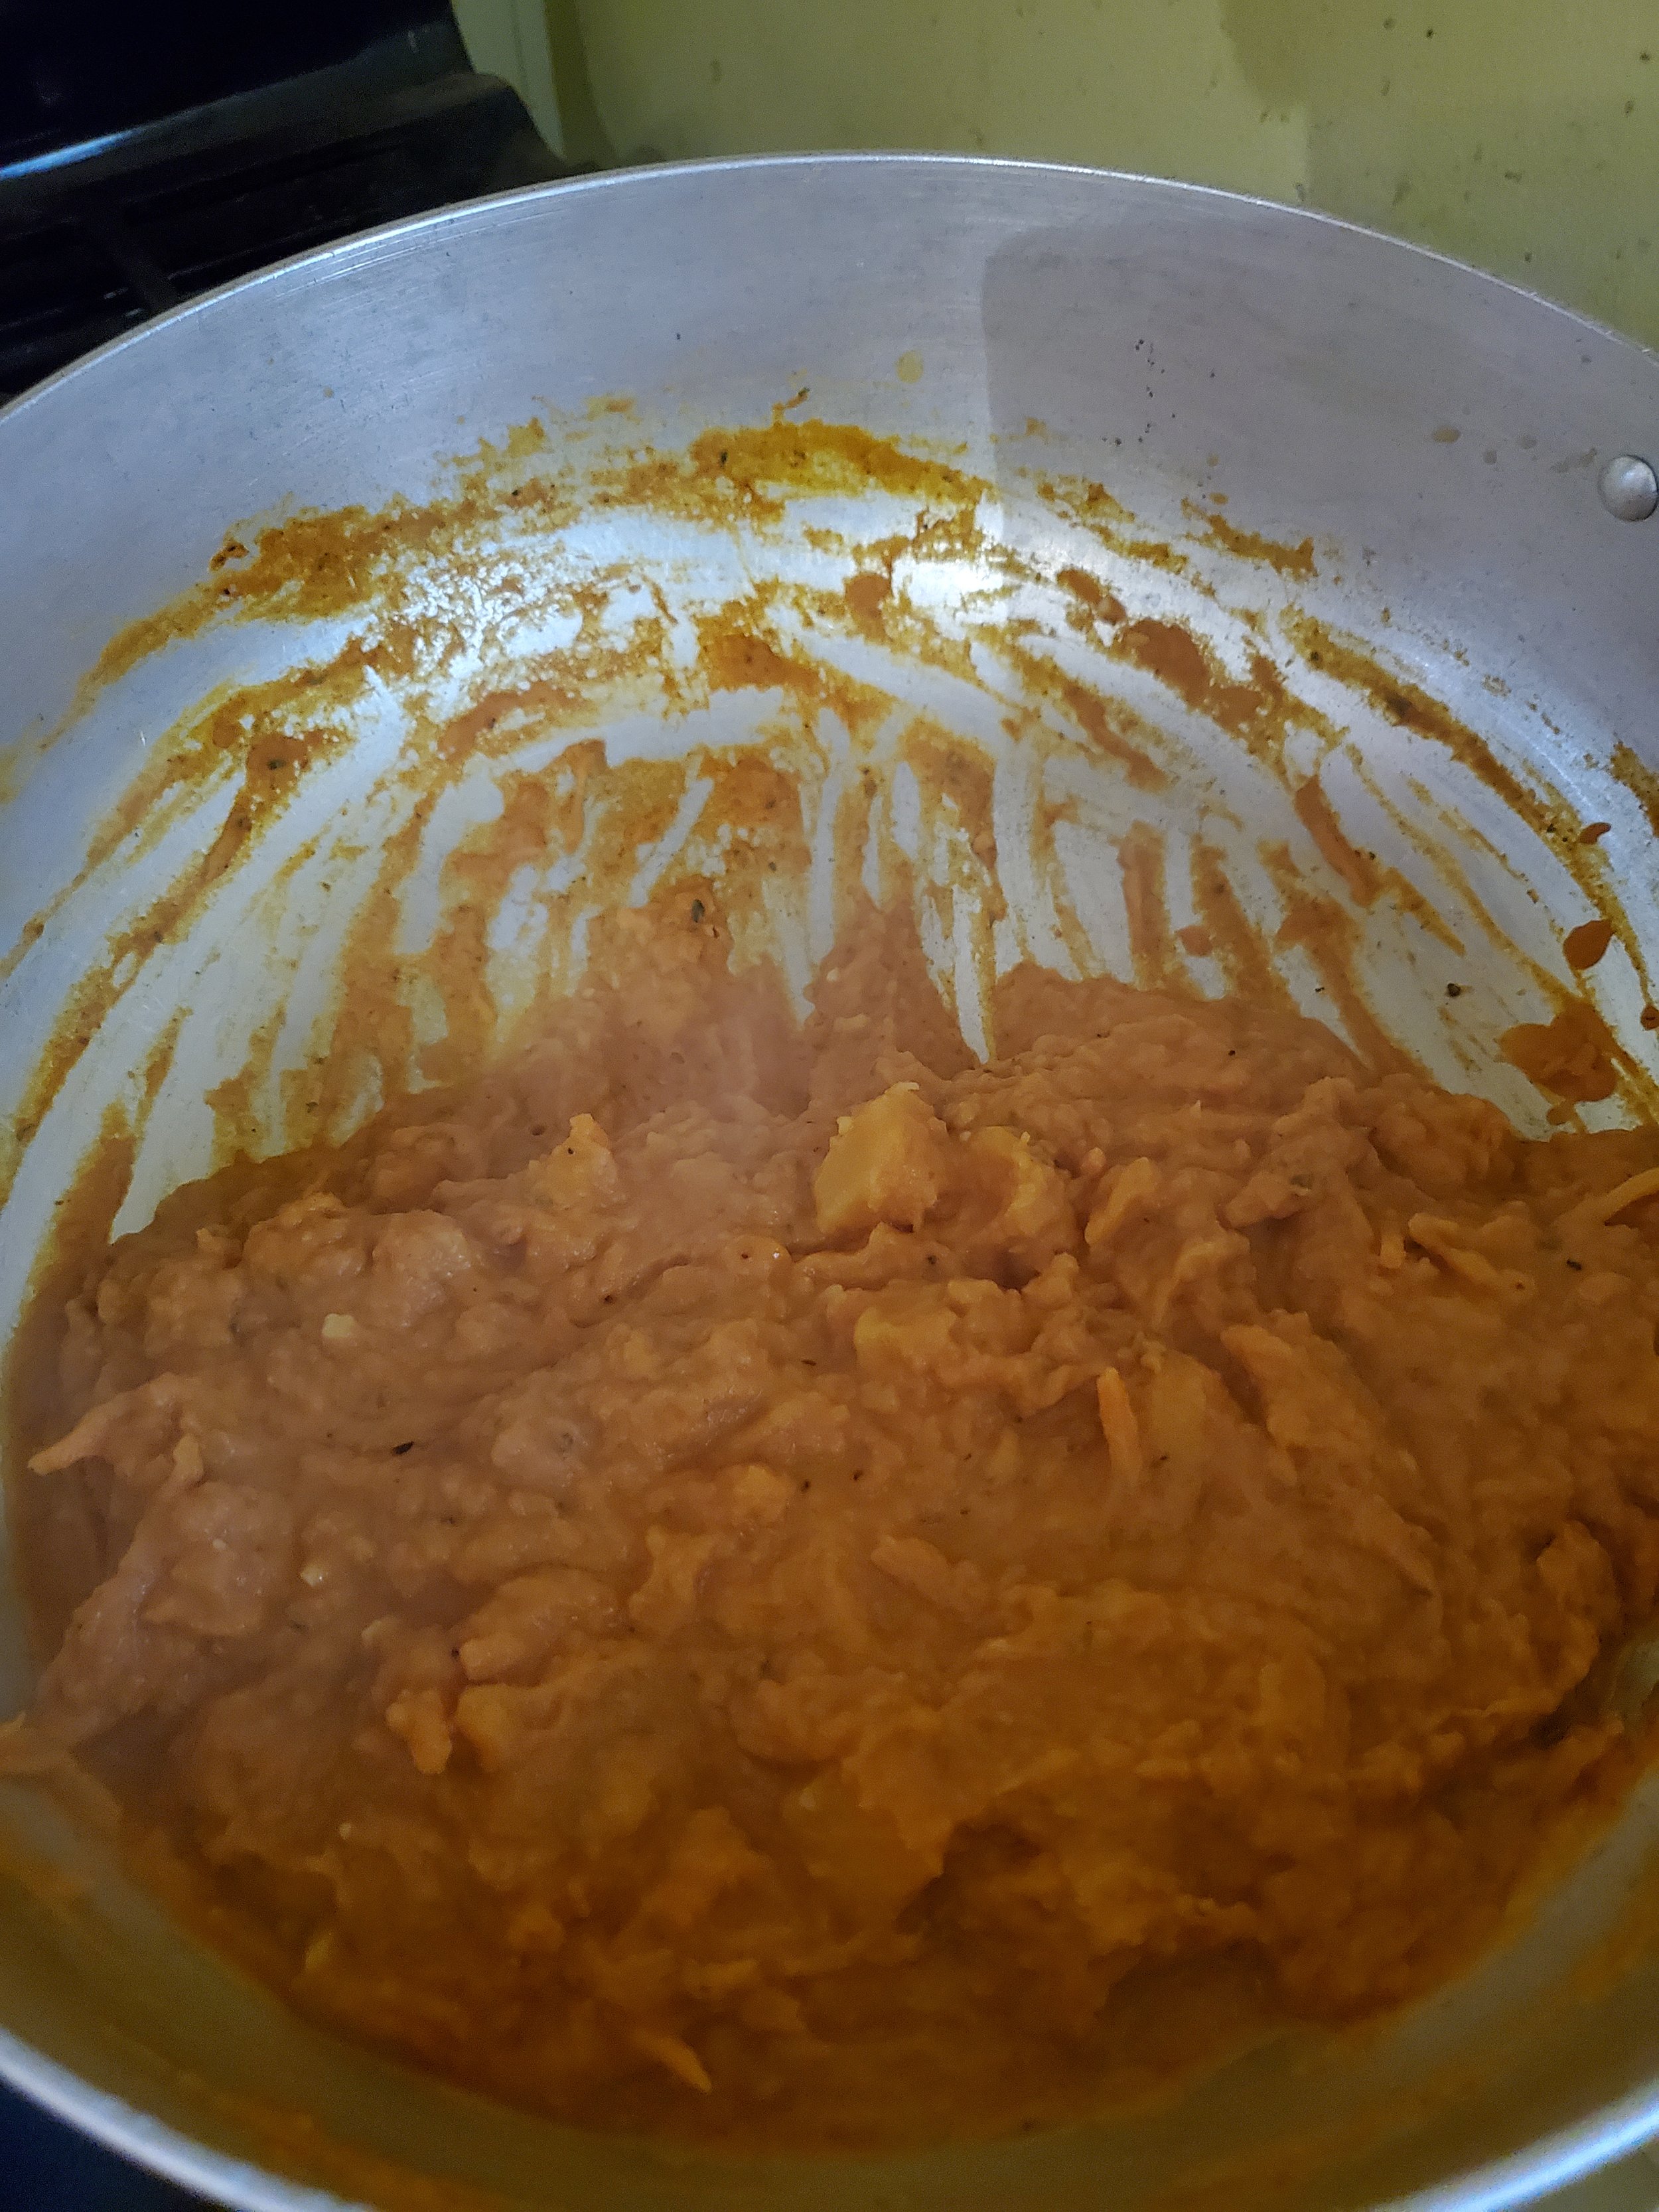
While it's draining, scrape all the sauce to one side of the saucepan. It's heavy, chunky stuff, so it'll mostly stay where you put it.

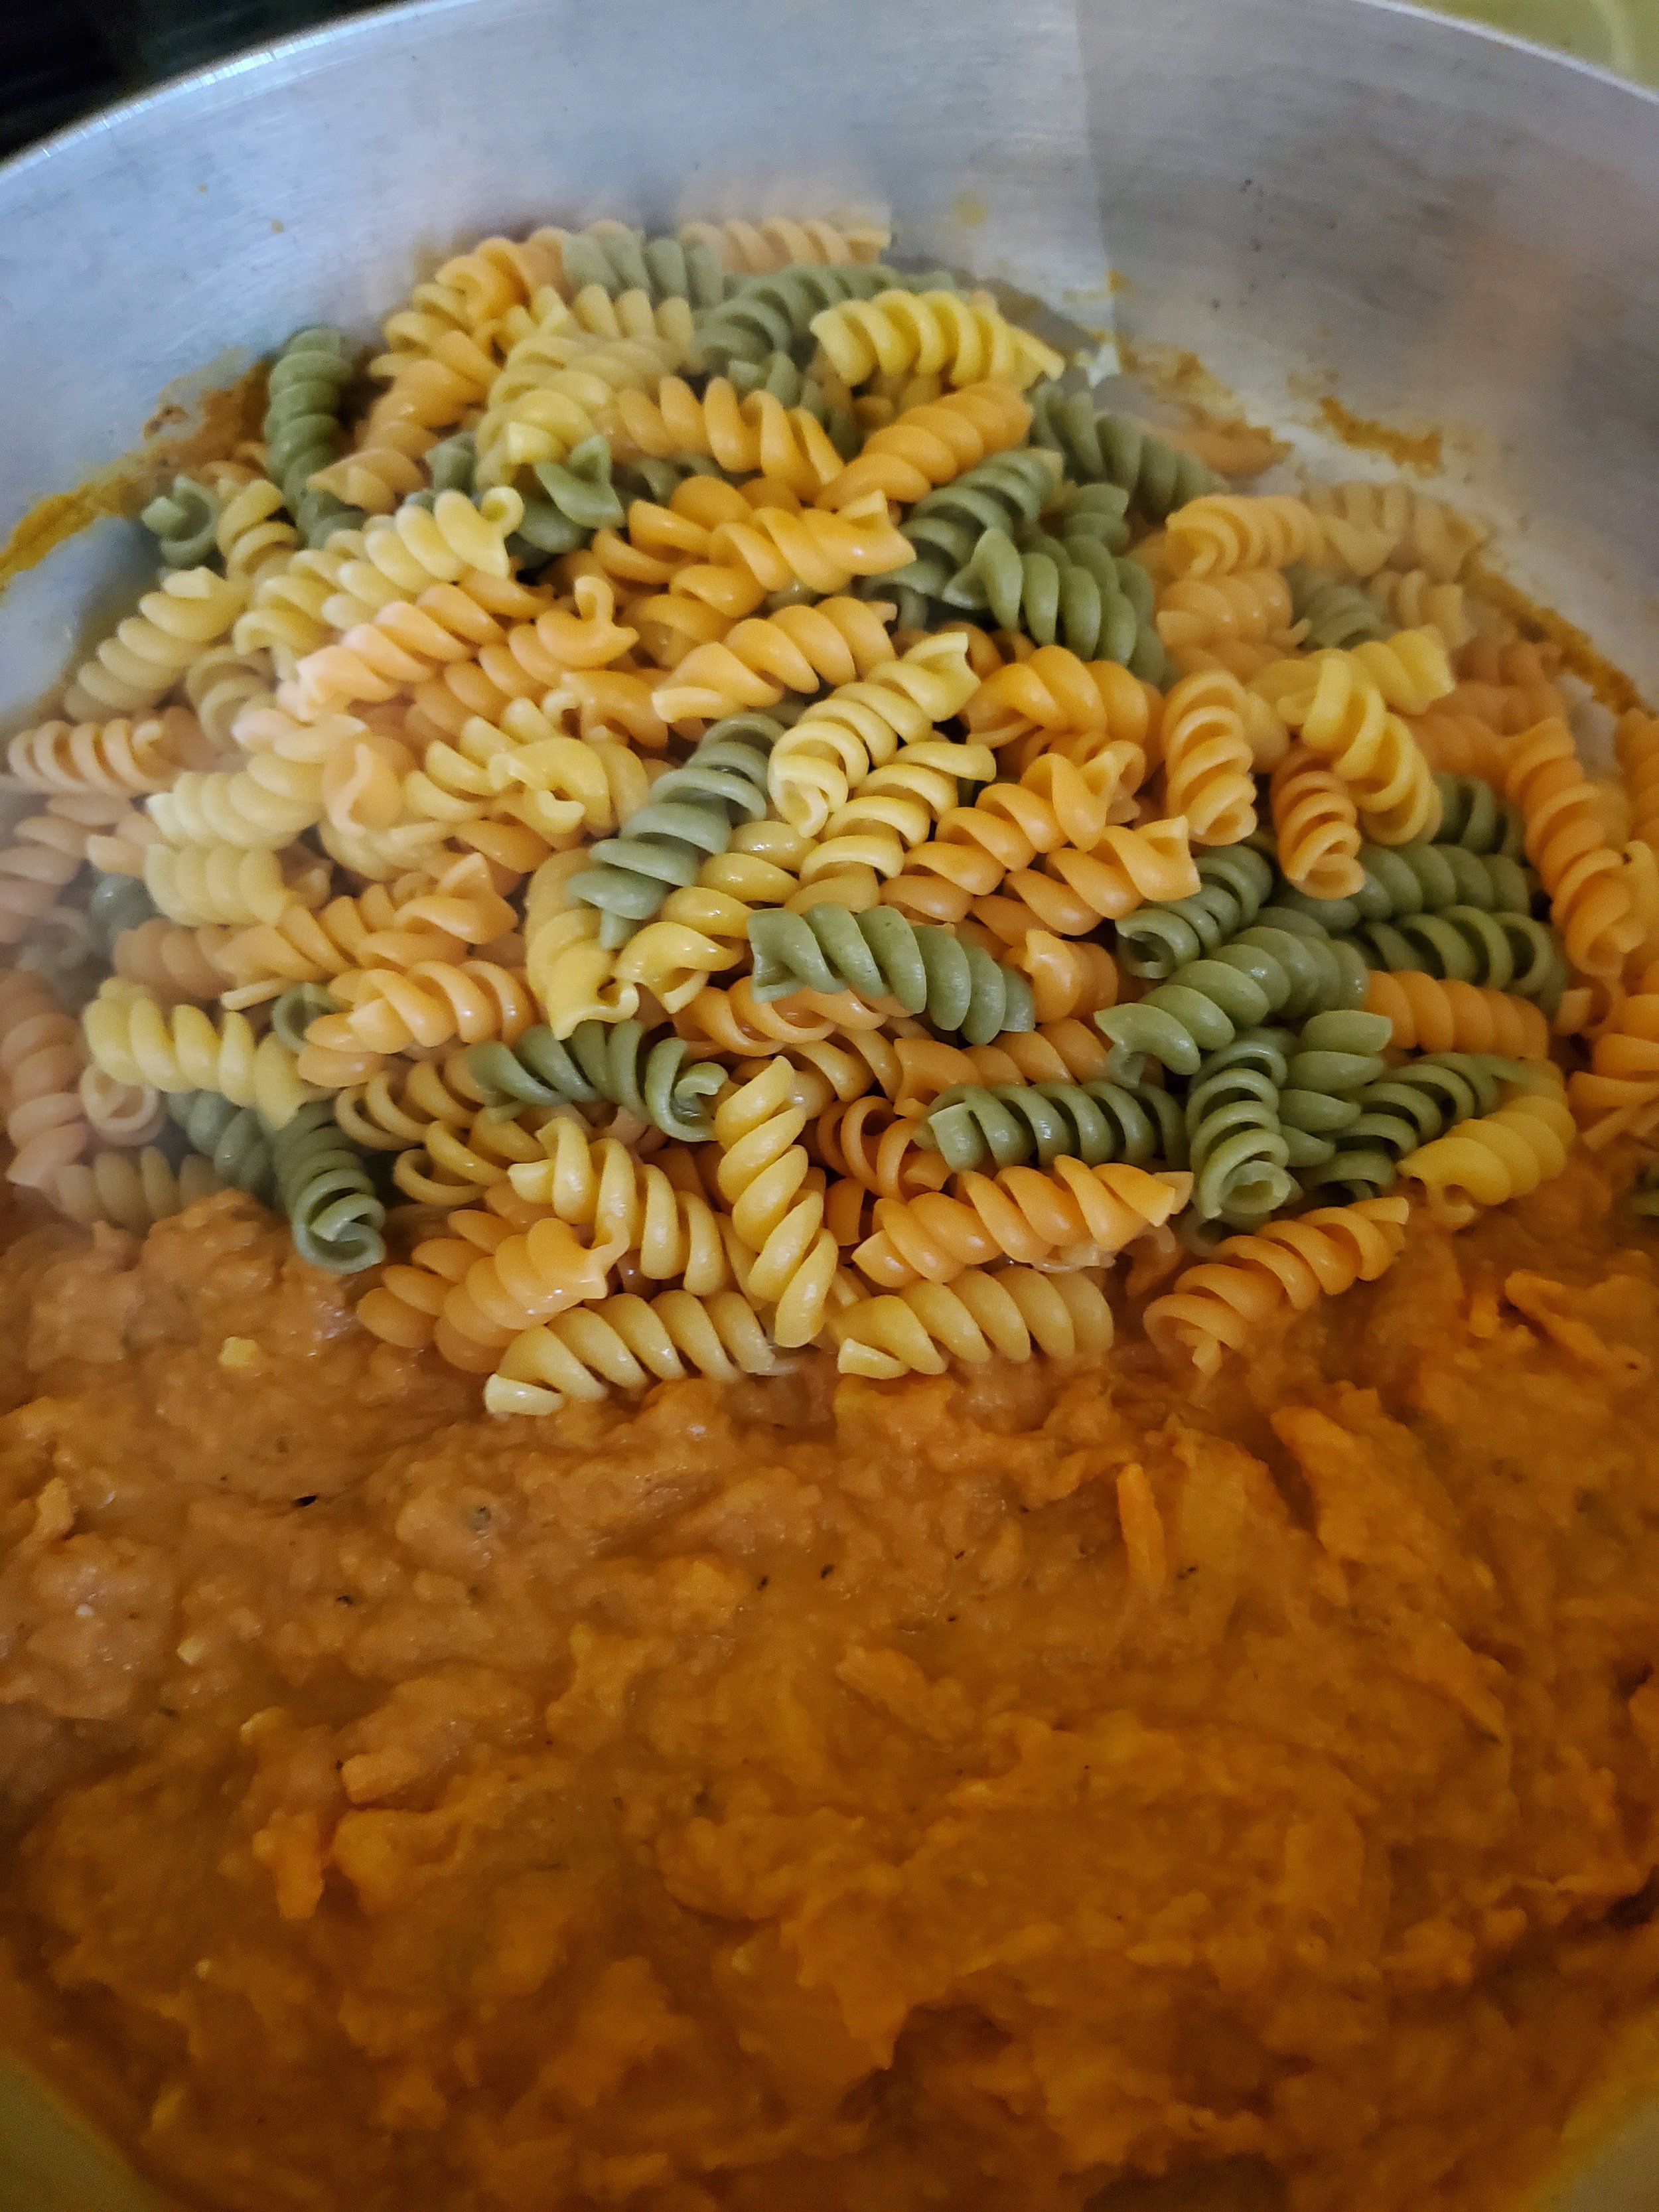
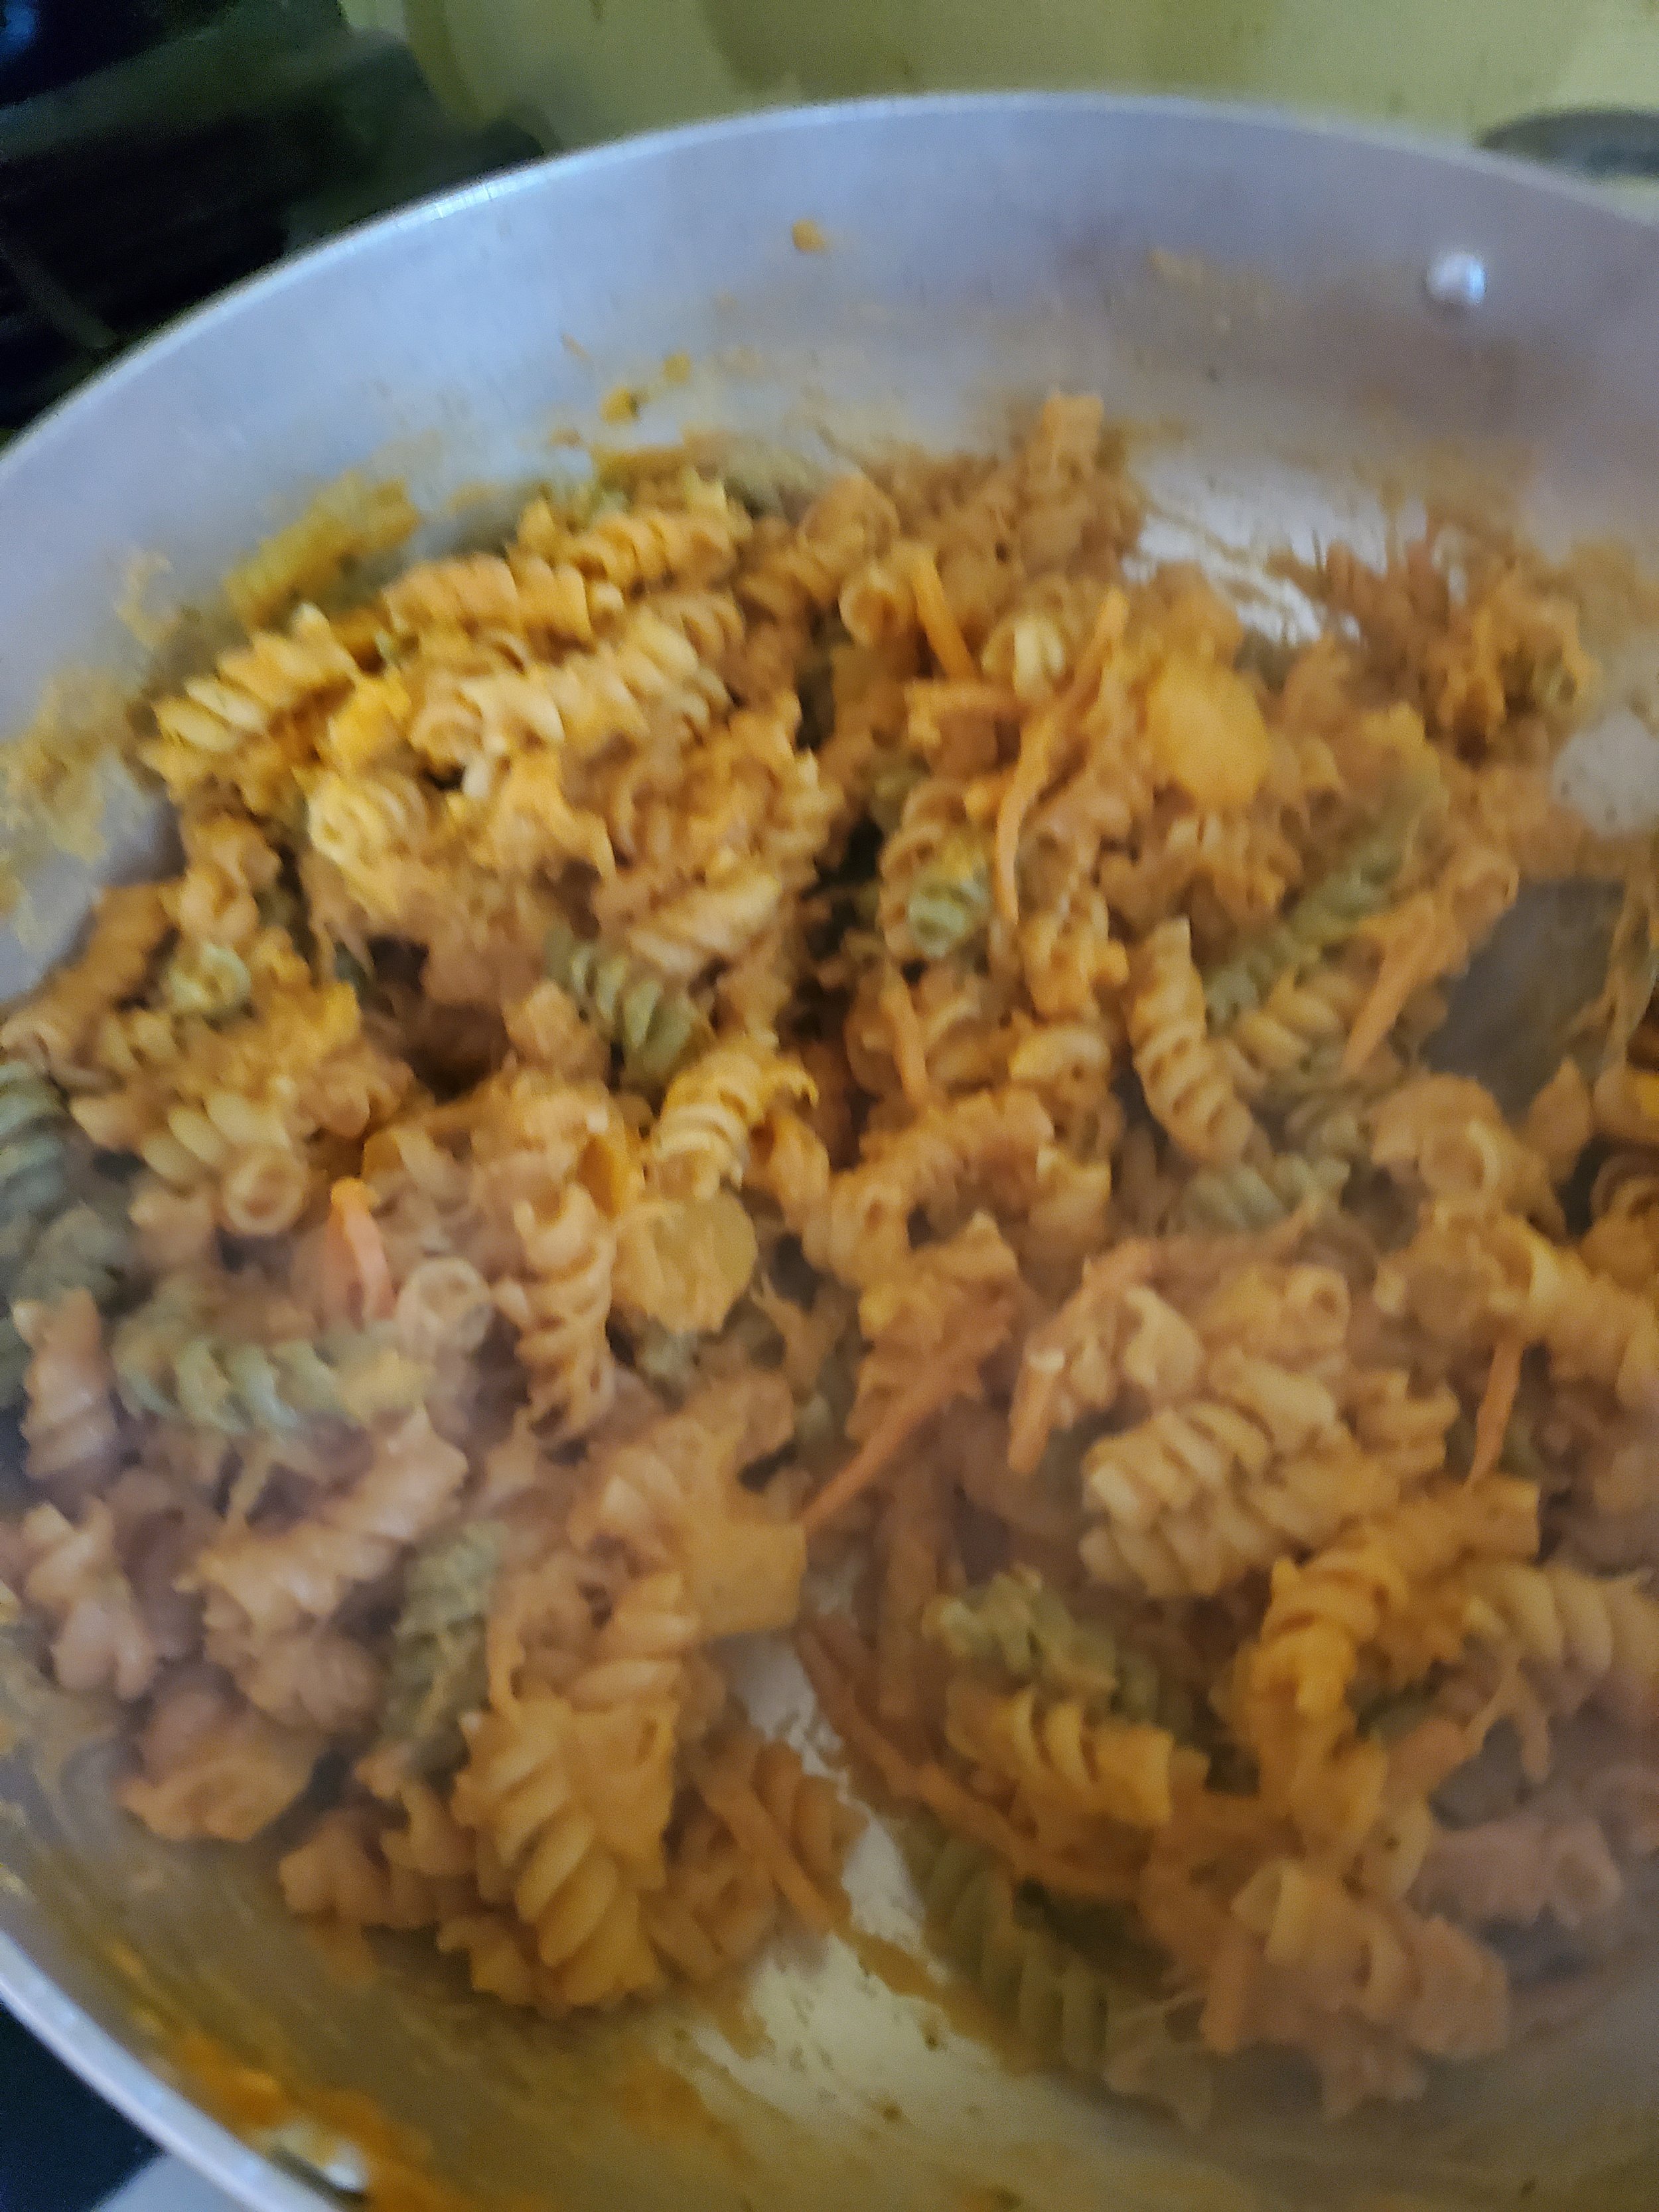
Once you've made some space in the saucepan, pour the pasta into the open spot. Fold gently to mix the pasta and sauce together without shredding the pasta. Turn the burner off, cover the pan again, and let sit to allow the pasta and sauce to meld for five minutes before serving.

Serve with a little parmesan cheese and/or crushed red pepper, depending on your family's likes and dislikes.


We hope that you enjoyed this recipe! Let us know if you decide to make it over on our Facebook page. As always, we love to hear from you. 


If you discover that your dishwasher just isn’t wanting to wash up after this dish, it might not be the pumpkin’s fault. It might be an issue with your dishwasher instead, and that’s where Appliance Rescue Service can help. We service every model of dishwasher, from LG and Samsung to GE and Bosch. So long as you’re within the DFW area, we’re here to help. You can reach out to us via our contact page or by giving us a call at ((214) 599-0055). We’ll work with you to set up a date and time that fits your schedule so we can get your home running smoothly again. 


Even If Fall Isn’t Here Yet. 

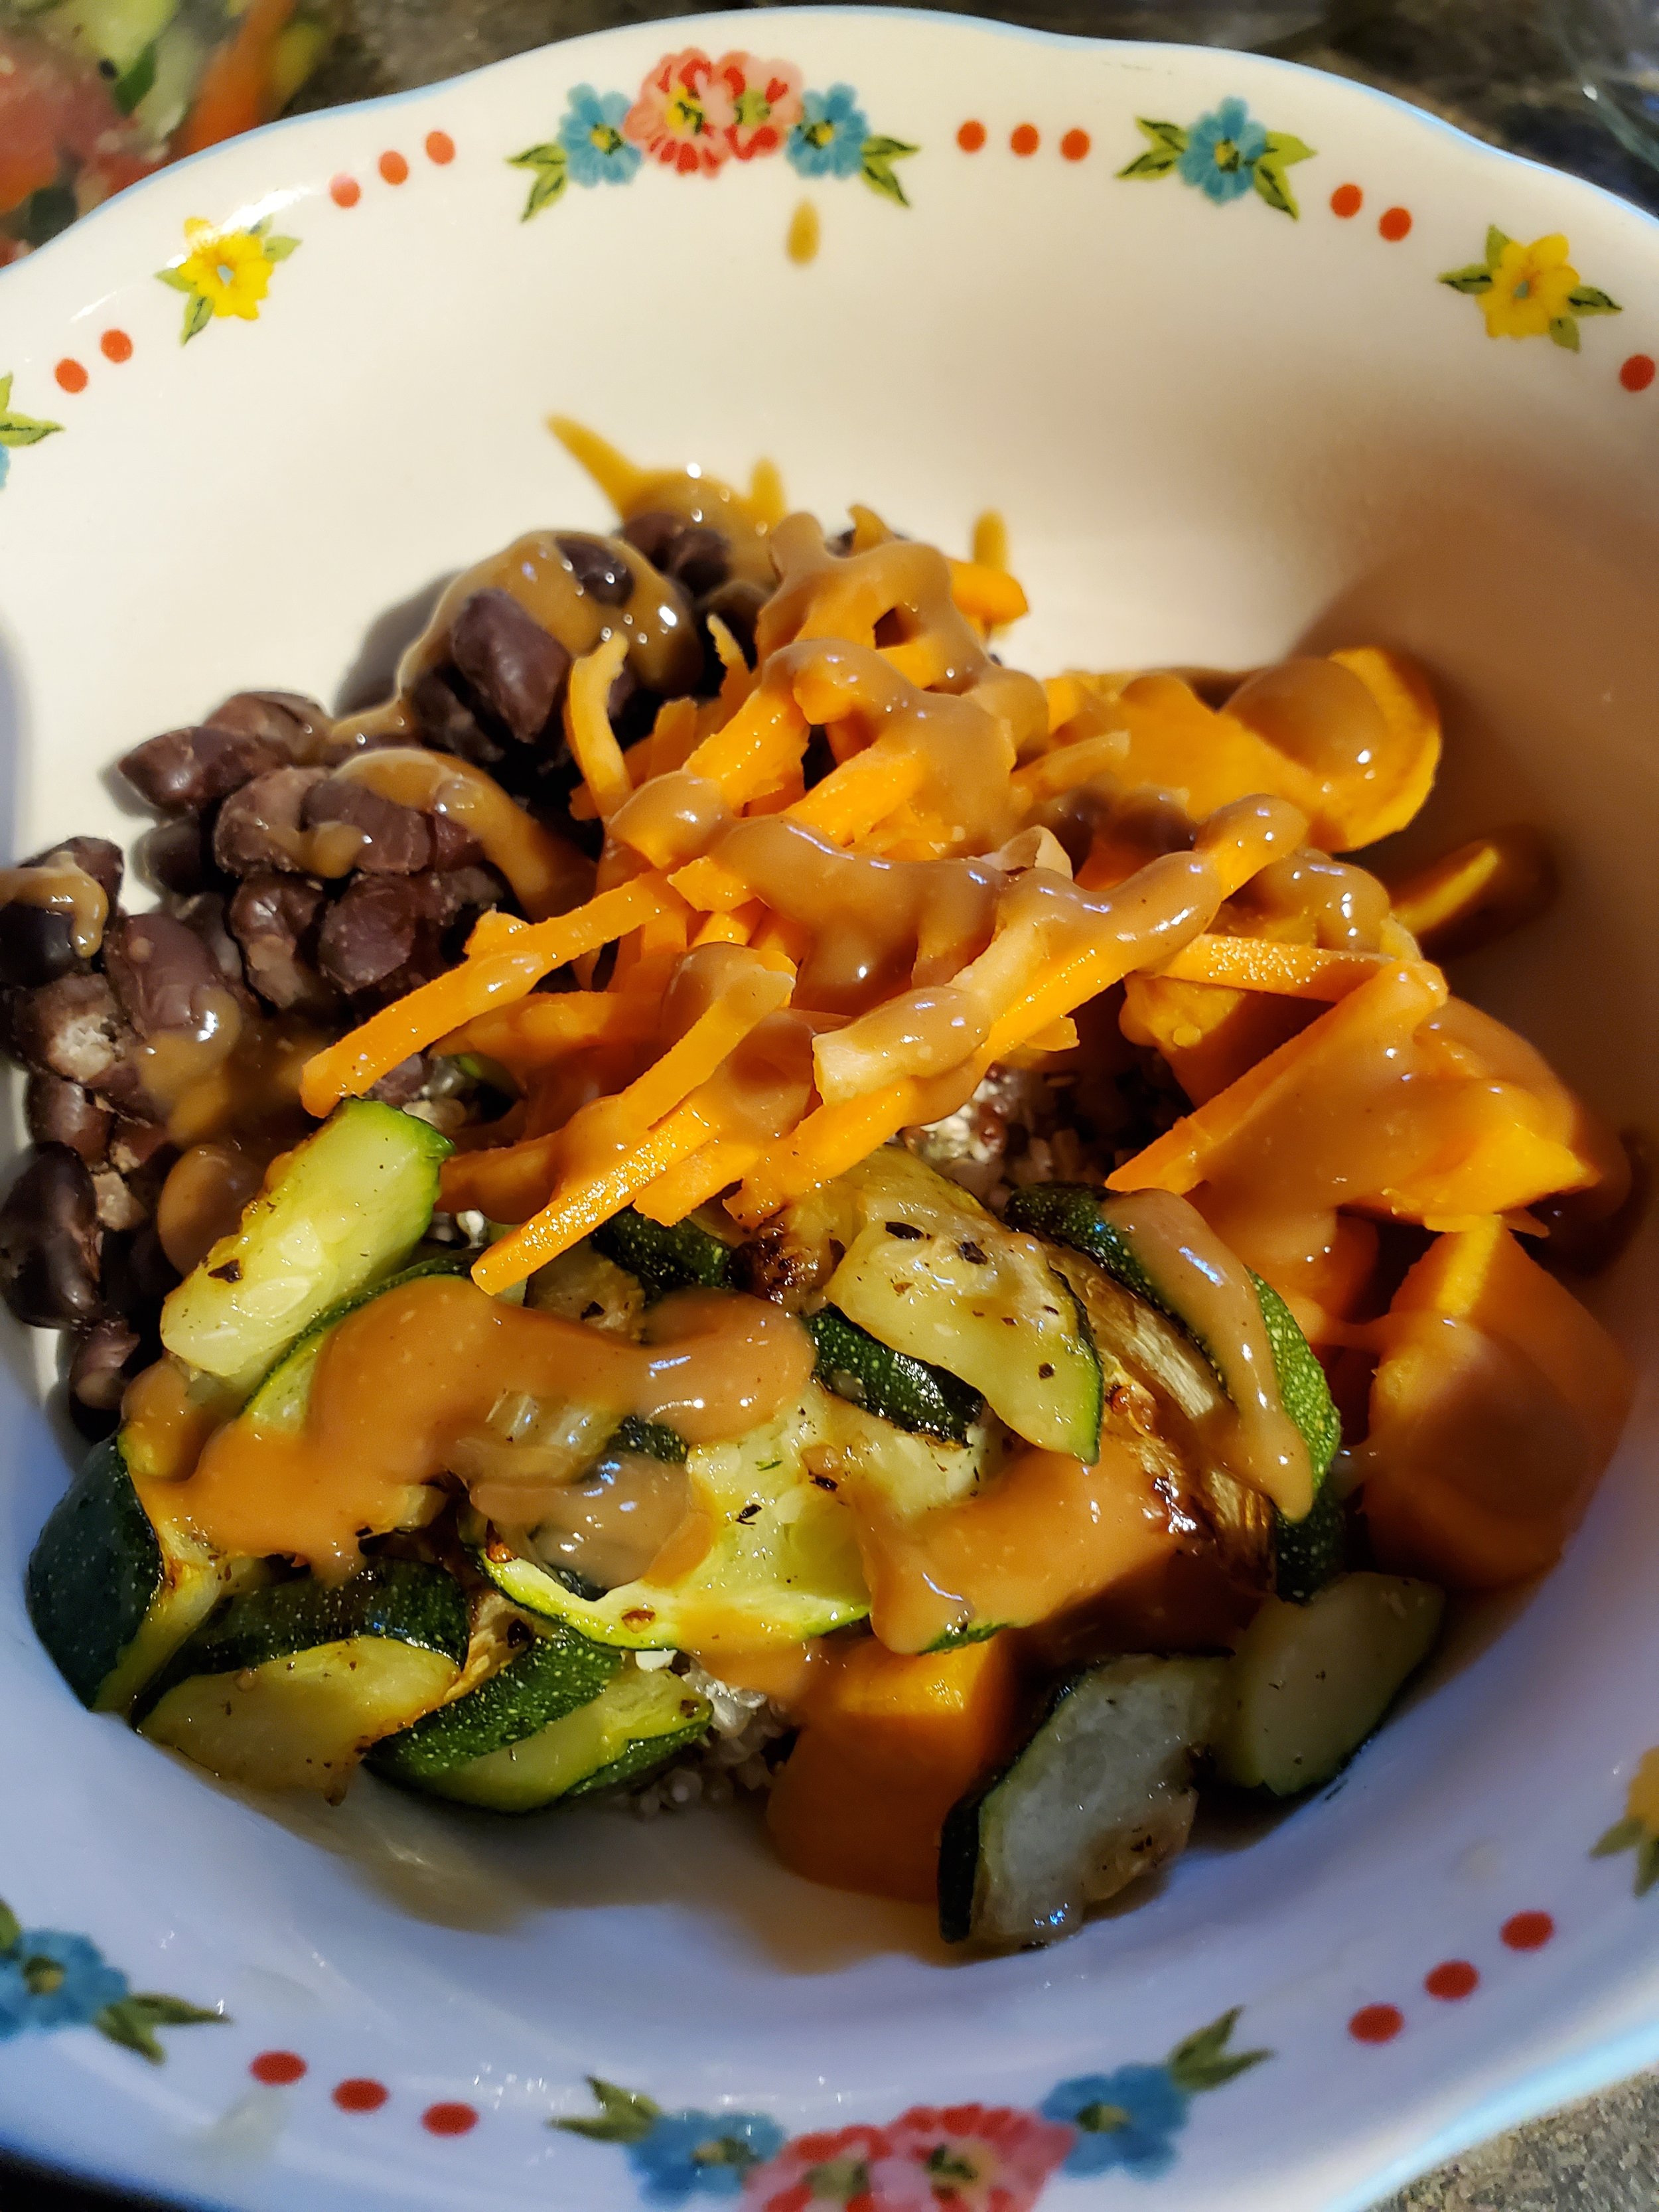
Get Your Protein with This Buddha Bowl

A Creative Way to Mix Up Left Overs 

Sometimes you want something that works with what you have left over from earlier in the week. Most times, you want something that’s going to fill you up and not leave you hangry a few hours later. This recipe fits both of those needs. Now, as with most recipes for Buddha bowls, you’re more than welcome to mix things up. Add in more veggies, add in less grain, sub out an entirely different sauce. This is one that we’ve been loving though, and have used multiple times since dreaming it up earlier this year. 

Sauce:

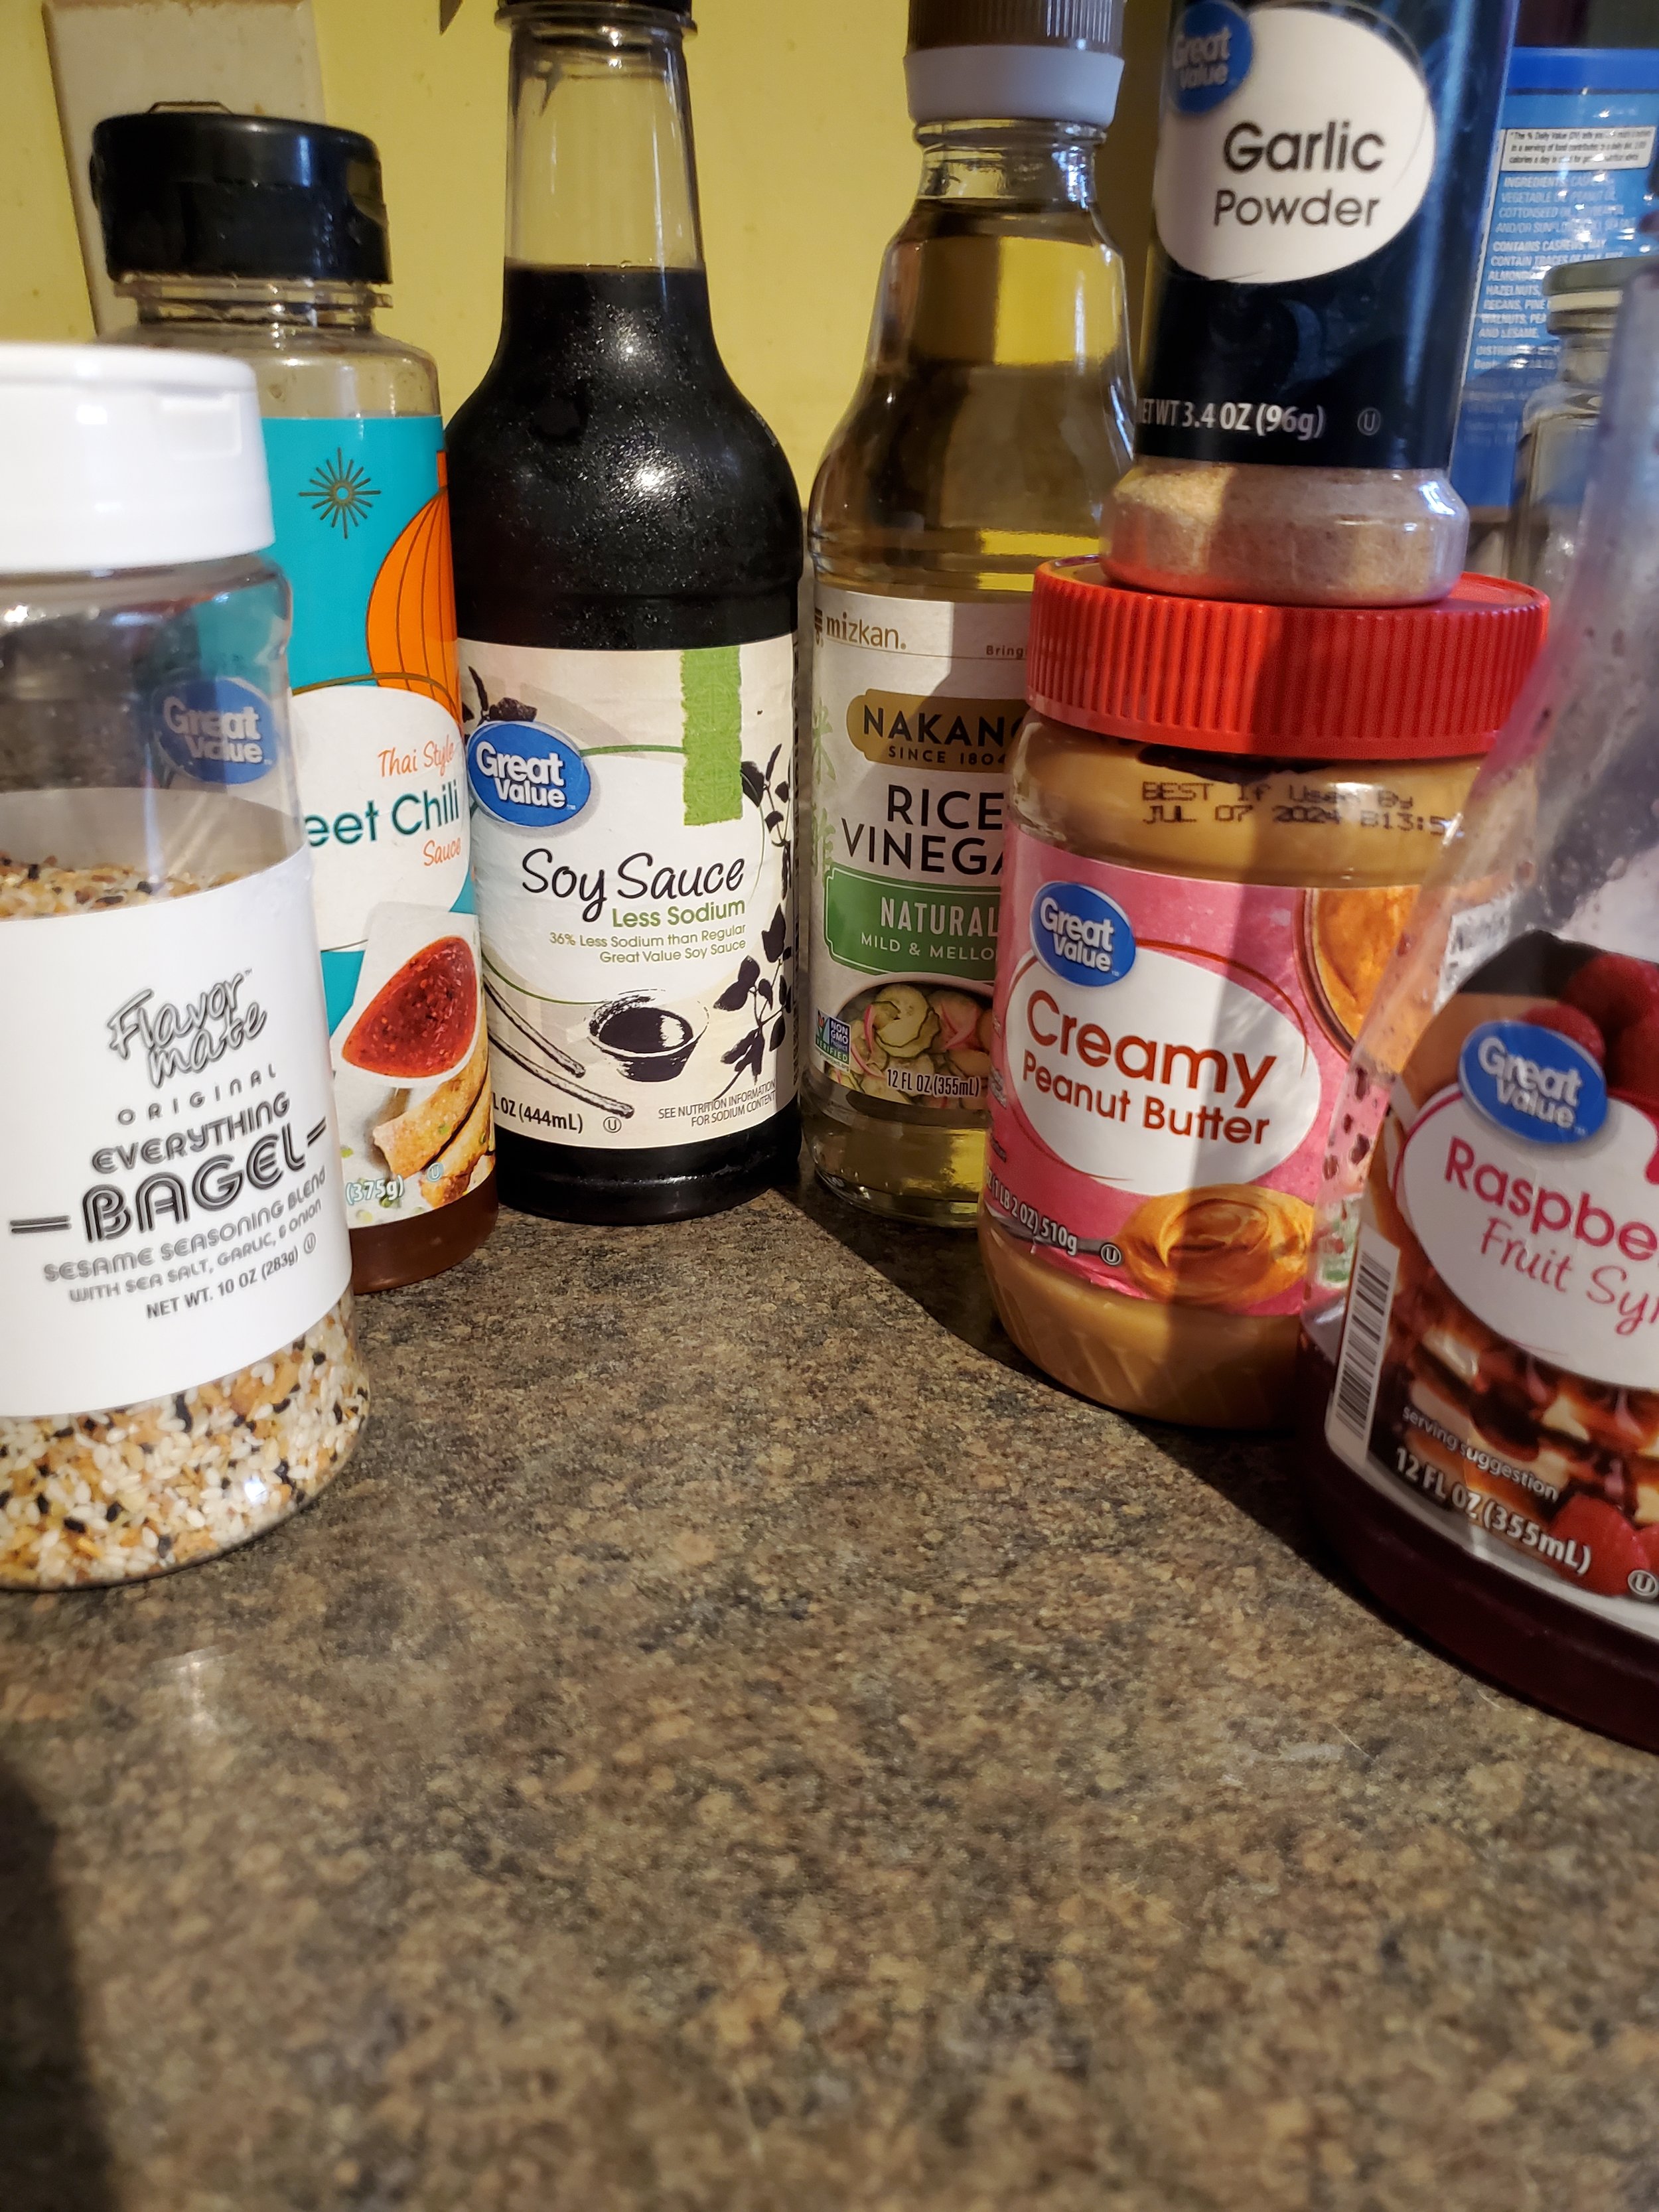
1/4 cup peanut butter

2 tablespoons low sodium soy sauce

2 teaspoons rice vinegar

1 teaspoon raspberry syrup

1/2 teaspoon sweet chili sauce

1 teaspoon garlic powder

2 tablespoons hot water


Bowl:

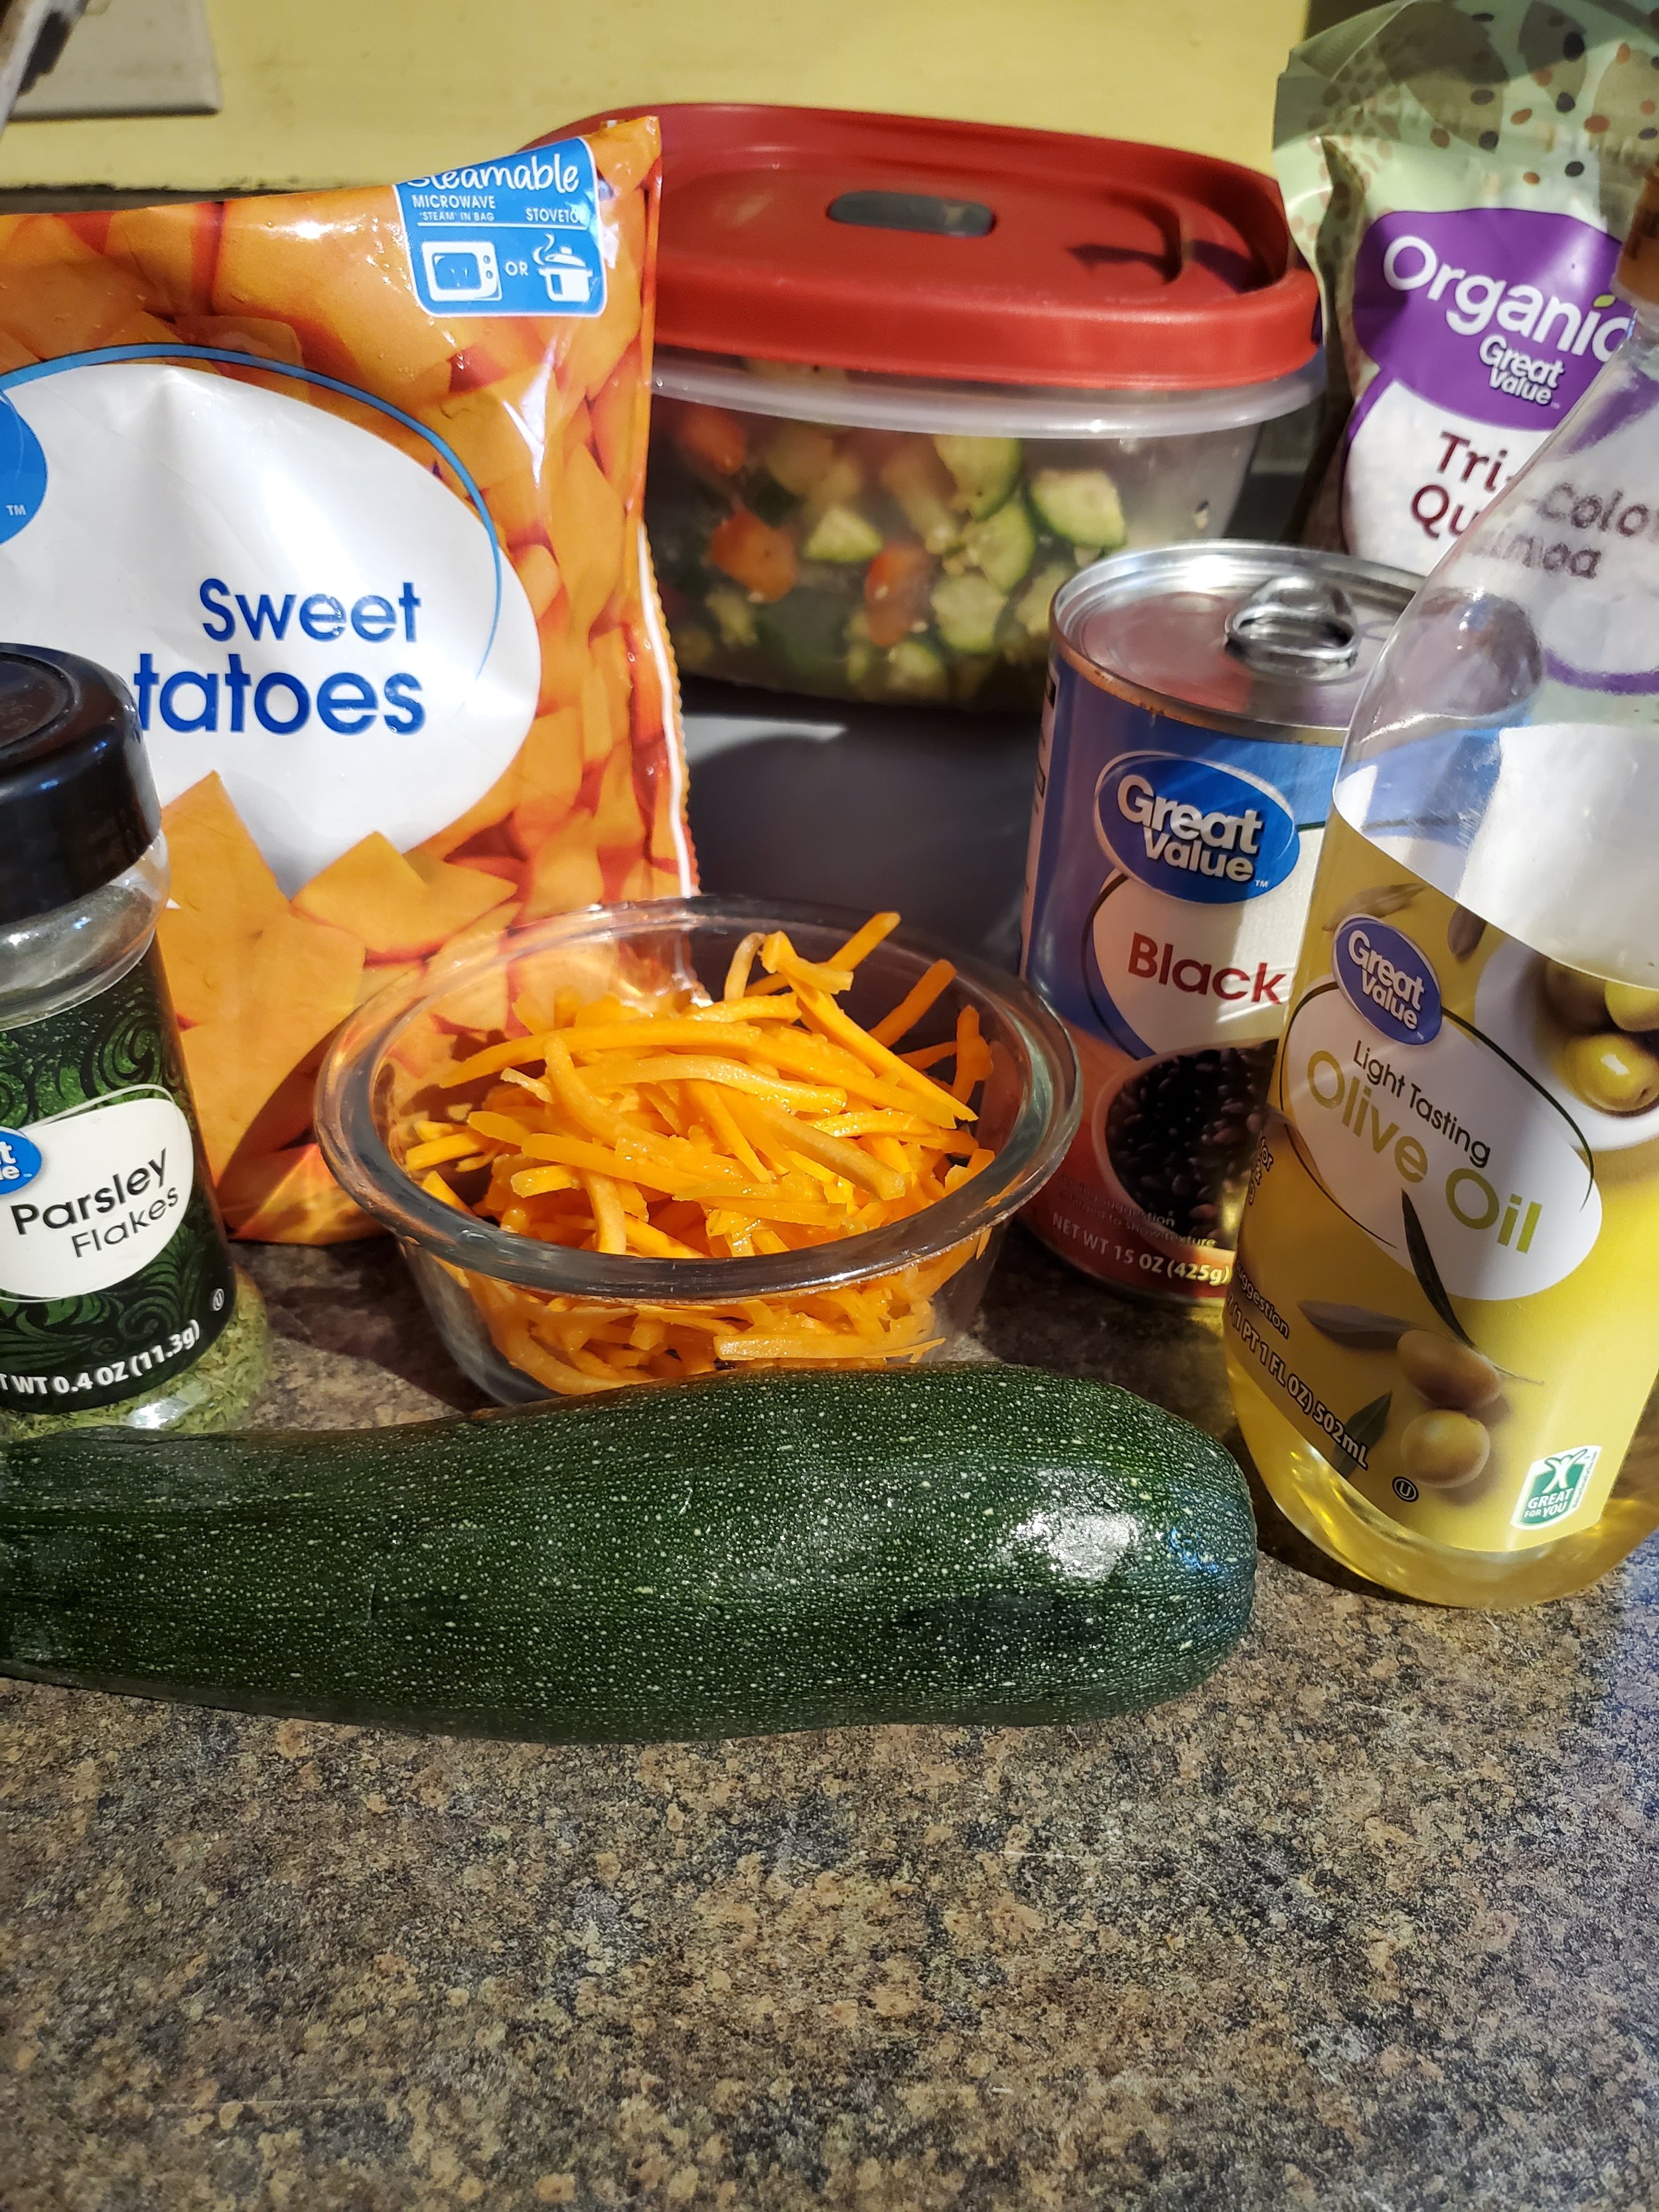
1 cup rice (cooked)

1 cup quinoa (cooked)

1/2 cup shredded carrots

1 package frozen sweet potato

1 can seasoned black beans

1 zucchini

1 teaspoon olive oil

1 teaspoon dried parsley

salt and pepper to taste


Tools:

cutting board

knife

measuring cups and spoons

serving spoon

sieve or colander

microwave-safe dishes

fork and spoon

frying pan


As always: wash your produce! This is our first step every time we're not utilizing washed/ready-to-eat veggies.


If you're not working with already-cooked rice and quinoa, go ahead and start them now. (This recipe was actually born out of there being too much rice in our fridge, left over from dinner the night before... which is why we sort of glossed over the cooking of the rice and quinoa steps.)


Put your steamable bag of frozen sweet potato chunks into the microwave and cook them according to package directions - in our case, roughly six minutes on high.


Dump the can of seasoned black beans into the colander or sieve to drain and give them a quick rinse before putting them into a microwave safe dish. You can set them aside for now, as they won't need to heat very long in the microwave, and the sweet potatoes will be hogging it for a while anyway. But when the sweet potatoes are finally done, swap them for the beans and zap them a minute or two, just long enough to heat them through.


Trim the ends and cut your zucchini into chunks - whatever shape or size you like is fine, but we do half inch quarter rounds because they cook quickly. Pour your olive oil into the frying pan, swish it around a little to coat, and add the zucchini. Sprinkle with parsley, salt and pepper, and saute for about 5 minutes over medium heat. You can substitute sesame oil for the olive oil if you have some, but it seems not a lot of people keep sesame oil in their pantries.


We chose to leave our shredded carrots raw, but if you'd prefer them cooked, feel free to toss them in with the zucchini about halfway through the cook time.


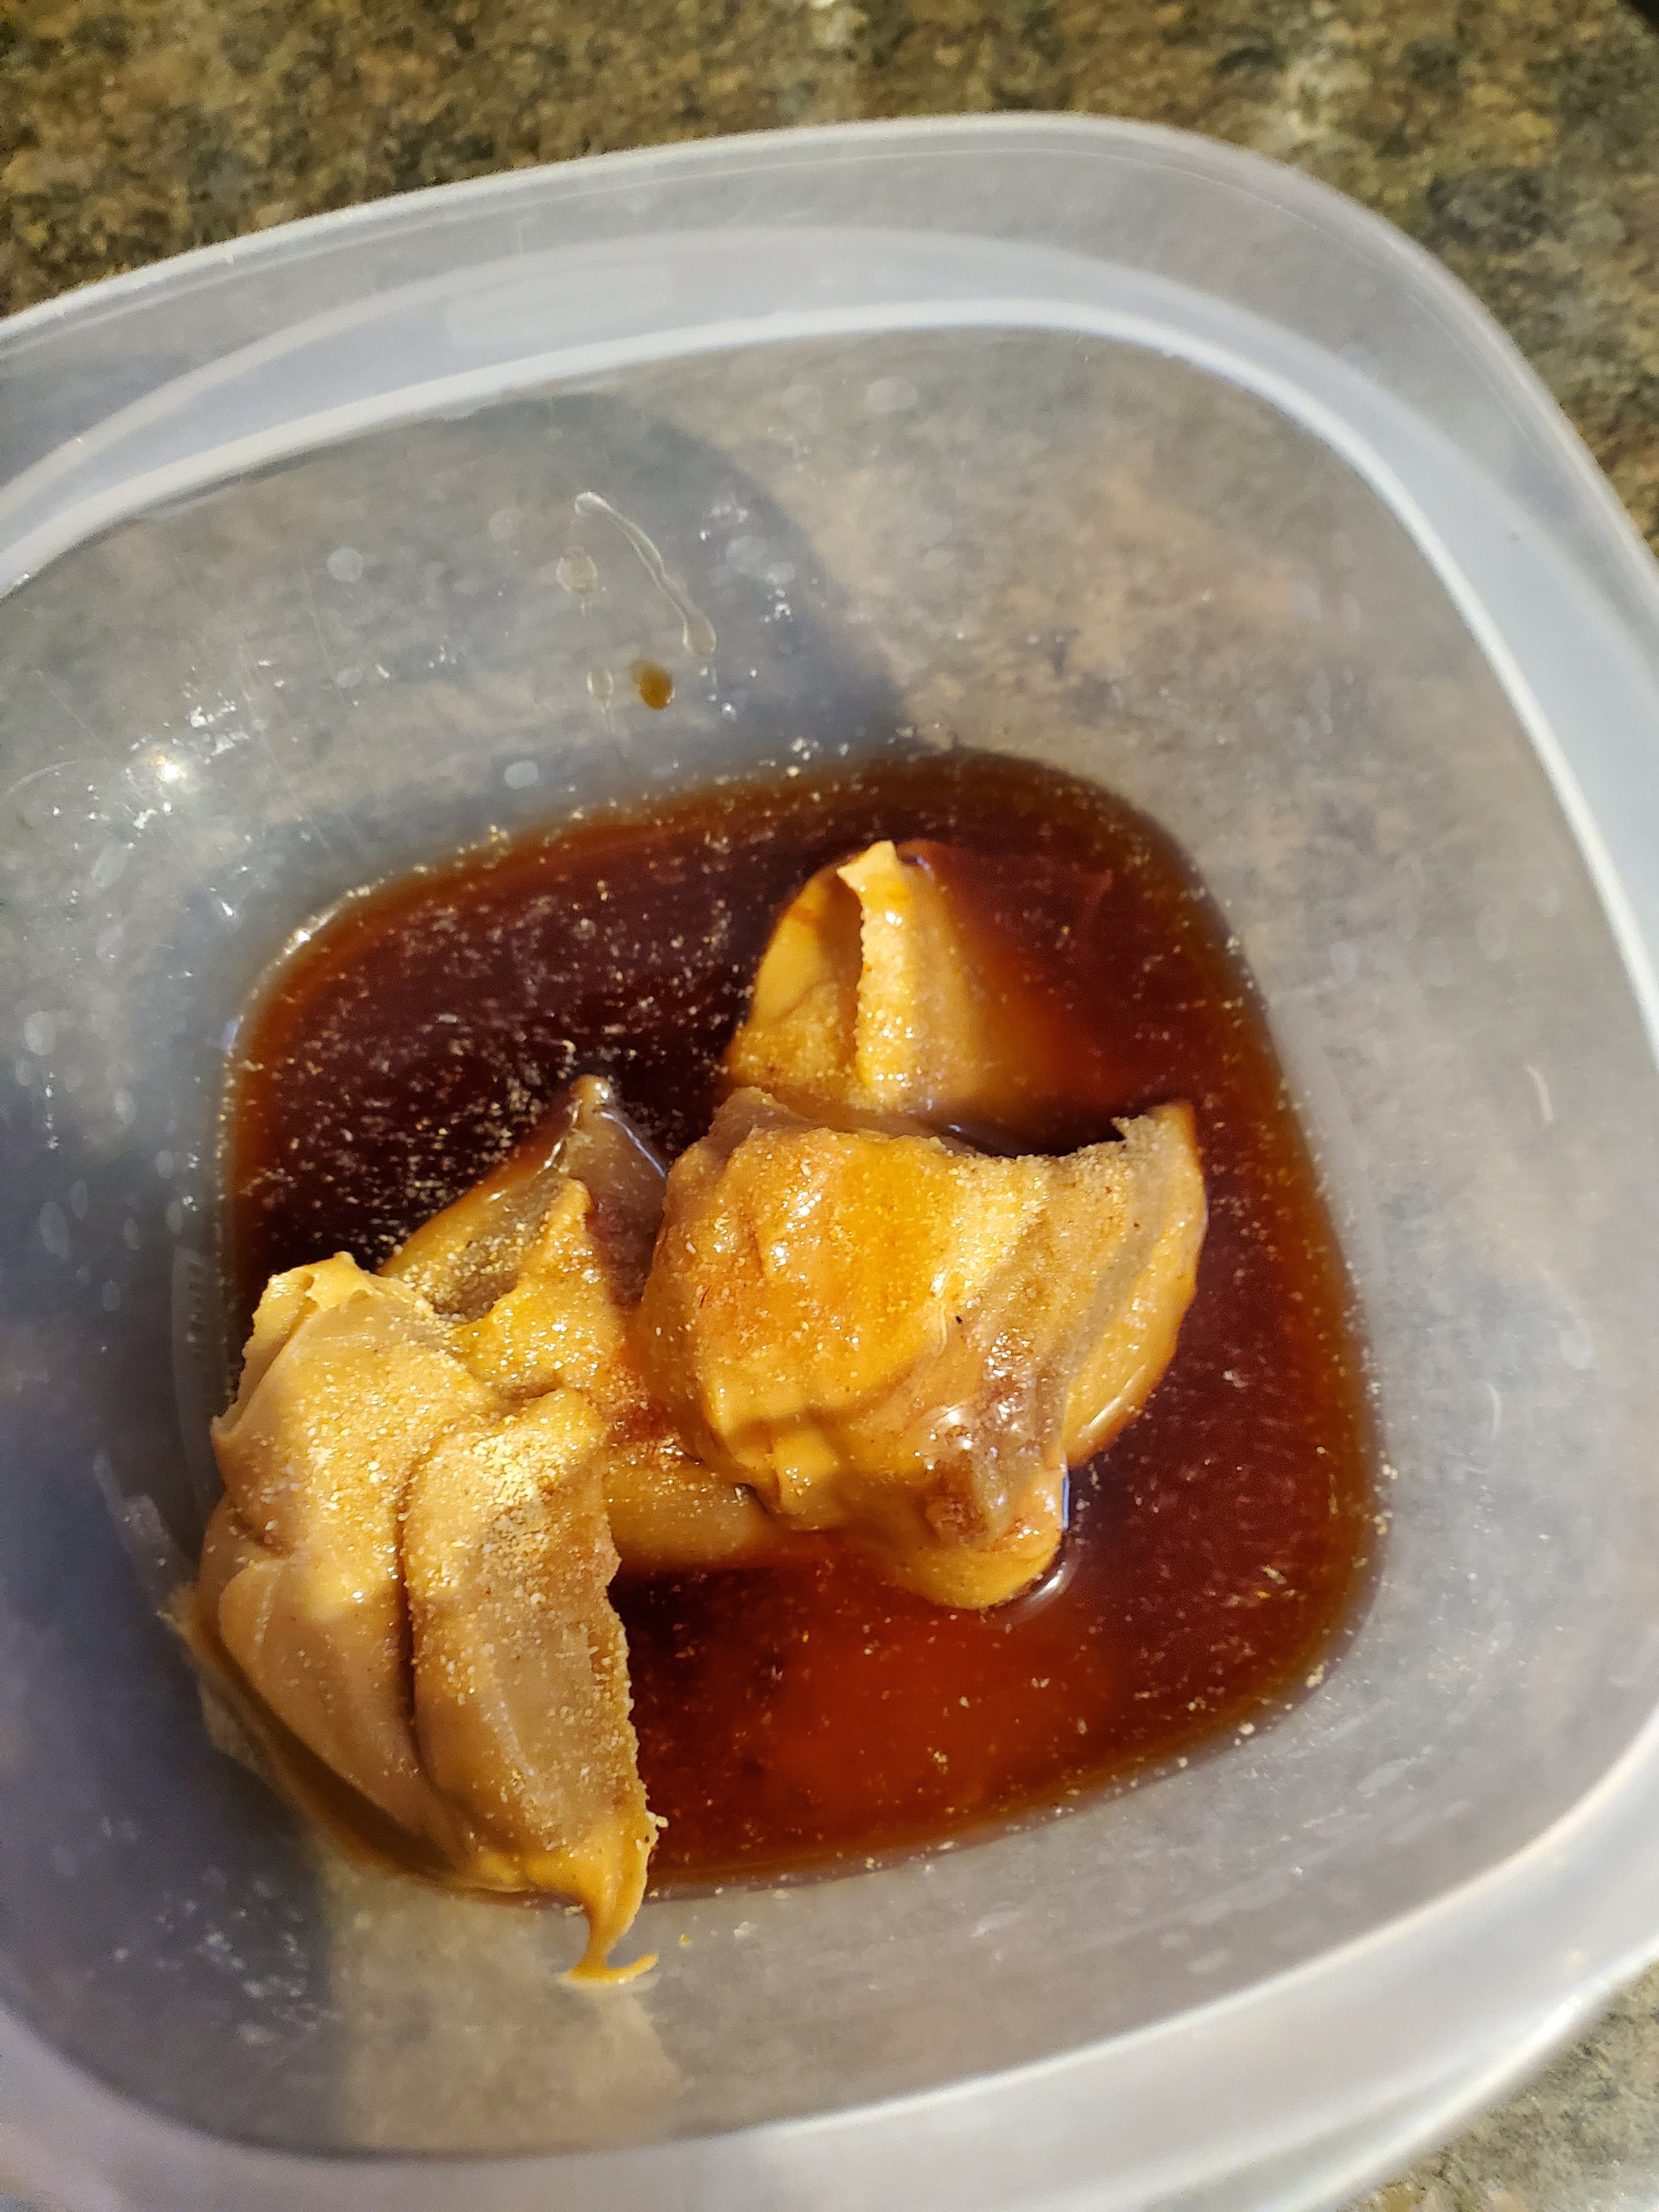
As your veggies heat/cook, grab a smaller microwave safe bowl and get started on the sauce. The first thing to go in should be the peanut butter. If you find peanut butter to be a little unwieldy (sticking to the spoon, landing in great blobs on the side of the dish instead of in the bottom, etc.) when you cook with it, feel free to employ the tactics of spraying your measuring cup with cooking oil before filling it and/or heating the peanut butter for 15-30 seconds in the microwave to soften it up.


After the peanut butter, use a fork to stir in the soy sauce, rice vinegar, sweet chili sauce, and syrup. These normally mix fairly easily. The troublesome one is usually the garlic powder. Once you have the other items mixed thoroughly, sprinkle the garlic powder on top and pour the hot water over it. Use the fork like a whisk and swish the hot water over the powder and into the peanut butter mixture a few times to combine.Switch to a spoon and stir it to death. Leave the spoon in the dish because you'll need it shortly.


Once your grains and veggies are all cooked or warmed through, begin layering things into your bowls. We started with rice, then quinoa, then scoops of zucchini, sweet potato, and beans, then a sprinkling of carrots and a drizzle of sauce. If you have some handy, a little everything-but-the-bagel seasoning is also a nice topping.

We hope that you enjoyed this recipe! Let us know if you decide to make it over on our Facebook page. As always, we love to hear from you. 

If you’re wondering what to do with leftovers because your fridge just ran out, we can help with that too! You can reach out to us via our contact page or by giving us a call at ((214) 599-0055). We’ll work with you to set up a  time and date that works with your schedule. At Appliance Rescue Service, our goal is to get your home running smoothly again. 


Healthy and Flavorful: A Caponata Recipe That You'll Love

Because who says you can’t have both in one recipe? 

Have you ever realized that a lot of companies that claim to make healthy food, also make it really bland? It’s flavorless and lacks texture, and the best you can say is that it doesn’t leave you feeling sick. 


Yeah, we know those meals, and we hate them. SO, we’re offering up this recipe for Caponata, an easy veggie recipe that is packed full of flavor and will leave you full. If you want you can also pair it alongside a smaller portion of pasta or polenta for a more filling meal, or as a lunch made up of leftovers. 

Ingredients:

1 lb eggplant

1 cup pine nuts

1 red bell pepper

1 yellow bell pepper

2 carrots

3 green onions

1 rib celery

1/2 cup currants

1/3 cup olive oil (+/-)

3 tablespoons red wine vinegar

2 cloves garlic

3 tablespoons tomato paste

2 tablespoons parsley

1 tablespoon basil

1 tablespoon sugar

salt and pepper to taste

Tools:

Baking sheet (1/2 size for toaster oven)

Cutting board

Knife

Bowl (x2)

Cheese grater (optional)

Large frying pan with lid

Measuring cups and spoons

Fine sieve or colander

Can opener

Timer

Serving spoon

Let us start off by saying that caponata is a very flexible recipe (sub things in or out as you wish), but it is not a picky eater approved recipe. Please do not attempt to feed this to fussy small fries or to the family members whose gut-check reaction to anything vegetable is "why?" or "ew." We will not be held responsible for the griping.

Be prepared to spend a good deal of time cutting vegetables for this recipe. We highly recommend toasting the pine nuts (just as they are, don't be tempted to oil or season them) in the oven for about 15 minutes while you chop your many veggies. At least that way you're making progress on two fronts while you bore yourself chopping, and it adds some nice depth of flavor to the final product.

As always: be sure to wash your produce!

Start with the eggplant. Trim the top off, and halve it down the center so you have a flat side to set it on while you cut. No one likes escaping veggies, or nicking fingers trying to catch them. Your goal is to cut this large, funny-looking vegetable into a half inch dice. Once you get it diced, move it to one of the two bowls.

Next up will be your green onions. Trim them up and just roughly chop them, then dump them into the bowl with the eggplant.

Mince or slice your garlic (some families have strong feelings about a preference here, but we don't much care as long as it lands in the pan), and toss it in with the eggplant and the green onion.

That lonely single rib of celery goes next. We find it easiest to cut it lengthwise into thirds before we start the widthwise cuts, that way the chunks of celery aren't so big they end up accidentally taking over the meal. Once it's cut, those pieces go in with the rest so far.

And the carrots you've got can either be chopped or shredded. The regular carrots at our grocery store were sad looking this week, so we subbed in a double handful of baby carrots and shredded them for uniformity. The carrots join the others in the bowl.

That bowl is looking pretty full, isn't it? Time to start on the next.

Take the tops off your peppers and remove and discard the seeds and ribs. Chop down to half-inch dice like the eggplant and move them to the second bowl. 

Now you're finally done with the cutting board and the knife, just in time to need a measuring cup!

Measure out your currants and toss them in with the peppers.

Take the capers out of their jar, but don't add them to the bowl yet. These little guys are STRONG, so plop them into a sieve or colander and rinse them thoroughly. Once they're drained, they can join the currants and peppers. 

Toss your parsley and basil on top of that second bowl.

And right about now, the timer should be going off for those pine nuts. Just turn off the heat and let them sit for a while; their turn will arrive soon enough.

Now we move our attention to the frying pan on the stove. Pour enough olive oil to coat the bottom of the pan and light the burner. Set to just over medium and heat until the oil starts to shimmer. Be careful not to set it too high - olive oil has a low smoke point, and you do not want the smoke detector to give you an unnecessary wake up call.

Once the oil is hot, dump the eggplant bowl into the pan. We know it looks like there's not going to be room for anything else - don't worry, it will cook down. Give it a quick stir, then cover the pan. Set a timer for six minutes. Stir occasionally during that time.

When your six minutes are up, push the eggplant mixture to one side of the pan. Add a little more oil, then the bowl of peppers. Stir again and let it cook, uncovered this time, for another three or four minutes.

As the peppers soften up, you're safe to add the pine nuts. Just pour them all in there and give everything another stir. You'll probably need to add another splash of oil at this point, along with the red wine vinegar, the tomato paste and the sugar. (Adding the sugar here offsets the funky smell of the vinegar and helps balance the acidic, tinny taste of the tomato paste.)

Stir. A lot.

We know that tomato paste looks like it's never going to stop being a blob in the middle of the pan... But give it time, and don't quit stirring.

Once everything is incorporated (finally!), use a serving spoon to scoop out a serving to enjoy. We put ours over polenta, but that part is totally up to you.


Let us know over at our Facebook page what you thought of this recipe. We love hearing how they turned out for you. 


And if you need new appliance performance, preferably also without the jumbo-sized price tag, maybe reach out to our service department. You can reach them through our contact page, or by giving us a call at ((214) 599-0055)


Sweet Veggie Tropical Curry

 It’s sweet; it’s got a ton of veggies, and it’s a riot of color! 

Sometimes you want to step out of the norm and try something adventurous. For your Blogger, that was this meal. It’s a delicious, multi layered sweet and spiced curry that is packed full of veggies and still manages to be extremely filling. We hope you enjoy it as much as we did! 

Ingredients:

4 red potatoes, chopped

12 baby carrots, chopped

4 large fresh mushrooms

2 tablespoons olive oil

salt and pepper, to taste

1 small red onion, slivered

4 tablespoons coconut oil, divided

1 tablespoon minced garlic

1 teaspoon ground ginger

1 teaspoon allspice

1 teaspoon nutmeg

1 teaspoon turmeric

1 tablespoon chili powder

1 teaspoon garam masala

1 teaspoon ground coriander

1 28-oz can crushed tomatoes

1/3 cup heavy whipping cream

1 teaspoon light corn syrup or brown sugar

two packages yellow rice

1 ripe plantain

Kosher salt, to taste


Tools: Cutting board, Knife, Can opener, Tongs, Slotted spoon, Serving spoon, Colander, Mixing bowl, Large, deep, slope-sided sauce pan or caldera with lid, baking dish, smaller sauce pan with lid, shallow frying pan with lid


As always, begin by washing your produce! We don't want dirt in dinner, and we're pretty sure we also don't want anything else from the field except the food itself.


Take your potatoes and chop them into roughly inch and a half chunks. Nothing has to be exact - they're potatoes. We didn't peel them for this recipe, but you can if you'd rather. Toss them into the pot, then chop the carrots, too. Add them to the same pot. Cover the veggies with just enough water and put a lid on the pot. Start the burner on medium and let them simmer for about ten minutes. 


While they simmer, it's time to take care of some other small tasks.


Preheat your oven to 450.


Chop up the mushrooms. We diced them up as small as possible so they'd hide in the sauce (we have some picky eaters in the house). You might want big pieces instead - they'll cook up either way at 450 degrees, so do whatever. The only thing we wouldn't advise is leaving them whole.


Open the can of crushed tomato and put it somewhere close by. You'll need it soon, but not quite yet.


We also used this time to start measuring the spices needed. There are a lot of them this time, but try not to omit anything - all of them are important to the finished product. We set them into a little glass dish off to one side until we were ready for them.


After the ten minutes of simmering are up, dump the veggies into the colander to drain them. Rinse the pan but not the colander full of veggies. Transfer the vegetables to the mixing bowl, drizzle them with olive oil, toss in the mushrooms and mix thoroughly. Add a little salt and pepper if you'd like, then transfer them again, this time to the baking dish. Bake them uncovered for 20 minutes.


Once the baking dish is in the oven, you'll have a clear cutting board and a little more counter space. Time to attack that onion. This is another produce item we tend to chop as small as possible due to picky eaters. Make sure you clean your knife when you're done with this step - the next thing you'll be cutting with it will not go well with onion.


However you choose to cut yours, once it's done, drop it into the pan you used for the veggies. Add about two tablespoons of coconut oil and the tablespoon of minced garlic and heat on low until the oil is melted. Bring the heat up to medium, add your many spices, and stir like crazy with the slotted spoon. It's going to be pasty looking - that's normal. Put the lid on it and let it go until you can smell all the spices. There's a noticeable difference, and you'll catch it long before you scorch anything, don't worry. If you're concerned, you can stir it occasionally while you wait for it to get to that point.


As soon as you know the onions are done, add in that crushed tomato, the heavy whipping cream, and the syrup. Give it a thorough stir, until the cream is fully incorporated. Cover it again and bring the heat back down as low as it will go.


The vegetables in the oven should be finishing up about now, right? Not really. The timer's about done, though. Take the veggies out and give them a stir, but then put them right back. Set the timer for ten more minutes.


Grab your packages of rice and get those going according to the package instructions in the smaller saucepan.


Once the rice is set to simmer, start heating the remaining two tablespoons of coconut oil in the frying pan on medium heat. Grab your plantain and cut it in half lengthwise. Flip the halves so they're flat side down on the cutting board and cut each in half again, short ways this time. This makes it easier to peel them and easier to fry them - double win! Once you've got the peel removed, place the slices flat-side down in the coconut oil. Sprinkle the tops with kosher salt, then cover them. You'll want to let them cook for about three minutes, but watch them carefully so they don't burn.


By now the ten extra minutes for the roasting vegetables should be up. Remove them from the oven and add them to the tomato mixture in the pan. Stir carefully to make sure everything is coated, then allow it to continue simmering while you check on the rice and the plantains.


After your three minutes (give or take) are up for the plantains, flip them carefully with tongs (don't squeeze too hard, they'll squish!), sprinkle this side with kosher salt, and replace the lid. They'll need another two or three minutes, but then everything should be ready.


Serve as plantain on top of curry on top of rice. 


Let us know what you thought of this recipe over on Facebook! As always, we love to hear from you! 


If you actually came to our site because one of your appliances is giving you trouble, we can help. Give us a call at ((214) 599-0055) or go to our contact page to set up an appointment. We'll work with you to find a time and date that works for your schedule to figure out what the problem is and how we fix it.