breakfast

Harvest Bliss: Cranberry Pumpkin Nut Bread

A Decadent Fusion of Fall Flavors

Get ready for a delicious adventure with our Cranberry Pumpkin Nut Bread—a recipe that embodies the flavors of fall. It’s not just a bread; it's a hearty combination of pumpkin, spices, and delightful textures. Although it demands a bit of attention, trust me, every effort pays off in each aromatic slice.
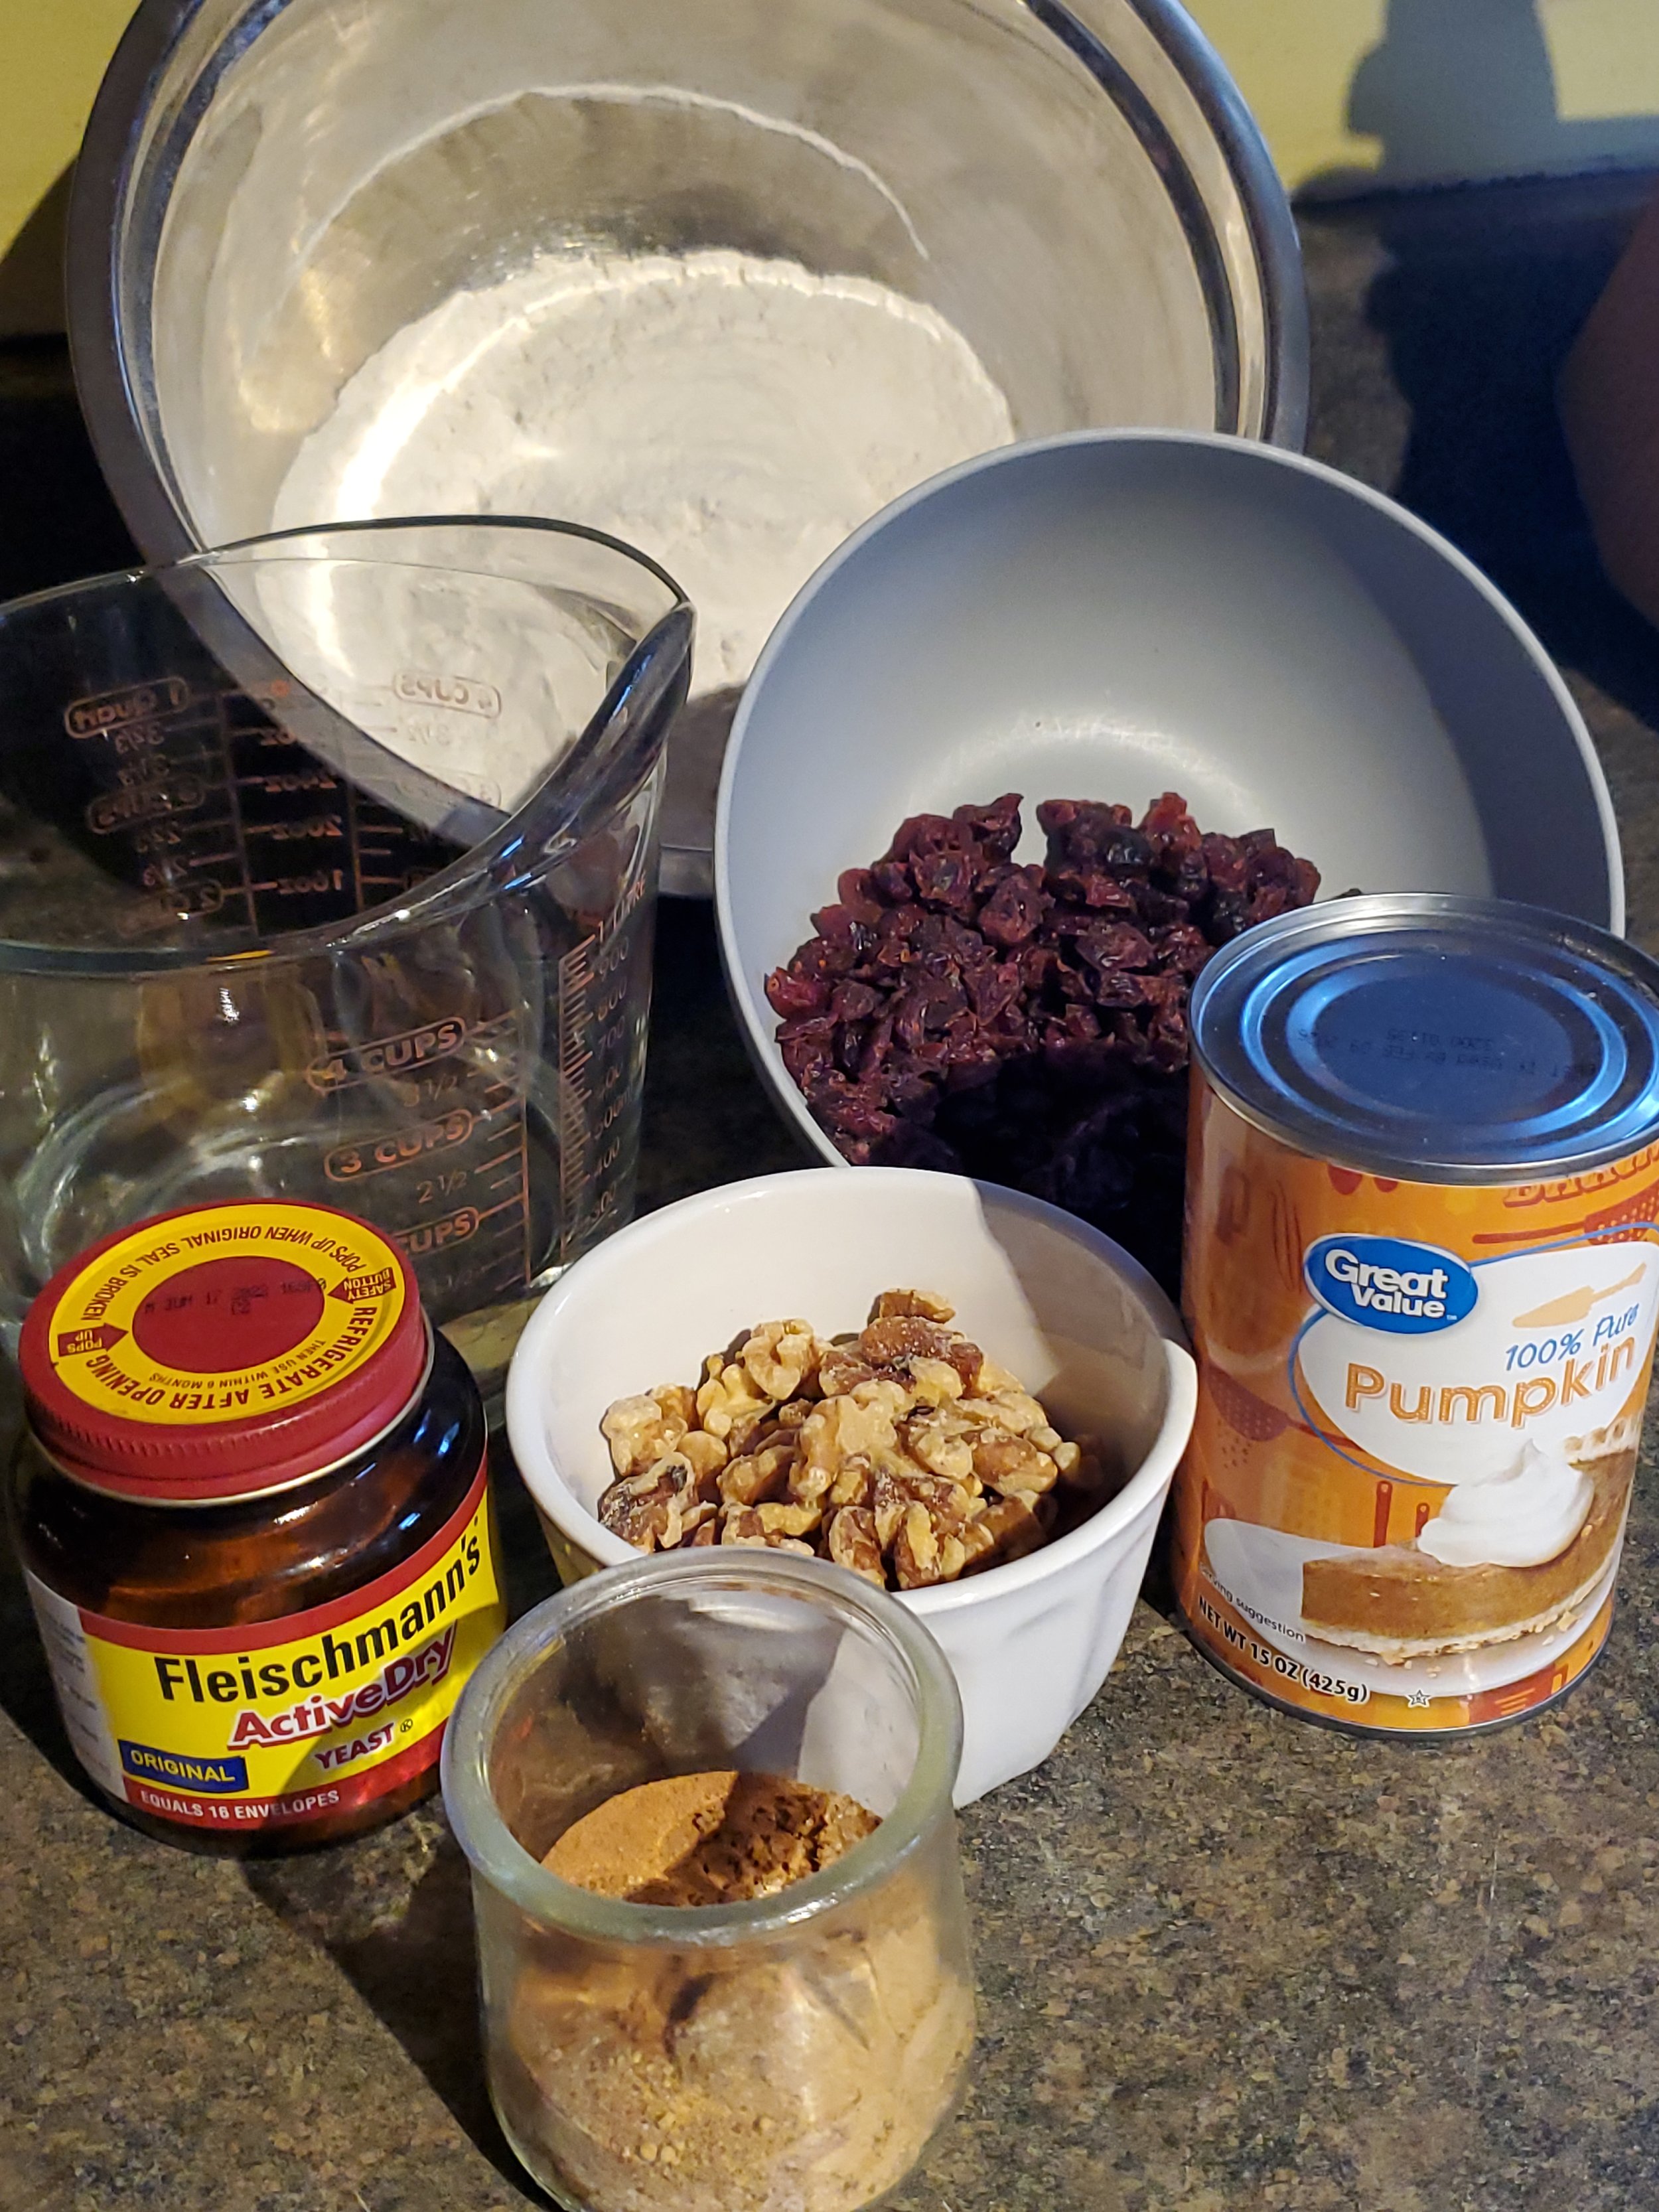


Ingredients:

1 cup water, warm, plus enough water to fill a kettle

1 tablespoon active dry yeast

1 15 ounce can plain pumpkin

2 tablespoons sugar

1 1/2 teaspoon ground cinnamon

1/2 teaspoon ground ginger

1/4 teaspoon nutmeg

1/2 teaspoon salt

4 1/2 cups flour, divided

1/2 cup chopped walnuts

1/4 cup dried cranberries


Tools:

parchment paper

Dutch oven, caldero, or four loaf pans

measuring cups and spoons

mixing bowls

tea kettle or pot for water

smaller, heat-proof bowl

colander

clean kitchen towel


Quick word of caution: This will be a messy, time consuming recipe! Do not attempt to do this on Thanksgiving. If you're an experienced baker of bread, you might pull it off. But if you're us... You'll just create a mess and not have the bread til after dinner. 


Well before you intend to get anything going for this recipe, start a tea kettle or a pot of water on the stove. You can use the time while you wait for it to reach a boil to get your other ingredients out.


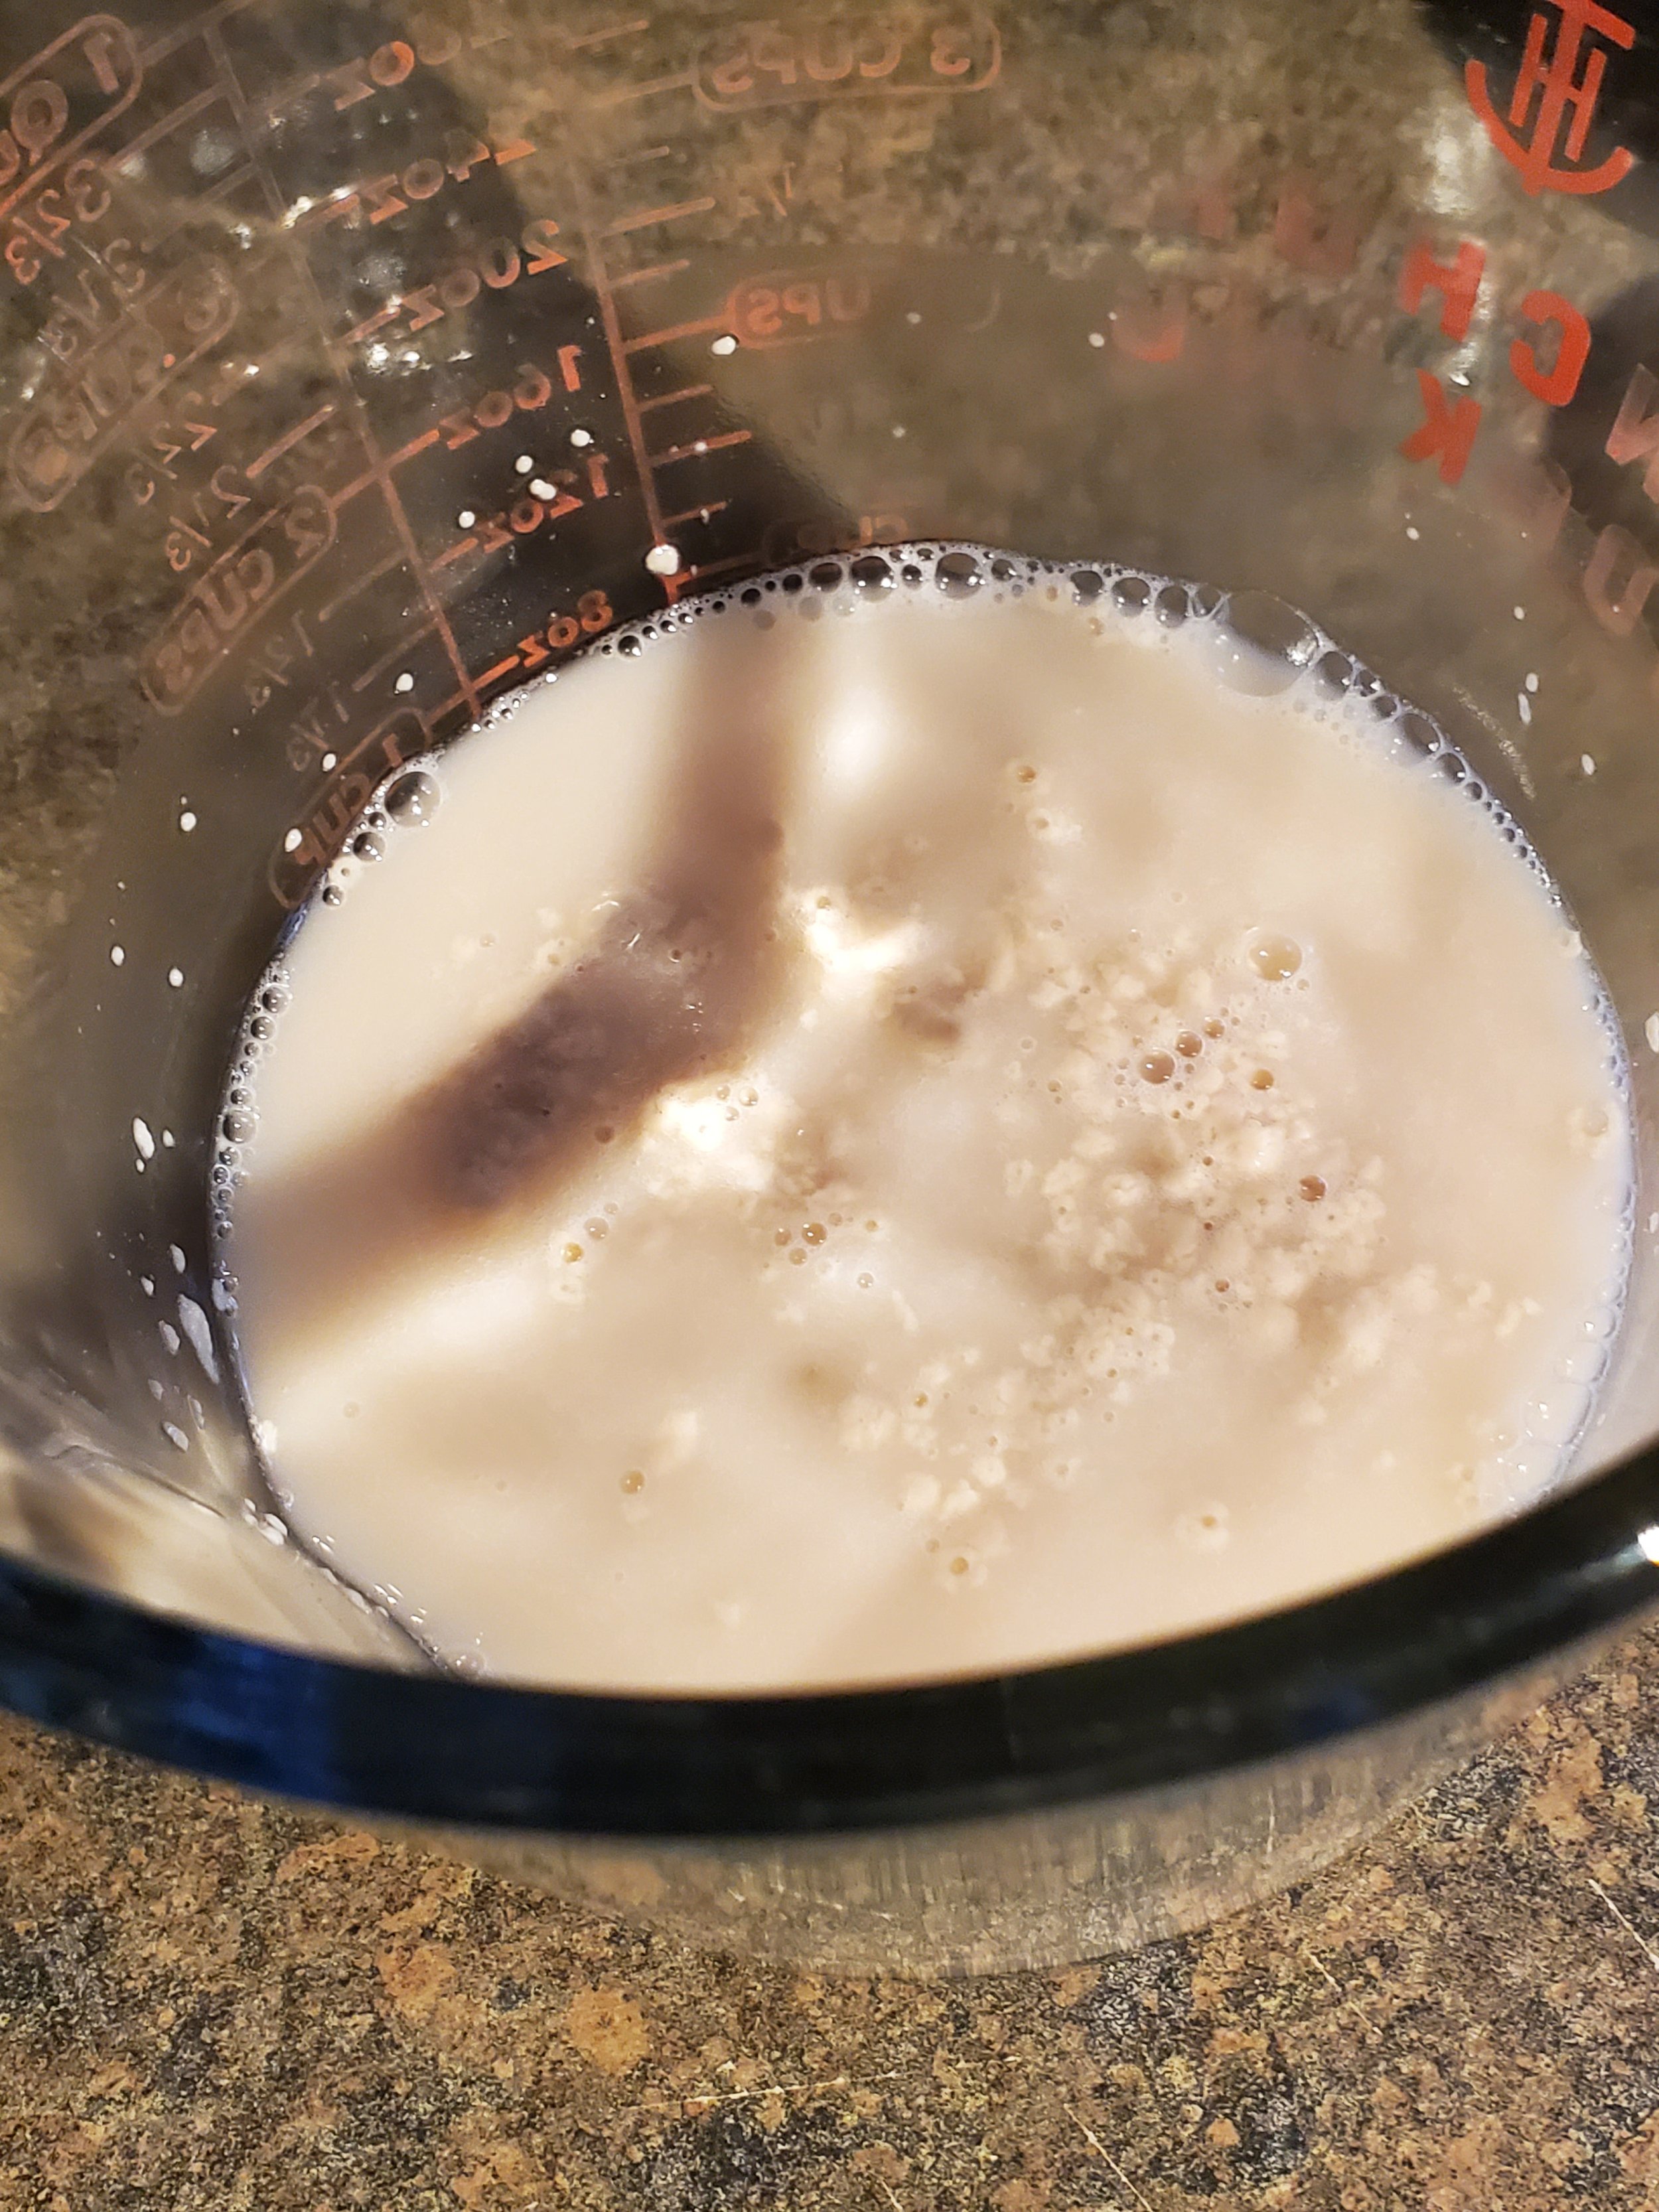
Once you have all your ingredients handy, begin by measuring your yeast into warm water and setting it aside to double in size. This should take five minutes or so.


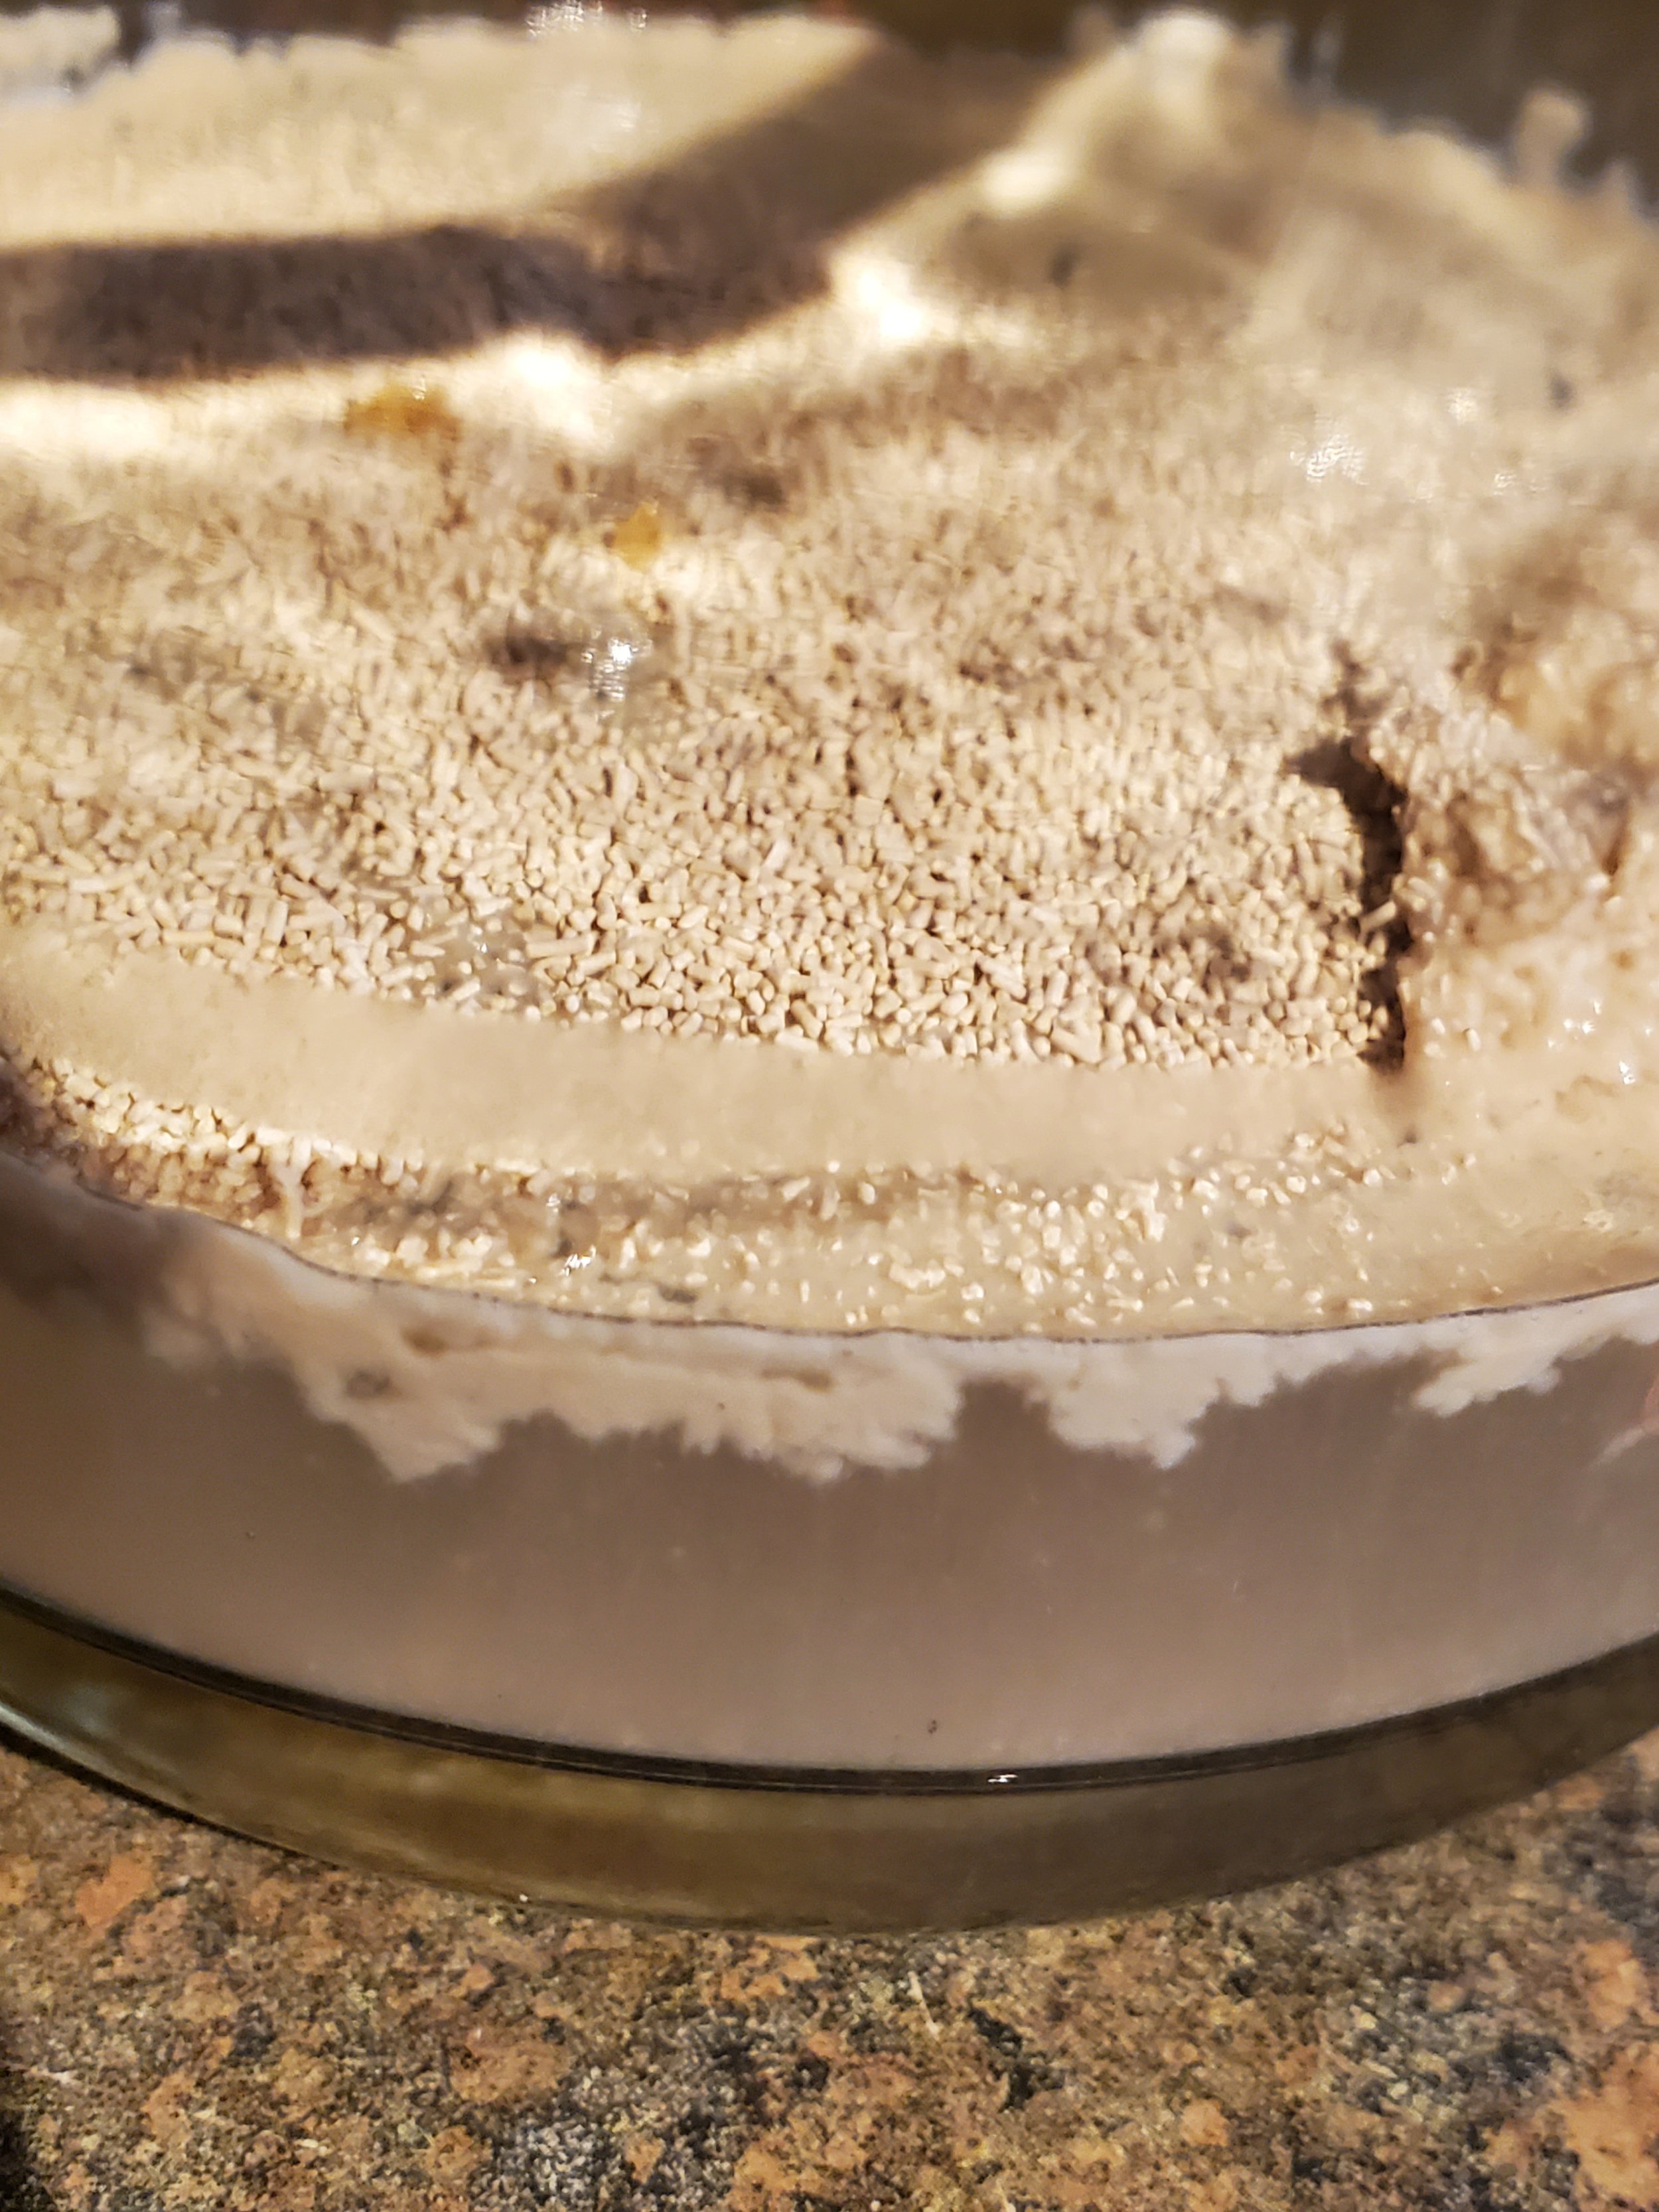
Measure the flour, stopping at three and a half cups. Reserve the additional cup in another bowl. Don't forget to level your flour! It's going to be sticky dough and you'll likely be tempted to add more flour, but don't fall for it, and definitely don't sabotage yourself by starting with more than you meant to.


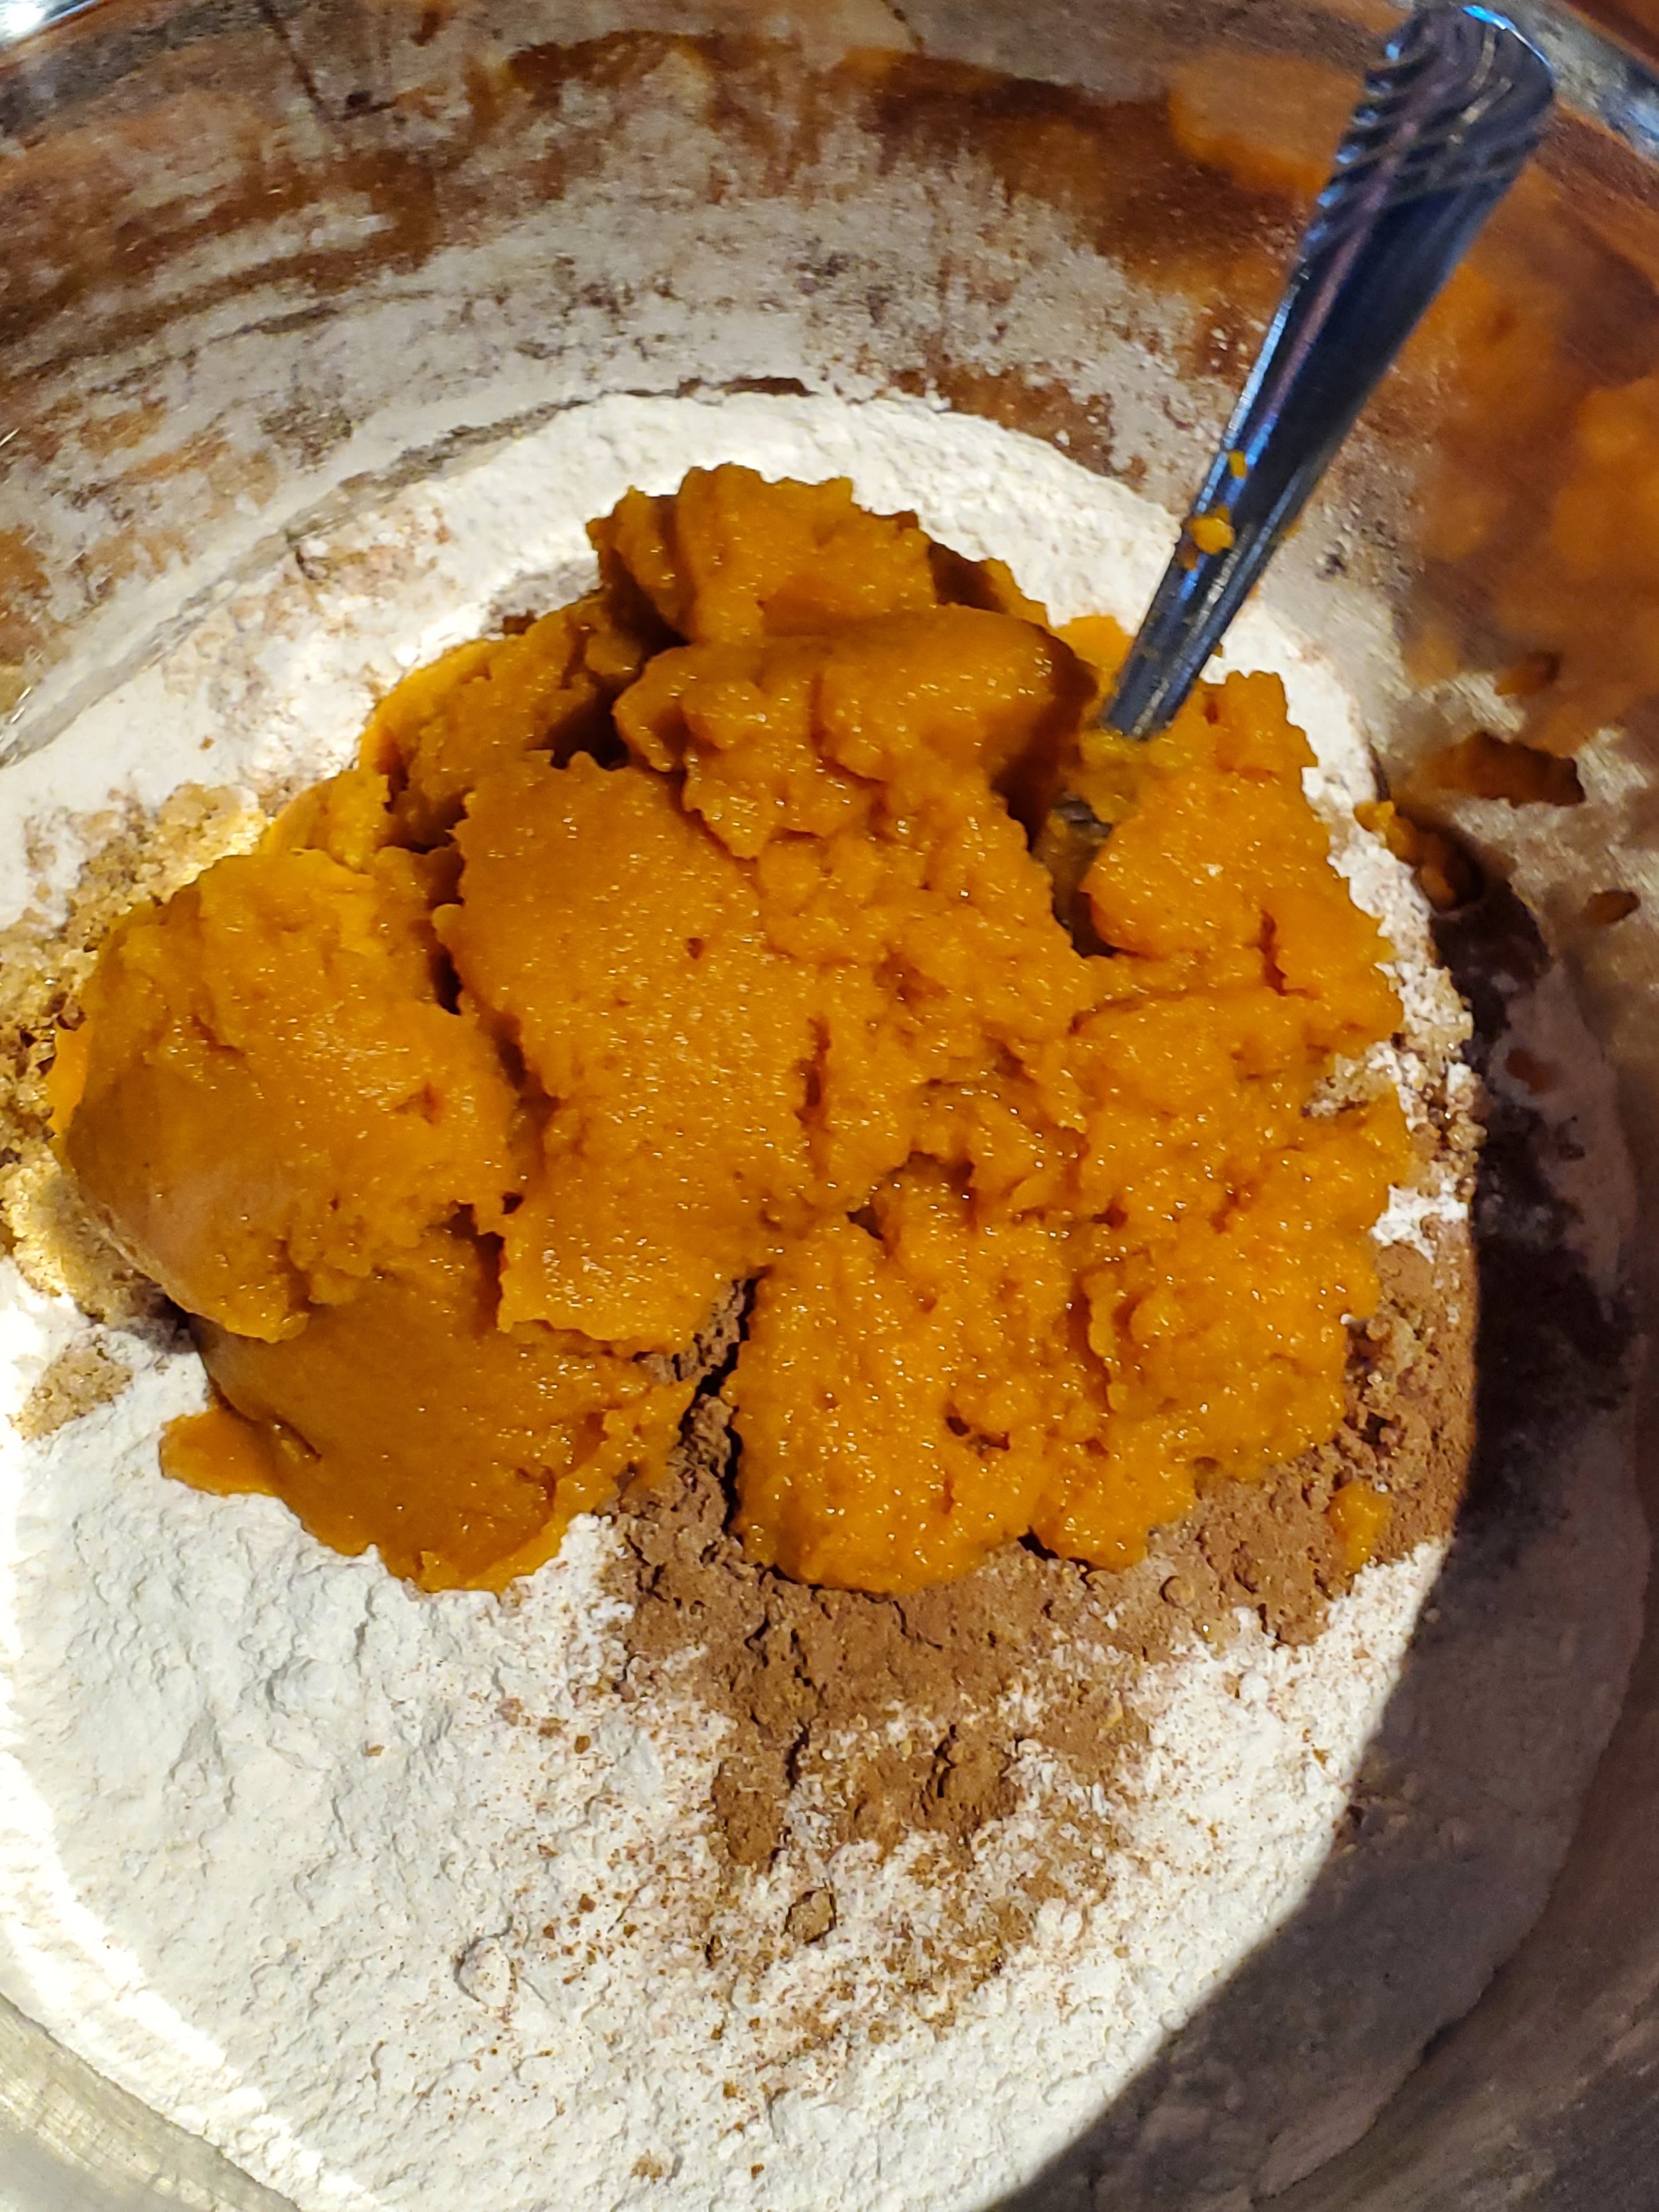
Include your sugar, salt and spices in the dry ingredients. We want to see them evenly mixed into your flour before any wet ingredients join the party, that way you don't end up with bland spots and spots that have too much cinnamon or something.


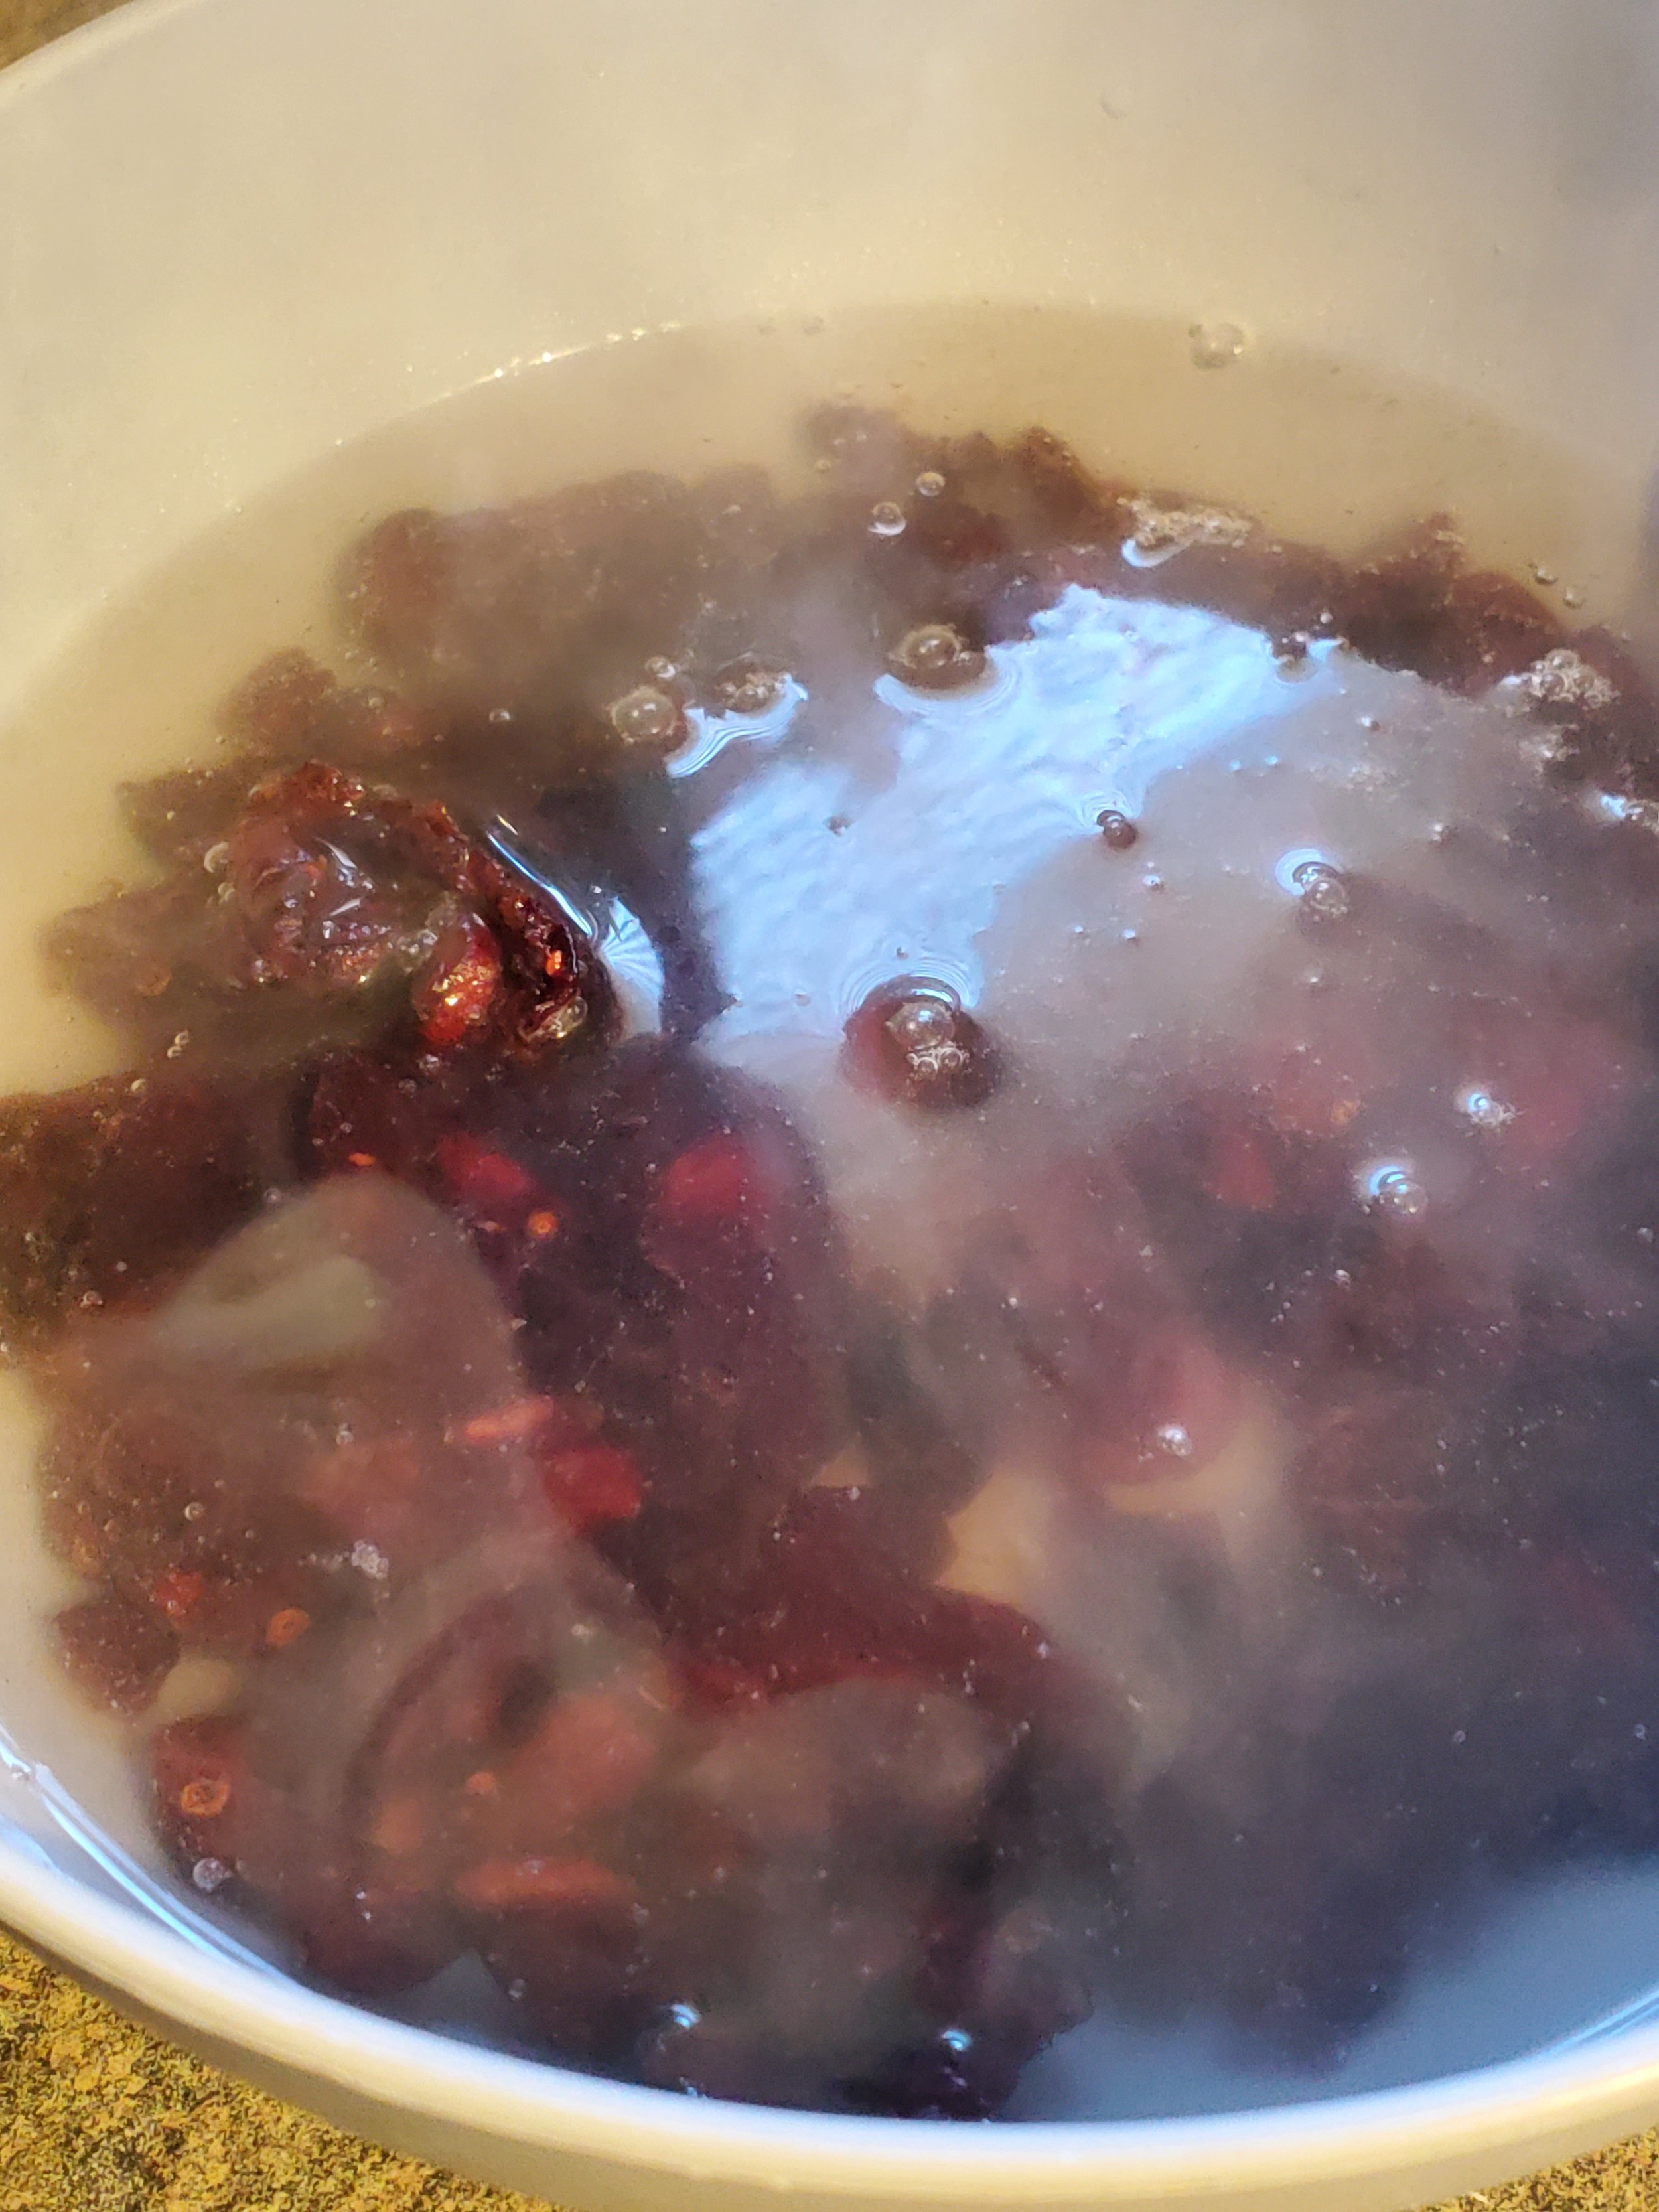
Around this point, our kettle usually begins to boil. Remove it from the heat, toss the cranberries in the heat proof bowl, and cover them with boiling water. Ignore them for five minutes or so - we just want them to be partially rehydrated so they're not sticky lumps in the bread later. After they've had time to absorb some of the water, strain the water out through the colander.


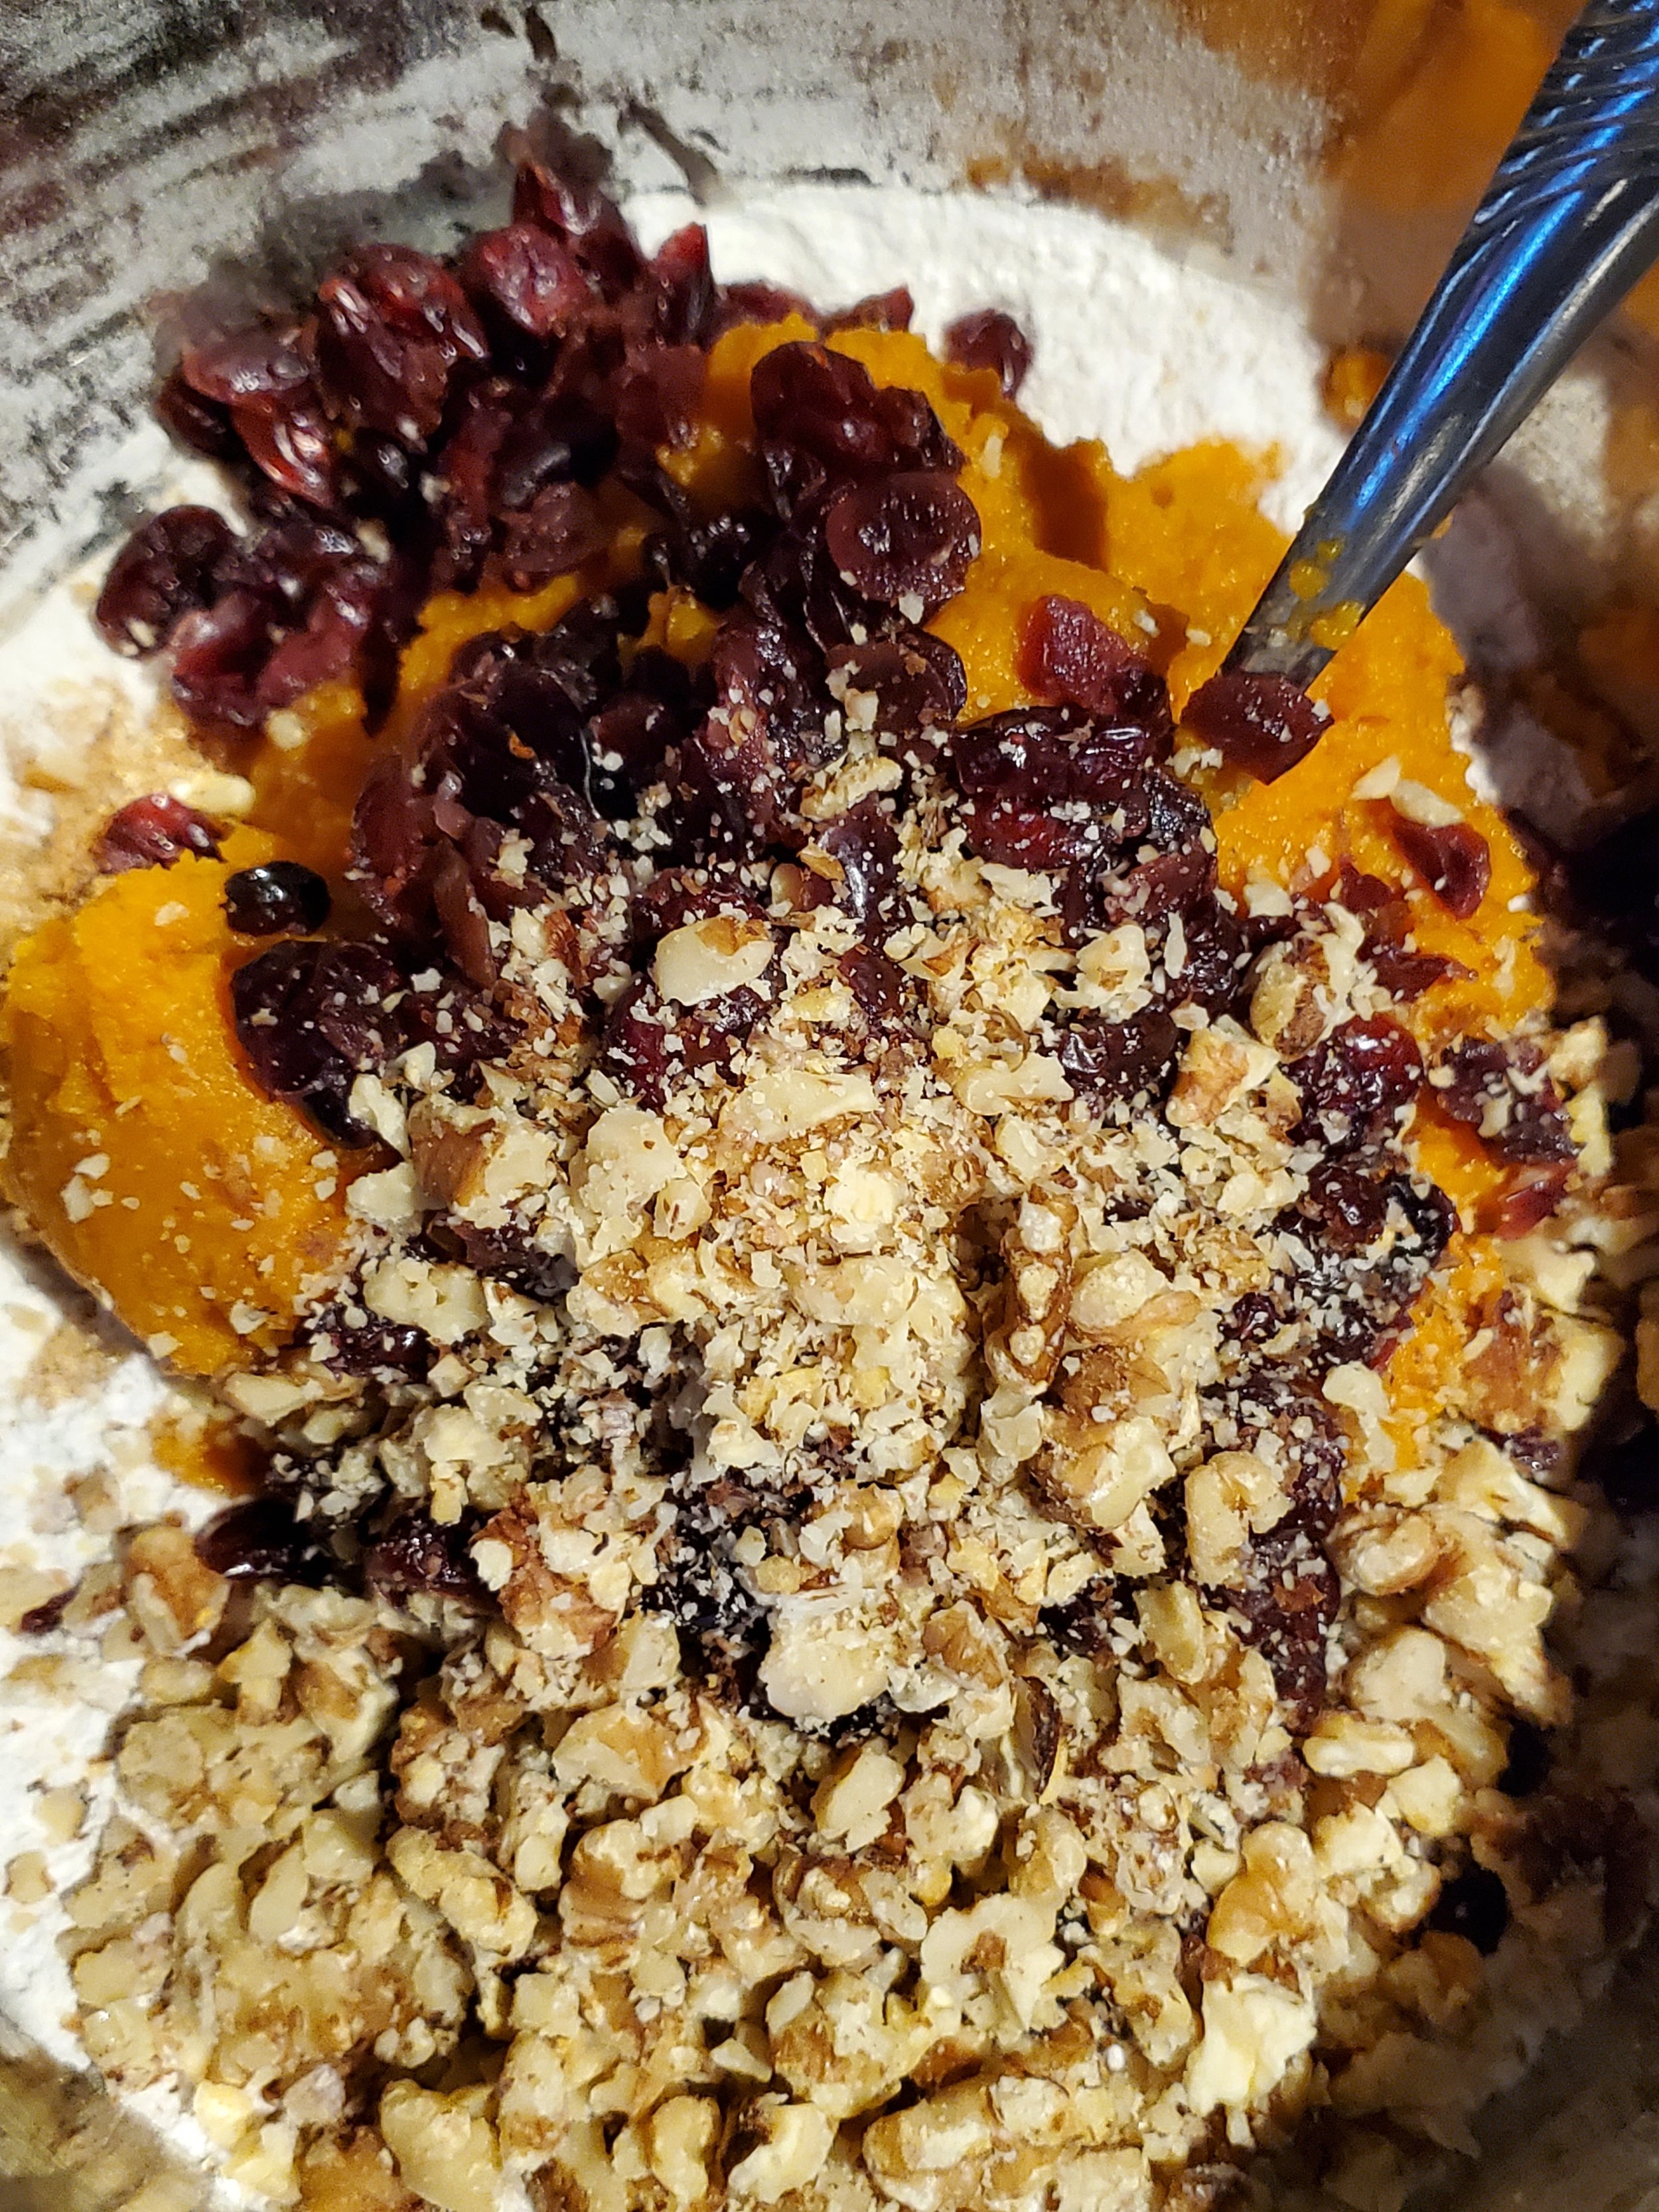
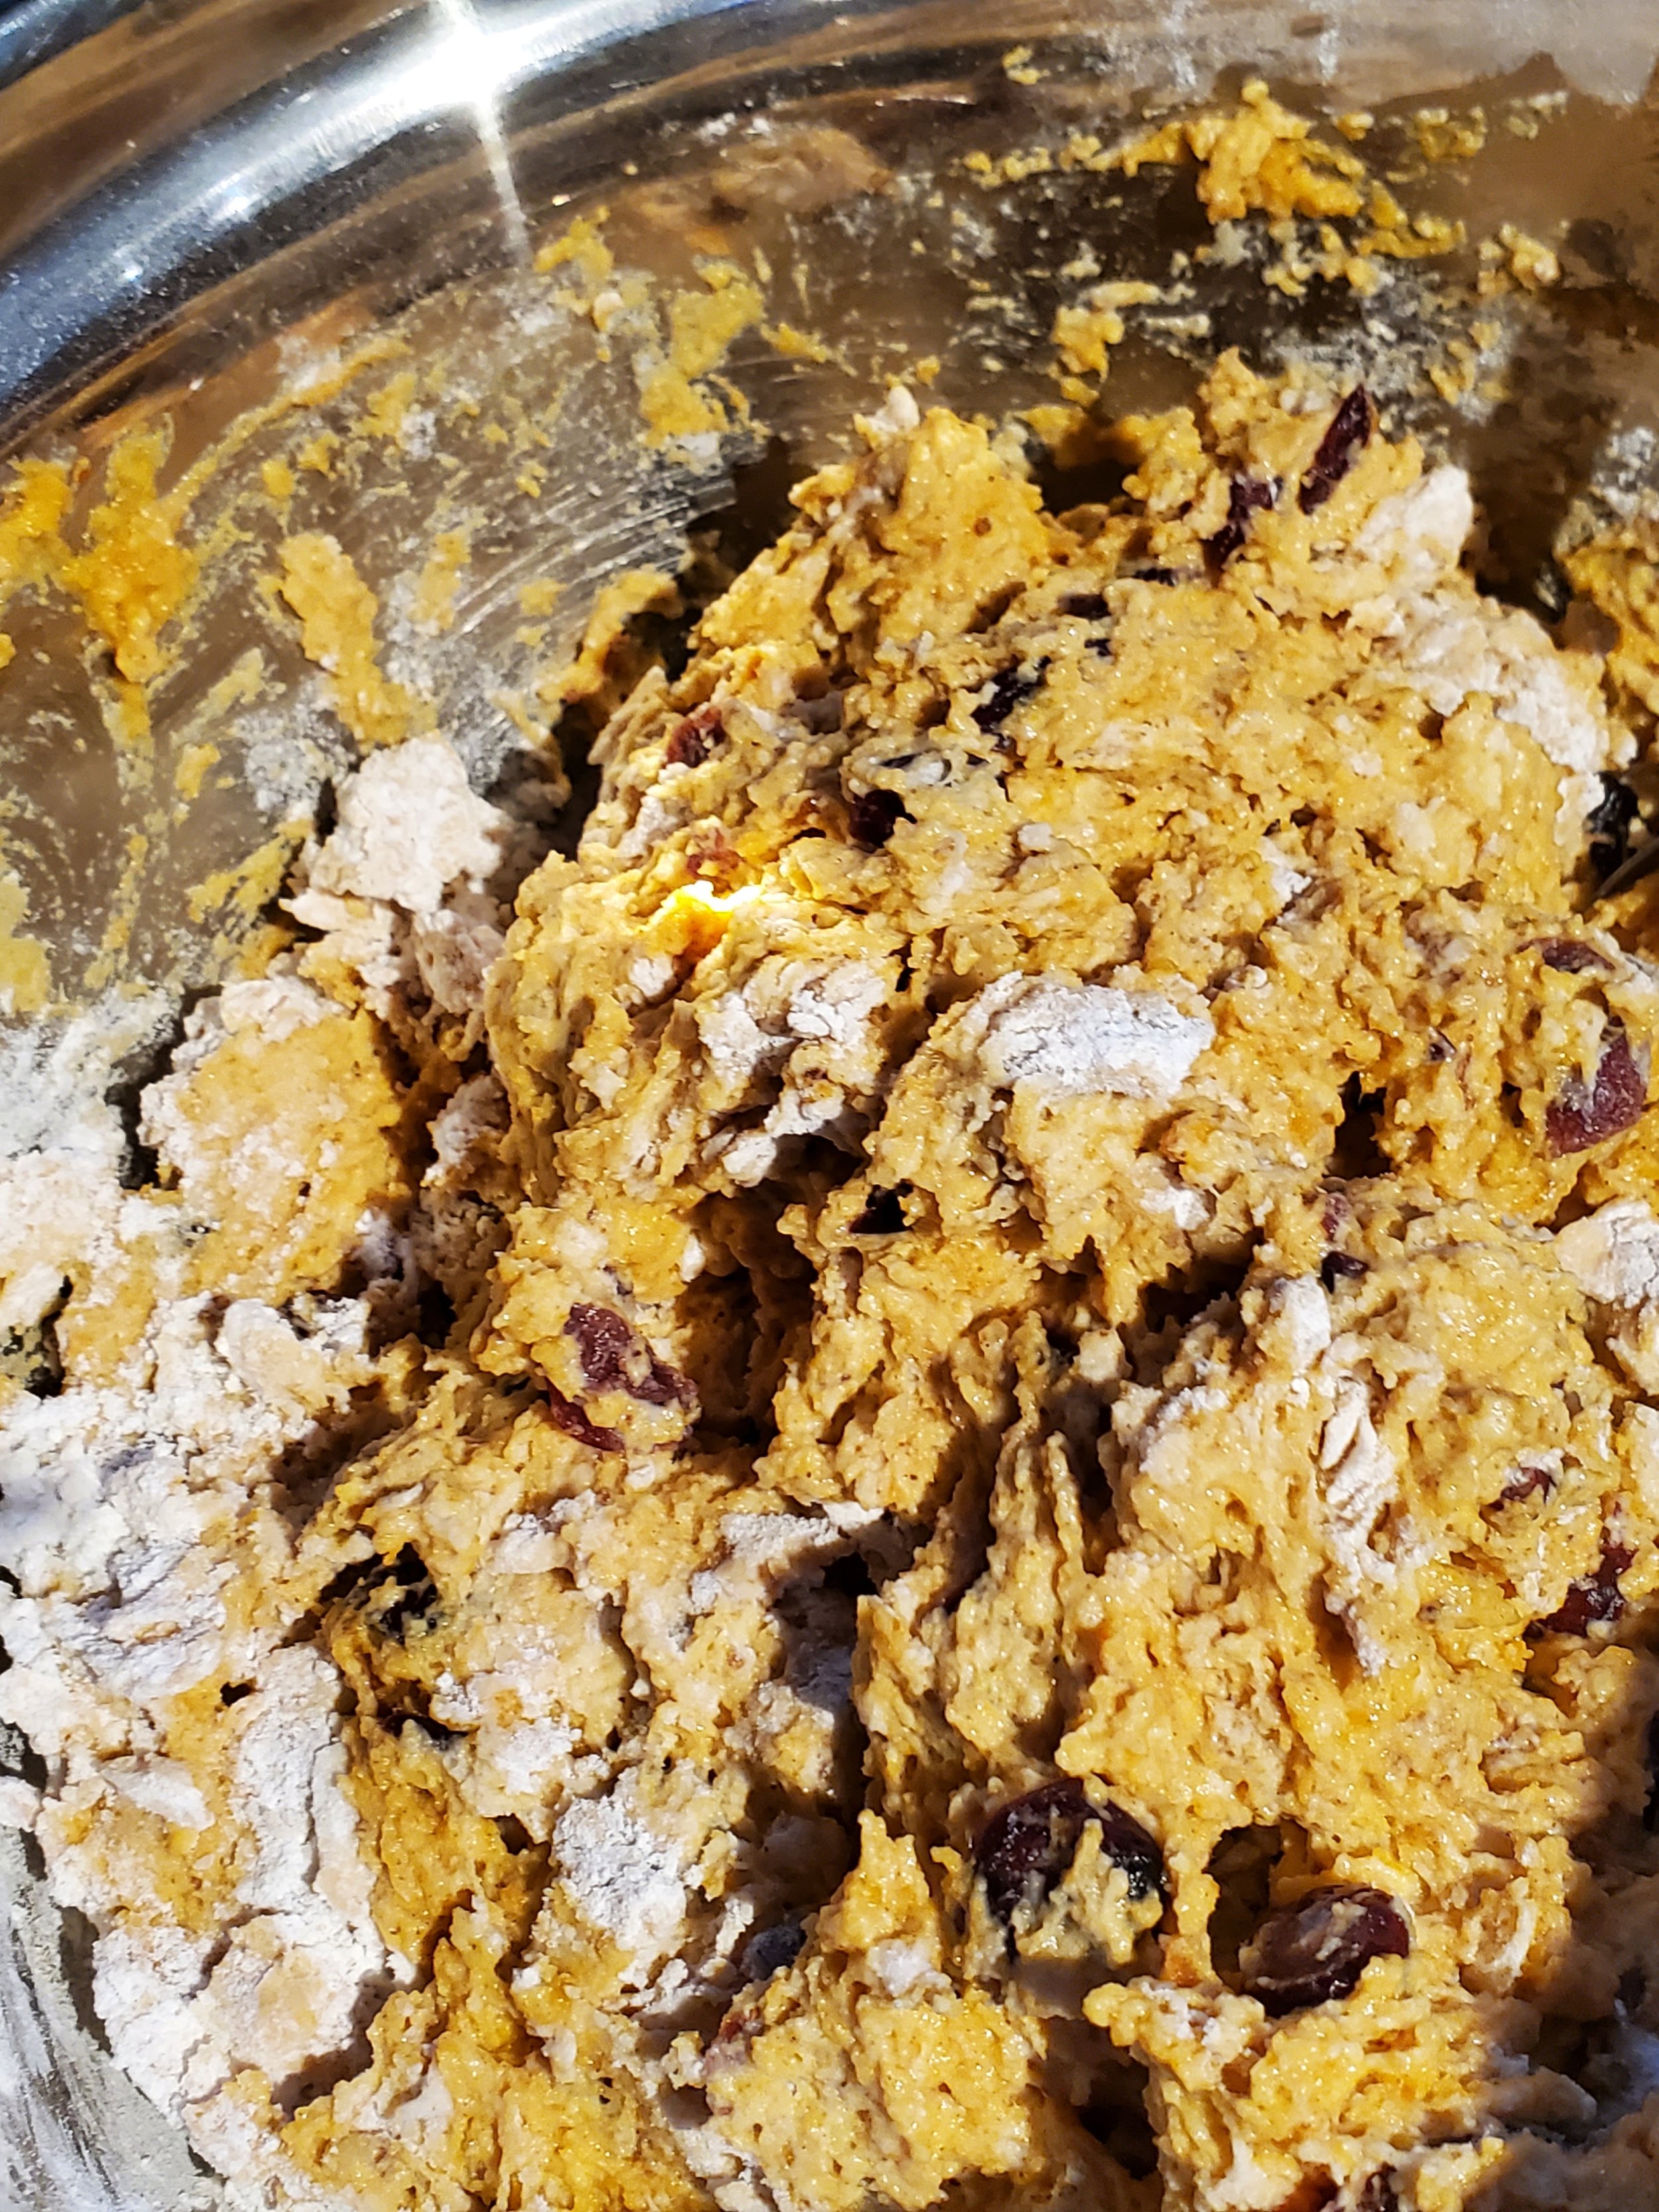
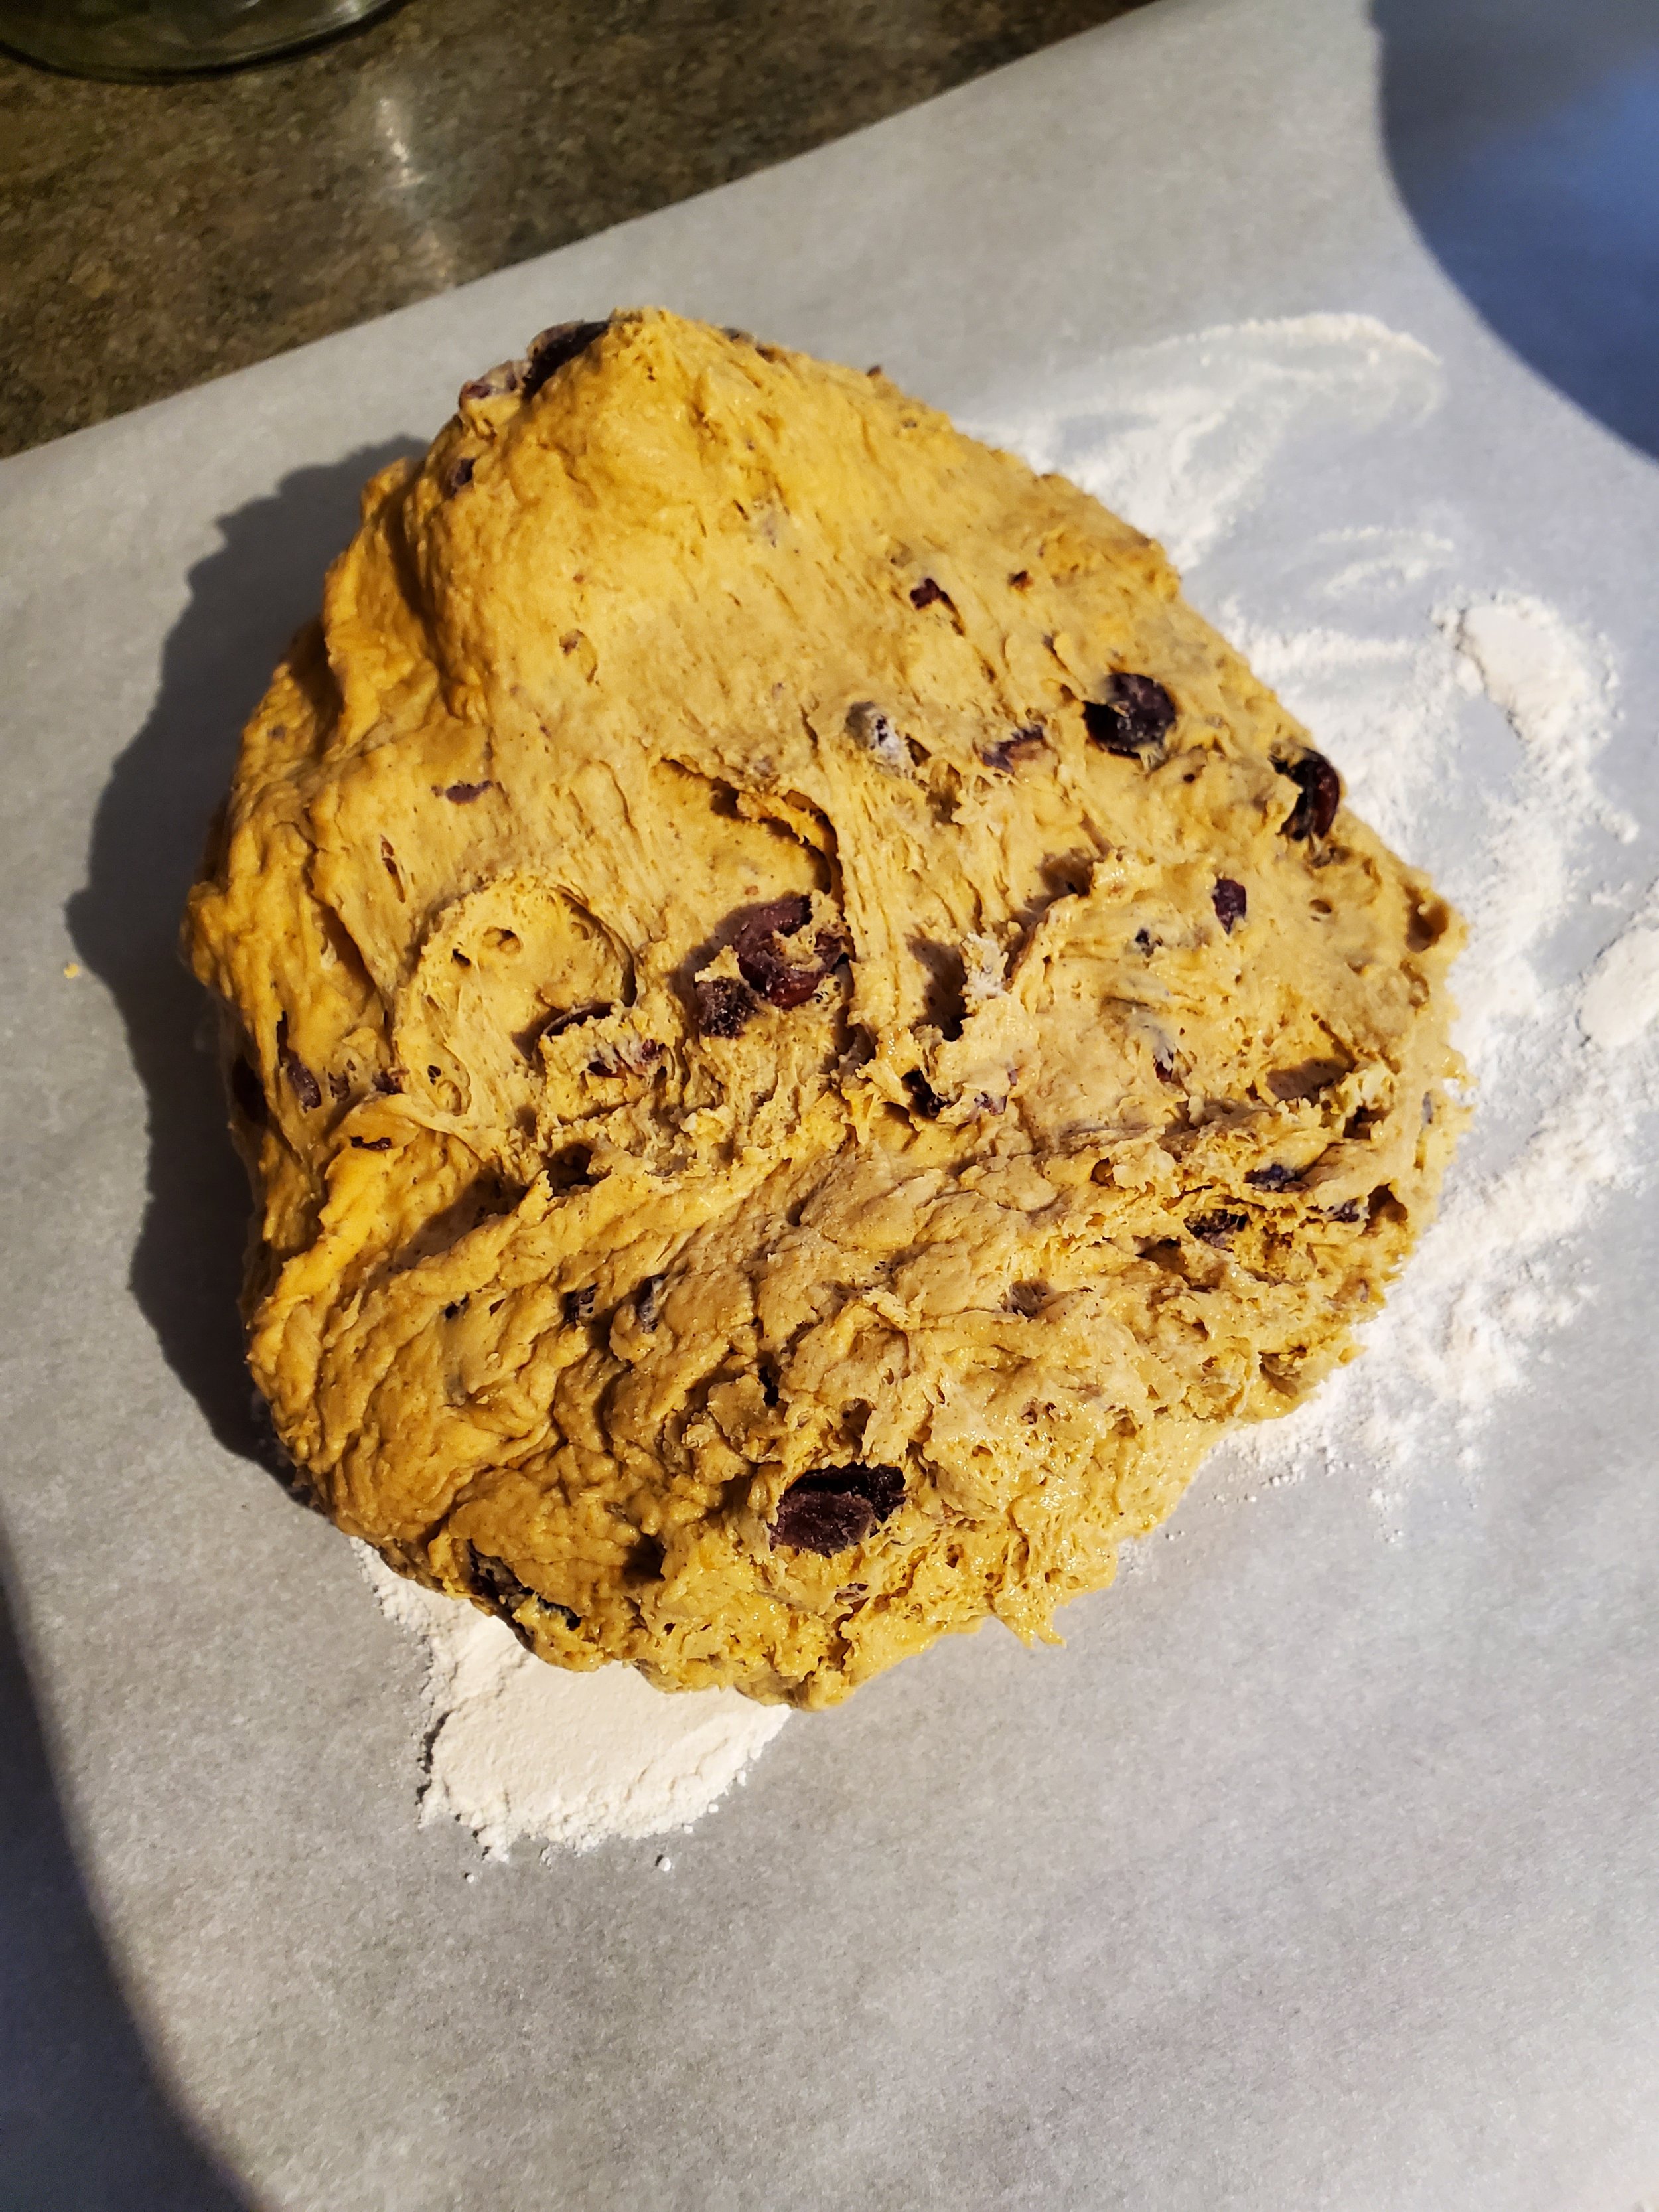
Add the pumpkin and the yeast mixture to the dry ingredients and stir well. Once you've got a relatively uniform consistency, you can add in the chopped walnuts and the cranberries. This is also the first point that your reserved cup of flour will make an appearance - work about half of it into the sticky dough you have here.


Cover the bowl with a clean kitchen towel and let it rise on the counter for three hours.


At the three hour mark, move the dough to the fridge, keeping it covered with the towel. Keep it in the fridge for at least an hour, or as long as overnight (if you're a forward thinker and got this done long enough ahead of time that you can refrigerate it overnight! Congrats on being wiser than us).


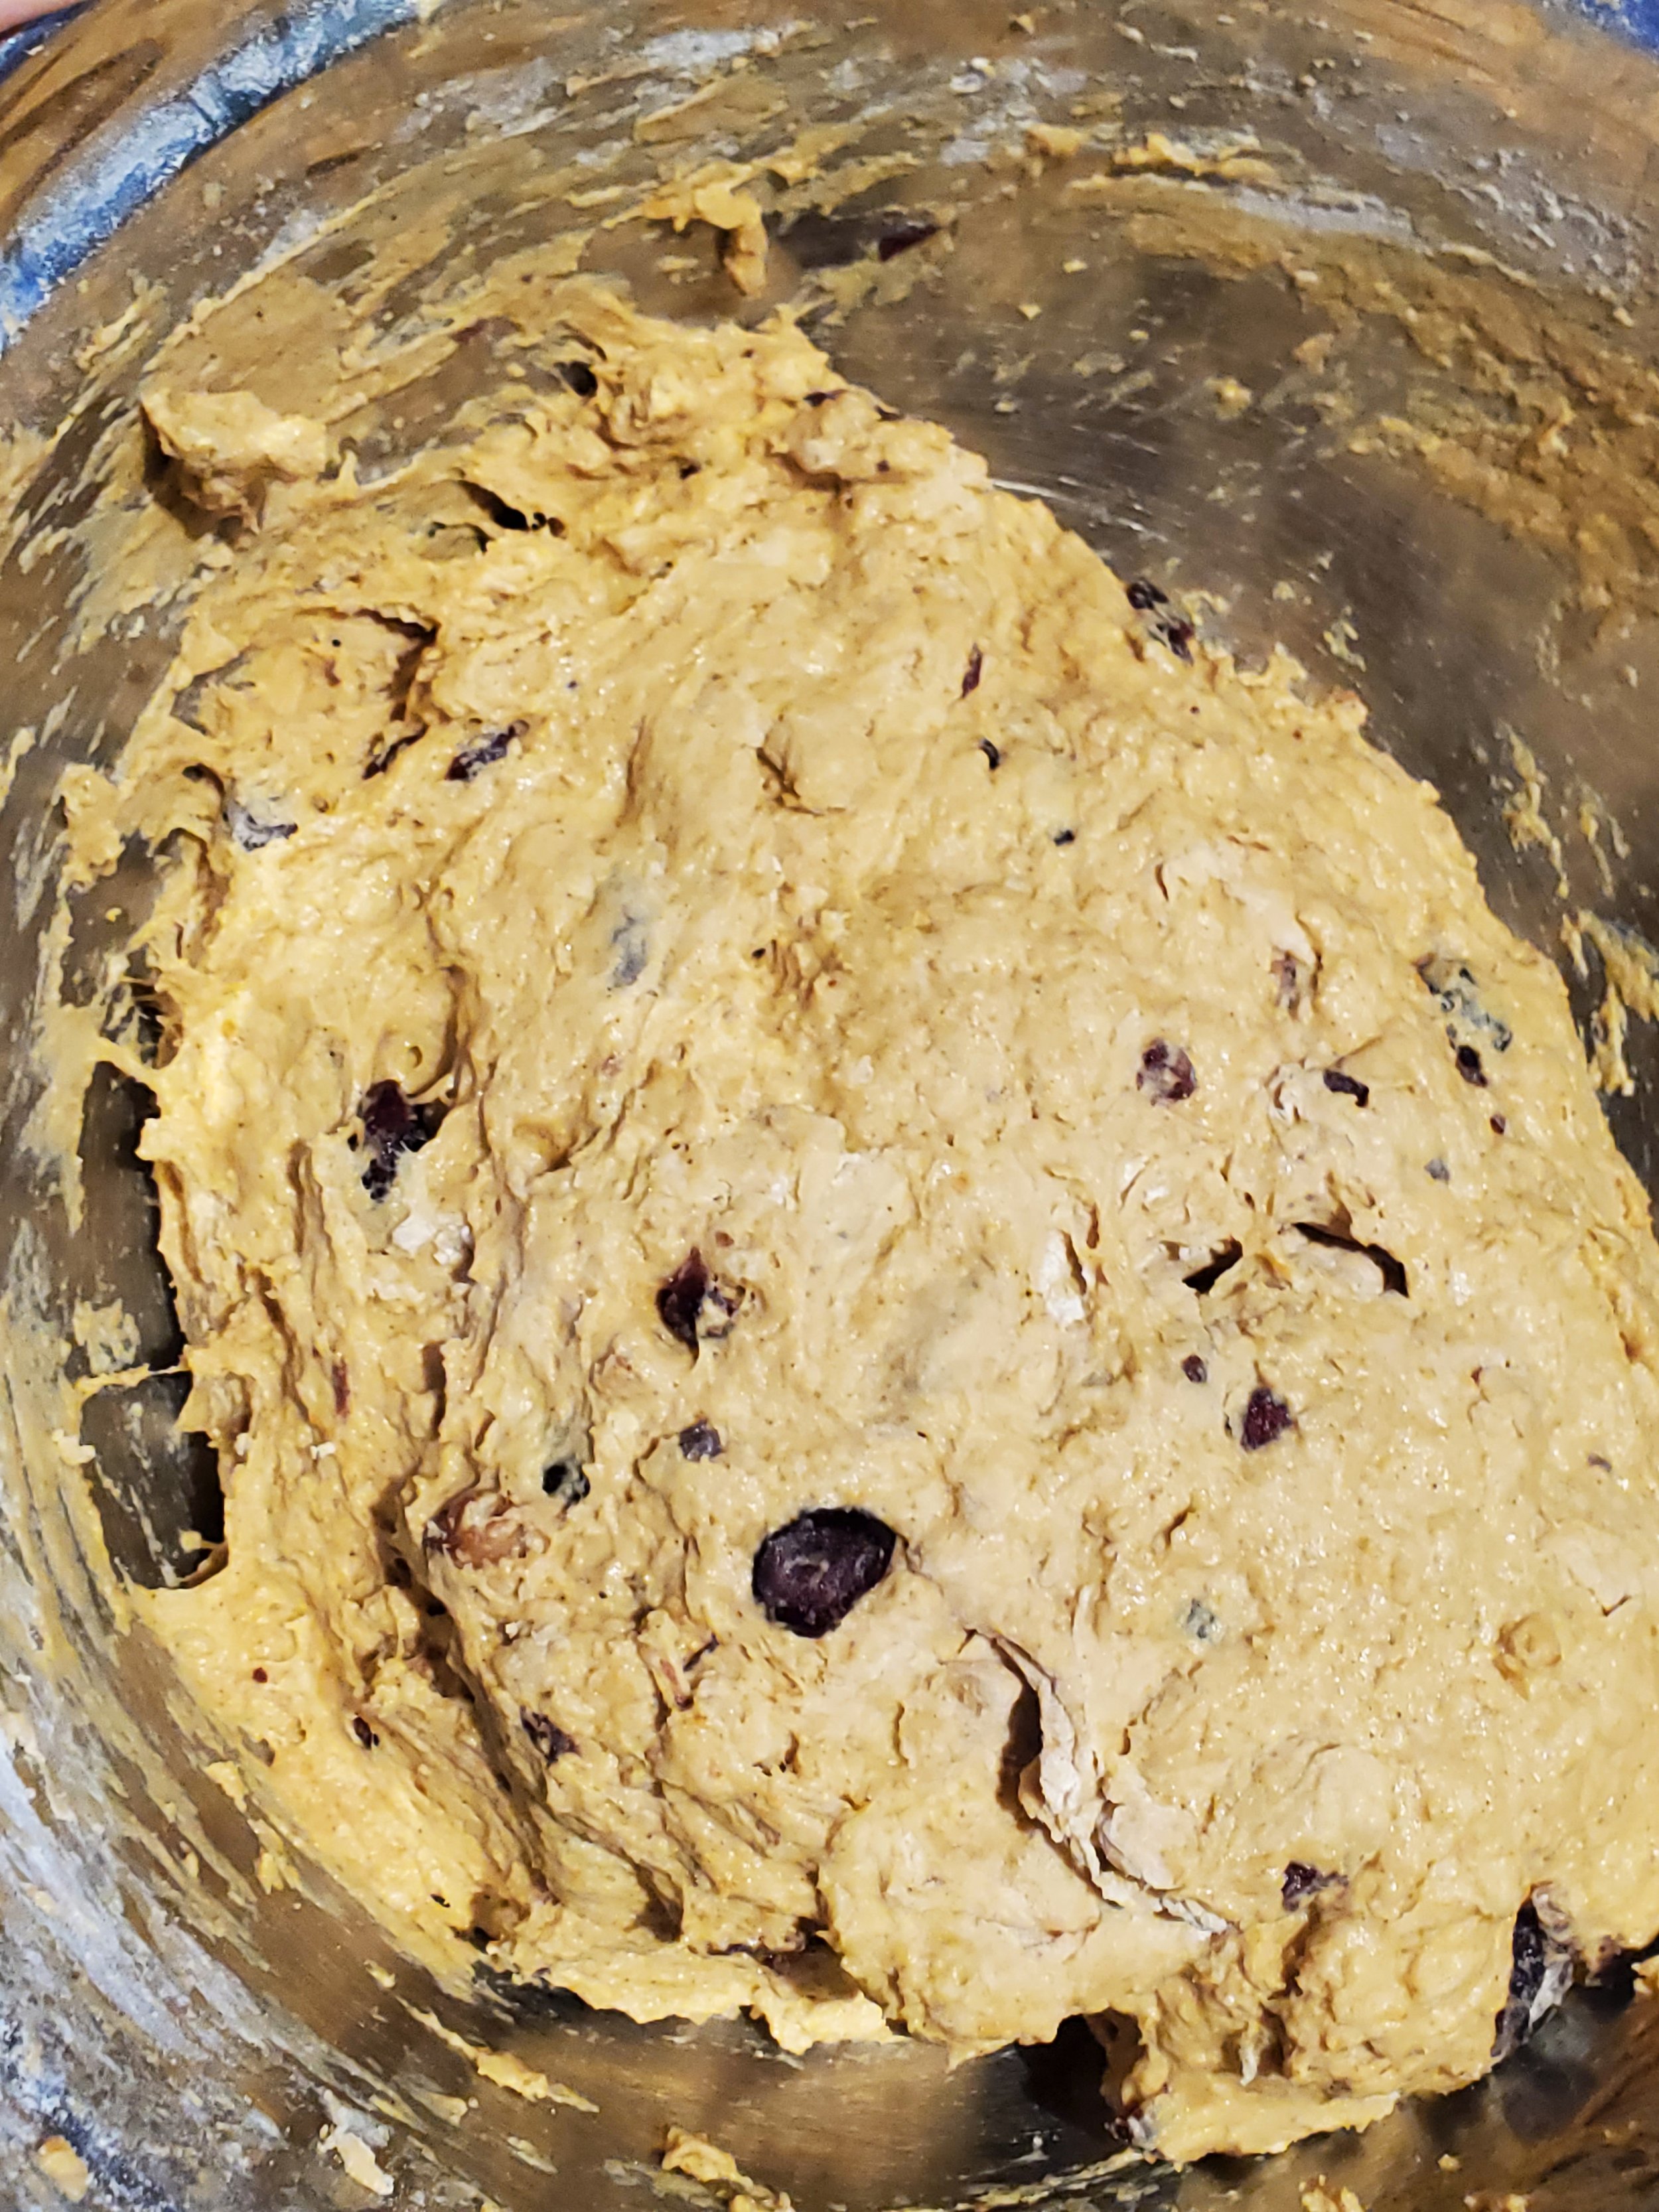
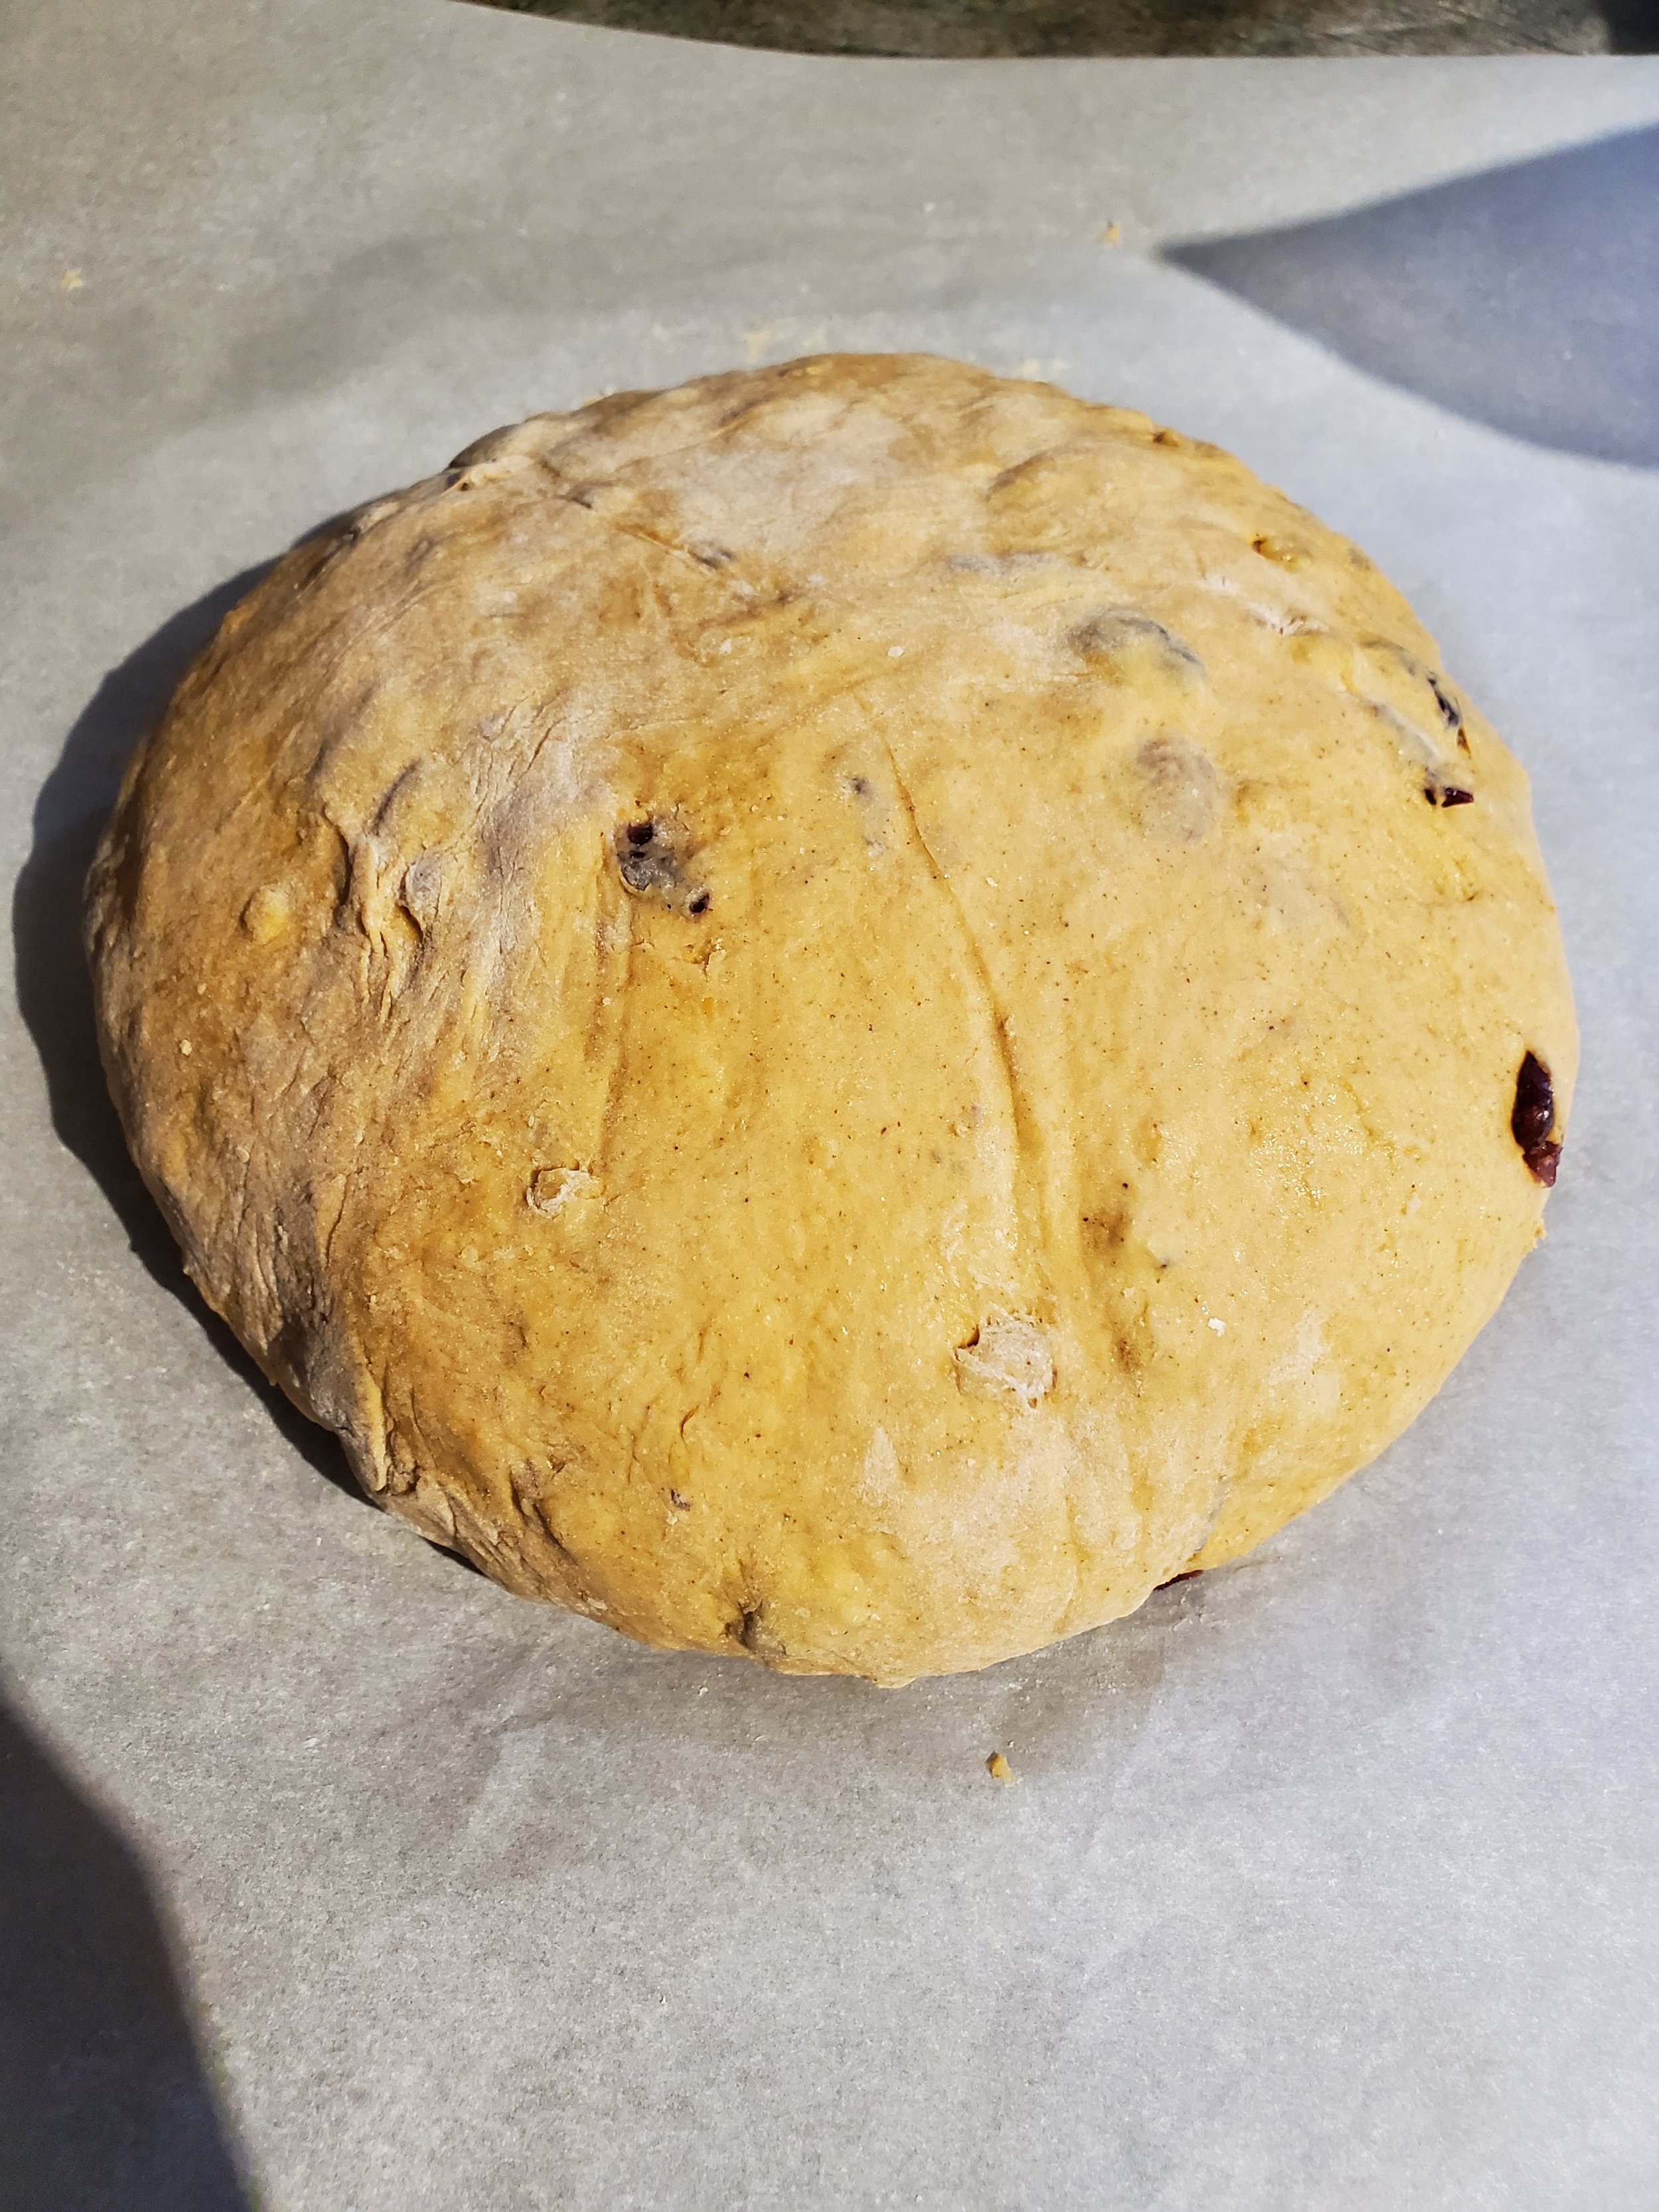
The chilled dough should be easier to work with, but we still recommend a set of food service gloves for this part. Take that reserved flour and dust a surface - a cutting board, the counter, some parchment, the table - whatever you have. We recommend parchment paper for ease of lifting later. Turn the cold dough out onto this floured surface and work it until it's smooth. Allow it to rise again where it sits for about an hour.


Preheat the oven to 450. That is not a typo, we really do mean 450.


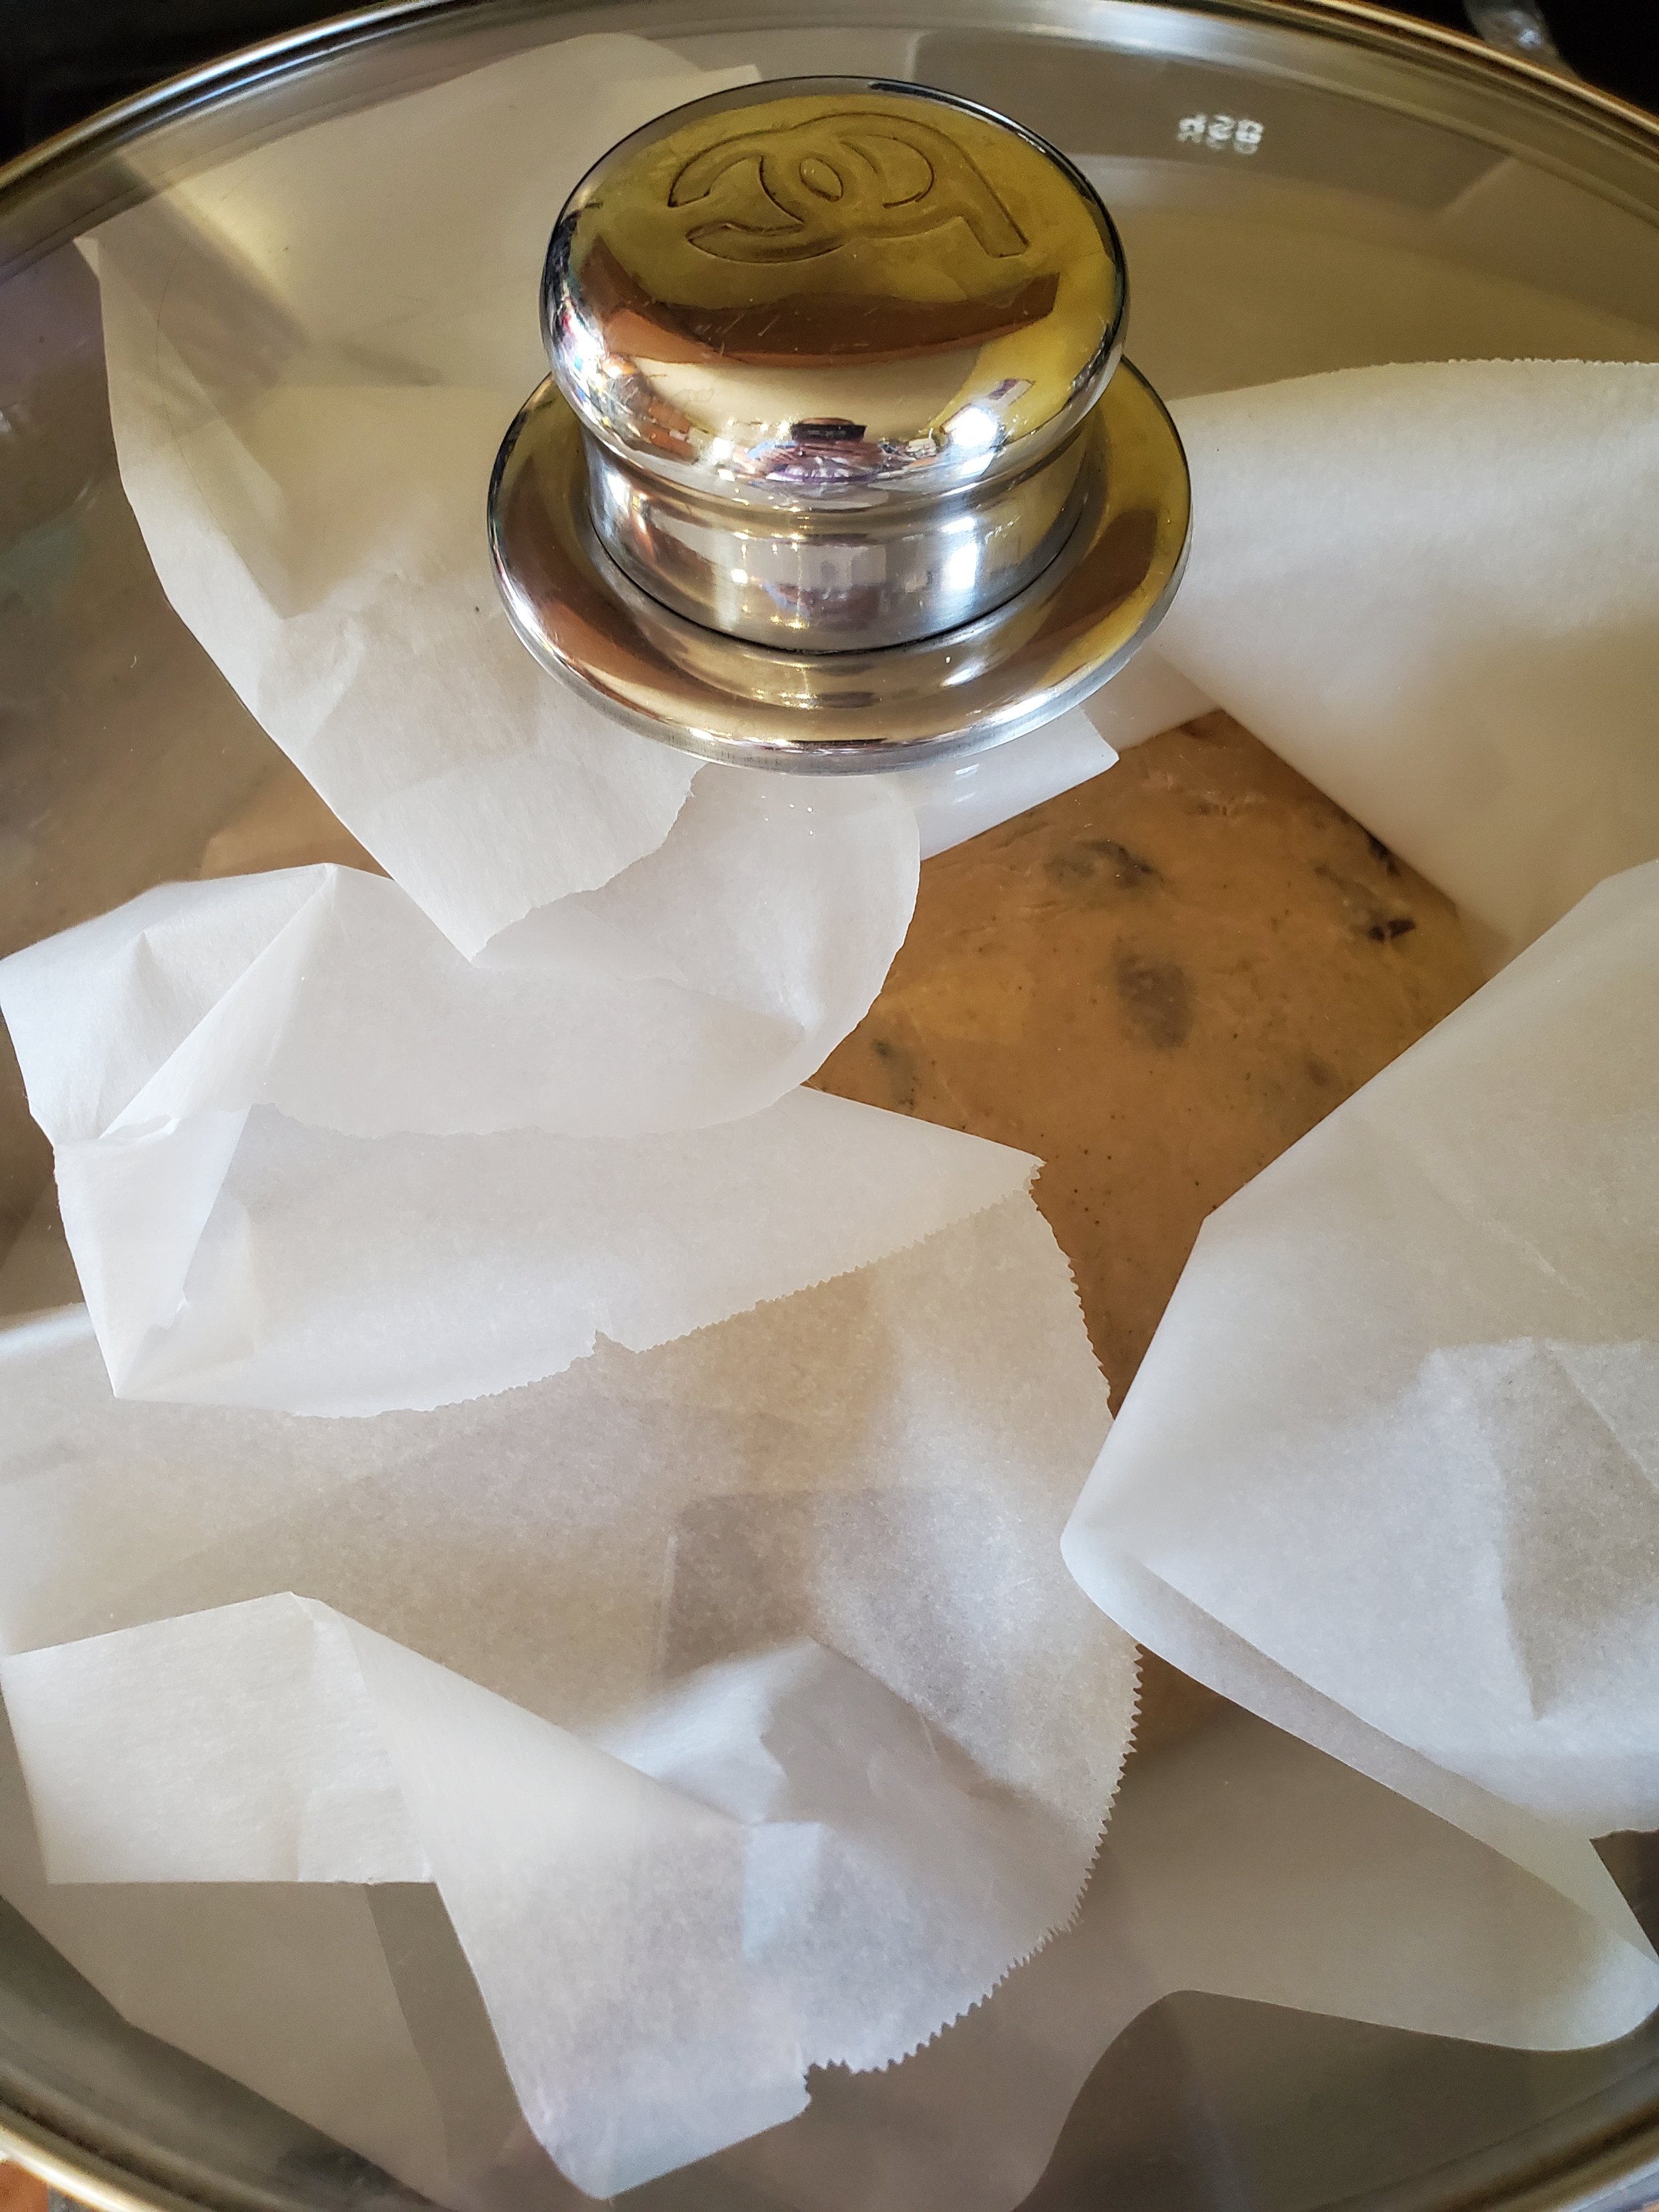
In the photos, we've done this as one large boule in a covered pan - but we find the results to be much better if done as two small loaves in average loaf pans, and doing two loaves reduces the cooking time and the risk of burning dramatically. Learning from our mistakes here.


Toss two loaf pans into the oven to heat up with it, keeping the other two loaf pans out on the counter. Divide your dough in two and shape into two even-sized loaves. Place each loaf on its own sheet of parchment paper.


Once the oven has come up to proper temperature, don your oven mitts or grab a towel and remove the pans. Using the parchment to transfer them, place one loaf into each pan. Place both pans onto the middle rack of the oven. Invert the cool pans over top of the pans in the oven (we're using them like the lid of the Dutch oven here). Set a timer for 15 minutes.


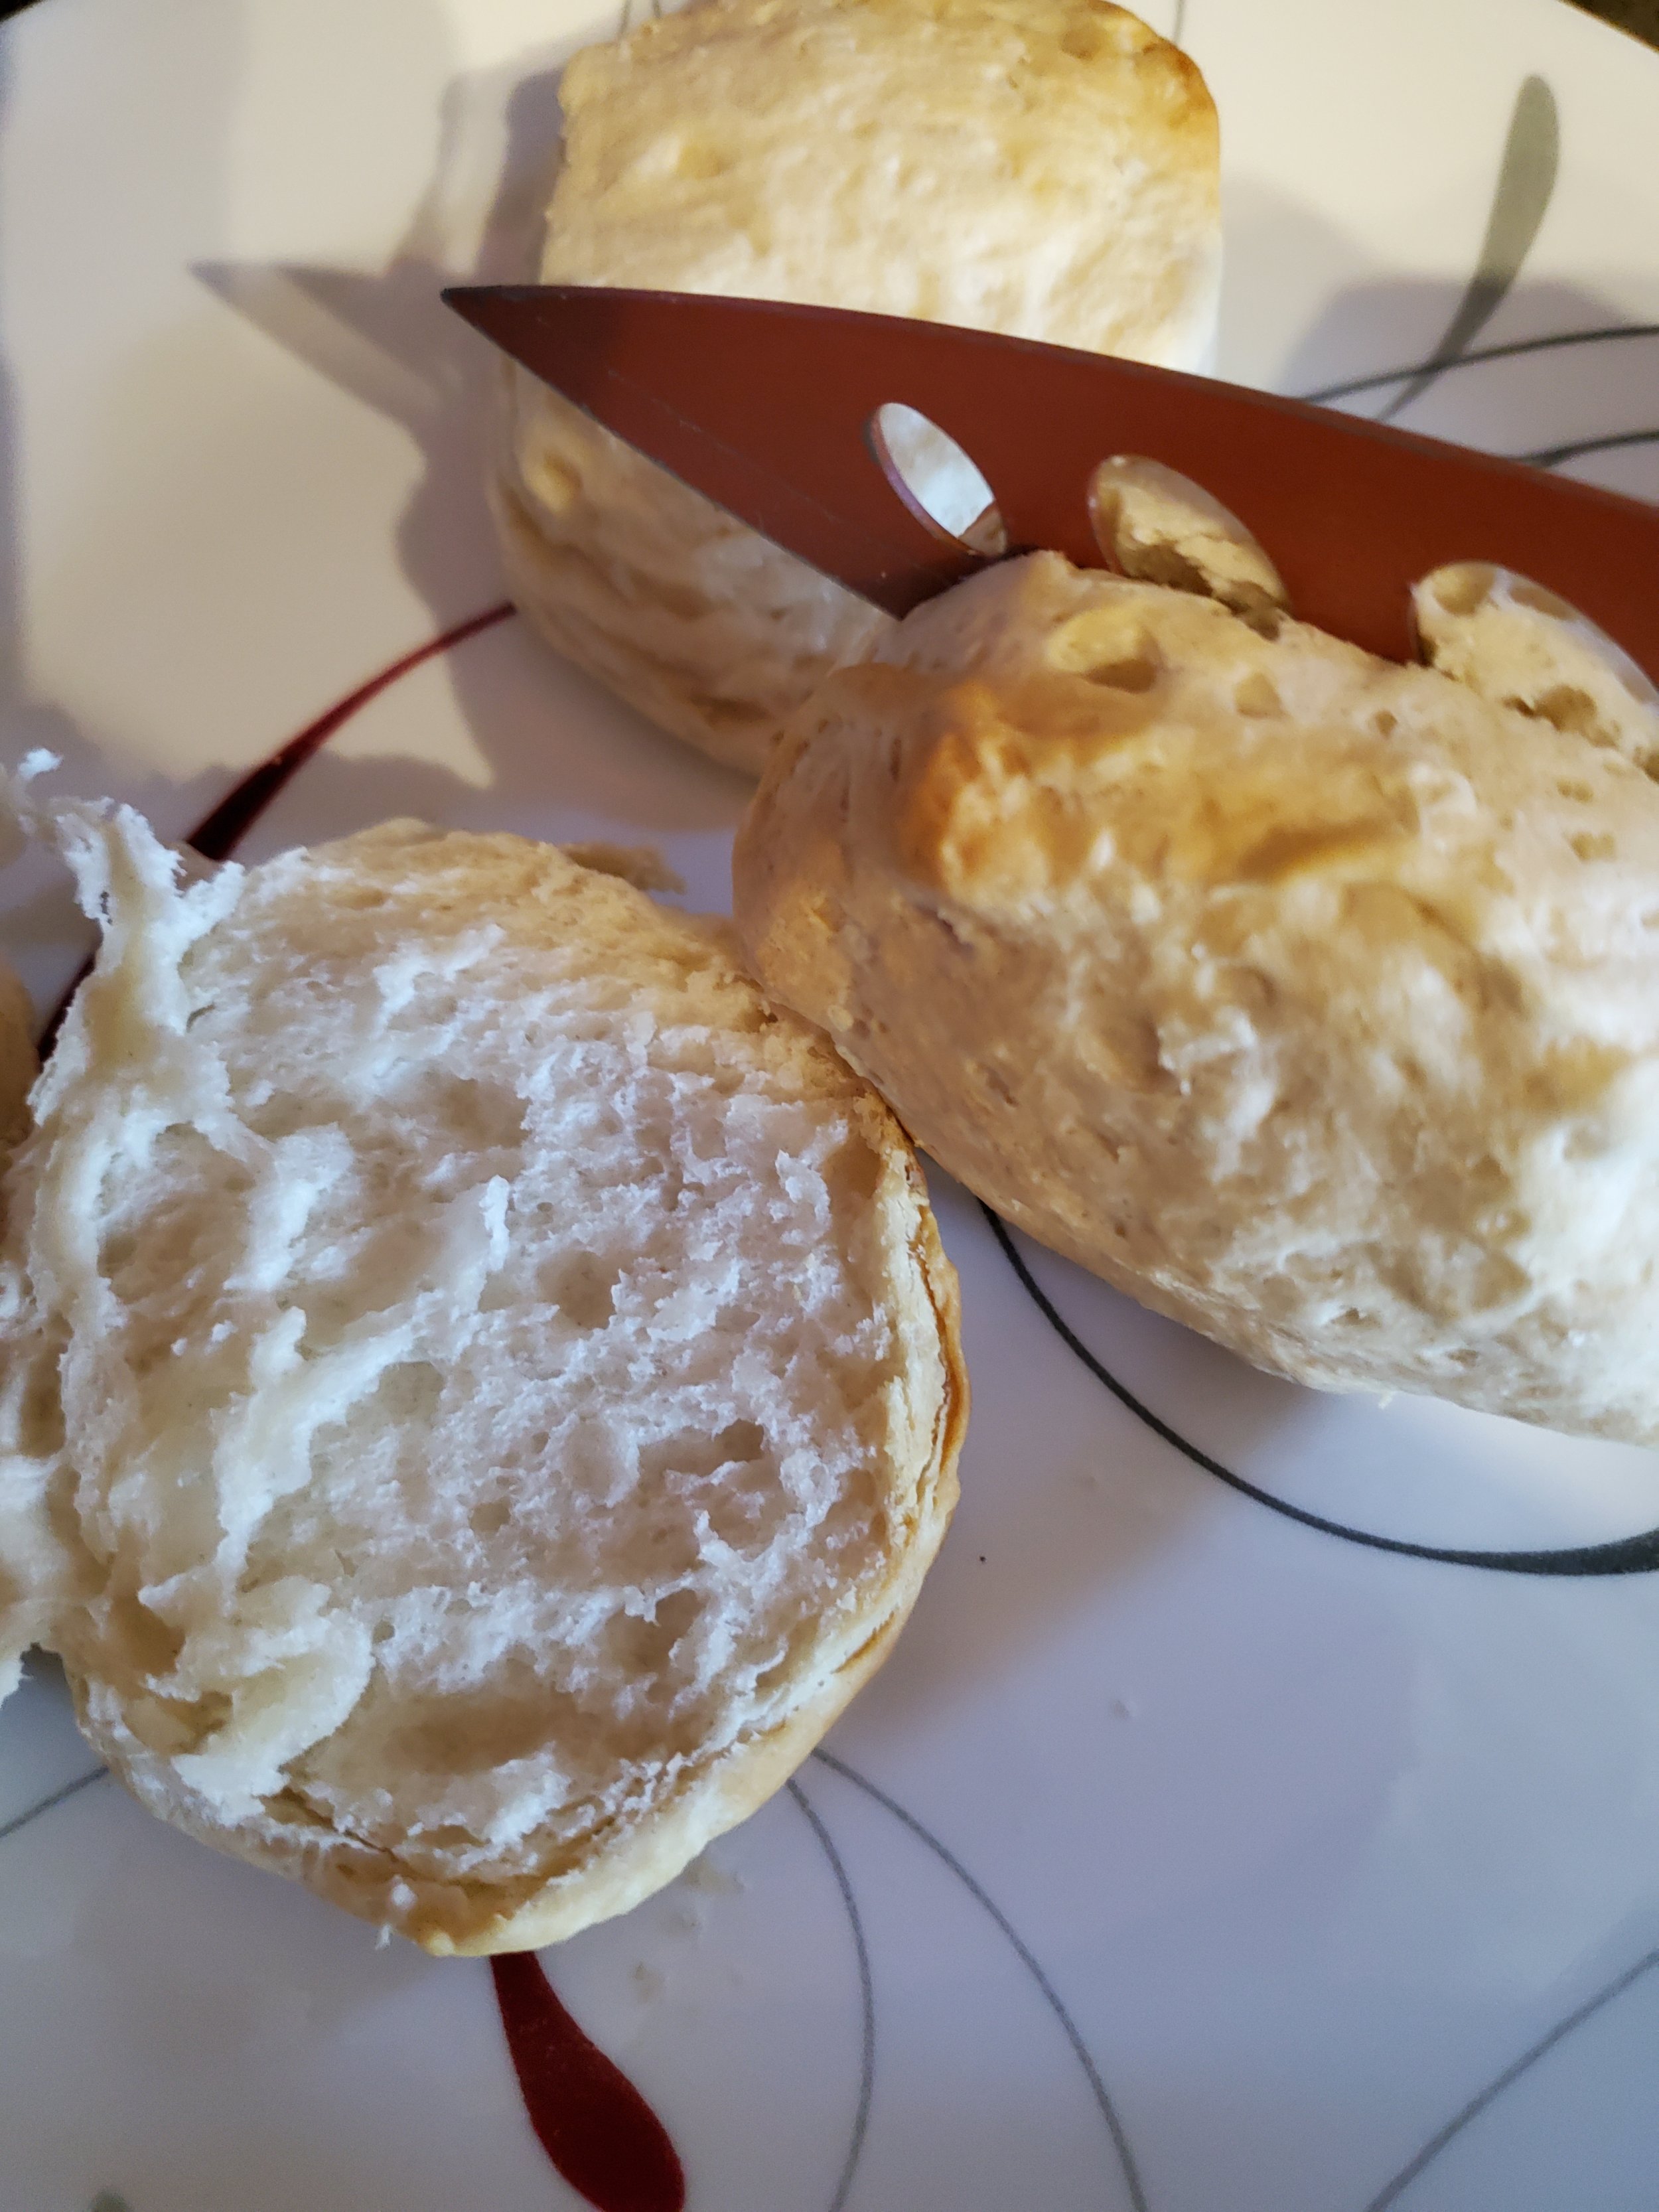
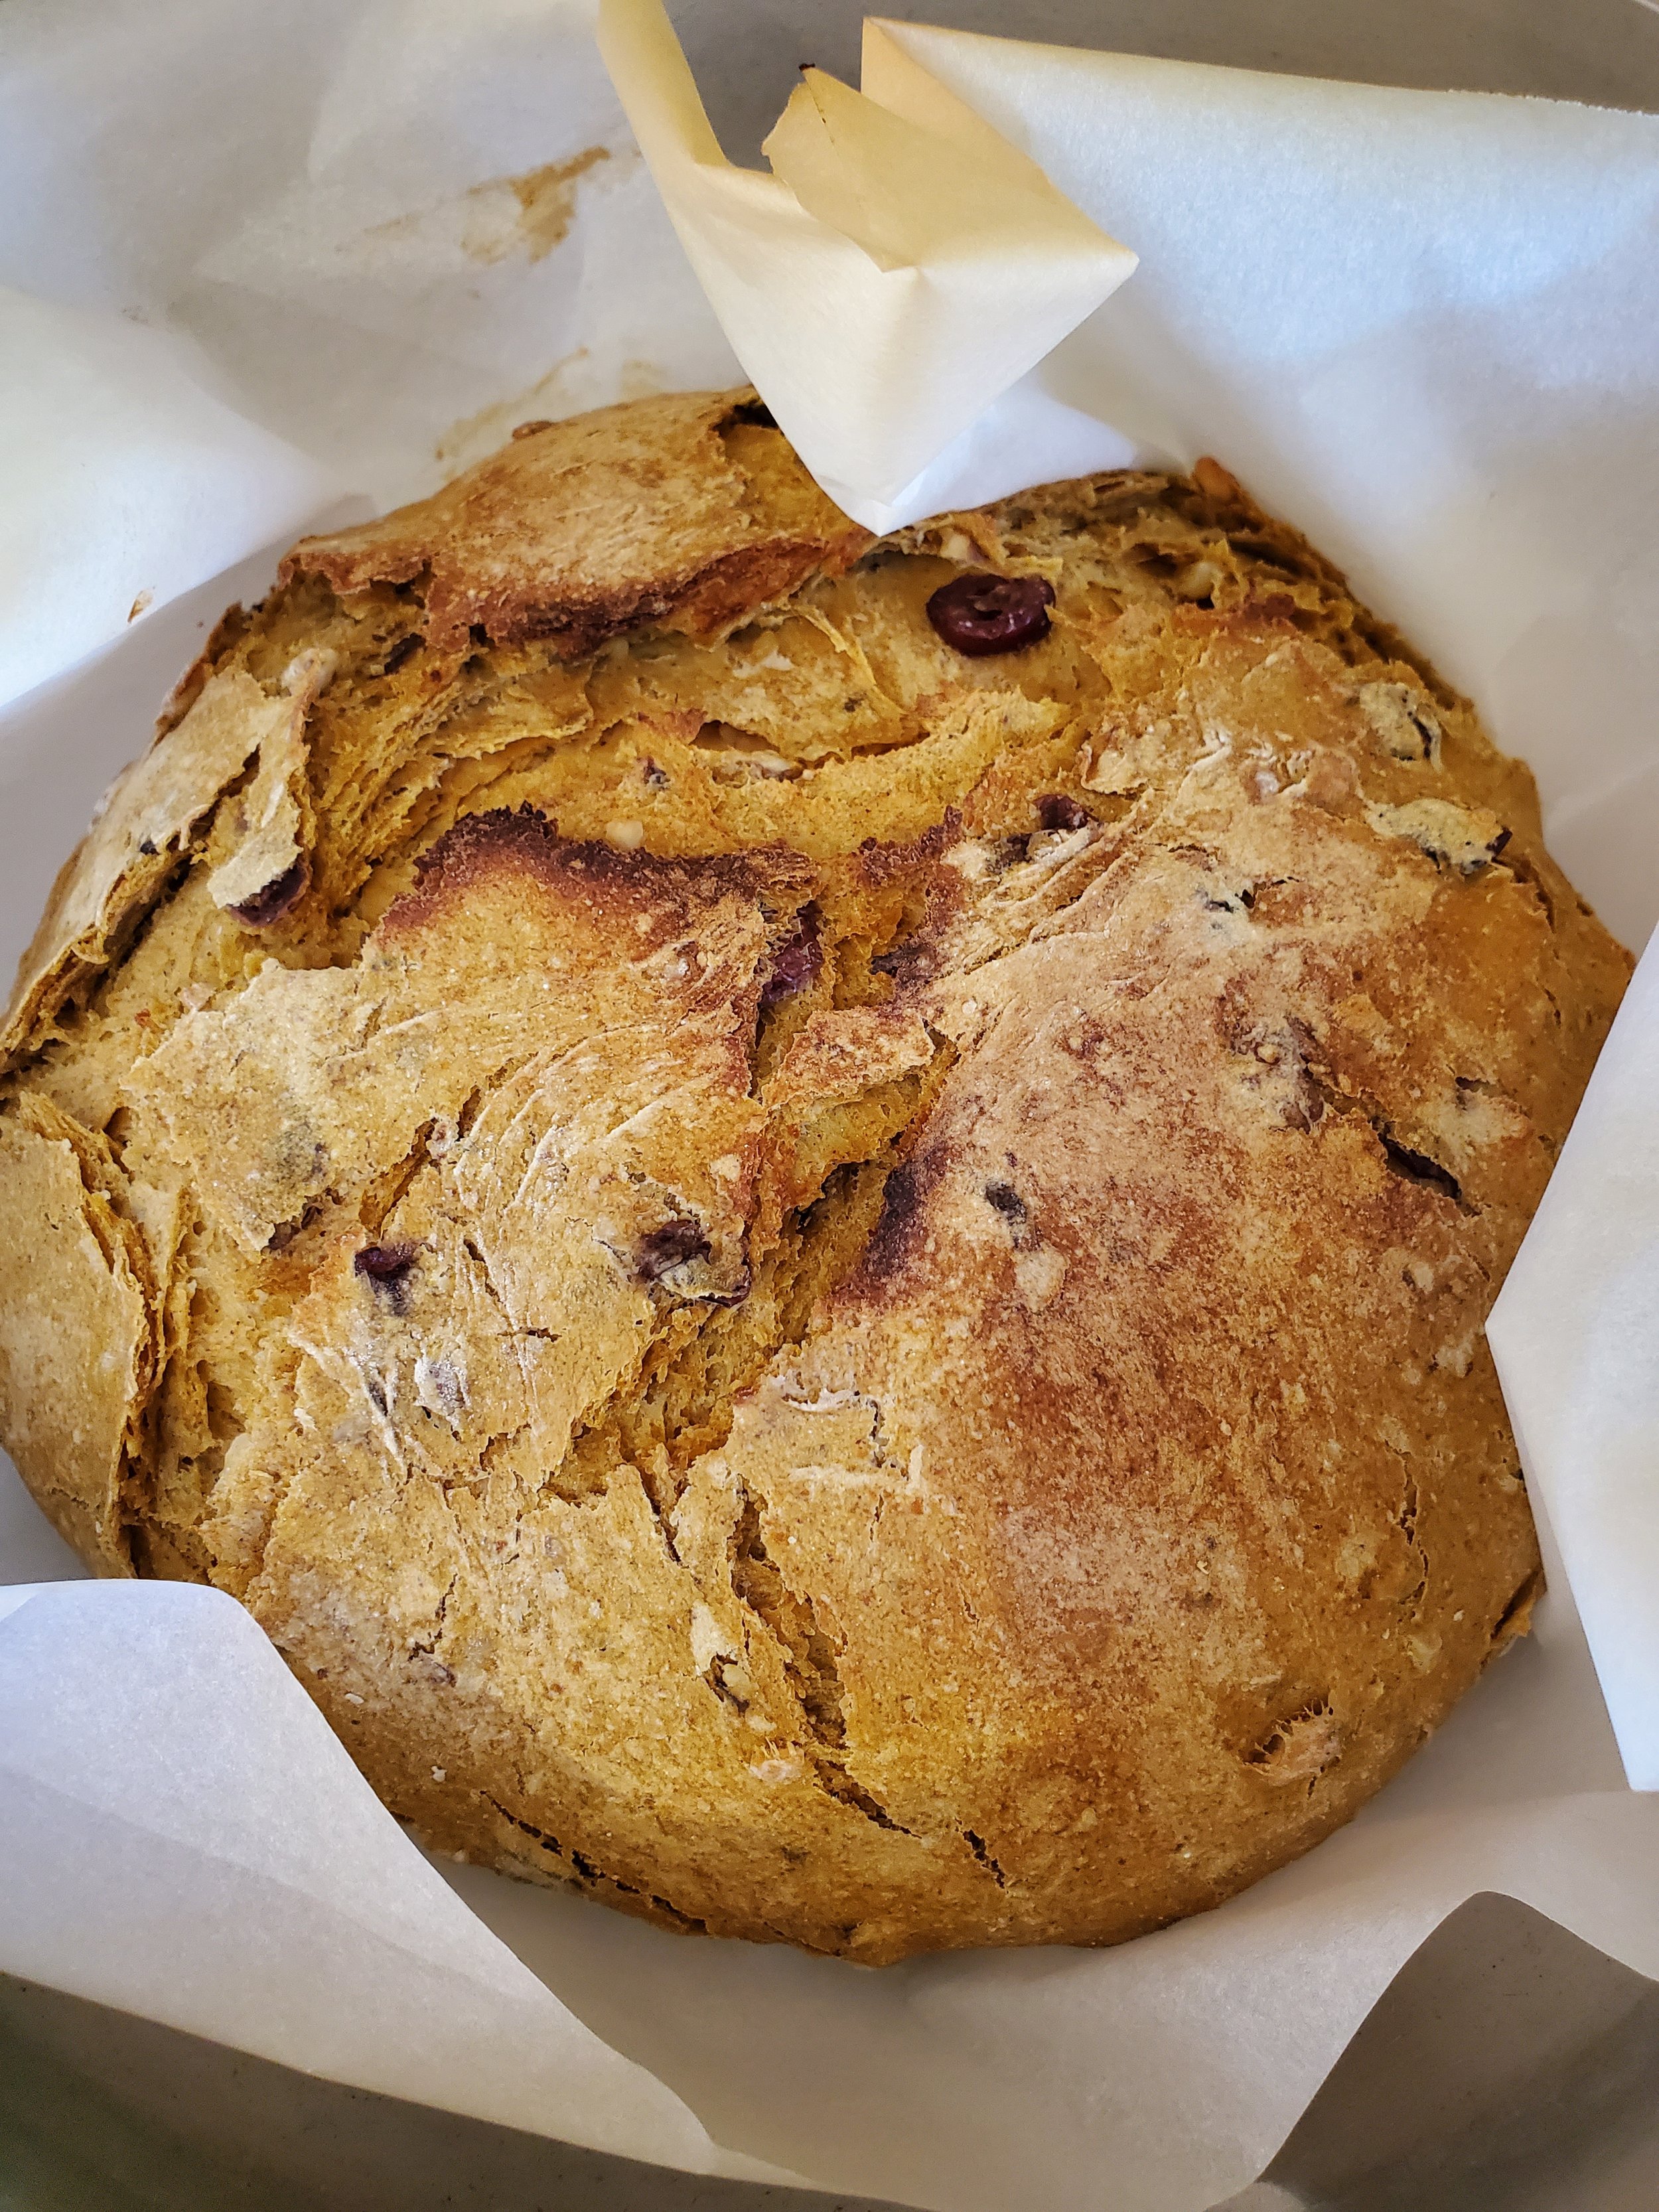
At the 15-minute mark, remove the covers and set them aside to cool. Bake the loaves uncovered for another 15 minutes. When the timer is up, turn the oven off and let the loaves sit in there for another five to ten minutes before removing them. Use the parchment to lift them. Allow them to cool before cutting with a serrated knife.


As you savor every bite of this Cranberry Pumpkin Nut Bread, remember that Appliance Rescue Service is here for all your home needs. Share your baking success on our Facebook page and feel free to contact us for any appliance-related queries at (214) 599-0055 or through our website. From repairs to routine maintenance, count on us for all your major appliance requirements. Let the lingering aroma of this delightful bread remind you that we're dedicated to ensuring your home runs smoothly.


Additional Reading 

Impress Your Guests with This Easy-to-Make Apple Pecan French Toast Bake


Escapee From New York: Chocolate Bagels


Impress Your Guests with This Easy-to-Make Apple Pecan French Toast Bake

Make Your Mornings Magical with This Rich and Delicious Recipe

Are you ready to elevate your breakfast game to a whole new level? Look no further than this scrumptious Baked Apple Cinnamon French Toast recipe. With a delightful blend of sweet, tart apples, warm cinnamon, and creamy custard-soaked bread, this dish is a breakfast dream come true. Whether you're preparing a special brunch for loved ones or simply treating yourself to a cozy morning treat, this recipe promises to fill your kitchen with irresistible aromas and your taste buds with pure satisfaction. So, roll up your sleeves , and let's embark on a culinary journey to create a breakfast masterpiece that will leave you craving more.


Ingredients:


4 or more apples

6-10 slices bread

2 tablespoons butter

3/4 cup heavy cream

3/4 cup milk

5 large eggs

1/2 teaspoon vanilla extract (optional)

2-3 tablespoons lemon juice

1/2 cup light brown sugar

2 teaspoons ground cinnamon

pinch nutmeg (optional)

1/2 cup chopped pecans


Tools:


toaster oven

cutting board

knife

frying pan

glass baking dish

small mixing bowl

shallow dish for dredging

fork(s)

measuring cups and spoons

slotted spoon

heat proof measuring cup


As always, begin with washing your produce! Those apples won't clean themselves, after all.


Measure your brown sugar, cinnamon and nutmeg (optional) into the small mixing bowl. Add two tablespoons of lemon juice and whisk until you get a thin, mostly mixed liquid. If it's still a bit thick, go ahead and add that last tablespoon of juice.


Core and cut your apples into no more than half inch thick slices. We used four apples, but feel like this recipe could easily accommodate twice as many. Adjust for your preferences, and if you do shoot for more apples, get a bigger frying pan or be ready to work in waves when it comes time to cook them.


Dump your apple slices into the liquid and give them a good shake or toss to cover them. Let them sit there for a little while and move on to another task.


We split each of our large slices of bread in half in order to fit the maximum amount of bread into the toaster oven in one wave. This is totally optional; this step only exists because our toaster oven is not a standard size.


Whether you split your slices or not, toast them for at least two minutes. We want the bread to be slightly stiff in order to hold up to your eggy, custardy mixture in a minute.


While your bread toasts, measure your cream and milk into the shallow dish and whisk in the eggs. Add vanilla at this stage, if you plan to use it. We like the extra sweet note, but not everyone does.


After your bread has been toasted, grease the bottom and sides of the baking dish and preheat your oven to 350.


Those apples we told you to leave alone for a while? Go grab them. Melt the butter into the frying pan over low heat, then add all the apples and the liquid. Let them simmer for about five minutes on low. They'll begin to bubble around the edges; this is normal. Give a stir, flip them over, and let them go a minute or two more.


While the apples cook, dredge your toast through the egg mixture, fish it out with a fork, and plop a layer down in the baking dish.


When the apples are done, remove them from the heat and use a slotted spoon to separate the apples from the syrup. Put the apples back into the dish they were soaking in previously, and dump the syrup into the heat proof measuring cup. Do not let the syrup cool in the pan - it candies up and turns to a caramel consistency.


If it's threatening to become caramel, or if you missed that last instruction, add some more butter and a tablespoon of water and stir over the lowest possible heat setting. Stir a lot. Be very patient with it, as it will look at first like nothing is happening. Once it liquefies again, please transfer it to the cup.


Spread a thin layer of apples over the eggy bread in the bottom of the baking dish. Alternate layers of bread and apples until you're out of bread. Pour the remaining egg mixture evenly over the top and allow it to soak in, then move the dish to the oven.


Let it cook for 25 minutes, then remove it from the oven, add the pecans, pour the syrup over it, and return it to the oven for another 20-25 minutes. Double check it to make sure it's done by the toothpick test - when a toothpick or knife inserted into the middle of the dish comes back out clean, the french toast is ready.


Cut into eight servings and enjoy!


Whether you've prepared this dish to share with loved ones on a special morning or simply pampered yourself with its delicious embrace, it's a culinary journey worth embarking upon time and time again. Let us know if you decide to over on our Facebook page. 


If you wound up here because you’re in need of an appliance repair technician, we can help. You can get hold of us by calling ((214) 599-0055) or by going to our website


Additional Reading: 

Easy No-Cook Not Quite a Cannoli   


Escapee From New York: Chocolate Bagels 


Orchard Bread, The Whole Year Round

Using different fruits you can make this tasty treat all year and celebrate the turn of the seasons too!

What's filling, sweet, and easy to carry and won't make you feel like you have a car tire around your middle? Orchard bread. Call it fruitbread, fruitcake, cherrybread, orchard bread, whatever you like. The basic concept is the same. Lots of delicious dried mixed fruits + a sweet bread base.  It's delicious, it's wonderful any time of year, and if you wrap it properly, you'll be able to eat it before it turns into a doorstop. 

Ingredients:

3/4 cup golden raisins

3 Tbsp amber rum

3/4 cup all purpose flour

1/2 tsp baking powder

1/4 tsp baking soda

kosher salt

It doesn’t have to be this particular brand, but you want to make sure that it says unsulphured on the bottle so the recipe turns out right.

1/3 C packed brown sugar (dark or light will work, but we suggest light) 

1 1/2 cups packed dried strawberry halves 

1/3 c dried cherries

1/3 c dried cranberries

3 c walnut halves, lightly toasted 

3 eggs

2 Tbsp unsulphured molasses (so this recipe wouldn't work with blackstrap) 

2 tsp pure vanilla extract 

Tools:

small microwave safe bowl, 9x5 inch loaf pan, parchment paper, large bowl, whisk, a small bowl (doesn't have to be microwave safe this time), silicon spatula, tin foil.

To start off, grab your small bowl, and toss in your golden raisins and rum. Cover them with a plate and microwave until their warm, not steaming, roughly a minute. Set that to the side, keeping it covered and check back on it in 15 minutes to give it a stir, and then again at the 45 minute mark. Leave it alone for a further 15 minutes, making it roughly an hour in total. At that point the raisins should have absorbed most of the rum. Drain off any liquor that's left to either use again at another point, or drink it yourself if you're over age. 

Now preheat your oven to 300*F and make sure that there is a rack in the middle of the oven. Grab your loaf pan and parchment paper. Measure out two sheets of parchment paper, one going lengthwise and one going crosswise. You want enough paper here to push down into the corners of the pan and still have 'handles' hanging over the sides. Start from one corner and work to all of the others, slowly smoothing the paper into the corners so that it's flush. Any bumps or wrinkles in the paper or going to lead to bumps or wrinkles in the bread. Use a stick of butter and apply a layer to the parchment paper, making sure to coat everything within the pan. 

Next up, grab your flour, baking powder, baking soda, 1/2 tsp of your salt and then your brown sugar of choice. Whisk all of it together in a large bowl and make sure to break up any clumps as you go. Set aside your whisk and add in your strawberries, cherries and raisins and toss to coat everything. Add in the walnuts and toss again to combine and coat the walnuts. 

Take a clean small bowl and your whisk and beat together the eggs, molasses, and vanilla until everything is well mixed. Now grab your spatula and add your fruit-nut mixture, folding and mixing to combine and coat all of the pieces with the batter. You want to make sure that there aren't any pockets of dry ingredients on the bottom or at the edge of the bowl. Pour the batter into your loaf pan, scraping the bowl to get any remaining bits into the pan. Tap the pan against the counter several times to release any air bubbles, and use the spatula to smooth the top into an even layer. 

Bake the cake for an hour, rotating the pan after 30 minutes. If your bread is browning too much at the halfway mark, you can cover it loosely with a tent of foil. When the top is a deep golden brown, it's done! Remove it from the oven and place to pan on a wire rack to let it cool. 


When it's finally cool, grab the handles you left yourself and remove the loaf from the pan. Use a bread knife and cut it into thin slices and serve. IF you have any leftovers, they can be wrapped well in wax paper and store it in an airtight container for a week at room temperature. 

You can serve it with various butters or fruit jams for a delicious snacks or breakfasts. You could also work up a quick icing with milk and powdered sugar and drizzle it across the top. 

Courtesy of Peggychoucair


So, what do you think? Are you up for doing some experimental baking this weekend? What other fruits would you add into the mix? Let us know in the comments below or over on our Facebook


If you ended up here instead because your stove isn't working properly, give us a call! You can get hold of us at ((214) 599-0055) or by going to our website to set up an appointment that works for you.

Hauntingly Good Meals To Run After

Spooky Biscuits for All Day Long

Sometimes the best thing you can do for yourself is make things easier on future you. This is especially true for a weekend holiday.


Here's a fast breakfast, lunch or dinner idea to get some food in the bellies of your trick or treaters before they wander off, or as they come back down from the sugar high... Or maybe into your stomach before the heathen horde comes knocking.


Let's make some quick and easy monster biscuits.


Ingredients:

1 can biscuits or 8 frozen biscuits

4 oz brick mozzarella cheese

Lunch meat of choice, or pepperoni 

1 can whole pitted black olives

1 jar strawberry or raspberry jam or jelly

White chocolate chips, sliced almonds, candy eyes, etc.


We know you're looking at this ingredient list and questioning our sanity. Don't worry. It's not all going together on one biscuit.


Tools:

Baking sheet, foil, oven mitt, cutting board, vegetable peeler, knife, fork, spoon, plate, spatula


Line your baking sheet with a layer of foil, because anything that makes your life easier today is worth it.


Preheat the oven according to the directions on your package of biscuits.


We used the Pillsbury brand southern homestyle biscuits in a can (because we already had them on hand and didn't want to make an extra trip to the store) and we found them to work well. We've also previously used the Great Value brand frozen buttermilk biscuits, but in our experience, they are prone to scorching on the bottom. If you use them, keep a close eye on them while they bake up so you avoid that problem.


Place your biscuits on the lined baking sheet - have their edges touching if you want them tall and fluffy, or give them room to expand if you would prefer them a little thinner - and pop them into the oven. Set your timer for HALF of what the directions say. Trust us here.


While your biscuits bake, pop open that can of olives. Drain them and give them a quick rinse so they won't transfer their color as easily when you assemble dinner. We're going to do this in reverse order for the meals, because of the three meal ideas we're covering, the dinner takes the longest to prep.


Fish out a few olives and put them on your cutting board. Slice a thin ring out of the middle of each. Your goal here is eight little rings. Feel free to eat all your mistakes - it's the best perk of being the chef.


Once you have your olives ready, scoot them to one side of the cutting board. Consider wiping up after them if they've left you a wet spot. Place your brick of cheese long side up on the board and grab your vegetable peeler. We know you're questioning our sanity again, and it's okay. Take the peeler and shave long, thin straps off the brick of cheese until you feel you have enough to put a double layer on six of your eight biscuits. 


You may have a cheese wire in a drawer somewhere that you want to use for this. We would advise you skip that urge. The goal here is the extra-thin strips and feathery edges a peeler creates. A cheese wire, even adjusted to as thin as possible, will still make a mostly clean cut. If that's what you'd prefer, go ahead, but we definitely think it looks more like a mummy bandage with the rough sides and broken looking ends.

Feathery, jagged cheese bandages.


By now you should be reaching the end of the timer you set. Pause and flip the biscuits. The directions don't say to in most cases, but if you flip them halfway through, you'll get nice, toasty tops and bottoms without either one becoming too thick or crispy. Put them back in the oven for the remaining half of the recommended time and reset your timer.


While they finish up their baking process, separate some slices from your lunch meats. It doesn't really matter what you choose to use, as long as you enjoy it. We used hard salami for ours, but it would work just as well with ham or turkey or roast beef if you have them on hand.


Once they're out of the oven, split them all evenly with a sharp knife.

Biscuits

Fluffy, freshly baked and sliced biscuits.


Take two and plate them like an open-faced sandwich. Spoon a generous helping of jam or jelly onto each half and spread it a bit with the back of the spoon. Congratulations, you have a smashed monster! We had candy eyes left over from another project and used those for this, but slices of almond, white chocolate chips or mini marshmallows also can serve as a reasonable approximation of monster eyes. Just use whatever you have on hand.

Frighteningly delicious breakfast monster


Take your next two biscuits. Layer your lunch meats on them and add a few strips of cheese if you'd like.Grab two whole olives. Wrap a torn slice of lunch meat around each one, leaving the open end of the olive visible. Shut your biscuits into sandwiches and tuck your wrapped olives into the side, peeking out like a pair of creepy, unblinking eyes. There's lunch, easy to just grab and run if necessary.

Lunch timer watcher


And now for dinner... take your four remaining biscuits and plate them with their soft insides up. Place a layer of lunch meat on each half, then add those olive rings you cut earlier as eyes a little above the middle. Cover it all over with a layer of cheesy bandages, being sure to let at least one eye still peek out from beneath them.

Mummy’s out for dinner!


By the time dinner comes around, these will have gone cold - so be sure to lightly toast them and get your cheese melted before enjoying your new mummy bites.


And with just a bit of time, you’ve got three fantastic meals, sure to haunt anyone. If you test them out let us know over on our Facebook page! We’d love to hear from you. 


If on the other hand, you ended up here because your oven has decided to go to the grave, we might be able to help. We’d be willing to say that we’re better than Dr. Frankenstein, at least when it comes to bringing appliances back to life. Give us a call at ((214) 599-0055) or visit our contact page to get in touch.


Brown Sugar - Cinnamon Oat Bars

 AKA Tablespoon Cake - AkA The Easiest Cake You’ll Ever Make

This one started out as a copycat recipe - we tried some fancy, expensive diet company snack bars this week. We enjoyed them, but we didn't enjoy the price tag quite so much. So we decided we were going to take a crack at producing something similar, with similar nutritional value. We're even going to do out the irritating math for you, so you know what your calorie intake and your approximate nutrition facts are for each serving.


Keep in mind, for that to stay accurate, you'll need to follow the instructions to the letter... But you could also be like us and wing it, and then re-do the math later. Like we did. Three times.


There was a lot of "less this, more that," and a lot of "what if?" in the making of this one. If you make it better, let us know over on our Facebook page!


Ingredients:


7 Tablespoons granulated sugar

4 Tablespoons quick oats

2 Tablespoons coconut flour

2 Tablespoons whole wheat flour

2 Tablespoons light brown sugar

1 Tablespoon ground cinnamon

1 Tablespoon ground flax seed

1 Tablespoon water

2 eggs


Tools:

Mixing bowl, one! measuring spoon - a tablespoon, fork, 9x9 baking pan, aluminum foil, baking spray


Grab your trusty tablespoon and let's get to work.


Preheat your oven to 350 degrees.


Measure your two different kinds of sugar and your two different kinds of flour into the mixing bowl - and please do not add more coconut flour in an attempt to make the recipe gluten-free unless you have used coconut flour before. Coconut flour is a very mercurial ingredient and can really muck up a recipe if you're not familiar with its properties.


Add in your oats, your ground flax and your cinnamon. If you're not a fan of the texture the oats add to this, feel free to toss them into a blender for a few pulses and chop them down before you add them.


Take the fork we suggested you have handy, and stir all your dry ingredients together. We know it's all basically one color to start with, but still, you want these things to be uniformly distributed. Otherwise you'll end up with pockets of too much sugar, caramelizing and causing divots in the final product. We're not against crunchy spots where the sugar turned into hard candy, or spicy little lumps of cinnamon for that matter - but these things are not part of the original goal.


Break your eggs into the dry ingredients and toss that tiny little bit of water into the bowl while you're at it. We know one tablespoon doesn't sound like a lot, but it's very important in this recipe. It's low enough moisture to start with that every bit is absolutely necessary - and the coconut flour is going to make it disappear really quickly.


The fork is still the ideal tool to mix your batter. That batter is going to be thick, and it's also going to be sticky. We promise, that's actually what you want. It will yield a dense, chewy oat bar with a brownie-like texture and crunchy edges good for grabbing and running. And since that was the big nameless diet company's original intention with it, we think we're doing alright with this copycat thing.


Once you have everything mixed well, line your baking pan with a layer of aluminum foil (leave enough around the edges to lift by later) and spray the bottom thoroughly with cooking spray. Scoop your batter from the mixing bowl to the center of the baking pan, scraping the sides of the bowl as you go. After you've gotten as much as you can from the mixing bowl, take the fork (yes, again!) and use it to smooth the layer of batter out and push it as far as you can into the corners of the pan. Be gentle and work slowly so that you don't accidentally poke through the aluminum foil.


Pop the pan into the oven and let it bake for half an hour. If you're not sure if it's done after the half-hour, give the pan a little shake. If the center jiggles, put it back for five more minutes. If not, it's ready.


Let it cool for ten minutes, then lift the aluminum foil out of the pan. Invert it over a plate and peel to remove the foil from the bottom of the oat bars. It helps to hold the center down gently and lift up from the corners of the foil.


Flip that plate over onto another so your creation is right side up again, and cut into four equal pieces. We know we've called them oat bars this whole time, but we like to cut them into triangles to mix things up a little.


Each of these four servings will have 5 grams of protein and just under 4 grams of fiber, along with almost 40% of your daily value of vitamin D and 10% of your necessary iron - all for about 190 calories.


Be mindful that there's quite a bit of sugar and carbs in this, also - so it's not exactly a diabetic-friendly recipe as shown here. A little quick math says using Stevia instead of granulated sugar would make quite a dent. That could trim calories down to 130 a serving, cut sugar from 23 grams to only 5 grams, and take total carbohydrate per serving from 34 grams to 18, while also giving a tiny boost to iron and potassium. Even bigger diet company goals accomplished - still without the big name brand price tag!


And if you need new appliance performance, preferably also without the jumbo-sized price tag, maybe reach out to our service department. You can reach them through our contact page, or by giving us a call at ((214) 599-0055)