Recipe

Energizing Tuna and Turmeric Rice Balls: Perfect for Busy Days

Prepare Ahead, Enjoy Later: A Convenient Meal Option

This recipe is a great option for those who are always on-the-go and looking for a protein-packed lunch to stay energized throughout the day. Although it may require some effort and create a bit of a mess while preparing, the end result is definitely worth it. With its delicious taste and wholesome ingredients, this recipe is perfect for busy spring and summer days when you need a quick and healthy meal that will keep you fueled and satisfied.


Ingredients:

2 cups sticky rice

2 3/4 cups water

1 tablespoon white vinegar

1 teaspoon turmeric

pinch salt and black pepper


2 cans tuna in water, drained

1 tablespoon olive oil

1 teaspoon garlic powder

1 teaspoon paprika

3/4 teaspoon ground thyme

1 tablespoon parmesan cheese


1/2 cup breadcrumbs

spray olive oil


Tools:

Measuring cups and spoons 

Small pan with lid

Fine sieve or colander

Assorted dishes for shaping and dredging 

Plastic wrap

Ice cream scoop

Spoons

Fork

Can opener

Baking sheet

Aluminum foil


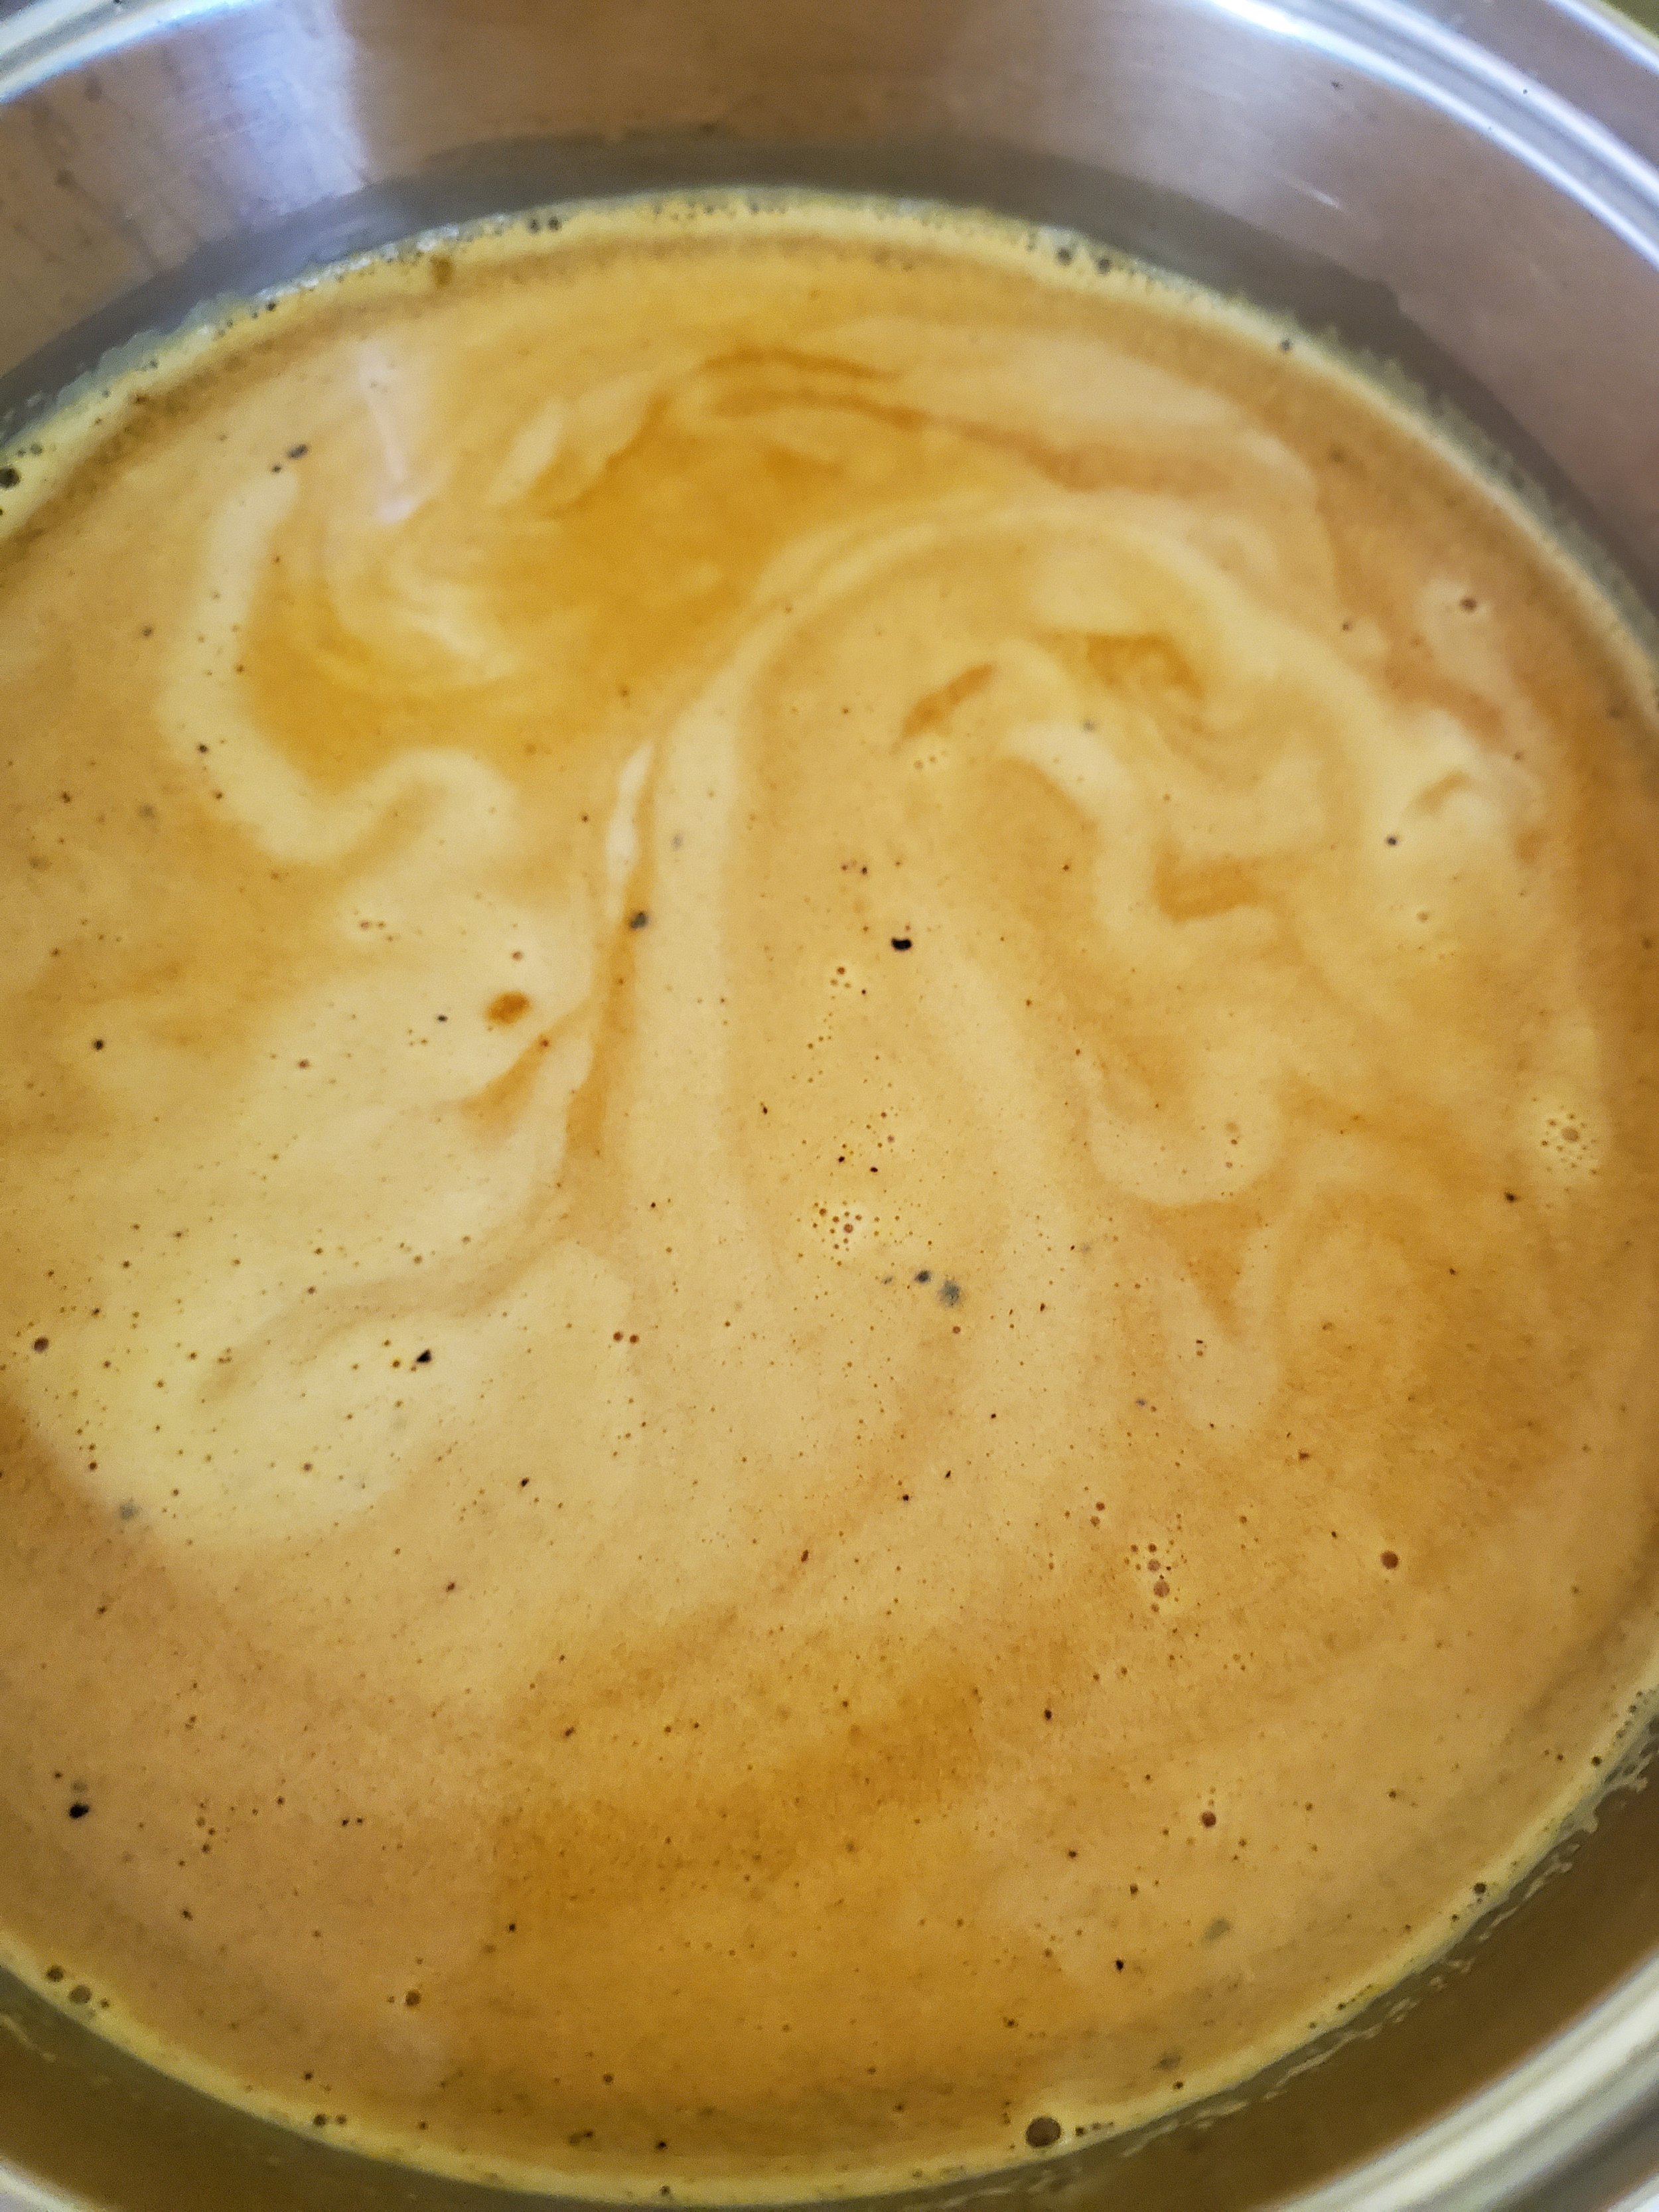
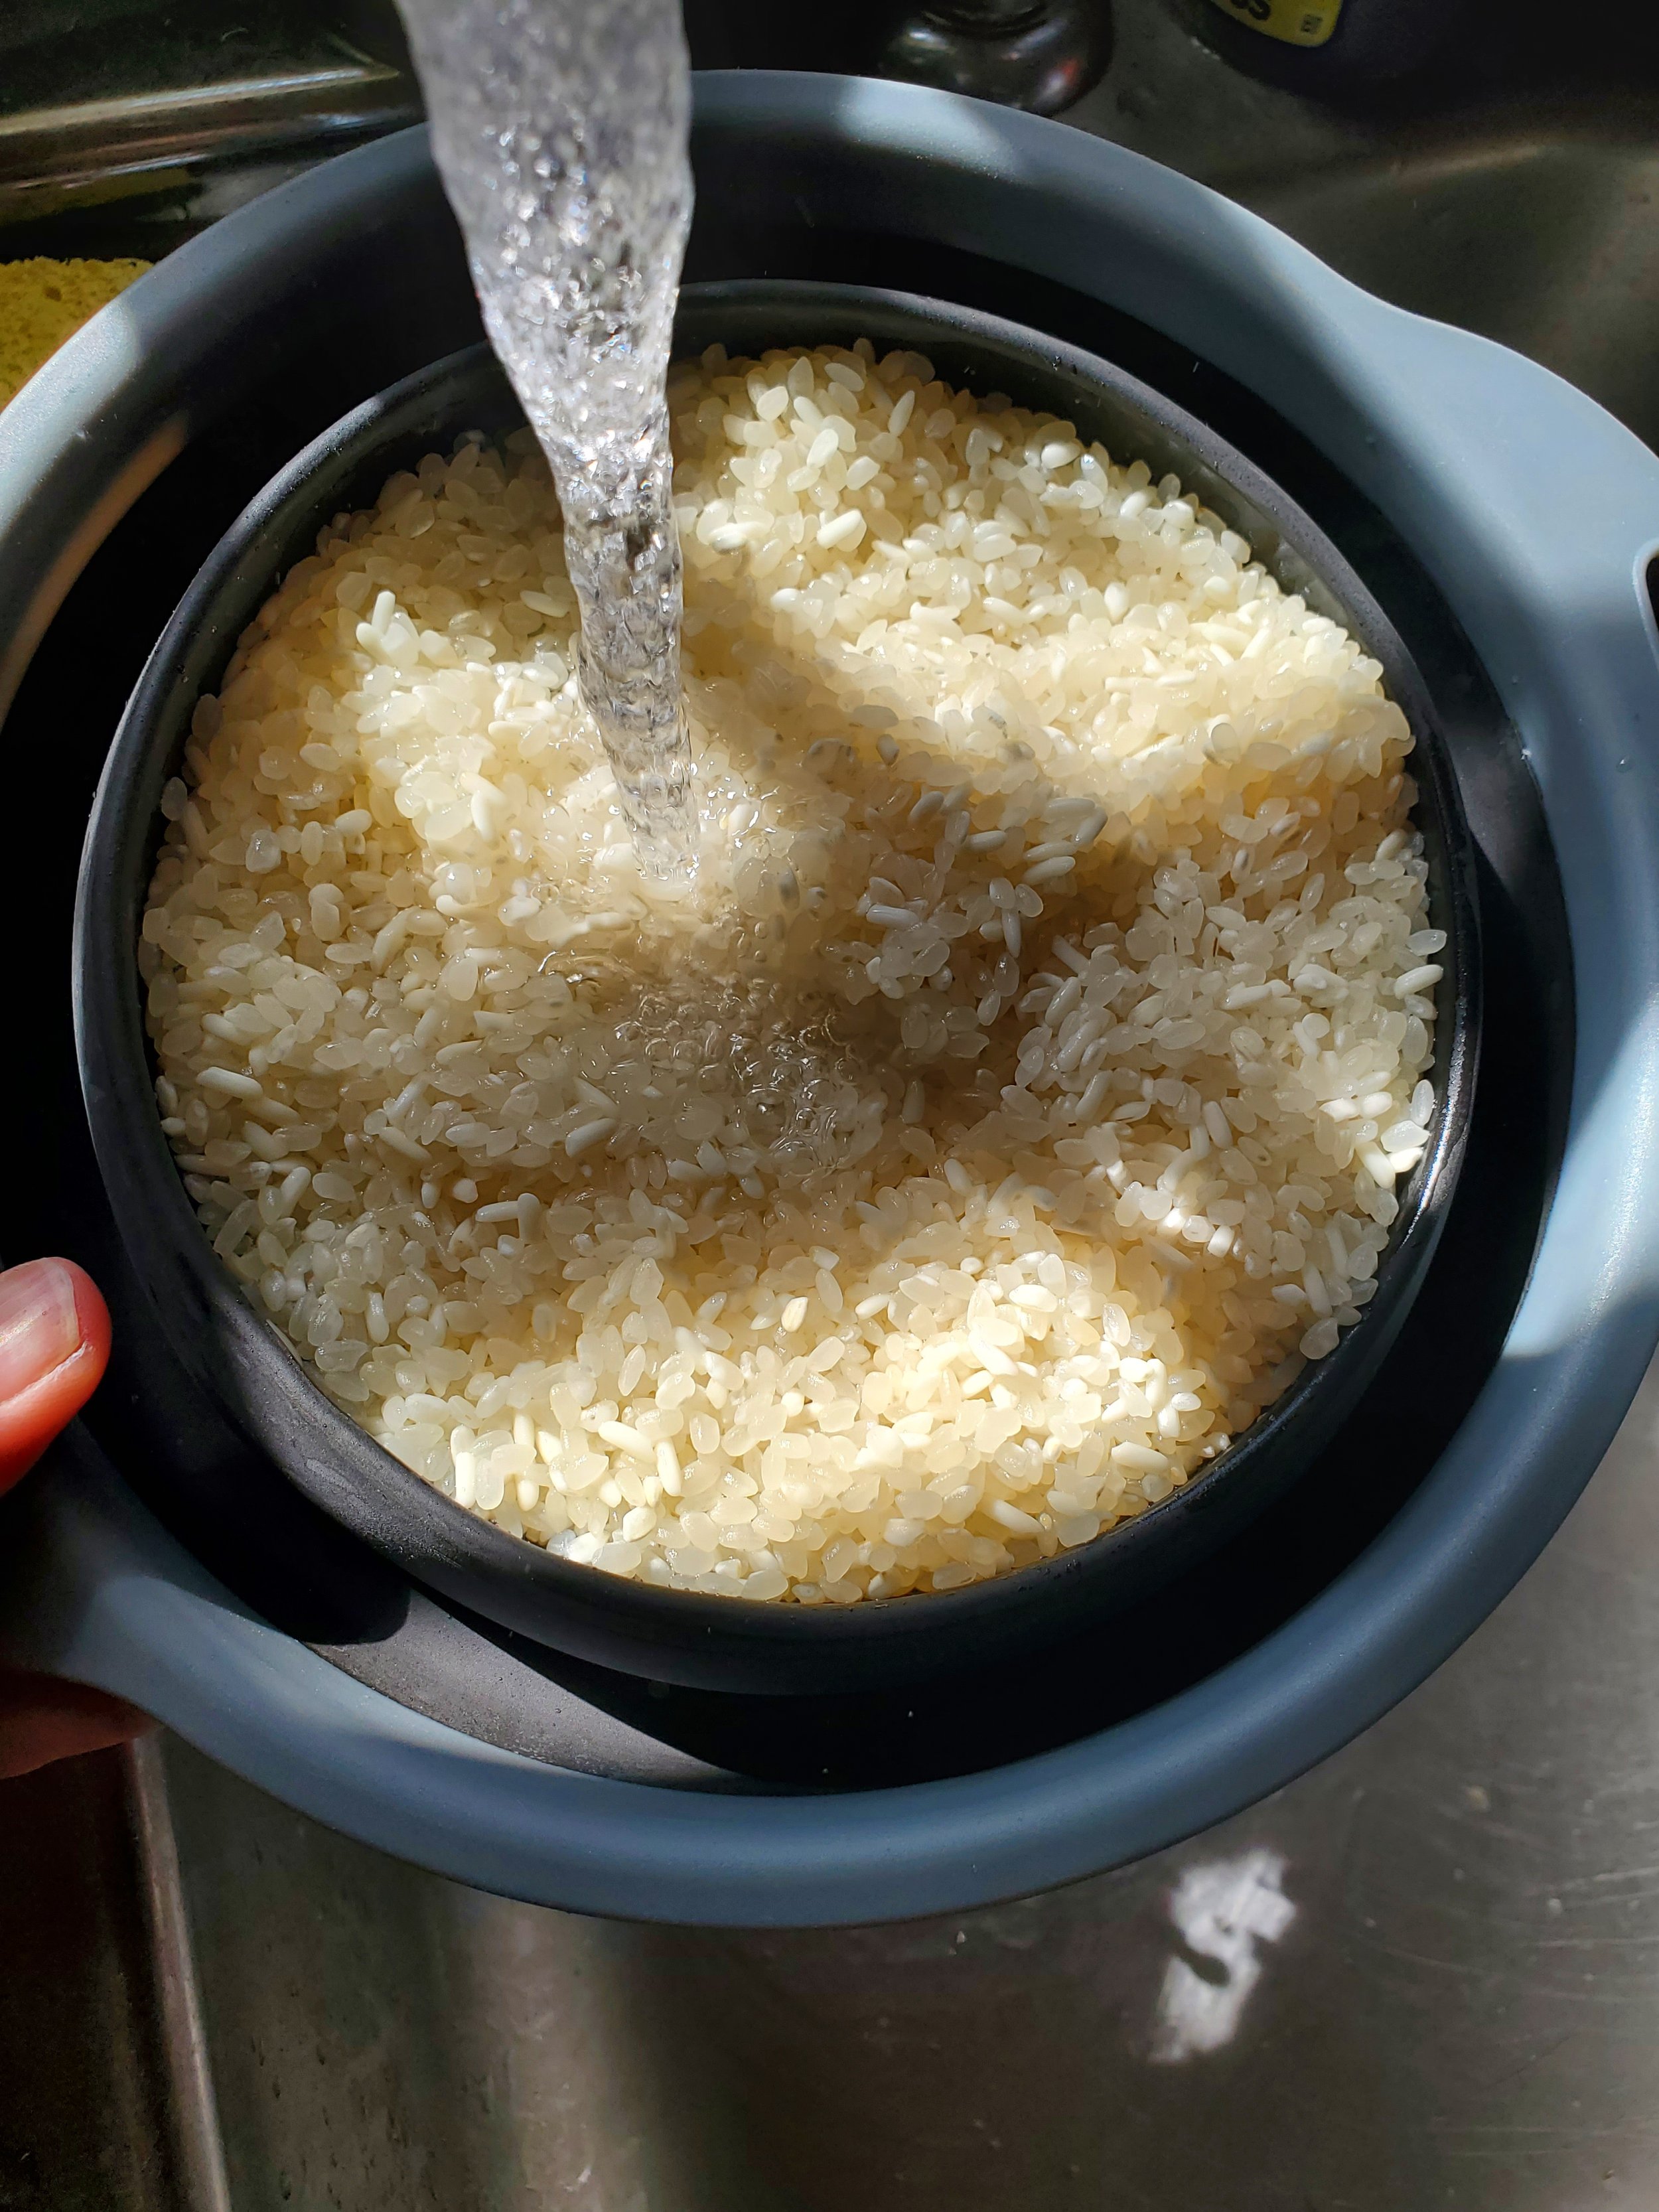
Start with the rice. Give it a quick rinse in the colander and transfer it to the pan. Measure in your turmeric, vinegar and water, and add a little salt and pepper to taste. Don't overdo it, as you'll muffle and mute the turmeric taste.


Cover the pan and bring the water up to a simmer. Let the rice simmer for five minutes or so, then turn off the heat. Set a timer for 25 minutes. Don't uncover the rice or remove the pan from the burner; keep the lid tight and the pan in place.


Find a little task to do to eat up a couple minutes. Maybe wash that colander from earlier, or go move a load of laundry or something. Collect all the things you'll need later in the recipe if you haven't done so already.


Once the timer is down to about five minutes left, preheat your oven to 425 and turn your attention to the fish.


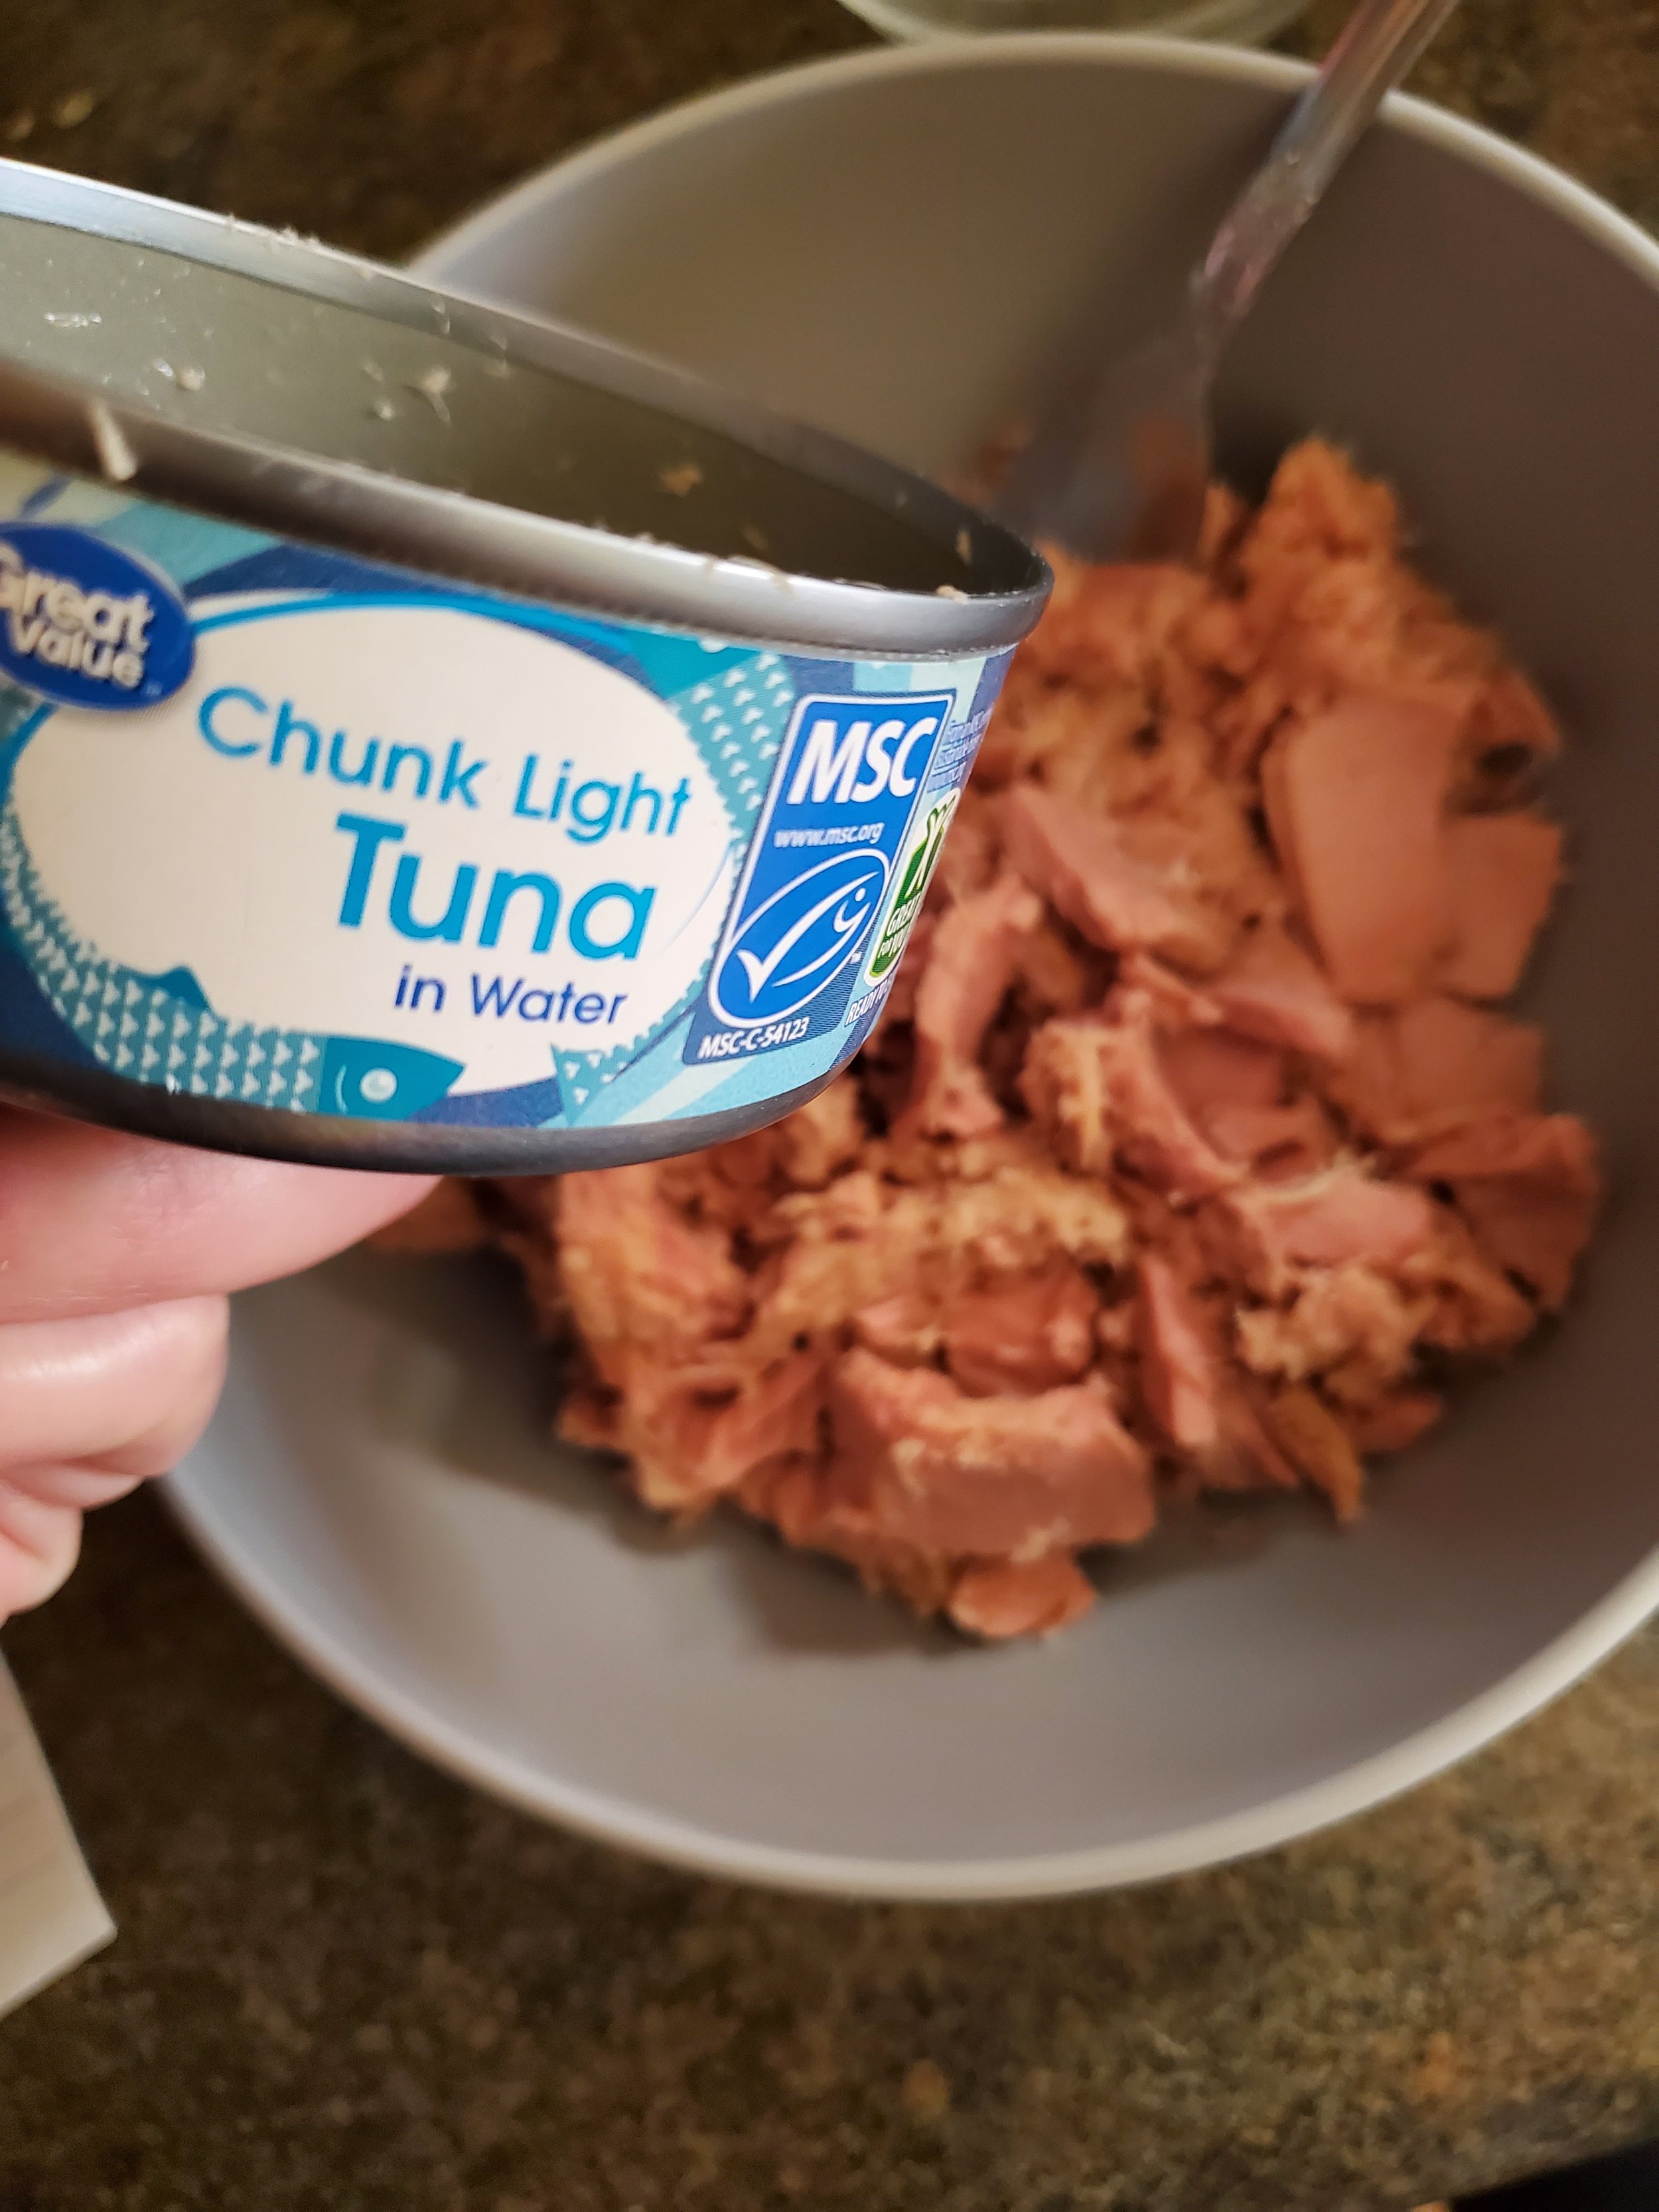
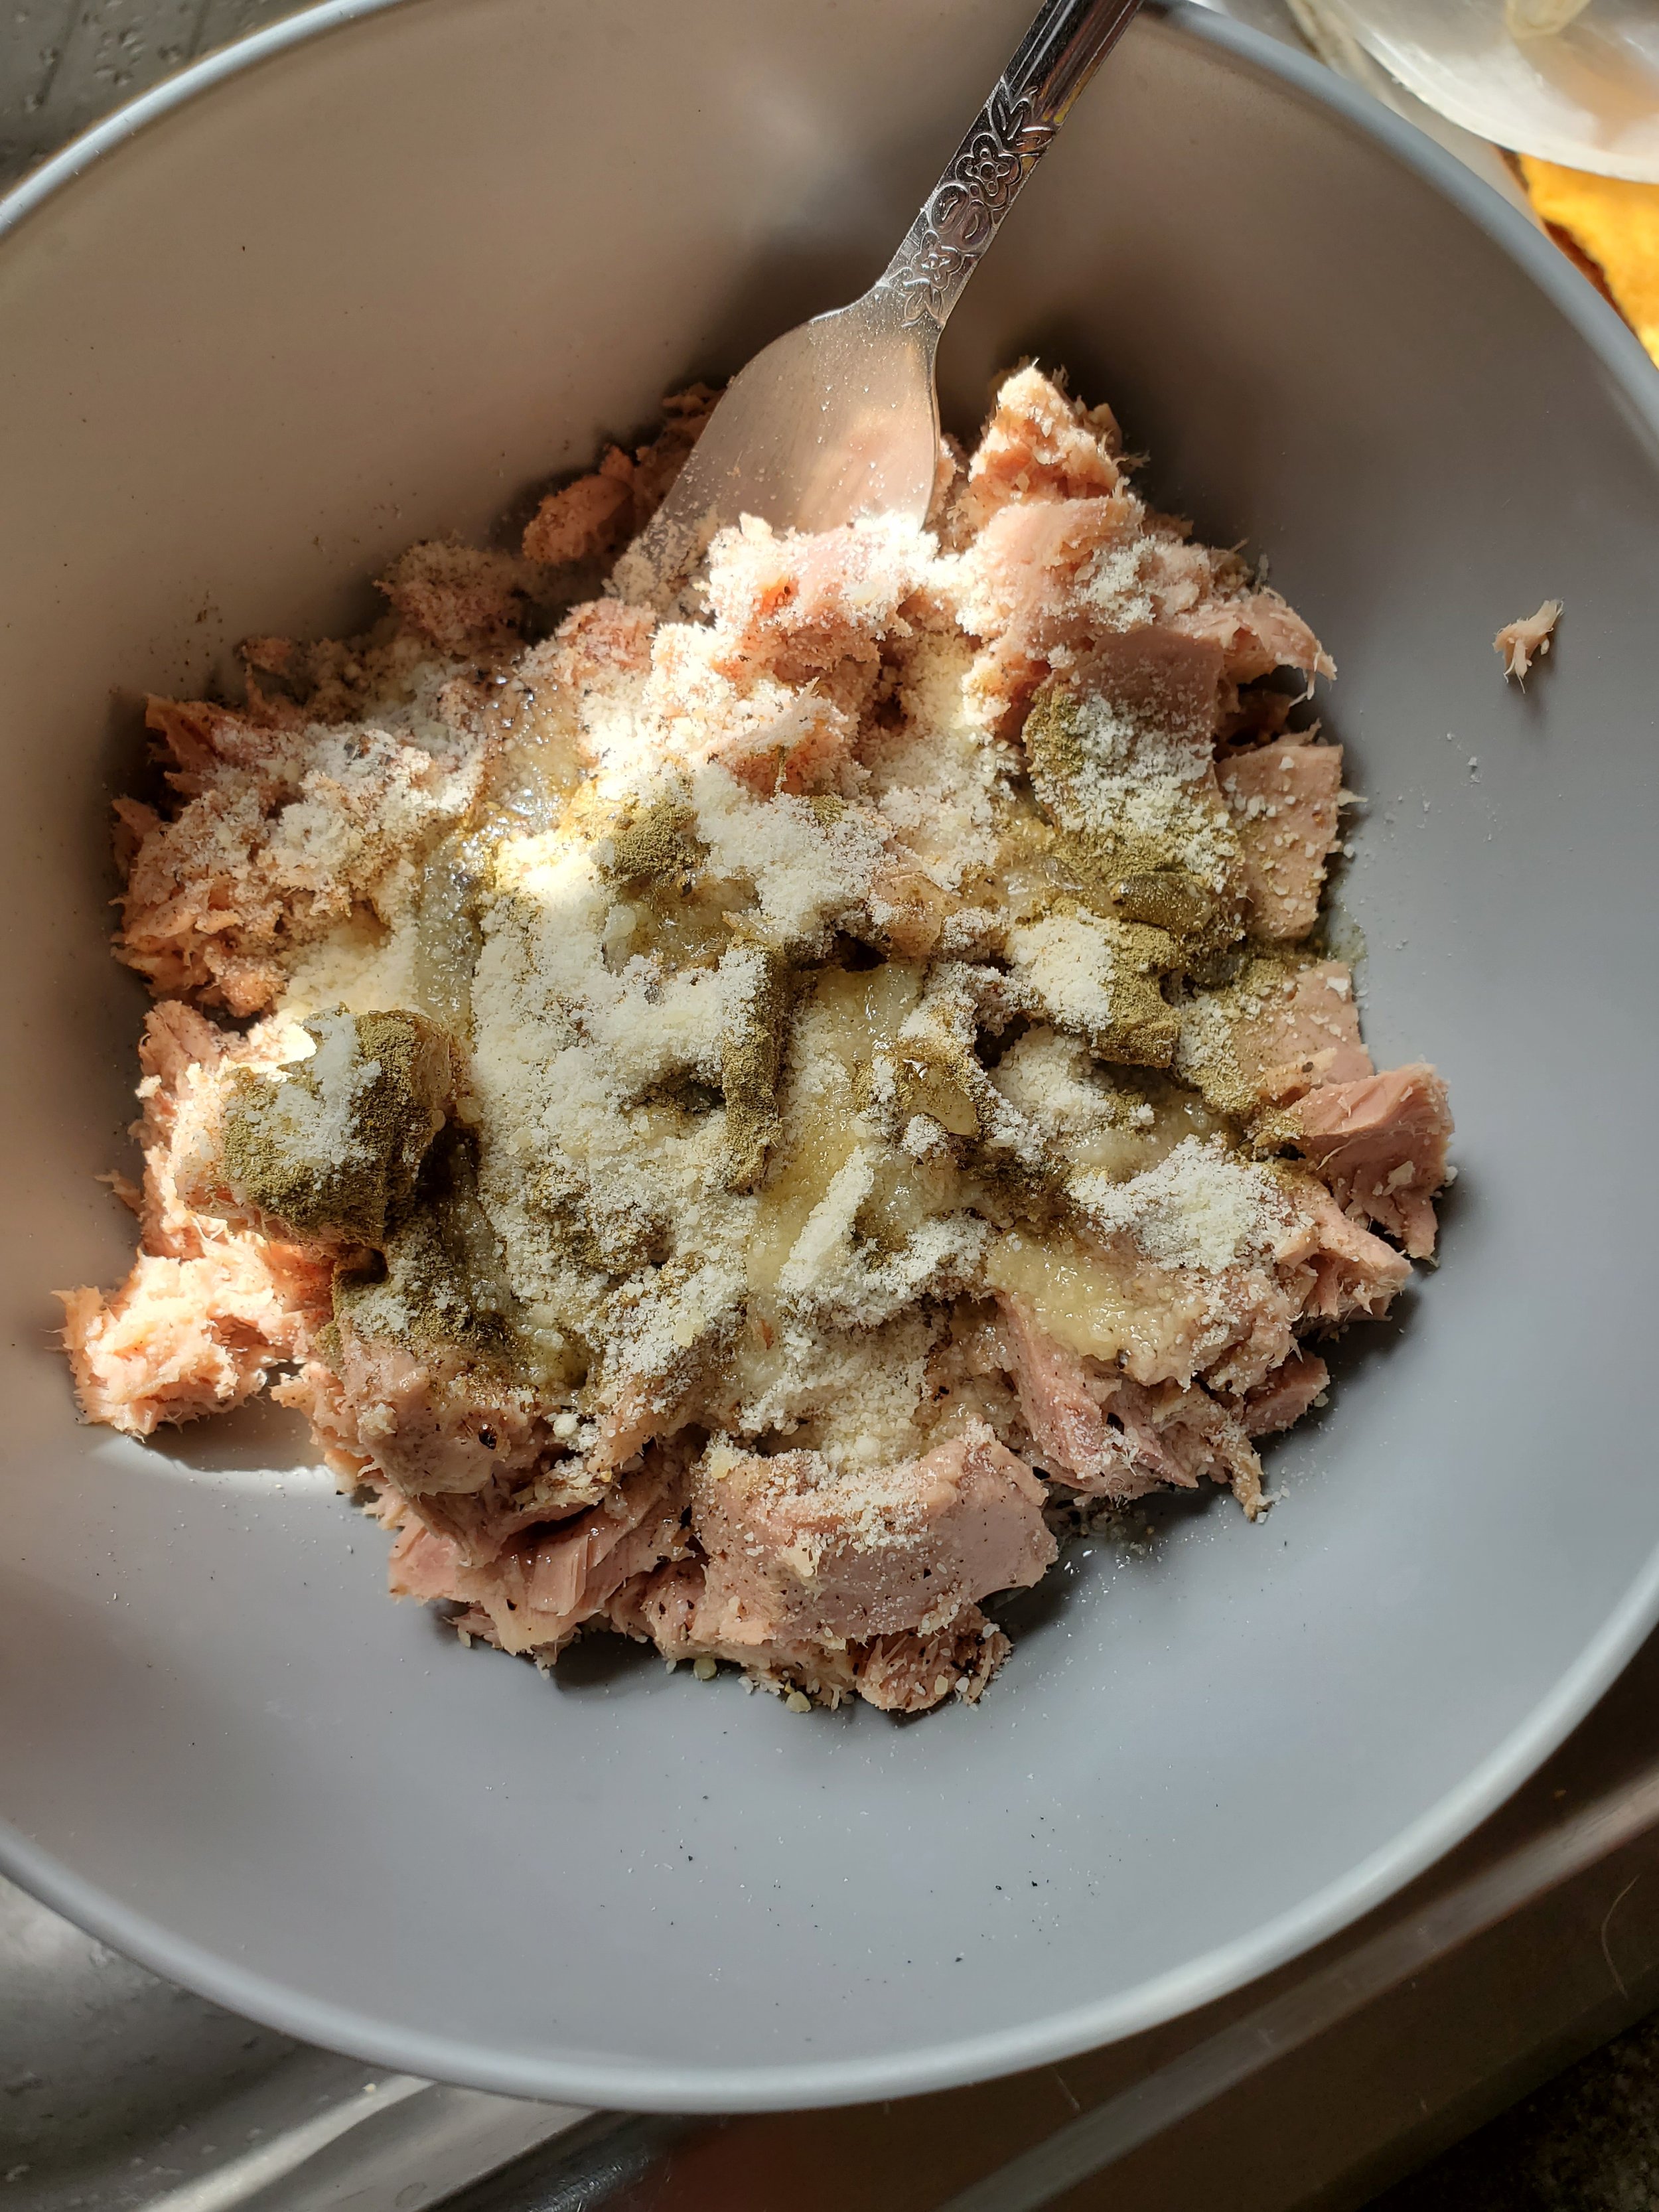
Open the two tuna cans and drain out the water. Dump the tuna into a mixing bowl and add the olive oil, then stir with a fork to break up the big pieces and get everything evenly coated. Measure in your paprika, thyme, garlic and parmesan cheese and stir until incorporated.


Tear off a seven-or-so inch piece of plastic wrap and use it to line a small bowl. We're targeting something just the right size for a scoop of ice cream, but if you have to go a little bigger, that's fine too - just make sure you have enough plastic wrap that the sides of the bowl will help you hold it.


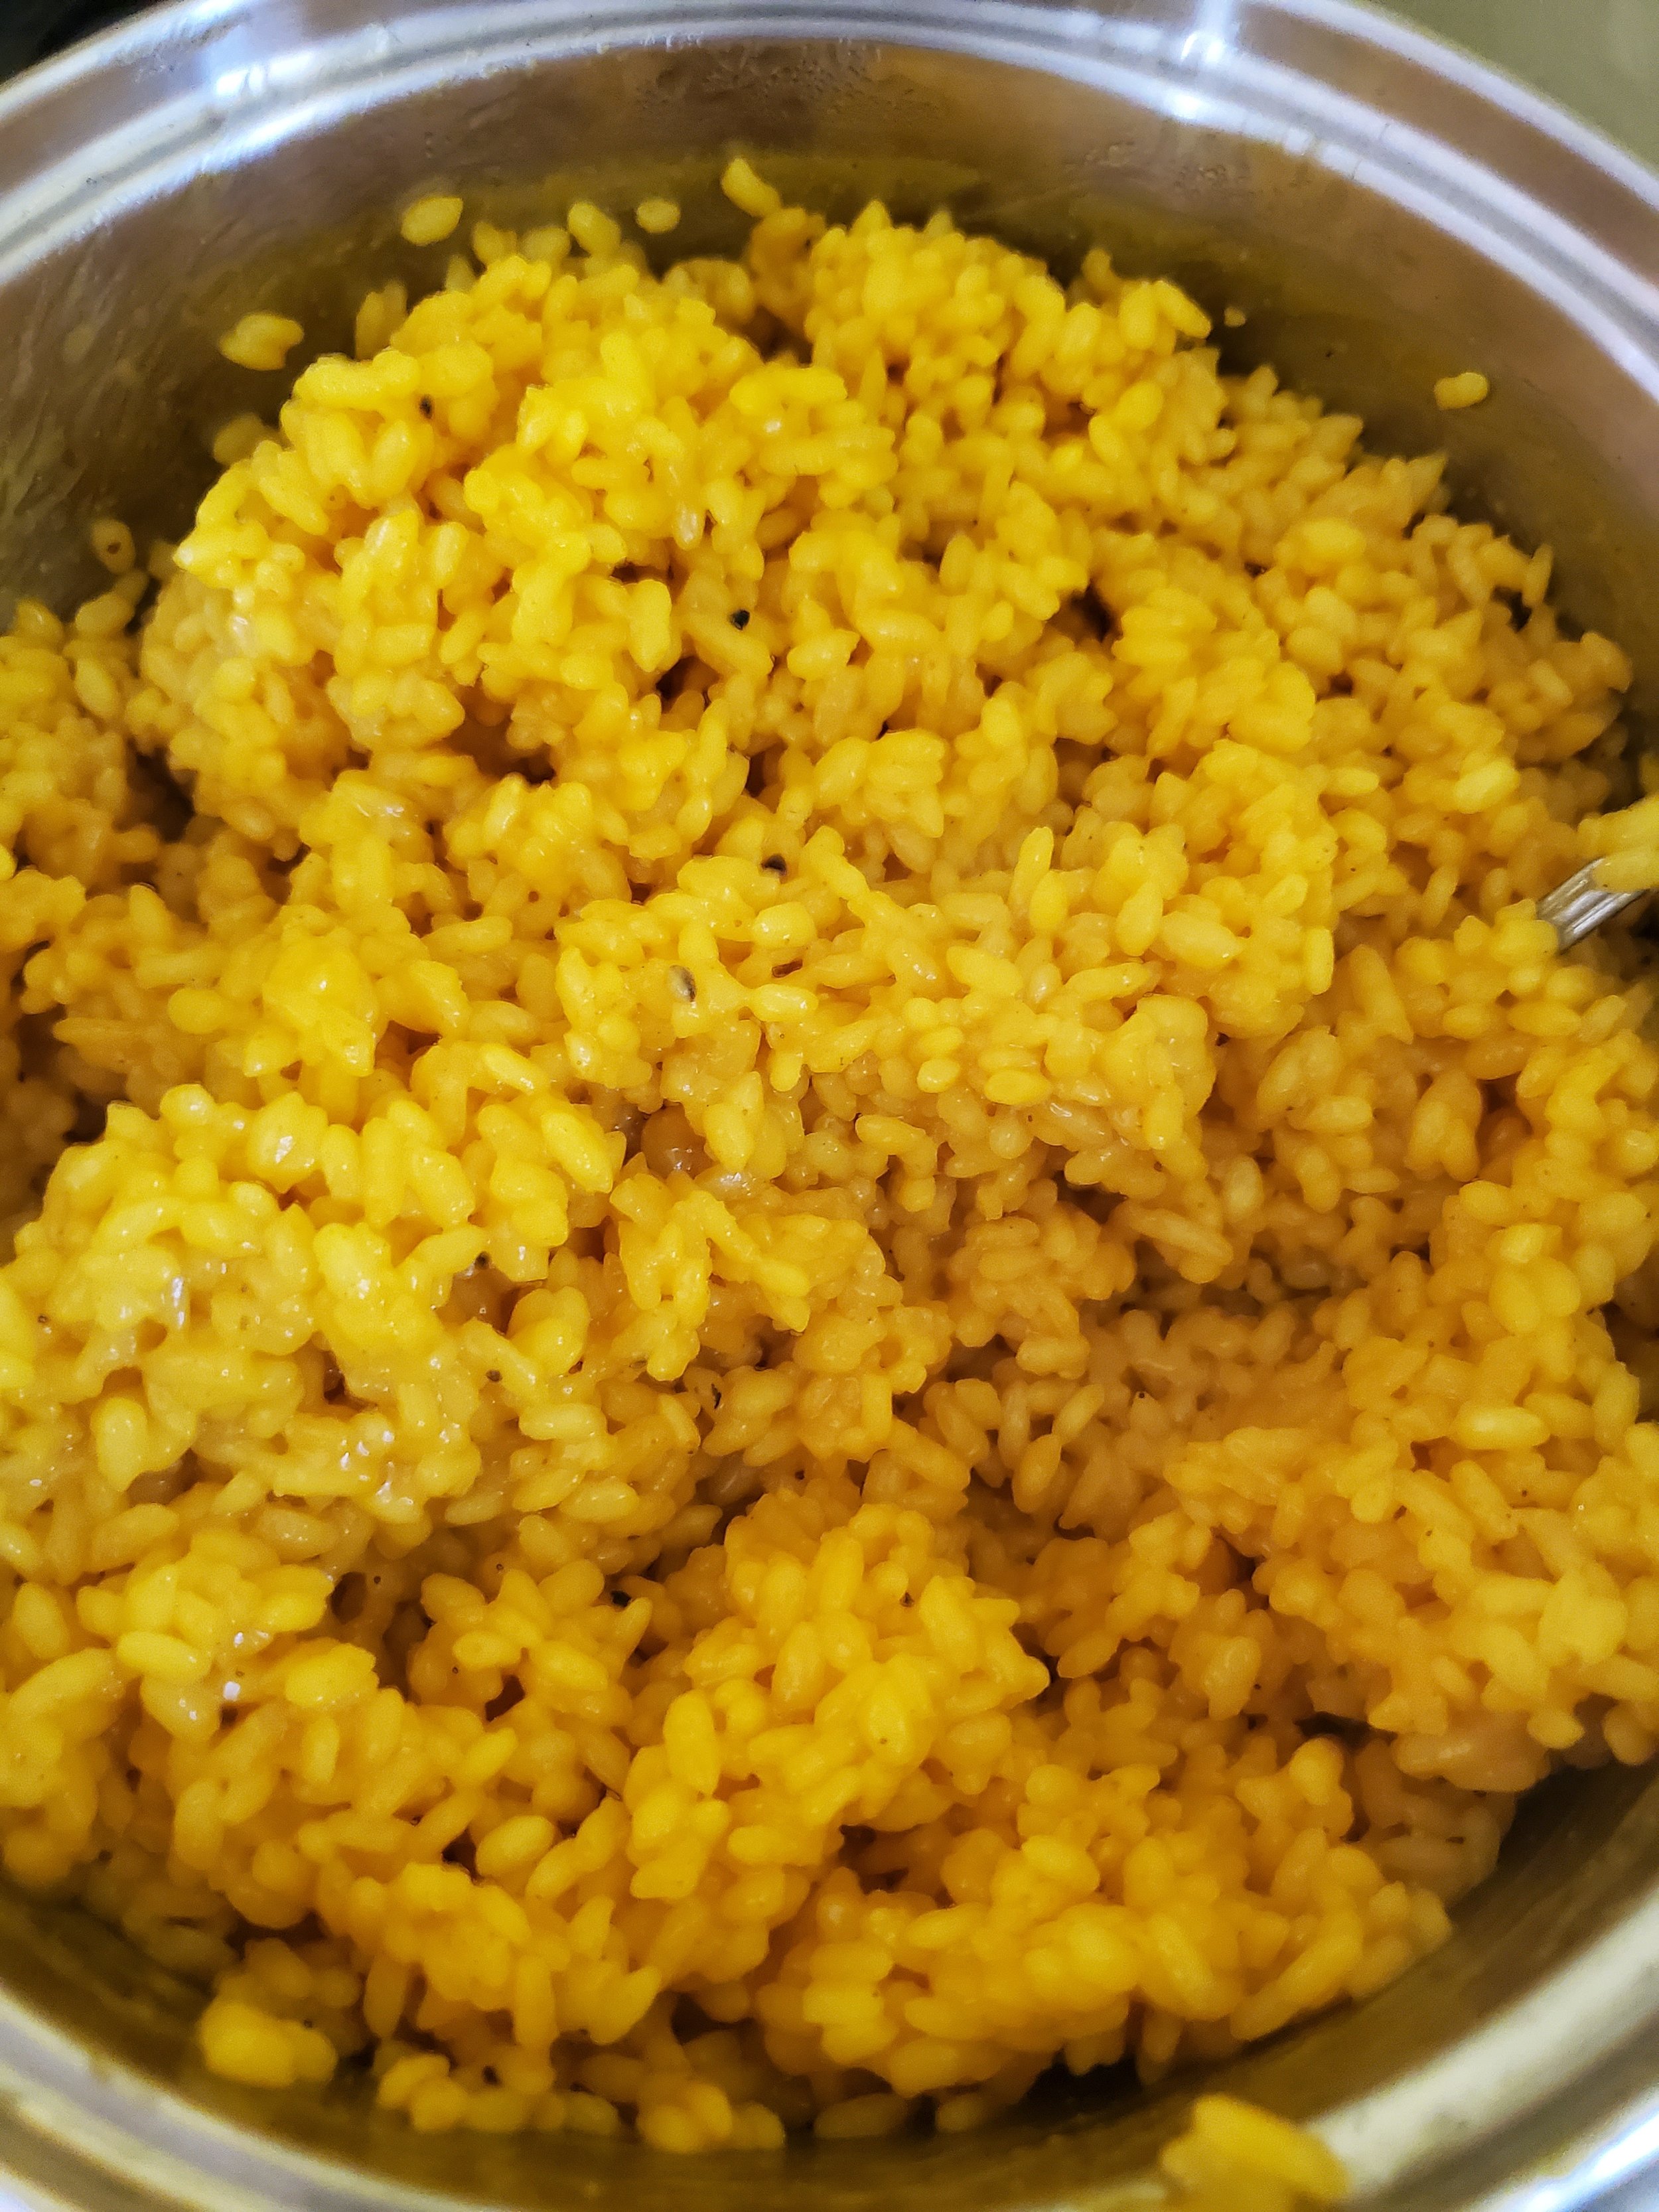
Once the rice has absorbed all the water, you can remove the lid and give it a stir. It should be tacky enough to stick to the spoon you stir with.


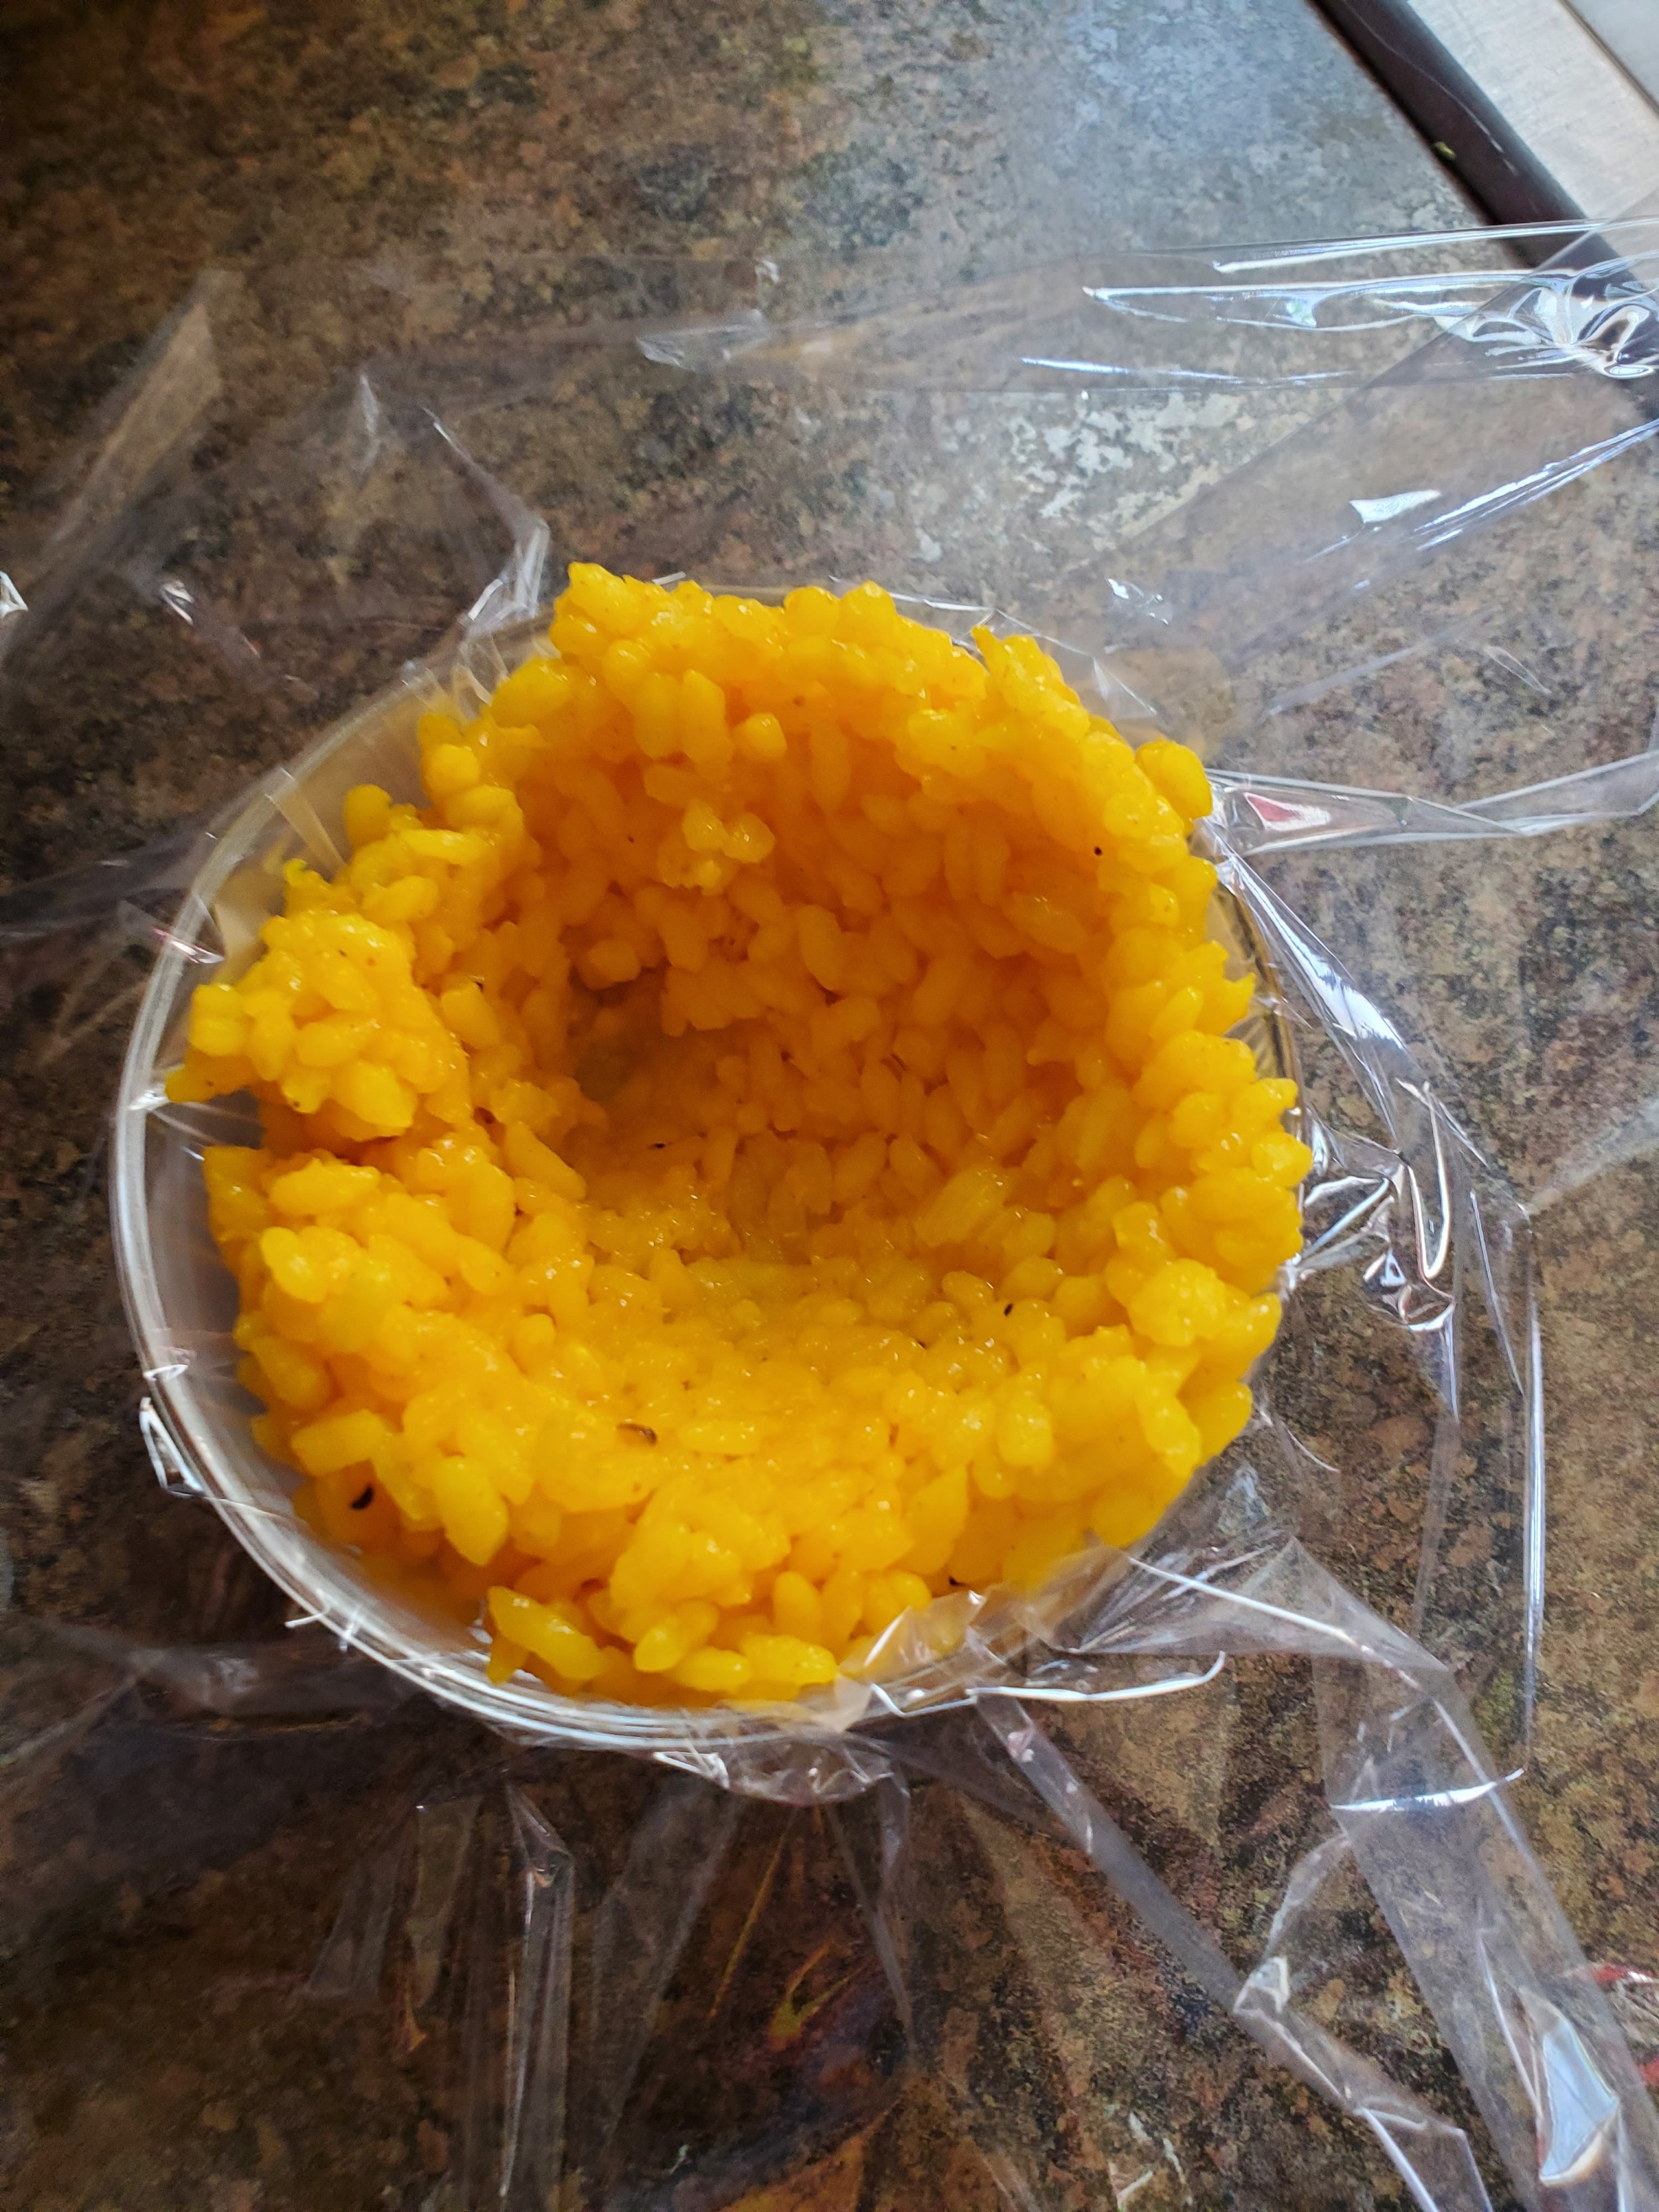
Using the ice cream scoop, take up a level scoop of rice and plop it into the center of the plastic wrap in the small bowl. Take a clean spoon and press down in the center of your scoop of rice, creating a hollow and smoothing some of the rice up the sides of the bowl. 


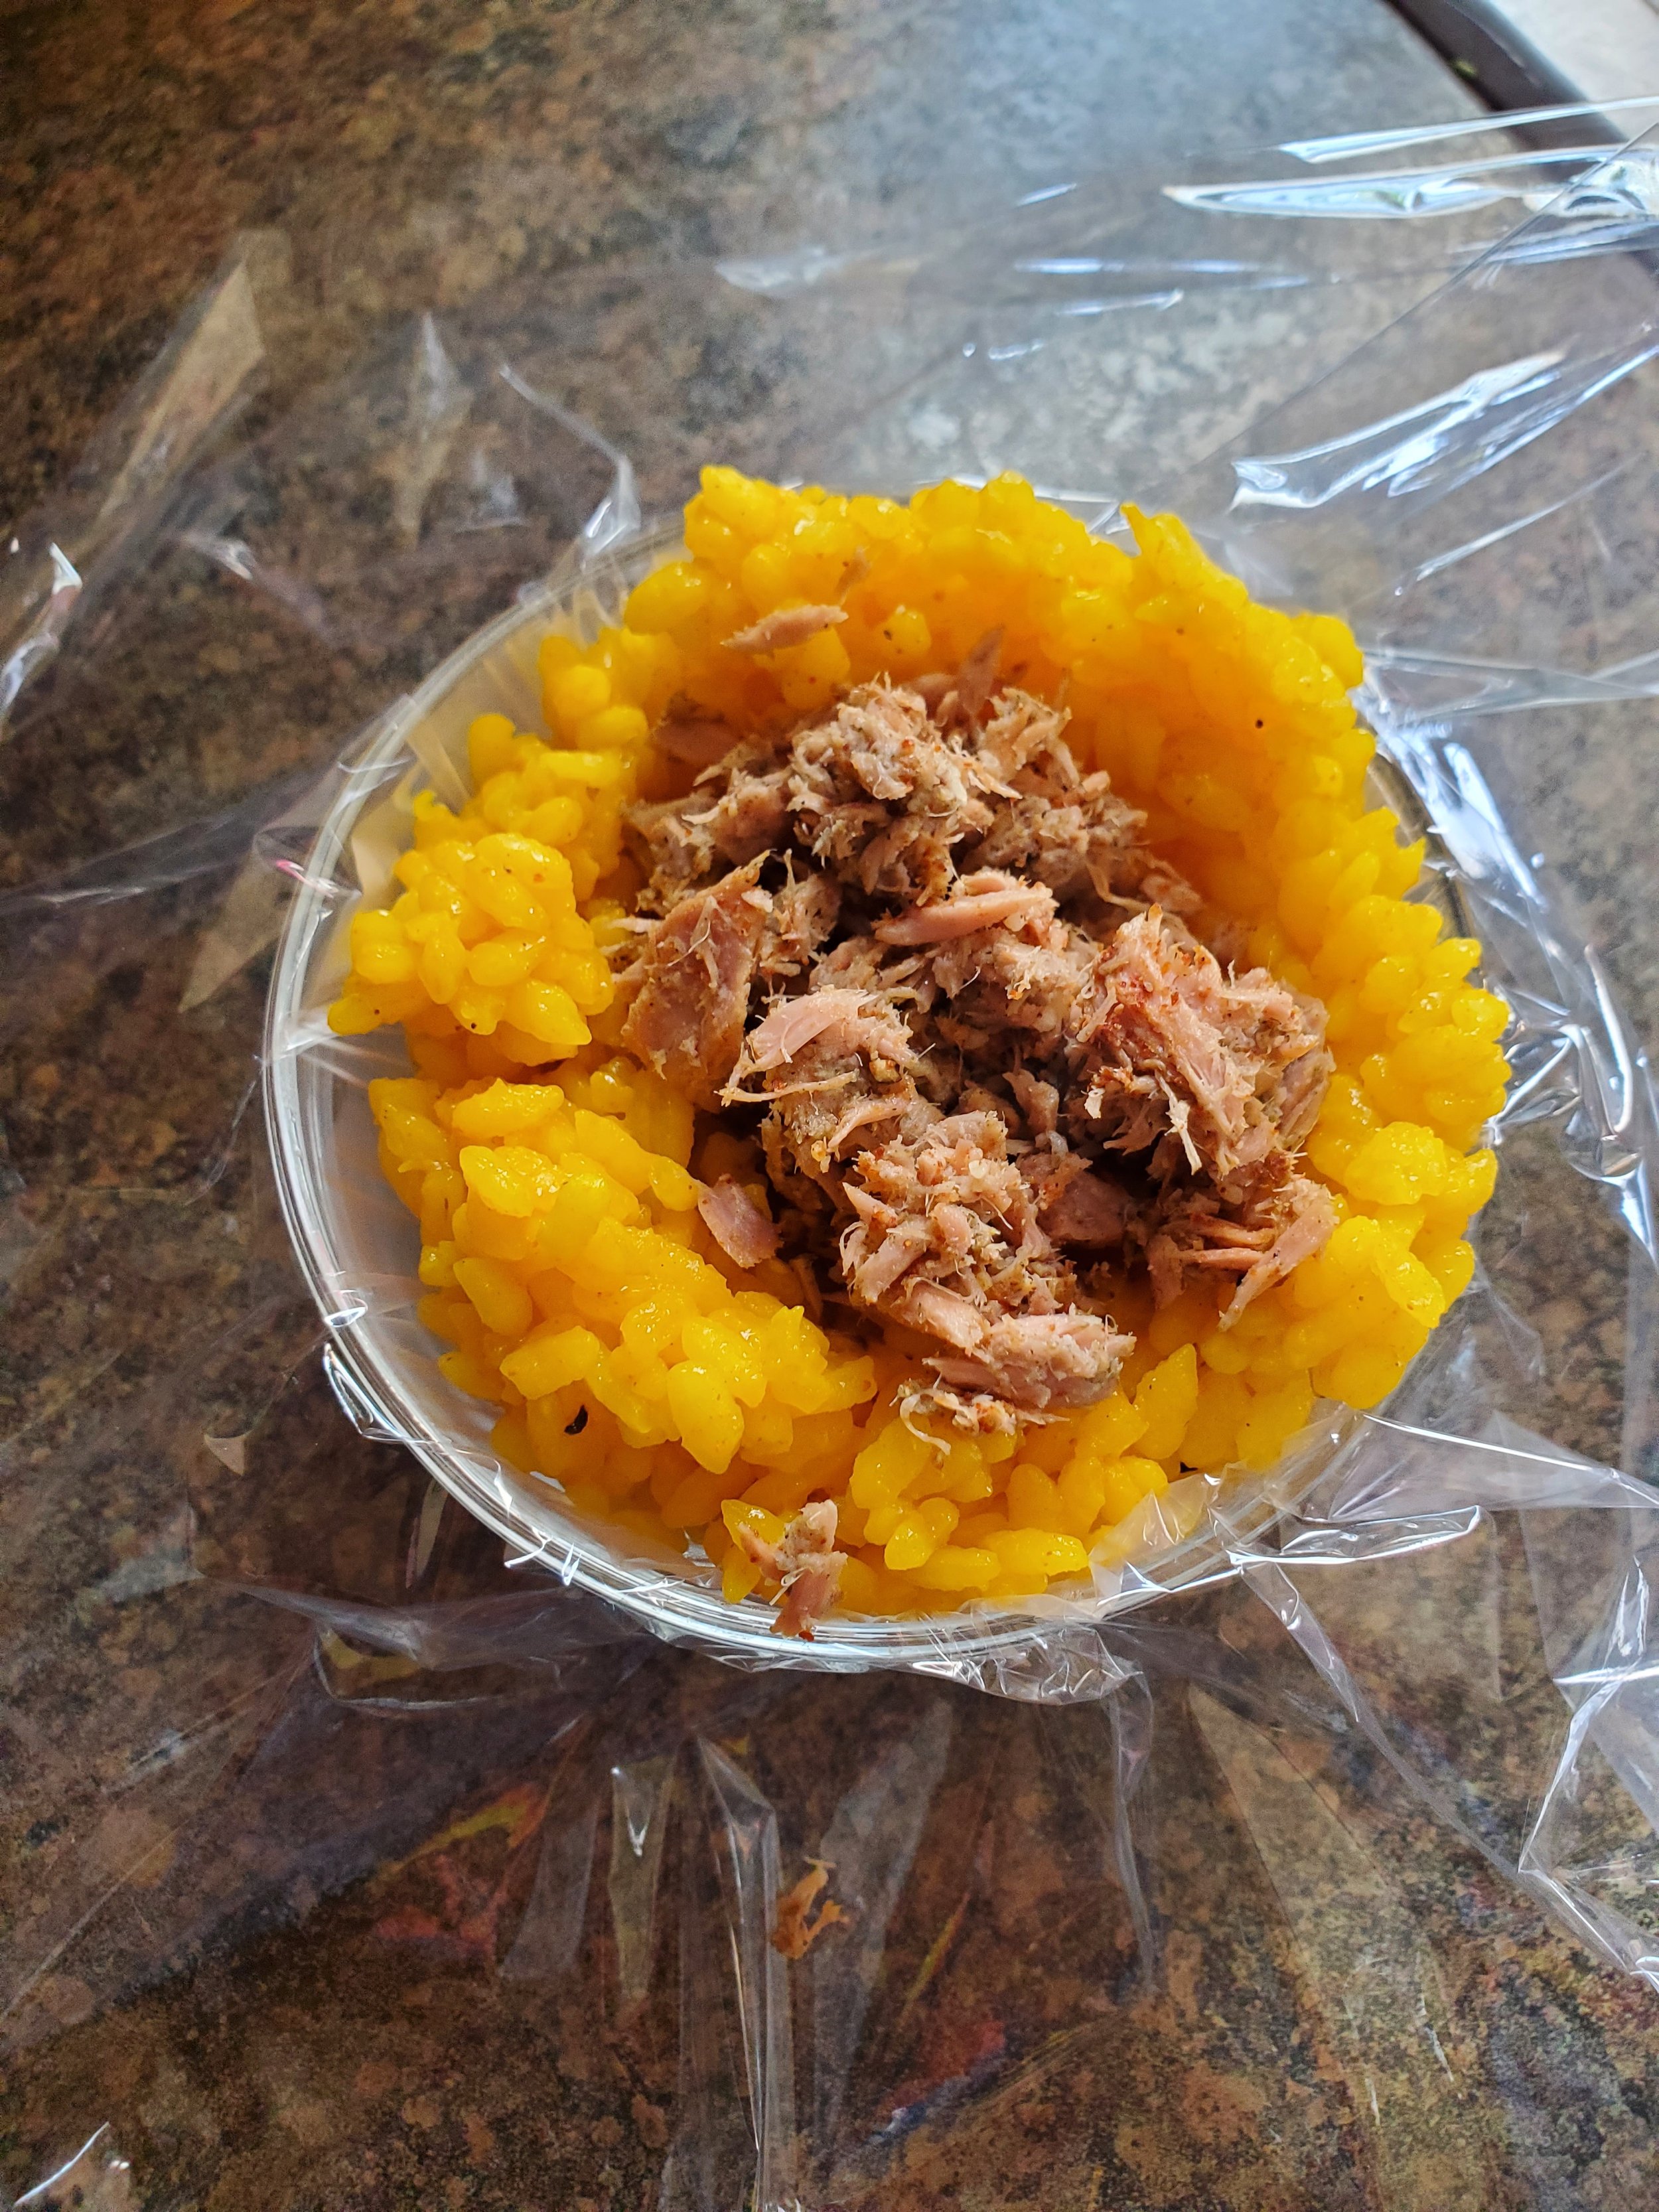
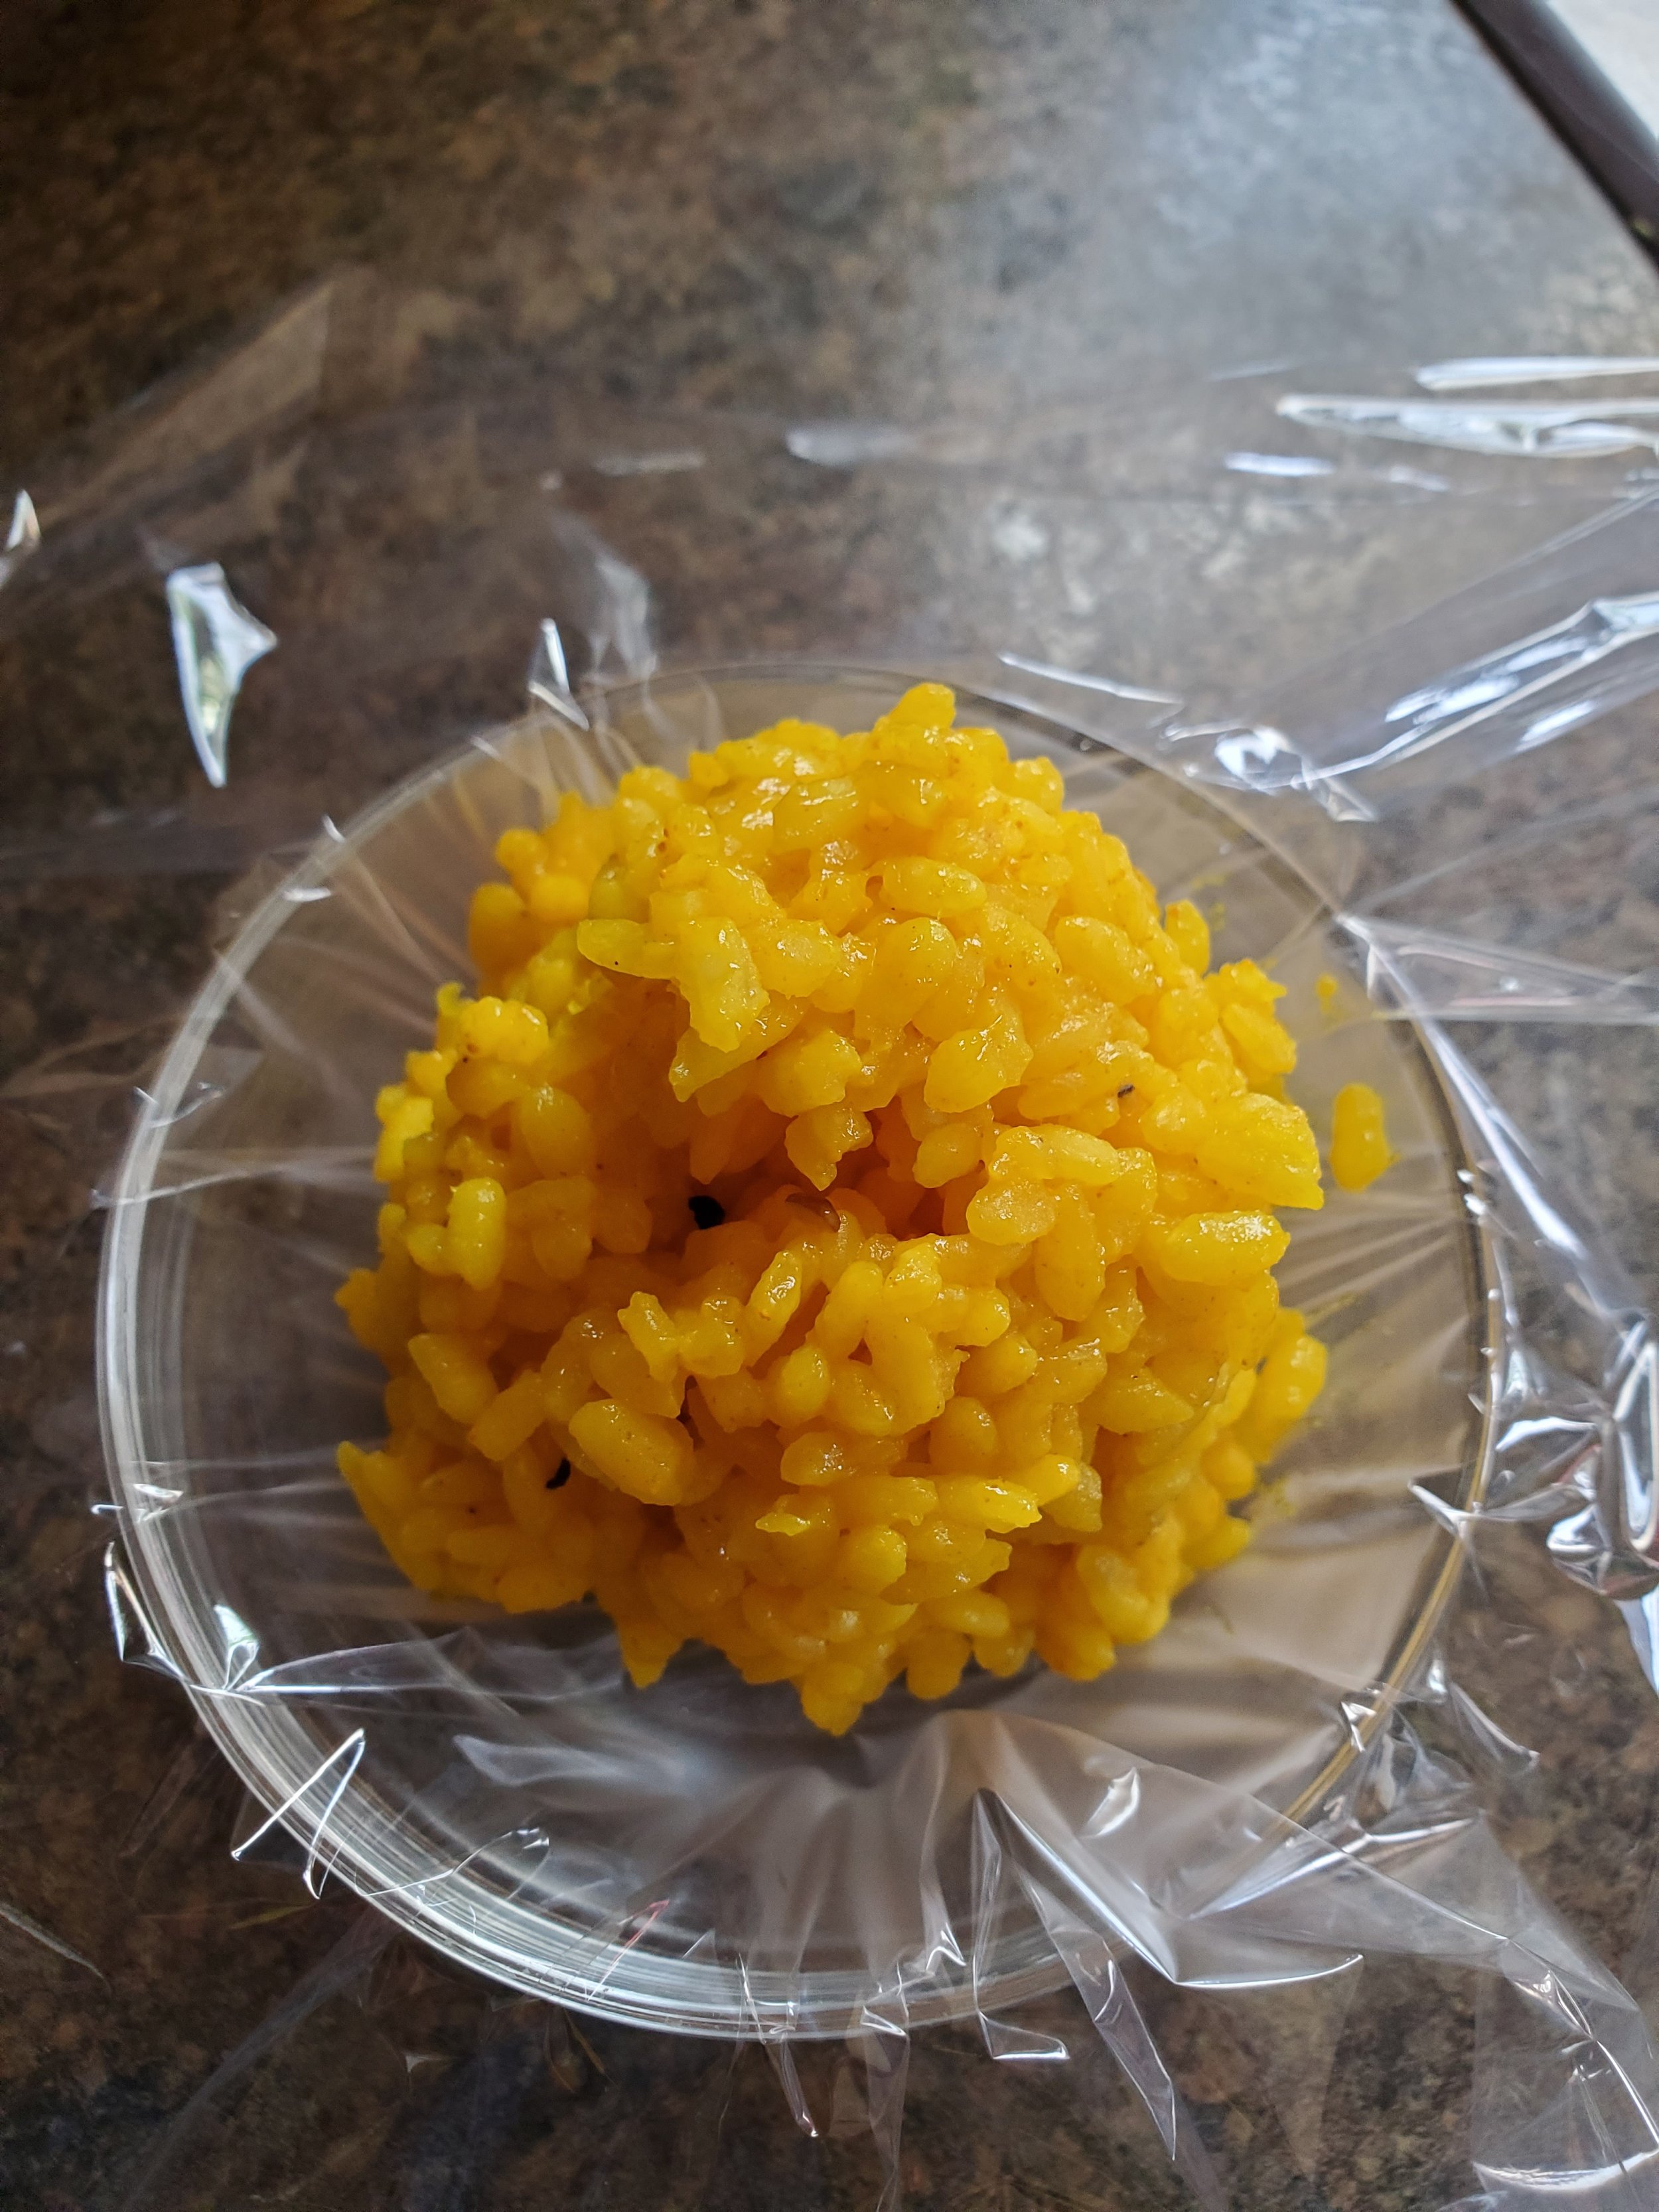
Grab a forkful of your tuna mixture and put it in the hollow. Don't overfill it. You want there to be plenty of rice up the sides of the bowl to cover the tuna - but if there's not, you can add a little bit from the pot to cover up the top.


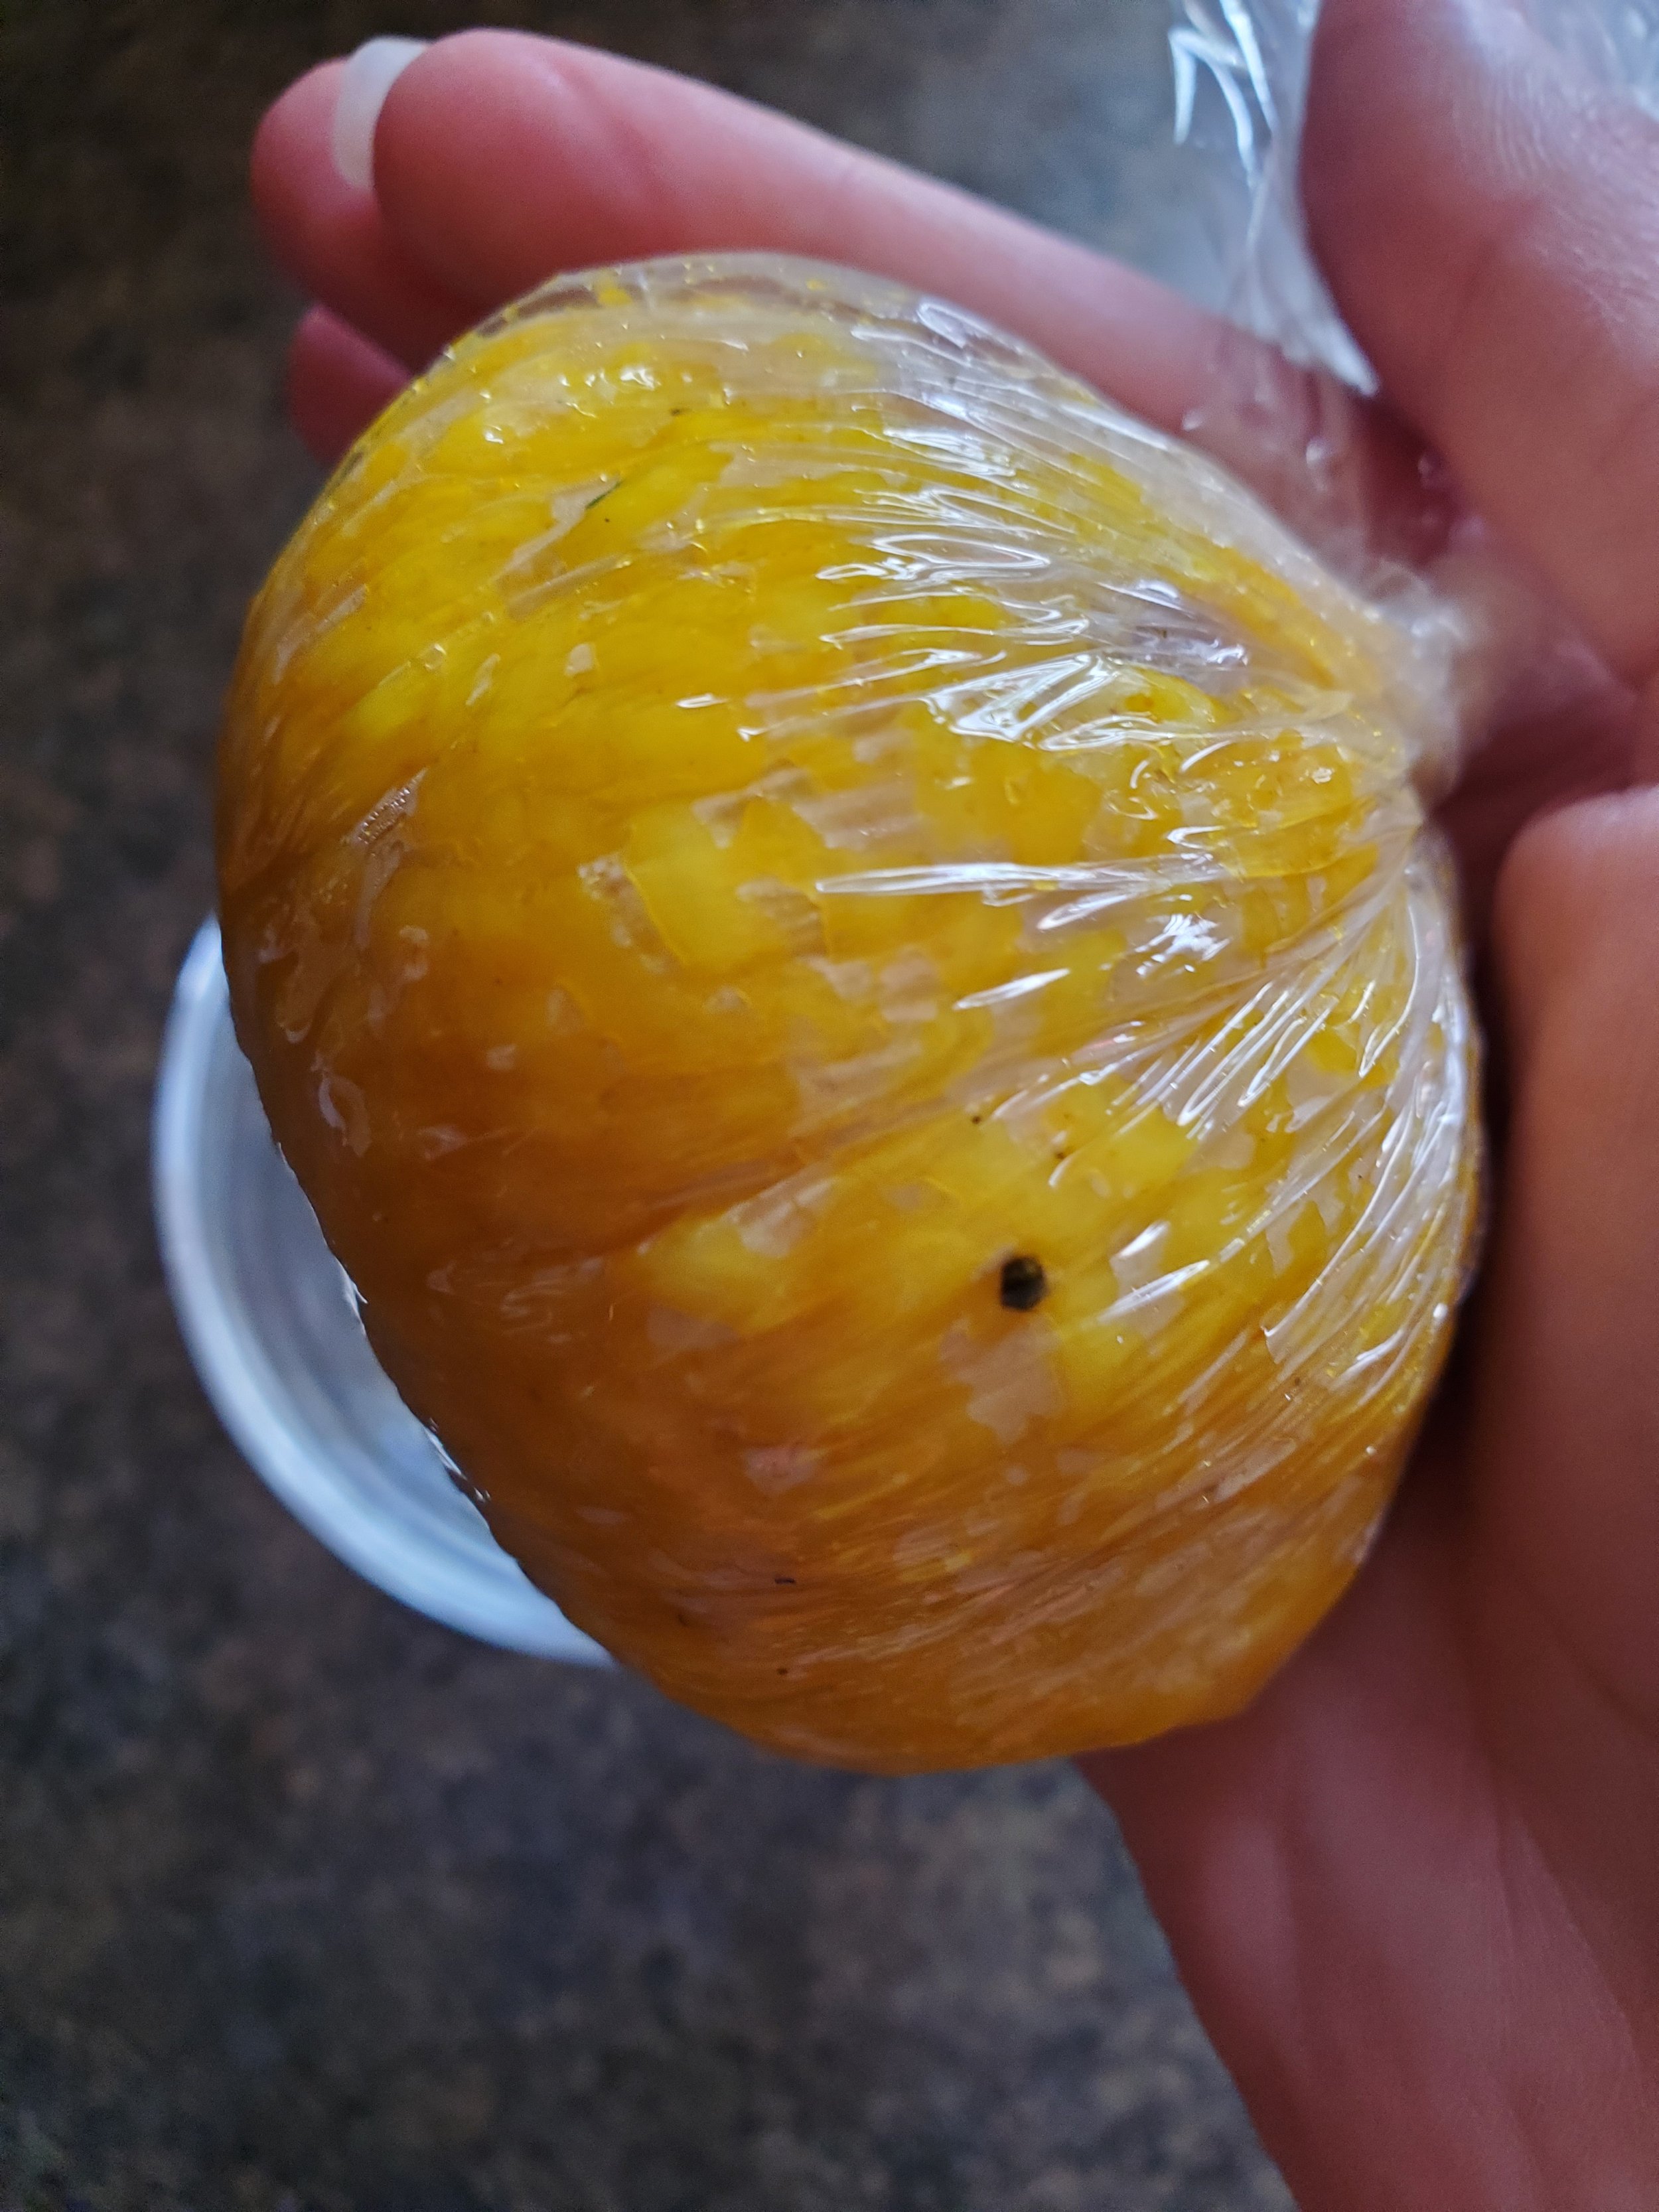
Grab the edges of the plastic wrap, bring them toward the middle of the bowl, and twist gently to pull the rice ball closed. Let any excess air out, and then continue twisting until the rice is densely packed around the tuna. 


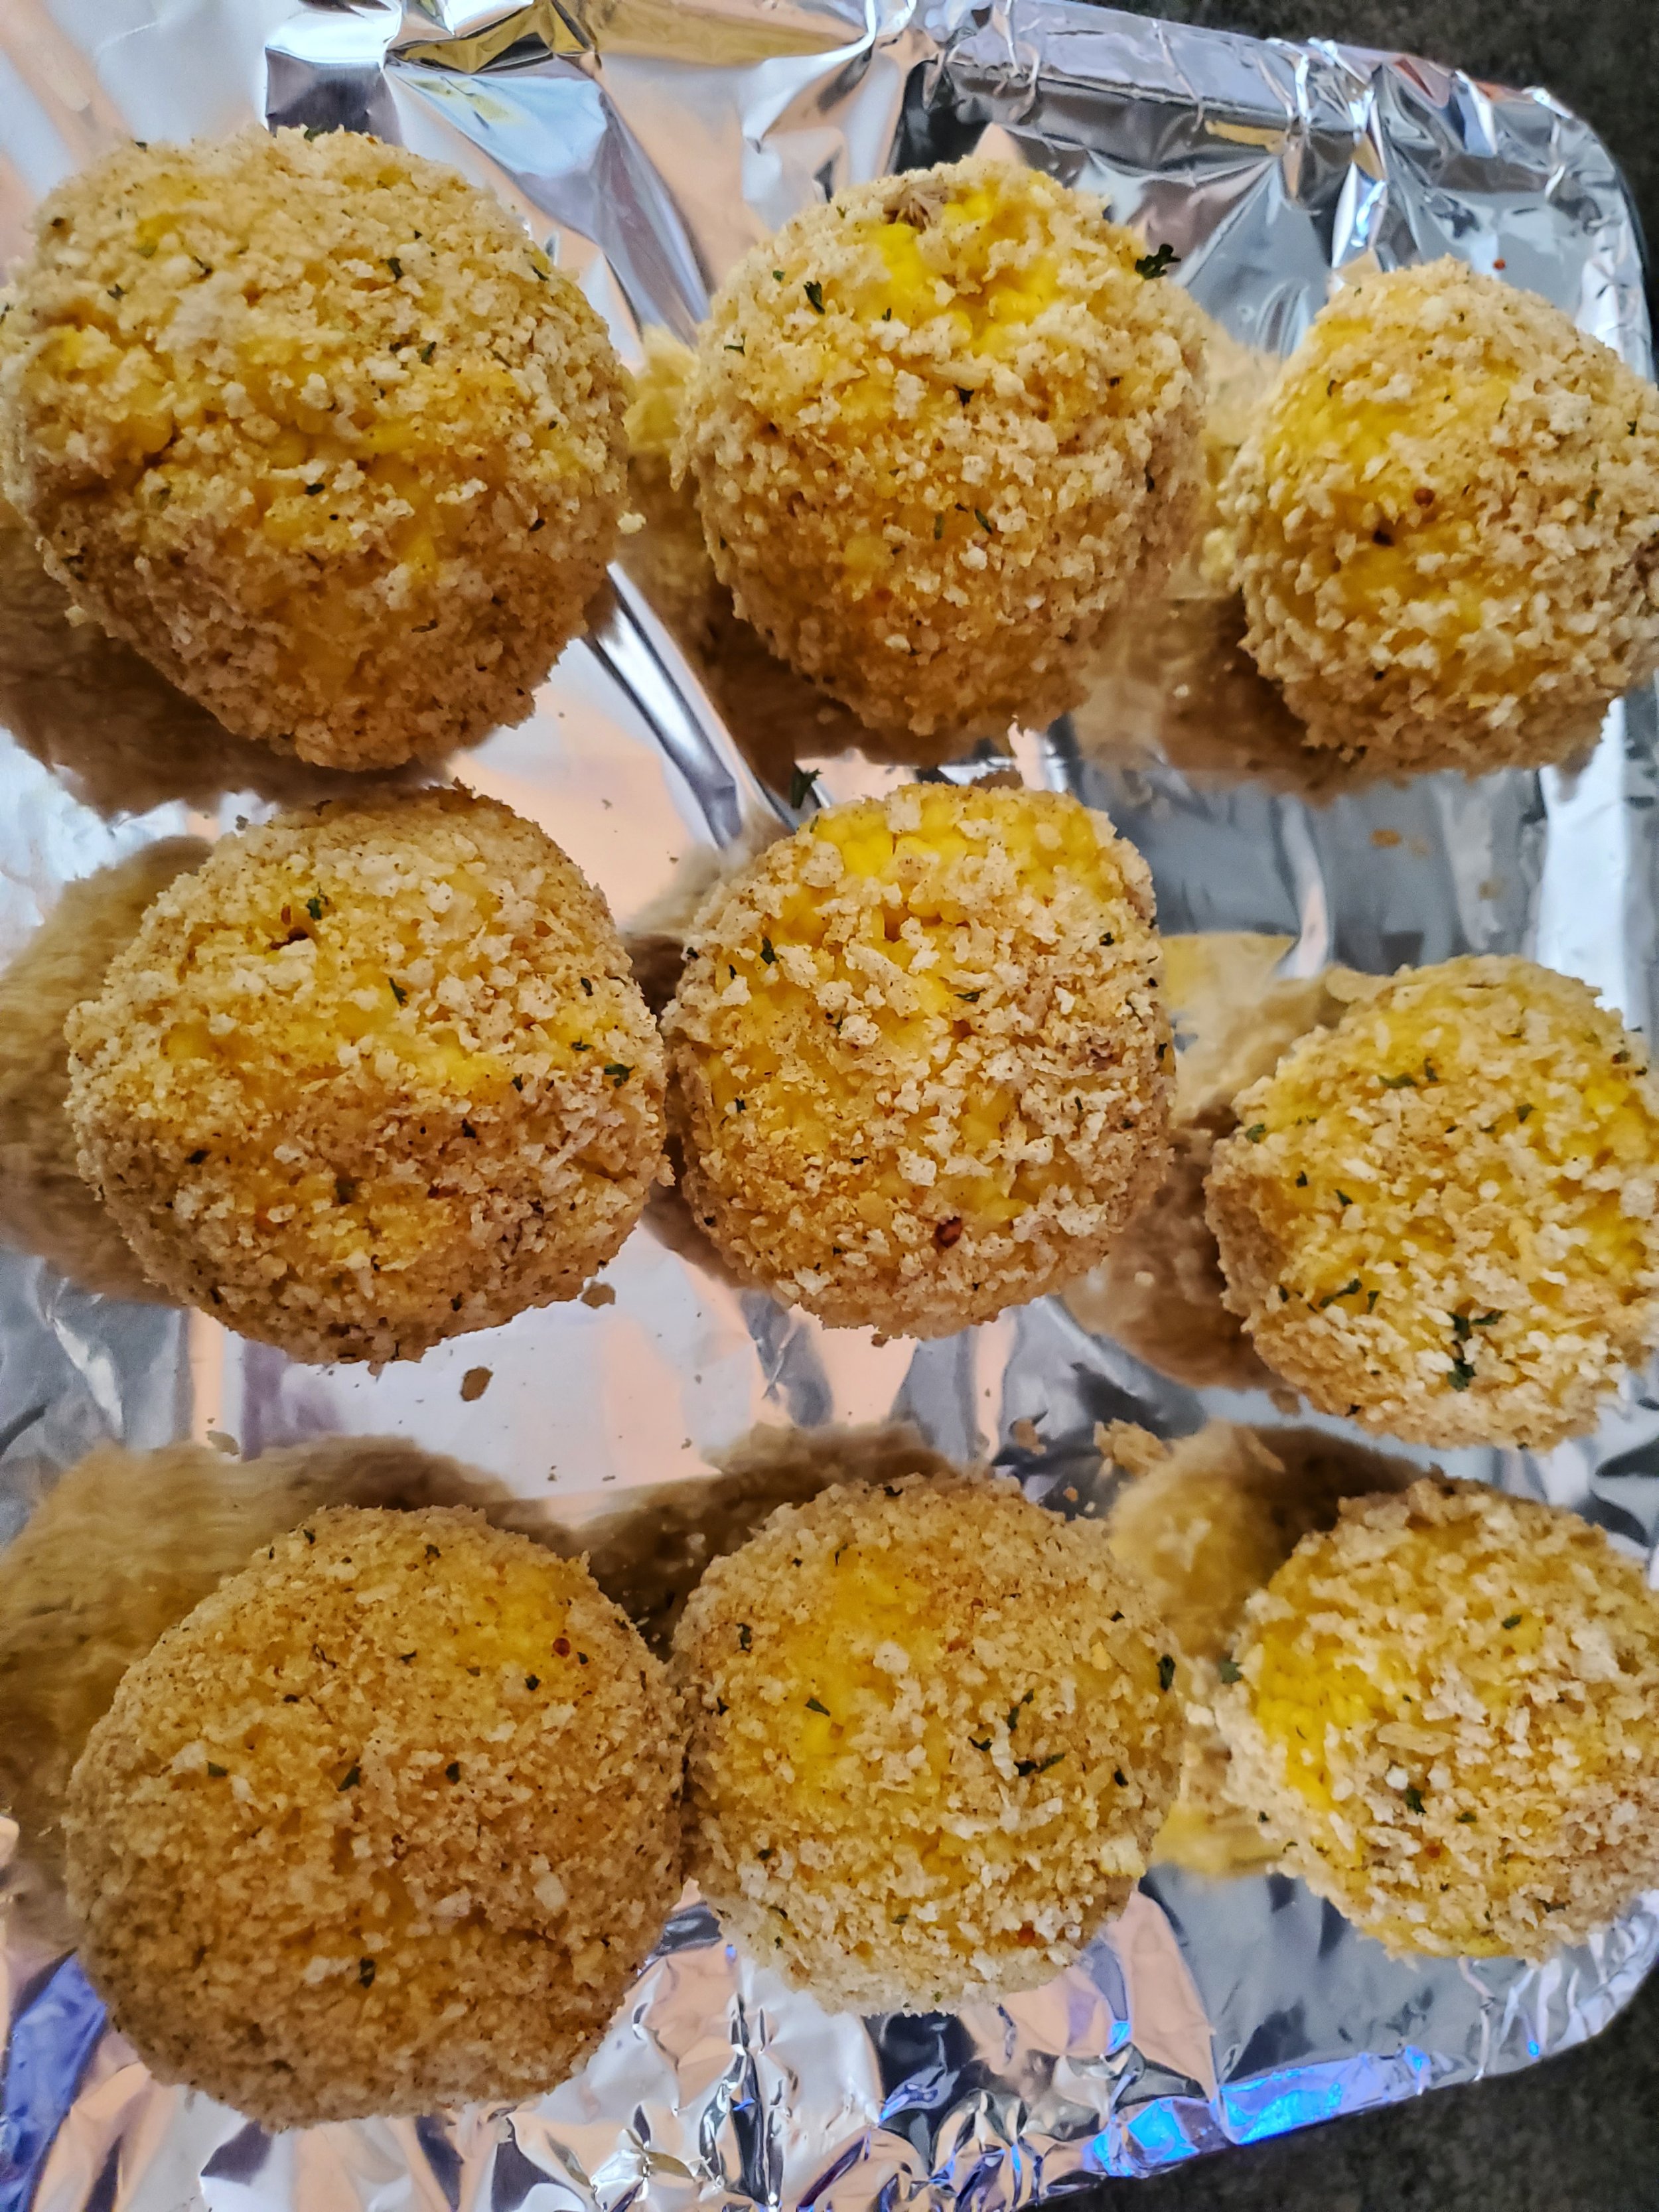
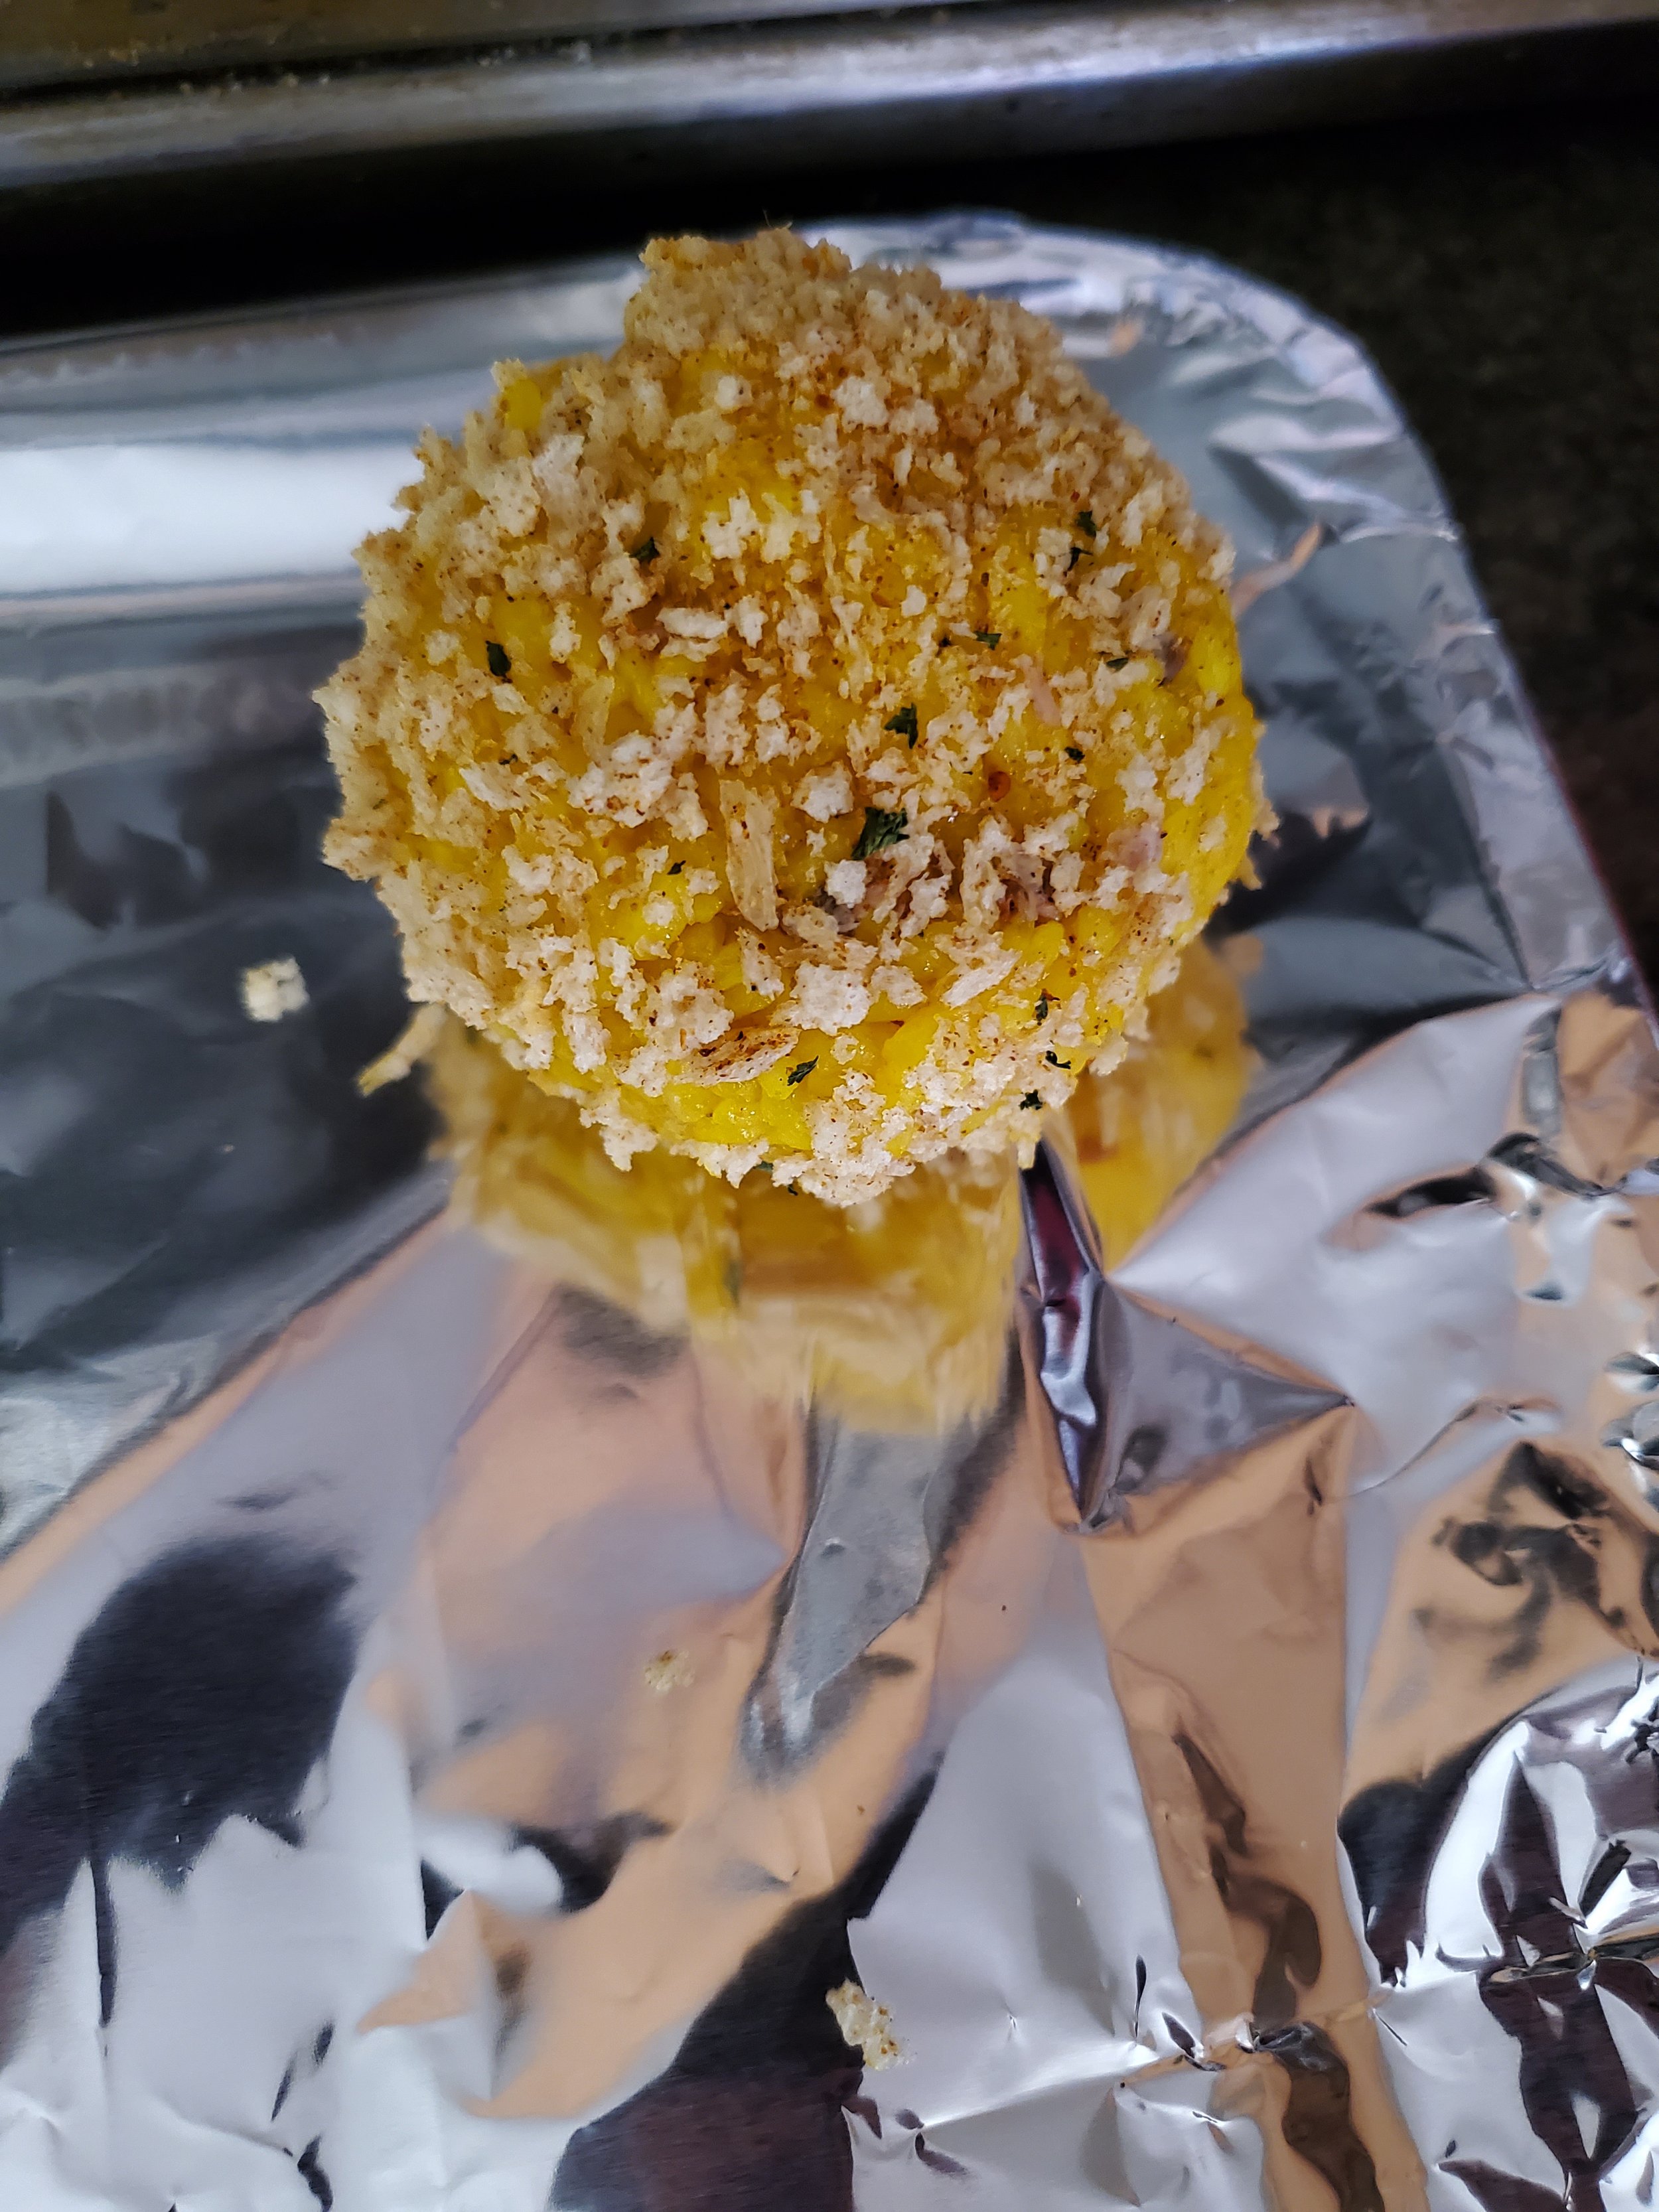
Un-twist the plastic gently, and drop the rice ball into a bowl of breadcrumbs. Roll it around a little to coat it, then transfer it to a foil lined baking sheet.


Repeat until you're out of rice. You should have 10-12 rice balls when you're done. You'll see nine pictured, but that's mostly due to space constraints - we worked with the toaster oven since it was an 80-degree afternoon, and only nine fit comfortably on the half-size pan.


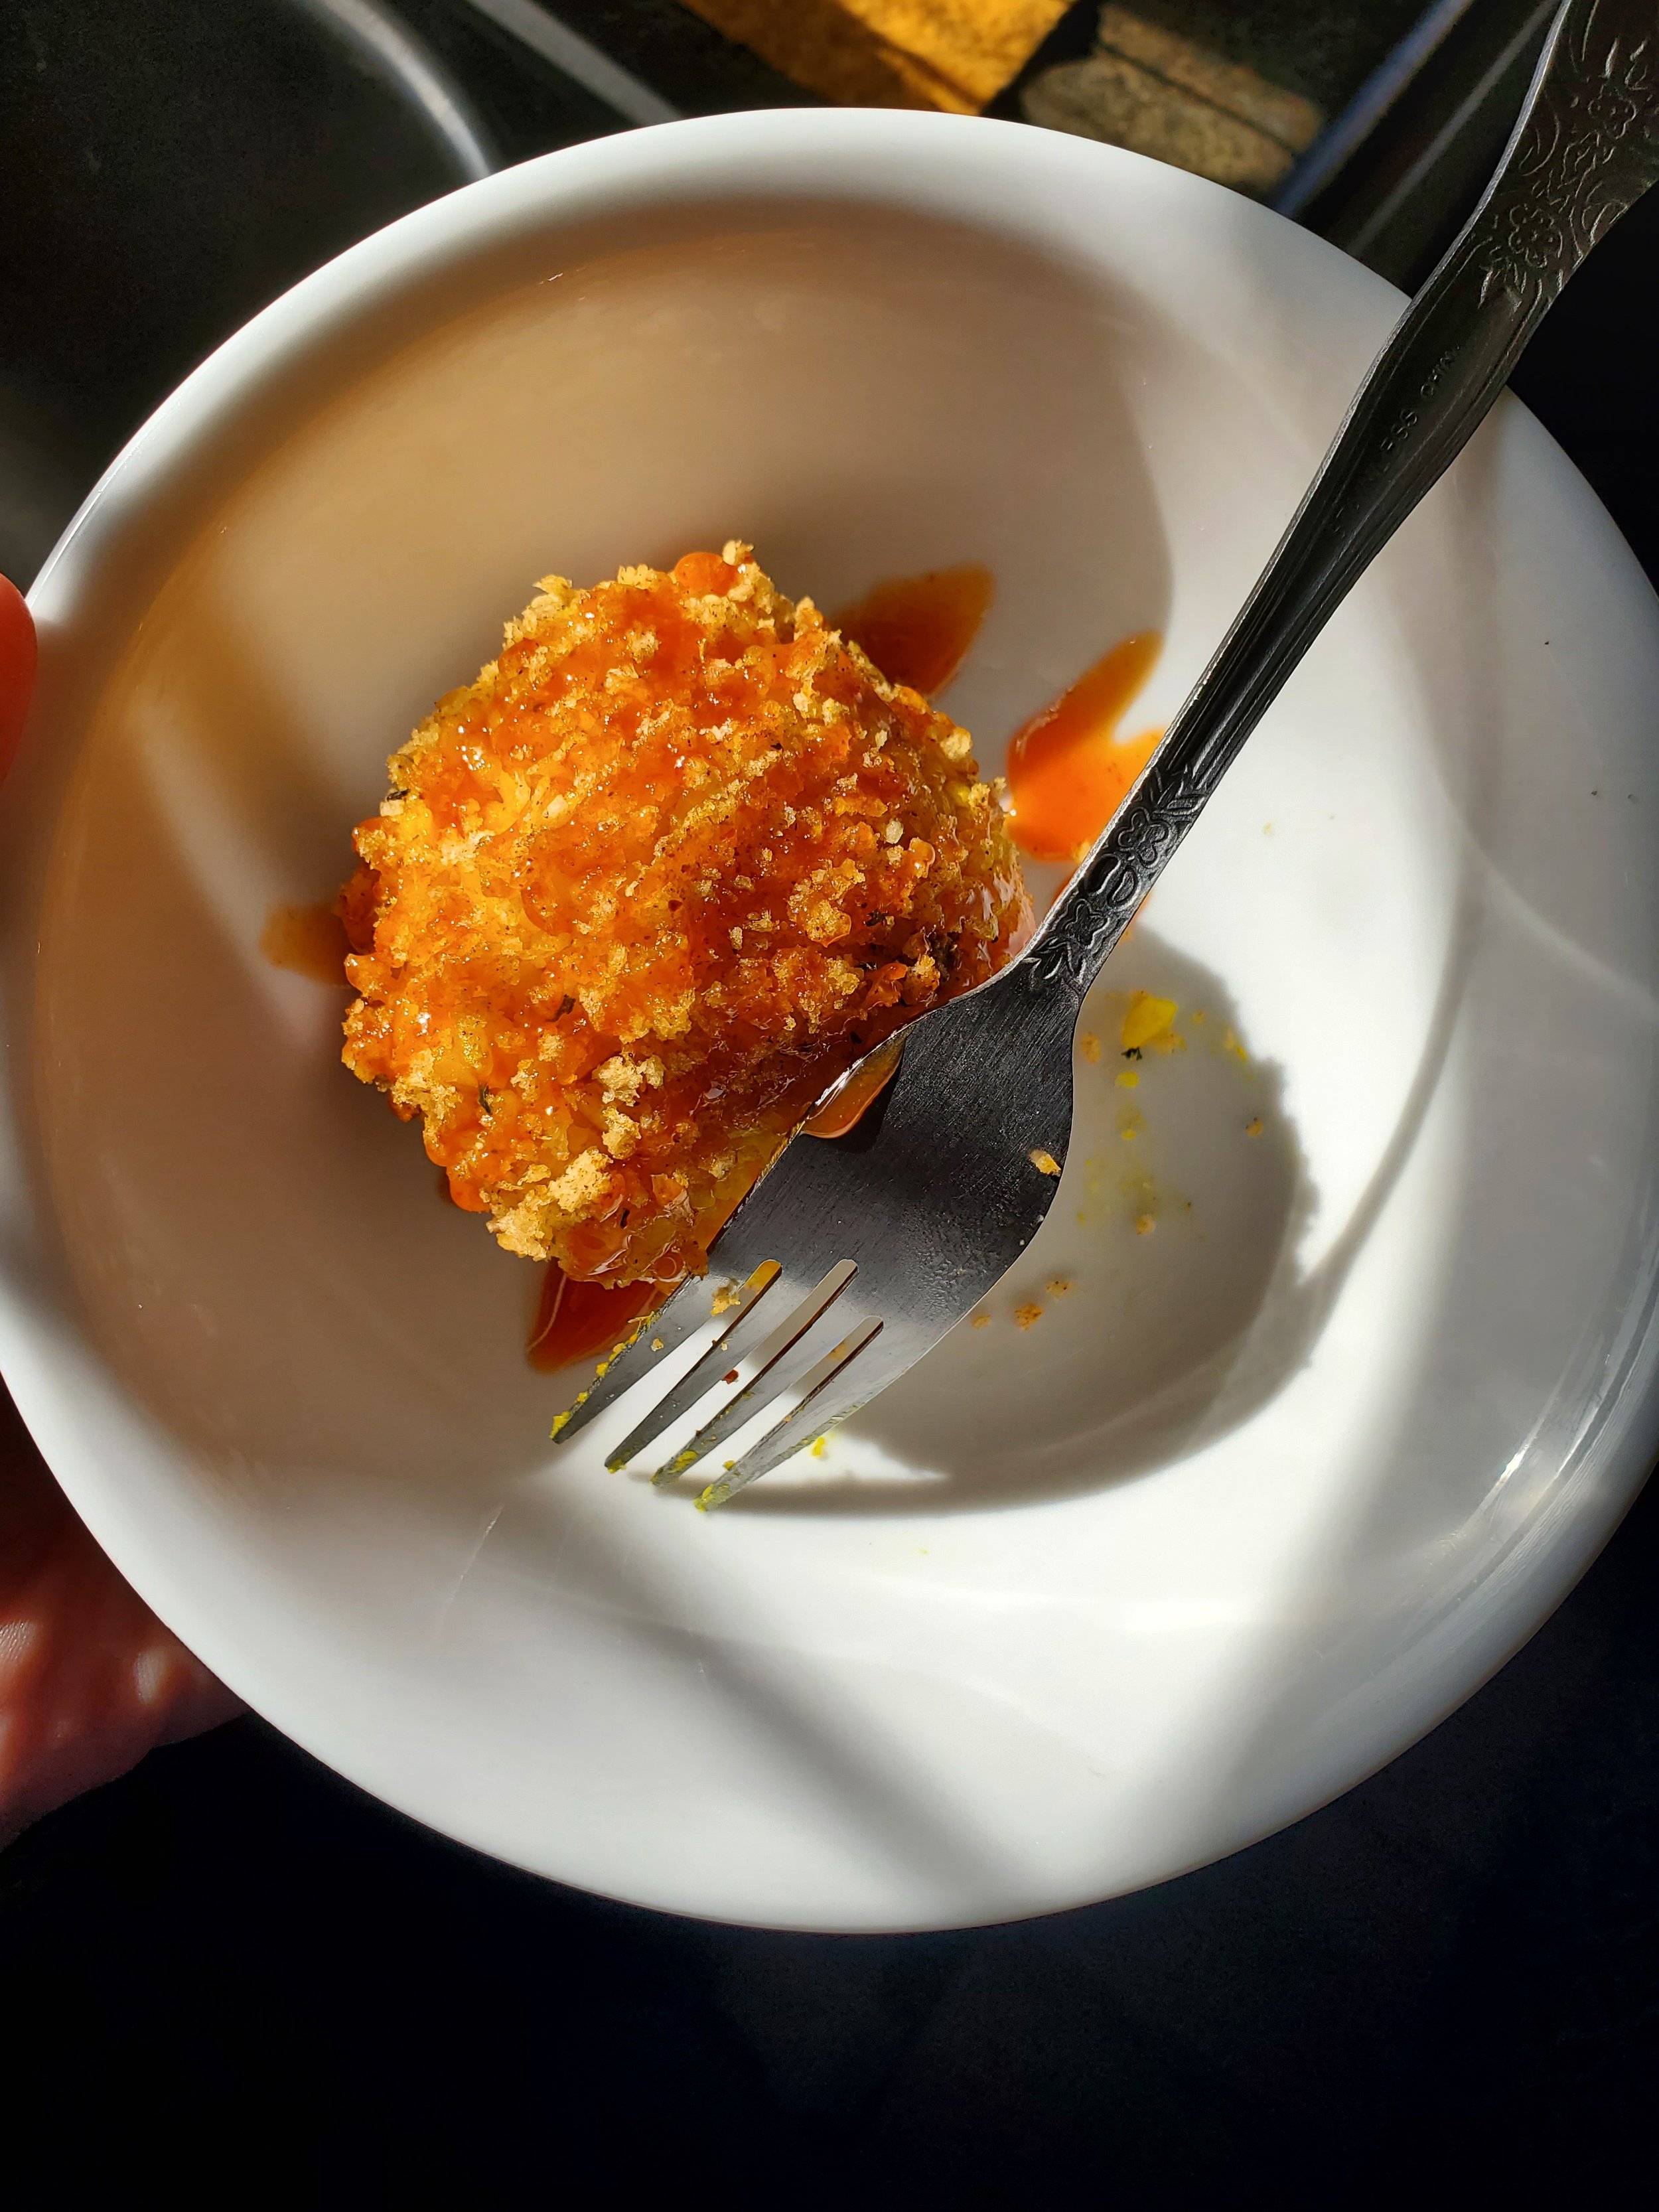
Spray lightly with the olive oil spray, and bake at 425 for 20-25 minutes until lightly browned. We served ours with a little Tabasco sweet & spicy hot sauce.


This recipe is perfect for those busy weeks when you don't have time to cook every day. You can make a big batch and use it for lunches throughout the week, or even freeze it for later. Just remember to take it out the night before, and you'll have a delicious and healthy lunch with just a bit of reheating in the microwave. 


We've also been experimenting with different tuna options, and we think the recipe can be mixed up to include all sorts of flavors. If you have any ideas or want to share your favorite variations, please let us know in the comments on our Facebook page. We can't wait to hear from you!

Website
Office ((214) 599-0055) 


Additional Reading

Punchy Potato & Cheddar Rolls 


Spicy Lemon Pepper Shrimp


Impress Your Guests with This Easy-to-Make Apple Pecan French Toast Bake


Caffeinated Comfort: Pumpkin Muffins with Coffee Cream Cheese Frosting

 A Fusion of Fall Spice and Coffee Indulgence

Welcome to a delightful twist on classic pumpkin muffins! This recipe is a perfect marriage of seasonal flavors—warm pumpkin, aromatic spices, and a decadent coffee cream cheese frosting. With each bite, you can experience the cozy essence of fall combined with the indulgence of a caffeinated treat. Follow along step by step to create your own batch of these deliciously unique muffins.

Ingredients:


For the muffins:

1 15 oz can pumpkin puree

1 1/2 cup flour

1/2 cup white sugar

1/2 cup brown sugar

1/4 cup sour cream

2 eggs

1 teaspoon baking powder

1/2 teaspoon salt

1 teaspoon ground cinnamon


For the frosting:

1 stick butter, softened

1/2 brick regular cream cheese, softened

2 cups powdered sugar

2 tablespoons instant coffee

1 teaspoon vanilla extract

3 tablespoons milk


Tools:

can opener

mixing bowls (large and small)

muffin tin or sheet pan

muffin liners or baking cups

spoons

measuring cups and spoons

mixer (hand or stand)


Preheat your oven to 350 and let's get dessert rolling!


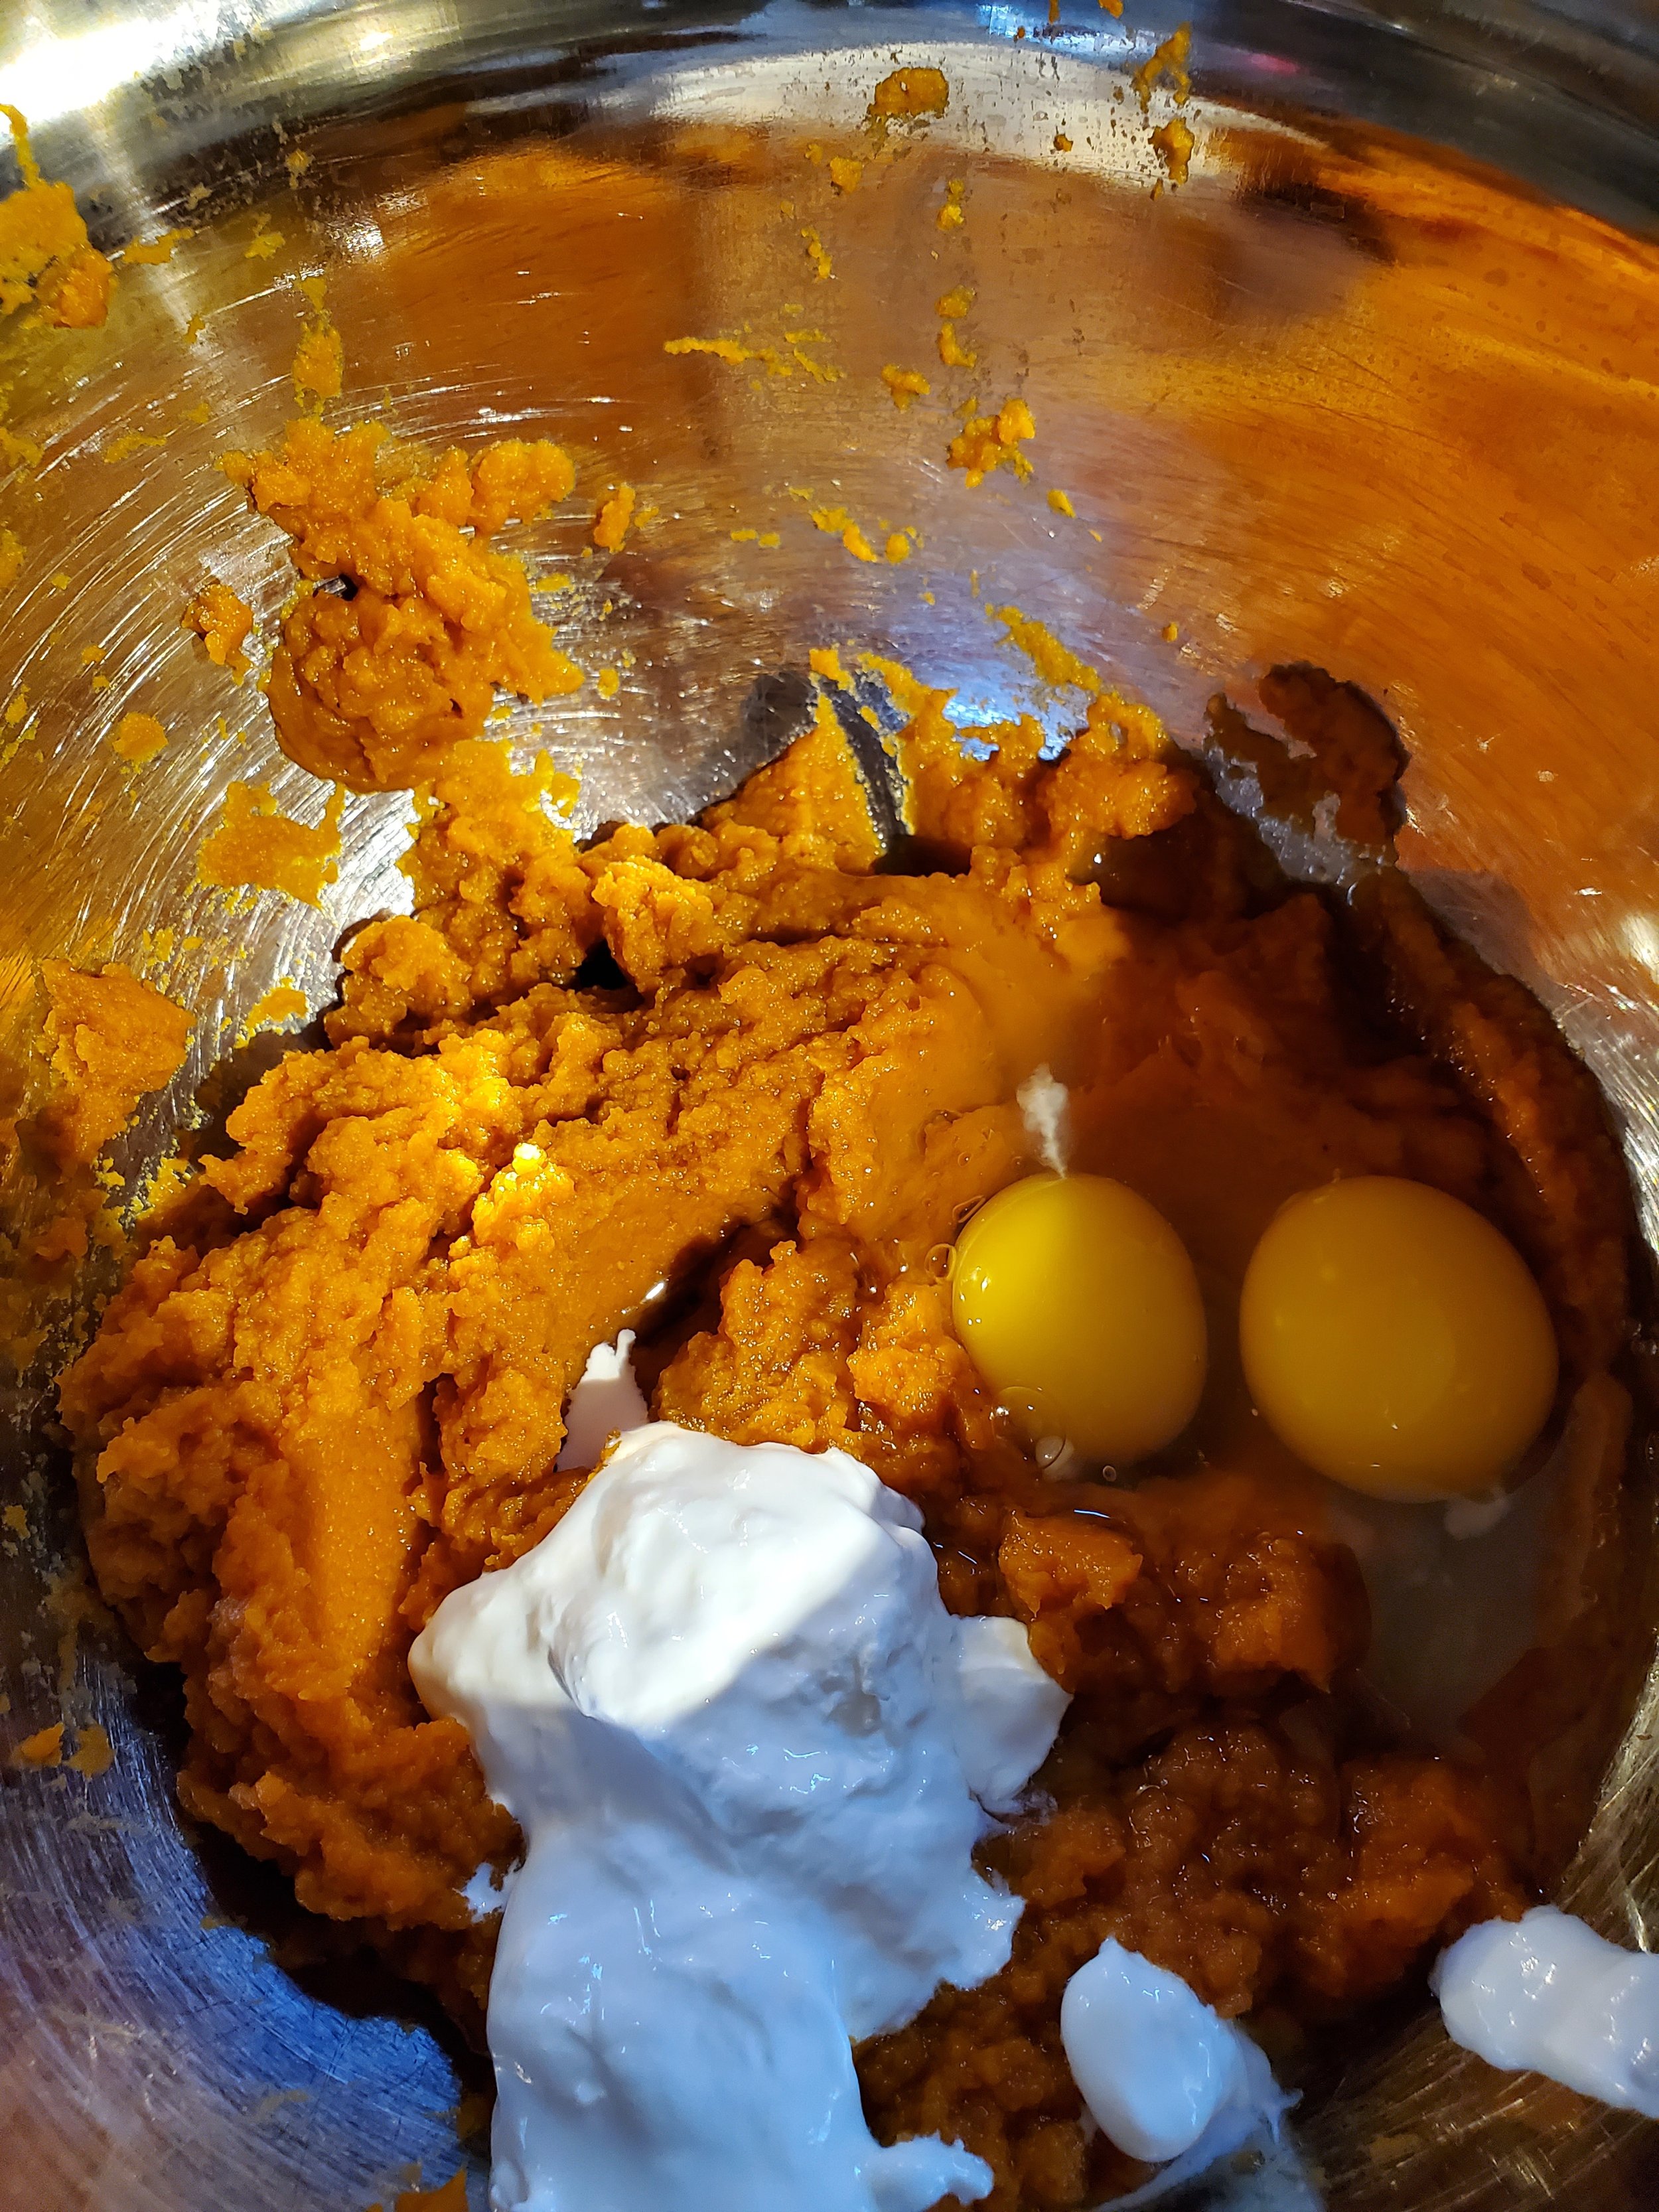
Begin with the can opener - go ahead and crack open the can of pumpkin. If you only have pumpkin pie filling on hand, you can sub half a 30-oz can of that, but keep in mind how much sweeter it will make the final result.


Dump the pumpkin into the mixing bowl (use a spoon to scrape the sides of the can to be certain you get all of it), then add the eggs and sour cream to the bowl and stir together, making sure to break the yolks on the eggs so they're properly incorporated.


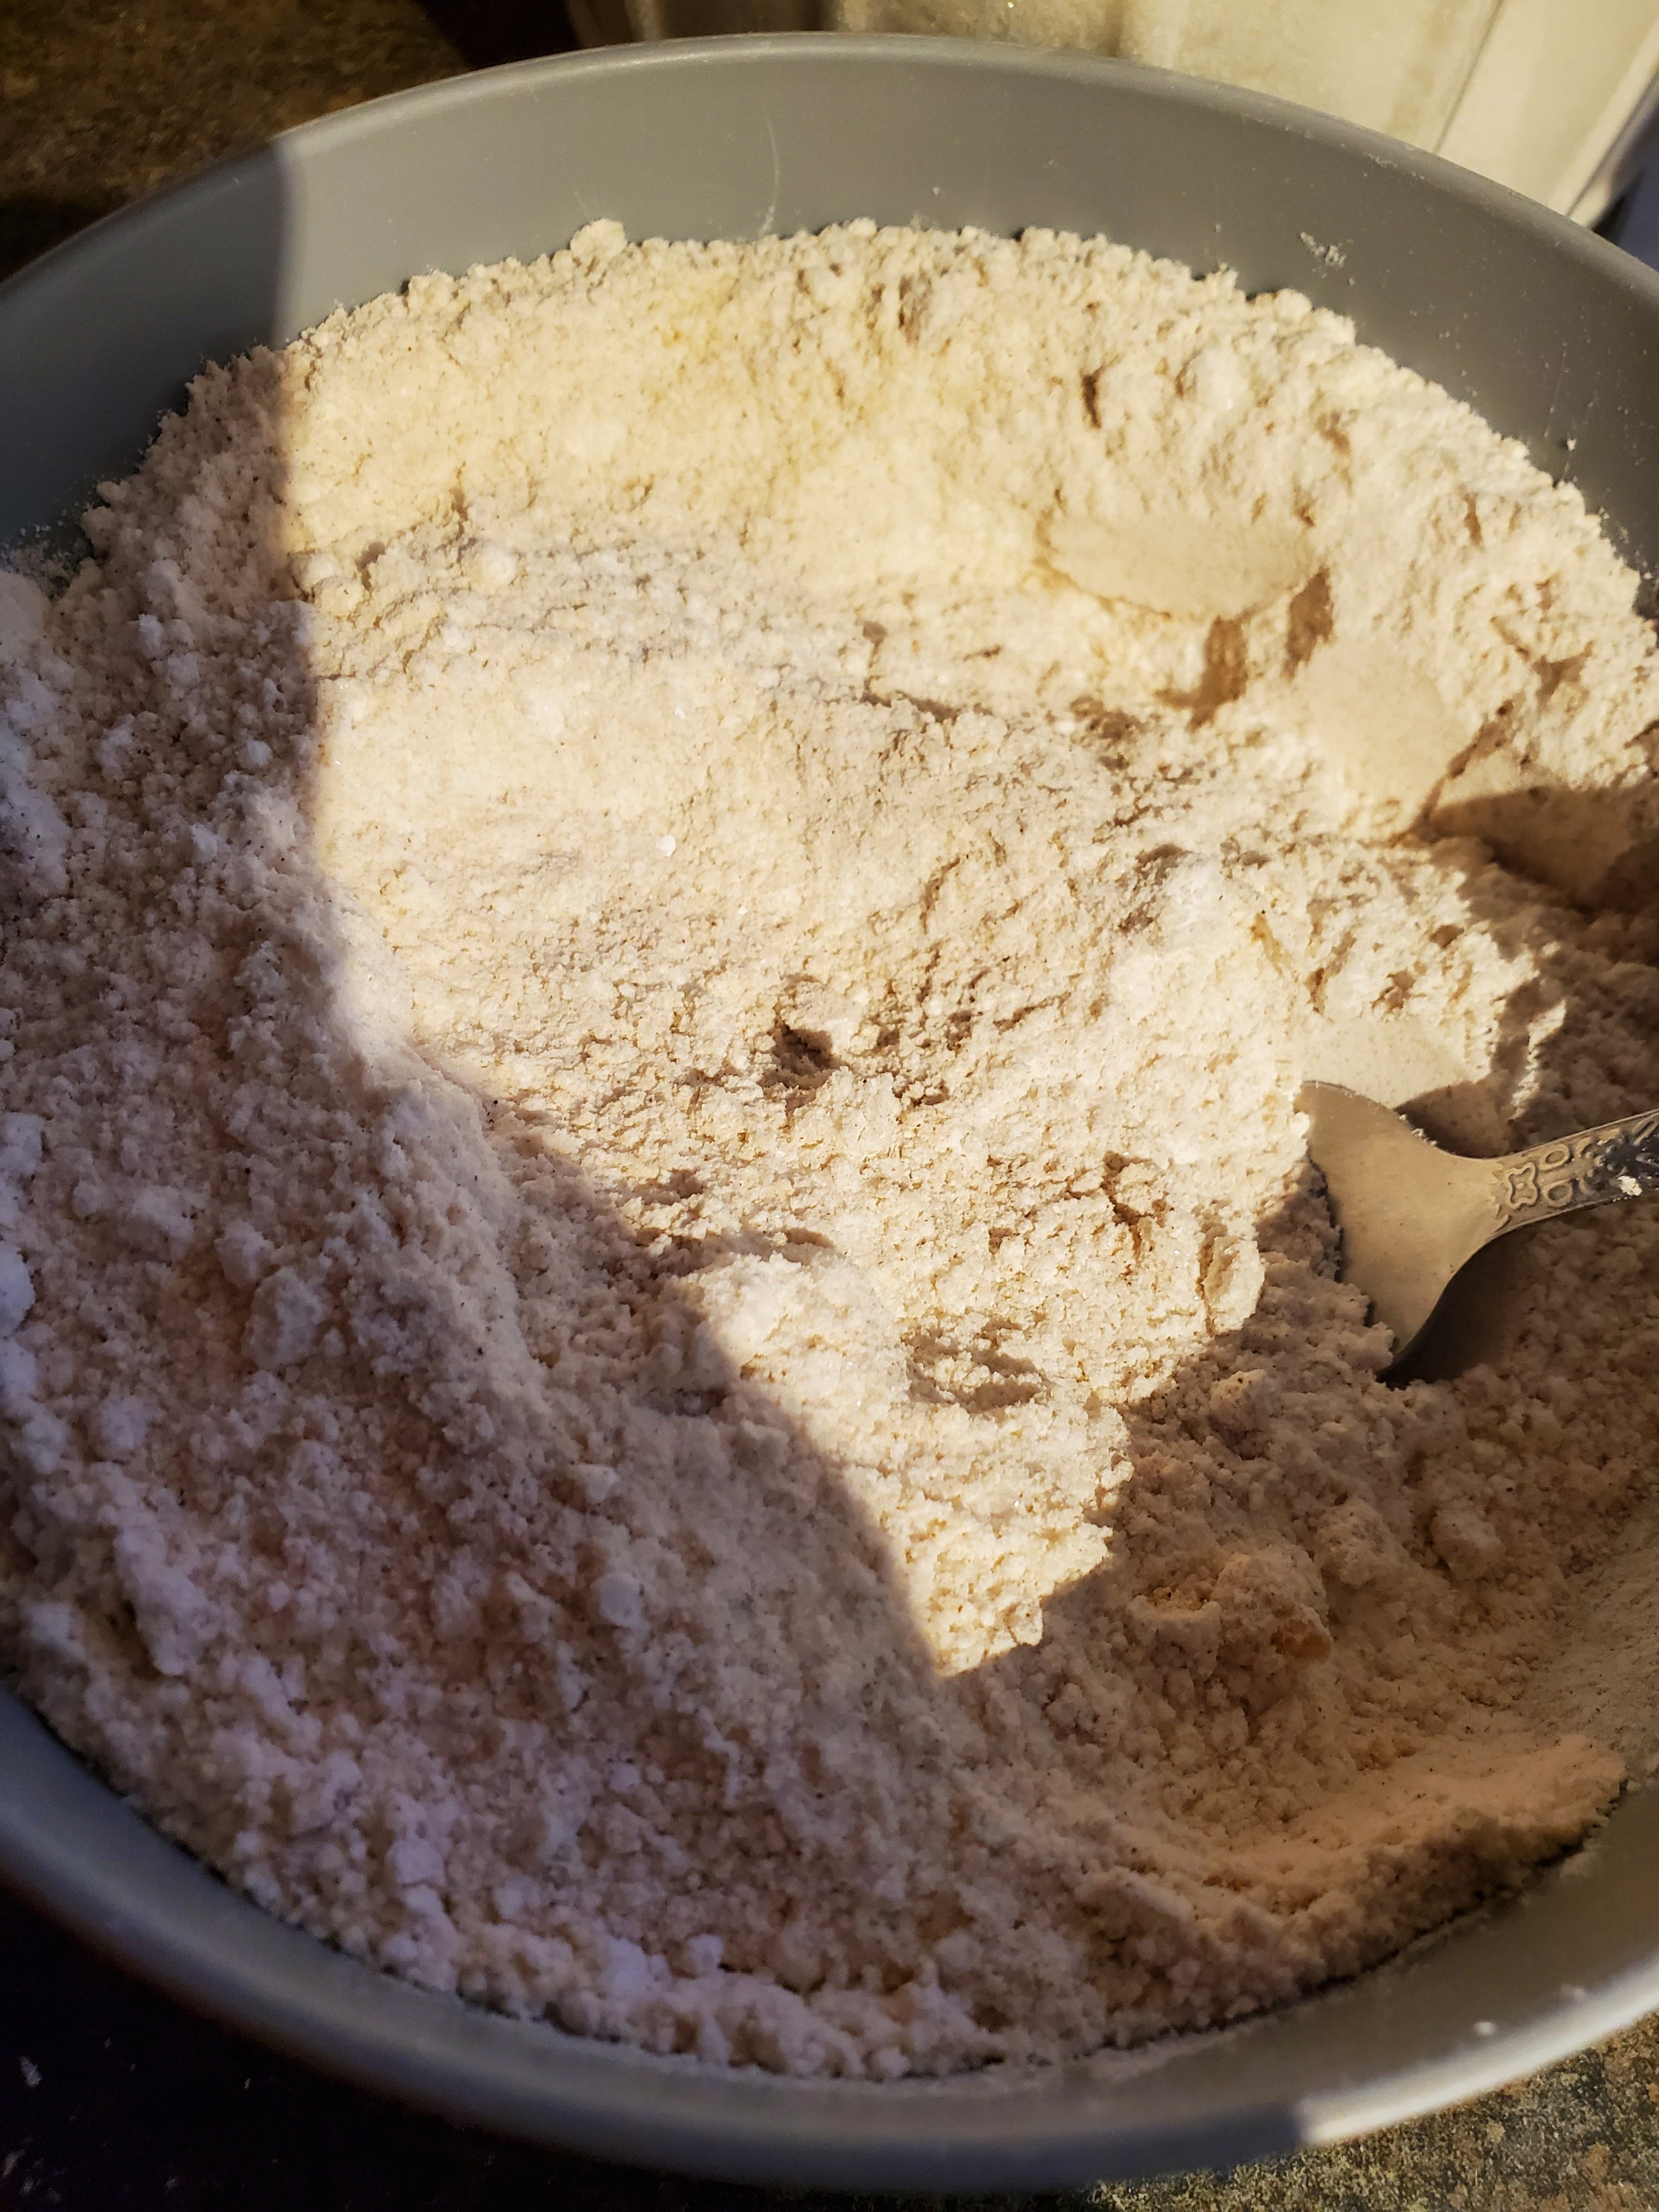
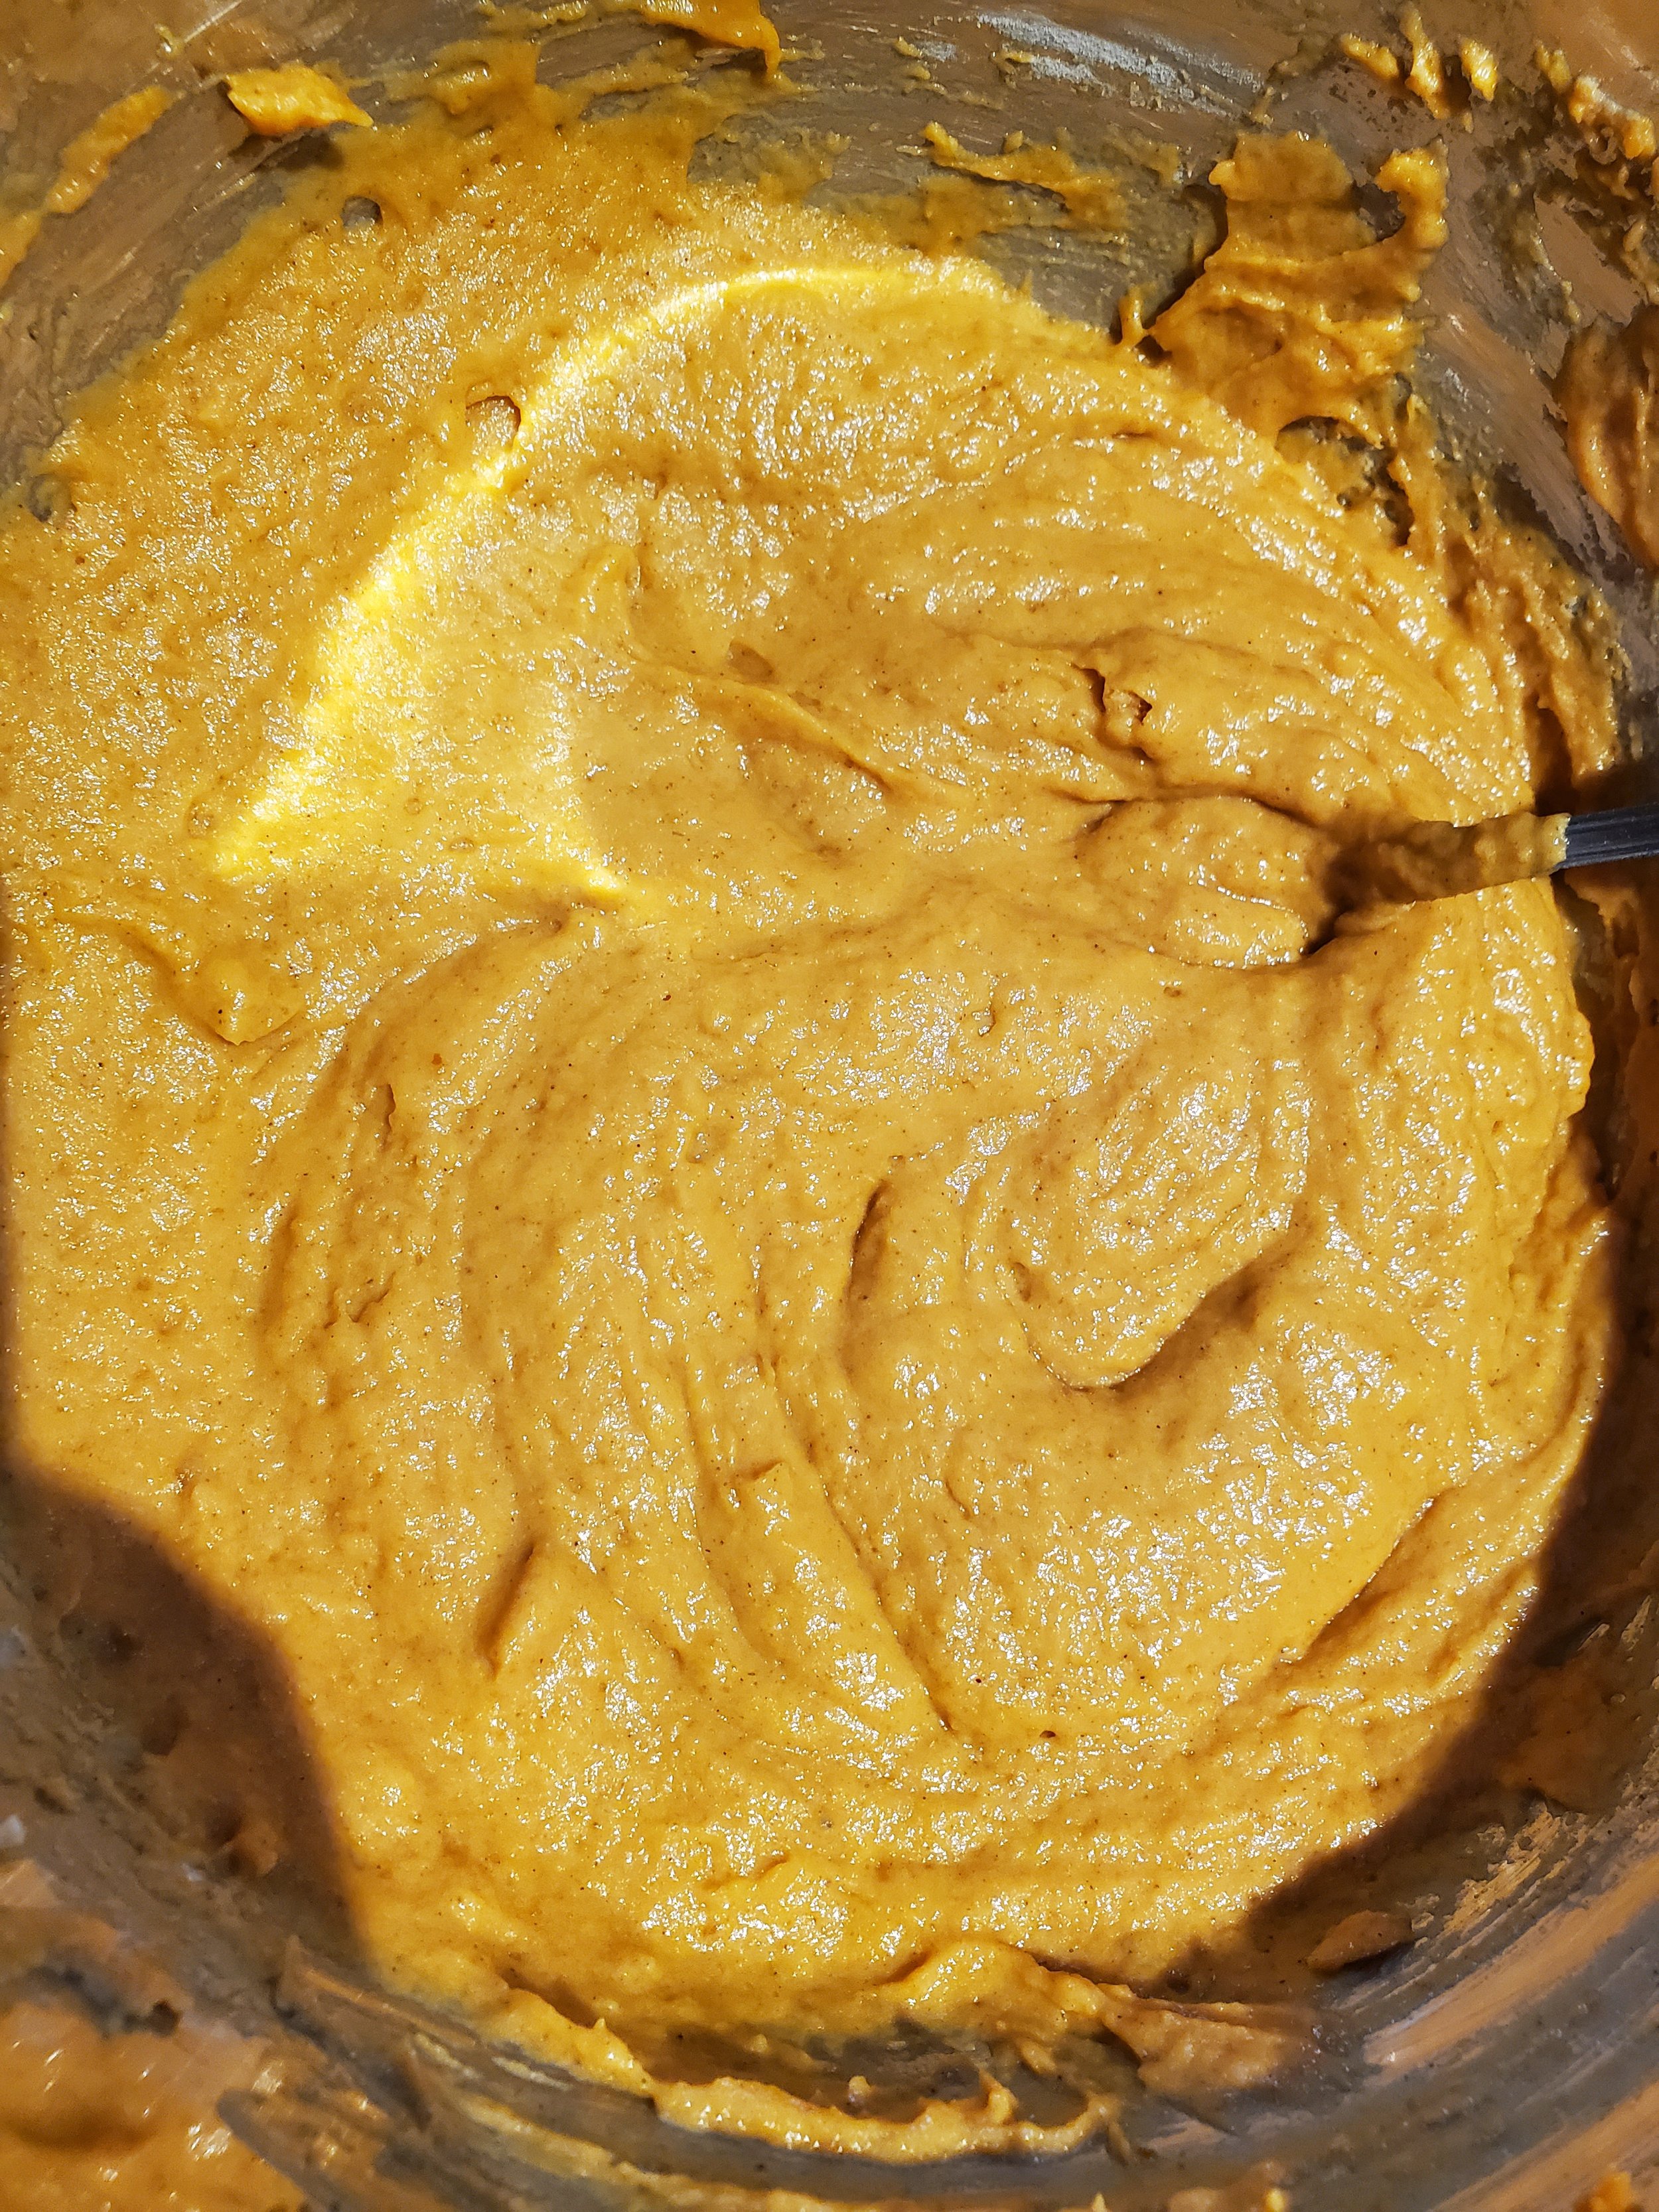
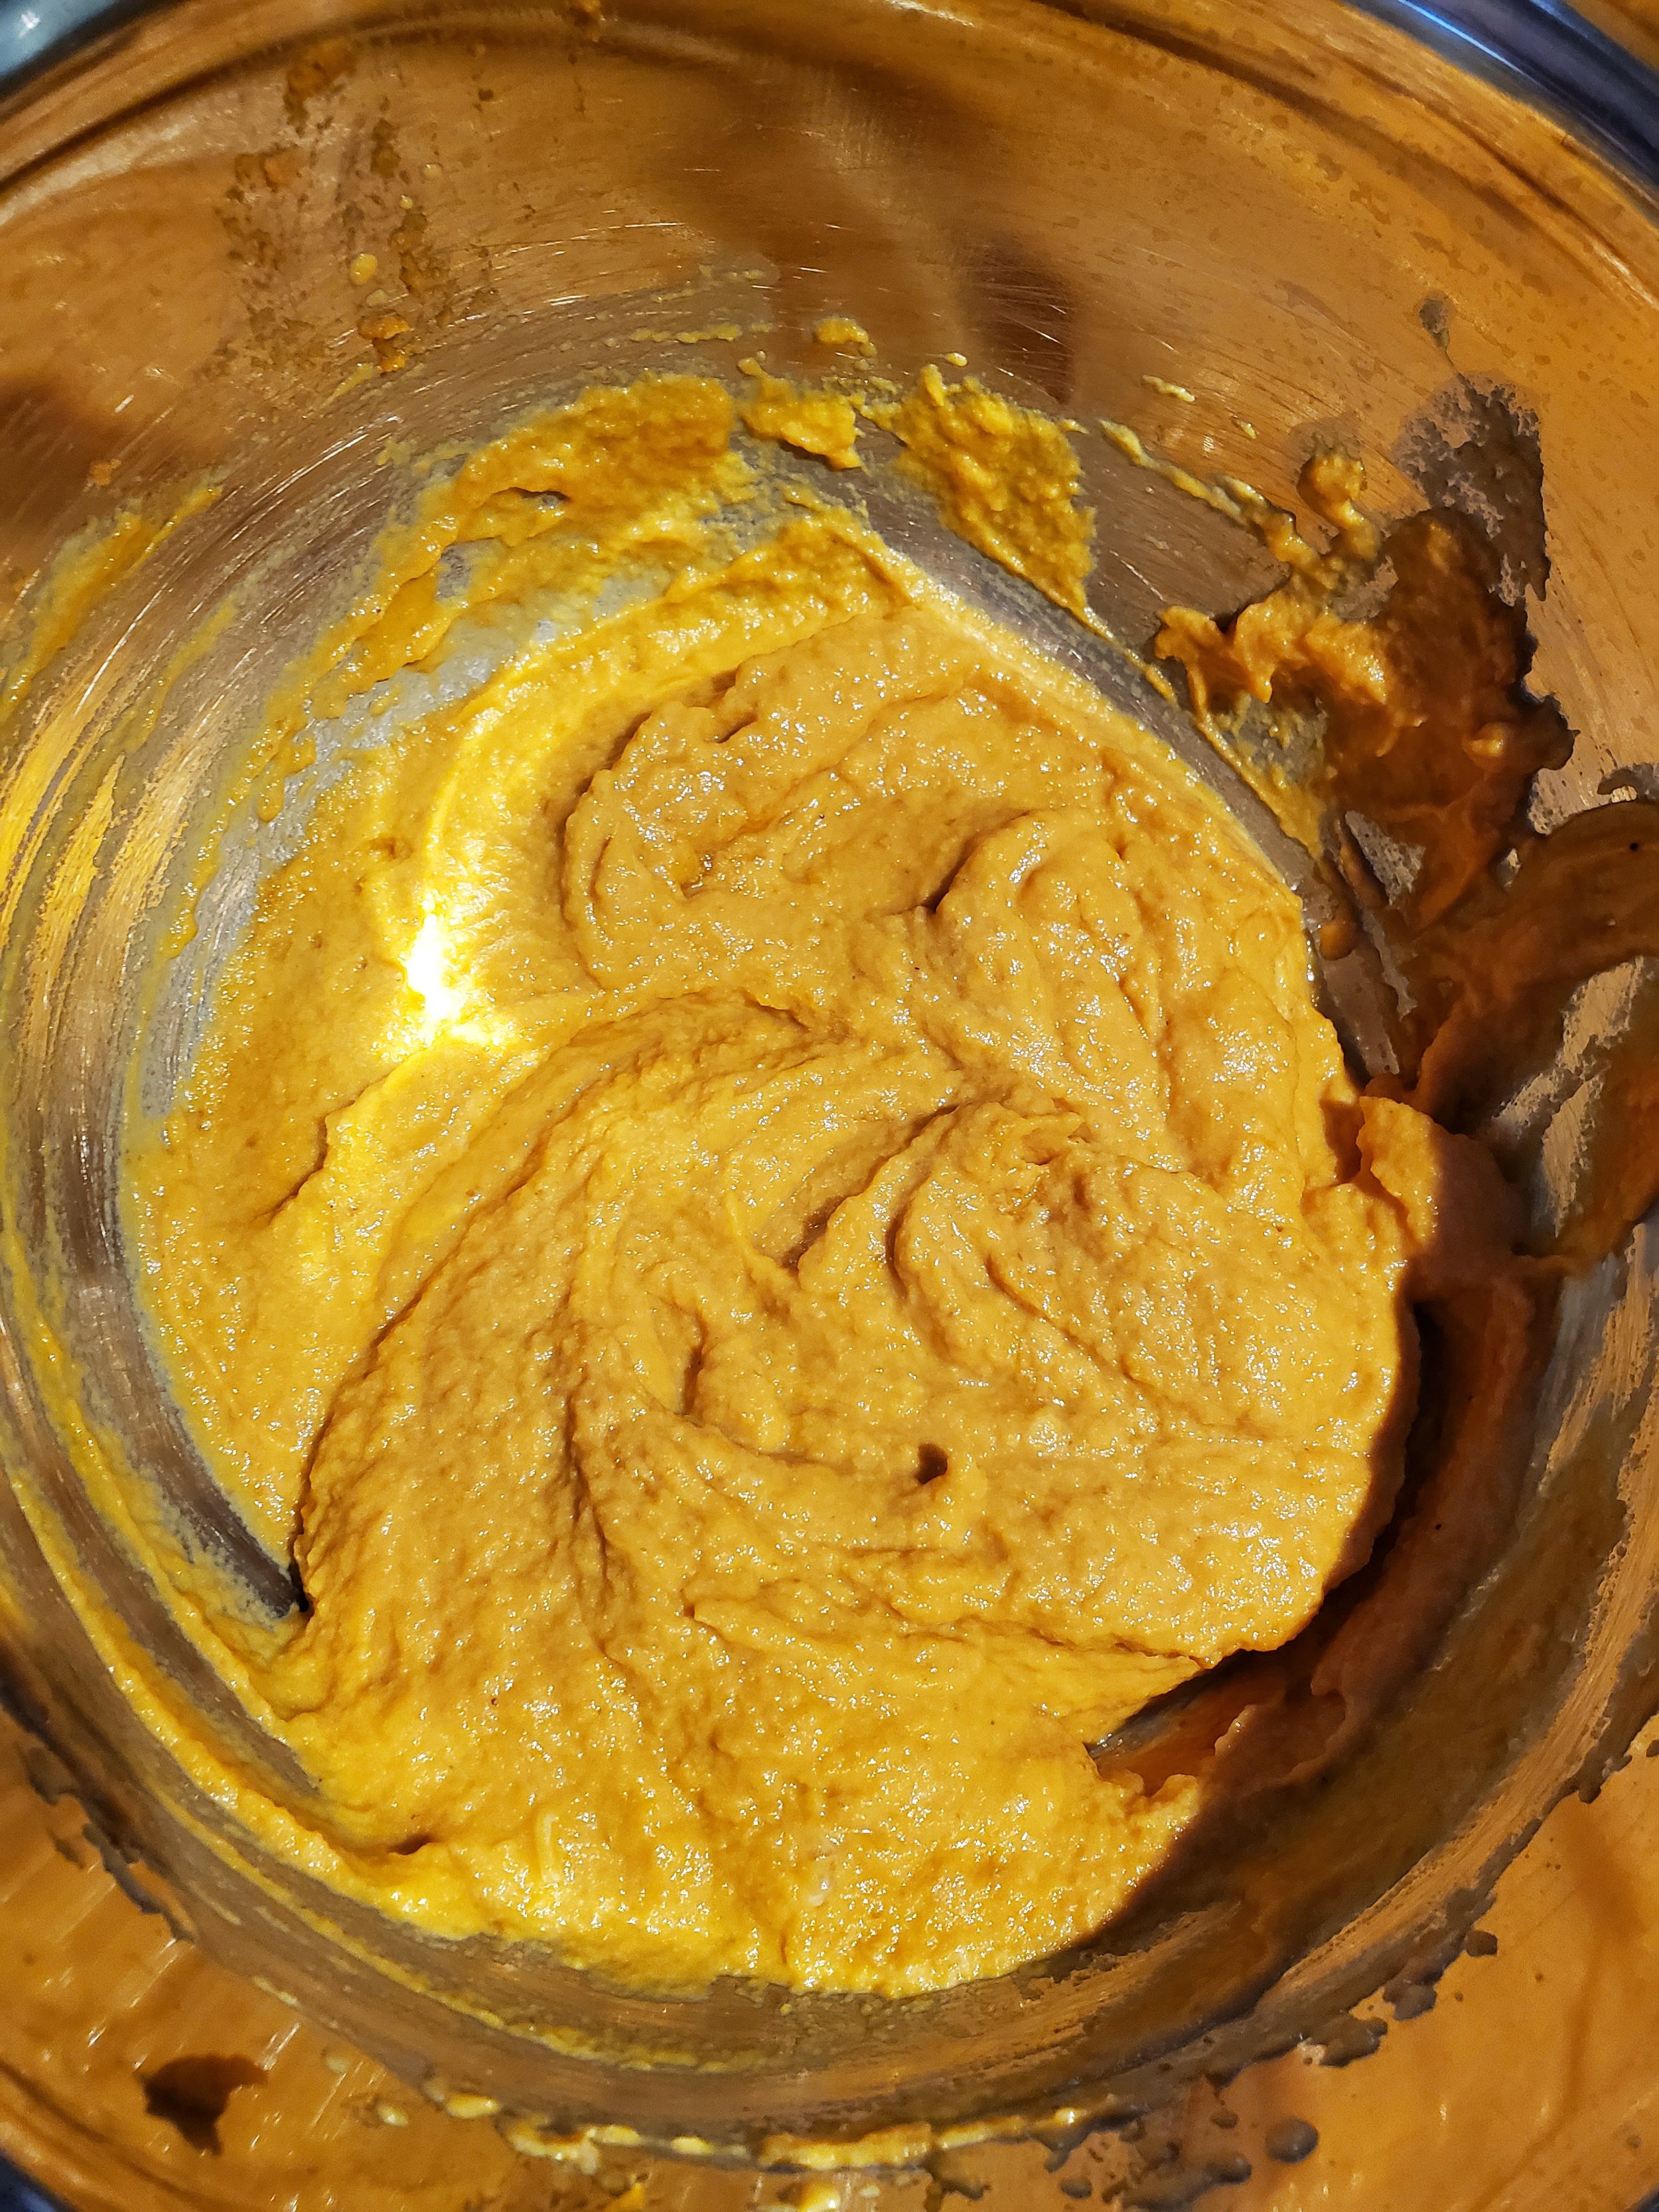
Measure your dry ingredients - sugars, flour, spices, salt, baking powder - into another dish and mix them up. Add the dry ingredients slowly to the wet ingredients, stirring as you go. Try to avoid ending up with any clumps here, but don't stir it to death. Overdoing it will cause the muffins to be rubbery.


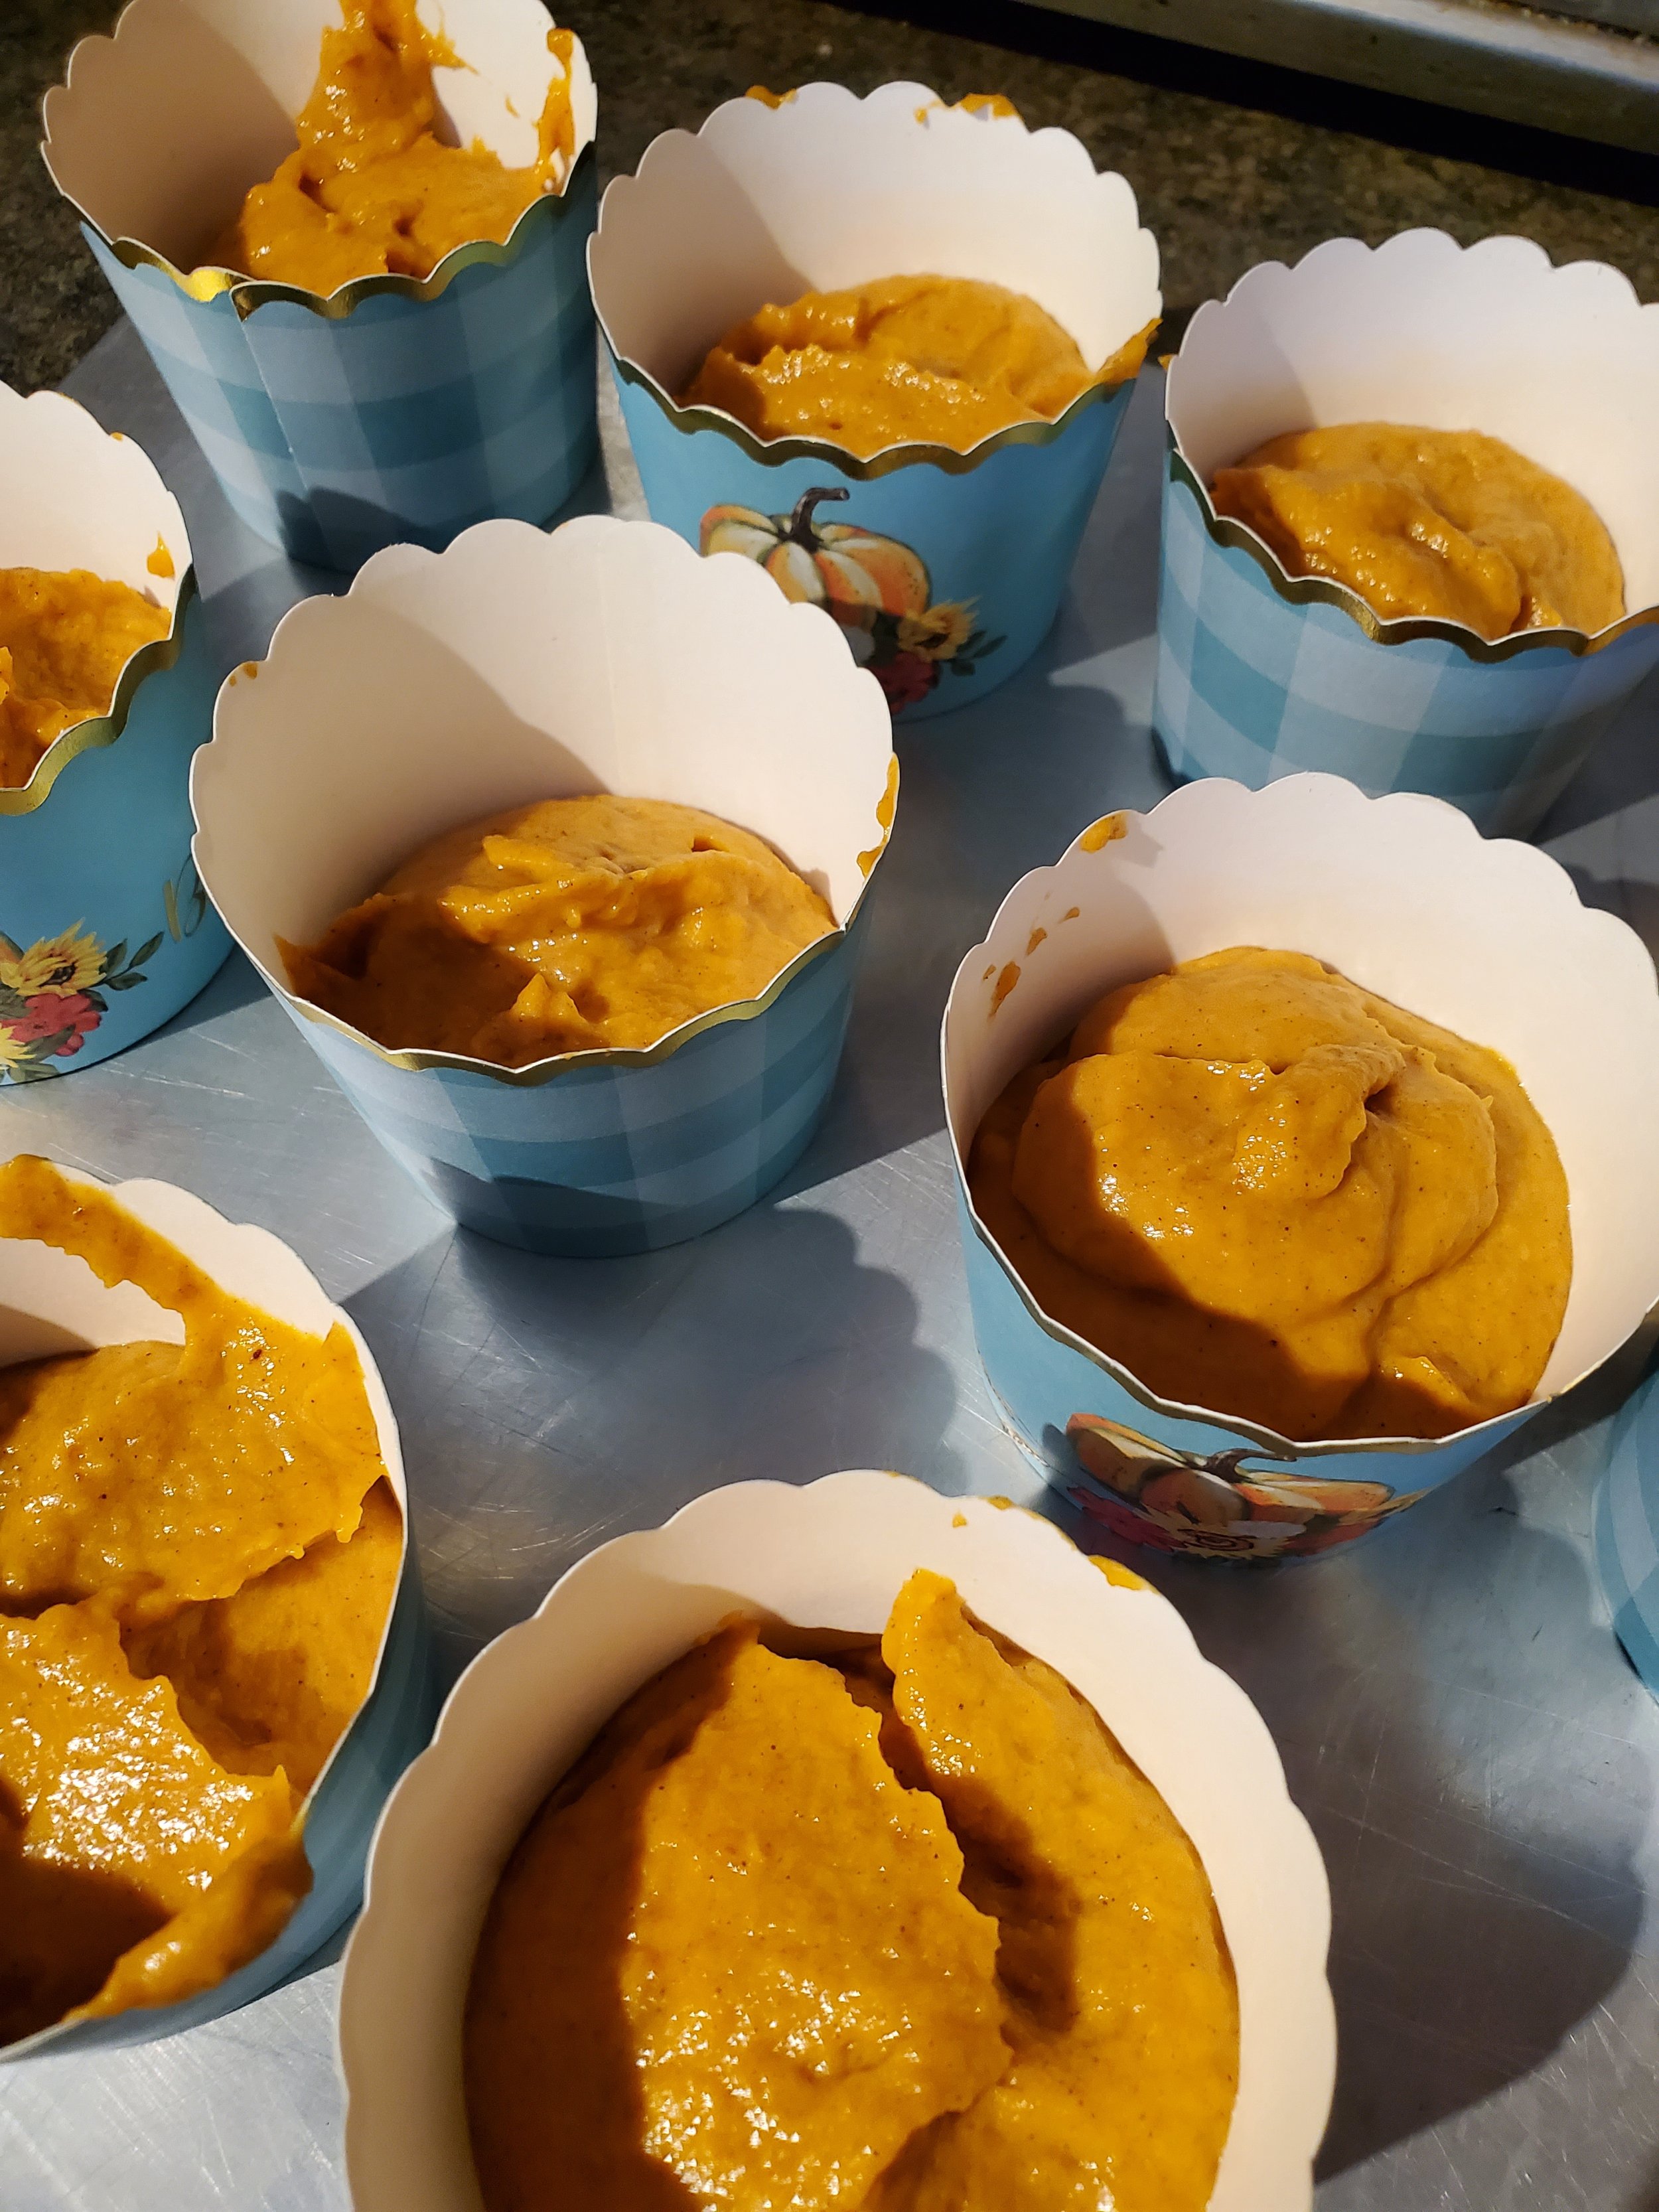
Once you've got the batter thoroughly mixed (but not overmixed), portion it out into your lined muffin tin or baking cups. We used baking cups on a sheet pan because these fall themed cups were just too cute to pass up! Don't worry too much about overfilling; these won't rise very much at all in the baking process.


Pop the muffins into the oven and set a timer for 25 minutes. 


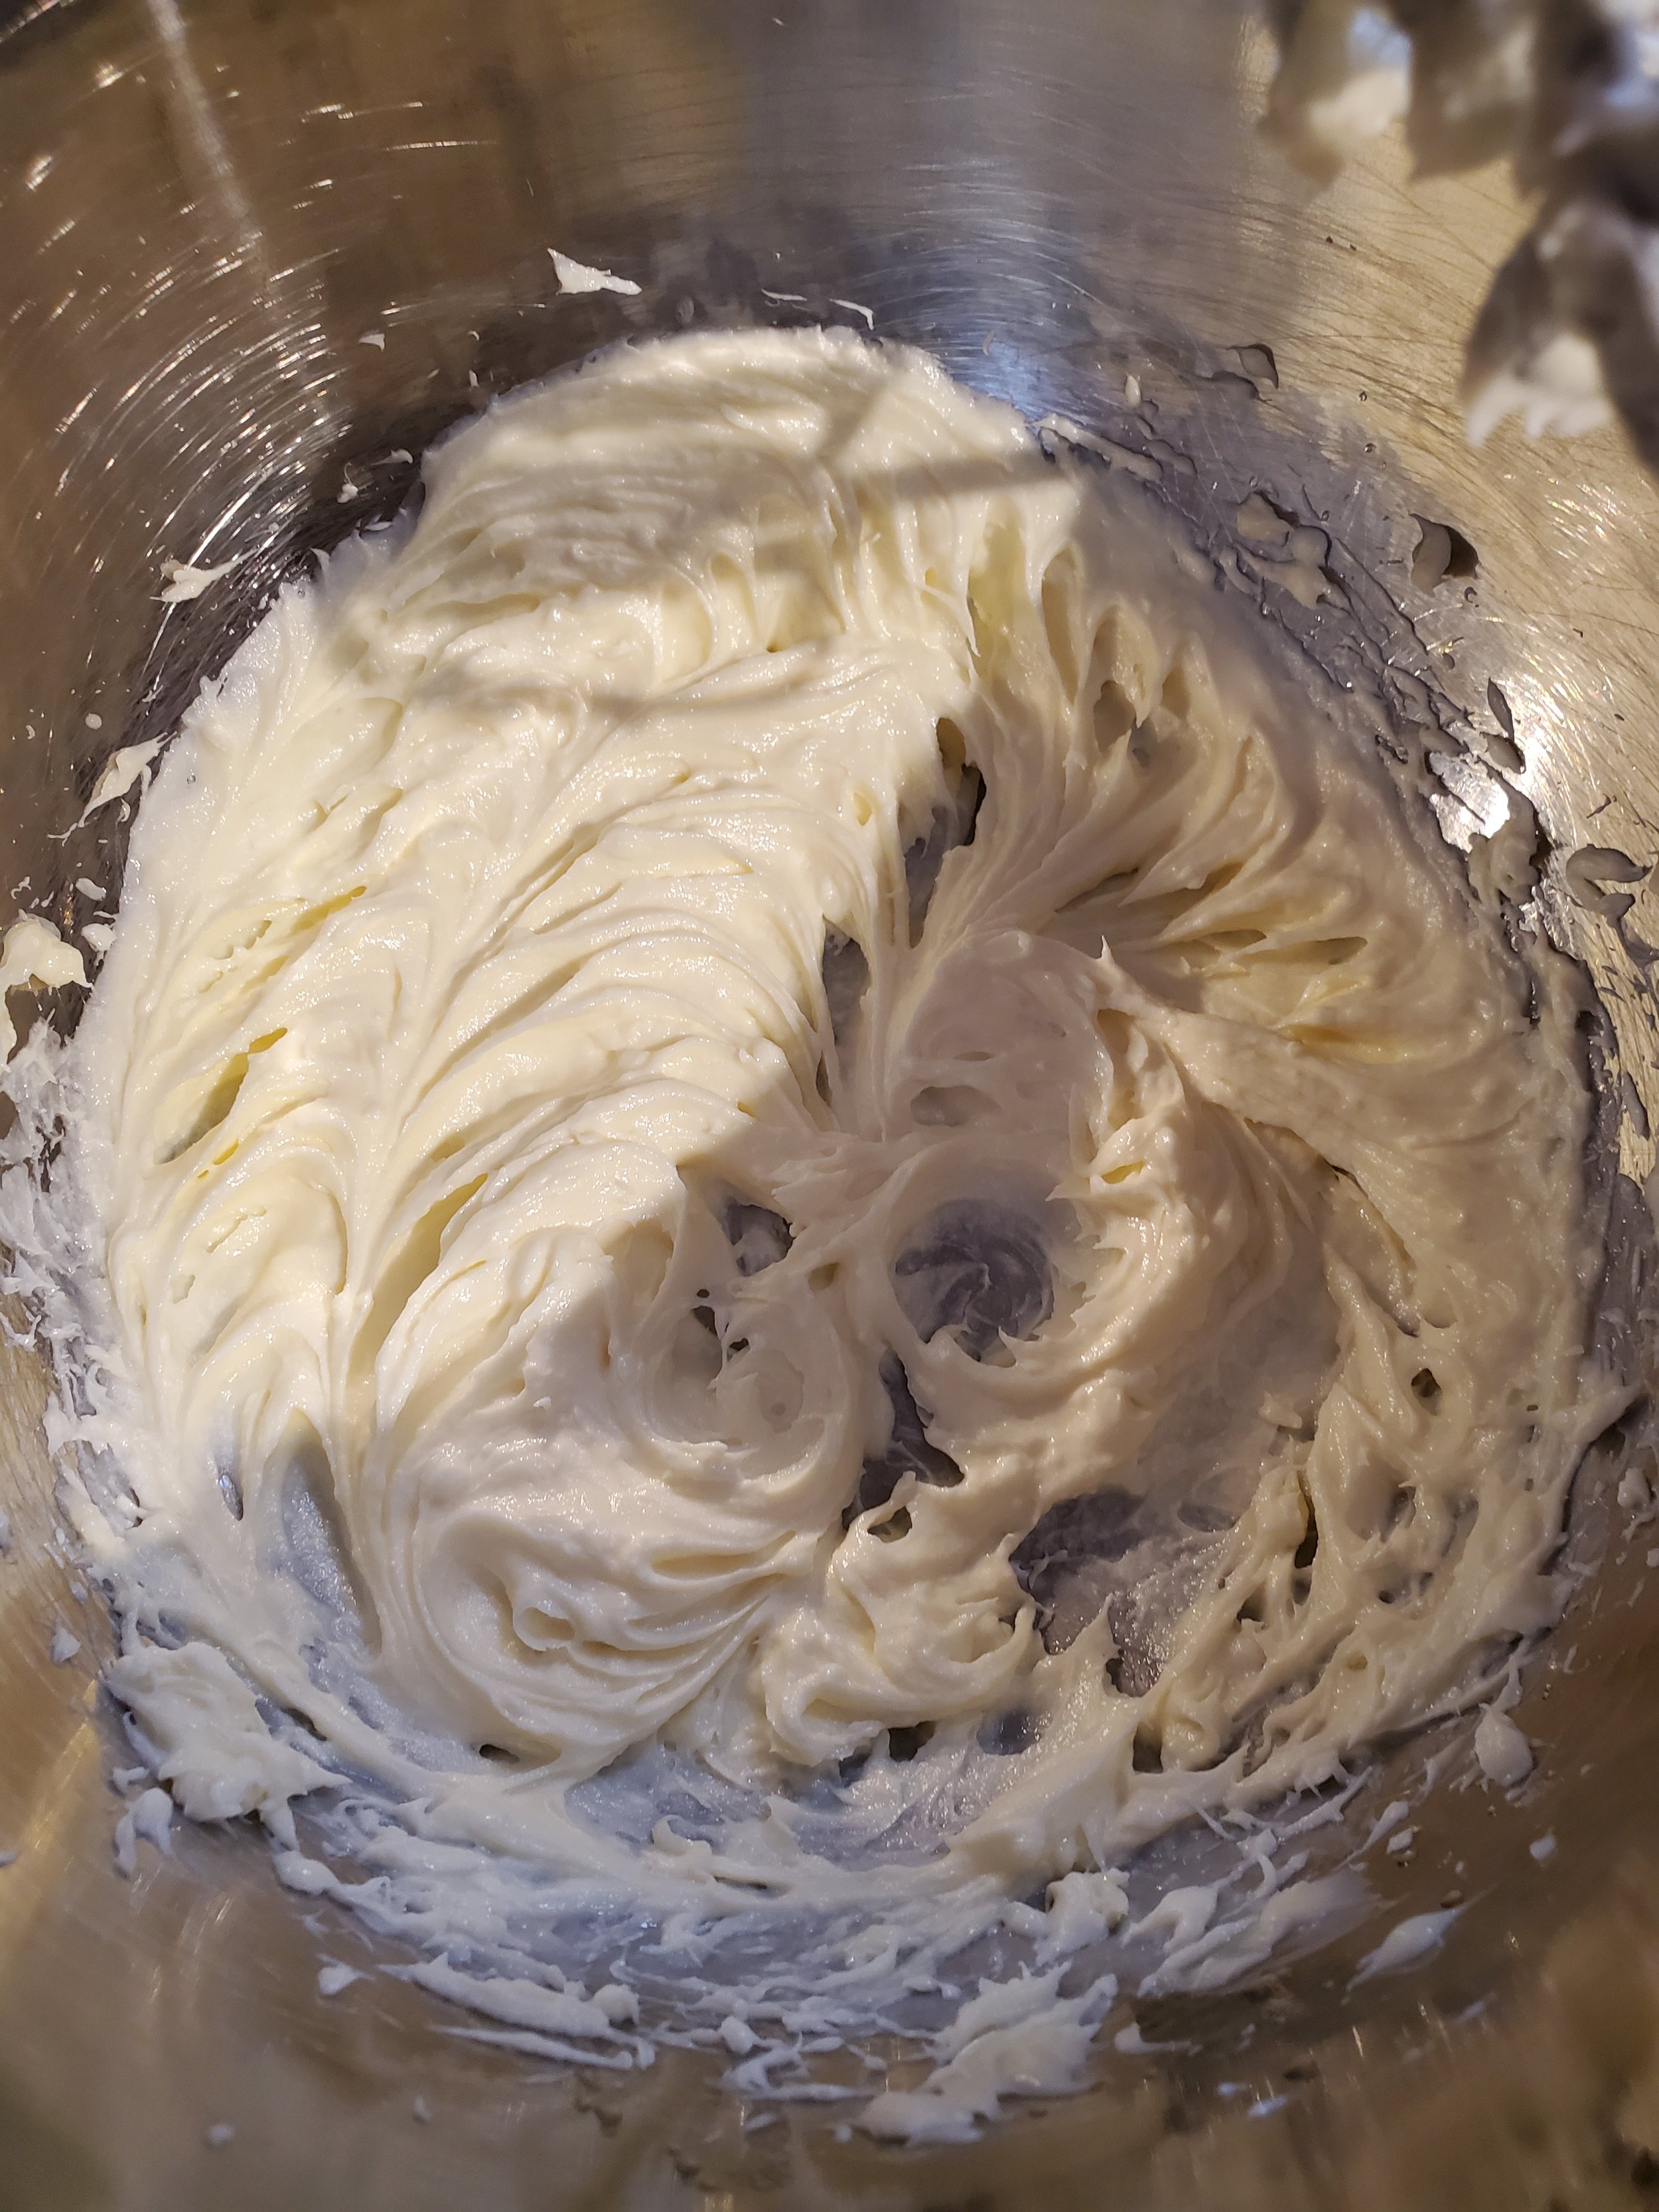
Take a clean mixing bowl and put your softened butter and cream cheese into it, and put the beaters into your mixer. We used a hand mixer, mostly because it would have taken much longer to get the stand mixer out and ready.


Whip the butter and the cream cheese on at least medium speed until it's all fluffy.


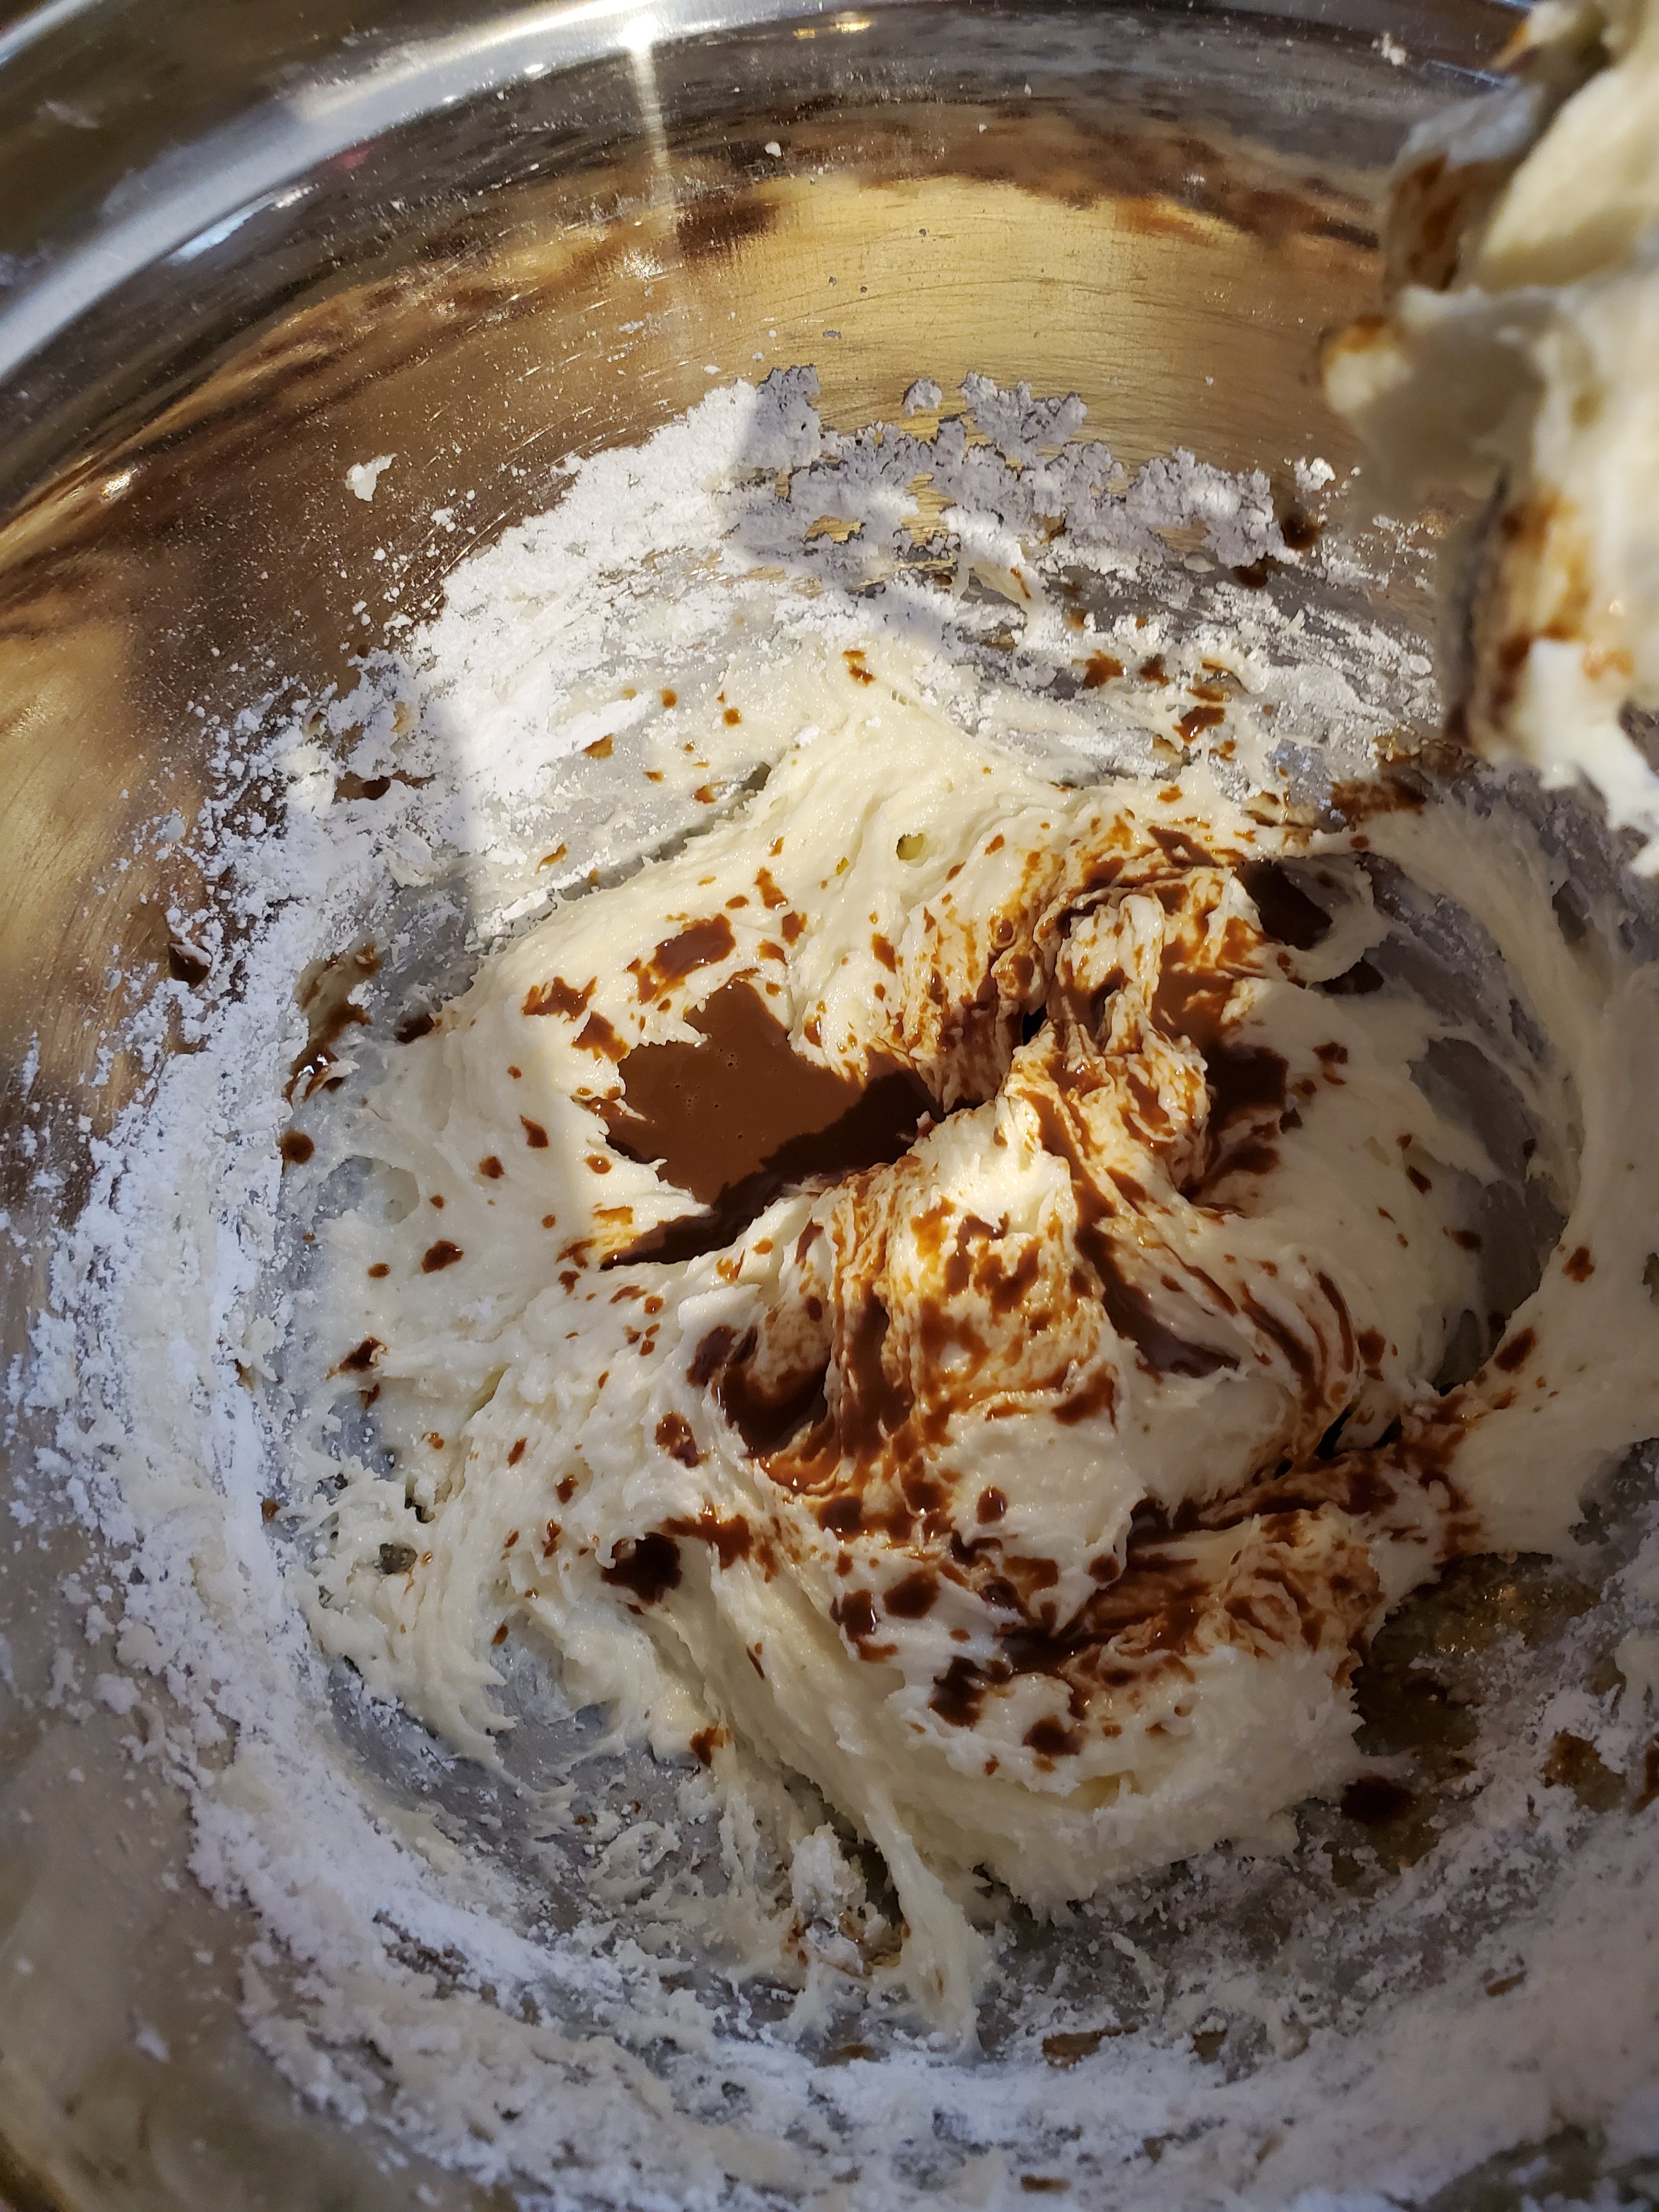
With the mixer on, add the powdered sugar slowly. A second set of hands helps here. If you have a little helper you don't mind getting a smidge messy, feel free to recruit them. You don't have to get the powdered sugar fully incorporated at this stage. The goal here is just to get it into the bowl and start combining it with the butter and cream cheese.


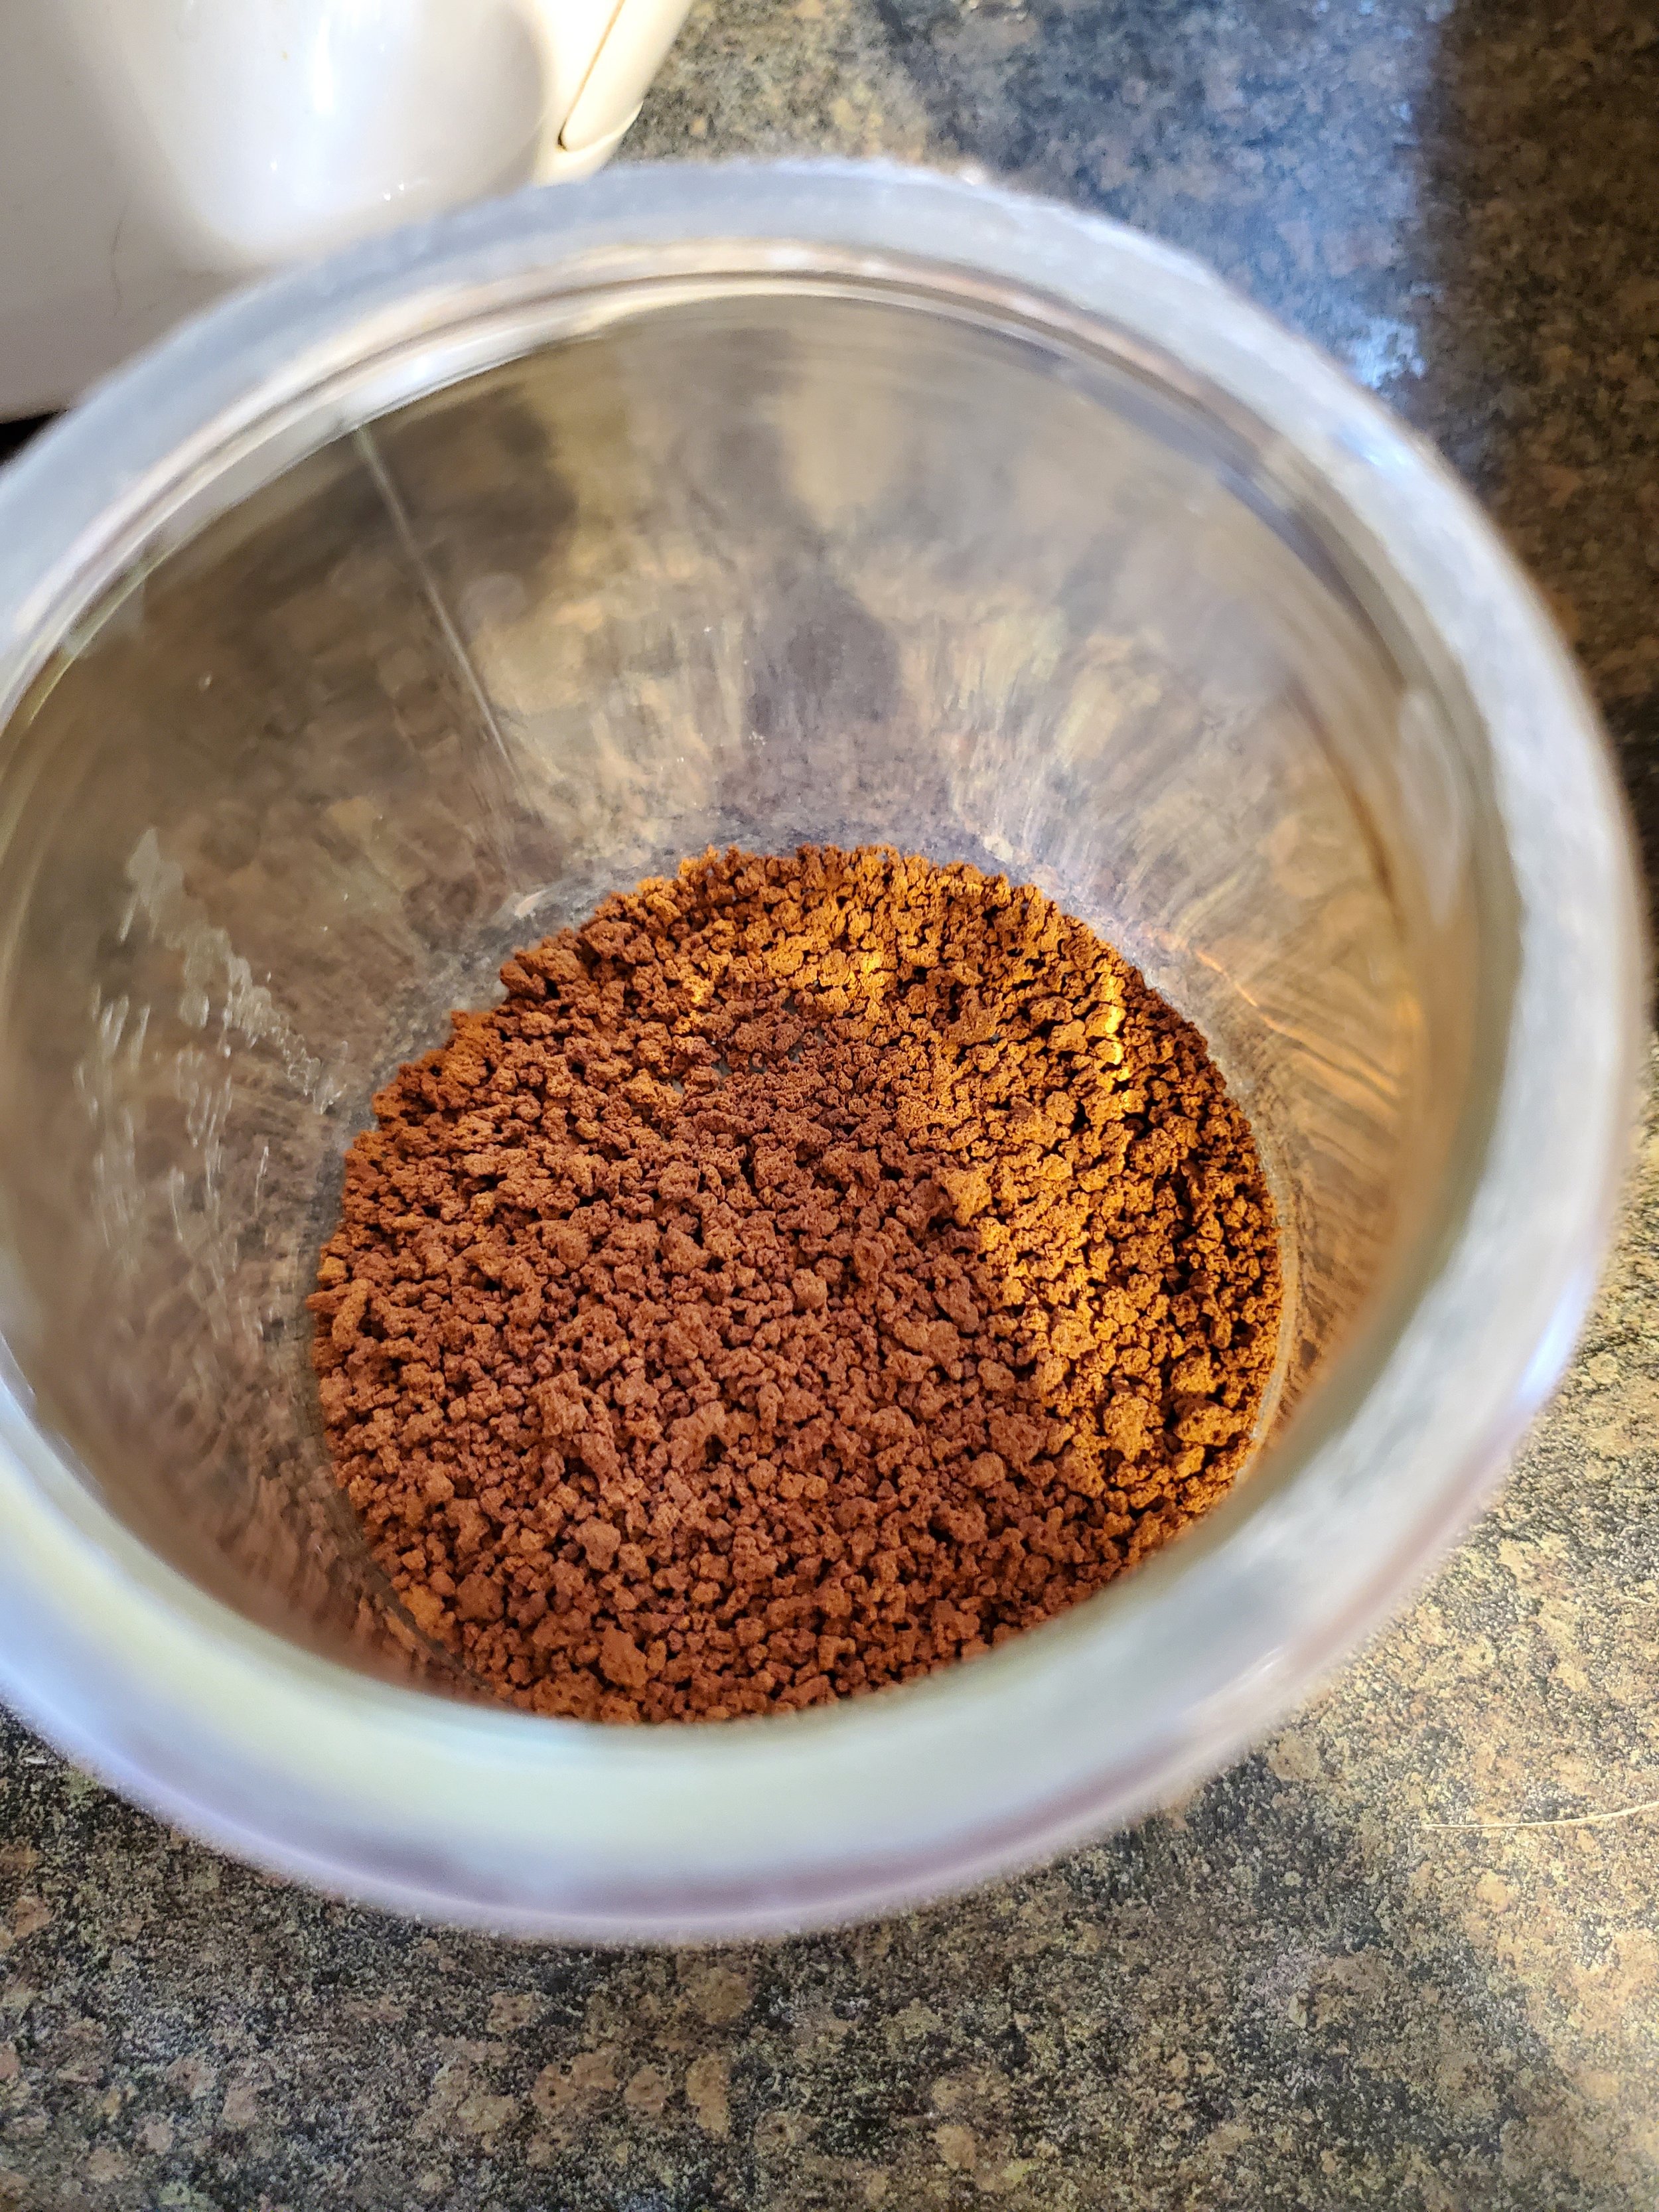
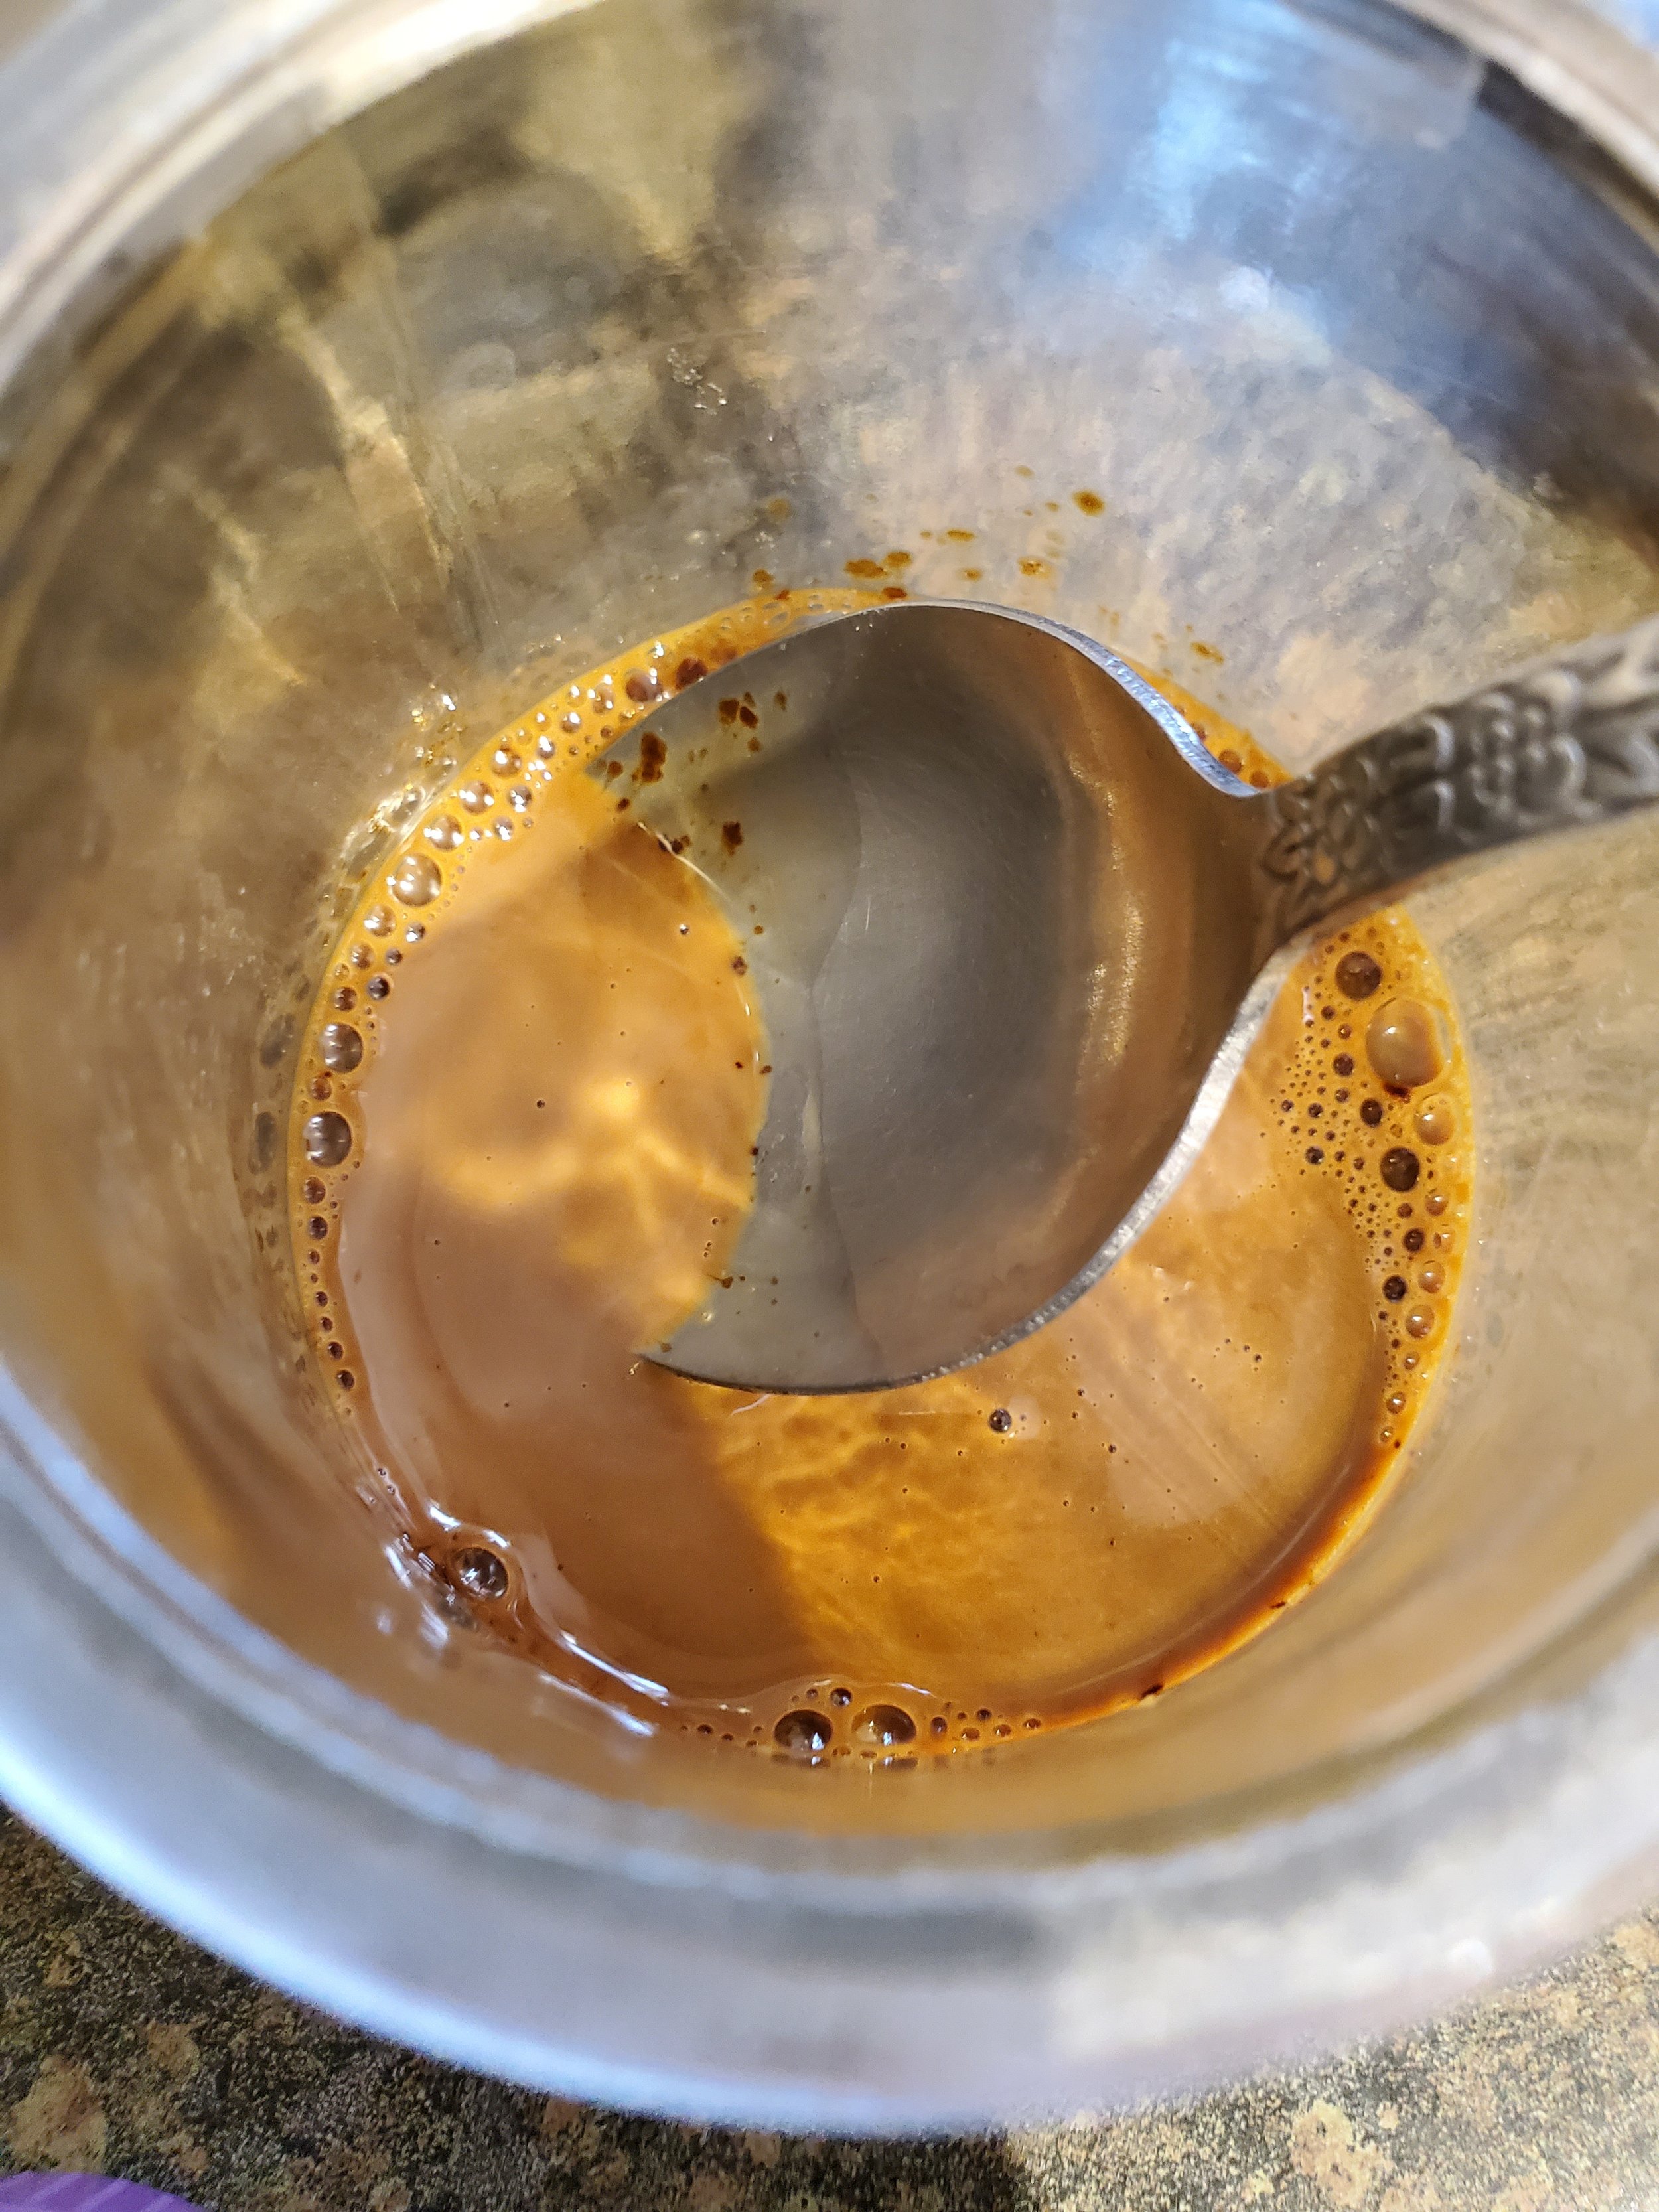
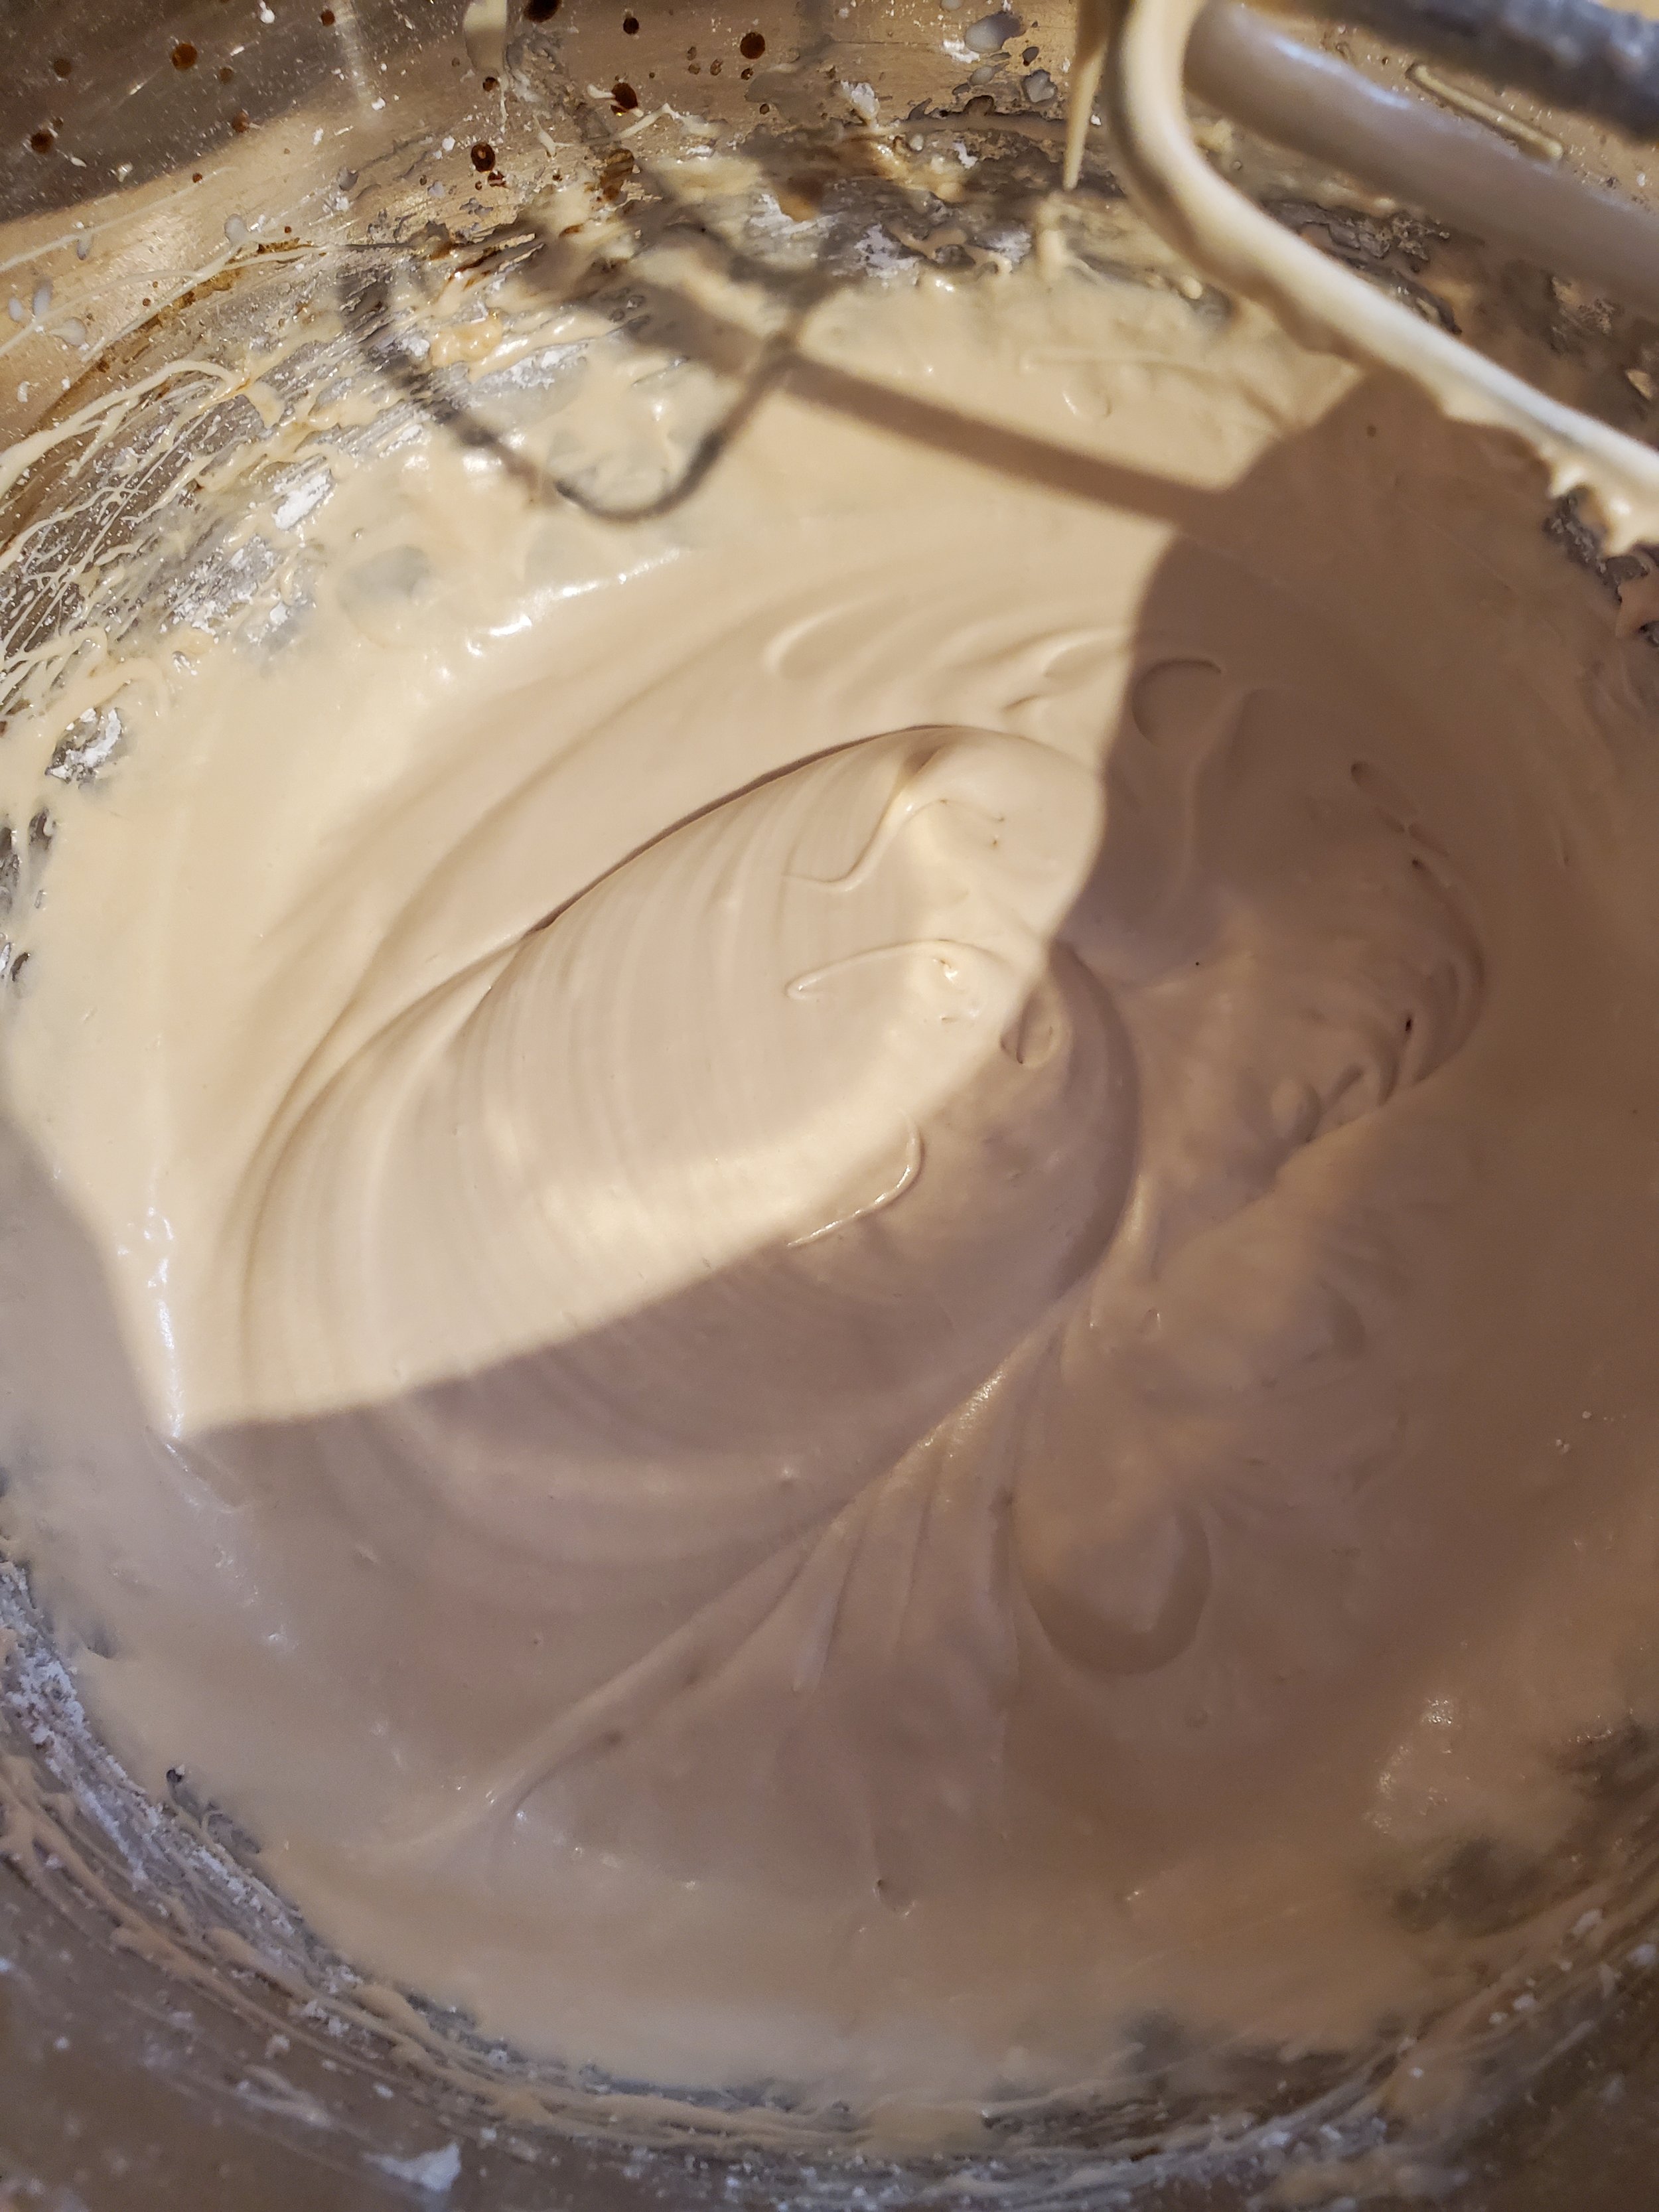
In a shallow dish (or repurposed yogurt container if you're us), dissolve your instant coffee granules in the little bit of milk you've measured out. It shouldn't take much stirring. Once it's all one color and you've minimized the amount of sunken coffee bits, pour the mixture into the cream cheese/butter/sugar dish and turn the mixer back on. Mix thoroughly, until the whole thing is one color.


By now your muffins should be coming out of the oven. It'll be too soon to frost them (they're much too hot), so set them aside to cool and tuck your frosting into the fridge until they're ready.


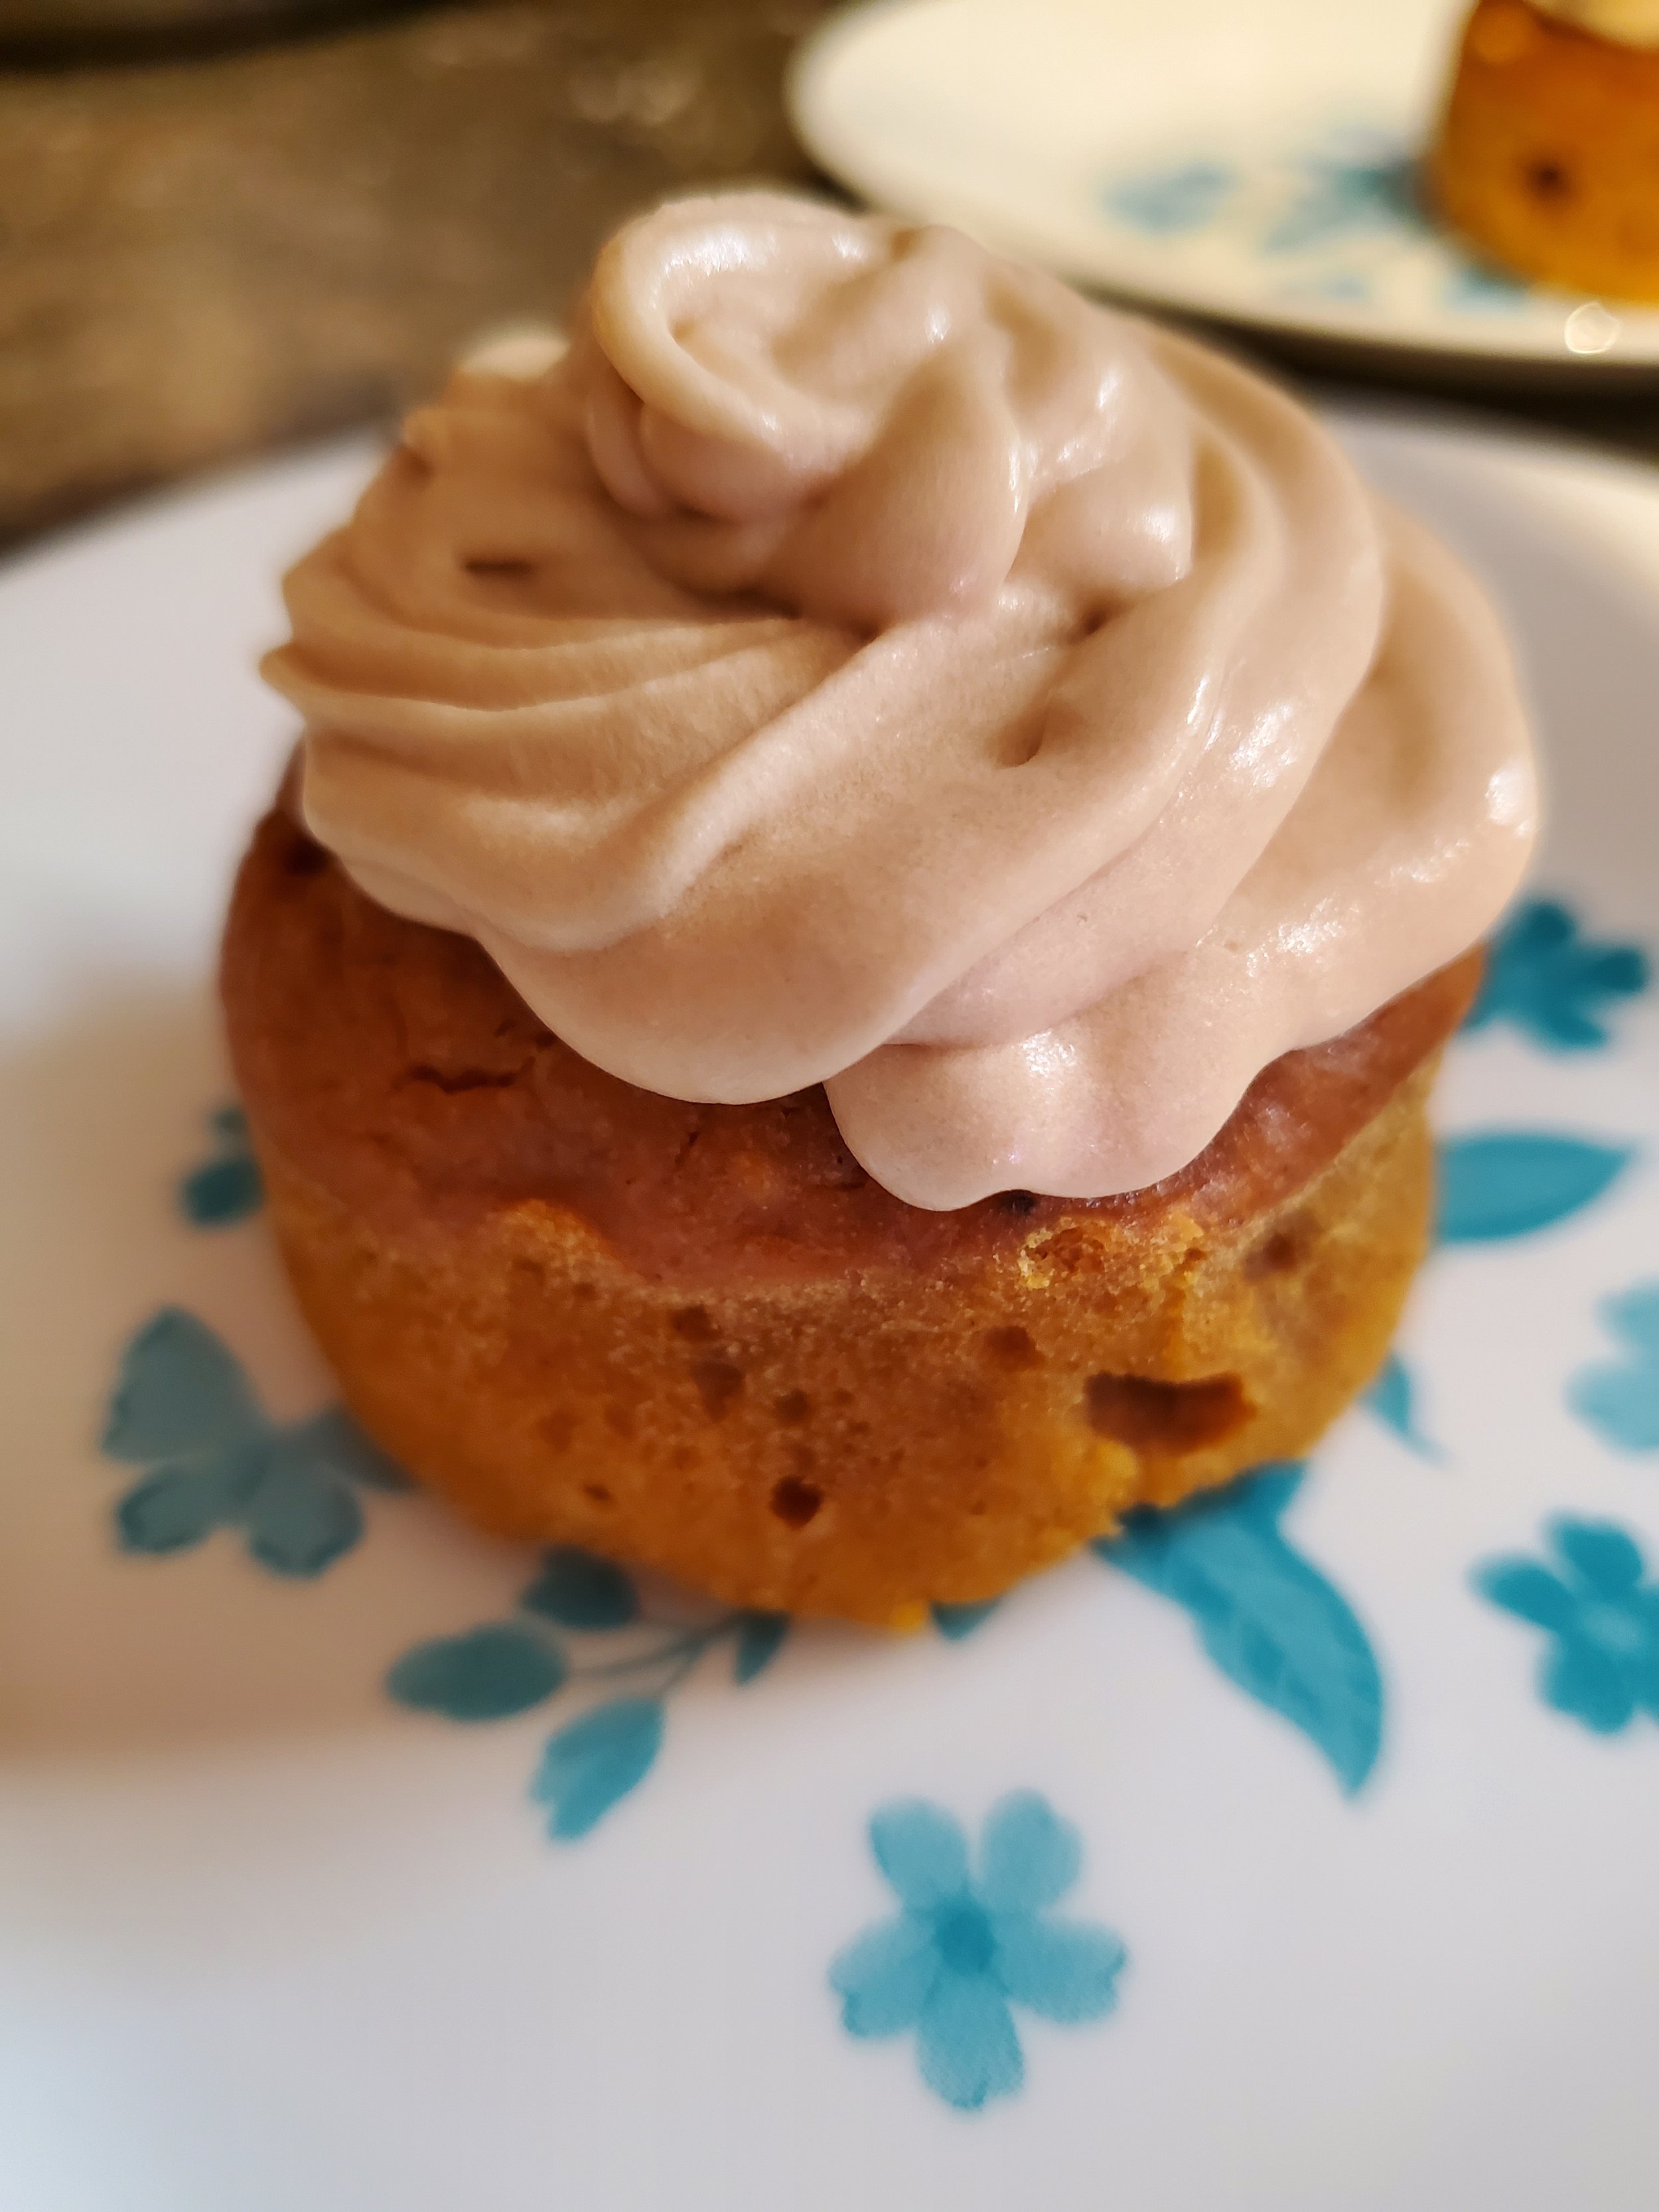
Once the muffins are cooled, pull the frosting back out of the fridge and put your dessert together.


If you're feeling fancy, you can break out a pastry bag and tip and get ready to pipe the frosting. But we swear, it still tastes just as good if all you do is take a spoon or flexible spatula and drop a dollop on top of each muffin.


Enjoy after dinner with a big cup of coffee.


As the aroma of freshly baked pumpkin muffins fills your kitchen, remember that Appliance Rescue Service is here to ensure your cooking experiences are always seamless. Share your baking success on our Facebook page and take a moment to reach out to us at (214) 599-0055 or our website, for any appliance needs. Whether it's repairing a freezer or running routine maintenance on your oven, we're dedicated to keeping your kitchen running smoothly. Treat yourself to these delightful muffins and elevate your fall baking game with a touch of caffeinated comfort. Enjoy this flavorful creation with a steaming cup of coffee and savor the season's joys in every bite.


Additional Reading 

Easy No-Cook Not Quite a Cannoli 

Chocolate Raspberry Thumbprints


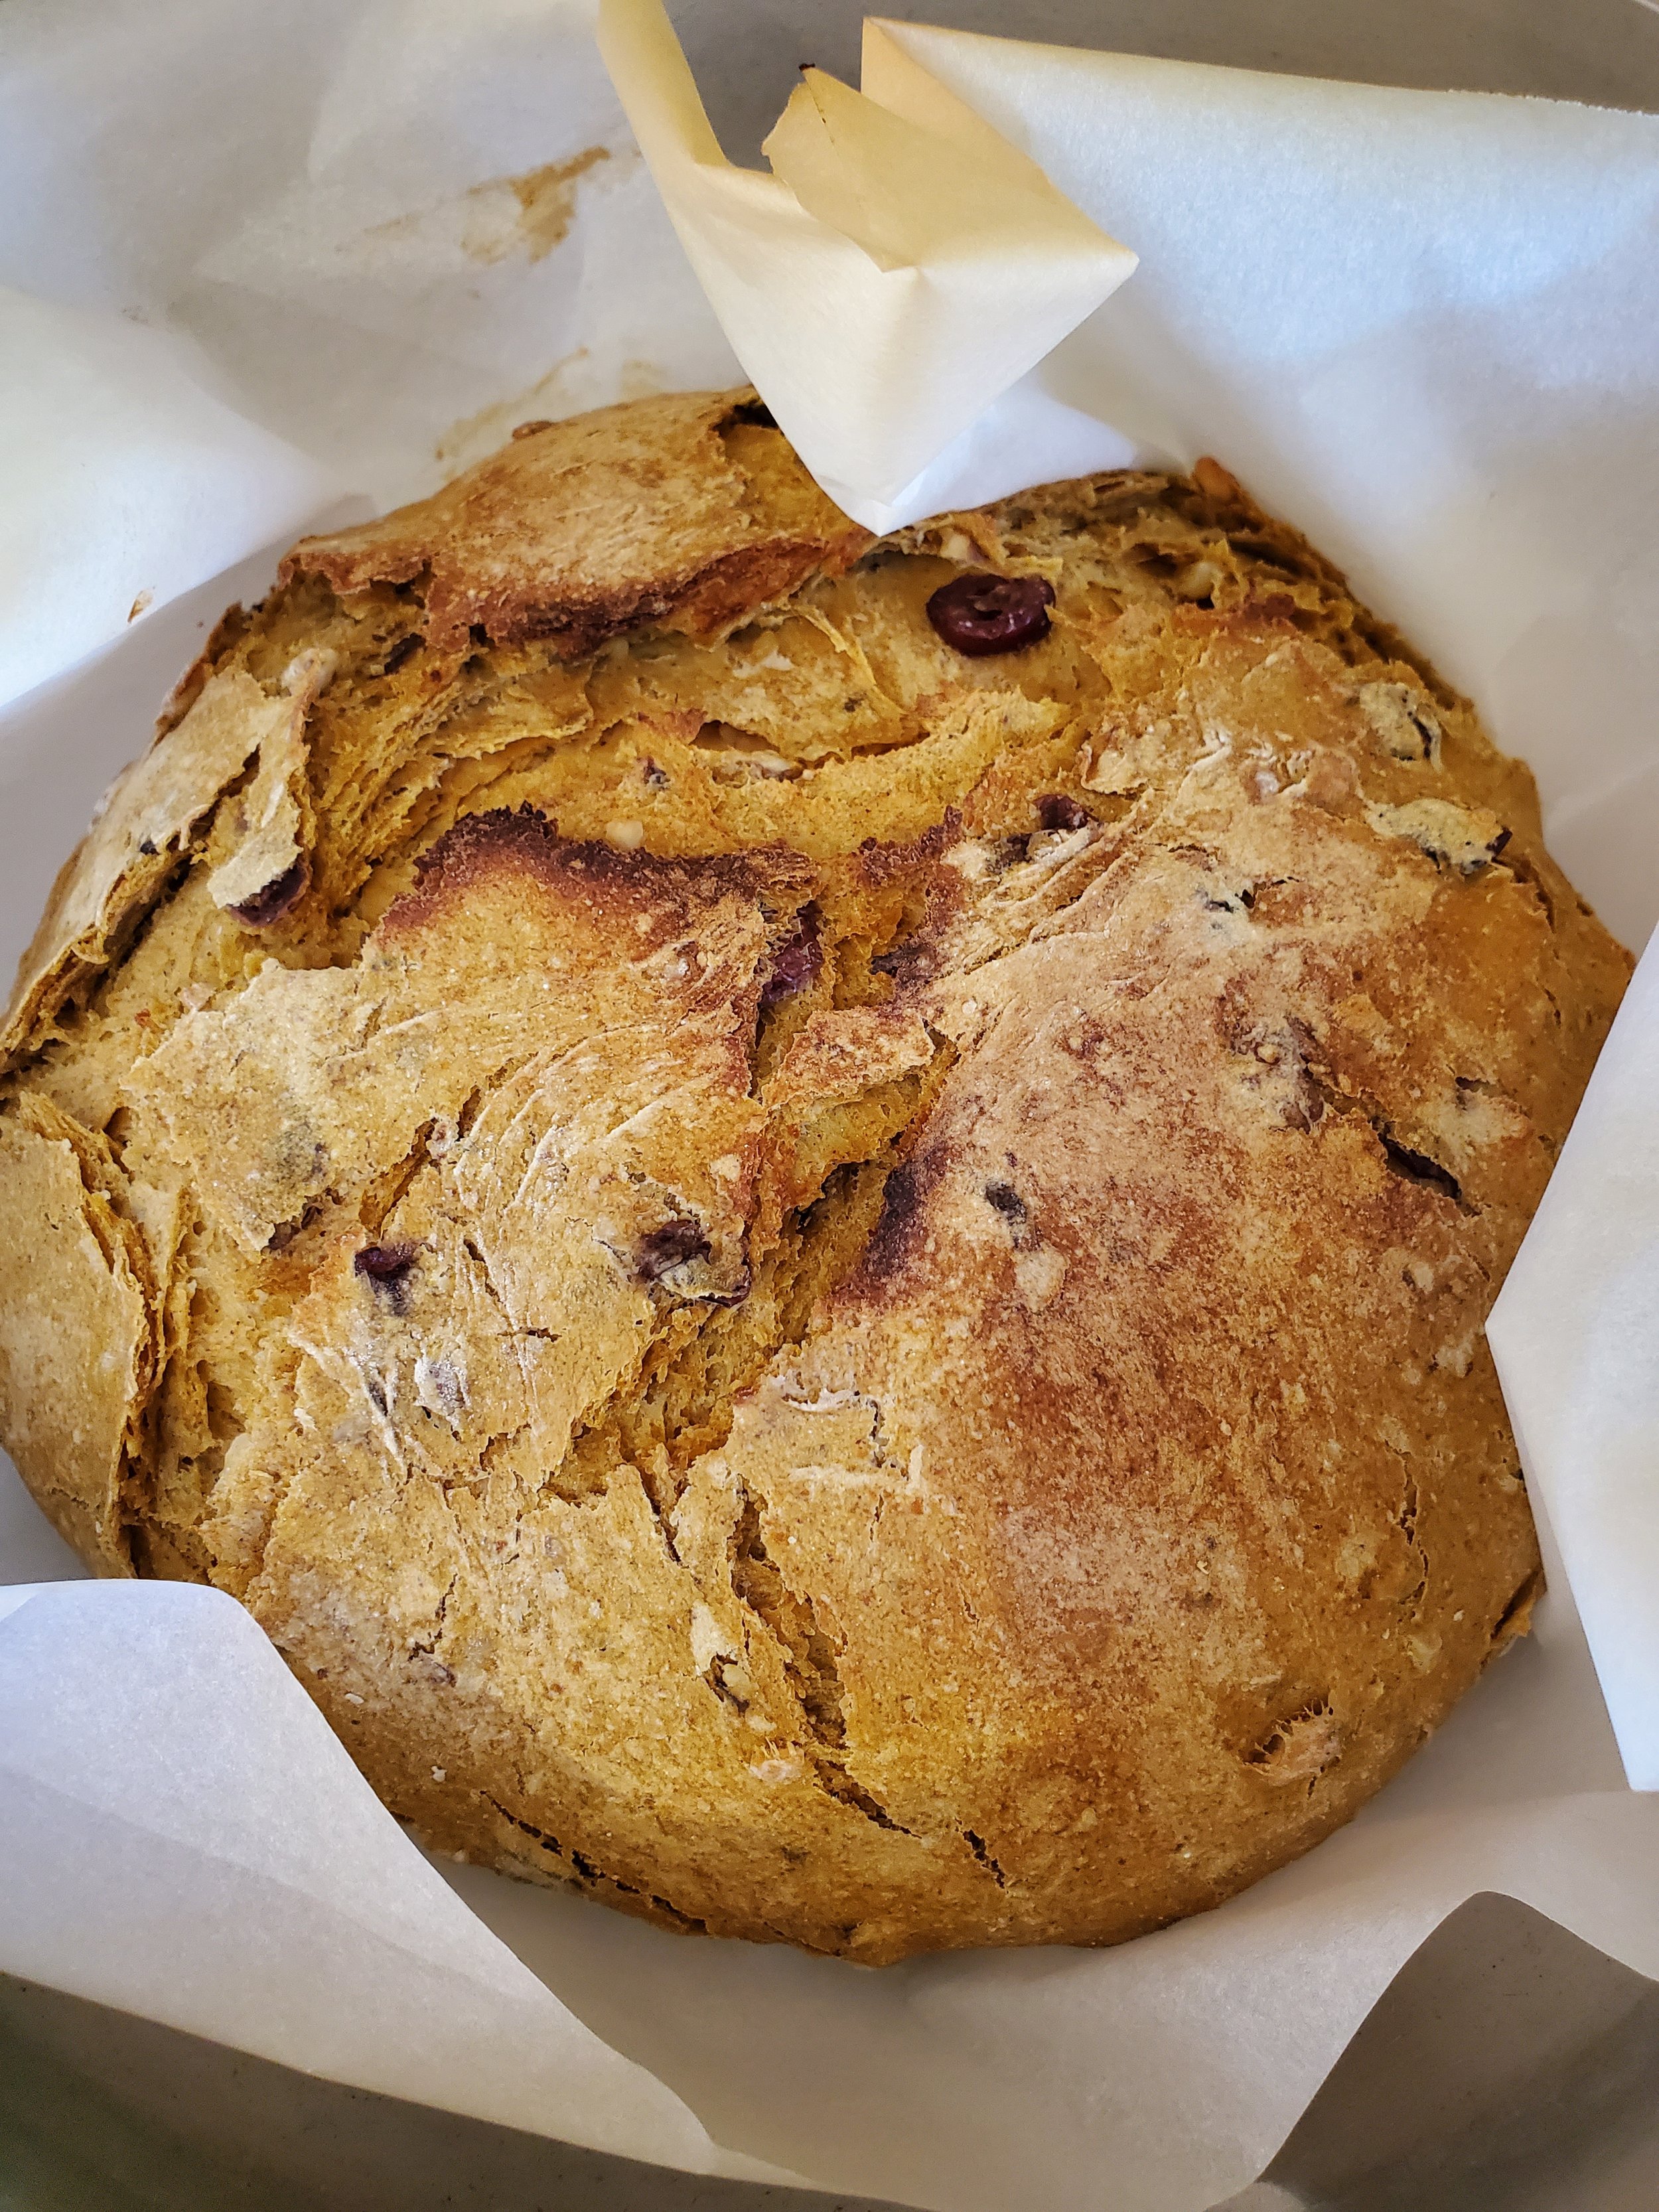
Harvest Bliss: Cranberry Pumpkin Nut Bread

A Decadent Fusion of Fall Flavors

Get ready for a delicious adventure with our Cranberry Pumpkin Nut Bread—a recipe that embodies the flavors of fall. It’s not just a bread; it's a hearty combination of pumpkin, spices, and delightful textures. Although it demands a bit of attention, trust me, every effort pays off in each aromatic slice.


Ingredients:

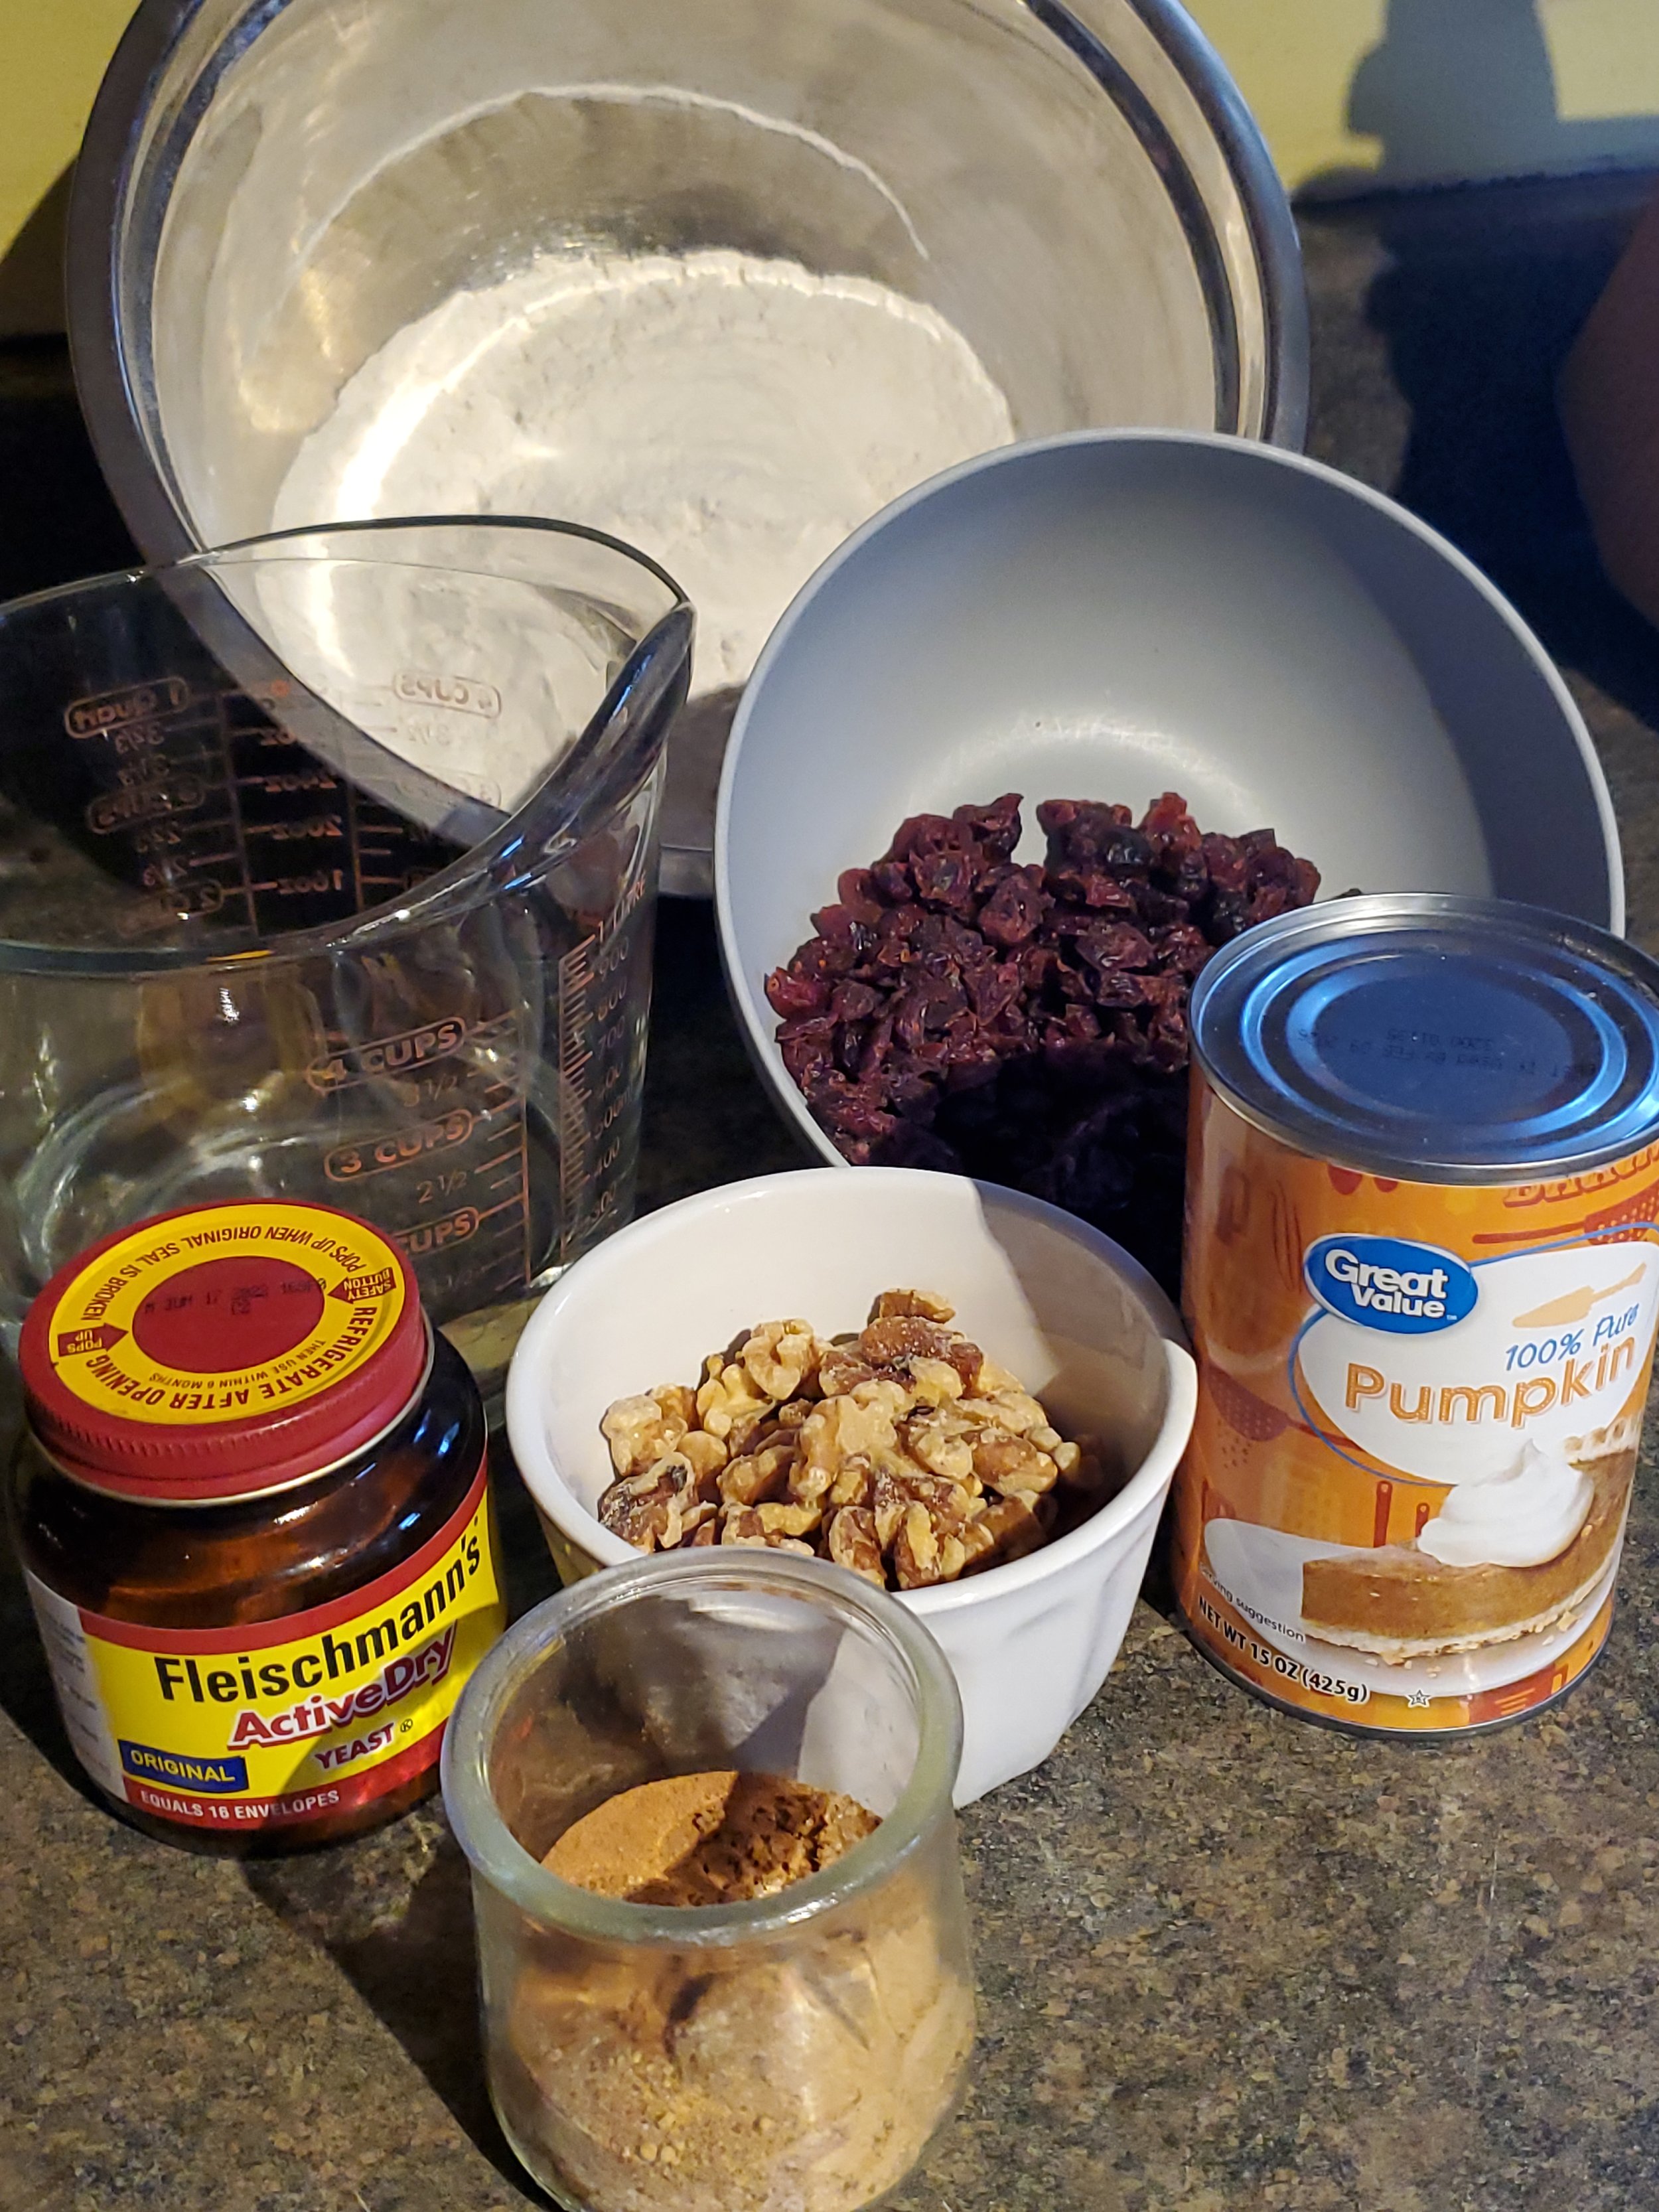
1 cup water, warm, plus enough water to fill a kettle

1 tablespoon active dry yeast

1 15 ounce can plain pumpkin

2 tablespoons sugar

1 1/2 teaspoon ground cinnamon

1/2 teaspoon ground ginger

1/4 teaspoon nutmeg

1/2 teaspoon salt

4 1/2 cups flour, divided

1/2 cup chopped walnuts

1/4 cup dried cranberries


Tools:

parchment paper

Dutch oven, caldero, or four loaf pans

measuring cups and spoons

mixing bowls

tea kettle or pot for water

smaller, heat-proof bowl

colander

clean kitchen towel


Quick word of caution: This will be a messy, time consuming recipe! Do not attempt to do this on Thanksgiving. If you're an experienced baker of bread, you might pull it off. But if you're us... You'll just create a mess and not have the bread til after dinner. 


Well before you intend to get anything going for this recipe, start a tea kettle or a pot of water on the stove. You can use the time while you wait for it to reach a boil to get your other ingredients out.


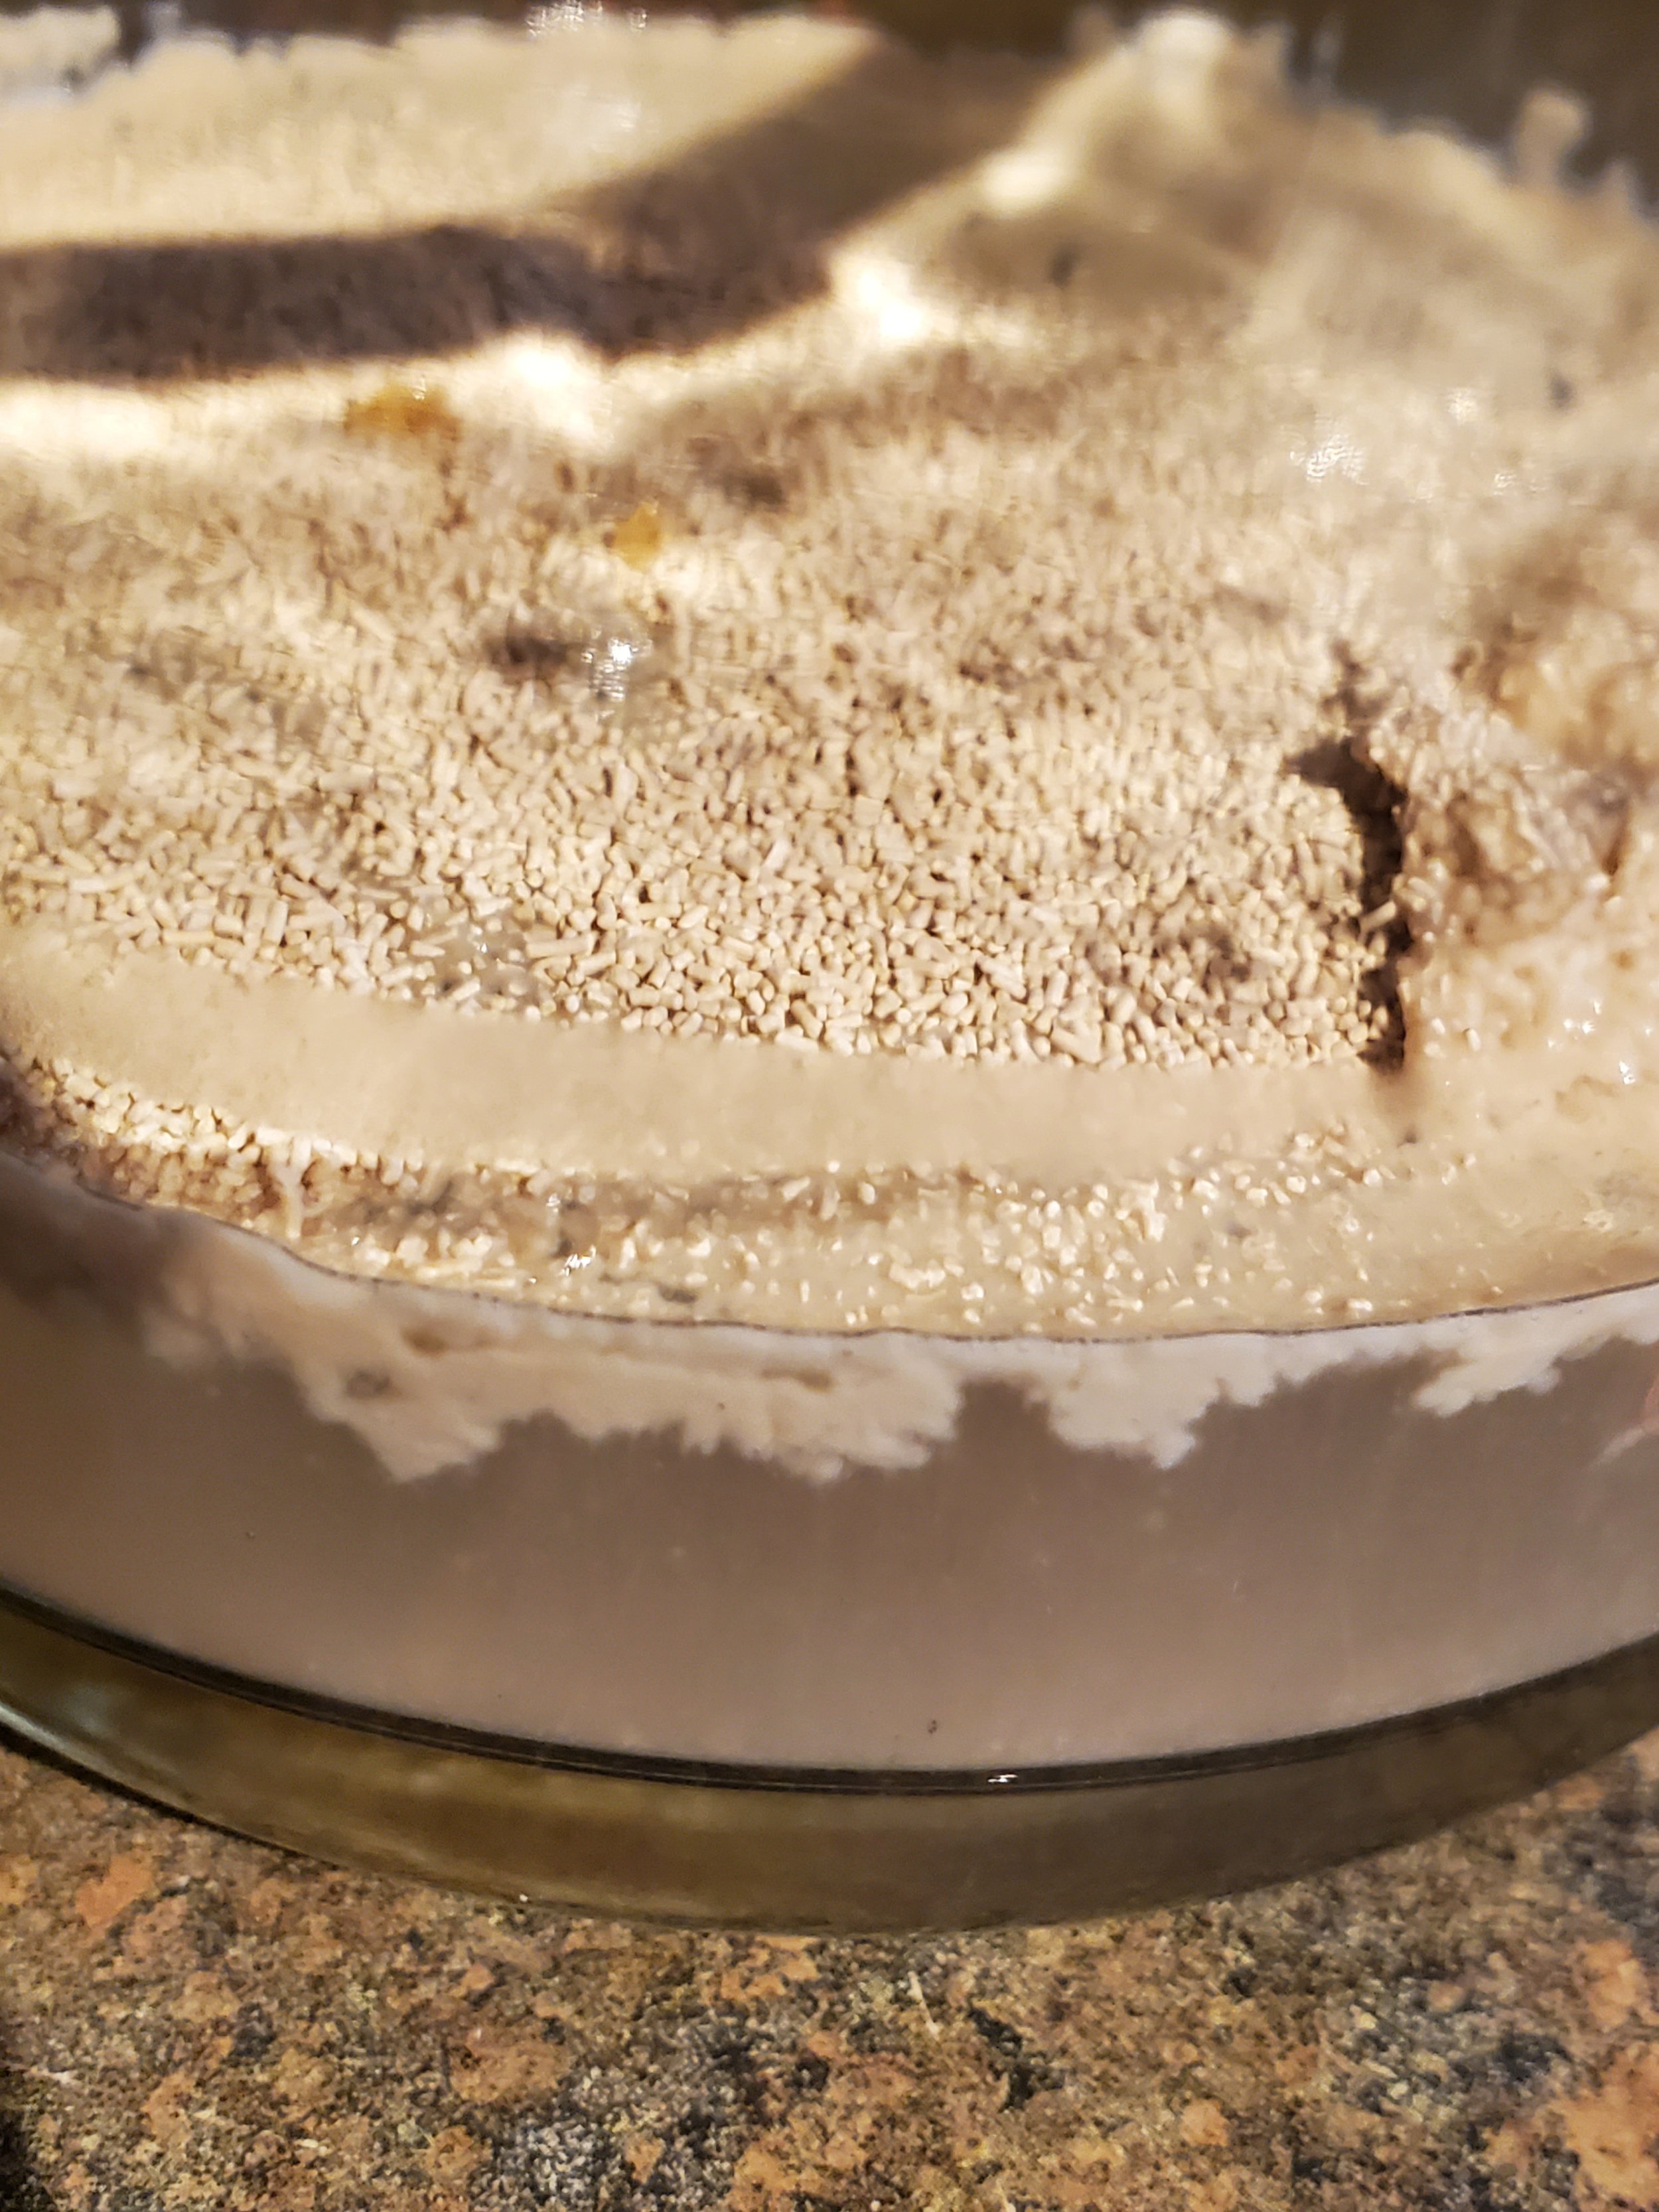
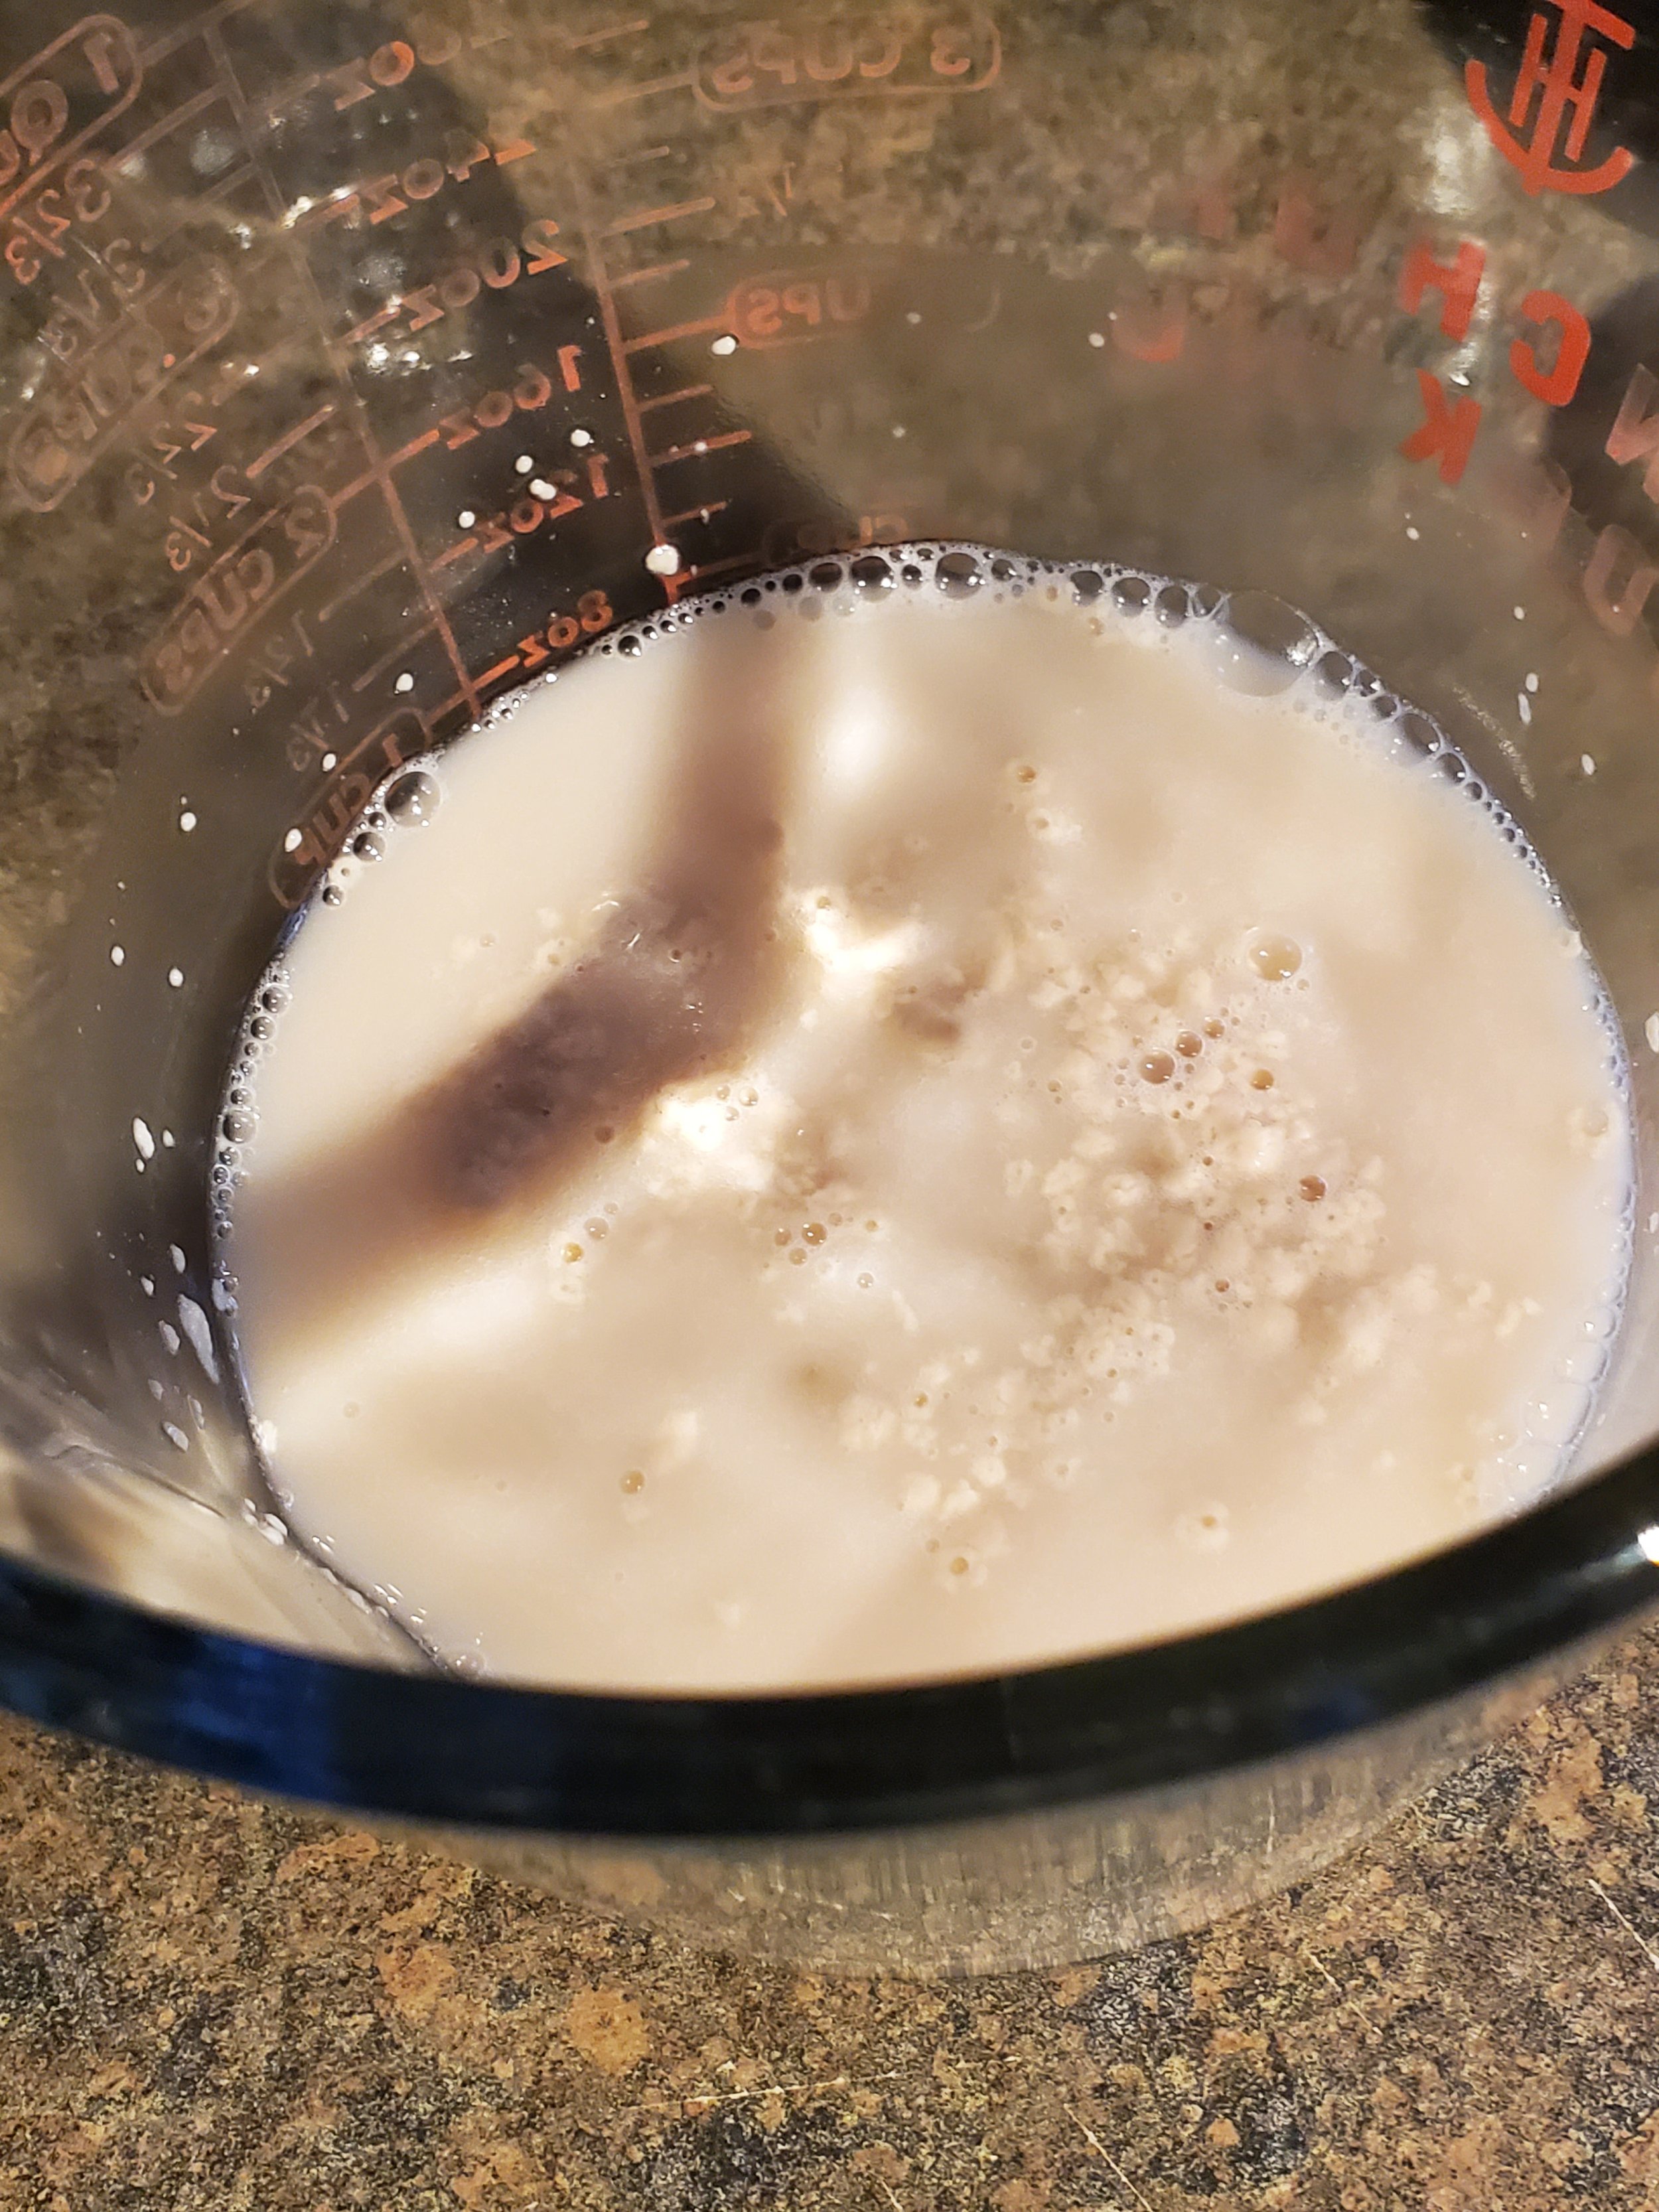
Once you have all your ingredients handy, begin by measuring your yeast into warm water and setting it aside to double in size. This should take five minutes or so.


Measure the flour, stopping at three and a half cups. Reserve the additional cup in another bowl. Don't forget to level your flour! It's going to be sticky dough and you'll likely be tempted to add more flour, but don't fall for it, and definitely don't sabotage yourself by starting with more than you meant to.


Include your sugar, salt and spices in the dry ingredients. We want to see them evenly mixed into your flour before any wet ingredients join the party, that way you don't end up with bland spots and spots that have too much cinnamon or something.


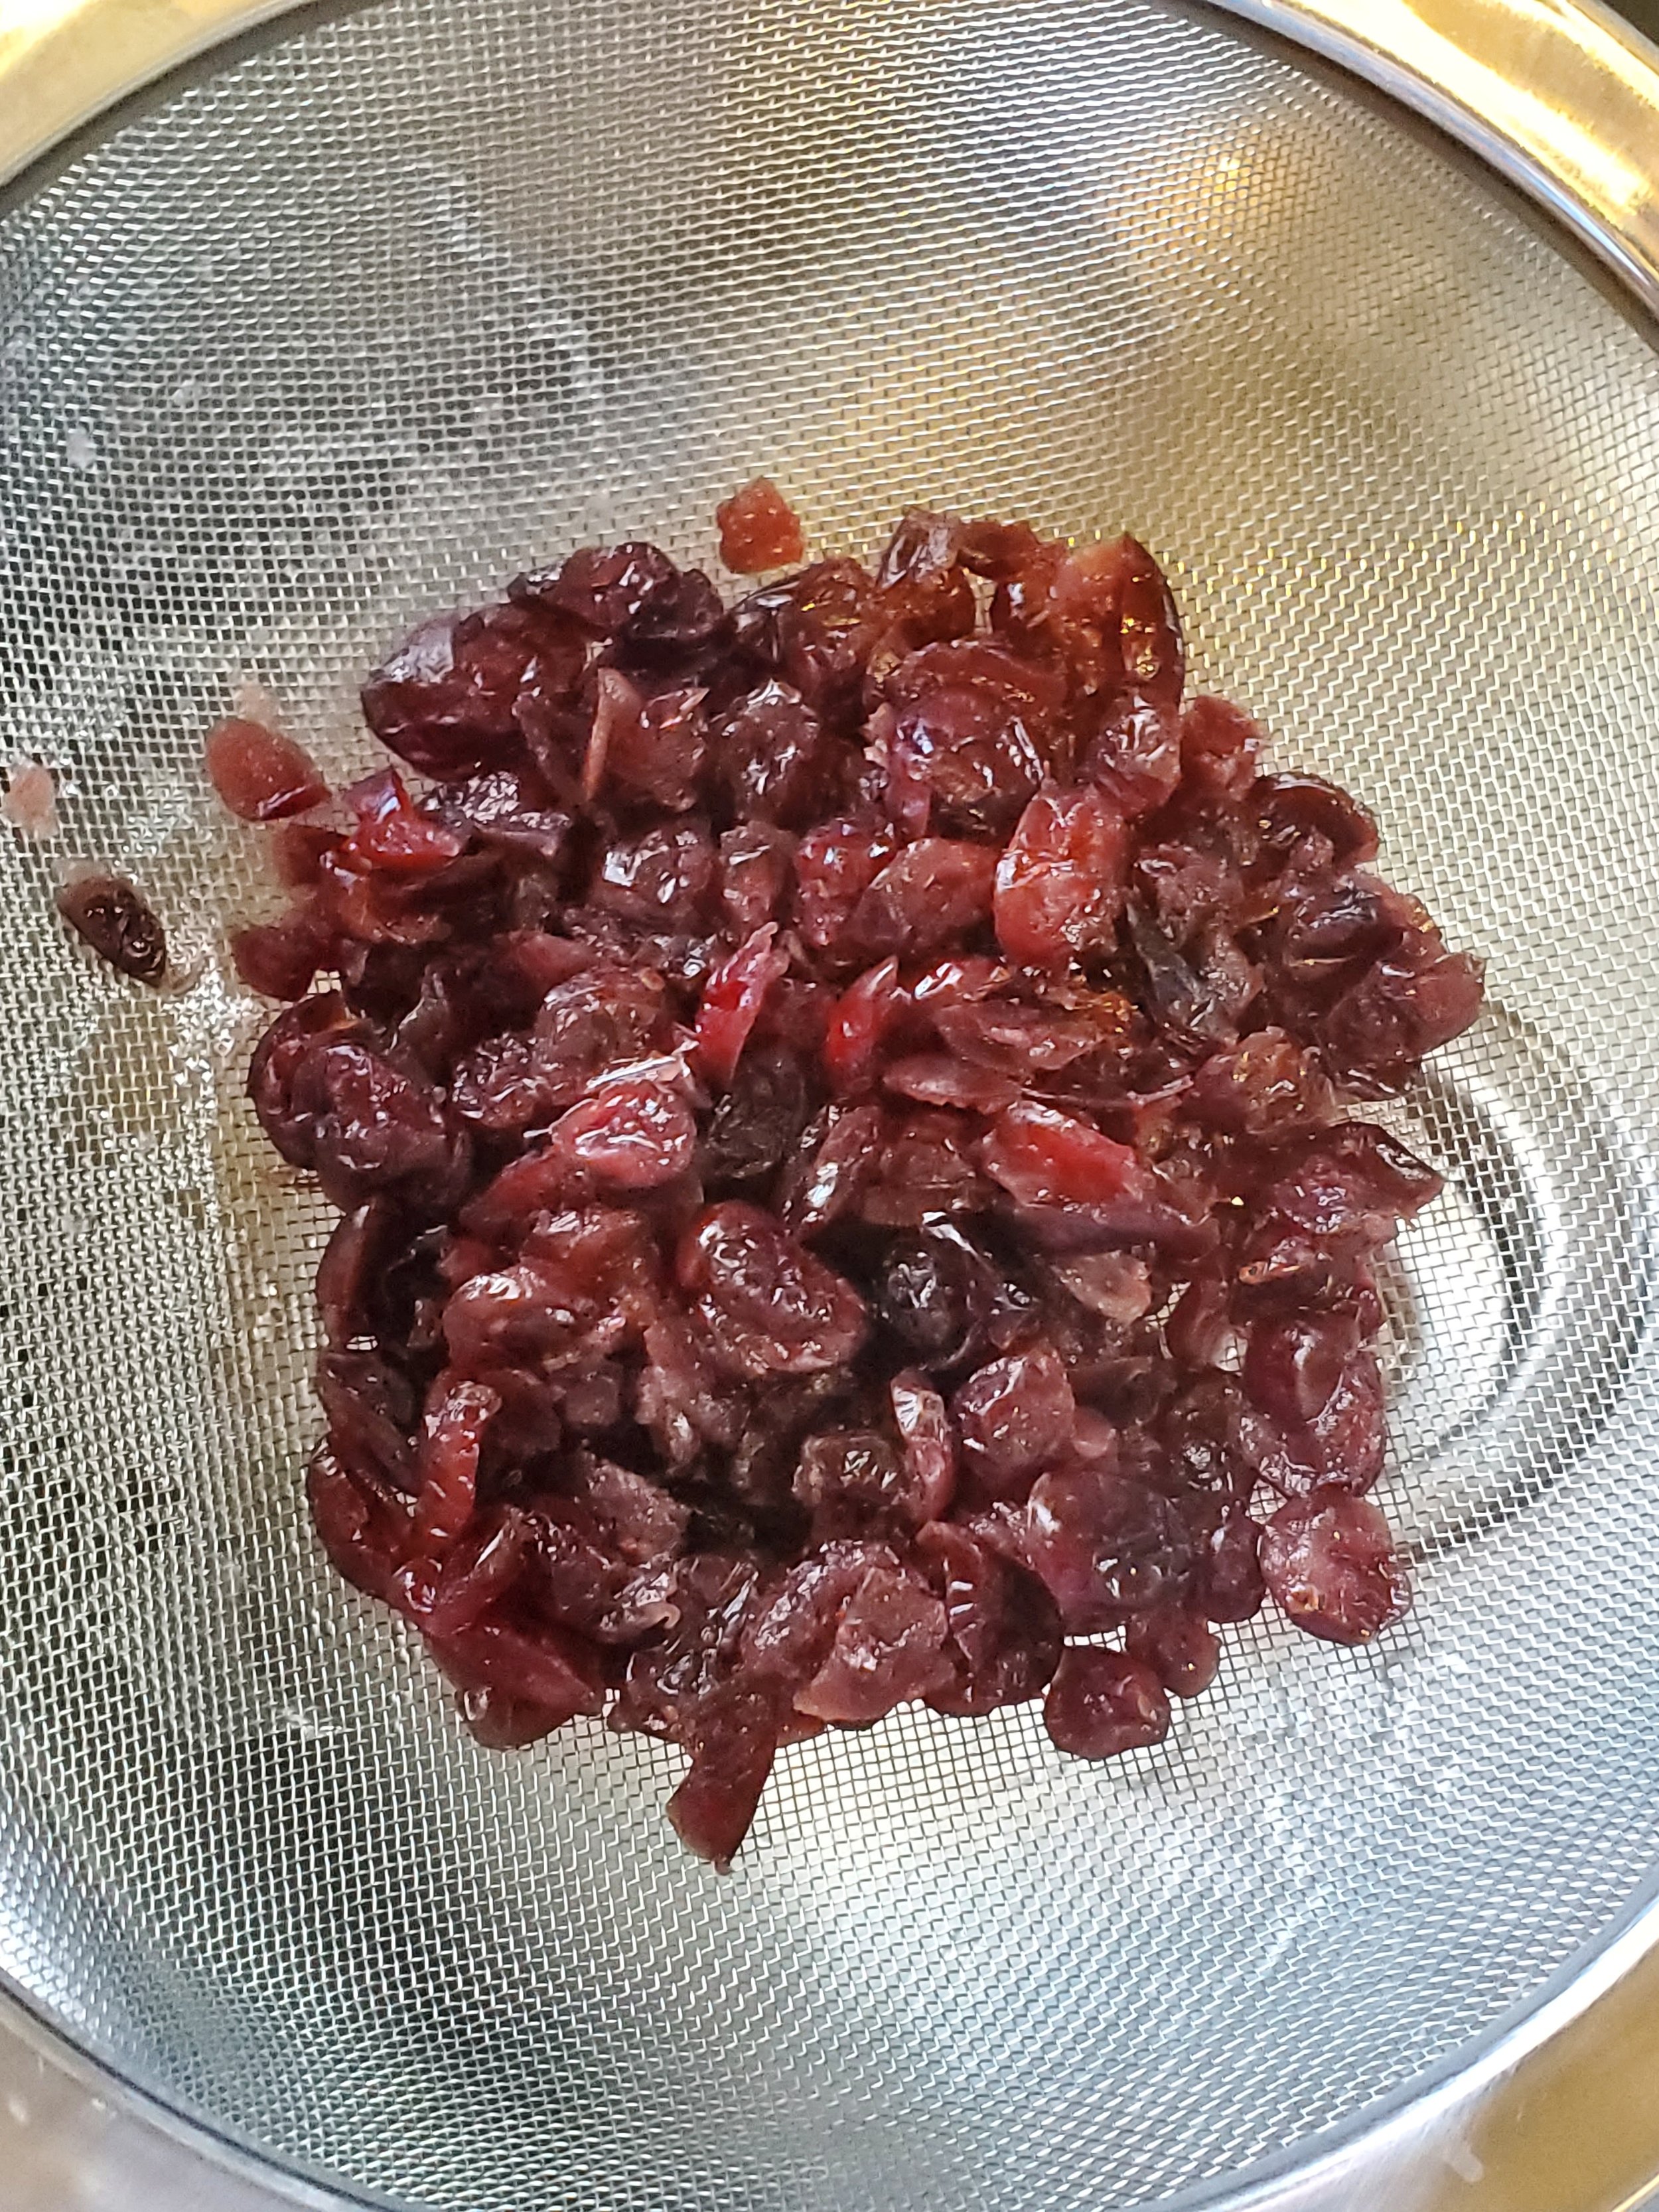
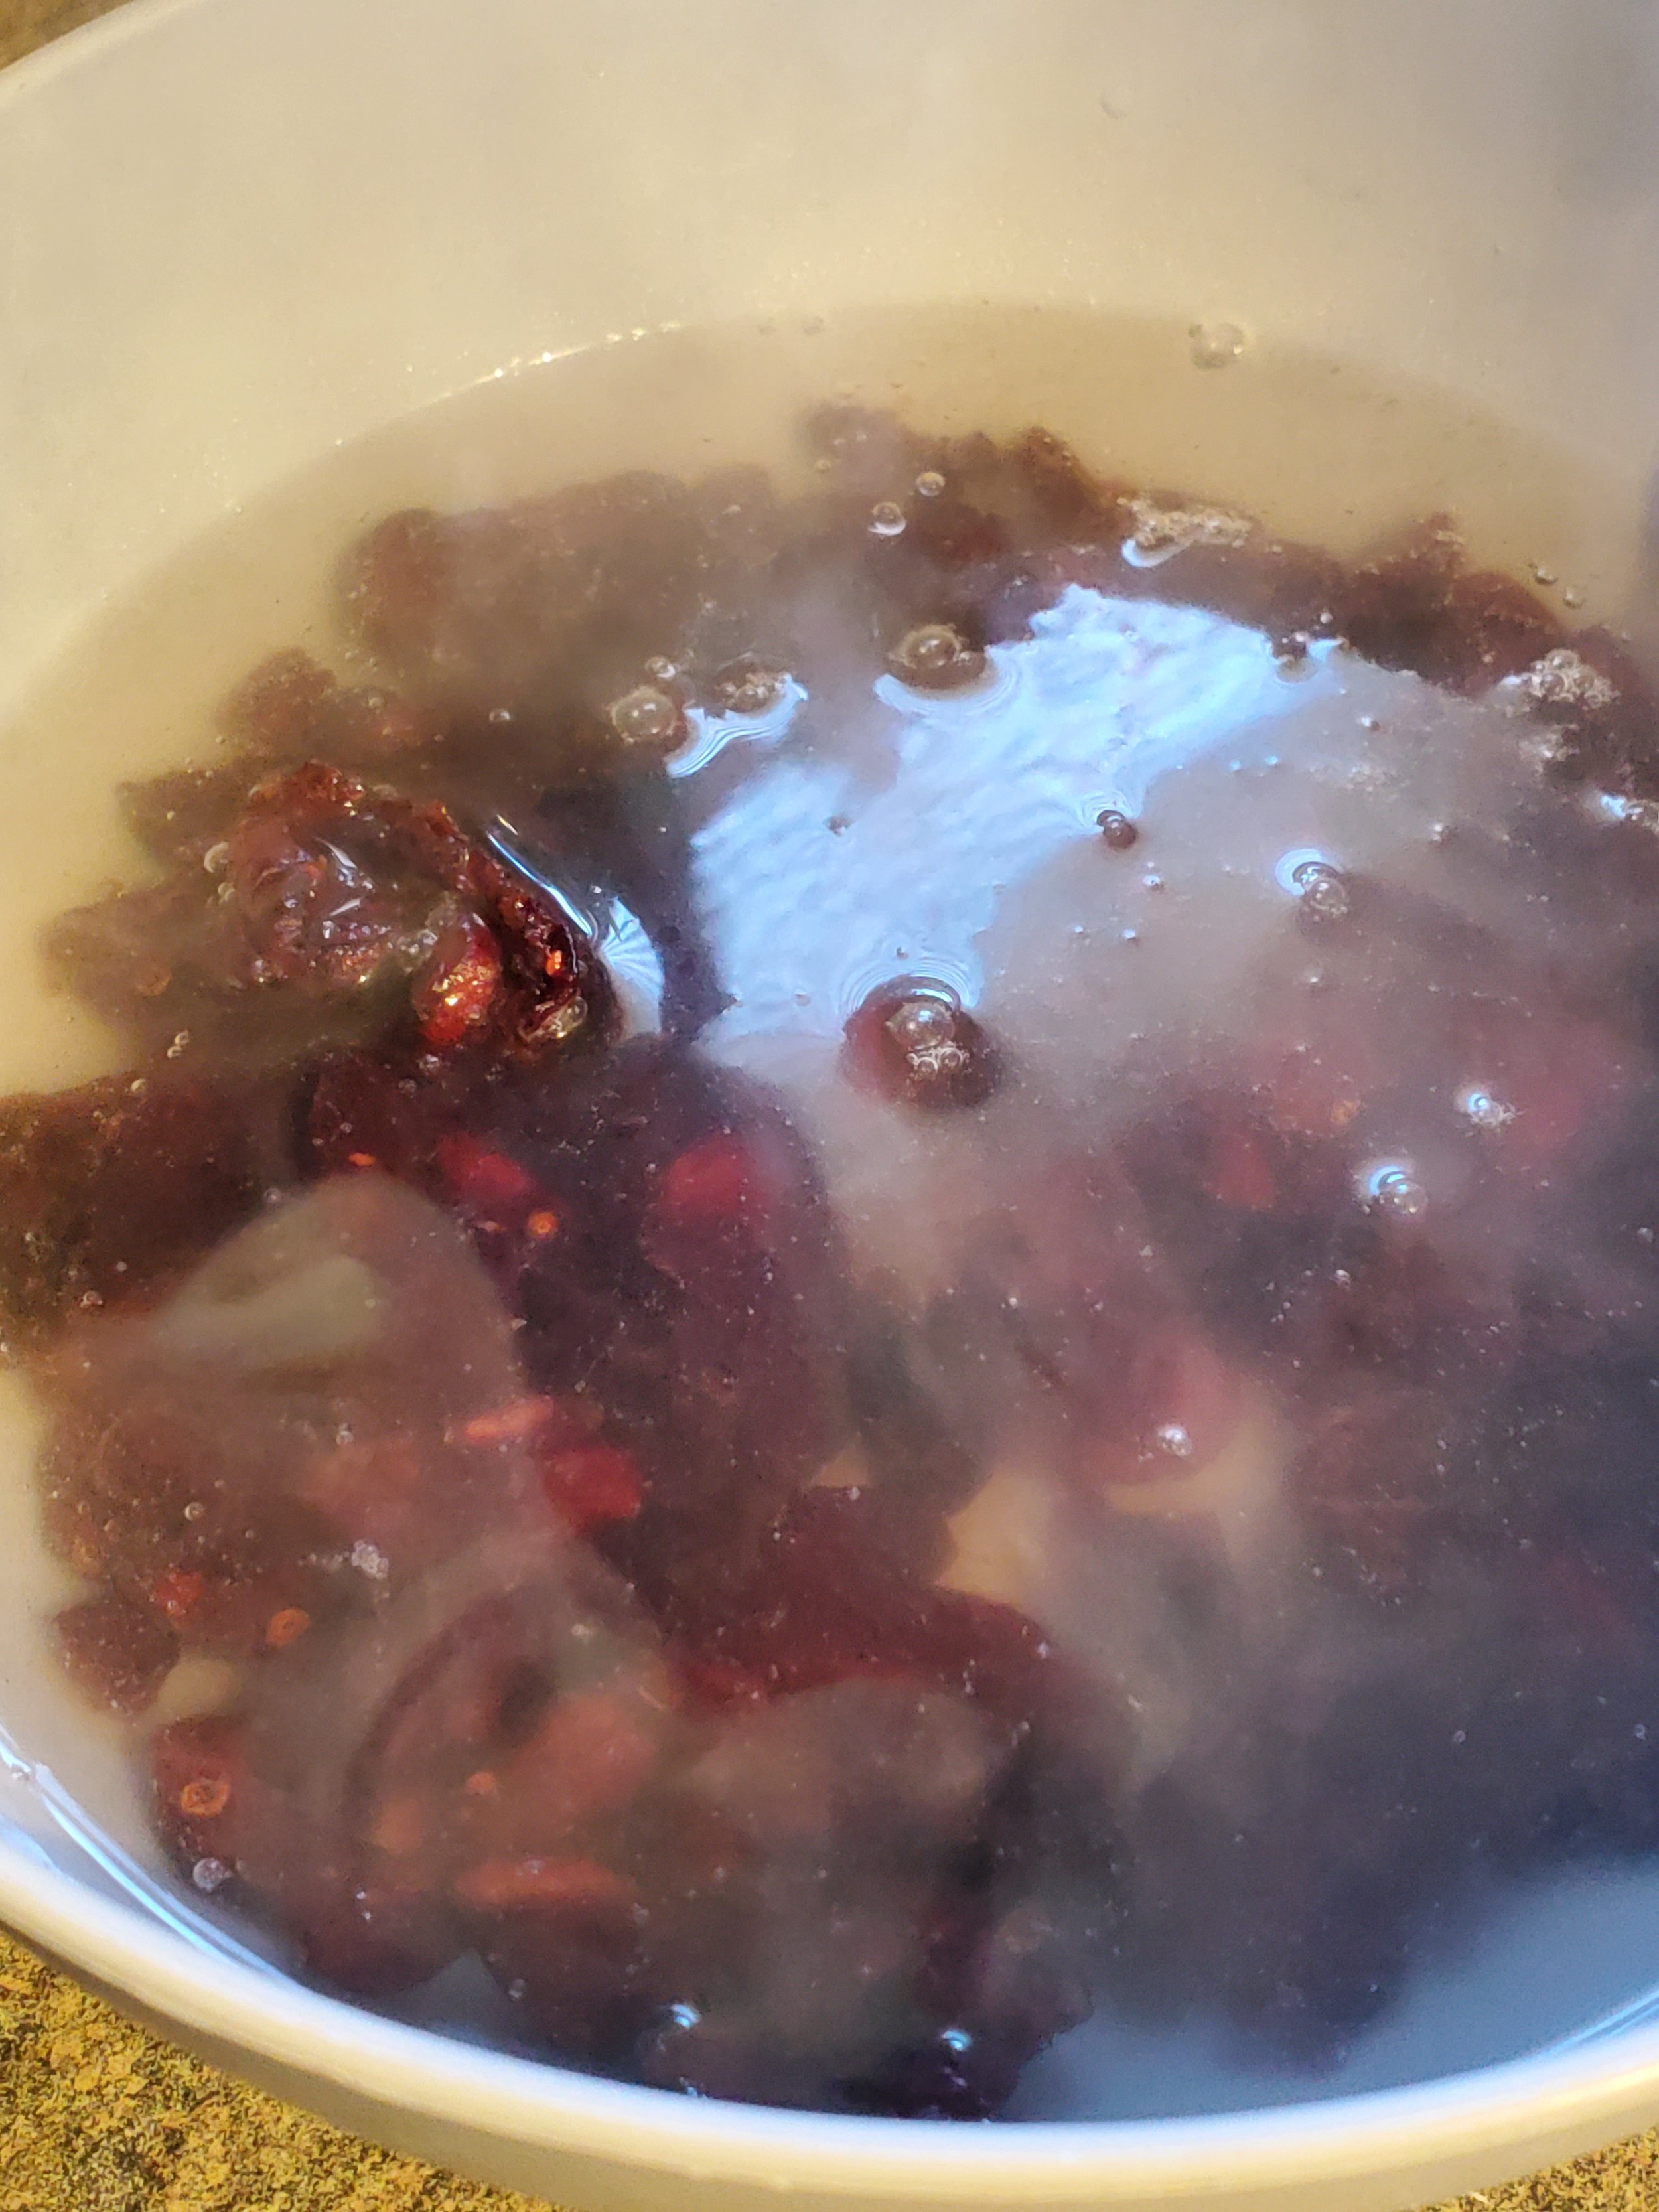
Around this point, our kettle usually begins to boil. Remove it from the heat, toss the cranberries in the heat proof bowl, and cover them with boiling water. Ignore them for five minutes or so - we just want them to be partially rehydrated so they're not sticky lumps in the bread later. After they've had time to absorb some of the water, strain the water out through the colander.


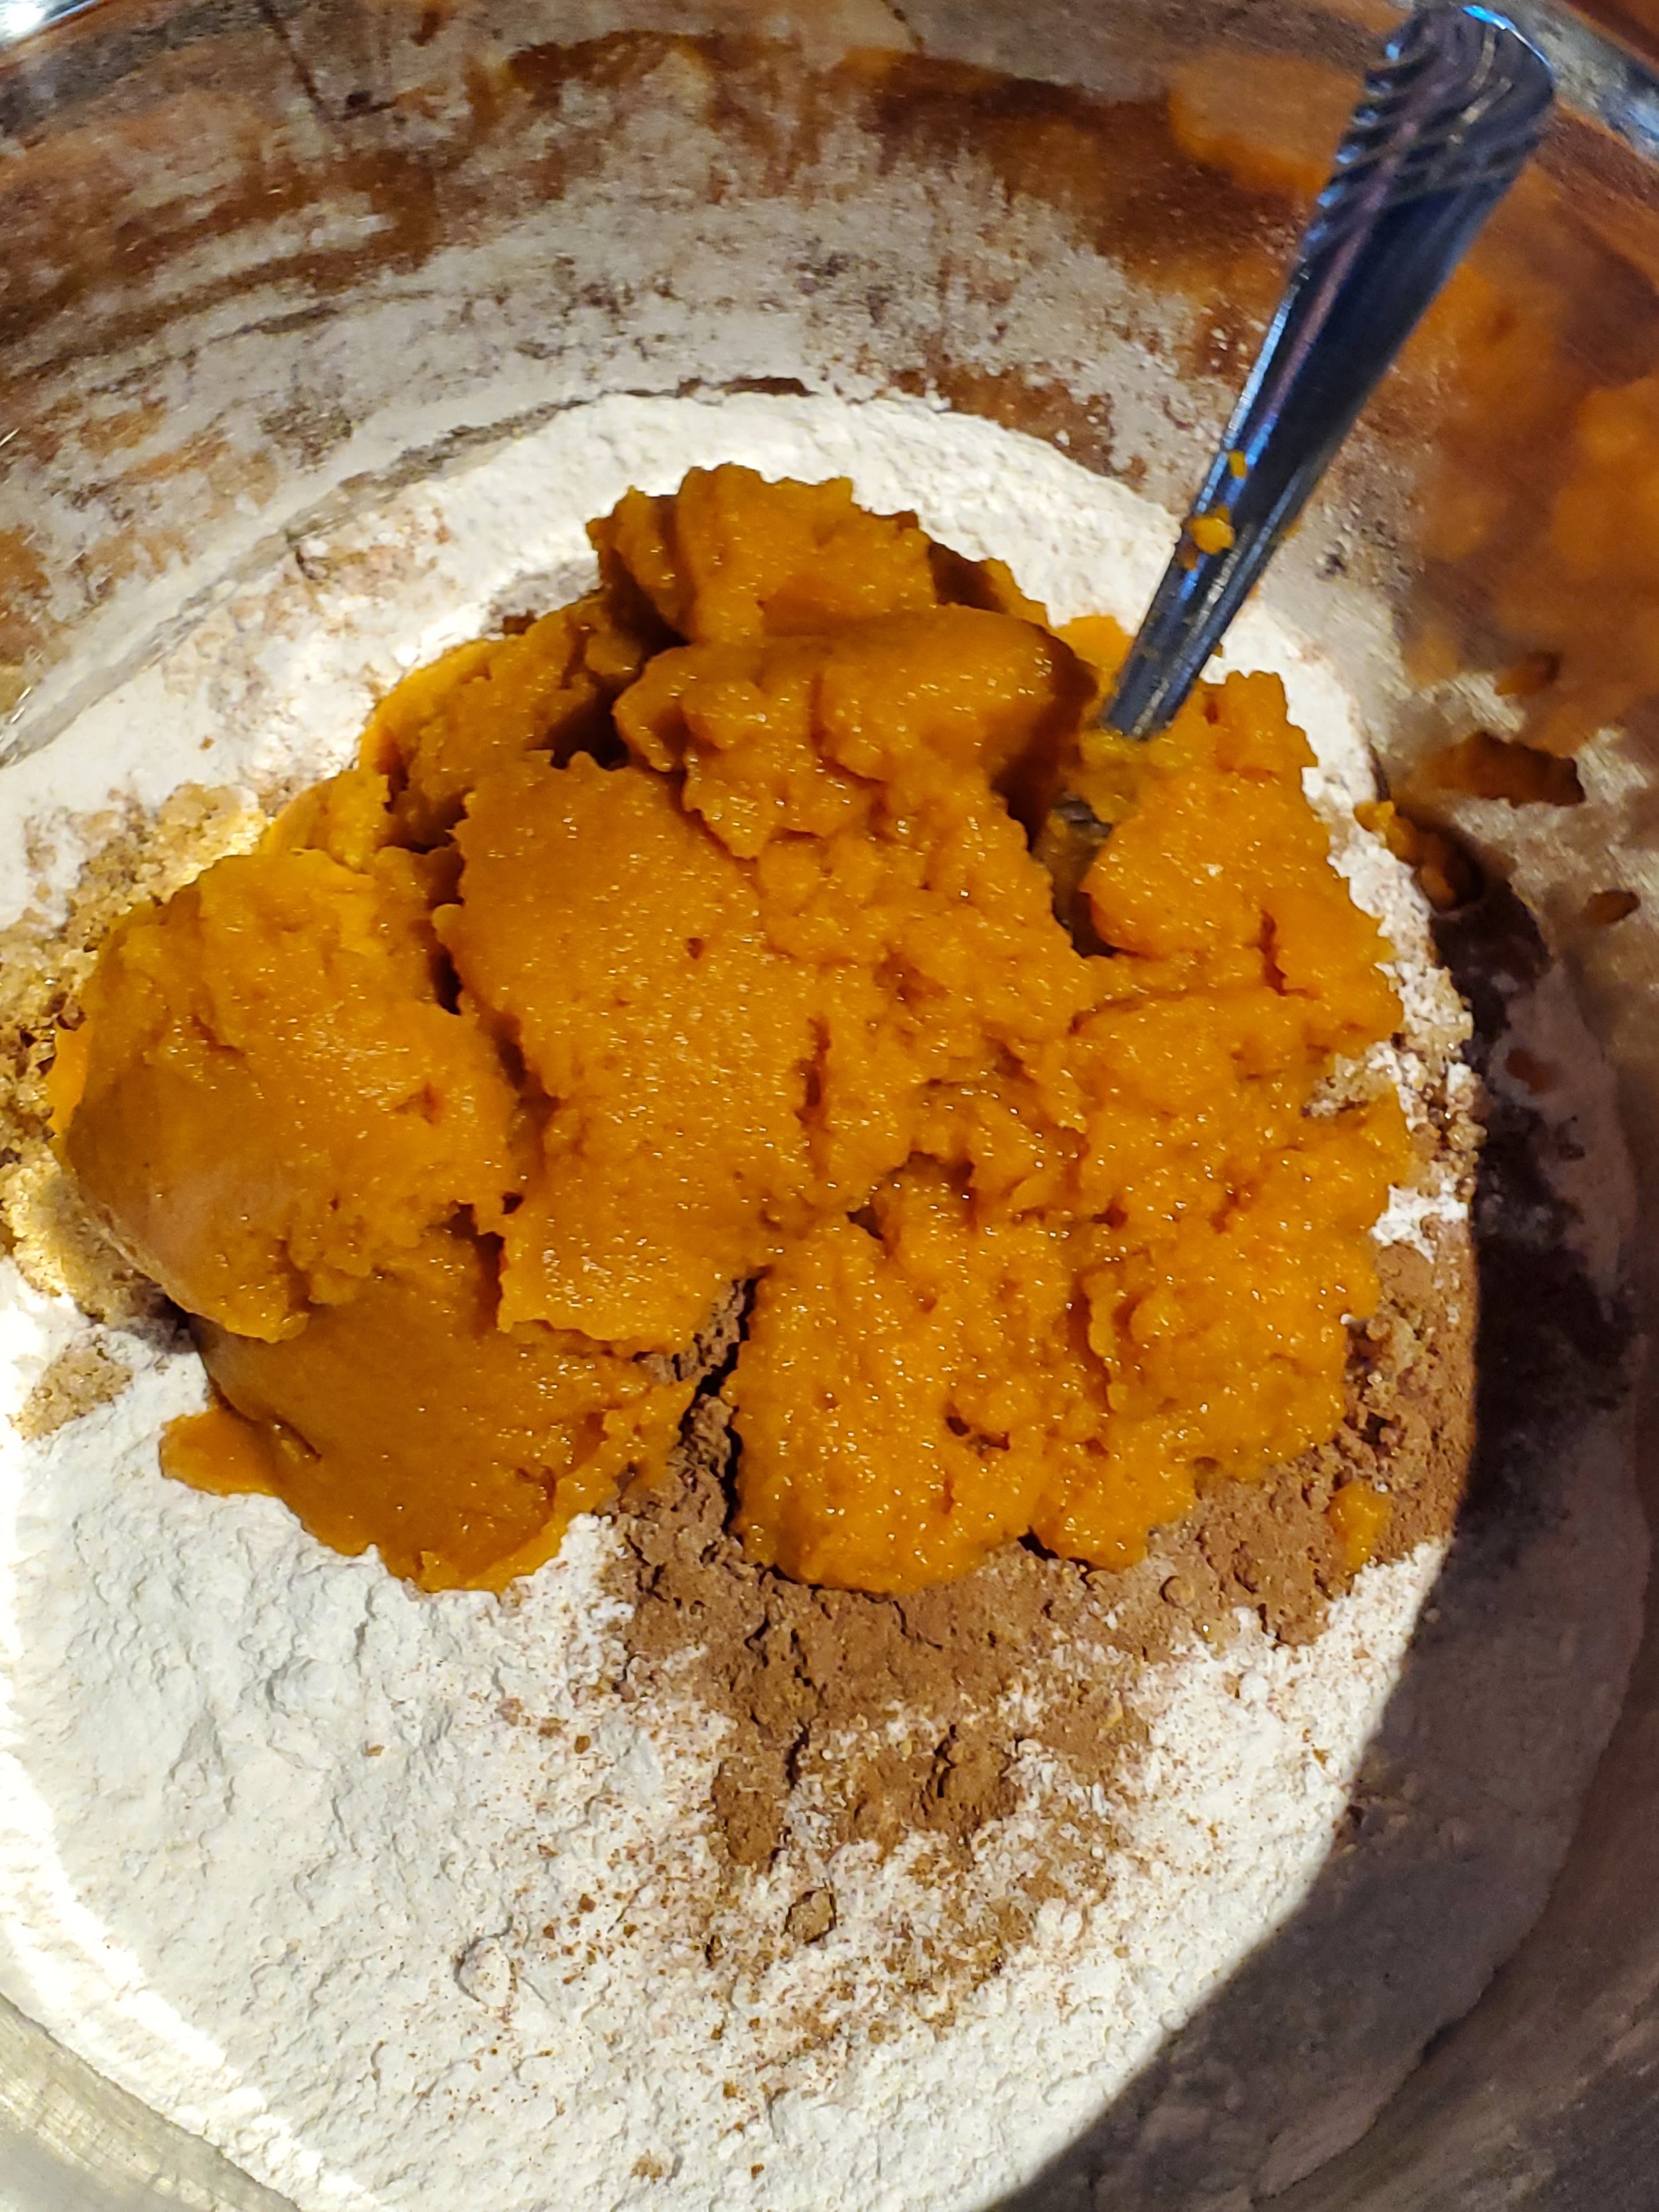
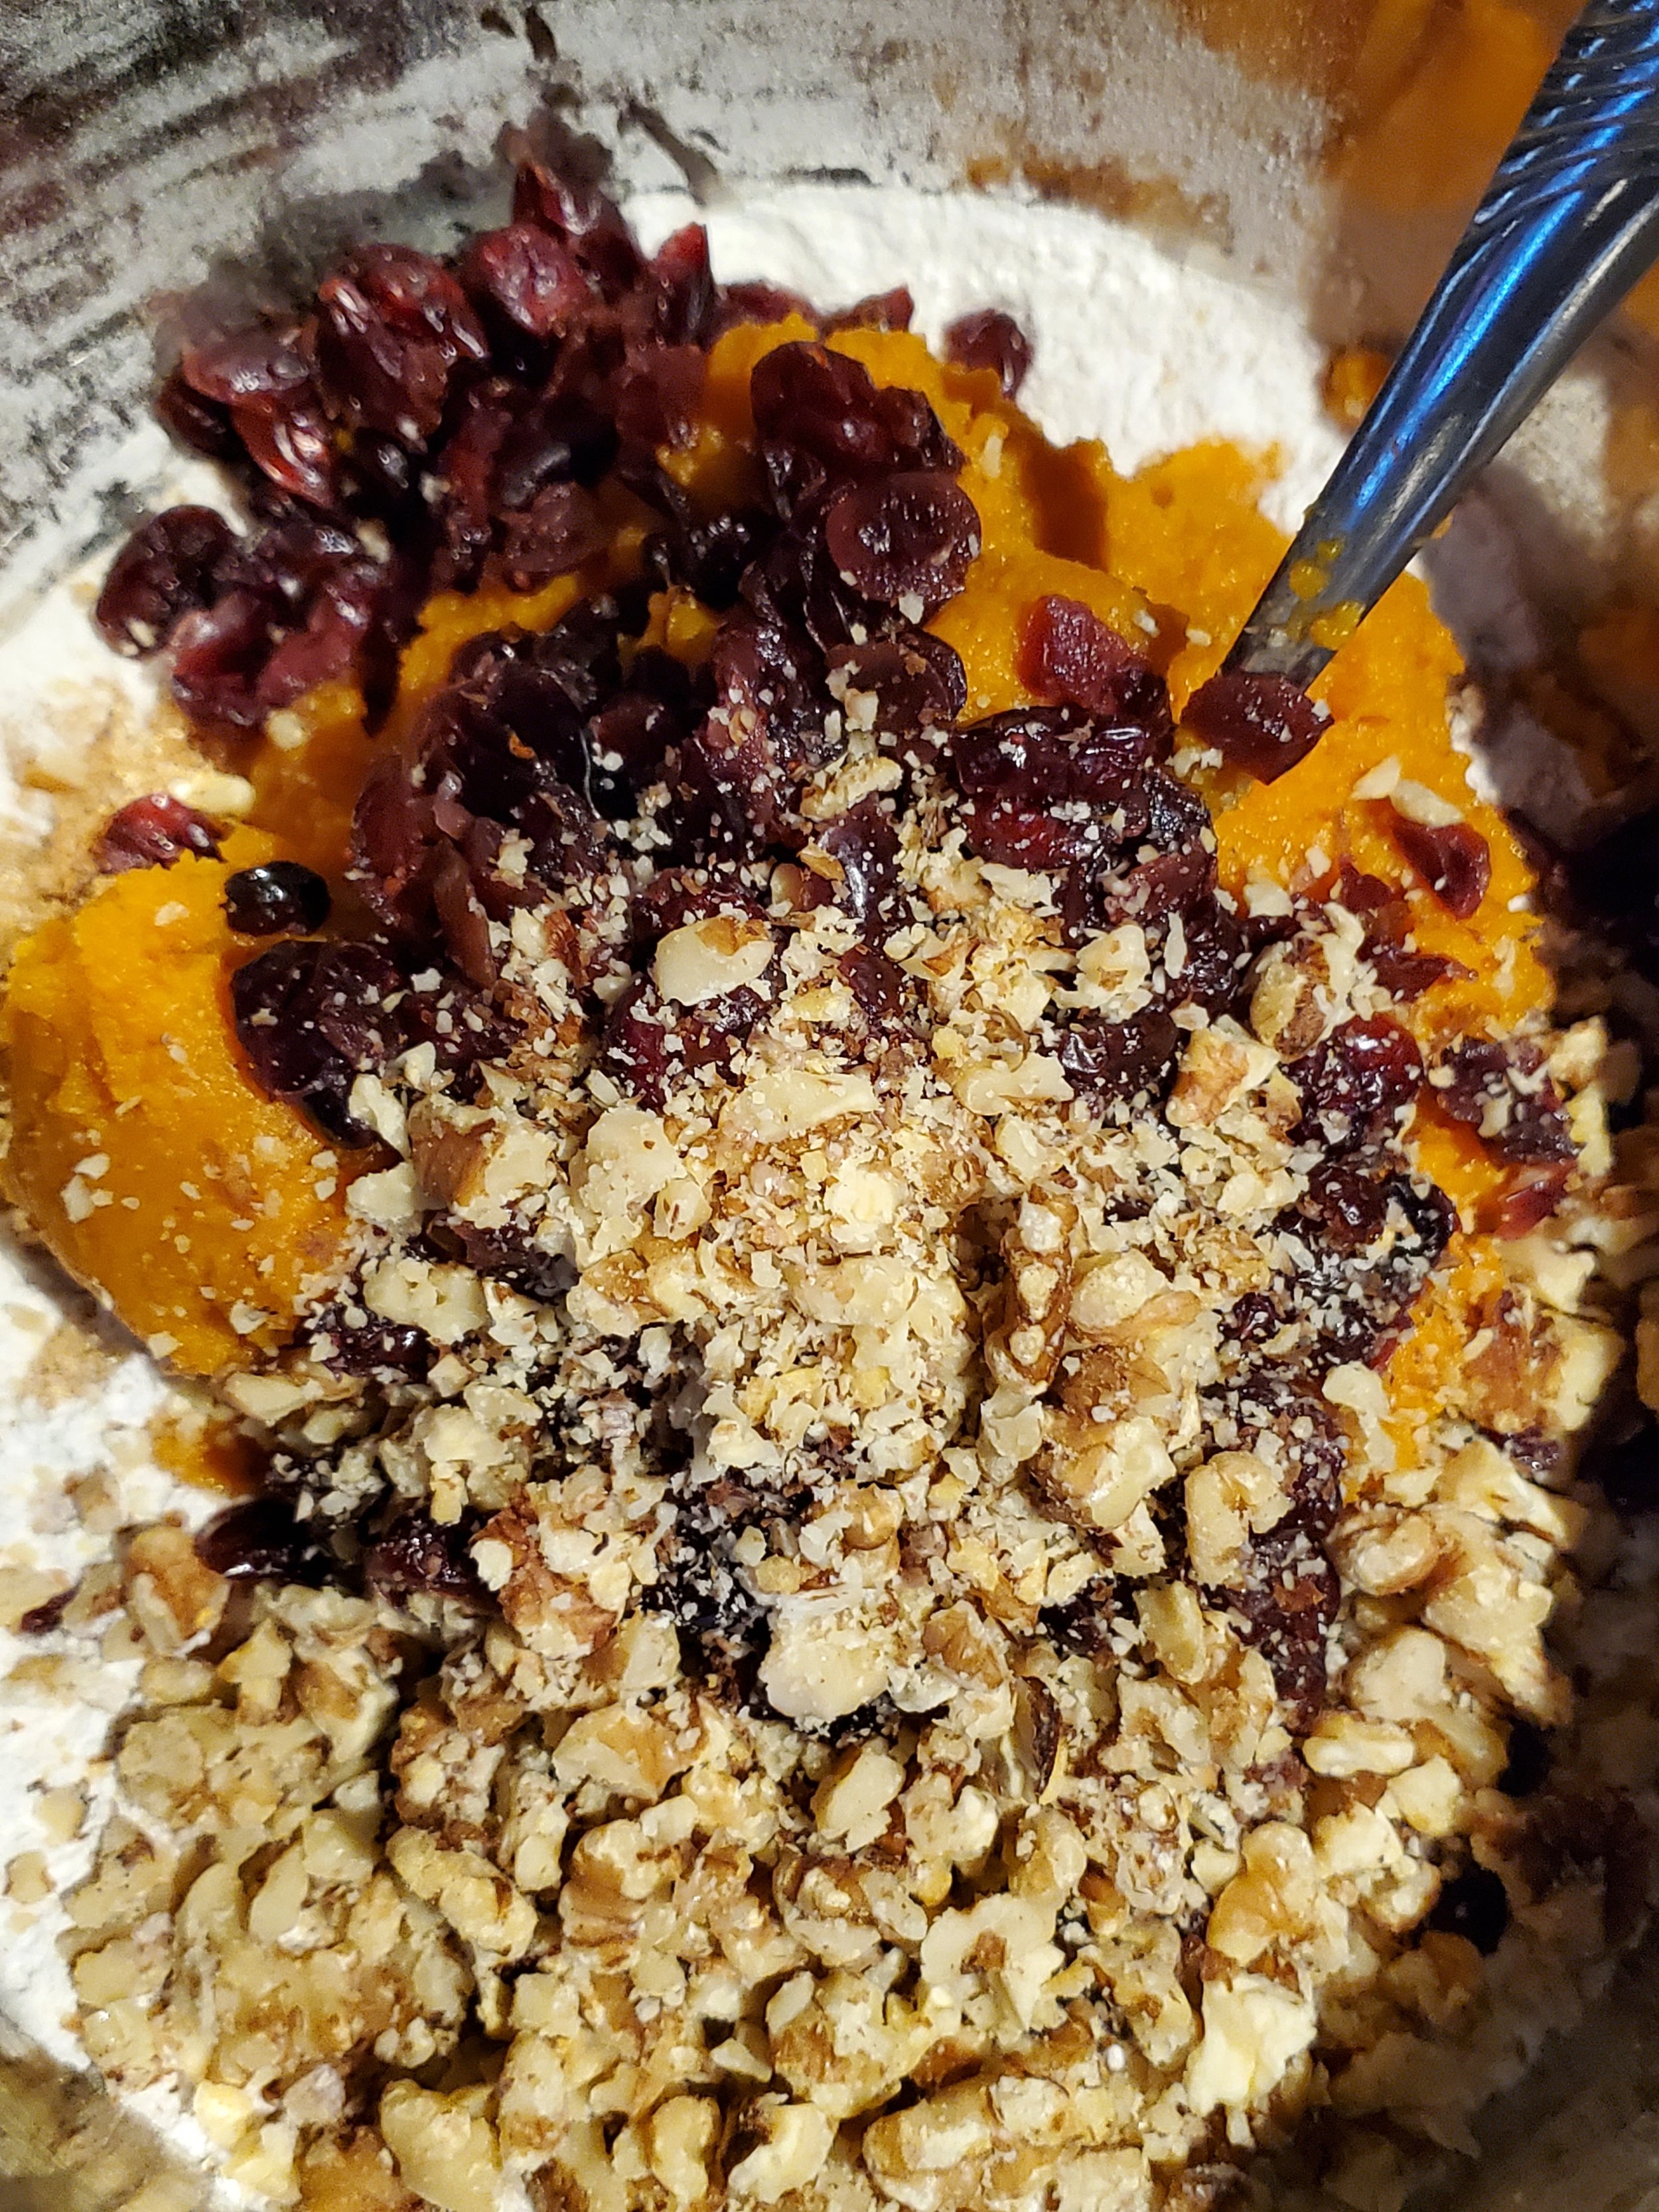
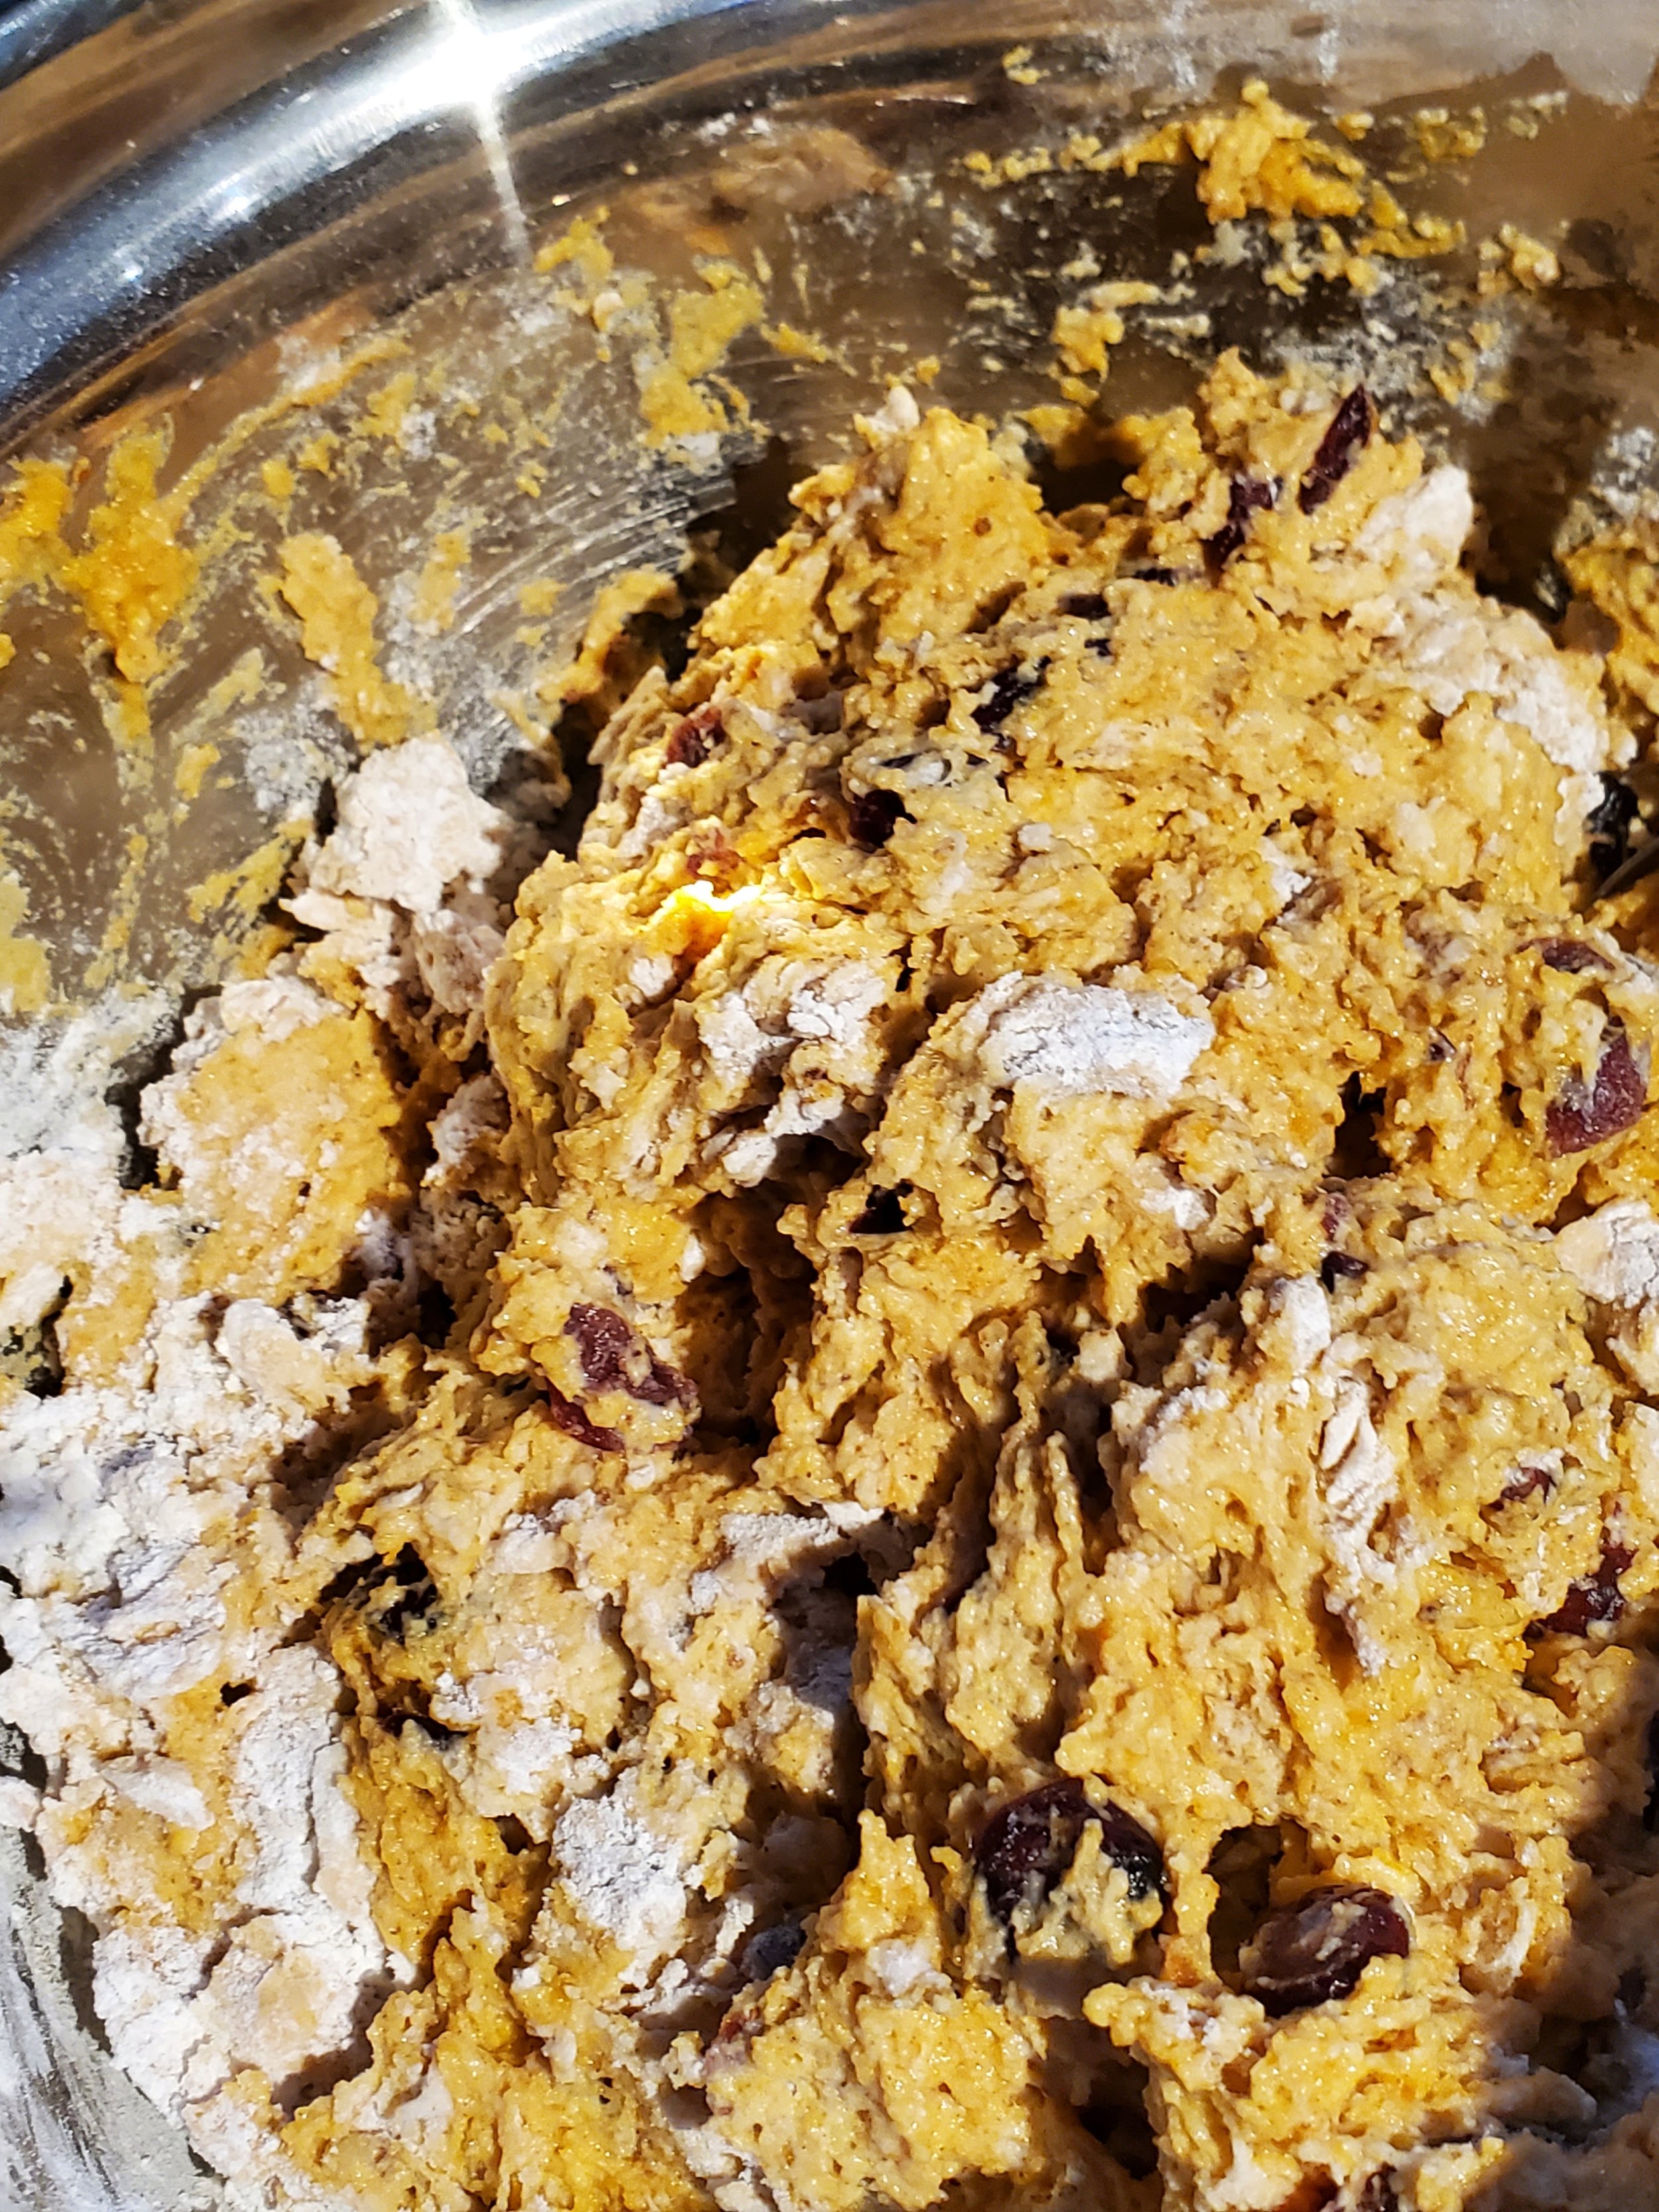
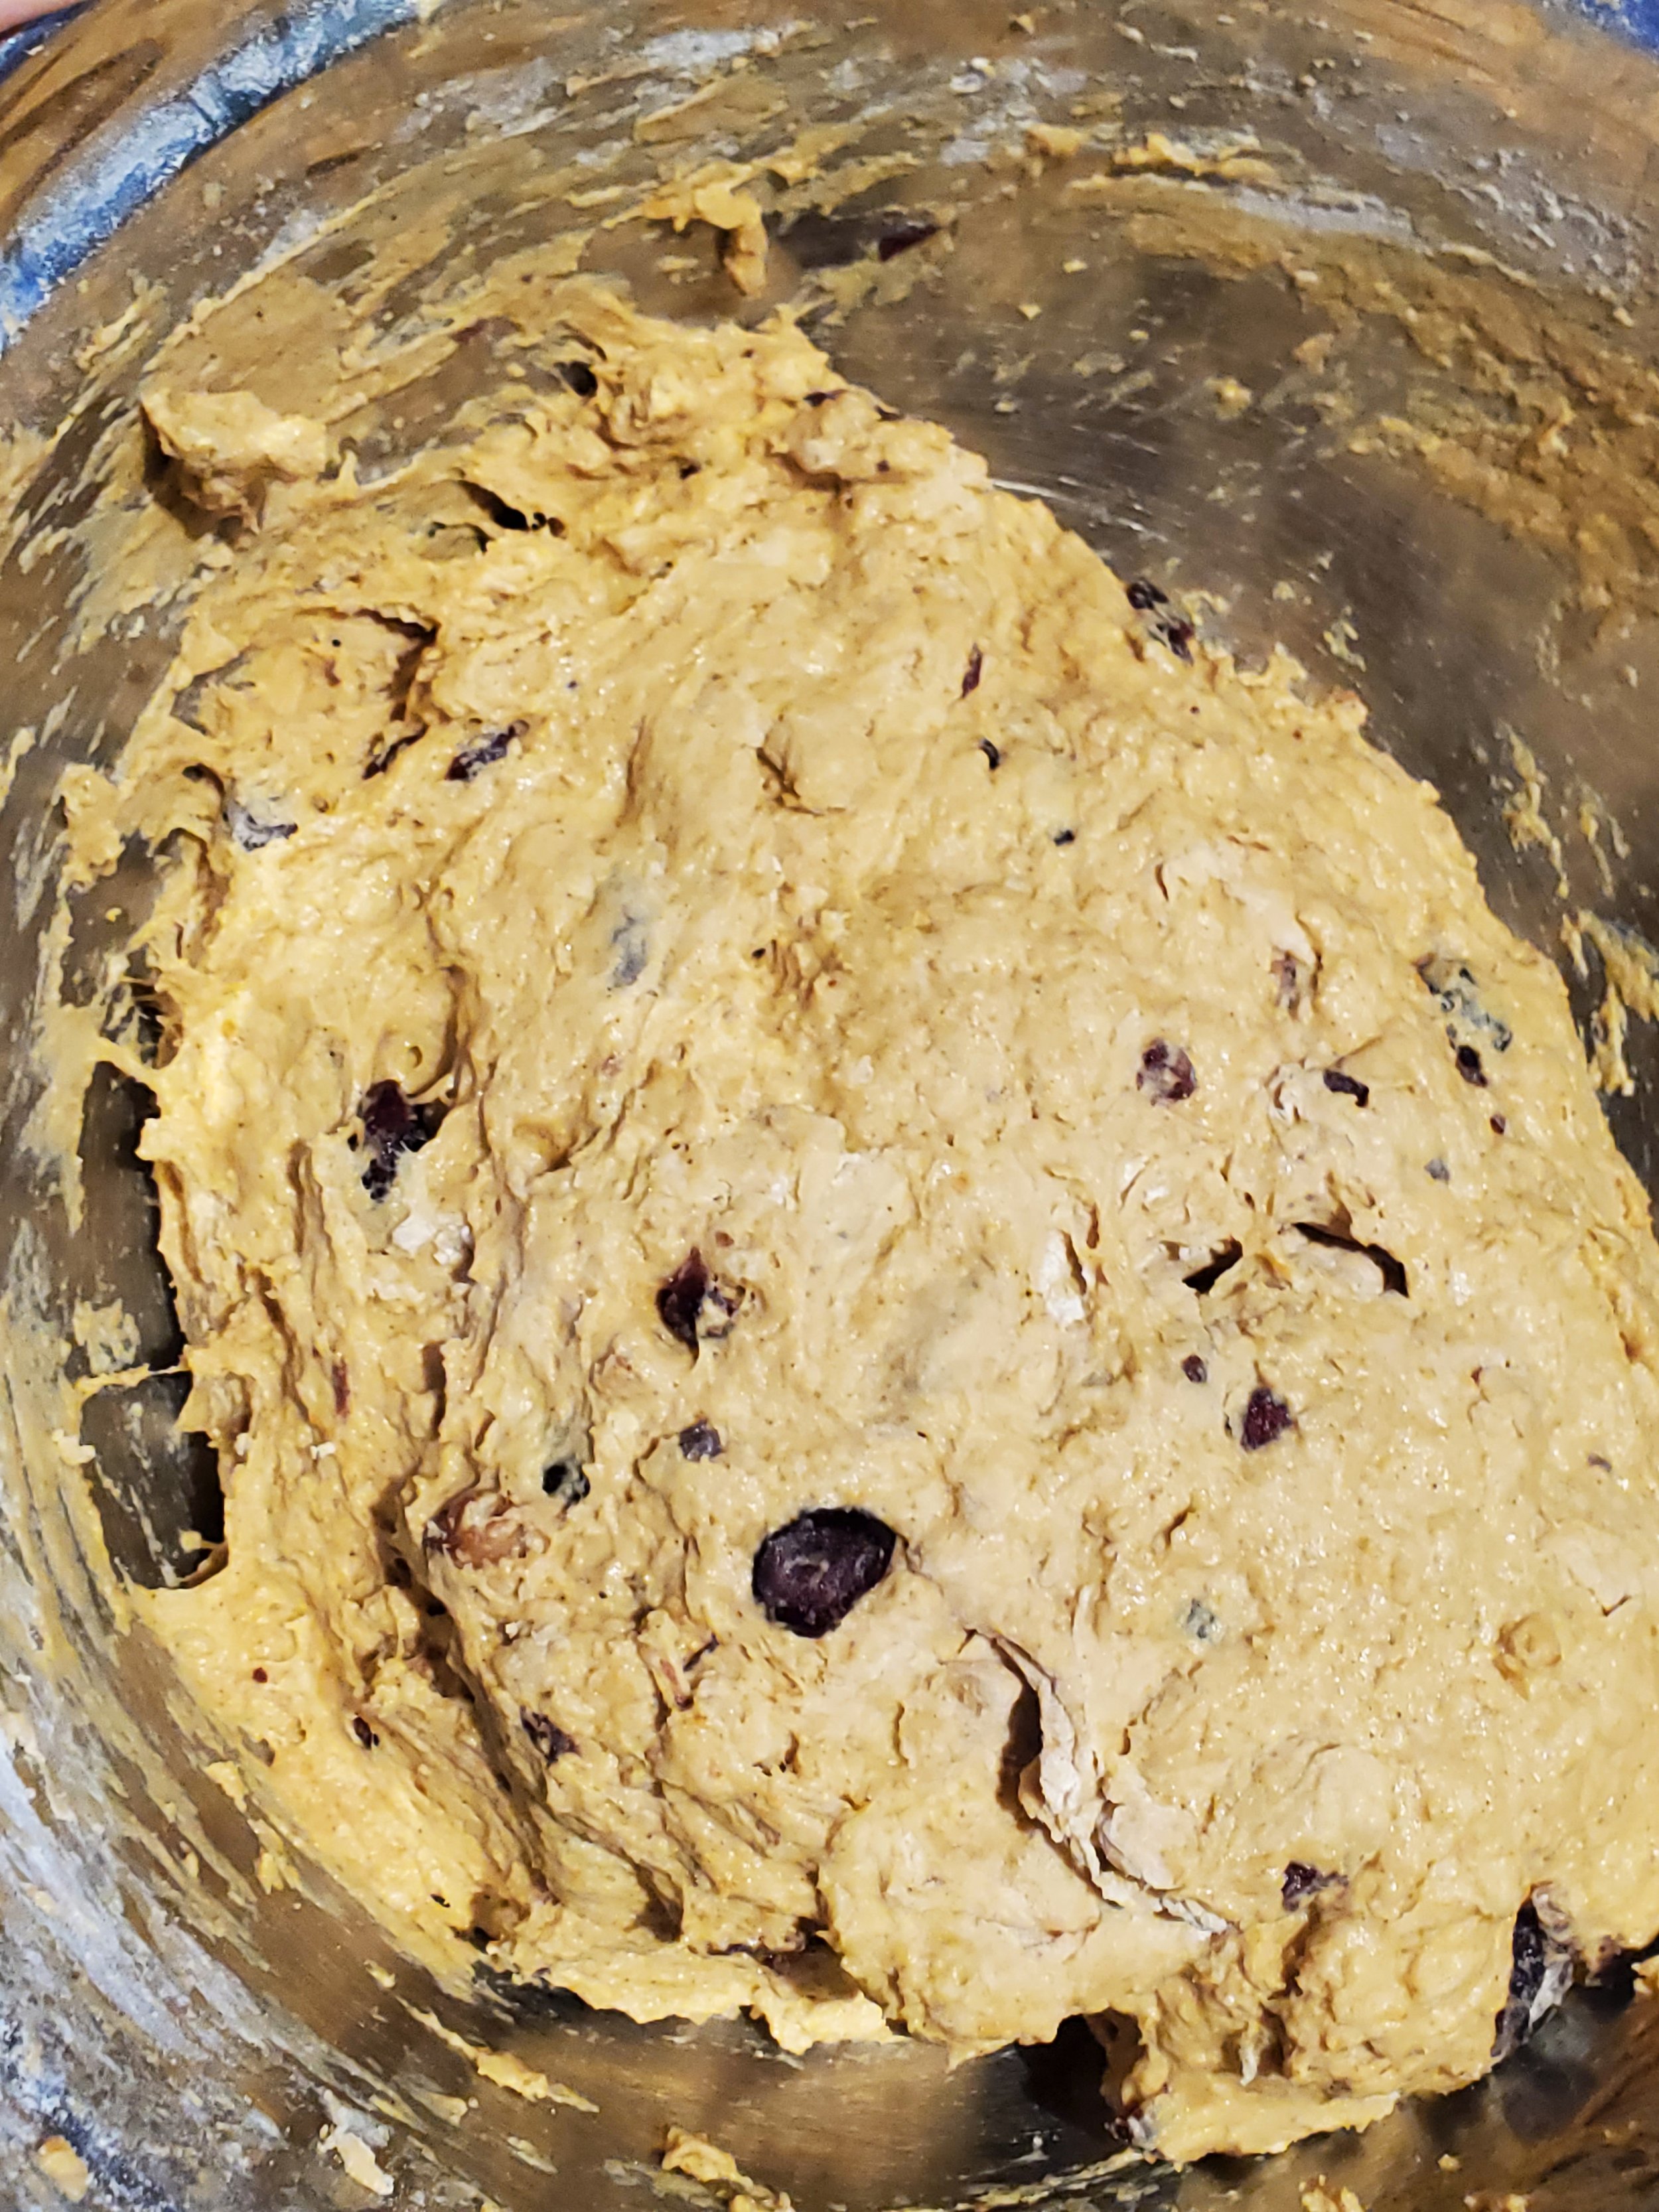
Add the pumpkin and the yeast mixture to the dry ingredients and stir well. Once you've got a relatively uniform consistency, you can add in the chopped walnuts and the cranberries. This is also the first point that your reserved cup of flour will make an appearance - work about half of it into the sticky dough you have here.


Cover the bowl with a clean kitchen towel and let it rise on the counter for three hours.


At the three hour mark, move the dough to the fridge, keeping it covered with the towel. Keep it in the fridge for at least an hour, or as long as overnight (if you're a forward thinker and got this done long enough ahead of time that you can refrigerate it overnight! Congrats on being wiser than us).


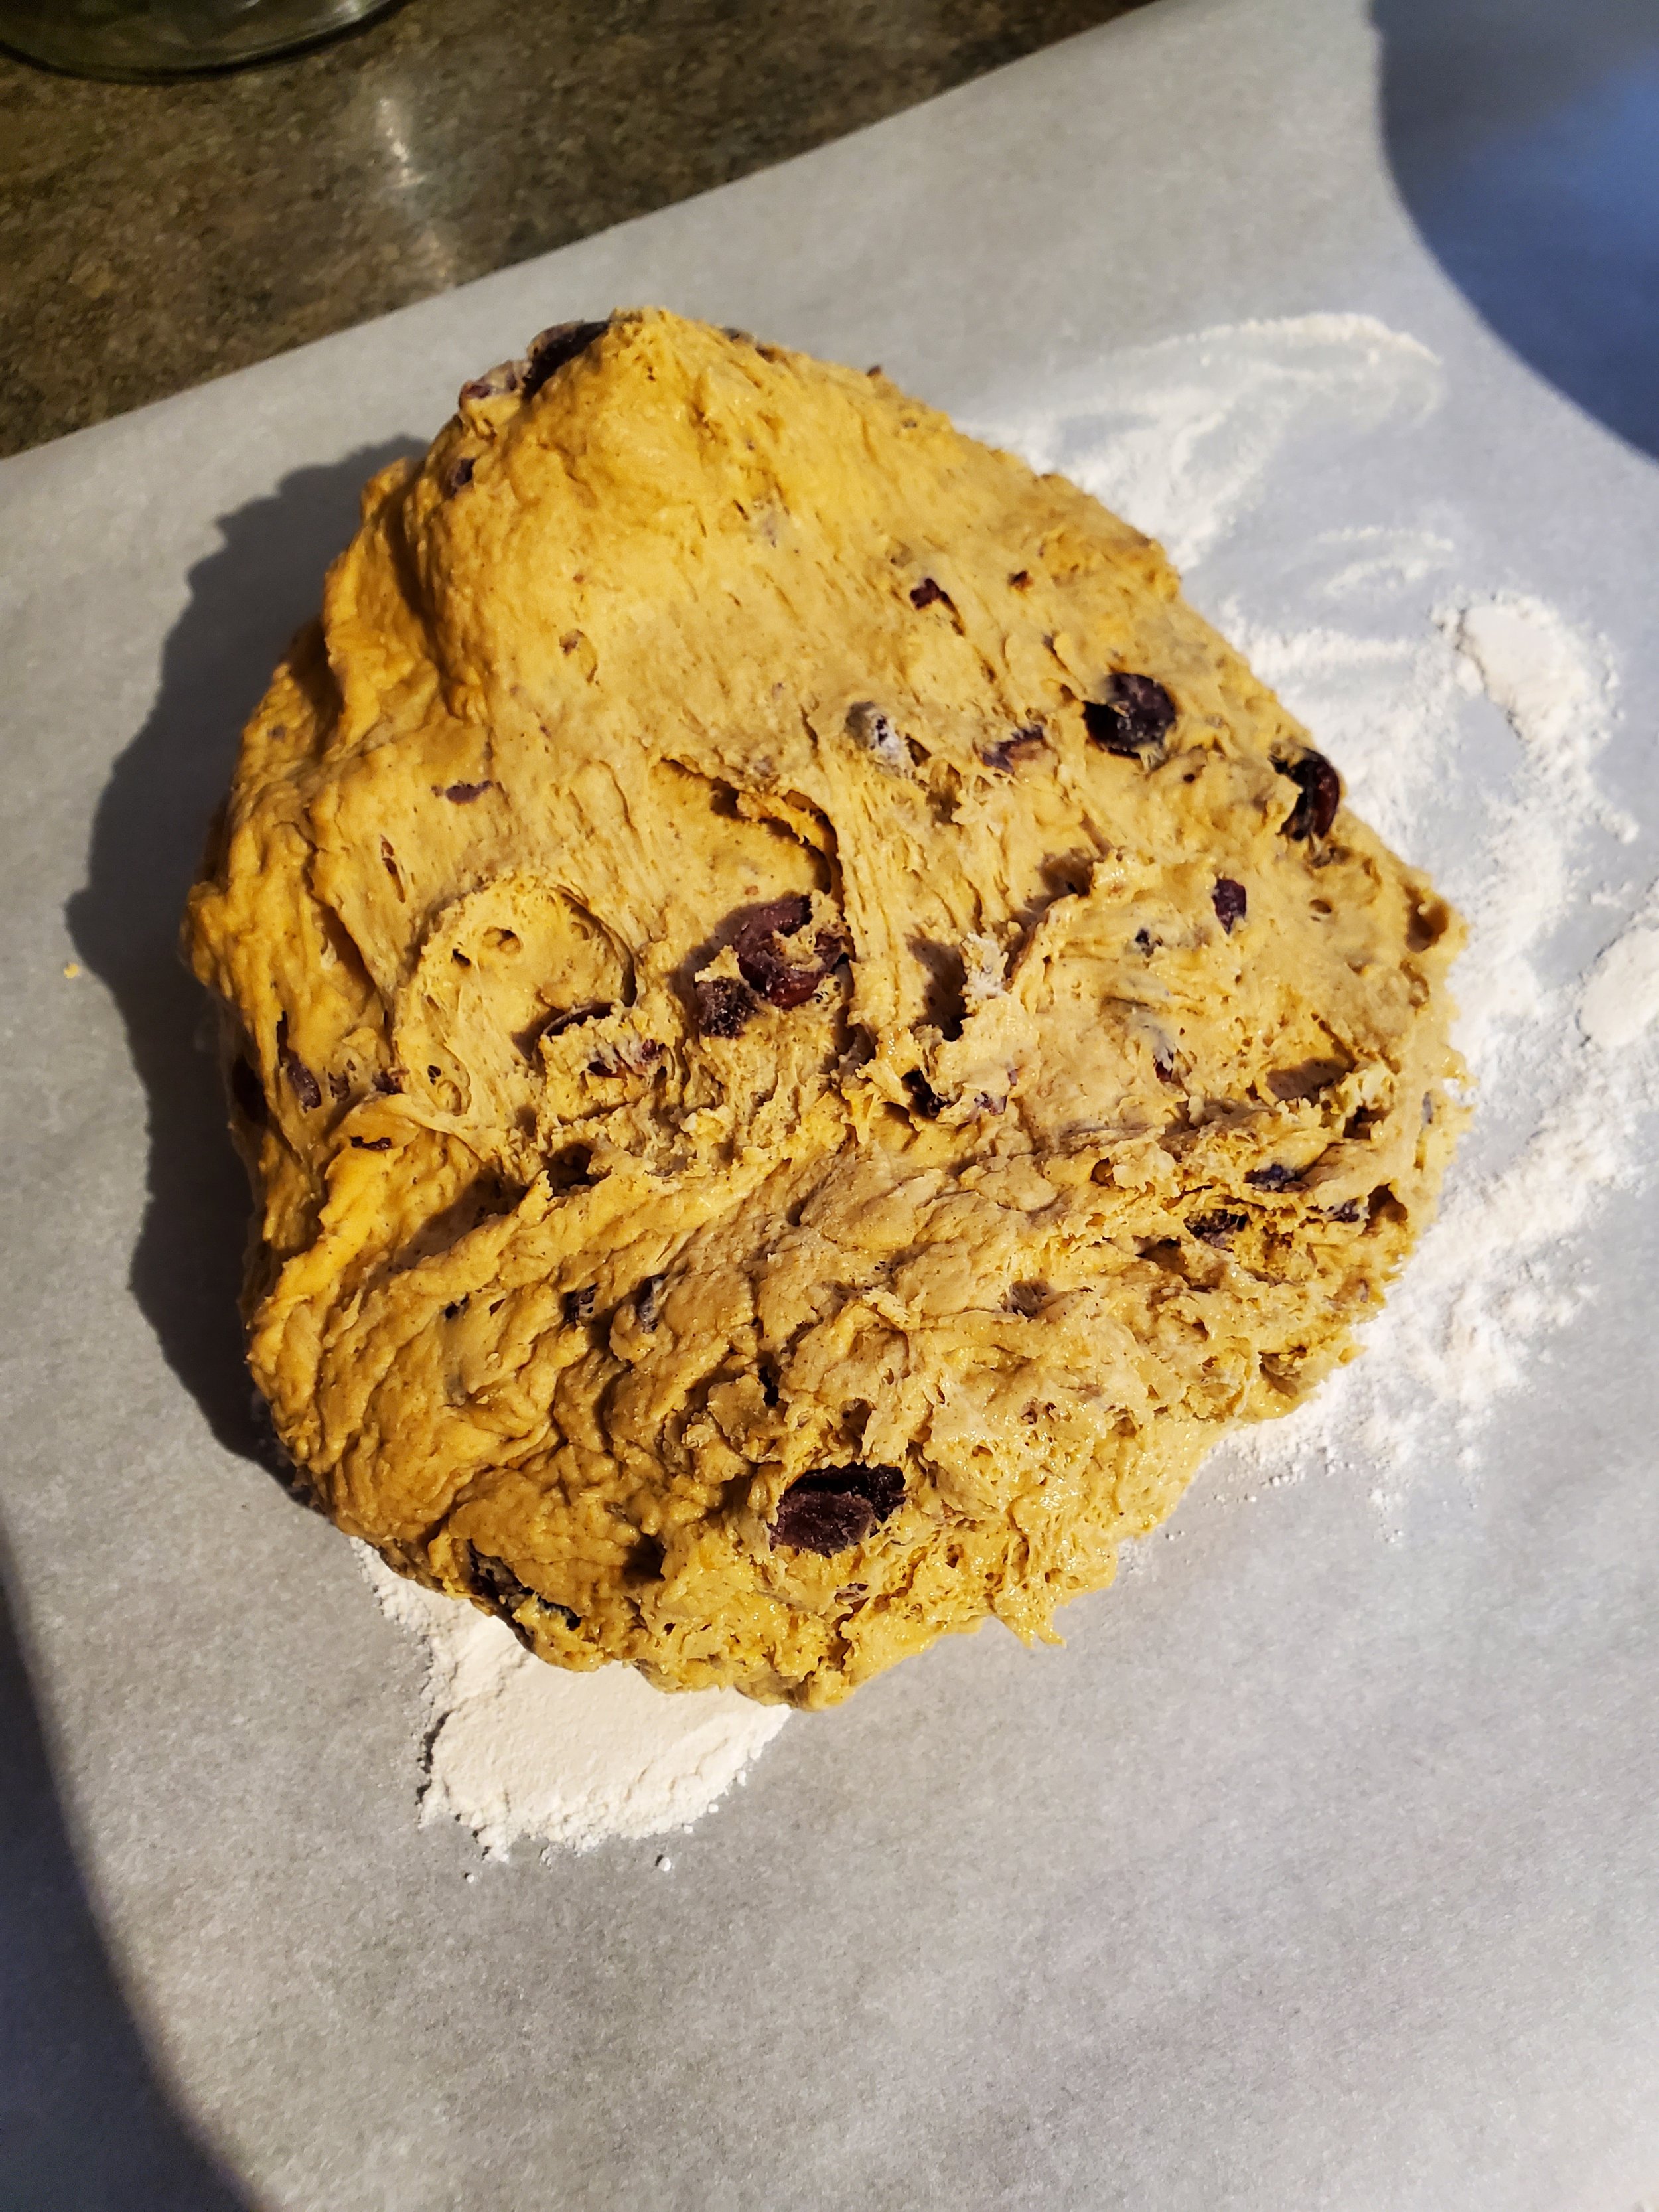
The chilled dough should be easier to work with, but we still recommend a set of food service gloves for this part. Take that reserved flour and dust a surface - a cutting board, the counter, some parchment, the table - whatever you have. We recommend parchment paper for ease of lifting later. Turn the cold dough out onto this floured surface and work it until it's smooth. Allow it to rise again where it sits for about an hour.


Preheat the oven to 450. That is not a typo, we really do mean 450.


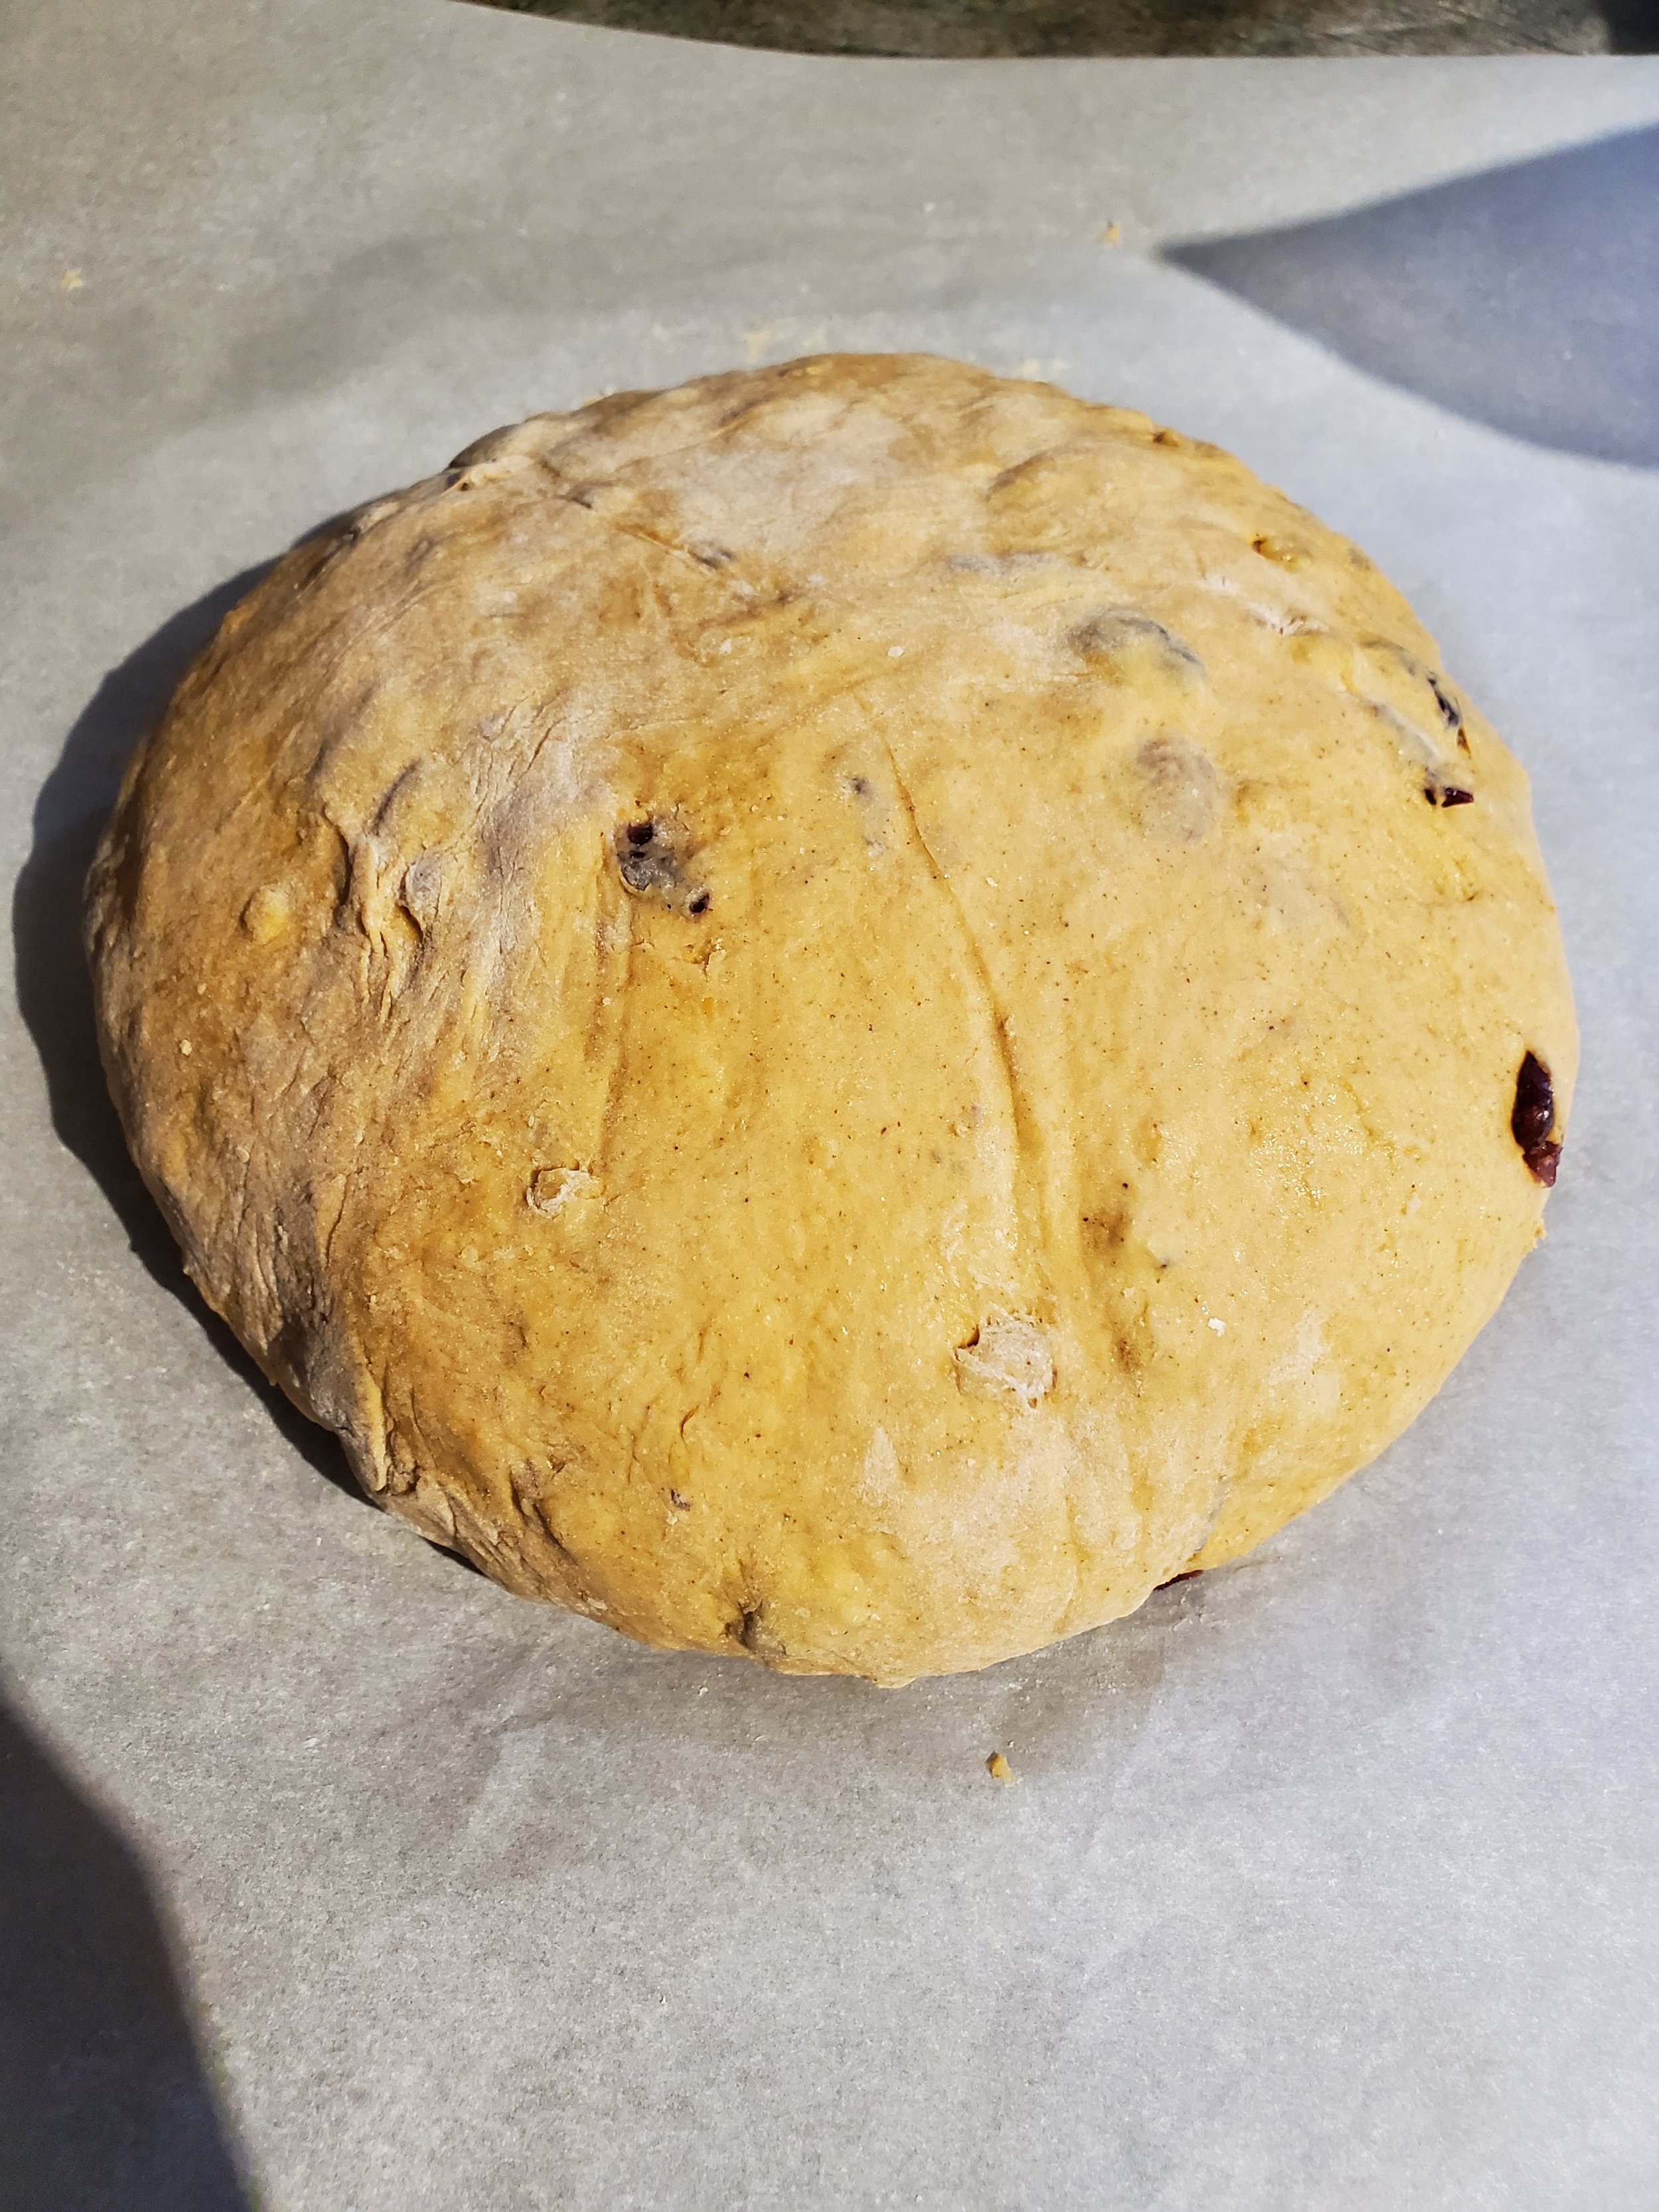
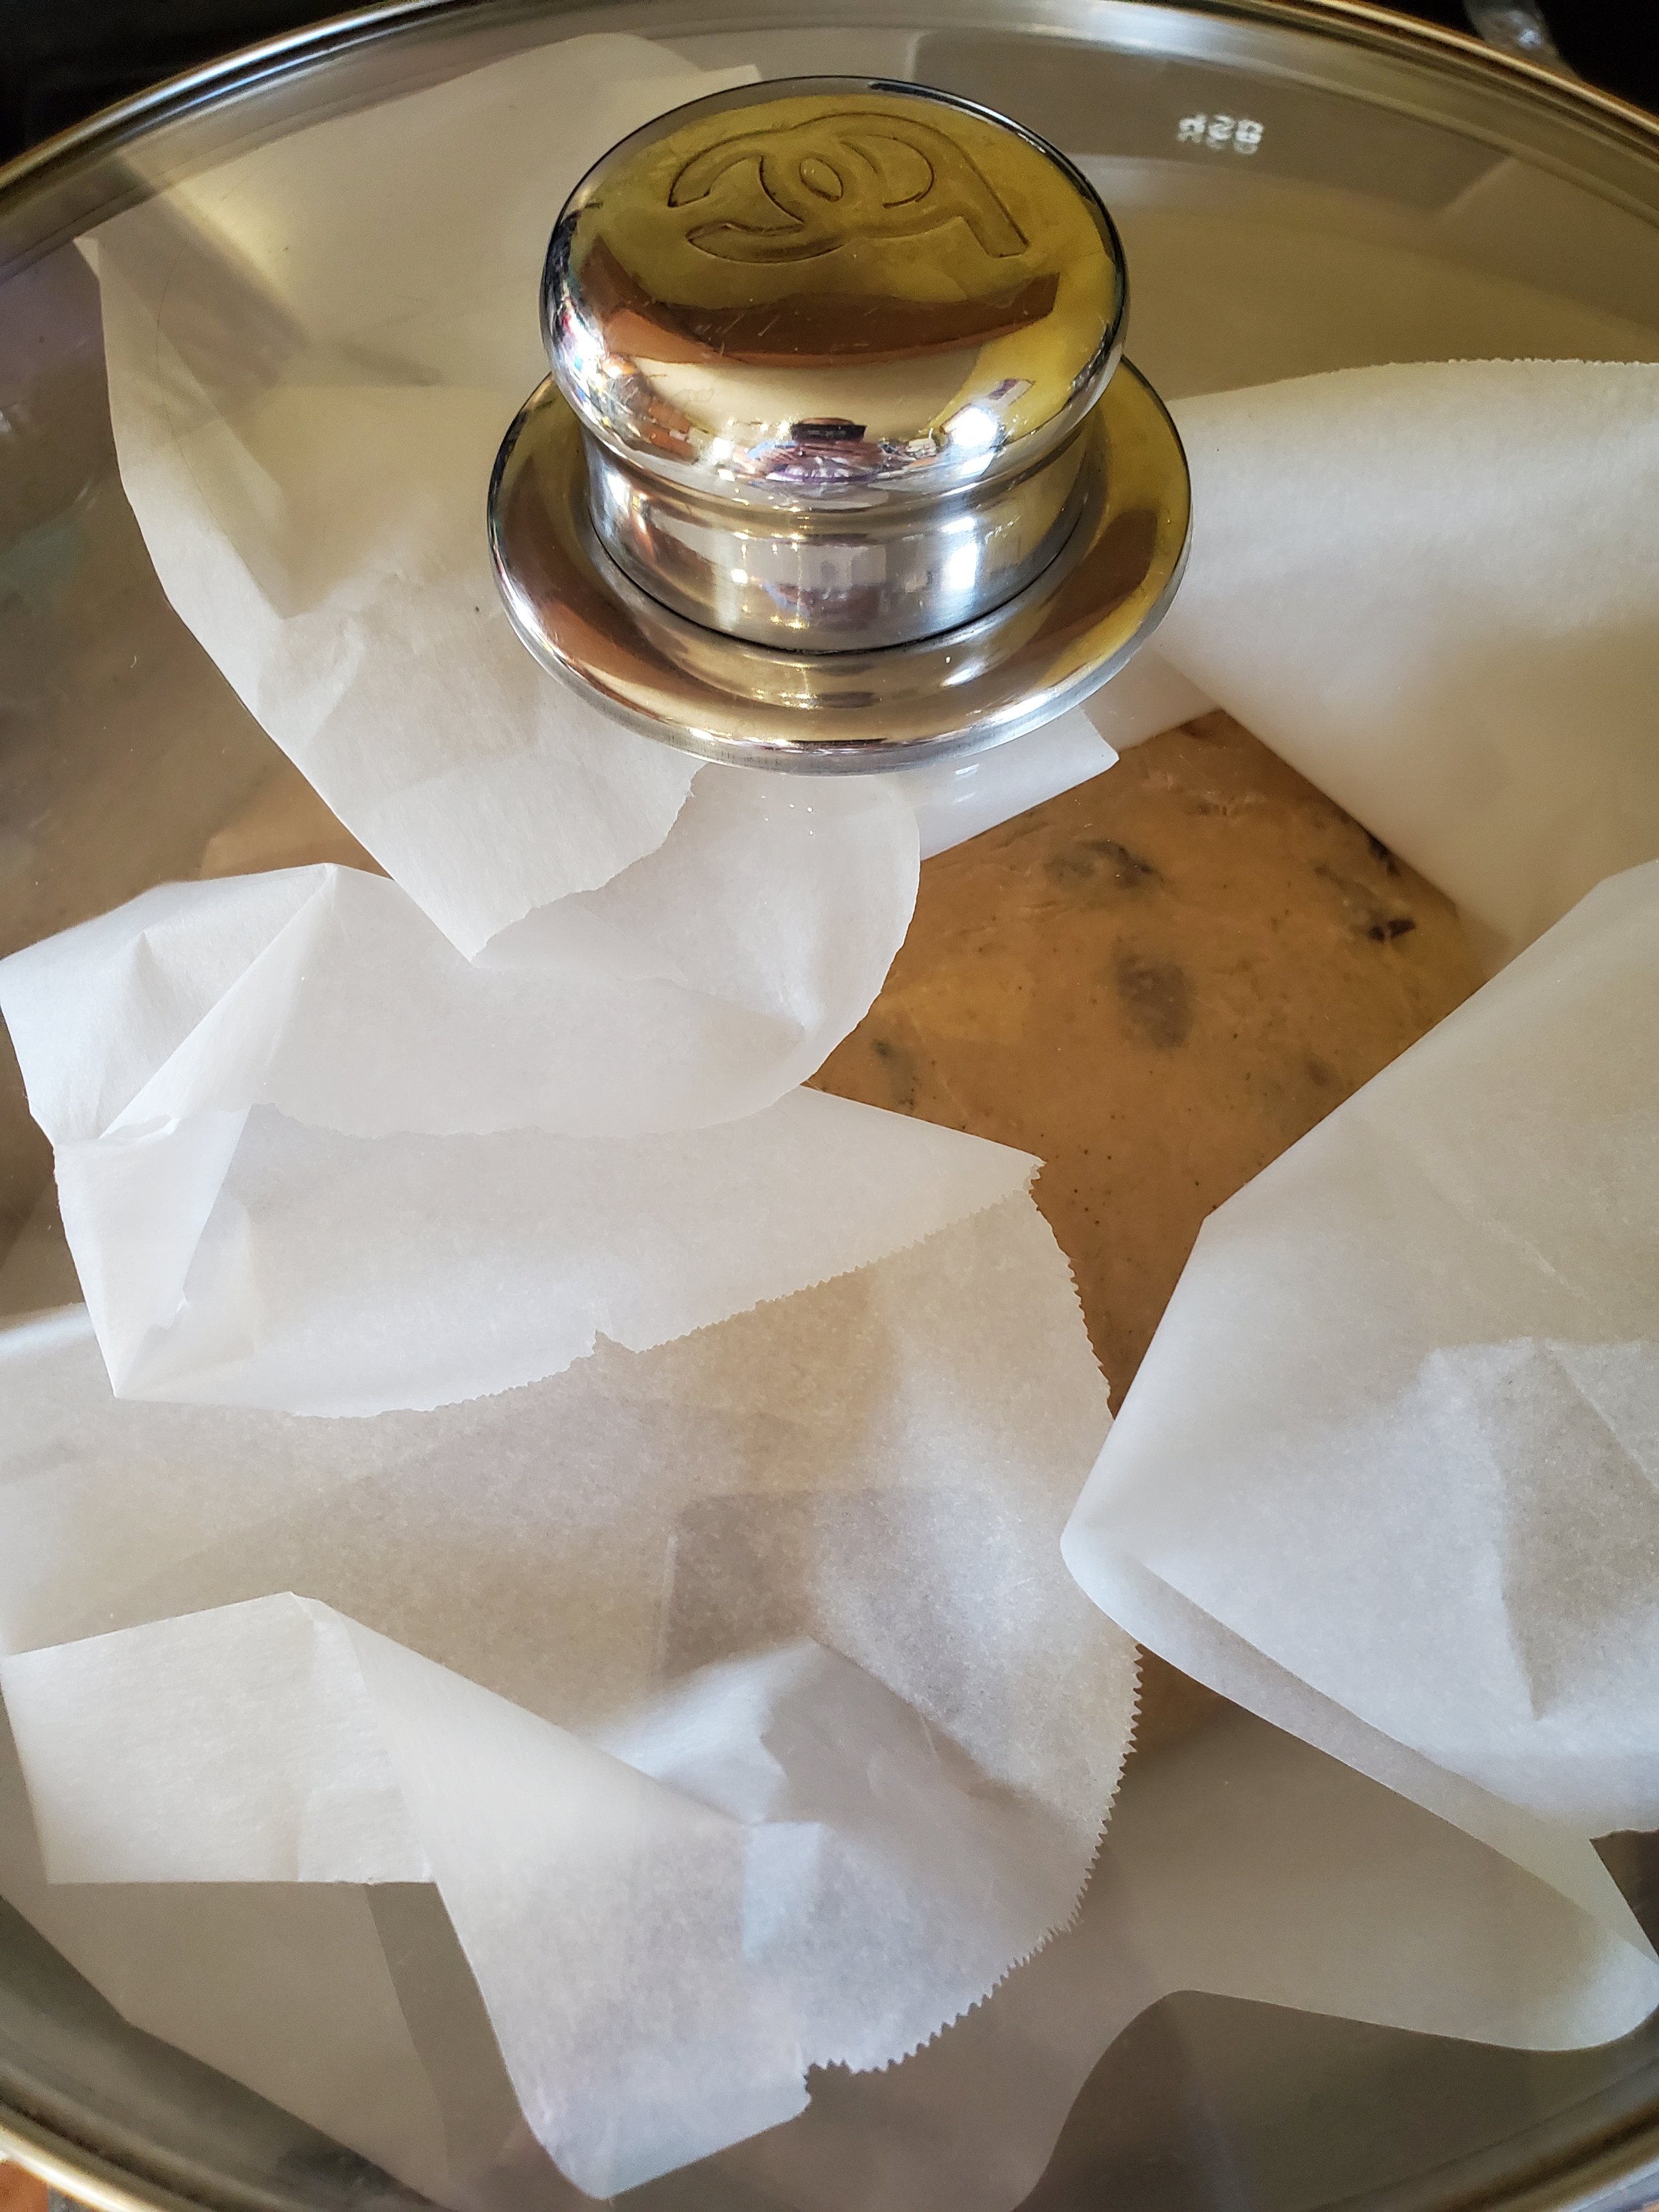
In the photos, we've done this as one large boule in a covered pan - but we find the results to be much better if done as two small loaves in average loaf pans, and doing two loaves reduces the cooking time and the risk of burning dramatically. Learning from our mistakes here.


Toss two loaf pans into the oven to heat up with it, keeping the other two loaf pans out on the counter. Divide your dough in two and shape into two even-sized loaves. Place each loaf on its own sheet of parchment paper.


Once the oven has come up to proper temperature, don your oven mitts or grab a towel and remove the pans. Using the parchment to transfer them, place one loaf into each pan. Place both pans onto the middle rack of the oven. Invert the cool pans over top of the pans in the oven (we're using them like the lid of the Dutch oven here). Set a timer for 15 minutes.


At the 15-minute mark, remove the covers and set them aside to cool. Bake the loaves uncovered for another 15 minutes. When the timer is up, turn the oven off and let the loaves sit in there for another five to ten minutes before removing them. Use the parchment to lift them. Allow them to cool before cutting with a serrated knife.


As you savor every bite of this Cranberry Pumpkin Nut Bread, remember that Appliance Rescue Service is here for all your home needs. Share your baking success on our Facebook page and feel free to contact us for any appliance-related queries at (214) 599-0055 or through our website. From repairs to routine maintenance, count on us for all your major appliance requirements. Let the lingering aroma of this delightful bread remind you that we're dedicated to ensuring your home runs smoothly.


Additional Reading 

Impress Your Guests with This Easy-to-Make Apple Pecan French Toast Bake


Escapee From New York: Chocolate Bagels


Get Your Protein with This Buddha Bowl

A Creative Way to Mix Up Left Overs 

Sometimes you want something that works with what you have left over from earlier in the week. Most times, you want something that’s going to fill you up and not leave you hangry a few hours later. This recipe fits both of those needs. Now, as with most recipes for Buddha bowls, you’re more than welcome to mix things up. Add in more veggies, add in less grain, sub out an entirely different sauce. This is one that we’ve been loving though, and have used multiple times since dreaming it up earlier this year. 

Sauce:

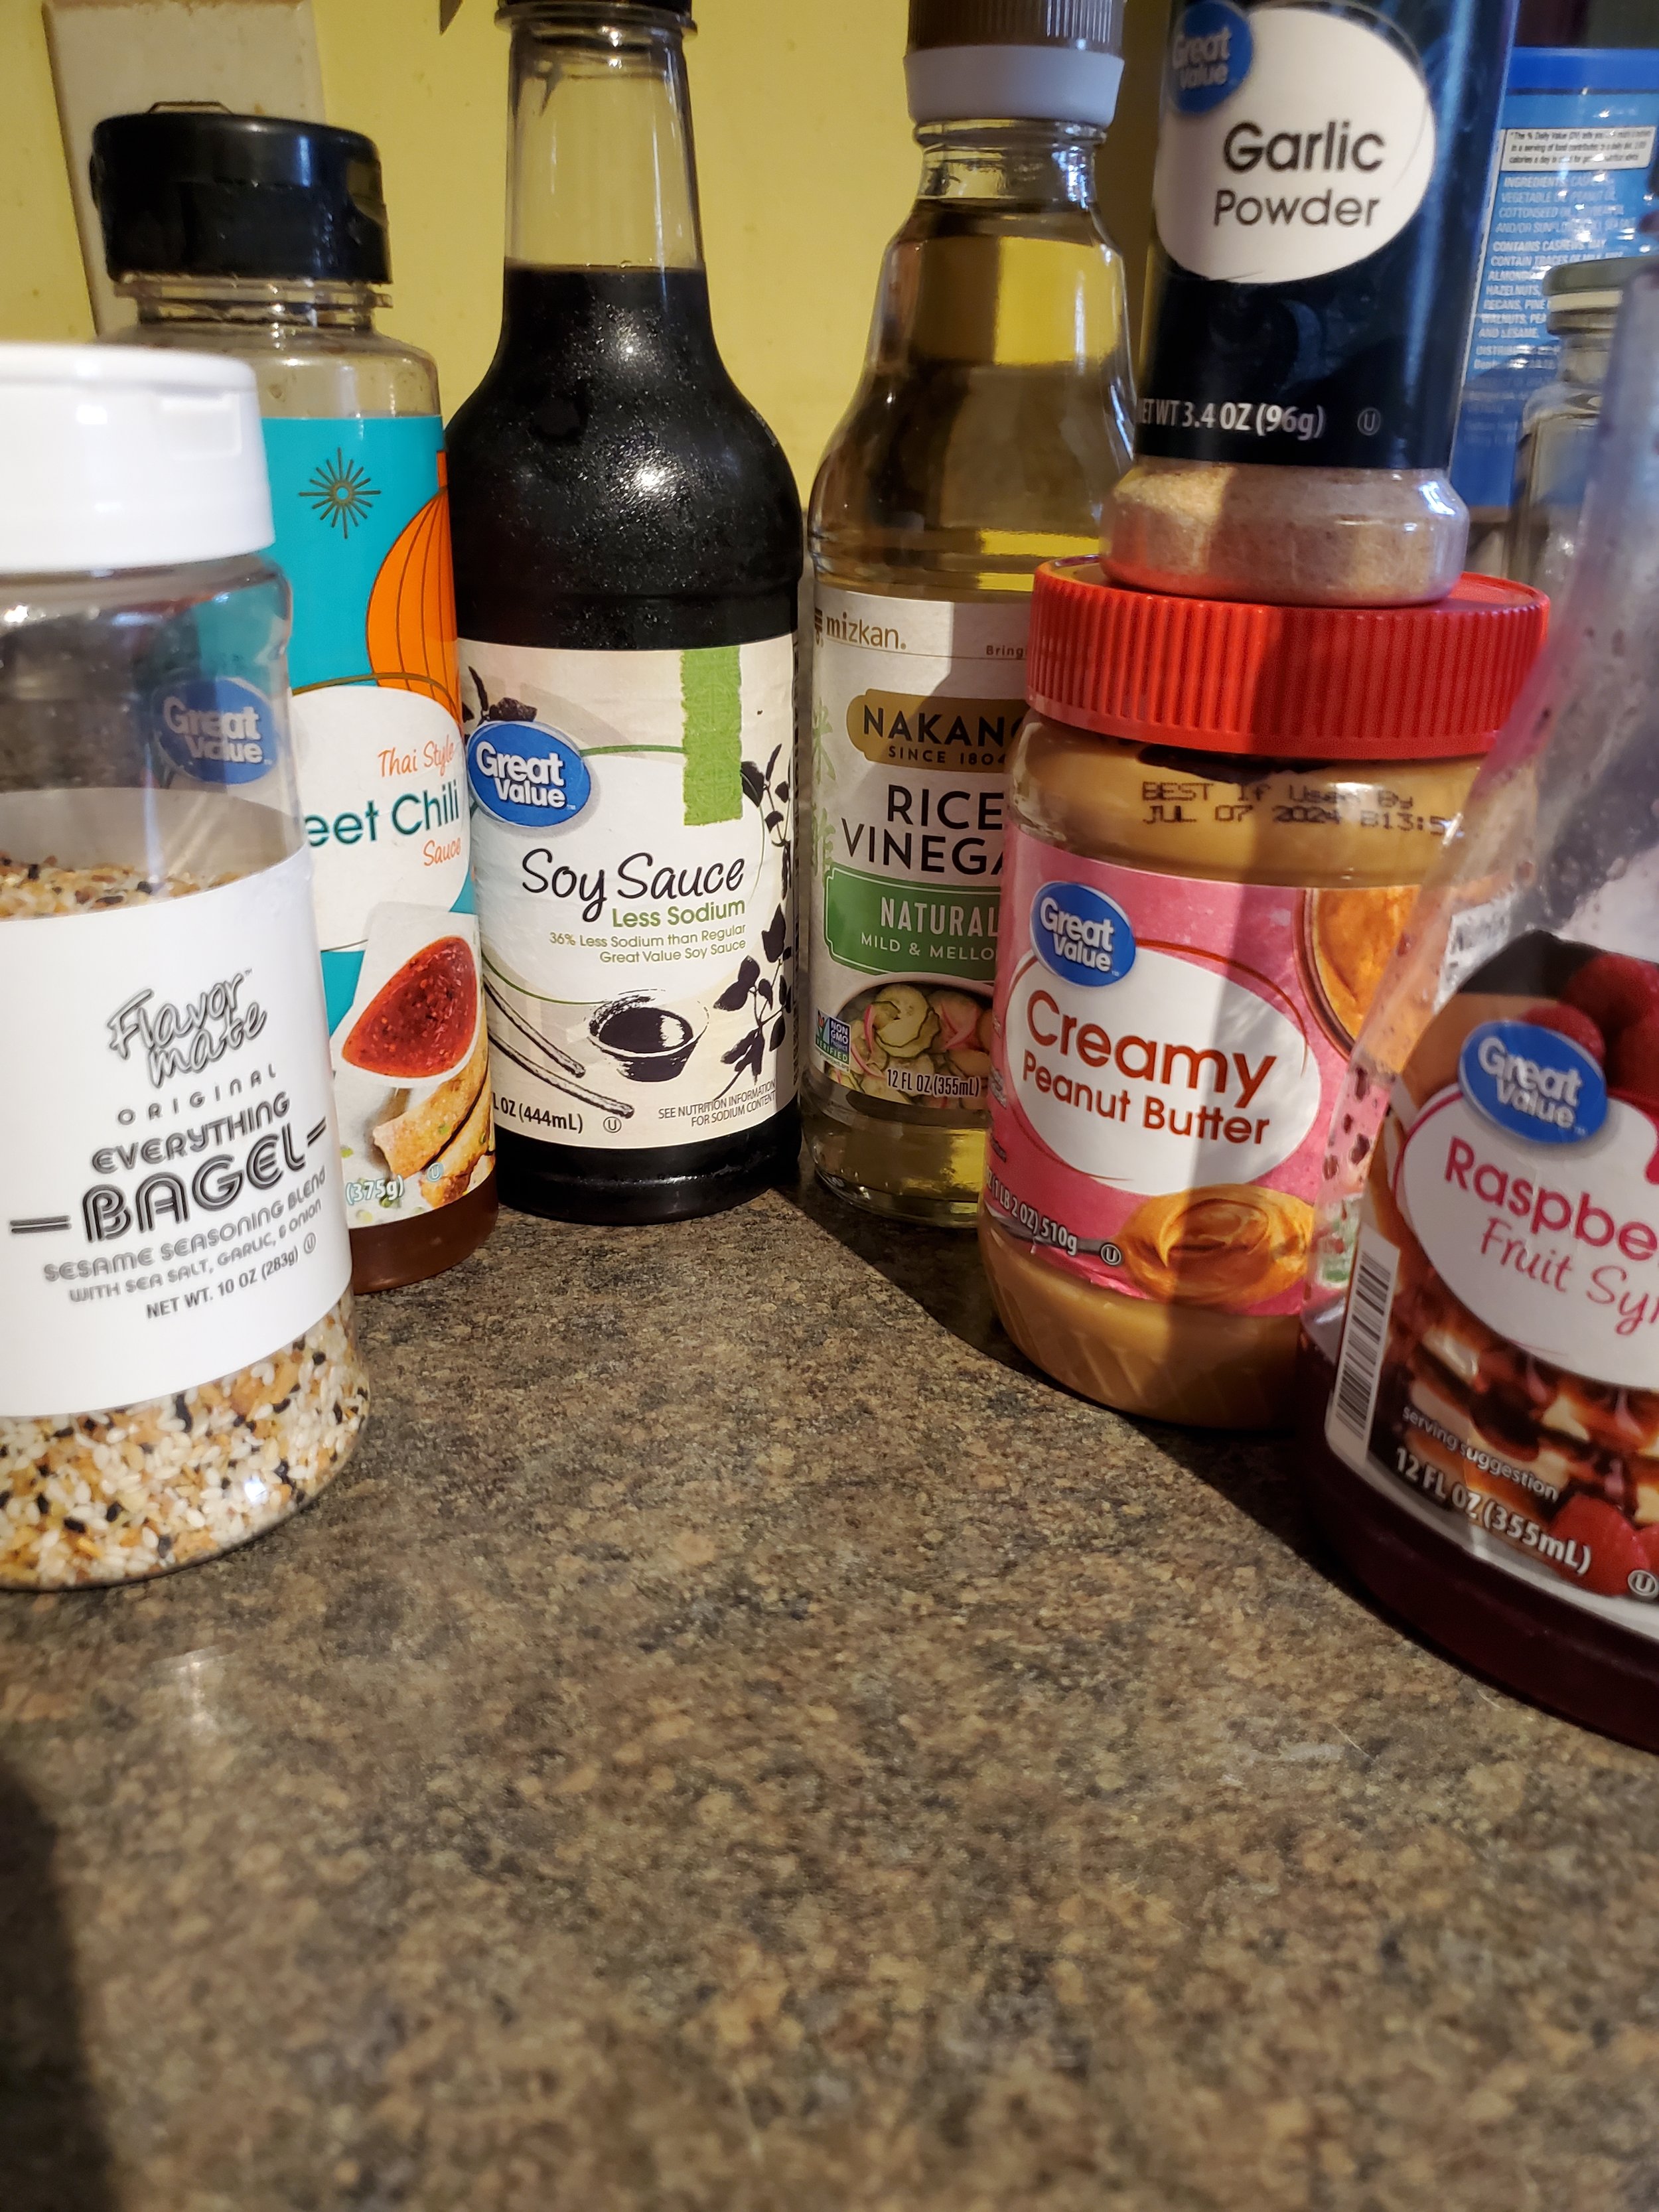
1/4 cup peanut butter

2 tablespoons low sodium soy sauce

2 teaspoons rice vinegar

1 teaspoon raspberry syrup

1/2 teaspoon sweet chili sauce

1 teaspoon garlic powder

2 tablespoons hot water


Bowl:

1 cup rice (cooked)

1 cup quinoa (cooked)

1/2 cup shredded carrots

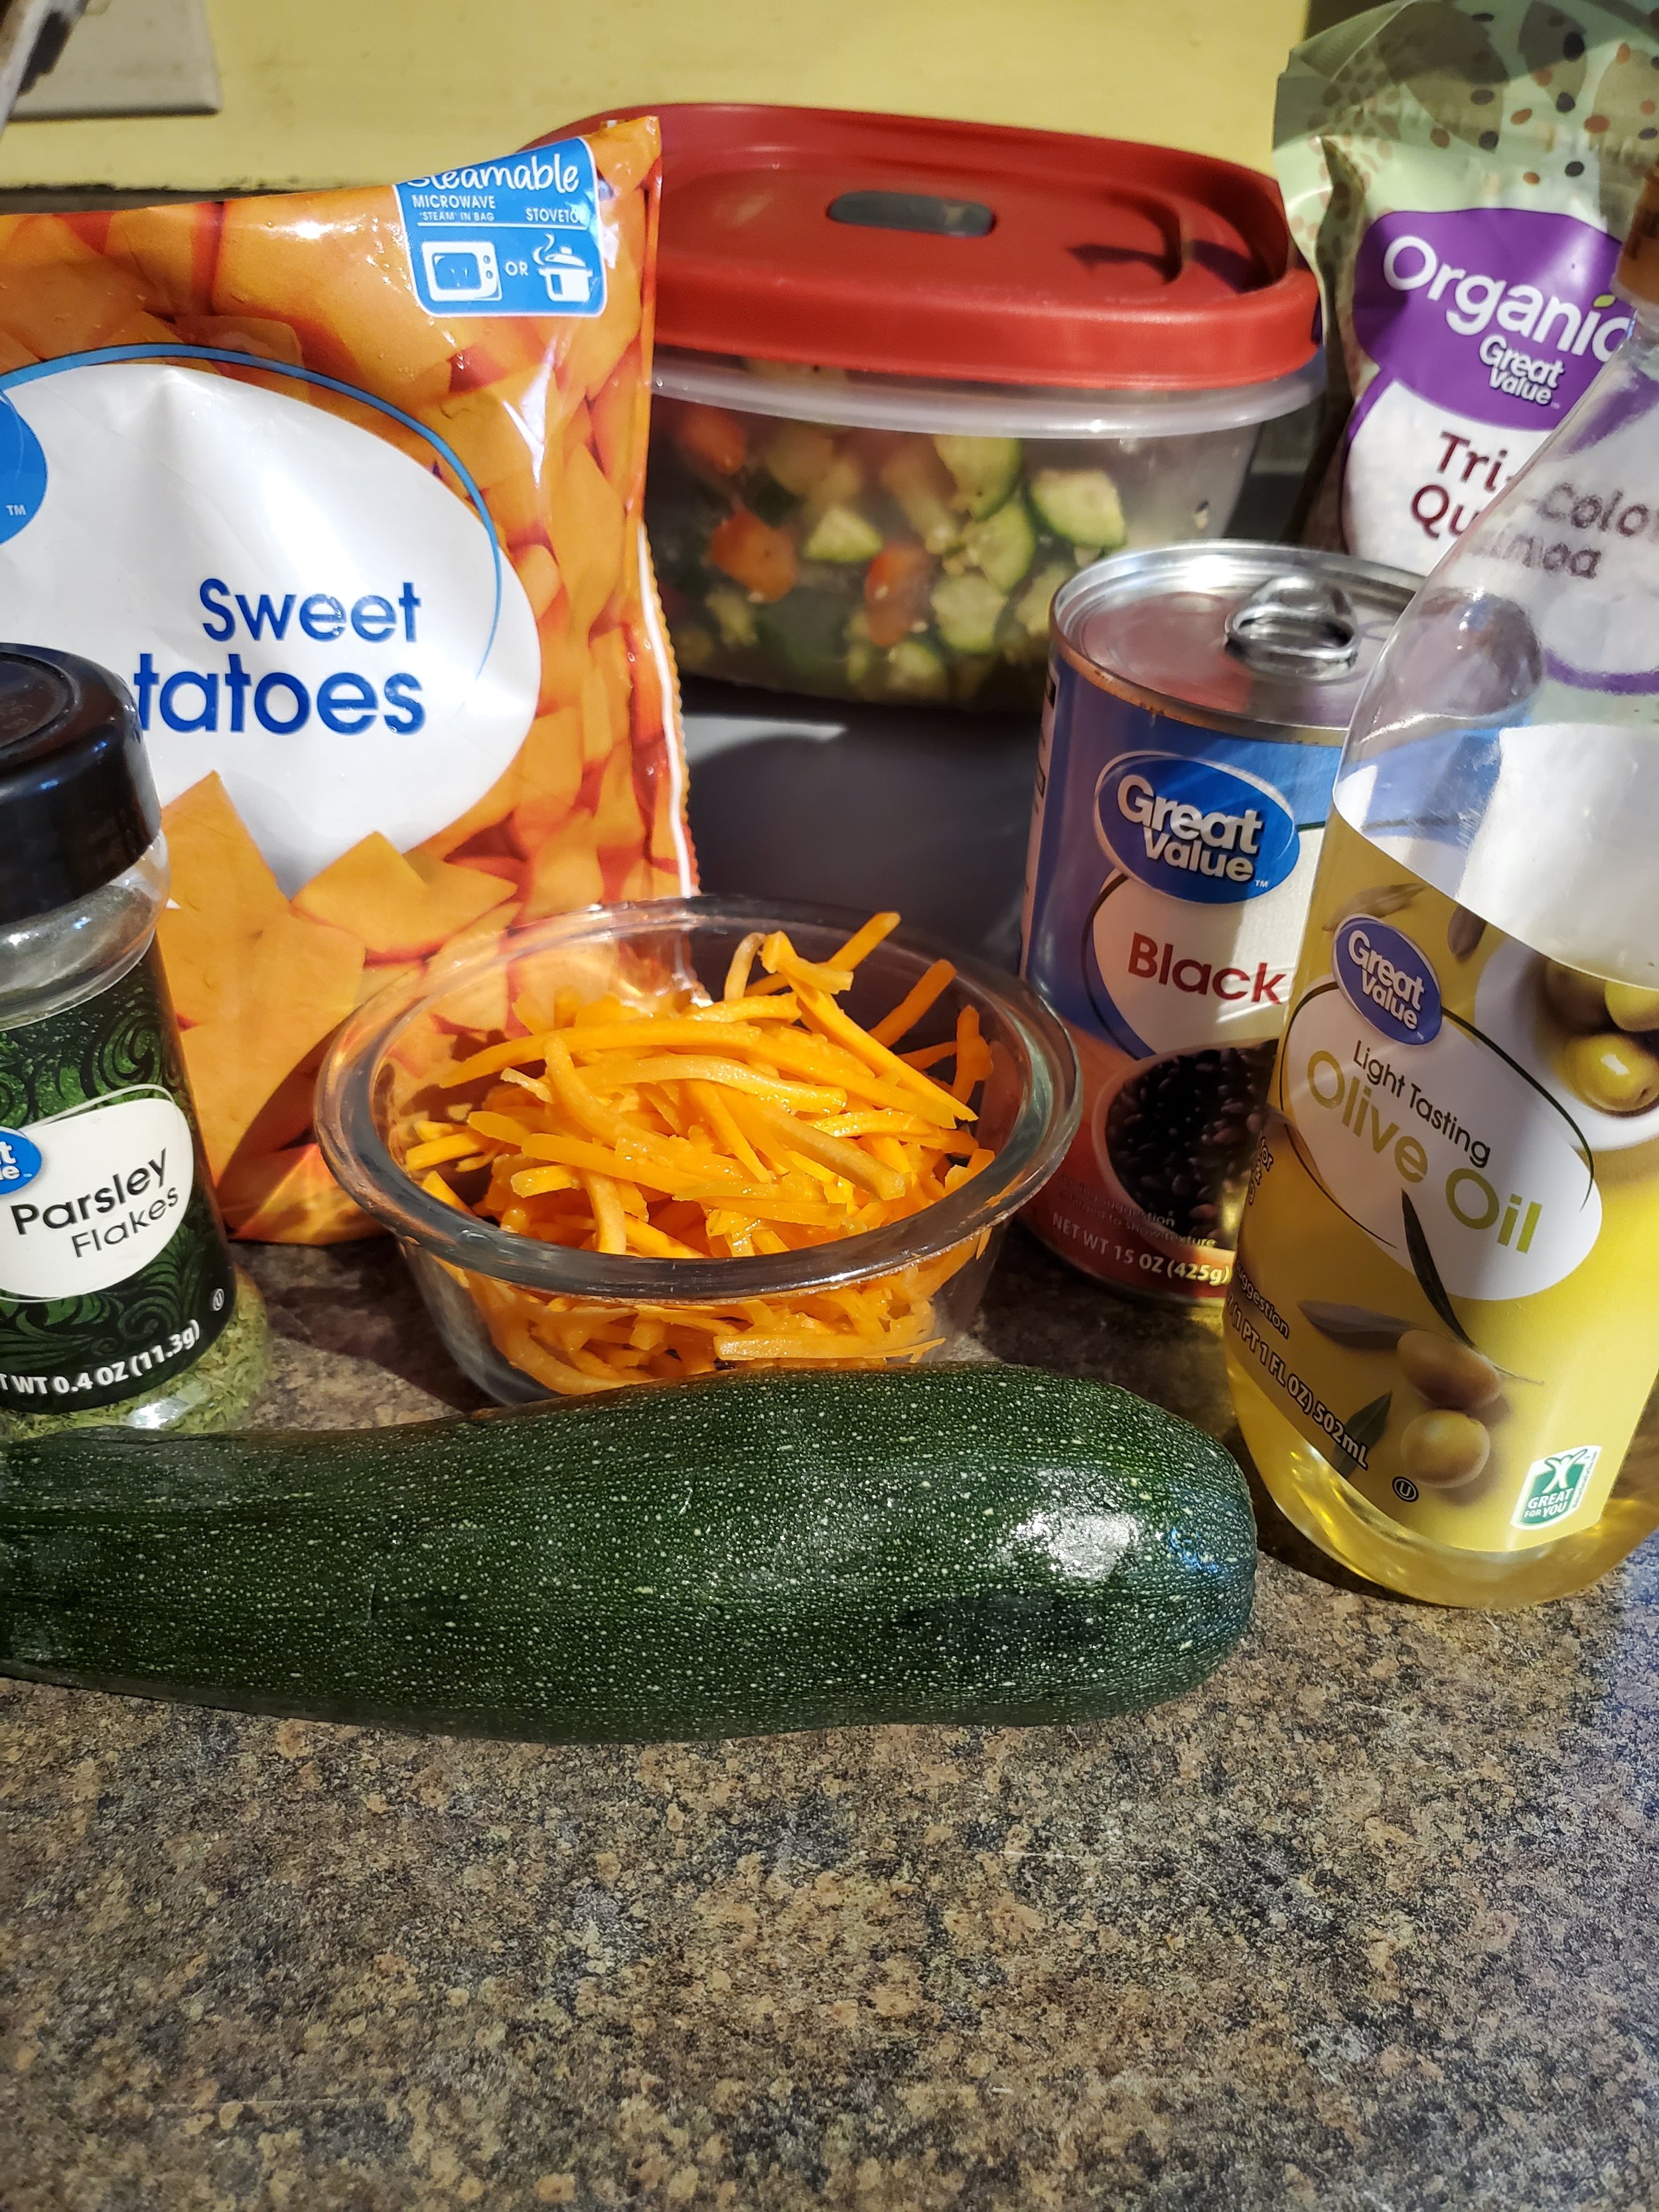
1 package frozen sweet potato

1 can seasoned black beans

1 zucchini

1 teaspoon olive oil

1 teaspoon dried parsley

salt and pepper to taste


Tools:

cutting board

knife

measuring cups and spoons

serving spoon

sieve or colander

microwave-safe dishes

fork and spoon

frying pan


As always: wash your produce! This is our first step every time we're not utilizing washed/ready-to-eat veggies.


If you're not working with already-cooked rice and quinoa, go ahead and start them now. (This recipe was actually born out of there being too much rice in our fridge, left over from dinner the night before... which is why we sort of glossed over the cooking of the rice and quinoa steps.)


Put your steamable bag of frozen sweet potato chunks into the microwave and cook them according to package directions - in our case, roughly six minutes on high.


Dump the can of seasoned black beans into the colander or sieve to drain and give them a quick rinse before putting them into a microwave safe dish. You can set them aside for now, as they won't need to heat very long in the microwave, and the sweet potatoes will be hogging it for a while anyway. But when the sweet potatoes are finally done, swap them for the beans and zap them a minute or two, just long enough to heat them through.


Trim the ends and cut your zucchini into chunks - whatever shape or size you like is fine, but we do half inch quarter rounds because they cook quickly. Pour your olive oil into the frying pan, swish it around a little to coat, and add the zucchini. Sprinkle with parsley, salt and pepper, and saute for about 5 minutes over medium heat. You can substitute sesame oil for the olive oil if you have some, but it seems not a lot of people keep sesame oil in their pantries.


We chose to leave our shredded carrots raw, but if you'd prefer them cooked, feel free to toss them in with the zucchini about halfway through the cook time.


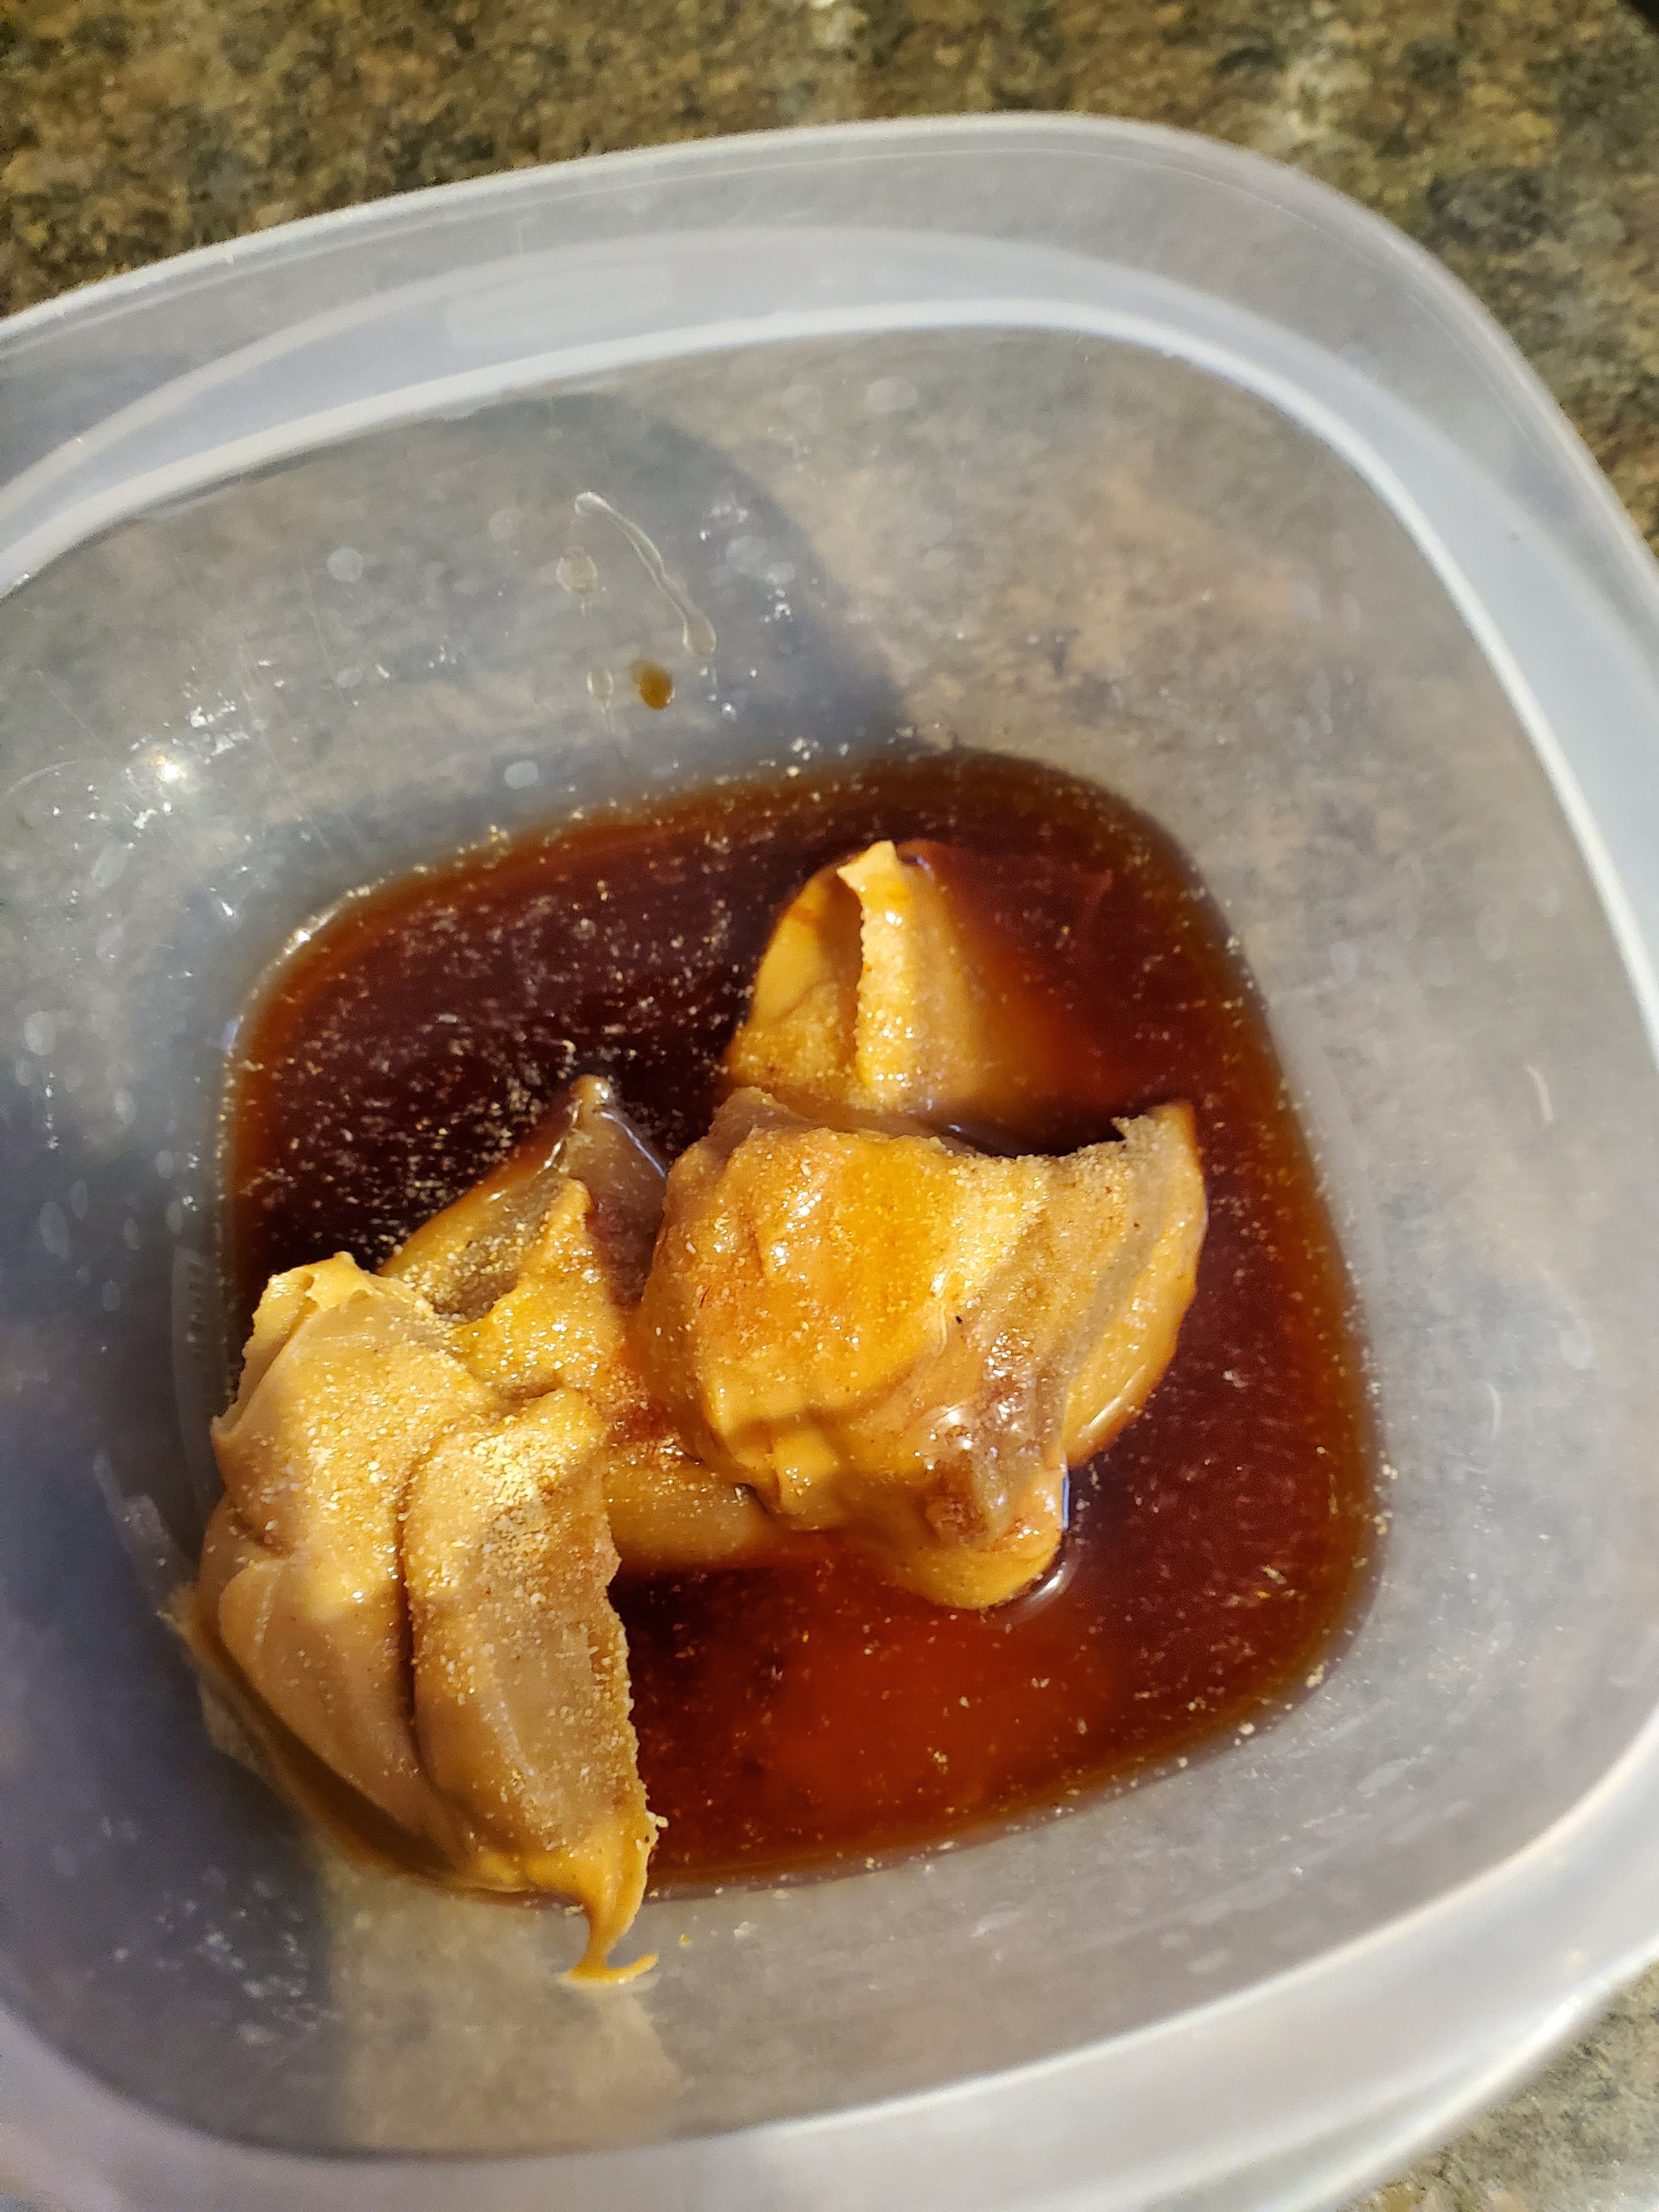
As your veggies heat/cook, grab a smaller microwave safe bowl and get started on the sauce. The first thing to go in should be the peanut butter. If you find peanut butter to be a little unwieldy (sticking to the spoon, landing in great blobs on the side of the dish instead of in the bottom, etc.) when you cook with it, feel free to employ the tactics of spraying your measuring cup with cooking oil before filling it and/or heating the peanut butter for 15-30 seconds in the microwave to soften it up.


After the peanut butter, use a fork to stir in the soy sauce, rice vinegar, sweet chili sauce, and syrup. These normally mix fairly easily. The troublesome one is usually the garlic powder. Once you have the other items mixed thoroughly, sprinkle the garlic powder on top and pour the hot water over it. Use the fork like a whisk and swish the hot water over the powder and into the peanut butter mixture a few times to combine.Switch to a spoon and stir it to death. Leave the spoon in the dish because you'll need it shortly.


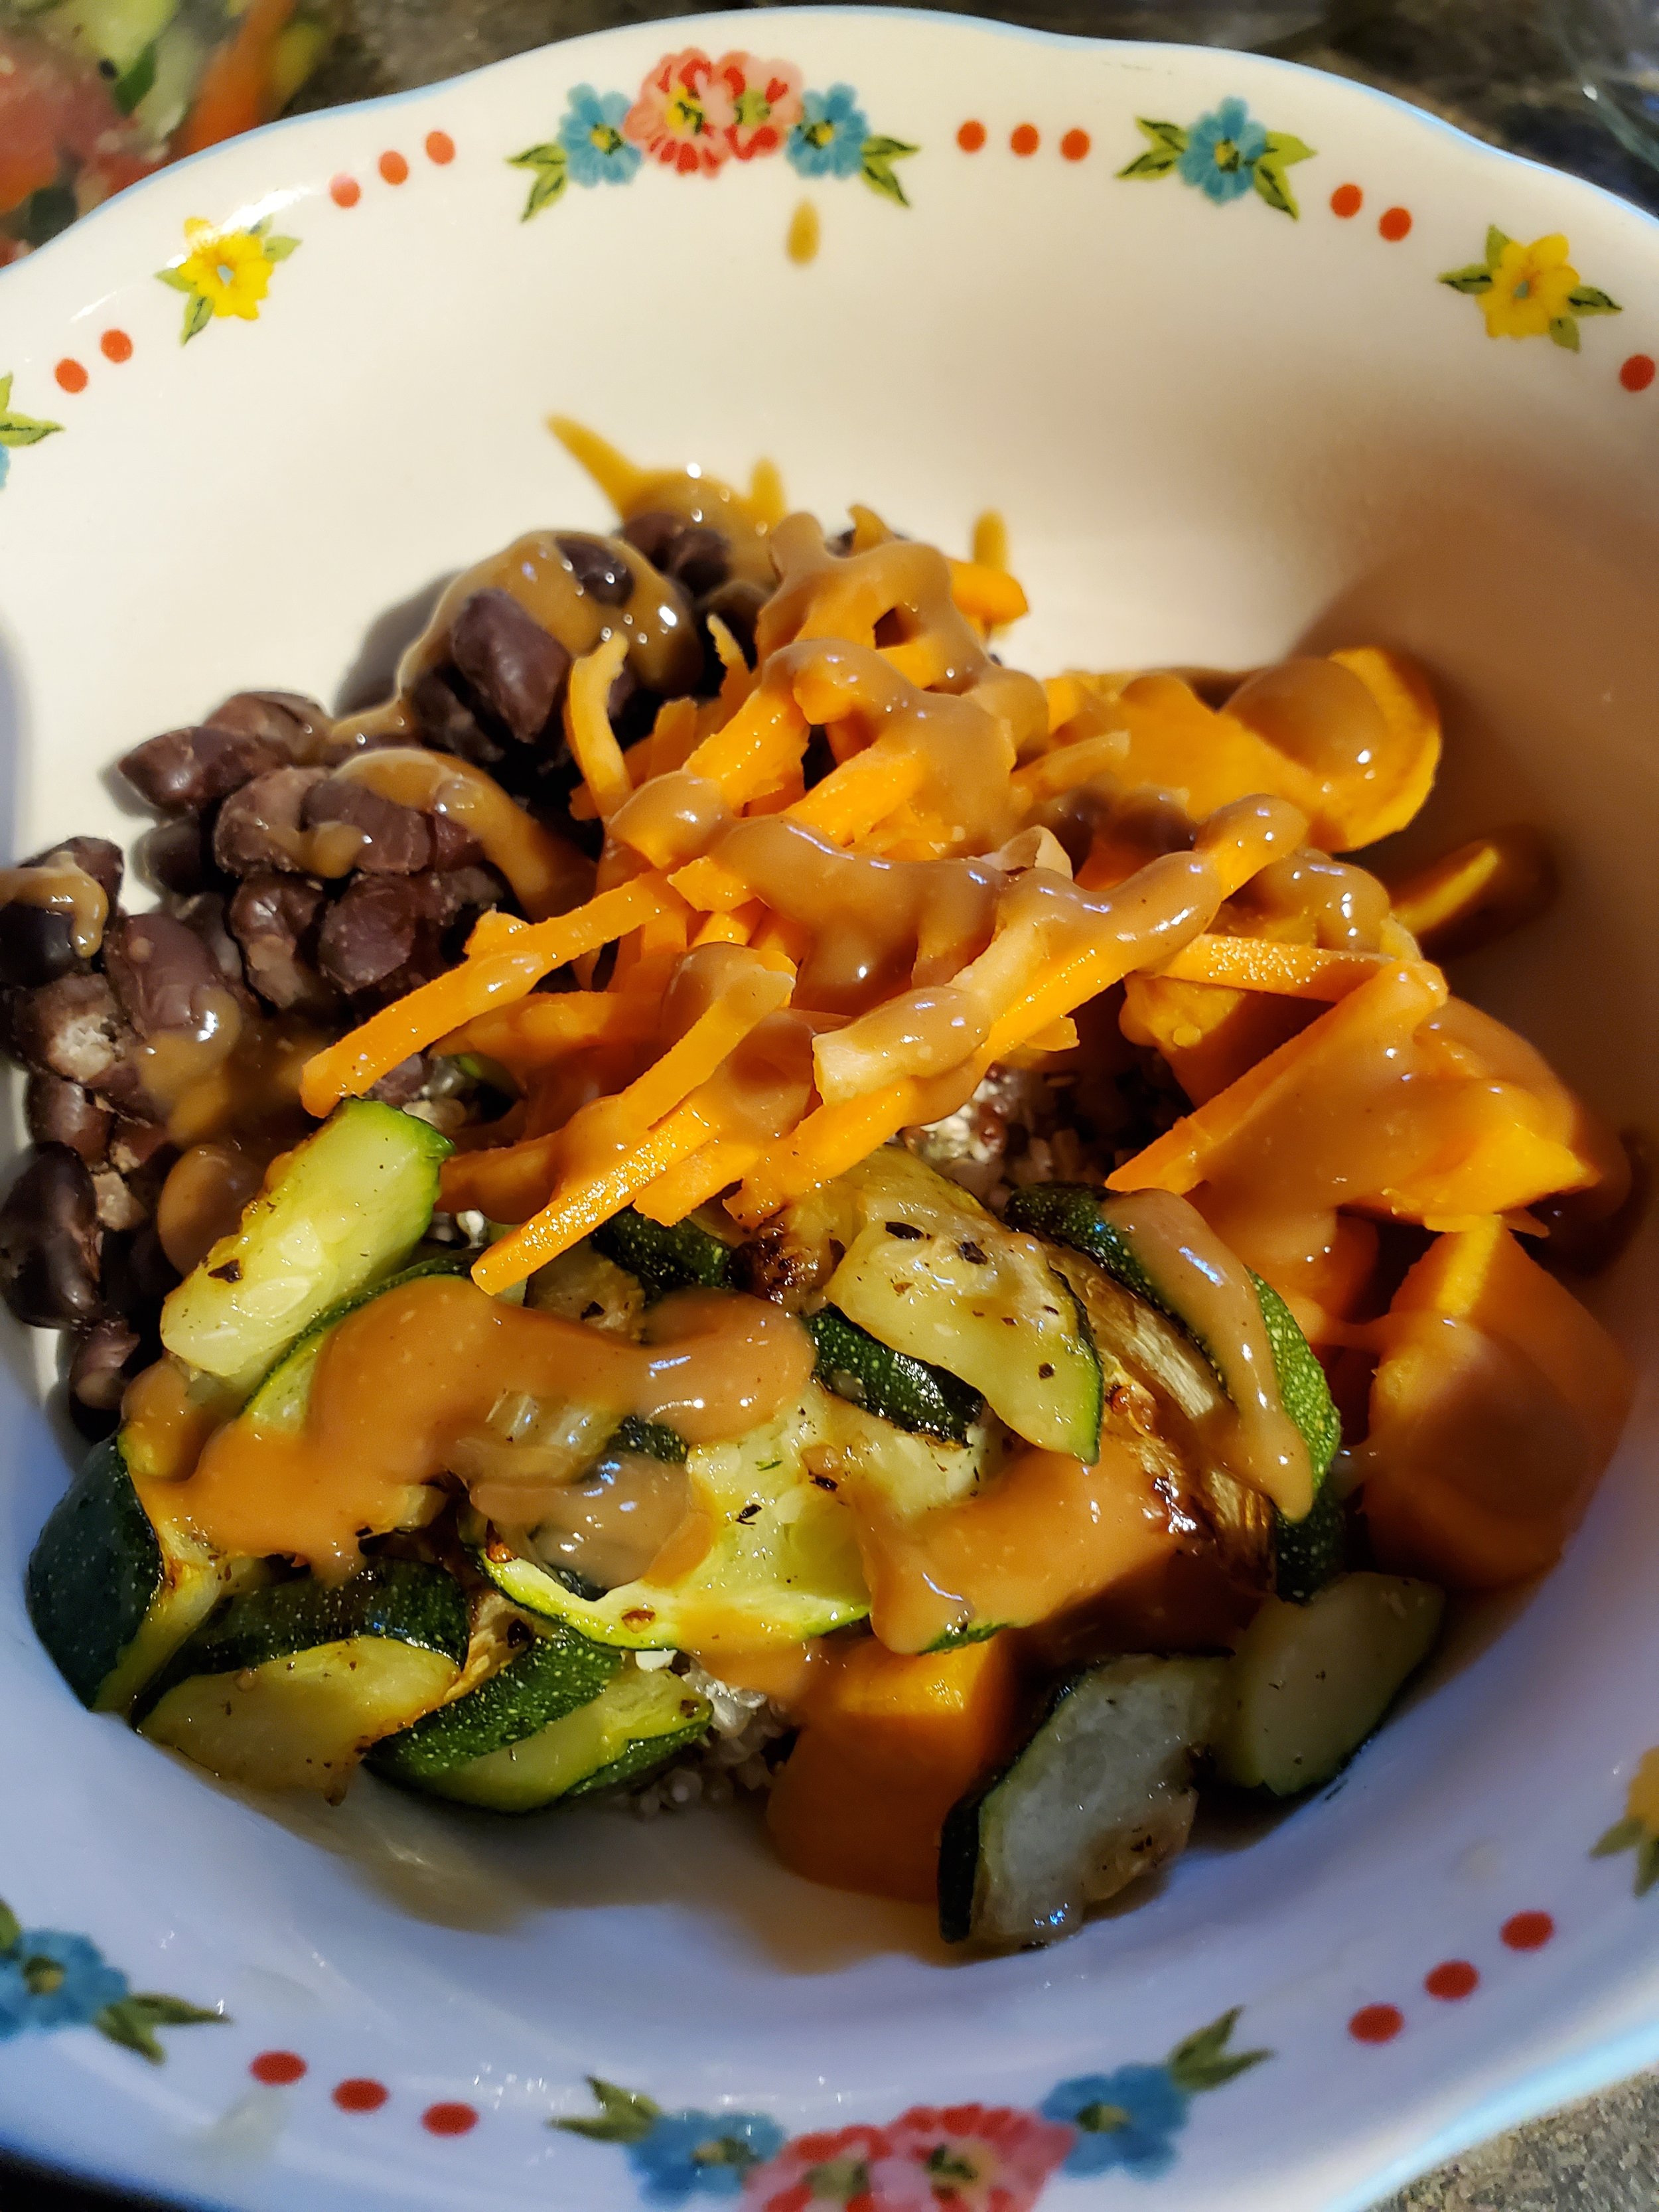
Once your grains and veggies are all cooked or warmed through, begin layering things into your bowls. We started with rice, then quinoa, then scoops of zucchini, sweet potato, and beans, then a sprinkling of carrots and a drizzle of sauce. If you have some handy, a little everything-but-the-bagel seasoning is also a nice topping.

We hope that you enjoyed this recipe! Let us know if you decide to make it over on our Facebook page. As always, we love to hear from you. 
If you’re wondering what to do with leftovers because your fridge just ran out, we can help with that too! You can reach out to us via our contact page or by giving us a call at ((214) 599-0055). We’ll work with you to set up a  time and date that works with your schedule. At Appliance Rescue Service, our goal is to get your home running smoothly again. 


Fast and Flavorful Tuna Toast

A Protein-Packed Meal That's Perfect For Lunch Or Dinner

Some days it's just too hot to cook - like this absurd heat wave practically everyone appears to be suffering through. No one wants to turn on the oven or stand over a stove burner on days like these - which is where minimal-effort-required recipes like this one come in. If we don’t have the time to toss something into the crockpot in the morning, this is a good recipe to have on standby. It’s also extremely simple to clean up after! 

The lazy streak is strong - for this recipe, we very literally used half of a large tub of sour cream for something else and then threw the remaining ingredients into the container. One less thing to wash later, since we didn't use a bowl! 


Ingredients:

2 cans chunk light tuna in water

1/2 cup sour cream

1 teaspoon garlic powder

1/2 teaspoon paprika

1/2 tsp freeze-dried chives

1 tsp parsley

pinch salt

black pepper to taste

8 slices rustic bread

12 multicolor grape tomatoes

4 oz or 8 thin slices gruyere cheese


Tools:

measuring spoons

knife

cutting board

spoon

can opener

toaster oven


Grab your can opener and open and drain your tuna. We often leave the can upside down with the lid in place, balanced on the divider between the sides of our kitchen sink. It drains slowly that way, but it frees up your  hands to move on to another task.


Pop your bread slices into the toaster oven and toast them for about two minutes. We like using some rustic bread, but if you don’t have any on hand, basic sandwich bread will do just fine. 


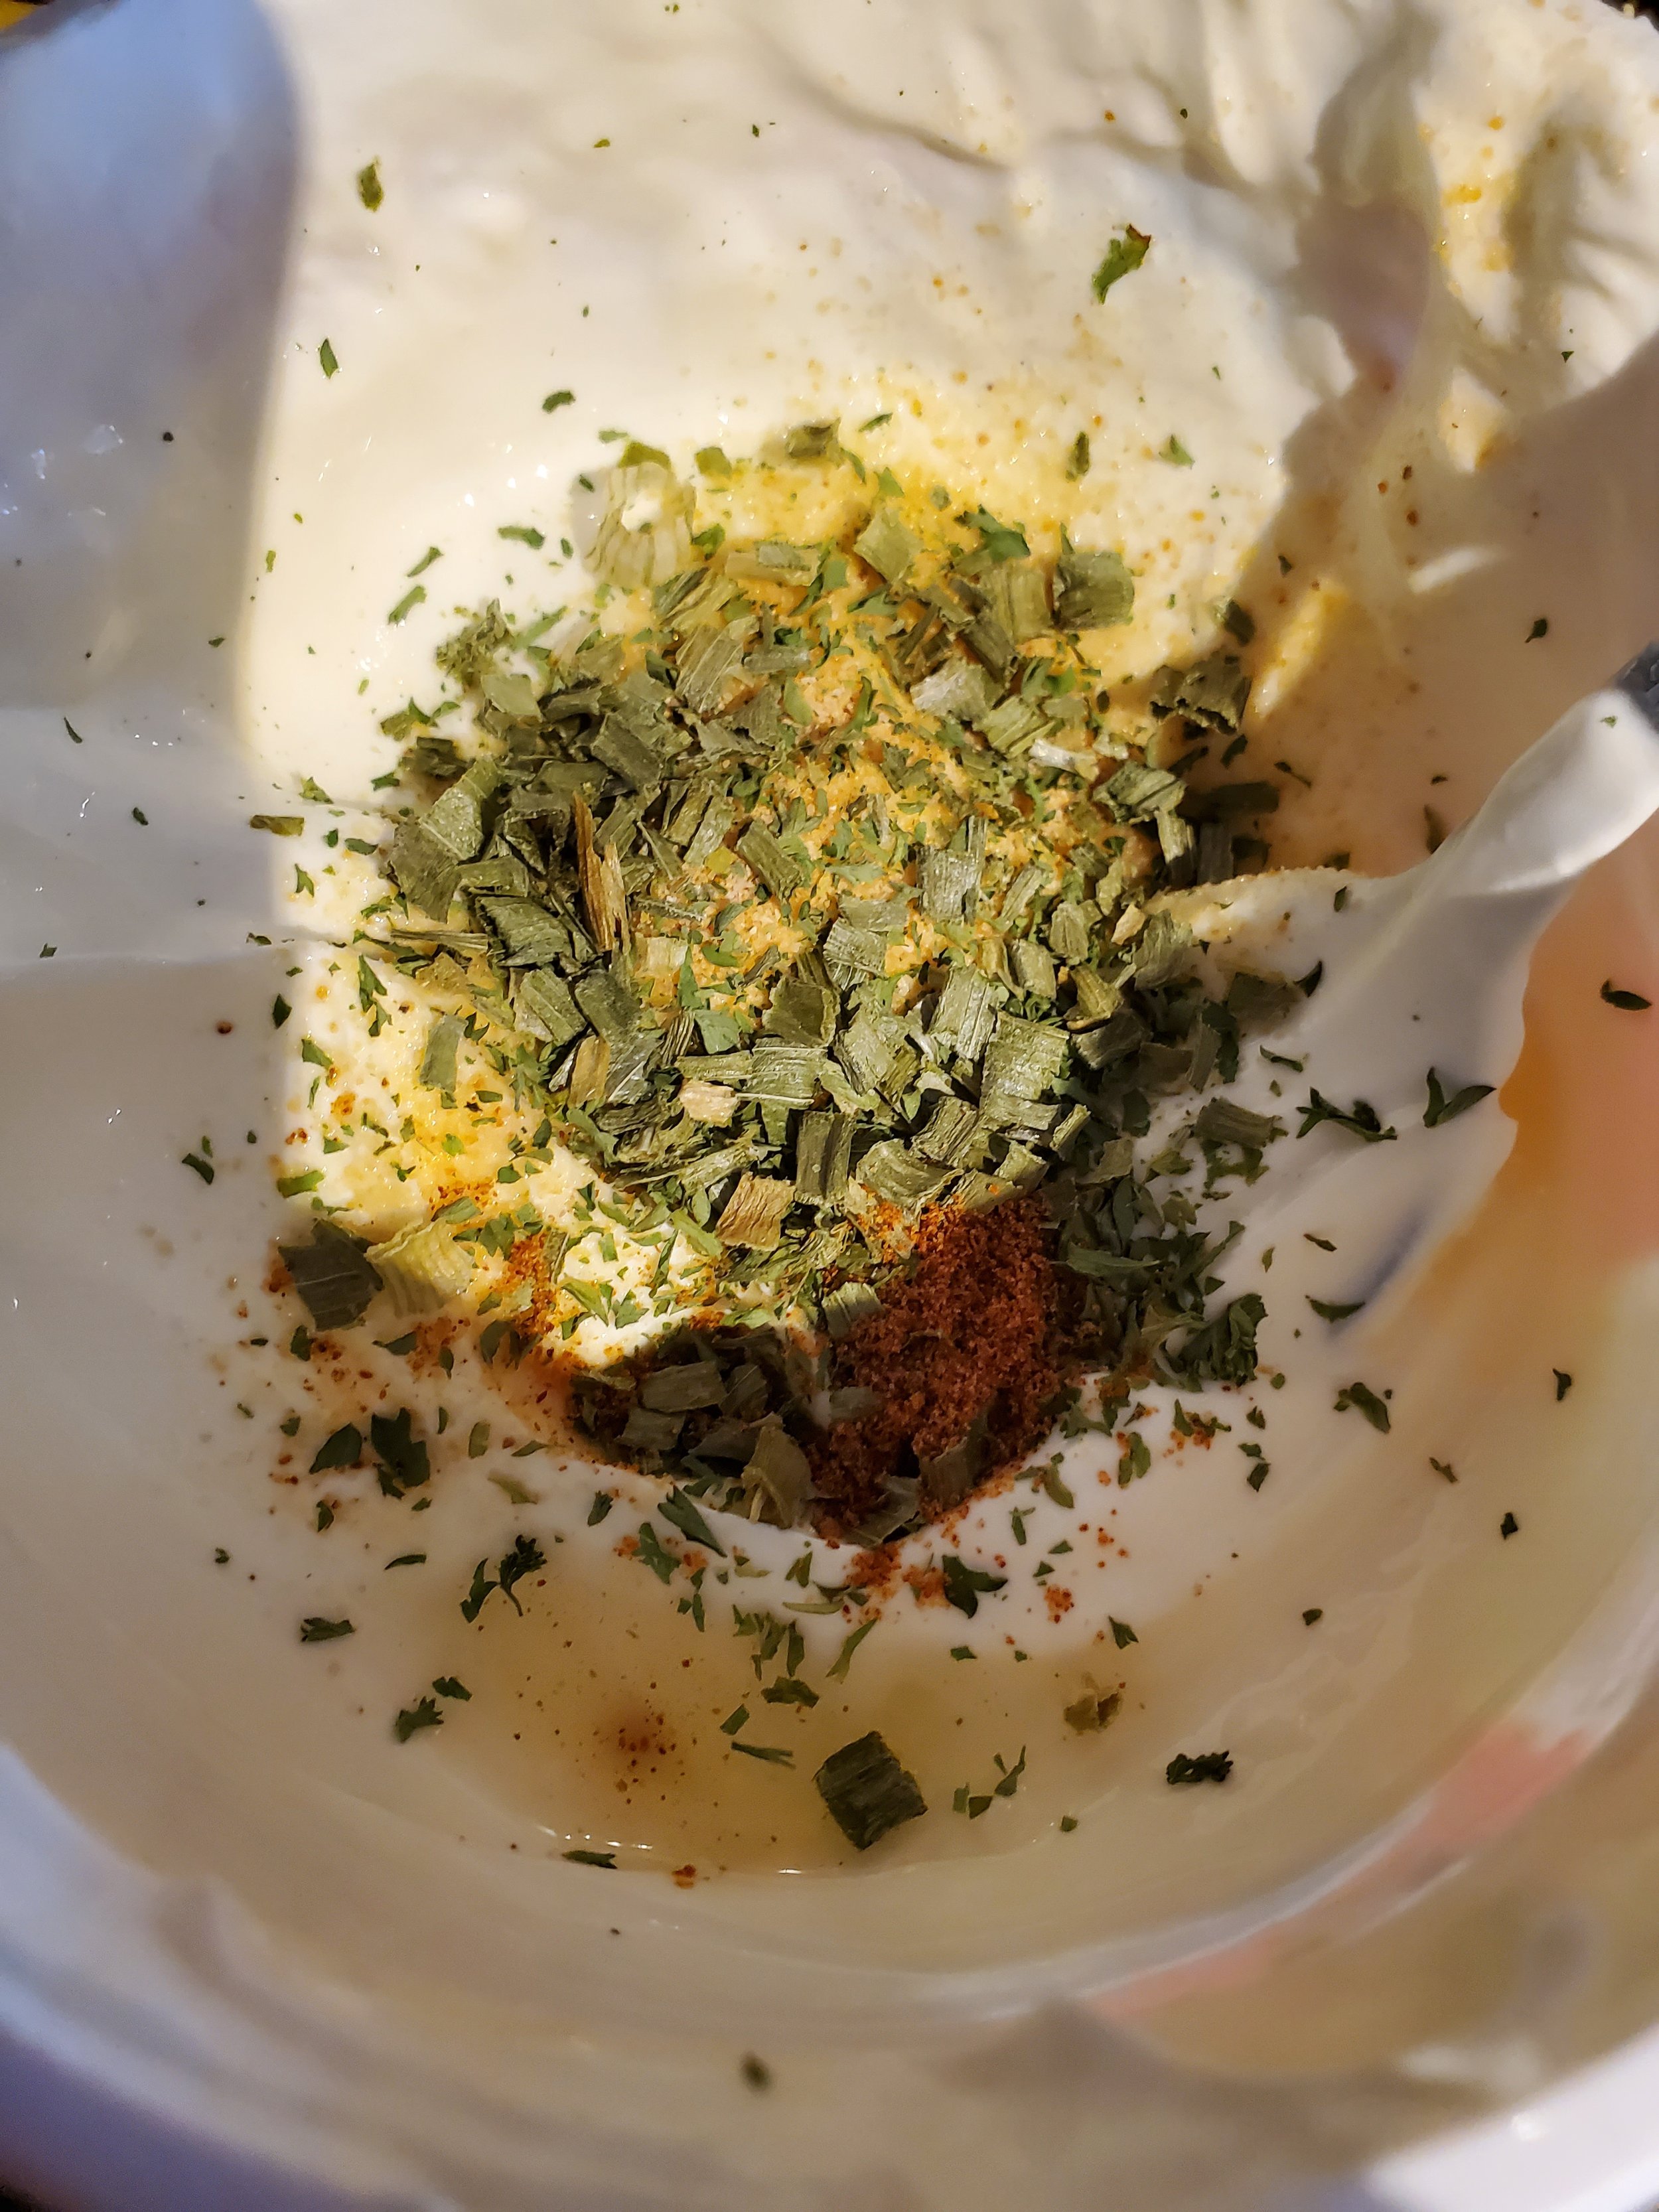
Measure your garlic, paprika, chives, and parsley into the container of sour cream (if you're lazy like us) or a bowl (overachiever). Stir until combined. Consider adding more of the spices - or something different - if it looks a little plain still. We rarely stick exactly to a recipe, so no one here will tell you that things must be done a certain way. If you want to go the extra step, or you’re not melted from the heat, you could use smoked paprika and actual minced garlic. 


Slice your cheese and set the slices to one side of the cutting board. 


About now, that toaster oven should let you know it's done. Flip the toast, but don't restart the toaster yet.


Wash the tomatoes before using them! Trim them up and slice them into rounds or wedges, whichever you prefer. We went with thin rounds for this, and pushed them to the opposite end of the cutting board from the cheese.


Your tuna should have drained by now. Feel free to press the lid in while flipping the can to force out more of the retained moisture. This is why "packed in water" is important - if you start with oil packed, you're likely to suffer an oily sandwich, or go to the extra trouble of rinsing.


Drop your tuna into the sour cream container or bowl and mix it into the sour cream. While most people would have opted for mayonnaise, we are not most people. At least one member of the household believes mayonnaise is the most disgusting substance on planet Earth and avoids it at all costs. Also, sour cream has a lower sodium content. less fat and more protein. In this case, being selective about one's battles also has some health benefits.


Scoop a serving of tuna onto each slice of partially-done toast and spread it out a bit. Add your tomato, then top with cheese and restart the toaster oven. Let it cook until the cheese is beginning to melt, but hasn't yet gotten to the thin state where it tries to run off the sides of the toast. Don't sacrifice perfectly good cheese! Also, save yourself the headache of trying to scour burnt gruyere off the heating element or crumb tray.


Serve as open-faced sandwiches with a veggie of choice on the side.


Does it pass the test for an easy dinner? Let us know over on our Facebook page! We’d love to hear if you try it or if you have an even easier summer meal. 


We understand that having properly functioning appliances is essential for being comfortable at home. That's why we offer a range of services to keep your appliances in top condition. Our team of experienced technicians is equipped to handle any issue, big or small, with your appliances. From scheduled maintenance to emergency repairs, we're here to help. And if you're not sure what the problem is, don't worry - we'll diagnose it for you and provide you with a clear explanation of what needs to be done. So, if you're in The Colony and need reliable appliance repair services, don't hesitate to give us a call. We're always here to help keep your home running smoothly. You can reach out to us by giving us a call at ((214) 599-0055) or by going to our contact page.