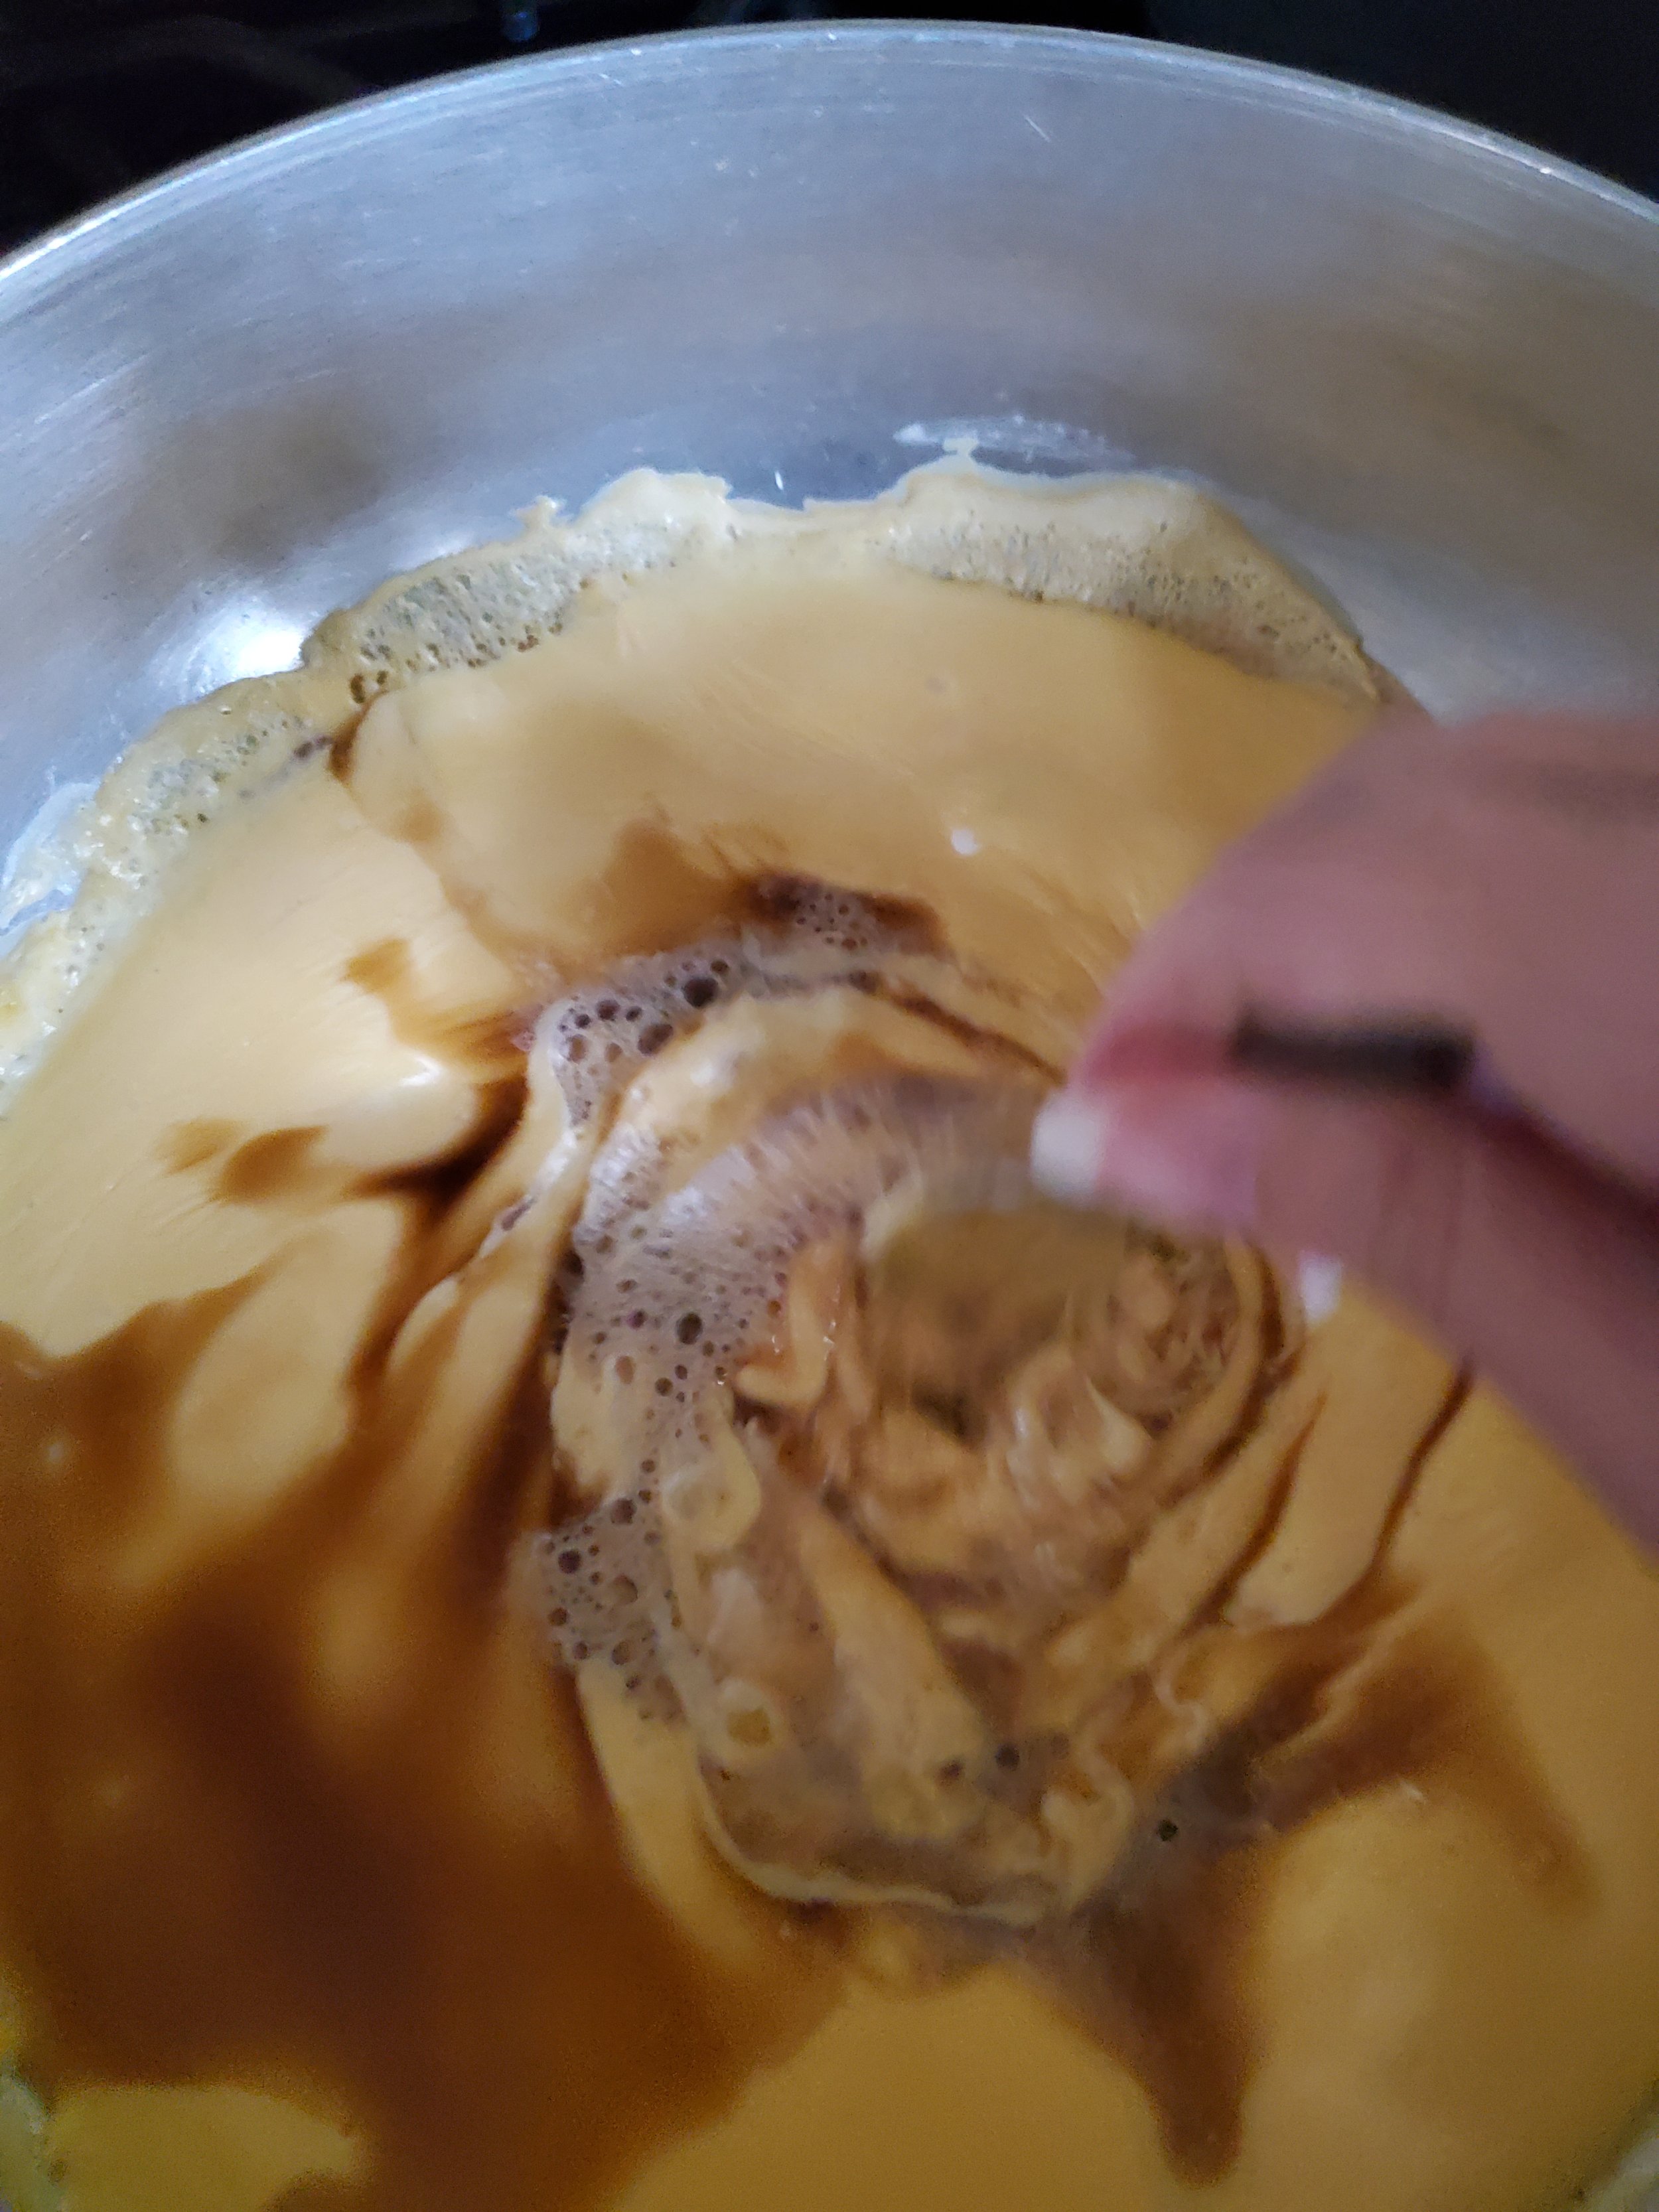
Cheddar and Hard Cider Soup with Fried Shallots

Something to warm you up from your nose to your toes

What do you do when you’re tired of turkey and you need a fast, easy meal that’s still going to fill you up? Easy, you grab a few kitchen staples and make this soup. We’ve got a warm delicious soup that’ll keep you warm all day long, without overheating your kitchen. 

Ingredients: 

4 Tbsp Unsalted Butter

2 yellow onions, chopped 

1 celery rib, chopped

1 Yukon Gold potato, peeled and chopped 

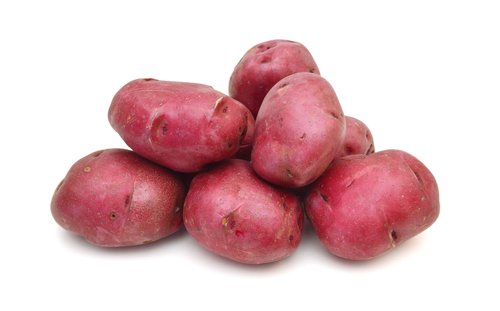
  If you can't find any Yukon Golds at your grocery store an alternative would be Red Bliss potatoes, as these are the closest to the flavor of the Yukons for this recipe. 

2 cloves garlic, minced

2 Tbsp all purpose flour

2 1/2 cups chicken broth

2 1/2 cups hard apple cider

1 cup half-and-half

2 bay leaves

2 thyme sprigs

2 Tbsp applejack or Calvados brandy

3/4 lb English Cheddar cheese, shredded

salt 

fresh ground black pepper

Fried Shallots  (click here to skip to the recipe) 

Tools Needed: Cutting board, chef's knife,  two large pots, a blender, a cheese grater and a straining spoon. 

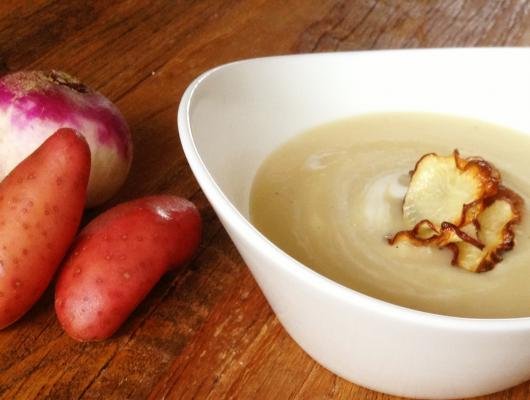
Yukon golden potatoes. Sadly they aren’t available by your blogger.


- In a large pot, melt 3 Tbsp of butter over medium-high heat. Add the onions, celery, potato and garlic and stir. Reduce the heat to low, cover and cook, stirring occasionally until the vegetables are softened, about 12 minutes. 

Sprinkle the flour over the vegetables and cook, stirring constantly, tumbling the vegetables around the pot so all sides are heated, until the flour is incorporated. 

While still stirring constantly, gradually add the broth, cider and half-and-half to the pot. Raise the heat back up to medium-high, add the bay leaves and thyme and bring the pot to a boil.  

-Turn your heat down to low and simmer for roughly ten minutes, to allow the flavors time to blend.   Make sure to leave the pot uncovered during this time period. 

Delicious Red Bliss potatoes.

-Remove the bay leaves and thyme sprigs from the soup and discard them. Remove the soup from the heat and let cool slightly, you want it still warm, but not piping hot. 

-Working in batches, puree the soup  in a blender. Pour the puree into a clean pot. Stir in the applejack. Off the heat, while whisking constantly, gradually add the cheese one handful at a time. Continue whisking until all the cheese is melted. Place over medium-low heat, stir in 1 tsp of salt and pepper to taste, and cook gently, stirring often, until heated through, about 10 minutes. 

Taste and adjust the seasoning.  

Serve, garnished with the fried shallots. 

We know we tossed a red onion into the picture. It rolled its way into the shot


Fried Shallots 

Ingredients: 

Fresh shallots, thinly sliced 

Oil - Peanut, canola  or sunflower works well 

A shallow pot for frying.


-In order to make your own fried shallots for this recipe, start off by slicing them thin, but not paper thin. Roughly .2 cm is a good size. 

Soak your shallots in salt water after you slice them, for ten minutes or so. Then remove them and pat them dry so that the oil doesn't splash when you add them. 

Take a pot and bring oil to heat. You want to be able to flick water at the surface and have it hiss but not boil. We advise a soybean oil for this. 

Now drop in your shallots a few at a time and fry them until they're crisp and golden.  

Alternatively, if you're not interested in making your own you should be able to find fried shallots in your nearest Asian grocery store. 

It's really easy and you might find all sorts of things that you can pair with them once you've given it a chance. 


There you go a soup to warm you up as the weather cools down and it's easy enough to make after work, so long as you have the fried shallots ready ahead of time. 

If you enjoyed the recipe, let us know! If you made some changes to it, let us know that too over on our Facebook page.


From our home to yours, we hope you have a good week. 


A Sweet-Tart Cake To Beat All The Pies

It’s got lemon, cherry, and cranberry all rolled into a moist, delicious cake.

Just Take Me To The Recipe! 

Thanksgiving is just around the corner and you're helping with desserts. Sure, you can go with the standard pies, apple, pecan and pumpkin. They're delicious, they're classics. What if you want something to knock people's socks off though. You really want to wow them with a beautiful cake, not another pie like Cousin Suzy is bringing. That's where this recipe comes in. Not only is it a wonderful blend of sweet and tart but it's also got a buttery texture that you're going to love. Plus, by using a bundt pan you can make it a very beautiful cake as well with minimal effort on your part. 

We came up with this recipe after thinking about some of our favorite fall flavors and wondering how we could mix them together into something new. The tartness of cranberries was our starting point and we started working out from there, seeing what else paired well with it. The addition of the pudding mix, rather than just using lemon zest or extract ensures that the cake stays rich and moist. 


Ingredients:

Cake:

1 box of yellow cake mix

3 eggs 

1 cup of water

1/2 cup vegetable oil

1/2 box lemon pudding mix 

1/2 cup chopped pecans plus extra for decorating. 

1/2 cup dried cranberries

1/2 cup dried cherries


Icing:


1/2 box lemon pudding mix

3 cups of icing sugar (also known as powdered sugar)

1 cup of milk

3 tbsp of heavy cream

1 stick of softened butter

1 tsp of lemon zest OR 1 tsp of lemon extract 


Start off by grabbing two large bowls, an electric mixer, a sieve and all of your ingredients.  You'll need a bundt pan as well, but that's for later. 


Set your oven to preheat at 350*F. 

In one bowl, dump in the box mix and the pudding mix. Grab your sieve and slowly work through all of the material. The goal is to break down any clumps in the mix and also to introduce some air. 

In the second bowl mix together your eggs, water and oil, slowly working your way up through the speeds on your mixer. Again, we're looking at  introducing lots of air into the mix so feel free to go at it till it's well combined and frothy. 

Now add the liquids to the dry stuff, going nice and slow at first with both the mixer and while pouring your liquids. Go too fast and we'll end up with egg mix all over the place. It's a pain to get out of your hair, ask us how we know.  

Once you've got the two thoroughly mixed together, fold in the pecans, cherries and cranberries. These are going to sink some as you bake the cake, which is why we're using a bundt pan. 

Now grab your bund pan and spray the inside with your choice of nonstick spray. We advise something light and tasteless, but you're welcome to get creative and see what you can come up.  We wouldn't advise using shortening for this one both because of the curves and crevices of the bundt pan, and also because it's difficult to keep it from soaking into the cake once you flip it out. 

Pour the batter into the cake pan and tap it lightly against the counter or a table. You want to work out any air pockets, without knocking all of the air out of the batter. Just once or twice is good enough to make sure that the batter is down into the groves of your pan of choice. 

Toss that into the oven and bake it for 40 minutes. If when that time passes it's not fully cooked, put it back in for another two minutes. You'll want to check it at two minute intervals until a toothpick inserted into the middle comes out clean. 


Now, while your cake is baking, let's make the icing. 


Start off by cutting your butter into chunks and then attacking it with a hand mixer. You'll want to whip the butter until it's light and fluffy with soft peaks forming. 

Once you've got it to that step, mix in the icing sugar, pudding mix and the lemon additive of your choice.  Mix until everything is incorporated. 

Add in the cream next and mix until the sugar is fully dissolved or the cream is fully absorbed.   

If the sugar is still grainy you can add in the milk a little at a time until you attain the texture that you want.  Once you've got that, chill the icing until the cake is done. 


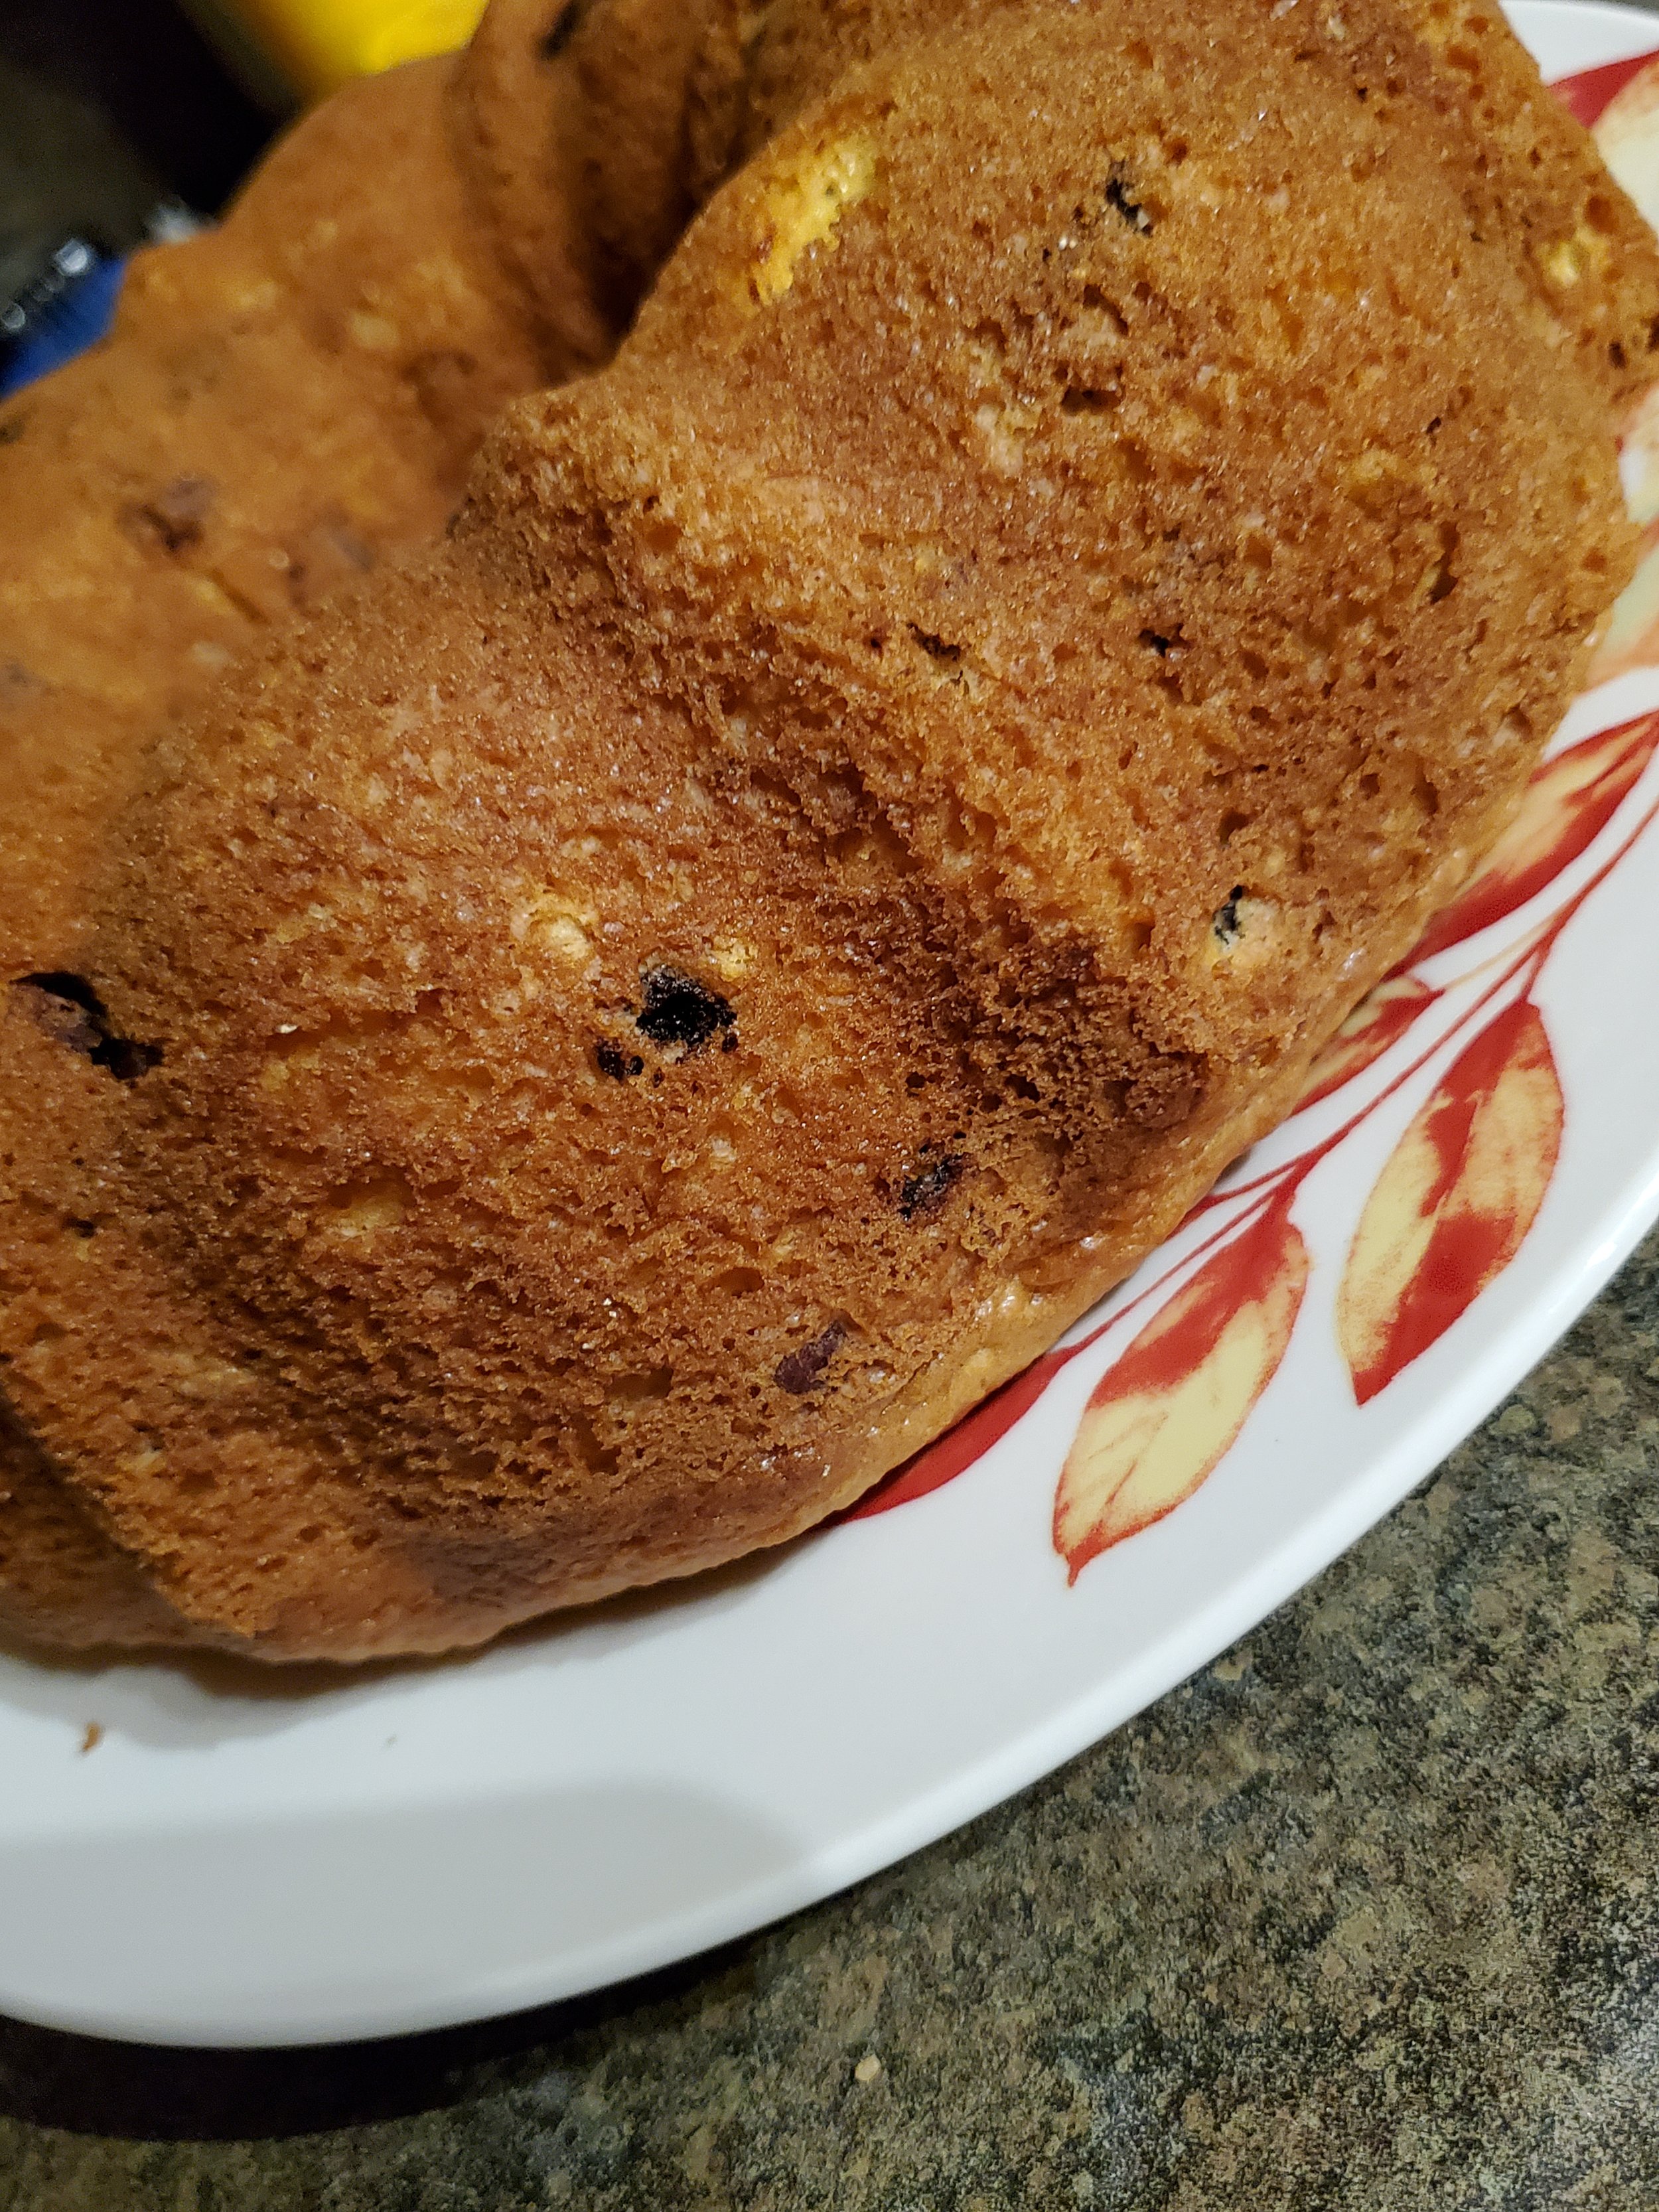
When your cake is done baking remove it from the oven, and leave it in the pan until it's cool. Once it's cool you can flip it out onto a plate and spread icing over it. We like doing some around the top and letting it spread how gravity takes it and then also pouring some around the bottom edge so that you can crust it with chopped pecans. 


There you go one delicious, seasonal dessert that everyone will love and try to figure out how you did it. 

If you decide to make this for Thanksgiving, let us know! We'd love to see how yours turns out over on our Facebook page.  We'd also love to hear about any changes you decide to make to the recipe. 


From our home to yours, we hope you all have a wonderful Thanksgiving. 


Hauntingly Good Meals To Run After

Spooky Biscuits for All Day Long

Sometimes the best thing you can do for yourself is make things easier on future you. This is especially true for a weekend holiday.


Here's a fast breakfast, lunch or dinner idea to get some food in the bellies of your trick or treaters before they wander off, or as they come back down from the sugar high... Or maybe into your stomach before the heathen horde comes knocking.


Let's make some quick and easy monster biscuits.


Ingredients:

1 can biscuits or 8 frozen biscuits

4 oz brick mozzarella cheese

Lunch meat of choice, or pepperoni 

1 can whole pitted black olives

1 jar strawberry or raspberry jam or jelly

White chocolate chips, sliced almonds, candy eyes, etc.


We know you're looking at this ingredient list and questioning our sanity. Don't worry. It's not all going together on one biscuit.


Tools:

Baking sheet, foil, oven mitt, cutting board, vegetable peeler, knife, fork, spoon, plate, spatula


Line your baking sheet with a layer of foil, because anything that makes your life easier today is worth it.


Preheat the oven according to the directions on your package of biscuits.


We used the Pillsbury brand southern homestyle biscuits in a can (because we already had them on hand and didn't want to make an extra trip to the store) and we found them to work well. We've also previously used the Great Value brand frozen buttermilk biscuits, but in our experience, they are prone to scorching on the bottom. If you use them, keep a close eye on them while they bake up so you avoid that problem.


Place your biscuits on the lined baking sheet - have their edges touching if you want them tall and fluffy, or give them room to expand if you would prefer them a little thinner - and pop them into the oven. Set your timer for HALF of what the directions say. Trust us here.


While your biscuits bake, pop open that can of olives. Drain them and give them a quick rinse so they won't transfer their color as easily when you assemble dinner. We're going to do this in reverse order for the meals, because of the three meal ideas we're covering, the dinner takes the longest to prep.


Fish out a few olives and put them on your cutting board. Slice a thin ring out of the middle of each. Your goal here is eight little rings. Feel free to eat all your mistakes - it's the best perk of being the chef.


Once you have your olives ready, scoot them to one side of the cutting board. Consider wiping up after them if they've left you a wet spot. Place your brick of cheese long side up on the board and grab your vegetable peeler. We know you're questioning our sanity again, and it's okay. Take the peeler and shave long, thin straps off the brick of cheese until you feel you have enough to put a double layer on six of your eight biscuits. 


You may have a cheese wire in a drawer somewhere that you want to use for this. We would advise you skip that urge. The goal here is the extra-thin strips and feathery edges a peeler creates. A cheese wire, even adjusted to as thin as possible, will still make a mostly clean cut. If that's what you'd prefer, go ahead, but we definitely think it looks more like a mummy bandage with the rough sides and broken looking ends.

Feathery, jagged cheese bandages.


By now you should be reaching the end of the timer you set. Pause and flip the biscuits. The directions don't say to in most cases, but if you flip them halfway through, you'll get nice, toasty tops and bottoms without either one becoming too thick or crispy. Put them back in the oven for the remaining half of the recommended time and reset your timer.


While they finish up their baking process, separate some slices from your lunch meats. It doesn't really matter what you choose to use, as long as you enjoy it. We used hard salami for ours, but it would work just as well with ham or turkey or roast beef if you have them on hand.


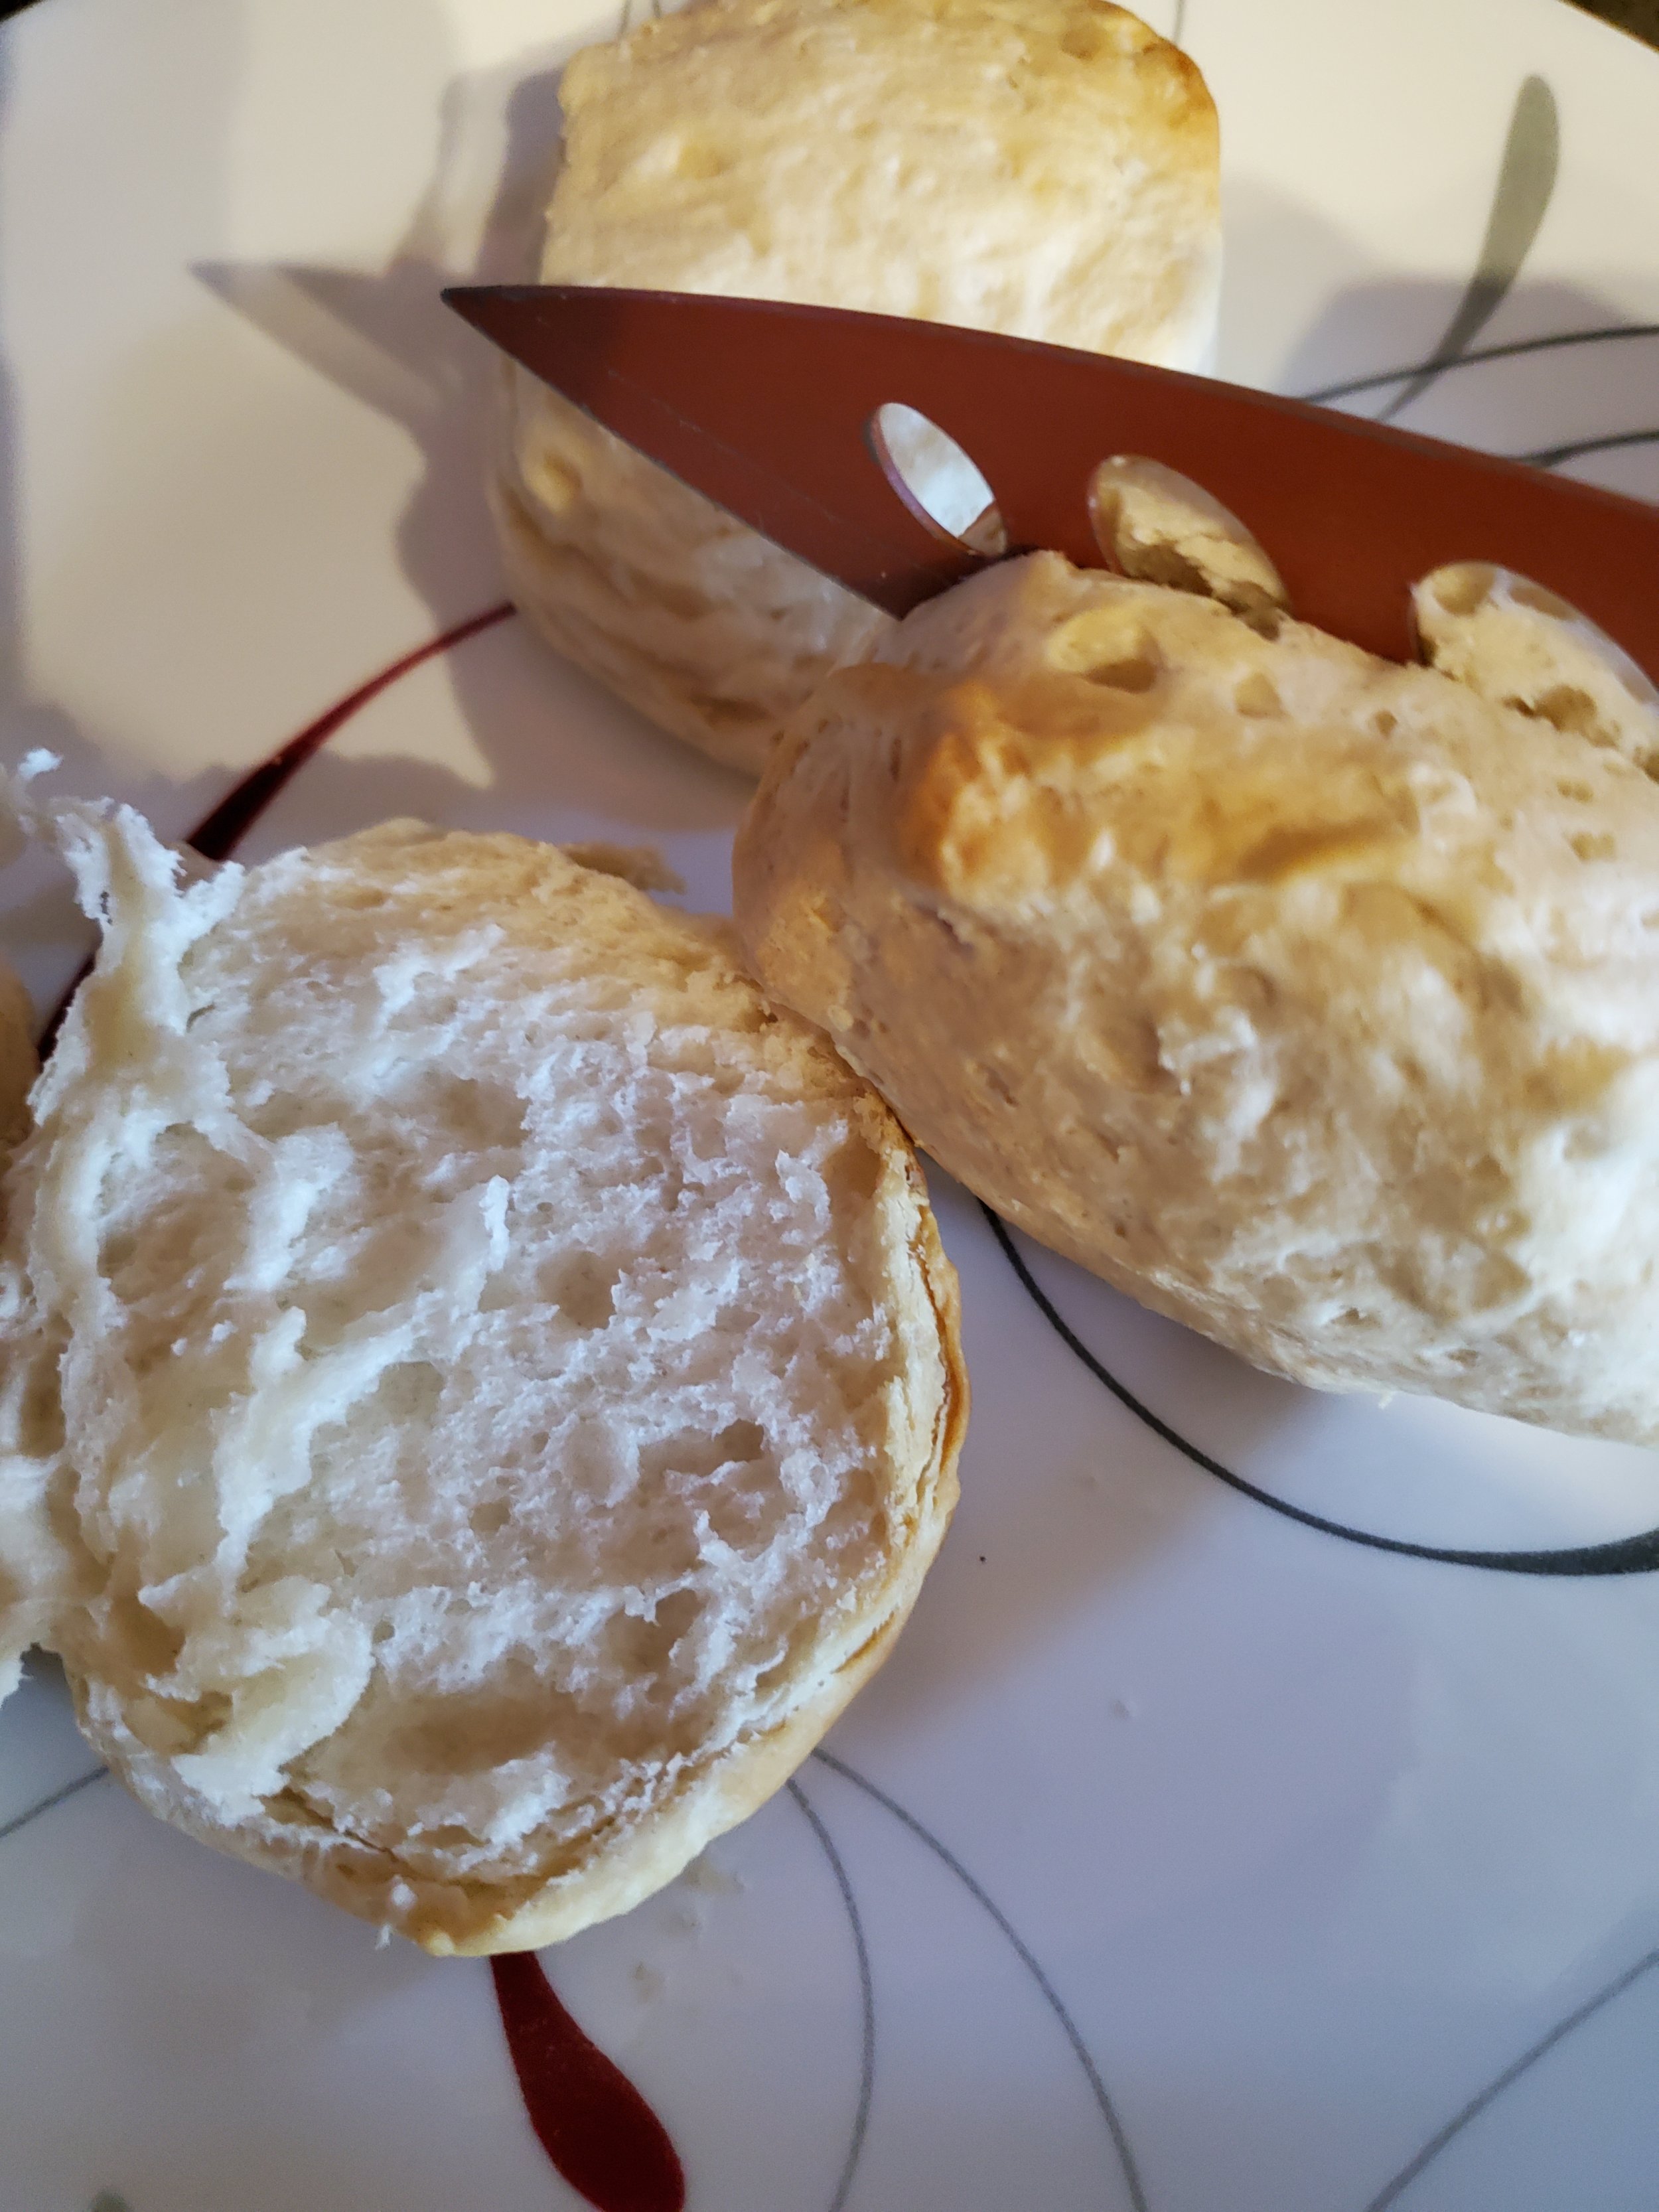
Once they're out of the oven, split them all evenly with a sharp knife.

Biscuits

Fluffy, freshly baked and sliced biscuits.


Take two and plate them like an open-faced sandwich. Spoon a generous helping of jam or jelly onto each half and spread it a bit with the back of the spoon. Congratulations, you have a smashed monster! We had candy eyes left over from another project and used those for this, but slices of almond, white chocolate chips or mini marshmallows also can serve as a reasonable approximation of monster eyes. Just use whatever you have on hand.

Frighteningly delicious breakfast monster


Take your next two biscuits. Layer your lunch meats on them and add a few strips of cheese if you'd like.Grab two whole olives. Wrap a torn slice of lunch meat around each one, leaving the open end of the olive visible. Shut your biscuits into sandwiches and tuck your wrapped olives into the side, peeking out like a pair of creepy, unblinking eyes. There's lunch, easy to just grab and run if necessary.

Lunch timer watcher


And now for dinner... take your four remaining biscuits and plate them with their soft insides up. Place a layer of lunch meat on each half, then add those olive rings you cut earlier as eyes a little above the middle. Cover it all over with a layer of cheesy bandages, being sure to let at least one eye still peek out from beneath them.

Mummy’s out for dinner!


By the time dinner comes around, these will have gone cold - so be sure to lightly toast them and get your cheese melted before enjoying your new mummy bites.


And with just a bit of time, you’ve got three fantastic meals, sure to haunt anyone. If you test them out let us know over on our Facebook page! We’d love to hear from you. 


If on the other hand, you ended up here because your oven has decided to go to the grave, we might be able to help. We’d be willing to say that we’re better than Dr. Frankenstein, at least when it comes to bringing appliances back to life. Give us a call at ((214) 599-0055) or visit our contact page to get in touch.


Beer Cheese is the Best Fall Comfort Food

It can be a topping, a dip, a sauce, take your pick!

As the weather gets chilly, we often crave comfort food (which in our case is often made of cheese). Preferably the warm, melty kind we can put in a crock pot.

Sometimes the weather just calls for beer cheese.

To some of you, that's gonna sound... funny. People who grew up in certain parts of the U.S. are going to get it immediately, but the rest of us are going to have to think on it for a minute or so. We grew up in places where it wasn't a common thing, and moved to yet other places where it was also uncommon, so our household didn't get to try it until recently - but it is definitely a recipe worth sharing. We had to venture out of state to find it, but once we returned, the experimenting began.

There's a halfway decent chance you have most of the ingredients on hand, too.

Ingredients:

1 16 ounce brick Velveeta (or store brand equivalent)
1/2 brick (4 ounces) cream cheese (Neufchatel will work, but not as well)
1/4 cup heavy whipping cream (please do not sub half & half)
3/4 cup Guinness Nitro Stout
2 Tbsp coarse stone ground mustard

Tools:
measuring cup(s), measuring spoon(s), knife, spoon, cutting board, crock pot or heavy-bottomed saucepan with lid, serving dish (if not leaving in the crock pot)

Unbox and unwrap your cream cheese, leaving it on the foil. Place the foil on the cutting board and use the knife to gently divide the cream cheese brick in half. Try not to cut the foil, as you'll want to keep it. Slide one half off the foil and nudge the other half to the center of the foil. Re-wrap the half you won't need today and put it back into the fridge for some bagels later. Cut the half that's left on the cutting board into smaller pieces (this helps it melt faster and more evenly) and dump the pieces into the crock pot or sauce pan.

If you're using a crock pot, turn the heat on low and cover it. If you're using a sauce pan on the stove, turn the burner on as low as it will allow, but don't put the lid on it quite yet.

Take your sixteen ounces of Velveeta (we would not advise using the jalapeno one, but you're certainly welcome to experiment if you wish), and turn it out of its protective foil onto the same cutting board. Like you did with the cream cheese, take your knife and cut it into smaller pieces, then add it to your pot. Crock pot users, please make sure you cover the crock pot again, as that's the only way it retains heat effectively. Sauce pan users, please use a spoon to give everything a nice stir before placing the lid, and then turn the burner up to medium-low.

Now comes the waiting game. If you used a crock pot, you're probably okay to walk away and do something else for a few minutes. Crock pots are designed to heat gently and avoid scorching.

If you're working with a sauce pan, please be sure to watch carefully and stir often. You'll need to be a little more involved in the process to minimize the likelihood of burnt cheese accidents.

It's going to look funny and blob-y for a while as the chunks of cheese melt down. Make sure you've stirred them enough to encourage them to combine. Once you have it mostly melted and all one color, you can add in your heavy cream.

You may need to stand there with the measuring cup inverted over the pan for a minute or so, as the cream is often not in a big hurry to get to where you need it. Once most of it has dripped into the pot/pan, set the cup aside and grab your spoon again. The cream will simply rest on top of the cheeses if you leave it alone, so give it another thorough stir to make sure it gets mixed in properly.

After you've mixed in the cream, it's time to add the beer. We used Guinness because darker beers make for richer flavor in the recipe - but it's also what we keep on hand. You can pretty much use any dark beer you have, but we prefer Guinness, and it's also likely to be the beer you'll see used if you order beer cheese in a chain restaurant.

Adding in the beer is going to be an ugly and kind of gross looking step. The beer will foam on contact and turn the top layer of cheese into a bubbly, brown, goopy mess. Ignore this and push on, stirring until it's incorporated. It's worth it, we promise. You'll know when it's incorporated fully because the cheese itself will have darkened about two shades, and there will be no dark or foamy pockets left.

Now comes the mustard. We used Plochman's brand stone ground mustard because it's super coarse and chunky, and it's a really LOUD mustard flavor, but even just the Great Value brand will add significant taste and texture. On a slight tangent, Plochman's also offers a craft beer mustard made with pale ale - so if you're looking for more beer flavor and less mustard flavor without sacrificing the bite, you can definitely look into that. (No, Plochman's is not giving us any money for this - they just make really good mustard. We promise.)

Mixing the mustard in is going to take some time. It naturally wants to keep to itself in little chunks, but you'll want to break it up so every bite of your beer cheese has enough, but none of them are overtaken by it. Just keep stirring until it looks like it's even. And then stir it a little more, just to be sure.

Once you're satisfied with the distribution and mustard to cheese ratio, grab a pretzel or a cracker and scoop a little beer cheese onto it try it. This is a vital step - very, very important. You can't serve it to your friends or family without quality control, after all. And no one knows better than you if it will need your own special touch - a little white pepper or cayenne? A dash of hot sauce? A sprinkling of Parmesan? Garnish with parsley? Run with it. It's yours now.

Serve it as a dip with pretzels, crackers, or pita chips; use it as a spread on a sandwich or burger, sauce your chicken wings with it, work it into a meatloaf... We've even eaten it as a sauce over pinto beans. Once you've tried it, you'll have a dozen other uses for it right away. Trust us.


Adding cream to the beer cheese.

Now it’s officially beer cheese, we’ve added the beer!

And now we have added the mustard and the beer cheese is complete!

Meal Planning Three: Tostadas for Thursday

Meal Planning Made Easy with a Trio of Recipes

Third time's the charm, right?

This time around we'll be making tostadas. If you've never had them before, they're a little like nachos, but instead of several little and likely broken chips covered in good stuff, they're one BIG chip piled high with nacho-like ingredients.

While it's not necessary, we do recommend adding some refried beans, guacamole, shredded lettuce and/or sliced avocado to this round. The additional ingredients really give this meal a flavor and texture boost - but we understand some picky eaters find them... objectionable, to say the least. Two of them are vibrantly green, so your veggie haters will be on guard immediately, and the other two are lumpy. So if you skip these, or just don't want to put in that extra layer of prep, it's absolutely okay. Your tostadas will still be tasty and nutritionally complete, we promise. We also like cilantro as a garnish, but we know some people find it soapy and unappealing.

You'll need your filling (the last portion left in the freezer from your original batch), and also:

Ingredients:

12 corn tortillas
remaining 1/4 lb cheese (brick, shredded)
4 oz salsa
remaining sour cream

Optional:
refried beans, guacamole, lettuce, avocado, fresh cilantro

Baking pan with rack (or an air fryer if you're fancy), microwave safe dish or saucepan with lid, aluminum foil, cooking spray, plate or platter, grater, spoons and butter knife for dividing and spreading ingredients, knife and cutting board if adding lettuce or avocado, and some way to handle hot food (tongs, mitts, etc.)

As we did last time around, start by getting the filling out to thaw. Once you can remove it from the container it was frozen in, put it into a saucepan, drop a lid on it and set it on a burner on low. Alternatively, you can use a microwave safe dish and zap it for a few minutes on low to heat it through. Whichever method you choose, be sure to stir frequently in order to avoid scorched spots and frozen centers.

Separate your tortillas - but this time there's no need to wrap them up. Today, the goal is to crisp them. Lay them out on the platter and give them all a spray with your cooking spray, then flip them all and repeat the process so that both sides of each have a thin coating of oil.

If you have an air fryer, feel free to preheat it to 375 now. In an air fryer, you'll have to work in stages, even if you have a layered rack, so don't expect to be able to do more than two tortillas at a time. Place a single tortilla on each layer of the rack and, ideally, weigh it down with something oven-safe and kind of heavy. Pie weights work well if you have them, or you might use an oven-safe mug, ramekin or dessert plate if you have the vertical space to accommodate them in the fryer. If not, it's no big deal - tostadas are messy to begin with, and the only thing affected by them being a little wobbly and uneven is their presentation value. Run them through the fryer for about five minutes each. When you remove them, do so with grill gloves or tongs - anything that's not your bare hand! Burnt fingers ruin dinner for everyone.

Should you choose the more conventional route of using an oven instead of an air fryer, you should preheat that to 375 and place the tortillas in a single layer on the baking rack. Set them on the top rack of the oven and allow them to bake for ten minutes, flipping them over at the halfway mark. Be sure to take them out before the edges blacken. Every oven is a little different, so you know better than we do if you're at risk for that.

Did you save any of that shredded cheese from the last go-round? If not, grab the grater and shred the last of the brick you started with, or re-enlist that helper from before to take care of it for you.

This is also a good time to wash and chop lettuce if you've chosen to add it.

Once all your tortillas have been crisped and removed from the heat, begin layering toppings. It's best to put something unlikely to soak into the tortilla on the bottom, so we frequently place our thin layer of shredded cheese here, then build up.

Refried beans, if you're using them, are an excellent next layer because of their sticky, gluey nature (unless they're the too-thin kind you sometimes encounter - maybe skip if they're watery). Spread them out a bit with a knife so they're not all clumped up in the center, then add a few spoonfuls of your warm filling.

We'd go with guacamole and lettuce next, and a little dollop of sour cream on top with just a dash of cilantro, and then serve with a little bit of salsa... But this is the time to make it your own. You don't need to top it just with the things we've suggested.

Perhaps top it with another addition of your own design. By now, you're familiar with the flavor profile and have had a chance to think about what you'd like to add - maybe you like goat cheese, or a specific brand or flavor of hot sauce. Maybe you think it could benefit from the addition of some chorizo or queso blanco. What if you have some fresh peppers taking up space in the fridge that could add some texture and color?

There are no rules with tostadas, so long as the base is a crispy tortilla. It's perhaps a bit safer to keep any warm or soggy ingredients at the base and build upward with the crumbly and cool ingredients, but that's just a suggestion based on experience. Treat it like a crunchy open-faced sandwich and have fun with it! And don't be scared to make a mess eating yours - that's all part of the fun!


Let us know what you thought of our final meal planning recipe over on Facebook! We’d love to hear from you.

So long as your stove is fine, you’re good to go after this point, but what if it’s your washer that’s on the fritz? If that’s the case, you can give us a call at ((214) 599-0055) or head over to our website. Wherever you live in Carrollton and the surrounding areas, we’ve got you covered. Appliance Rescue Service is here to help and here to keep your home, and your home appliances, running smoothly.

Additional Reading
Meal Planning One: Tacos for Days

Meal Planning Two: Enchiladas for Everyone