soup

New England Clam Chowder To Keep You Warm

Winter is coming, even if Texas doesn’t know it yet. Enjoy this soup in the meantime! 

Winter is just around the corner, and that means we’re craving soup. This week we’re looking at a classic recipe for New England-style clam chowder. A rich and creamy soup that will not only fill you up but will also give you plenty of leftovers to enjoy later. 


Ingredients

3 strips Thick-Cut Bacon

4 tablespoons Unsalted Butter

1  Large Onion (cut into 1/4-inch cubes)

1 rib Celery (cut into 1/4-inch cubes)

1 teaspoon Fresh Thyme Leaves (chopped)

2  Bay Leaves

2  Medium-Size White Potatoes (peeled and cut into 1/4-inch cubes)

½ cup All-Purpose Flour

4 cups Bottled Clam Juice (divided)

1 pound Fresh Clam Meat (chopped, with juices, see Note)

Kosher Salt

3 cups Light Cream

1 teaspoon White Pepper


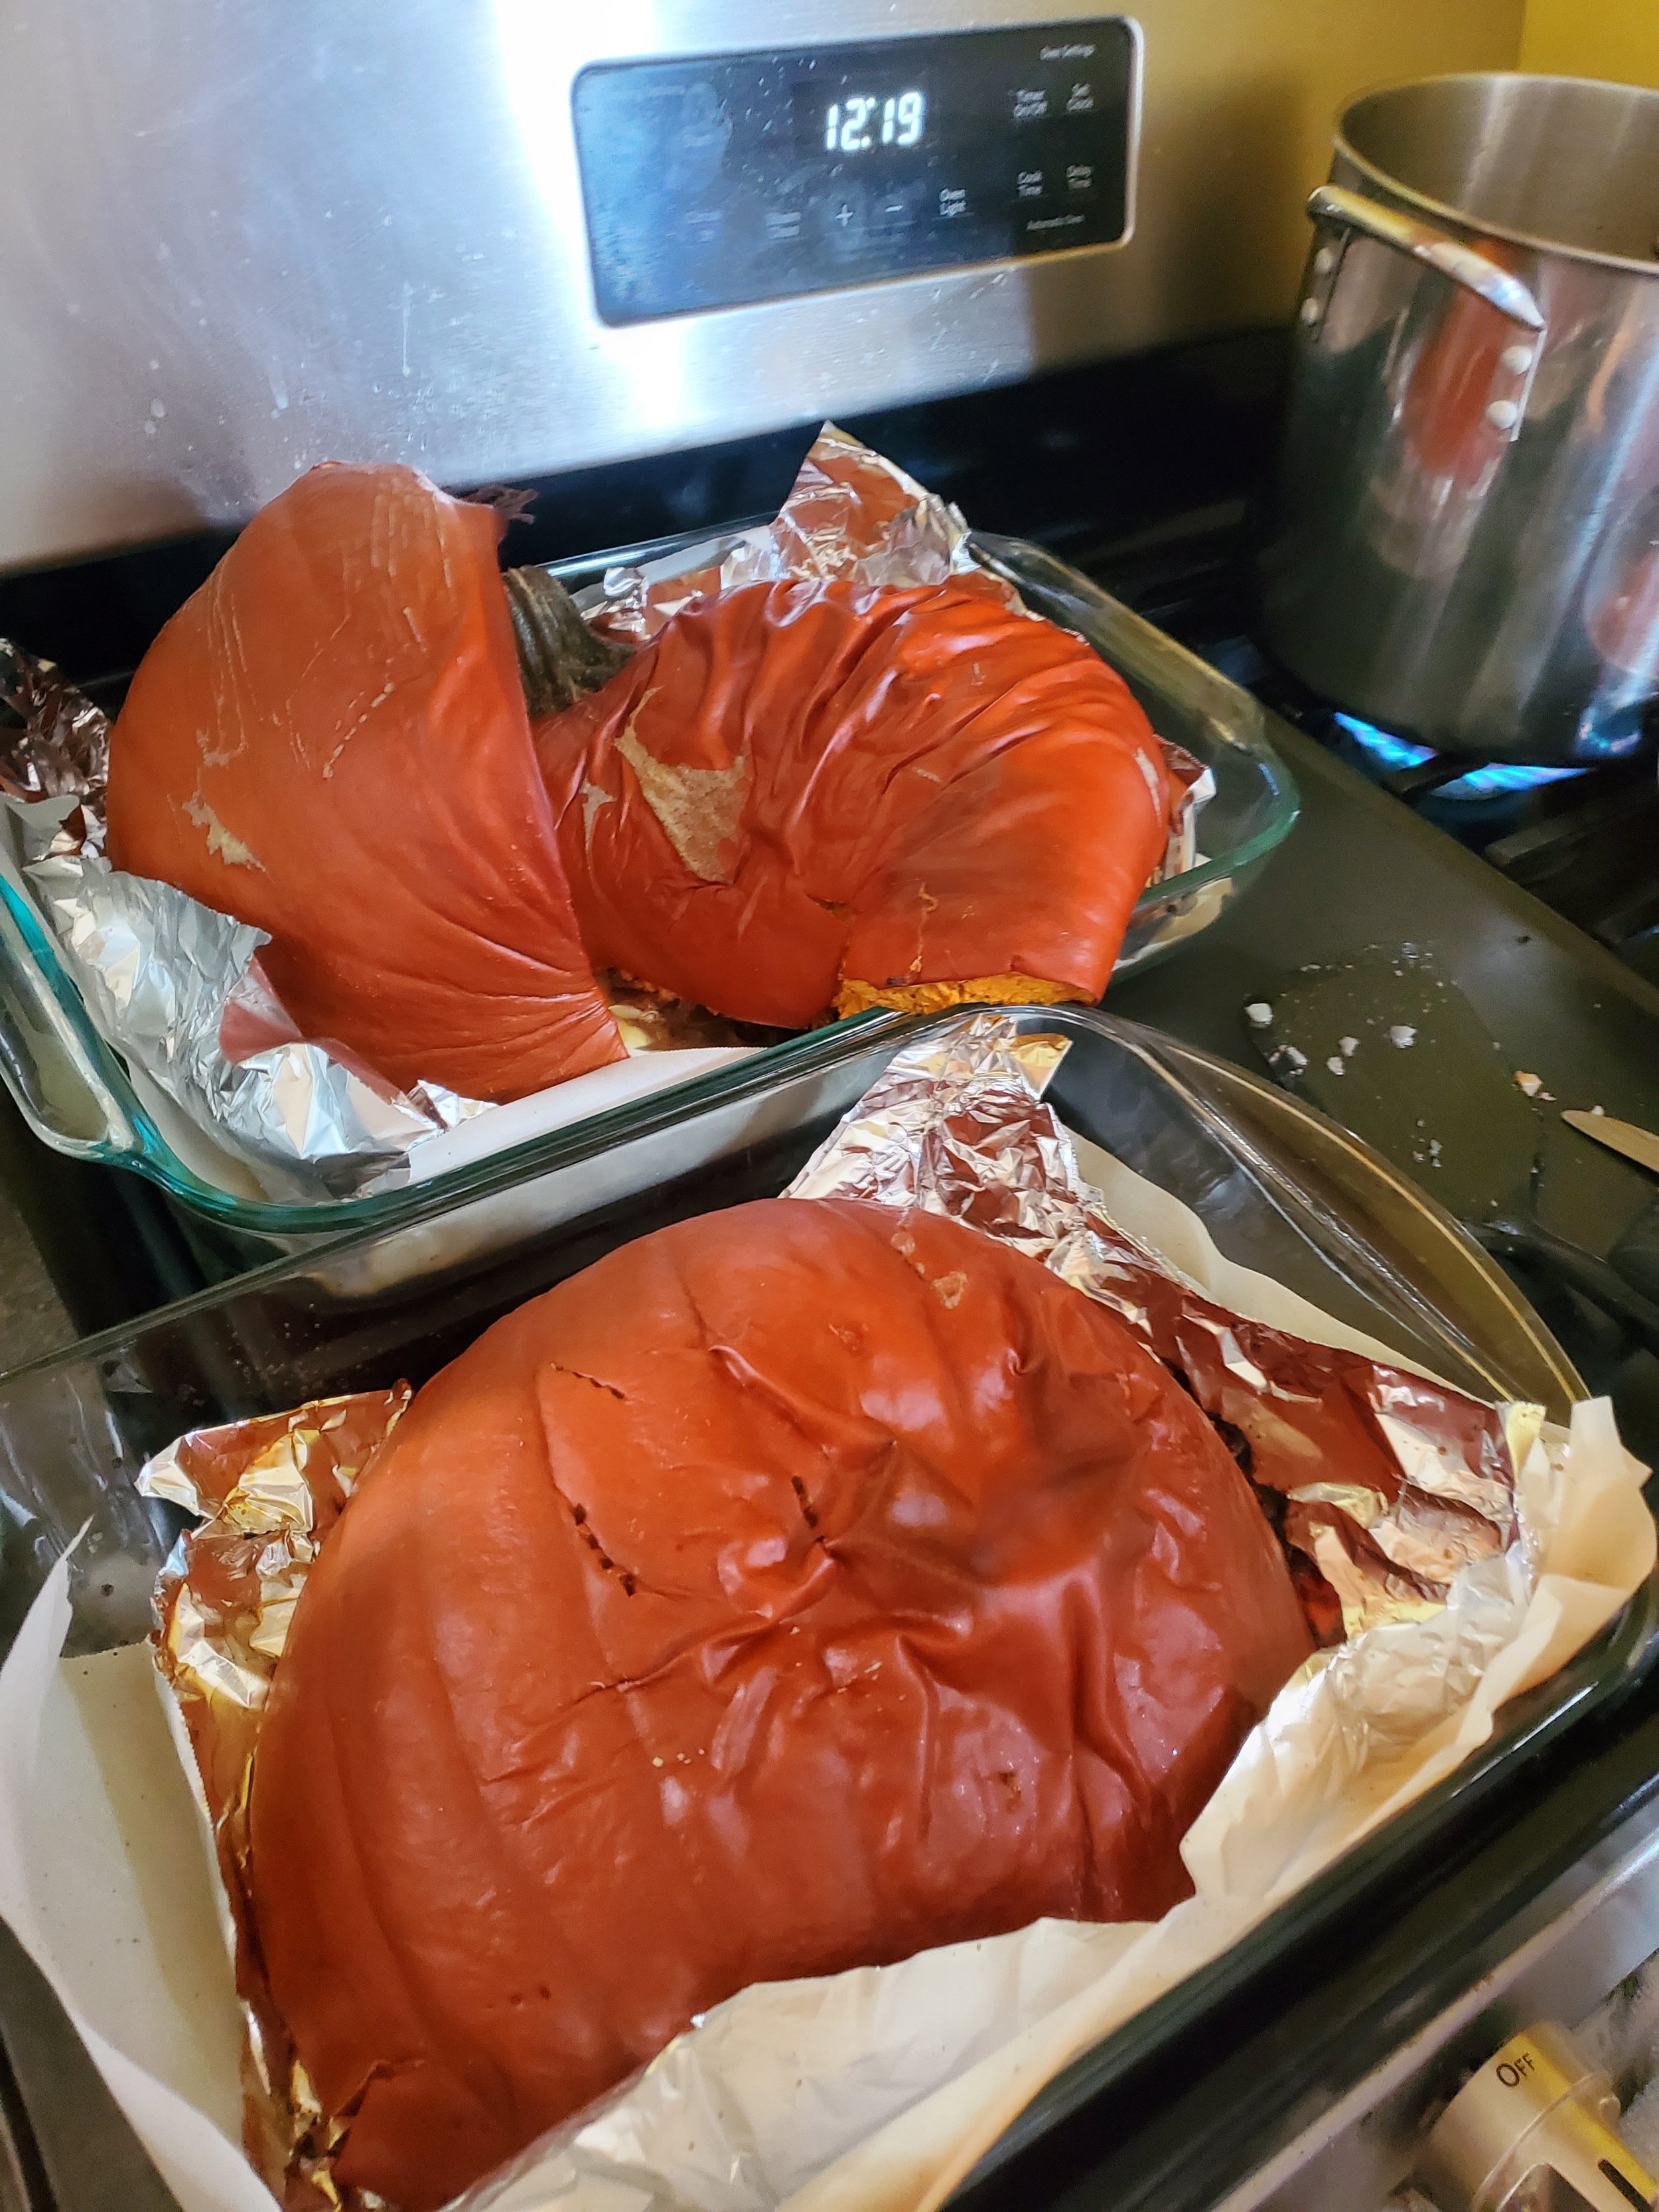
A quick note on finding clam meat and clam juice. It’s hard to get hold of fresh clams. Instead, check out the frozen section of your supermarket. Many of them carry 1 pound containers, which are fresher, have the clams and the juice, and taste far better than canned. Defrost before you use it and it’s not only tastier but more convenient as well. 


Take your onion, celery, and potatoes, and get them ready. For the onion and celery that’s going to be cutting them up into ¼ inch cubes. For the potatoes, you’ll want to peel them for now and set them aside. 


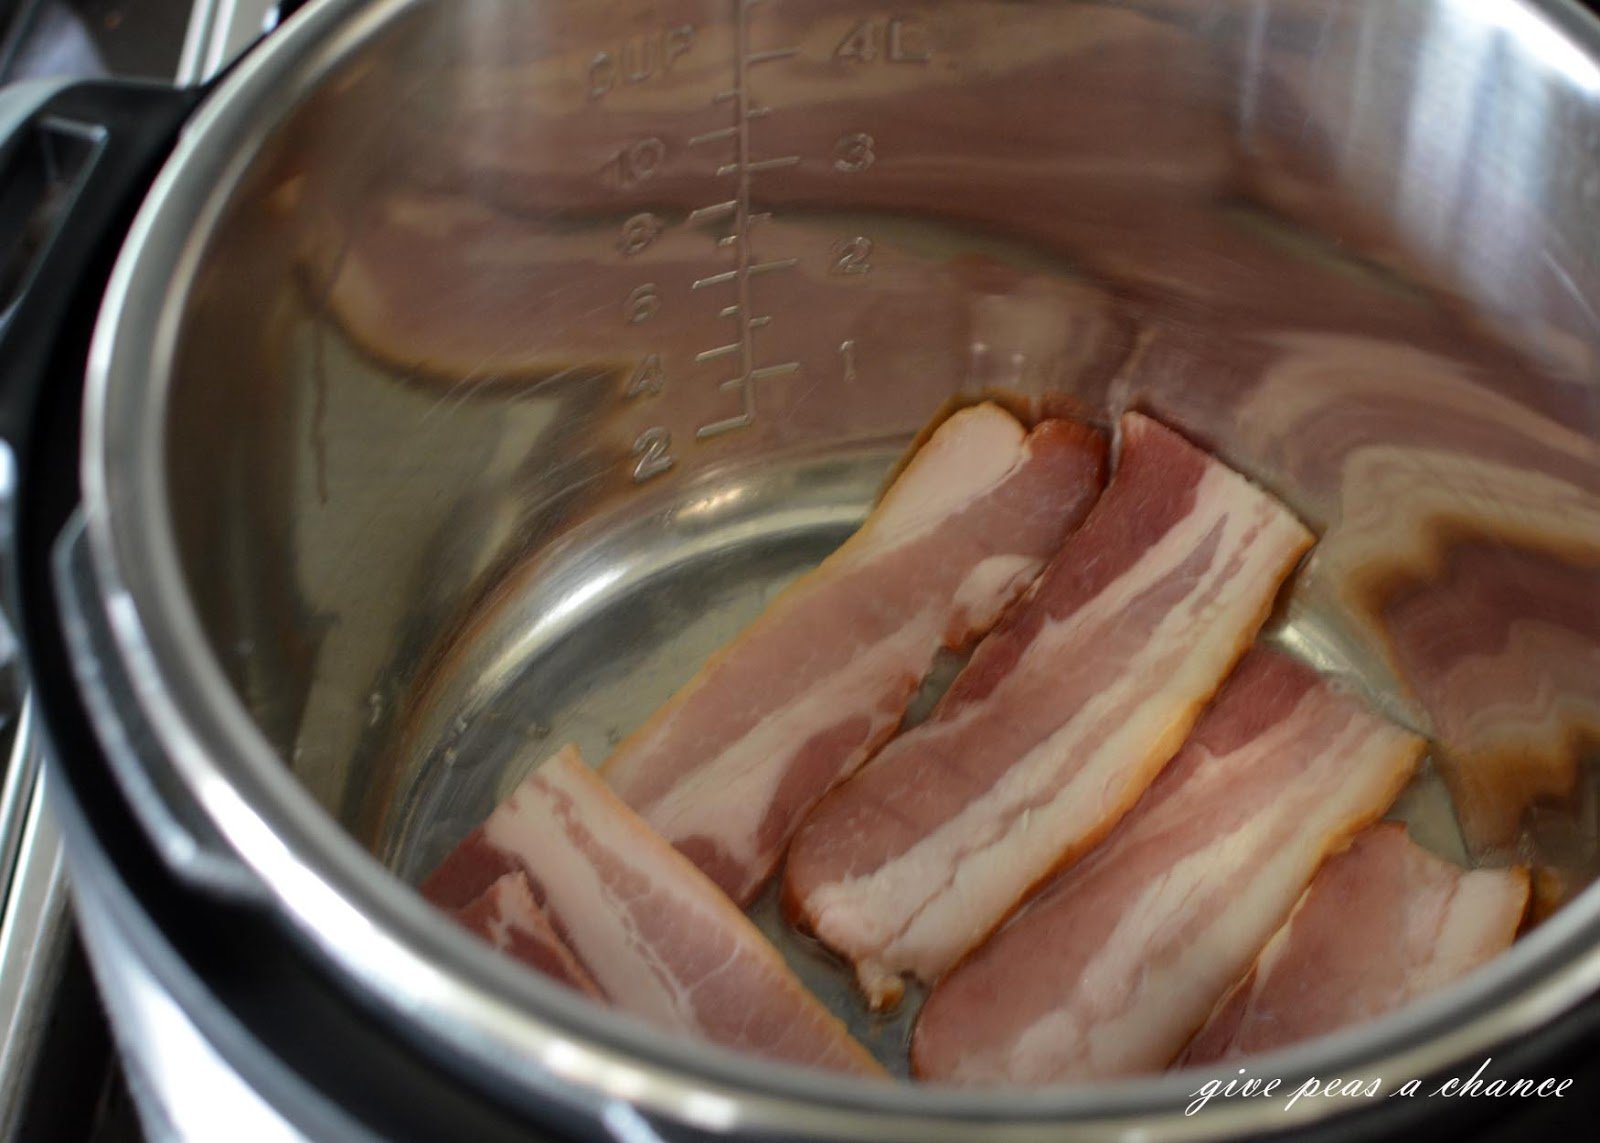
We might have forgotten to take many photos of this recipe unfortunately. This one is from Give Peas a Chance.

Set your 4-6 quart pot on the stove over medium-low heat. Add your bacon to the pot and cook until crips, 10 to 12 minutes.  Remove the bacon, leave the fat in the pot, and set the bacon to the side to cool. 


While that’s cooling, add your butter, onion, celery, thyme, and bay leaves to the pot. Cook at the same heat and stir often. In between the stirring, turn back to your bacon and crumble it into small pieces.  When the onions are translucent, add the bacon back to the pot and stir to mix. 


We had to pause in the middle of chopping ours, but it did mean we actually got a photo of the process.

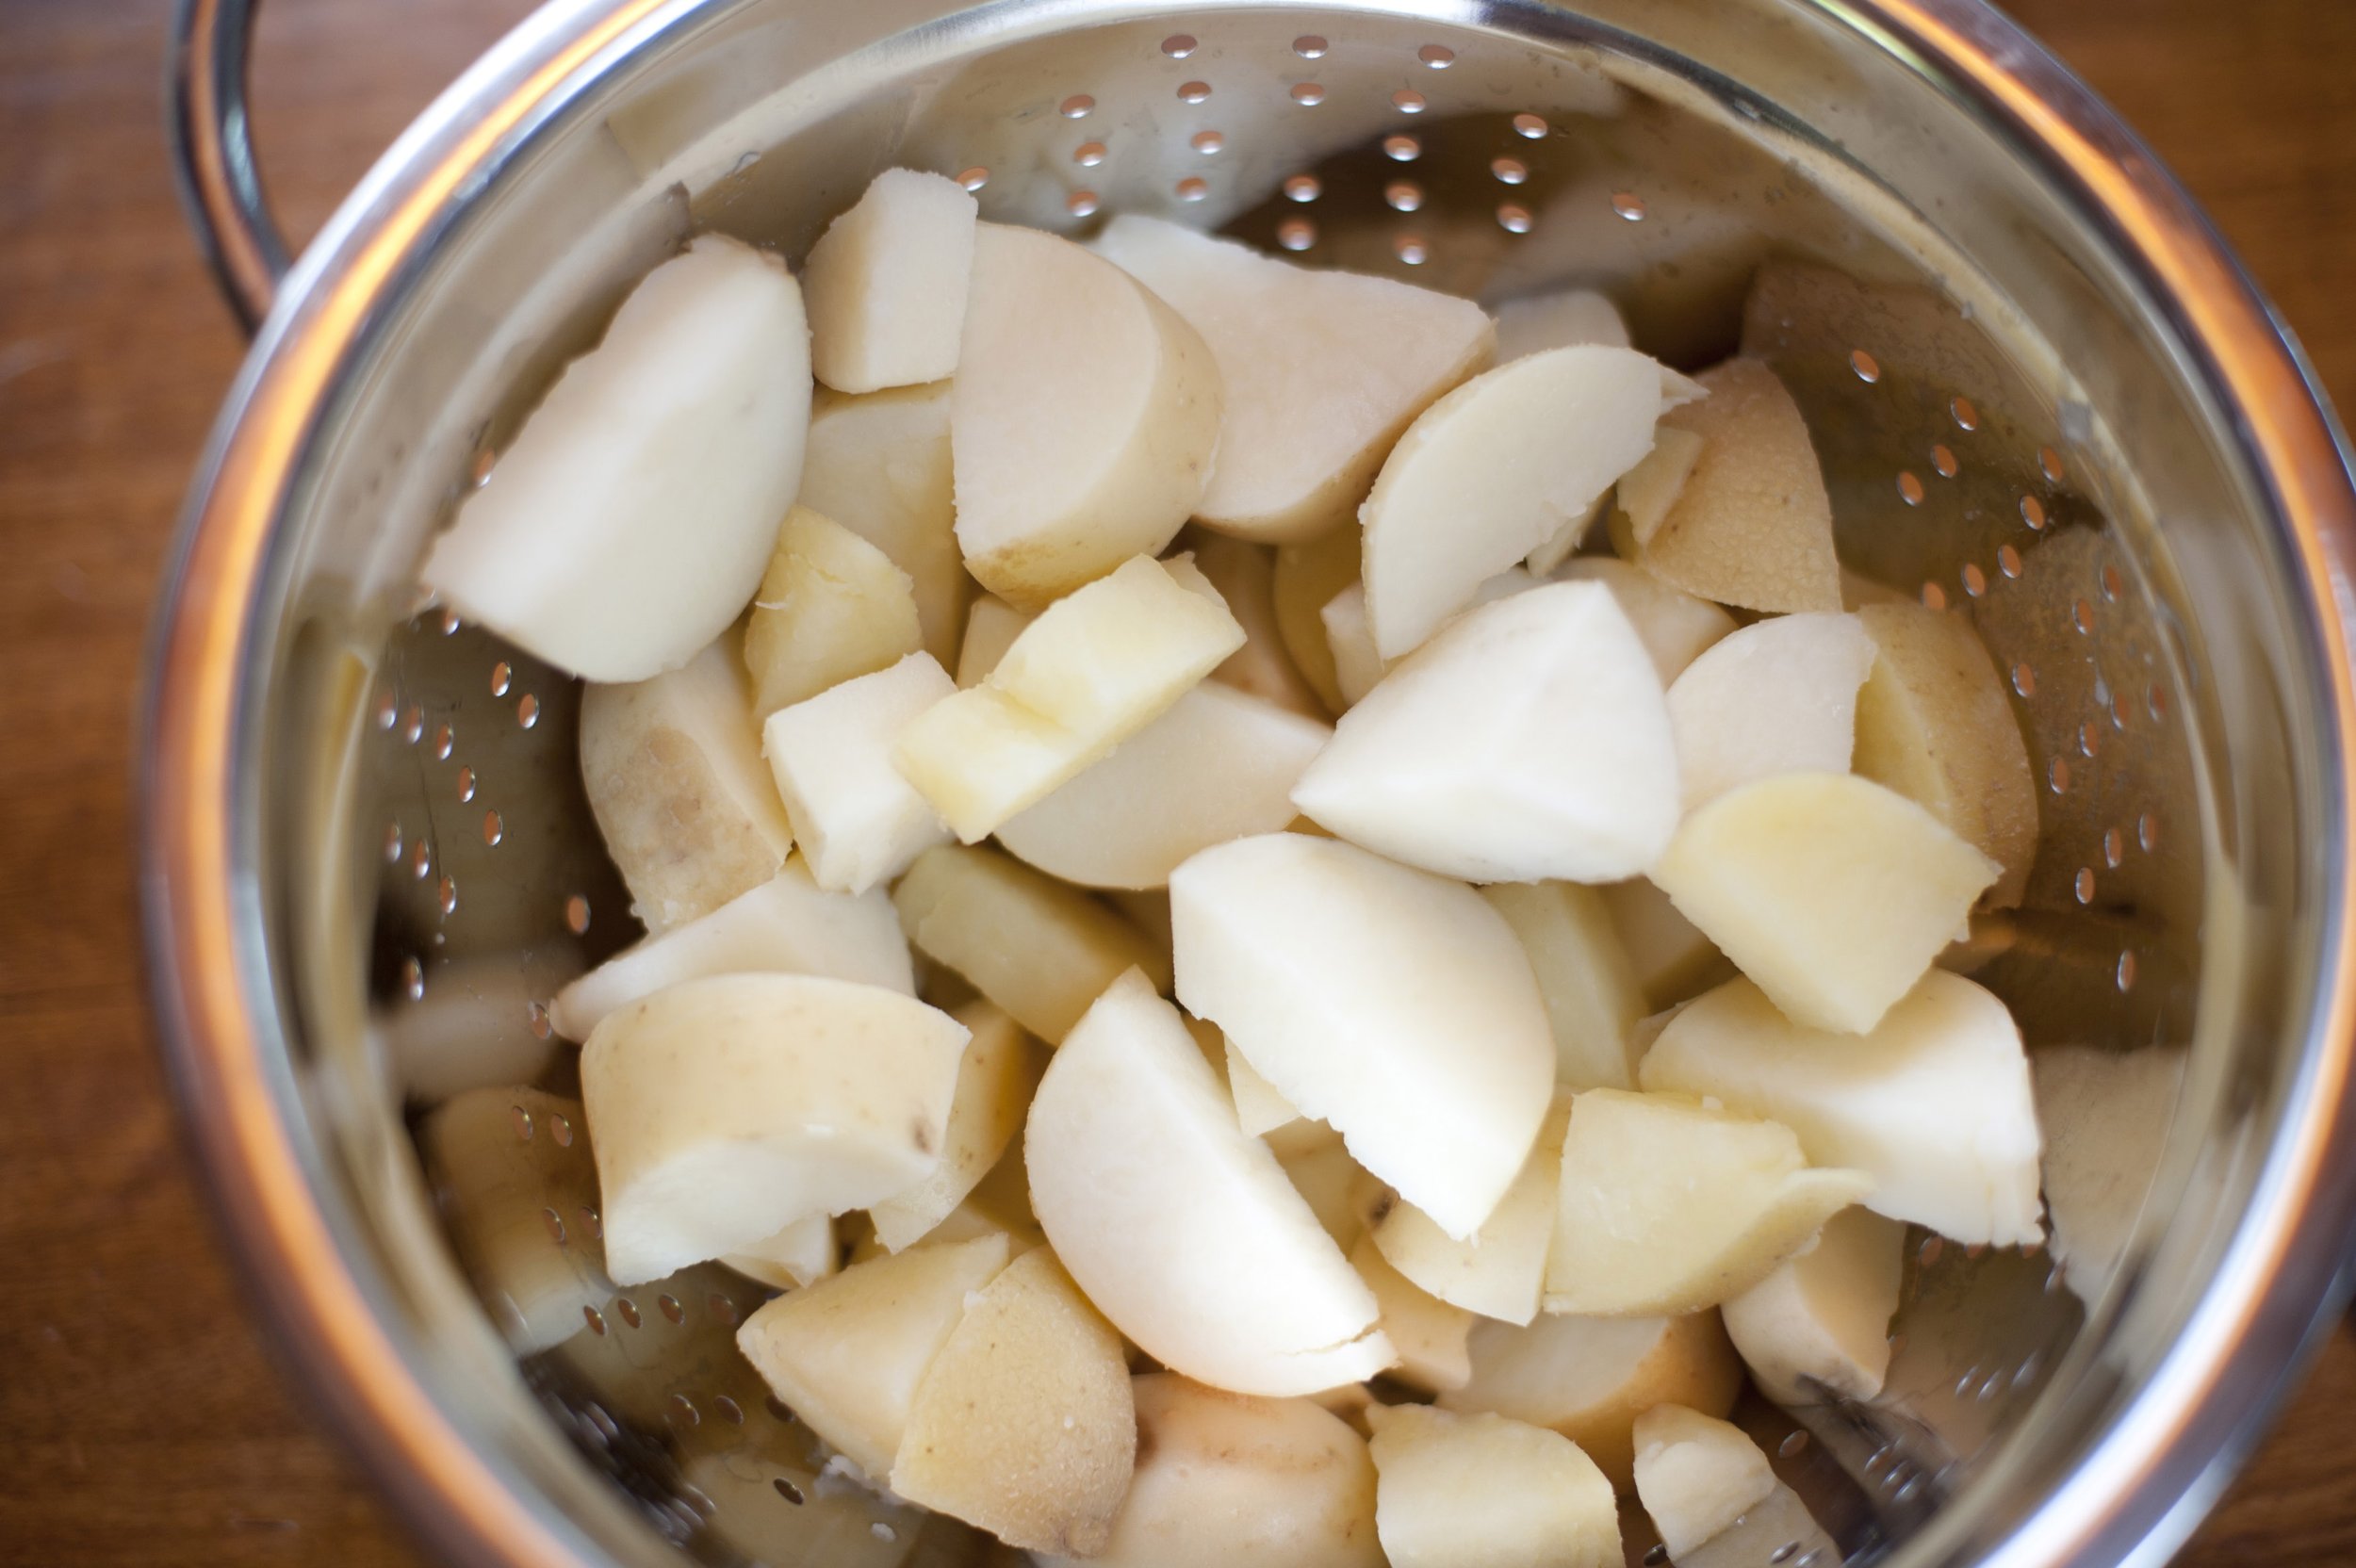
Turn the heat down to low and let it simmer.  In the meantime,  grab your second pot, fill it with 2–3 quarts of water and set it to high heat. Add in salt, and bring the pot to a boil. Dice your potatoes, and add them to the boiling water. Cook for 5-8 minutes or until you can easily pierce them with a fork. Drain the potatoes in a colander and set them aside. 


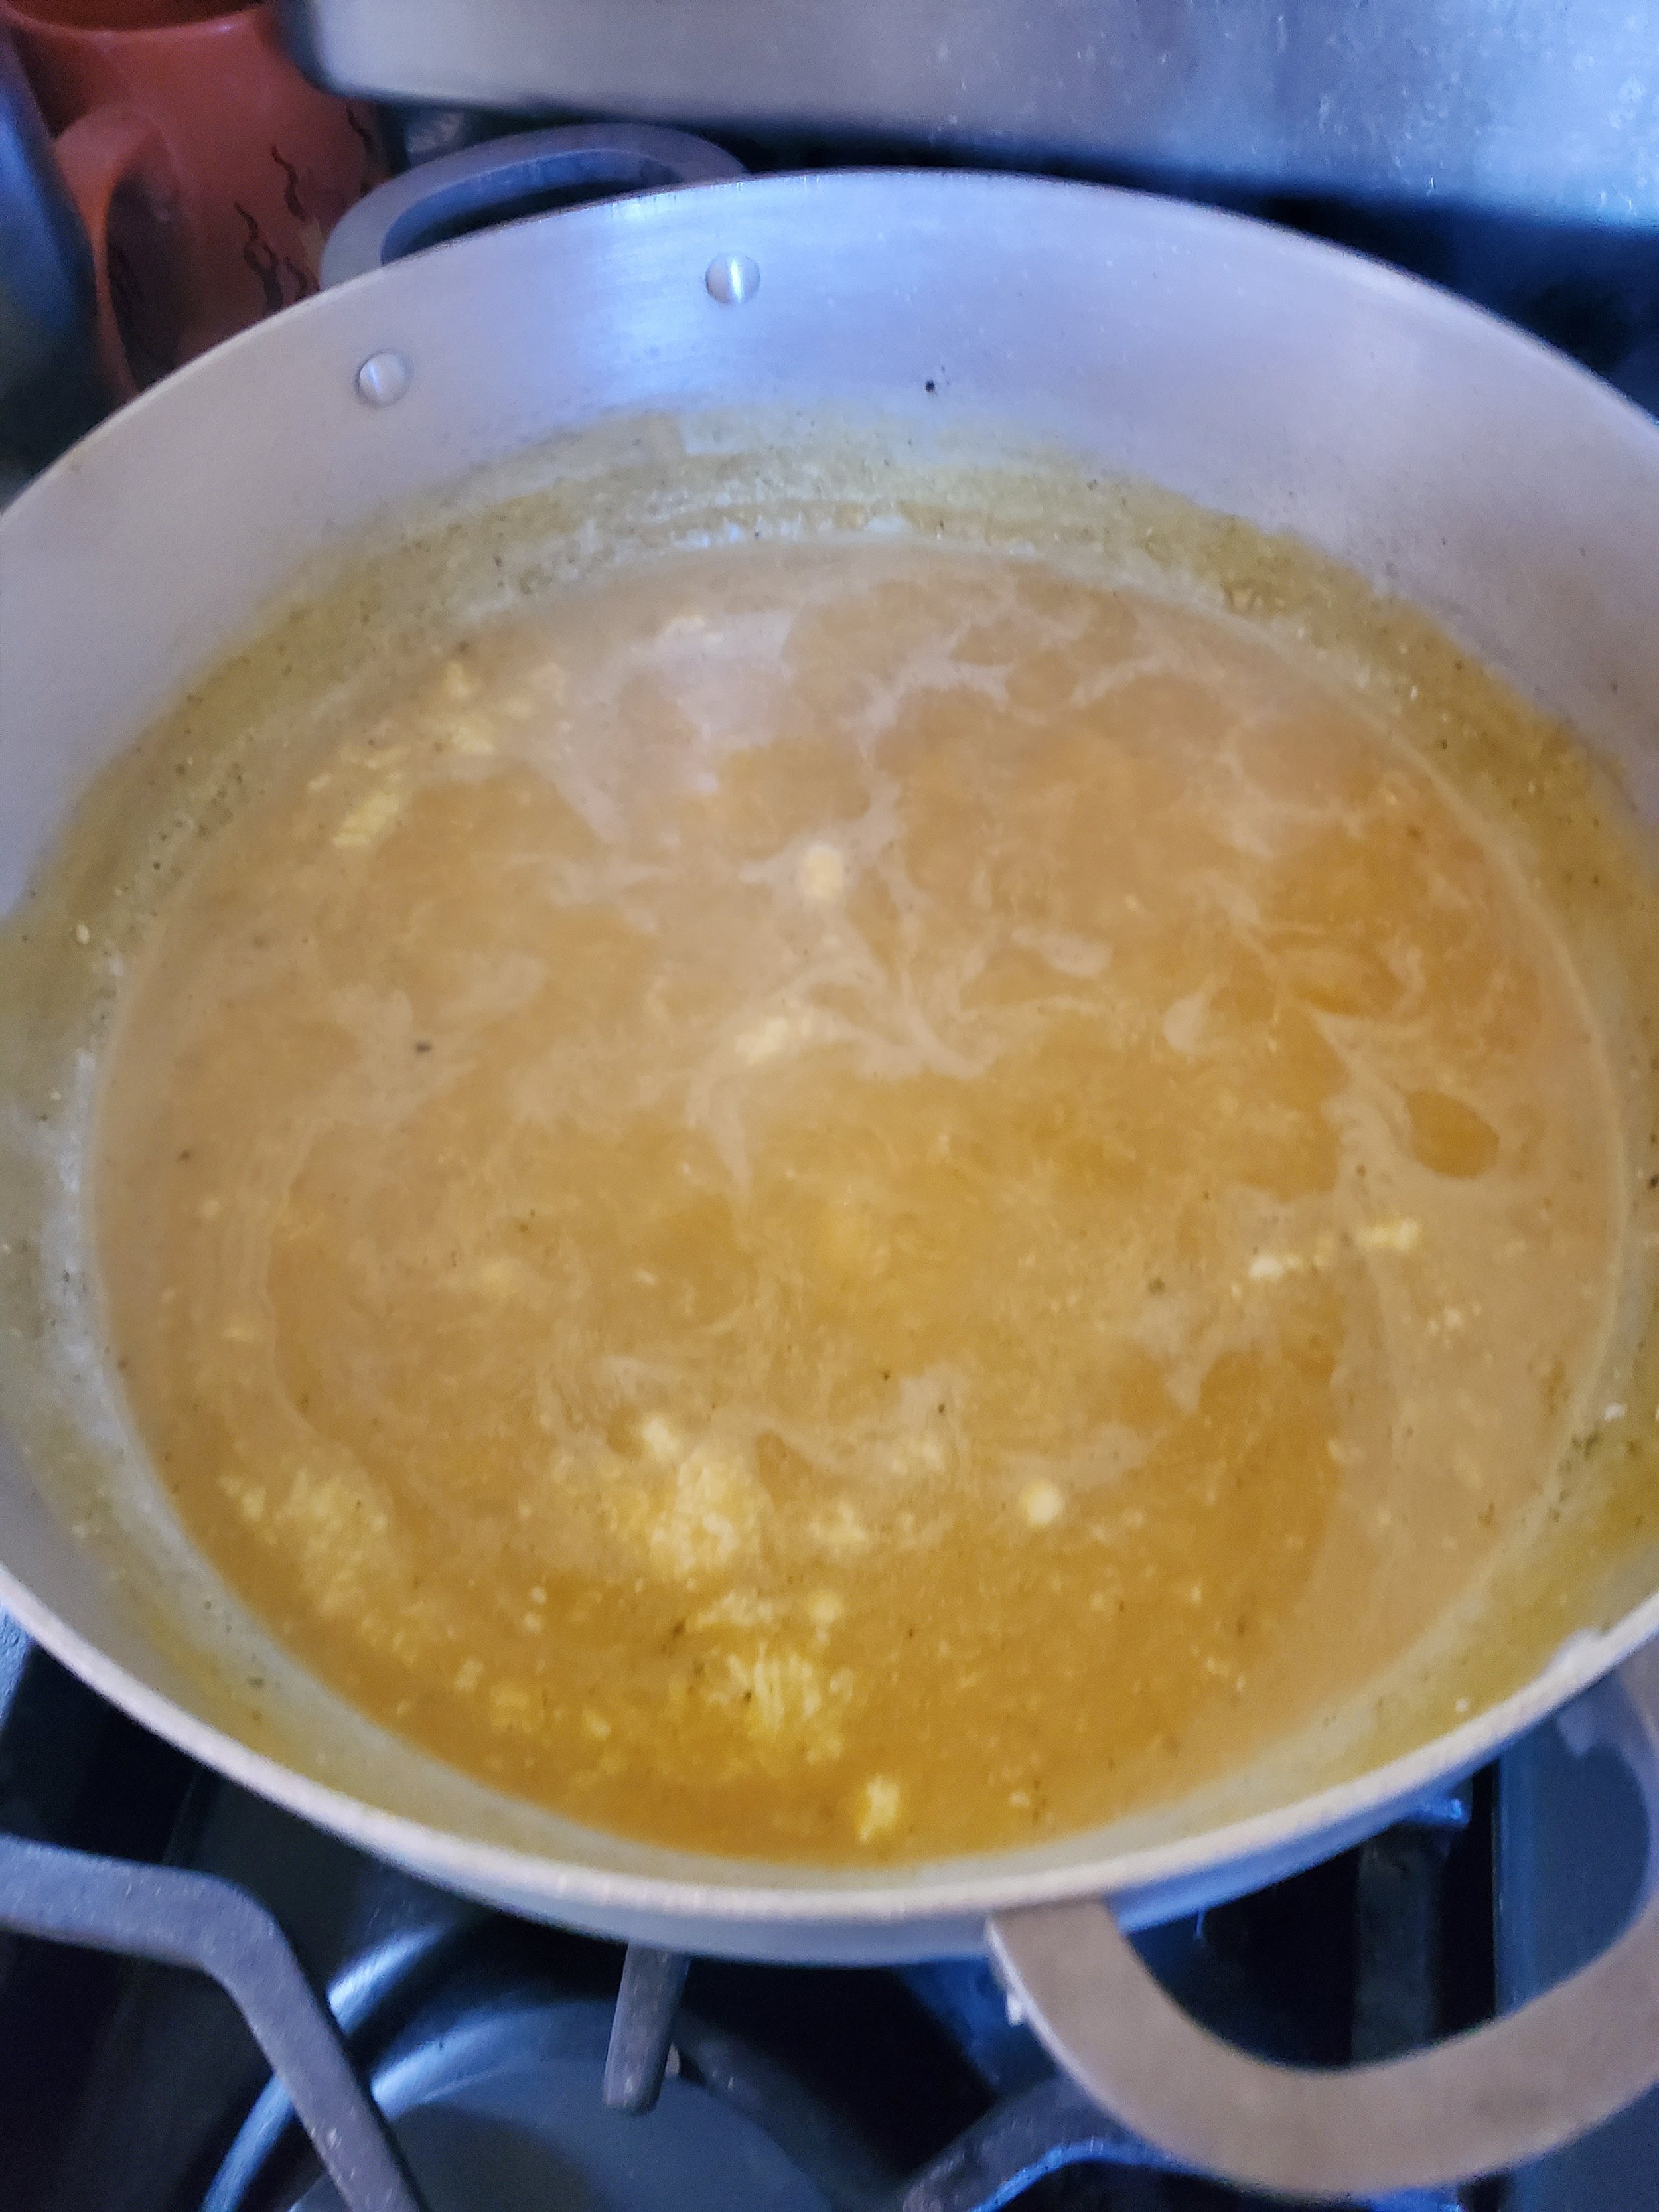
Now, let’s turn back to your onion and bacon mix and turn the heat up a bit to medium-low. Slowly add your flour, stirring constantly, until a thick paste forms. This is a roux, of a type. Stir slowly and cook for 5 minutes until it becomes golden brown. You’re looking to cook out the ‘raw’ flavor of the flour. 


After five minutes, bring the heat up to medium and slowly stir in the bottled clam juice, one cup at a time, fully incorporating it into the roux before you add more. 


Turn the heat up further to medium-high and add your potatoes and the clam meat with its juices. Keep stirring for 5 minutes until the clams are tender. 


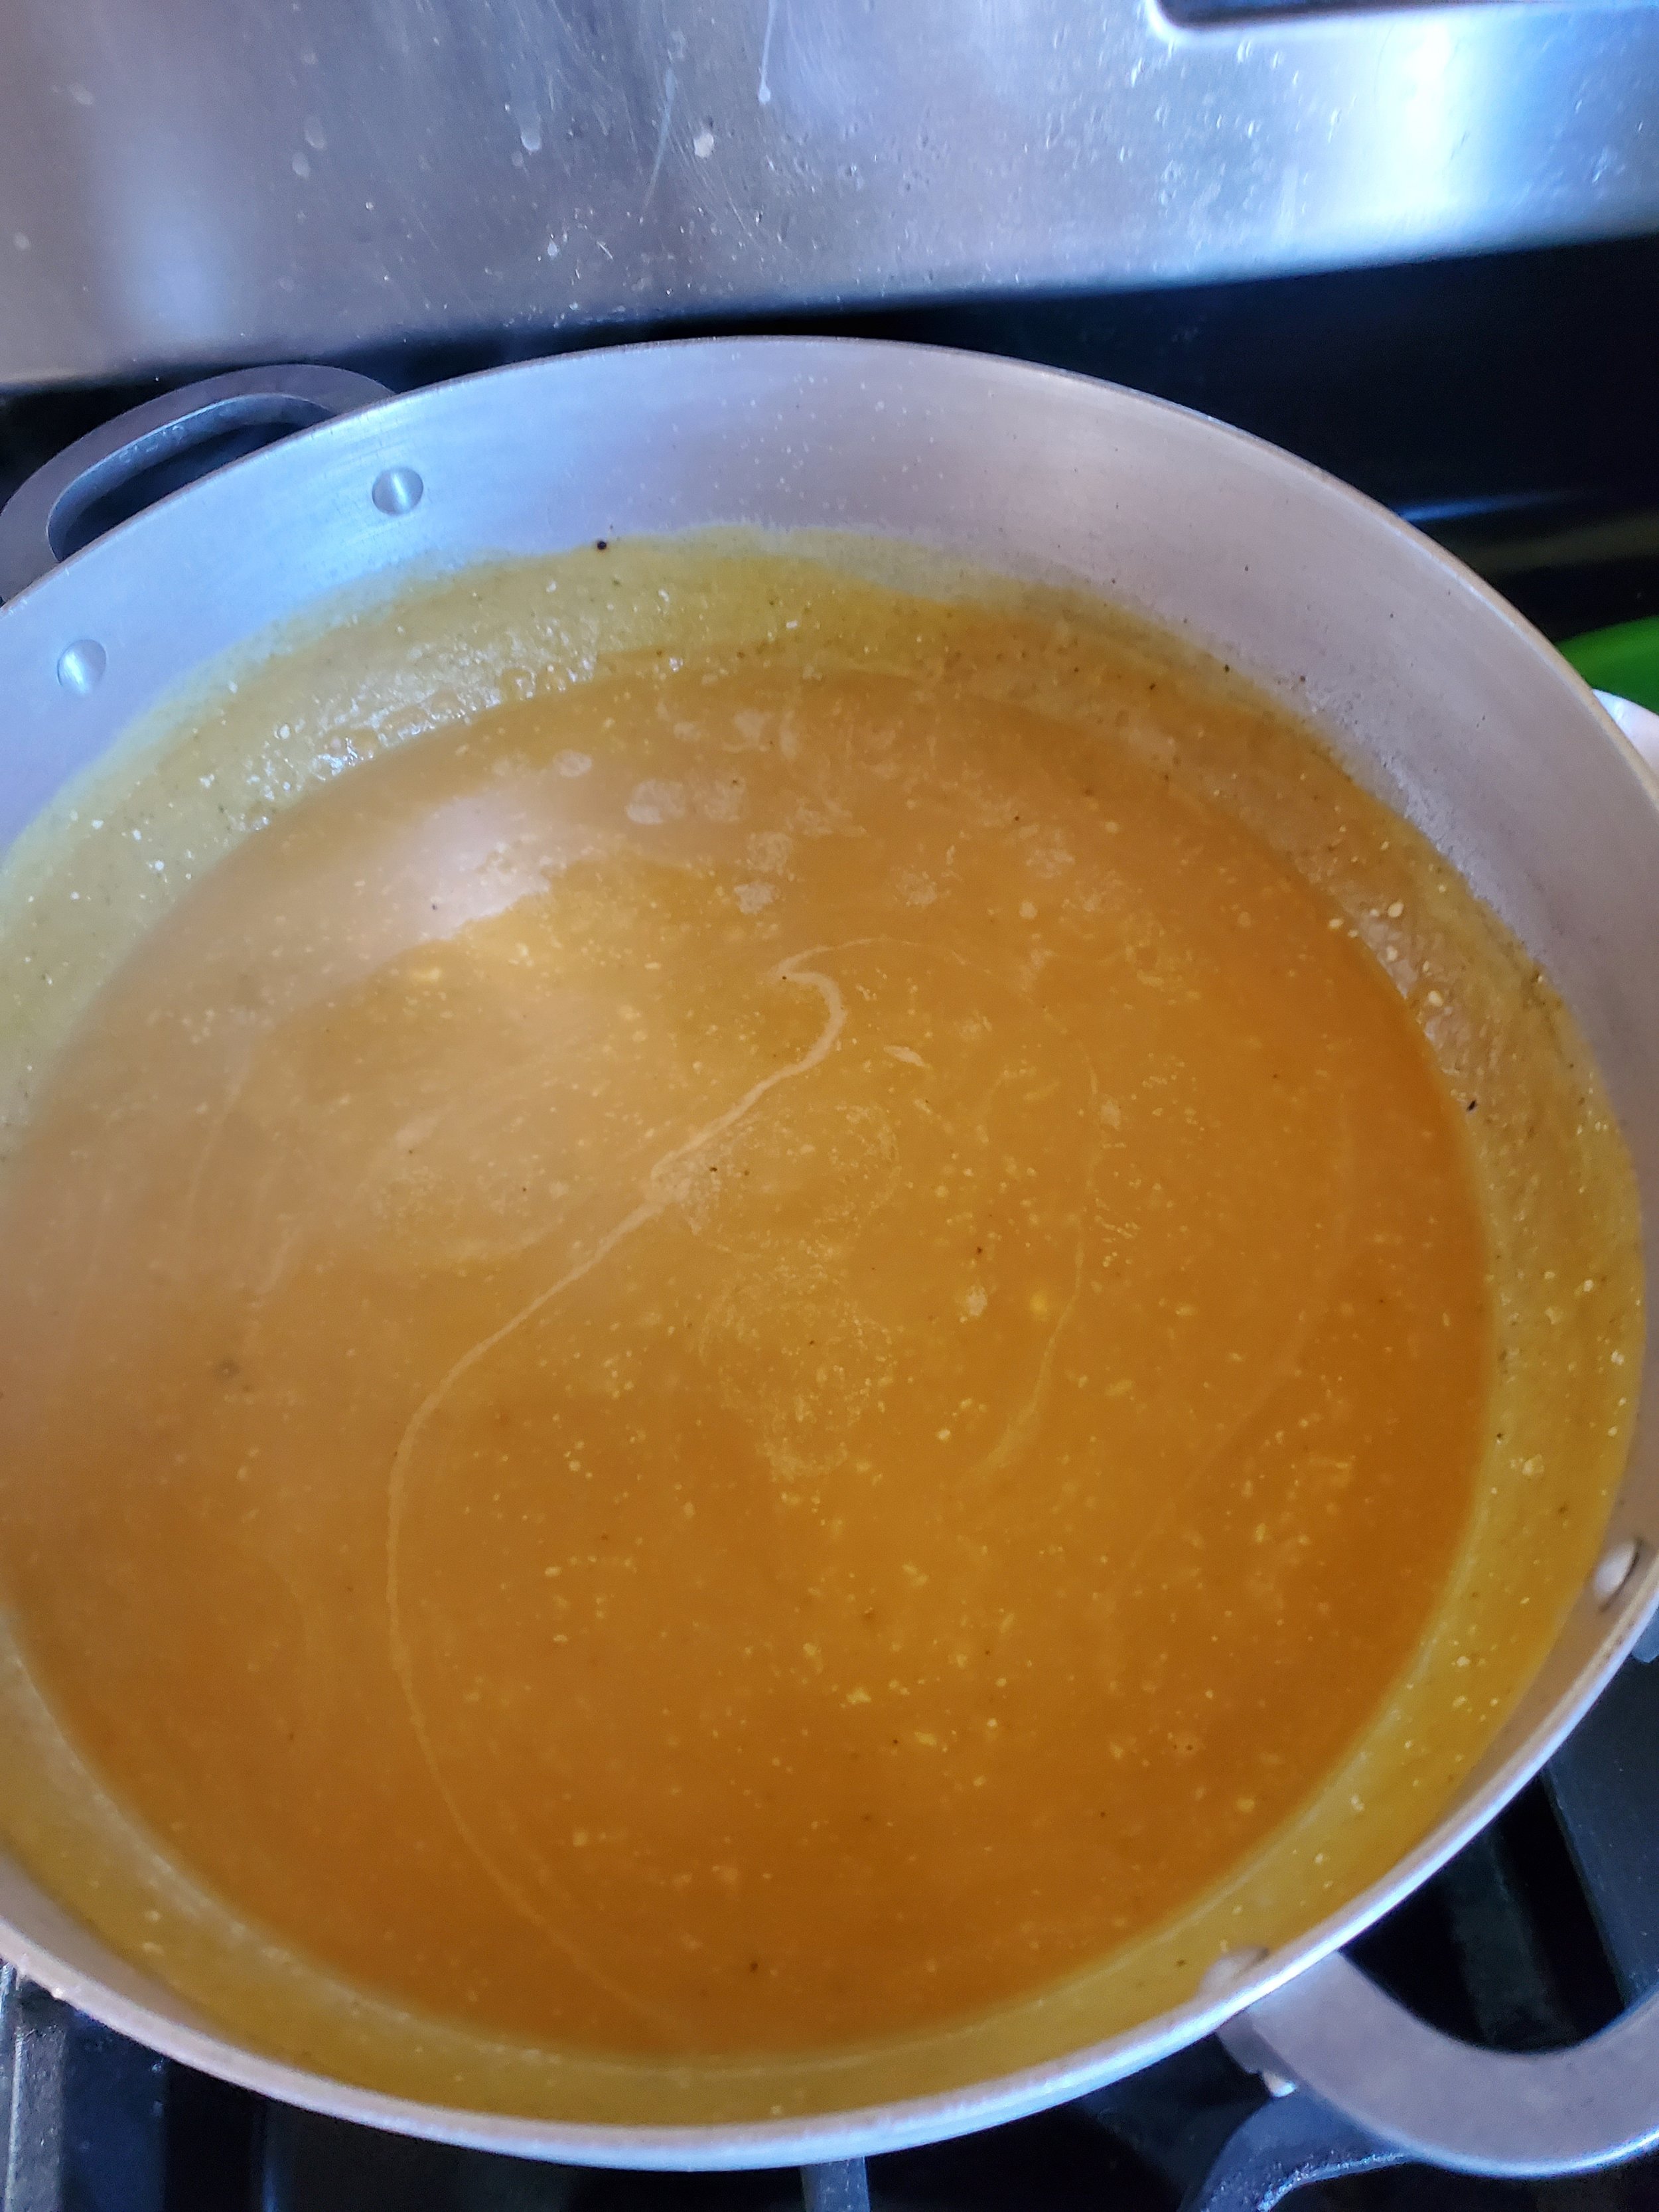
Stir in your cream slowly, and then top with white pepper and stir it in. 

Remove the bay leaves before serving, and dish it up with your choice of grain. We like serving it with pita bread or a crusty slice of bread, while many enjoy oyster crackers. 

The final product though? That was all ours. It tasted even better than it looked in all honesty.


What do you think? Are you willing to give this tasty soup a try as winter comes? Or will you hold out until the cold has actually set in, come February hopefully? Let us know what you think of the recipe, or your own favorite version of New England clam chowder in the comments below or over on our Facebook page. 


If you’re here because you’re worried about Winter being just around the corner, you’re not the only one. Whether you’re looking at issues with your washer and dryer or you want to make sure your oven and stove are up to snuff before Christmas, we can help. In addition to repairing appliances, we at Appliance Rescue also offer maintenance checks. Whether you’re worried about just one appliance or about all of them, we’ll walk through with you. We’ll look at all of the appliances you request and see what is or isn’t happening. Whether it’s making sounds, smells odd or you’d just rather be safe than sorry, we understand. We’ll go over all of the possible issues and make sure that your appliances are good to go.

You can reach out to us to set up a maintenance check on our contact page or by giving us a call at ((214) 599-0055). We’ll work with you to set a time and date that works best for your schedule. From there we’ll send one of our expert technicians to go over your chosen appliances. At Appliance Rescue Service, our goal is to get your home running smoothly again. 

Pumpkin Soup From Picking to Serving

We'll Show You How To Do It All!

Halloween is right around the corner, and that means that our grocery stores have been invaded by two things. Pumpkins and candy. We're going to show you how to turn those pumpkins, not into Jack-o-lanterns to scare off the ghosts and goblins, but into a delicious soup. You will also have so much leftover puree that you can then use it next month to turn it into some amazing pumpkin pies, muffins, or cookies.


Ingredients: 

1 Large Pumpkin 

16 oz of cream cheese

6 cups of chicken broth 

Garlic 

1 small onion  or 1 Tbsp of onion powder

Salt to taste


Tools: Sharp chef's knife, cutting board, oven, parchment paper, aluminum foil, food processor, two large bowls, a large strainer, a spoon or metal measuring cup, a wide, large pot similar to a caldera or Dutch oven.


First things first. The type of pumpkin that's good for making a Jack-o-lantern is not the same one you want for food. Although your local grocery store will sell you the GIANT pumpkins without trouble, the tiny ones are not so easy to come by, and the ones of various colors are great for decor, not for eating.   Do not despair just yet, though. You don't need to go on an epic quest searching for the perfect pumpkin. You can actually search through the ones that are being sold for carving. You'll want to look for one that sounds only partially hollow and is hefty and solid. This should land you with a pumpkin that has thick walls and is still ripe but has not gone rotten. 


Once you get the pumpkin home, give it a quick wash and dry it off. You don't want it to be slippery when you start cutting it in a moment. Then snag a thick towel and your chef's knife and carefully stab your way into the pumpkin on one of the ridges. You want the knife to go all the way in for this first cut. It takes work, but going slow is the key.  You could, in theory, use the saw from your carving kit, but we don't actually want to get rid of the lid on our pumpkin. That's perfectly good food right there, rather than being in the way like with carving. 


Once you've gotten all the way through, remove the knife, grab a sharpie and draw lines to quarter your pumpkin, as best as possible, without removing your pumpkin. You might want to cut around the top of it, but again, this is a preference thing.  Depending on the size of your pumpkin, we suggest splitting it into either two or three pieces. This allows for the inside of the pumpkin to steam rather than sear in the next step.  Your next step is to grab a hand mixer and input just one of the two whisks. Use that, set to a low to medium speed to quickly and easily gut your pumpkin. (When you're finished, you can set aside the seeds for roasting at a later point.) 


Once you've cut your pumpkin into the desired shape, grab a pyrex (or similar)  baking dish. You'll want to line the bottom and sides of it with parchment paper (not wax) and then a layer of tinfoil over that. You should end up with the tin foil pressed firmly into the sides of the pan and wrapped around the top edges. This way, you've got less of a mess when this is all over. 


Preheat your oven to 400*F, and pop your pumpkins into the baking dish(es). You want the pumpkin to have enough room to sit flat on the bottom of the dish rather than having anything sticking over the sides. Once your oven is preheated, pop the pumpkin into the oven for 1 hour.  Make sure that your pumpkin is not touching the top of your oven, or it can catch on fire.  Once an hour has passed, you'll want to check on them with a fork. See if you can easily sink a fork into the flesh of the pumpkin.  If it goes in easily at first and then hits resistance, you'll know that you need more time. If you can cut into the pumpkin without trouble, congrats, go ahead and pull it out. 


At whatever point you finish up your pumpkin, set the dishes on the counter, and leave them be for 30 minutes. Once they're just cool enough that you can handle them, carefully use something like a metal spoon or a pair of forks, to lift the pumpkin away from you. So, if you're looking at the pumpkin, lift the far edge and slowly bring that towards you. If your pumpkin was cut in half, this is going to release a LOT of steam, and it's going to be extremely hot. Please don't burn yourself. 


Now go ahead and wander off for an hour or so.  You want the flesh of the pumpkin cool enough that you can handle it without getting burnt. Once it's ready, come back and drag one half over to your counter, where you should have set up 1 large bowl, one medium bowl for scraps, and a large metal spoon. We're looking at a cooking spoon here, not a serving or eating spoon.  This will take too long otherwise. 

Depending on how long your pumpkin roasted, it might be just solid enough to be scraped apart, or it could be at the stage where if you look at it funny, the pieces fly apart. Grab the pumpkin and give it a careful squeeze to try and get out as much liquid from the pumpkin as possible. You want it to be down to just a few drops.  Then, start scraping apart the skin from the meat of the pumpkin. It's not a complicated process, but it does require you to focus to ensure you're getting all of the meat. 


Once you've finished one, go ahead and give your hands a good stretch, and then go and tackle the other one. If you're like us, this is the point when you realize that you might have purchased 3 pumpkins, but you're not going to be roasting all of them in one day. 


Once you've got all of the pumpkin flesh in one bowl and the skin in the other, toss the scraps and grab your sieve, the second large bowl, and your food processor. Now you're going to puree everything. Working in batches, transition the scraped flesh to the food processor and have at it. You should have just enough water for the processor to work but not so much that you end up with a thin puree. 


Once you've pureed the entirety of your pumpkin, give the first bowl a quick wash, and grab your sieve and metal spoon. You want to work the puree through the sieve, pushing and scraping as you go. Your goal is to get rid of any uncooked bits, seeds, skin etc. 


When you're finally done with that stage, you can do one of two things. (Three technically, but we don't count icing your wrists as an actual part of the recipe.)  

1)  You can be satisfied with the quality of the puree as it stands, and move forward with cooking! 

2) You can opt to make it thicker and use cheesecloth to remove some of the liquid. 


If you're going with option 2, here's a quick run down. Again, wash the emptied bowl, and then grab some cheesecloth. You'll work in batches over your sink to squeeze out about 50% of your liquid. So, just a gentle squeezing, not working to flatten all of it out. Add each batch into the bowl you washed, and repeat as needed until your puree is the thickness you prefer. 


At this point you can continue on to make this super simple soup, OR you can take a break for the day, set aside 3 cups of your puree, and portion the rest for freezing. That's up to you.  Frozen puree can last up to 6 months, if you don’t manage to use it all up before then.


If you choose to move forward with the cooking, let's get to it. 


Take a large, wide pot (we used a caldera at our home, but a dutch oven would work as well) and set that over low heat.  


You can use already minced garlic, or you can mince your own. Either way, use at least 1 Tbsp. We say at least because in our home the rule is always "more garlic is better."  When your garlic is ready, turn up the heat to high and toss in the garlic. You can also add in 1 cup of diced white onion at this point, or just sprinkle your garlic with onion powder. That depends on how strong you want the taste of the onion to be.  You're looking for the garlic to soften and also start to turn just a little brown around the edges. 

Mix in 6 cups of chicken broth, 16 oz of cream cheese, and 3 cups of your pumpkin puree.  Stir thoroughly and bring the mix up to a boil. 


Once your soup has come up to a boil, reduce it down to low and allow it to simmer away until it has reduced to a thick, creamy consistency. 


When you're done, turn off the heat and serve it up alongside some rolls or a rich chewy bread. It's not a complex recipe, but it is filling and delicious.  


An important note is that if you want to do this at other points throughout the year and you don't have any pumpkins just lying around, you can always pick up a large can of pumpkin puree from the store and use that. It won't taste /as/ good, but it's still an amazing soup. 


There you have it! You can now say you know how to select your own pumpkins, roast them and turn them into soup! What do you think? Are you interested in learning other recipes like this, where we show you how to prep different aspects of the meal ahead? Let us know over on our Facebook page or in the comments below. 


If you're here because your freezer is thinking it's still summer and working harder than an ox, we can help. You can give us a call at ((214) 599-0055) or reach out on our contact page. We'll work with you to  find a time that fits your schedule best to send one of our technicians to get your home running smoothly again. Whether you live in Dallas, Coppell, or Addison, Appliance Rescue Service is here for you. 


Broccoli & Cauliflower Soup

Warming, delicious and surprisingly easy to put together!

I don’t care! Take me to the recipe!

Few things can help warm someone up in winter like a nice hot soup, and rarely will anyone object to soup, even with the veggies in it. That is exactly why we chose it for this week’s recipe. With a delightful vegetable stock and some baked chicken to complement it, this makes an excellent choice for a medium effort meal for lunch or dinner.


Some recipes take a little bit of work to get just right, and bouncing ideas off of other cooks is never a bad idea. That certainly happened with this recipe, where different ways to get the vegetable stock just right were debated with our not-so-resident cooking friend until we settled on this particular version. The biggest question was whether to blend everything, or only the broccoli and cauliflower. We hope all the conversation has produced something quite delicious for you to enjoy.


Things you'll need:


Ingredients

  • Broccoli 

  • Cauliflower 

  • Carrots

  • Celery

  • White Onion

  • 3 Tbsp Butter

  • Roasted garlic bullion (or similar)

  • One rotisserie chicken


Equipment: 

  • Vegetable knife

  • Cutting board(s)

  • Chef's Knife

  • Large Pot

  • Blender

You will want to start off by chopping up your carrots, celery, and onion. For the carrots and celery, aim to do smaller pieces, maybe one to two centimeters in size. For your onion, go ahead and mince it and aim for a roughly similar size, if possible. Place these into a bowl separate from the other ingredients, and sprinkle salt and pepper to taste.

Moving on to the broccoli, you will want to hold it upside down and chop off the florets a few pieces at a time. You’re aiming for pieces roughly an inch and a half long. Once you’ve done that, you’ll be left with a fairly long and bare stem. Go ahead and chop the stem into pieces roughly half an inch long. Now, repeat the same general process with your cauliflower. Once that has been completed, go ahead and place them into a separate bowl from your other vegetables, sprinkle in any salt and pepper you deem necessary, and give them a toss to help more evenly mix and spice everything.


Next, get your pot and put it on medium heat on the stove. Put in your butter and allow it to melt. Once it is melted, put in the garlic bullion and thoroughly mix it until it is a single, smooth texture. Once that has been done, add in the celery, carrots, and onion, allowing them to become softened. The biggest thing you’re looking for is when the onions begin to turn clear.


Once your onions have become transparent, add in the broccoli and cauliflower, along with a cup of water, and turn the heat down to a nice simmer. You want the broccoli and cauliflower to become soft, easy to push a fork into, but not squishy and “dead” feeling.


Now, strain out all of your vegetables and put them into your blender, adding in a cup of the broth they were in. Next, add in an additional five cups of water to your pot, and mix up the remaining stock.


Start pulsing your vegetables, slowly working your way up until you have a puree. You want a smooth consistency at this stage. Once you’ve done that, you will want to mix the puree back into the pot. From there, go ahead and give it a quick taste to see how you like it. Add spices as needed, or, leave it alone if you think it’s already good to go.


Next, take out your rotisserie chicken, and cut off whatever sections you think would be best with this soup. Our recommendation is to cut the meat off of the breast, since it tends to provide some excellently tender meat. An additional area to consider would be the thigh, as it tends to provide a similar quality of meat, but may take a little more work to cut off of the bird. We chose to chop this chicken up into strips, but cubes of meat would also work very well. Put this in with your soup, and it is ready to serve.

We hope you find this to be quite a delectable soup. While this recipe calls for chicken, the vegetable stock could be paired with other things, and we would love to hear about any ideas you have with this recipe! Feel free to tell us about your opinion of this recipe, and any modifications you make, in the comment section here, or over on our Facebook page! We’d love to hear from you, and if you have any issues with your appliances while cooking, feel free to give us a call or hop over to our appointments page.

Cheddar and Hard Cider Soup with Fried Shallots

Something to warm you up from your nose to your toes

What do you do when you’re tired of turkey and you need a fast, easy meal that’s still going to fill you up? Easy, you grab a few kitchen staples and make this soup. We’ve got a warm delicious soup that’ll keep you warm all day long, without overheating your kitchen. 

Ingredients: 

4 Tbsp Unsalted Butter

2 yellow onions, chopped 

1 celery rib, chopped

1 Yukon Gold potato, peeled and chopped 

  If you can't find any Yukon Golds at your grocery store an alternative would be Red Bliss potatoes, as these are the closest to the flavor of the Yukons for this recipe. 

2 cloves garlic, minced

2 Tbsp all purpose flour

2 1/2 cups chicken broth

2 1/2 cups hard apple cider

1 cup half-and-half

2 bay leaves

2 thyme sprigs

2 Tbsp applejack or Calvados brandy

3/4 lb English Cheddar cheese, shredded

salt 

fresh ground black pepper

Fried Shallots  (click here to skip to the recipe) 

Tools Needed: Cutting board, chef's knife,  two large pots, a blender, a cheese grater and a straining spoon. 

Yukon golden potatoes. Sadly they aren’t available by your blogger.


- In a large pot, melt 3 Tbsp of butter over medium-high heat. Add the onions, celery, potato and garlic and stir. Reduce the heat to low, cover and cook, stirring occasionally until the vegetables are softened, about 12 minutes. 

Sprinkle the flour over the vegetables and cook, stirring constantly, tumbling the vegetables around the pot so all sides are heated, until the flour is incorporated. 

While still stirring constantly, gradually add the broth, cider and half-and-half to the pot. Raise the heat back up to medium-high, add the bay leaves and thyme and bring the pot to a boil.  

-Turn your heat down to low and simmer for roughly ten minutes, to allow the flavors time to blend.   Make sure to leave the pot uncovered during this time period. 

Delicious Red Bliss potatoes.

-Remove the bay leaves and thyme sprigs from the soup and discard them. Remove the soup from the heat and let cool slightly, you want it still warm, but not piping hot. 

-Working in batches, puree the soup  in a blender. Pour the puree into a clean pot. Stir in the applejack. Off the heat, while whisking constantly, gradually add the cheese one handful at a time. Continue whisking until all the cheese is melted. Place over medium-low heat, stir in 1 tsp of salt and pepper to taste, and cook gently, stirring often, until heated through, about 10 minutes. 

Taste and adjust the seasoning.  

Serve, garnished with the fried shallots. 

We know we tossed a red onion into the picture. It rolled its way into the shot


Fried Shallots 

Ingredients: 

Fresh shallots, thinly sliced 

Oil - Peanut, canola  or sunflower works well 

A shallow pot for frying.


-In order to make your own fried shallots for this recipe, start off by slicing them thin, but not paper thin. Roughly .2 cm is a good size. 

Soak your shallots in salt water after you slice them, for ten minutes or so. Then remove them and pat them dry so that the oil doesn't splash when you add them. 

Take a pot and bring oil to heat. You want to be able to flick water at the surface and have it hiss but not boil. We advise a soybean oil for this. 

Now drop in your shallots a few at a time and fry them until they're crisp and golden.  

Alternatively, if you're not interested in making your own you should be able to find fried shallots in your nearest Asian grocery store. 

It's really easy and you might find all sorts of things that you can pair with them once you've given it a chance. 


There you go a soup to warm you up as the weather cools down and it's easy enough to make after work, so long as you have the fried shallots ready ahead of time. 

If you enjoyed the recipe, let us know! If you made some changes to it, let us know that too over on our Facebook page.


From our home to yours, we hope you have a good week.