dairy

New England Clam Chowder To Keep You Warm

Winter is coming, even if Texas doesn’t know it yet. Enjoy this soup in the meantime! 

Winter is just around the corner, and that means we’re craving soup. This week we’re looking at a classic recipe for New England-style clam chowder. A rich and creamy soup that will not only fill you up but will also give you plenty of leftovers to enjoy later. 


Ingredients

3 strips Thick-Cut Bacon

4 tablespoons Unsalted Butter

1  Large Onion (cut into 1/4-inch cubes)

1 rib Celery (cut into 1/4-inch cubes)

1 teaspoon Fresh Thyme Leaves (chopped)

2  Bay Leaves

2  Medium-Size White Potatoes (peeled and cut into 1/4-inch cubes)

½ cup All-Purpose Flour

4 cups Bottled Clam Juice (divided)

1 pound Fresh Clam Meat (chopped, with juices, see Note)

Kosher Salt

3 cups Light Cream

1 teaspoon White Pepper


A quick note on finding clam meat and clam juice. It’s hard to get hold of fresh clams. Instead, check out the frozen section of your supermarket. Many of them carry 1 pound containers, which are fresher, have the clams and the juice, and taste far better than canned. Defrost before you use it and it’s not only tastier but more convenient as well. 


Take your onion, celery, and potatoes, and get them ready. For the onion and celery that’s going to be cutting them up into ¼ inch cubes. For the potatoes, you’ll want to peel them for now and set them aside. 


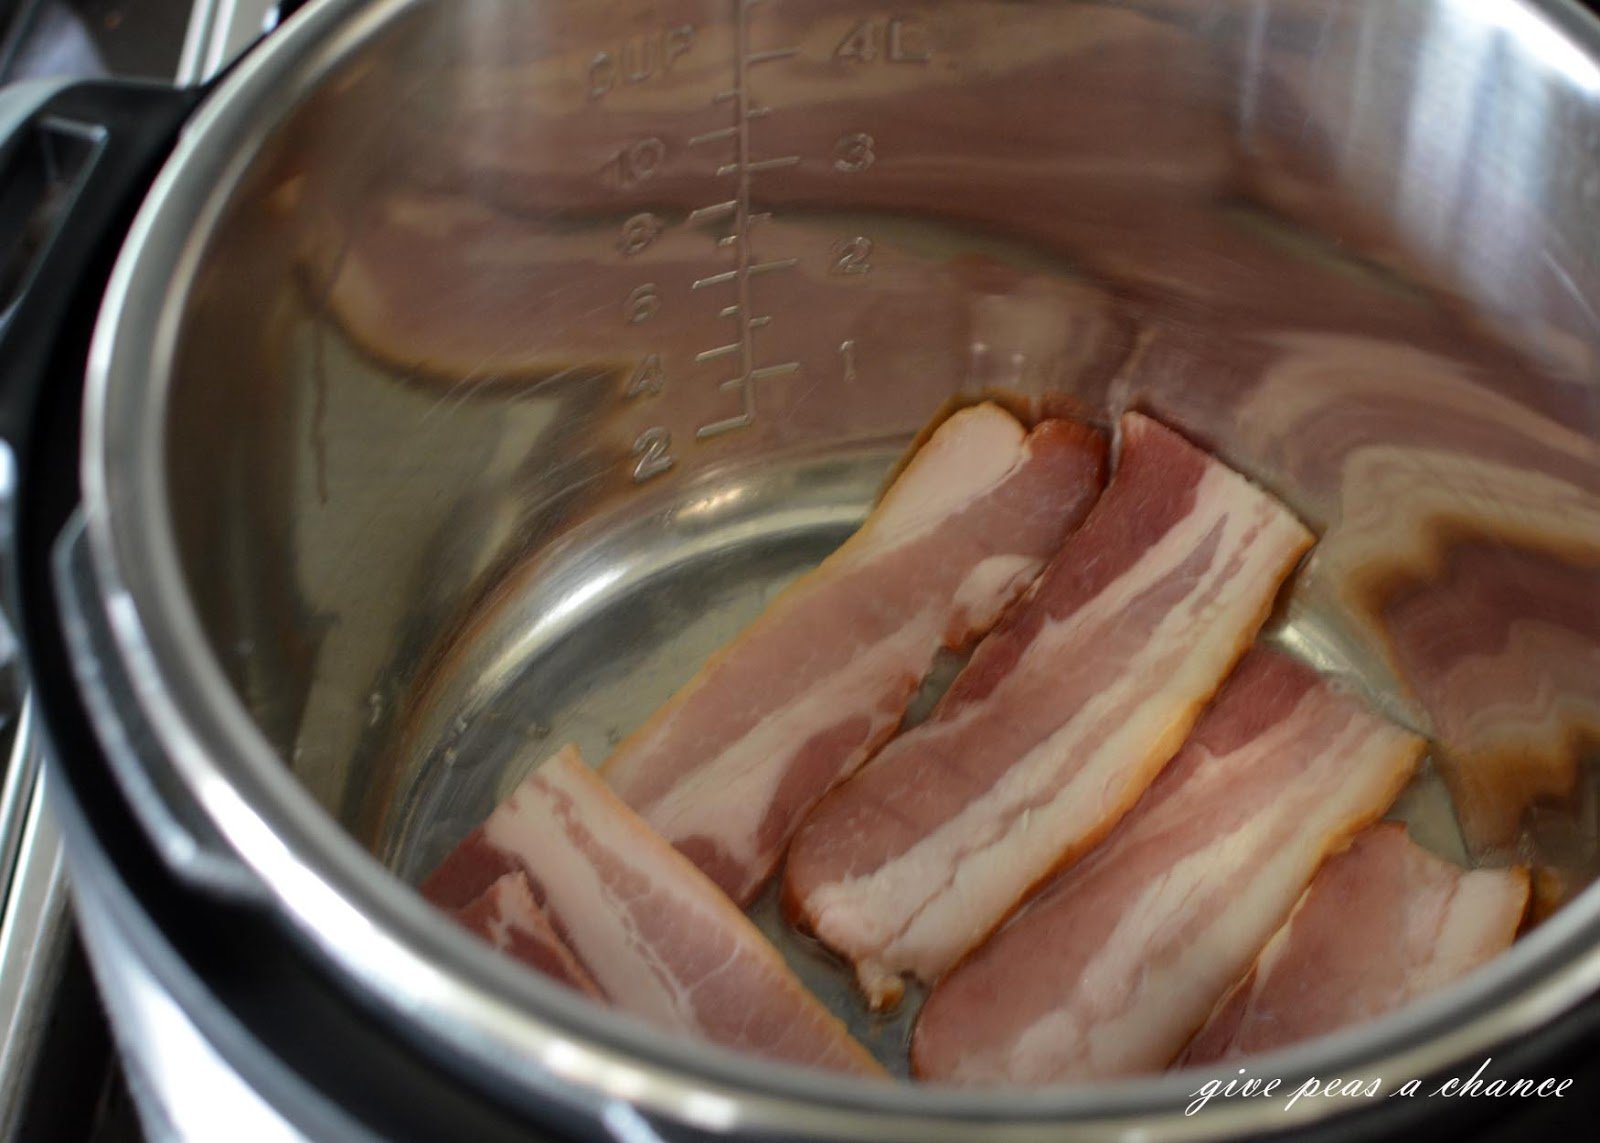
We might have forgotten to take many photos of this recipe unfortunately. This one is from Give Peas a Chance.

Set your 4-6 quart pot on the stove over medium-low heat. Add your bacon to the pot and cook until crips, 10 to 12 minutes.  Remove the bacon, leave the fat in the pot, and set the bacon to the side to cool. 


While that’s cooling, add your butter, onion, celery, thyme, and bay leaves to the pot. Cook at the same heat and stir often. In between the stirring, turn back to your bacon and crumble it into small pieces.  When the onions are translucent, add the bacon back to the pot and stir to mix. 


We had to pause in the middle of chopping ours, but it did mean we actually got a photo of the process.

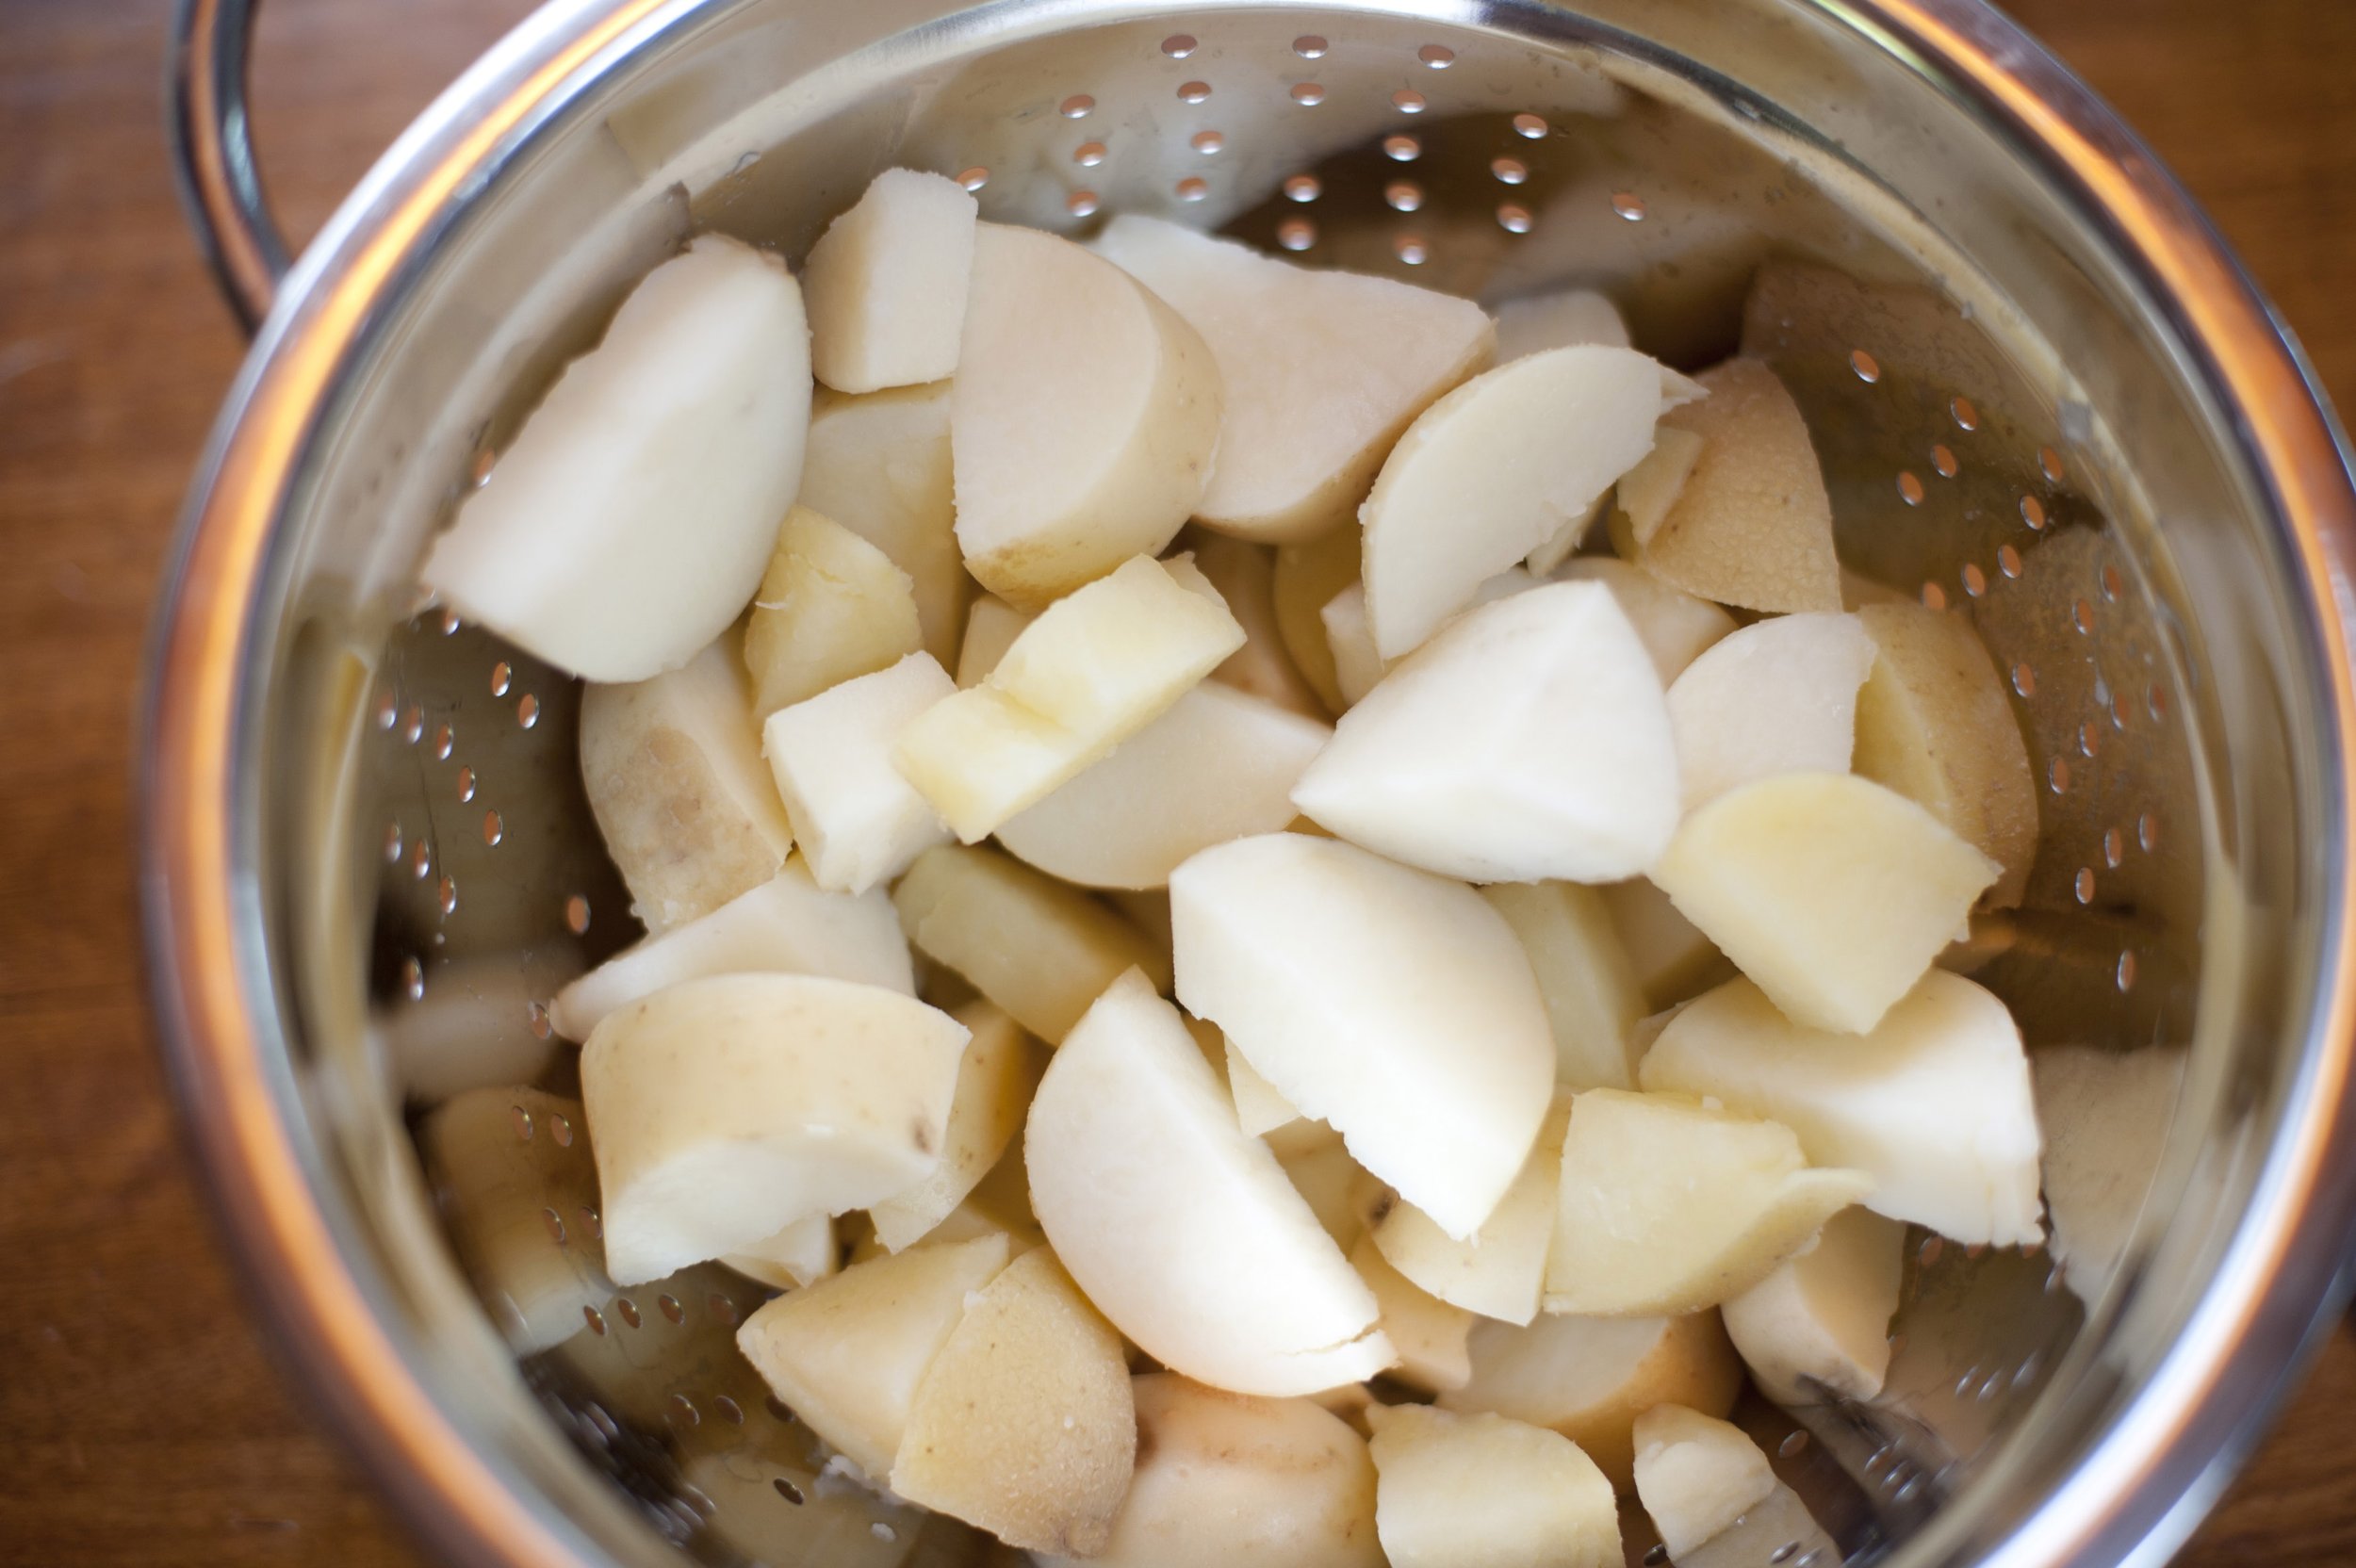
Turn the heat down to low and let it simmer.  In the meantime,  grab your second pot, fill it with 2–3 quarts of water and set it to high heat. Add in salt, and bring the pot to a boil. Dice your potatoes, and add them to the boiling water. Cook for 5-8 minutes or until you can easily pierce them with a fork. Drain the potatoes in a colander and set them aside. 


Now, let’s turn back to your onion and bacon mix and turn the heat up a bit to medium-low. Slowly add your flour, stirring constantly, until a thick paste forms. This is a roux, of a type. Stir slowly and cook for 5 minutes until it becomes golden brown. You’re looking to cook out the ‘raw’ flavor of the flour. 


After five minutes, bring the heat up to medium and slowly stir in the bottled clam juice, one cup at a time, fully incorporating it into the roux before you add more. 


Turn the heat up further to medium-high and add your potatoes and the clam meat with its juices. Keep stirring for 5 minutes until the clams are tender. 


Stir in your cream slowly, and then top with white pepper and stir it in. 

Remove the bay leaves before serving, and dish it up with your choice of grain. We like serving it with pita bread or a crusty slice of bread, while many enjoy oyster crackers. 

The final product though? That was all ours. It tasted even better than it looked in all honesty.


What do you think? Are you willing to give this tasty soup a try as winter comes? Or will you hold out until the cold has actually set in, come February hopefully? Let us know what you think of the recipe, or your own favorite version of New England clam chowder in the comments below or over on our Facebook page. 


If you’re here because you’re worried about Winter being just around the corner, you’re not the only one. Whether you’re looking at issues with your washer and dryer or you want to make sure your oven and stove are up to snuff before Christmas, we can help. In addition to repairing appliances, we at Appliance Rescue also offer maintenance checks. Whether you’re worried about just one appliance or about all of them, we’ll walk through with you. We’ll look at all of the appliances you request and see what is or isn’t happening. Whether it’s making sounds, smells odd or you’d just rather be safe than sorry, we understand. We’ll go over all of the possible issues and make sure that your appliances are good to go.

You can reach out to us to set up a maintenance check on our contact page or by giving us a call at ((214) 599-0055). We’ll work with you to set a time and date that works best for your schedule. From there we’ll send one of our expert technicians to go over your chosen appliances. At Appliance Rescue Service, our goal is to get your home running smoothly again. 

Beer Cheese is the Best Fall Comfort Food

It can be a topping, a dip, a sauce, take your pick!

As the weather gets chilly, we often crave comfort food (which in our case is often made of cheese). Preferably the warm, melty kind we can put in a crock pot.

Sometimes the weather just calls for beer cheese.

To some of you, that's gonna sound... funny. People who grew up in certain parts of the U.S. are going to get it immediately, but the rest of us are going to have to think on it for a minute or so. We grew up in places where it wasn't a common thing, and moved to yet other places where it was also uncommon, so our household didn't get to try it until recently - but it is definitely a recipe worth sharing. We had to venture out of state to find it, but once we returned, the experimenting began.

There's a halfway decent chance you have most of the ingredients on hand, too.

Ingredients:

1 16 ounce brick Velveeta (or store brand equivalent)
1/2 brick (4 ounces) cream cheese (Neufchatel will work, but not as well)
1/4 cup heavy whipping cream (please do not sub half & half)
3/4 cup Guinness Nitro Stout
2 Tbsp coarse stone ground mustard

Tools:
measuring cup(s), measuring spoon(s), knife, spoon, cutting board, crock pot or heavy-bottomed saucepan with lid, serving dish (if not leaving in the crock pot)

Unbox and unwrap your cream cheese, leaving it on the foil. Place the foil on the cutting board and use the knife to gently divide the cream cheese brick in half. Try not to cut the foil, as you'll want to keep it. Slide one half off the foil and nudge the other half to the center of the foil. Re-wrap the half you won't need today and put it back into the fridge for some bagels later. Cut the half that's left on the cutting board into smaller pieces (this helps it melt faster and more evenly) and dump the pieces into the crock pot or sauce pan.

If you're using a crock pot, turn the heat on low and cover it. If you're using a sauce pan on the stove, turn the burner on as low as it will allow, but don't put the lid on it quite yet.

Take your sixteen ounces of Velveeta (we would not advise using the jalapeno one, but you're certainly welcome to experiment if you wish), and turn it out of its protective foil onto the same cutting board. Like you did with the cream cheese, take your knife and cut it into smaller pieces, then add it to your pot. Crock pot users, please make sure you cover the crock pot again, as that's the only way it retains heat effectively. Sauce pan users, please use a spoon to give everything a nice stir before placing the lid, and then turn the burner up to medium-low.

Now comes the waiting game. If you used a crock pot, you're probably okay to walk away and do something else for a few minutes. Crock pots are designed to heat gently and avoid scorching.

If you're working with a sauce pan, please be sure to watch carefully and stir often. You'll need to be a little more involved in the process to minimize the likelihood of burnt cheese accidents.

It's going to look funny and blob-y for a while as the chunks of cheese melt down. Make sure you've stirred them enough to encourage them to combine. Once you have it mostly melted and all one color, you can add in your heavy cream.

You may need to stand there with the measuring cup inverted over the pan for a minute or so, as the cream is often not in a big hurry to get to where you need it. Once most of it has dripped into the pot/pan, set the cup aside and grab your spoon again. The cream will simply rest on top of the cheeses if you leave it alone, so give it another thorough stir to make sure it gets mixed in properly.

After you've mixed in the cream, it's time to add the beer. We used Guinness because darker beers make for richer flavor in the recipe - but it's also what we keep on hand. You can pretty much use any dark beer you have, but we prefer Guinness, and it's also likely to be the beer you'll see used if you order beer cheese in a chain restaurant.

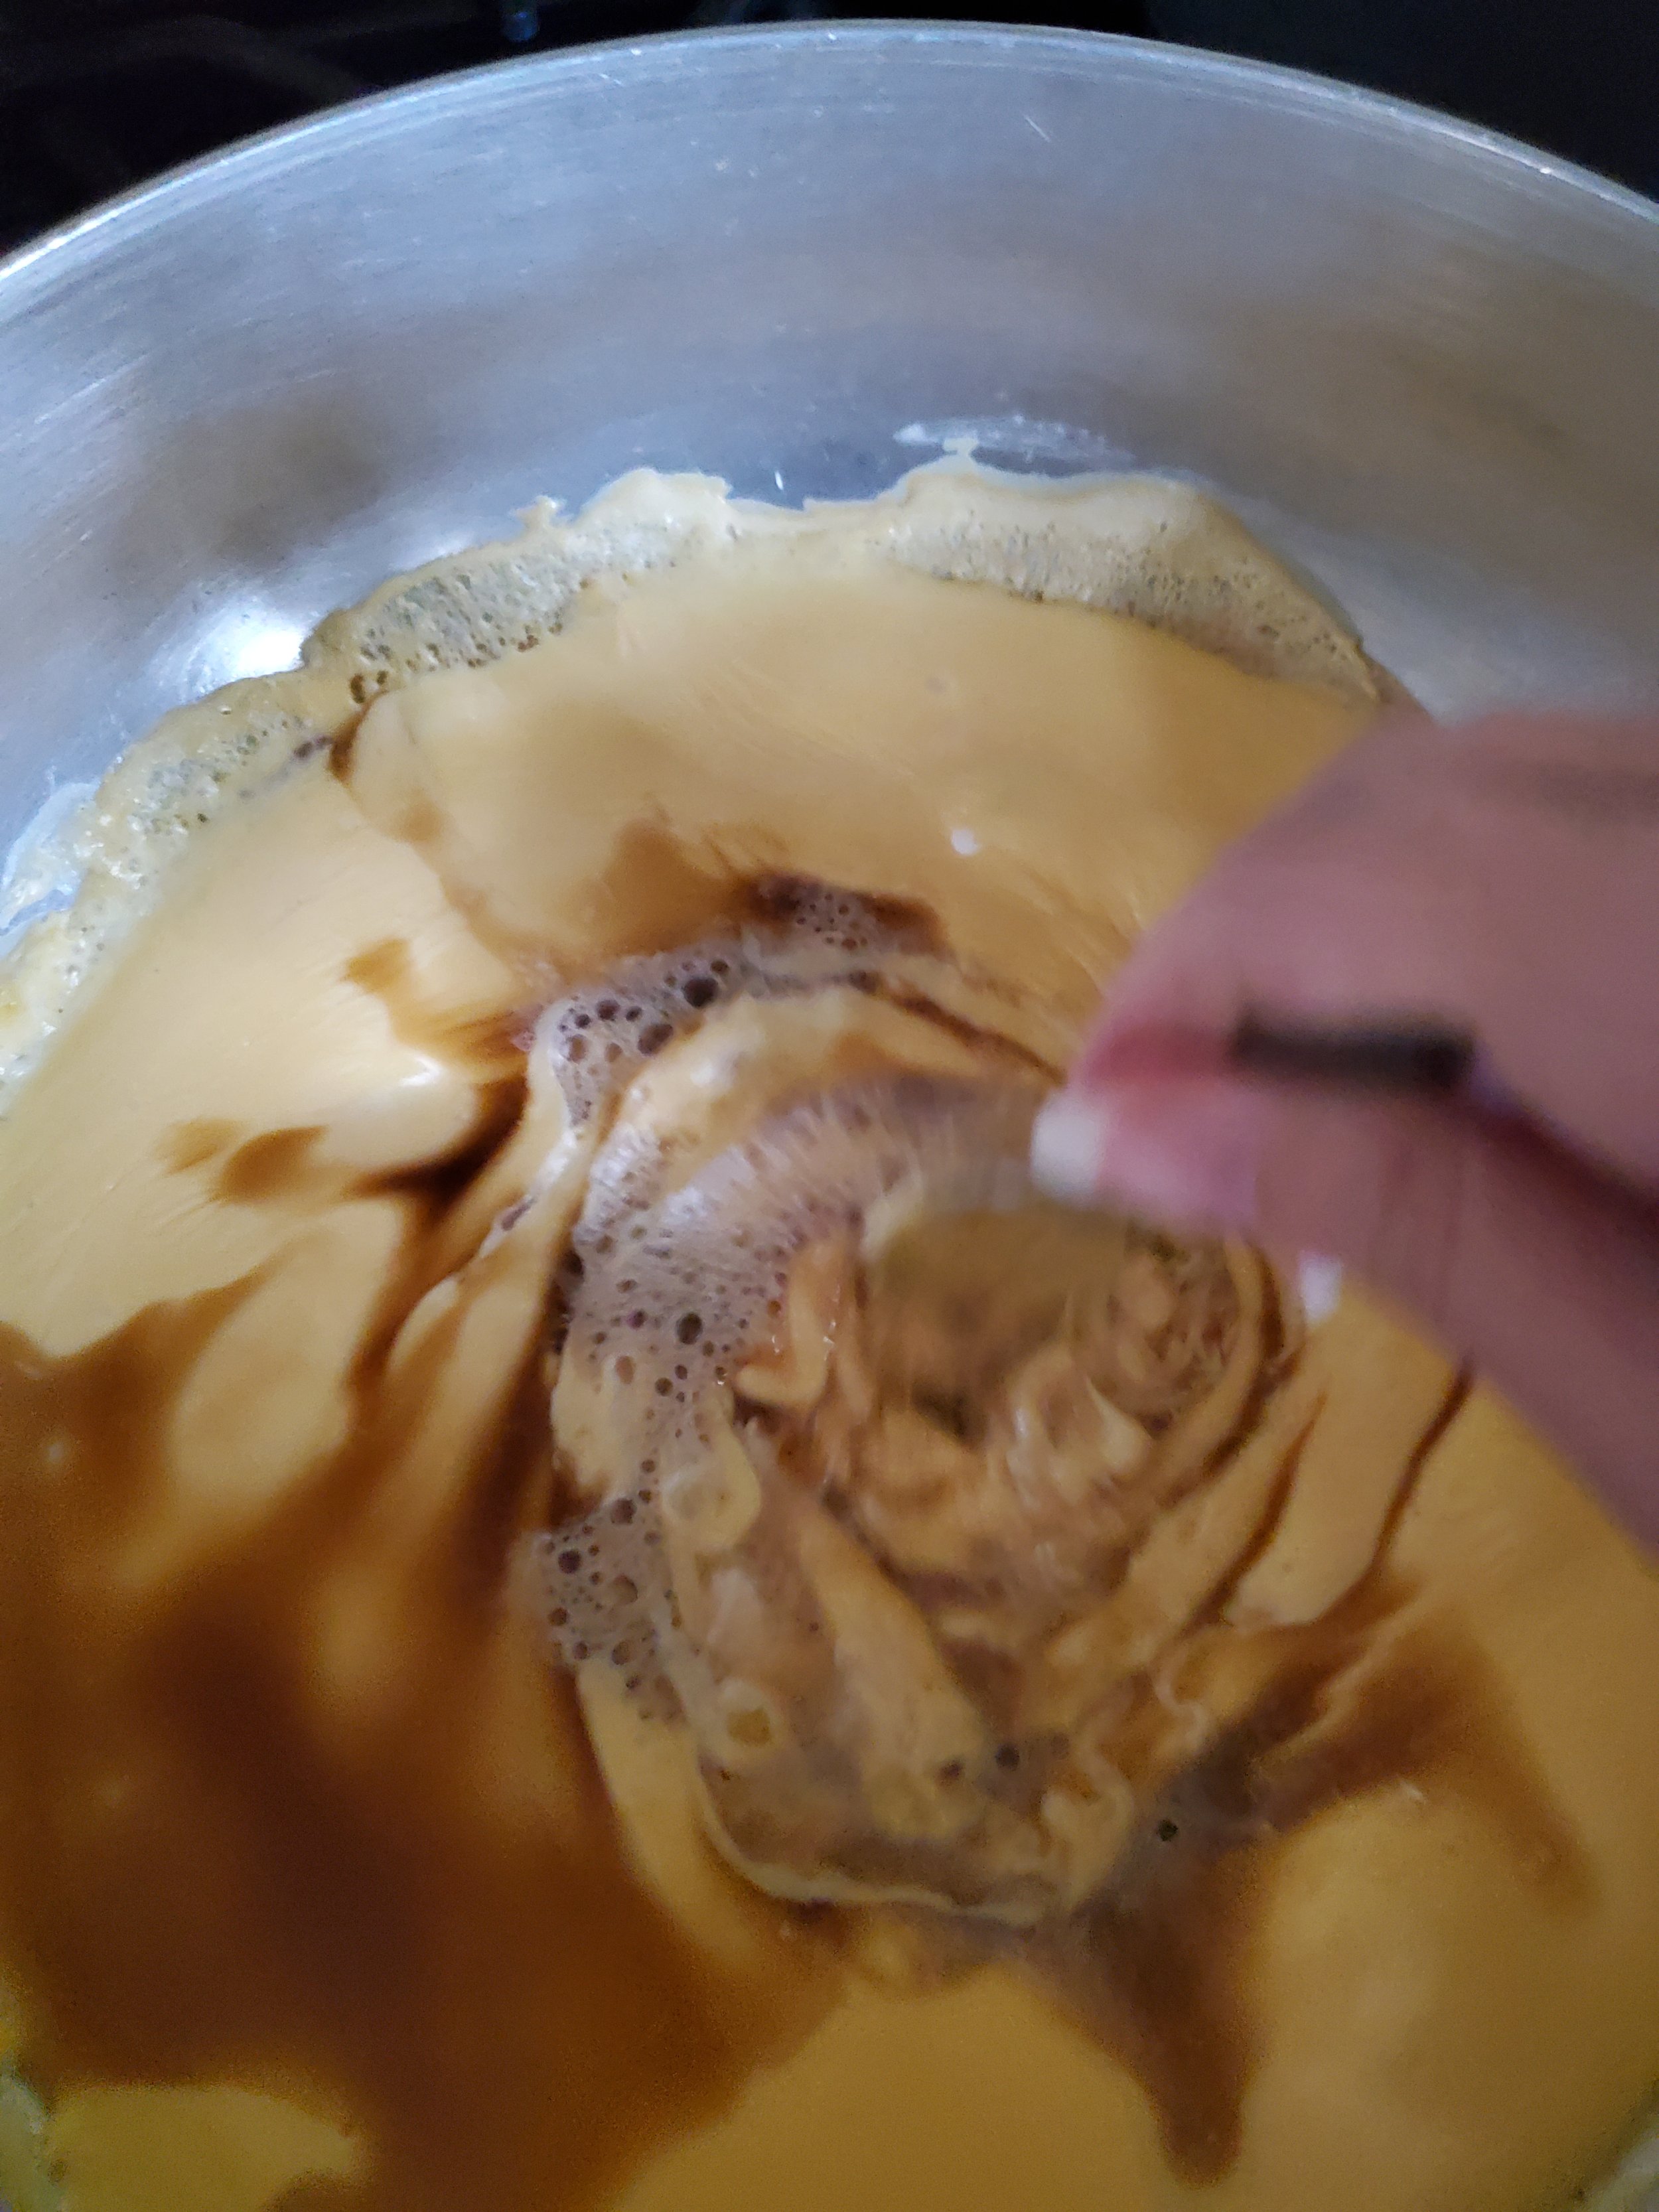
Adding in the beer is going to be an ugly and kind of gross looking step. The beer will foam on contact and turn the top layer of cheese into a bubbly, brown, goopy mess. Ignore this and push on, stirring until it's incorporated. It's worth it, we promise. You'll know when it's incorporated fully because the cheese itself will have darkened about two shades, and there will be no dark or foamy pockets left.

Now comes the mustard. We used Plochman's brand stone ground mustard because it's super coarse and chunky, and it's a really LOUD mustard flavor, but even just the Great Value brand will add significant taste and texture. On a slight tangent, Plochman's also offers a craft beer mustard made with pale ale - so if you're looking for more beer flavor and less mustard flavor without sacrificing the bite, you can definitely look into that. (No, Plochman's is not giving us any money for this - they just make really good mustard. We promise.)

Mixing the mustard in is going to take some time. It naturally wants to keep to itself in little chunks, but you'll want to break it up so every bite of your beer cheese has enough, but none of them are overtaken by it. Just keep stirring until it looks like it's even. And then stir it a little more, just to be sure.

Once you're satisfied with the distribution and mustard to cheese ratio, grab a pretzel or a cracker and scoop a little beer cheese onto it try it. This is a vital step - very, very important. You can't serve it to your friends or family without quality control, after all. And no one knows better than you if it will need your own special touch - a little white pepper or cayenne? A dash of hot sauce? A sprinkling of Parmesan? Garnish with parsley? Run with it. It's yours now.

Serve it as a dip with pretzels, crackers, or pita chips; use it as a spread on a sandwich or burger, sauce your chicken wings with it, work it into a meatloaf... We've even eaten it as a sauce over pinto beans. Once you've tried it, you'll have a dozen other uses for it right away. Trust us.


Adding cream to the beer cheese.

Now it’s officially beer cheese, we’ve added the beer!

And now we have added the mustard and the beer cheese is complete!

Party Snack Dinners

When you don’t feel like sitting down to a meal, but you need something more.


Super Bowl Sunday has come and gone - and like most families here in the U.S., your family probably ate so many snacks during the big game that dinner went by the wayside last weekend.

Here's the thing, though. Snack-y delicious things can still be considered dinner. There is no rule that you can't eat hors d'oeuvres and party food whenever you feel like making it.


In this post, we'll cover a couple of easy, tasty finger foods you can dash together on a weeknight and share with the family or a visiting friend. (Who says Wednesday can't be family movie night?)


Stuffed "Sandwiches"


It's less of a sandwich and more of a stuffed slice of bread... But it's an uncommon, tasty finger food. Plus, it's neither terribly messy nor expensive to make.


Ingredients:


One large loaf of Italian or French bread

8 oz softened cream cheese (we suggest the garden vegetable flavor Philadelphia brand, or spicy jalapeno flavor if you'd prefer some heat)

3 oz crumbled cooked bacon

1/2 cup matchstick carrots, chopped down

1/2 cup baby spinach, shredded

1/4 cup bell pepper, chopped

1 3 oz package sun-dried tomatoes (we like Bella Sun Luci brand)

handful of black olives, chopped

4 oz shredded cheese of your choice

Fresh or dried parsley, for garnish


Tools:

Cutting board, bread knife, paring knife, baking sheet, large bowl, spoon 


Allow your cream cheese to come up to room temperature while you work; the softer it is, the easier it will be to mix in your other ingredients.


Preheat your oven (or toaster oven if you'd rather) to 350.


Grab the bread knife and cut your loaf of bread into 3/4" to one inch thick slices. Use the paring knife to scoop out the centers of each slice to make each into a shallow bread boat. Make sure you only cut about halfway into the center - you still want it to be able to hold the cream cheese mixture. In the event any of your slices have a hole from an air bubble in the dough, consider covering it over with a spinach leaf to stop too much of the cheese from oozing out during the baking process.


Once your slices are scooped out, place them open side up on your baking sheet.


Chop up your carrots, bell pepper, olives and spinach as fine as you'd like them - and if your tomatoes are large pieces, you might consider cutting them down as well. Transfer all the cut veggies to the bowl.

If you're working with fresh parsley, now is the time to cut it - but don't mix it in with the other veggies.


Toss the crumbled bacon in with the veggies, then add your softened cream cheese. Give everything a good stir to make sure it's evenly distributed.


Spoon an even amount of the cream cheese mixture into each of your scooped out bread slices and level it out.


Cover the top of each slice in shredded cheese.


Bake at 350 until the shredded cheese is melted and the bread is lightly toasted.


Sprinkle on the parsley before serving. These "sandwiches" are best served with chips (which can function as a utensil, too, if the cheese mixture escapes!). 


Peanut Butter Cup Hummus


We know, no one thinks sweet when someone says hummus. But believe it or not, you can make sweet versions! And you can even make them out of things you probably have on hand already.


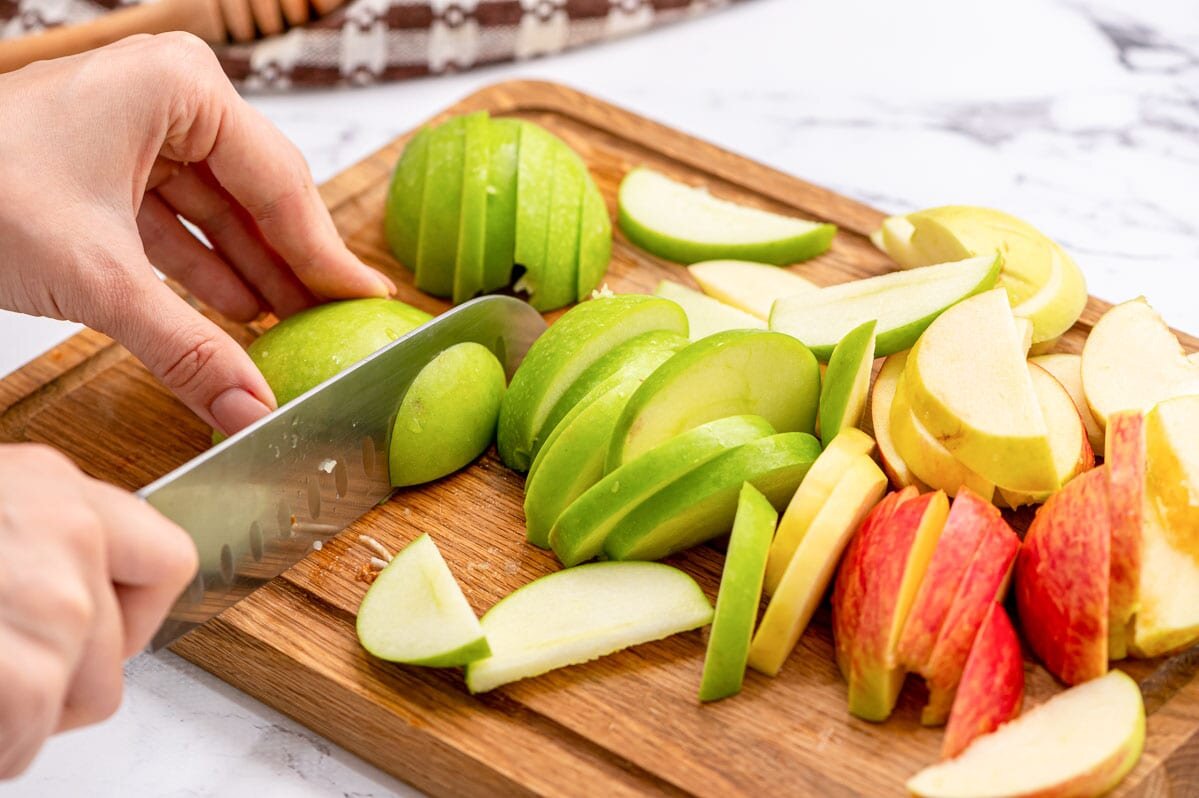
Once it's ready, use it as a dip for apple slices (Gala apples are excellent for this). The kids will never realize they're eating a vegetable.


Ingredients:


1 cup cooked chickpeas

1 teaspoon vanilla extract

4 tablespoons peanut butter

3 tablespoons honey or corn syrup

5 tablespoons baker's cocoa

2 tablespoons of sweetened condensed milk

a pinch of salt


Tools:

Food processor, measuring cup and spoons, bowl(s) to serve.


Cook up some chickpeas, or open up a can. You'll need about a cup of them, drained and rinsed.

Pour the rinsed chickpeas into the food processor, and measure in the peanut butter, honey and vanilla extract.


Process on low for a few seconds at a time, scraping down the sides when you pause. If the mixture seems too sticky or too inclined to climb up the sides, you can add some water a tablespoon at a time - but be careful not to add too much and thin it out. It can be pretty difficult (and messy!) to dip an apple slice in something soupy.


Once you've got the chickpeas processed down to a mostly smooth consistency, measure in the cocoa and milk and hit the button on the processor again a time or two to mix it all in.


Make sure you taste test at this stage, to figure out whether or not you need more sweetener, and/or how much salt you'd like to add. Everyone's family is different - we recommend finding the pickiest eater in the house and using them as the guinea pig.

Once you've adjusted to account for the picky eaters in the house, scoop some out into a shallow dish for every member of the family and cut up some apples to share. Pretzels also work well with this hummus, as do chunks of banana (toothpicks or forks help cut down on the sticky fingers problem with the bananas).


Hopefully this filling, deceptively healthy “dessert” joins the rotation in your family too!


If you liked this week’s post, drop us a line in the comments below or over on our Facebook, we’d love to hear from you! 


If on the other hand you showed up here because you need help with your appliances, we can help there too. We aim to be the best appliance repair company in Plano and the surrounding area, and that means we’re here, whatever your appliances need. You can reach out to us via our website or by giving us a call at ((214) 599-0055).  

sliced apples tart and sweet varieties