Fruit

Raisin Bread for Non Raisin Lovers

When You Really Need To Use Up The Raisins You Have, But Your Family Doesn’t Like Them.

Sometimes the weather is hot and unhappy, and it makes you miss your fall and winter foods. That's what's happening for us this week, so we decided to make some raisin bread.

There are a million and a half recipes for raisin bread. We're not going to get up on a soap box and tell you ours is better because... or ours is different because... That seems a little off the point, if nothing else. Your family may already have a standby recipe for this - but if not, you're welcome to try ours out!

Ingredients:

2 1/2 cups flour

1 cup water, warm 

3 teaspoons active dry yeast

1 teaspoon salt

1 teaspoon white sugar

1/3 cup brown sugar

2 teaspoons cinnamon

1/2 teaspoon clove

1 teaspoon oil (we use olive, but sub whatever you like)

1/2 cup raisins, separated so as not to clump

Tools:

mixing bowl

measuring cups and spoons

spoon

parchment paper or silicone mat

kitchen towel

dutch oven or covered oven-safe pan

thermometer

While we know thermometers are not ubiquitous kitchen tools, we strongly advise using one instead of guessing on water temperature. Instant-read digital thermometers are only a few bucks at your nearest big box store. They are absolutely a justifiable expense, between food safety uses (ensuring meats are fully cooked) and baking tasks (like checking water temperature to proof yeast).

Before you get going, it's a good idea to heat up your water. You can run the kitchen tap until it's warm, or you can measure the water cold and heat it in the microwave if your measuring cup is microwave safe. We normally just measure cold water from the tap and zap it in the microwave for 30 seconds or so. Use the thermometer to check the temperature - it should be no colder than 105 degrees and no warmer than 115. Target 110 as the ideal temperature. If it's too hot, it will kill the yeast - but if it's not warm enough, the yeast won't do its job.

Once you're sure the water is the right temperature, mix in the teaspoon of sugar and add the yeast. Give everything a stir (the sugar will partially dissolve, and the yeast will saturate) and let it sit for at least five minutes. You'll know you did it right when the yeast bubbles and begins to increase in size.

Measure your flour, salt, cinnamon and clove into the mixing bowl and use a spoon to combine them. Add the brown sugar and make sure to stir it in - we know there will be some clumps at this point, but it's okay.

Stir in the raisins at this point, making sure they don't go in as one big blob that won't distribute through the dough. We often task a little helper with making sure they're not too stuck together.

Add your oil and the yeast/sugar/water mixture. Stir until you have something that sort of resembles dough - it'll be shaggy and have what look like huge pockets of flour, but don't panic. Get the spoon out of the way and finish the mixing and kneading process with your hands. Don't be afraid to get a little messy on this one (if you really hate the mess, remove jewelry and/or use gloves). Knead until it's mostly smooth and all the flour has been worked in.

Cover the dough with a clean kitchen towel and allow it to rest for an hour or so. Definitely set a timer. Please don't ignore it for four or more hours as we have accidentally done on occasion. Leaving it to rise too long yields a beer-y sourdough flavor that does not complement the raisins.

After the hour is up, preheat your oven to 375. Turn the dough out onto a piece of parchment paper. Knead it a bit more, with the goal of shaping it into a ball. If it's sticky, add some flour to the dough or to your hands, but avoid overdoing it. No one wants chalk instead of bread.

Now pick up that whole piece of parchment paper and plop it into the dutch oven. Put the lid on it and slide it into the oven on a middle rack. Let it bake for 45 minutes, covered. When your timer goes off again, remove the lid but leave the bread in the oven for another 15 minutes.

Around this point it will start to smell "done." Trust your nose. When it smells like bread instead of almost-bread, it's ready. Remove it from the oven and let it cool. Letting it cool is only really important if you want neat slices - if you're fine with them looking a little crumbly and rough around the edges, just go for it. We find it best served toasted and with a little bit of butter.

Let us know how your recipe turns out, we’d love to hear from you over on our Facebook page. 


And if you’re looking to learn more about how we can help you with your appliances, please let us know

Chocolate Raspberry Thumbprints

The Best Cookies for Any Bake Sale


Sometimes the weather just calls for cookies.


While it is very firmly spring now, we sometimes get late cold fronts and even ice storms into April, where we are. We've had hard freezes as far into the year as mid-May, even. And cold days like that are an excellent excuse to make cookies. 


This time we ran a little short on butter and had to get creative. So we combined the idea of cream cheese snowball cookies and shortbread thumbprint cookies and ended up with this sweet little hybrid: chocolate cream cheese thumbprint cookies.


Ingredients:

1 8 oz block cream cheese

1/2 stick butter

1 egg

1/4 c bakers cocoa

2 1/4 c all-purpose flour

1 c sugar

1/2 tsp almond extract

2 tsp vanilla extract

2-3 tbsp raspberry preserves


Tools:

Cookie sheet

Parchment paper

mixing bowls

microwave safe dish or saucepan (to melt butter and cream cheese)

measuring cups and spoons

spoon

ziploc bag

toothpick or scissors or sharp knife


Before we get started here, you should know that two of your ingredients are going to be your problem children. The butter and the cream cheese are going to be solid when you start out, but they really need to be liquid in order to do their jobs here. So we need to melt them - carefully. Most people use the microwave to accomplish this, but we have had terrible luck with that in the past (think exploding and/or scorched edges and untouched centers despite careful timing and frequent stirring). We prefer to use the stovetop and a saucepan over the lowest possible heat and stir every minute or so.


Cream cheese does melt, it's just stubborn. This is definitely not a recipe where you can substitute in cream cheese's lower-fat sibling, Neufchatel cheese. Leave it over the heat until you have no more lumps. You'll need to be extra patient with this step, sorry.  


As with any doughy recipe, mix your wet ingredients in one bowl (be sure to break the yolk on the egg, you want it to incorporate fully) and your dry ingredients in another. This helps prevent finding big lumps of crumbly, un-mixed flour or globs of sticky egg when you go to work the dough into individual cookies.


Stir together the contents of your two mixing bowls in the larger of the two bowls. Don't overdo it, because the cookies will be tough if you get carried away.


Once everything is mixed well, divide your dough into 36 balls. We know, three dozen feels like a weird number to shoot for, but it's what our test batch turned out to have after we split off comfortable serving-sized pieces.


Put down a layer of parchment paper on your baking sheet and preheat your oven to 375 degrees.


Place each of the dough balls destined to become cookies on the sheet. They don't spread much at all, so as long as there's some space between them to press them, you can really pack them in.


Press lightly on each one with your thumb (or a spoon, or literally anything that will slightly flatten the dough and create a little well for your raspberry preserves). The goal here is to flatten the ball of dough into a thick disc, leaving a little divot in the center that doesn't create a slope to the outside edges of the cookie. If you like runny messes of preserves, that's your business - but we'd very much prefer it stay where we put it. 


Once all the cookies are shaped and ready for the preserves, fill a ziploc bag with the preserves and use something sharp to cut or poke a little hole in one corner. Utilize it like a piping bag, squeezing a little bit of preserves into each cookie. Try not to overfill any of the wells, as they'll make an epic mess if you do.


Place the cookies in the oven and bake for 10-12 minutes. Allow them to cool on the cookie sheet for at least ten minutes before you try to move them - they'll still be very soft when you take them out of the oven, and they'll need that extra few minutes to firm up a little.


We know it's tempting to eat them right away - they smell so good, after all! - but please, please give them time to cool. Otherwise, you'll be like us and burn the roof of your mouth on what feels like molten lava.  


We won’t ask if you’re going to try making them this time. These are too good not to try. So instead, let us know over on our Facebook, what other types of jam do you think you could pair with this? 


Since you wound up here, and you’ve read all the way to the bottom, when was the last time you had a maintenance check for your appliances? If you haven’t done it in at least a year, you might consider having one. Spring and fall are the best times to have your appliances checked out, rather than the chaos of the holidays or the heat of the summer. Getting an experienced technician to walk through all of your problems now can mean your appliances are less likely to fail during the heat of the summer. 


If that type of preparation is something you’re interested in, give us a call ((214) 599-0055) or reach out to us via our contact page. We’ll work with you to set up a time and date that works for your schedule and send out one of our technicians to work with you. At Appliance Rescue Service, our goal is to keep your home running smoothly. 


A Sweet-Tart Cake To Beat All The Pies

It’s got lemon, cherry, and cranberry all rolled into a moist, delicious cake.

Just Take Me To The Recipe! 

Thanksgiving is just around the corner and you're helping with desserts. Sure, you can go with the standard pies, apple, pecan and pumpkin. They're delicious, they're classics. What if you want something to knock people's socks off though. You really want to wow them with a beautiful cake, not another pie like Cousin Suzy is bringing. That's where this recipe comes in. Not only is it a wonderful blend of sweet and tart but it's also got a buttery texture that you're going to love. Plus, by using a bundt pan you can make it a very beautiful cake as well with minimal effort on your part. 

We came up with this recipe after thinking about some of our favorite fall flavors and wondering how we could mix them together into something new. The tartness of cranberries was our starting point and we started working out from there, seeing what else paired well with it. The addition of the pudding mix, rather than just using lemon zest or extract ensures that the cake stays rich and moist. 


Ingredients:

Cake:

1 box of yellow cake mix

3 eggs 

1 cup of water

1/2 cup vegetable oil

1/2 box lemon pudding mix 

1/2 cup chopped pecans plus extra for decorating. 

1/2 cup dried cranberries

1/2 cup dried cherries


Icing:


1/2 box lemon pudding mix

3 cups of icing sugar (also known as powdered sugar)

1 cup of milk

3 tbsp of heavy cream

1 stick of softened butter

1 tsp of lemon zest OR 1 tsp of lemon extract 


Start off by grabbing two large bowls, an electric mixer, a sieve and all of your ingredients.  You'll need a bundt pan as well, but that's for later. 


Set your oven to preheat at 350*F. 

In one bowl, dump in the box mix and the pudding mix. Grab your sieve and slowly work through all of the material. The goal is to break down any clumps in the mix and also to introduce some air. 

In the second bowl mix together your eggs, water and oil, slowly working your way up through the speeds on your mixer. Again, we're looking at  introducing lots of air into the mix so feel free to go at it till it's well combined and frothy. 

Now add the liquids to the dry stuff, going nice and slow at first with both the mixer and while pouring your liquids. Go too fast and we'll end up with egg mix all over the place. It's a pain to get out of your hair, ask us how we know.  

Once you've got the two thoroughly mixed together, fold in the pecans, cherries and cranberries. These are going to sink some as you bake the cake, which is why we're using a bundt pan. 

Now grab your bund pan and spray the inside with your choice of nonstick spray. We advise something light and tasteless, but you're welcome to get creative and see what you can come up.  We wouldn't advise using shortening for this one both because of the curves and crevices of the bundt pan, and also because it's difficult to keep it from soaking into the cake once you flip it out. 

Pour the batter into the cake pan and tap it lightly against the counter or a table. You want to work out any air pockets, without knocking all of the air out of the batter. Just once or twice is good enough to make sure that the batter is down into the groves of your pan of choice. 

Toss that into the oven and bake it for 40 minutes. If when that time passes it's not fully cooked, put it back in for another two minutes. You'll want to check it at two minute intervals until a toothpick inserted into the middle comes out clean. 


Now, while your cake is baking, let's make the icing. 


Start off by cutting your butter into chunks and then attacking it with a hand mixer. You'll want to whip the butter until it's light and fluffy with soft peaks forming. 

Once you've got it to that step, mix in the icing sugar, pudding mix and the lemon additive of your choice.  Mix until everything is incorporated. 

Add in the cream next and mix until the sugar is fully dissolved or the cream is fully absorbed.   

If the sugar is still grainy you can add in the milk a little at a time until you attain the texture that you want.  Once you've got that, chill the icing until the cake is done. 


When your cake is done baking remove it from the oven, and leave it in the pan until it's cool. Once it's cool you can flip it out onto a plate and spread icing over it. We like doing some around the top and letting it spread how gravity takes it and then also pouring some around the bottom edge so that you can crust it with chopped pecans. 


There you go one delicious, seasonal dessert that everyone will love and try to figure out how you did it. 

If you decide to make this for Thanksgiving, let us know! We'd love to see how yours turns out over on our Facebook page.  We'd also love to hear about any changes you decide to make to the recipe. 


From our home to yours, we hope you all have a wonderful Thanksgiving. 


Rock Your Weekend Lemon Berry Cake

When You Need a Conversation Stopper

Last time around, we did some breakfast food. This time, let's go all the way to the opposite end of the day and do a dessert!


We do hope you're not tired of blueberries yet, as they'll feature in this recipe too - this time as a supporting character instead of as a star.


Do you like berry lemonade? We think this is the best time of year for it, as the weather heats back up and the days get longer. The thing with berry lemonade, though, is that it gets awfully watered down in all the heat. But if you bake all the same flavors into a cake, there's no melting ice to ruin it. It's like six times as sticky, though, so maybe keep in mind the need for a plate and fork instead of a cup and straw.


Lemon Berry Cake


Ingredients:


1 box yellow cake mix (18 ounce, give or take a bit)

1 cup vanilla flavored Greek yogurt

4 extra large eggs (5 if using large or medium size)

1/4 cup plus 1 Tablespoon vegetable oil or melted butter

3 Tablespoons lemon juice

2 Tablespoons poppy seeds

1 cup cherry pie filling

1/2 cup fresh or frozen blueberries

1 Tablespoon strawberry syrup

1 teaspoon lemon extract


Tools:

Mixing bowl, spoon, measuring cups and spoons, blender or food processor, Bundt pan, non-stick spray, hand mixer (optional)


First off, pour that box of dry cake mix into the mixing bowl. Break up any large lumps you might find - it's easier to do this now, before adding any wet ingredients to it. 


Measure your yogurt and oil or butter into the bowl. Crack the eggs into it, and jab the yolks with the spoon to break them. Don't get too excited and start stirring it yet, though - we still haven't added the bulk of the wet ingredients.


Now is probably a good time to go wake the oven up (even though running the oven in warm weather is such a distasteful idea). You'll want to set it to preheat to 325. Look on the bright side: at least we're not making pizza or bread. We'd be telling you 450 for either of those!


Crack open your can of cherry pie filling (well, we always just use the canned stuff, but maybe your family is extra fancy and makes it from scratch. If you do make it yourself, we're jealous and would like to try some) and dump a cup of it into the blender or food processor, along with the blueberries, lemon juice, lemon extract and strawberry syrup. Blend it up until it's a purplish mixture about the consistency of a jar of store-bought jelly. Alternatively, you can choose to stop a little sooner and go for the consistency of preserves - lumps are fine, they just lend the cake more texture.


Take everything in the blender and pour it out into the bowl of cake mix, and then add your poppy seeds. If you intend to employ the hand mixer, give everything a once- or twice-over with the spoon before turning it on so it doesn't go "poof!" and give your kitchen a nice dusting of cake mix bits. If you're not using a mixer, stir gently by hand for about two minutes to make sure everything is all homogeneous.


Once you have your cake batter stirred smooth, grab your Bundt pan. Spray it lightly with the non-stick spray, making sure to get into all the little fluted nooks. Pay special attention to the center, also - we've discovered that if the cake is going to stick somewhere, it's there. Pour your cake batter into the pan - be sure to scrape the sides of the mixing bowl and get all the berries! - and smooth it over with the spoon.


Tuck it into the oven on a center rack and let it bake up for about 45 minutes. Sometimes the cake is set and ready to go after 45, but more often than not, it needs a few minutes longer than that. We think it varies based on the amount of syrup in the cup of pie filling.


It's ready to leave the oven when a toothpick poked into the deepest part of the cake comes out clean, and the edges have begun to pull away from the sides of the Bundt pan.


Allow it to cool in the pan for 10 minutes before you make any attempt to remove it - moving it too soon can result in cake chunks, instead of a whole cake. Wiggle a butter knife gently around the edges and the center if it's still holding on after you've tried inverting the pan.


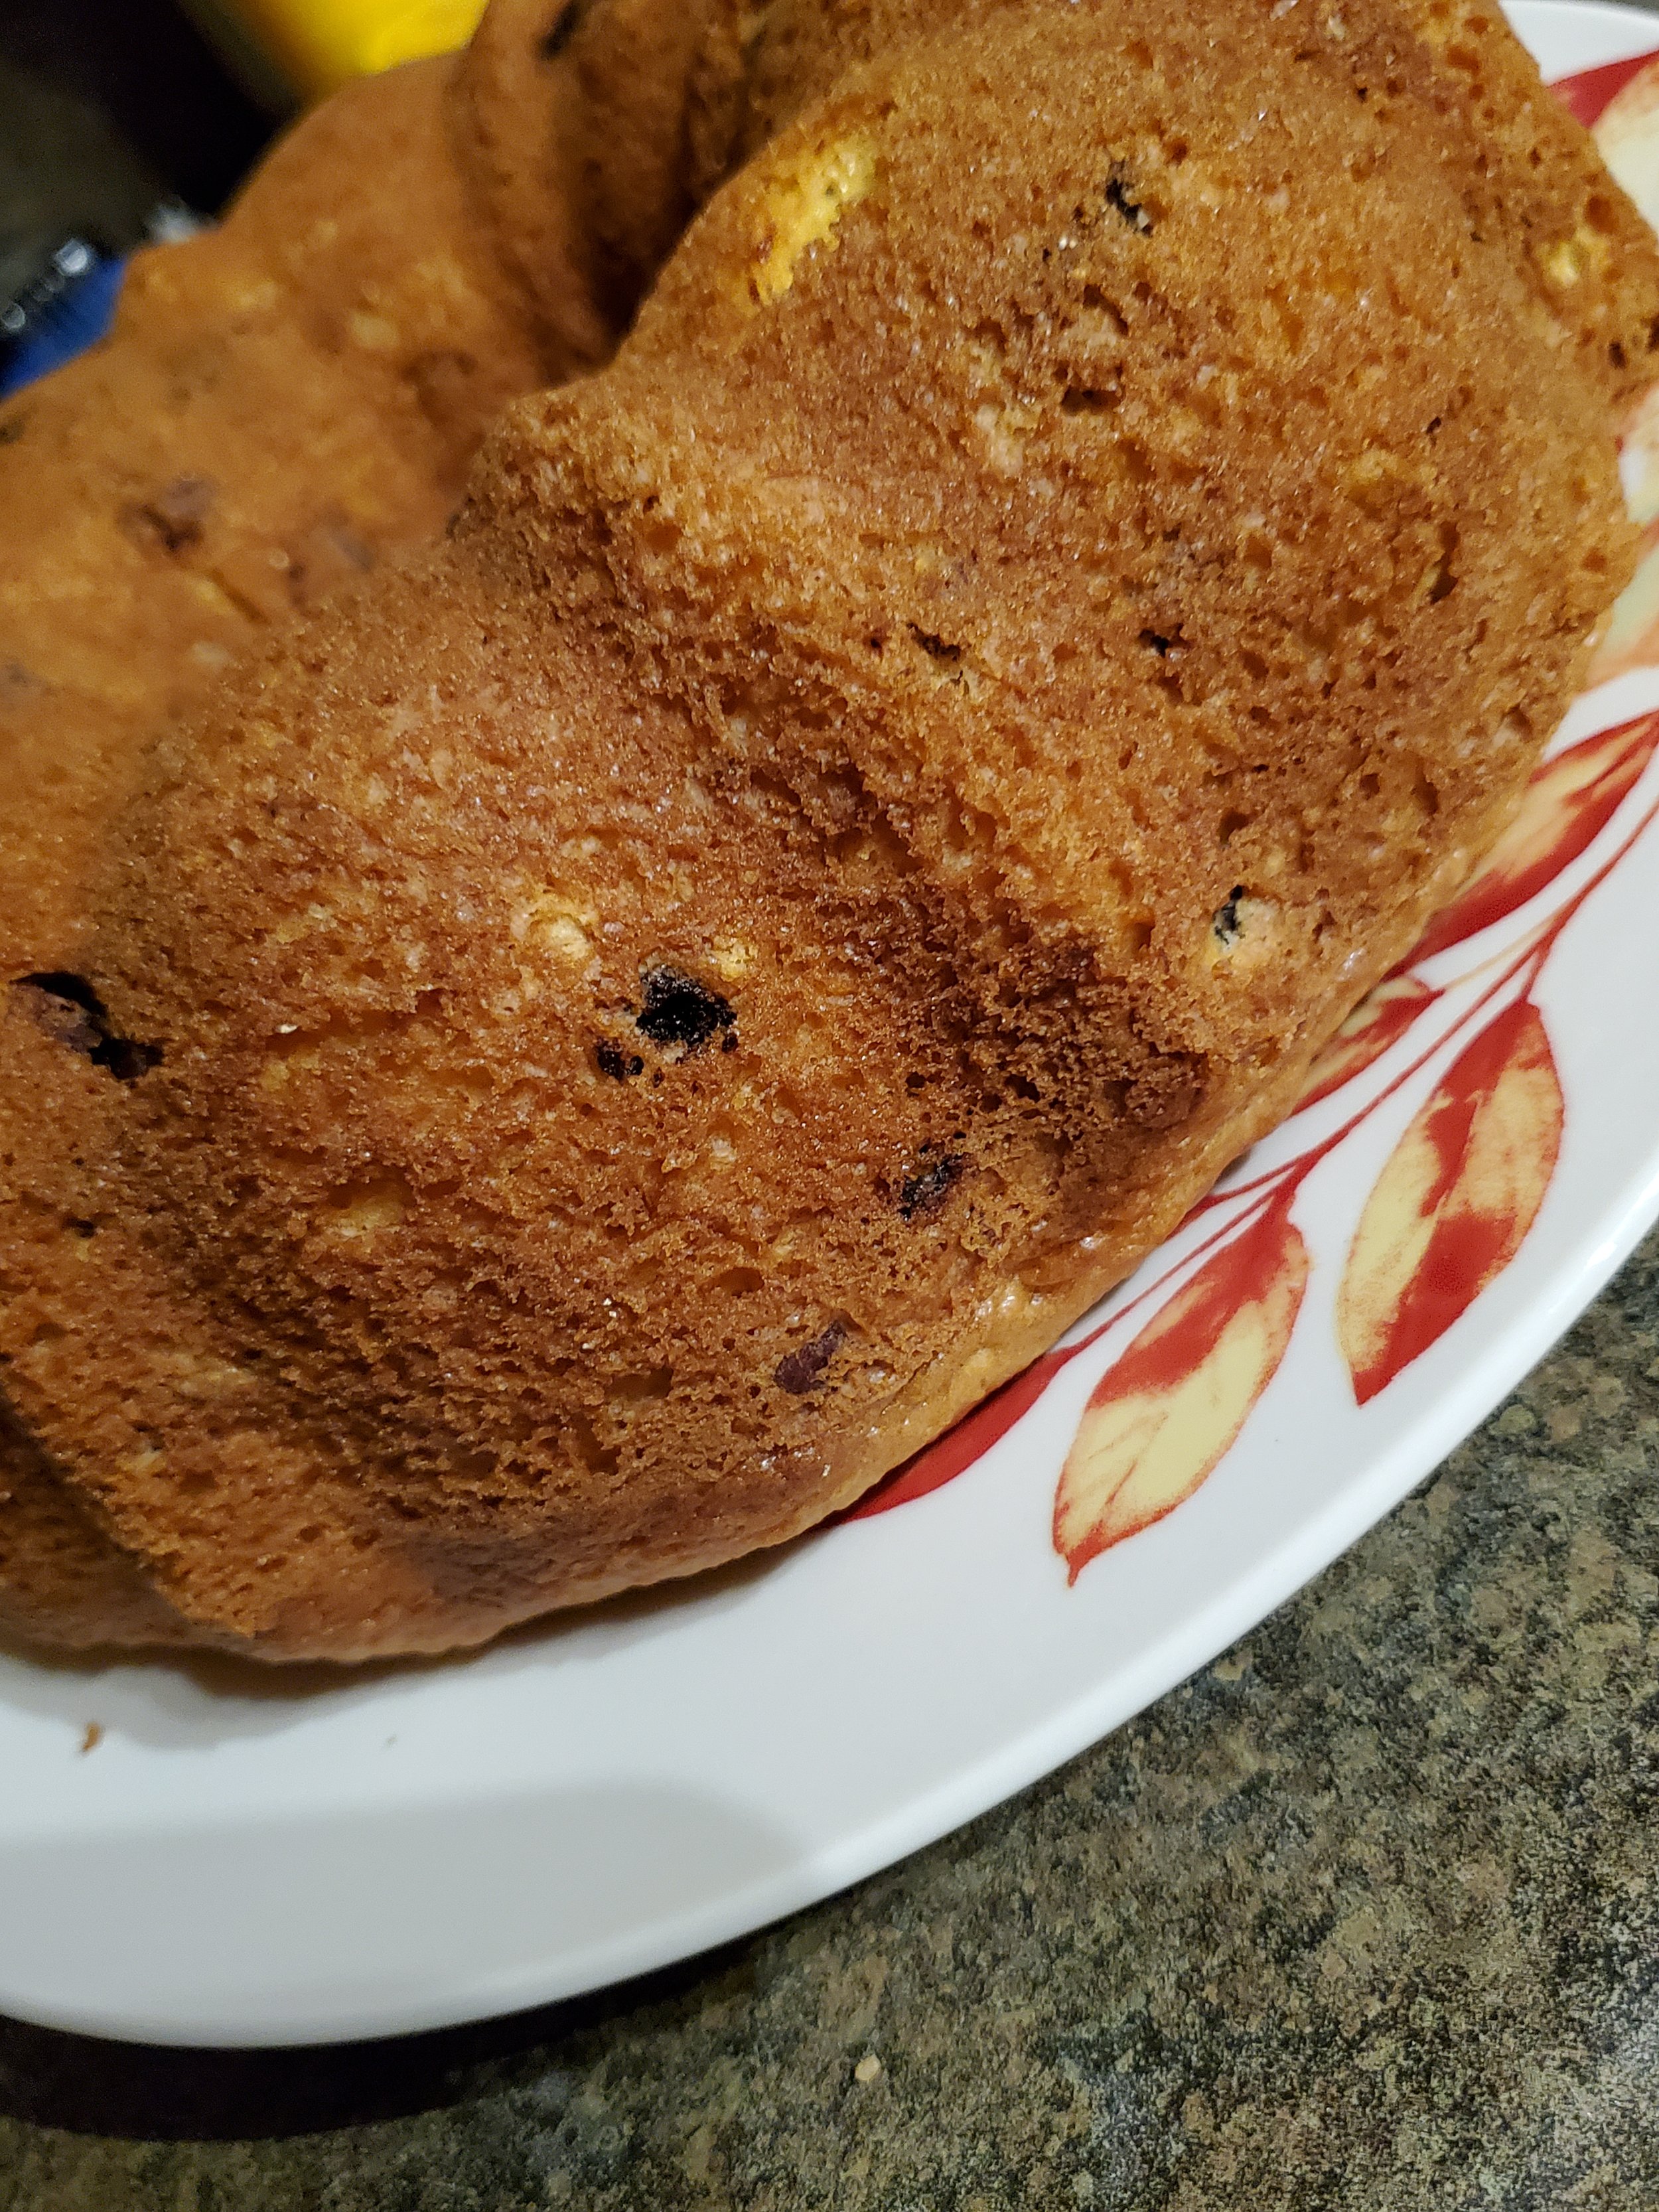
This cake's texture will be springy and soft, and sort of custard-y when you cut into it. You can see for yourself in the photos - we jabbed it with the blunt end of a knife, and the cake just dented instead of crumbling. It even returned to shape before we got around to drizzling glaze over it!


Don't worry, it's done; we promise it’s cooked all the way through. The softness is the result of using yogurt when most cakes use milk or water, and rounding out the wet ingredients with egg and semi-solid fruits.


The berry flavors on their own aren't overly sweet - they're more tangy - so we do recommend breaking out your favorite glaze recipe or melting some store bought frosting over it before serving. Don't disappoint the resident sweet tooth!


When you decide to make this cake we want to see! You’ve seen how ours turned out we’d love to see yours! Show us over on Facebook


If you live in The Colony and you need someone to take a look at your appliances, don’t forget to give us a call. We’re here to keep your home running smooth whether something has broken, or just if you think something is off. 

Phone: (214) 599-0055
Website: https://appliance-rescue-service.com/contact-us


Culinary Adventure: Sourdough Pancakes!

Get ready to taste the best pancakes you’ve ever had. 


This recipe is going to require a good bit of planning ahead. It's going to take at least a week of forethought. We know, that sounds like an awful lot - usually these are one-day recipes, or even just a few minutes. But that week of planning will lead you to the best and fluffiest pancakes, and it will make things like bread and tortillas easier in the future if you choose to keep it going.


You're about to embark upon a culinary adventure. And it starts with a science experiment.

Allow us to introduce you to sourdough.


There are two ways to get started with this. Three, if you happen to have a friend with a starter who's willing to share (which we can basically guarantee they will be - keeping a starter alive requires frequent discarding, which means a nice chunk of active starter is up for grabs each time). You could start your own; there are tutorials all over the internet for it. You could order some dehydrated starter from a business, and bring it back to life with a little flour and water. Or maybe you can ask that friend we mentioned earlier - it seems like, after quarantine, everyone knows someone with a little sourdough monster living in a jar in their kitchen.


A starter requires a little bit of attention each day, as well as some feeding and some culling. Basically, once it's alive, you toss out enough of it to get it back down to a manageable size, then add flour and water until you've reached a 1:1:1 flour to water to starter ratio. Give it a stir, put a lid on it, and let it sit until feeding time tomorrow. Or if you're likely to bake a bunch, skip the discard and add that much more flour and water. (In case you haven't guessed, we bake a bunch.) And when you don't plan to bake too much, or if you might have to leave town and no one will be around to feed it, you can put it into the fridge or freezer so that it goes dormant.


Once you have that starter ready to go (it'll smell strongly of yeast and it'll be visibly bubbly), you get to do the fun part: make a great big mess measuring it out!


It's squishy. It smells funny. It might be a food. Your dog will love it. Please be sure to keep it away from the fuzzy friends in the house - sourdough starter is no good for them, but they have no way to know that themselves.


Ingredients:

1 1/2 cup active sourdough starter

1/4 cup melted butter

3 eggs

1 1/4 cup milk

2 teaspoons almond extract

1 2/3 cup flour

1 tsp baking soda

1 tsp baking powder

1 tsp salt

1 cup fruit or chocolate chips (optional - we used blueberries for the example in the photos)

Double double… what? What do you mean it’s too early for that still?

Double double… what? What do you mean it’s too early for that still?


Tools:

Mixing bowl, whisk, measuring cups and spoons, spatula, pan or griddle, non-stick spray. Optional: hand mixer.


Measure your liquid ingredients into the mixing bowl and whisk them all together. Try not to have too much of a difference in temperature between the eggs, milk and butter when you start mixing... because hot butter plus eggs plus milk is also the recipe for scrambled eggs.


Add your dry ingredients one at a time, holding the fruit or chocolate chips for last (if you've chosen to use them). Start gently so you don't wear the flour - but once you've got everything dampened, you can switch to using a hand mixer to speed things up if you prefer. Your batter will be thin, and possibly a little lumpy, but that's okay.


Start the heat under your pan or griddle and allow it to warm up to medium.


Fold your fruit or chocolate chips (again, assuming you've chosen to use them) into the batter. You should probably do this part by hand, as using a mixer can pulverize delicate fruit. Then again, pureed berries in the batter can dye the whole pancake vibrant colors. Maybe you're cooking for Rick Riordan fans who have been clamoring for blue pancakes. If that's the case, or if you want, say, pink or purple for a theme party, go ahead and smash all the berries you want.


Turn the heat under the pan or griddle down to low, spray with non-stick spray. Give the layer of spray a quick smear with the back of the spatula (this sounds weird, but it helps prevent the bubbly, uneven-looking cooking on the bottom) and pour a blob of pancake batter in.


Wait until you can see bubbles coming up to the uncooked top of the pancake most of the way into the middle, and the edges begin to look all set up. That usually takes a minute and a half to two minutes on our griddle, but you know your kitchen better than we know it, so make your own call here.


Slide the spatula under the pancake, lift and flip it all in one motion. Keep in mind, the more you drag it out, the more pancake batter drips you'll be stuck cleaning up later.


Cook for another minute on this side, lift an edge with the spatula and check for doneness. If it still looks pale, let it cook a little longer. If it's looking a bit scorched, lower the heat even more, and maybe feed that one to the family pet (cooked sourdough is fine!).


Once the pancake has reached the desired color on both sides, move it to a plate and start the process over again, repeating until you have enough pancakes or you run out of batter. We like to keep the plate of pancakes covered with another plate of the same size inverted over top to trap some of the heat, but be aware that it'll hold moisture too - and no one wants soggy pancakes unless they're drowning in syrup.


Now that you’ve got a stack of pancakes, let us know what you think over on Facebook! Is this going to be a regular breakfast addition for you? Would you rather try doing something else with your sourdough starter? (Hint: The internet has tons of ideas.) Or maybe you’d rather check out a different breakfast option entirely, something a little sweeter. For that we suggest checking out our Apple Oatcake, still just as good, if a little less work intensive.  


Now that we’ve helped you feed yourself, potentially for months if not years, it’s time to clean up the kitchen. What do you mean you’ve got a busted dishwasher? That’s ok, we can help with that too. If your dishwasher is busted and you live in The Colony or the surrounding area, we can help you. Dried out valves, peeling liners, flooding kitchens, we’ve seen them all and we’re here to keep your home running smoothly. Give us a call at ((214) 599-0055 ) or visit us at our website to set up an appointment today. 

delicious sourdough blueberry pancakes