Meal Planning

Sausage Bread to Get You Rolling 

Or Something To Eat While We Hide From the Cold

We're taking a look at a delicious, grab-and-go dinner that's great for parties. Looking through our recipes, we were thinking about something that would work best for the Superbowl parties that people are already planning. This sausage bread is great for just that, as you can make several of them now, and freeze them ahead of time to be ready for the game. 

This recipe comes in two parts. The first, is for making sweet Italian sausage because it is remarkably difficult to find in the Dallas area. The second is for the delicious sausage bread that is going to have you making the sausage on a regular basis. 

Ingredients for Sweet Italian Sausage: 

3 lbs ground pork

3 Tbsp red wine vinegar

1 ¼ Tbsp dried parsley

1 Tbsp garlic powder

1 Tbsp onion powder

1 Tbso dried basil

1 tsp salt

1 Tbsp freshly cracked black pepper

2 tsp paprika

2 tsp crushed red pepper flakes, or to taste

¾ tsp ground fennel seed

¼ tsp brown sugar

⅛ tsp dried oregano

⅛ tsp dried thyme

Ingredients for the Sausage Rolls:  

2 Tbsp olive oil, plus more for brushing 

1 pound sweet Italian sausage 

4 ounces Genoa salami 

2 cups shredded whole milk mozzarella (roughly 8 ounces) 

Vegetable oil cooking spray

flour for the work surface

Oregano - for the surface

minced garlic - for the surface 

frozen pizza dough (not the premade crusts, the actual dough is what you want here. Alternatively, you can make your own dough.) 

Recipe: 

For making the sausage, add the pork and vinegar to a large bowl and then sprinkle the spices all over the top. Scrub down your hands and, if you like, put on some gloves. Mix the pork until the spices are thoroughly incorporated throughout the pork. Divide the pork into one-pound sections. Put one pound aside for the recipe, and the other two into separate freezer bags. These will freeze for 6-12 months and can be used for many different recipes. 

Now let’s move on to making the actual sausage roll.

-Start by preheating your oven to 340* F. Nope it's not a typo. It works for this recipe. 

- Heat the olive oil in a medium saute pan over medium-high heat, add the sausage and cook until brown, 12-15 minutes, breaking it up as it cooks. 

- Using a slotted spoon, transfer the sausage to a medium bowl and let cool. Once cool, add the salami and mozzarella, mixing with your hands. 

- Spray a half-sheet pan with cooking spray.  

-On a floured surface, roll out your dough into one long 18 x 6 inch oval. Brush the dough with olive oil and sprinkle the sausage mixture all over. Make sure to leave a 1-inch wide perimeter uncovered, as that will be important later. 

- Gently stretch one long side of the dough and fold it so that it covers half the mixture. Tuck in the short ends to trap all that meat inside and roll it onto itself so the seam of the dough is on the bottom. (Think of it like making cinnamon rolls, instead of like making a burrito.) 

-Carefully and gently transfer the log to the prepared sheet pan and curve it into a slight crescent. (You want it to look more like a ( and less like a C .) Poke holes along the top with a fork to release the steam while it's cooking. Brush the top of the bread with a mixture of melted butter and sprinkle with oregano and garlic. 

- Pop the bread into the oven and cook for 20 minutes. At this point, the top should be lightly brown. 

Let it rest for 10 minutes, and then slice it into 1-inch rounds. 

-You can actually freeze this one up to 2 months in advance. For that you'll follow all of the steps up until you transfer it to the prepared sheet. Instead, you'll wrap the roll in tin foil and then tightly wrap that in plastic wrap. When you're ready to eat, thaw it completely at room temperature for 3 hours, remove the plastic wrap and bake it still wrapped in the foil at 350*F for 15 minutes. 

You can serve this with bolognese sauce, ranch or anything else you might put on top of your pizza. Personally, your blogger is fond of ranch. Let us know on the Facebook page what you serve yours with!

If you're here because you need help with your oven, we can help! We're here to help with all sorts of major appliances, and your oven probably shouldn't be smoking. You can reach out to us by giving us a call at ((214) 599-0055) or by heading to our contact page. We'll work with you to set up an appointment that works best with your schedule. At Appliance Rescue Service, our goal is to get your home running smoothly again.  

A sausage roll is laid out on a cutting board, and sliced into several slices

Photo by Midget Momma

Turkey Tetrazzini Takeover!

For When You're Left With A Ton Of Turkey After Thanksgiving And Don't Know What To Do With It.

Welcome back to another recipe of the week!  We almost always end up with leftovers after Thanksgiving of some sort, and you need to use them up without burning out. This week we're taking your turkey and turning it into a medley of flavors with this Turkey Tetrazzini. While the first version is a very traditional mix,  we also have a Southwest style in the notes afterward if you're looking for something wildly different. For now, let's grab that turkey and dive in! 


Ingredients:

1 lb of dried pasta 

3 Tbsp butter

4 garlic cloves

1lb onions 

3 1/2  oz of button mushrooms

1 cup white wine

2 C chicken stock

1/2 C all-purpose flour

1 C turkey stock  (can be substituted for more chicken stock if you don't have any)

1/2 C heavy cream

1 C milk 

14oz cooked turkey

1 tsp ground nutmeg

10 oz Cheddar cheese

3 1/2 oz Parmesan cheese

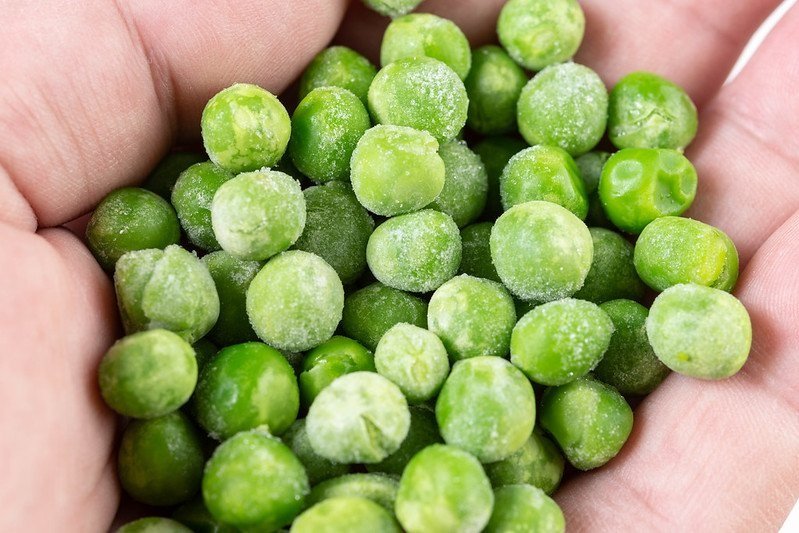
8 oz frozen peas

salt 

fresh ground black pepper

1 lemon 

1 C panko bread crumbs 


Recipe: 

Start by gathering up your garlic, onions, mushrooms, turkey, cheddar cheese, and your lemon. Each of them needs to be prepped in different ways, so you're also going to need your chef's knife, a pair of forks, a juicer, and a cutting board, as well as dishes for each ingredient.

Start by crushing your garlic cloves with the side of your knife and thoroughly smashing them.  Then take your onions, remove the tops and bottoms of them and chop the rest into 1/2 inch pieces. 

Next up is the mushrooms, for those, you'll want to slice them into 1/4-inch slices. These are thick enough not to melt but thin enough to cook easily.  When you're done with those, take your turkey and shred it. You can even go so far as to chop the shredded pieces after so that nothing is longer than bite size if you like, but the shredding is the important part here. 

For the cheddar, you're going to want to shred that all and set it aside in the fridge for the time being. Lastly, grab your lemon. Roll it firmly across the counter with your palm and then cut it in half, making sure to get out as much of the juice as you can from both halves.

Once you've prepped all of your materials, set a pot of water on the stove, add 1/4 c salt to the water and bring it to a roiling boil. Toss in the pasta and cook it until cooked but still firm. This is so that you don't get pasta-flavored mush later on.  Drain the pasta and set it aside. 

-Add the butter to a large frying pan and allow it to melt. When done, add in your garlic and onions and saute for 7 minutes or until the onions are tender.  Stir in your mushrooms and cook for an additional 5 minutes stirring frequently. 

-Stir your wine and 2 cups of chicken stock into the pan and reduce the heat to a simmer. Allow the mixture to reduce for 10 minutes. Next, add in the flour and mix thoroughly to incorporate. When you don't have any clumps left, stir in the turkey stock a little at a time. (Or the third cup of chicken stock if you went with that.)  Whisk it all together to form a sauce. 

-Reduce your heat to medium-low and stir in the cream, milk, turkey, nutmeg and both types of cheese.   Season it well with salt and pepper, mixing to incorporate. Allow it to simmer for 15-20 minutes. Finally, add in the pasta and the peas while you preheat your oven to 350*F. 

-Remove the pan from the heat and mix in your lemon juice. 

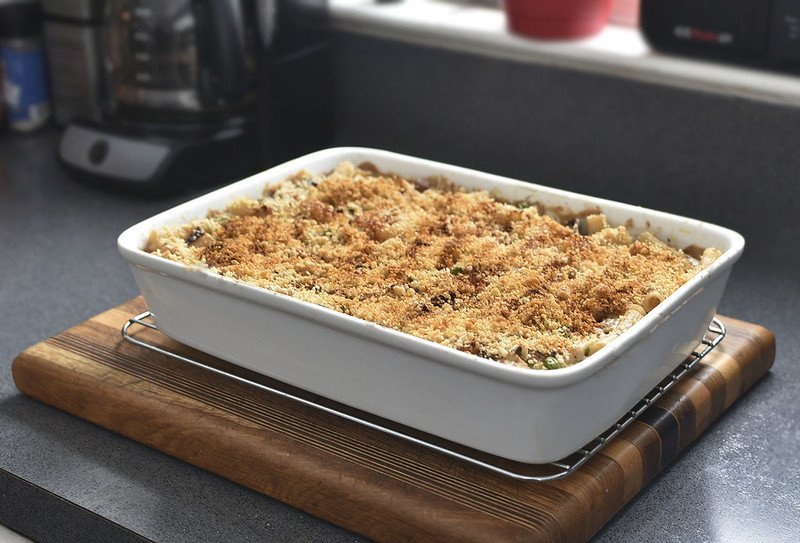
-Transfer the mixture to a casserole dish and coat the top with your panko.  Bake the casserole for 25 minutes or until the top, is golden brown and bubbling. 

For a tasty variation, you can sub out the cheddar cheese for cream cheese and the Parmesan for a little bit of Monterey Jack. 

Remove the peas and add in fresh red and green bell peppers instead. We would say two of each type, diced and sauteed, prior to adding in. 

Finally, add in 2 tsp of chili powder,1 tsp of smoked paprika, and 1/4 tsp of cayenne pepper. 

Follow all of the directions otherwise and enjoy a delicious southwestern-style tetrazzini. 


With that wrapped up, that is our recipe for this week! Let us know how yours turned out or any variations you've tried in the comments below or over on our Facebook page. 


If you wound up here because your appliances are malfunctioning after Thanksgiving, give us a ring! You can reach out to us via phone at (214) 599-0055) or by going to our contact page. Wherever you are in the Dallas Metro area, Appliance Rescue Service is here to help. Whether you're in Coppell, Allen or Plano, we'll work with you to get your home running smoothly again.

Pumpkin Soup From Picking to Serving

We'll Show You How To Do It All!

Halloween is right around the corner, and that means that our grocery stores have been invaded by two things. Pumpkins and candy. We're going to show you how to turn those pumpkins, not into Jack-o-lanterns to scare off the ghosts and goblins, but into a delicious soup. You will also have so much leftover puree that you can then use it next month to turn it into some amazing pumpkin pies, muffins, or cookies.


Ingredients: 

1 Large Pumpkin 

16 oz of cream cheese

6 cups of chicken broth 

Garlic 

1 small onion  or 1 Tbsp of onion powder

Salt to taste


Tools: Sharp chef's knife, cutting board, oven, parchment paper, aluminum foil, food processor, two large bowls, a large strainer, a spoon or metal measuring cup, a wide, large pot similar to a caldera or Dutch oven.


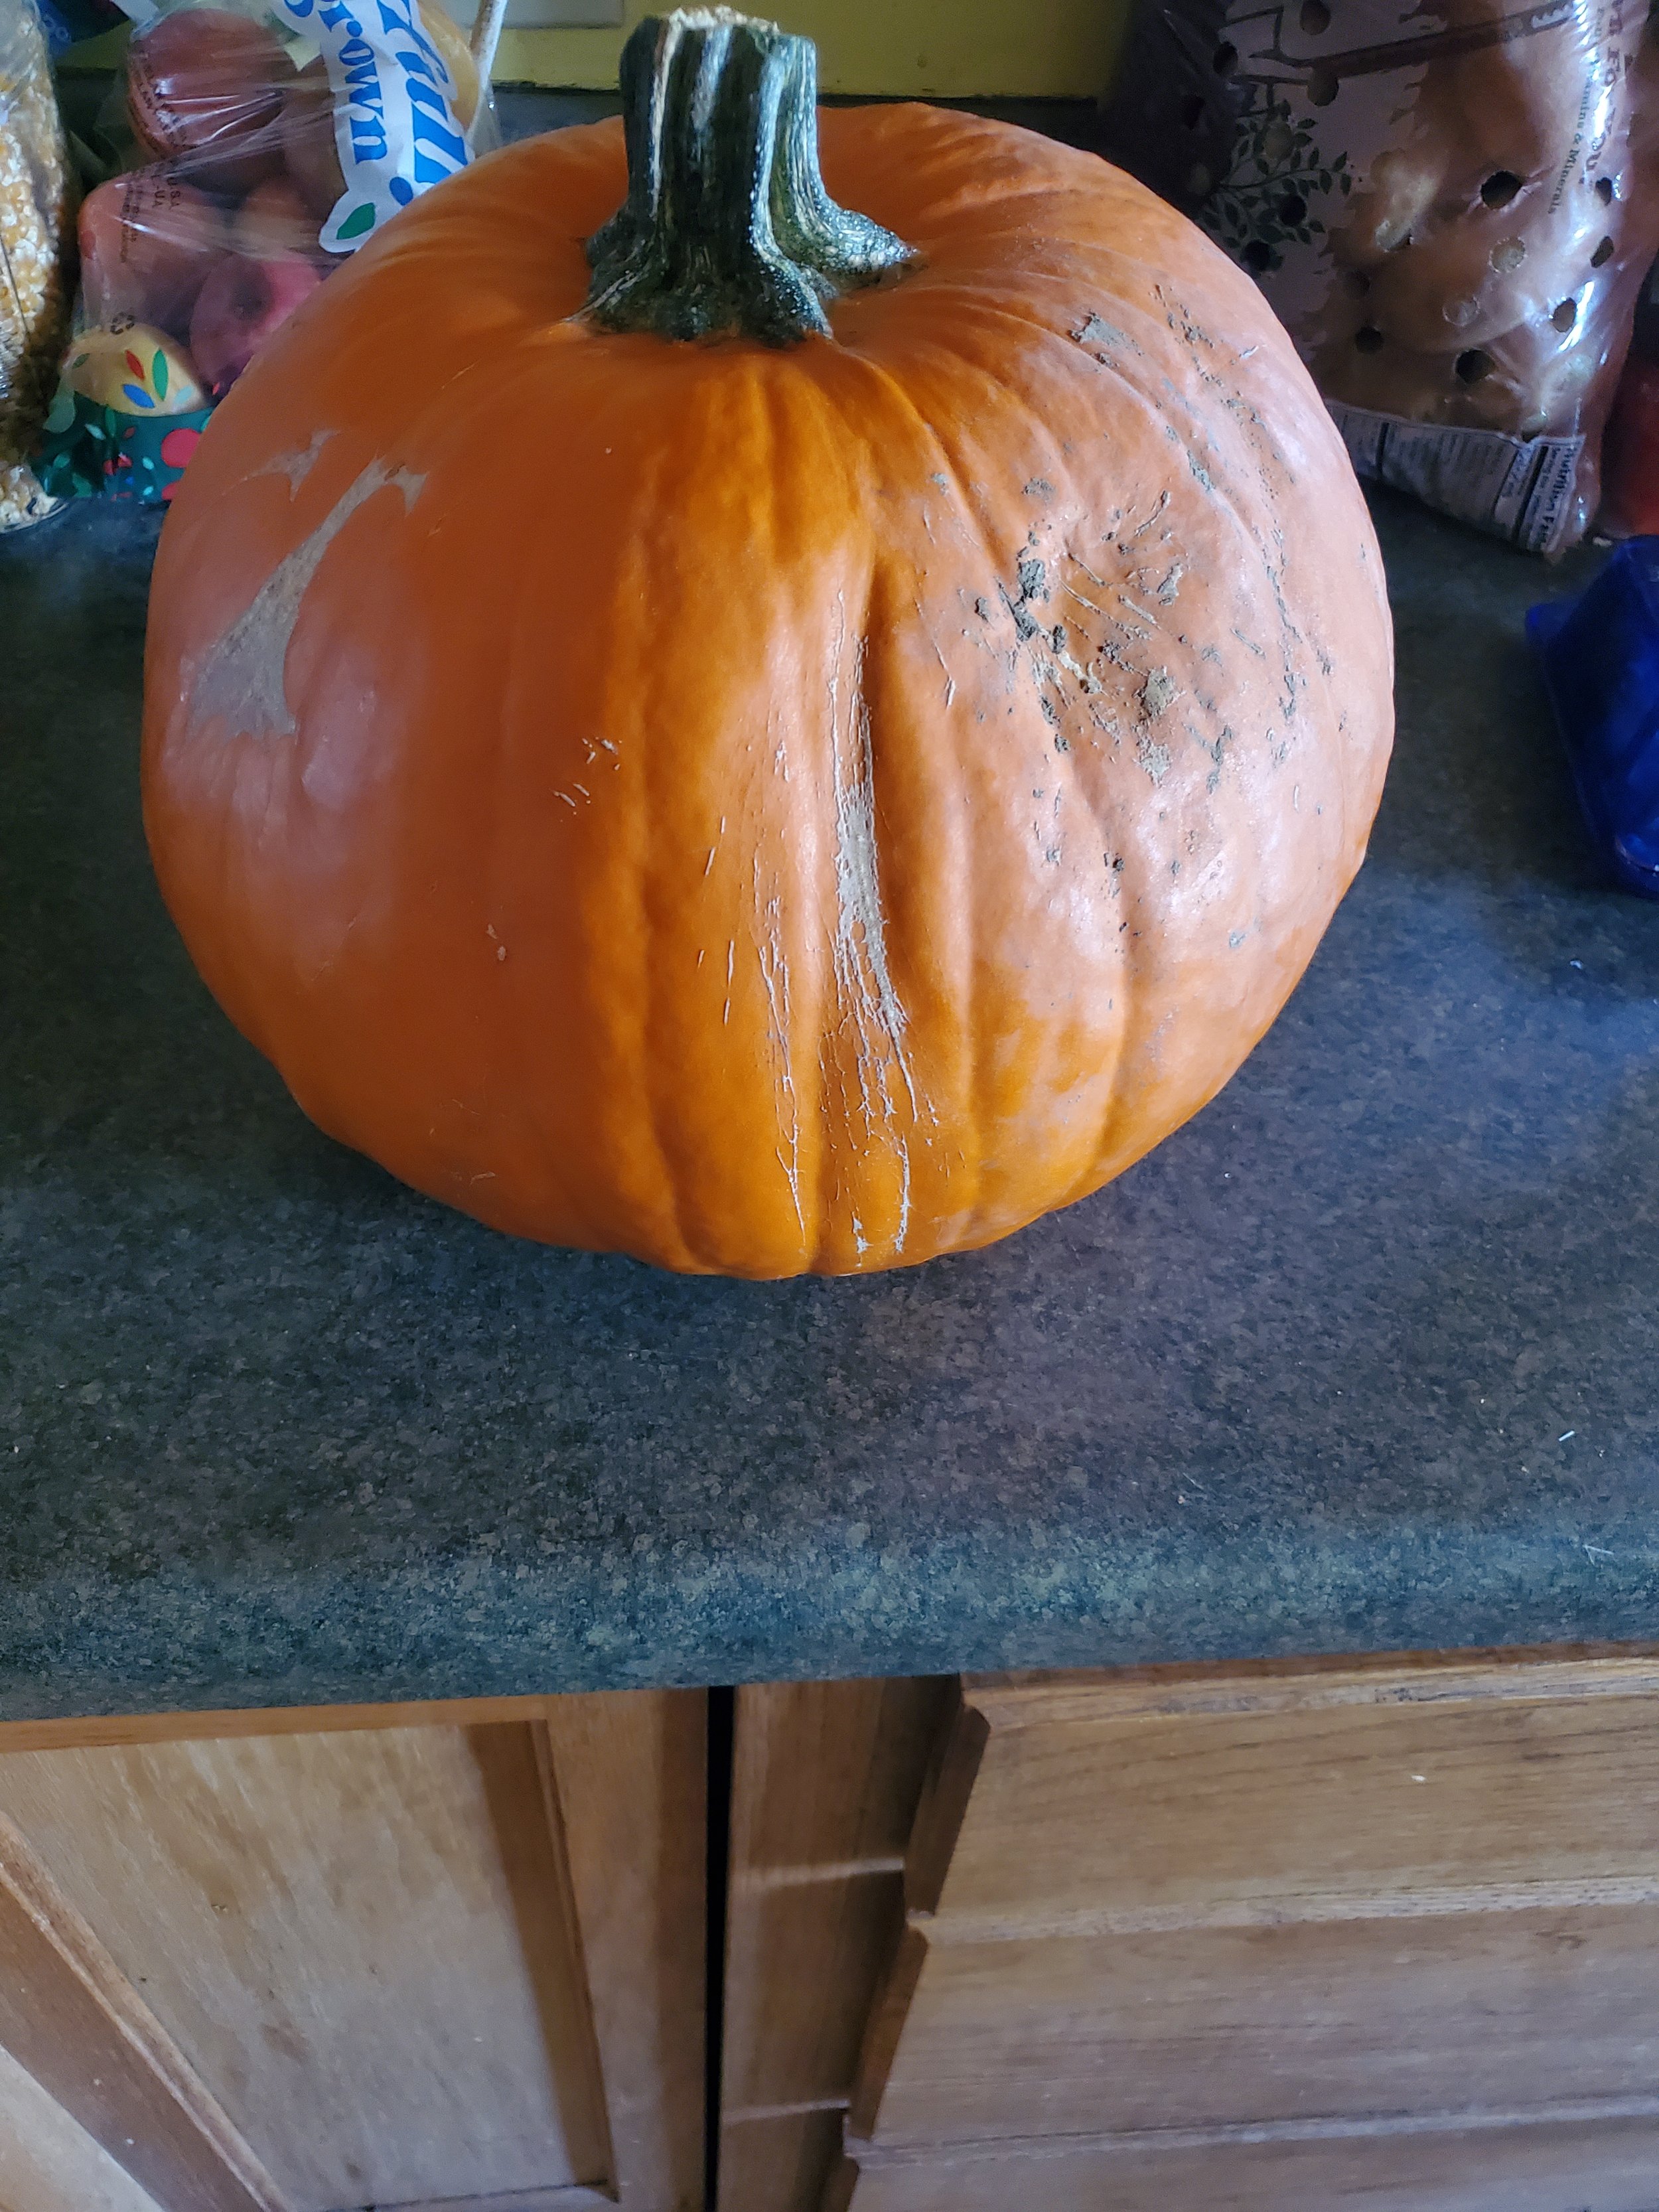
First things first. The type of pumpkin that's good for making a Jack-o-lantern is not the same one you want for food. Although your local grocery store will sell you the GIANT pumpkins without trouble, the tiny ones are not so easy to come by, and the ones of various colors are great for decor, not for eating.   Do not despair just yet, though. You don't need to go on an epic quest searching for the perfect pumpkin. You can actually search through the ones that are being sold for carving. You'll want to look for one that sounds only partially hollow and is hefty and solid. This should land you with a pumpkin that has thick walls and is still ripe but has not gone rotten. 


Once you get the pumpkin home, give it a quick wash and dry it off. You don't want it to be slippery when you start cutting it in a moment. Then snag a thick towel and your chef's knife and carefully stab your way into the pumpkin on one of the ridges. You want the knife to go all the way in for this first cut. It takes work, but going slow is the key.  You could, in theory, use the saw from your carving kit, but we don't actually want to get rid of the lid on our pumpkin. That's perfectly good food right there, rather than being in the way like with carving. 


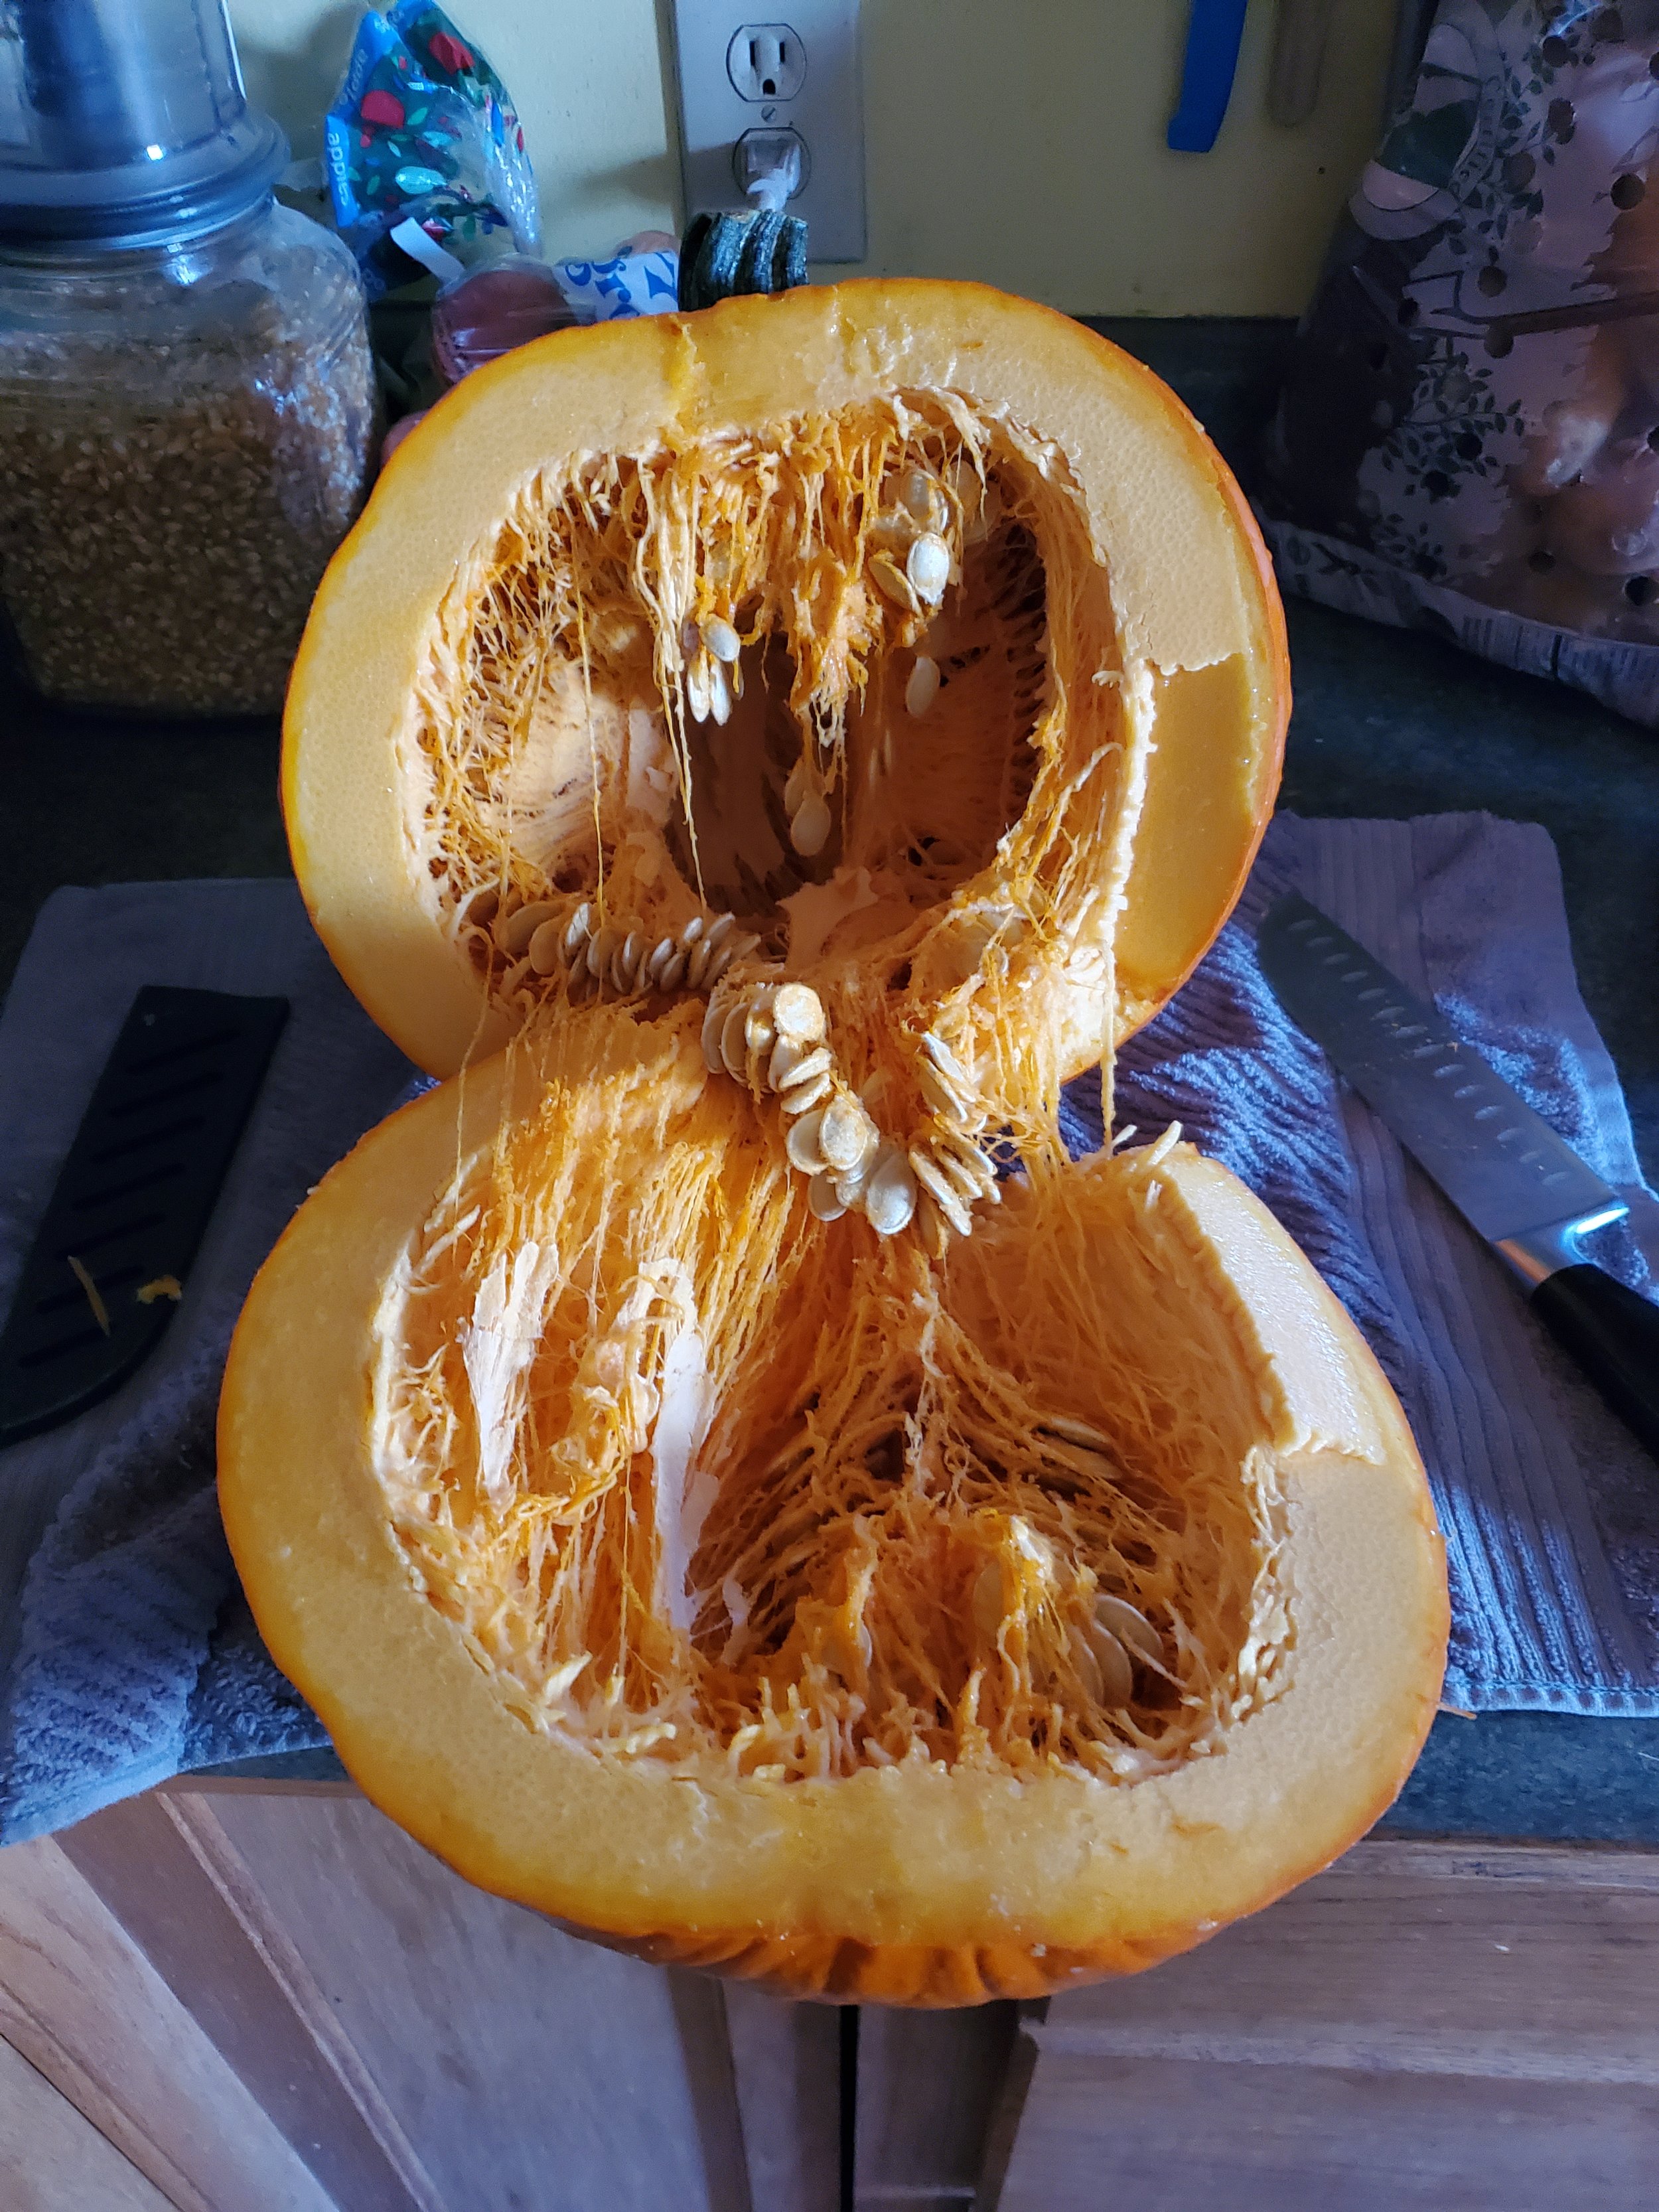
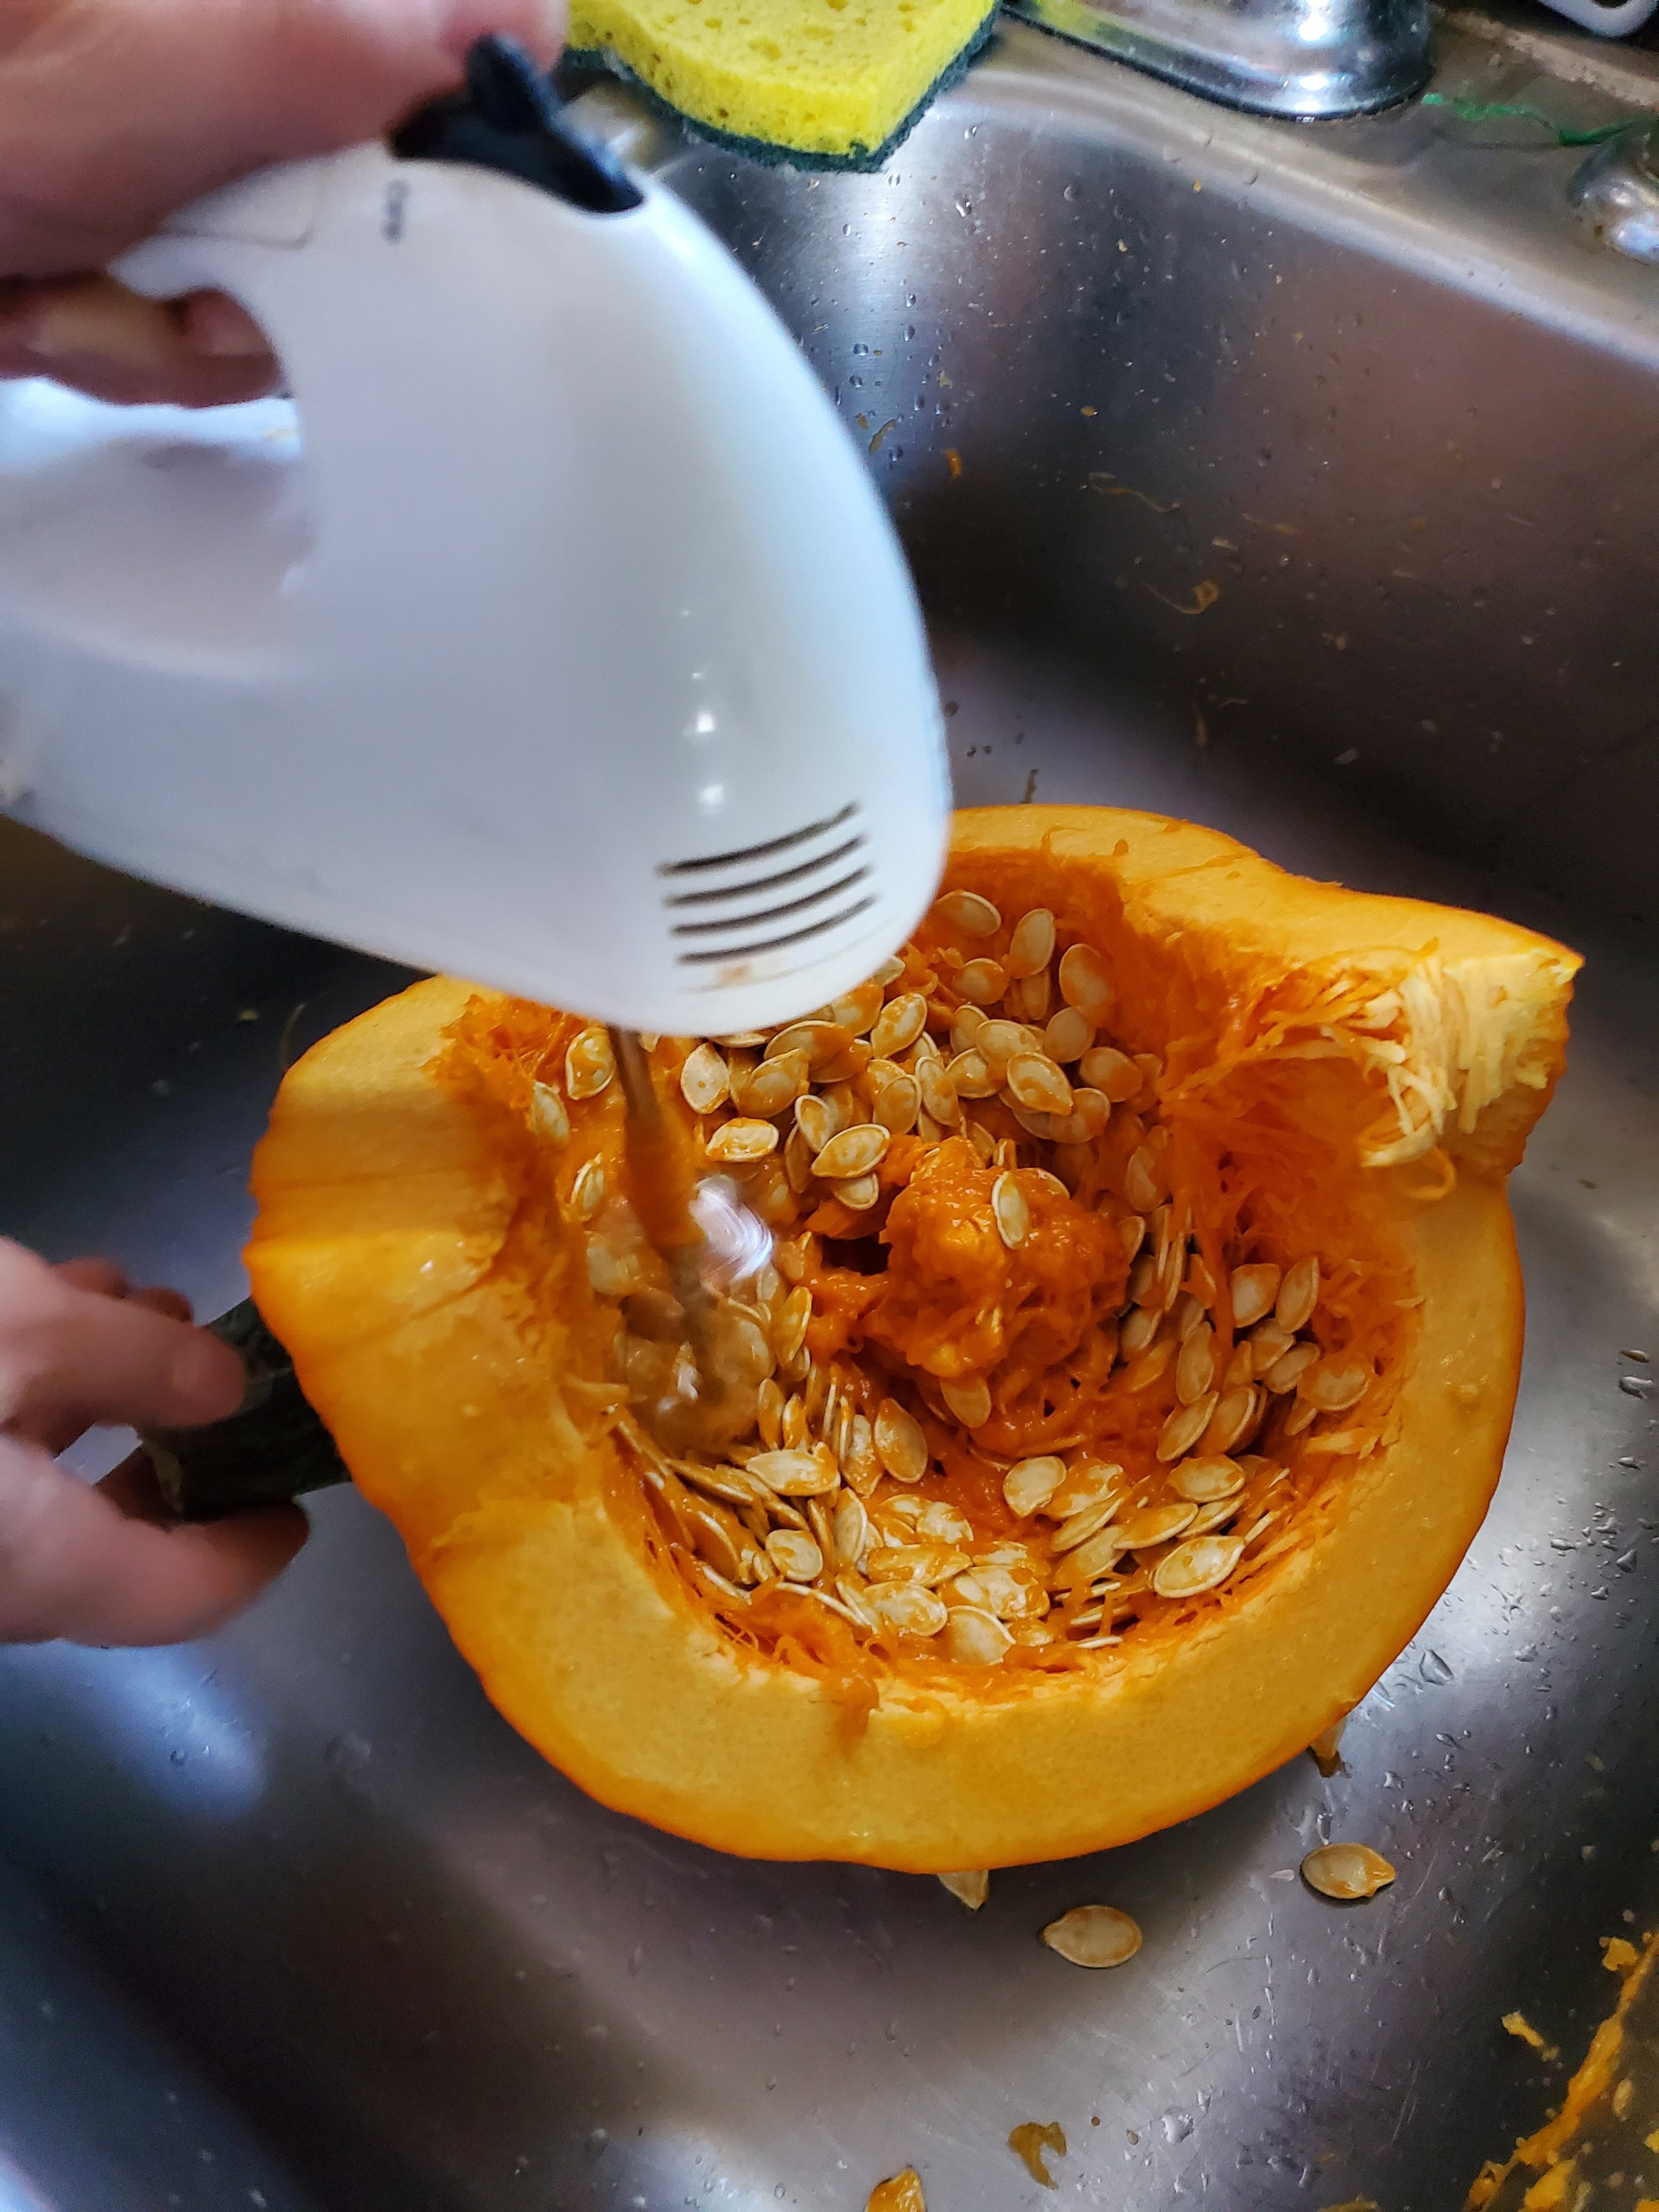
Once you've gotten all the way through, remove the knife, grab a sharpie and draw lines to quarter your pumpkin, as best as possible, without removing your pumpkin. You might want to cut around the top of it, but again, this is a preference thing.  Depending on the size of your pumpkin, we suggest splitting it into either two or three pieces. This allows for the inside of the pumpkin to steam rather than sear in the next step.  Your next step is to grab a hand mixer and input just one of the two whisks. Use that, set to a low to medium speed to quickly and easily gut your pumpkin. (When you're finished, you can set aside the seeds for roasting at a later point.) 


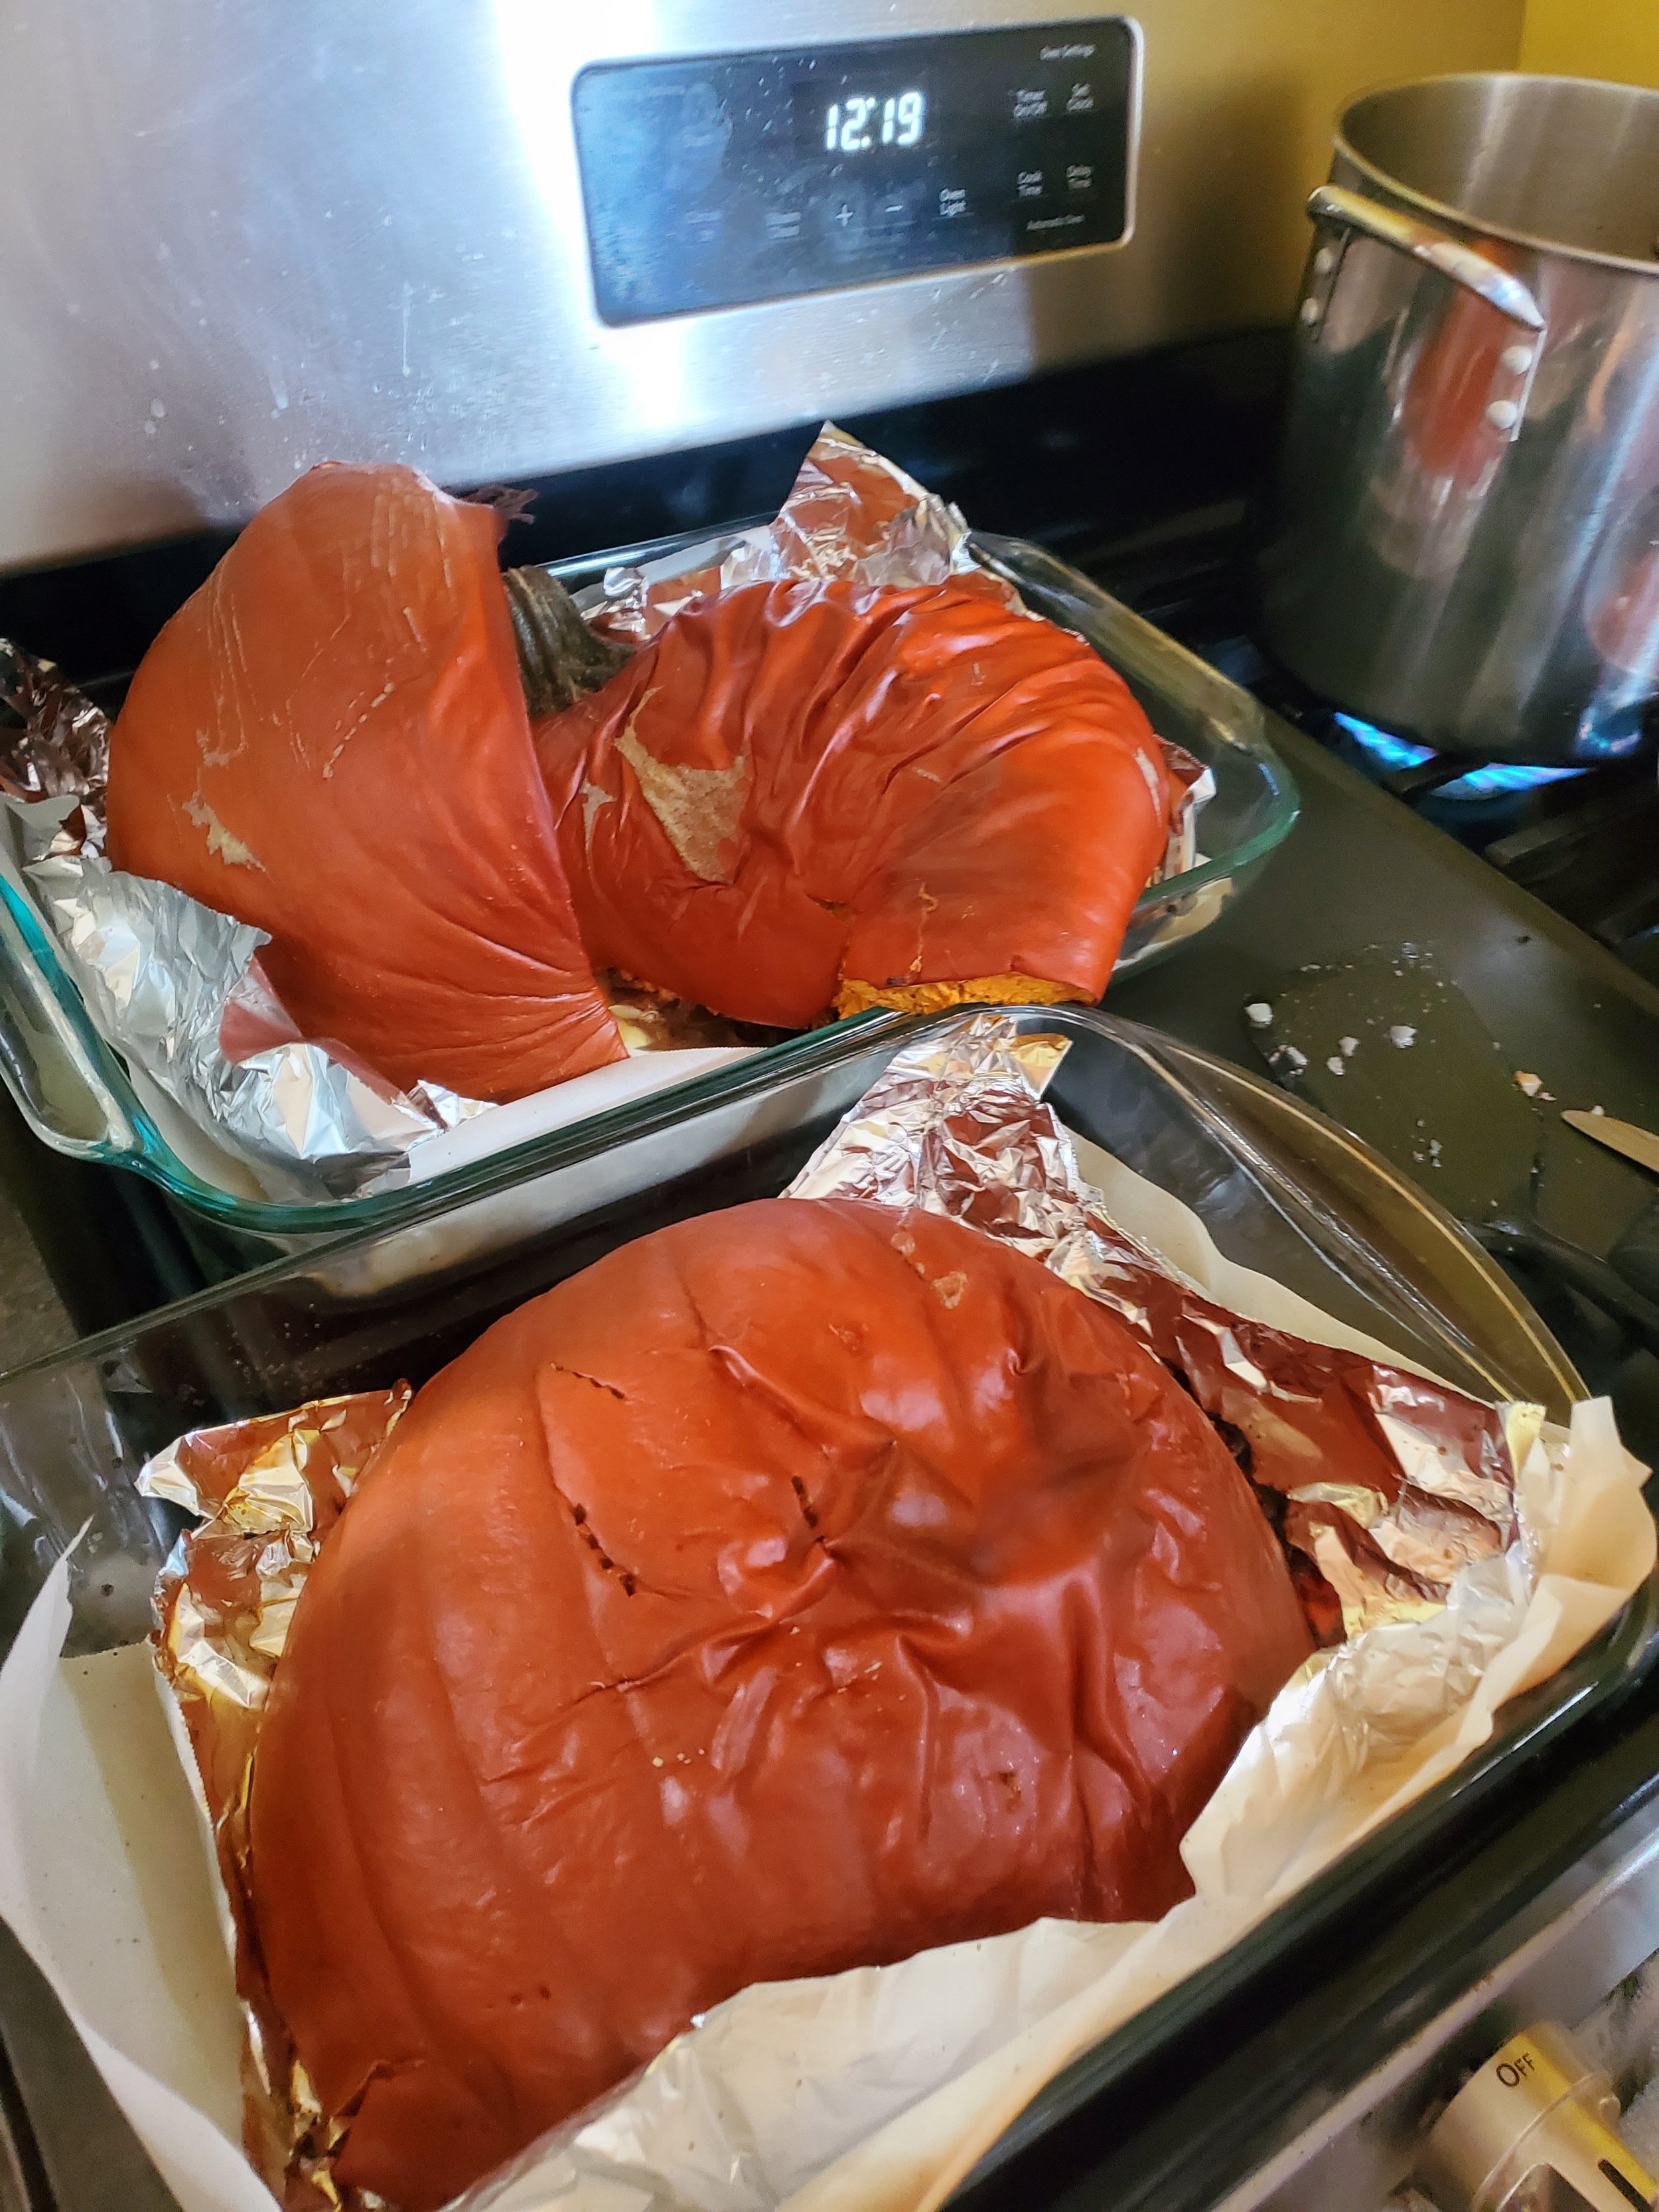
Once you've cut your pumpkin into the desired shape, grab a pyrex (or similar)  baking dish. You'll want to line the bottom and sides of it with parchment paper (not wax) and then a layer of tinfoil over that. You should end up with the tin foil pressed firmly into the sides of the pan and wrapped around the top edges. This way, you've got less of a mess when this is all over. 


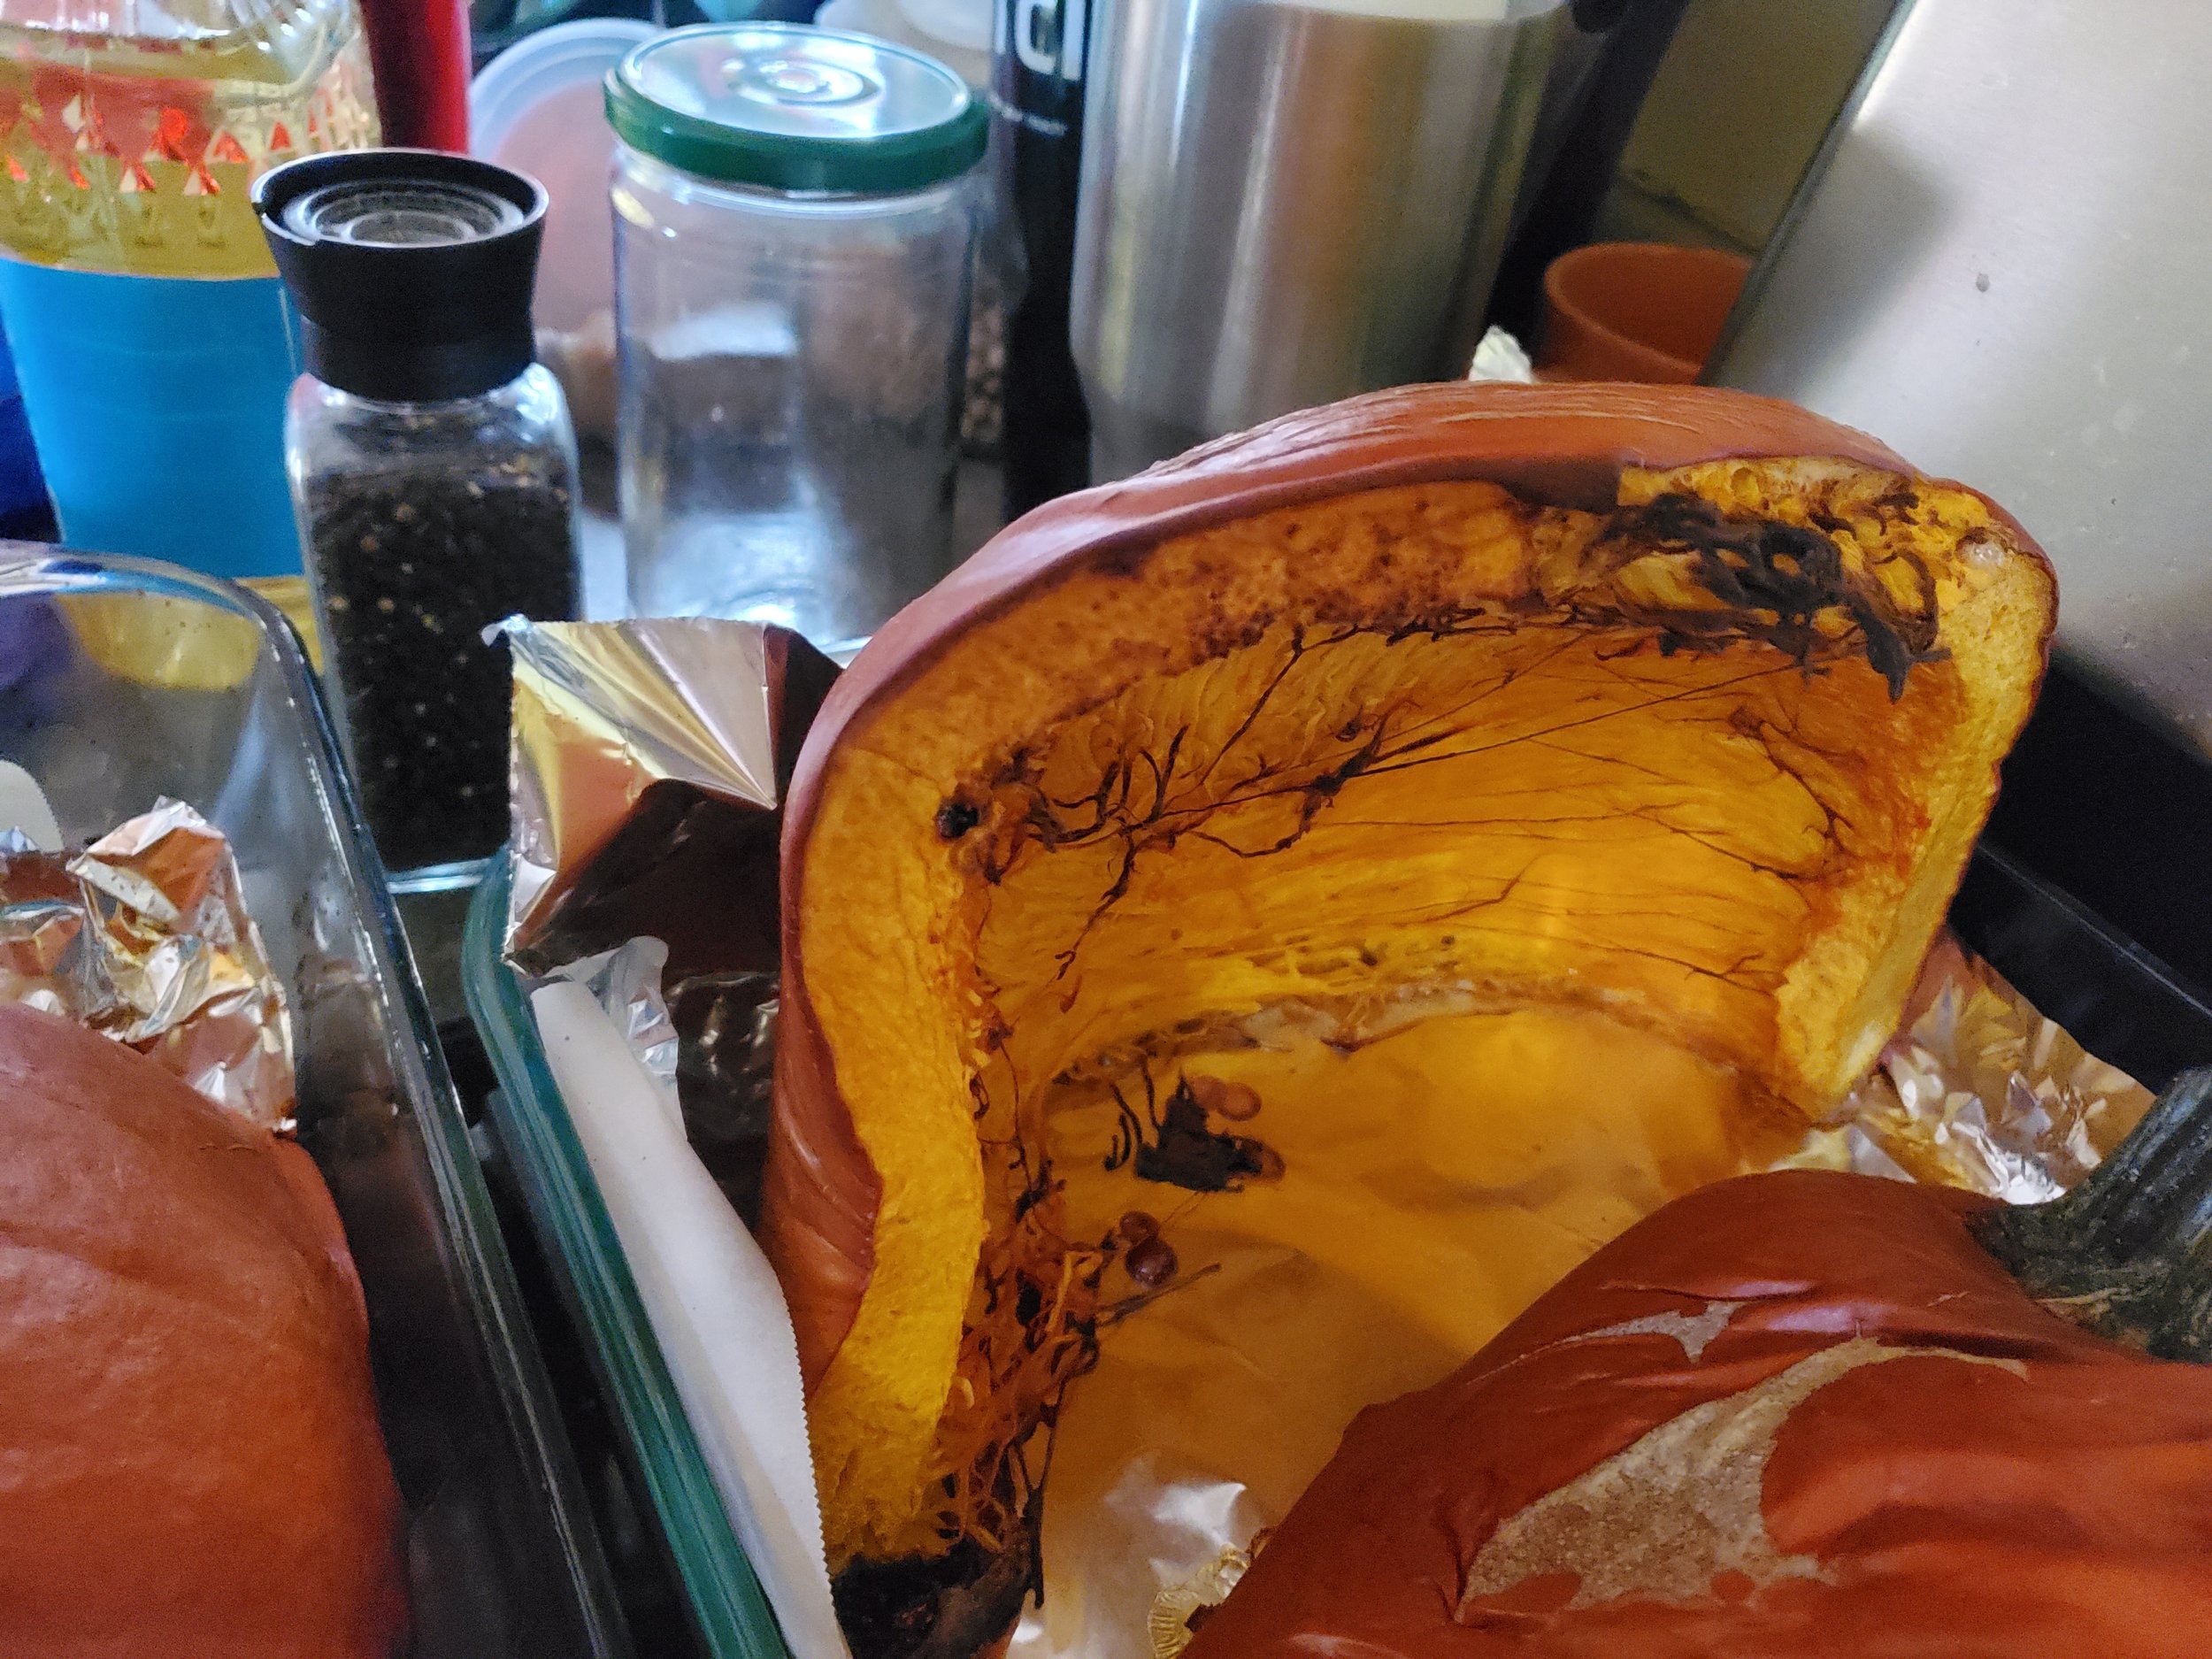
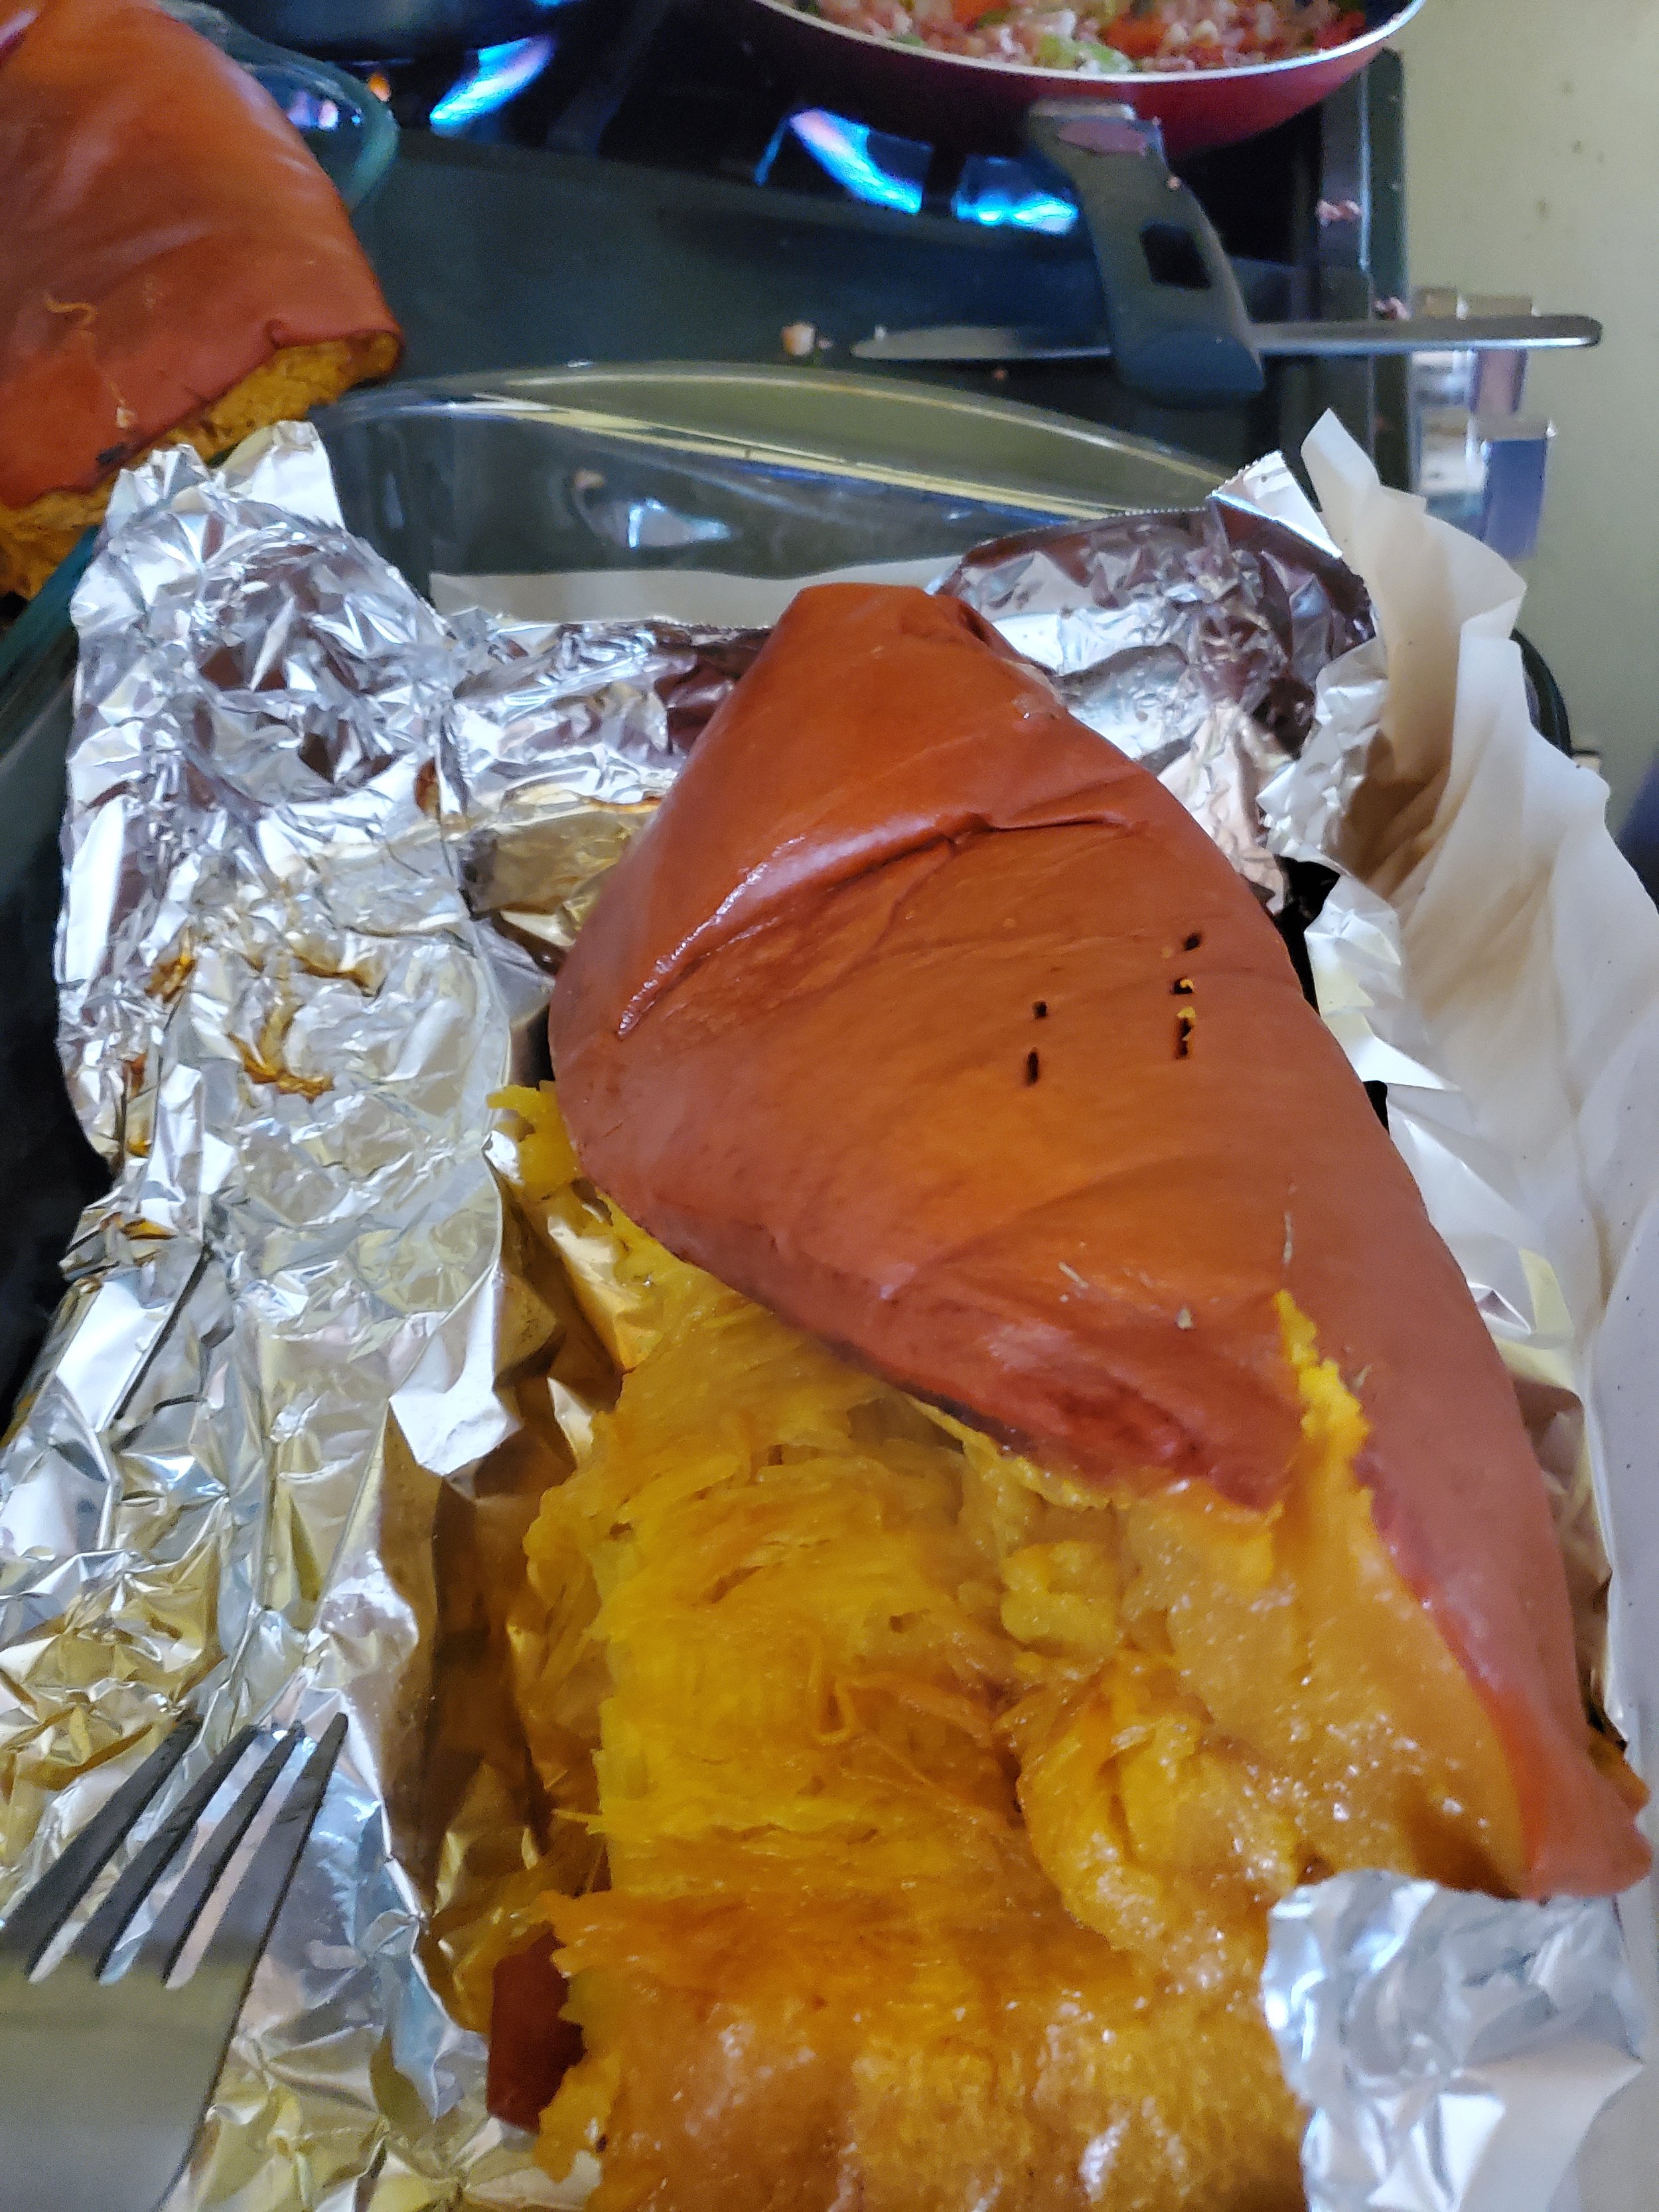
Preheat your oven to 400*F, and pop your pumpkins into the baking dish(es). You want the pumpkin to have enough room to sit flat on the bottom of the dish rather than having anything sticking over the sides. Once your oven is preheated, pop the pumpkin into the oven for 1 hour.  Make sure that your pumpkin is not touching the top of your oven, or it can catch on fire.  Once an hour has passed, you'll want to check on them with a fork. See if you can easily sink a fork into the flesh of the pumpkin.  If it goes in easily at first and then hits resistance, you'll know that you need more time. If you can cut into the pumpkin without trouble, congrats, go ahead and pull it out. 


At whatever point you finish up your pumpkin, set the dishes on the counter, and leave them be for 30 minutes. Once they're just cool enough that you can handle them, carefully use something like a metal spoon or a pair of forks, to lift the pumpkin away from you. So, if you're looking at the pumpkin, lift the far edge and slowly bring that towards you. If your pumpkin was cut in half, this is going to release a LOT of steam, and it's going to be extremely hot. Please don't burn yourself. 


Now go ahead and wander off for an hour or so.  You want the flesh of the pumpkin cool enough that you can handle it without getting burnt. Once it's ready, come back and drag one half over to your counter, where you should have set up 1 large bowl, one medium bowl for scraps, and a large metal spoon. We're looking at a cooking spoon here, not a serving or eating spoon.  This will take too long otherwise. 

Depending on how long your pumpkin roasted, it might be just solid enough to be scraped apart, or it could be at the stage where if you look at it funny, the pieces fly apart. Grab the pumpkin and give it a careful squeeze to try and get out as much liquid from the pumpkin as possible. You want it to be down to just a few drops.  Then, start scraping apart the skin from the meat of the pumpkin. It's not a complicated process, but it does require you to focus to ensure you're getting all of the meat. 


Once you've finished one, go ahead and give your hands a good stretch, and then go and tackle the other one. If you're like us, this is the point when you realize that you might have purchased 3 pumpkins, but you're not going to be roasting all of them in one day. 


Once you've got all of the pumpkin flesh in one bowl and the skin in the other, toss the scraps and grab your sieve, the second large bowl, and your food processor. Now you're going to puree everything. Working in batches, transition the scraped flesh to the food processor and have at it. You should have just enough water for the processor to work but not so much that you end up with a thin puree. 


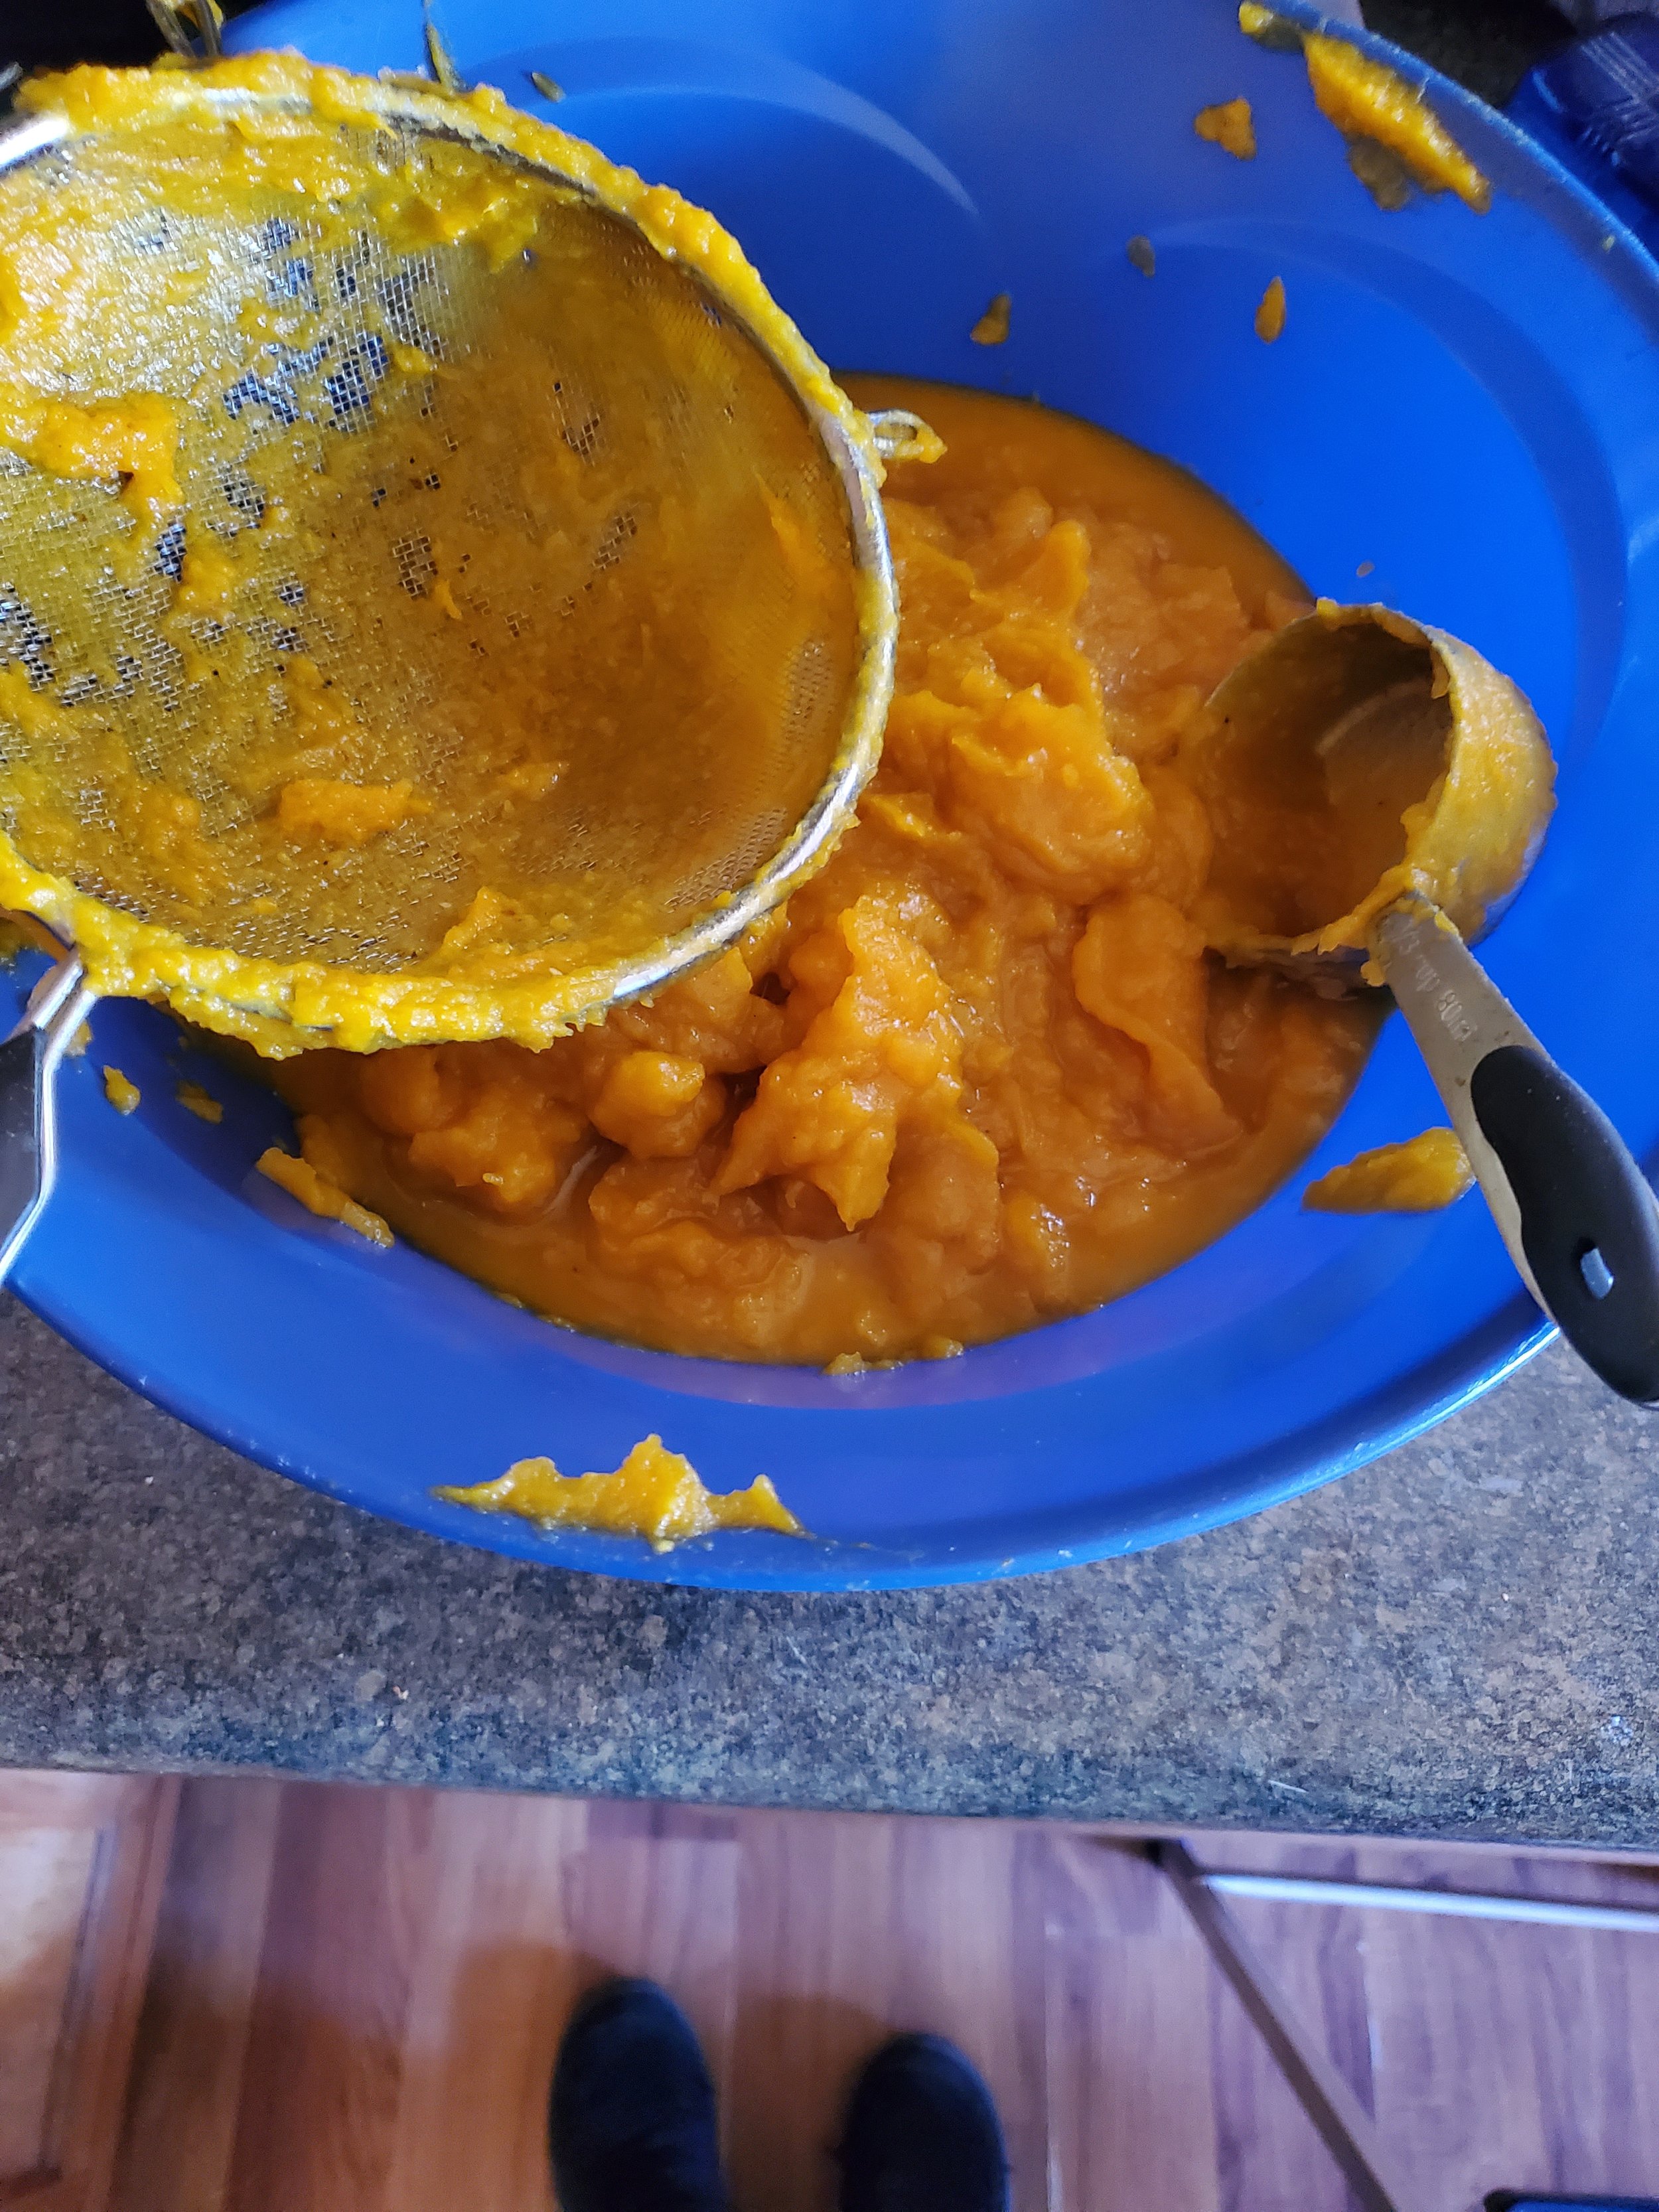
Once you've pureed the entirety of your pumpkin, give the first bowl a quick wash, and grab your sieve and metal spoon. You want to work the puree through the sieve, pushing and scraping as you go. Your goal is to get rid of any uncooked bits, seeds, skin etc. 


When you're finally done with that stage, you can do one of two things. (Three technically, but we don't count icing your wrists as an actual part of the recipe.)  

1)  You can be satisfied with the quality of the puree as it stands, and move forward with cooking! 

2) You can opt to make it thicker and use cheesecloth to remove some of the liquid. 


If you're going with option 2, here's a quick run down. Again, wash the emptied bowl, and then grab some cheesecloth. You'll work in batches over your sink to squeeze out about 50% of your liquid. So, just a gentle squeezing, not working to flatten all of it out. Add each batch into the bowl you washed, and repeat as needed until your puree is the thickness you prefer. 


At this point you can continue on to make this super simple soup, OR you can take a break for the day, set aside 3 cups of your puree, and portion the rest for freezing. That's up to you.  Frozen puree can last up to 6 months, if you don’t manage to use it all up before then.


If you choose to move forward with the cooking, let's get to it. 


Take a large, wide pot (we used a caldera at our home, but a dutch oven would work as well) and set that over low heat.  


You can use already minced garlic, or you can mince your own. Either way, use at least 1 Tbsp. We say at least because in our home the rule is always "more garlic is better."  When your garlic is ready, turn up the heat to high and toss in the garlic. You can also add in 1 cup of diced white onion at this point, or just sprinkle your garlic with onion powder. That depends on how strong you want the taste of the onion to be.  You're looking for the garlic to soften and also start to turn just a little brown around the edges. 

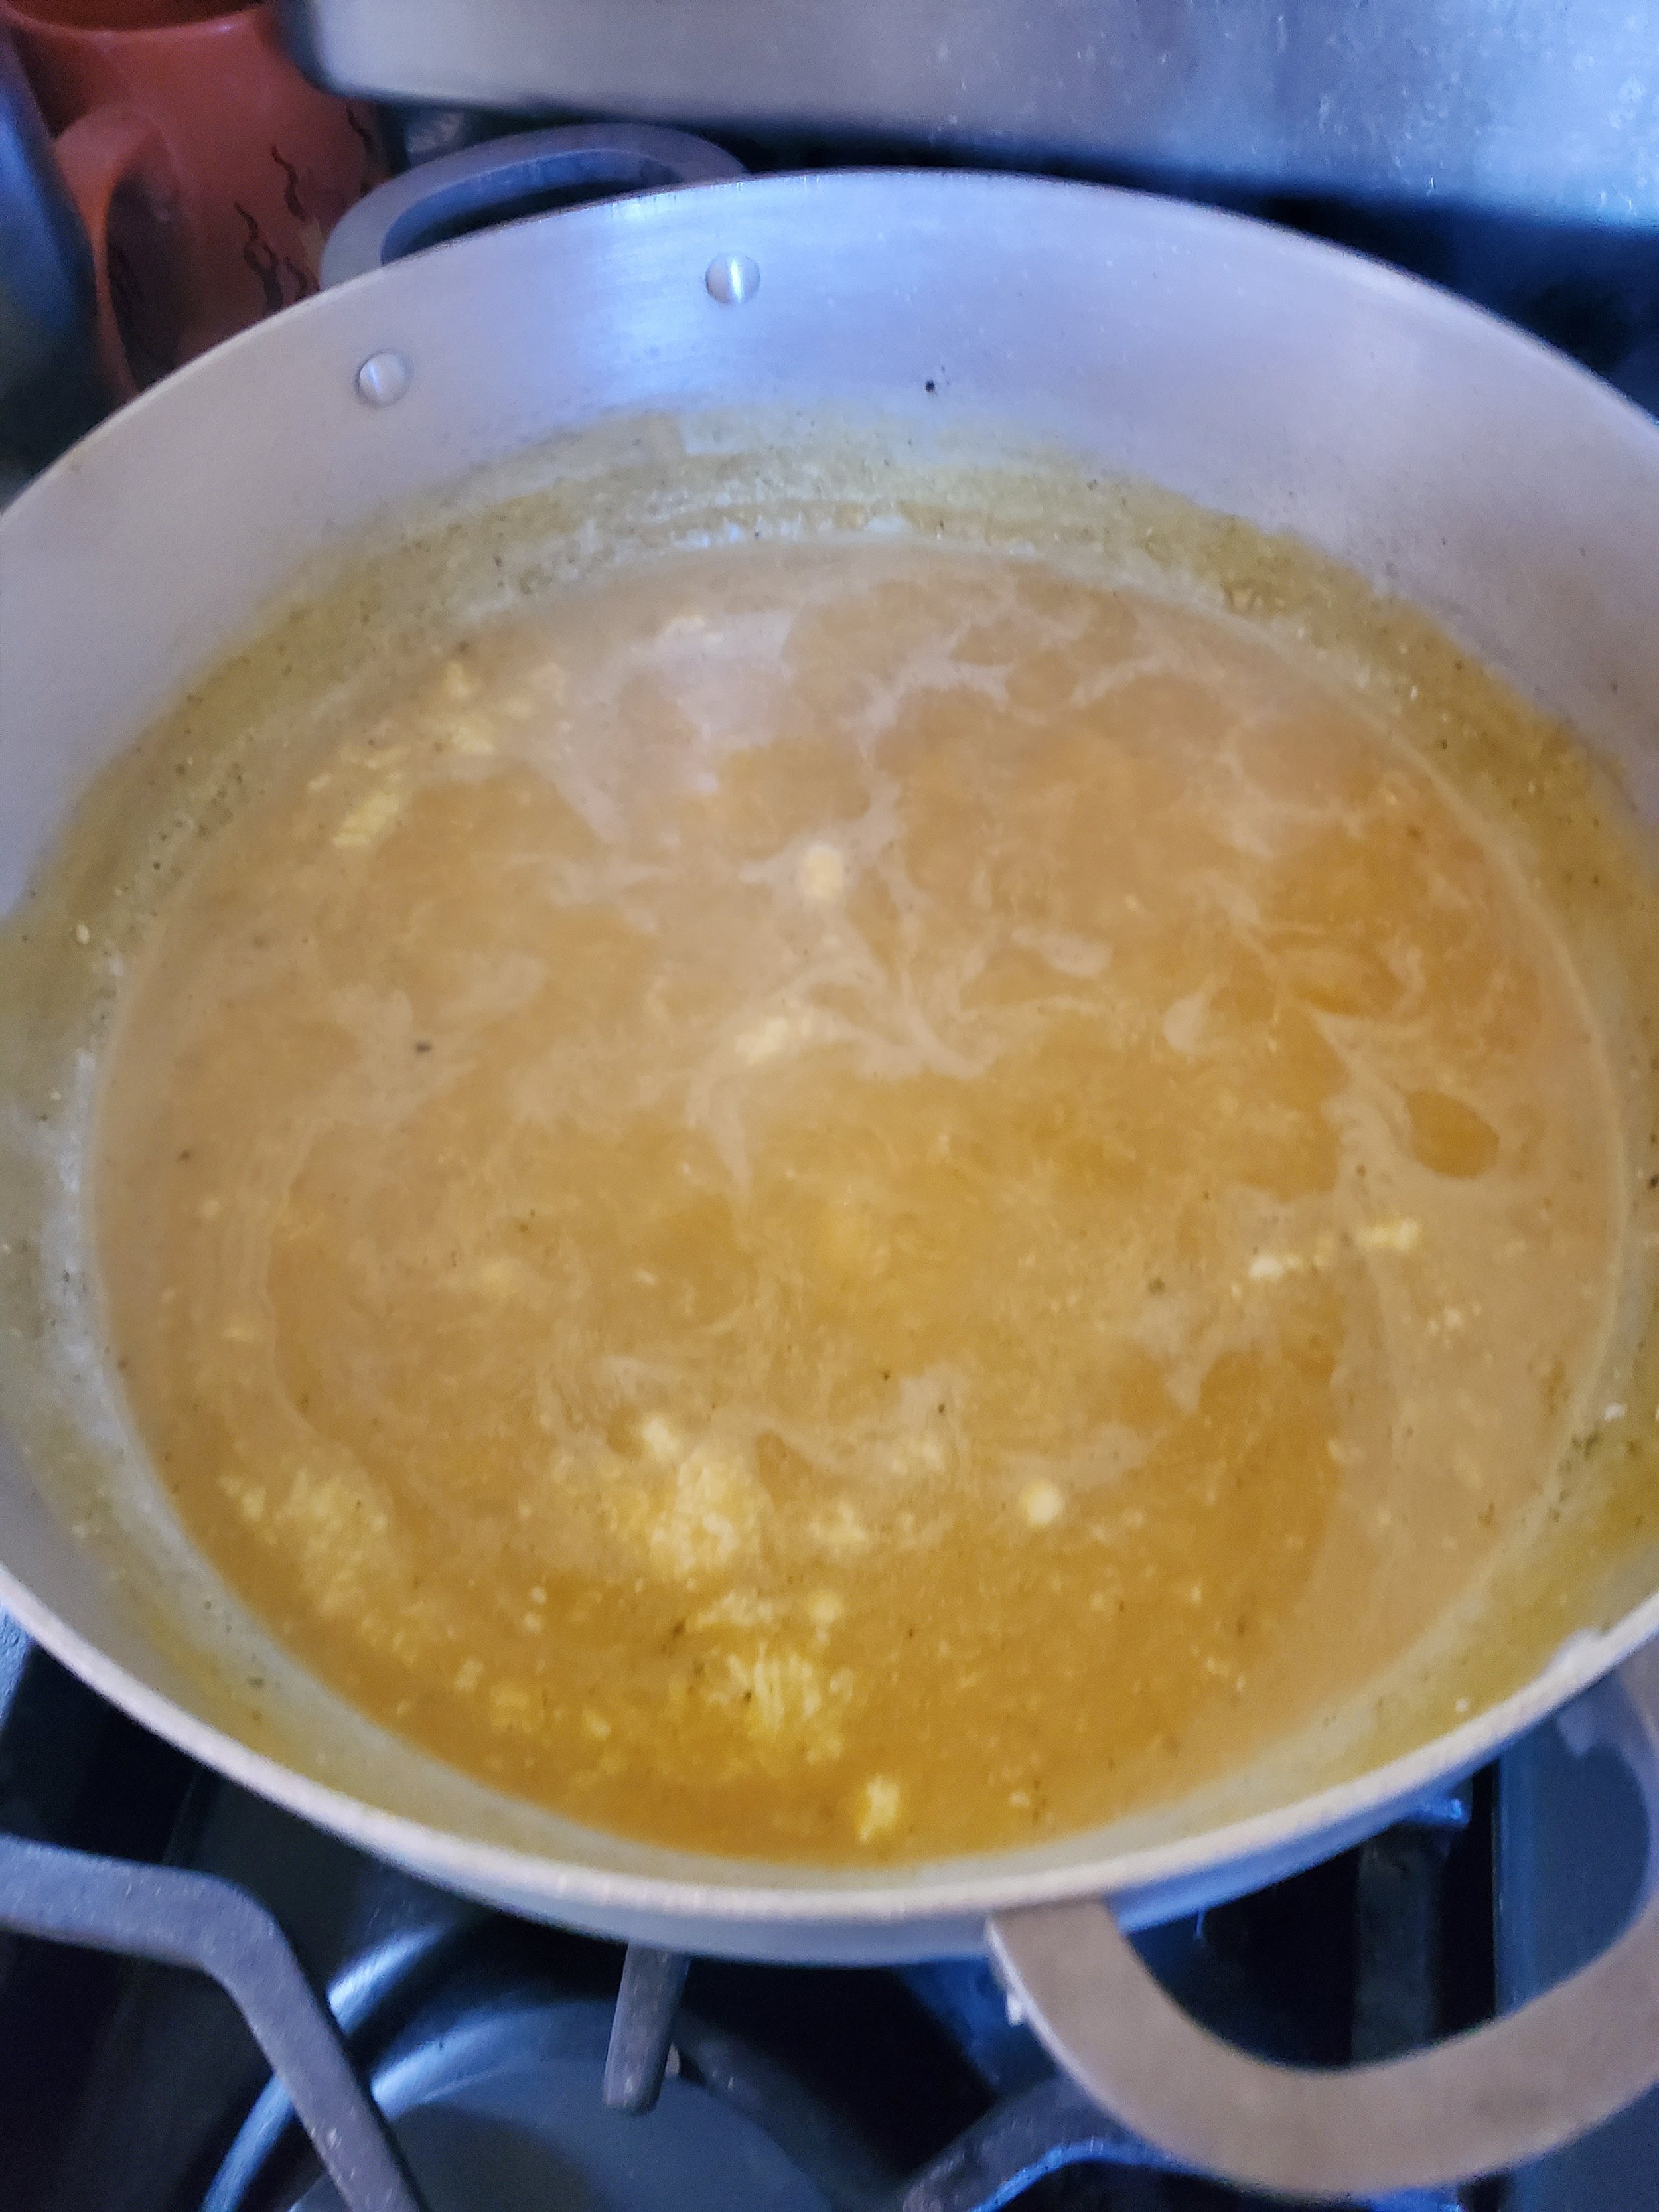
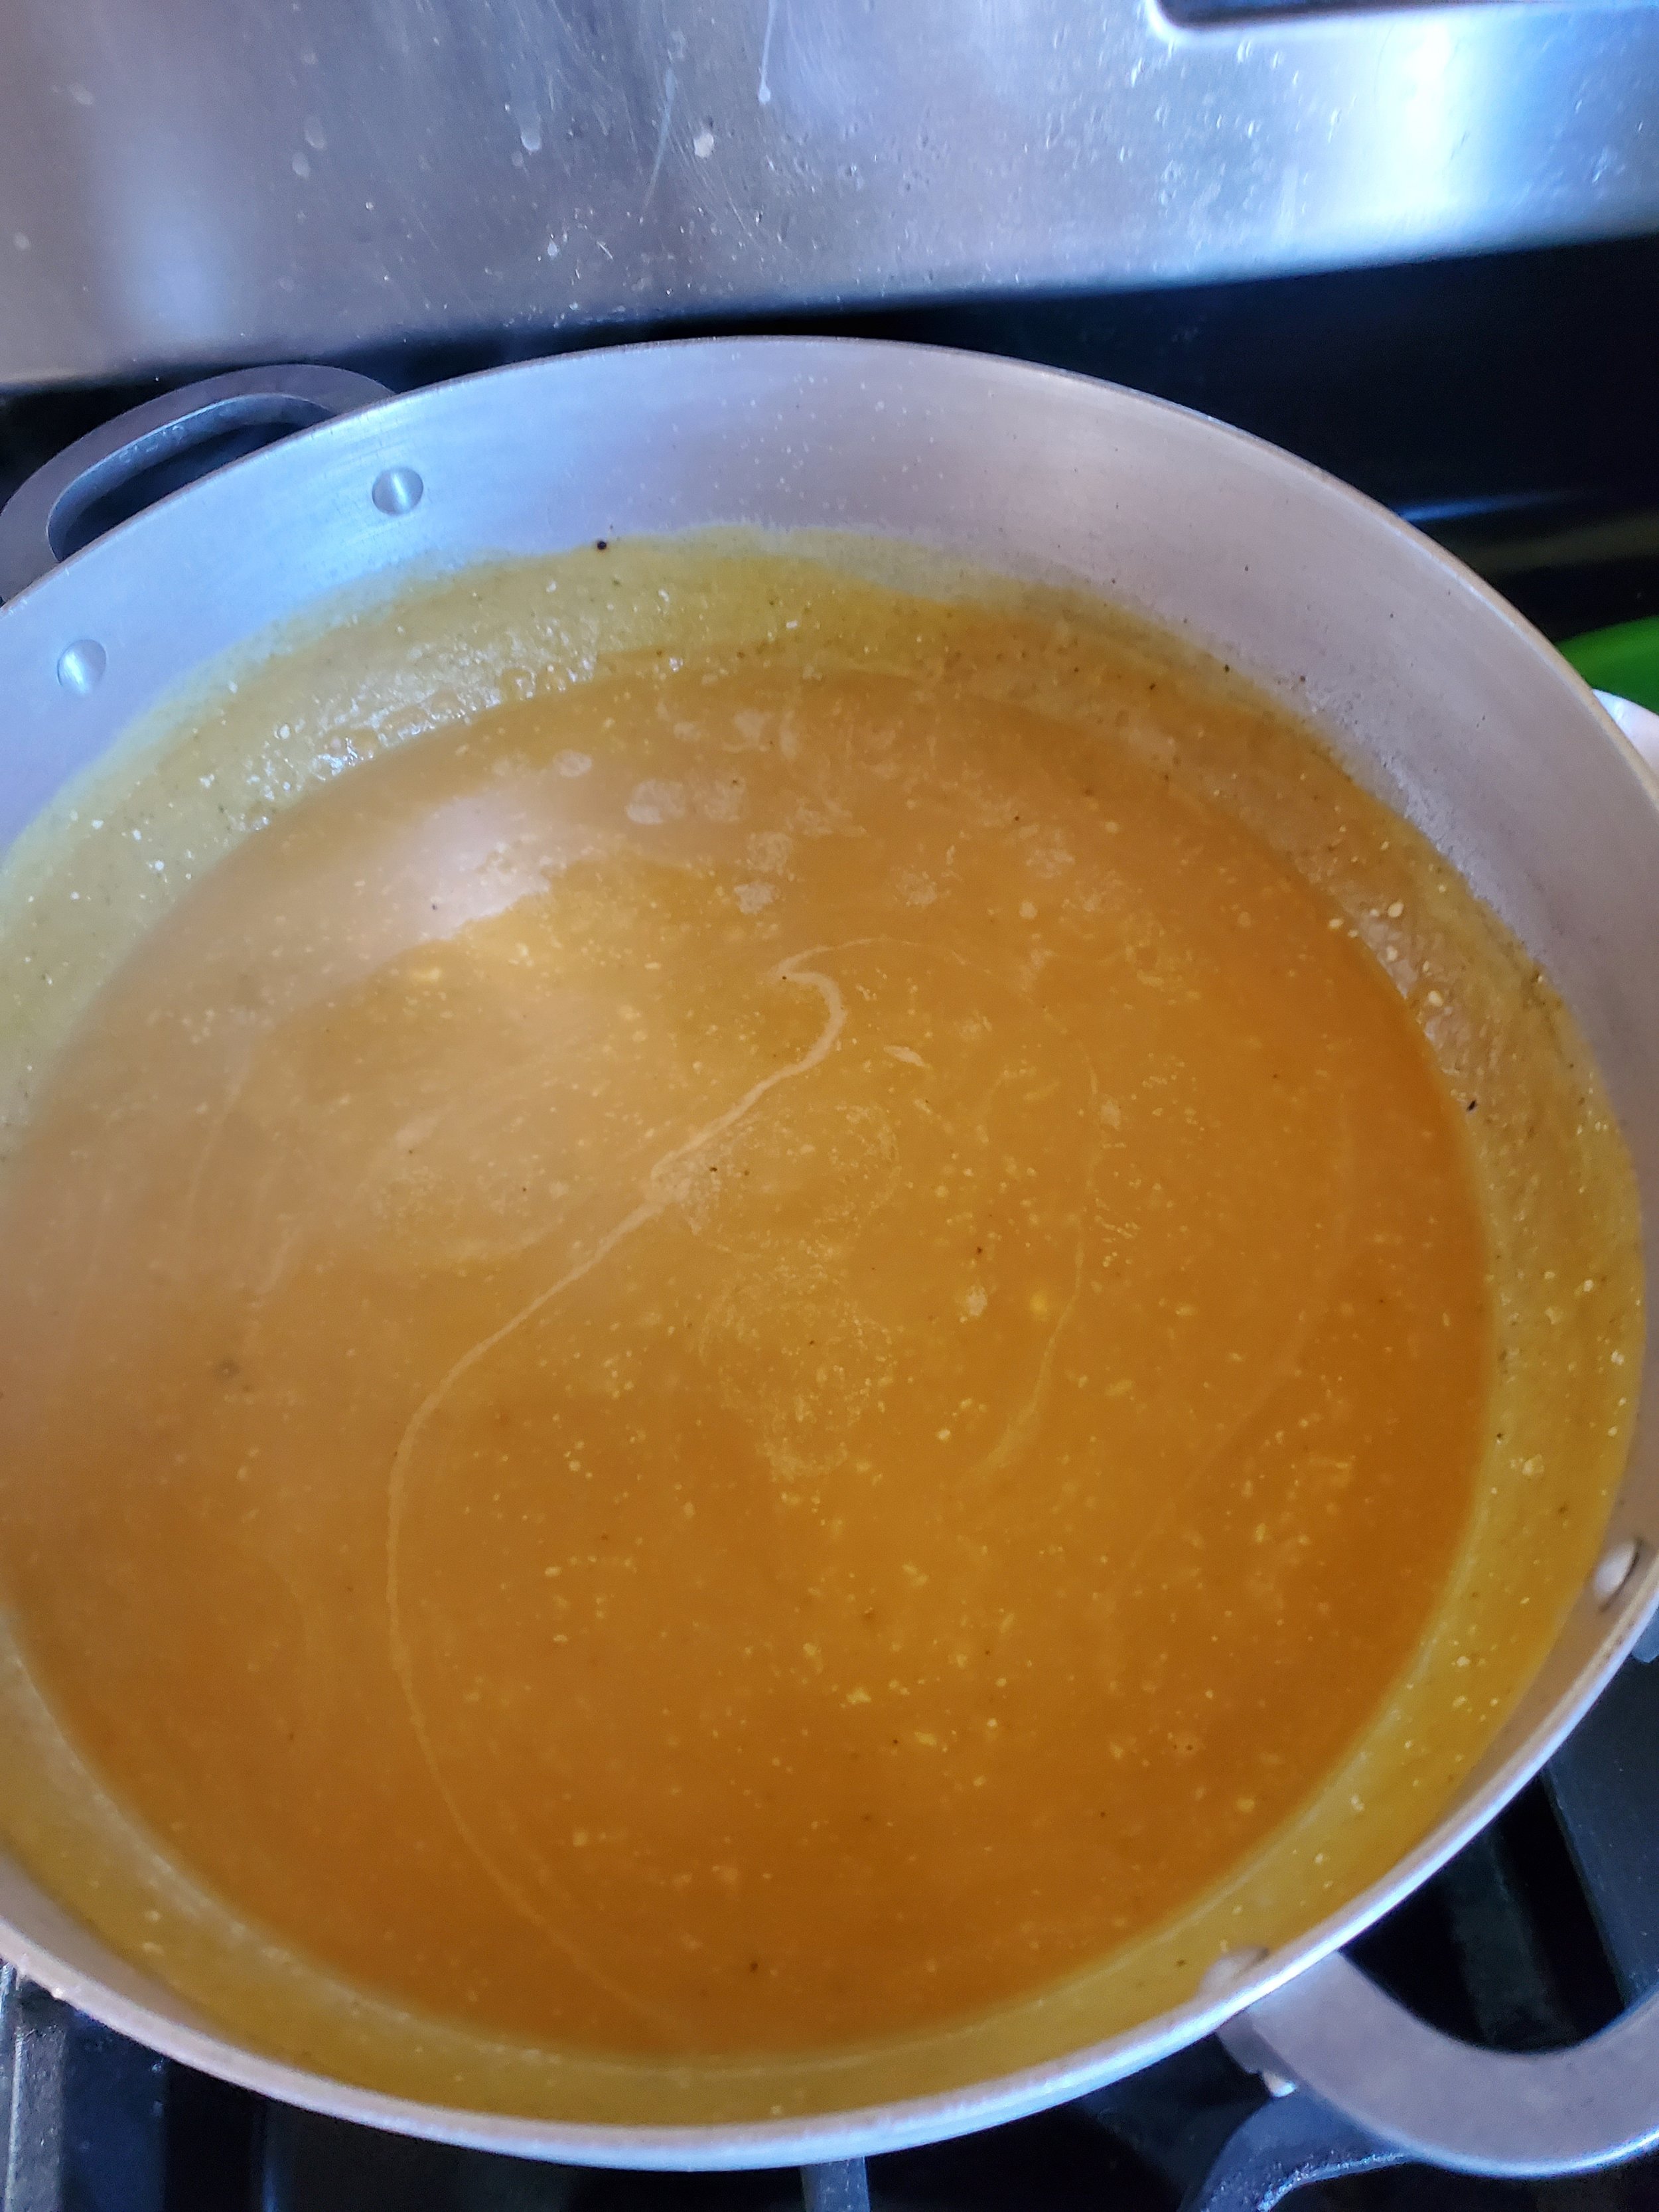
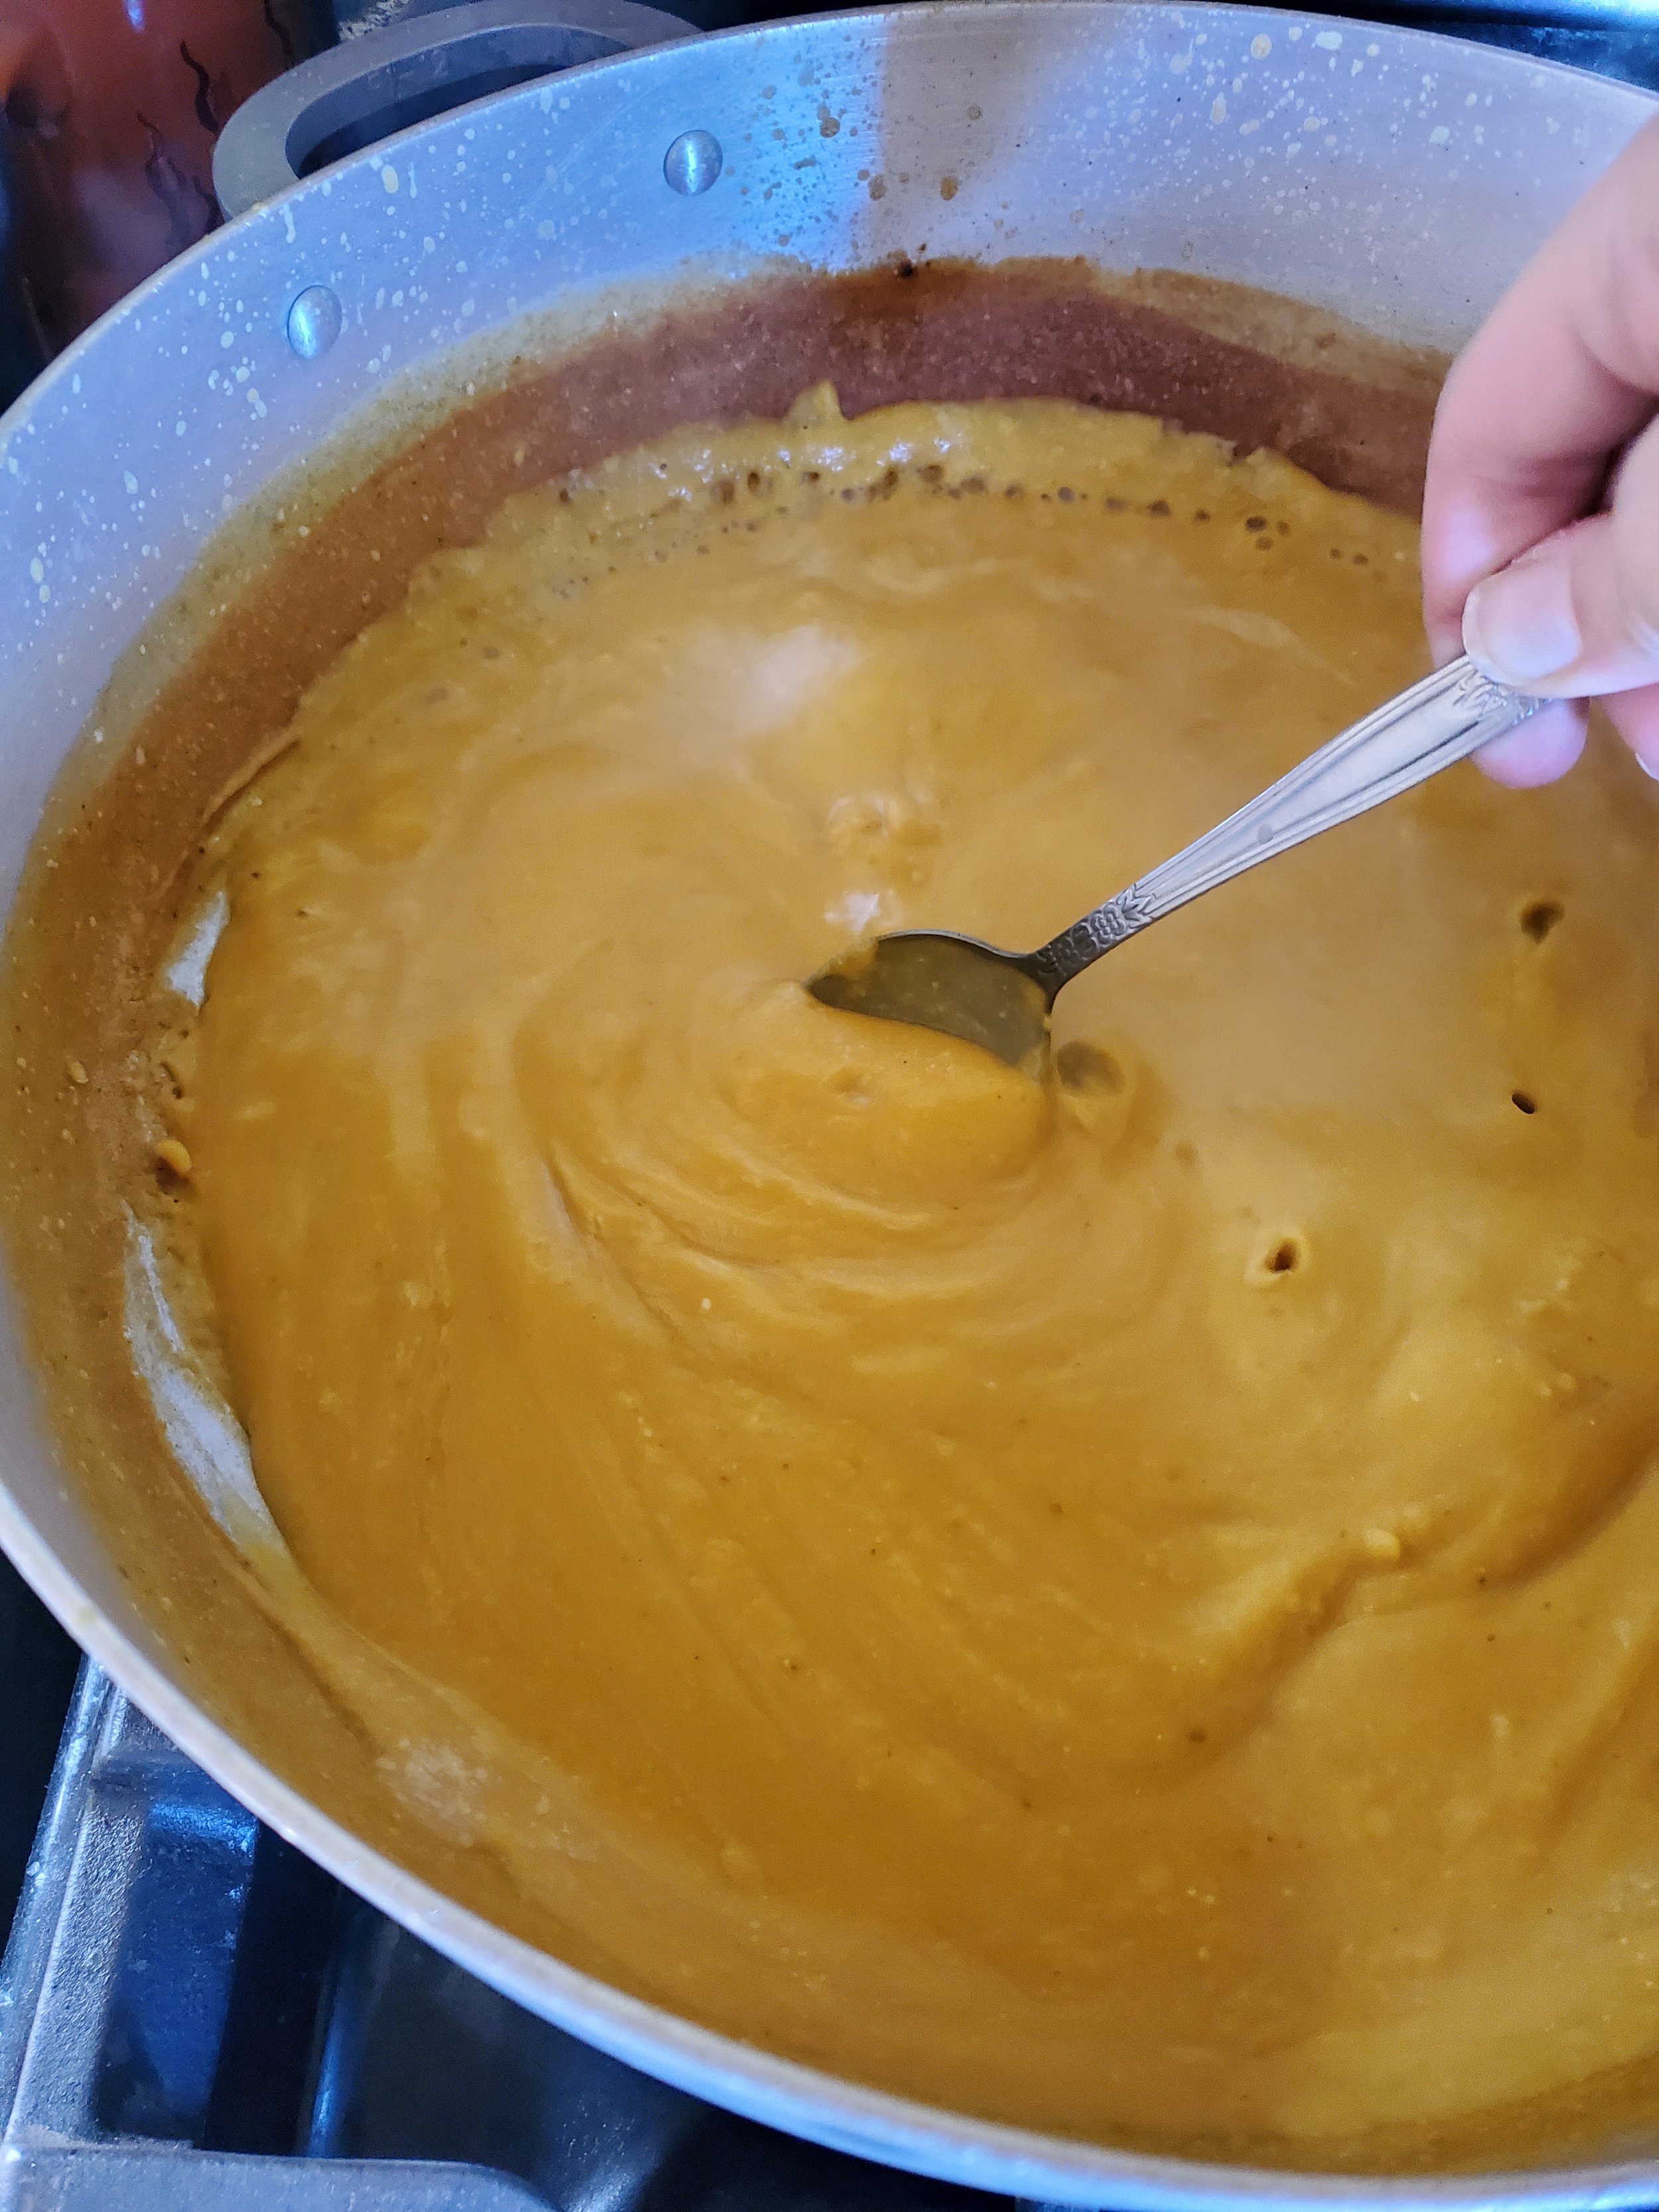
Mix in 6 cups of chicken broth, 16 oz of cream cheese, and 3 cups of your pumpkin puree.  Stir thoroughly and bring the mix up to a boil. 


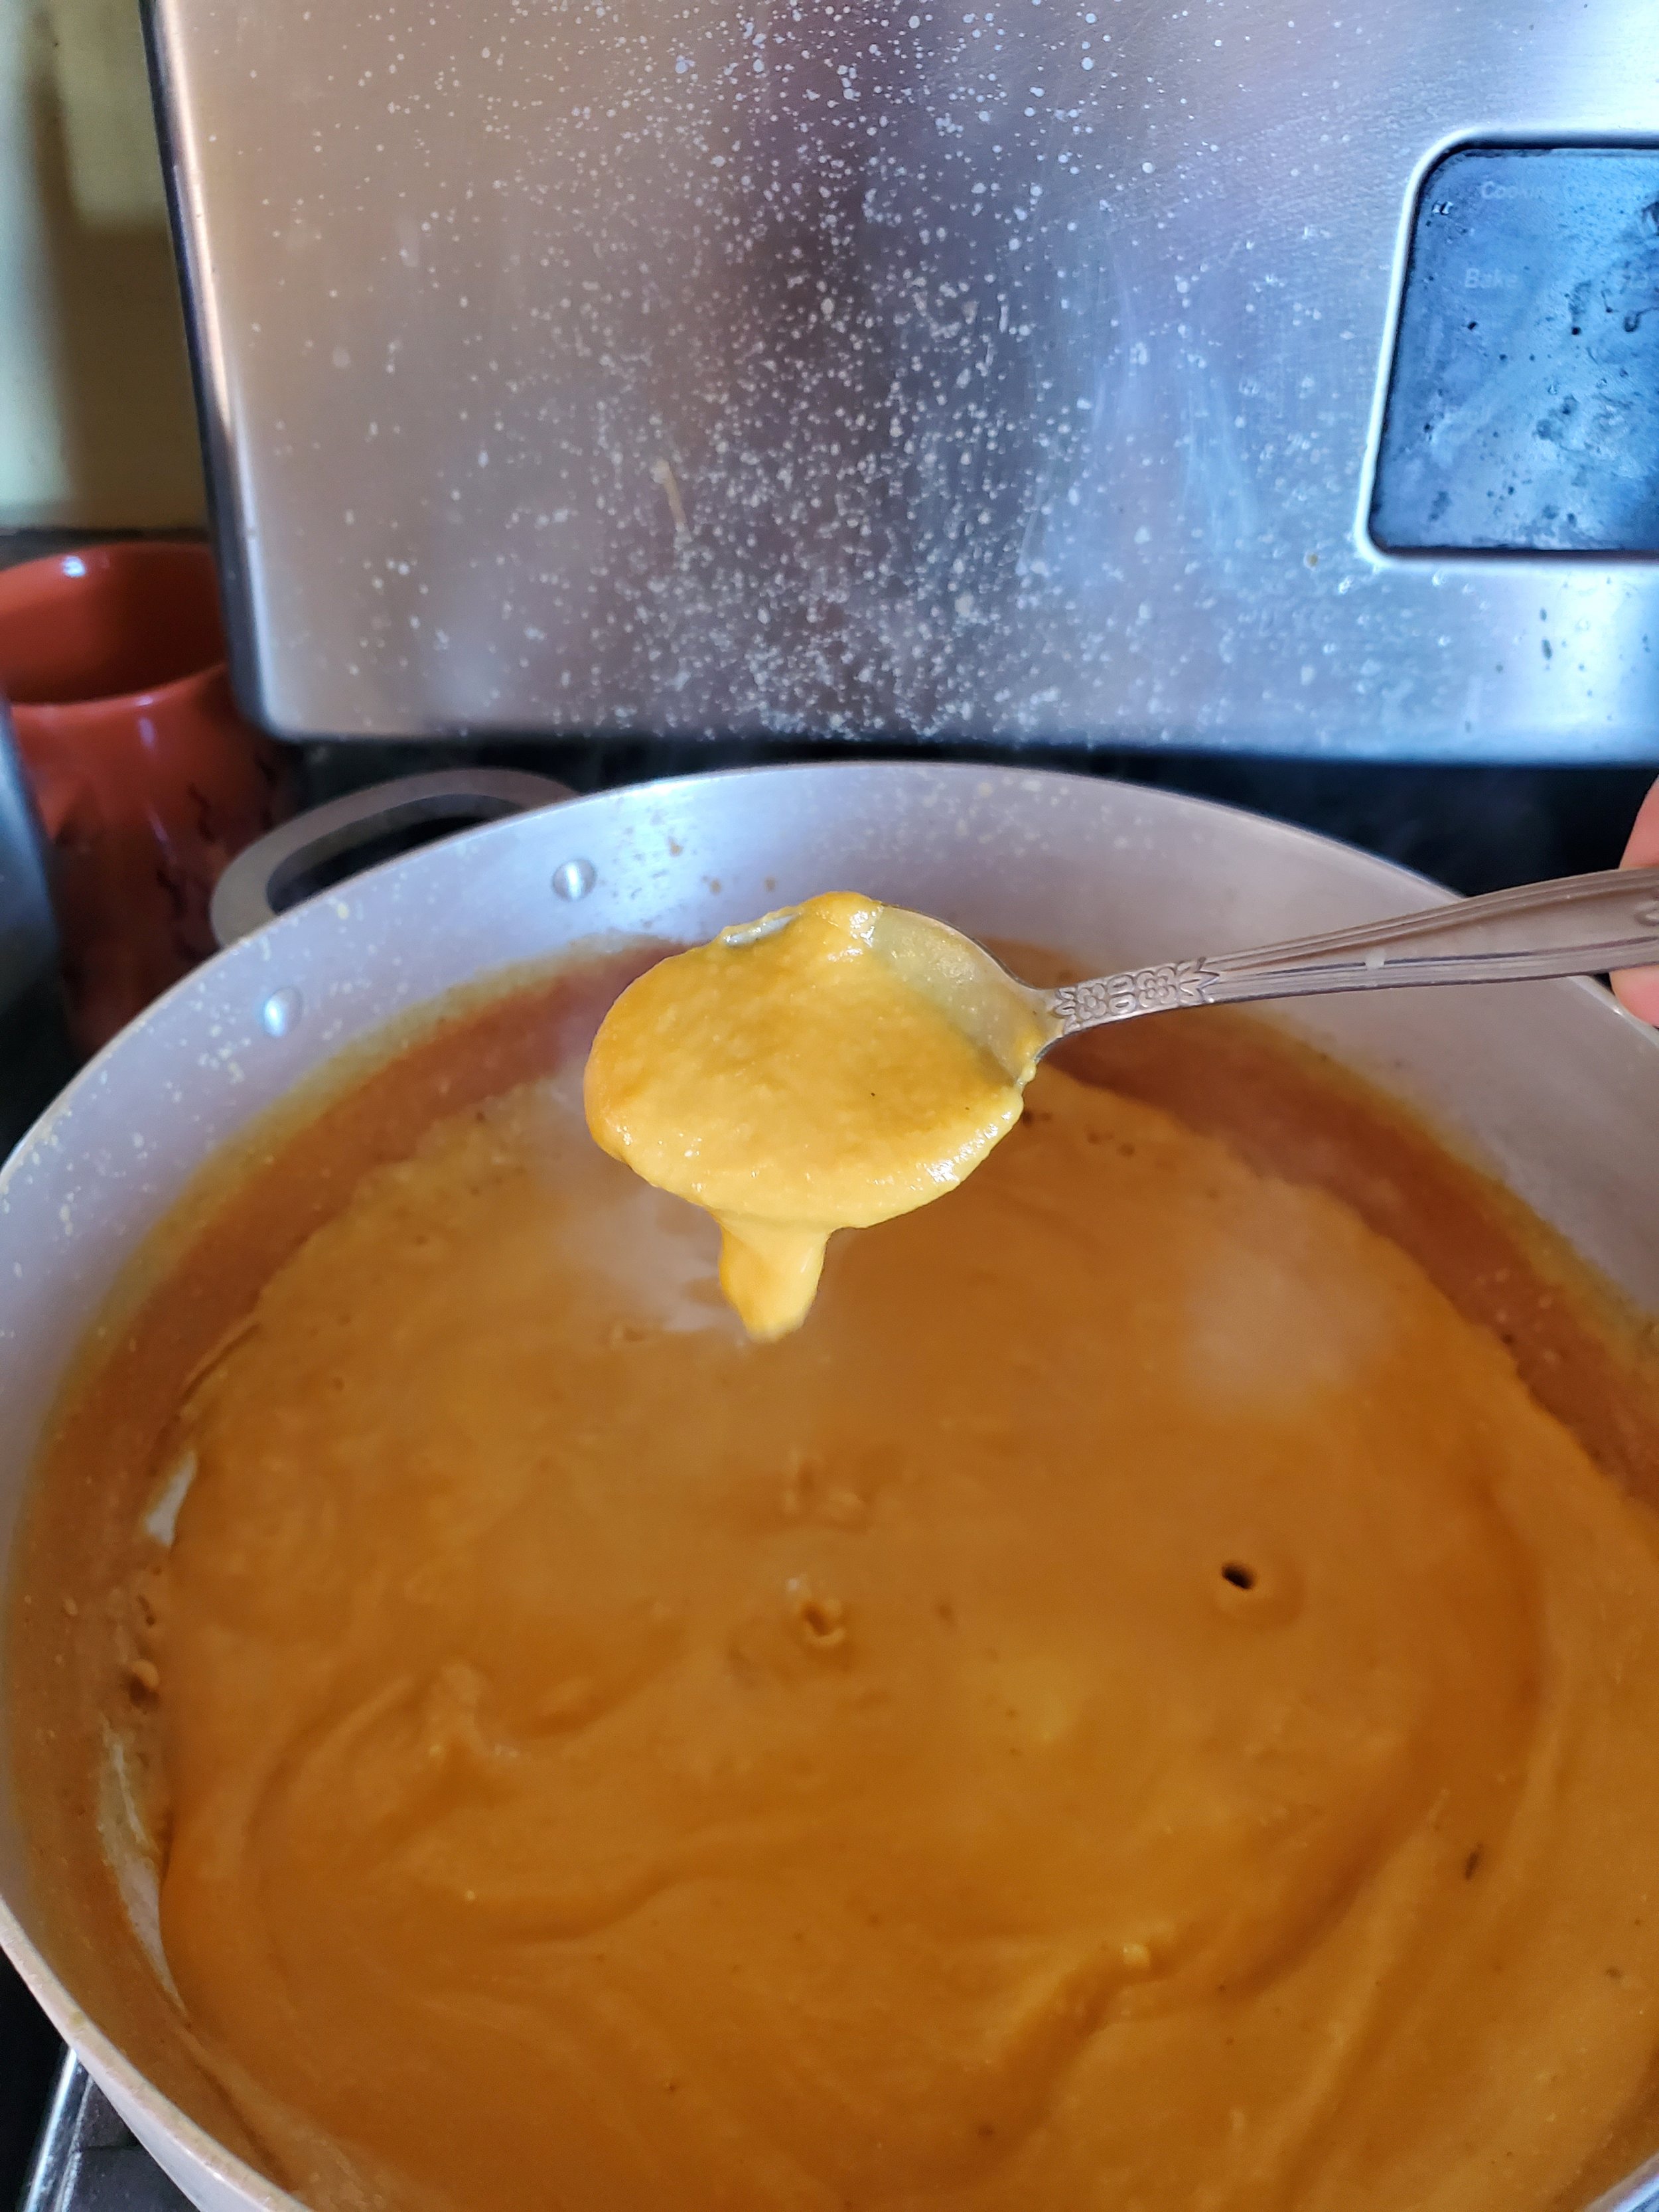
Once your soup has come up to a boil, reduce it down to low and allow it to simmer away until it has reduced to a thick, creamy consistency. 


When you're done, turn off the heat and serve it up alongside some rolls or a rich chewy bread. It's not a complex recipe, but it is filling and delicious.  


An important note is that if you want to do this at other points throughout the year and you don't have any pumpkins just lying around, you can always pick up a large can of pumpkin puree from the store and use that. It won't taste /as/ good, but it's still an amazing soup. 


There you have it! You can now say you know how to select your own pumpkins, roast them and turn them into soup! What do you think? Are you interested in learning other recipes like this, where we show you how to prep different aspects of the meal ahead? Let us know over on our Facebook page or in the comments below. 


If you're here because your freezer is thinking it's still summer and working harder than an ox, we can help. You can give us a call at ((214) 599-0055) or reach out on our contact page. We'll work with you to  find a time that fits your schedule best to send one of our technicians to get your home running smoothly again. Whether you live in Dallas, Coppell, or Addison, Appliance Rescue Service is here for you. 


Sunday Chicken Parmigiana 

Intensively Delicious, AND Well Worth the Wait! A Dinner Worth the Effort.

You've got the house to yourself and you want something to  make that will be delicious. You're also stressed though, which might explain why you have the house to yourself. So you need something that will make you feel better too. Check out this recipe for chicken parmigiana shared from our family to yours. 

We won't fib. There is a bit of work that goes into this one. BUT not only do you get the chance to beat up something, you also get a meal that is positively delicious and if you're in the mood for it, you can scale up to fit any number of people. (Or you can just freeze the extras for when you want to treat yourself in the future! Who says you have to share?) 


Note: This recipe is set up for 1 chicken breast, so that it can easily be sized up, or be made for yourself if you want a nice night on your own. 

Ingredients for Chicken Parmigiana

1 egg

1 boneless chicken breast

1/2 tsp fresh ground black pepper

pinch of salt

1/2 c Italian bread crumbs

 1/4 c all-purpose flour 

1 tsp Oregano 

1/4 cup veggie oil

1 tsp butter

1 tbsp shredded Parmesan cheese


Coating Ingredients for Chicken Parmigiana

2 Tbsp of tomato sauce

1/4 cup shredded mozarella cheese (unless you can get it fresh, we suggest using the skim variant)

1 tsp basil 

1 tsp oregano

1/2  tsp minced, fresh garlic

1/2 tsp parsley

1/2 tsp parmesan cheese 


A plastic dish contains a mix of flour and spices as well as a coated chicken breast

Crack your egg into a dish and beat egg smooth.  If time allows, separate the whites and yolk and beat separately with a fork to ensure they're fully blended and there aren't any stringy bits left. Then recombine and add a pinch of salt and pepper. 

Prepare your flour by placing it in a bowl large enough to hold 1 breast cut. Add the ground pepper and a pinch of oregano, mix well with a fork, making sure to go up and down in your mixing as well as side to side. 

Prepare the breadcrumbs by placing them in another bowl, big enough to hold 1 breast. Add 1 tsp oregano and 1 Tbsp parmesan, mix well to combine. 

Put your frying pan on the stove and turn it to heat on low, then add in your oil. 

Prepare the Chicken breast. 

While your oil is heating, lay the breast on your cutting board, ugly side up. Make a cut 3/4 of the way through the breast from left to right. Open the breast making small cuts until the breast lays flat. Lay the breast between 2 sheets of wax paper and, using a rolling pin, press the breast until evenly flat. You can roll it or you can smack it, let your mood for the day decide. It's a good way to get some stress out when you need to.  Make sure not to toss the wax paper, you'll need it in a minute. 

Coat the breast on both sides in the flour mixture. You can use a fork here, or just use your fingers to toss the flour.

Dip the breast in the egg wash making sure to cover it completely, you'll probably want to use your fork for this one, as just shaking the bowl isn't very effective. 
Coat in breadcrumbs on both sides. 

Coated and rolled out chicken breast for chicken parmigiana

Place the breaded chicken back between the sheets of wax paper and roll it, pressing the breading to the chicken.  This makes it less likely that you'll lose the breading during the cooking process. 

Frying: Increase the heat under your pan to medium and add your chicken breast to the pan. Cook for 2 minutes on one side.  Add butter to the pan to oil around the edges before you flip the chicken. After turning it, cook for another minute. (If you're cooking more than one breast, reduce the heat at this point.) 

Preheat your oven to 375* F 

fried and draining chicken breast for chicken parmigiana   Coated and rolled out chicken breast for chicken parmigiana


Place your chicken breast on a baking sheet. Mix together the garlic, basil and parsley in a small bowl. 

Top it with tomato sauce. Add the garlic, basil and parsley on top. Don't mix with the sauce, allow it to be a light layer. 

Add mozzarella cheese, don't be too generous. You want the cheese to stay on top of the sauce, and to be able to taste the spices. 

Sprinkle the top with oregano. 

Bake for 15 minutes till the cheese is melted. 

Remove from the oven and top a final time with parmesan cheese. 

Enjoy!  

Now sadly, we didn’t get a photo of the final dish, as our cook was rather hungry upon finishing making the dish. Our apologies!

Well? What did you think? Let us know in the comments below or over on our Facebook page if the time this one takes was worth it. We always think that it is (and thank our resident cook every time he makes it.) 


If you ended up here because your oven is giving you fits though, or maybe your stove is refusing to stay hot, that is an entirely different sort of problem, and one we know how to help with. You can reach out to us via our contact page or by giving us a call at ((214) 599-0055 ). As always, we'll work with you to set a time and date that works best with your schedule and your family.  Whether you live in Frisco, Carrollton, Addison or Coppell, we work with you to get your home running smoothly again. 
Chicken and Vegetable Quinoa

All the best of chicken soup without the soup

I Don’t Care, Take Me To the Recipe!

March is.. March. We've had snow, we've had rain, and we've had temperatures so cold your blogger thought she might turn into an ice-pop. BUT! This is part of March and we accept it as it is, we just need warm hearty foods to combat it. With that in mind we went digging to see what we could come up with. Chicken soup? We've done it. Stew? We've done that too. What about biscuits? Nope. We needed something hearty and warm that would still give you enough energy to tackle all of the gardening many of us want to do now that it's (theoretically) spring. With that, we bring you something new. Take the best of chicken soup and dumplings and then make it easy to eat on the run. That's this recipe and we know we're already eager for fall to get here so we have an excuse to make it again. 

Ingredients 

1/2 cup tricolor quinoa

1 cup water

2 whole carrots or 10 baby carrots

2 stalks celery

1 can campbells cream of chicken soup 10.5 oz 

1/2 tsp garlic powder

1 tsp parsley flakes 


Tools: Large skillet with lid, stirring spoon, measuring cups and spoons,  knife, cutting board, fine sieve (possibly can opener) 


Measure out your half cup of quinoa. We find it easiest to use a much larger measuring cup for this, as it leave plenty of room for your next step. On top of that it means that you aren't going to have the grains bouncing out of the cup due to static. (We wish we were kidding on that one.) 

Rinse your quinoa and drain through a fine sieve.  Quinoa often has a bitter outer coating (naturally! It's not a byproduct of harvesting or processing - it's there to keep the grain from being eaten) that will throw off the flavor of whatever you're making with it. Just run it under cold water, swirling it around a few times under the water, then remove it and tap until most of the water has drained out. Repeat this until your water runs clear. You can skip this step if the package says "pre-washed" or "pre-rinsed." 

Once your quinoa has been rinsed and drained, drop it into your ungreased skillet and turn up the heat. We use medium-low heat, but feel free to adjust for your own preferences The goal here is to dry the individual grains and lightly toast them. Keep them moving during this step to make sure they don't end up scorched on one side and soggy on the other. A wooden spoon is best for this step so it doesn't transfer the heat the way a metal one will or melt like a silicone one can. 

When you feel your quinoa has been sufficiently toasted, add your water and turn the heat down as low as it will go. Turn your attention to the vegetables. Like the quinoa, these will need to be washed. Rinse all of them in clean, cold water for 30 seconds or so and then pat them dry. No need for soaps or produce washes. 

After your veggies are dry, chop them down to quarter inch pieces. Push them off the cutting board into the pan with the quinoa and water and give everything a stir. We advise doing the carrots first and then the celery to give the carrots more time to cook. Turn the heat up to medium, then measure in your parsley flakes and garlic powder. Give everything another good stir and put the lid on. Allow everything to simmer for five minutes while covered. 

Open up your can of soup. For ours, we used cream of chicken - but you're welcome to use whatever cream soup you'd like - perhaps cream of mushroom to make this a vegetarian recipe. Maybe even cream of shrimp if you're feeling particularly adventurous. We might avoid cream of celery (too much celery is in fact a thing in our opinion) - but maybe celery is your favorite food. Experiment and let us know what you discover! 

Pour your soup over the quinoa and vegetable mixture. We know the water hasn't had a chance to be fully absorbed by the quinoa, and that's fine. It's part of why we're not adding any water to the condensed soup. 

Once again, give everything a stir - but this time, let it simmer uncovered. Continue to stir frequently and watch for the individual grains to uncurl - that's how you know your dish is done.  

Allow it to sit for two to five minutes and stir once more before serving.  

This meal tastes even better the next day after the quinoa has had a chance to really soak up the soup. So, if you're making this as a meal for a  whole week's worth of lunches, you're in for a treat. 


We will add that additional veggies are something we are always going to advocate, so some examples you might consider adding are: pearl onions, green beans, corn, (more) carrots, parsnips, or turnips. Alternatively, you can just double, or even triple the quantities of the vegetables and experiment from there. We will say that if you're going to do that you /might/ need to add more in the way of water to ensure that your quinoa gets enough, but go with caution. 

Some other additions you might consider, to mix things up. 

Beans - great for additional fiber and protein, as well as making sure you have enough energy for the day. 

Chicken- If you're already adding in cream of chicken, and you have some leftover chicken in the fridge, it's a great way to get that used up and bulk up the meal. 

Diced and sauteed mushrooms - Although we wouldn't advise adding them in during the standard cooking process, we definitely think some sauteed mushrooms would go great with this. 

Shrimp - If you're looking to be adventurous, might as well go all in and add some actual shrimp to the meal. You can get them already pre-cooked in the grocery store for relatively cheap and just heat them back up in the pan before adding them on top. Again, because of how delicate the shrimp can be, we don't advise adding them during the standard cooking process. 


With that, we're handing this recipe over to you! What do you think? Like it, love it, hate it? Let us know in the comments below or over on our Facebook page. If you end up making it, let us know how it goes, we'd love to hear from you! 


If you wound up here not searching for food, but because your dryer is making  a strange whining sound, we can help. (although we are confused how you ended up on this page and not our post about dryer sounds, we hope you enjoyed the recipe anyway.) You can get hold of us over on our contact page or by giving us a call at ((214) 599-0055). We'll work with you to choose a date and time that works for your schedule so we can get to the heart of the problem and get your home running smoothly again.