Recipes

Lentil & Quinoa Soup

Rich, warm, and so delicious you’ll be fighting for seconds


I don’t care! Take me to the recipe! 


Winter is firmly here now, at least according to the calendar, so we’re dreaming of soups. Maybe not a super hearty soup though, since the weather is all over the place? Fortunately, we have this Moroccan-inspired lentil & quinoa soup to hit the spot. 


Ingredients: 

1 yellow onion

2 Tbsp roasted garlic paste

3 carrots

6 Tbsp  unsalted butter

2 ½ tsp sweet basil 

1 tsp cumin 

3 plum tomatoes

1 ¾ cup dried brown lentils

½ cup tri colored quinoa (or just  straight quinoa, but this adds flavor) 

3 cloves of garlic

½ cup full fat plain Greek yogurt 


Tools: 

Food processor

Chef’s knife

Cutting board

6-quart pot


-Grab your onion and chop it into rough dice.  Pop that into your food processor and give it a few pulses, until the pieces are roughly the size of your pinkie nail. 


-Set your stove to medium heat, put in 4 Tbsp of butter and allow that to melt. Once that’s done, toss in 2 Tbsp of roasted garlic paste (an example is Better Than Bullion) allow that to melt and disperse into the butter. Once that’s done, add your onion and allow that to begin cooking. You’re not looking for them just to turn transparent, you want them to actually soften during this process so that the flavor isn’t overwhelming later. 


-While your onion is cooking, grab your carrots and chop them up into large rounds, then toss them into the food processor. You want your carrot to be the same size as your onion, roughly. When that’s done, scrape the carrots into the pot, give it a few cracks of pepper, and a ¼ cup of water.  


-Mix together your sweet basil and cumin and stir into the pot.

- Back to the chopping block, grab your plum tomatoes and slice them into (roughly) 8 pieces. Toss them straight into the pot and stir occasionally as things cook for the next 5 minutes.  You’re looking for the tomatoes to being to lose their shape, and for the carrots and onions to soften.

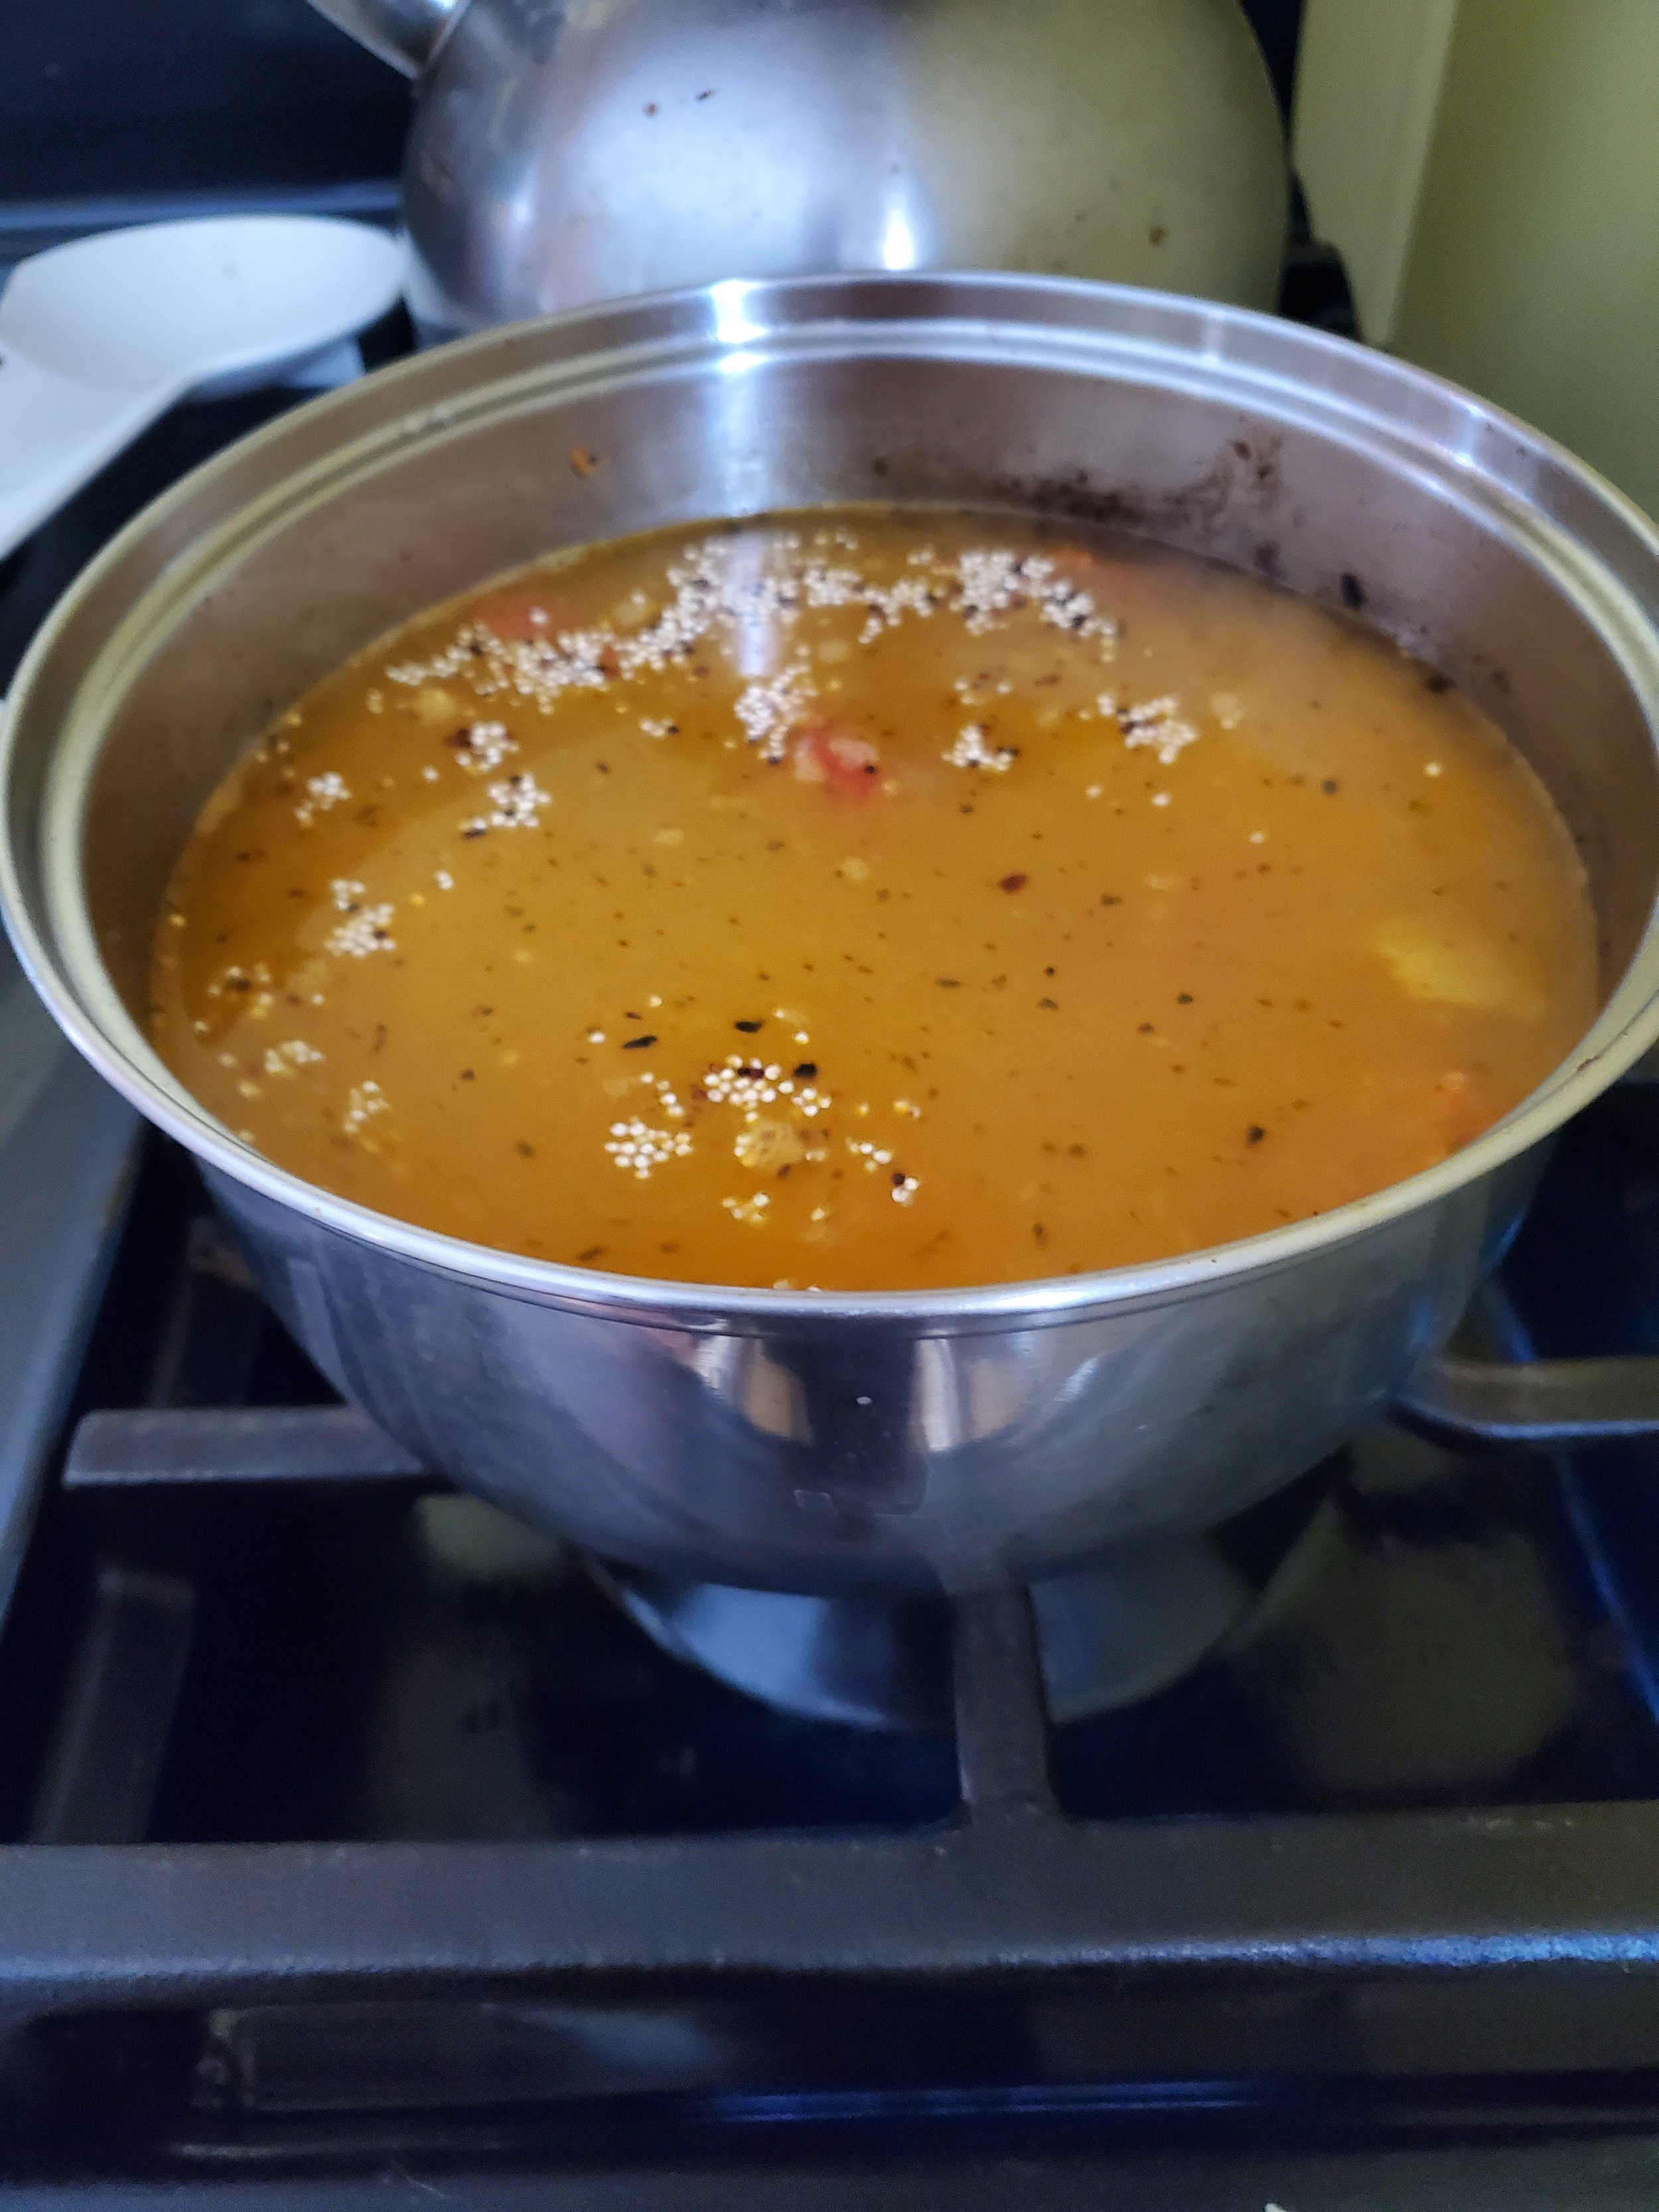
-Add 7 cups of water to the pot, along with your lentils, quinoa, and a few cracks of pepper and 1 tsp of salt.  Add a lid to the pot and let it come up to a boil.  Once that’s done, uncover the pot and turn down the heat until it’s just at a gentle simmer. 

- Allow the pot to continue simmering until the lentils are tender, roughly 25 minutes, although it might be longer. 

- After roughly 15 minutes have passed, grab your garlic and mince it. Put that into a fresh frying pan with 2 Tbsp of butter on medium heat. Stir the mixture constantly. You want the outside of the garlic to begin to blacken, without it actually smelling or tasting burnt. It’s a really fine line, and we understand if you want to stop just when the garlic gets to a nice golden brown. At this point you can also add in a little bit of red pepper flakes, more sweet basil or white pepper. When the garlic is at your preferred stage of ‘done’, pull it from the heat and set it to the side. You don’t want it to continue cooking. 

-Once your lentils are soft, turn off the heat and dish up the soup. Add a dollop of Greek yogurt to each dish and some of the garlic butter on top. Mix everything together and enjoy for a delicious meal. 


-Even with the garlic paste added, it doesn’t have a ton of depth or texture, until you add in the yogurt and garlic and mix it all together. It’s when all the pieces are together that you get the magic. 


What did you think? Do you have a way to make the recipe even better? Did your family love it? (Ours did, we were shocked!) Did they hate it? (We’ve all got recipes like that.) Let us know over on our Facebook page, as always, we love to hear from you about how your adventures in the kitchen turn out. 


If you’re wondering what an appliance repair company is doing talking about soups and recipes, don’t worry, you didn’t land on an alternate blog. Appliance Rescue Service is still here to fix your appliances and make them as good as new. Whether it’s your dishwasher or your dryer, your stove or your ice maker, we’re here to help. Just give us a call at ((214) 599-0055) or set up an appointment on our page, and we’ll work with you to get your home running again. 

Additional Reading:

Broccoli & Cauliflower Soup - If you need something a little heartier, this is just as easy to make, and just as delicious.


5 Must Have Kitchen Essentials for Fall

Beer Cheese is the Best Fall Comfort Food

It can be a topping, a dip, a sauce, take your pick!

As the weather gets chilly, we often crave comfort food (which in our case is often made of cheese). Preferably the warm, melty kind we can put in a crock pot.

Sometimes the weather just calls for beer cheese.

To some of you, that's gonna sound... funny. People who grew up in certain parts of the U.S. are going to get it immediately, but the rest of us are going to have to think on it for a minute or so. We grew up in places where it wasn't a common thing, and moved to yet other places where it was also uncommon, so our household didn't get to try it until recently - but it is definitely a recipe worth sharing. We had to venture out of state to find it, but once we returned, the experimenting began.

There's a halfway decent chance you have most of the ingredients on hand, too.

Ingredients:

1 16 ounce brick Velveeta (or store brand equivalent)
1/2 brick (4 ounces) cream cheese (Neufchatel will work, but not as well)
1/4 cup heavy whipping cream (please do not sub half & half)
3/4 cup Guinness Nitro Stout
2 Tbsp coarse stone ground mustard

Tools:
measuring cup(s), measuring spoon(s), knife, spoon, cutting board, crock pot or heavy-bottomed saucepan with lid, serving dish (if not leaving in the crock pot)

Unbox and unwrap your cream cheese, leaving it on the foil. Place the foil on the cutting board and use the knife to gently divide the cream cheese brick in half. Try not to cut the foil, as you'll want to keep it. Slide one half off the foil and nudge the other half to the center of the foil. Re-wrap the half you won't need today and put it back into the fridge for some bagels later. Cut the half that's left on the cutting board into smaller pieces (this helps it melt faster and more evenly) and dump the pieces into the crock pot or sauce pan.

If you're using a crock pot, turn the heat on low and cover it. If you're using a sauce pan on the stove, turn the burner on as low as it will allow, but don't put the lid on it quite yet.

Take your sixteen ounces of Velveeta (we would not advise using the jalapeno one, but you're certainly welcome to experiment if you wish), and turn it out of its protective foil onto the same cutting board. Like you did with the cream cheese, take your knife and cut it into smaller pieces, then add it to your pot. Crock pot users, please make sure you cover the crock pot again, as that's the only way it retains heat effectively. Sauce pan users, please use a spoon to give everything a nice stir before placing the lid, and then turn the burner up to medium-low.

Now comes the waiting game. If you used a crock pot, you're probably okay to walk away and do something else for a few minutes. Crock pots are designed to heat gently and avoid scorching.

If you're working with a sauce pan, please be sure to watch carefully and stir often. You'll need to be a little more involved in the process to minimize the likelihood of burnt cheese accidents.

It's going to look funny and blob-y for a while as the chunks of cheese melt down. Make sure you've stirred them enough to encourage them to combine. Once you have it mostly melted and all one color, you can add in your heavy cream.

You may need to stand there with the measuring cup inverted over the pan for a minute or so, as the cream is often not in a big hurry to get to where you need it. Once most of it has dripped into the pot/pan, set the cup aside and grab your spoon again. The cream will simply rest on top of the cheeses if you leave it alone, so give it another thorough stir to make sure it gets mixed in properly.

After you've mixed in the cream, it's time to add the beer. We used Guinness because darker beers make for richer flavor in the recipe - but it's also what we keep on hand. You can pretty much use any dark beer you have, but we prefer Guinness, and it's also likely to be the beer you'll see used if you order beer cheese in a chain restaurant.

Adding in the beer is going to be an ugly and kind of gross looking step. The beer will foam on contact and turn the top layer of cheese into a bubbly, brown, goopy mess. Ignore this and push on, stirring until it's incorporated. It's worth it, we promise. You'll know when it's incorporated fully because the cheese itself will have darkened about two shades, and there will be no dark or foamy pockets left.

Now comes the mustard. We used Plochman's brand stone ground mustard because it's super coarse and chunky, and it's a really LOUD mustard flavor, but even just the Great Value brand will add significant taste and texture. On a slight tangent, Plochman's also offers a craft beer mustard made with pale ale - so if you're looking for more beer flavor and less mustard flavor without sacrificing the bite, you can definitely look into that. (No, Plochman's is not giving us any money for this - they just make really good mustard. We promise.)

Mixing the mustard in is going to take some time. It naturally wants to keep to itself in little chunks, but you'll want to break it up so every bite of your beer cheese has enough, but none of them are overtaken by it. Just keep stirring until it looks like it's even. And then stir it a little more, just to be sure.

Once you're satisfied with the distribution and mustard to cheese ratio, grab a pretzel or a cracker and scoop a little beer cheese onto it try it. This is a vital step - very, very important. You can't serve it to your friends or family without quality control, after all. And no one knows better than you if it will need your own special touch - a little white pepper or cayenne? A dash of hot sauce? A sprinkling of Parmesan? Garnish with parsley? Run with it. It's yours now.

Serve it as a dip with pretzels, crackers, or pita chips; use it as a spread on a sandwich or burger, sauce your chicken wings with it, work it into a meatloaf... We've even eaten it as a sauce over pinto beans. Once you've tried it, you'll have a dozen other uses for it right away. Trust us.


Adding cream to the beer cheese.

Now it’s officially beer cheese, we’ve added the beer!

And now we have added the mustard and the beer cheese is complete!

Festive Foods for 2021

Easy Foods To Snack, Munch Or Nibble For A New Year’s Eve With Friends


We've done it. We are all in the home stretch of this strange, almost universally awful year. And you know what that means - it's time to look ahead to 2021!


With New Year's Day so close at hand, now is the time to start planning. No, definitely not those pesky new year's resolutions we all forget about by the end of January... We're talking about planning the party! Clearly finishing up 2020 is something worth really celebrating - perhaps not with all your friends quite yet (better to be safe now than sorry later), but certainly with your household.


So gather up the kids and some supplies and let's get to work on some party snacks.


Cracker Stacks


Of course, meats and cheeses and crackers are the go-to spread for a party. Easy, classic, fun, and reasonably healthy, they hit nearly all the boxes on the checklist in one go. But why not make it a little more interesting for the holiday? Design some cracker stacks to look like analog clock faces, counting down to the new year!


Ingredients:

1 17 oz box Cheez-It Grooves Sharp White Cheddar crackers

1 16 oz bag Margherita Sliced Hard Salami

2-4 oz brick Colby Jack cheese

2 Tablespoons sour cream (or ranch dressing, or onion dip)


Tools:


Cheese grater sandwich bags, scissors


Instructions:


Using the widest holes on the cheese grater, shred up some of the colby jack cheese. Your goal is about a quarter cup of shreds. (Please don't just buy a bag of pre-shredded cheese, as it's coated in starch so that it doesn't stick to itself or anything else - that defeats the purpose of it sticking to the salami later.)


Open up that box of Cheez-Its and separate the broken chunks from the intact crackers. Use the whole ones for this recipe, but save the pieces and crumbs in a sealed sandwich bag for the next recipe! Go ahead and pulverize those broken pieces so you have mostly small crumbs.


Toss two tablespoons of sour cream (or ranch, or dip) into a sandwich bag, press out the excess air and seal the bag. Take your scissors and make a tiny, tiny cut at the corner. 


For the base of the stacks, we started with Cheez-It Grooves sharp white cheddar crackers because they're very cheesy - their flavor helps make up for how little cheese we'll be adding at the end.


On top of each cracker, dot some of your sour cream and place a slice of salami. (If you'd rather take the extra cheesy route, you can melt a little of the cheese on the crackers before you place the sour cream and salami.)


On each slice of salami, place a small dot of sour cream in the middle. This is now the center point of your clock face. Those wide shreds of cheese you just grated can now become the hands of the clock, and your sour cream dot should hold them in place. If they're too wiggly, place a dot of sour cream at the ends also. Set them to whatever time you want - we think it's cute to count down from 11:00 to midnight, but it's also kind of frustrating when they're eaten up out of order - so to each their own.


Squash Fries


This is the reason we told you to save all those broken bits and crumbs from the crackers - they'll become part of the breading for these baked fries.


It's tough to measure out how much crumb you'll have to start with, because every box is a little different, but your goal is about 3/4 of a cup total. However much you're missing from that 3/4 cup, just add that much in Italian seasoned breadcrumbs (or whatever else you have on hand - we've also made up the difference with a "shake-n-bake" packet previously).


Ingredients:

3/4 cup crumbs (combined smashed Cheez-Its, Italian seasoned breadcrumbs, etc.)

1/2 teaspoon garlic salt

1/2 teaspoon white pepper

1 teaspoon dried parsley

2 eggs, beaten

2 large yellow squash


Tools:

Shallow dishes for egg and crumbs, knife, cutting board, baking sheet, spatula, cooking spray


Instructions:


Wash and dry your squash, trim off any questionable pieces with a sharp knife, and slice the squash into strips about 1/2" thick. Thinner strips will cook up quicker and crispier, so please shorten your cooking time if you adjust the size. No one likes burnt fries, be they squash or potato in origin.


Mix together your crumbs, garlic salt, white pepper and parsley in a shallow dish.


Spray your baking sheet lightly with the cooking spray. 


Drag the squash strips through the beaten eggs and allow any excess to drip off. Move immediately from the egg to the breadcrumb mixture, and roll the squash through the crumbs until well-coated.


Place your coated squash on the baking sheet and repeat until all the strips have been given the same treatment. Leave a little room between the strips on the baking sheet - it'll make turning them over easier later.


Bake at 400 for 20 minutes, turn them over with a spatula, and bake another 25 minutes. You'll know they're ready when they're golden and toasty looking.


What do you think? Do you think you’ll test out these recipes for your New Year’s party? Let us know over on our Facebook page or in the comments below. We’d love to hear from you.


If your appliances have been acting up after Christmas, we’re here to help. Whether you live in Richardson, or Dallas or the surrounding areas, we want to work with you. You can call us at ((214) 599-0055) or go to our website to make an appointment.


Fireworks for new year's eve


From our family to yours, have a happy new year!


The ‘Post-Thanksgiving’ Meal Guide

 AKA I’m sick of turkey, please give me something different. 

Congratulations! You've survived Thanksgiving! And by now you've probably even eaten up most of the leftovers.


But that means everyone in the house is getting tired of Thanksgiving leftovers, doesn't it? And we bet they all still want to eat, don't they?


You did all that work just a couple days ago, and they just don't seem to get that you're all cooked out. They - or maybe even your own stomach - still want you to make more food.


No worries! We've got you covered. This post will feature two recipes that you don't have to stress about or fuss over. Everything will come together in 30 minutes or fewer, and you won't have to resort to takeout. 


Shrimp Pesto


Somehow, the kids always seem to think shrimp is fancy. No one needs to know this is a one pot wonder.


Ingredients:

1 12 oz package extra small precooked shrimp

1 lb pasta of choice (we suggest tricolor rotini)

1 8 oz jar pesto sauce (or you can head over here and make your own) 

1/2 cup matchstick carrots

1/2 zucchini, chopped

2 tsp butter

1 tsp minced garlic


Tools:

large pot with lid, colander, cutting board, knife


Fill your pot with water and put it over medium-high heat. Salt the water if desired, and place the lid on the pot.


While the water comes up to boil, wash your zucchini and chop it into small chunks or thin slices, whichever you prefer.


Once the water begins to boil, add your pasta. Please do not put the lid back on the pot after this step, lest you risk a messy boil over.


Bring the water back up to boil and cook your pasta according to package directions. We usually shave a minute or two off the recommended cook time (this house does not appreciate mushy pastas).


In the last two minutes of cook time, toss in the whole bag of shrimp, your carrots and your zucchini and allow it to all cook together.


Drain your pasta, shrimp and veggies. Leave it all in the colander for a minute while you use the pot to melt the butter and sear the garlic.


Once your garlic has been seared, turn the heat down. Empty your jar of sauce into the pot and give it a good stir. Let it warm up a little over medium-low heat, maybe  two minutes or so.


Pour your still warm pasta and veggies into the sauce and stir. A little dash of Parmesan cheese never hurts a dish like this, either. Dinner is ready to plate!


Cornbread Skillet Bake


This one is a little bit pot pie, a little bit casserole, and a lot of "grocery day isn't until tomorrow - what do we have lying around the house?"


Ingredients:

1 lb ground beef

1/2 yellow onion, chopped

1/2 green pepper, chopped

1 Roma tomato, chopped

1 12 oz bag frozen corn

8 oz mild salsa or tomato sauce

1 15 oz can of beans (pinto or black work best)

1 8.5 oz box corn muffin mix  (if you like to make everything from scratch, you can try this

1/3 cup milk plus 1 tablespoon

1 egg

1/2 cup shredded cheese

2 teaspoons garlic powder

1 teaspoon chili powder

1 teaspoon ground cumin

1 teaspoon dried chives

1 tablespoon hot sauce (we like sriracha) - more or less, to taste

salt and pepper, to taste


Tools:

oven-safe skillet, colander, knife, cutting board, mixing bowl, measuring cup/spoon


Start your ground beef browning in the skillet. Season with your garlic, chili powder, cumin, chives, and hot sauce. If your family doesn't care for spicy foods, you can adjust the hot sauce some, but we don't think you should eliminate it entirely - the dish suffers some without the spice for depth. Add however much salt and pepper you'd like.


While the seasoned beef browns, open up your can of beans, drain and rinse. Let them sit in the colander until you've had a chance to get around to the veggies.


Wash and chop your tomato, pepper and onion. If you've got picky eaters, we suggest chopping things extra-fine to hide a little better. You can also adjust amounts, add in or substitute with something your pickiest eaters like better.


Drain the beef, but don't rinse out all your spices. Return it to the skillet and pour your tomato sauce or salsa over it.


Add your chopped veggies in with the beef, then toss in the beans and that bag of frozen corn. Give everything a good stir and let it simmer together, stirring frequently. Try to make sure nothing sticks to the bottom of the skillet and scorches there. In the event it's giving you trouble, you can toss a tablespoon of butter in.


In your mixing bowl, whisk together the milk and the egg. Pour in the contents of the box of corn muffin mix and stir. It will still be a little lumpy, and that's okay. (If you want it to be extra smooth, you can sift the muffin mix before this step.) Let your batter rest a minute or two while you take care of other things - like stirring the beef and veggie mix.


Preheat your oven to 400 degrees.


Remove the beef and veggie mixture from the heat. Give it one more good stir, then pat it down so it's mostly level in the skillet. Sprinkle your shredded cheese in an even layer all over top of it.


Give your batter a quick stir, and then pour it slowly over the top of the mixture in the skillet. Your goal is to cover the top in an even layer of batter without smothering everything or overflowing the skillet.


Once you've got an even layer of cornbread batter in the skillet, set it in the oven for about 15 minutes. If you're working with a larger than average skillet and a thin layer of cornbread batter, it's wiser to check on it after ten minutes or so to avoid over-baking it.


Your casserole is done when a toothpick inserted into the thickest part of the cornbread crust comes out clean.


We cut ours into generous slabs and flipped them into shallow bowls with a spatula. Expect the filling to fall apart a little.


Optional picky-eater-bribery step: Add a dollop of sour cream and guacamole, drizzle some warm salsa con queso over the top and serve with tortilla chips.


Whichever one of these two options you go for, we know you’re in for a treat. We hope that you’ve survived through the holiday, whether it was full of family in person or via video. If you enjoyed our recipes this week, why not head down to the comments or over to our Facebook and let us know? We’d love to hear from you. If on the other hand you ended up here because your appliances have gone on strike after the holiday, head on over to our contact page and set up an appointment for appliance repair. We’re here for all of our clients in Dallas and the surrounding areas.

Dried spices in jars on a wooden board. Rosemary, bay leaves, black pepper, paprika