Dairy-based

Lasagna Roll Up For New Year’s Eve

When You’re Wanting To Impress, This Is The Dish! 

For many of us New Year’s Eve is a great time to test out new recipes or ones that we want to show off. This recipe is a bit of both. It looks gorgeous and it tastes even better, while still being a warm and filling meal great for a get together of friends and family. We’re making a lasagna roll up that will impress people with your ingenuity as well as getting them to ask for the recipe. 


Ingredients

For the sauce:

3 tbsp olive oil

¾ C pancetta, cubed

1 onion, finely chopped

3 garlic cloves, crushed

2 ⅓ C packed ground beef

2 ⅓ C packed ground pork

7 Tbsp milk

2 x  16oz cans chopped tomatoes

2 bay leaves

1 rosemary sprig (or 1 tsp dried) 

2 thyme sprigs 

2 tsp dried oregano

1 beef stock cube

2 C red wine

For the bechamel:

4 Tbsp butter

4 Tbsp  all-purpopse flour

 3 generous cups of milk

½ C mozzarella, grated

½ C parmesan, grated

Nutmeg -to taste

Salt and freshly ground black pepper


For the assembly:

6-8  sheets flat, al dente lasagna (the crinkled variety makes this recipe incredibly difficult) 

¾ C grated provolone, grated

½ C mozzarella, grated

½ C parmesan


Instructions:


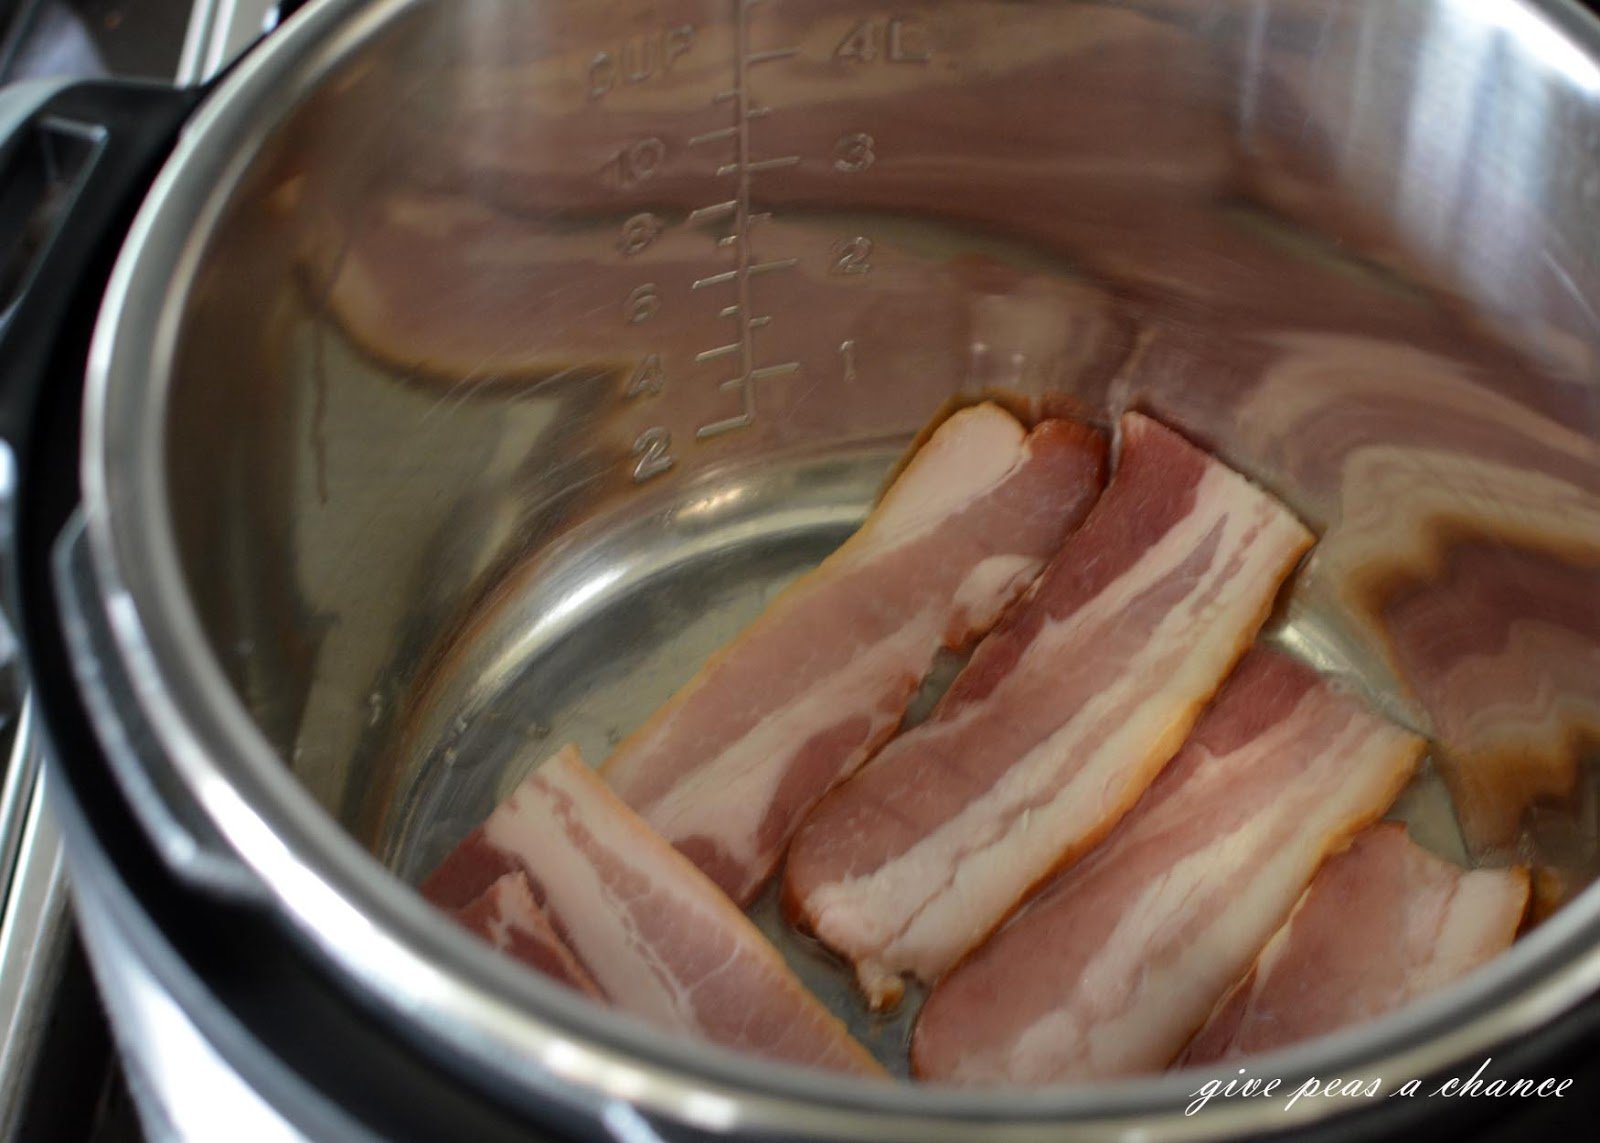
For the sauce: Put the oil and pancetta in a large saucepan on medium (a Dutch oven is a great option). Gently cook until the pancetta is crispy and golden. Add the onion and turn the heat down, cooking for about 10 minutes until the onion is softened. Then add the garlic and cook for a further 3 minutes. It should be a wonderfully aromatic mix at this point. 


Next, add in your ground beef and pork, breaking down the meat with the back of a wooden spoon or a spatula. Then add the milk and chopped tomatoes to the pot. Stir in the bay leaves, rosemary, thyme, oregano, beef stock cube, and wine, and bring to a simmer.


A bowl full of delicious bolognese sauce with ground beef and pork

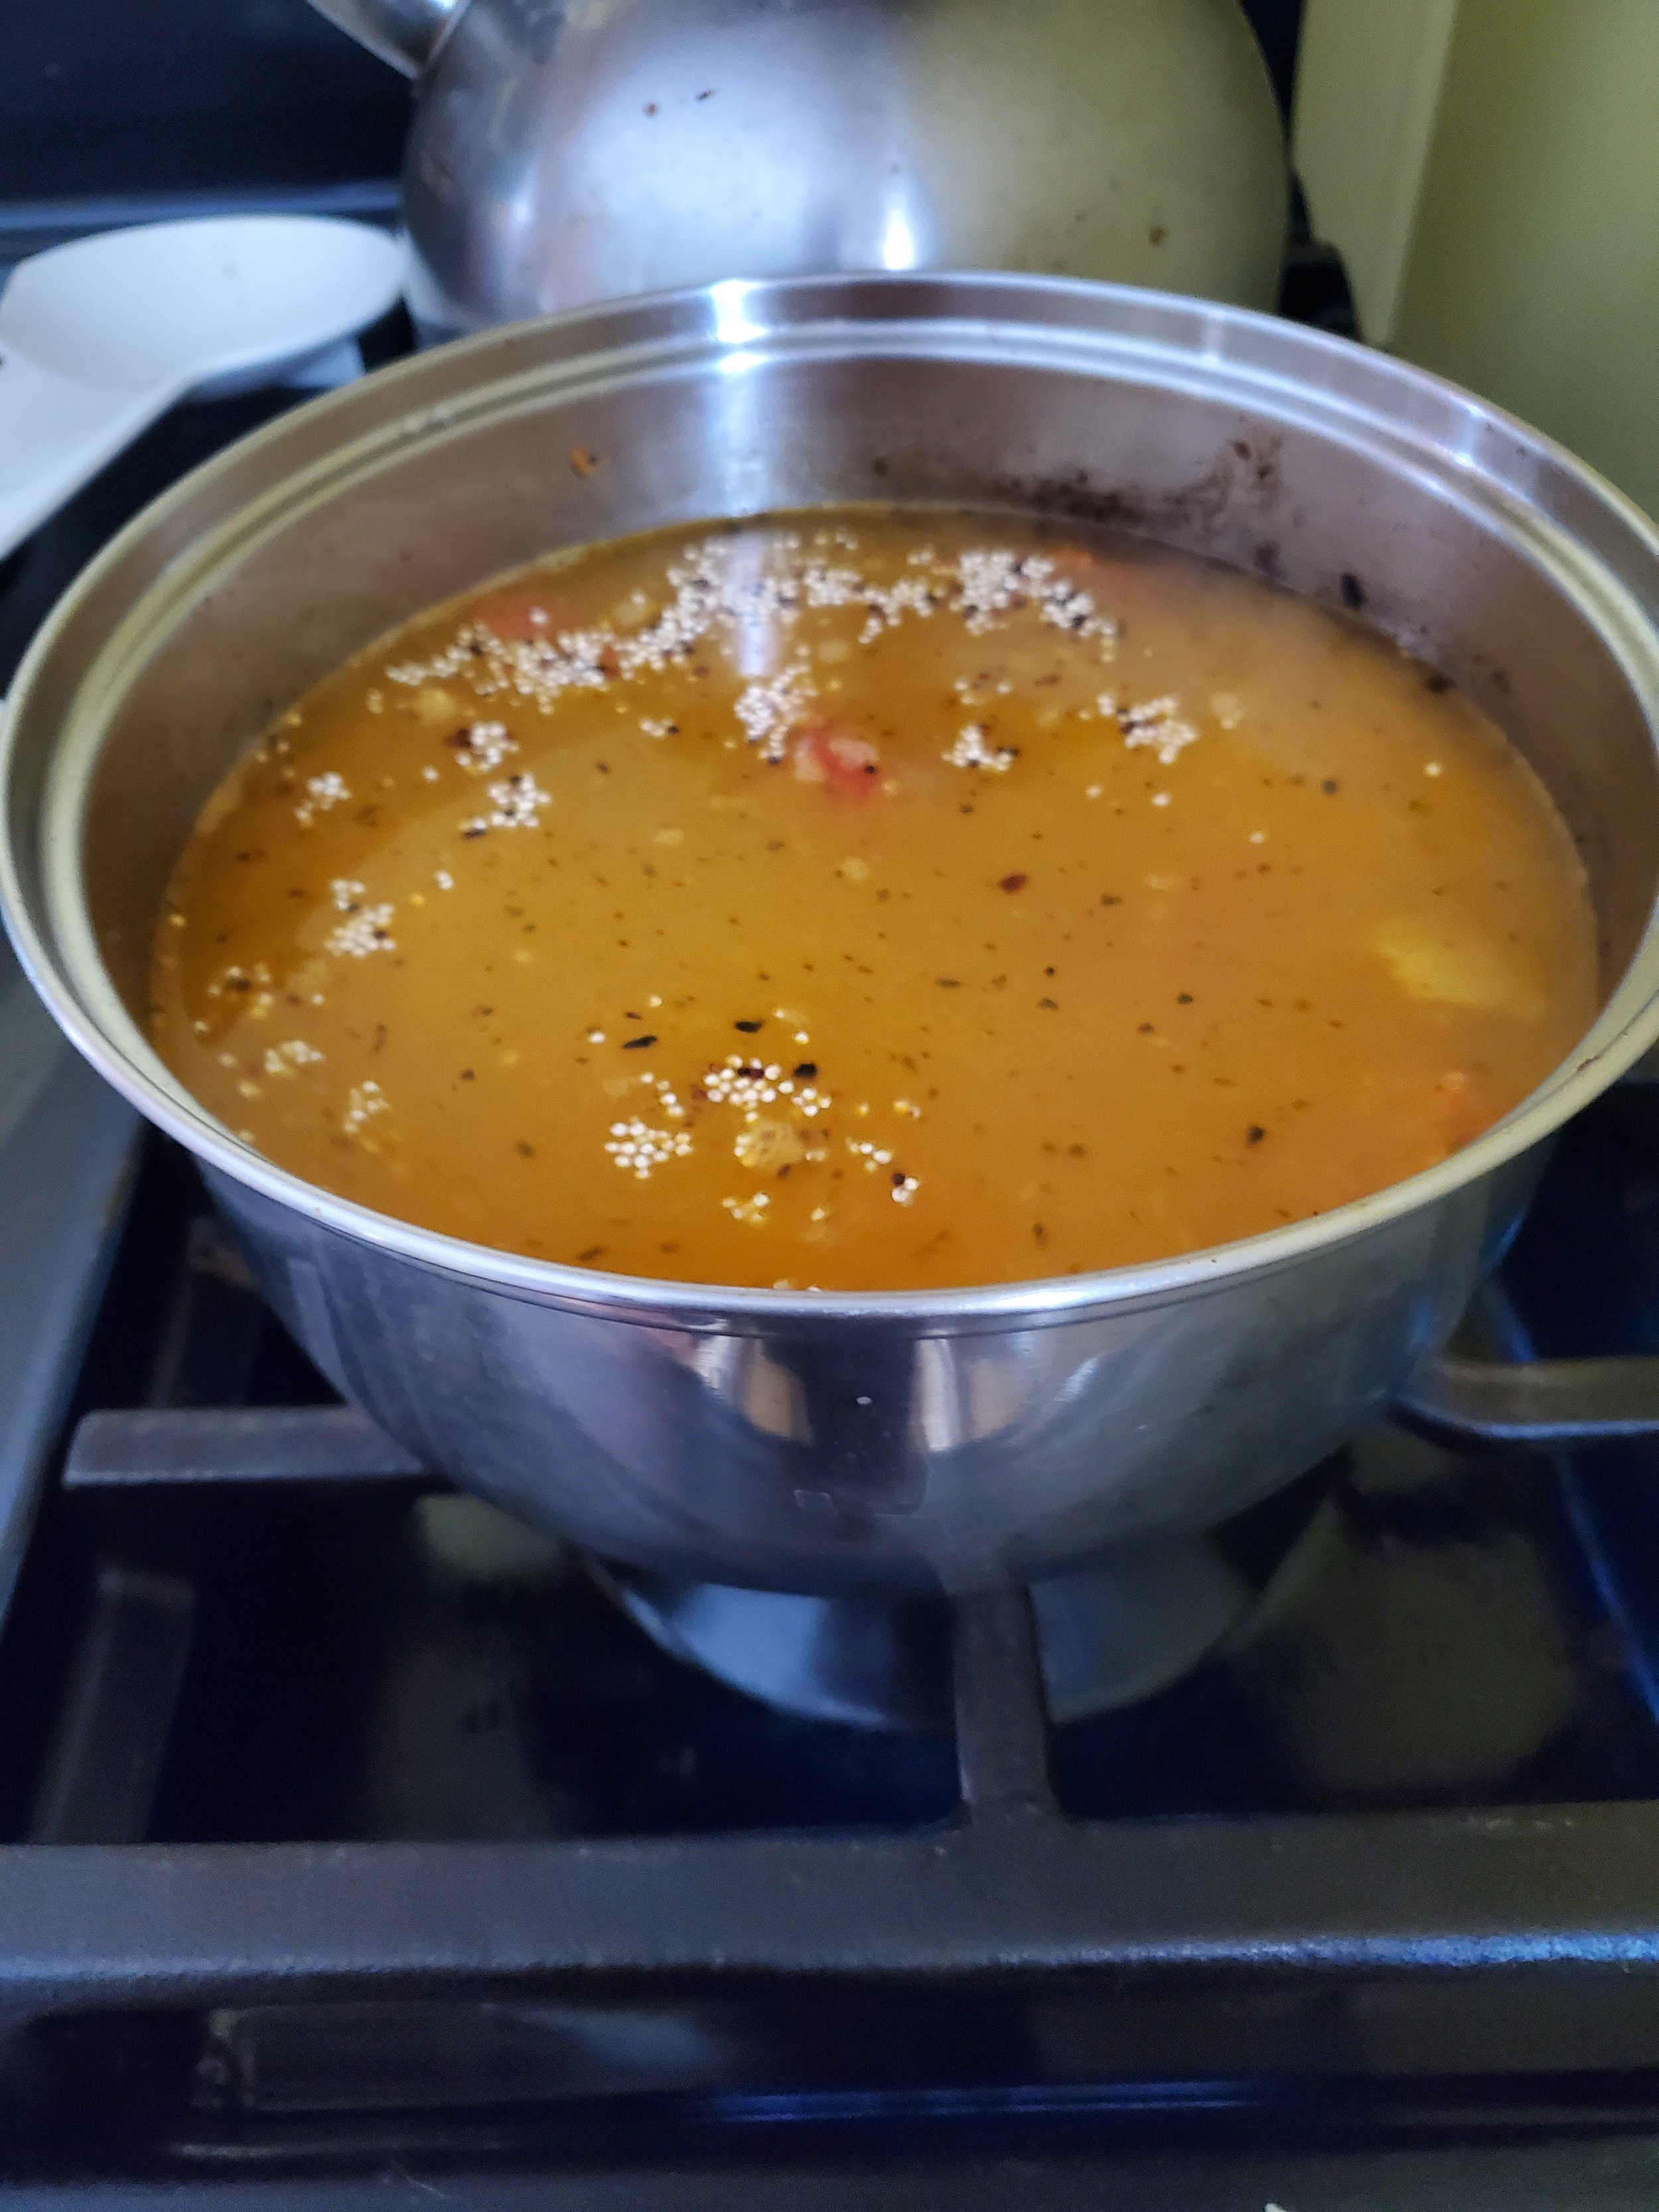
Courtesy of Bake Your Day

Cover with a lid and cook for 1 hr, occasionally stirring to stop the bottom scalding. Then remove the lid and gently simmer for another 30 mins-1 hr until the meat is tender and the sauce has thickened. Taste and season, then set aside to cool with the lid off. 


For the bechamel sauce: Melt the butter in a medium saucepan, and once melted, add the flour and mix in. Right here is one of the keys to French cooking, making a roux. The important part is the next step. Cook the flour and butter mix for 2 minutes to cook out the raw flavor of the flour. Stir in the milk, a little at a time – adding milk slowly to avoid lumps. A whisk is best here to fully incorporate everything. 


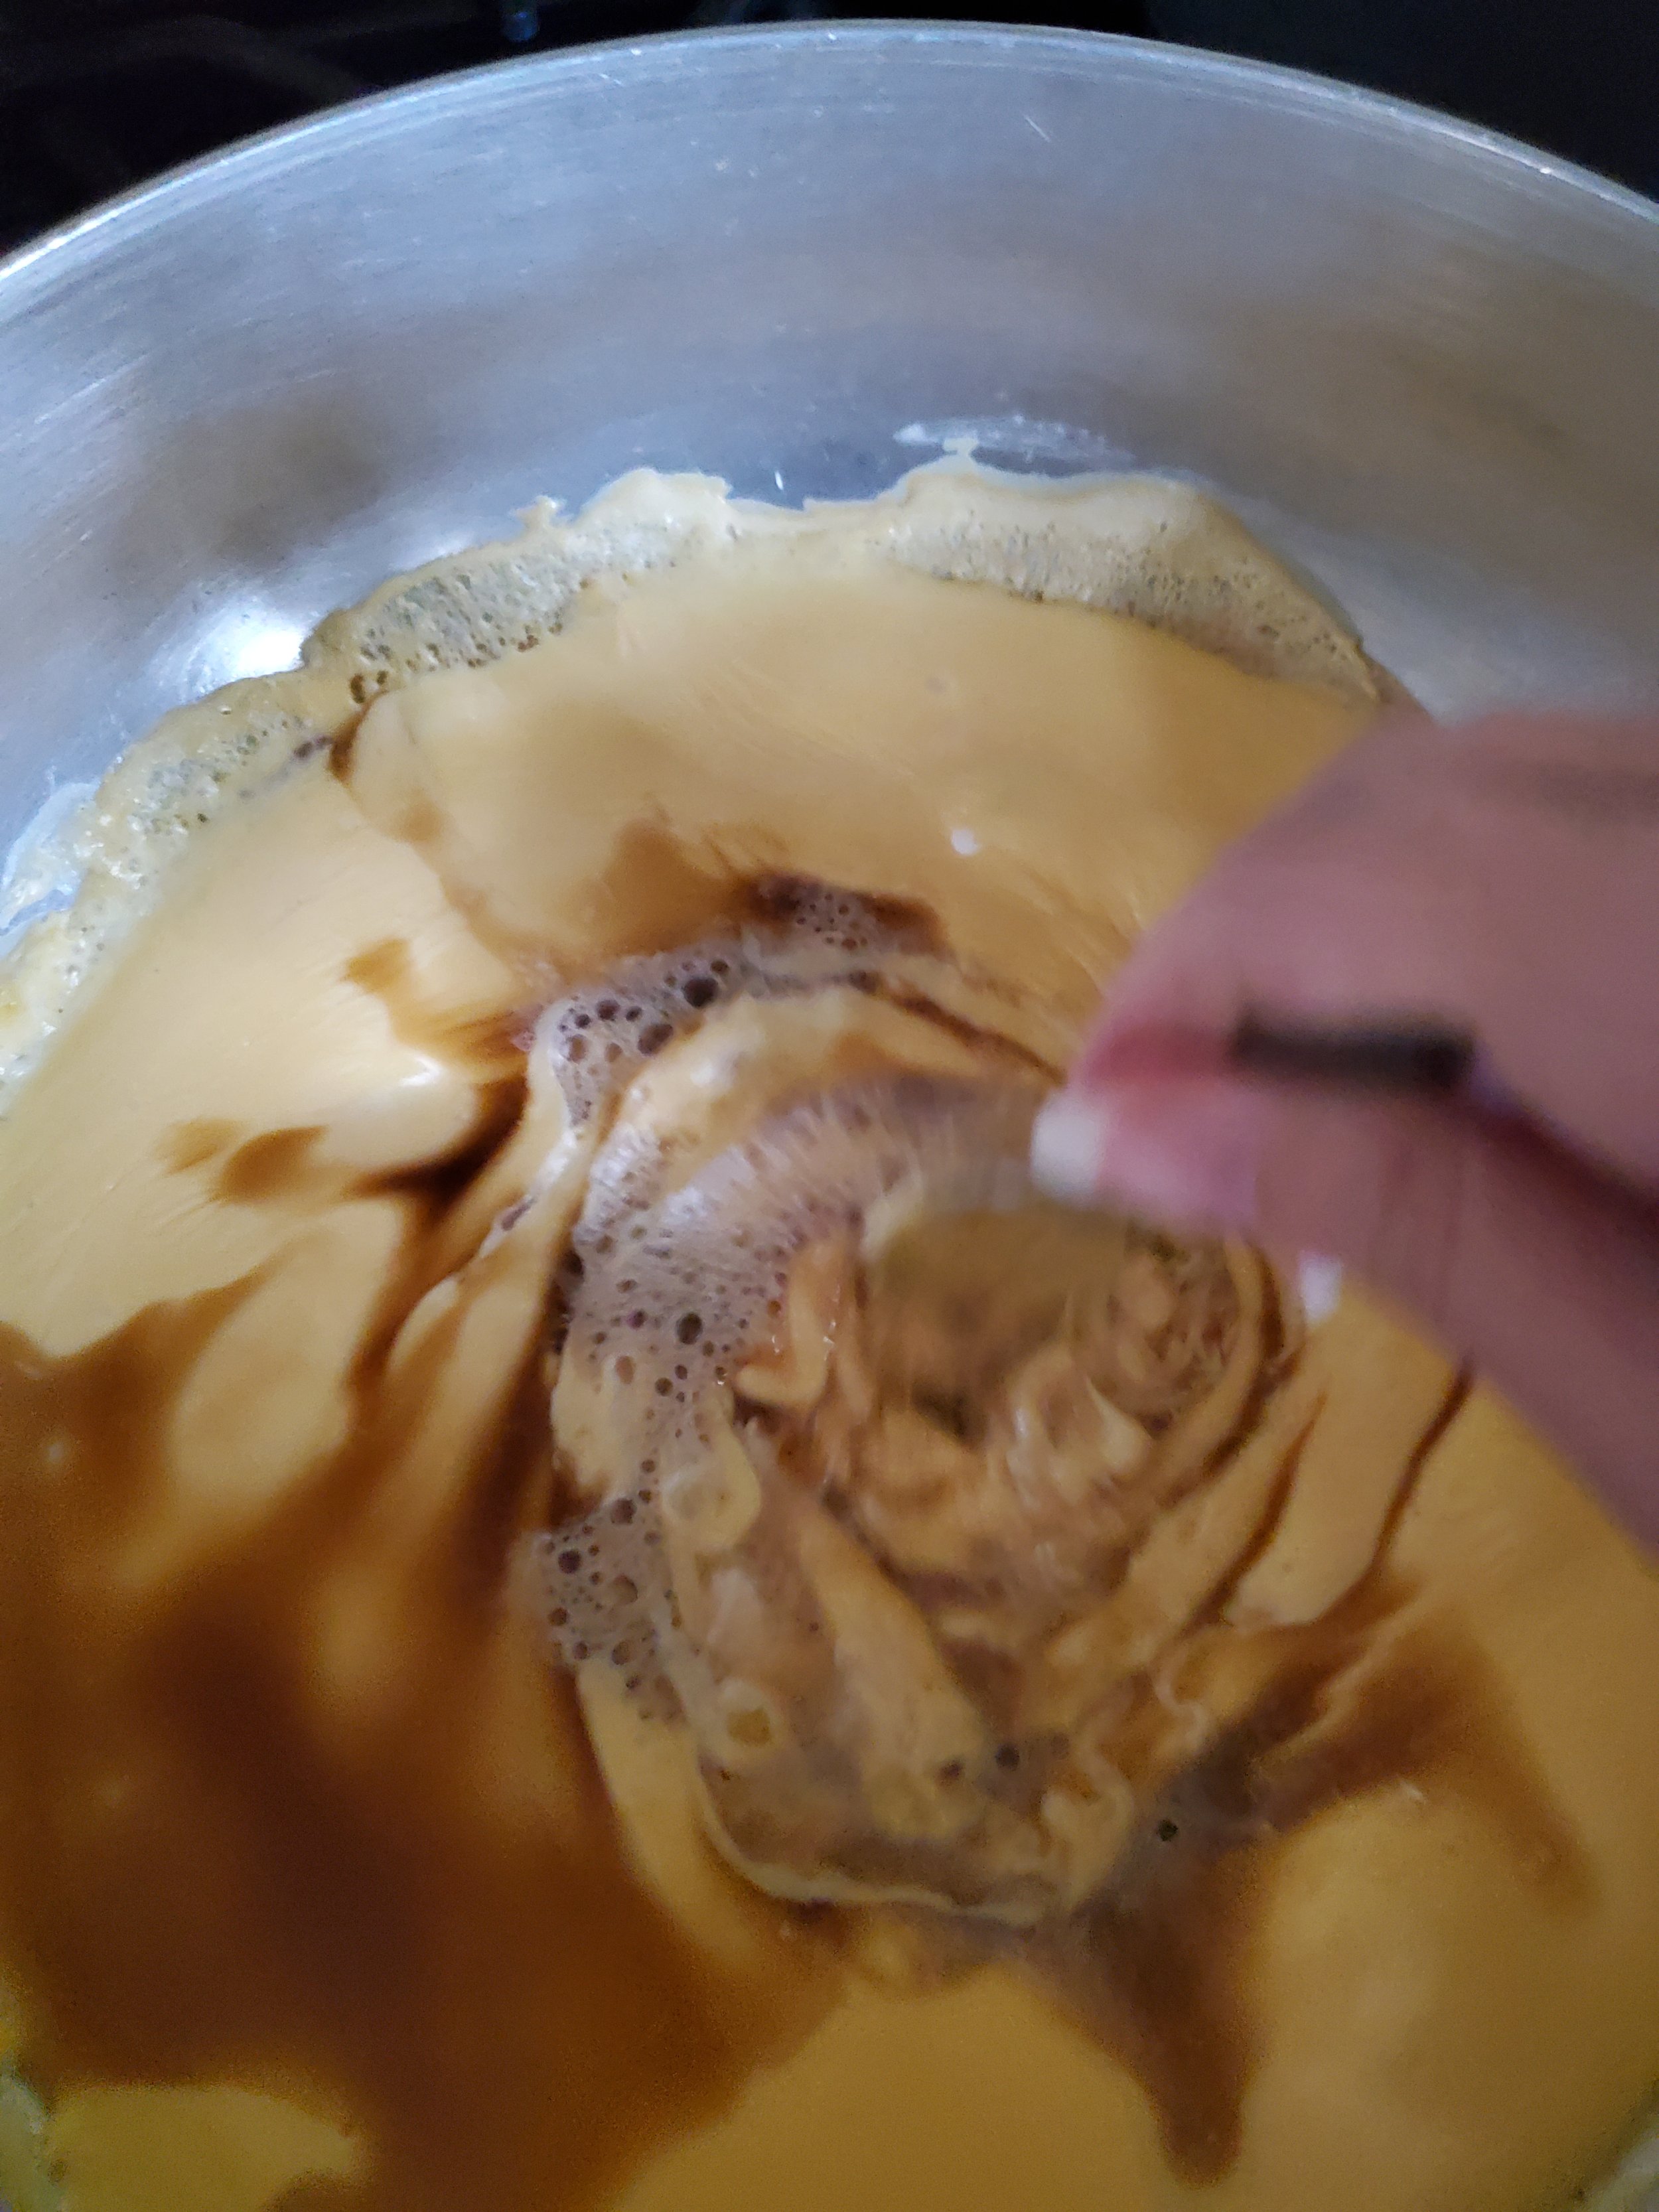
When all the milk is fully mixed in, bring the sauce to a simmer, constantly stirring until thickened. Do not let it come to a boil. Now stir in the cheeses and a good grating of nutmeg. Remove from the heat and set aside. 

It needs to cook for a minute or so longer, but this is the color your bechemel should be.


Preheat your oven to 400*F, and get ready to put everything together. 


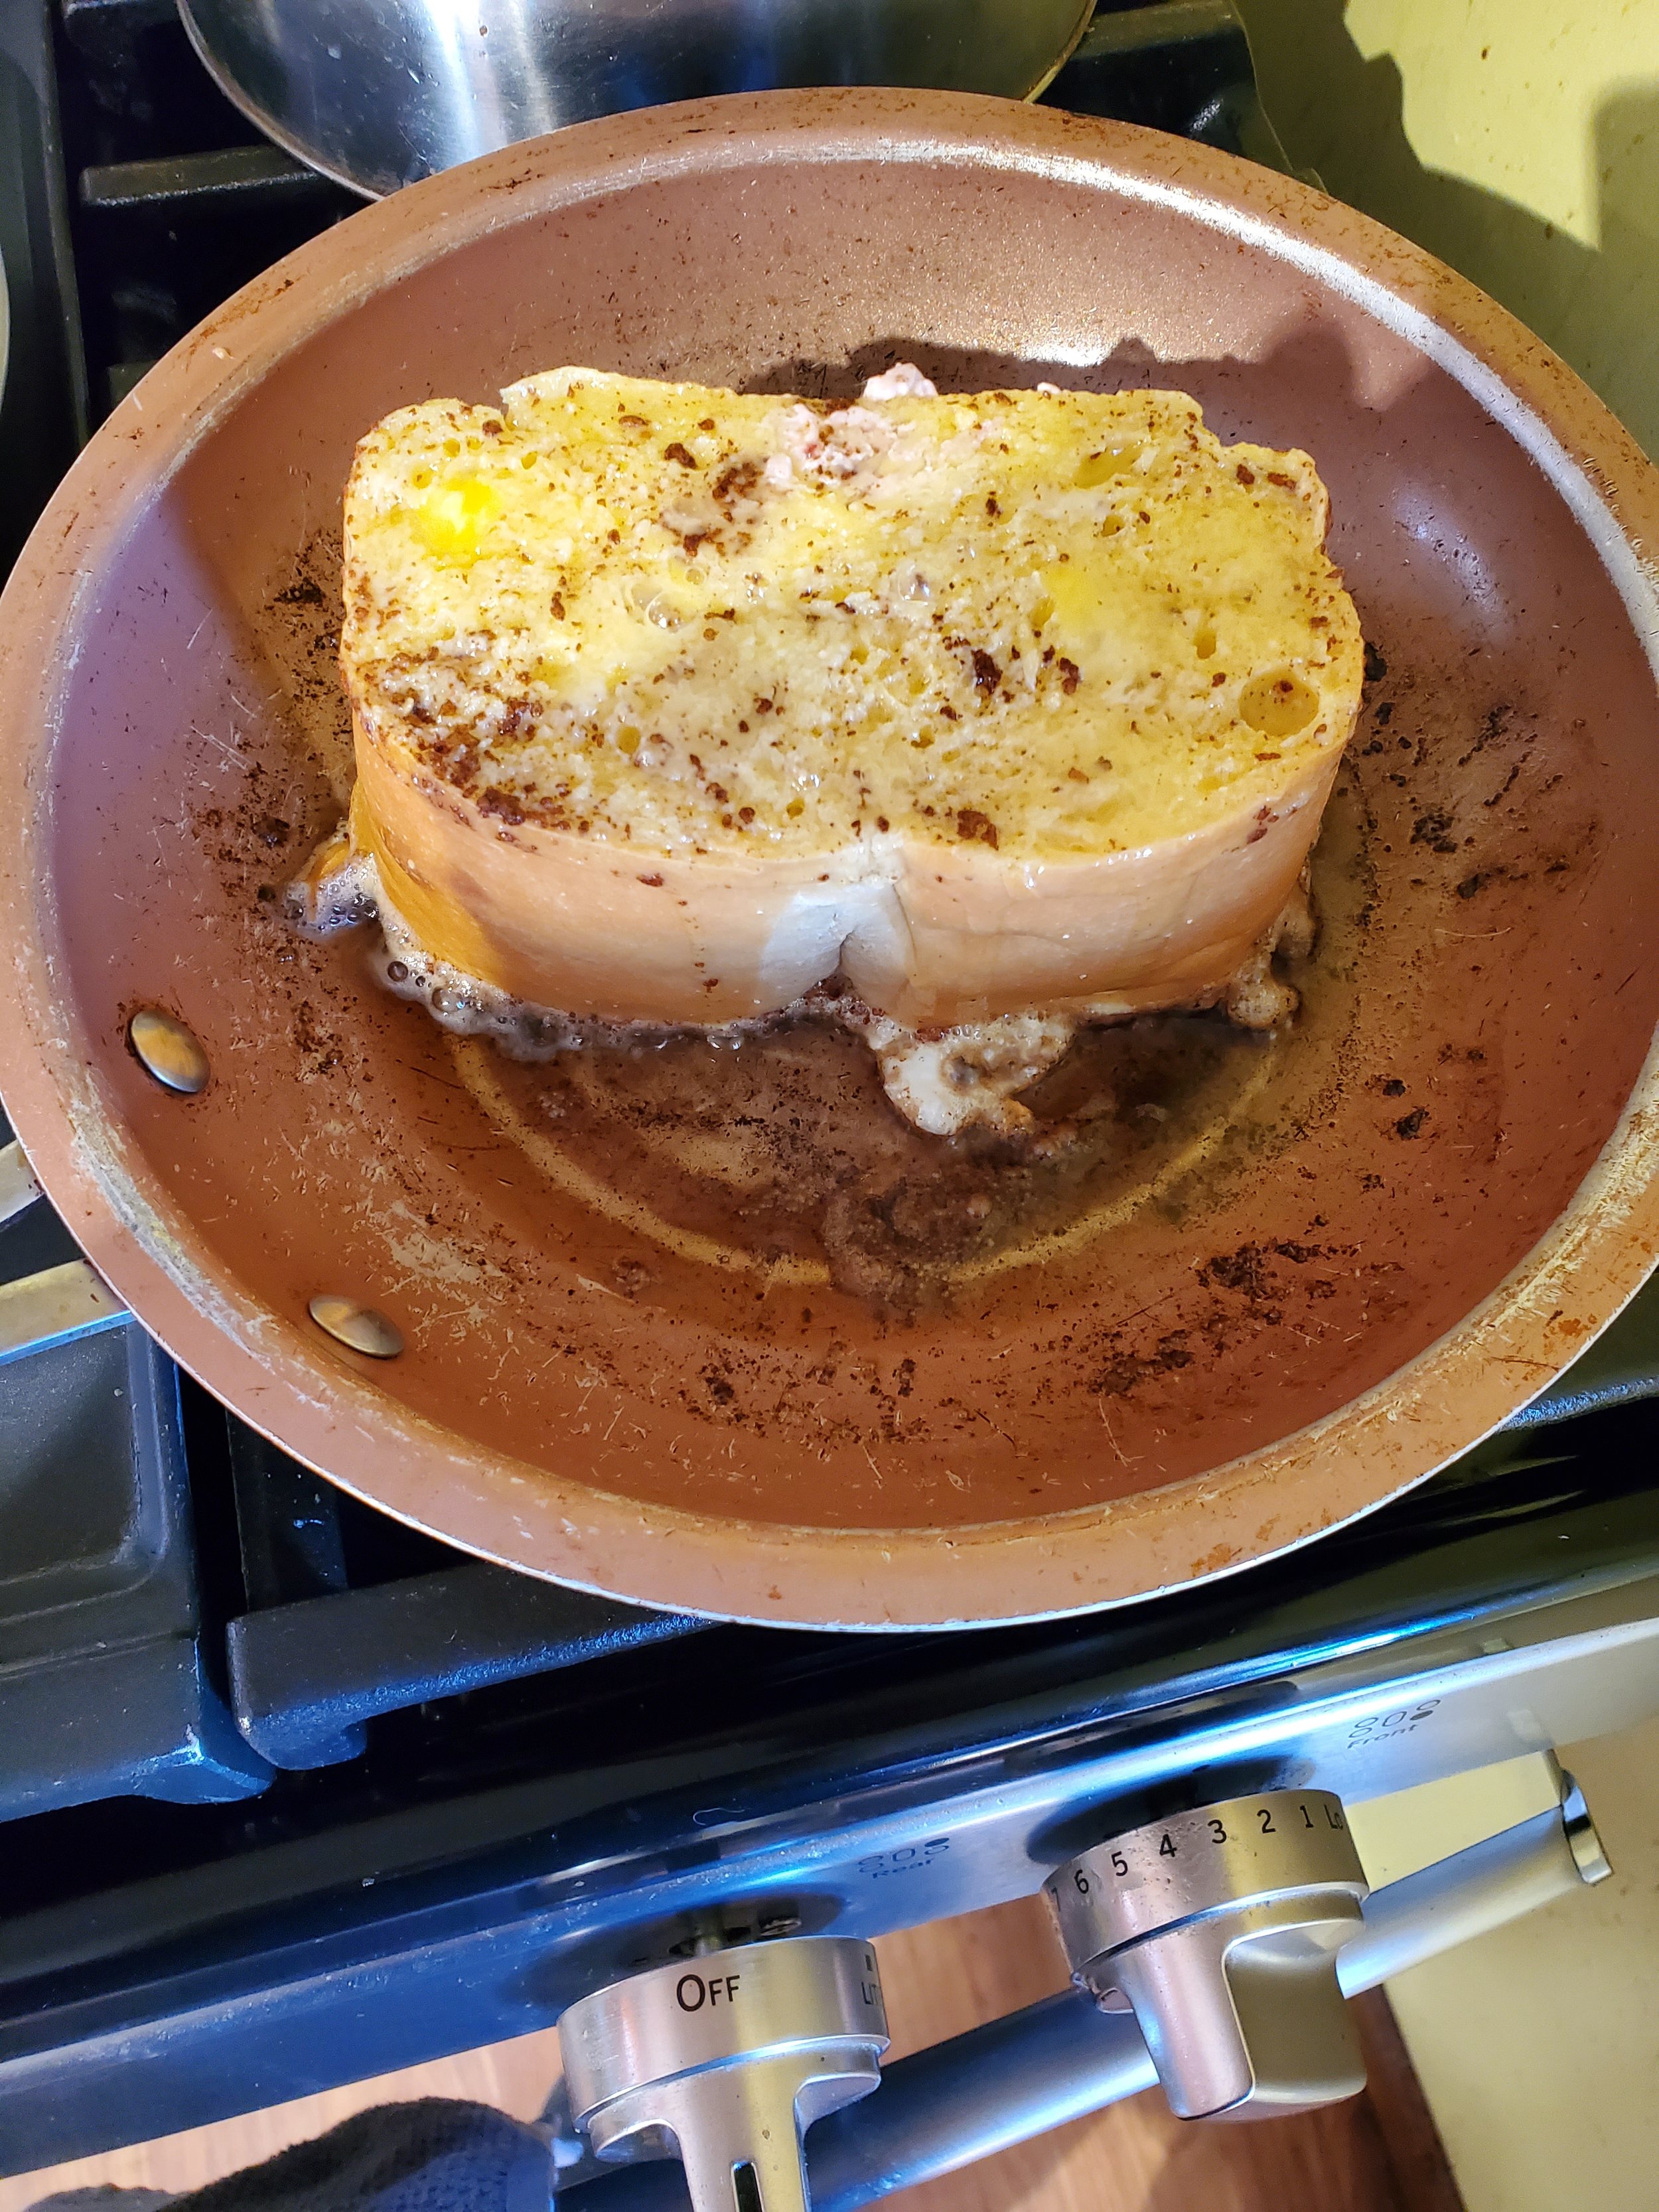
To assemble: Lay a large piece of baking parchment on top of a large baking sheet. Lay the lasagna sheets on top of the baking sheet so that they are touching, and top with ½ of the provolone and ½ of the mozzarella. Place this under the broiler for 2 minutes to melt the cheese and form the lasagne into a single sheet. 


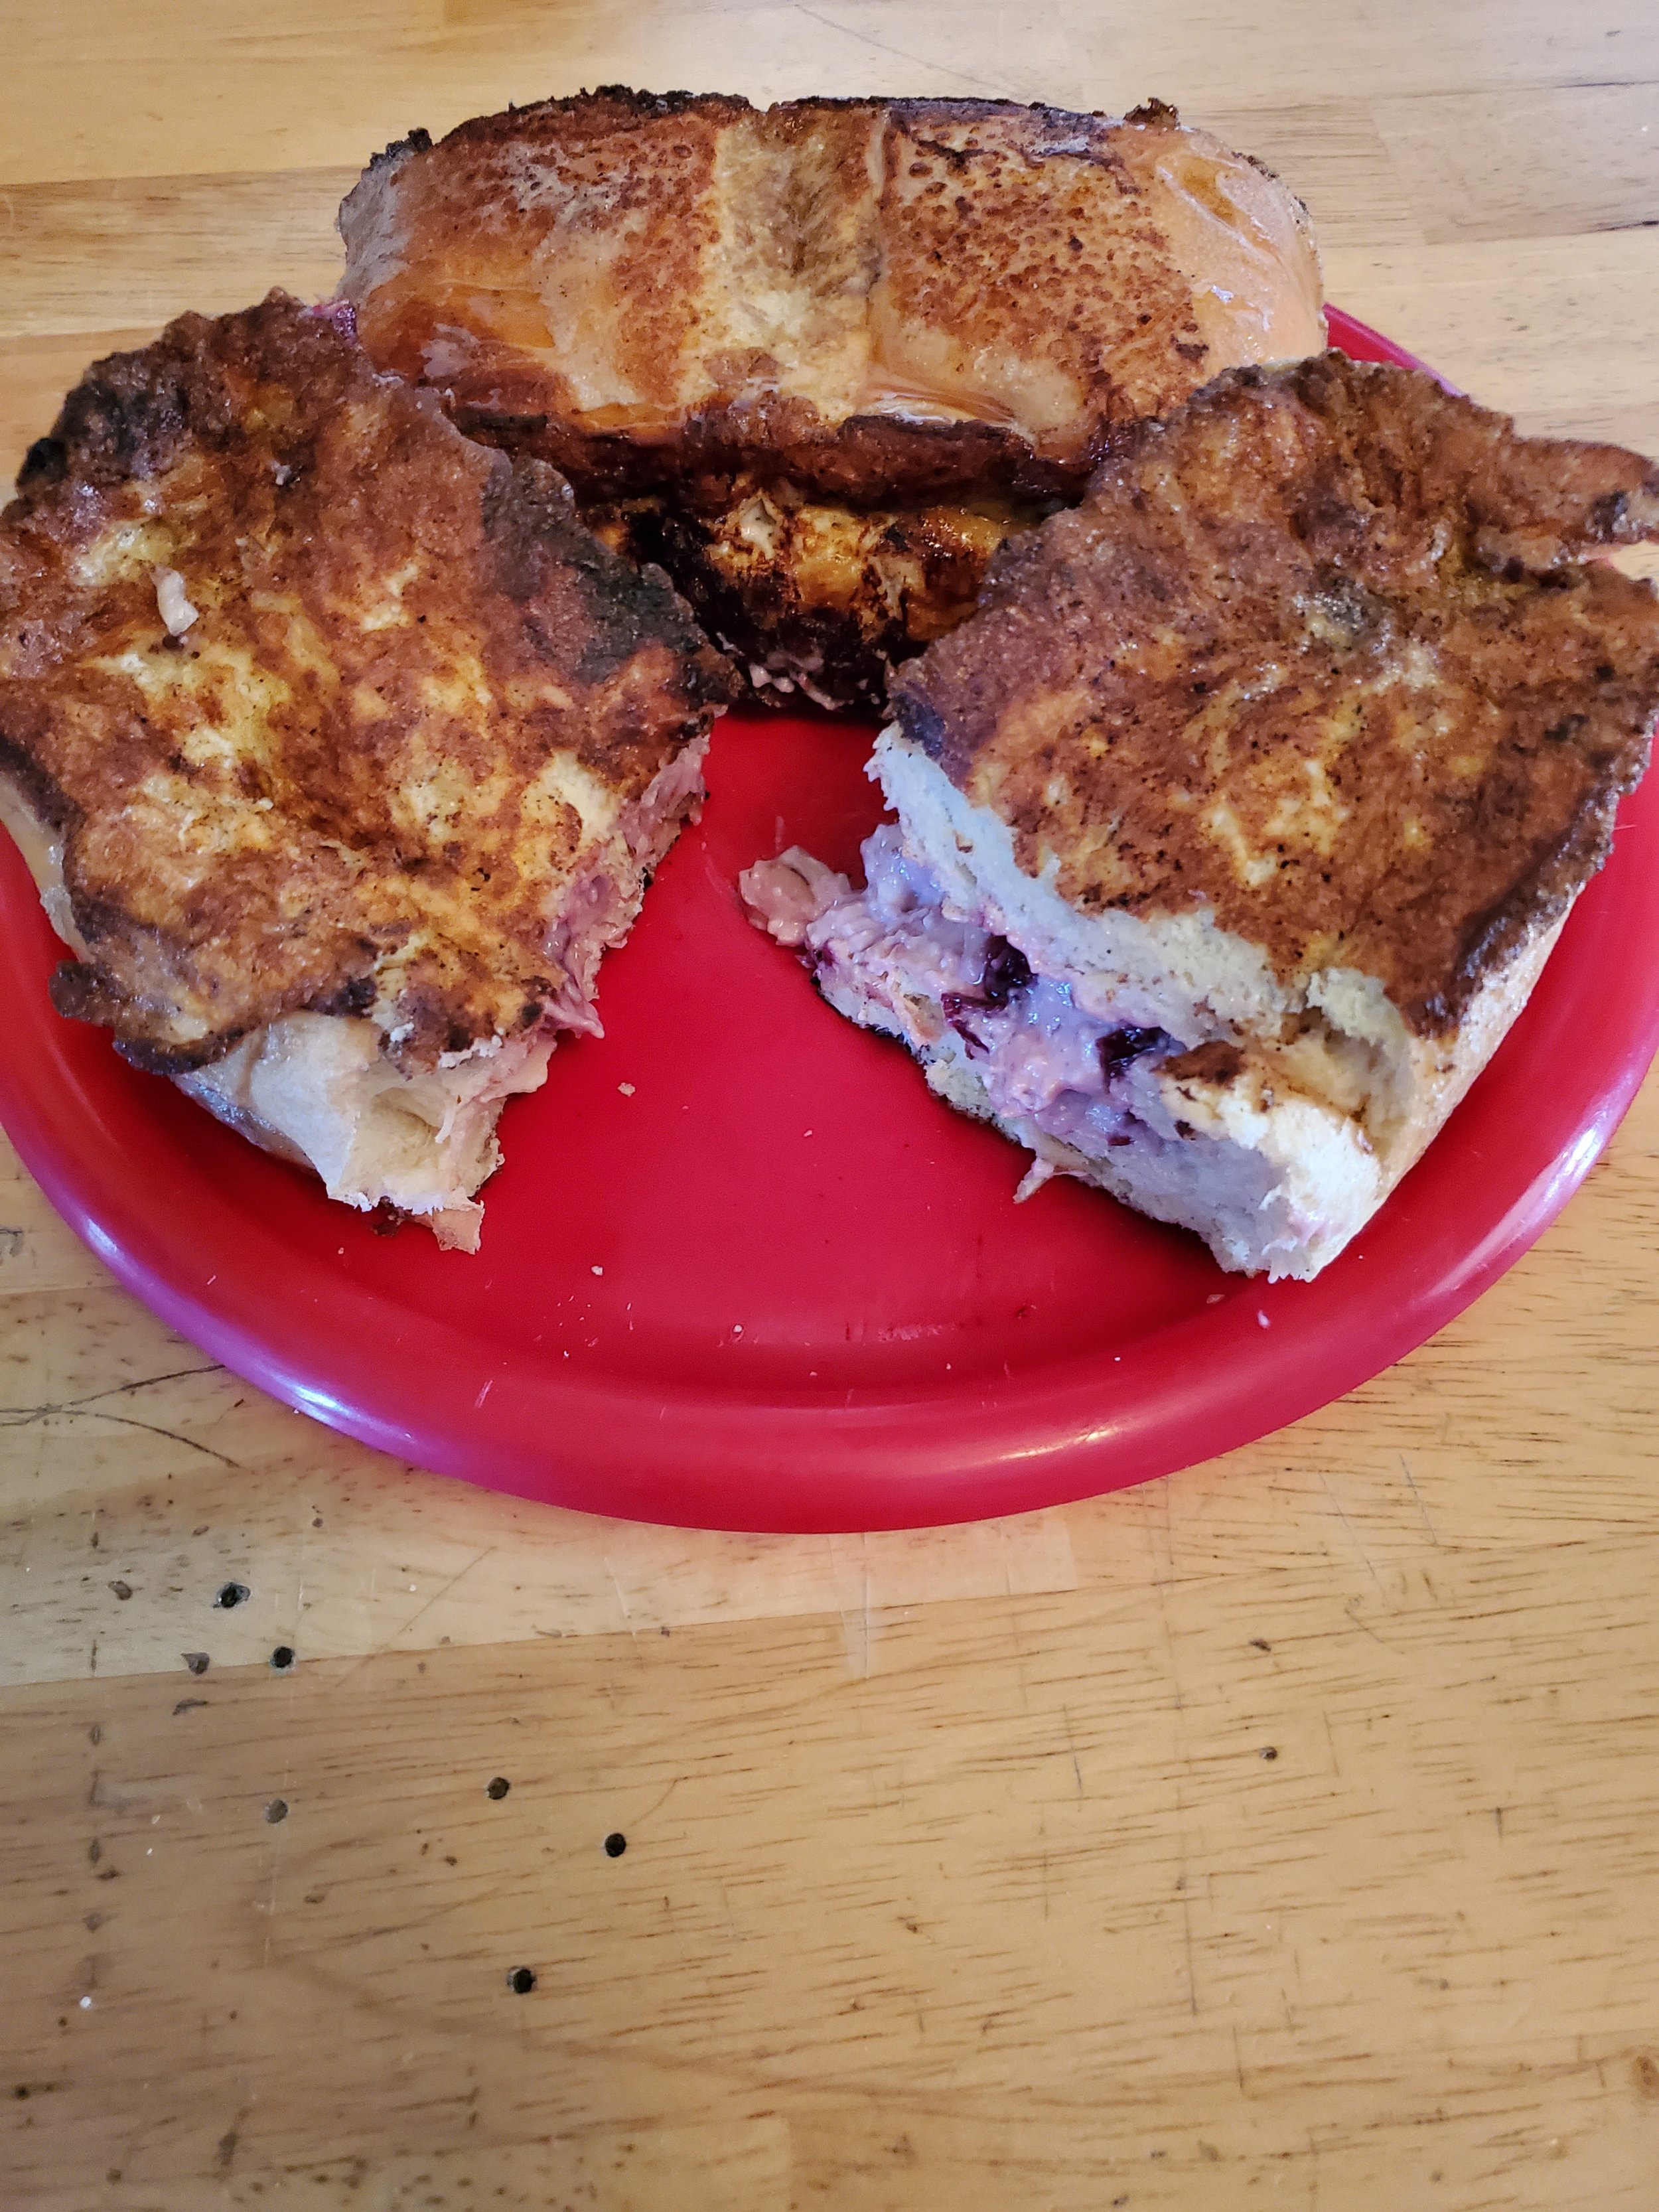
Once the cheese has melted, it’s time to add the filling. Using a slotted spoon, scoop the solids from your sauce and transfer that to the lasagna. Spread the sheet of lasagne with the meat sauce and drizzle over a little of the bechamel sauce, then add the last of the grated parmesan. Roll the whole thing up like a swiss roll and place it into a dish large enough to fit it. Pour over the remaining bechamel sauce and sprinkle with the remaining provolone and mozzarella. Place into the oven for 30 minutes, then remove and sprinkle the last of the Parmesan over the top. Slice the roll to show off your beautiful work, and impress your guests! 


What did you think? Will you be trying this one out for New Years Eve? Let us know in the comments below or over on our Facebook page. As always, we love to hear from you! 


If you're more interested in getting our help with your recalcitrant appliances, we can do that too. Just reach out to us via our contact page or by giving us a call at ((214) 599-0055), and we'll work with you to set up a time and date to send one of our expert technicians to get your home back in order. At Appliance Rescue Service, getting your home running smoothly again is our top priority. 


New England Clam Chowder To Keep You Warm

Winter is coming, even if Texas doesn’t know it yet. Enjoy this soup in the meantime! 

Winter is just around the corner, and that means we’re craving soup. This week we’re looking at a classic recipe for New England-style clam chowder. A rich and creamy soup that will not only fill you up but will also give you plenty of leftovers to enjoy later. 


Ingredients

3 strips Thick-Cut Bacon

4 tablespoons Unsalted Butter

1  Large Onion (cut into 1/4-inch cubes)

1 rib Celery (cut into 1/4-inch cubes)

1 teaspoon Fresh Thyme Leaves (chopped)

2  Bay Leaves

2  Medium-Size White Potatoes (peeled and cut into 1/4-inch cubes)

½ cup All-Purpose Flour

4 cups Bottled Clam Juice (divided)

1 pound Fresh Clam Meat (chopped, with juices, see Note)

Kosher Salt

3 cups Light Cream

1 teaspoon White Pepper


A quick note on finding clam meat and clam juice. It’s hard to get hold of fresh clams. Instead, check out the frozen section of your supermarket. Many of them carry 1 pound containers, which are fresher, have the clams and the juice, and taste far better than canned. Defrost before you use it and it’s not only tastier but more convenient as well. 


Take your onion, celery, and potatoes, and get them ready. For the onion and celery that’s going to be cutting them up into ¼ inch cubes. For the potatoes, you’ll want to peel them for now and set them aside. 


We might have forgotten to take many photos of this recipe unfortunately. This one is from Give Peas a Chance.

Set your 4-6 quart pot on the stove over medium-low heat. Add your bacon to the pot and cook until crips, 10 to 12 minutes.  Remove the bacon, leave the fat in the pot, and set the bacon to the side to cool. 


While that’s cooling, add your butter, onion, celery, thyme, and bay leaves to the pot. Cook at the same heat and stir often. In between the stirring, turn back to your bacon and crumble it into small pieces.  When the onions are translucent, add the bacon back to the pot and stir to mix. 


We had to pause in the middle of chopping ours, but it did mean we actually got a photo of the process.

Turn the heat down to low and let it simmer.  In the meantime,  grab your second pot, fill it with 2–3 quarts of water and set it to high heat. Add in salt, and bring the pot to a boil. Dice your potatoes, and add them to the boiling water. Cook for 5-8 minutes or until you can easily pierce them with a fork. Drain the potatoes in a colander and set them aside. 


Now, let’s turn back to your onion and bacon mix and turn the heat up a bit to medium-low. Slowly add your flour, stirring constantly, until a thick paste forms. This is a roux, of a type. Stir slowly and cook for 5 minutes until it becomes golden brown. You’re looking to cook out the ‘raw’ flavor of the flour. 


After five minutes, bring the heat up to medium and slowly stir in the bottled clam juice, one cup at a time, fully incorporating it into the roux before you add more. 


Turn the heat up further to medium-high and add your potatoes and the clam meat with its juices. Keep stirring for 5 minutes until the clams are tender. 


Stir in your cream slowly, and then top with white pepper and stir it in. 

Remove the bay leaves before serving, and dish it up with your choice of grain. We like serving it with pita bread or a crusty slice of bread, while many enjoy oyster crackers. 

The final product though? That was all ours. It tasted even better than it looked in all honesty.


What do you think? Are you willing to give this tasty soup a try as winter comes? Or will you hold out until the cold has actually set in, come February hopefully? Let us know what you think of the recipe, or your own favorite version of New England clam chowder in the comments below or over on our Facebook page. 


If you’re here because you’re worried about Winter being just around the corner, you’re not the only one. Whether you’re looking at issues with your washer and dryer or you want to make sure your oven and stove are up to snuff before Christmas, we can help. In addition to repairing appliances, we at Appliance Rescue also offer maintenance checks. Whether you’re worried about just one appliance or about all of them, we’ll walk through with you. We’ll look at all of the appliances you request and see what is or isn’t happening. Whether it’s making sounds, smells odd or you’d just rather be safe than sorry, we understand. We’ll go over all of the possible issues and make sure that your appliances are good to go.

You can reach out to us to set up a maintenance check on our contact page or by giving us a call at ((214) 599-0055). We’ll work with you to set a time and date that works best for your schedule. From there we’ll send one of our expert technicians to go over your chosen appliances. At Appliance Rescue Service, our goal is to get your home running smoothly again. 

Slow and Easy Sunday Stuffed French Toast

You’ll End Up Wanting The Whole Plate For Yourself

I don’t care; take me to the Recipe!

When we at ARS think of Sunday, it's a time for family, having fun, and spending the day cooking. This Sunday we wanted to whip up something a little different and try our hand at Stuffed French Toast. In theory, a very easy recipe. In practice? Well. It’s still easy to do, but experimenting makes it far more fun. 


This is a VERY subjective and experimental recipe. There are a couple different reasons for this. How firm you want your bread to be is going to affect how much egg it can soak up without distorting and turning into goo. However, it’s also going to affect the final taste and texture. The ratio of fruit to cream cheese is going to vary wildly based on which brand of fruit jam you buy and how much liquid still exists in that. So, if you want a hard and fast “here is the amounts you need, here is what you’ll get” recipe, we suggest checking out one of the others that we’ve linked in our additional reading section at the bottom. It’s ok if that’s what you’re in the mood for! This isn’t a recipe for when you need breakfast on the table 20 minutes ago. It’s more for when you want to spend Sunday experimenting with your family and having fun in the kitchen and if there ends up being several versions of food at the end, you win! 

On to the recipe! 

Ingredients

Bread - We suggest either Challa or a huge loaf of Italian. It’s the size that matters as much as anything. 

Cream Cheese

Slivered almonds - to taste - we suggest at least ¼ per two slices of bread, but it’s up to you on how much texture/crunch you want in your mix 

Sour Jelly or Preserves - We chose sour cherry 

Milk or heavy cream, or a mix if you want- only about 2 TBSPs though. 

Eggs - you want roughly 2 eggs per slice of bread

Cinnamon

1 Tbsp packed light brown sugar


Tools

-Cast iron griddle or a skillet

- mixer 

-Pie pan or other large shallow dish 

-Bread knife 

-Paring knife

Our bread really is 2 inches wide, it’s so large though it doesn’t look like it.

Our bread really is 2 inches wide, it’s so large though it doesn’t look like it.

To start with, a note on breads.

 Although we suggest using either Challa or Italian, you can do this recipe with a loaf of brioche bread. The important thing is that this is a high and thick loaf of bread. You want something that is at least 3- 4 inches wide, and at least two inches high. Yes, this is going to give you really large slices of bread, but that’s the intent here. 


Now, grab your loaf of bread and start by slicing it into 2 inch thick slices. So, ideally, your slice should be 2 inches wide, 2 inches thick, and however long. 


At this point, you can leave your slices out overnight to firm up, or move on to the next step. 


Whatever you decide, when that time has passed, flip over a slice, grab a paring knife and cut a slice that’s roughly 2-3 inches long. You’re looking to form a deep pocket inside of the bread.  Do that to all of your slices, and set them to the side for a moment. 


Grab your cream cheese and preserves and measure them out in a 2 to one, cream to fruit ratio. You want this to be stiff enough to fill it into the slices, but with enough fruit that you get the taste. Either use a food processor or a fork and mix the two together, adjusting the ratio as needed. 


This is roughly how thick ours ended up being after we adjusted the ratio several times.  You also definitely need additional help when trying to fill the slices with your filling.

This is roughly how thick ours ended up being after we adjusted the ratio several times. You also definitely need additional help when trying to fill the slices with your filling.

Now is when you’ll need to get a second set of hands. We had a few willing participants who were able to help us, in exchange for future delicious food. Have your partner hold open a slice of bread with two forks, while you use a third fork to fill the bread with your cream cheese mix. 


Egg, Milk, brown sugar and cinnamon

Yum Delicious eggy mix! The base to any good French toast.

Once all of your bread is filled, mix together your eggs, dairy, cinnamon, and sugar into a pie pan, or some other shallow dish.  

Stuffed bread soaking in a shallow pie pan filled with egg mixture for making french toast

With how thick the bread is, the additional soaking time is very important to allow it to really seep into the bread. It’s also why we said that you might want to let your bread sit over night so that it can hold up to that extra time.

Lay your bread into the dish and let it soak on one side for 2 minutes. Flip it over and do it for another 2 minutes.

While your bread is soaking, turn your stove on to medium-low, toss in  1 Tbsp of butter and allow it to melt. 

And now we begin the cooking process to make our  French Toast

And we begin the cooking process! At this point it smells so sweet and eggy, but that shifts as the egg cooks and the surface of the toast browns.

Place one to two slices of bread in your pan at a time, and let them become golden brown, roughly 5 minutes on a side. Flip, add more butter if you need, and allow it to cook for another 5 minutes, or until golden brown. 

And here we have the delicious final results that are rich, filling, delicious and such good French Toas you'll want the whole thing.

And here you have two super thick slices of French toast so good you’ll be wanting to keep all of it for yourself.

Plate your delicious Stuffed French Toast and serve with either butter or genuine maple syrup. We tried it with just butter, and it was truly delicious. 


So what did you think? Will you be trying this one? Let us know over on our Facebook page and don’t hesitate to share photos! We’d love to see how the recipe turned out for you! 


If you ended up here because your stove isn’t maintaining heat evenly though, we can still help! Even with sharing delicious recipes like this, in our work time, we want to keep your home running smoothly. If you’re noticing trouble with any of your major appliances, reach out! We can help you set up an appointment that works for your schedule and figure out what the trouble is. 

Give us a call at ((214) 599-0055) or check out our appointment page to get things started. 


Additional Reading

Whether you want a more exact recipe, or just more delicious food. 

Brown Sugar - Cinnamon Oat Bars

A Sweet-Tart Cake To Beat All The Pies

Broccoli & Cauliflower Soup

The ‘post-Thanksgiving’ Meal Guide

Lentil & Quinoa Soup

Rich, warm, and so delicious you’ll be fighting for seconds


I don’t care! Take me to the recipe! 


Winter is firmly here now, at least according to the calendar, so we’re dreaming of soups. Maybe not a super hearty soup though, since the weather is all over the place? Fortunately, we have this Moroccan-inspired lentil & quinoa soup to hit the spot. 


Ingredients: 

1 yellow onion

2 Tbsp roasted garlic paste

3 carrots

6 Tbsp  unsalted butter

2 ½ tsp sweet basil 

1 tsp cumin 

3 plum tomatoes

1 ¾ cup dried brown lentils

½ cup tri colored quinoa (or just  straight quinoa, but this adds flavor) 

3 cloves of garlic

½ cup full fat plain Greek yogurt 


Tools: 

Food processor

Chef’s knife

Cutting board

6-quart pot


-Grab your onion and chop it into rough dice.  Pop that into your food processor and give it a few pulses, until the pieces are roughly the size of your pinkie nail. 


-Set your stove to medium heat, put in 4 Tbsp of butter and allow that to melt. Once that’s done, toss in 2 Tbsp of roasted garlic paste (an example is Better Than Bullion) allow that to melt and disperse into the butter. Once that’s done, add your onion and allow that to begin cooking. You’re not looking for them just to turn transparent, you want them to actually soften during this process so that the flavor isn’t overwhelming later. 


-While your onion is cooking, grab your carrots and chop them up into large rounds, then toss them into the food processor. You want your carrot to be the same size as your onion, roughly. When that’s done, scrape the carrots into the pot, give it a few cracks of pepper, and a ¼ cup of water.  


-Mix together your sweet basil and cumin and stir into the pot.

- Back to the chopping block, grab your plum tomatoes and slice them into (roughly) 8 pieces. Toss them straight into the pot and stir occasionally as things cook for the next 5 minutes.  You’re looking for the tomatoes to being to lose their shape, and for the carrots and onions to soften.

-Add 7 cups of water to the pot, along with your lentils, quinoa, and a few cracks of pepper and 1 tsp of salt.  Add a lid to the pot and let it come up to a boil.  Once that’s done, uncover the pot and turn down the heat until it’s just at a gentle simmer. 

- Allow the pot to continue simmering until the lentils are tender, roughly 25 minutes, although it might be longer. 

- After roughly 15 minutes have passed, grab your garlic and mince it. Put that into a fresh frying pan with 2 Tbsp of butter on medium heat. Stir the mixture constantly. You want the outside of the garlic to begin to blacken, without it actually smelling or tasting burnt. It’s a really fine line, and we understand if you want to stop just when the garlic gets to a nice golden brown. At this point you can also add in a little bit of red pepper flakes, more sweet basil or white pepper. When the garlic is at your preferred stage of ‘done’, pull it from the heat and set it to the side. You don’t want it to continue cooking. 

-Once your lentils are soft, turn off the heat and dish up the soup. Add a dollop of Greek yogurt to each dish and some of the garlic butter on top. Mix everything together and enjoy for a delicious meal. 


-Even with the garlic paste added, it doesn’t have a ton of depth or texture, until you add in the yogurt and garlic and mix it all together. It’s when all the pieces are together that you get the magic. 


What did you think? Do you have a way to make the recipe even better? Did your family love it? (Ours did, we were shocked!) Did they hate it? (We’ve all got recipes like that.) Let us know over on our Facebook page, as always, we love to hear from you about how your adventures in the kitchen turn out. 


If you’re wondering what an appliance repair company is doing talking about soups and recipes, don’t worry, you didn’t land on an alternate blog. Appliance Rescue Service is still here to fix your appliances and make them as good as new. Whether it’s your dishwasher or your dryer, your stove or your ice maker, we’re here to help. Just give us a call at ((214) 599-0055) or set up an appointment on our page, and we’ll work with you to get your home running again. 

Additional Reading:

Broccoli & Cauliflower Soup - If you need something a little heartier, this is just as easy to make, and just as delicious.


5 Must Have Kitchen Essentials for Fall

Beer Cheese is the Best Fall Comfort Food

It can be a topping, a dip, a sauce, take your pick!

As the weather gets chilly, we often crave comfort food (which in our case is often made of cheese). Preferably the warm, melty kind we can put in a crock pot.

Sometimes the weather just calls for beer cheese.

To some of you, that's gonna sound... funny. People who grew up in certain parts of the U.S. are going to get it immediately, but the rest of us are going to have to think on it for a minute or so. We grew up in places where it wasn't a common thing, and moved to yet other places where it was also uncommon, so our household didn't get to try it until recently - but it is definitely a recipe worth sharing. We had to venture out of state to find it, but once we returned, the experimenting began.

There's a halfway decent chance you have most of the ingredients on hand, too.

Ingredients:

1 16 ounce brick Velveeta (or store brand equivalent)
1/2 brick (4 ounces) cream cheese (Neufchatel will work, but not as well)
1/4 cup heavy whipping cream (please do not sub half & half)
3/4 cup Guinness Nitro Stout
2 Tbsp coarse stone ground mustard

Tools:
measuring cup(s), measuring spoon(s), knife, spoon, cutting board, crock pot or heavy-bottomed saucepan with lid, serving dish (if not leaving in the crock pot)

Unbox and unwrap your cream cheese, leaving it on the foil. Place the foil on the cutting board and use the knife to gently divide the cream cheese brick in half. Try not to cut the foil, as you'll want to keep it. Slide one half off the foil and nudge the other half to the center of the foil. Re-wrap the half you won't need today and put it back into the fridge for some bagels later. Cut the half that's left on the cutting board into smaller pieces (this helps it melt faster and more evenly) and dump the pieces into the crock pot or sauce pan.

If you're using a crock pot, turn the heat on low and cover it. If you're using a sauce pan on the stove, turn the burner on as low as it will allow, but don't put the lid on it quite yet.

Take your sixteen ounces of Velveeta (we would not advise using the jalapeno one, but you're certainly welcome to experiment if you wish), and turn it out of its protective foil onto the same cutting board. Like you did with the cream cheese, take your knife and cut it into smaller pieces, then add it to your pot. Crock pot users, please make sure you cover the crock pot again, as that's the only way it retains heat effectively. Sauce pan users, please use a spoon to give everything a nice stir before placing the lid, and then turn the burner up to medium-low.

Now comes the waiting game. If you used a crock pot, you're probably okay to walk away and do something else for a few minutes. Crock pots are designed to heat gently and avoid scorching.

If you're working with a sauce pan, please be sure to watch carefully and stir often. You'll need to be a little more involved in the process to minimize the likelihood of burnt cheese accidents.

It's going to look funny and blob-y for a while as the chunks of cheese melt down. Make sure you've stirred them enough to encourage them to combine. Once you have it mostly melted and all one color, you can add in your heavy cream.

You may need to stand there with the measuring cup inverted over the pan for a minute or so, as the cream is often not in a big hurry to get to where you need it. Once most of it has dripped into the pot/pan, set the cup aside and grab your spoon again. The cream will simply rest on top of the cheeses if you leave it alone, so give it another thorough stir to make sure it gets mixed in properly.

After you've mixed in the cream, it's time to add the beer. We used Guinness because darker beers make for richer flavor in the recipe - but it's also what we keep on hand. You can pretty much use any dark beer you have, but we prefer Guinness, and it's also likely to be the beer you'll see used if you order beer cheese in a chain restaurant.

Adding in the beer is going to be an ugly and kind of gross looking step. The beer will foam on contact and turn the top layer of cheese into a bubbly, brown, goopy mess. Ignore this and push on, stirring until it's incorporated. It's worth it, we promise. You'll know when it's incorporated fully because the cheese itself will have darkened about two shades, and there will be no dark or foamy pockets left.

Now comes the mustard. We used Plochman's brand stone ground mustard because it's super coarse and chunky, and it's a really LOUD mustard flavor, but even just the Great Value brand will add significant taste and texture. On a slight tangent, Plochman's also offers a craft beer mustard made with pale ale - so if you're looking for more beer flavor and less mustard flavor without sacrificing the bite, you can definitely look into that. (No, Plochman's is not giving us any money for this - they just make really good mustard. We promise.)

Mixing the mustard in is going to take some time. It naturally wants to keep to itself in little chunks, but you'll want to break it up so every bite of your beer cheese has enough, but none of them are overtaken by it. Just keep stirring until it looks like it's even. And then stir it a little more, just to be sure.

Once you're satisfied with the distribution and mustard to cheese ratio, grab a pretzel or a cracker and scoop a little beer cheese onto it try it. This is a vital step - very, very important. You can't serve it to your friends or family without quality control, after all. And no one knows better than you if it will need your own special touch - a little white pepper or cayenne? A dash of hot sauce? A sprinkling of Parmesan? Garnish with parsley? Run with it. It's yours now.

Serve it as a dip with pretzels, crackers, or pita chips; use it as a spread on a sandwich or burger, sauce your chicken wings with it, work it into a meatloaf... We've even eaten it as a sauce over pinto beans. Once you've tried it, you'll have a dozen other uses for it right away. Trust us.


Adding cream to the beer cheese.

Now it’s officially beer cheese, we’ve added the beer!

And now we have added the mustard and the beer cheese is complete!