New England Clam Chowder To Keep You Warm

Winter is coming, even if Texas doesn’t know it yet. Enjoy this soup in the meantime! 

Winter is just around the corner, and that means we’re craving soup. This week we’re looking at a classic recipe for New England-style clam chowder. A rich and creamy soup that will not only fill you up but will also give you plenty of leftovers to enjoy later. 


Ingredients

3 strips Thick-Cut Bacon

4 tablespoons Unsalted Butter

1  Large Onion (cut into 1/4-inch cubes)

1 rib Celery (cut into 1/4-inch cubes)

1 teaspoon Fresh Thyme Leaves (chopped)

2  Bay Leaves

2  Medium-Size White Potatoes (peeled and cut into 1/4-inch cubes)

½ cup All-Purpose Flour

4 cups Bottled Clam Juice (divided)

1 pound Fresh Clam Meat (chopped, with juices, see Note)

Kosher Salt

3 cups Light Cream

1 teaspoon White Pepper


A quick note on finding clam meat and clam juice. It’s hard to get hold of fresh clams. Instead, check out the frozen section of your supermarket. Many of them carry 1 pound containers, which are fresher, have the clams and the juice, and taste far better than canned. Defrost before you use it and it’s not only tastier but more convenient as well. 


Take your onion, celery, and potatoes, and get them ready. For the onion and celery that’s going to be cutting them up into ¼ inch cubes. For the potatoes, you’ll want to peel them for now and set them aside. 


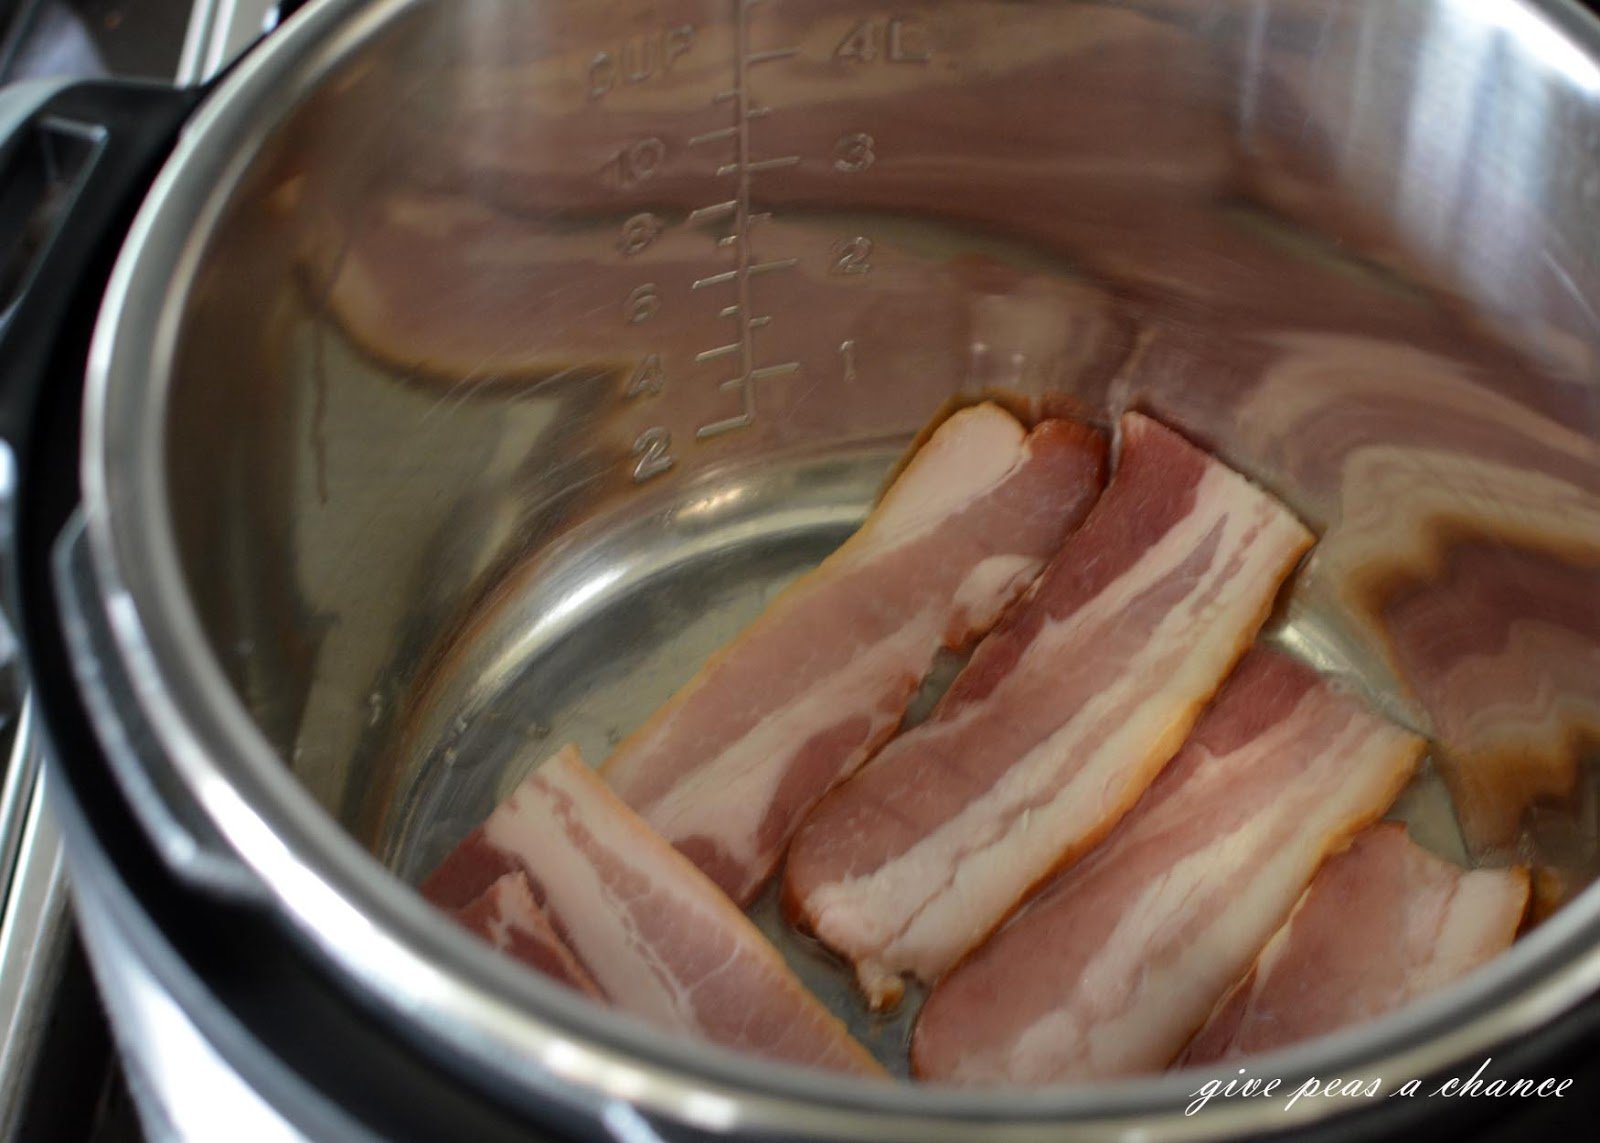
We might have forgotten to take many photos of this recipe unfortunately. This one is from Give Peas a Chance.

Set your 4-6 quart pot on the stove over medium-low heat. Add your bacon to the pot and cook until crips, 10 to 12 minutes.  Remove the bacon, leave the fat in the pot, and set the bacon to the side to cool. 


While that’s cooling, add your butter, onion, celery, thyme, and bay leaves to the pot. Cook at the same heat and stir often. In between the stirring, turn back to your bacon and crumble it into small pieces.  When the onions are translucent, add the bacon back to the pot and stir to mix. 


We had to pause in the middle of chopping ours, but it did mean we actually got a photo of the process.

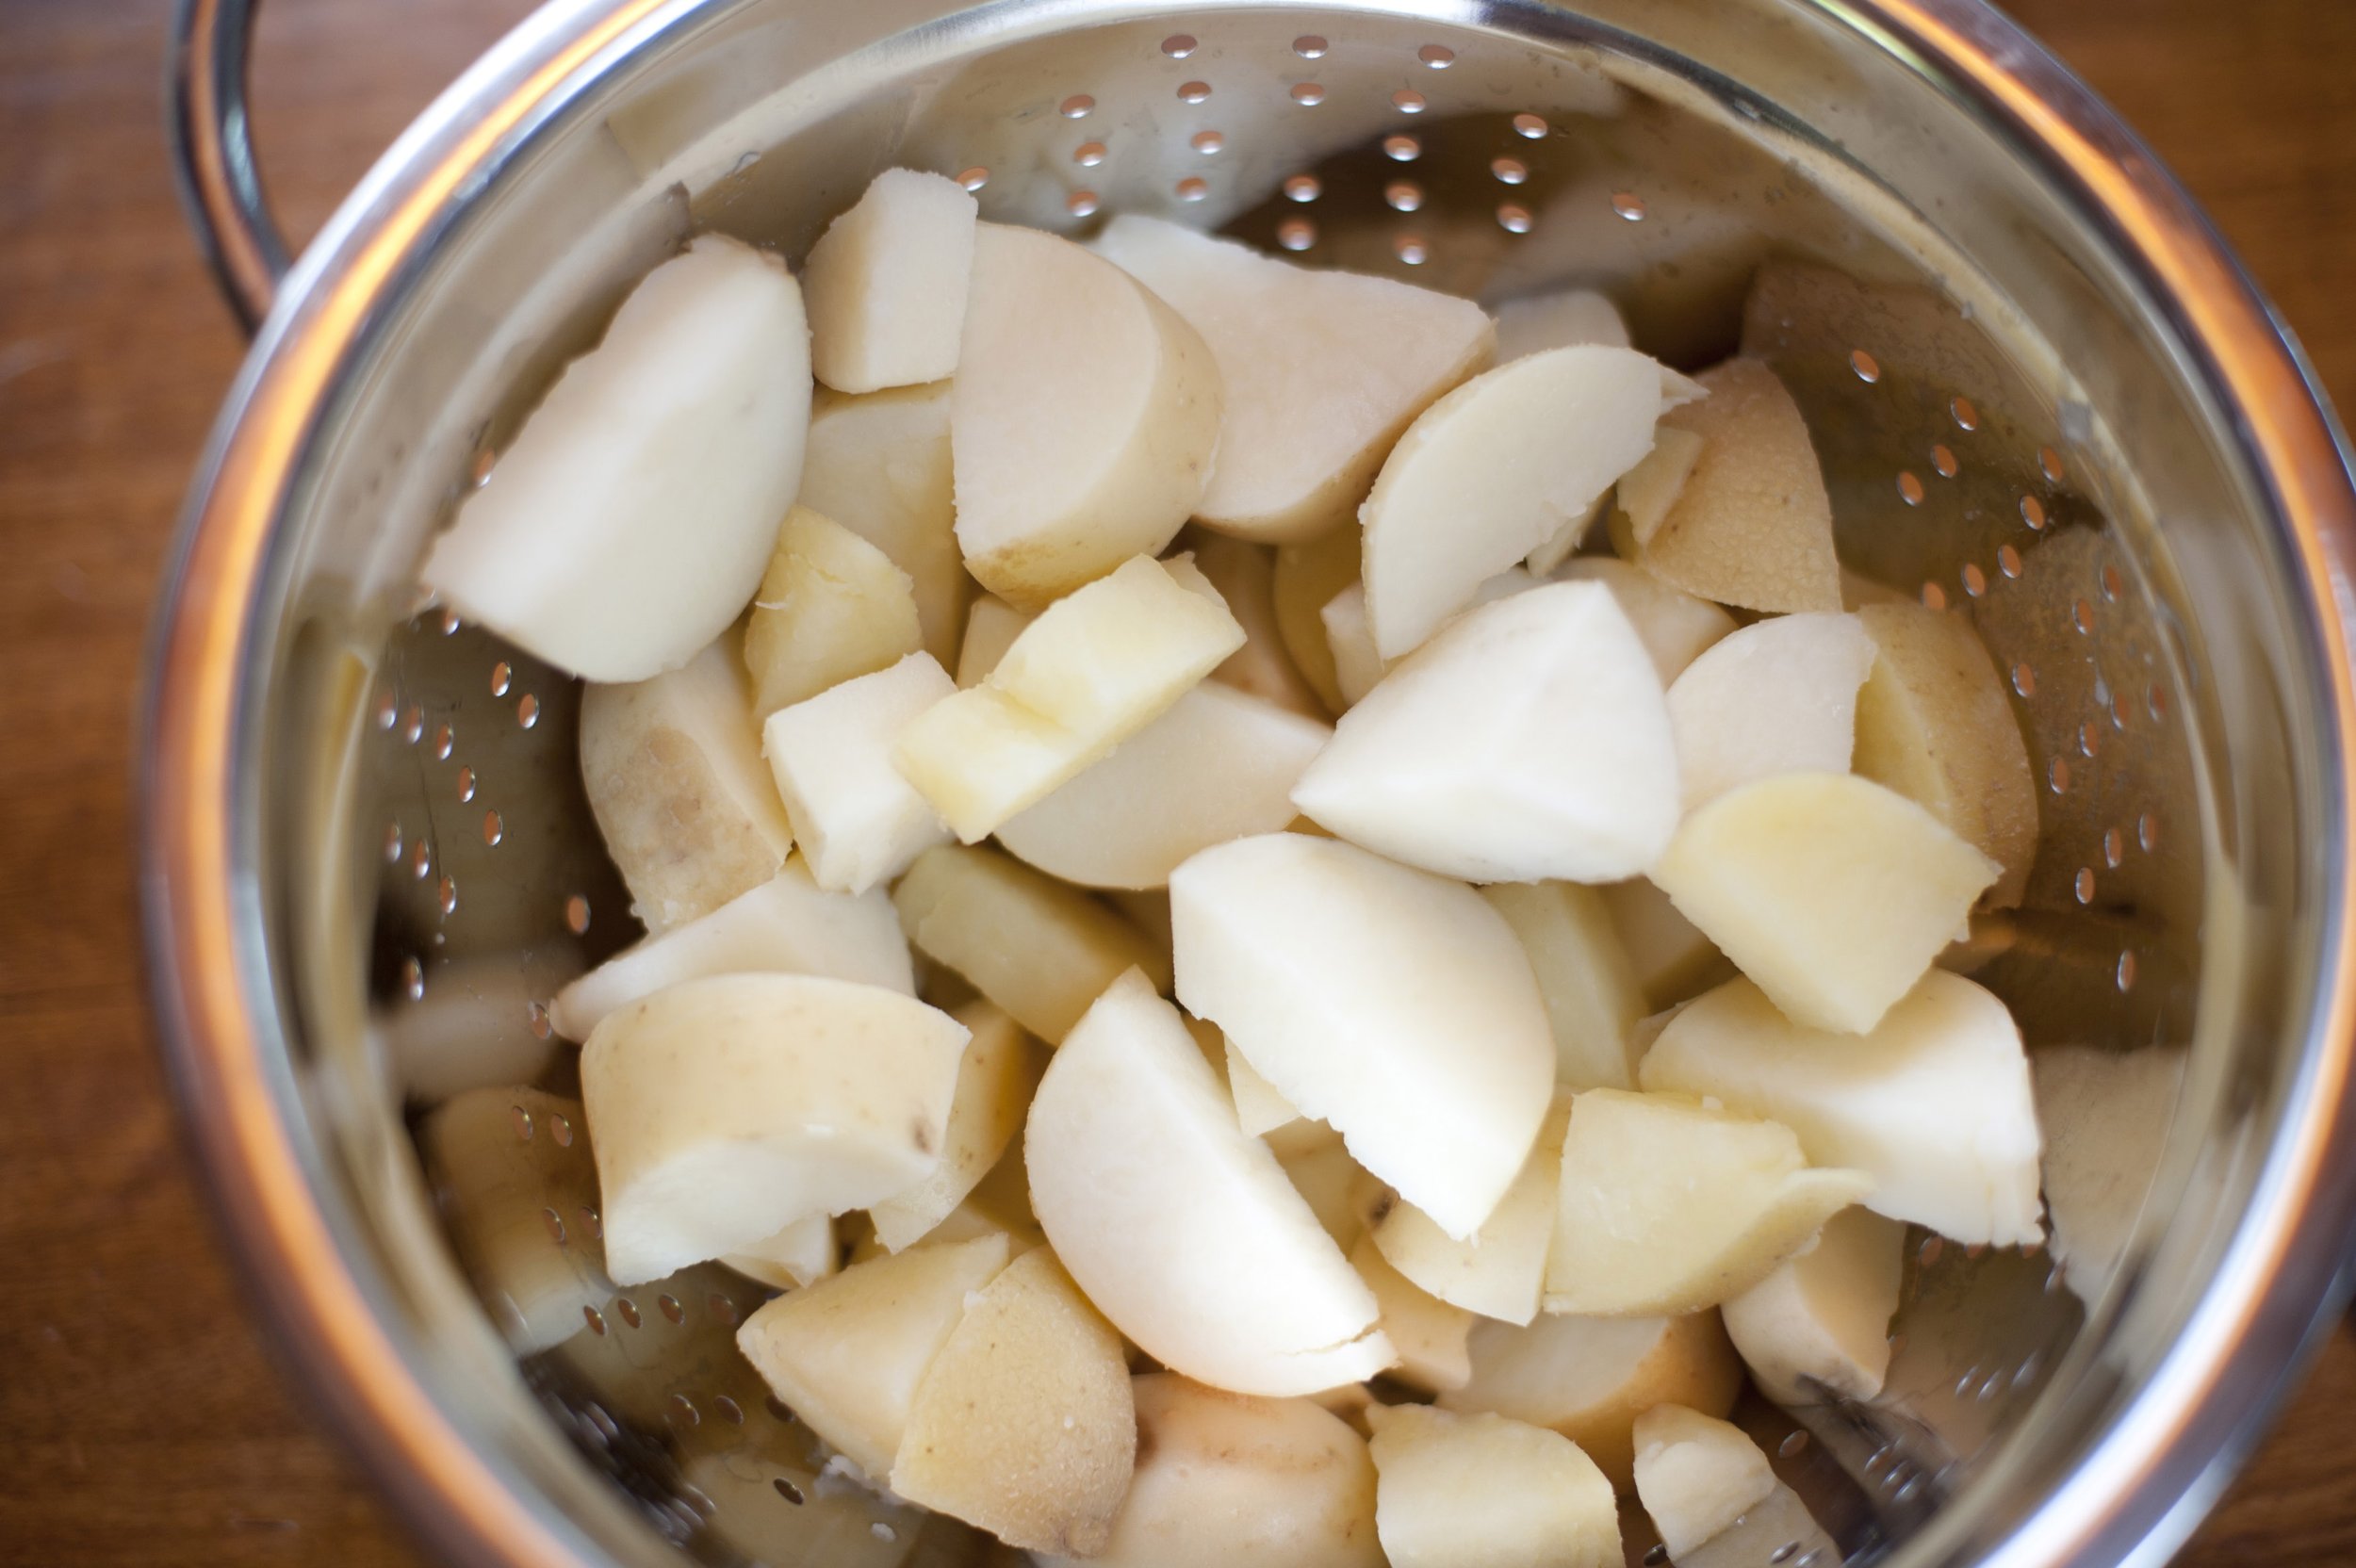
Turn the heat down to low and let it simmer.  In the meantime,  grab your second pot, fill it with 2–3 quarts of water and set it to high heat. Add in salt, and bring the pot to a boil. Dice your potatoes, and add them to the boiling water. Cook for 5-8 minutes or until you can easily pierce them with a fork. Drain the potatoes in a colander and set them aside. 


Now, let’s turn back to your onion and bacon mix and turn the heat up a bit to medium-low. Slowly add your flour, stirring constantly, until a thick paste forms. This is a roux, of a type. Stir slowly and cook for 5 minutes until it becomes golden brown. You’re looking to cook out the ‘raw’ flavor of the flour. 


After five minutes, bring the heat up to medium and slowly stir in the bottled clam juice, one cup at a time, fully incorporating it into the roux before you add more. 


Turn the heat up further to medium-high and add your potatoes and the clam meat with its juices. Keep stirring for 5 minutes until the clams are tender. 


Stir in your cream slowly, and then top with white pepper and stir it in. 

Remove the bay leaves before serving, and dish it up with your choice of grain. We like serving it with pita bread or a crusty slice of bread, while many enjoy oyster crackers. 

The final product though? That was all ours. It tasted even better than it looked in all honesty.


What do you think? Are you willing to give this tasty soup a try as winter comes? Or will you hold out until the cold has actually set in, come February hopefully? Let us know what you think of the recipe, or your own favorite version of New England clam chowder in the comments below or over on our Facebook page. 


If you’re here because you’re worried about Winter being just around the corner, you’re not the only one. Whether you’re looking at issues with your washer and dryer or you want to make sure your oven and stove are up to snuff before Christmas, we can help. In addition to repairing appliances, we at Appliance Rescue also offer maintenance checks. Whether you’re worried about just one appliance or about all of them, we’ll walk through with you. We’ll look at all of the appliances you request and see what is or isn’t happening. Whether it’s making sounds, smells odd or you’d just rather be safe than sorry, we understand. We’ll go over all of the possible issues and make sure that your appliances are good to go.

You can reach out to us to set up a maintenance check on our contact page or by giving us a call at ((214) 599-0055). We’ll work with you to set a time and date that works best for your schedule. From there we’ll send one of our expert technicians to go over your chosen appliances. At Appliance Rescue Service, our goal is to get your home running smoothly again. 

Oven Deep Dive

 How does it work, why does it work, and how can you break an oven?

We are back again for our final appliance deep dive article. This one is all about the oven in your kitchen. We bake with it, we cook with it, we roast with it, and that’s only some of what your oven allows you to do. We're taking a look at the types of fuel, the parts that you need to be aware of, and the most common features that you can be on the lookout for. 


Types of Ovens


When it comes to ovens, there are three main categories. You have your conventional electric oven, your conventional gas oven, your steam oven, and then the convection oven. 


A conventional oven will cook your food by heating it with radiant heat created by the internal elements rather than an open flame. There are typically two heating elements or resistors in the top and bottom of the oven. Because of the ease of production, this is the most common and most basic oven available on the market. However, these are also not as precise when it comes to cooking. They're fantastic for cooking lots of food, they heat up quickly and evenly, and as we said, they're easy to replace. 


A conventional gas oven, on the other hand, is much better for more precise foods. A gas oven dates back to the 19th century. They can still be found all across the globe, both because they're effective in terms of cost and also because of the ability to fine-tune the temperature. 


The pieces within your gas oven are the ignition, the cooling fan, the thermostat, and the burner or burners, depending. The most important though is the flame failure device. This tool works to cut off the gas supply and prevents the build-up of gases if something goes wrong.


Your gas oven today is actually much safer than many would have you believe when treated properly and maintained. In the past, gas ranges and wall ovens used what was called a free-standing pilot light. Today they rely on a safety valve, that flame failure valve that we mentioned, that doesn't permit gas to flow into the burner unless the igniter is producing enough heat to ignite the gas. If there's no electricity, the oven igniter doesn't get hot enough, and therefore the gases cannot build up. 


The steam oven, though, is an oven that either cooks just by using steam or has an additional steam function on top of other more 'standard' functions that it can switch in between. Most steam ovens function by siphoning water from a cistern that you fill up into a built in boiler. That gets heated to 212* F and then vented into the oven. The heat from the steam is just as effective for cooking your food as any other method, and can actually be faster. 


Our final style of oven, the convection oven, is actually different from either the electric convection oven or the gas oven. In this type of oven, the main feature is actually the fan that enhances both the circulation of air and the temperature in the oven. The other elements include a tray at the bottom to protect your bake elements from drips or spills, a fan blade, a cooling compartment, and a convection baffle. If you're like most people and haven't heard of a battle before this is a case that protects and encloses the fan separate from the rest of the oven. The fan serves to move hot air evenly around your food, causing a faster cooking time.


The convection oven is for more than baking, although that is what some say it's best for it's capable of roasting, broiling, toasting, and dehydrating. All of that with hot "just" hot air. 

An all white kitchen is marred by a stainless steel freestanding range combo in black and stainless steel


Parts of Your Oven

Now, while it's true that your oven types are all very different, there are some similarities that can be found across all of them.

All ovens are going to have an element that accomplishes the goal of making it into a very, very hot box. Electric ovens have a bake element, gas ovens have the burner system, the steam oven has the boiler, and the convection ovens have fan and bake elements. 

They also all have an internal thermostat that's meant to measure the heat inside and shift temperatures as needed. If your oven that you're dealing with is particularly old you might not have that and will need to look for other methods of checking the temperature. 

Most will also feature a small vent inside to help with mitigating the smoke that can be created or a duct for removing the smoke outside.


Beyond these few parts though, your ovens will be different. It's best to hold on to your manual when you purchase it so that you can reference it as needed.

A built-in double wall oven from Wolf blends seamlessly into the kitchen in all white


Features With Your Oven 

All right, that's the boring stuff Let's move on to some of the interesting stuff like features you can look out for.


Multiple types of heat settings - 

We love it when an oven has options from baking to boiling to 'keep warm’. Because cooking can be so different at different stages having something like this makes life so much easier and more precise.


Dedicated warmer tray or drawer-

Instead of offering a separate mode, some ovens will offer a dedicated section of the oven for keeping foods at a certain temperature. This is fantastic if you are looking to proof bread or wanting to keep different pieces of a meal warm while other pieces are still cooking.


Steam cleaning mode-

As we've mentioned before, the only good way to clean your oven is with elbow grease. However, we will say that ovens which come with a steam clean mode rather than the burning method, are much more to our liking. These make it so much easier to get in and get everything wiped off and don't require running the risk of melting and important component within your oven.


Safety locks-

Parents rejoice! It is possible to find ovens that feature a safety lock to keep your little ones out of the oven. While that is one feature in a household of many places they can get into, it is definitely a worthwhile feature in our opinion. 

A steam oven open and displaying two different dishes one of fish and one of leeks, plus the reservoir for water in the side.


Did you learn what you expected about ovens? Did we miss something glaringly obvious? Let us know over on our Facebook page or in the comments below. 


If, instead, you are here because your oven specifically is giving you trouble, we're sorry to hear that. You can reach out to us via our contact page or by giving us a call at ((214) 599-0055) to set up an appointment today. We will work with you to find a time that works best for you and your schedule. At Appliance Rescue Service, our goal is to get your home running smoothly again.


P.S. And for those of you wondering the answer to our question in the headline of how to break an oven? The answer is easy, you press the “Self-clean” button.


Ways to Update Your Bathroom, and Ways You Shouldn’t

Some of these were great and some didn’t make sense

We just survived Black Friday and like many of you, we were looking at all of the articles shouting about the greatest products for your home. But, have you ever really thought about the items? Or do you  just scroll past? This week we’re taking a look at a popular article over on Buzzfeed and giving our breakdown on whether or not we think you should add these to your bathroom. We’re looking at this article, so if you want to check it out before we get to it, have at it! 


Before we get started, this is our rating system. We did a rating of 1-10, with 1 “Being no way am I buying this” and 10 being “absolutely, you should get it”.


1. 1 - NO, these look beautiful for about a week before the hot water makes them lose their shine. They also don’t hold everything that you need if you have a household of more than 1 person. 

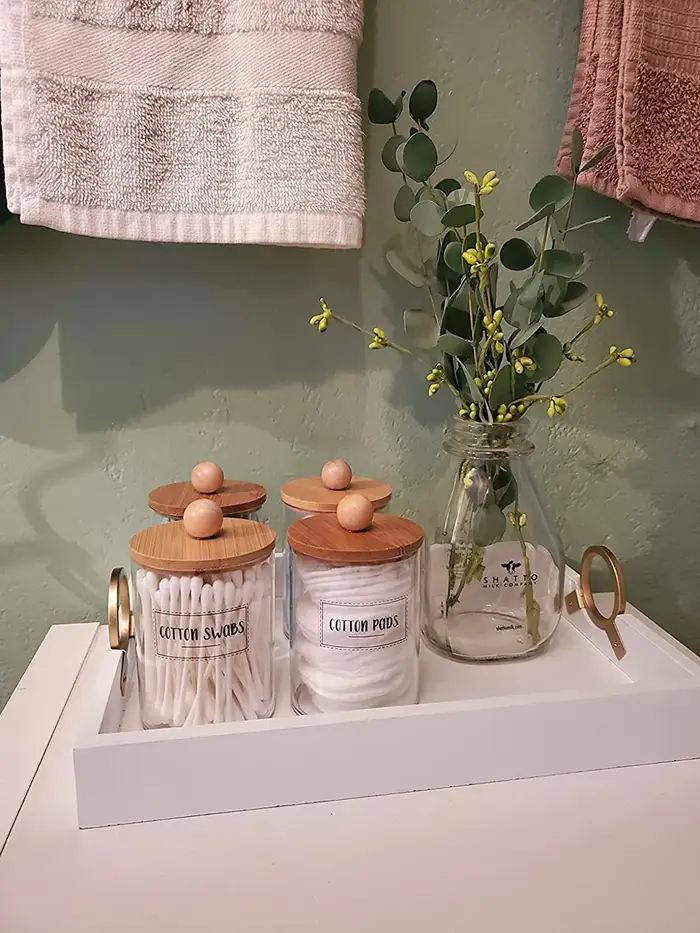
2. 5 - We are split on this one because, on one hand, you can DIY this look for yourself much more easily, BUT if the bamboo lids fit with your current decor, it’s an easy purchase. 

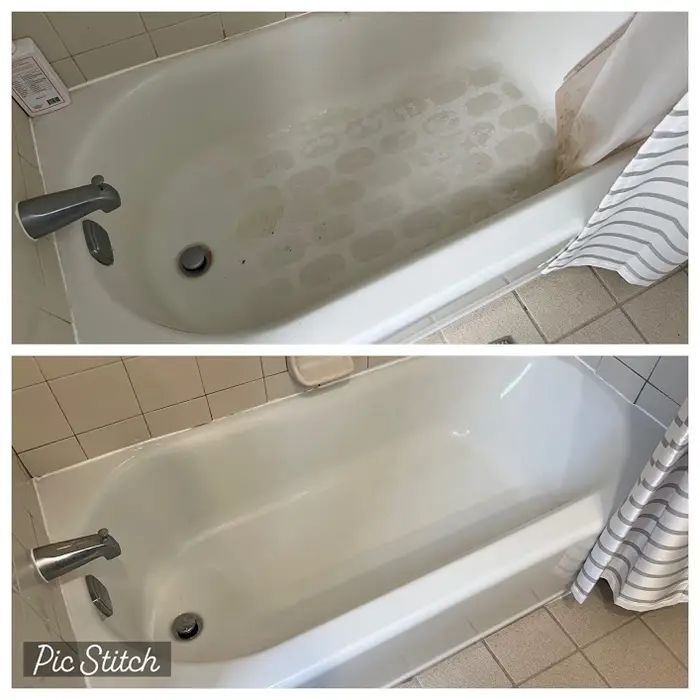
3. 1 - We have been warned to absolutely NOT do this, as it will actually ruin the finish on your tub. If you turn a normal cleaning into an attachment that’s one thing. The brushes that are designed for your drill though, are typically made with metal or wood in mind and will ruin your lovely tub. 

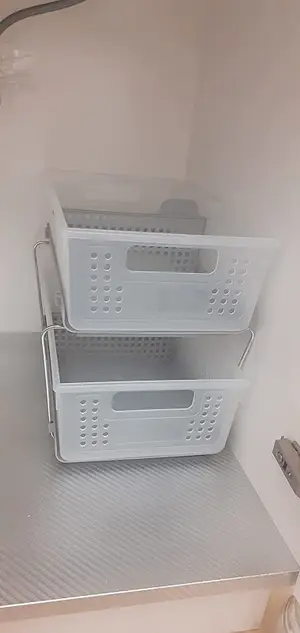
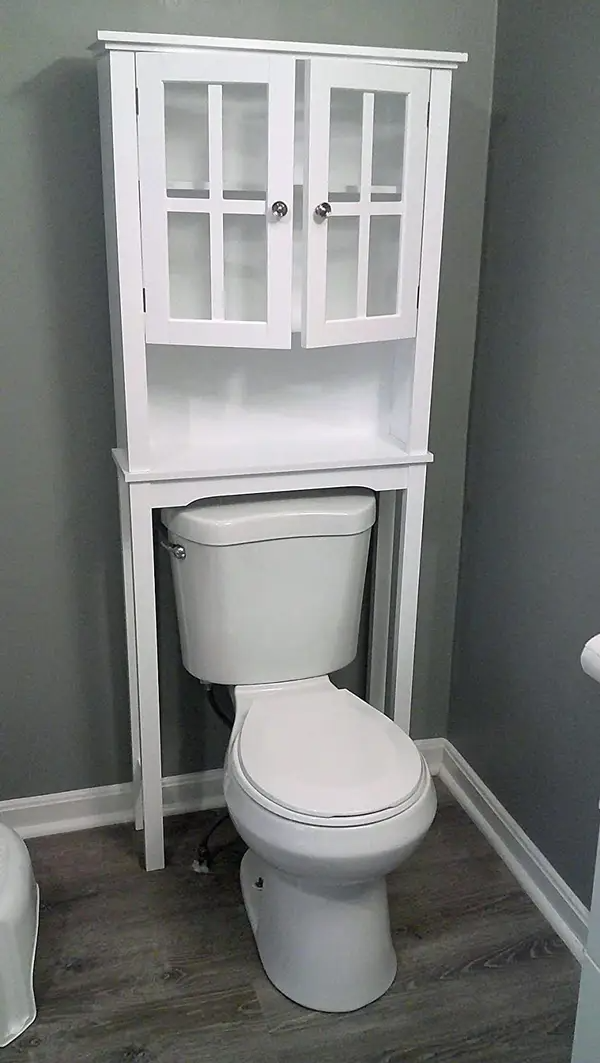
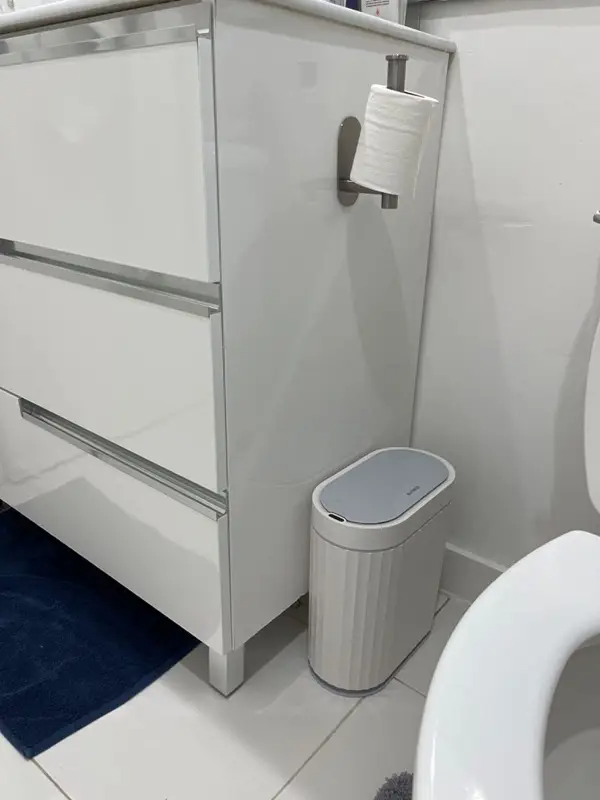
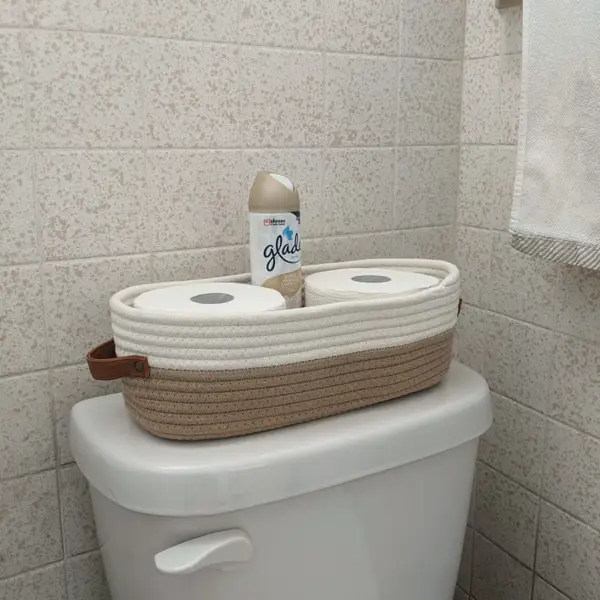
4. 10 - Utilize that vertical space! Poor design choices of homes often leave us with large gaps of useless space, so we love finding ways to solve that issue. 

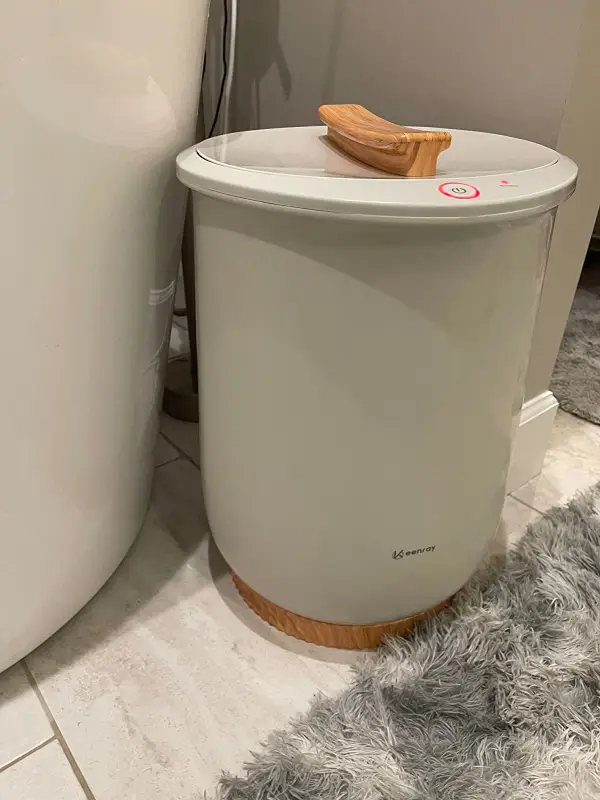
5. 10 -  We love the idea. 

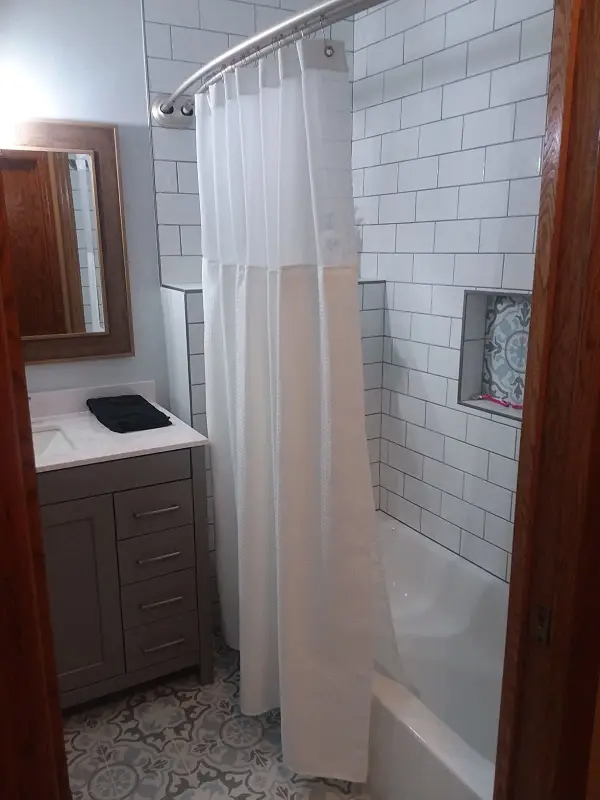
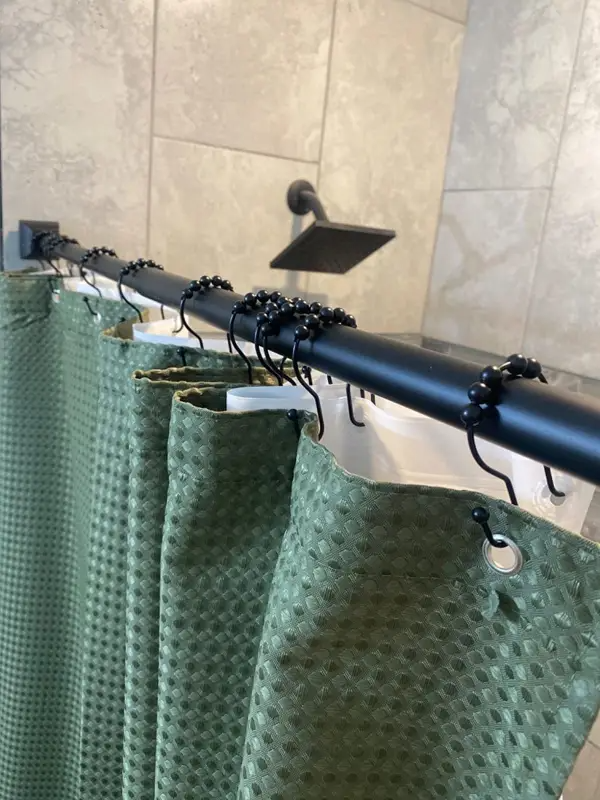
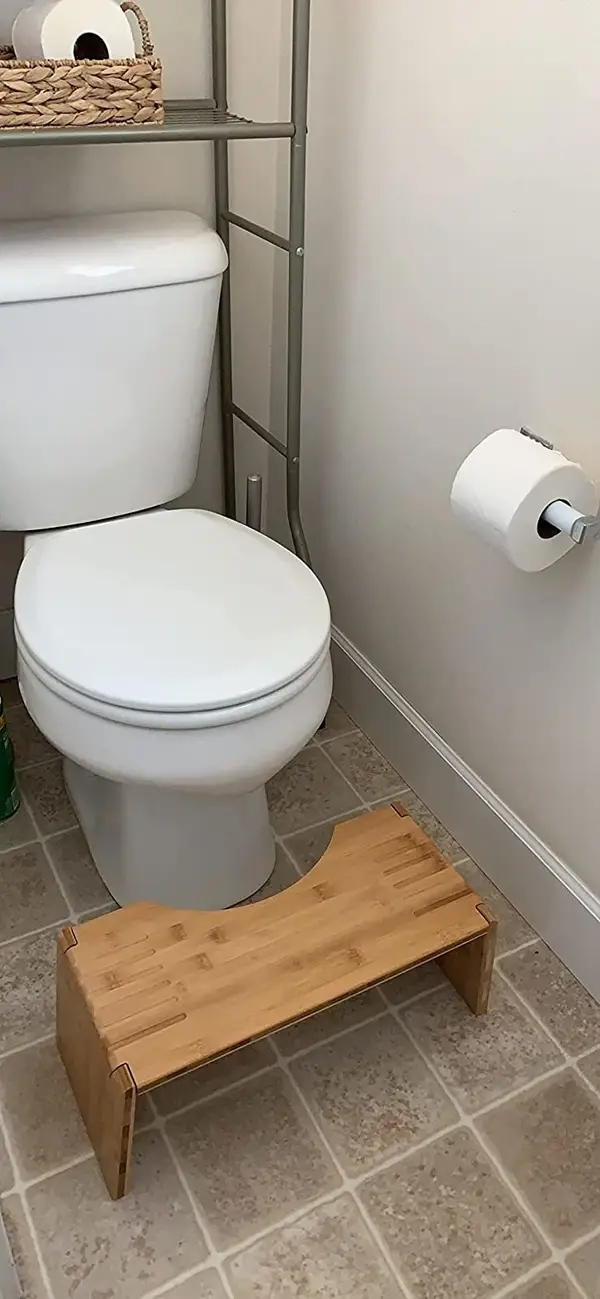
6. 6 -  Definitely useful if you choose the right one, but there are also definite possibilities of smacking your head against it. 

7. 10 -  Verified cleaning products are always a win in our book! 

8.  7 -  Bubble baths are a definite win as far as we are concerned, but we will say that with smaller tubs, such as builder grade, we will caution a need for awareness of your space so that you don’t tip it over or get hurt trying to get in or out of the tub. 

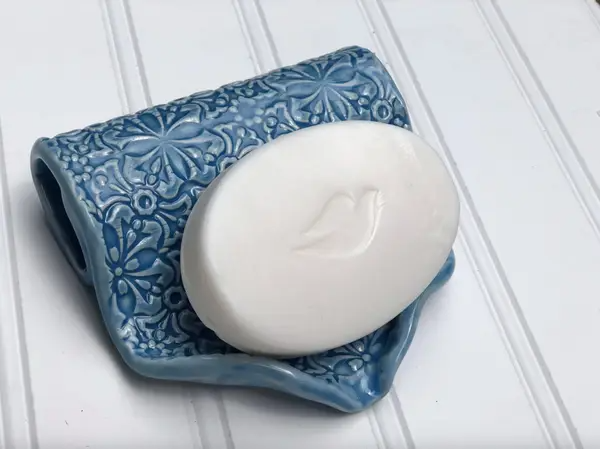
9. 1 - WHY? What is the purpose? 

10. 10 -  We’re not really concerned about the look of this one, but for ease of access and cleaning, we are all over it. 

11. 10 - Not only does adding mirrors make a room feel more expansive, but it also makes it ~breathe~ more. 

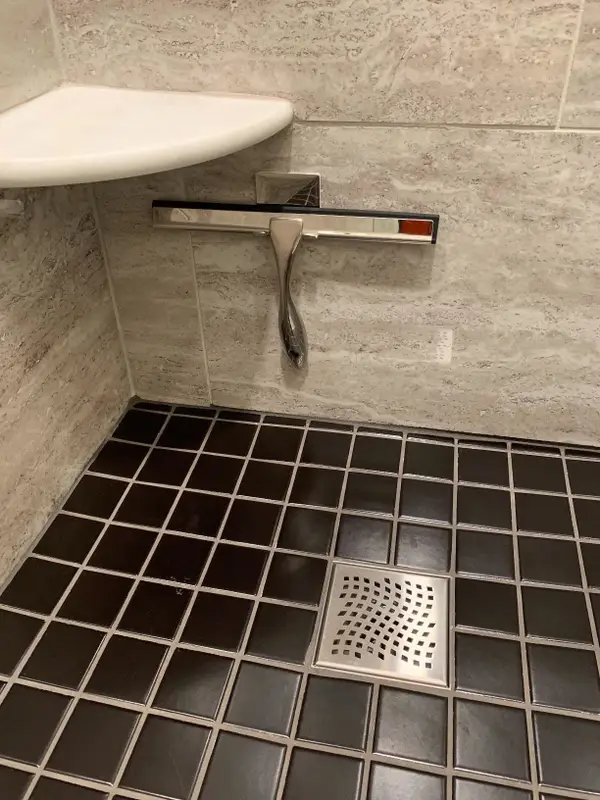
12. 10 - Although not relevant to making your bathroom more organized, luxurious, or even magazine worthy, a squeegee is very useful for getting it clean. 

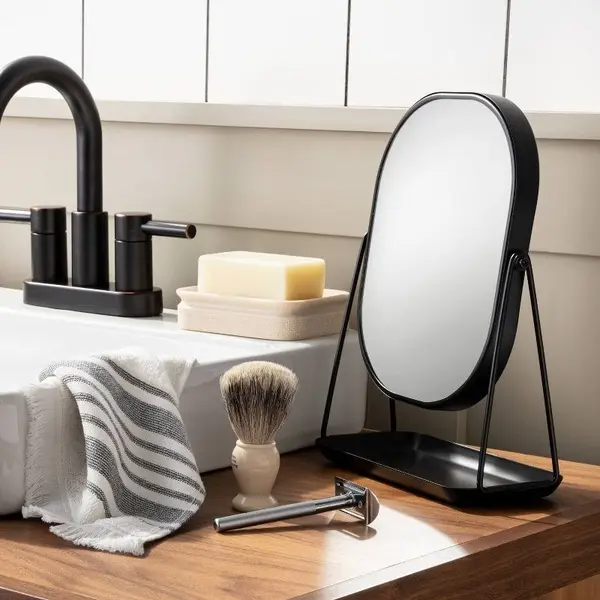
13. 10 - Dead useful for getting ready in the morning. 

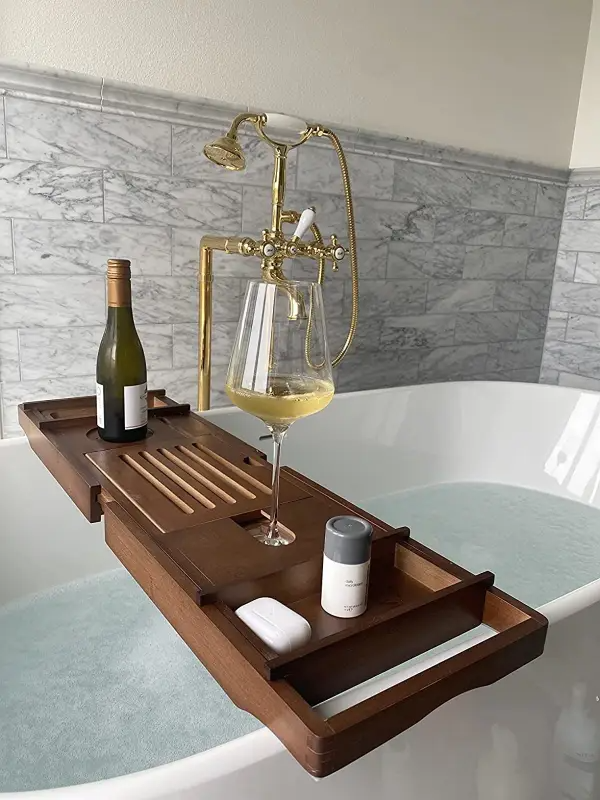
14. 2 - It’s pretty, so it gets a point, but… why?

15. 10 - We absolutely agree on this one for several reasons. Your light fixture absolutely affects the way the rest of the room looks. The clarity of the light or how diffuse it is will also reflect on the space and how you use it. 

16. 8 - We love the idea of this one, but we won’t say it’s a need, more of a next step up for the look of your bathroom. 

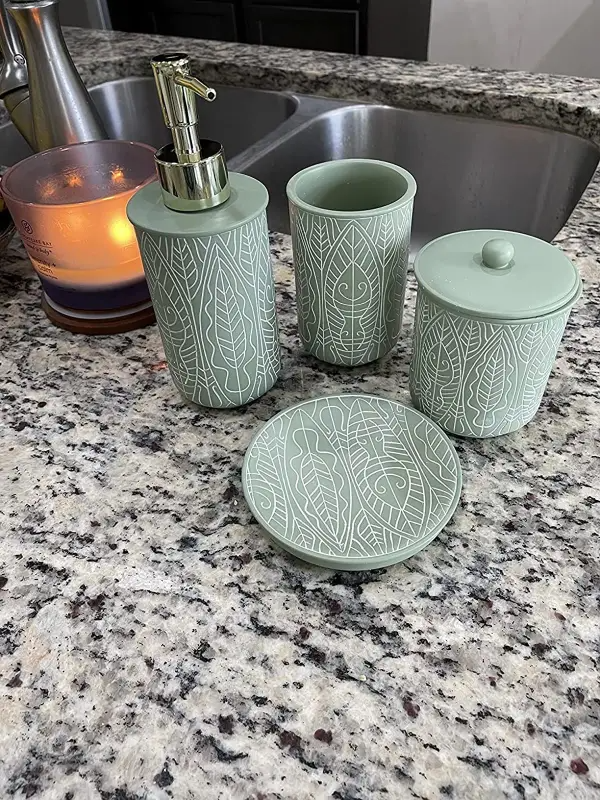
17. 5 - Having a  set in your bathroom can absolutely tie everything together. But pastels? No. 

 18. No. We’re not even dignifying this one with a rating. Instead, we suggest a simple tray or a tiered system that will actually make use of the counter space that it sits on. 

19. 3 - Peel and stick tile is great for the kitchen, and we have sung its praises many times in the past. But in the bathroom, it is too likely to be damaged by humidity and water from the bath/shower and will need to be replaced frequently. If you’re up for that challenge, we so go for it, but be aware of what you’re signing up for. 


20- 23  10 All of them do what they say, and are great for cleaning


24. 8 - This is very tiny, and might not work for all bathrooms, but we do appreciate what it does and how well it does it. 

25.  7 - Cute, good for aesthetic but is small and easy to trip over. 

26. 8 - Definitely a luxurious upgrade to your shower experience, but we do prefer having options for the pressure that this waterfall shower head doesn’t seem to supply. 

27. 5 - Although definitely very useful, we would argue that this has little to nothing to do with aesthetic or looking like your bathroom is more spalike or luxurious. 

28. 6 - Much like the peel-and-stick tiles, this one can quickly deteriorate due to the humidity of the room. However, if you choose the right adhesive, you’ll gain the balance between “Sticky enough to stay on the wall for years to come” and “So sticky that it will peel off the paint AND the drywall when you want to replace it for something else.” 

29.  5 -This one just seems like a given to us? 

30. 10 - Mix it up with different colors, and we love this one. 

31.  15. For our final one, this is definitely one to round out the article on, as it is absolutely a fantastic way to finish any shower. If you’ve got the space in your bathroom for this, go for it. You will absolutely thank yourself later. 


With that we have finished out this article and we want to know what you think! Reach out to us on our Facebook page or in the comments below! We’d love to hear from you on what you agree or disagree with. 


If you’ve got issues with your major appliances and you found our blog by accident, no worries! Check over at this link and that’ll take you straight to our contact page. Or if you’d rather talk to us directly, you can give us a call at ((214) 599-0055). At Appliance Rescue Service, we’re here to help you get your home running smoothly. 


This is all in the interest of fun and discussion, and we don’t have anything against Buzzfeed or the author of the article. 

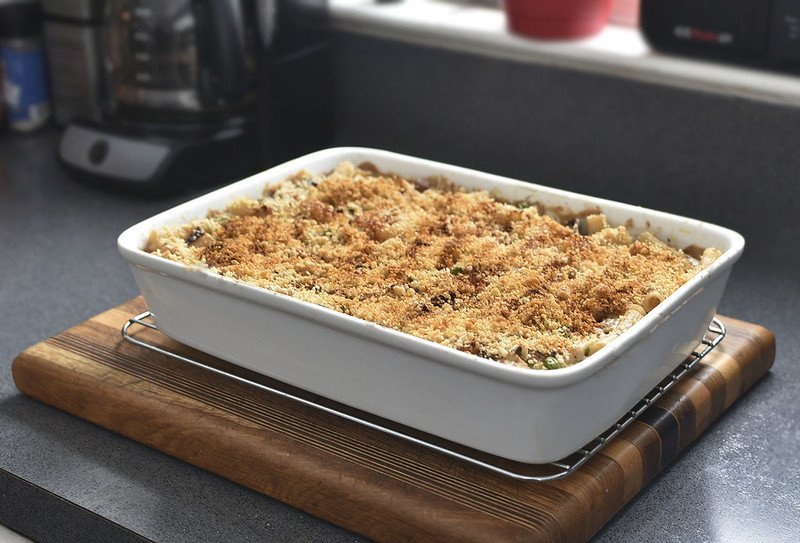
Turkey Tetrazzini Takeover!

For When You're Left With A Ton Of Turkey After Thanksgiving And Don't Know What To Do With It.

Welcome back to another recipe of the week!  We almost always end up with leftovers after Thanksgiving of some sort, and you need to use them up without burning out. This week we're taking your turkey and turning it into a medley of flavors with this Turkey Tetrazzini. While the first version is a very traditional mix,  we also have a Southwest style in the notes afterward if you're looking for something wildly different. For now, let's grab that turkey and dive in! 


Ingredients:

1 lb of dried pasta 

3 Tbsp butter

4 garlic cloves

1lb onions 

3 1/2  oz of button mushrooms

1 cup white wine

2 C chicken stock

1/2 C all-purpose flour

1 C turkey stock  (can be substituted for more chicken stock if you don't have any)

1/2 C heavy cream

1 C milk 

14oz cooked turkey

1 tsp ground nutmeg

10 oz Cheddar cheese

3 1/2 oz Parmesan cheese

8 oz frozen peas

salt 

fresh ground black pepper

1 lemon 

1 C panko bread crumbs 


Recipe: 

Start by gathering up your garlic, onions, mushrooms, turkey, cheddar cheese, and your lemon. Each of them needs to be prepped in different ways, so you're also going to need your chef's knife, a pair of forks, a juicer, and a cutting board, as well as dishes for each ingredient.

Start by crushing your garlic cloves with the side of your knife and thoroughly smashing them.  Then take your onions, remove the tops and bottoms of them and chop the rest into 1/2 inch pieces. 

Next up is the mushrooms, for those, you'll want to slice them into 1/4-inch slices. These are thick enough not to melt but thin enough to cook easily.  When you're done with those, take your turkey and shred it. You can even go so far as to chop the shredded pieces after so that nothing is longer than bite size if you like, but the shredding is the important part here. 

For the cheddar, you're going to want to shred that all and set it aside in the fridge for the time being. Lastly, grab your lemon. Roll it firmly across the counter with your palm and then cut it in half, making sure to get out as much of the juice as you can from both halves.

Once you've prepped all of your materials, set a pot of water on the stove, add 1/4 c salt to the water and bring it to a roiling boil. Toss in the pasta and cook it until cooked but still firm. This is so that you don't get pasta-flavored mush later on.  Drain the pasta and set it aside. 

-Add the butter to a large frying pan and allow it to melt. When done, add in your garlic and onions and saute for 7 minutes or until the onions are tender.  Stir in your mushrooms and cook for an additional 5 minutes stirring frequently. 

-Stir your wine and 2 cups of chicken stock into the pan and reduce the heat to a simmer. Allow the mixture to reduce for 10 minutes. Next, add in the flour and mix thoroughly to incorporate. When you don't have any clumps left, stir in the turkey stock a little at a time. (Or the third cup of chicken stock if you went with that.)  Whisk it all together to form a sauce. 

-Reduce your heat to medium-low and stir in the cream, milk, turkey, nutmeg and both types of cheese.   Season it well with salt and pepper, mixing to incorporate. Allow it to simmer for 15-20 minutes. Finally, add in the pasta and the peas while you preheat your oven to 350*F. 

-Remove the pan from the heat and mix in your lemon juice. 

-Transfer the mixture to a casserole dish and coat the top with your panko.  Bake the casserole for 25 minutes or until the top, is golden brown and bubbling. 

For a tasty variation, you can sub out the cheddar cheese for cream cheese and the Parmesan for a little bit of Monterey Jack. 

Remove the peas and add in fresh red and green bell peppers instead. We would say two of each type, diced and sauteed, prior to adding in. 

Finally, add in 2 tsp of chili powder,1 tsp of smoked paprika, and 1/4 tsp of cayenne pepper. 

Follow all of the directions otherwise and enjoy a delicious southwestern-style tetrazzini. 


With that wrapped up, that is our recipe for this week! Let us know how yours turned out or any variations you've tried in the comments below or over on our Facebook page. 


If you wound up here because your appliances are malfunctioning after Thanksgiving, give us a ring! You can reach out to us via phone at (214) 599-0055) or by going to our contact page. Wherever you are in the Dallas Metro area, Appliance Rescue Service is here to help. Whether you're in Coppell, Allen or Plano, we'll work with you to get your home running smoothly again.
What is the Most Energy Efficient Clothes Dryer?

The Top Energy Star Rated Dryer And 4 Others That Come Close!

We're back at it again, looking to find the most energy-efficient appliances for your home! This time we're looking at your dryer and seeing what we can come up with. We'll walk through the different types of dryers first, then what makes them efficient, followed by five of the most energy-efficient dryers on the market for 2022, and wrap up with tips for purchasing a new dryer or making your current one more efficient. 


Categories of Dryer 

Vented Dryers

Vented Dryers can be broken down into either gas or electric dryers, with both types working mostly the same.  Both contain a heating element that raises the temperature of the air inside the dryer drum. The moisture that then evaporates from the clothes is vented out through aluminum ducts. 


Ventless Dryers 

These dryers are better for smaller spaces like apartments and tiny homes. Instead of having built-in ducts, They contain all of the heat and moisture inside of the machine. The water can be drained out of a reservoir later and should be done between loads for best use. 


Condenser

A condenser dryer is different from both of the previous models in that it pumps out the water.  It starts by pulling air in from outside the machine and over the heating elements, which then gets pumped into the drum of the dryer. The air is then pulled back out as cooled air, which gets condensed further into water and is pumped out. This process is repeated until the end of the process. 


Heat Pump Condenser

Our final variety of dryer is a heat pump condenser. These are even more efficient than any of the previous options using about 1/2 of the energy that they require.  A heat pump condenser is different because it uses a refrigerant system with both hot and cold coils. Instead of consistently drawing in air the way a condenser does, it keeps the air internal and constantly heats and cools It as needed to remove moisture from the air.  That water is then drained into a holding tank in the dryer that you empty as needed. 


For people who wash a lot of laundry and have high electricity rates, a heat pump condenser is a great choice because of how energy efficient it is. 


Ratings according to Energy Star 

How do you tell, though, when something is efficient vs. when it's not? When it comes to clothes dryers, you're going to be looking at a term we've seen in one of our other articles, Combined Energy Factor. CEF is a measure of energy efficiency based on a couple of different factors, which, combined together, show how much the dryer is going to be affecting your energy bill. The higher the CEF, the more efficient the dryer is. 


Top 5 Energy-Efficient Dryers According to Energy Star for 2022

1- Beko - HPD24414W 

Electric Standard Ventless - Heat Pump

Combined Energy Factor (CEF)Field details:11.0

Drum Capacity (cu-ft):4.5

Estimated Annual Energy Use (kWh/yr):217

Optisense Technology

Internal smart sensors allow you to choose how dry you want your clothes and will stop the dryer when that level of dryness is detected

16 Programs

Unique drying cycles that include: Permanent Press, Delicates, Gentle Care, Express 45, Wools, Jeans, Silent, Super Quick 30, and even Baby Sanitize


2- Blomberg - DHP24404W

Electric Standard Ventless - Heat Pump

Combined Energy Factor (CEF): 11.0

Drum Capacity (cu-ft): 4.5

Estimated Annual Energy Use (kWh/yr): 217

Anti-Creasing Option

The gentle drum action of a Blomberg dryer separates and smooths out individual garments as they dry, so when the cycle finishes clothes come out wrinkle-free and ready to wear. 

Gentle Care

Blomberg's closed loop heat exchange system means the heat pump dryers use a circulating air temperature that is consistently 40 percent lower than conventional dryers. This gentle care helps keep all fabrics-even woolens-at their best and extend garment.

Quick Drying

An 8.45 lb. load will dry in less than one hour. They also save your clothes. Faster drying and cooler temperatures reduce friction and shrinkage for clothes that look their best and last longer.

Direct Draining

A calibrated water-level sensor identifies any deviation from the correct water level in the tank and automatically starts draining if the level is exceeded.

16 Drying Cycles

Choose between Automatic Regular/Delicate Cycle, Automatic Perm Press/Knits Cycle, and Air Fluff / no heat.


3- Miele - PDR908 HP 

Electric Standard Ventless - Heat Pump

Combined Energy Factor (CEF): 9.75

Drum Capacity (cu-ft): 4.6

Estimated Annual Energy Use (kWh/yr): 245

Honeycomb Drum

Less folding, easy finishing: Laundry is dried very gently and evenly in the honeycomb drum.

PerfectDry System

The Miele PerfectDry system dries garments perfectly.

Intelligent Dryers

Gentle and uniform drying thanks to intelligent technology.

Short Program Cycles

Premium commercial technology allows you to benefit from the shortest program cycles.


4- Asko - T411HS.W.U 

Electric Standard Ventless - Heat Pump

Combined Energy Factor (CEF): 9.1

Drum Capacity (cu-ft): 4.9

Estimated Annual Energy Use (kWh/yr): 263

Butterfly™ Drying System

The two paddles inside the machine gently push the clothing in a figure eight, to spread the garments out and allow air to circulate through them evenly.

Soft Drum™ Technology

The new drum design enhances airflow around the load, thereby increasing the drying effect and allowing for even and gentle drying with both small and large loads.

Air Lift™ Paddles

The Air Lift™ paddles are designed to lift the load as high as possible for increased time in the air flow to enhance the drying effect and shorten the drying time while preventing them from bundling.

Multi Filter System™

This is a filter system of five different filters that ensures that all lint and even smaller particles are trapped before they reach the sensitive inner parts of the tumble dryer.

Lint Trap™

The Lint Trap™ is placed in the door and is designed to be easy to empty and clean.

16 Programs

This dryer comes with 16 drying programs to choose from - Auto Extra Dry, Auto Dry, Auto Normal Dry, Auto Iron Dry, Jeans, Synthetic, Terry, Down, Bedding, Silk/Wool, Shirts, Steam Wrinkle Care, Steam Refresh, Quick Pro, Time, and Airing.

Drying Sensor

ASKO dryers with a sensor system will dry your clothes in the shortest possible time and with lowest possible energy consumption.

Steam Wrinkle Care

Repetitive steam injections and heat treatment to eliminate creases in the fabric. Low heat is used to also cater for sensitive fabrics.

Quick Pro Cycle

With this program, you can get your wash completely dry in less than an hour.

Mesh Filter

This filter traps slightly smaller particles than the Lint Trap™ and is automatically cleaned with water.

Foam Filter

As a final step before the air hits the condenser, the foam filter traps the

smallest dust particles.

Lint Cup

Models with a steam function have an additional small filter, the Lint Cup, that protects the steam generator from lint and dust.

65 dB(A) noise level

LCD display

Interior light

Remaining time and program end indicator


5- Samsung - DV53BB89**H*

Electric Standard Ventless - Heat Pump 

Combined Energy Factor (CEF): 8.5

Drum Capacity (cu-ft): 7.8

Estimated Annual Energy Use (kWh/yr): 281

AI Optimal Dry

Automatically chooses the best settings based on what you're drying

Super Speed Dry

Dry a full load in just 30 minutes and achieve a complete wash and dry in under an hour with an added Super Speed Washer

MultiControl™

Eliminate the long reach and operate your dryer right from your washer when the units are stacked

AI Smart Dial

Simplifies your dryer's control panel, learns and recommends your favorite cycles, and allows you to customize your cycle list, making laundry day a breeze

20 Dry Cycles

More cycles to cover almost every washing need for your active family

Sensor Dry

Automatically optimizes the time and temperature of your drying cycle to protect your clothes from heat damage while avoiding excess energy use.

Steam Sanitize+

Samsung Steam Sanitize+ cycle removes 95% of pollen from fabric, while Multi-Steam refreshes clothing and relaxes light wrinkles.

Wrinkle Prevent

It prevents clothes from getting wrinkled

Vent Sensor

Continuously monitors the condition of your dryer's air duct to make sure it's running safely and efficiently.

Drying Rack

The included drying rack provides a perfect place to dry delicate items, sweaters, and footwear gently.


As you can tell, all of these are Heat Pump, ventless, electric-powered dryers. The reason for this is that currently, those are the most efficient and effective models on the market. 


Tips for Energy-Efficient Dryers

If you're looking at buying a new dryer, look for one with these features: 

Sensors to Detect When Clothes Are Dry -Just what it says on the tin. If you make sure that the dryer is no longer running when the clothes are dry, you’re saving energy as well as saving your clothes from additional wear and tear.

Delayed Start- Make use of any time based discounts for energy in your area with a delayed start on your dryer.

Steam Cycle- This helps save you time on ironing or re-running the clothes to prevent or remove wrinkles.

Steam Cycles - Many ENERGY STAR dryers also include convenient features, such as a steam cycle that can help save time on ironing clothes by preventing wrinkles. 


If however you're looking to make the one, you already have more efficient, try these tips: 

-Dry your loads back to back.  Doing this means that the dryer doesn't have to heat up as much by comparison to letting it cool in between. 

- Separate out your lights and your heavier materials. If your dryer already has a sensor for when something is done, this is more effective. The point, though is that your lighter clothes (socks, pajamas, t-shirts etc) are going to dry much more quickly than your heavy materials like sheets, towels, & denims. Save yourself time and energy by separating them so that when you're waiting for a load to dry it's because everything is still drying, not just one or two items. 

-Don't overload the dryer.  If the clothes don't have a way to tumble around and have air circulating, then it's much harder for them to dry.  

-Make sure your dryer vent is regularly cleaned if you have one. Much like in our last tip, if the air cannot get out, the dryer has to work harder, and your electric bill is going to go higher. 


And that is our top five most energy-efficient dryers available on the market as of right now. What did you think? Were you helped more by the new dryers or the tips for improving your current dryer?  Let us know in the comments below or over on our Facebook page! As always, we love to hear from you. 


If you're not looking to replace your dryer, it's just making weird rattling noises, we can help. You can reach out to us at ((214) 599-0055) or on our contact page. Wherever you live in the Dallas Metro area, we will work with you. At Appliance Rescue Service, our top goal is to get your home running smoothly again.  From Addison to Frisco, we're here for you.