Vegetable

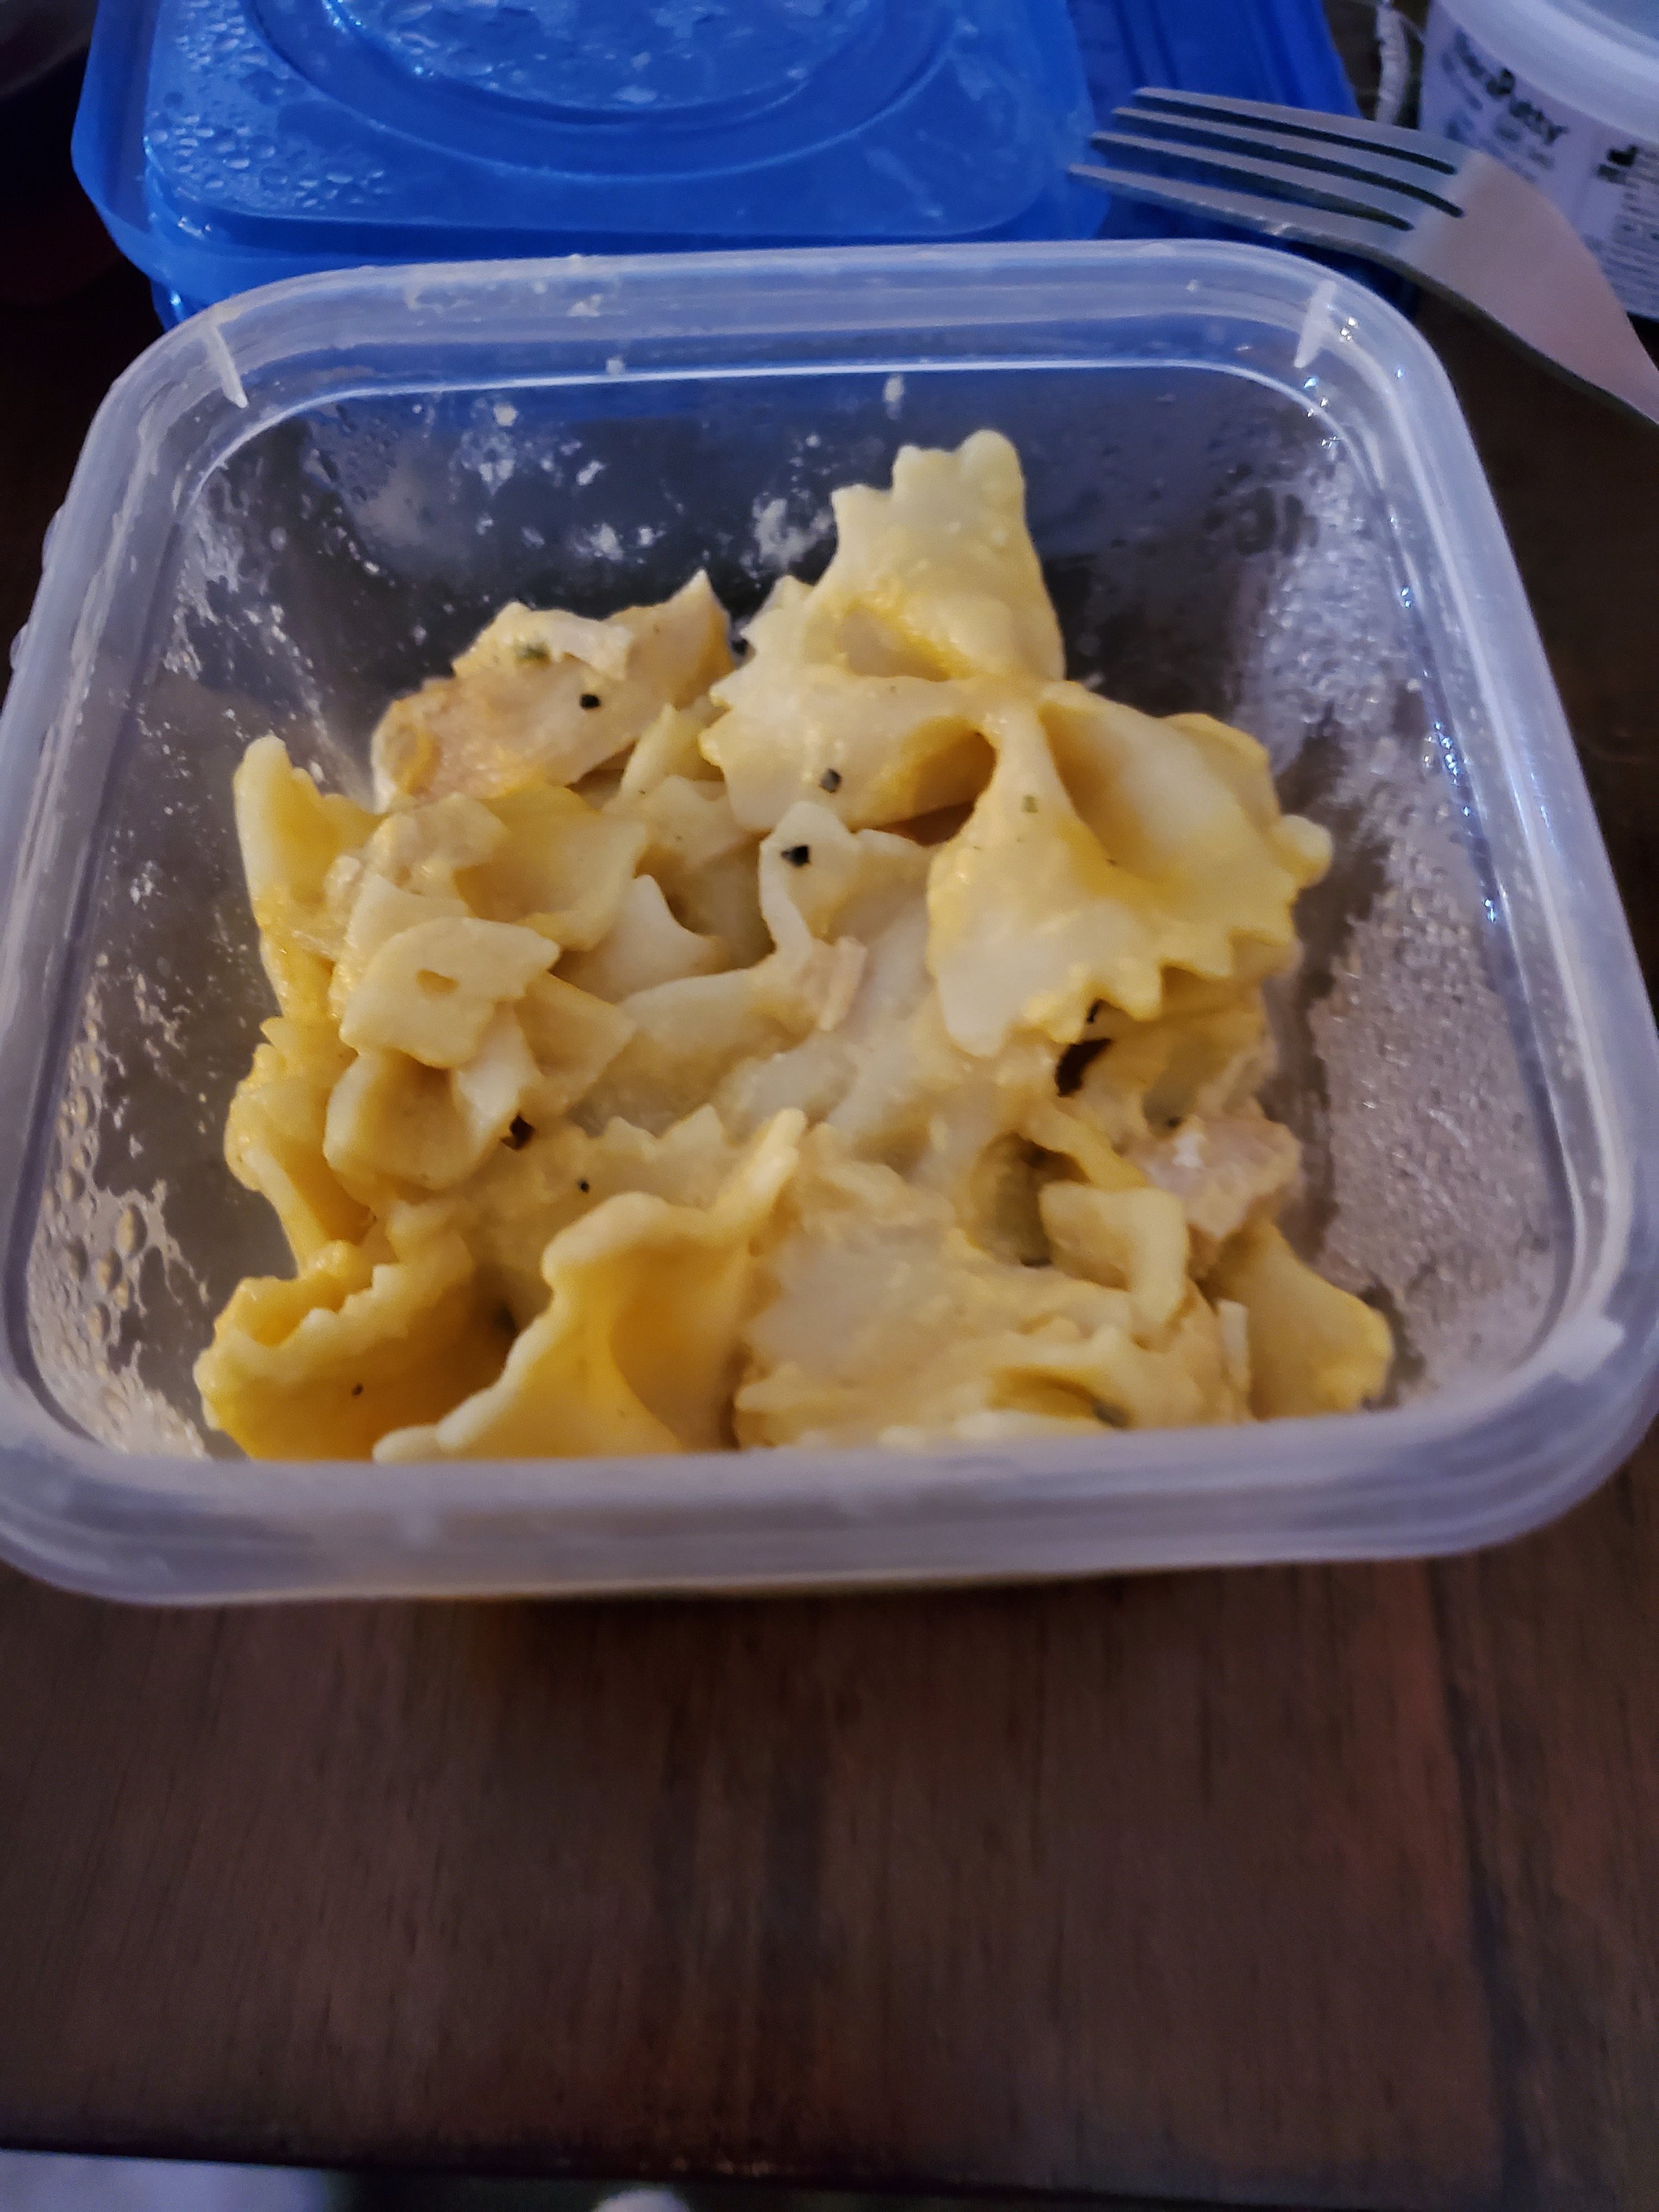
Jalapeno Chicken Bowtie Pasta

Warm enough to get you through winter, hearty enough to keep you healthy in spring.

We’re well into the coldest part of winter, getting hammered from all sides with cold weather and we need something to warm up! This week’s recipe is a great recipe if you’re fighting off a cold or are just sick of the cold. It’s got the same basics as a good chicken noodle soup with some extra added kick to it. 


Ingredients

1 medium yellow onion

3 large carrots

3 celery stalks 

salt and pepper

3 garlic cloves 

2 Tbsp butter

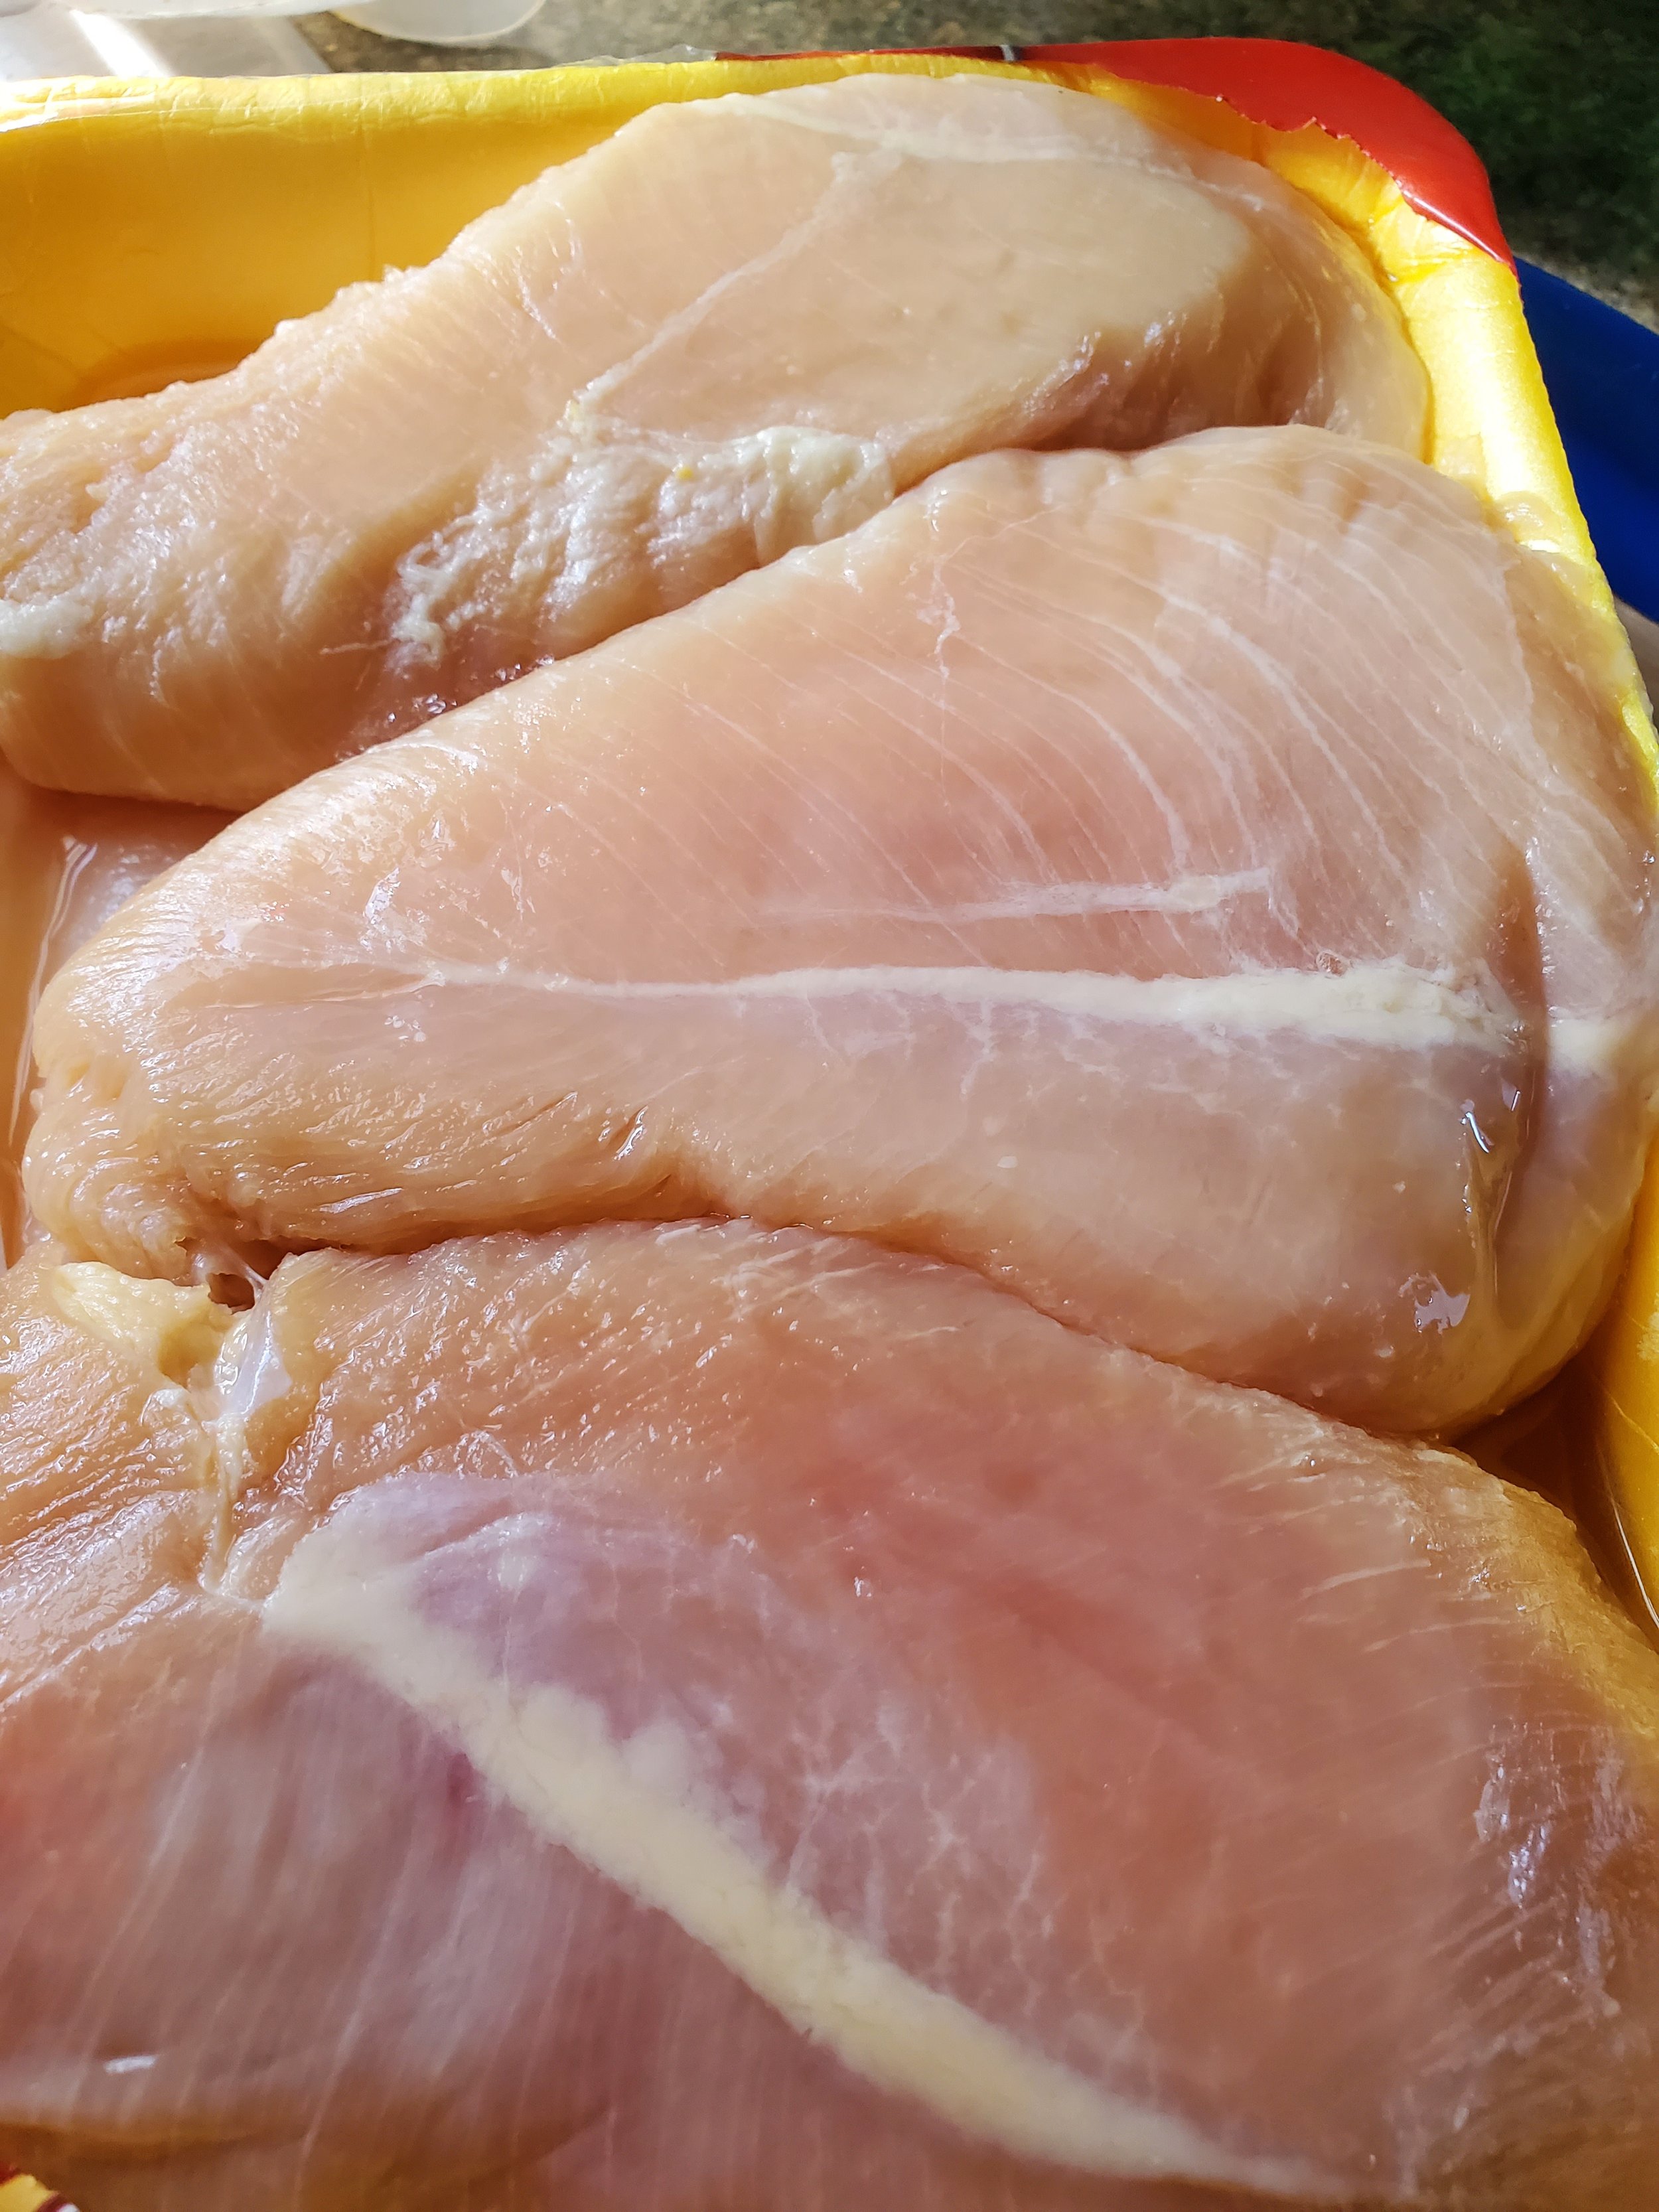
3 chicken breasts

1 pt of heavy cream

1 bay leaf

Fresh parsley

1 tsp of thyme 

chicken bullion 

1 lb bowtie pasta 

jalapeno slices 


Tools: Two large pots, a blender or food processor, a cutting board, slotted spoons and a few bowls 


Recipe: 

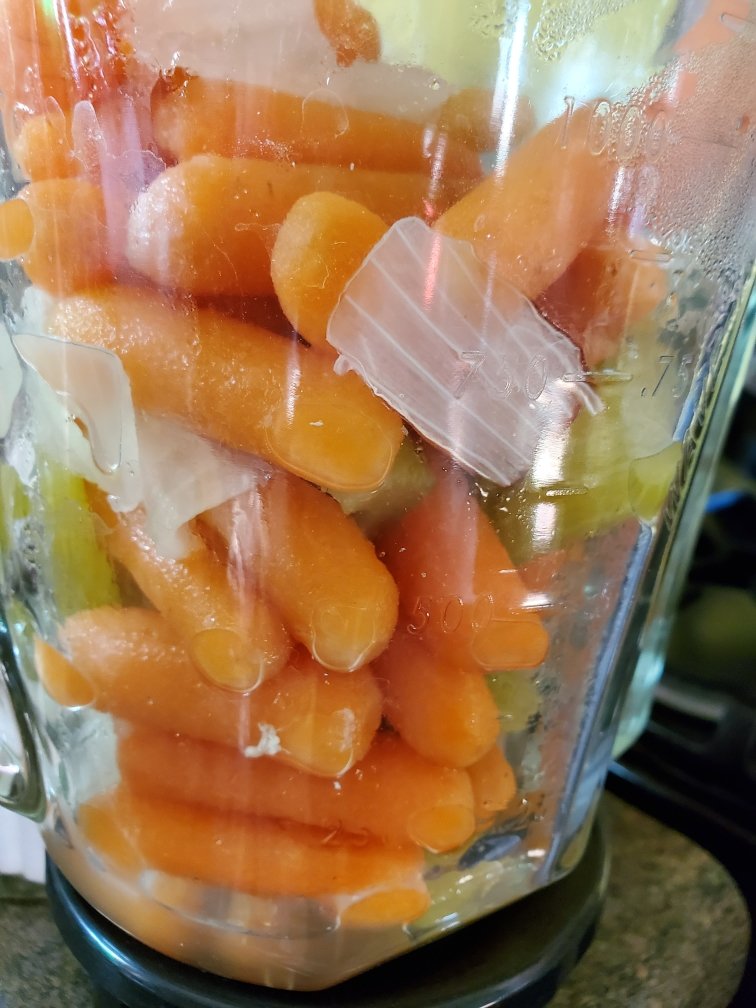
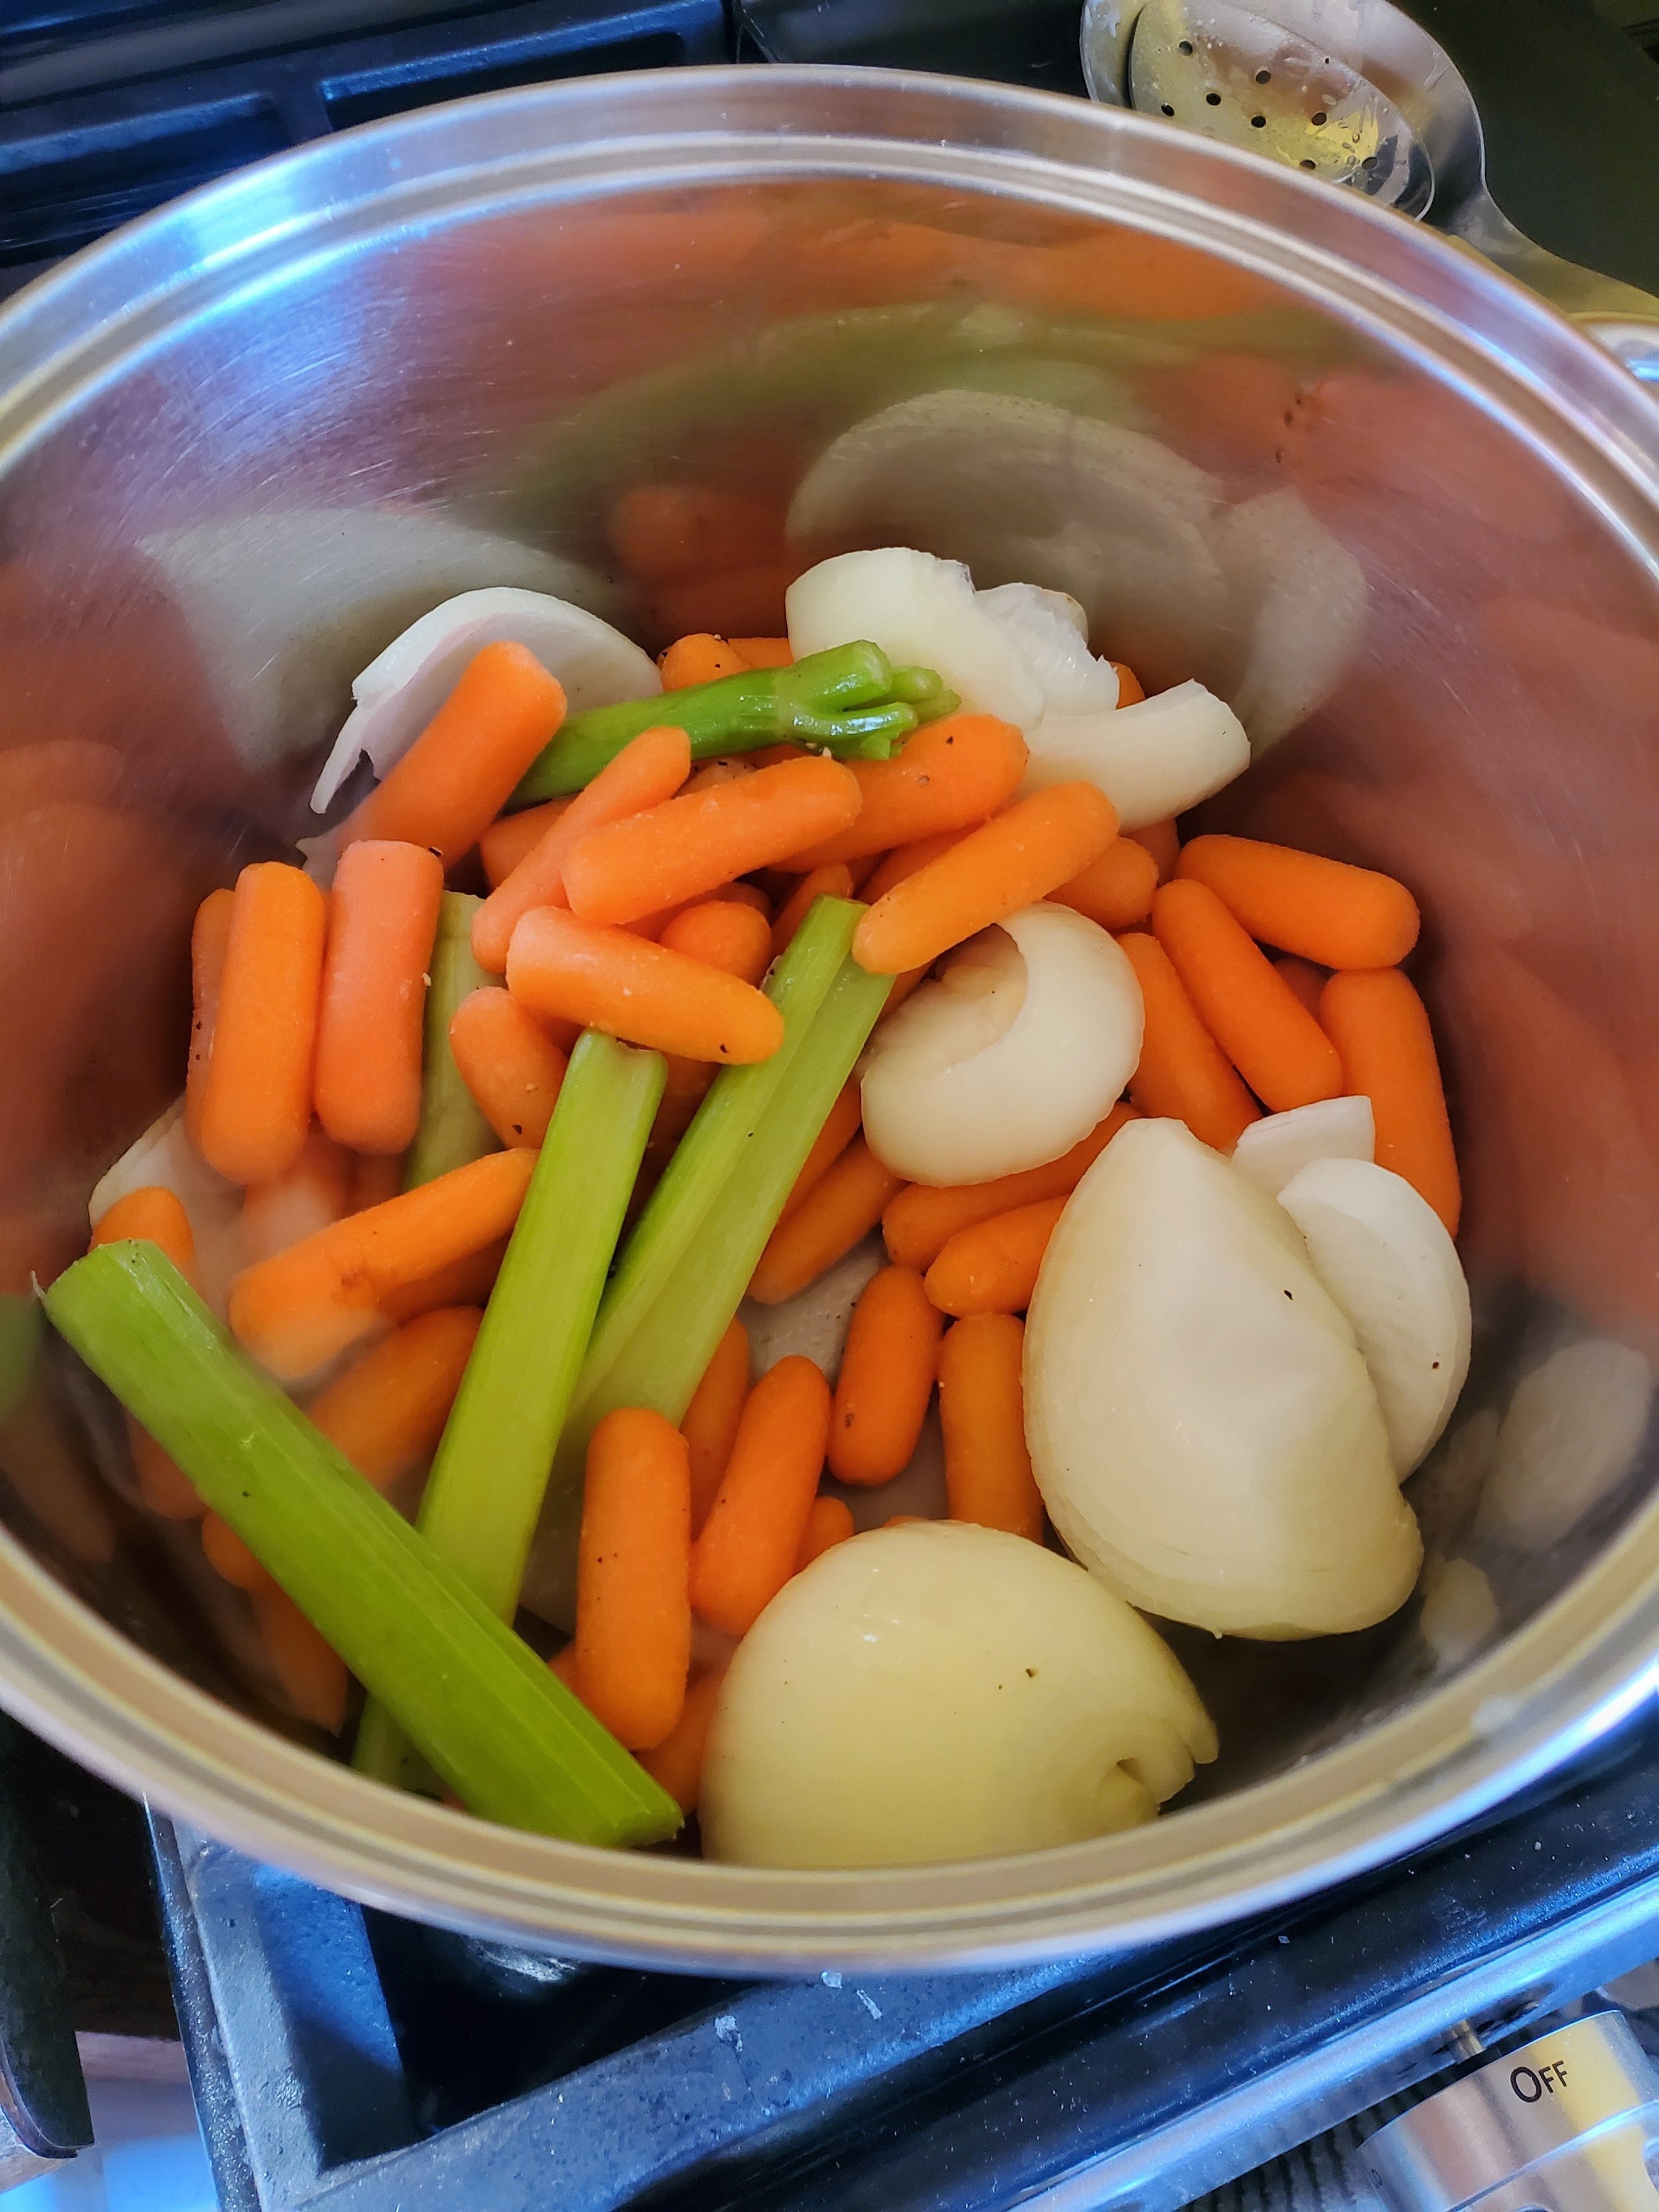
To get us started, grab a paper towel and wet it with cold water in your sink. Lay it next to your cutting board, and then grab your onion. Chop the onion into large quarters, remove the outer skin, and be amazed that your eyes aren't watering, thanks to the paper towel. Does it sound weird? yes. Does it work? Also yes. This is a trick we use all the time in our own kitchens for the ARS staff. Put the onions aside into a large bowl, and take up your carrots. You can choose to skin them, or just give them a quick scrub, it's up to you. Once you've prepped them, go ahead and give your carrots a few rough chops, breaking them down into thirds.  Do the same with your celery in terms of prep, and make sure not to leave any of the leaves on. 

Go ahead and turn your stove on high and place your large pot on the stove, tossing in 2 Tbsp of butter. Let that melt down, and then add salt and fresh cracked pepper to the pan. While that's going, take your garlic cloves, nip off the top, bottom, and the skins, and then quickly mince them. Toss that into the pan, and stir until the garlic is aromatic. At that point, add in your onion, carrots and celery, turn the heat down to medium, and let it sit. You're going to let the vegetables simmer for 10 minutes, stirring every few minutes, to allow them to start softening and cooking. 

Once your onions are halfway to translucent, fill the pot with water and add in the chicken. Cook until the chicken is cooked through and the water has reduced by half. 


Turn the burner off and grab two different bowls. One bowl is just for the chicken. The second bowl is for all of the vegetables. Take up your slotted spoon and remove all of the vegetables from the stock. Make sure to lose as little stock as possible, as it's the base for the sauce.  From here, grab your blender or food processor and pour in your vegetables. You might have to do this in batches, you might not. Either way, add about 1/2 cup of stock to the blender, just to make it easier, and set the machine to chop. Once you've got the vegetables much smaller, you can switch over to blend and let the machine work until you have a smooth puree. Pour your puree back into the pot, and return the pot to medium heat. 


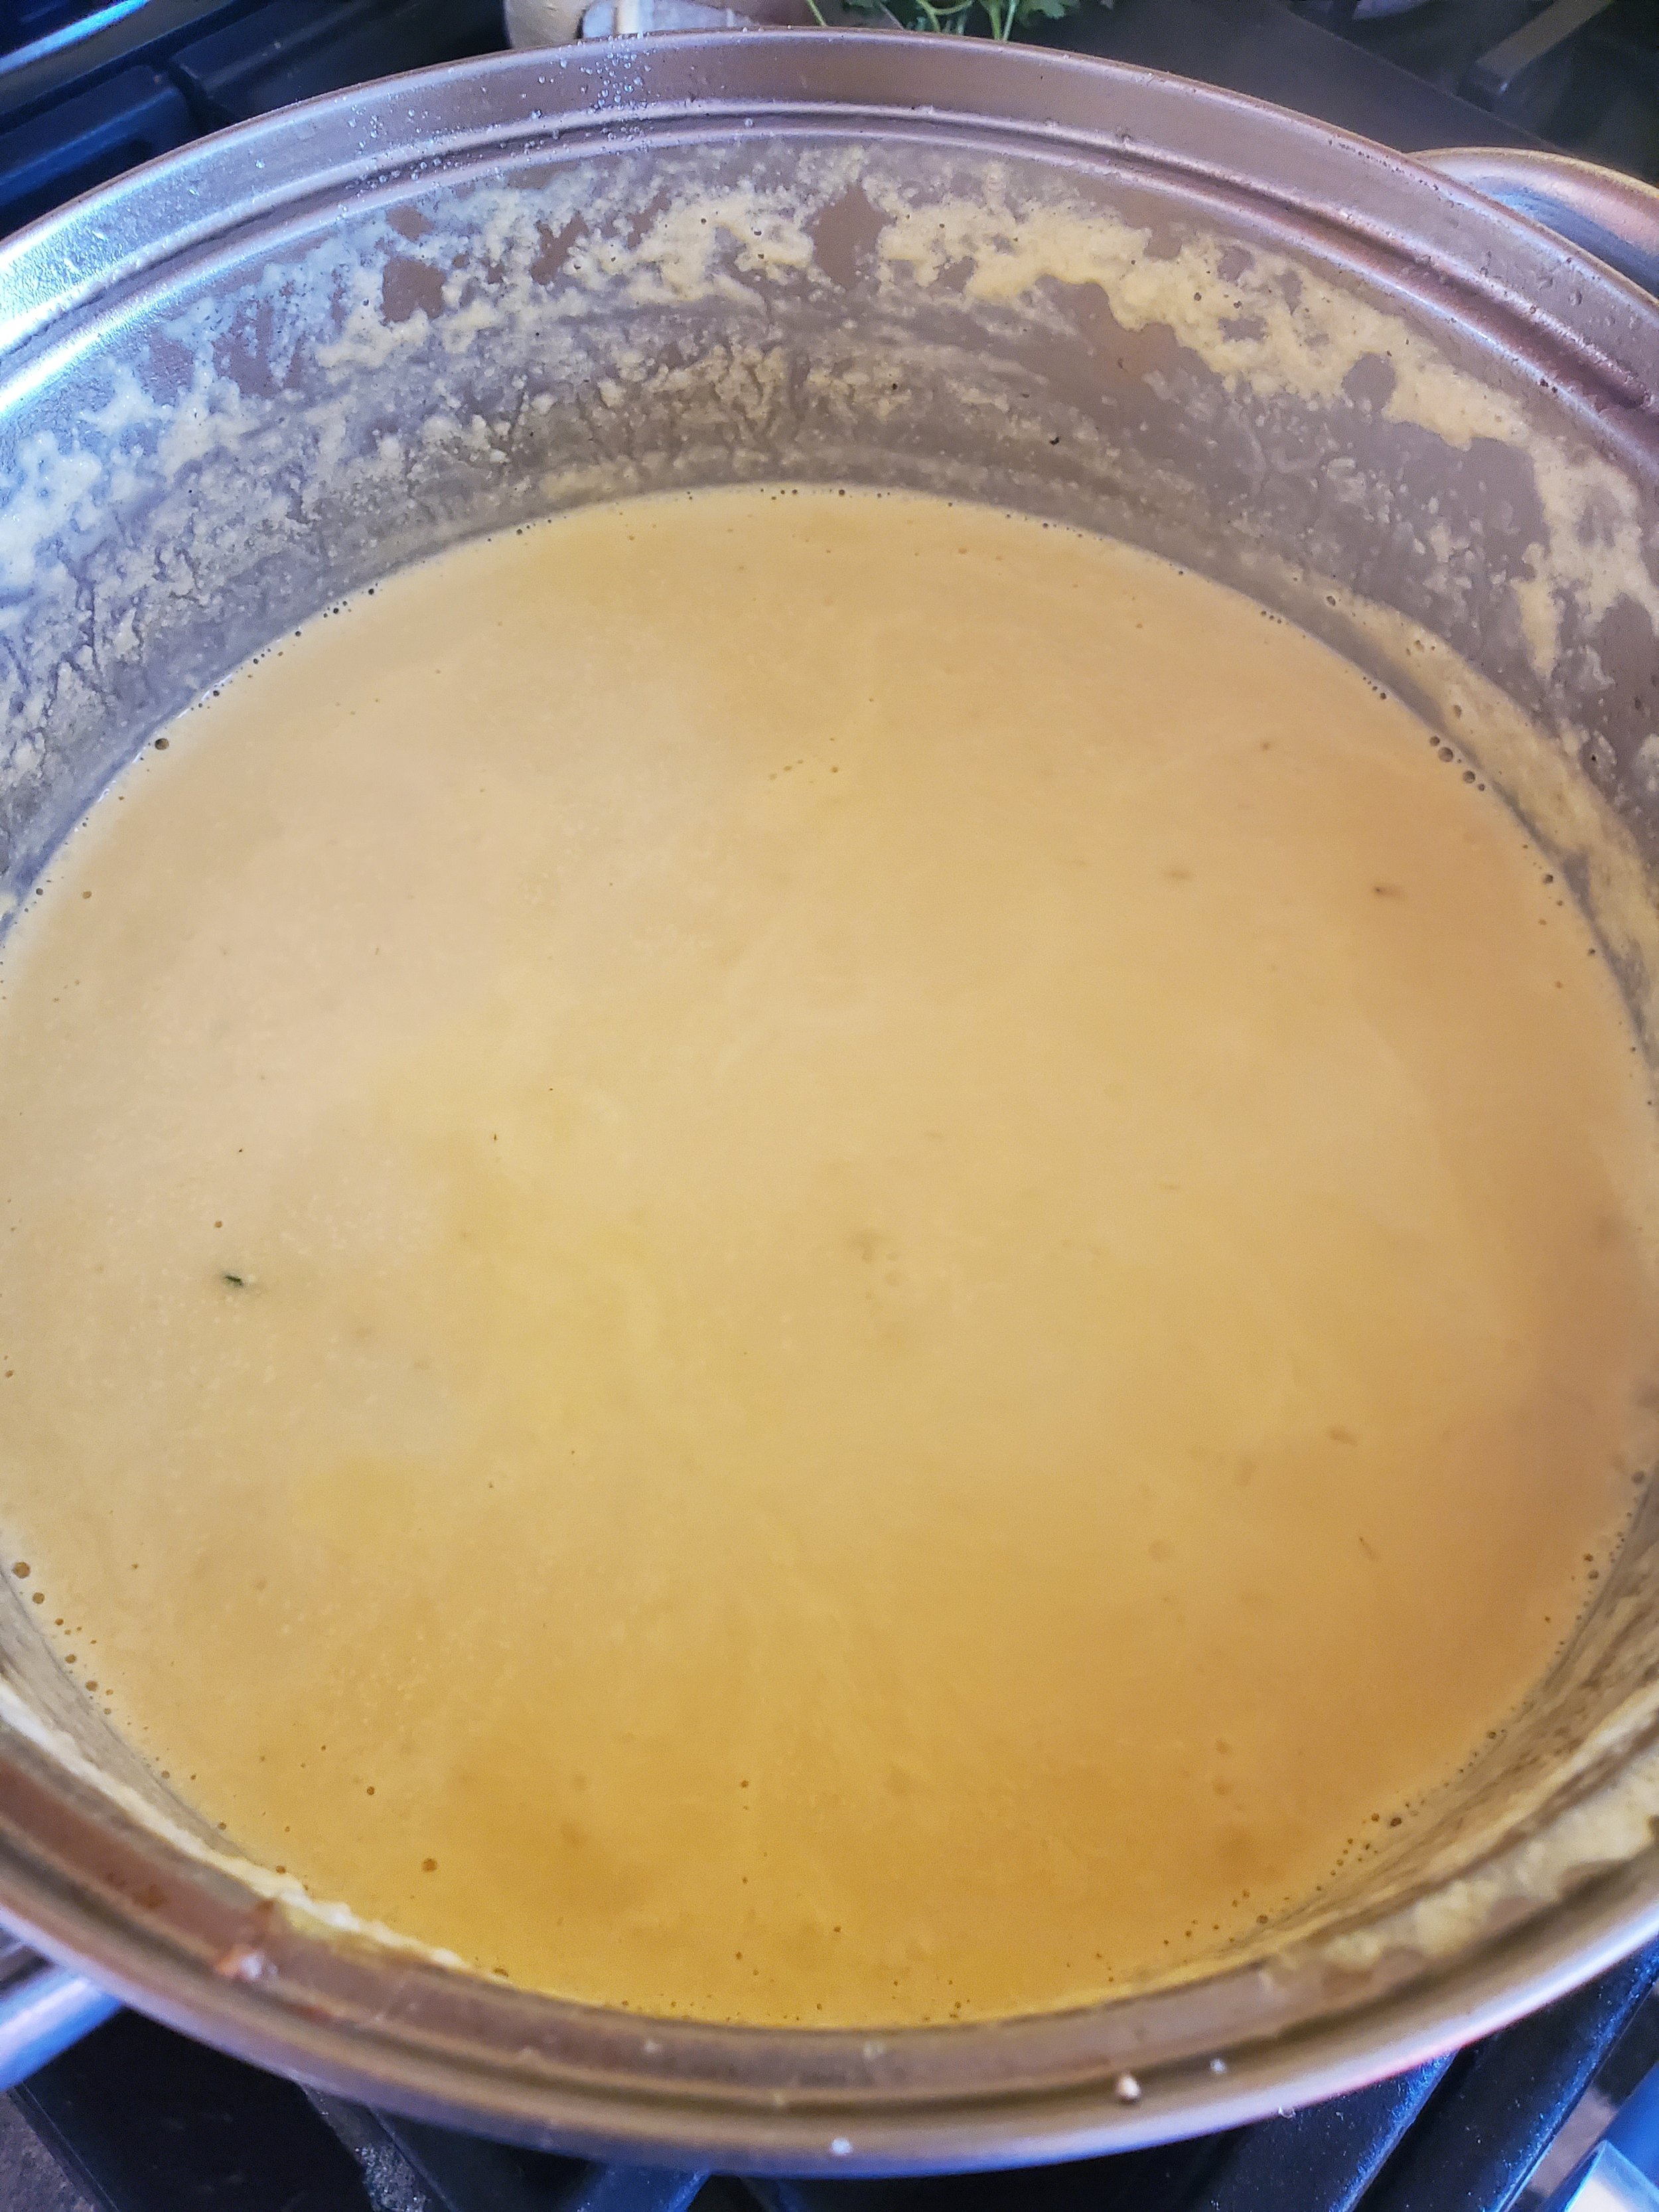
Pour 1 pint of heavy cream into the pot, give it a stir, and taste. This is the stage to add spices in. Add in 1 bay leaf, a few sprigs of fresh parsley, and 1 tsp of thyme. Give that a stir and let it bubble for a few minutes, then taste. At this point, we realized we needed more chicken and add in 1 tablespoon of chicken bullion, but you might not. Let the pot continue to bubble, reducing further until you have a thick sauce that stays on the spoon when you lift it out. As this works, you'll also want to skim the top and scrape the bottom occasionally to remove anything from building up. 


When the sauce is nice and thick, grab a second pot and add water, plus enough salt to make it as salty as the ocean. Bring that to a roiling boil and add in your bowtie pasta. Set a timer for six minutes, and go back to your cutting board. This time you're going to be tackling the chicken and being much more uniform than we were earlier in the recipe. Chop the chicken into bite-sized chunks, or you can shred it depending on how easily it's falling apart. Eitherway, once that's done, toss it into the sauce pot and give it a good stir to incorporate it. 

By now your pasta should be done, take that off the burner, strain it and add the pasta to the sauce. Give that a stir and let it simmer until the pasta is fully cooked. 

While that's finishing up, you've got one final choice to make. Do you like your food spicy or really spicy? If you like it just a little spicy, dish out the jalapenos in small dishes set to the side of each bowl. If you like it really spicy, add the jalapenos and the juice they come in into the main pot and let that mix. 

Either way you prefer it, once your pasta is fully cooked, congrats! You've got a healthy and delicious meal that no one will suspect has a whole bunch of veggies hidden in it. 


Let us know over on our Facebook page if you plan to give this one a try! We'd love to see how it turns out. 

If your appliances are giving you trouble, you can reach out to us via our contact page or by giving us a call at ((214) 599-0055). At Appliance Rescue Service, we're here for you and want to help you get your home running smoothly again.


Turkey Tetrazzini Takeover!

For When You're Left With A Ton Of Turkey After Thanksgiving And Don't Know What To Do With It.

Welcome back to another recipe of the week!  We almost always end up with leftovers after Thanksgiving of some sort, and you need to use them up without burning out. This week we're taking your turkey and turning it into a medley of flavors with this Turkey Tetrazzini. While the first version is a very traditional mix,  we also have a Southwest style in the notes afterward if you're looking for something wildly different. For now, let's grab that turkey and dive in! 


Ingredients:

1 lb of dried pasta 

3 Tbsp butter

4 garlic cloves

1lb onions 

3 1/2  oz of button mushrooms

1 cup white wine

2 C chicken stock

1/2 C all-purpose flour

1 C turkey stock  (can be substituted for more chicken stock if you don't have any)

1/2 C heavy cream

1 C milk 

14oz cooked turkey

1 tsp ground nutmeg

10 oz Cheddar cheese

3 1/2 oz Parmesan cheese

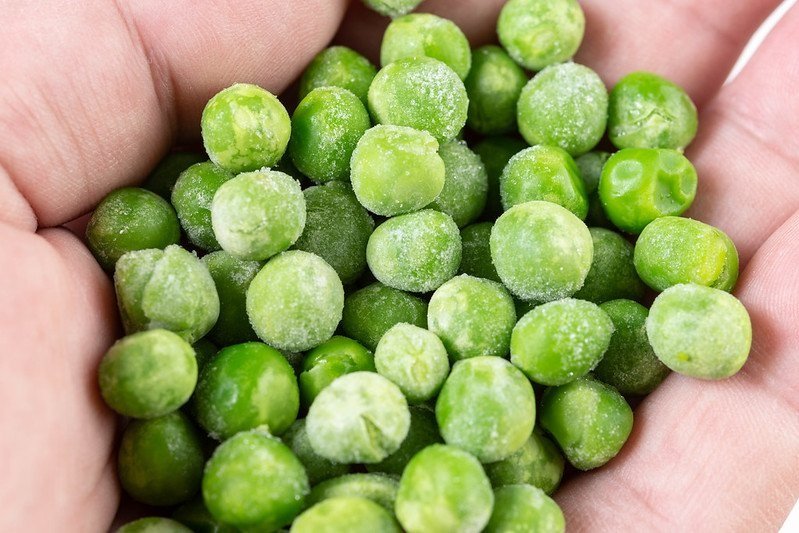
8 oz frozen peas

salt 

fresh ground black pepper

1 lemon 

1 C panko bread crumbs 


Recipe: 

Start by gathering up your garlic, onions, mushrooms, turkey, cheddar cheese, and your lemon. Each of them needs to be prepped in different ways, so you're also going to need your chef's knife, a pair of forks, a juicer, and a cutting board, as well as dishes for each ingredient.

Start by crushing your garlic cloves with the side of your knife and thoroughly smashing them.  Then take your onions, remove the tops and bottoms of them and chop the rest into 1/2 inch pieces. 

Next up is the mushrooms, for those, you'll want to slice them into 1/4-inch slices. These are thick enough not to melt but thin enough to cook easily.  When you're done with those, take your turkey and shred it. You can even go so far as to chop the shredded pieces after so that nothing is longer than bite size if you like, but the shredding is the important part here. 

For the cheddar, you're going to want to shred that all and set it aside in the fridge for the time being. Lastly, grab your lemon. Roll it firmly across the counter with your palm and then cut it in half, making sure to get out as much of the juice as you can from both halves.

Once you've prepped all of your materials, set a pot of water on the stove, add 1/4 c salt to the water and bring it to a roiling boil. Toss in the pasta and cook it until cooked but still firm. This is so that you don't get pasta-flavored mush later on.  Drain the pasta and set it aside. 

-Add the butter to a large frying pan and allow it to melt. When done, add in your garlic and onions and saute for 7 minutes or until the onions are tender.  Stir in your mushrooms and cook for an additional 5 minutes stirring frequently. 

-Stir your wine and 2 cups of chicken stock into the pan and reduce the heat to a simmer. Allow the mixture to reduce for 10 minutes. Next, add in the flour and mix thoroughly to incorporate. When you don't have any clumps left, stir in the turkey stock a little at a time. (Or the third cup of chicken stock if you went with that.)  Whisk it all together to form a sauce. 

-Reduce your heat to medium-low and stir in the cream, milk, turkey, nutmeg and both types of cheese.   Season it well with salt and pepper, mixing to incorporate. Allow it to simmer for 15-20 minutes. Finally, add in the pasta and the peas while you preheat your oven to 350*F. 

-Remove the pan from the heat and mix in your lemon juice. 

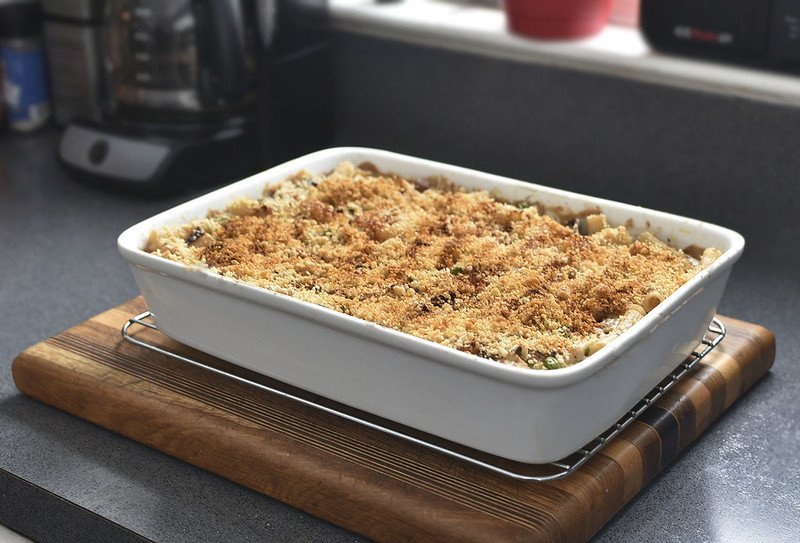
-Transfer the mixture to a casserole dish and coat the top with your panko.  Bake the casserole for 25 minutes or until the top, is golden brown and bubbling. 

For a tasty variation, you can sub out the cheddar cheese for cream cheese and the Parmesan for a little bit of Monterey Jack. 

Remove the peas and add in fresh red and green bell peppers instead. We would say two of each type, diced and sauteed, prior to adding in. 

Finally, add in 2 tsp of chili powder,1 tsp of smoked paprika, and 1/4 tsp of cayenne pepper. 

Follow all of the directions otherwise and enjoy a delicious southwestern-style tetrazzini. 


With that wrapped up, that is our recipe for this week! Let us know how yours turned out or any variations you've tried in the comments below or over on our Facebook page. 


If you wound up here because your appliances are malfunctioning after Thanksgiving, give us a ring! You can reach out to us via phone at (214) 599-0055) or by going to our contact page. Wherever you are in the Dallas Metro area, Appliance Rescue Service is here to help. Whether you're in Coppell, Allen or Plano, we'll work with you to get your home running smoothly again.
Lazy Weekend Mushroom Pie

Who Wants To Stress Over Meals When It's This Close To The Holidays?

When you can’t be bothered to try new or complicated recipes in the lead-up to the holidays, check out this week’s recipe. It’s warm, filling, utterly delicious and most importantly, it’s easy to make! 


Ingredients:

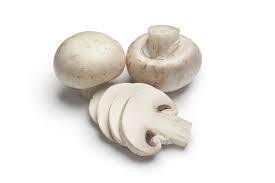
850g of assorted mushrooms 

3 Tbsp of extra virgin olive oil 

2 Tbsp unsalted butter

2 medium leeks

1/2 C heavy cream

1/2 tsp fresh grated nutmeg 

PIe Dough- Extra flaky 

Egg wash 

Fresh rosemary - garnish

Fresh thyme - garnish

A note on mushrooms: 

When it comes to mushrooms, you have a lot of different options that will work well with this pie.  Some examples that work well are chanterelles, trumpets, creminis, oysters, or morels.  You could go with any of the ones in our list as one type or pick a few of each to see how they interact.  Just make sure that they're properly sourced and cleaned before eating them! 

Recipe : 

-Preheat your oven to 425*F, and remove your pie dough from the freezer, setting it to the side on the counter, so it begins to defrost. Ideally, you don't want it frozen, but you don't want it warm and extra soft, either. 

- Take your leeks, halve them and slice them thinly. You do not want huge chunks for this.  Toss them with salt and pepper, and then measure to make sure you have 2 cups, firmly packed. 

- Prepare your mushrooms. Take your paring knife to trim the mushrooms into medium to large size pieces, leaving clusters of whole mushrooms whenever possible.  (They're great for texture and appearance when you do this!) 

-Transfer your mushrooms to a dish and toss them with olive oil, salt, and pepper to season. 

- Spread your mushrooms out in one even layer on a baking sheet and pop that into the oven. Roast the mushrooms until they're tender, 25-30 minutes. They will shrink quite a bit, but don't expect them to brown much.  Set the pan aside to cool when done. 

- In a medium saute pan, melt the butter over medium heat.    Add the leeks into the pan and cook them, turning down the heat to medium-low. Keep cooking for 8-10 minutes or until the leeks are very soft, almost a melted texture. 

- Add the cream and nutmeg to the pan, bringing it to a simmer. Simmer until the cream reduces, and the mixture thickens, around 3-4 minutes.  Set that aside to cool while you prep the dough. 

- Set your oven rack towards the base of the oven, if possible, with a baking or pizza stone on it.  Line a baking sheet with parchment paper. 

-On a lightly floured surface, roll out your dough into a rectangle a bit larger than 10 x 16 inches.  Use your rolling pin to wrap the dough around and transfer that to your baking sheet.  Brush the dough with your egg wash, then lightly prick the dough all over with a fork.  If you want, you can use a paring knife to straighten up the edges. 

- Spoon your cooled leek mixture into the center of the dough and spread it into an even layer, leaving a border around all edges, 1 inch wide that's uncovered. Arrange the mushrooms on top of the leek mixture, overlapping and layering as needed, but don't stack them. You want them in a single layer to ensure that they cook evenly. Drizzle lightly with olive oil. 

- Pop the pan into the oven and bake until the crust is a deep golden brown and your mushrooms are crisp 40-45 minutes. Garnish the pie with herbs as soon as you take it out of the oven. Allow it to cool for 5-10 minutes before serving.  

And that is how you make Lazy Weekend Mushroom Pie! If you do give it a shot or have suggestions, let us know in the comments below or over on our Facebook page. 


If you're worried about the holidays, though and would like to have a professional do a maintenance check, give us a call! We'll work with you to find a time that works for your schedule and send out one of our technicians to go over all of your appliances. We'll help you make sure that everything is running up to standard or find any problems before they become major ones. At Appliance Rescue Service, our goal is to keep your home running smoothly. Wherever you live in the Dalals Metro Area, we want to work with you. Give us a call at ((214) 599-0055) or reach out to us via our contact page to set up an appointment today.

The “Healthier Than Your Average Sandwich” Sandwich

5 Servings of Veggies in ONE Dinner That Doesn’t Taste Like Sawdust

Like a great many people, you may be looking for ways to boost the nutritional value in your meals. We're always on the lookout for little ways to make the same tasty foods we already love work a little harder. We also love to hide some veggies in other foods, but that's a story for another time.

This time around, we're making chicken sliders. But with veggies. And we aren't just talking about the lettuce and tomato you might put in your sandwich - we're hiding a whole three servings of veggies in the chicken patty itself, and some oats.

We know it sounds crazy. Just trust us here. It still tastes like chicken, but you have a bunch of extra fiber, vitamins and minerals working in your favor now. You know exactly what went into it (unlike some brands of frozen patties, where the ingredients list is so long and so chemical-sounding that by the end you're still not sure whether or not it's food), so the slight difference in color from the norm shouldn't be a shock. And besides, you're putting it on a bun anyway, probably covered in ketchup, barbecue or buffalo sauce and a mountain of lettuce, tomato, pickles and onion.


Ingredients:

1 pound raw ground chicken

3/4 cup quick or old-fashioned plain oatmeal

1/4 cup grated Parmesan or Pecorino-Romano cheese

1 Tablespoon cayenne pepper (you can use paprika instead if someone's not into spicy food)

1/2 teaspoon salt

1/2 teaspoon black pepper

2 Tablespoons powdered chicken bouillon

2 Tablespoons dried parsley 

2 cups butternut squash puree

1 yellow squash

3/4 lb chopped cauliflower

Buns, cheese and sauce or veggies of choice for serving.


Tools:

Knife, cutting board, grater, food processor, measuring cups and spoons, mixing bowls, loaf pan, aluminum foil, cooking spray, meat thermometer. A gallon zip-close plastic bag can also make the process easier, if you have one.


If you're not buying you butternut squash already peeled and cubed, the first thing you should do is preheat the oven to 350 and toss the squash in. It's much easier to skin, cut and mash or blend if it's been roasted first - and roasting it will take about an hour. Your oven needs to preheat anyway, so go ahead and put it to work a little early.

However, if you brought home the peeled, cubed, steamable kind, you've just saved yourself about 40 minutes of waiting, and can skip this part and go right to the steaming process. Steam it according to package directions, and once it's done, just set it aside for a bit. We'll pulverize it later.

Start out by measuring your oatmeal and your grated cheese, cayenne or paprika, salt, pepper, and powdered bouillon into the food processor. Pulse it a couple times for about ten seconds, and once it's fine and powdery, transfer it to another bowl or container to make room in the food processor.

In the event you have a whole head of cauliflower, give it a wash and chop it now. If your cauliflower is the fresh or frozen already-crumbled variety, you get to save a bunch of effort and skip those steps. Whichever one you started with, put it in the steamer or microwave now. It'll need a little time to cook up - but not near as much as the squash. Keep an eye or an ear on it to make sure you don't end up turning it into baby food by overcooking it. Although honestly, if it does turn to mush, it just saves you from having to put it into the food processor later - so pick and choose your battles. (Would you rather poke cauliflower mush out of the steamer basket or scrub it off the food processor blades?)

Take your yellow squash and shred it with the fine side of your grater. This will be the first ingredient into the plastic bag, if you're using one - and into the mixing bowl if you're using one of those instead.

Turn your pound of ground chicken into the bag or bowl you just put the shredded squash into. Add the parsley to this mix, too.

About now, that cauliflower should be finishing up. Drain off any excess water and put the cauliflower into the food processor (assuming you didn't choose the cook-it-into-mush route). Give it a couple quick pulses, scraping down the sides occasionally, until most of the major lumps have been pulverized. You don't need it to be totally smooth; the texture helps with holding the chicken mix together. Once it's done in the food processor, add it to the chicken mixture.

This chicken thing will have to sit and wait until your butternut squash is ready to go - so hopefully you planned ahead a little, or you can keep yourself occupied until it's done roasting.

Once your squash is done roasting, peel it and hack it into rough cubes. It should be pretty soft by this point. If you started with a whole squash, you'll likely only need the neck portion of it to make up your two cups. Put the squash cubes into the food processor and give it all a whirl. You'll probably have to pause often and scrape down the sides, as squash tends to be a bit sticky and climb out of reach of the blades.

After you've pureed your squash, add it to the chicken mixture, pour the dry ingredients (oats, cheese, spices) over top, and mix it all together. If you've been working with a plastic bag like we tend to, zip it closed with a little air left in it and try not to be too rough when you squeeze. Containing the mess is a lot harder if you explode the bag by splitting a seam.

Once it's all thoroughly mixed together, line your loaf pan with a layer of aluminum foil and spray it lightly with cooking spray. The end goal is for this chicken to come out in a neat, single piece - although if you end up with chicken sloppy joes, they'll probably still be just as good. More fun for the kids, even.

Transfer your chicken from the mixing bowl or bag into the lined loaf pan, and bake it on the middle rack at 350 degrees for about an hour and a half. Make sure to test the temperature with a meat thermometer before serving - your goal is 165 or higher before we can call it done.

Allow it to cool in the pan for a few minutes after removing it from the oven, which will make removing and slicing it easier. Lift it from the pan using the aluminum foil as a grip, and turn it over on the cutting board. Peel back the foil and slice into half inch pieces. For best results, you can toast them in a frying pan to crisp them up a little on the surface before putting them on a bun and covering with sauces, cheese and whatever other veggies you prefer. * We’ve tried ranch, buffalo, caesar, honey mustard, spicy mustard, sweet Thai chili, barbeque, and Chick-Fil-A's chicken sauce. All of these were varying degrees of good, let us know what you try and think! 

Adding some veggies to the sandwich and/or eating with a side of roasted veggies, carrot sticks or salad can bring you up to all five recommended servings of vegetables with one meal! *Disclaimer: not an excuse to eat potato chips and cookies for the other two meals of the day.

This week’s post was a bit of an experiment. We already had a recipe ready to go, but it just wasn't enough. So we tinkered and we toyed and we cooked some more until we came up with this. It’s a strange concoction, that’s for sure. It’s also amazingly versatile and we’re already discussing all the ways we use this recipe in other meals. What did you think? Let us know over on Facebook, or in the comments below! We love to hear from you and hear what you think about the foods we make. 


What if you’re not here for food though? What if you showed up on our site because your fridge is busted or you need help with your dryer? We can still help you. In fact that is our primary business! If you live in Richardson, or any of the surrounding areas, we aim to be the appliance rescue service for you. We can help with any and all of your major appliances, and we won’t stop until we’ve solved the problem. All you need to do is call us at ((214) 599-0055) or reach out to us via our website


Not Quite Chicken Sandwhich on a French Baguette piled with tomato, lettuce and Onion