"Sugar Bomb" Cake

Or You Might Call It Death by Delicious

This isn't a cake for a birthday. This isn't a cake for a little get together. This is cake for a crowd, when you have a ton of people and you want all of the ones that enjoy sugar to walk around in a daze after trying it. This is one of those cakes where you make only once a year. Not because it's difficult. Not because it doesn't taste amazing (it does. We have it on the opinion of a ten-year-old that this is "the best cake in the whole world.") It's because this cake is so overwhelmingly delicious that you can only handle it once a year.  

It started off as an experiment.  We wanted chocolate chip cookies, but we didn't want just cookies. We wanted cake too. And then we thought about cookie dough. Except, it's not smart to eat just cookie dough. You need the crunch to balance it out. We took all of that and the urge for some chocolate milk as well ( we might have been egged on by that same 10-year-old helper) and started brainstorming how to smash all of it together. This is the outcome. Cake. Cookies. Cookie dough. Chocolate milk. All together in one glorious, amazing, and possibly death-defying sugar bomb cake. 

We’re putting all of the photos at the end of the article just to make it easier for y’all, so if you’re looking for those, keep on scrolling down. :)
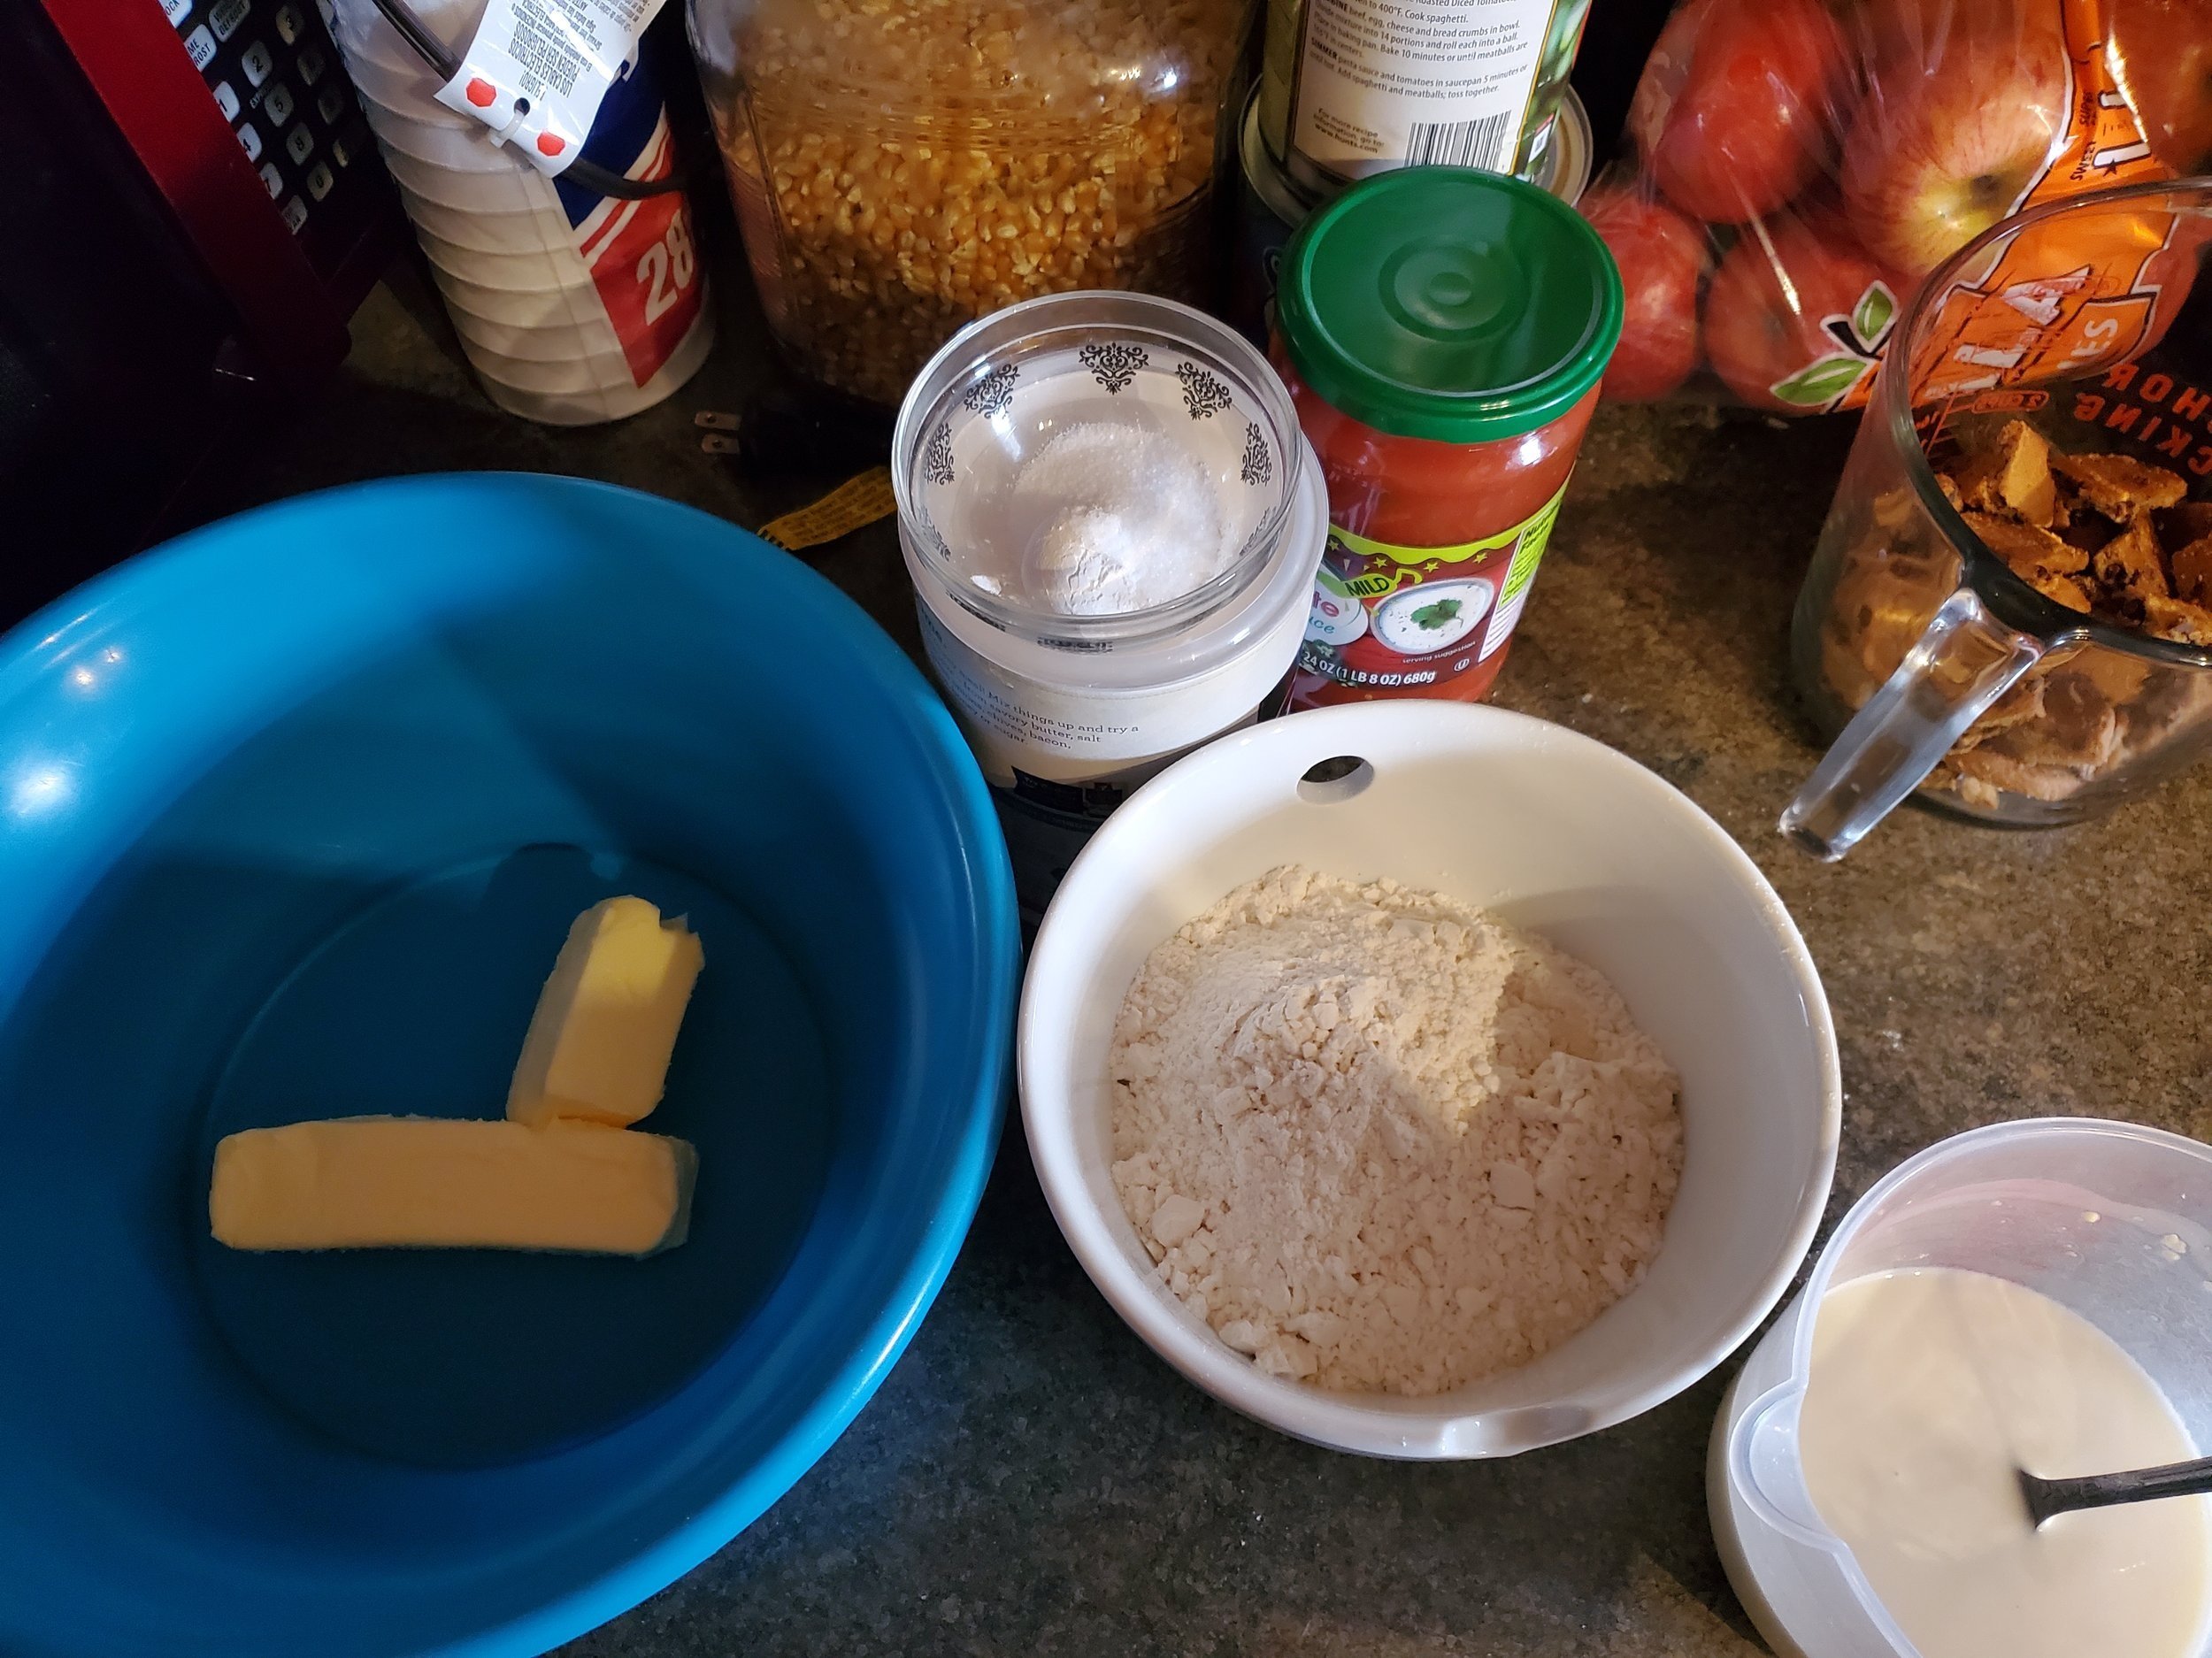
Cake Ingredients: 

2 1/4 c all-purpose flour plus a bit extra 

2 tsp baking powder

1 tsp salt

1 1/2 c sugar 

3/4 c butter, at room temperature

3 large eggs

4 tsp vanilla

1 1/3 c buttermilk*

1 c mini chocolate chips, tossed in flour 

Chocolate chip cookies 

Tools Needed For all sections: a glass baking dish 9x13, a hand mixer or stand mixer of your choice, a small sauce pan, several bowls to mix in, a sieve, measuring cups and spoons, a cooling rack, toothpicks, and a heat proof glass dish, a rolling pin or mallet, a ziploc bag 

Set your oven to 350* F.

Set your chocolate chip cookies to the side until it's time to assemble the cake.

Take your glass dish and spray it with canola oil, evenly on all sides and the bottom.

In a small dish, pour in your chocolate chips and about 1 Tbsp of flour. Toss to coat. If you feel like not all of the chips are coated, add another tablespoon at a time and repeat until all of the chocolate chips are evenly coated.

In a large bowl combine together your flour, baking powder and salt. If you like, you can experiment and sift the flour to see how that will affect the density of the cake. (It's us, we regularly encourage experimentation when it won't ruin the food.) 

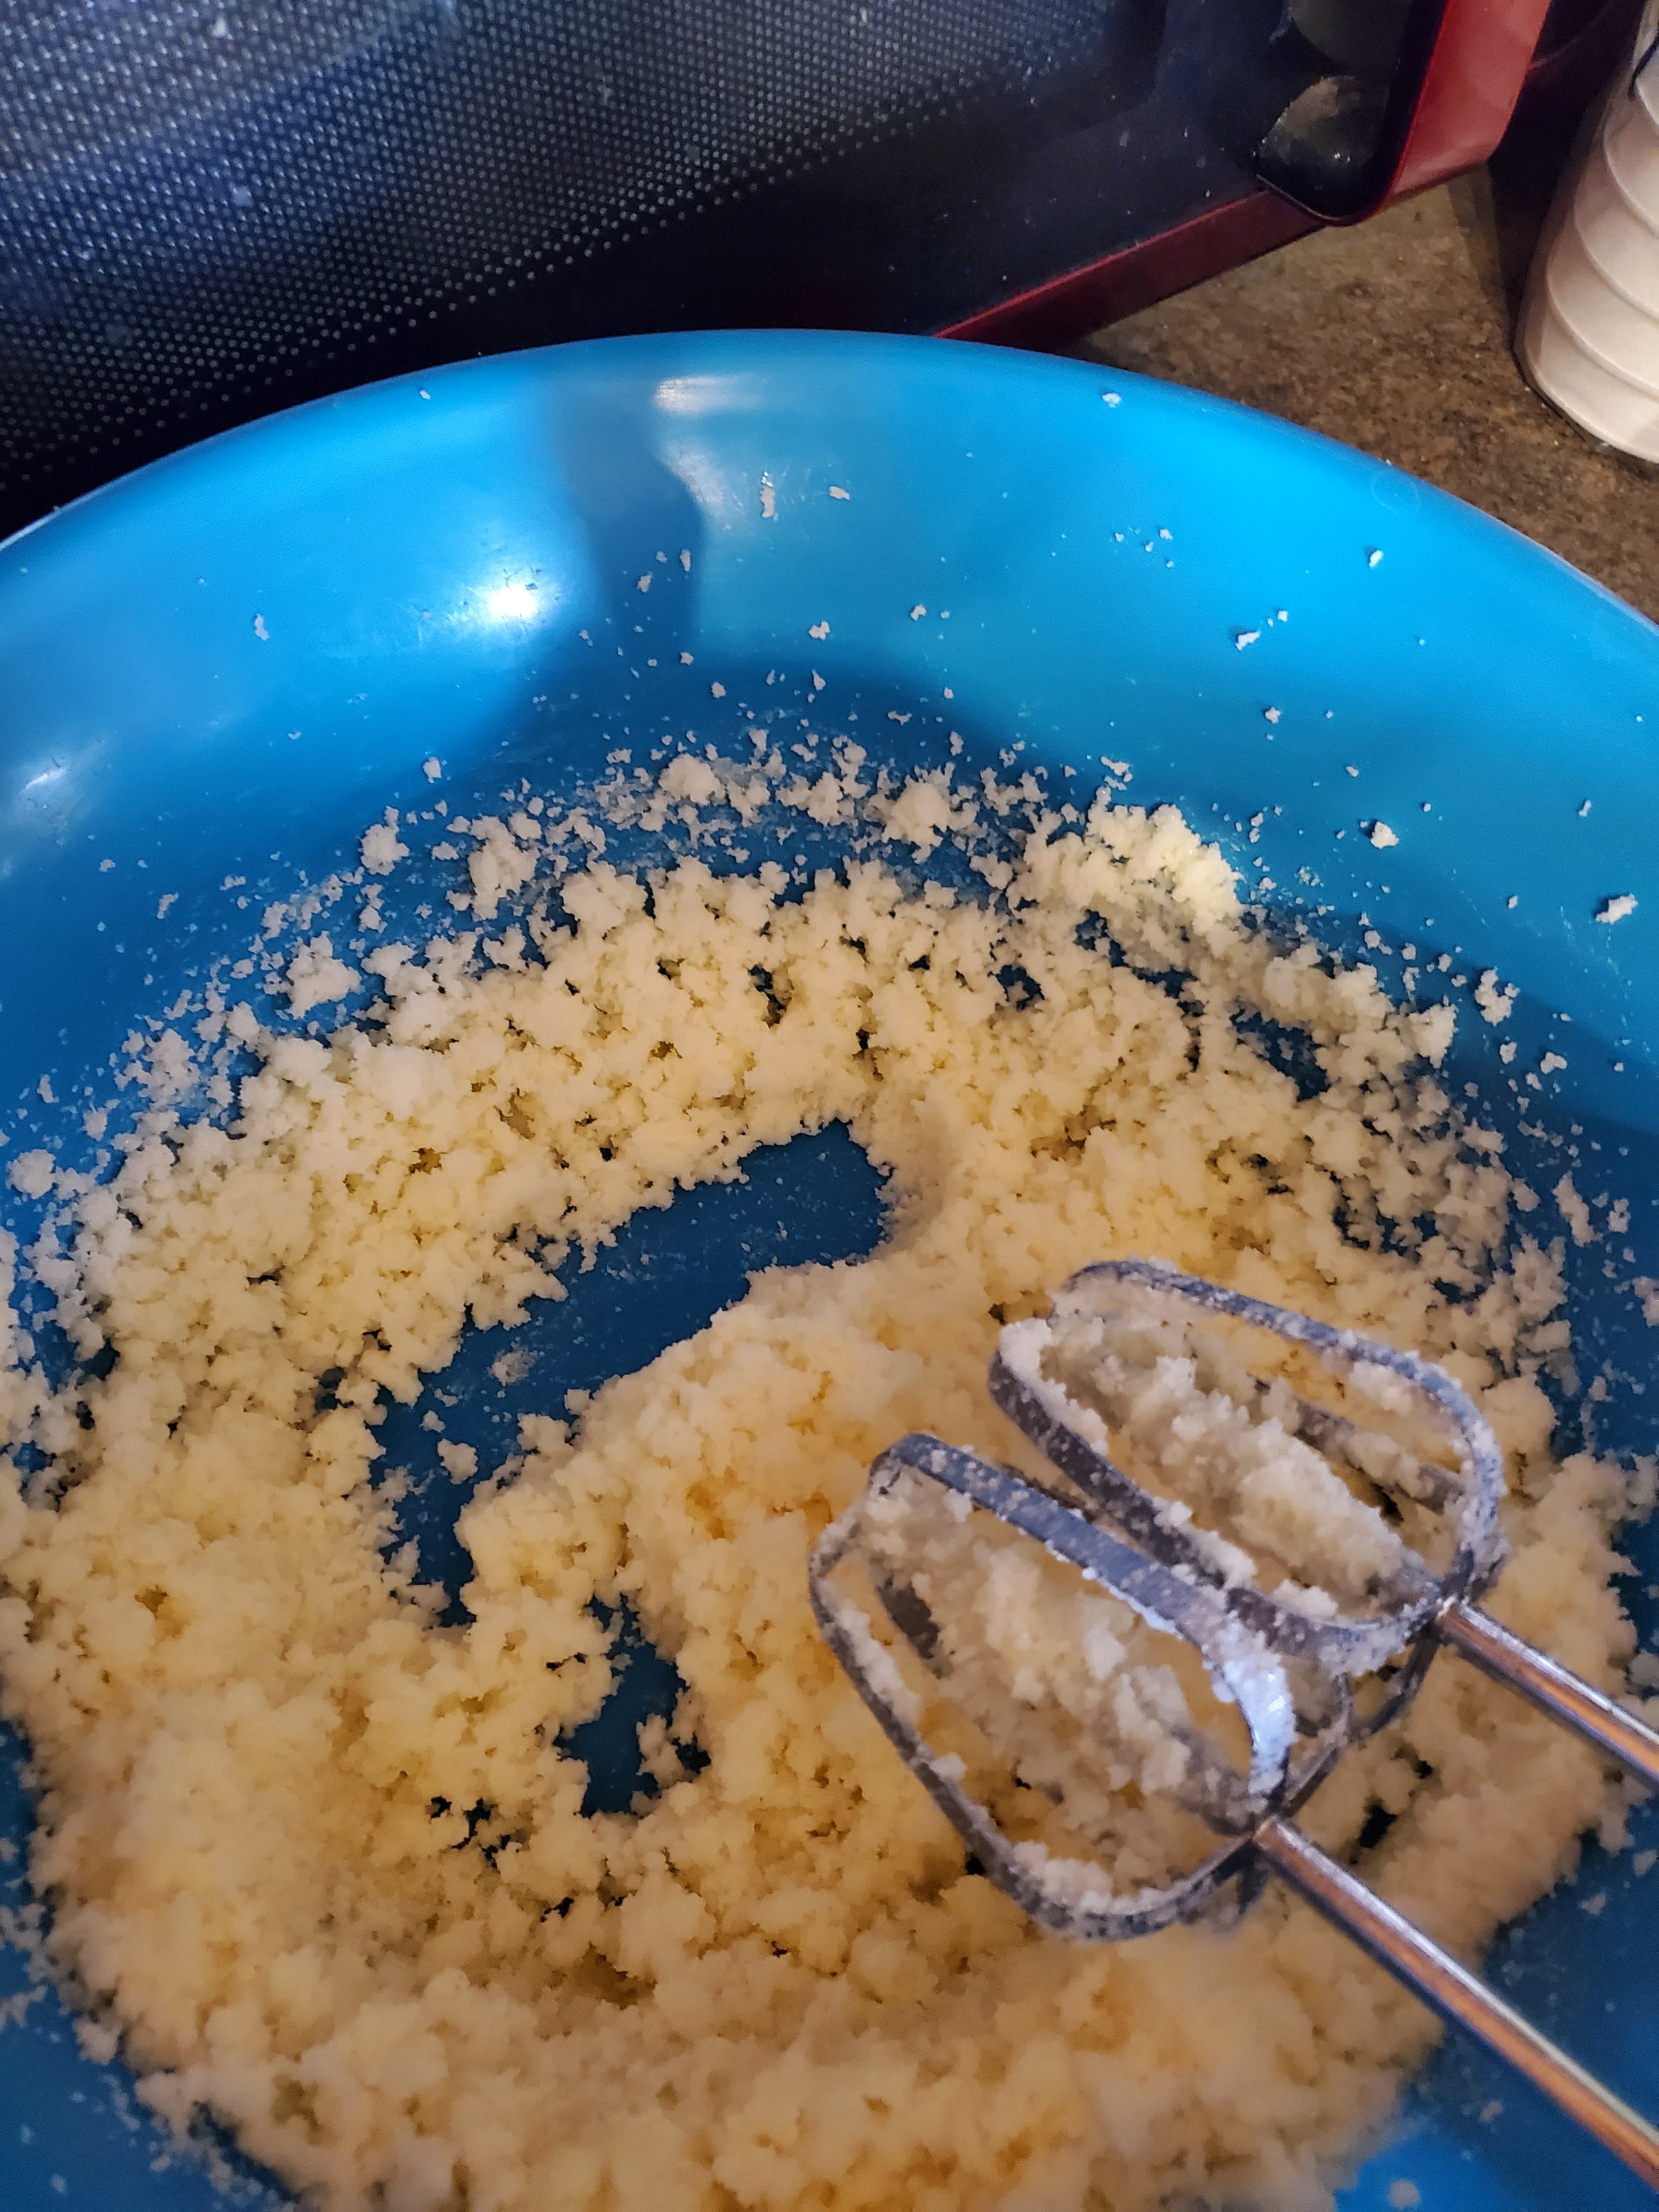
In a separate bowl, cream together your butter and sugar until it's fluffy. You can do this with a stand mixer, a hand mixer, or if you're feeling the need for a workout, you can use a hand whisk. 

Add in one egg at a time, mixing thoroughly and then add your vanilla.

Next up alternate between adding in the flour mix and the buttermilk until everything is combined.

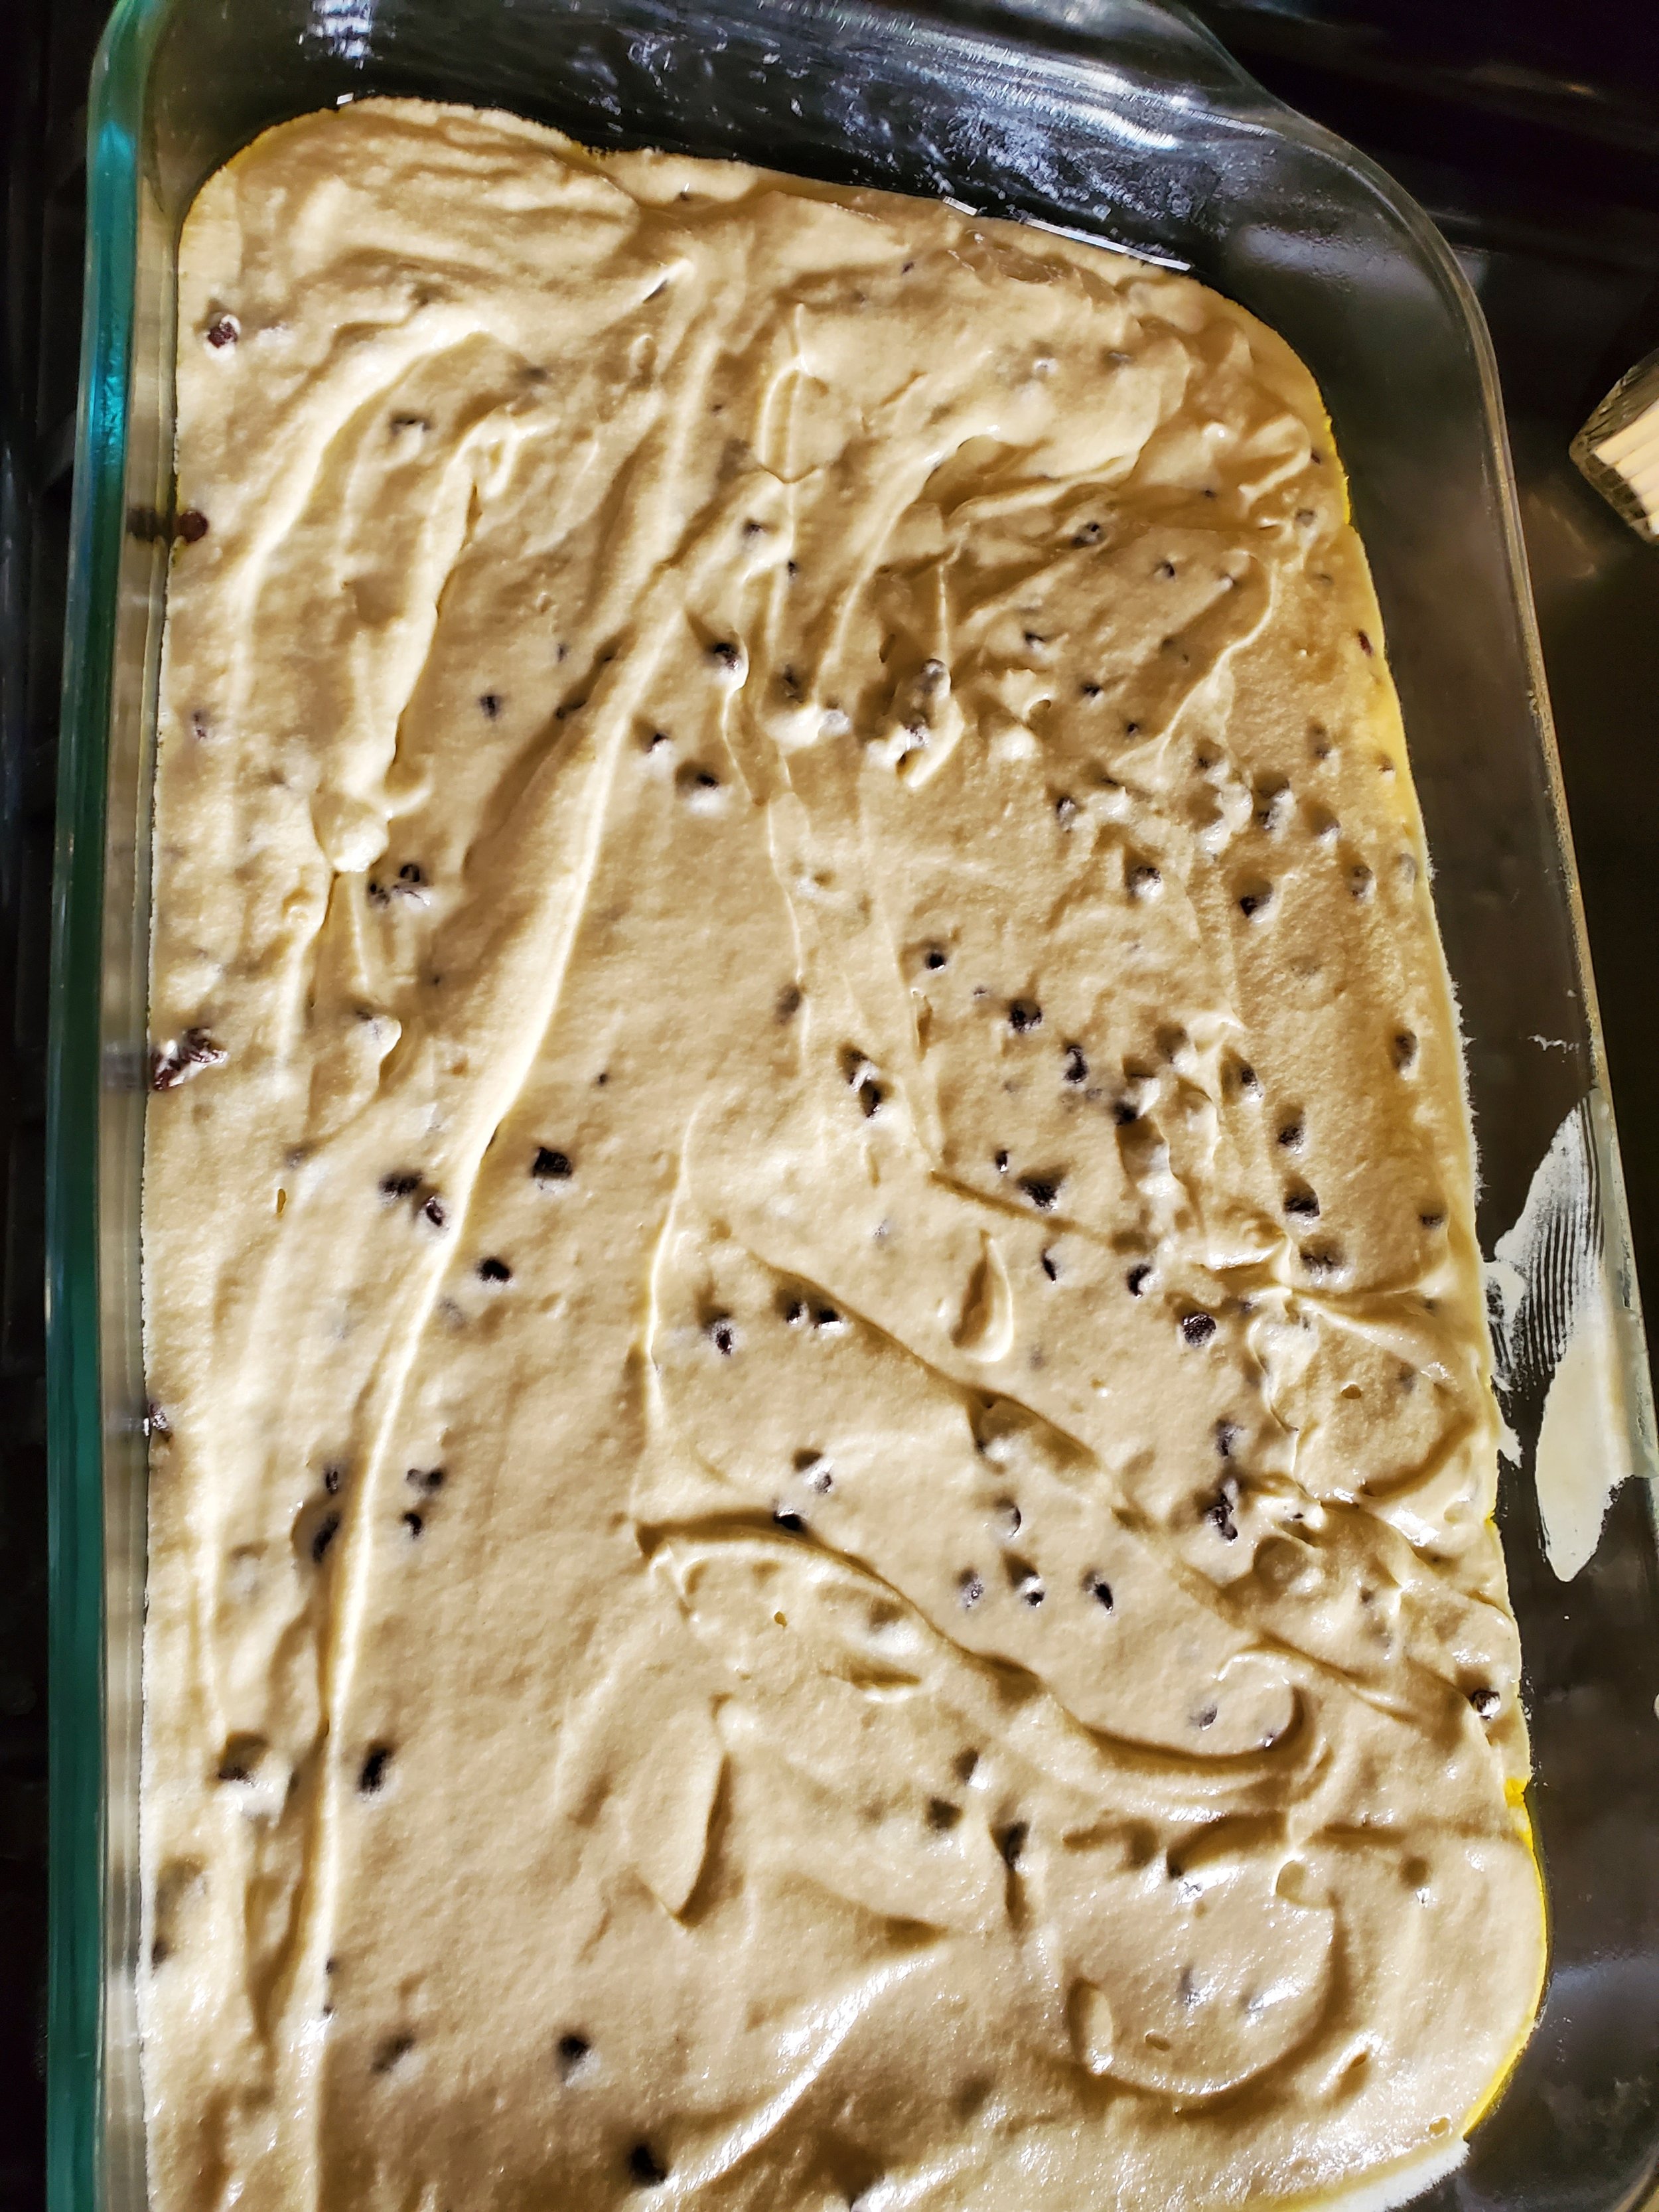
Fold in your chocolate chips 

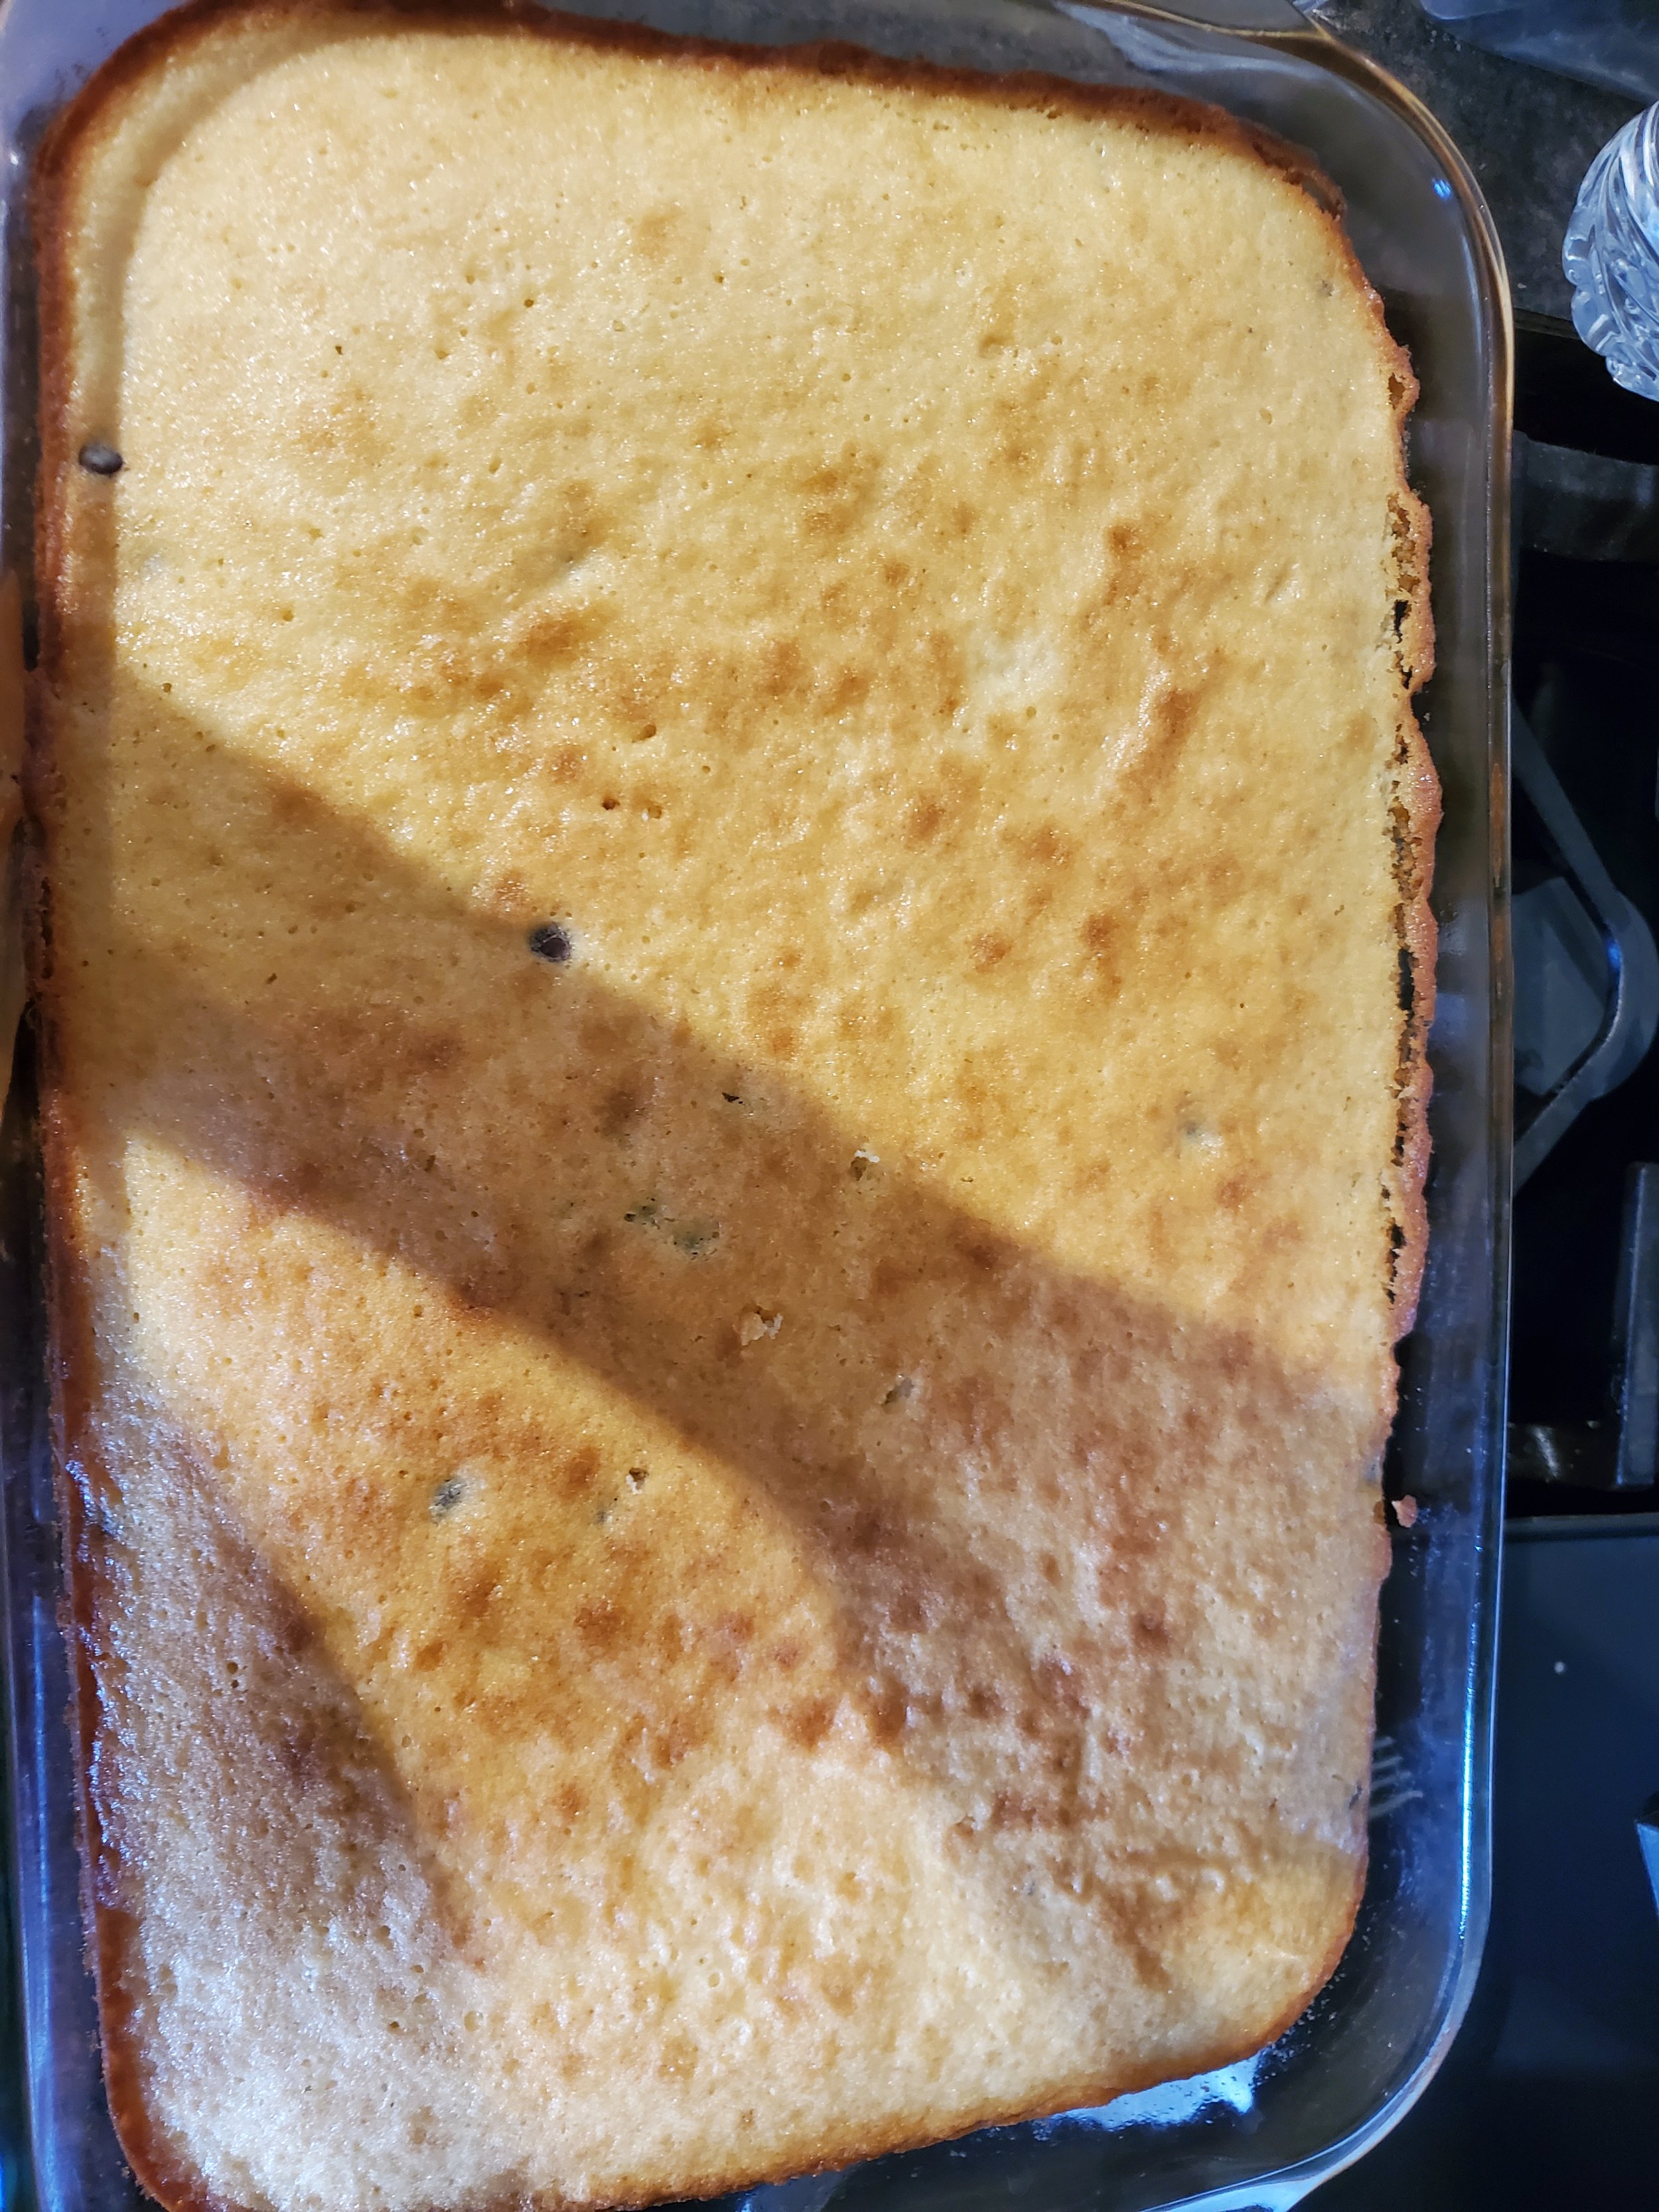
Pour the mixture into your pan and bake for 45 minutes OR until a toothpick inserted in the middle will come out clean. 

Make sure to rotate the pan halfway through.   

After you've removed your cake from the oven, let it rest five minutes and then run a knife around the edge of the dish to loosen it. Then allow it to cool to room temperature before removing it from the dish and place it on a cooling rack.  Make sure you don't wait more than ten minutes after removing it from the oven to remove it from the dish. It will stick to the pan and then you'll be fighting with your cake to get it out in one piece. You'll find out why we know this later. 

Cookie Dough Filling:

1 1/2 c brown sugar, packed

1 c butter at room temperature

3 tsp vanilla extract

2 1/2 c all-purpose flour

1 tsp salt

1/2 c heavy cream

1 c mini chocolate chips 

Mini chocolate chip cookies 

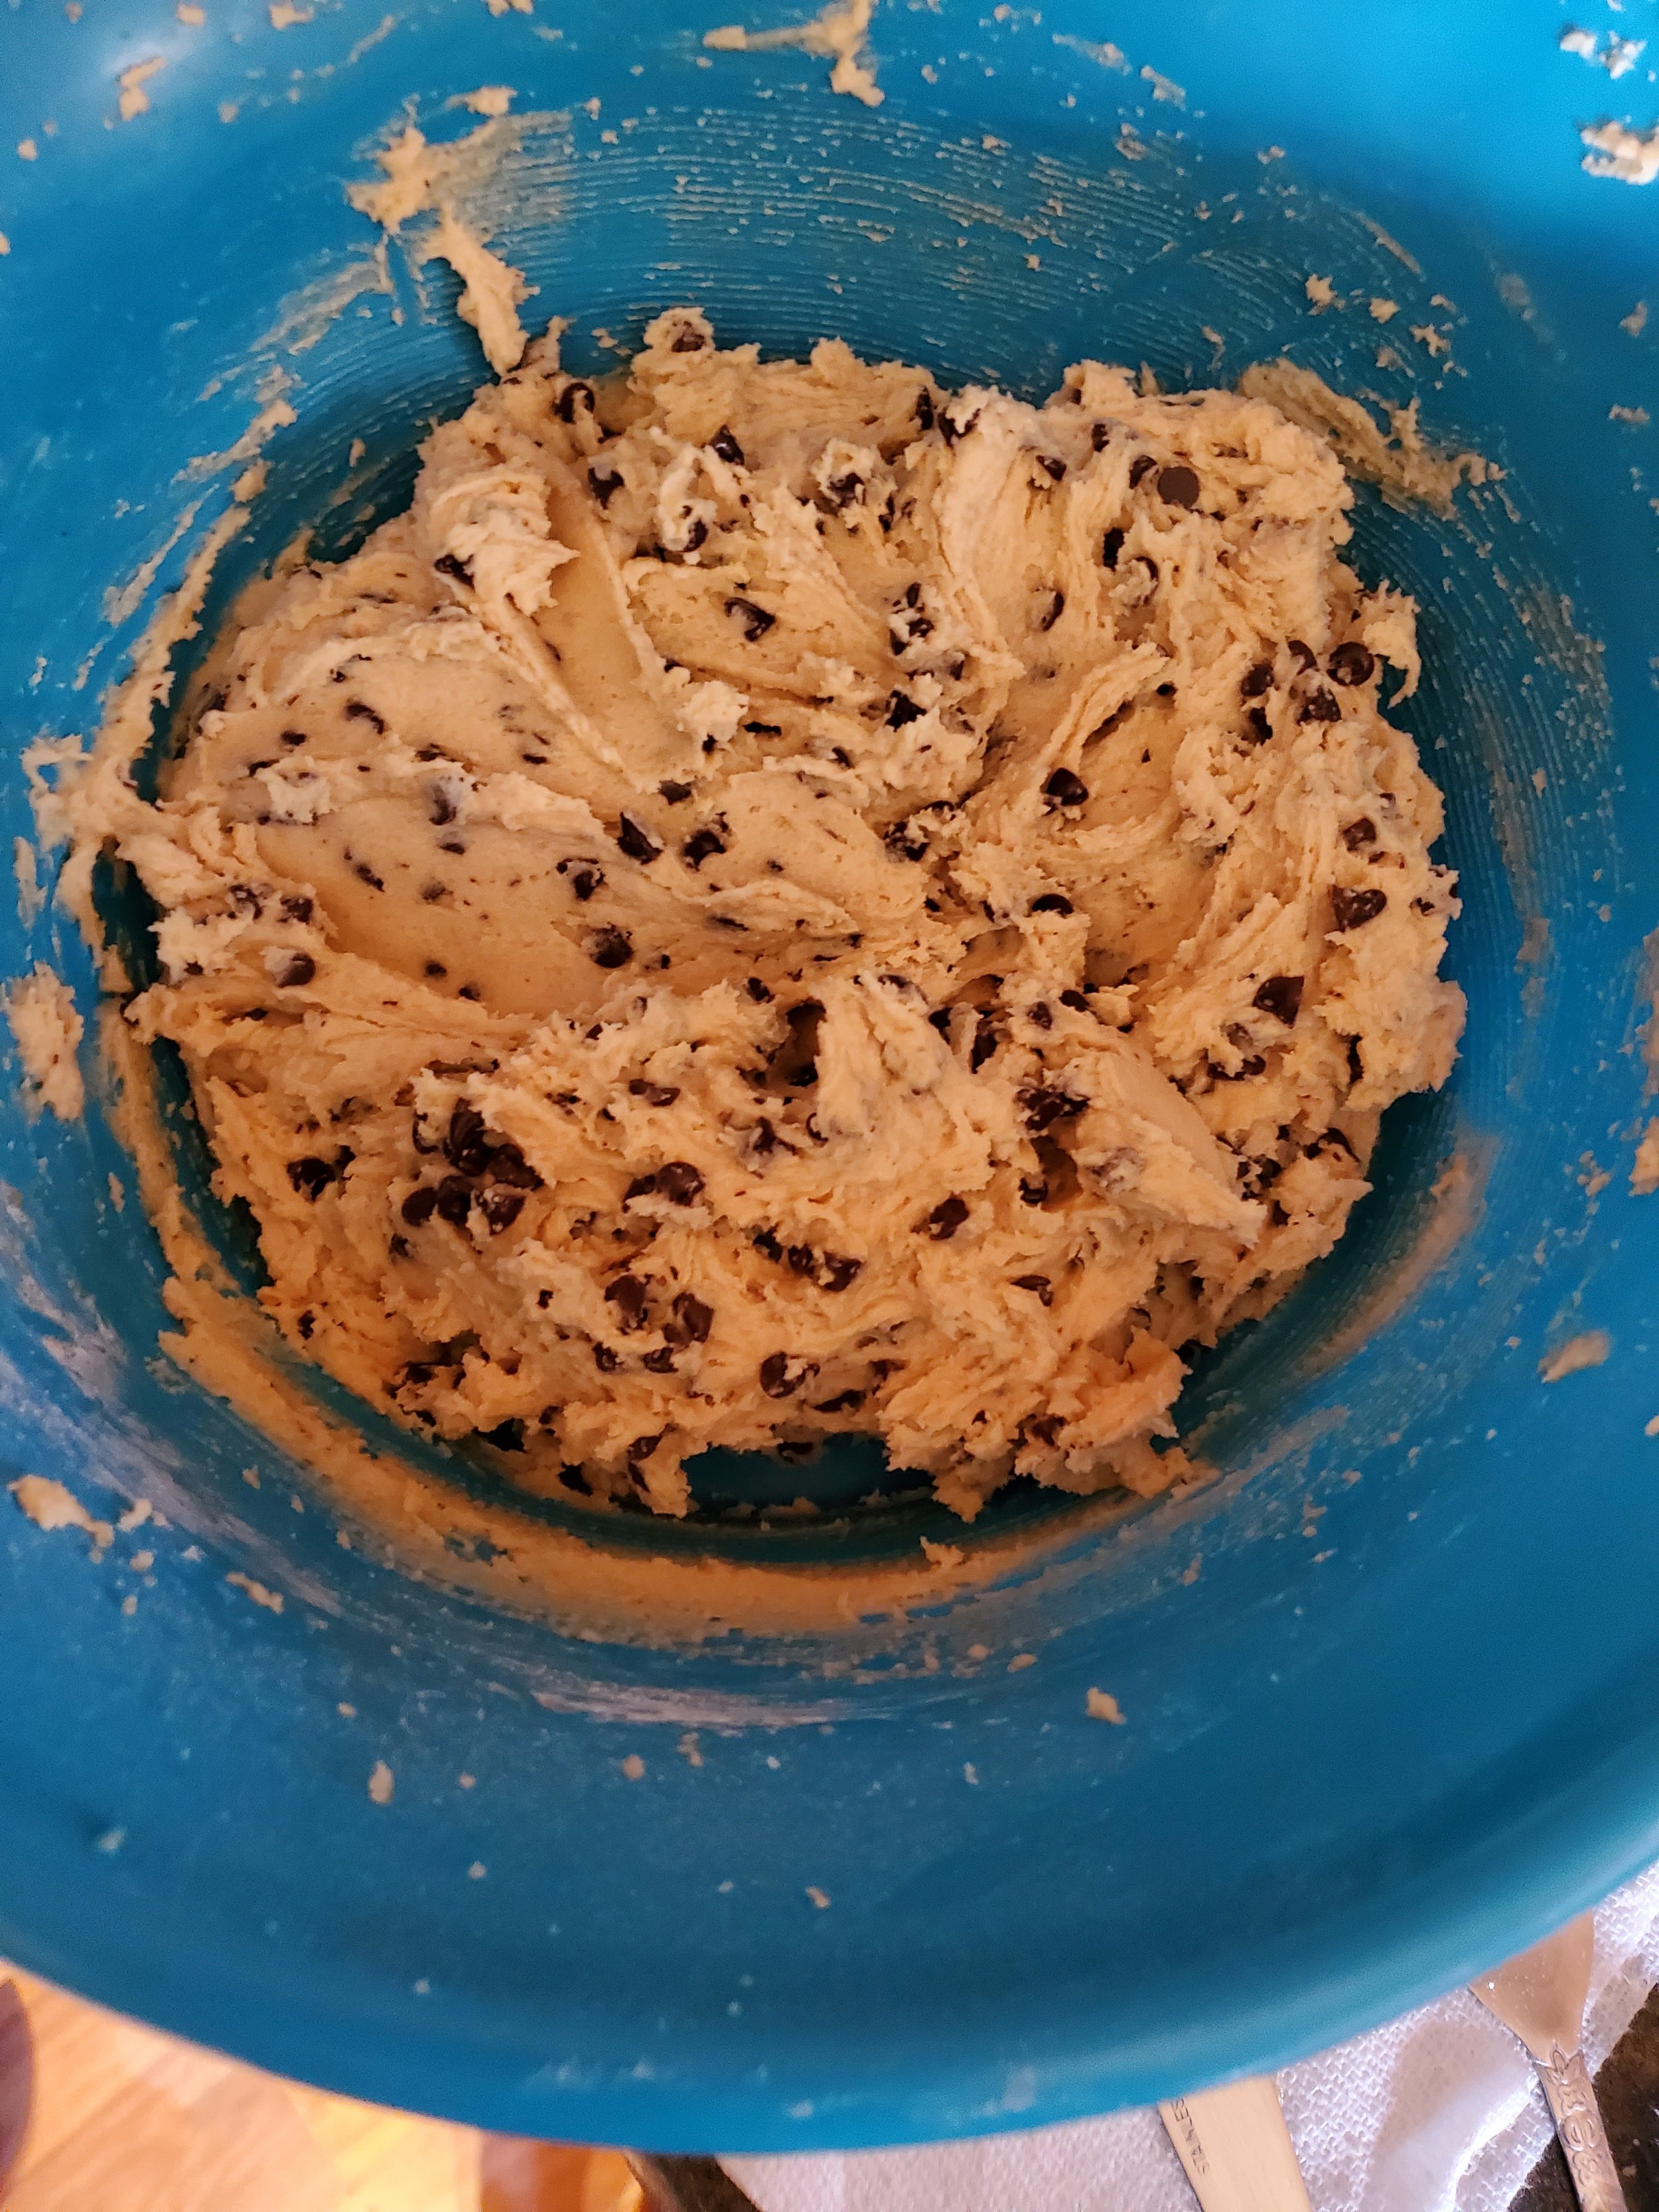
Beat the brown sugar and butter till fluffy, again you have the choice to use a stand mixer, a hand mixer, or a hand whisk. 

Beat in your vanilla extract, flour and salt till combined. 

Add the cream a little at a time till it reaches the consistency you want. This might not use all of your cream, or it might use more of it like ours did.  

Fold in the chocolate chips.  

If it's a hot day, set this in the fridge until you're ready for it to be used on the cake. If it's cool in your home, it's safe to leave it out on the counter, covered. 

Chocolate Malted Milk Syrup: 

1 c heavy cream

1/2 c sugar

2 tsp vanilla

2 Tbsp chocolate malted milk powder **

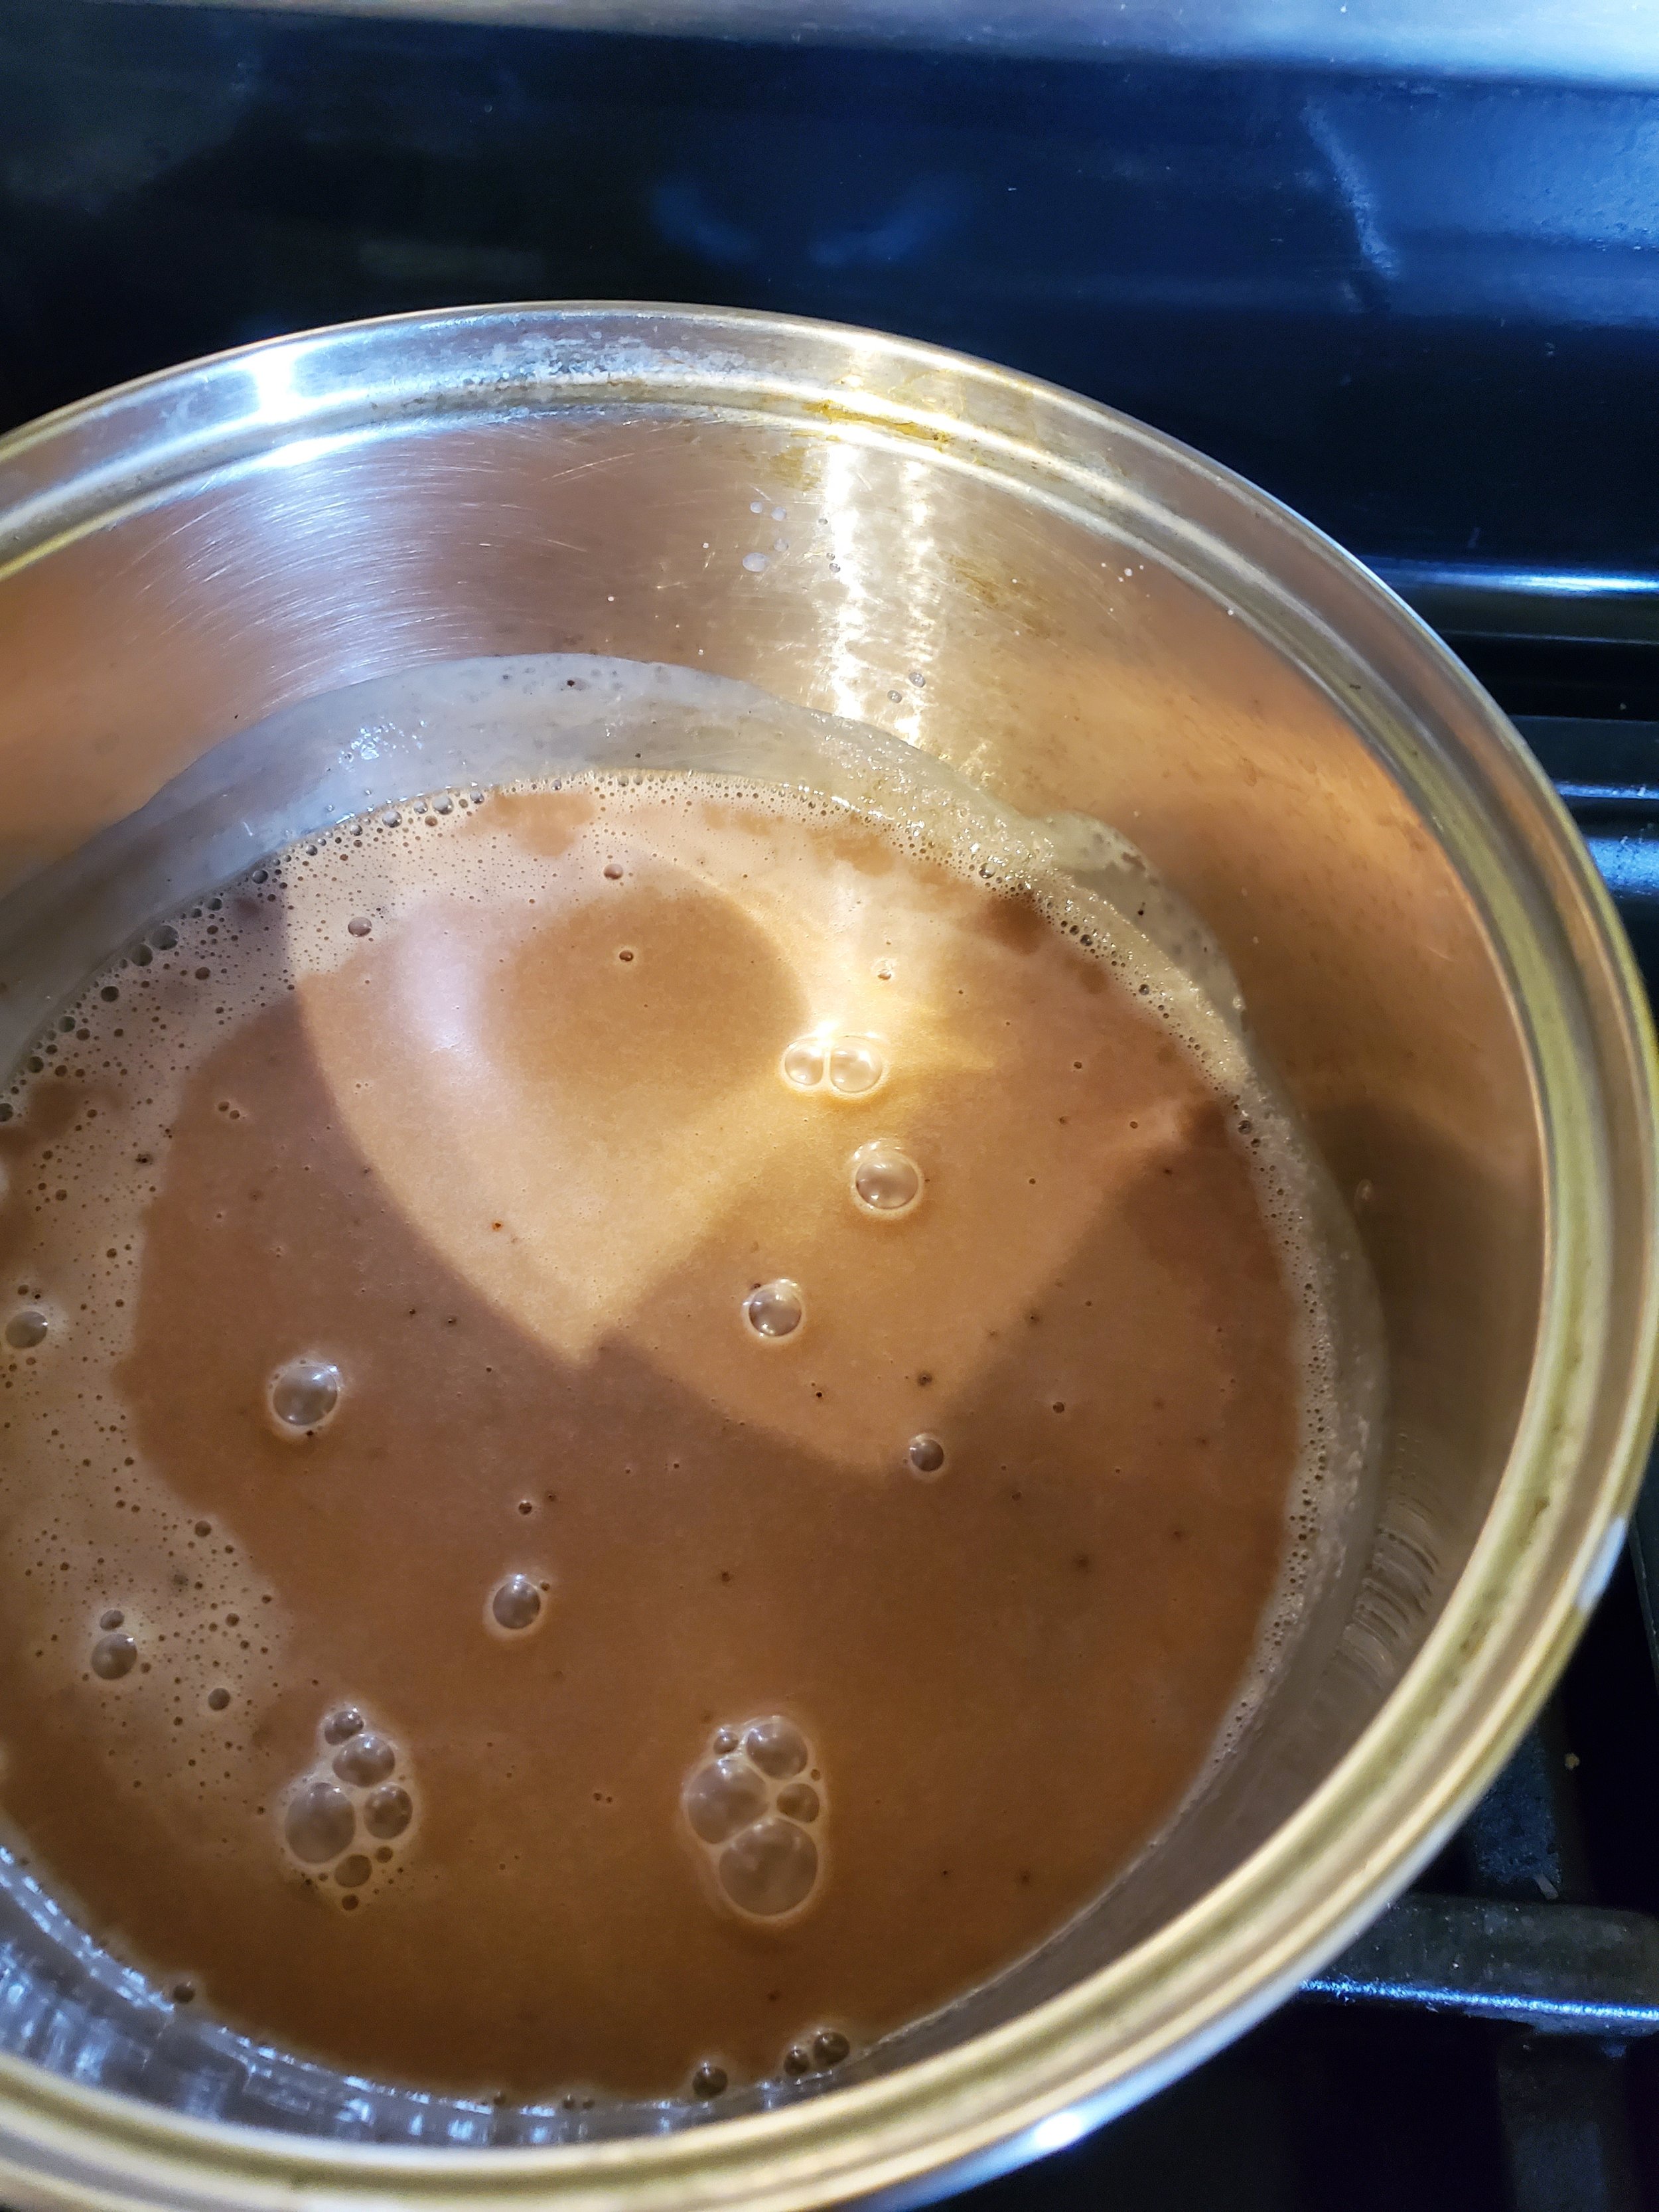
In a small saucepan, combine heavy cream, sugar, vanilla and chocolate malted milk powder, whisking until you no longer have bumps. Set your stove to medium-high (or medium if you're working on a gas stove). Put your saucepan on the stove and continue stirring, pressing any lumps against the side to break them up. Bring the pot to a boil. 

Remove from the heat and pour into a heat safe glass dish. Allow it to cool to room temperature and then store it in the fridge until it's time to assemble the cake. (We want to make a reference to a certain group of superheroes, but it doesn't really fit here does it?) 


Assembling the cake:

When your cake has come to room temperature, flip it out onto a cutting board, so that the bottom of the cake is now the top. 

If the dish you used was curved at the edges, cut off those ends of the cake and set aside for munching later.  

Next, measure the remaining cake, we want to create three even rectangles. Cut the cake across the width, so that you have three separate short rectangles. 

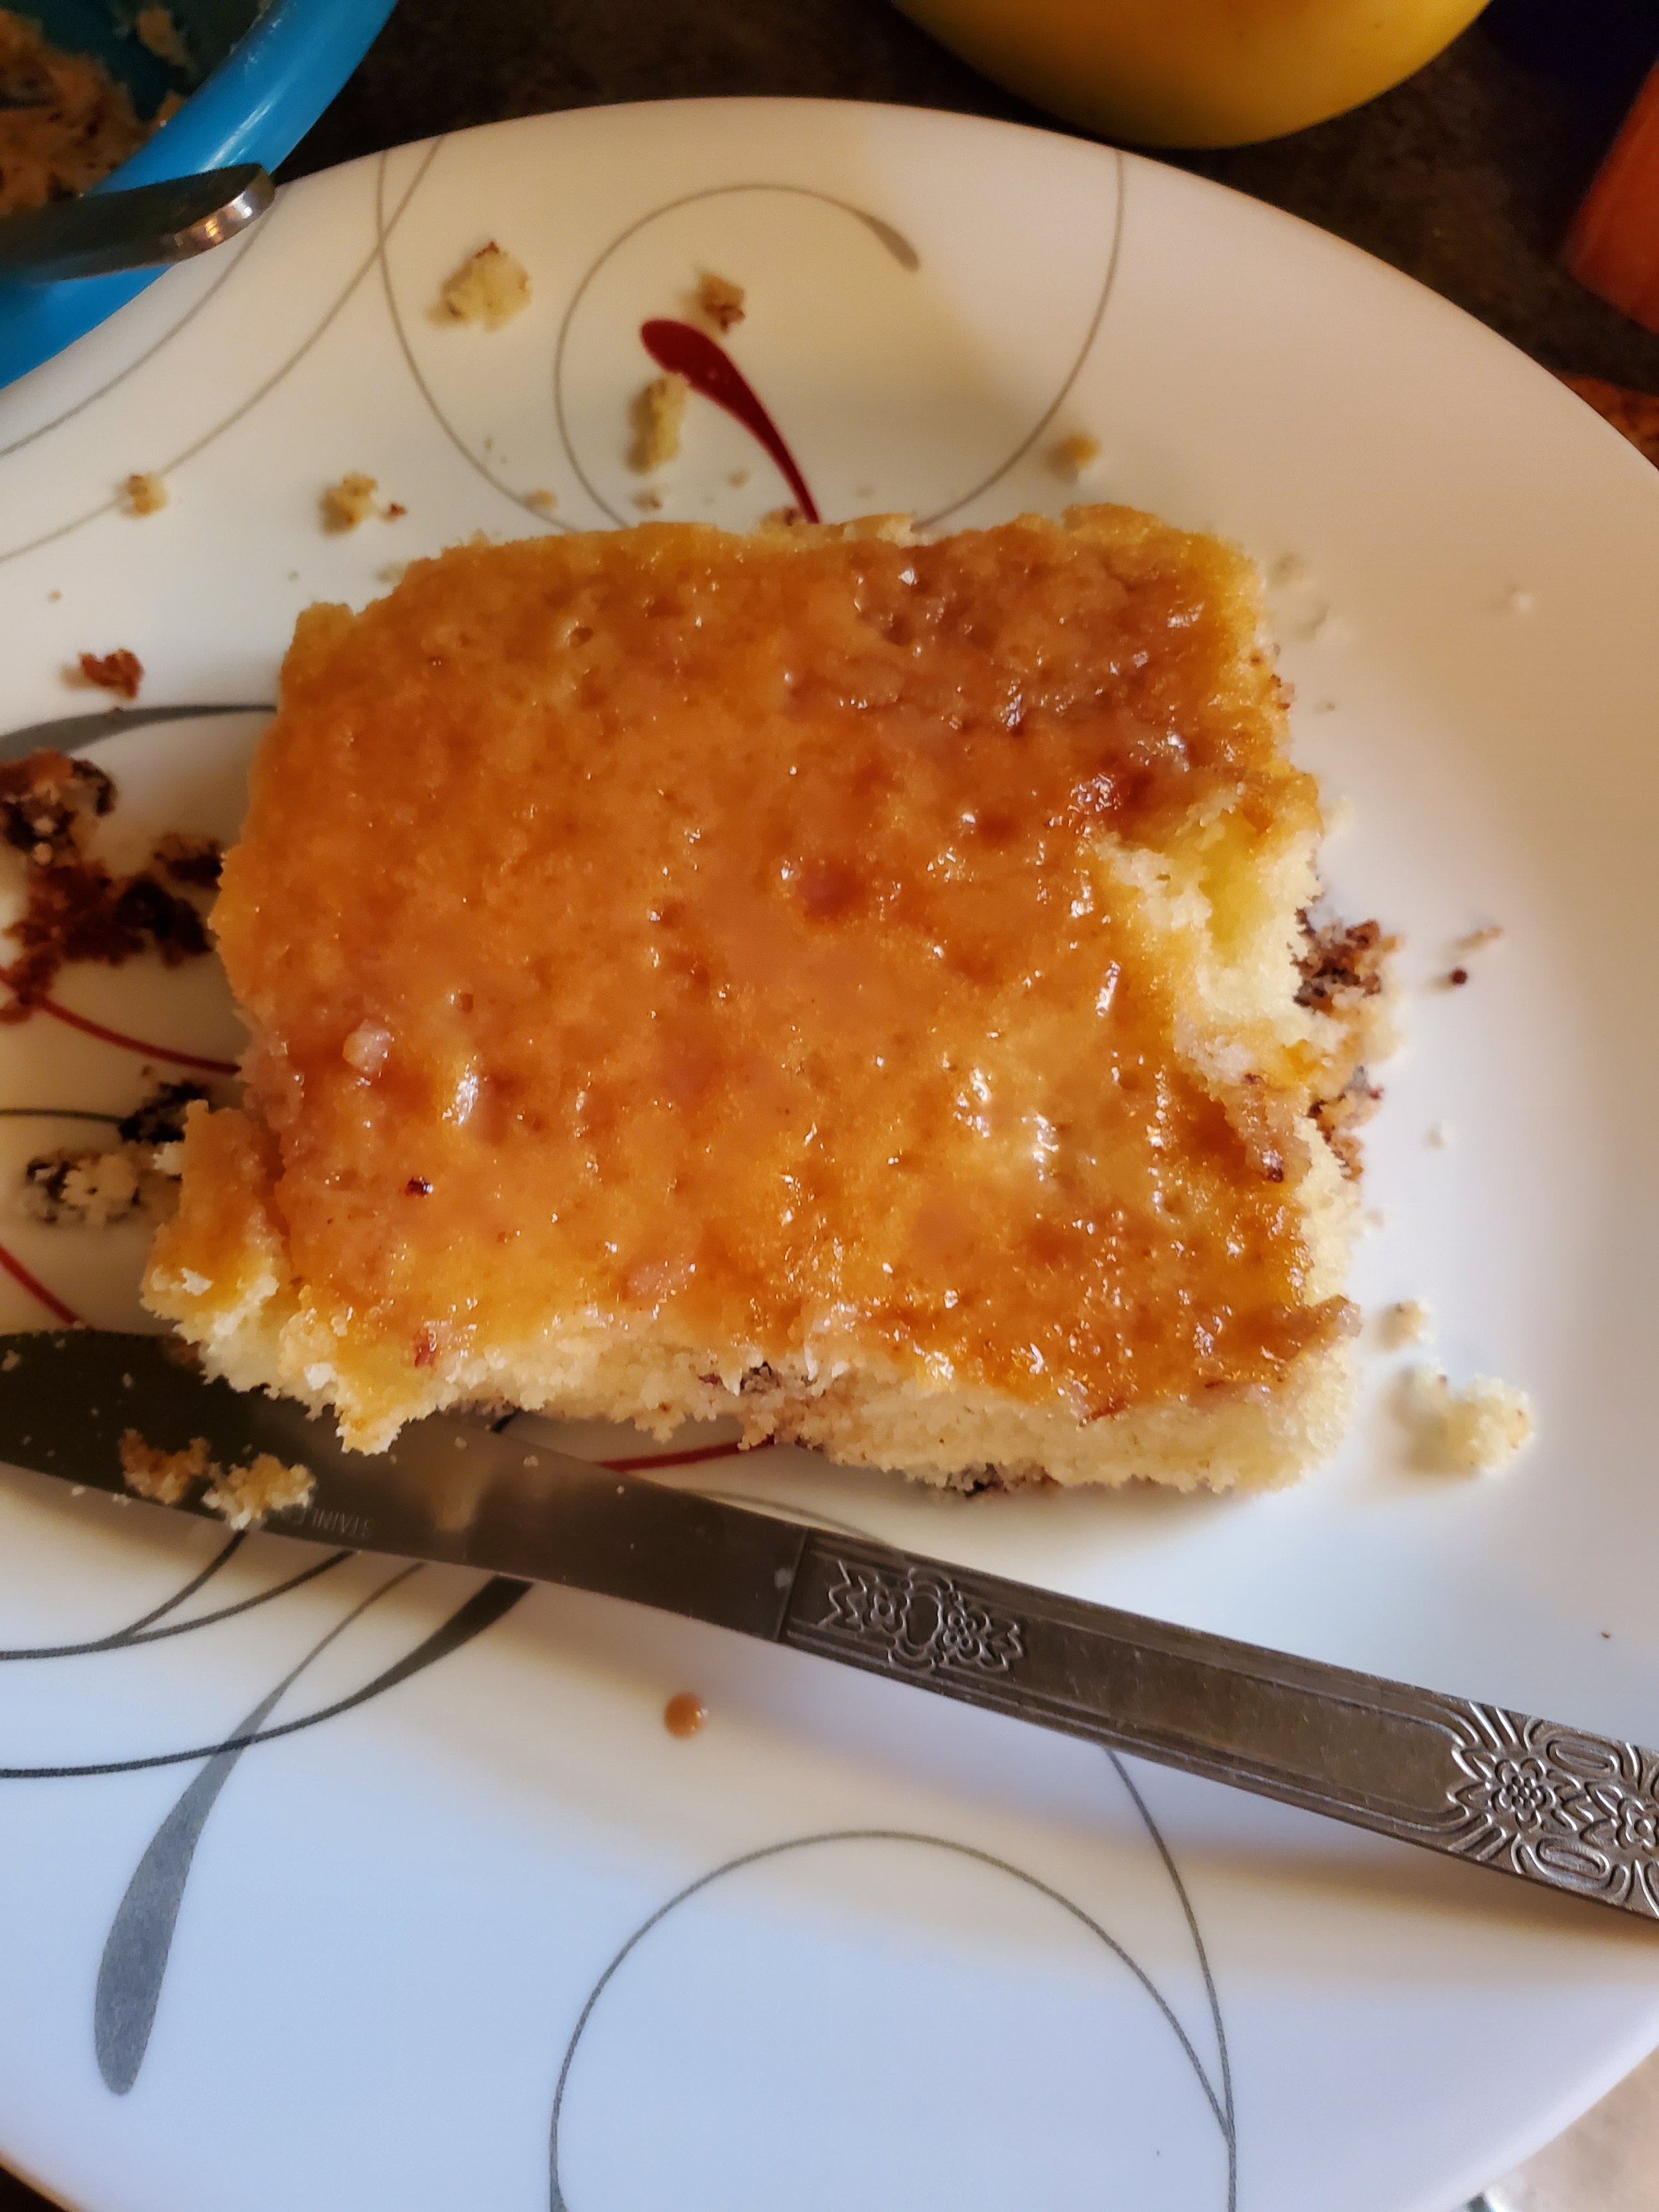
Coat each rectangle on the top with the malted syrup. (Don't forget this step, it really does matter for binding the cake top down and keeping it from 'peeling' off during the next stage.) 
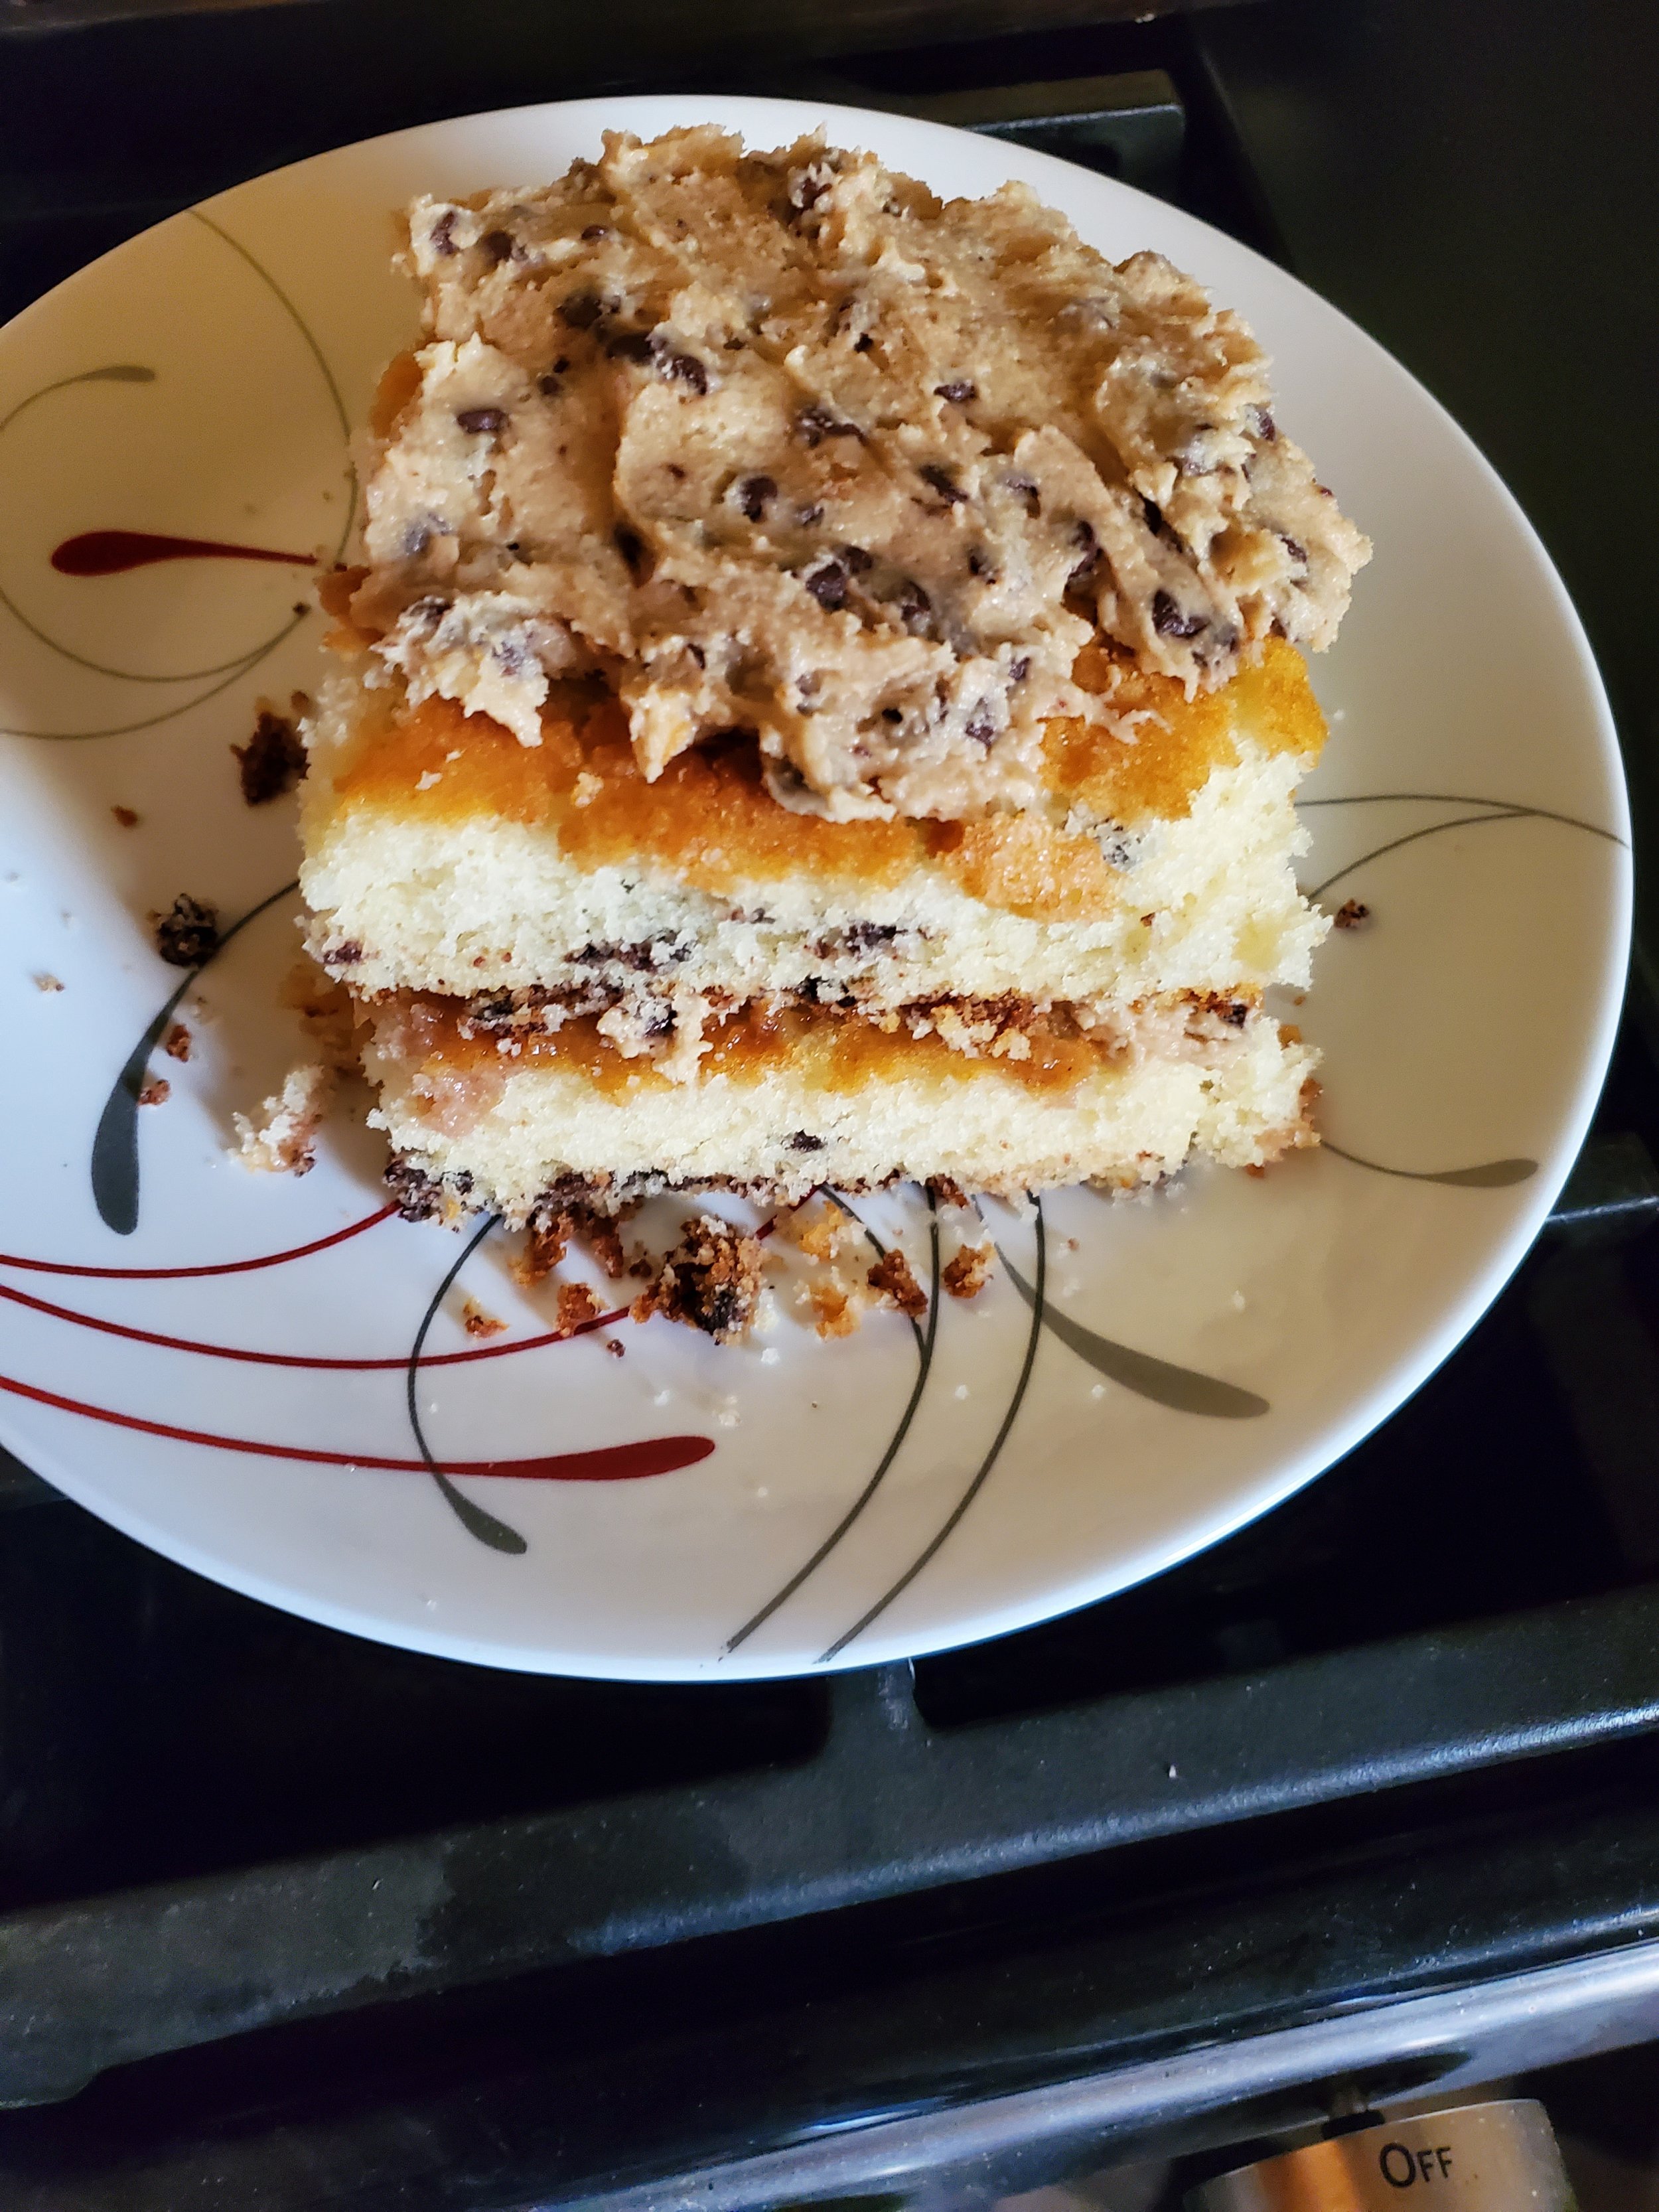
Pick a layer and top that with the filling, spreading it carefully. Although you might have tried it with other frosting sorts, we don't advise doing it with this one given the amount of butter in the filling. It will make a mess and you'll end up with something very unappetizing. 

Once the filling is as thick as you want it, add the next layer of cake, top it with more of the syrup if needed, and then the filling. Repeat again with the third slice. 

Once you've got all three slices stacked together, cover the top and sides with the remaining filling/frosting.  

To the top of the cake, add equidistant whole cookies, for decoration. Then take some of the remaining ones and smash them up.  Bag them in a gallon sized bag and grab your rolling pin, and give them a few good whacks. You don't want crumbs, but you don't want whole cookies. 

Once that's done, coat the sides of the cake in your cookie bits. You can do just the bottom 1/3 or you can do the entire side.  

Now if you want to really go crazy, or if the previous steps haven't worked out quite as you imagined, there are ways to save it and still make your cake look as tasty as it will be delicious. That is the baker's secret weapons of chocolate and caramel syrups. Turn your cake so that you're facing a corner of it and drizzle first one syrup and then then other over the top of it, making wide sweeping arcs across your platter.  Surprisingly, it works well. 

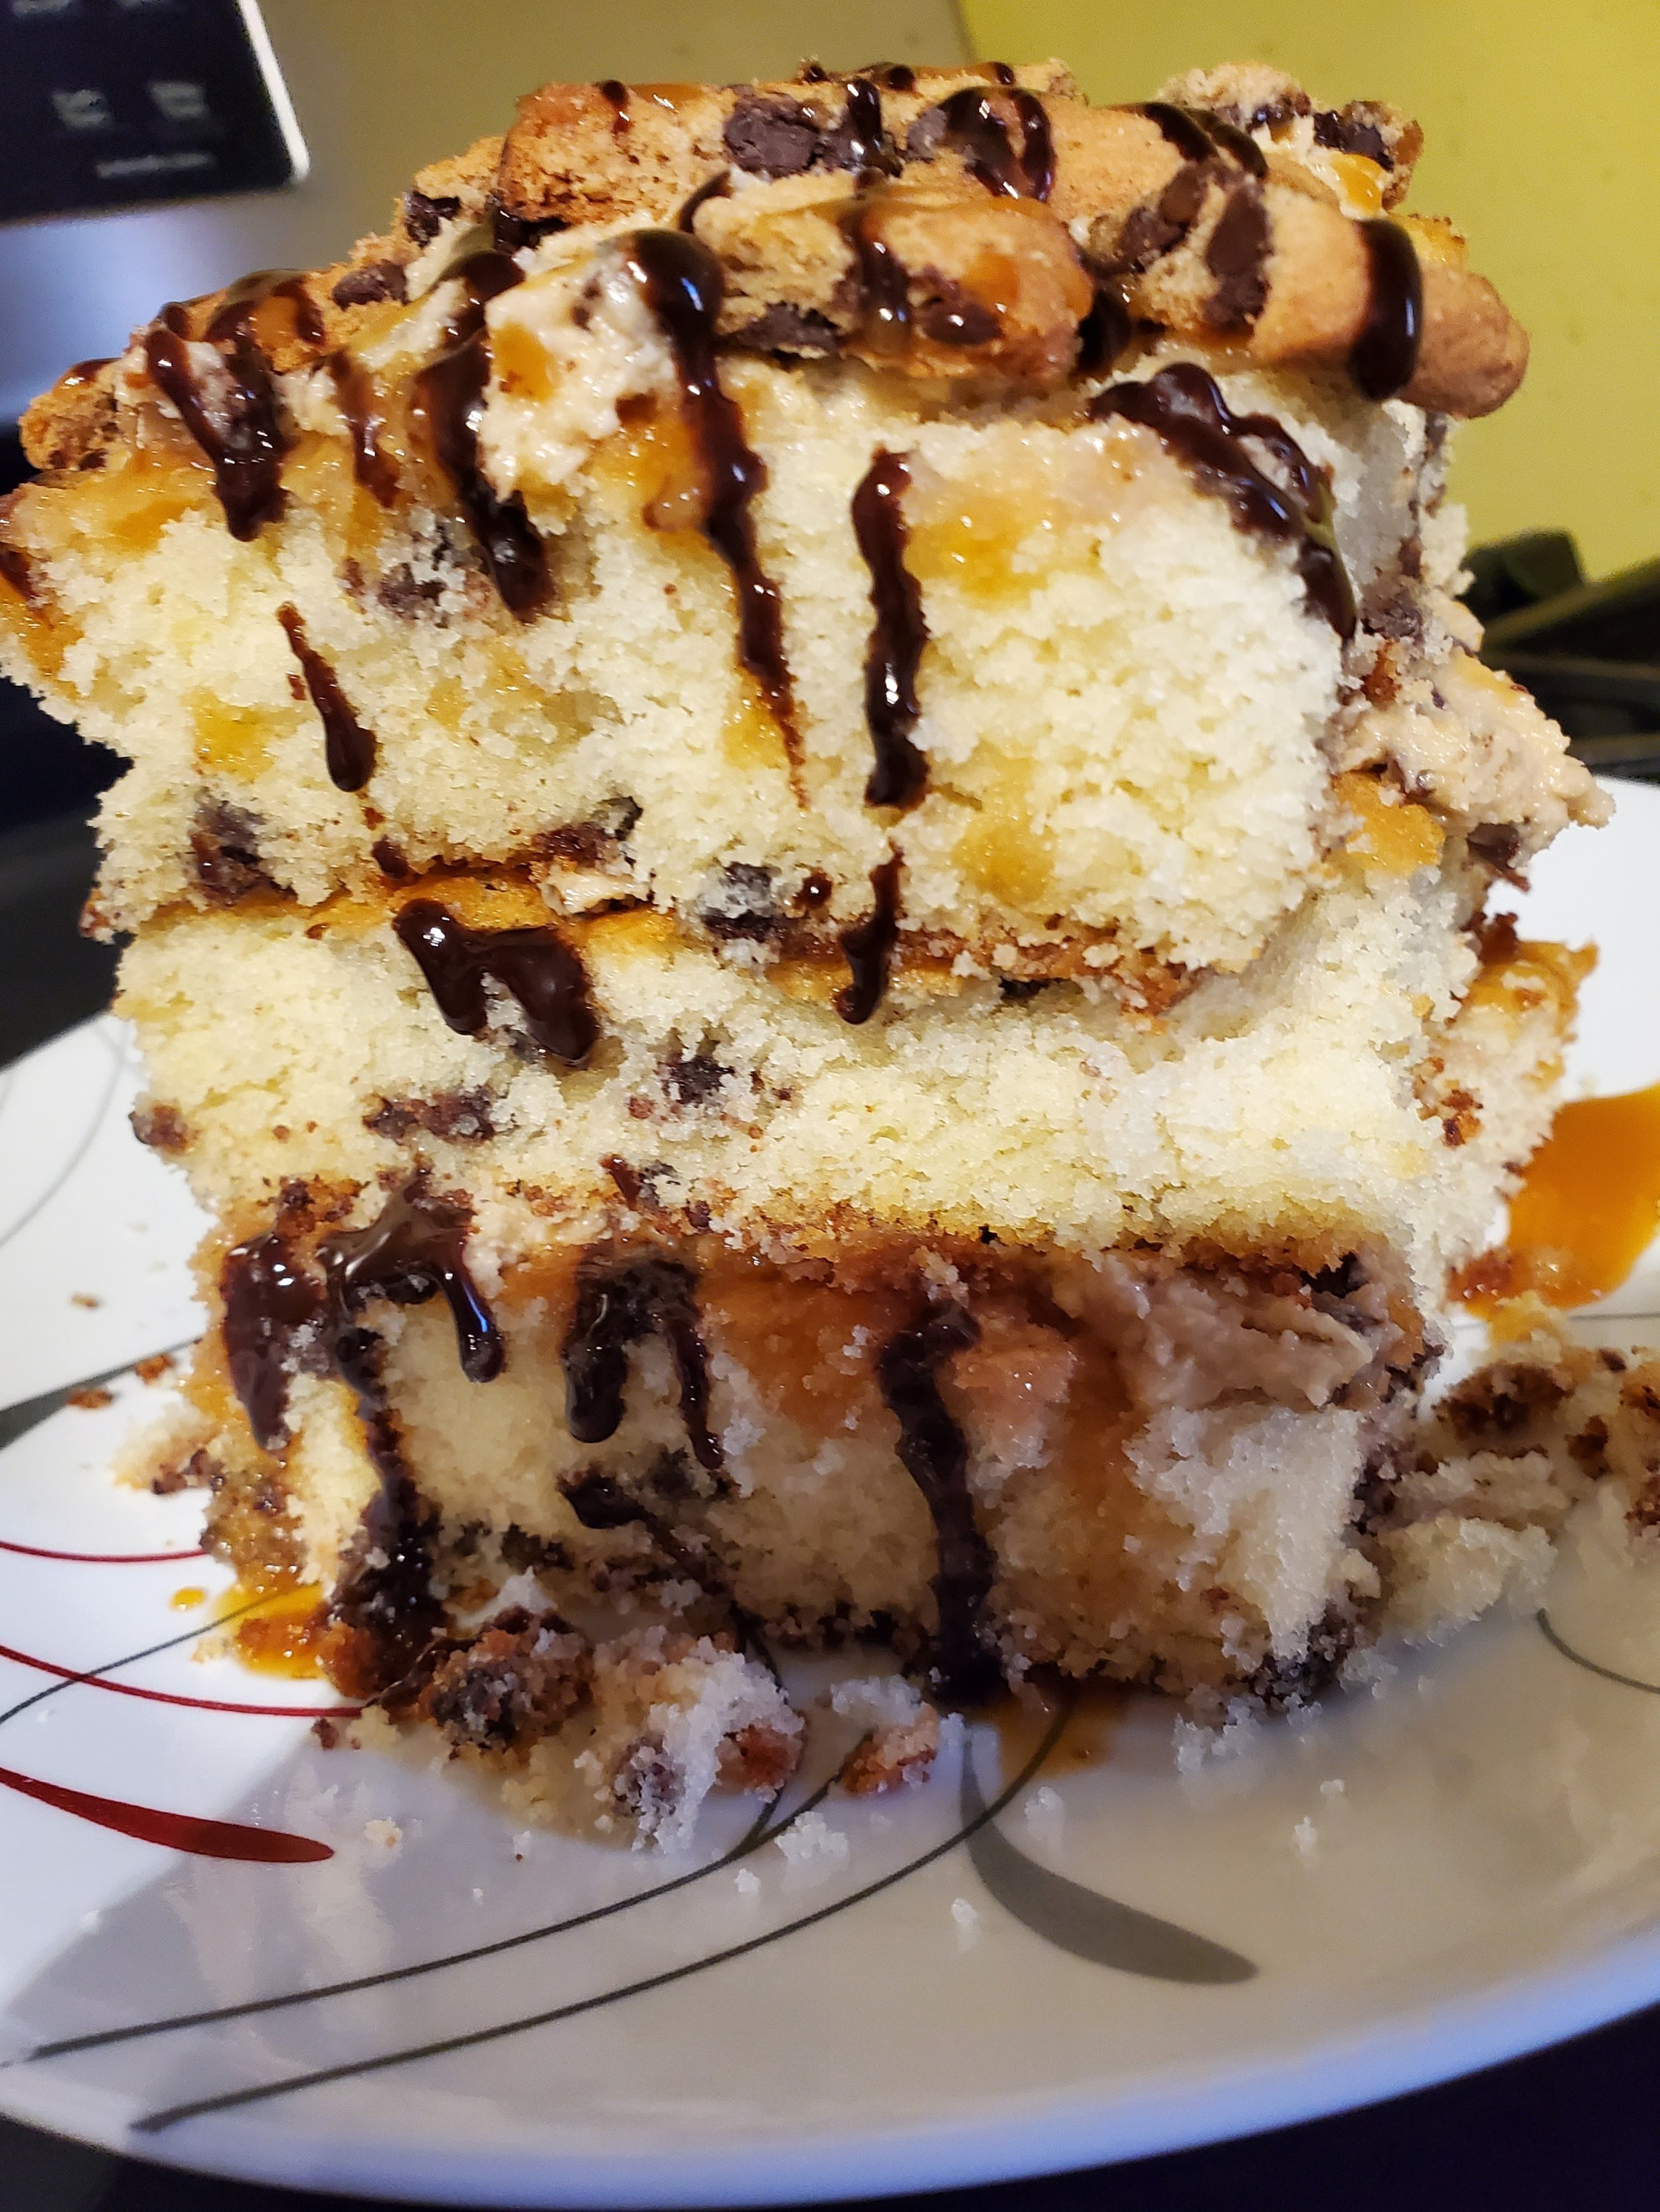
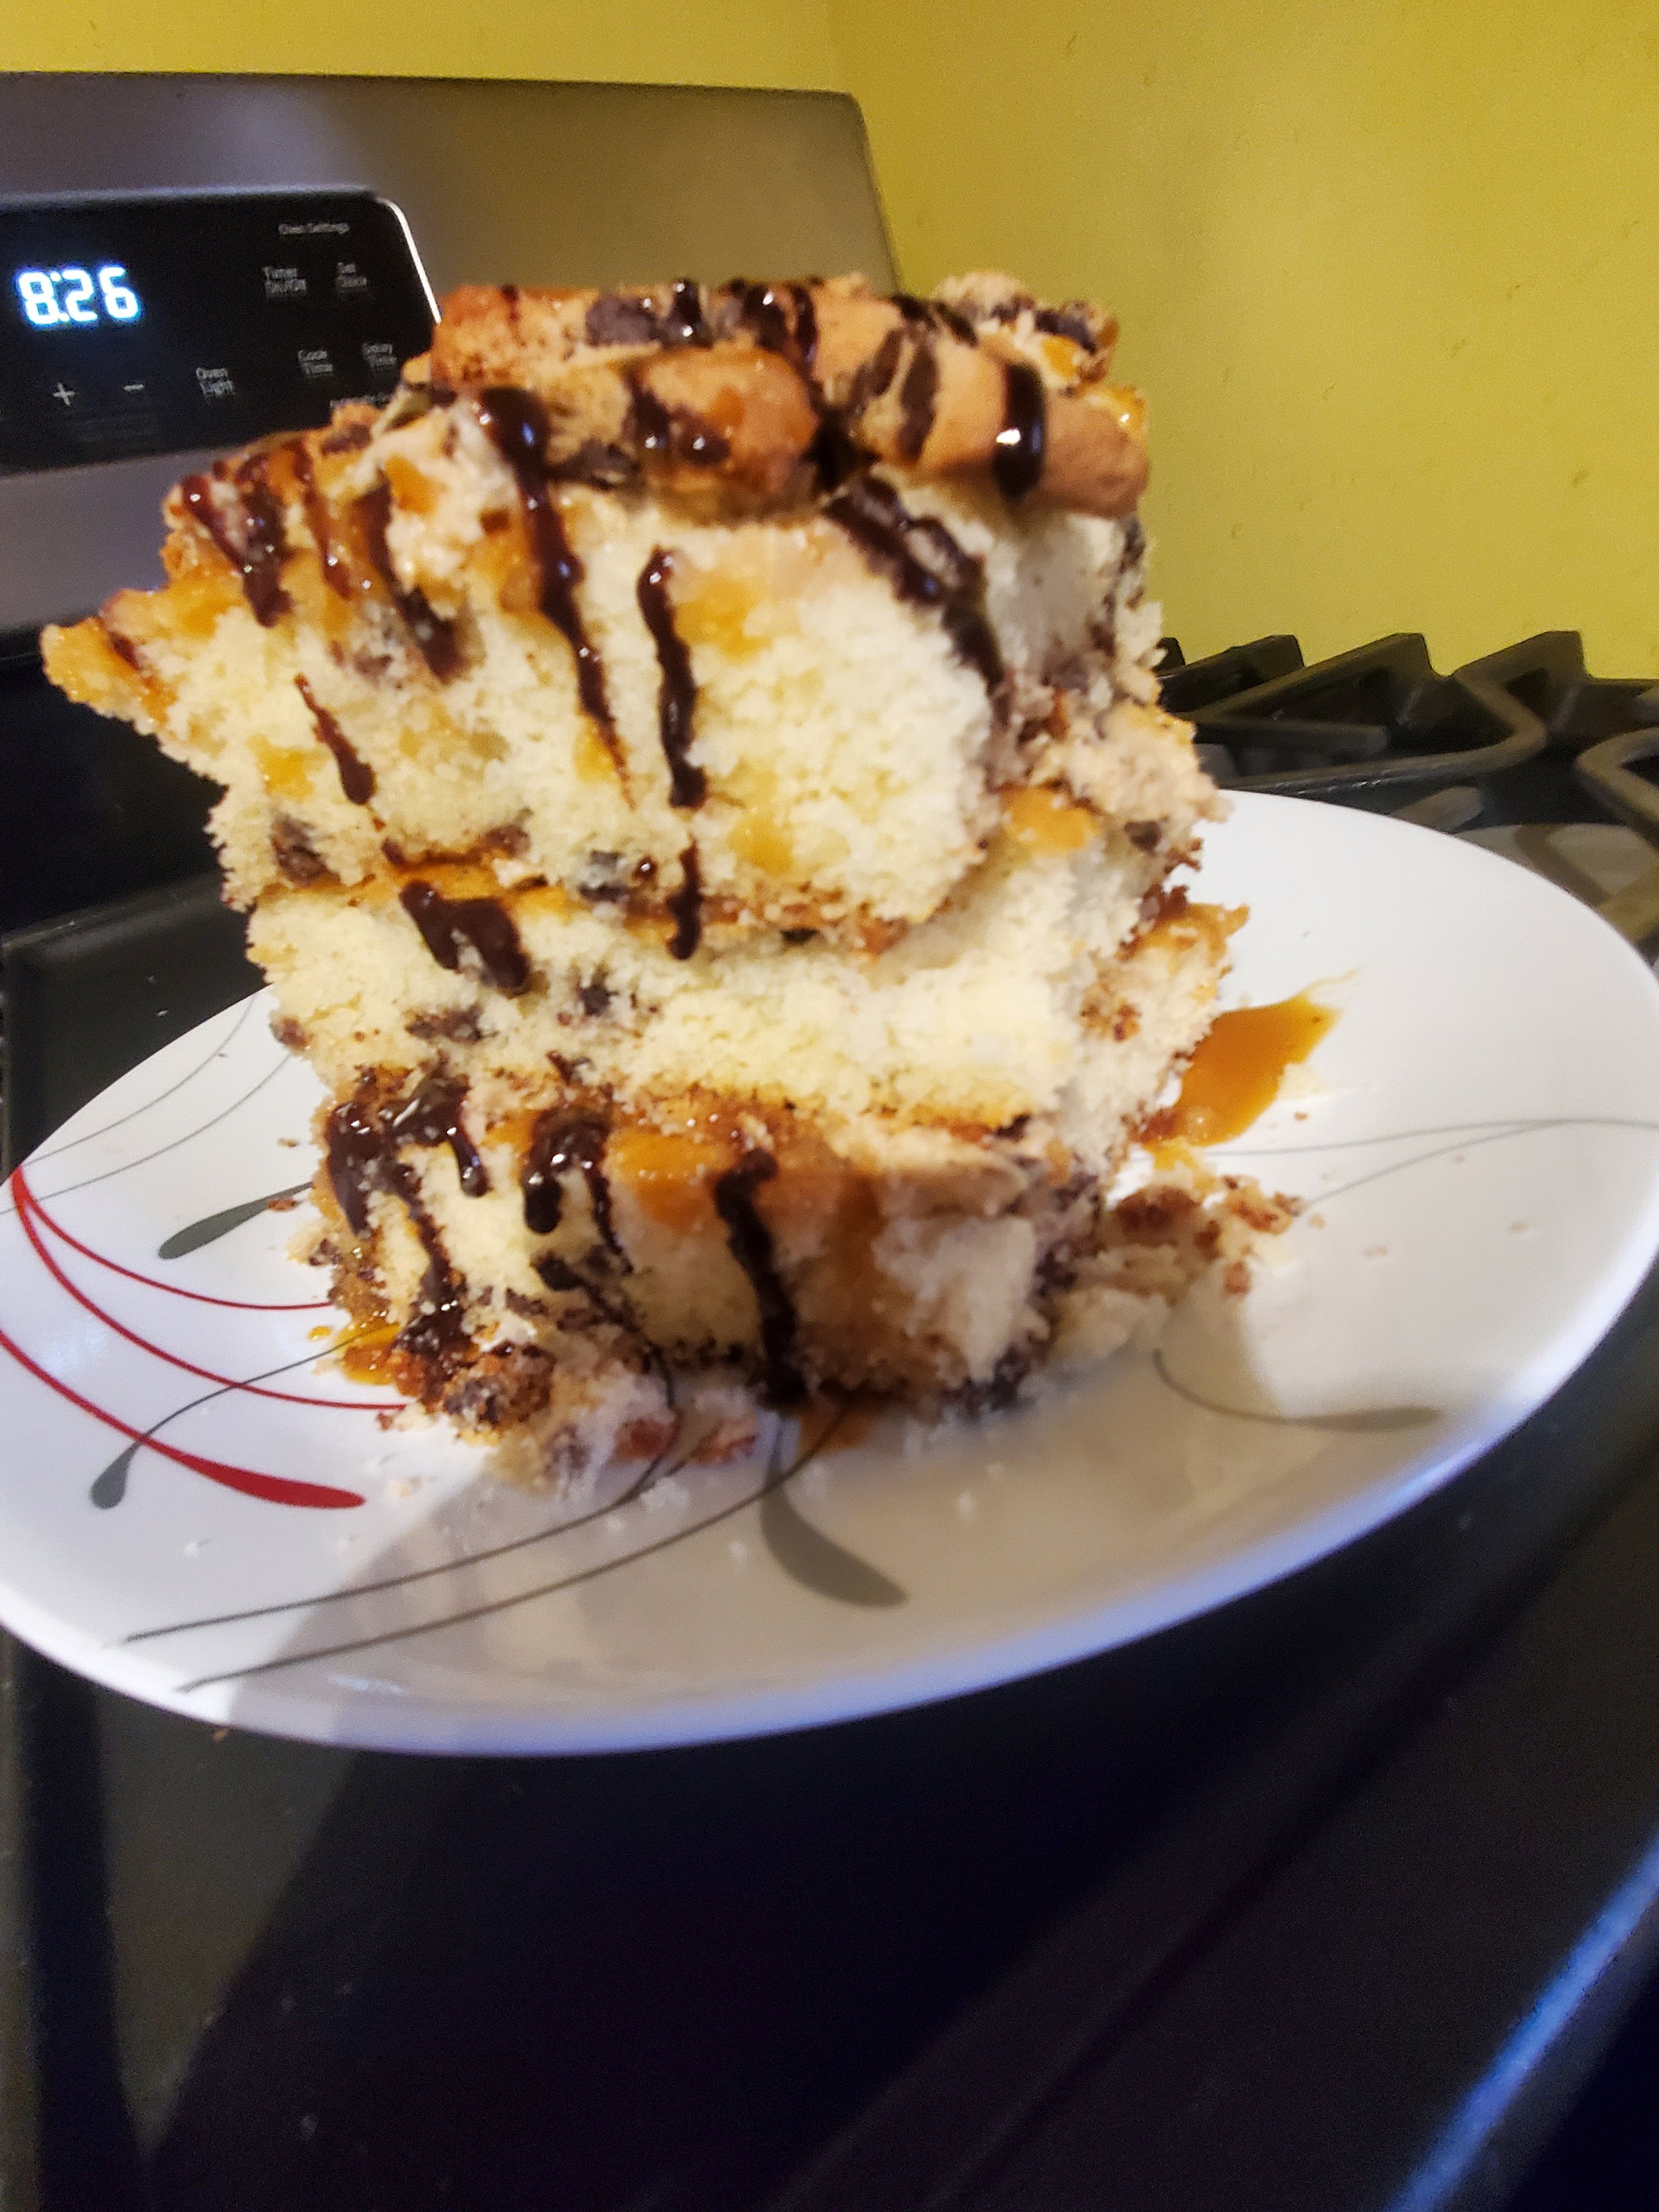
As a wrap up, sometimes a cake doesn't look /pretty/ and you need to have a backup plan, like that last step. That's what happened with us, and it was the syrup that ended up making it work in our opinion. Keep in mind though that no matter how this looks, it's still going to be a delicious, overpowering sugar bomb of a cake. We hope you love it and whoever you share it with also loves it.  Let us know how it goes over on our Facebook page or in the comments below. 

If you still have the ability to focus after making this cake, and you actually came to our site because one of your appliances is giving you trouble, we can help. Give us a call at ((214) 599-0055) or go to our contact page to set up an appointment. We'll work with you to find a time and date that works for your schedule to figure out what the problem is and how we fix it.  

*If you can't get your hands on buttermilk at home, there are ways to make your own, or you can use a powder if one of your local stores has it. That gets mixed together with water to give you the needed amount. 

** We know that it might sound weird to have chocolate malted milk powder and still call for vanilla extract, but it brings a very nice depth of flavor that we're fond of. 

Sunday Chicken Parmigiana 

Intensively Delicious, AND Well Worth the Wait! A Dinner Worth the Effort.

You've got the house to yourself and you want something to  make that will be delicious. You're also stressed though, which might explain why you have the house to yourself. So you need something that will make you feel better too. Check out this recipe for chicken parmigiana shared from our family to yours. 

We won't fib. There is a bit of work that goes into this one. BUT not only do you get the chance to beat up something, you also get a meal that is positively delicious and if you're in the mood for it, you can scale up to fit any number of people. (Or you can just freeze the extras for when you want to treat yourself in the future! Who says you have to share?) 


Note: This recipe is set up for 1 chicken breast, so that it can easily be sized up, or be made for yourself if you want a nice night on your own. 

Ingredients for Chicken Parmigiana

1 egg

1 boneless chicken breast

1/2 tsp fresh ground black pepper

pinch of salt

1/2 c Italian bread crumbs

 1/4 c all-purpose flour 

1 tsp Oregano 

1/4 cup veggie oil

1 tsp butter

1 tbsp shredded Parmesan cheese


Coating Ingredients for Chicken Parmigiana

2 Tbsp of tomato sauce

1/4 cup shredded mozarella cheese (unless you can get it fresh, we suggest using the skim variant)

1 tsp basil 

1 tsp oregano

1/2  tsp minced, fresh garlic

1/2 tsp parsley

1/2 tsp parmesan cheese 


A plastic dish contains a mix of flour and spices as well as a coated chicken breast

Crack your egg into a dish and beat egg smooth.  If time allows, separate the whites and yolk and beat separately with a fork to ensure they're fully blended and there aren't any stringy bits left. Then recombine and add a pinch of salt and pepper. 

Prepare your flour by placing it in a bowl large enough to hold 1 breast cut. Add the ground pepper and a pinch of oregano, mix well with a fork, making sure to go up and down in your mixing as well as side to side. 

Prepare the breadcrumbs by placing them in another bowl, big enough to hold 1 breast. Add 1 tsp oregano and 1 Tbsp parmesan, mix well to combine. 

Put your frying pan on the stove and turn it to heat on low, then add in your oil. 

Prepare the Chicken breast. 

While your oil is heating, lay the breast on your cutting board, ugly side up. Make a cut 3/4 of the way through the breast from left to right. Open the breast making small cuts until the breast lays flat. Lay the breast between 2 sheets of wax paper and, using a rolling pin, press the breast until evenly flat. You can roll it or you can smack it, let your mood for the day decide. It's a good way to get some stress out when you need to.  Make sure not to toss the wax paper, you'll need it in a minute. 

Coat the breast on both sides in the flour mixture. You can use a fork here, or just use your fingers to toss the flour.

Dip the breast in the egg wash making sure to cover it completely, you'll probably want to use your fork for this one, as just shaking the bowl isn't very effective. 
Coat in breadcrumbs on both sides. 

Coated and rolled out chicken breast for chicken parmigiana

Place the breaded chicken back between the sheets of wax paper and roll it, pressing the breading to the chicken.  This makes it less likely that you'll lose the breading during the cooking process. 

Frying: Increase the heat under your pan to medium and add your chicken breast to the pan. Cook for 2 minutes on one side.  Add butter to the pan to oil around the edges before you flip the chicken. After turning it, cook for another minute. (If you're cooking more than one breast, reduce the heat at this point.) 

Preheat your oven to 375* F 

fried and draining chicken breast for chicken parmigiana   Coated and rolled out chicken breast for chicken parmigiana


Place your chicken breast on a baking sheet. Mix together the garlic, basil and parsley in a small bowl. 

Top it with tomato sauce. Add the garlic, basil and parsley on top. Don't mix with the sauce, allow it to be a light layer. 

Add mozzarella cheese, don't be too generous. You want the cheese to stay on top of the sauce, and to be able to taste the spices. 

Sprinkle the top with oregano. 

Bake for 15 minutes till the cheese is melted. 

Remove from the oven and top a final time with parmesan cheese. 

Enjoy!  

Now sadly, we didn’t get a photo of the final dish, as our cook was rather hungry upon finishing making the dish. Our apologies!

Well? What did you think? Let us know in the comments below or over on our Facebook page if the time this one takes was worth it. We always think that it is (and thank our resident cook every time he makes it.) 


If you ended up here because your oven is giving you fits though, or maybe your stove is refusing to stay hot, that is an entirely different sort of problem, and one we know how to help with. You can reach out to us via our contact page or by giving us a call at ((214) 599-0055 ). As always, we'll work with you to set a time and date that works best with your schedule and your family.  Whether you live in Frisco, Carrollton, Addison or Coppell, we work with you to get your home running smoothly again. 

Handpies for Every Meal!

Handpies for Dinner, Dessert, Breakfast and Lunch!

The greatest thing about making handpies is that they can be made for any meal of the day! Breakfast, lunch, dinner or dessert, the possibilities are endless! Sweet or savory, eating at a table, on a picnic or as you rush out the door on your next adventure, handpies are a fantastic option for meals. 

We admit, we might have gone a wee bit overboard with the number of recipes we put together in this post, but with as many possibilities as there are, we couldn't stop ourselves. So for this post, we've made it so that each recipe collapses into itself so that you can look at them one by one, rather than trying to wade through the entire article at once. 

We'll start off with the crust for your pies, and then move on to the fillings. 

  • 6 cups of Bread Flour

    2 tsp salt

    1 cup + 1/2 Tablespoon cold butter

    1 cup cold water

    2 egg yolks

    5-7 cups of your filling of choice, see below

    Combine flour and salt into a mixing bowl.

    Cut your cold butter into tiny pieces, and work it into the flour, ideal using a fork or your fingers. (or an assistant, that works too!)

    in a separate bowl, mix the water and one of your egg yolks together until well blended. Pour that into the flour and mix everything until it comes together.

    Turn the dough out onto your counter and knead it lightly until it becomes a dough, rather than a mess of ingredients. The best way to knead the dough is to push forward and away from you with the heel of your hand, then fold the dough back towards yourself. Rotate it 90 degrees and repeat.

    Wrap the dough in plastic wrap and let it chill for at least 30 minutes, or up to a day.

    When you're ready to bake your hand pies, preheat your oven to 445*F. Grab two baking sheets and line them with parchment paper *

    Take your dough out of the fridge and set it on your counter. Cut it into 10 equal pieces of dough. Feel free to use a scale if you want, or just measure by eye and feel if you're feeling adventurous.

    Set all of the pieces to the side but one, and roll that one into a 7 inch circle.

    Add a rounded half cup of your filling to the center of the circle and fold the edges over so that you have a half moon.

    With the edge you can get creative. Start by pressing the dough firmly together all around the filling. Then choose your crimping design of choice. The easiest method is to pinch and fold back the dough on itself so that you get a 'crimped' edge. You can also check out Pinterest to see what other nifty options you have. We don't advise using just a fork for this dough because of how much filling you have.

    Place five pies on each of your baking sheets, and mix up your remaining egg yolk with 1 Tbsp of water.

    Use a pastry brush and generously apply the wash to each pie.

    Bake your pie for 20 minutes at 445* and then, without removing the pies from the oven, turn the heat down to 345* for another 15-20 minutes until they're crispy and browned.

    *Important note here: Parchment paper is NOT the same as wax paper. Whatever you do, don't try and bake wax paper you will ruin your baking sheet if you're lucky and hurt your oven if you're not.

    This is your basic pie dough. You can make this and freeze it once you've kneaded the dough, once you've cut the dough into sections, or once you've got it rolled out into rounds. All we suggest is making sure to wrap it in wax paper or plastic wrap and then putting it into a freezer safe container.

    Important Note: In our pictures down below, we made a half batch and mini pies, rather than the full size ones you get with this recipe.

  • 1 Tablespoon Unsalted Butter (you won't need additional salt thanks to the salt and the cheese)

    1 Cup Yellow Onion, diced

    2 ½ Cups Baby Bella Mushrooms sliced

    ½ teaspoon Ground Pepper, fresh

    ½ teaspoon Sea Salt

    2 Tablespoons fresh Thyme chopped

    2 ½ Cups Fresh Baby Spinach chopped

    1 ½ Cups Gouda or Gruyere Cheese, grated

    ______________________________

    Add mushrooms, onions, salt, pepper, and thyme in a skillet with 1 tablespoon of butter. Cook for 3-4 minutes until softened. Don't go based off the onions being transparent as further cooking will happen while you bake the handpies.

    Stir in spinach while warm and remove from heat. Let cool and drain any excess juices.

    Once cooled, add in your cheese of choice and mix thoroughly to combine.

    Split your filling evenly between your pie rounds and bake to enjoy.

  • 16- oz cooked ham, chopped

    ¾ cup shredded cheddar cheese

    ¾ cup shredded Swiss cheese

    1 (8-oz) package cream cheese, softened

    1 Tbsp Dijon mustard

    1 Tbsp Worcestershire sauce

    1 Tbsp brown sugar

    ¼ tsp onion powder

    ______________________________

    In a large bowl, mix your ham, swiss cheese, cheddar chees and cream cheese, mixing until thoroughly combined.

    In a smaller bowl, mix together your dijon mustard, Worcestershire sauce, brown sugar and onion powder until blended.

    Add the two together and mix thoroughly.

    Split your filling evenly between your pie rounds and bake to enjoy.

  • 2 lbs chicken breast

    1.5 tbsp olive oil

    1/2 cup yellow onion, finely diced

    1 Red pepper, finely diced

    1 Yellow pepper, finely diced

    10 cloves of garlic, minced

    2 cup chicken stock (split in half)

    1 Tbsp tomato paste

    3/4 tsp salt

    1/4 tsp pepper

    ______________________________

    Grab your Instapot or crockpot and place your chicken and 1 cup of the chicken stock into it. Mix in 4 of your 10 garlic cloves.

    Put the lid on the pot and cook for 20 minutes if you're using an Instantpot or 6 hours if you're using a slow cooker.

    In a large skillet, heat the olive oil over medium heat.

    Add onions, 6 cloves of minced garlic, and peppers, and sauté for about 5 minutes until softened.

    Add chicken, tomato paste, 1 cup of chicken stock, salt and pepper.

    Simmer, stirring often, allowing some of the liquid to evaporate, about 10 minutes.

    Allow to cool to room temperature or in the fridge for 2 hours. If you're doing this in stages, you can chill overnight in the refrigerator too.

    Split your filling evenly between your pie rounds and bake to enjoy.

  • Fair warning on this one. There are Zero hard and fast amounts because we weren't given hard amounts. It's more of a "guess and test" recipe like we've done in the past.

    Unsalted butter

    corn - we advise fresh or frozen as it's easier to get them.

    red onion, finely diced

    limes- juice in one bowl and zest into another so you can add as much as you like.

    red bell pepper, finely diced

    cilantro

    jalapeño, we suggest starting with 1 jalapeno to start with, finely diced without the seeds or pith

    sour cream

    Cotija cheese, and if you can't get hold of that, you can go with queso fresco

    ______________________________

    In a large skillet over medium-high heat, add your butter and frozen corn. Cook for 8-10 minutes stirring often until the corn is cooked through and has a charred look to it. The high heat will cook it quickly and the char adds a nice smokey flavor to the recipe.

    Remove from skillet and pour into a large bowl. Add the red onion, lime juice, lime zest, bell pepper, cilantro, and jalapeño. Stir to combine.

    Add the sour cream and the cheese and stir to mix. At this point we suggest tasting the mix and seeing how you like it, adjusting different flavors as needed so that it's just right before you move on.

    Once you've got the flavors right, split your filling evenly between your pie rounds and bake to enjoy.

  • 1 Tbsp olive oil

    1 Tbsp unsalted butter

    1 white onion, finely diced

    1 carrot, peeled and finely diced

    1 rib celery, finely diced

    Salt to taste

    Black pepper, freshly ground to taste

    4 cloves garlic minced

    1 pound ground beef

    1 ½ tsp Italian seasoning

    ½ tsp white pepper

    1 Tbsp tomato paste

    2 Tbsp Worcestershire sauce

    3 level Tbsp all-purpose flour

    1 ¼ cups beef stock or broth

    1 medium russet potato, peeled and diced into ¼ -½ inch cubes

    2 tsp fresh thyme leaves

    1 Tbsp finely chopped parsley

    ¼ cup green peas

    ______________________________

    Start by gathering up your onion, carrot, celery, potato and parsley and chop them as stated above, keeping them separate as you finish working with them.

    Take your skillet and put it down over medium- high heat, and add in the olive oil and butter. Once your butter is fully melted, stir it together with the olive oil and add in your onion, carrot and celery plus salt and pepper. Saute the vegetables until they're softened, but not transparent.

    Add in your garlic and once you can smell it, add in the ground beef, Italian seasoning, white pepper, and a few more dashes of salt and black pepper. Cook the ground beef until it's no longer pink, using a spatula to crumble the beef.

    Once the beef is finely cooked, if you're having a hard time getting it to crumble, you can remove it from the heat and once it's cooled enough, use your hands to break everything up. This is an optional step, and will require bringing the pan back up to heat before moving on.

    Once your beef is finely crumbled, add in your tomato paste and the Worcestershire and stir that into the pan, and top with the flour. Stir everything together to blend well.

    Add in your beef broth and the potato and stir to combine everything. Put the lid on the pan and allow it to simmer until the potatoes are tender, approximately 30 minutes. When a fork pressed gently against a potato cube slides through easily, you know they're done.

    To finish it off, add in your thyme, chopped parsley and the peas and mix to combine. Make sure no other spices are needed, and then allow the filling to cool completely.

    Once you've got the flavors right, split your filling evenly between your pie rounds and bake to enjoy.

  • 12 oz of fresh Blackberries

    1/4 cup sugar

    1 tbsp lemon juice (the bottled stuff is just fine)

    1/2 tsp cinnamon

    1 egg, beaten

    Additional Sugar for Topping

    ______________________________

    Rinse your blackberries well, and dry them with a clean towel, carefully or you'll end up dying your towel.

    Cut them in half, and toss them into a medium-sized bowl. Add in your sugar, lemon juice and cinnamon and mix well so that there is very little liquid left in the mix. Add a tiny amount of sugar at a time if there is too much liquid after adding in the initial 1/4 cup.

    Use an egg wash to help seal the pastries as you make them, to ensure they don't pop open while baking.

Notes on Freezing Your Handpies

There are several points throughout this process where you can stop and freeze what you've made.

- You can roll the dough around wax paper and then wrap the roll in plastic wrap.

- You can cut out your circles, layering them with squares of wax paper and freeze them at that point.

- You could make the handpies and freeze them prior to baking them.

- You could bake the handpies and then freeze them after they've cooled.

For any of these options, make sure to label and date what you've made so that you can use them within two months. For us we think the best options are either making the handpie circles or going ahead and making the pies up but not baking them. 

And that is six different handpie recipes that you can use for any meal throughout the day whether you're at home or on the go. They freeze great and they taste even better. When you give these a shot, please let us know over on our Facebook page or in the comments below. We love hearing from you and all about your cooking adventures. 


If you're contemplating handpies for meals because your stove isn't working properly, we can help. You can reach out to us at our office by calling ((214) 599-0055) or by going to our contact page to set up an appointment. We'll work with you to find a time that fits your schedule before sending one of our experienced techs to solve the issues. We work with you every step of the way to get your home running smoothly again.

5 Smoothie Recipes For Quick Meals

Smoothies make a great grab-and-go meal when you need something filling but not over the top.

We love making smoothies because you can grab them and go. A bit of prep, a bit of noise and then toss it all into the freezer and you can have a week's worth of breakfasts or lunches that are healthy and filling ready to go.  If you do it right, you can even use them to lose weight. We're not promising crazy results, we're looking at recipes that are shown to be filling, taste good and are actually healthy for you. 

The one universal tool that you're going to need for this list is a blender. It doesn't have to be the most expensive blender on the market,  you just need it to be powerful enough to chop through frozen fruits, vegetables and ice. As to those fruits and veggies. While fresh ones are fantastic, you can work with frozen just as easily. Finally, we did something we don't usually do and that's given the calorie count for each recipe.  We've done that so that you can see how much goes into these and make your choices accordingly. Keep in mind that calories aren't necessarily bad so much as  a "my body needs x number of calories to function." 

Now, on to the smoothies.

Peach Crumble Smoothie

  • 1/4 c rolled oats

    1/2 Banana - Frozen is best so that they chill everything

    1 c peaches - Fresh is best, but the frozen is tasty and easy to get hold of.

    1 c milk - You can swap out cows milk for any other type that you like, including almond milk which turns out very nicely, and lowers the calorie count further. If you do decide to go with almond milk, we suggest upping your vanilla to 2 tsp.

    1 tsp brown sugar

    1/2 tsp cinnamon

    1 tsp vanilla

  • With this one we're going to start with a choice. Do you like boba? If you don't know what boba tea is yet, consider instead whether you like texture in your smoothies. If the answer is yes, go ahead and skip this step.

    If the answer is no, then you need to take your chia seeds and add them to your oats and toss both into the blender. Pulse those until you end up with a fine powder, dump it into a bowl and set it to the side.

    Next up grab your pears and blueberries and toss those into the blender. You can take your choice on whether you want to add in the juice of the pears or not. If it's for a dessert smoothie, we think it's a great idea. If not, you might want to avoid that idea.

    Now add your powdered goods back in and blend till smooth. Congrats, Smoothie!

Tropical Smoothie

  • 1/2 cup rolled oats

    2 large peaches (Frozen is fine, fresh is better.)

    3 cup frozen mango

    1 medium banana (Ditto on the frozen vs fresh)

    1/4 cup Greek yogurt

    1/8 cup orange juice

    1 cup coconut water or almond milk

  • Start by adding your oats to the blender and pulsing until your oats are a fine powder. Pour them into a bowl and set them aside.

    Then, if you're working with fresh bananas and peaches you're going to need to slice up the banana and pit and slice the peaches.

    Next, toss your fruit into the blender and let it go. Add in all of the other ingredients together and blend till smooth. For your blogger, this is a full meal thanks to the addition of the oats. Make sure to test it yourself before you rely on it though.

Peach and Mint Smoothie

  • 2 large peaches (as per everything else, you can use frozen and be just fine, although yes, fresh is better. If it's the right season we suggest trying both white and yellow peaches and see which you like better.)

    ½ cup plain yogurt

    12 large fresh mint leaves (no, dried really doesn't work here)

    2 teaspoon lime juice (fresh is always better, but if you can't, bottled will work just fine)

    12 ice cubes (or you can play around and add more. This is for how thick you want your smoothie to be.)

    2 teaspoon honey or your sweetner of choice, but it really does taste good with clover honey

  • Alright! Grab everything and chuck it into your blender. Hit blend until it's smooth. Enjoy!

Irish Cake Smoothie

  • 1 1/3 cup Rolled Oats

    4 tablespoons Flaxseeds

    5oz Frozen Spinach

    1 teaspoon Ground Ginger

    1/2 teaspoon Cinnamon

    2 1/2 cups Water

  • This is a surprisingly filling recipe, although we're still trying to wrap our heads around /why/ it is.

    Start off by putting both your rolled oats and the flaxseed into your blender and pulse until you've got a fine powder.

    Add in your spinach, ginger, cinnamon and water and mix until smooth.

    Thanks to the amount of water this is a thinner smoothie than others on the list, but it will give you plenty of get up and go.

Blueberry and Pear Smoothie

  • 16 oz frozen blueberries

    1 14 oz can of pears

    2 Tbsp of chia seeds

    1 cup of rolled oats

  • In your blogger's house, this is one that's turned to often, as bananas are actually pretty easy to freeze. Just slice them up when they're at peak ripeness and toss them into the freezer in a freezer safe bag or container. Then you can use them as you need, rather than worrying that they'll go bad.

    When you're ready to make your smoothie, don't just toss everything in at the same time. We suggest starting with the rolled oats. Pulse those until you have nothing but powder left so that it mixes into the smoothie more easily. Dump that into a bowl and set it aside. Now add in your frozens and your milk, and blend until smooth. At this point you can add all of your other ingredients in, including the oats, and blend until smooth. If you find that you want the smoothie to be thinner than it is, feel free to add in more milk, keeping in mind that that is going to boost the calorie count.

For any of the recipes we've shared, you can make adjustments, in fact, we suggest that you do. Take them and try out more of one thing and less of something else. Add in more oats if you want to be full for longer and less if it's meant to be just a light snack between meals. 

All of these can be stored in one of two ways, depending on the space you have.

- You can get yourself a silicone ice mold (choose your shape and depth preference), pour in the smoothies and let them freeze, then transfer those into a freezer bag or container for easier storing. 

-Alternatively, you can freeze them in freezer safe glasses/jars so that all you need to do is transfer them to the fridge 24 hours before you plan to drink them and let them defrost that way. 

Both options work, and it's really just dependent on how much freezer space you have available. 

You've probably noticed that our recipes have a LOT of peaches in them. That's because peach is a super sweet fruit that's easy to freeze and get your hands on year-round, but it's hard to overpower. So it works well with different vegetables and other fruits that you want to work into your diet. 

If you try out any of our recipes, please let us know how it goes! We'd love to hear from you in the comments below or over on our Facebook page.  


If you're turning to smoothies because your stove is currently not working (rather than the Texas heat..) we can help. You can give us a call at our office ((214) 599-0055), or reach out via our contact page to set up an appointment. At Appliance Rescue Service, we'll work with you to figure out what the problem is and get your home running smoothly again. 

Sunday Summer Dinner: Shrimp Croquettes and Creamed Peas

A meal to fill every "down home" craving under the summer sun.

This is a fantastic meal for a Sunday, it's been hot for weeks and you need something to break the intensity of it. It's not something cool that's going to help though, but instead something savory and rich to celebrate the summer. Croquettes so piping hot they burn your lips even as they melt in your mouth. The pop of fresh sweet peas in a cream sauce to brighten and balance against the savory depth of the croquettes. This is summer, now let's get cooking. 

Ingredients:

Croquettes:

3 Tbsp butter

2 Tbsp finely chopped yellow onion

1/3 c all-purpose flour

1/2 c milk

2 tsp fresh lemon juice

1/3 tsp salt

Pepper to taste

3/4 lb of shrimp (deveined and shelled) finely chopped

1 cup fine dry bread crumbs, or panko 

2 large eggs 

3 cups peanut oil, for frying


Creamed Peas:

2 lbs fresh green peas, shelled

3 Tbsp salted butter

2 Tbsp all-purpose flour

2 c milk

1 tsp salt

fresh ground black pepper to taste

Tools: medium skillet, wire whisk, pie pan, two cookie sheets, parchment paper, colander, one deep heavy pot, slotted spoon a roll of paper towels. 


A pile of shrimp, shelled and deveined but still raw

courtesy of shutterbug75

Start off by setting your skillet over medium-high heat. Add in your onion and saute until softened, but not yet clear, roughly 3 minutes. Use a wire whisk to stir in your flour. Cook the roux for 1 minute and stir in the milk slowly, stirring continuously. Cook the mixture until it's really thick, stirring it constantly for 1 minute. Remove the skillet from the heat and add in lemon juice, salt and pepper. 

Allow the roux to cool slightly and then stir in your shrimp. Let it cool until you can handle it and then shape the mixture into small balls, about the size of a ping pong ball, or 1 1/2 inches in diameter. Lay them out on parchment paper on a cookie sheet so that they don't touch. 

Place your breadcrumbs into a shallow dish like a pie pan. Take your second pan, crack open the eggs and beat them thoroughly, then add in 1/4 cup water. 

Fresh sweet peas sit in a pile with two pods cracked open to show the peas still inside.

courtesy of piviso

Bring your croquettes over to one side of the eggs and breadcrumbs and set your empty cookie sheet on the other side. You'll be double coating the croquettes, to make sure that they hold their shape as they cook. Start by rolling the croquettes in the crumbs, pressing firmly. Then roll them in the egg mix, use a spoon if you have to, to get everything coated. Now go back to the breadcrumbs and again make sure everything is coated.  Set this one on the empty sheet. Repeat the process until all of your croquettes have been coated. Toss the parchment paper from your now empty sheet and use it as a cover for the full one.  Set the croquettes aside, it's time to make the creamed peas. 

We know, the concept sounds weird to some people. We know, but we promise, it tastes so much better. So, bring 1 pot of lightly salted water to a boil. Add in your peas and cook for 6 to 7 minutes or until the peas are tender enough to pierce with a fork but not to mash. Drain them into a colander and set aside. Melt the butter in a medium saucepan over medium heat. Stir in your flour, making sure to break up any clumps. You want the roux to be smooth and lightly browned, it takes about a minute. Slowly whisk in your milk, stirring carefully and continuously. Continue cooking the gravy over meidum heat, stirring often. Add in your salt and pepper to taste.  Continue cooking until the mixture is smooth and thick, about 5 minutes. Next stir in the cooked peas and then cover the pot, setting it aside. You want to keep the gravy warm, but not to keep it cooking. Now for frying the croquettes. 

A deep pan of oil shimmers slightly, with a thermometer sitting in it, measuring the temperature.

Courtesy of Hans

Set your oven to preheat to 150*F, and pour your oil into your heavy pot. Use a digital thermometer to check as you bring it up to 375*F. 

Once your oil has come up to temperature, add in 10 of your croquettes at a time to cook, until they're golden brown. This isn't really a "timed" thing, so much as a "watch them carefully" thing. When they're done, use a large slotted spoon to scoop them up, drain the oil and transition them to paper towels and allow them to stay warm in the oven as you cook the rest. Take a moment and allow the oil to come back up to 375* before you add any more croquettes to the pot. Doing this makes sure that the croquettes cook quickly and evenly rather than soaking up the oil, becoming greasy and sodden. Repeat the process twice more to finish off all of your croquettes, making sure to not overcrowd the pot. 

Golden croquettes topped with a dusting of parsley sit on twisted wire racks to cool in a shallow pan

Courtesy of Allybally4b

Serve up 4-5 croquettes with the creamed peas on the side or on top, depending on preference. The peas add a sweet note that cuts through the oil, giving the meal a nice balance. This is great served alongside some fresh green beans and cornbread for a terrific Sunday dinner during the summer. And, if you end up having any extras, you can always eat them cold the next day, or toss them into oil for five minutes to reheat them. 


Do you like this picture of a Sunday dinner? Let us know over on our Facebook page or in the comments below. As always we'd love to hear from you and find out what you think of the recipe! 


If you wound up here because your dishwasher isn't getting the pots from this recipe clean, we can help. Working on appliances is our specialty and we want to make sure yours are working properly. You can give us a call at ((214) 599-0055) or reach out to us on our contact page. Wherever you live in the DFW area, we're here to help.