dinner

Fall Comfort Food: How to Make Perfectly Creamy Pumpkin Pasta

You know how after it’s been hot for so long, you crave fall and all the things that come with it? That’s how we’ve been feeling. It’s not just the days where it’s over 100 all day and even after the sun has set. No, we want everything to do with fall. We want football and cooler weather, sweaters and some of our favorite comfort foods. Unfortunately, there’s only one thing on that list we can make happen on our own. So, we whipped up a batch of this pumpkin pasta, and turned the AC down as far as it would.

Pumpkin Pasta

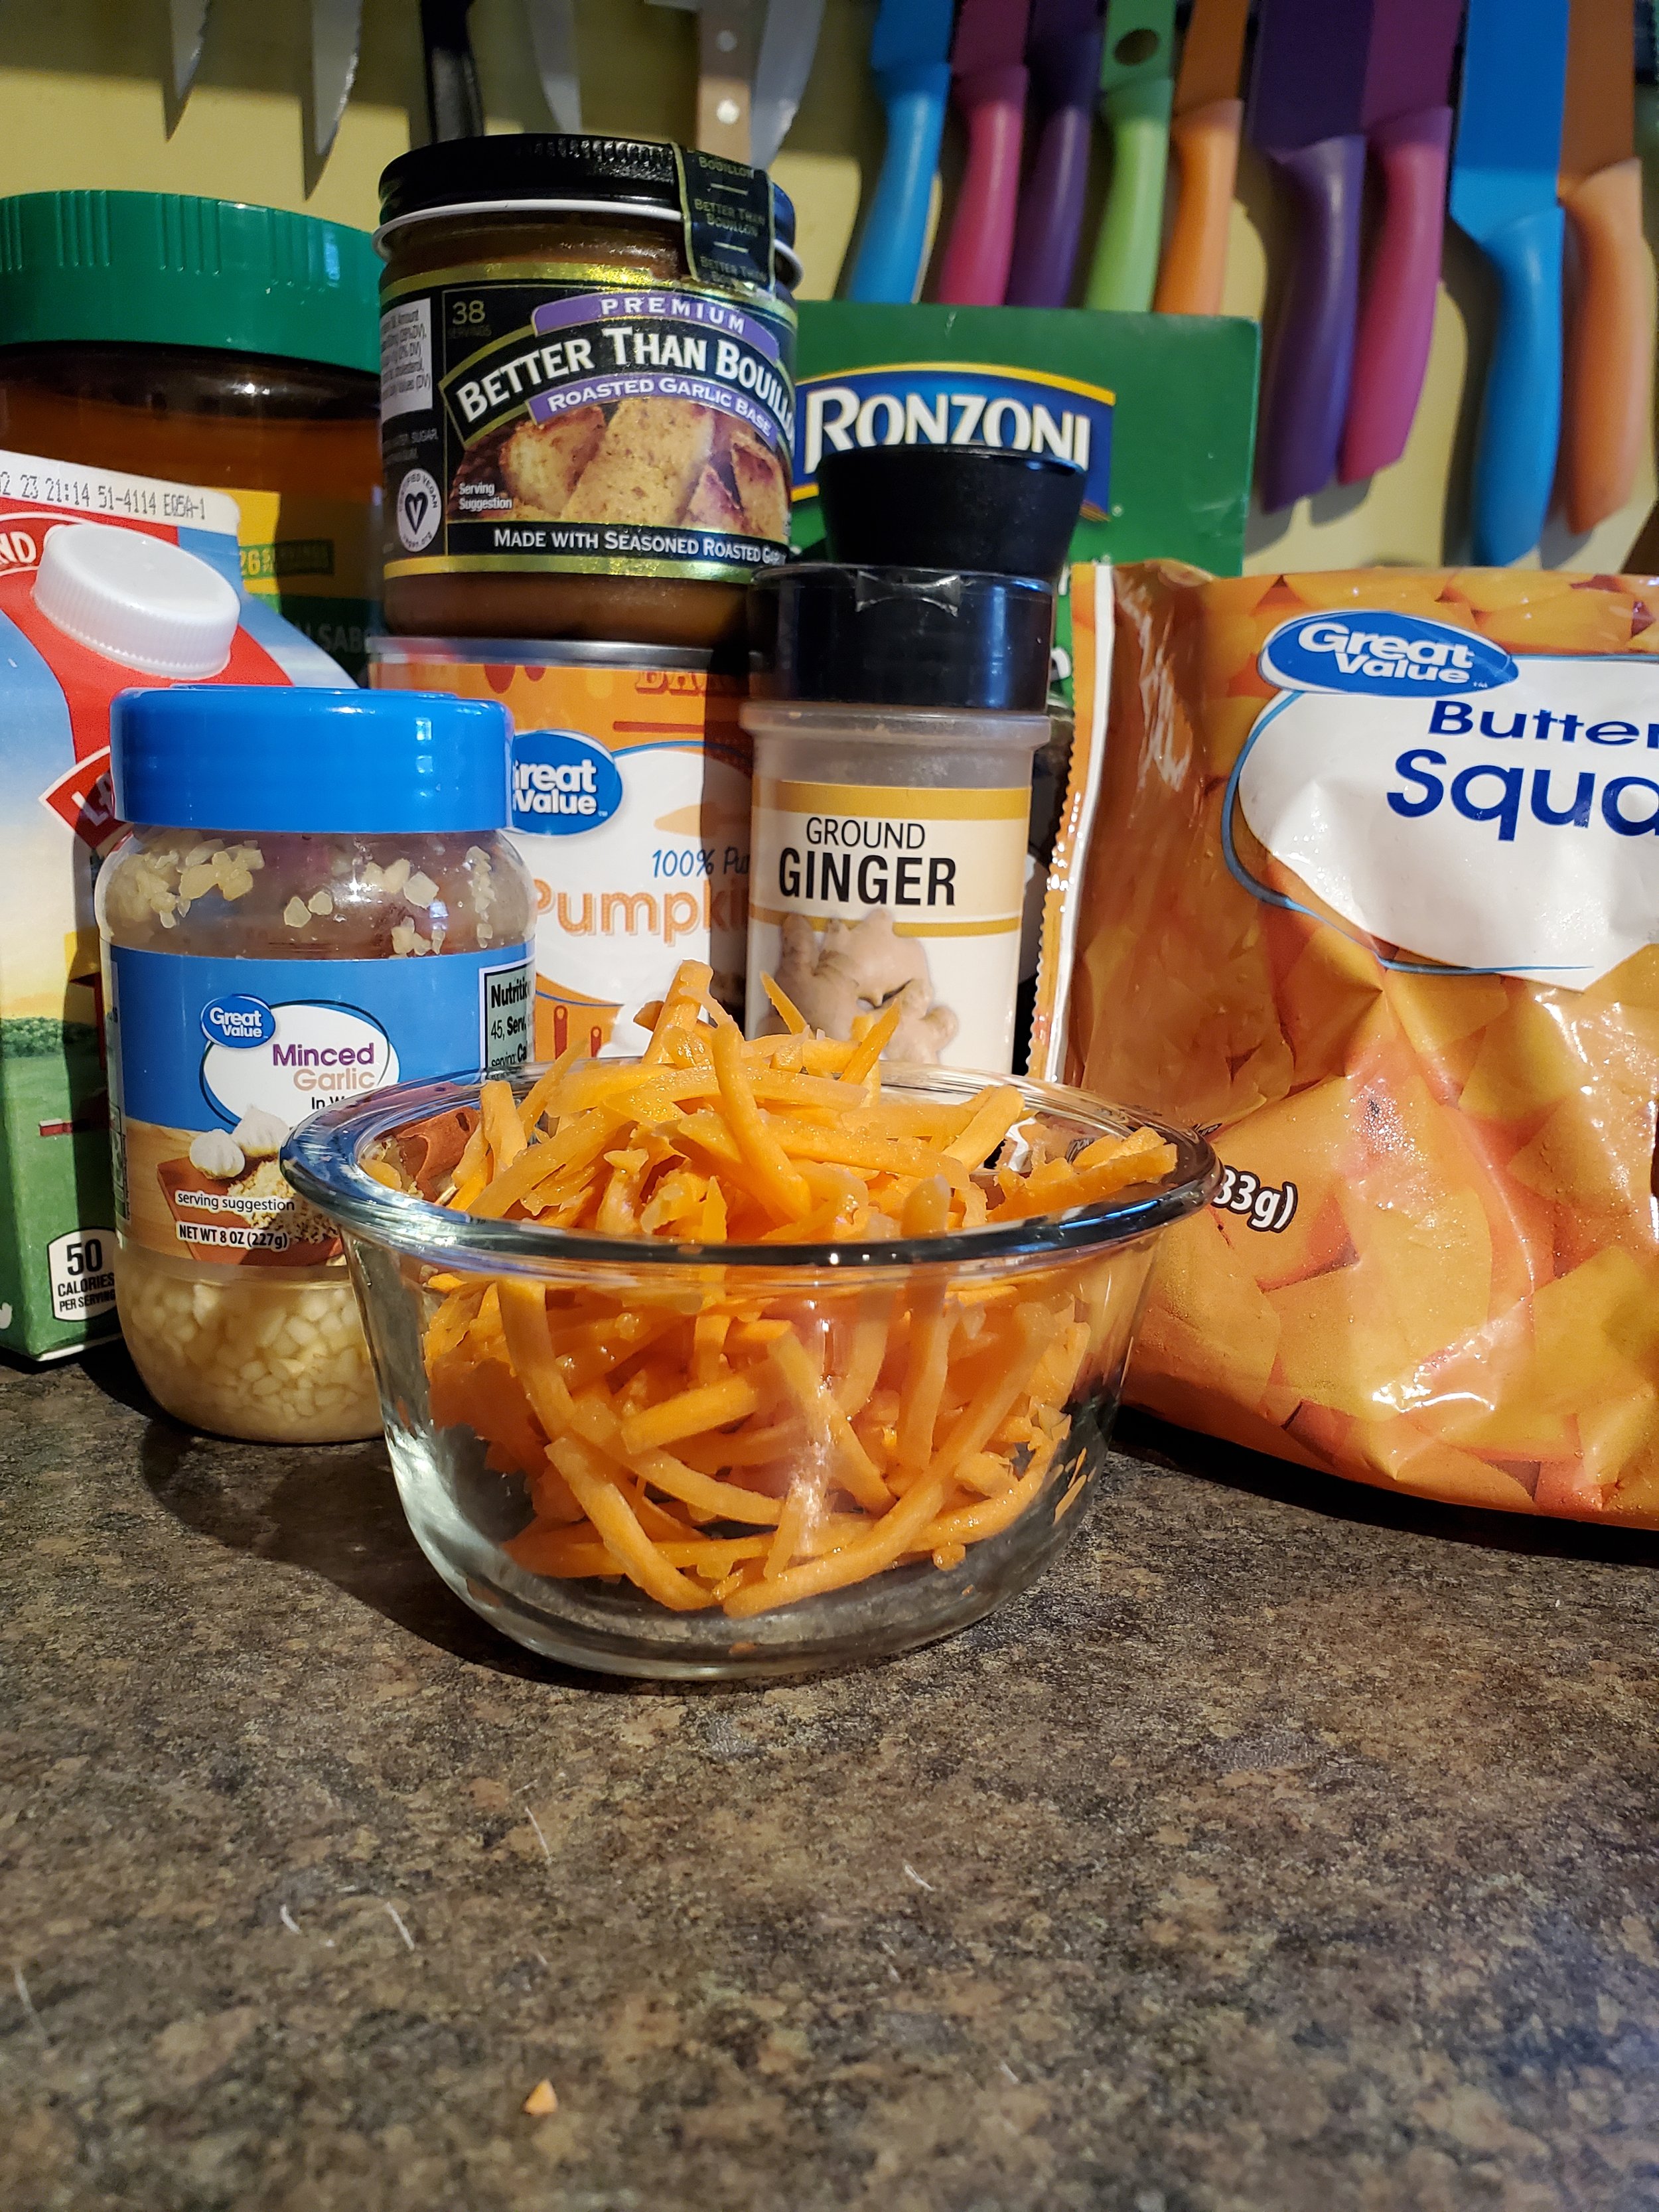
1 12-16 oz box of pasta (recommended: rotini, cavatappi)

1 can pumpkin puree (15 oz)

1/2 cup chicken broth

1/4 cup heavy cream

1 package steamable frozen butternut squash

1 package steamable frozen sweet potatoes

1 cup shredded carrots

1 tablespoon minced garlic

1 teaspoon ground ginger

2 tablespoons olive oil

salt and pepper to taste

Optional but recommended:

pinch parsley

pinch smoked paprika

teaspoon Better Than Bouillon roasted garlic base

parmesan cheese

pinch crushed red pepper

Tools:

can opener

stock pot

colander

large saucepan with lid

serving spoon

measuring cups and spoons

Before we begin: be sure you have plain pumpkin puree and not a can of pumpkin pie filling! This terrible tragedy has happened to us before. Some companies label the two items entirely too similarly, and sleepy cooks (or cooks relying on little helpers' newly acquired reading skills) may fall victim to the same oops. So, double-check your labels before you whip out the can opener.

Fill your stock pot with water and set it on a burner to come up to a boil. Salt the water if you prefer to do so.

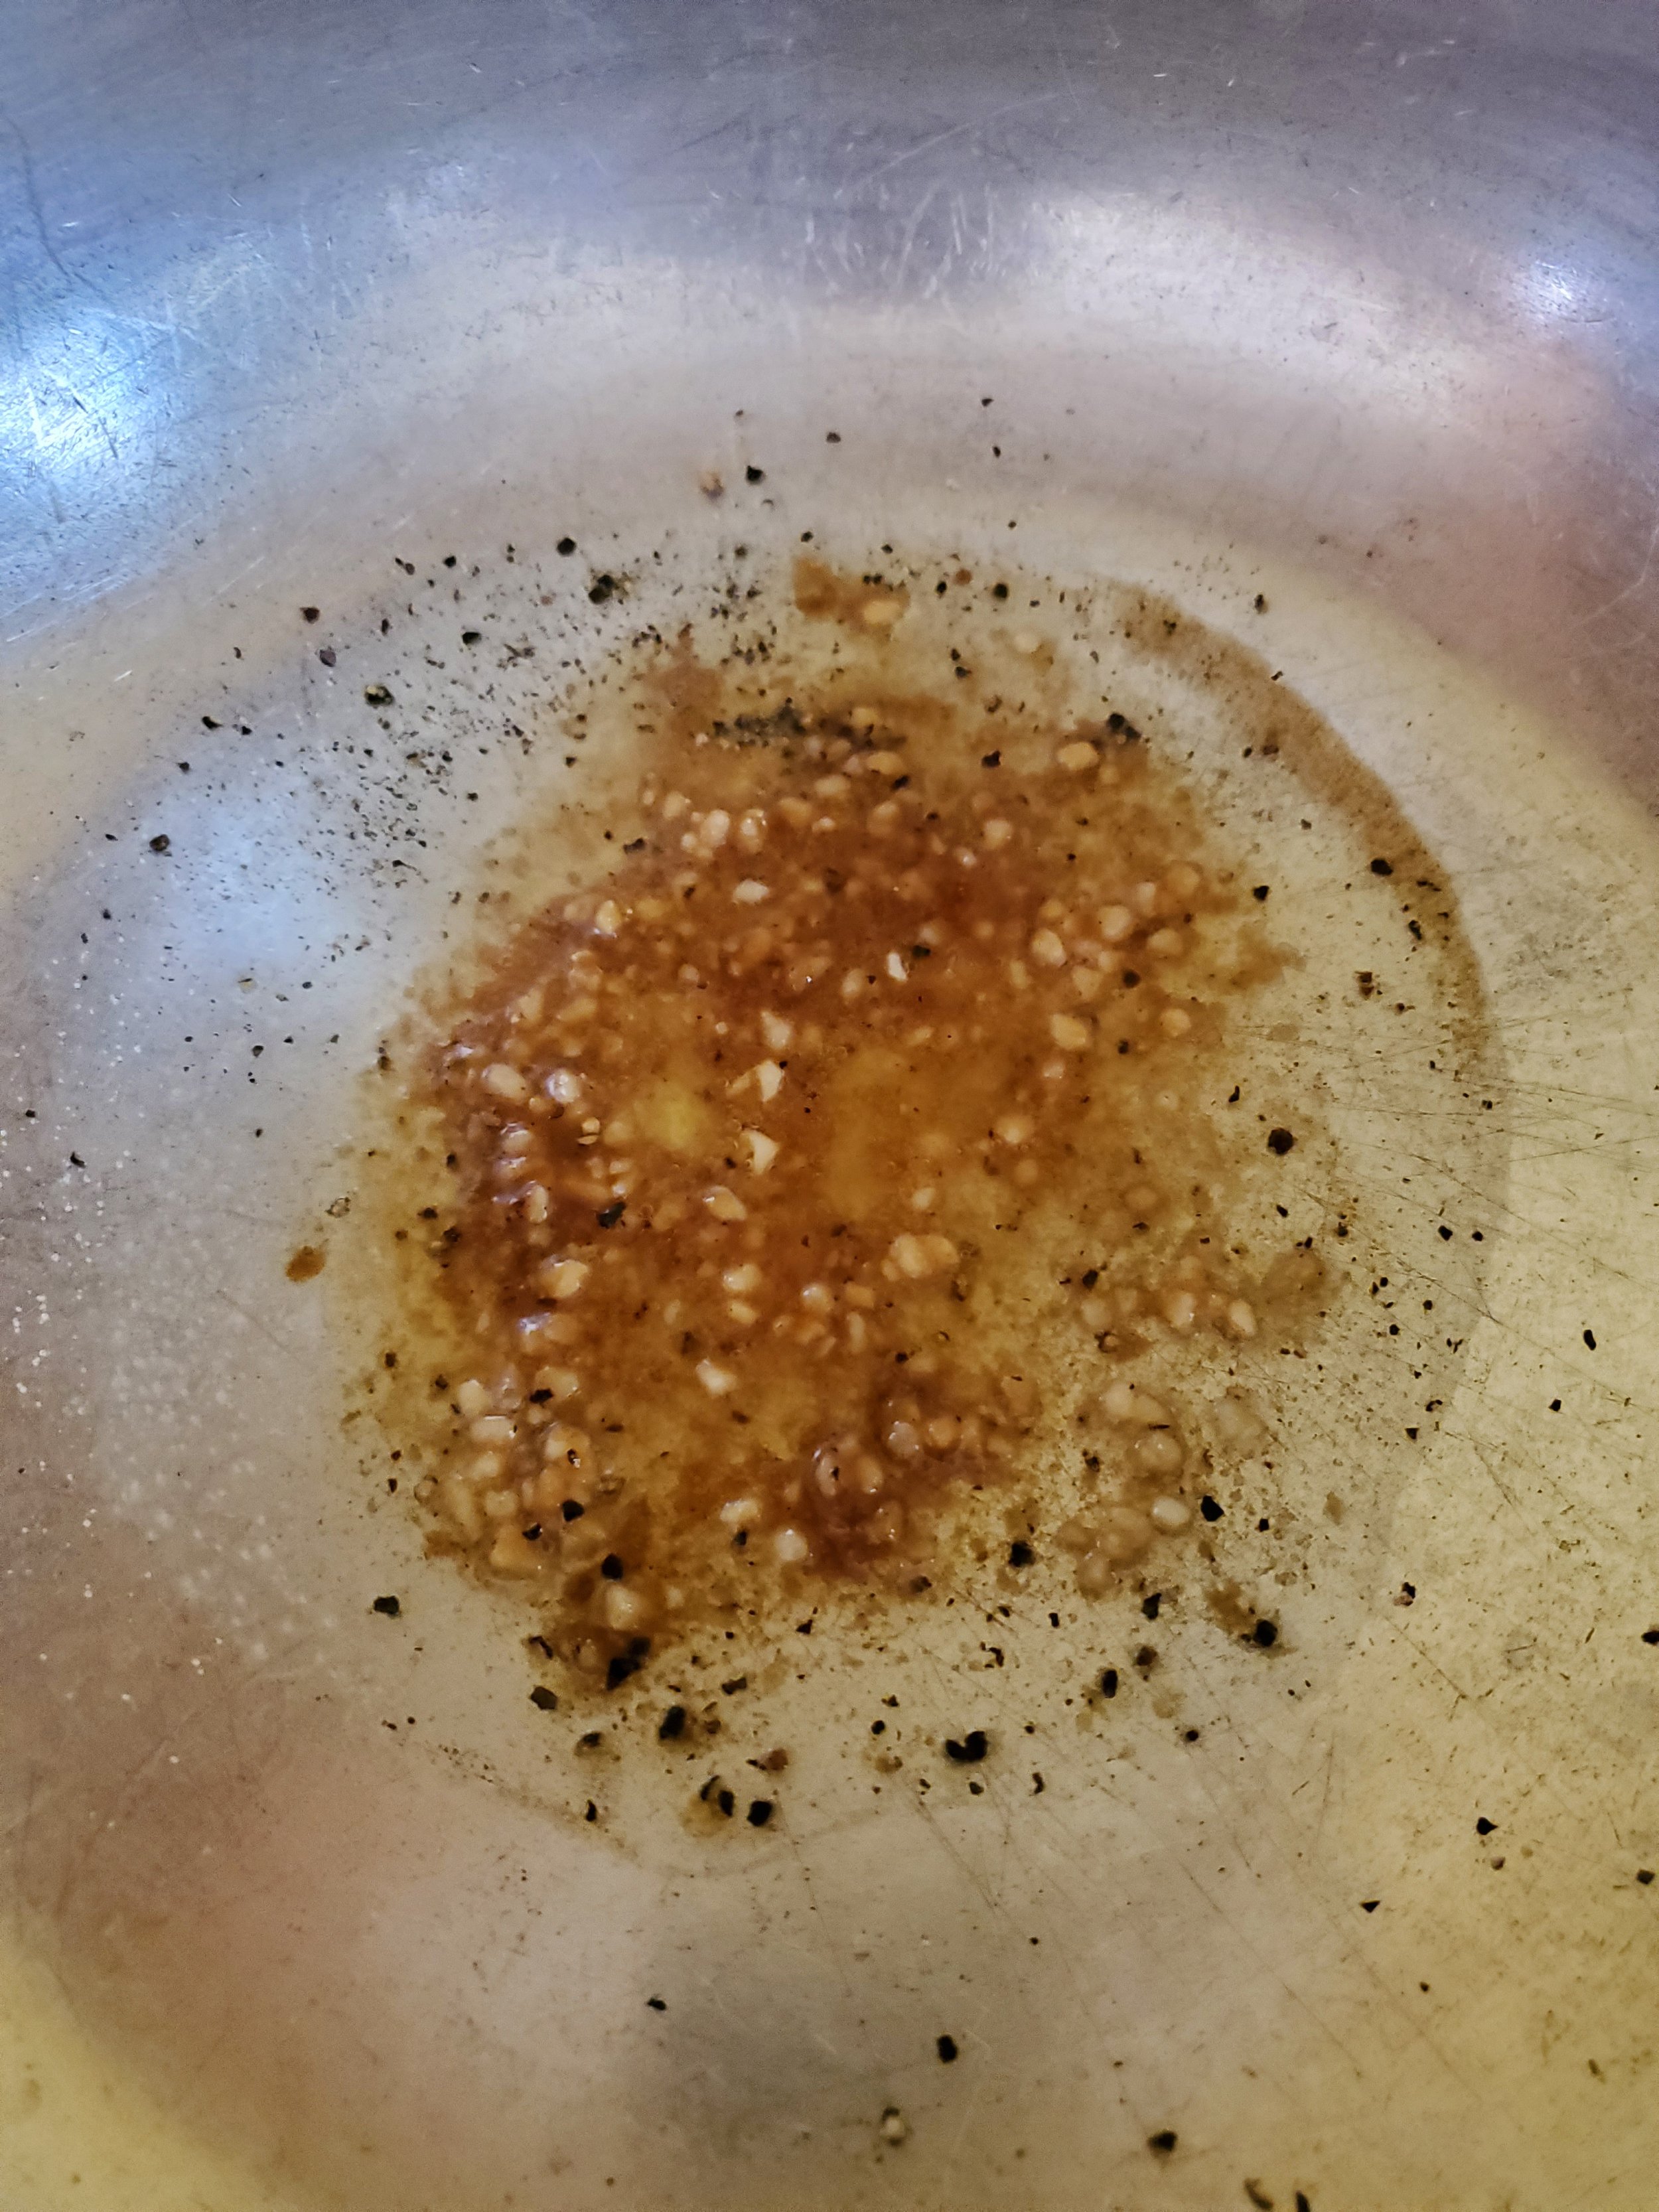
Pour your olive oil into the saucepan and toss in your minced garlic, ground ginger and pepper. If you plan to use the roasted garlic base, smoked paprika and dried parsley, add them too. While they aren't strictly necessary, they do a lot of work to complement and balance what can be a very rich recipe. Slap the lid on the pan and let the spices and oil simmer for a minute or two on low heat.

Shredded carrots are almost always washed, ready-to-eat produce, but if yours are the exception to the rule, please take a minute to wash them while your spices sizzle.

Start your butternut squash in the microwave. The squash can take as little as four minutes or as long as seven, so be sure to follow the directions on the package.

Once your spices are fragrant and the garlic has browned a little, add the carrots and cover again. The carrots don't need a whole lot of time to cook, and we don't want to cook them to death, so it's best to move on quickly here. 

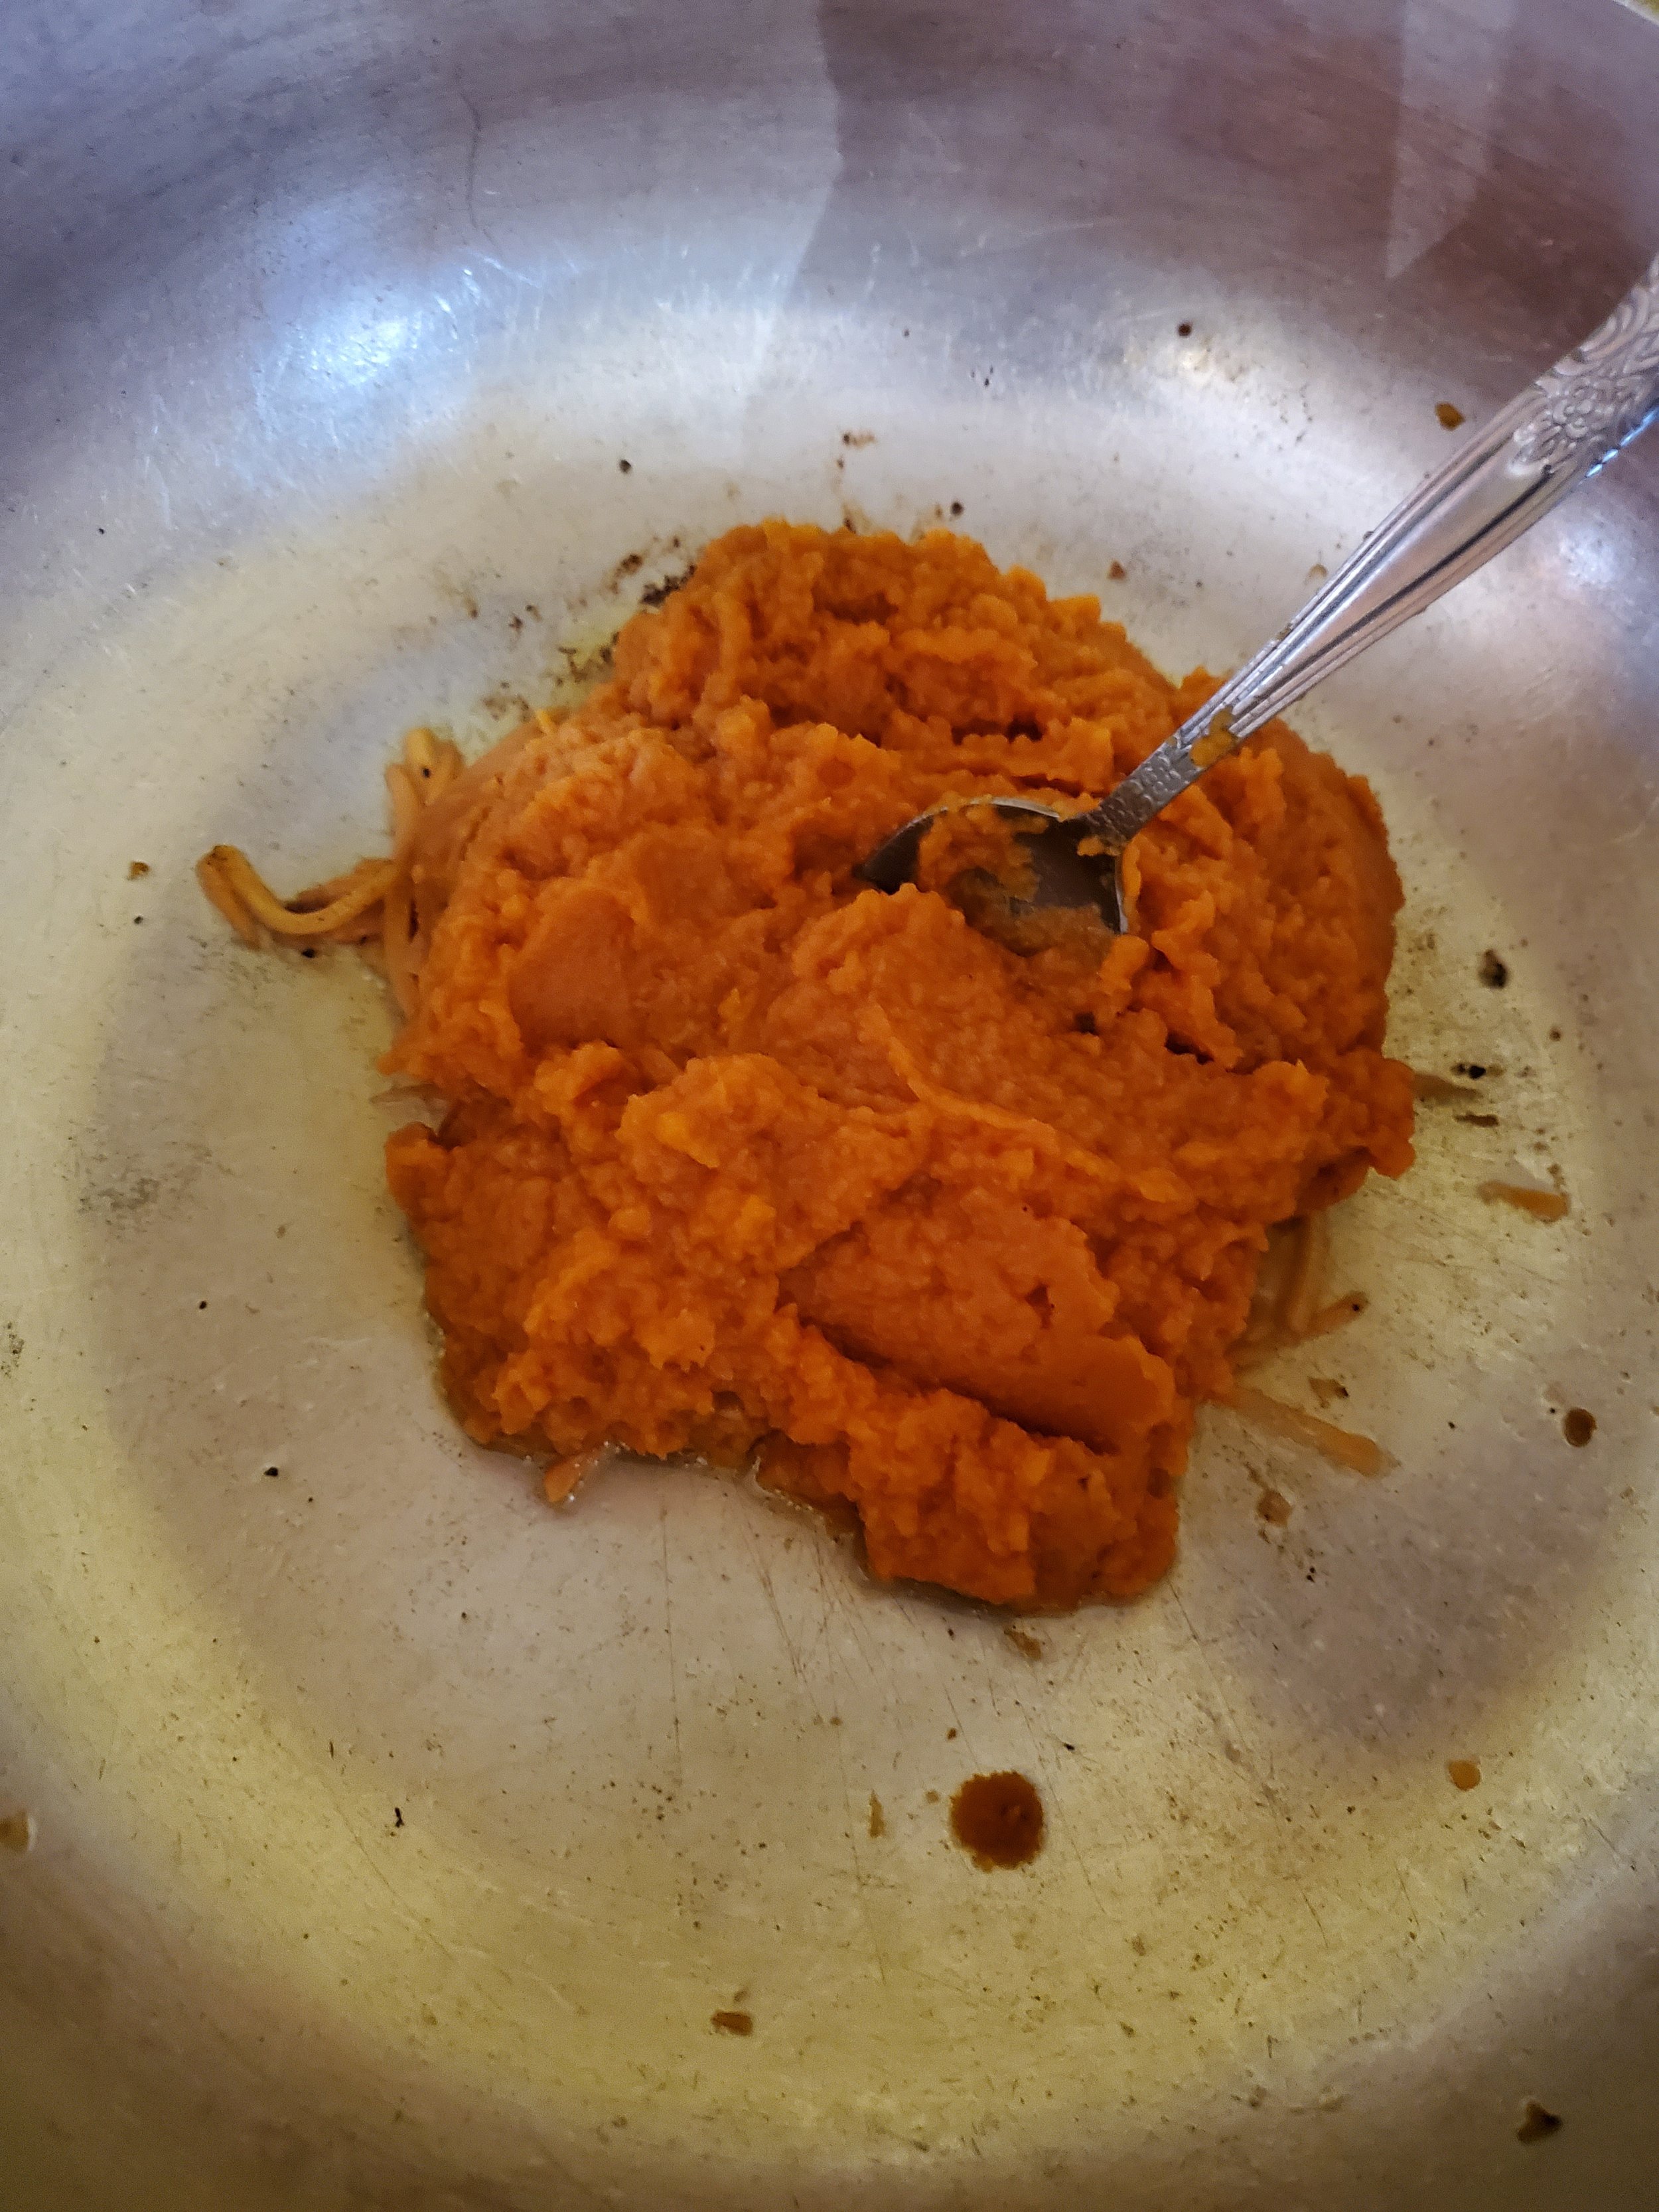
Take your can opener and crack open the can of what you are now double-sure is pumpkin puree and not pie filling. Add the pumpkin puree to the saucepan. We're well aware the pumpkin doesn't always like to exit the can. If there are some stubborn spots, measure your half cup of chicken broth into the can and swish it around a little to dislodge as much of the pumpkin as possible, then pour the chicken broth into the pan.

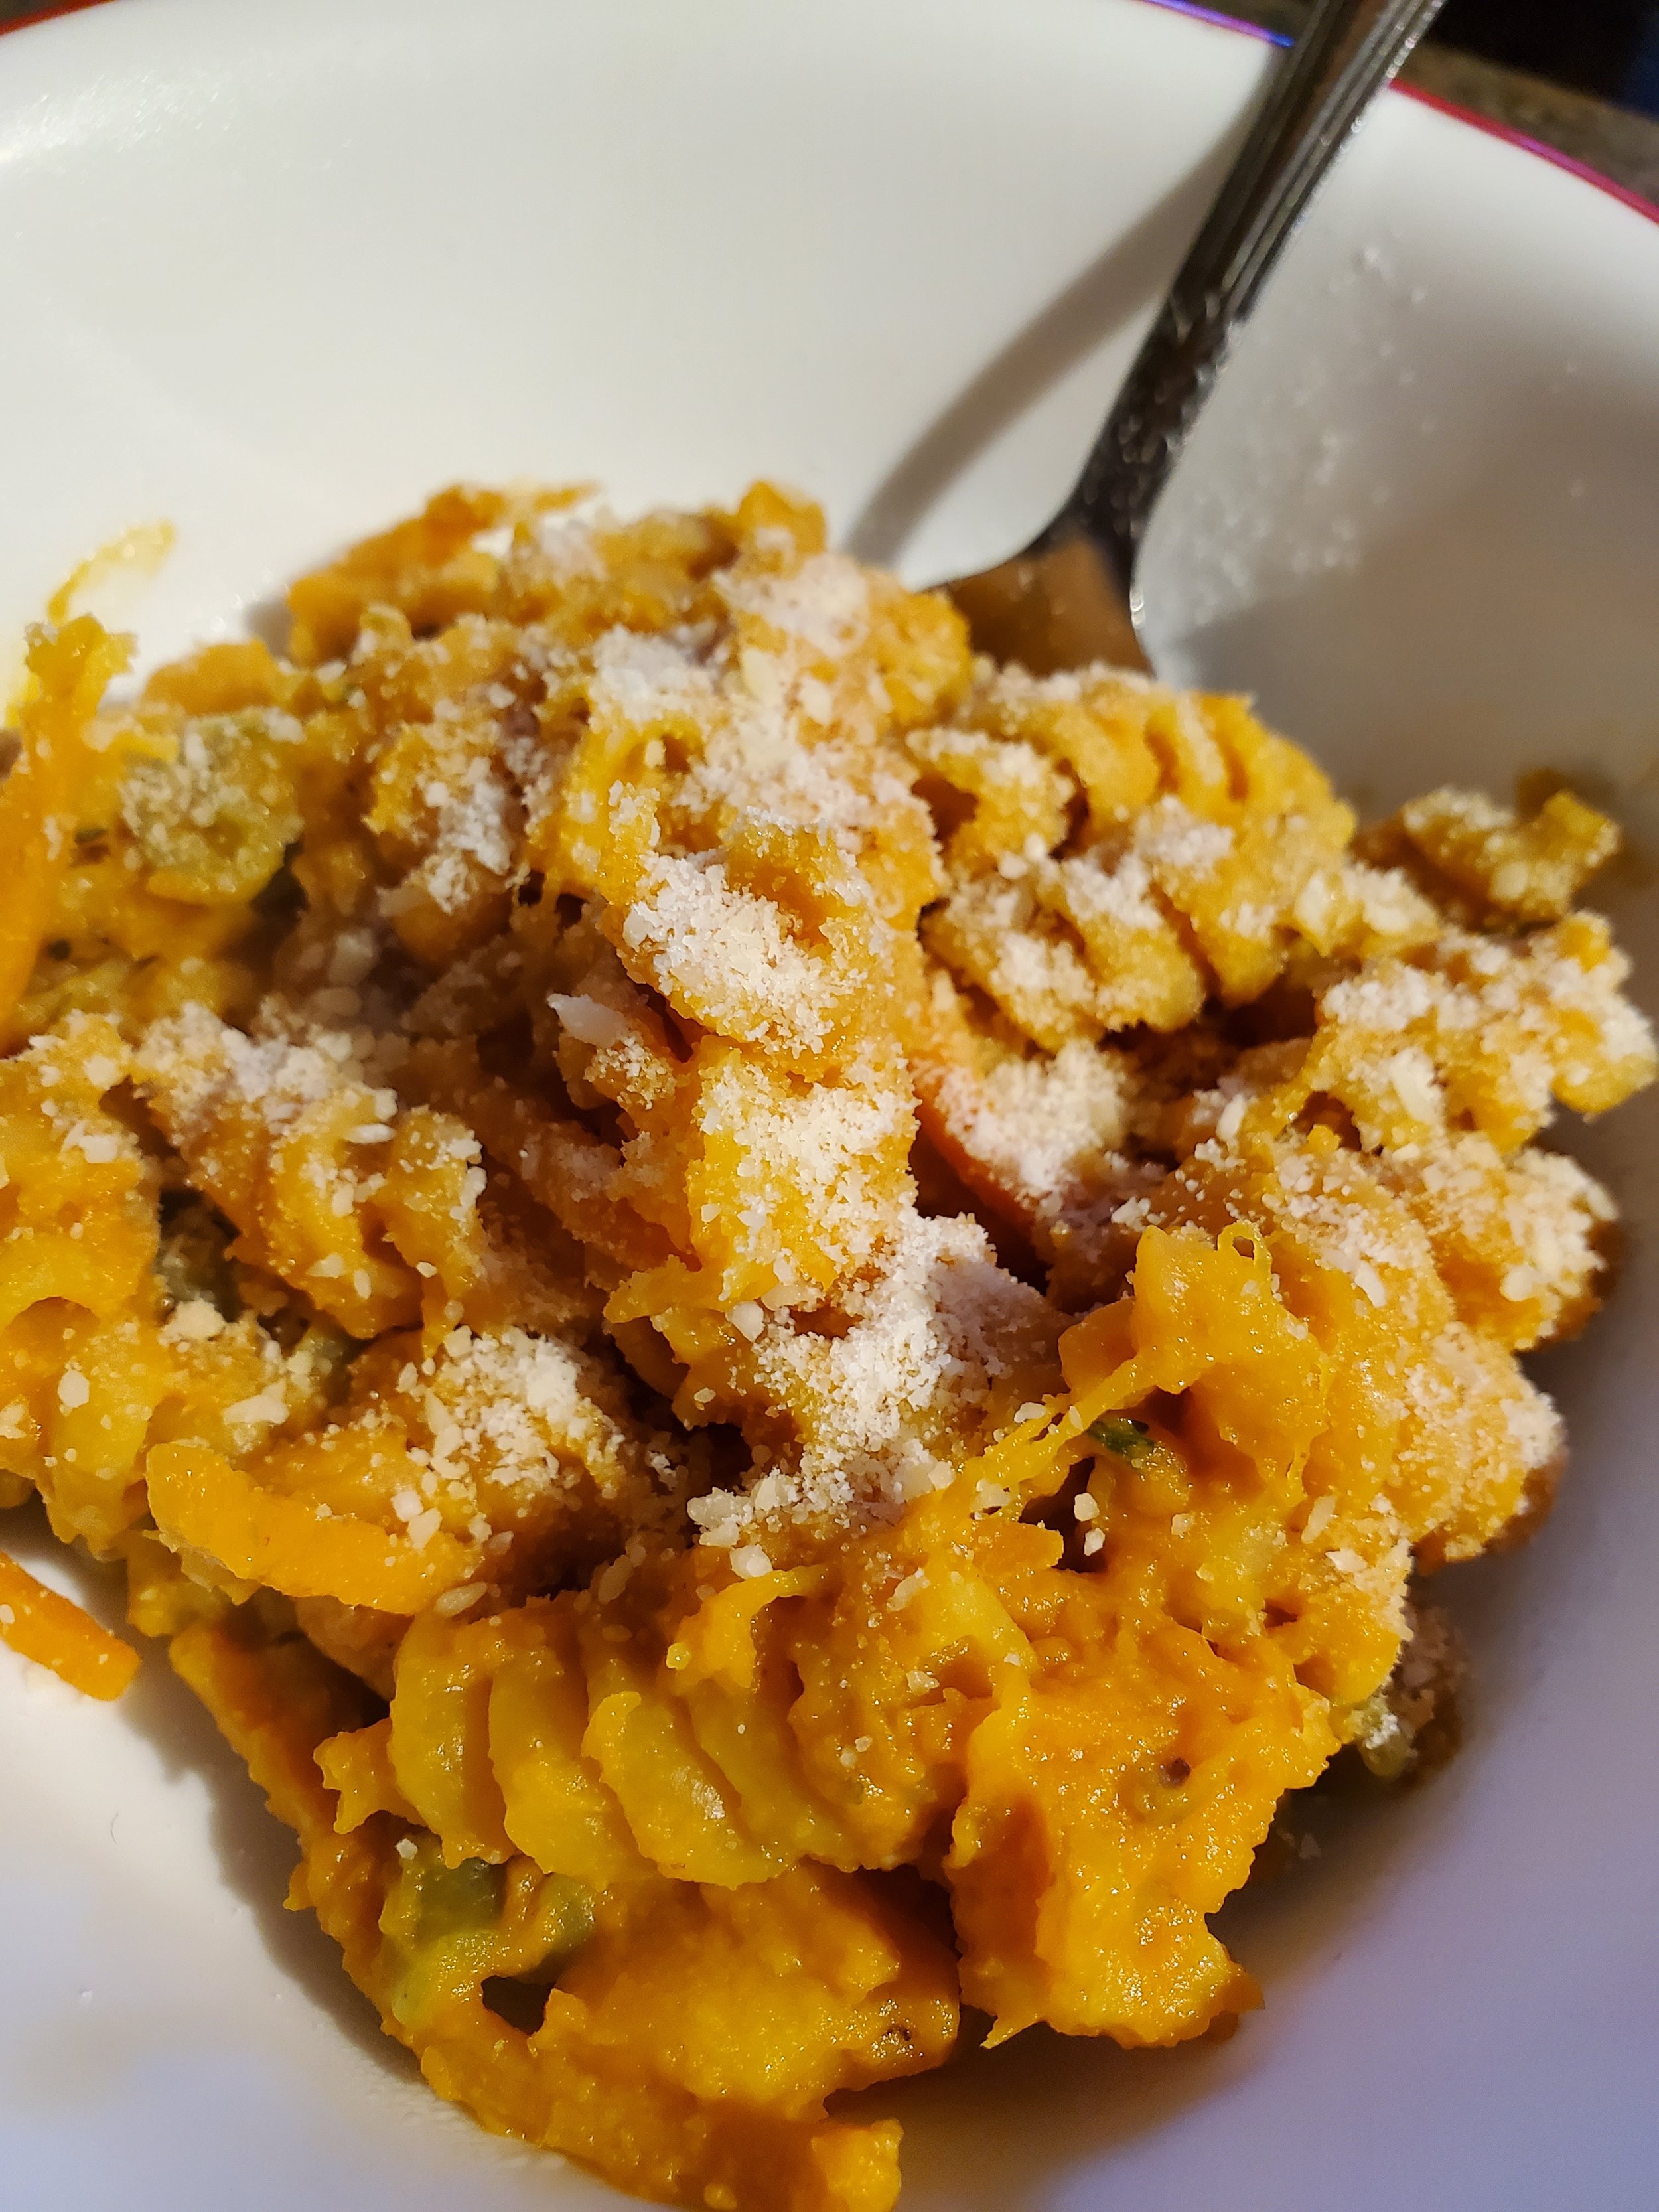
Stir everything until the pumpkin thins out some, then add the quarter cup of heavy cream and mix it in until you no longer have white streaks. You can use half & half or milk instead, but we feel the heavy cream makes a superior sauce.

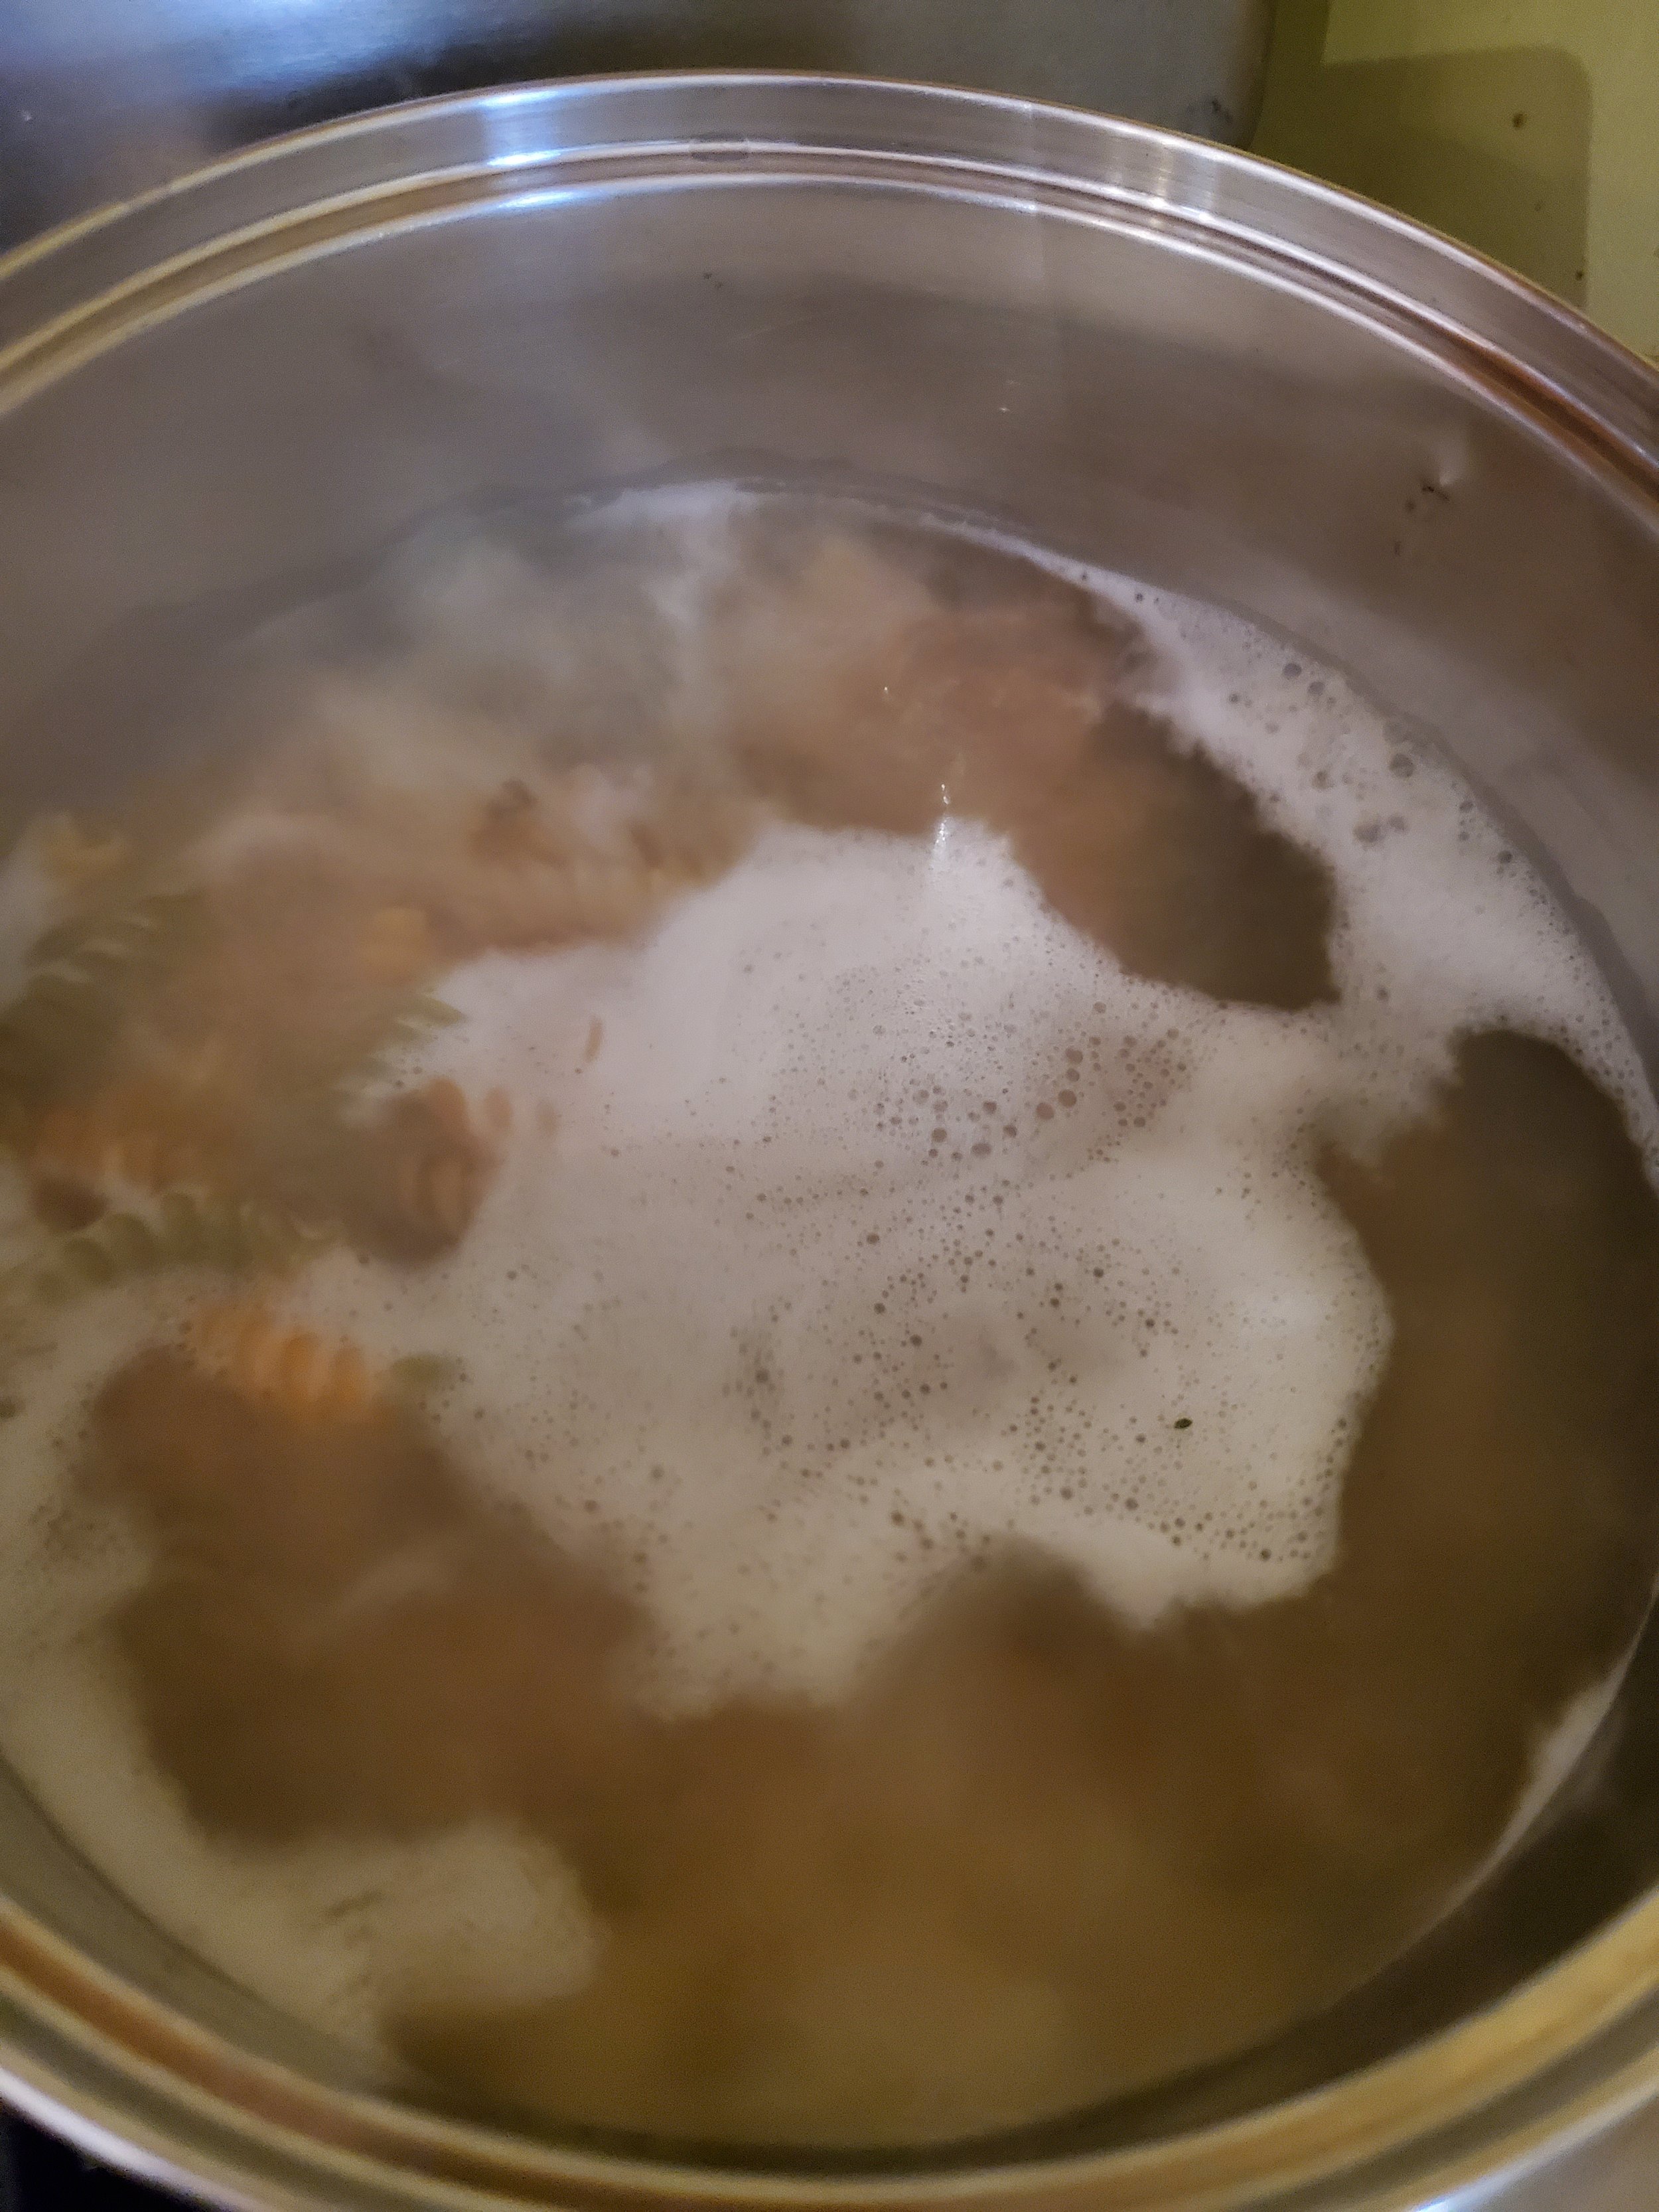
By now your pot of water should be boiling. Add your pasta and give a quick stir to separate. Now you'll just need to check back in on it occasionally while it cooks. We like to shave a minute or two off the time the directions on the box suggest - we hate mushy pasta - and we also like to use a veggie pasta when we can. Sneaking in that extra little bit of vegetables counts!

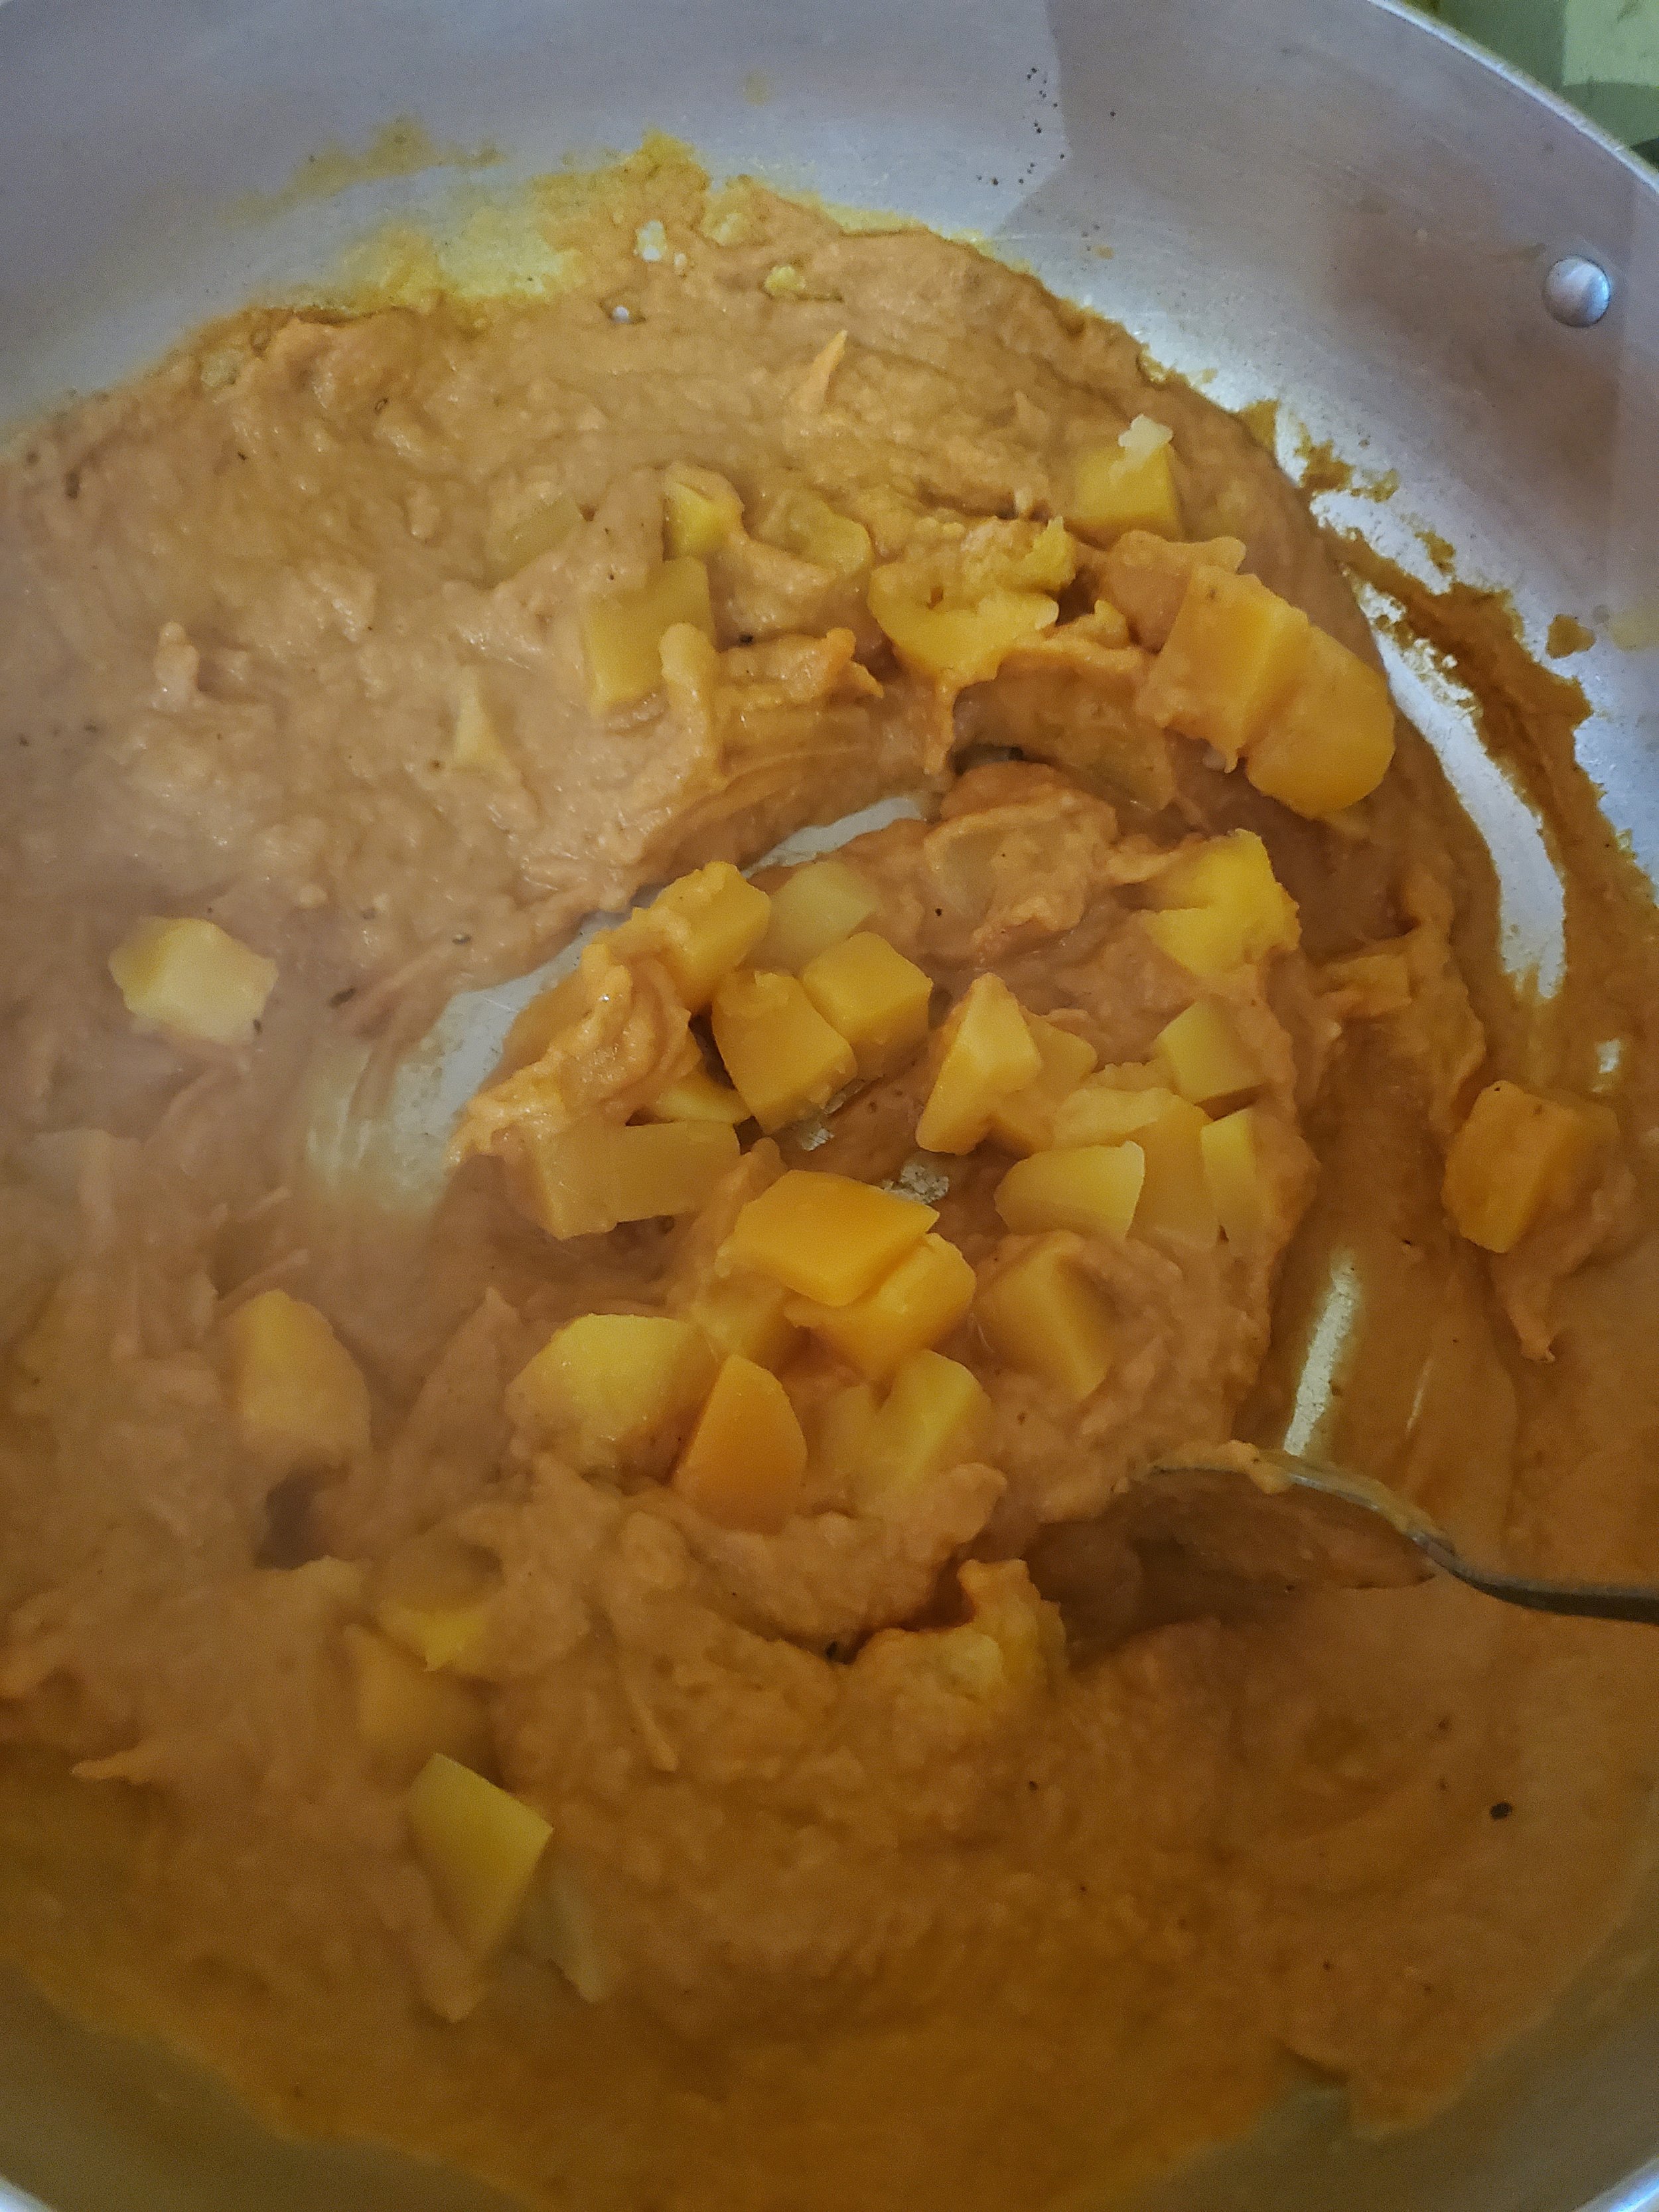
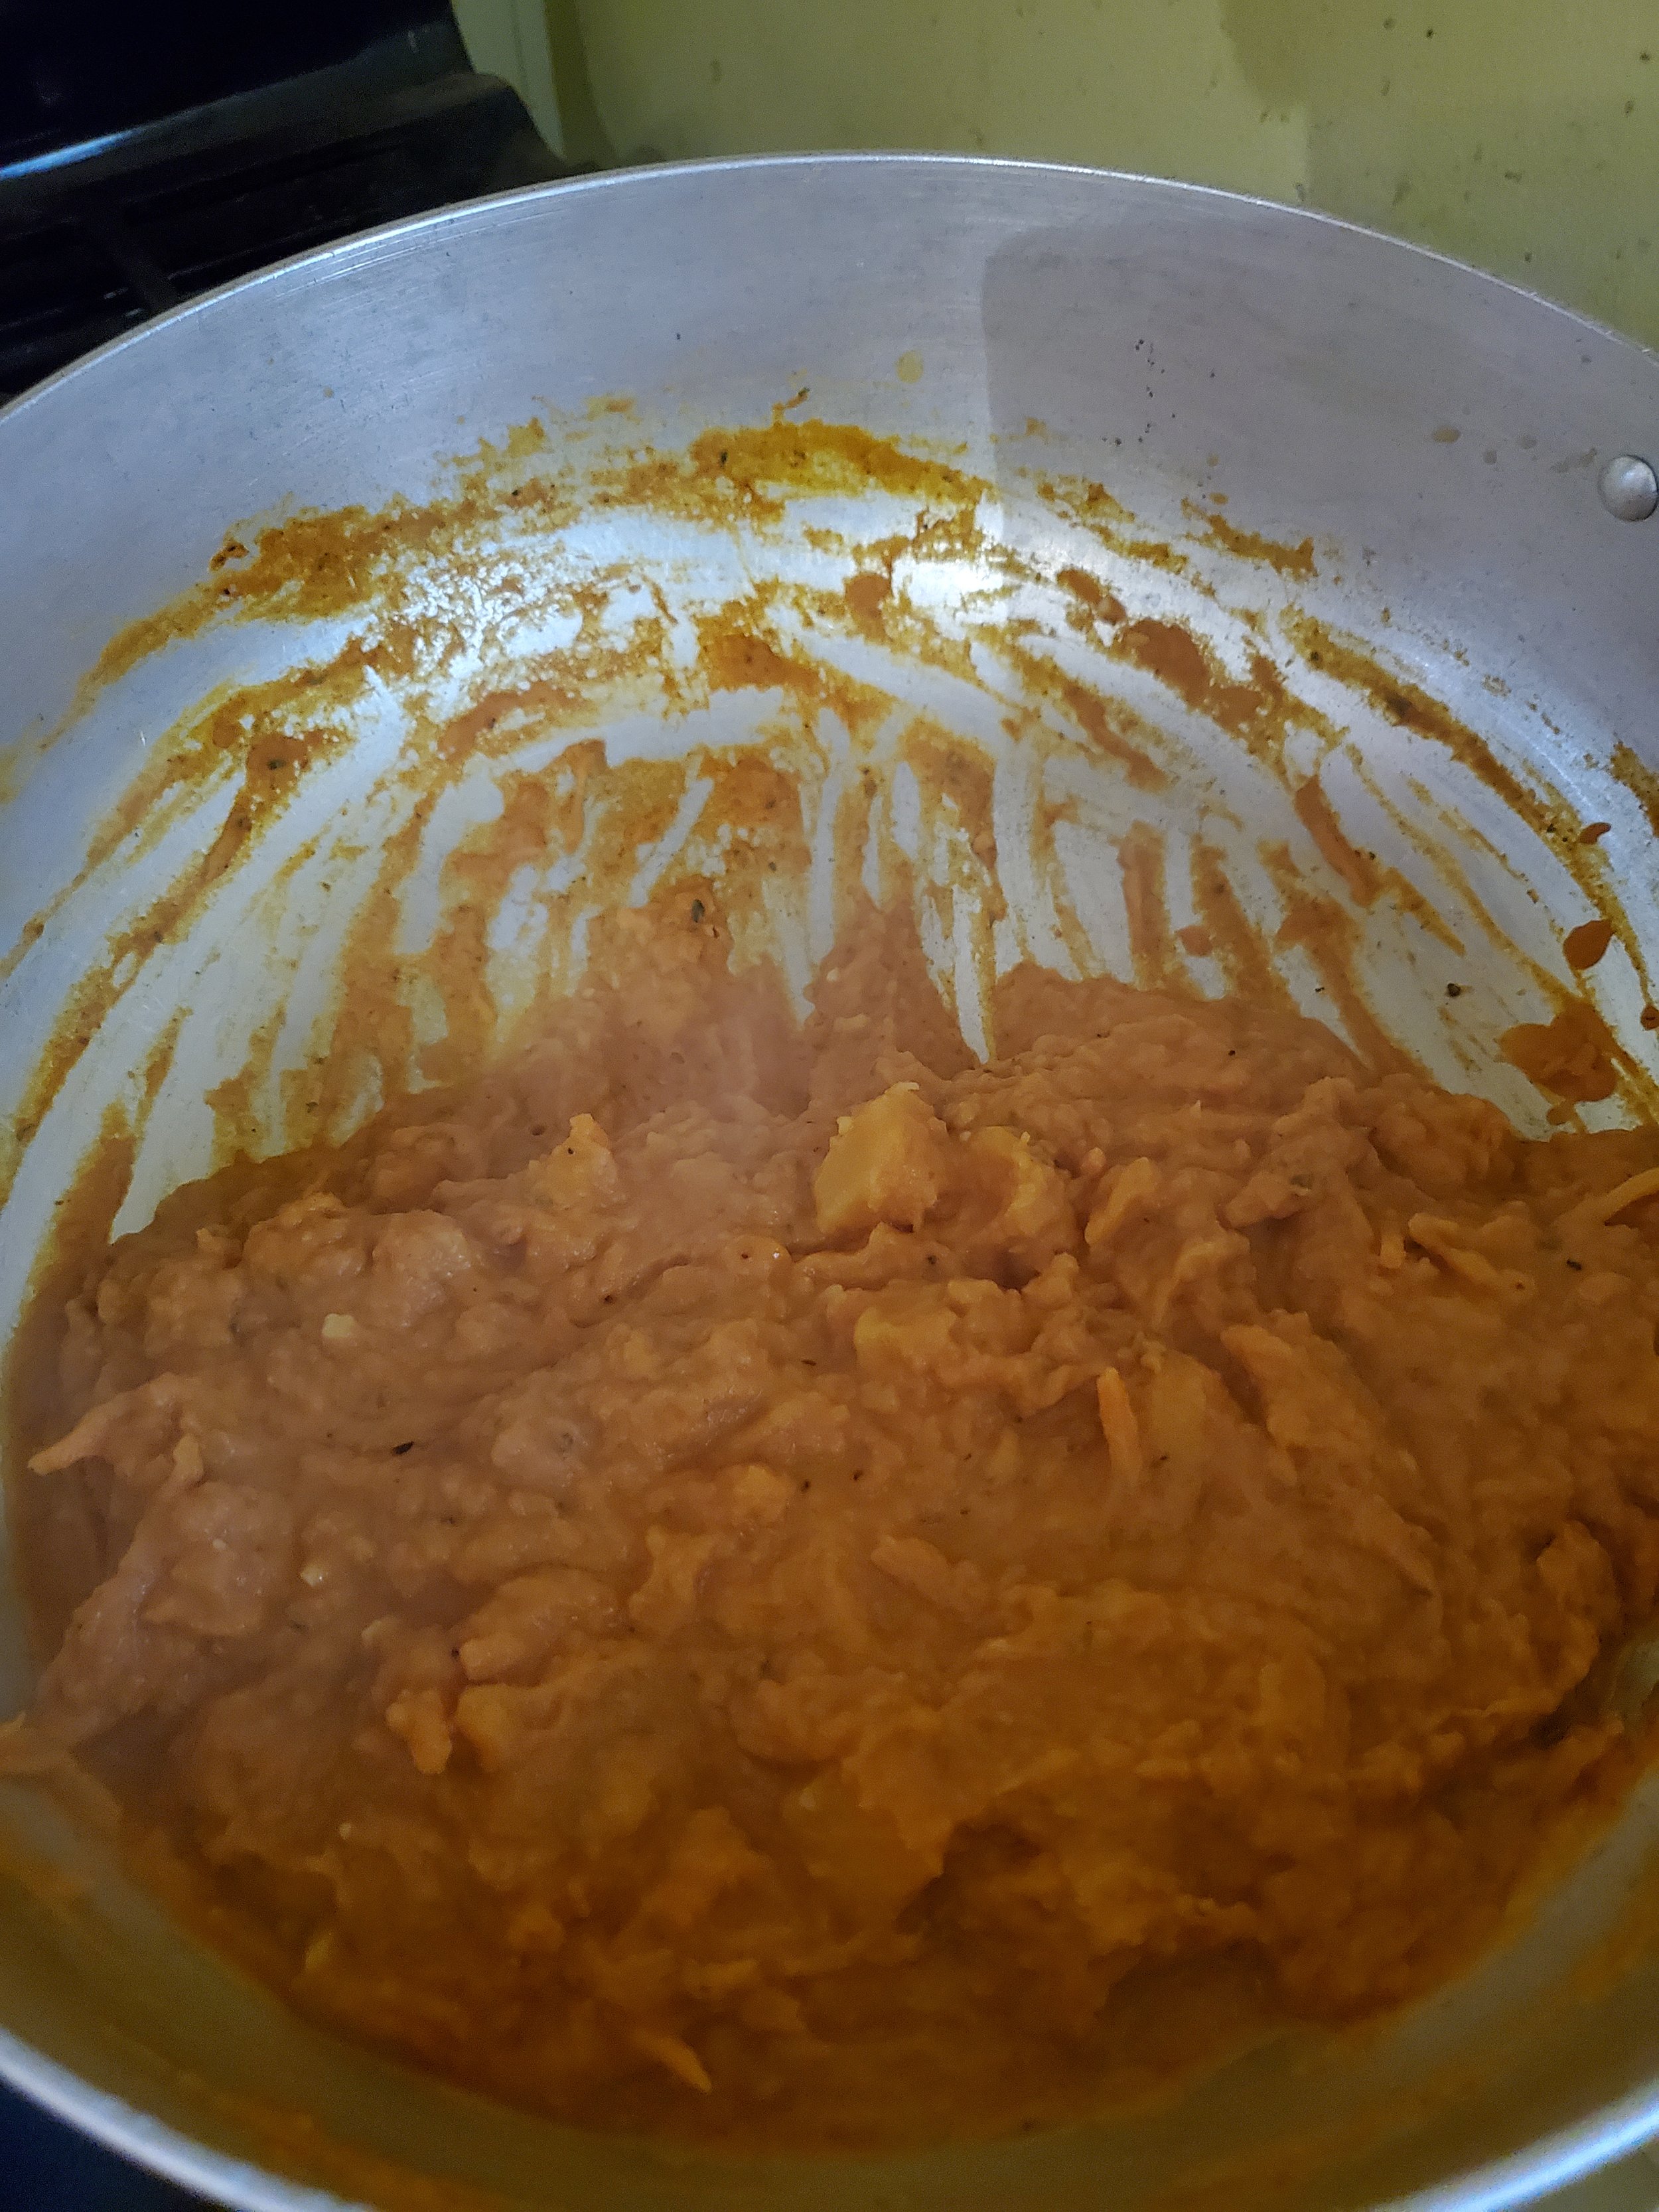
Turn your attention back to the microwave and remove your squash. Replace it with the sweet potatoes and start them cooking. Cut a corner off the bag of squash and drain out the excess water before adding the squash to the pumpkin sauce mixture and stirring it in.

Cover the sauce again and let it simmer for about five minutes.

When the sweet potatoes are done cooking, repeat what you did with the squash: cut a corner, drain the excess water, then add to the sauce and stir to cover.

By this point your pasta is close to ready. Test a piece to be sure the pasta is cooked through, and (assuming it doesn't need more time) drain it into the colander.

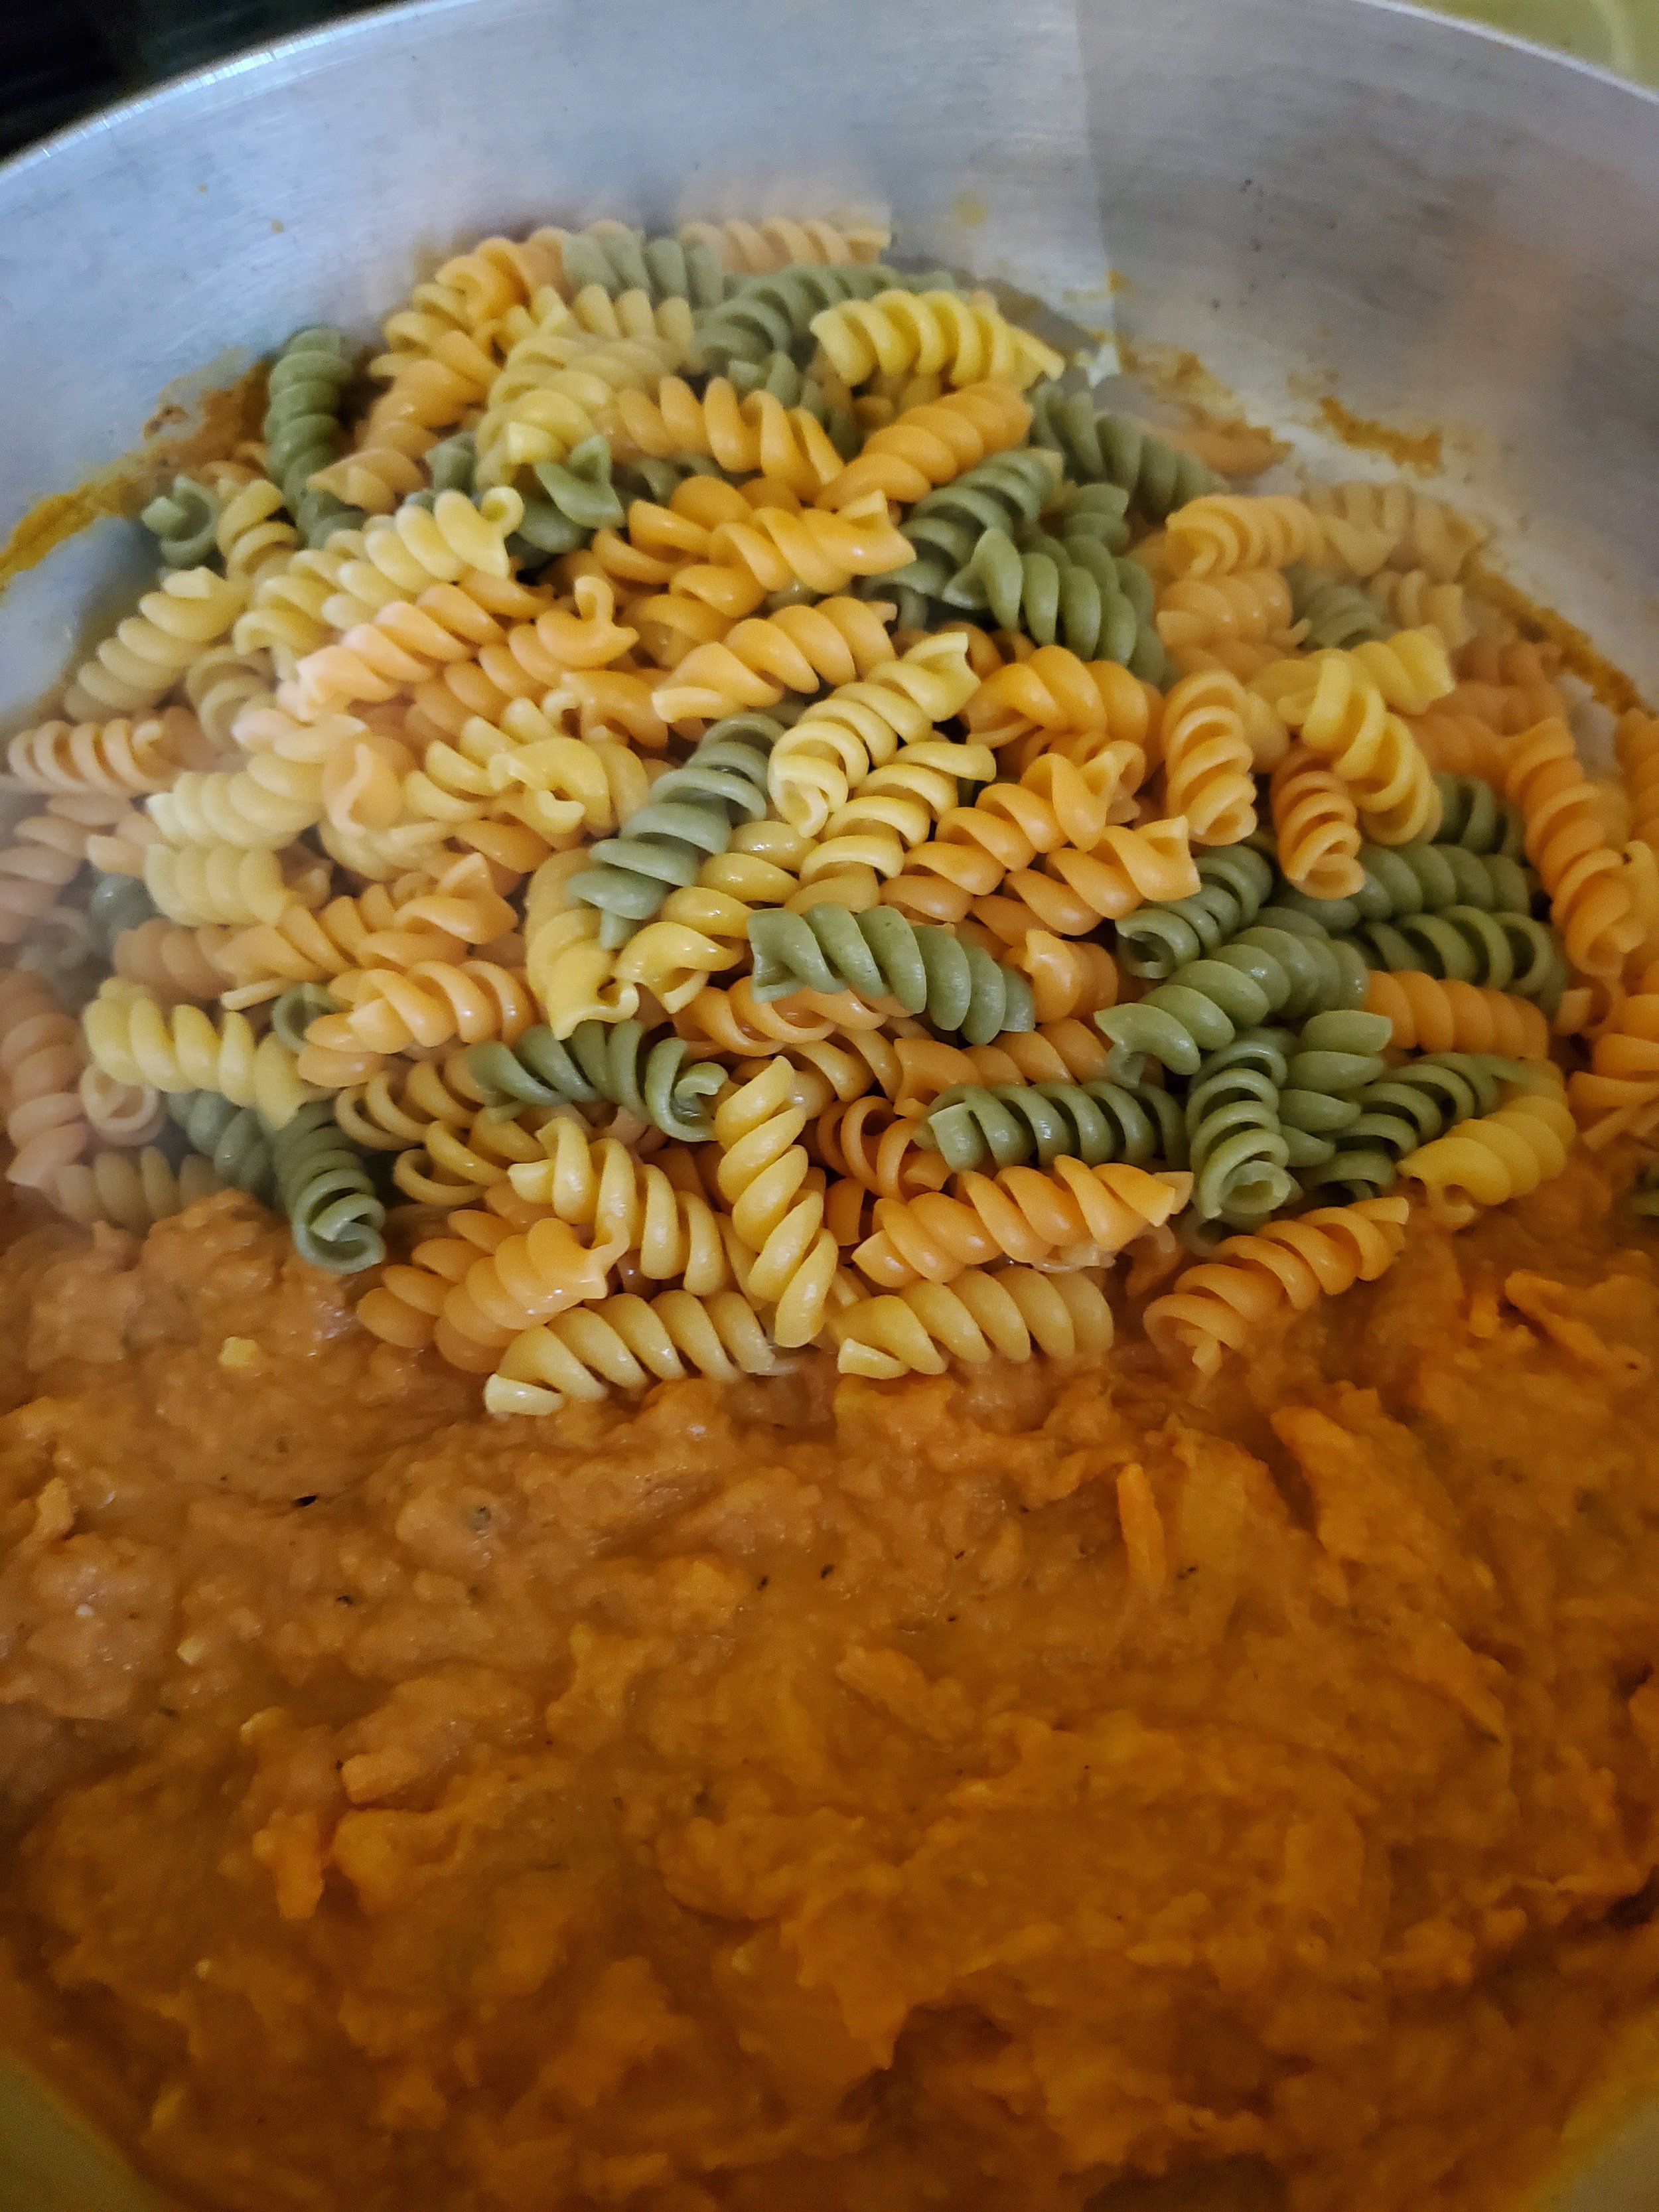
While it's draining, scrape all the sauce to one side of the saucepan. It's heavy, chunky stuff, so it'll mostly stay where you put it.

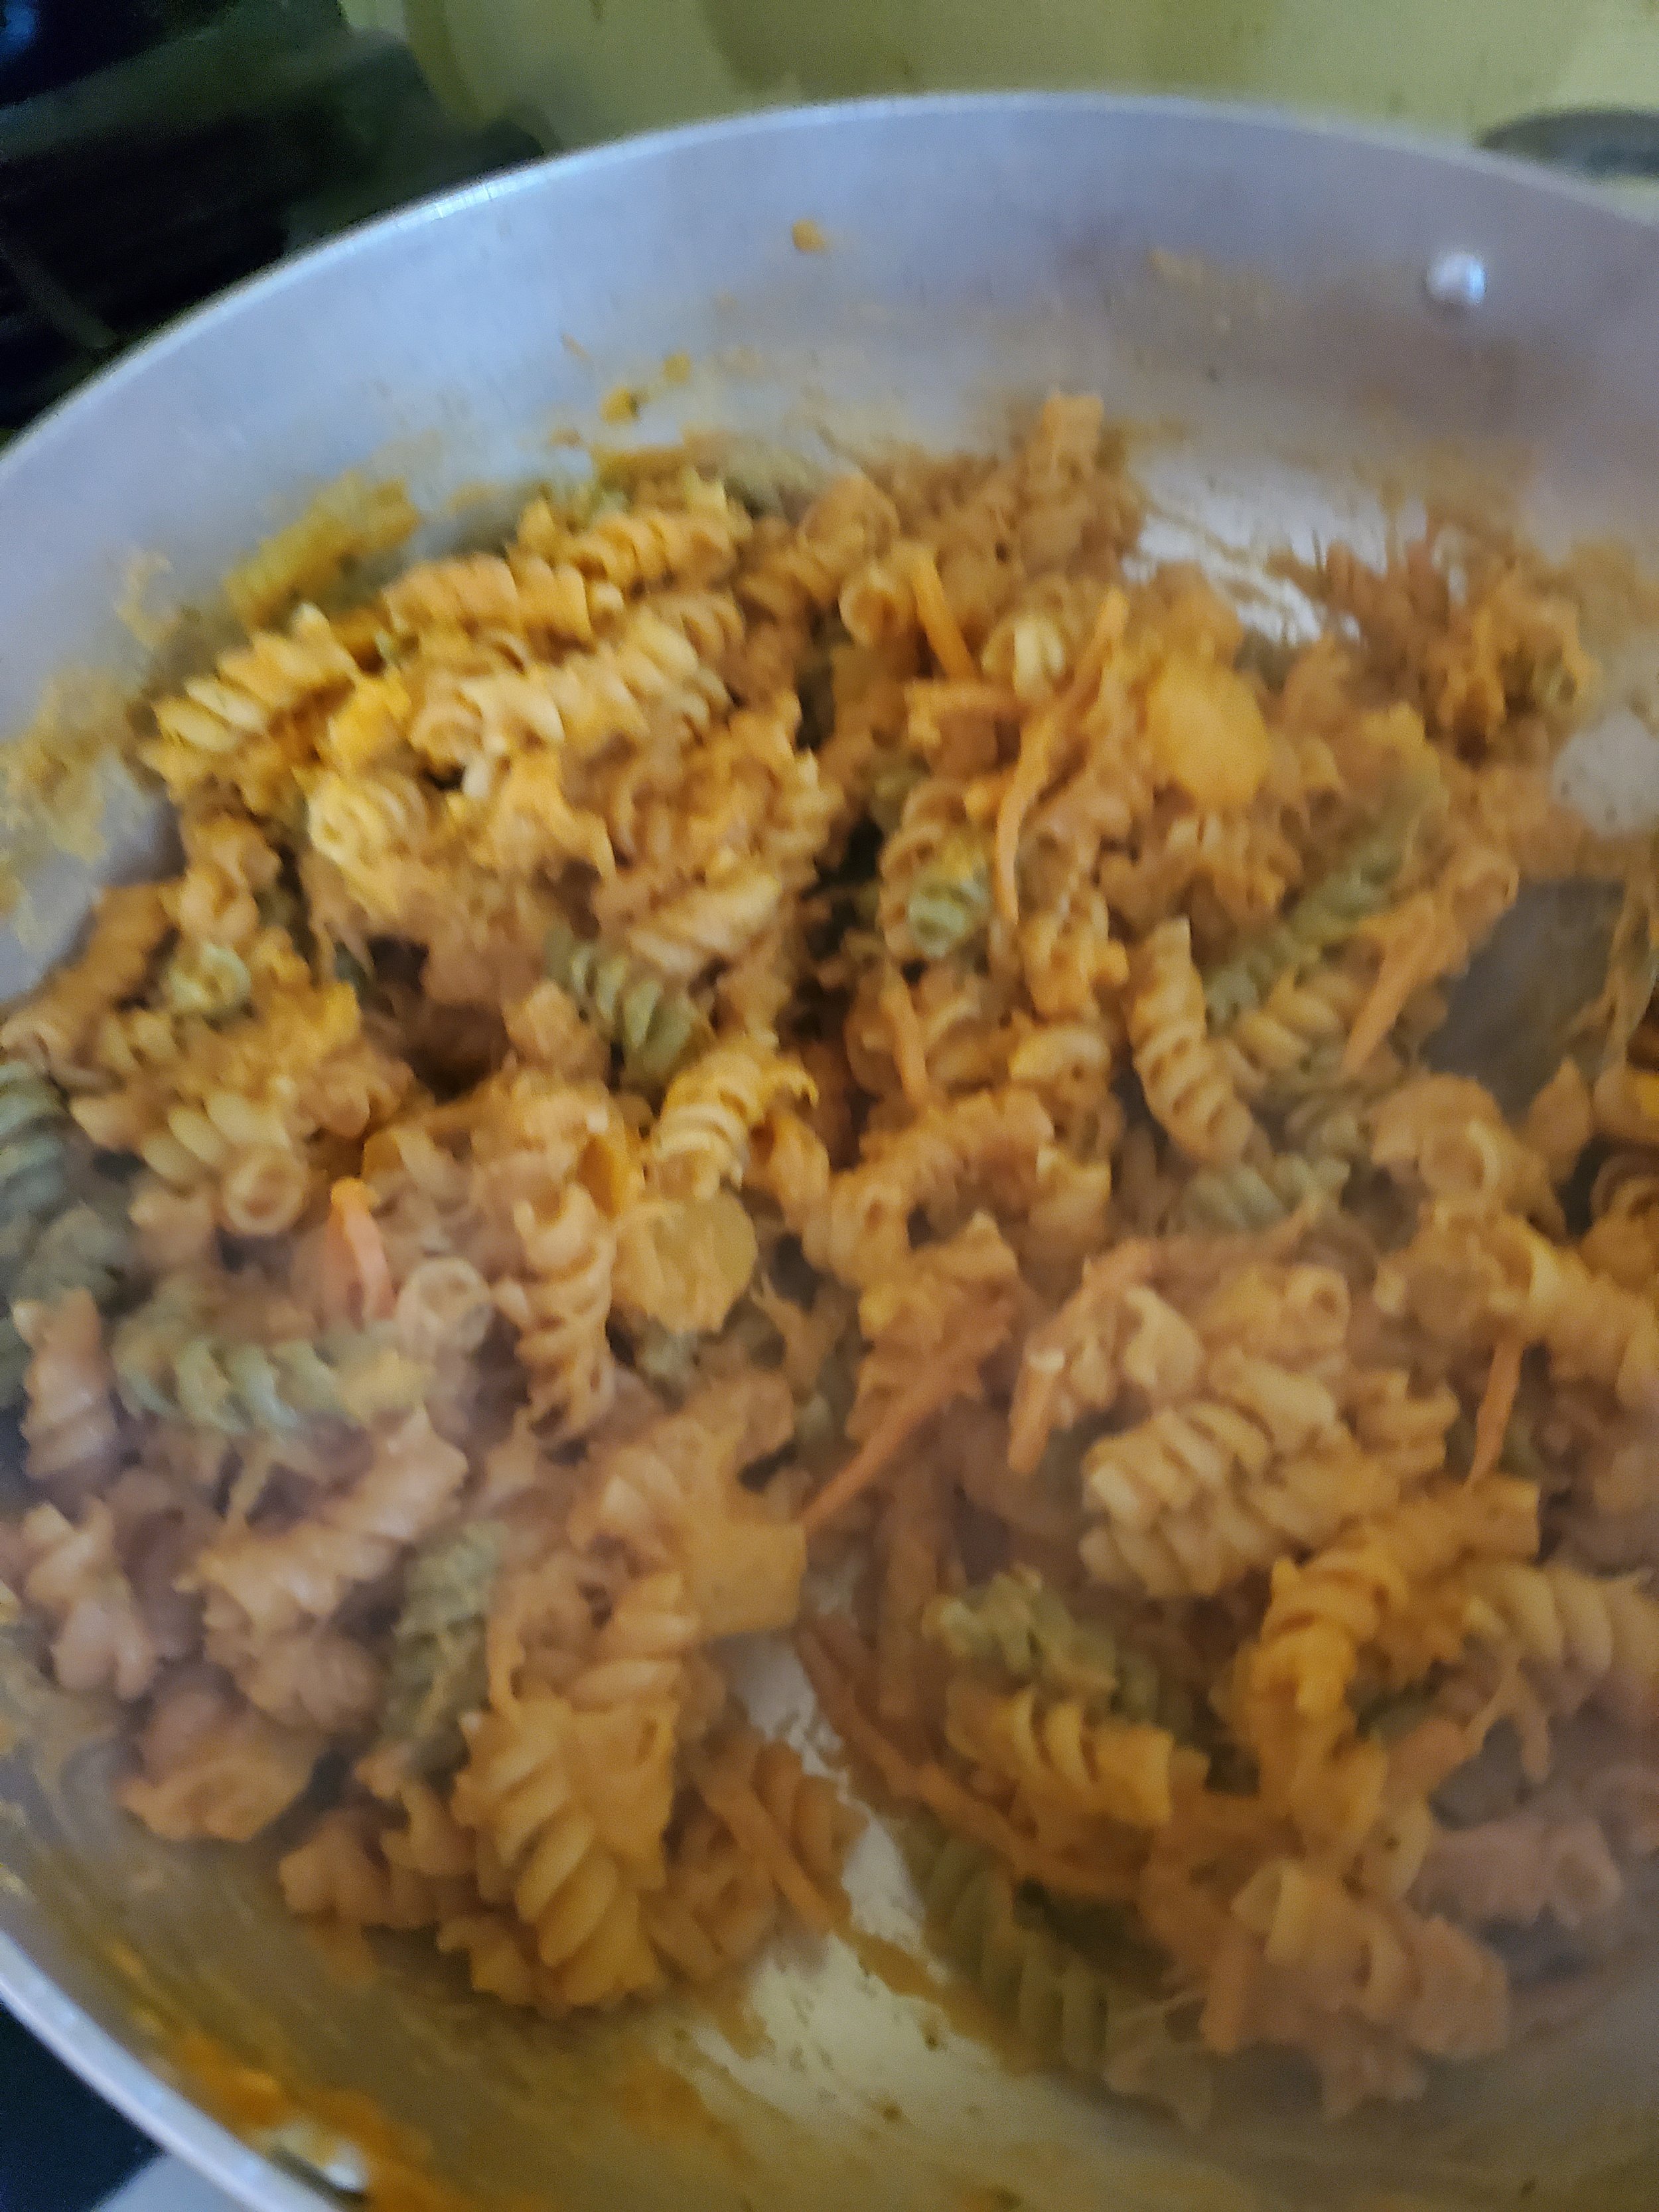
Once you've made some space in the saucepan, pour the pasta into the open spot. Fold gently to mix the pasta and sauce together without shredding the pasta. Turn the burner off, cover the pan again, and let sit to allow the pasta and sauce to meld for five minutes before serving.

Serve with a little parmesan cheese and/or crushed red pepper, depending on your family's likes and dislikes.


We hope that you enjoyed this recipe! Let us know if you decide to make it over on our Facebook page. As always, we love to hear from you. 


If you discover that your dishwasher just isn’t wanting to wash up after this dish, it might not be the pumpkin’s fault. It might be an issue with your dishwasher instead, and that’s where Appliance Rescue Service can help. We service every model of dishwasher, from LG and Samsung to GE and Bosch. So long as you’re within the DFW area, we’re here to help. You can reach out to us via our contact page or by giving us a call at ((214) 599-0055). We’ll work with you to set up a date and time that fits your schedule so we can get your home running smoothly again. 


Even If Fall Isn’t Here Yet. 

Sunday Summer Dinner: Shrimp Croquettes and Creamed Peas

A meal to fill every "down home" craving under the summer sun.

This is a fantastic meal for a Sunday, it's been hot for weeks and you need something to break the intensity of it. It's not something cool that's going to help though, but instead something savory and rich to celebrate the summer. Croquettes so piping hot they burn your lips even as they melt in your mouth. The pop of fresh sweet peas in a cream sauce to brighten and balance against the savory depth of the croquettes. This is summer, now let's get cooking. 

Ingredients:

Croquettes:

3 Tbsp butter

2 Tbsp finely chopped yellow onion

1/3 c all-purpose flour

1/2 c milk

2 tsp fresh lemon juice

1/3 tsp salt

Pepper to taste

3/4 lb of shrimp (deveined and shelled) finely chopped

1 cup fine dry bread crumbs, or panko 

2 large eggs 

3 cups peanut oil, for frying


Creamed Peas:

2 lbs fresh green peas, shelled

3 Tbsp salted butter

2 Tbsp all-purpose flour

2 c milk

1 tsp salt

fresh ground black pepper to taste

Tools: medium skillet, wire whisk, pie pan, two cookie sheets, parchment paper, colander, one deep heavy pot, slotted spoon a roll of paper towels. 


A pile of shrimp, shelled and deveined but still raw

courtesy of shutterbug75

Start off by setting your skillet over medium-high heat. Add in your onion and saute until softened, but not yet clear, roughly 3 minutes. Use a wire whisk to stir in your flour. Cook the roux for 1 minute and stir in the milk slowly, stirring continuously. Cook the mixture until it's really thick, stirring it constantly for 1 minute. Remove the skillet from the heat and add in lemon juice, salt and pepper. 

Allow the roux to cool slightly and then stir in your shrimp. Let it cool until you can handle it and then shape the mixture into small balls, about the size of a ping pong ball, or 1 1/2 inches in diameter. Lay them out on parchment paper on a cookie sheet so that they don't touch. 

Place your breadcrumbs into a shallow dish like a pie pan. Take your second pan, crack open the eggs and beat them thoroughly, then add in 1/4 cup water. 

Fresh sweet peas sit in a pile with two pods cracked open to show the peas still inside.

courtesy of piviso

Bring your croquettes over to one side of the eggs and breadcrumbs and set your empty cookie sheet on the other side. You'll be double coating the croquettes, to make sure that they hold their shape as they cook. Start by rolling the croquettes in the crumbs, pressing firmly. Then roll them in the egg mix, use a spoon if you have to, to get everything coated. Now go back to the breadcrumbs and again make sure everything is coated.  Set this one on the empty sheet. Repeat the process until all of your croquettes have been coated. Toss the parchment paper from your now empty sheet and use it as a cover for the full one.  Set the croquettes aside, it's time to make the creamed peas. 

We know, the concept sounds weird to some people. We know, but we promise, it tastes so much better. So, bring 1 pot of lightly salted water to a boil. Add in your peas and cook for 6 to 7 minutes or until the peas are tender enough to pierce with a fork but not to mash. Drain them into a colander and set aside. Melt the butter in a medium saucepan over medium heat. Stir in your flour, making sure to break up any clumps. You want the roux to be smooth and lightly browned, it takes about a minute. Slowly whisk in your milk, stirring carefully and continuously. Continue cooking the gravy over meidum heat, stirring often. Add in your salt and pepper to taste.  Continue cooking until the mixture is smooth and thick, about 5 minutes. Next stir in the cooked peas and then cover the pot, setting it aside. You want to keep the gravy warm, but not to keep it cooking. Now for frying the croquettes. 

A deep pan of oil shimmers slightly, with a thermometer sitting in it, measuring the temperature.

Courtesy of Hans

Set your oven to preheat to 150*F, and pour your oil into your heavy pot. Use a digital thermometer to check as you bring it up to 375*F. 

Once your oil has come up to temperature, add in 10 of your croquettes at a time to cook, until they're golden brown. This isn't really a "timed" thing, so much as a "watch them carefully" thing. When they're done, use a large slotted spoon to scoop them up, drain the oil and transition them to paper towels and allow them to stay warm in the oven as you cook the rest. Take a moment and allow the oil to come back up to 375* before you add any more croquettes to the pot. Doing this makes sure that the croquettes cook quickly and evenly rather than soaking up the oil, becoming greasy and sodden. Repeat the process twice more to finish off all of your croquettes, making sure to not overcrowd the pot. 

Golden croquettes topped with a dusting of parsley sit on twisted wire racks to cool in a shallow pan

Courtesy of Allybally4b

Serve up 4-5 croquettes with the creamed peas on the side or on top, depending on preference. The peas add a sweet note that cuts through the oil, giving the meal a nice balance. This is great served alongside some fresh green beans and cornbread for a terrific Sunday dinner during the summer. And, if you end up having any extras, you can always eat them cold the next day, or toss them into oil for five minutes to reheat them. 


Do you like this picture of a Sunday dinner? Let us know over on our Facebook page or in the comments below. As always we'd love to hear from you and find out what you think of the recipe! 


If you wound up here because your dishwasher isn't getting the pots from this recipe clean, we can help. Working on appliances is our specialty and we want to make sure yours are working properly. You can give us a call at ((214) 599-0055) or reach out to us on our contact page. Wherever you live in the DFW area, we're here to help. 


Sweet Potato Enchiladas

A filling dinner for any night


We know it sounds weird. We thought it sounded weird. But after trying it, you'll see it's really not, we promise!


The best part is that it all comes together with a minimum of fuss and mess if you do a little of the prep work the day before, and you'll even have a little left over for later!


You'll need some pantry staples, some fresh produce and a little bit from the store. Feel free to play with the ingredients a little until you get the consistency or the aroma you like best. Take our mix here as a suggestion - a starting point, if you will.


 Ingredients


2 small sweet potatoes

2 cups cooked dry beans (black or pinto - avoid garbanzo and kidney)

1/4 of one sweet onion

2 cups salsa

10 corn tortillas

8 ounces shredded cheese

1 Tablespoon butter (salted)

1/2 teaspoon cumin

1/2 teaspoon onion powder

1 teaspoon chili powder

1/2 teaspoon dry chopped chives

1 teaspoon parsley

1 teaspoon Adobo (can substitute favorite taco seasoning)

2 Tablespoons minced garlic

1/2 teaspoon salt

1/2 teaspoon black pepper

Optional suggestions (for cooking beans):

1 bay leaf

2 tsp garlic powder


Tools:


Aluminum foil, rimmed baking pan, colander, potato masher, knife, cutting board, spoon, fork, spatula, measuring spoons, two covered microwave-safe bowls, two plates or a tortilla keeper.


The day before you want to make your enchiladas, you'll want to soak and cook your dry beans and roast your sweet potatoes. The beans will take about two hours on the stovetop or four in the crock pot - or if you have an instant pot, they'll take almost exactly as long as the potatoes (40 minutes on high, followed by natural decompression). We like to add a bay leaf and some garlic powder while the beans are cooking, but this is entirely optional. When they're done, rinse and drain the beans and refrigerate overnight in a covered container. Or you can skip all this and just crack open two cans of already prepared beans tomorrow, as long as you'll still have time to rinse and drain them.


Jab your sweet potatoes a few times with a fork, wrap them in foil and place them in the oven. It's fine if they're directly on the rack as long as the wrap is sealed. They do have a tendency to ooze a little bit, so if they're loosely wrapped, you might consider putting them on a baking sheet to save yourself the cleanup later. Let them roast in there at 400 for an hour and twenty minutes. Refrigerate overnight in their wrap.


Enchilada day!

 Pull the potatoes and beans from the fridge. Reheat the beans on medium in the microwave, in a covered dish. Skin the sweet potatoes and chop them into chunks, and put them in the other microwave safe dish. Mash them to the desired consistency (we like lumps, but you may not) with your potato masher, or make one of the kids do it.


Chop your onion (again, to desired size) and add it to the sweet potatoes. Measure your spices into this bowl, too - the cumin, chili powder, garlic, Adobo or taco seasoning, onion powder, chives, parsley, salt and pepper. Give everything a good stir and make sure you're not leaving lumps of garlic all clumped together along one edge. Sure, garlic is great, but if it's not thoroughly incorporated, it tries to take over the flavor of the dish.


Once it's all mixed, drop in that tablespoon of butter, cover the dish and swap it with the beans. Heat it for thirty seconds at a time until it's nice and warm, and stir in the butter that's now melted in a little well on top of it.


Flip the bowl of beans into the bowl of sweet potatoes and stir like your life depends on it. Just kidding. Maybe don't get too aggressive with it, because we weren't looking to puree the beans here.


Once it's well-mixed, take your ten corn tortillas and put them in a tortilla keeper or drop them on a microwave safe plate. Invert another plate on top of it and put them into the microwave for 30 seconds. Don't remove the upper plate or the tortilla keeper lid until you go to grab a tortilla and roll an enchilada.

Sweet Enchilada.jpg


Now is a good time to grab the cheese from the fridge and to line your pan with foil. You can leave the tortillas in the microwave for a minute or two as long as it's not running. Please do not zap them for more than half a minute! Any longer and you'll dry them out. You really need them to stay soft and pliable for this.


Pour some of your salsa into the bottom of the pan - maybe half a cup to one cup, depending on the size of the pan - and use a spoon to smear it around a little bit. You want something sticky so your enchiladas stay where you put them instead of falling open and spilling the good stuff all over the pan.


Preheat your oven to 400 (yes, again).


Grab your first tortilla, put the cover back on the others, sprinkle in some cheese and drop a big blob of filling into the center (usually about 1/4 cup at a time). Leaving the ends open, roll it up and place it seam side down in the pan. Repeat until the pan is full or you run out of filling or tortillas.


Once they're all in the pan, sprinkle your remaining cheese over them and drizzle the remaining salsa on top. Spread it all around with the spoon so that everything has at least a thin layer of salsa and/or cheese on it - anything left exposed risks being scorched.


Put the pan into the oven and bake uncovered for half an hour. Allow it to cool for five minutes before you get a spatula in there so the tortillas have time to firm back up a bit. Enjoy with a salad or a side of rice.


Now that you’ve tried it, what do you think? Delicious, right? Let us know over on our Facebook page. We’d love to hear from you. 


If you need something to pair with this, or you’re really looking to go all out check out this recipe from our archives. 

Sweet Enchilada 2.jpg

Party Snack Dinners

When you don’t feel like sitting down to a meal, but you need something more.


Super Bowl Sunday has come and gone - and like most families here in the U.S., your family probably ate so many snacks during the big game that dinner went by the wayside last weekend.

Here's the thing, though. Snack-y delicious things can still be considered dinner. There is no rule that you can't eat hors d'oeuvres and party food whenever you feel like making it.


In this post, we'll cover a couple of easy, tasty finger foods you can dash together on a weeknight and share with the family or a visiting friend. (Who says Wednesday can't be family movie night?)


Stuffed "Sandwiches"


It's less of a sandwich and more of a stuffed slice of bread... But it's an uncommon, tasty finger food. Plus, it's neither terribly messy nor expensive to make.


Ingredients:


One large loaf of Italian or French bread

8 oz softened cream cheese (we suggest the garden vegetable flavor Philadelphia brand, or spicy jalapeno flavor if you'd prefer some heat)

3 oz crumbled cooked bacon

1/2 cup matchstick carrots, chopped down

1/2 cup baby spinach, shredded

1/4 cup bell pepper, chopped

1 3 oz package sun-dried tomatoes (we like Bella Sun Luci brand)

handful of black olives, chopped

4 oz shredded cheese of your choice

Fresh or dried parsley, for garnish


Tools:

Cutting board, bread knife, paring knife, baking sheet, large bowl, spoon 


Allow your cream cheese to come up to room temperature while you work; the softer it is, the easier it will be to mix in your other ingredients.


Preheat your oven (or toaster oven if you'd rather) to 350.


Grab the bread knife and cut your loaf of bread into 3/4" to one inch thick slices. Use the paring knife to scoop out the centers of each slice to make each into a shallow bread boat. Make sure you only cut about halfway into the center - you still want it to be able to hold the cream cheese mixture. In the event any of your slices have a hole from an air bubble in the dough, consider covering it over with a spinach leaf to stop too much of the cheese from oozing out during the baking process.


Once your slices are scooped out, place them open side up on your baking sheet.


Chop up your carrots, bell pepper, olives and spinach as fine as you'd like them - and if your tomatoes are large pieces, you might consider cutting them down as well. Transfer all the cut veggies to the bowl.

If you're working with fresh parsley, now is the time to cut it - but don't mix it in with the other veggies.


Toss the crumbled bacon in with the veggies, then add your softened cream cheese. Give everything a good stir to make sure it's evenly distributed.


Spoon an even amount of the cream cheese mixture into each of your scooped out bread slices and level it out.


Cover the top of each slice in shredded cheese.


Bake at 350 until the shredded cheese is melted and the bread is lightly toasted.


Sprinkle on the parsley before serving. These "sandwiches" are best served with chips (which can function as a utensil, too, if the cheese mixture escapes!). 


Peanut Butter Cup Hummus


We know, no one thinks sweet when someone says hummus. But believe it or not, you can make sweet versions! And you can even make them out of things you probably have on hand already.


Once it's ready, use it as a dip for apple slices (Gala apples are excellent for this). The kids will never realize they're eating a vegetable.


Ingredients:


1 cup cooked chickpeas

1 teaspoon vanilla extract

4 tablespoons peanut butter

3 tablespoons honey or corn syrup

5 tablespoons baker's cocoa

2 tablespoons of sweetened condensed milk

a pinch of salt


Tools:

Food processor, measuring cup and spoons, bowl(s) to serve.


Cook up some chickpeas, or open up a can. You'll need about a cup of them, drained and rinsed.

Pour the rinsed chickpeas into the food processor, and measure in the peanut butter, honey and vanilla extract.


Process on low for a few seconds at a time, scraping down the sides when you pause. If the mixture seems too sticky or too inclined to climb up the sides, you can add some water a tablespoon at a time - but be careful not to add too much and thin it out. It can be pretty difficult (and messy!) to dip an apple slice in something soupy.


Once you've got the chickpeas processed down to a mostly smooth consistency, measure in the cocoa and milk and hit the button on the processor again a time or two to mix it all in.


Make sure you taste test at this stage, to figure out whether or not you need more sweetener, and/or how much salt you'd like to add. Everyone's family is different - we recommend finding the pickiest eater in the house and using them as the guinea pig.

Once you've adjusted to account for the picky eaters in the house, scoop some out into a shallow dish for every member of the family and cut up some apples to share. Pretzels also work well with this hummus, as do chunks of banana (toothpicks or forks help cut down on the sticky fingers problem with the bananas).


Hopefully this filling, deceptively healthy “dessert” joins the rotation in your family too!


If you liked this week’s post, drop us a line in the comments below or over on our Facebook, we’d love to hear from you! 


If on the other hand you showed up here because you need help with your appliances, we can help there too. We aim to be the best appliance repair company in Plano and the surrounding area, and that means we’re here, whatever your appliances need. You can reach out to us via our website or by giving us a call at ((214) 599-0055).  

sliced apples tart and sweet varieties


Ravioli Alla Caprese

 Proving that delicious pasta is absolutely possible to make at home.

This week’s recipe is all about Italy.  Delicious ravioli is a comfort food when many of us need a little comfort. What are you supposed to do though if you can’t get out to the store? It’s a really complicated thing to make right? Well actually, no. The only thing that’s complicated about the dough is the need to balance ‘enough’ mixing versus ‘not enough.’ Once you’ve got that, the rest is easy. 

Ingredients

For The Dough: 

1 cup water

¼ tsp kosher salt, plus more for the pasta water

2 ½ cups all purpose flour plus more for dusting 

For The Filling

1 cup whole milk ricotta cheese, drained

¾ cup finely grated mozzarella or mild sheep’s milk cheese

½ cup freshly grated Parmigiano-Reggiano cheese

½ tsp dried oregano

1 large egg

½ tsp kosher salt

For The Sauce

3 Tbsp extra-virgin olive oil

2 cloves garlic, smashed and peeled

1 25-ounce jar tomato puree

3 springs basil, plus torn leaves for topping

1 4-inch piece Parmigiano-Reggiano cheese rind, plus grated cheese for garnish

¼ tsp kosher salt 

To make the dough: Grab a small saucepan and put in on high heat, bring the water and ¼ teaspoon salt to a simmer.  Place your flour in a medium sized mixing bowl. Pour the hot water over the flour and mix together using a  silicone spatula or a wooden spoon. Continue mixing until it becomes a shaggy dough. Dump the mixture out onto a lightly floured surface and knead the dough for 5 minutes or until smooth and elastic.  Wrap your dough with plastic wrap and let it rest for 10 minutes on the counter. 


While that’s resting, let's make the filling.  In a medium bowl, mix together the ricotta, mozzarella, Parmigiano, oregano, egg and salt. 

To make the sauce: Take a clean pot and heat it over medium heat, add the olive oil and garlic. Cook the garlic for 2 minutes, or until the garlic is lightly browned and aromatic. Pour in the tomato puree, the basil springs, the cheese rind and a bit of salt. Let the sauce simmer for 12 minutes, stirring often. When the sauce has thickened slightly, remove and discard both the basil and the cheese rind.  

Roll your pasta dough out on a lightly floured surface to a ⅛ rectangle 6 inches by 36 inches. Place little mounds of the filling (roughly 2 teaspoons each) of the filling at an inch apart on the long edge of the dough. Fold the dough in half long ways, covering the filling and carefully press around the filling sealing the dough. 

Cutting apart the dough can done in two different ways. You can use a glass or a cookie cutter if you want round ravioli.Or you can cut them apart using a knife if you want square ravioli. Remove any scraps and repeat. You should end up with roughly 30 ravioli at the end of the process. 

Put a large pot of water on high heat and season liberally with salt.  Once it’s boiling, it’s time to start cooking. Add the ravioli in batches and simmer for about 3 minutes, or till they float. At that point you’ll know they’re cooked through. Using either a ladle or a slotted spoon, remove them from the pot. To serve, ladle spoonfuls of sauce to the center of a plate and position the ravioli on top.  Sprinkle with grated Parmigiano and torn basil. 


Notes: 

Let’s start with this “what the heck does ‘alla Caprese’ mean??” In this case it means in the style of Capri, which is an island off the western coast of Italy. The style of Capri is (almost) anything made with tomato, basil, olive oil and mozzarella.  

Now, if you want to make this process even easier you can go into your freezer and grab out an empty ice cube tray. Next, lay the dough over the tray and carefully push the filling into each of the wells. Fold the other half of the dough over the top, as in the original instructions and use the walls between the wells to press together the two layers of the dough. Finally, flip the tray over onto a lightly floured surface and using a sharp knife cut about the cubes. If you want to get really nifty you can even take a fork and press down the edges both to make sure they’re firmly attached and also to make them look nice. 

Additions to the filling- You most definitely can add to the filling, but make sure that if you do that the additions are small in size.

Some good examples for additions might be: mushrooms, ground beef, Italian sausage, crab, prosciutto, chicken, or sweet potatoes. 

Let us know how it goes! We want to hear about your attempts and how they turn out, either here in the comments below or over on our Facebook page. 

Don’t forget, if you want to schedule a check up for your appliances, that is something we do! You can also count on us to help fix them if they’ve been rude enough to break on you. We don’t stop until the job is done right. You can reach us by phone ((214) 599-0055)or by making an appointment on our website.