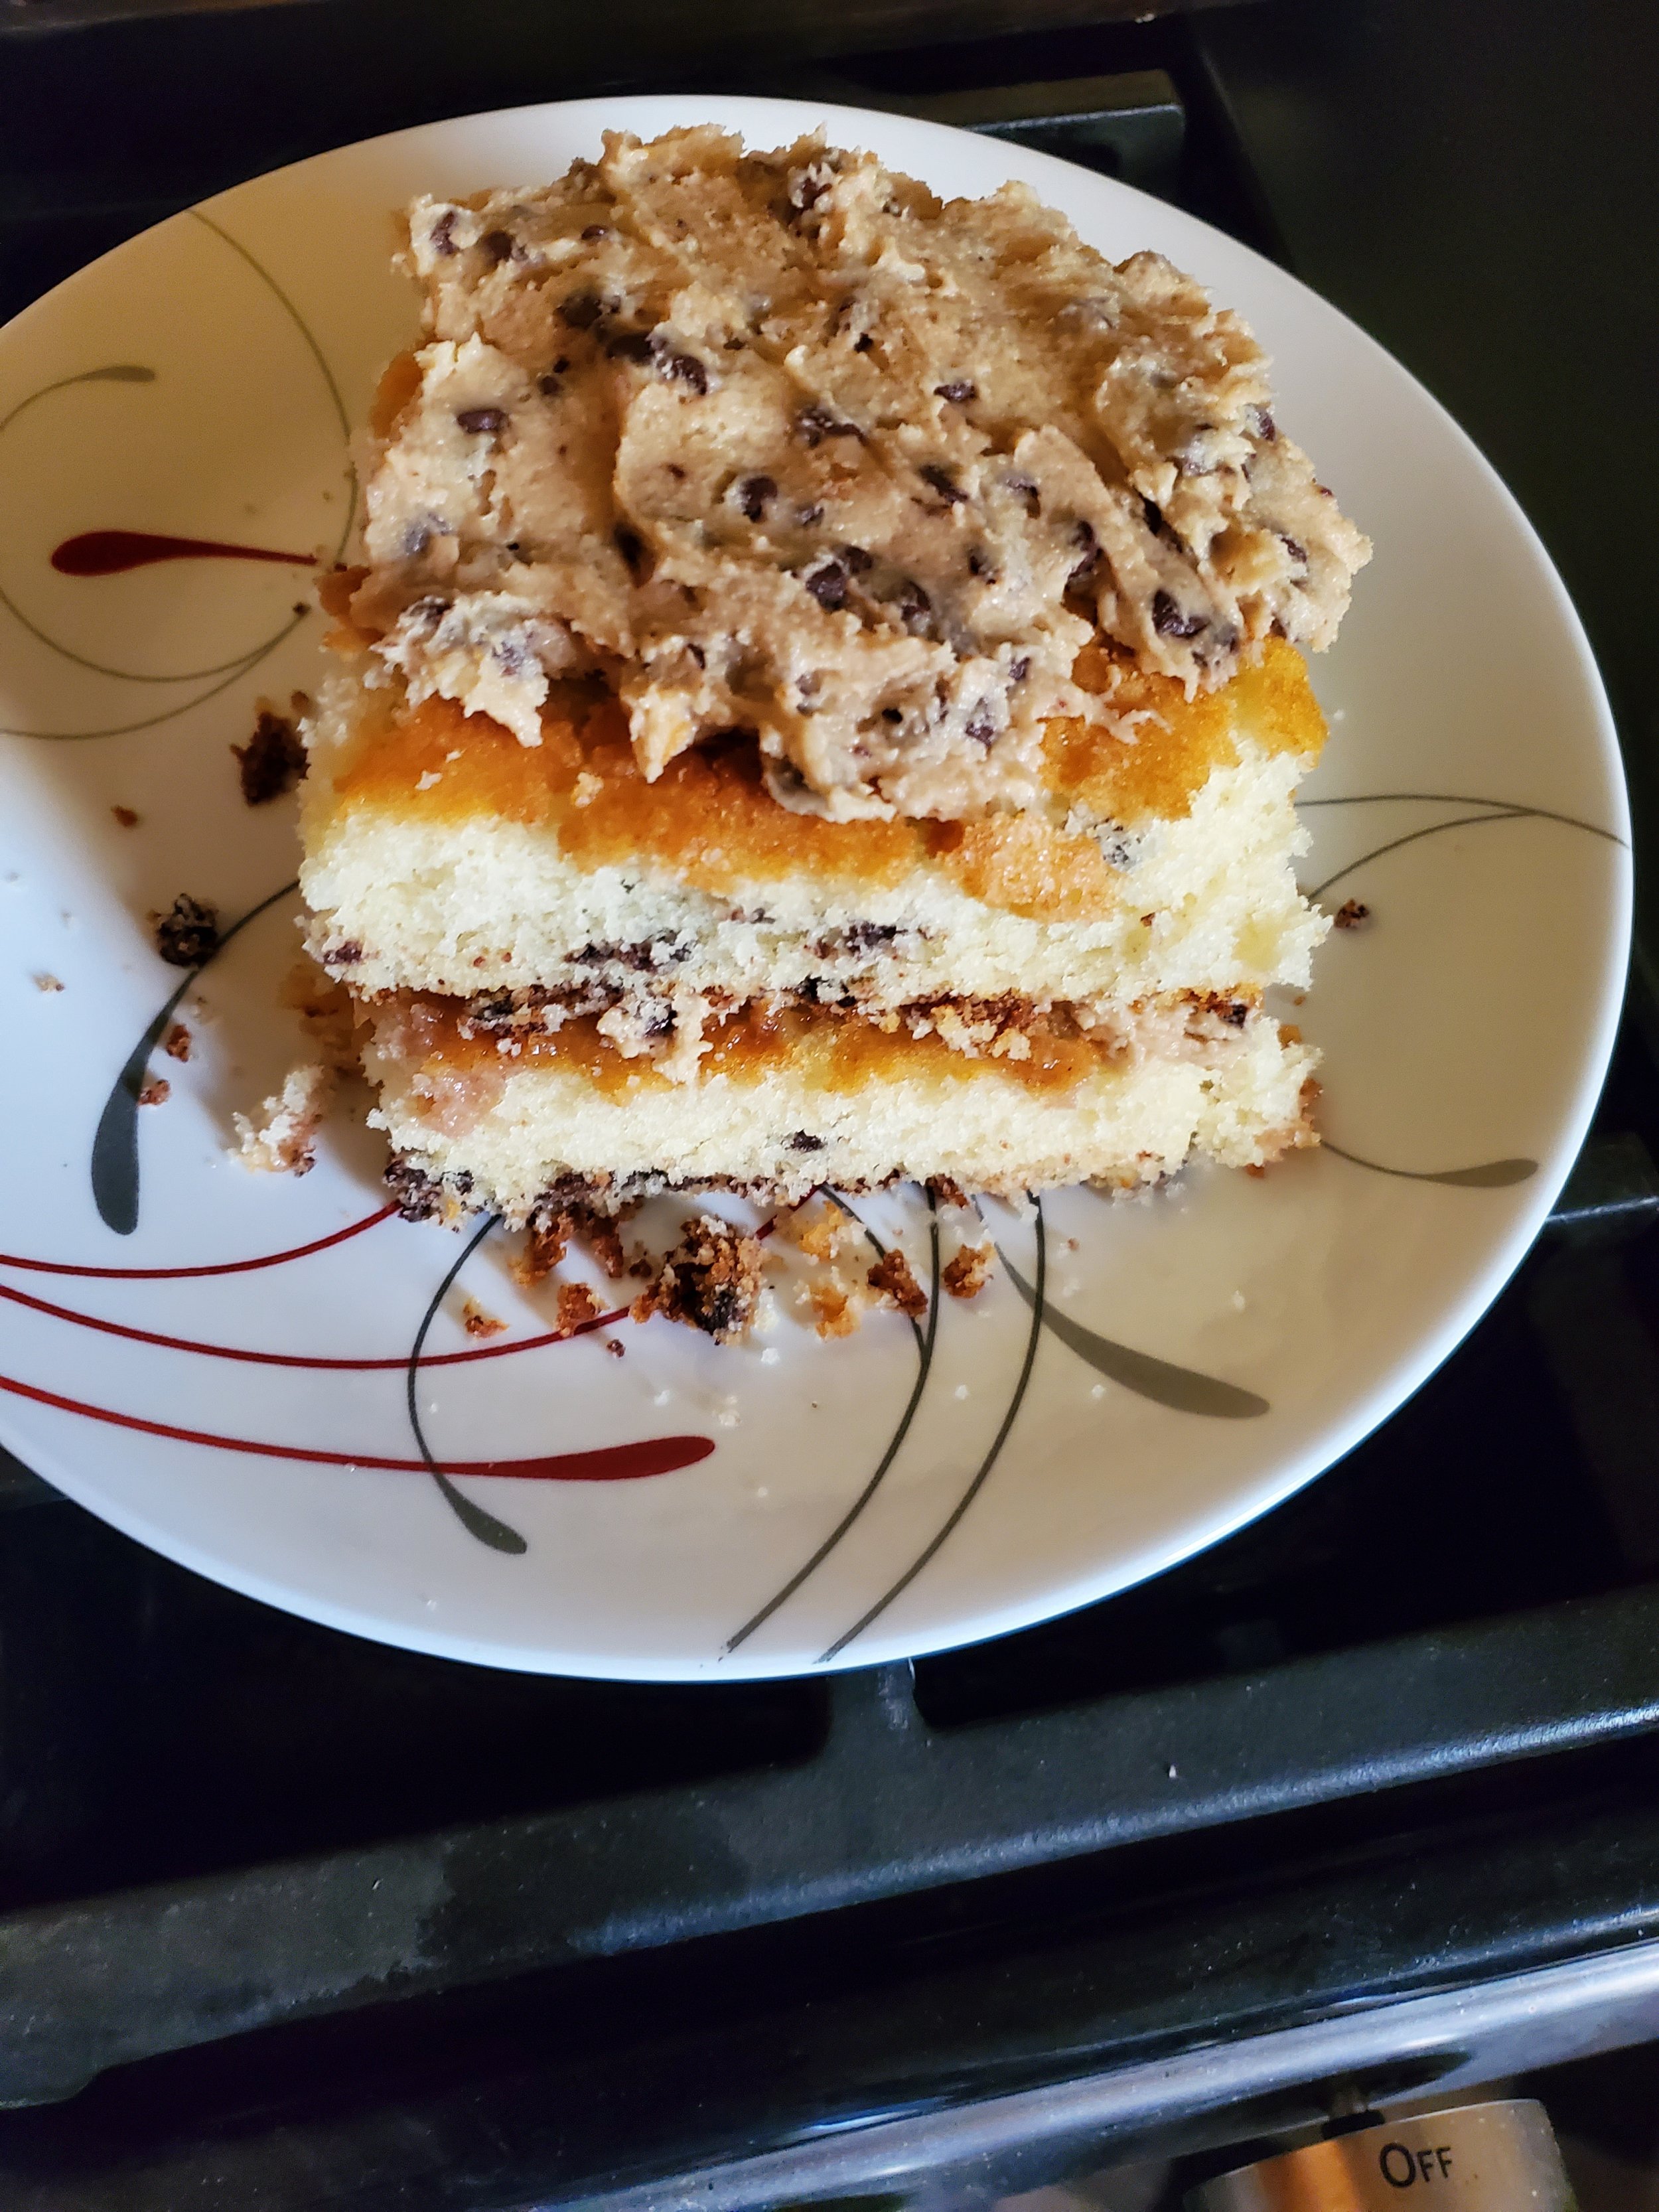
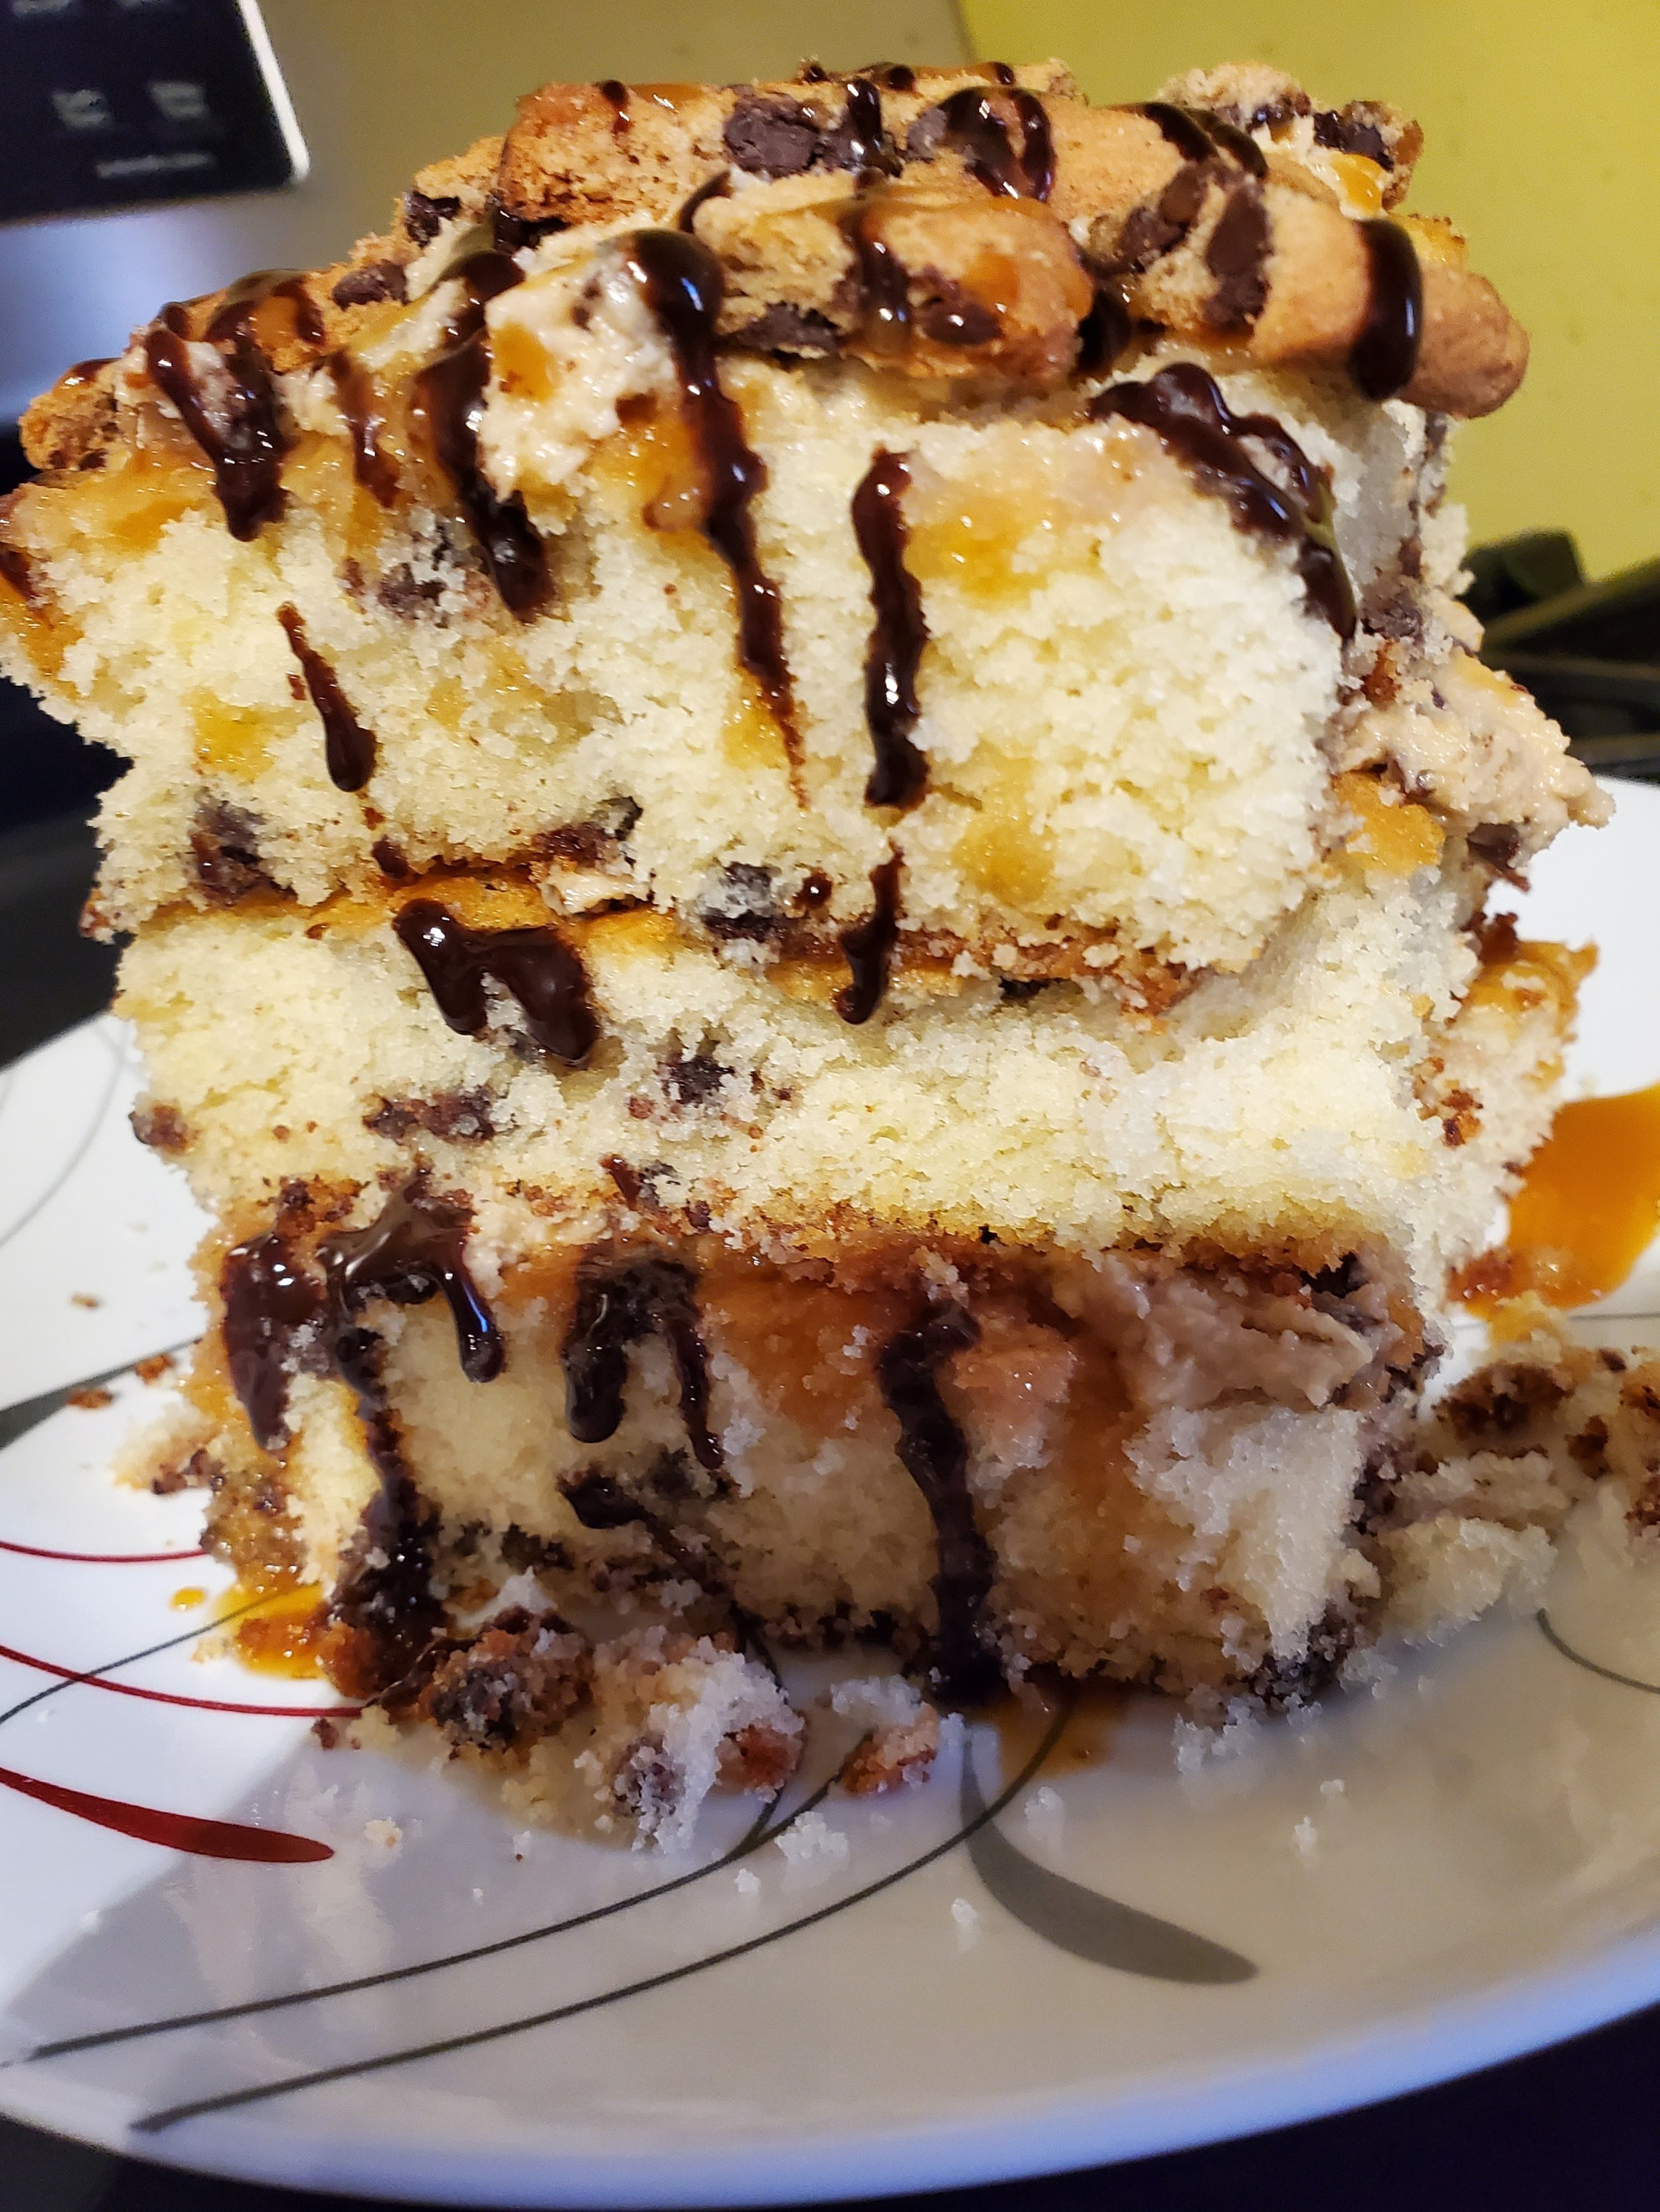
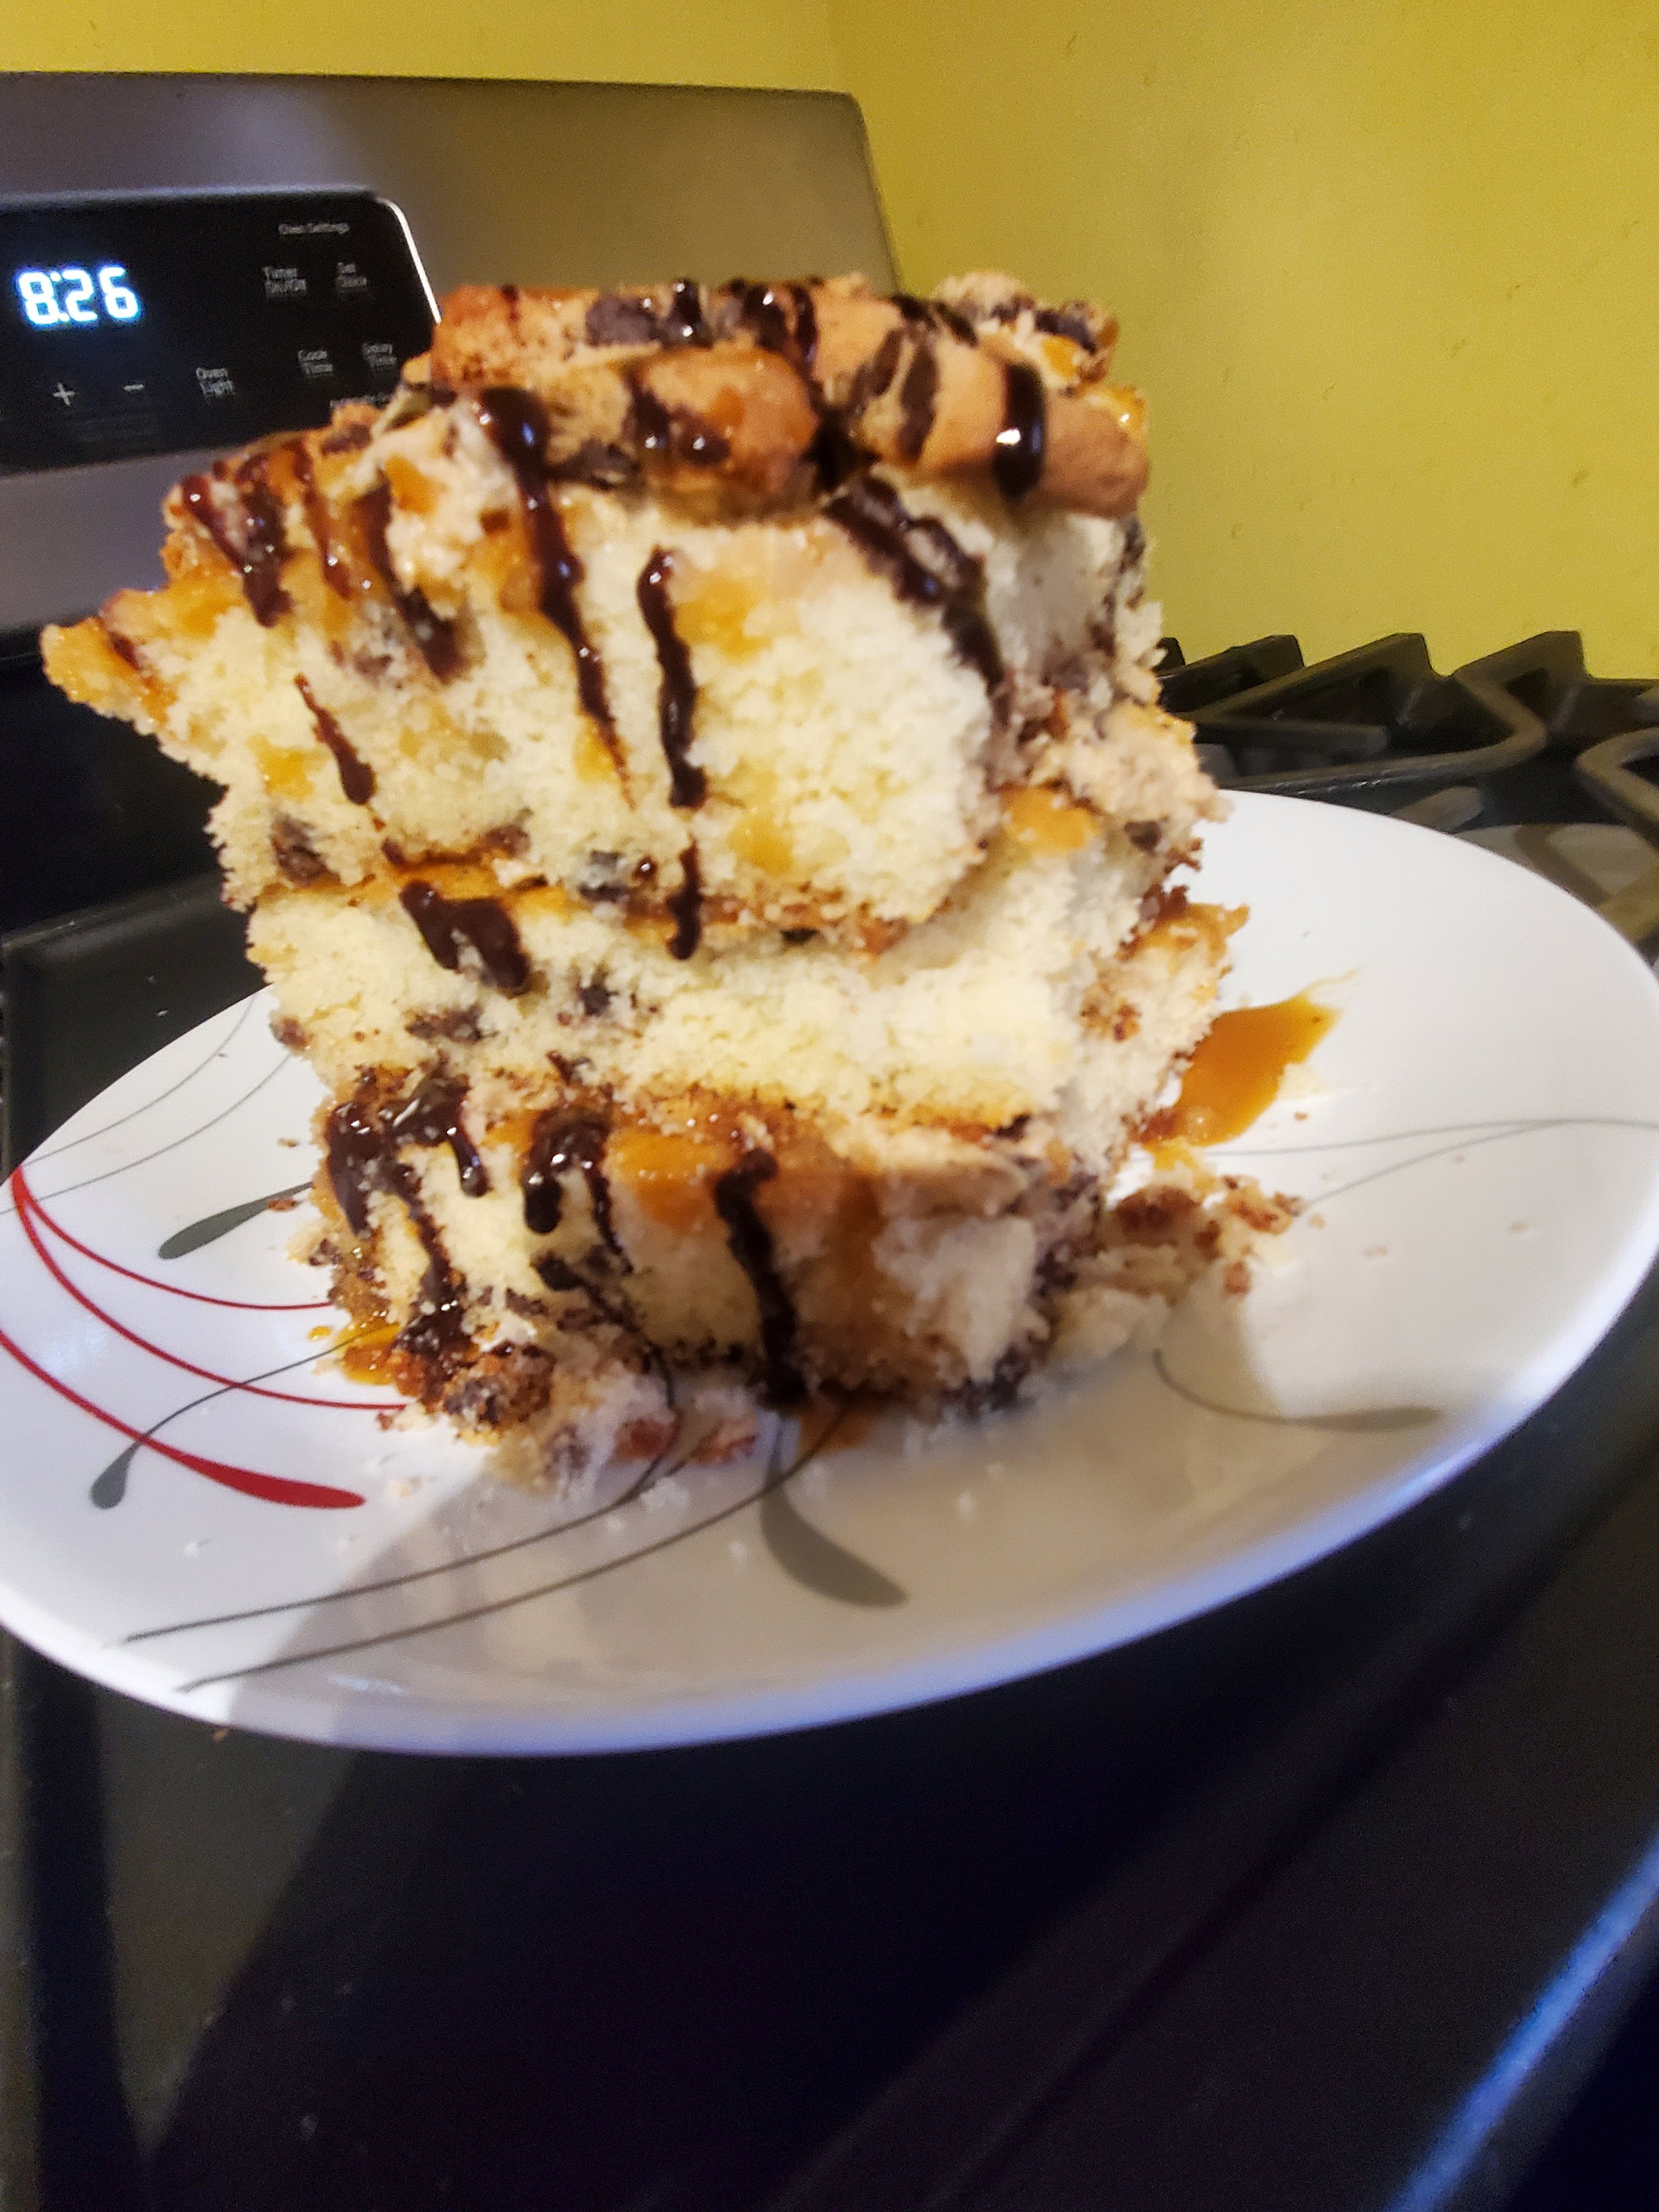
Or You Might Call It Death by Delicious
This isn't a cake for a birthday. This isn't a cake for a little get together. This is cake for a crowd, when you have a ton of people and you want all of the ones that enjoy sugar to walk around in a daze after trying it. This is one of those cakes where you make only once a year. Not because it's difficult. Not because it doesn't taste amazing (it does. We have it on the opinion of a ten-year-old that this is "the best cake in the whole world.") It's because this cake is so overwhelmingly delicious that you can only handle it once a year.
It started off as an experiment. We wanted chocolate chip cookies, but we didn't want just cookies. We wanted cake too. And then we thought about cookie dough. Except, it's not smart to eat just cookie dough. You need the crunch to balance it out. We took all of that and the urge for some chocolate milk as well ( we might have been egged on by that same 10-year-old helper) and started brainstorming how to smash all of it together. This is the outcome. Cake. Cookies. Cookie dough. Chocolate milk. All together in one glorious, amazing, and possibly death-defying sugar bomb cake.
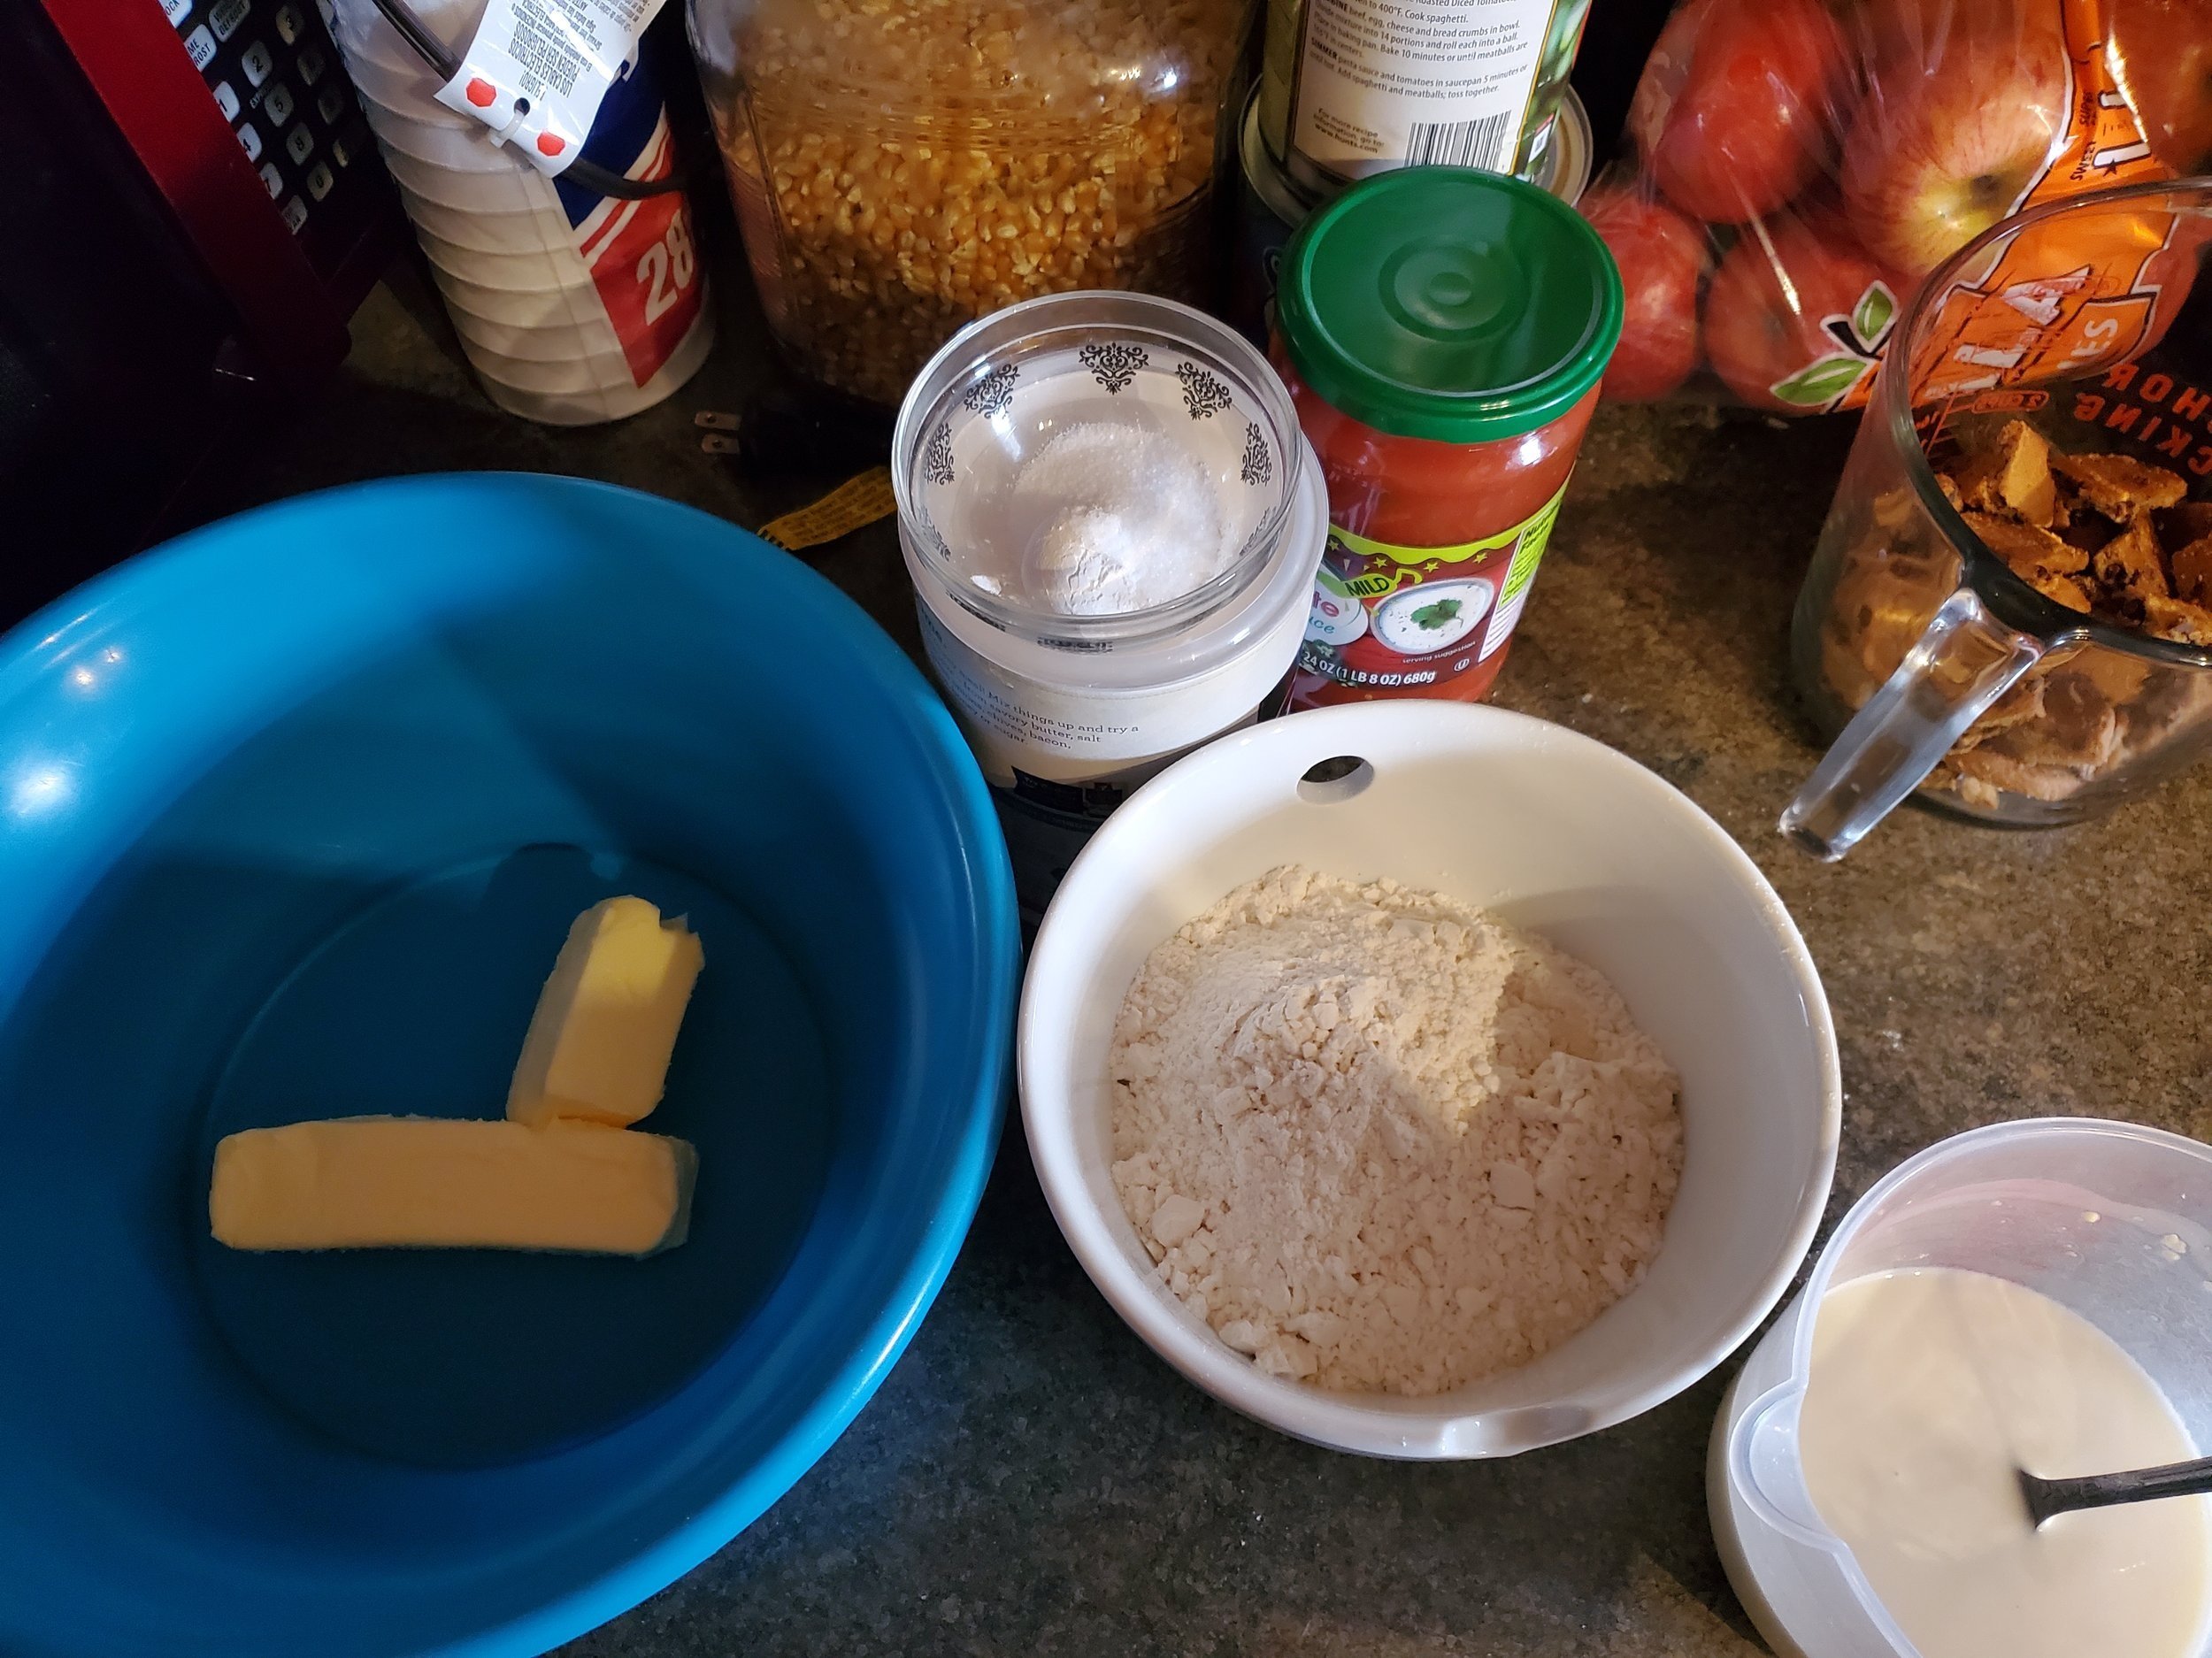
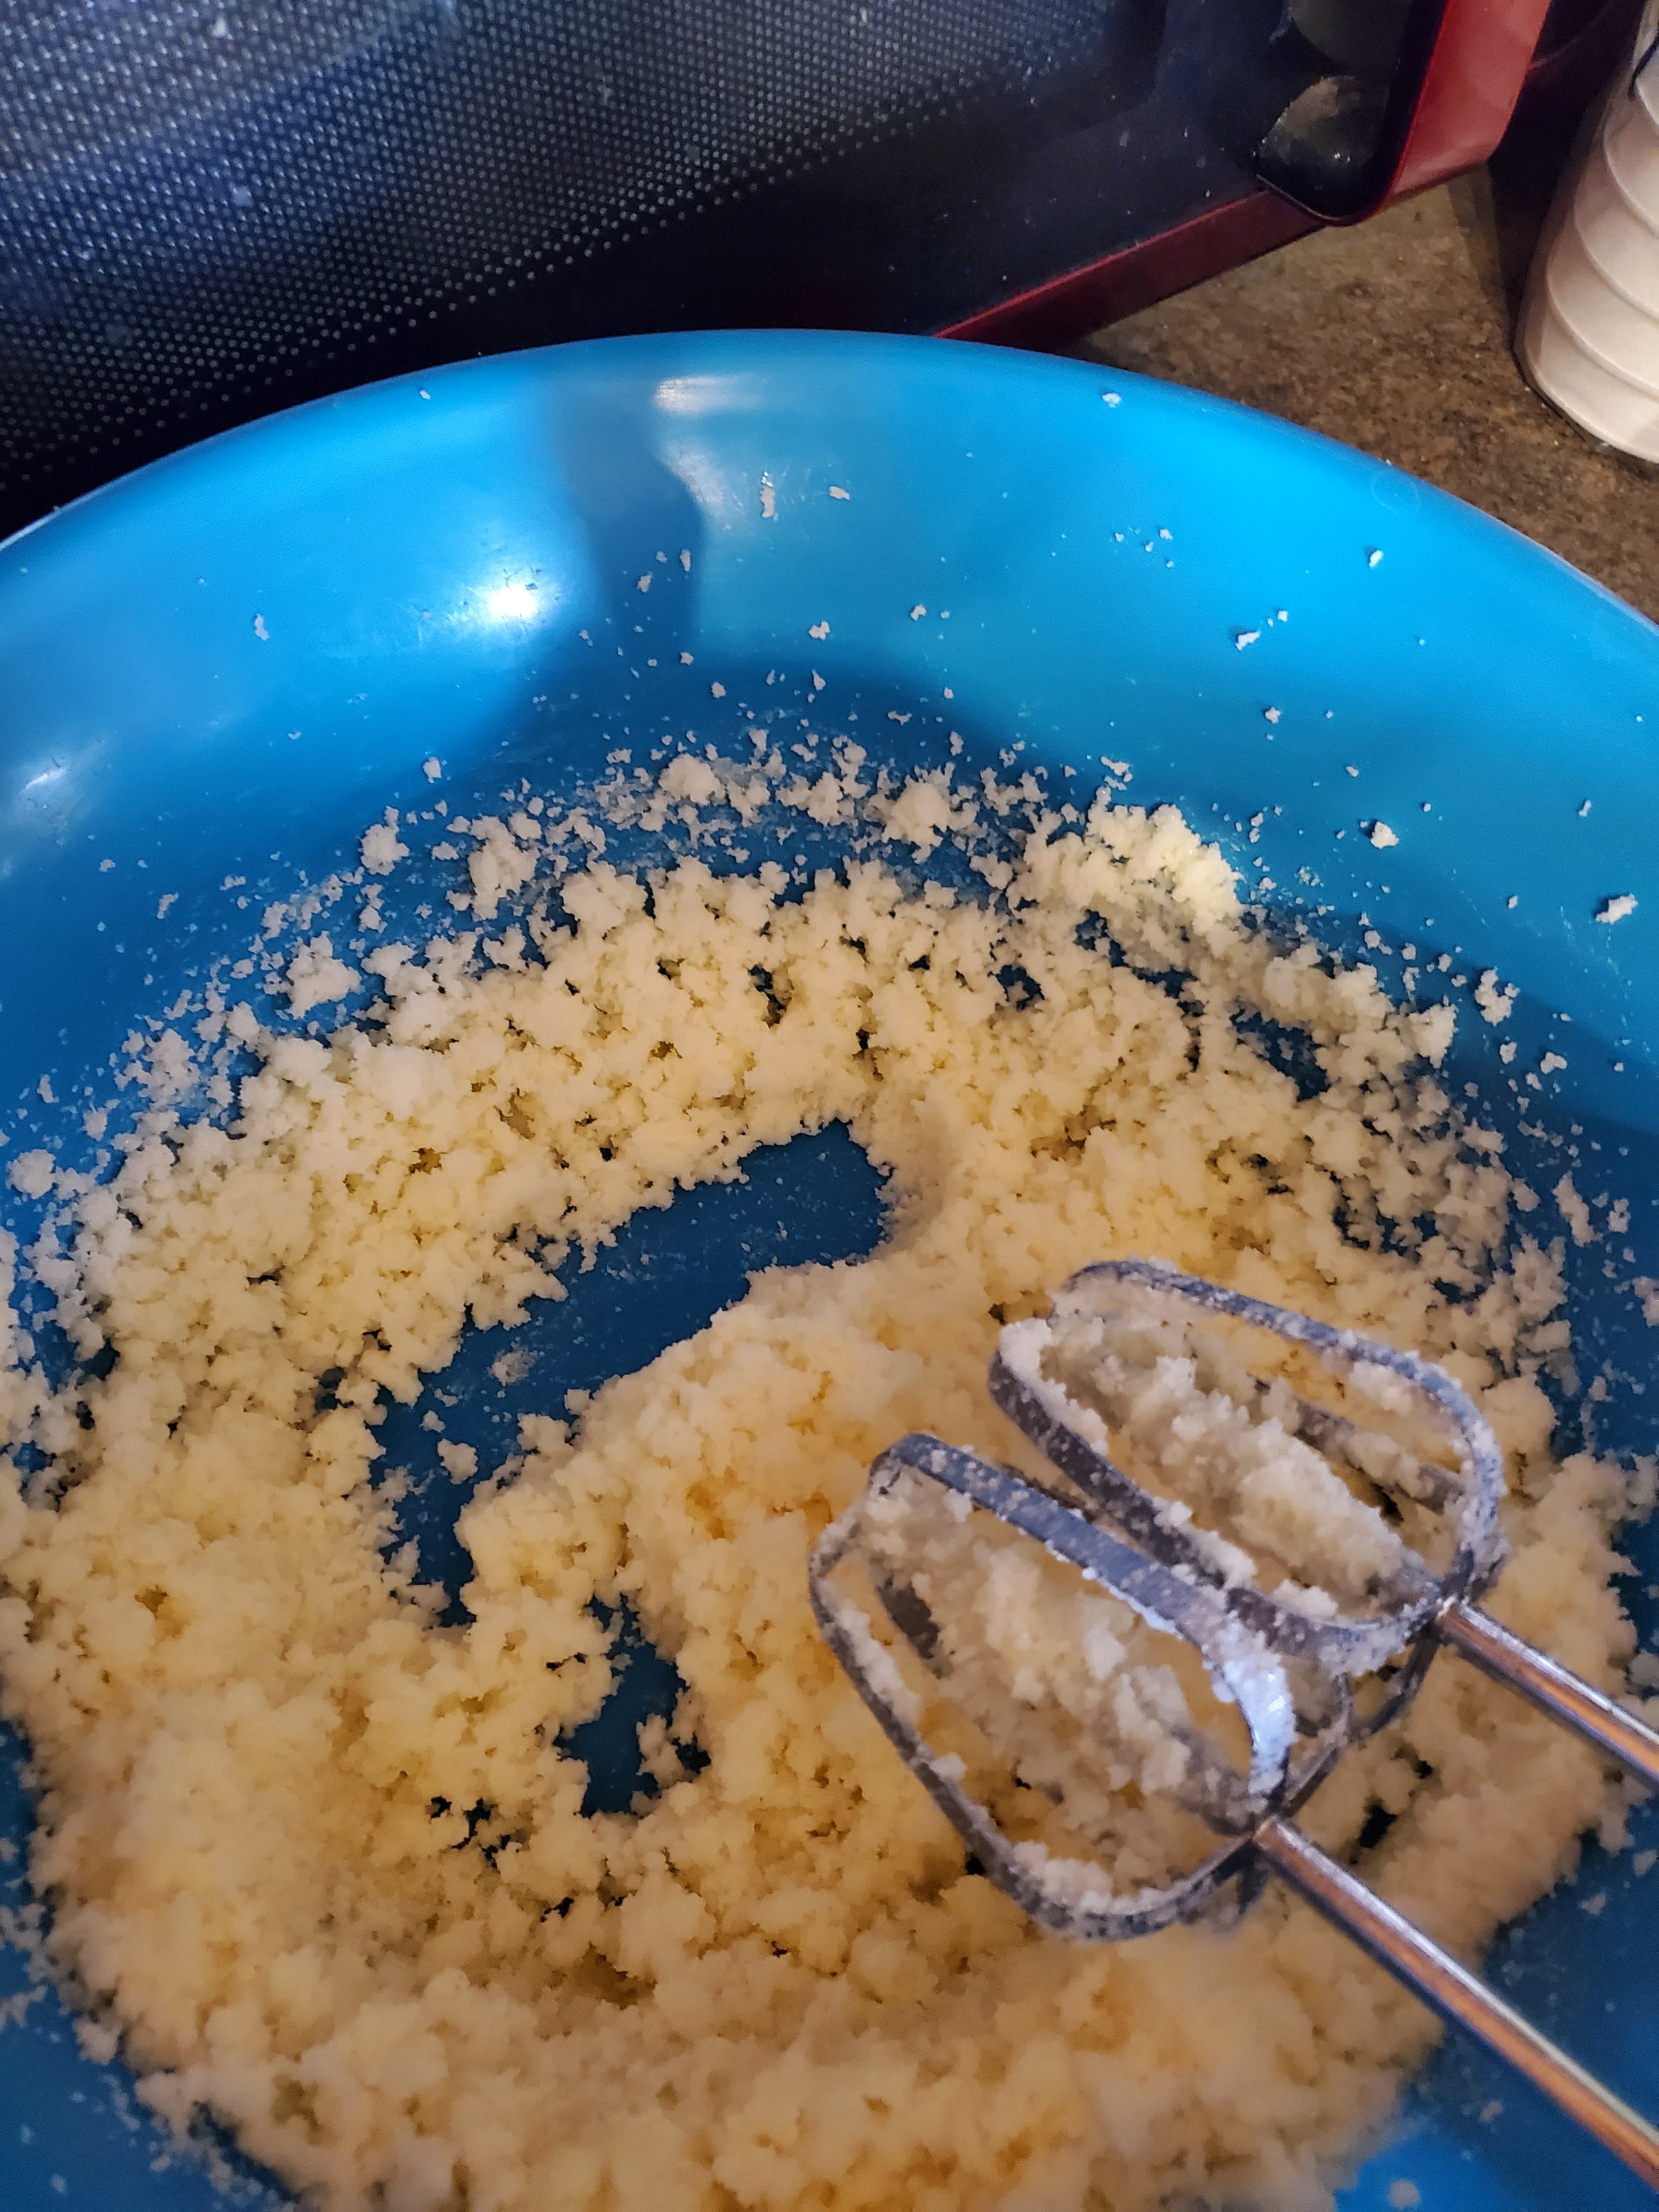
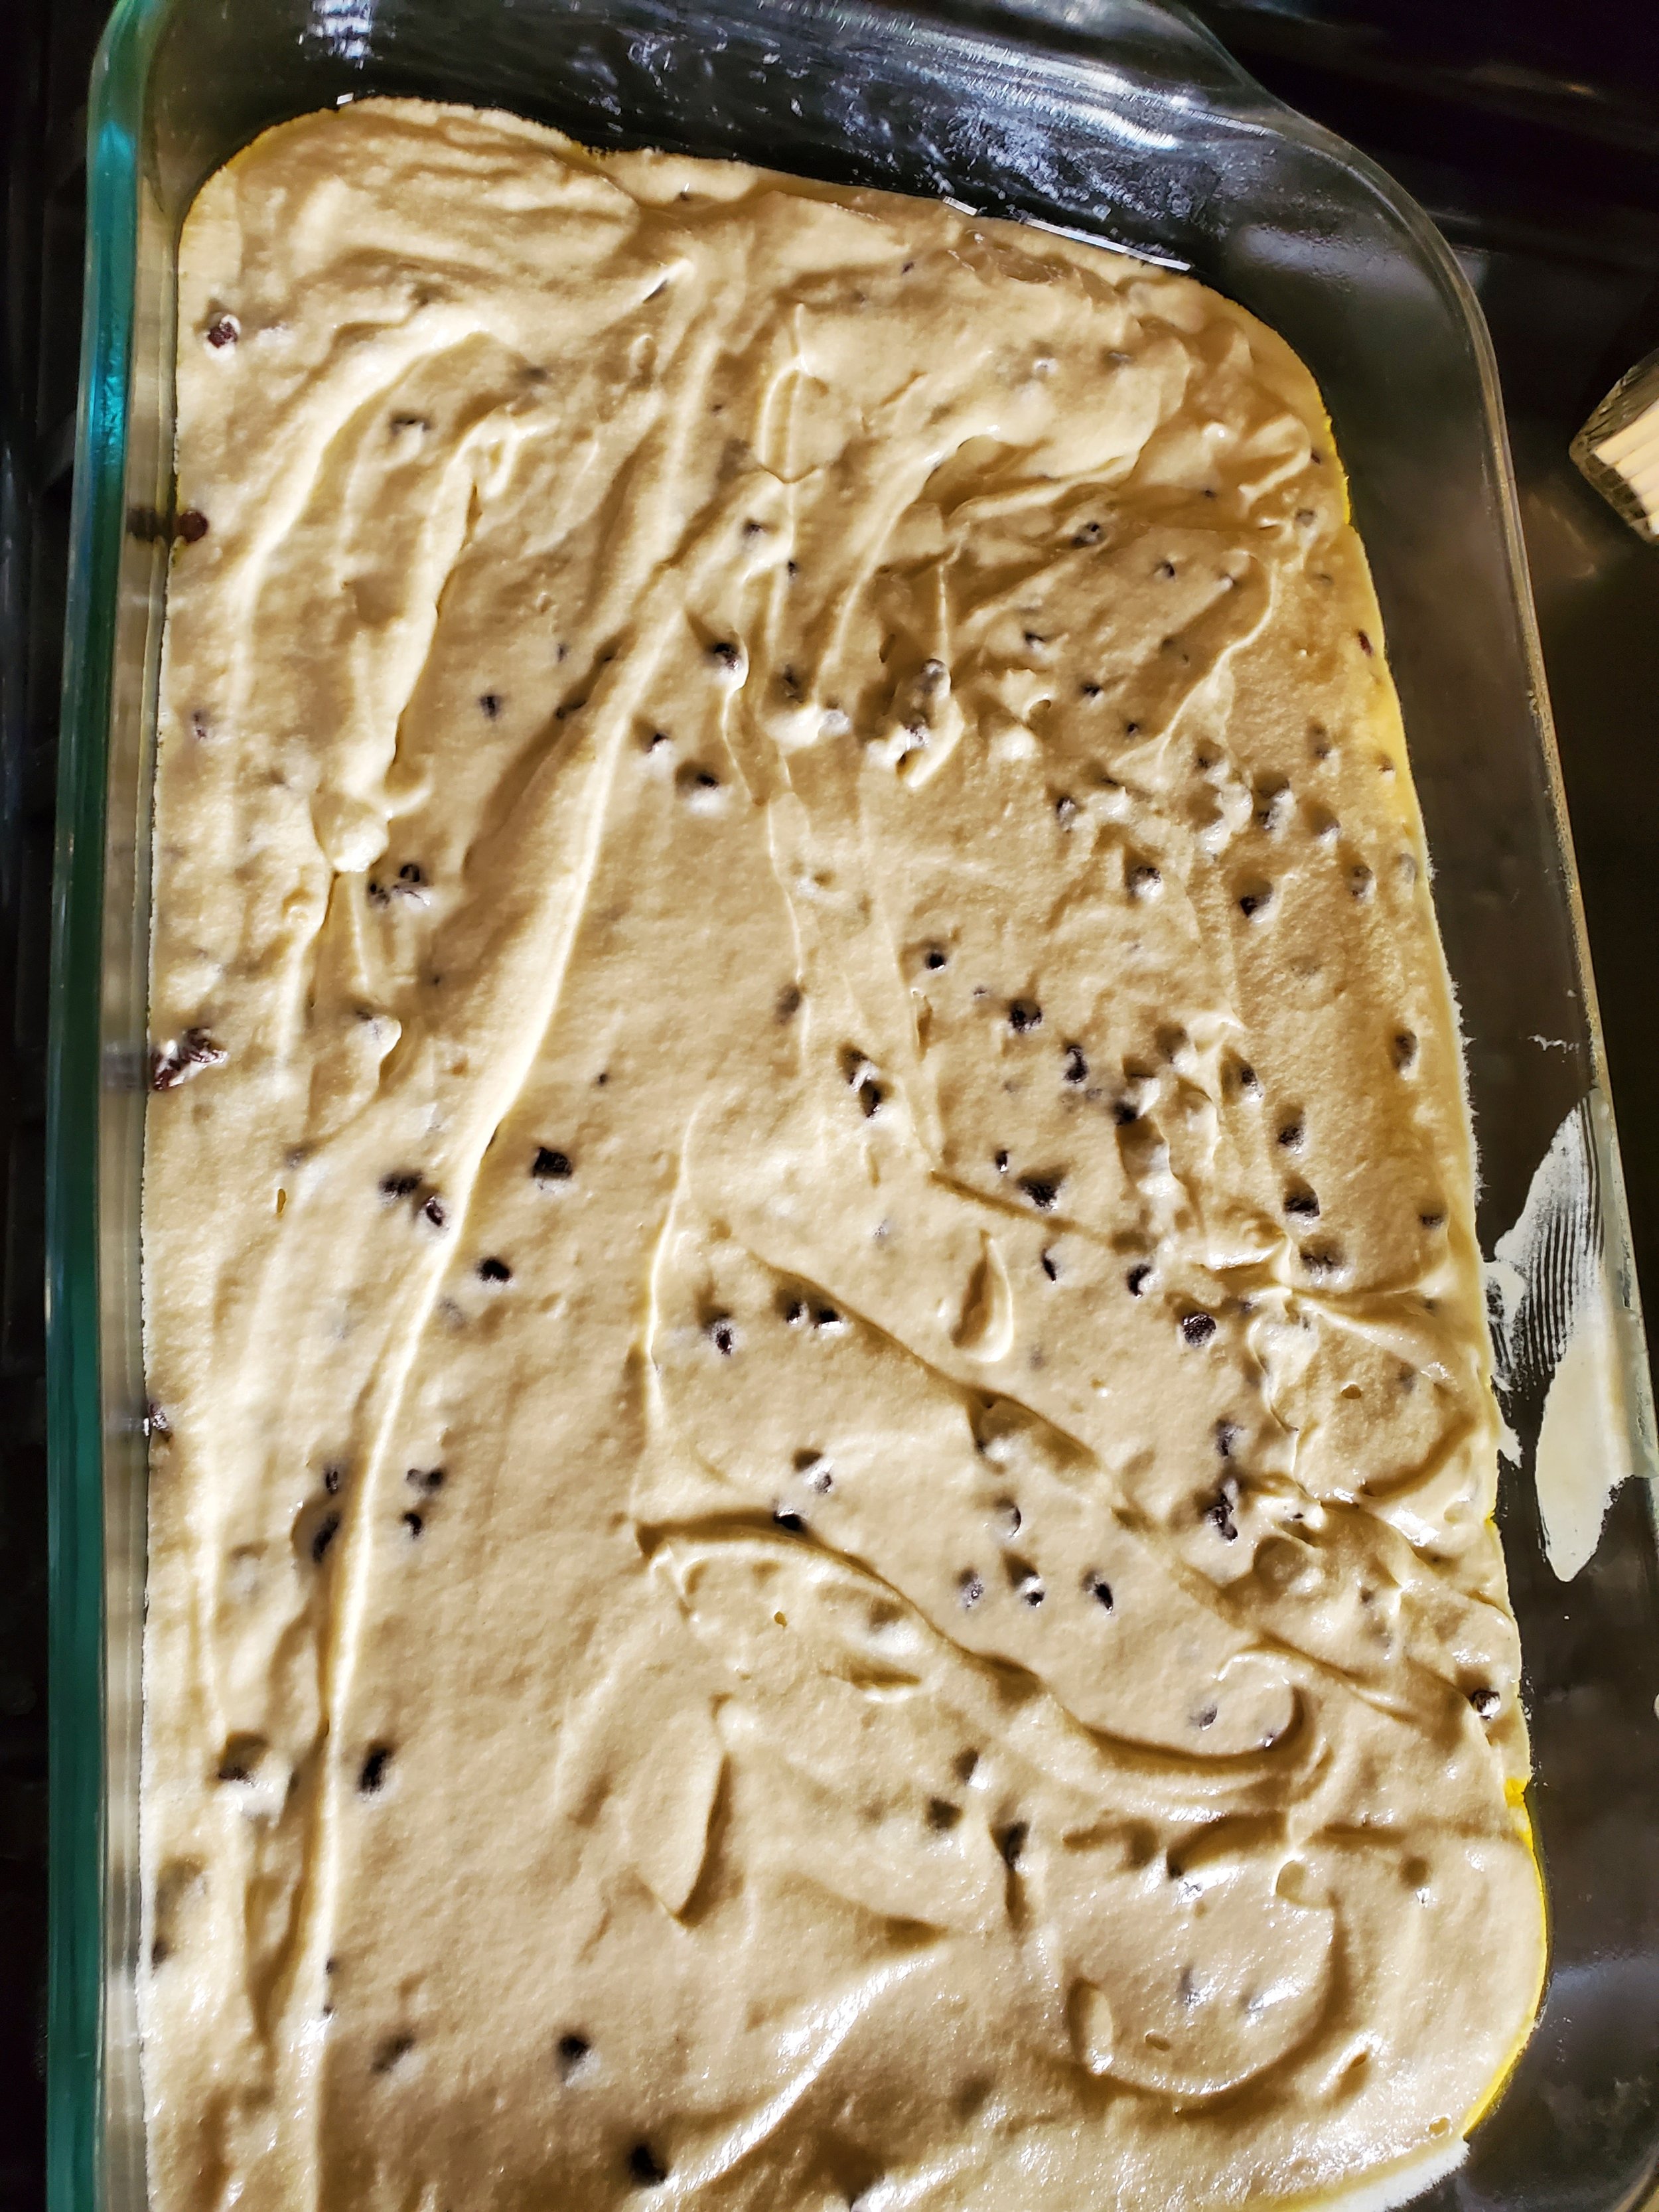
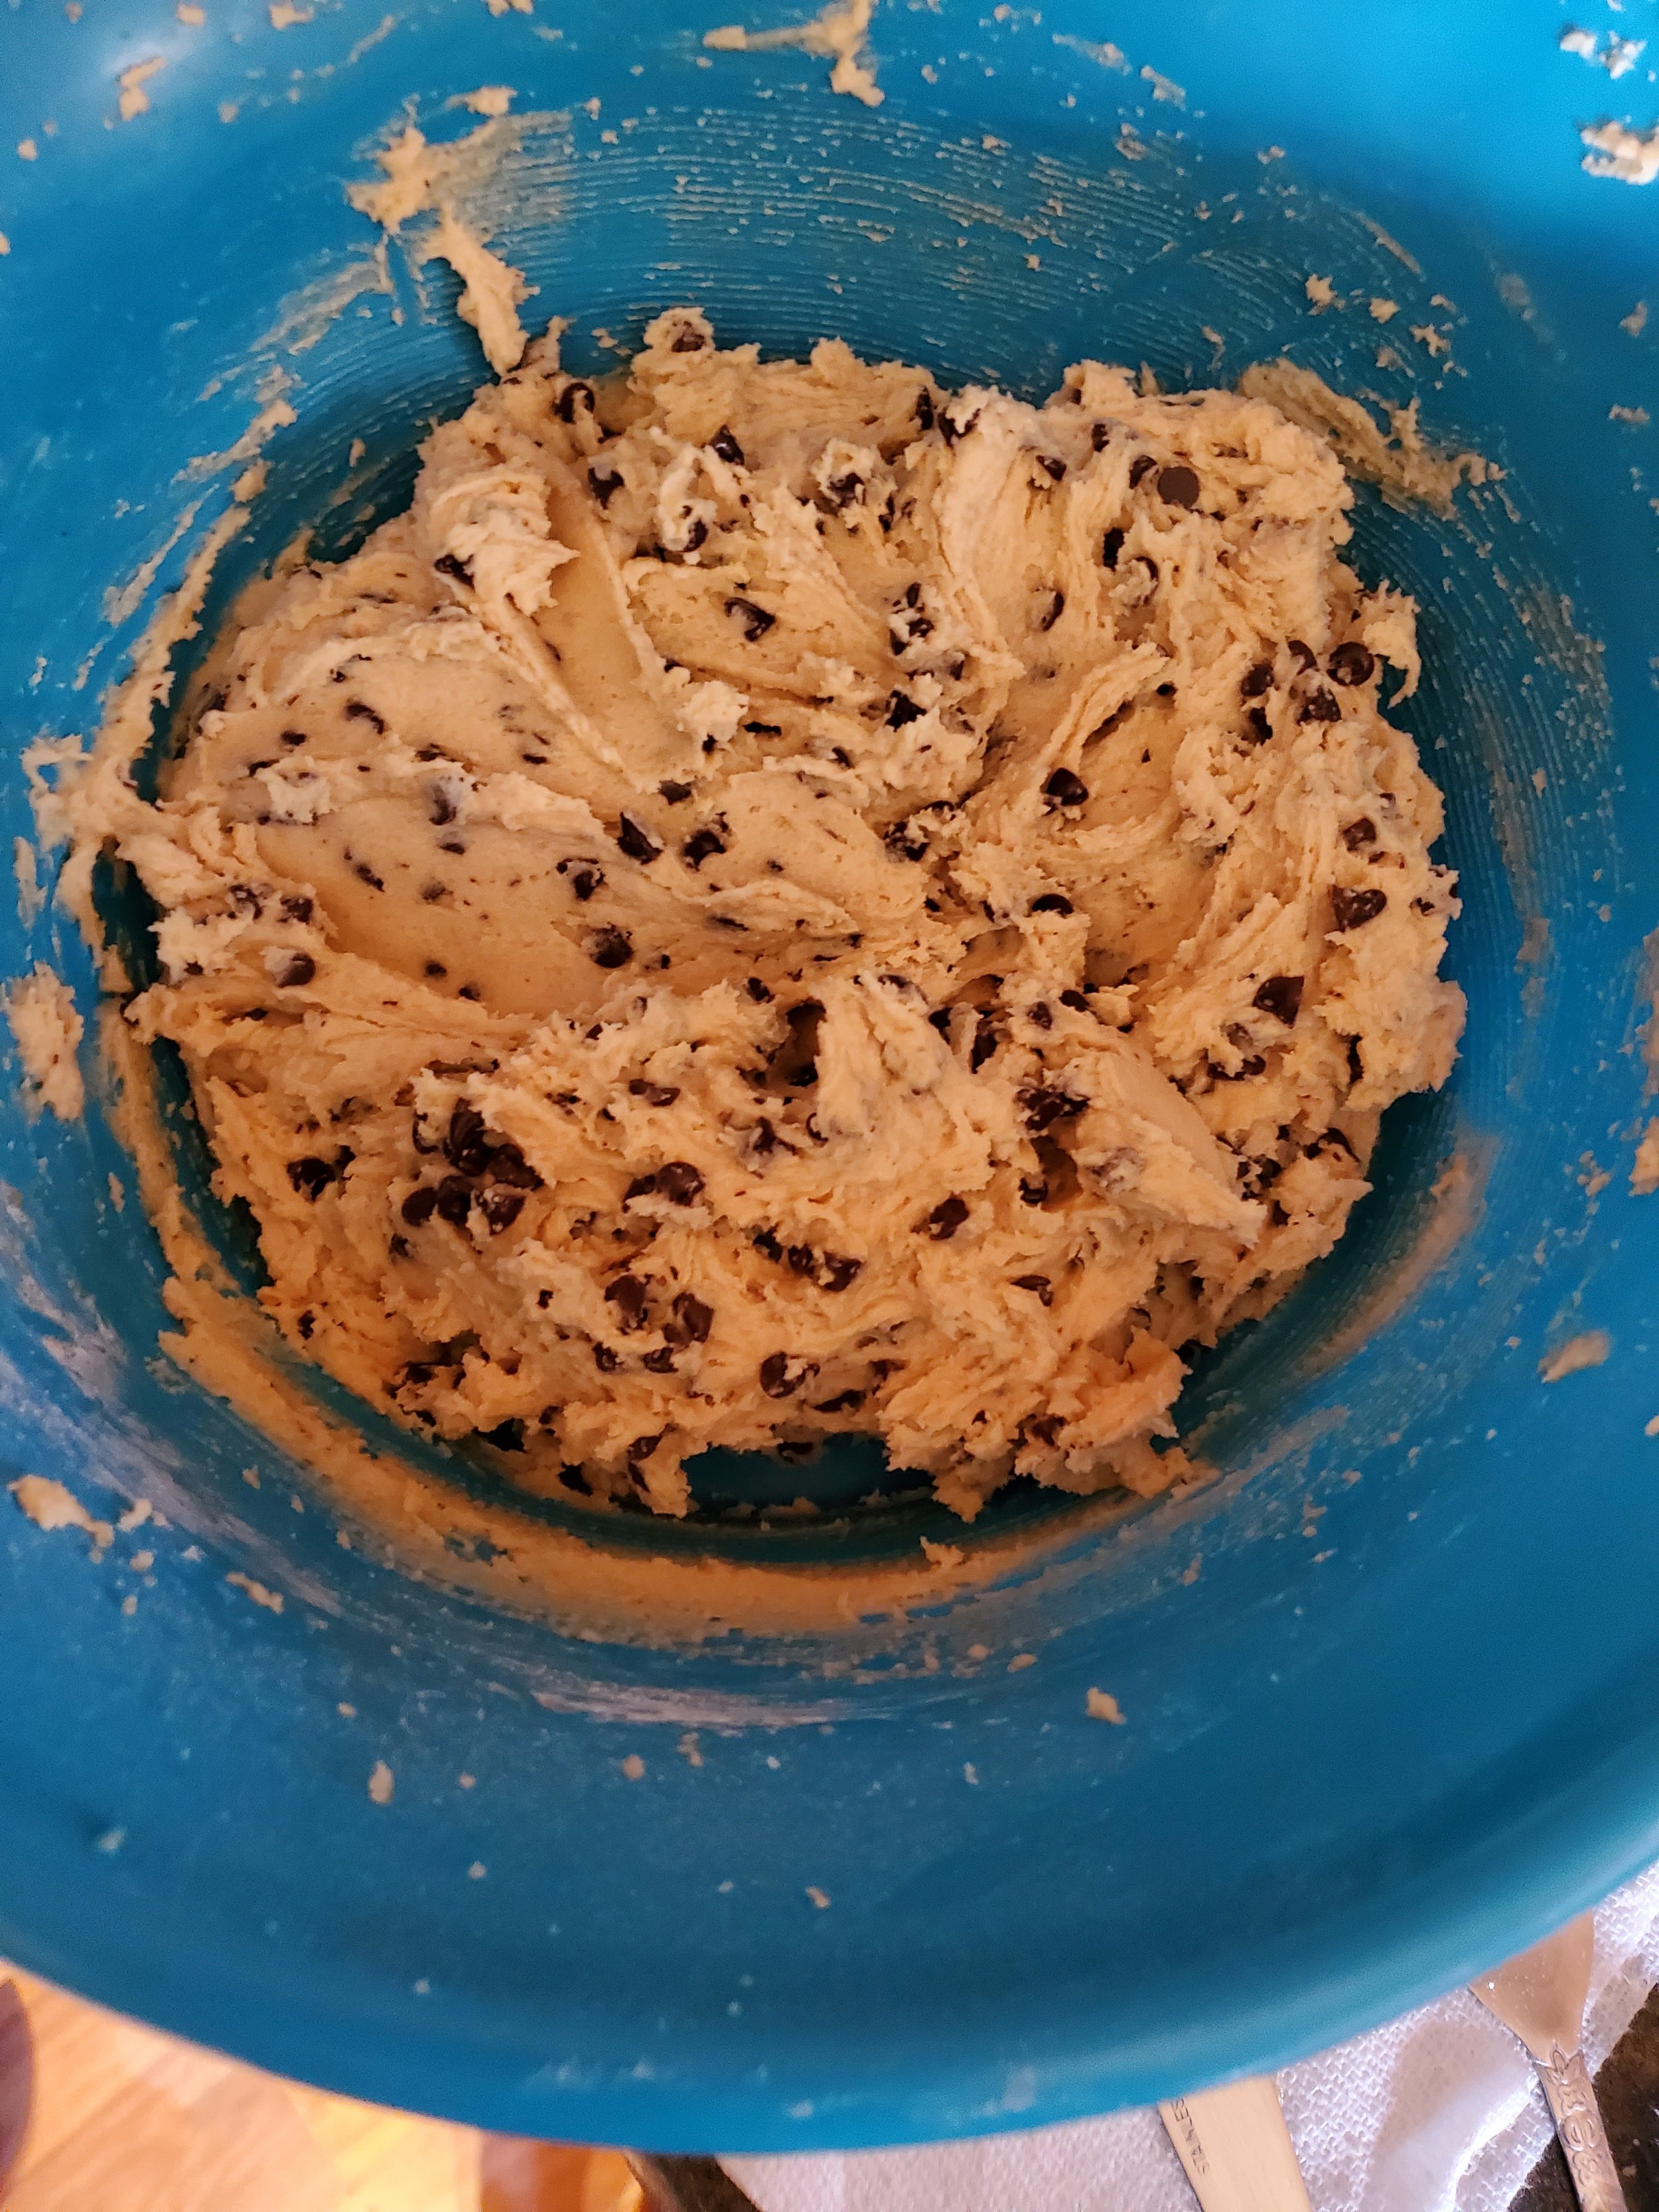
We’re putting all of the photos at the end of the article just to make it easier for y’all, so if you’re looking for those, keep on scrolling down. :)
Cake Ingredients:
2 1/4 c all-purpose flour plus a bit extra
2 tsp baking powder
1 tsp salt
1 1/2 c sugar
3/4 c butter, at room temperature
3 large eggs
4 tsp vanilla
1 1/3 c buttermilk*
1 c mini chocolate chips, tossed in flour
Chocolate chip cookies
Tools Needed For all sections: a glass baking dish 9x13, a hand mixer or stand mixer of your choice, a small sauce pan, several bowls to mix in, a sieve, measuring cups and spoons, a cooling rack, toothpicks, and a heat proof glass dish, a rolling pin or mallet, a ziploc bag
Set your oven to 350* F.
Set your chocolate chip cookies to the side until it's time to assemble the cake.
Take your glass dish and spray it with canola oil, evenly on all sides and the bottom.
In a small dish, pour in your chocolate chips and about 1 Tbsp of flour. Toss to coat. If you feel like not all of the chips are coated, add another tablespoon at a time and repeat until all of the chocolate chips are evenly coated.
In a large bowl combine together your flour, baking powder and salt. If you like, you can experiment and sift the flour to see how that will affect the density of the cake. (It's us, we regularly encourage experimentation when it won't ruin the food.)
In a separate bowl, cream together your butter and sugar until it's fluffy. You can do this with a stand mixer, a hand mixer, or if you're feeling the need for a workout, you can use a hand whisk.
Add in one egg at a time, mixing thoroughly and then add your vanilla.
Next up alternate between adding in the flour mix and the buttermilk until everything is combined.
Fold in your chocolate chips
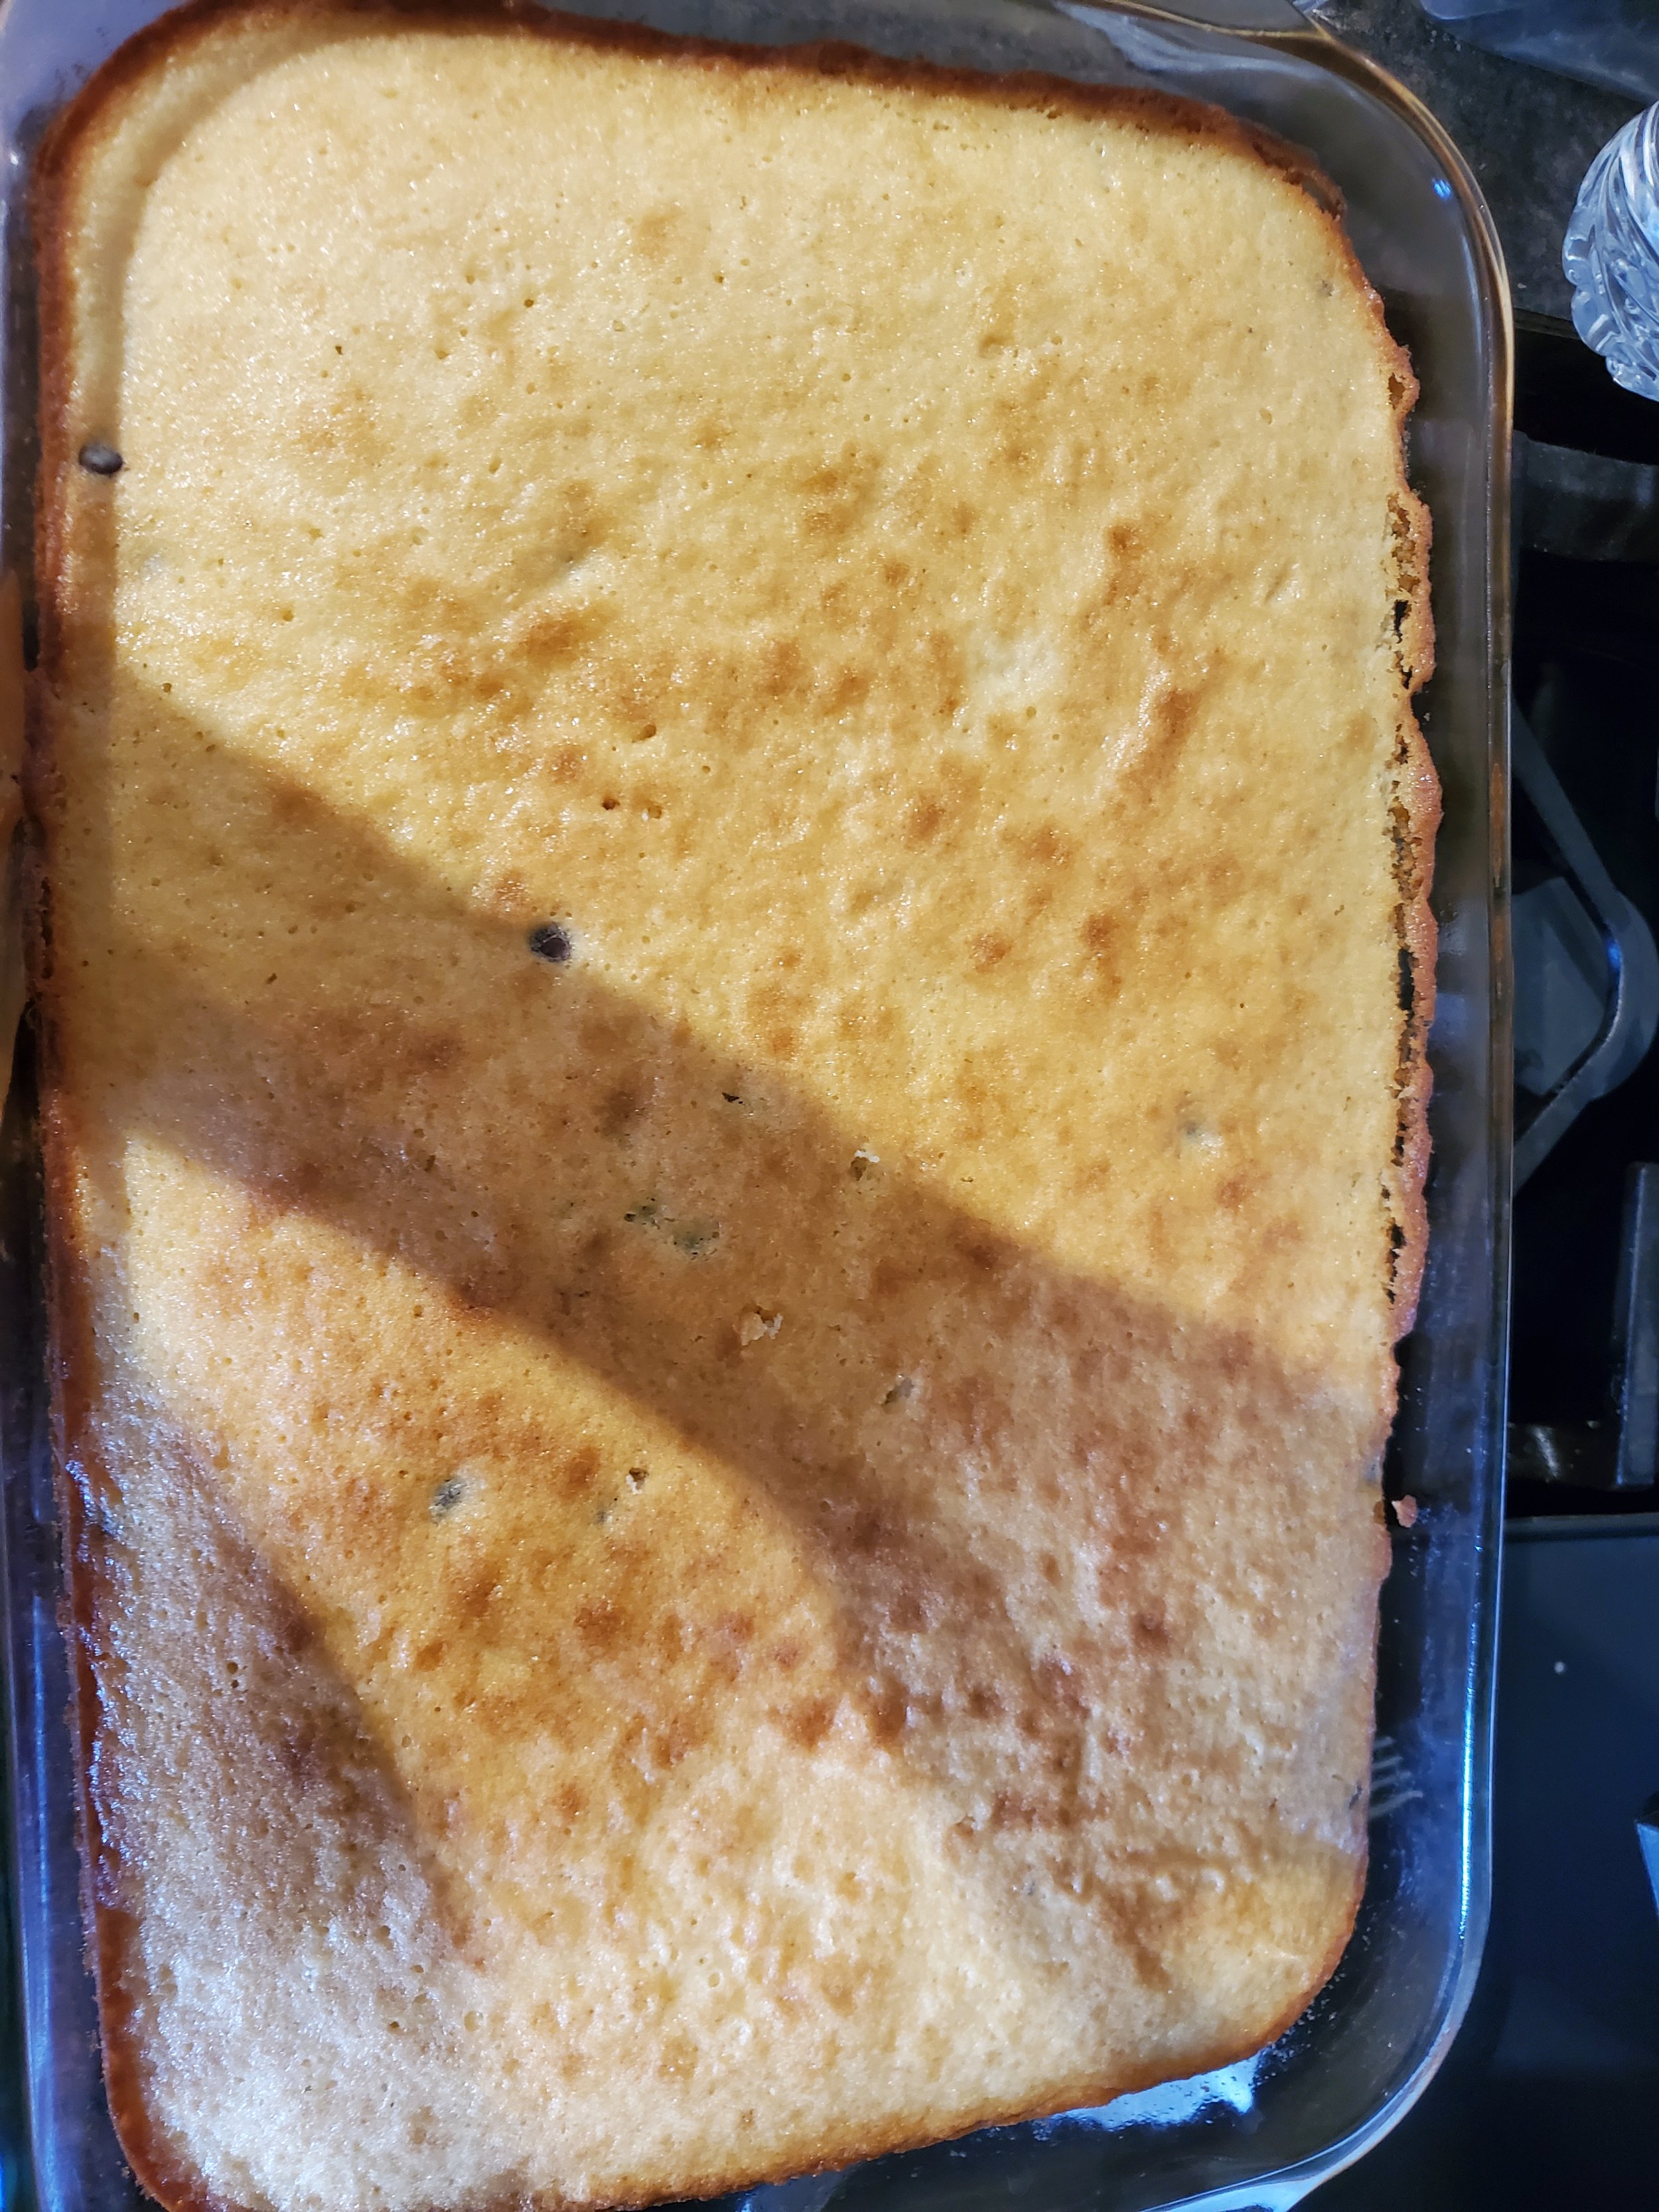
Pour the mixture into your pan and bake for 45 minutes OR until a toothpick inserted in the middle will come out clean.
Make sure to rotate the pan halfway through.
After you've removed your cake from the oven, let it rest five minutes and then run a knife around the edge of the dish to loosen it. Then allow it to cool to room temperature before removing it from the dish and place it on a cooling rack. Make sure you don't wait more than ten minutes after removing it from the oven to remove it from the dish. It will stick to the pan and then you'll be fighting with your cake to get it out in one piece. You'll find out why we know this later.
Cookie Dough Filling:
1 1/2 c brown sugar, packed
1 c butter at room temperature
3 tsp vanilla extract
2 1/2 c all-purpose flour
1 tsp salt
1/2 c heavy cream
1 c mini chocolate chips
Mini chocolate chip cookies
Beat the brown sugar and butter till fluffy, again you have the choice to use a stand mixer, a hand mixer, or a hand whisk.
Beat in your vanilla extract, flour and salt till combined.
Add the cream a little at a time till it reaches the consistency you want. This might not use all of your cream, or it might use more of it like ours did.
Fold in the chocolate chips.
If it's a hot day, set this in the fridge until you're ready for it to be used on the cake. If it's cool in your home, it's safe to leave it out on the counter, covered.
Chocolate Malted Milk Syrup:
1 c heavy cream
1/2 c sugar
2 tsp vanilla
2 Tbsp chocolate malted milk powder **
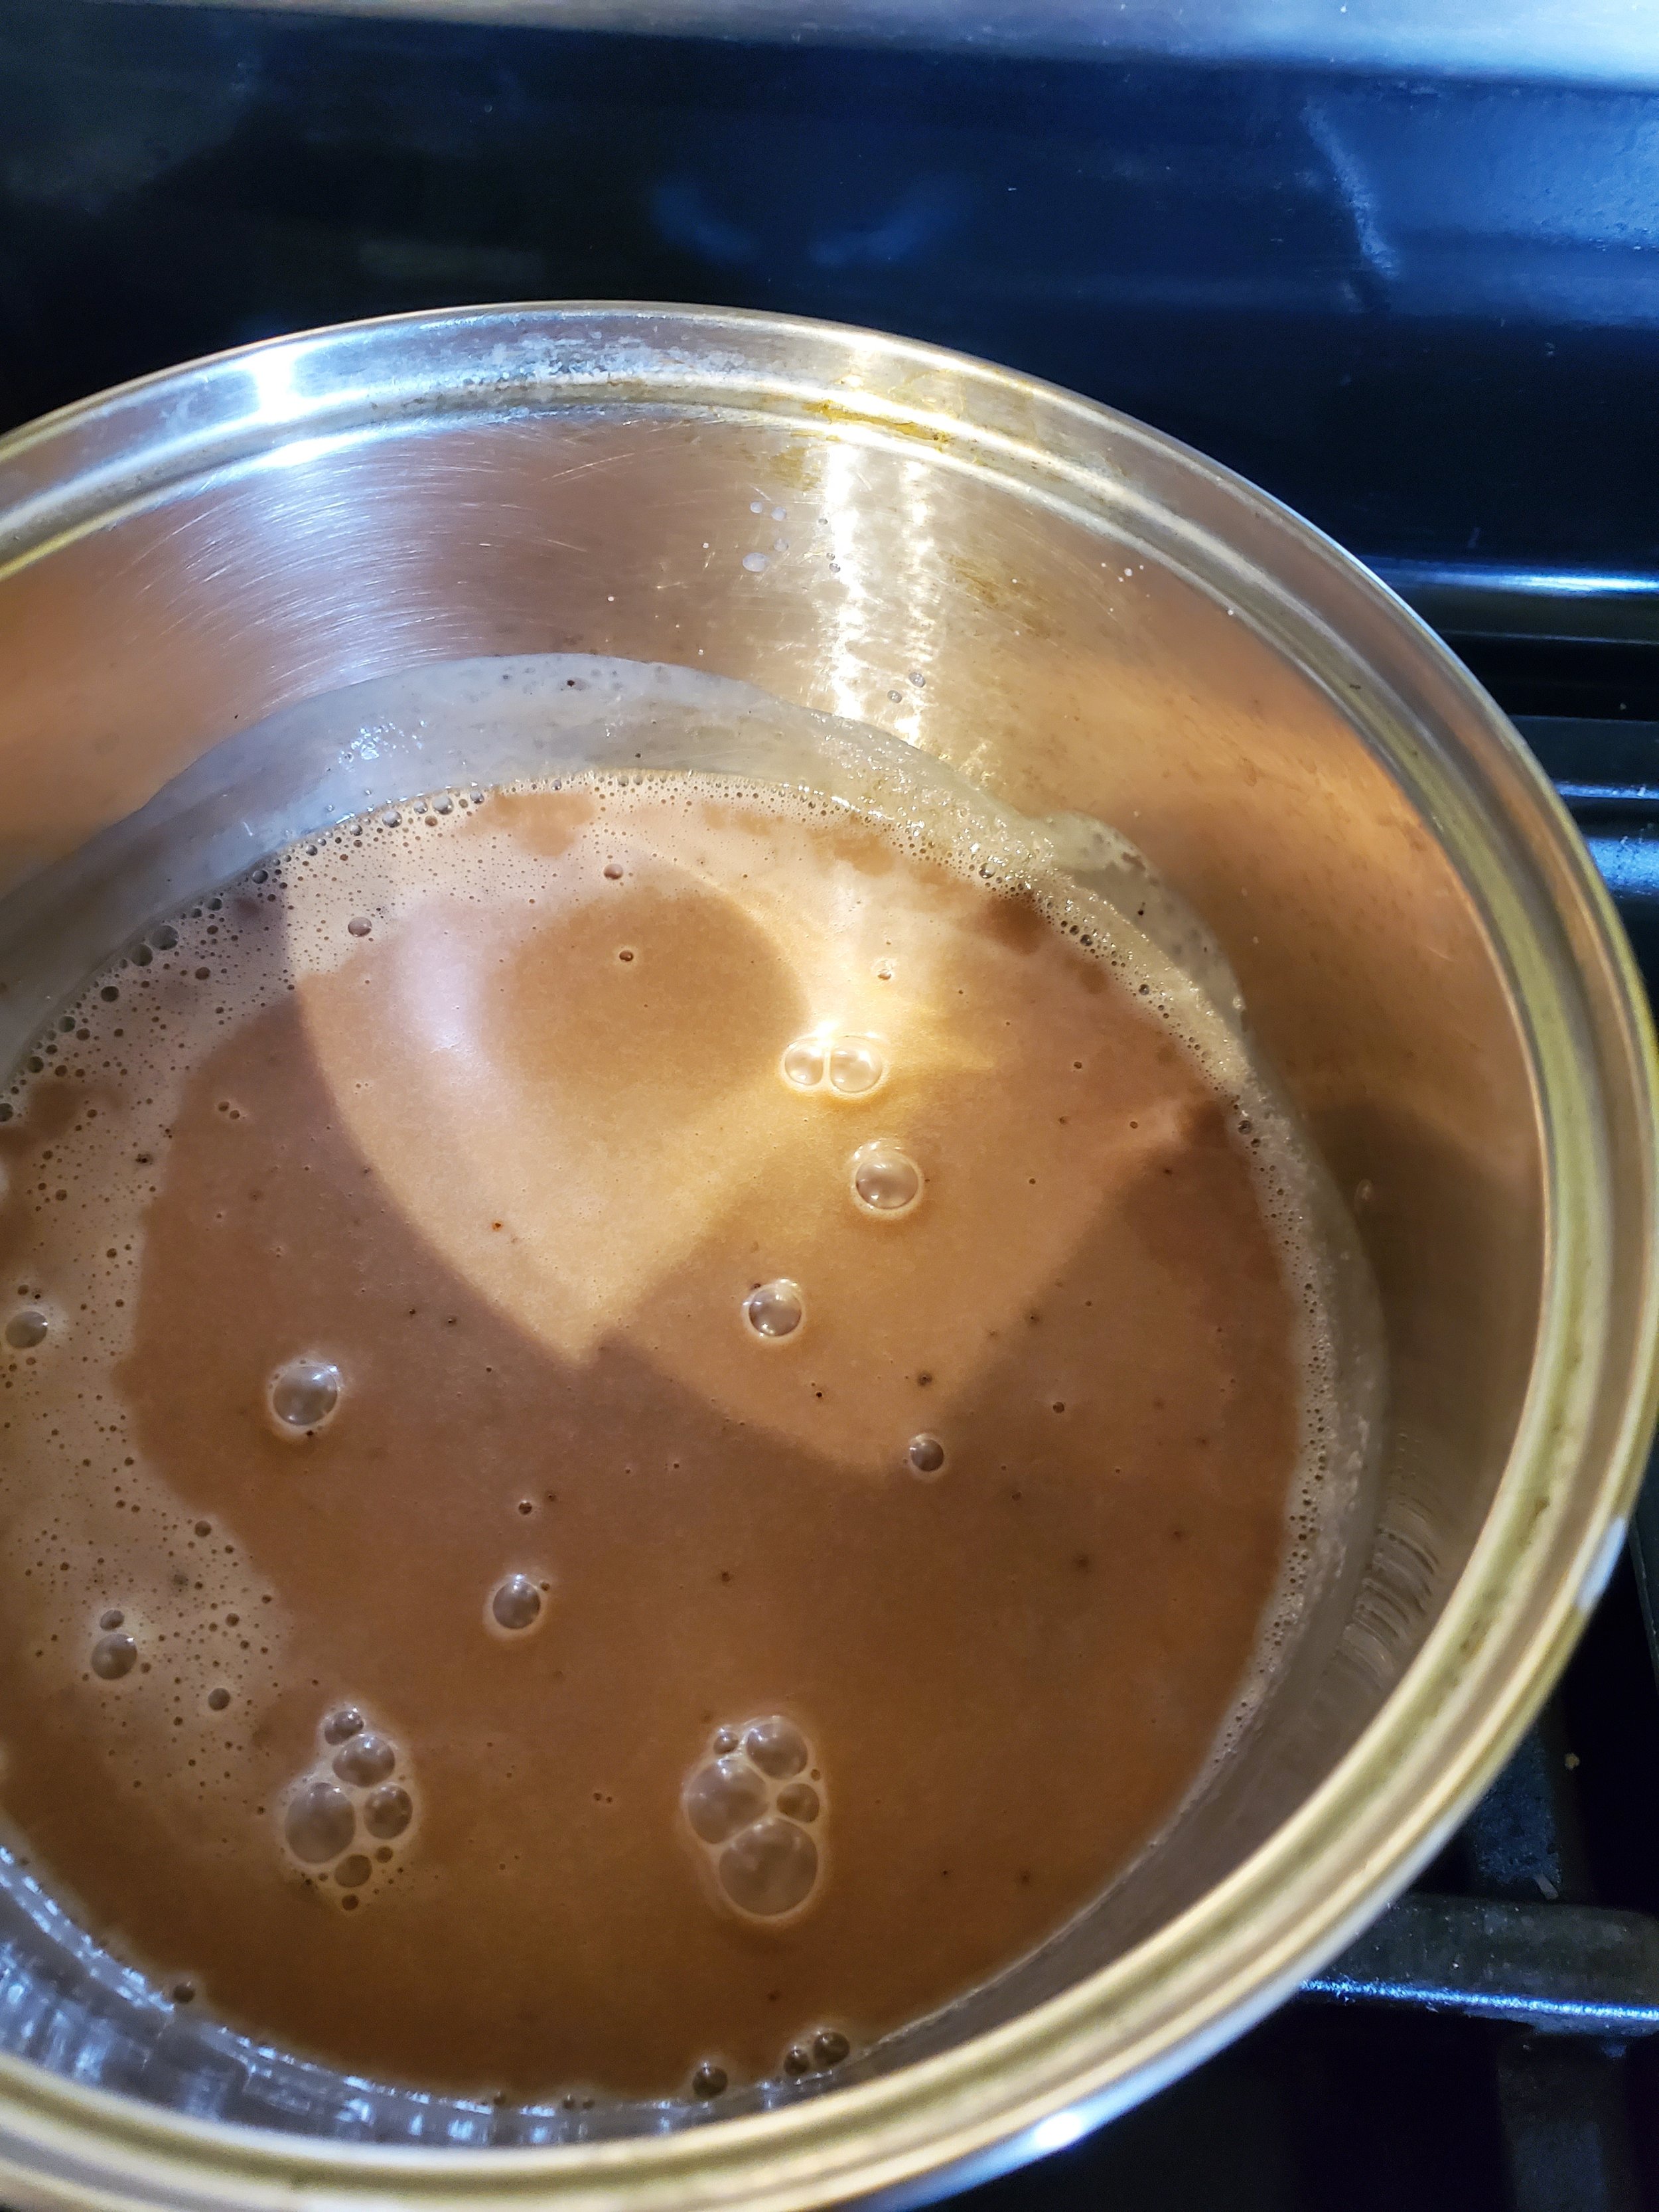
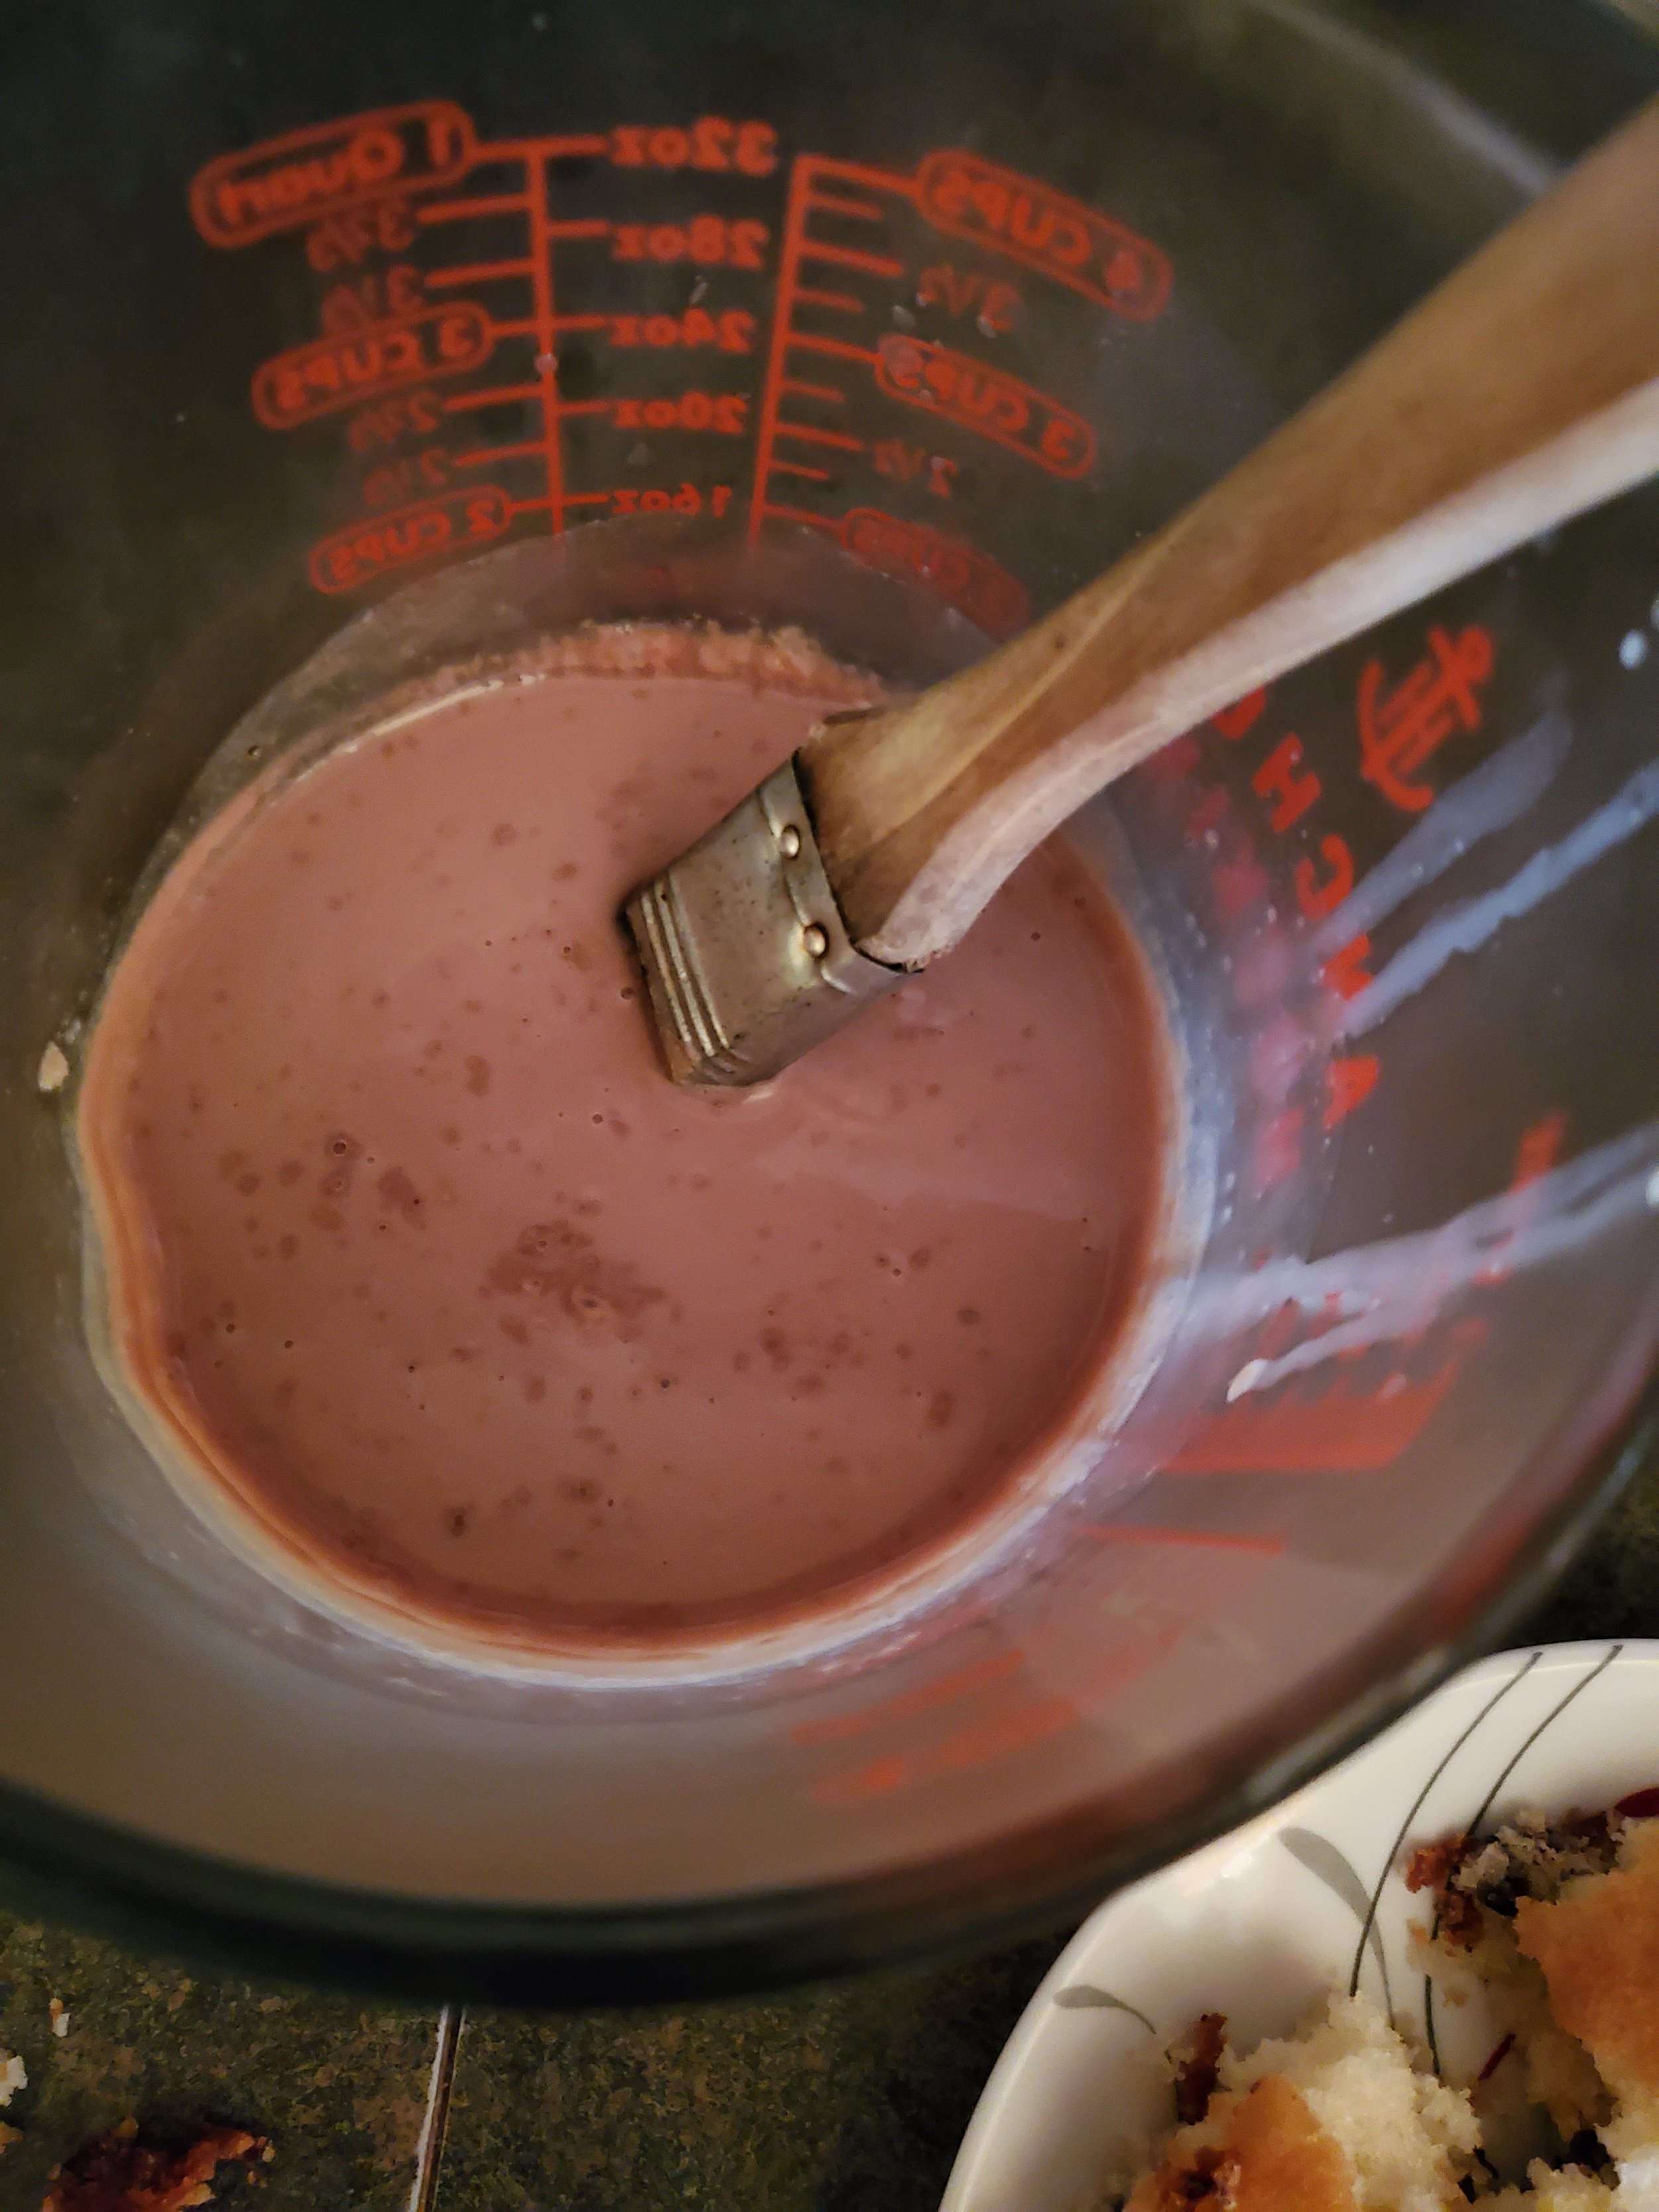
In a small saucepan, combine heavy cream, sugar, vanilla and chocolate malted milk powder, whisking until you no longer have bumps. Set your stove to medium-high (or medium if you're working on a gas stove). Put your saucepan on the stove and continue stirring, pressing any lumps against the side to break them up. Bring the pot to a boil.
Remove from the heat and pour into a heat safe glass dish. Allow it to cool to room temperature and then store it in the fridge until it's time to assemble the cake. (We want to make a reference to a certain group of superheroes, but it doesn't really fit here does it?)
Assembling the cake:
When your cake has come to room temperature, flip it out onto a cutting board, so that the bottom of the cake is now the top.
If the dish you used was curved at the edges, cut off those ends of the cake and set aside for munching later.
Next, measure the remaining cake, we want to create three even rectangles. Cut the cake across the width, so that you have three separate short rectangles.
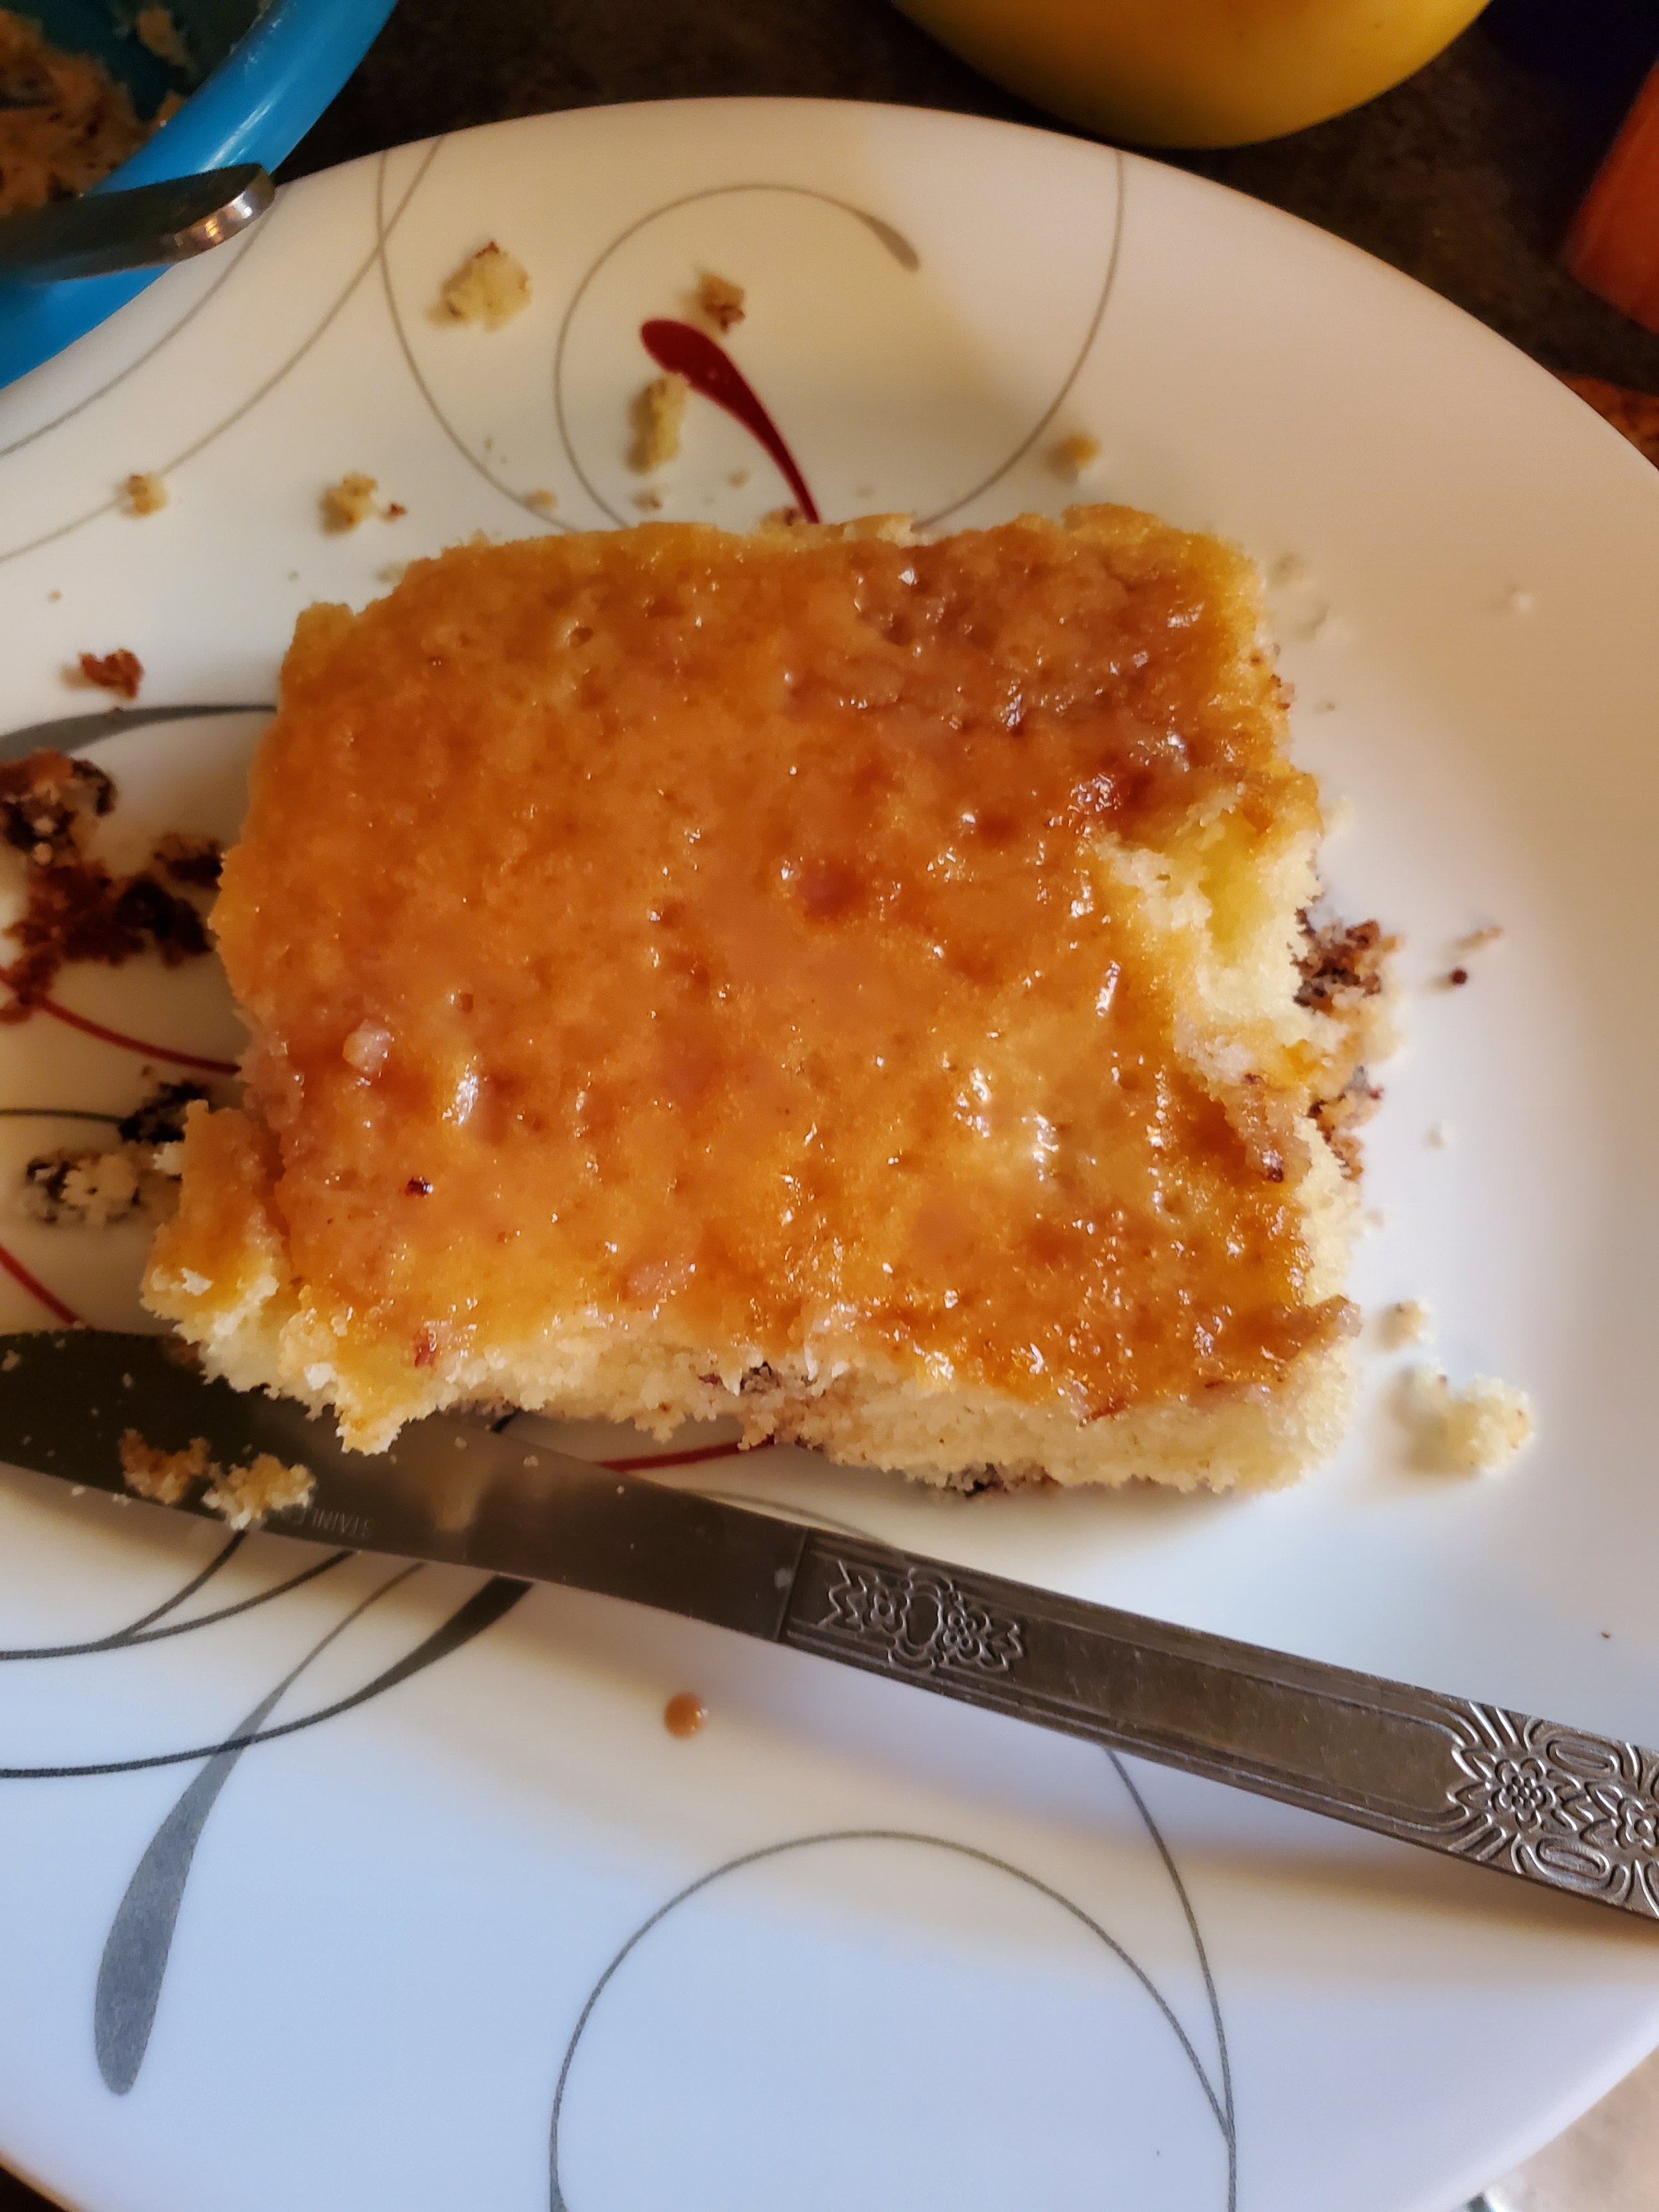
Coat each rectangle on the top with the malted syrup. (Don't forget this step, it really does matter for binding the cake top down and keeping it from 'peeling' off during the next stage.)
Pick a layer and top that with the filling, spreading it carefully. Although you might have tried it with other frosting sorts, we don't advise doing it with this one given the amount of butter in the filling. It will make a mess and you'll end up with something very unappetizing.
Once the filling is as thick as you want it, add the next layer of cake, top it with more of the syrup if needed, and then the filling. Repeat again with the third slice.
Once you've got all three slices stacked together, cover the top and sides with the remaining filling/frosting.
To the top of the cake, add equidistant whole cookies, for decoration. Then take some of the remaining ones and smash them up. Bag them in a gallon sized bag and grab your rolling pin, and give them a few good whacks. You don't want crumbs, but you don't want whole cookies.
Once that's done, coat the sides of the cake in your cookie bits. You can do just the bottom 1/3 or you can do the entire side.
Now if you want to really go crazy, or if the previous steps haven't worked out quite as you imagined, there are ways to save it and still make your cake look as tasty as it will be delicious. That is the baker's secret weapons of chocolate and caramel syrups. Turn your cake so that you're facing a corner of it and drizzle first one syrup and then then other over the top of it, making wide sweeping arcs across your platter. Surprisingly, it works well.
As a wrap up, sometimes a cake doesn't look /pretty/ and you need to have a backup plan, like that last step. That's what happened with us, and it was the syrup that ended up making it work in our opinion. Keep in mind though that no matter how this looks, it's still going to be a delicious, overpowering sugar bomb of a cake. We hope you love it and whoever you share it with also loves it. Let us know how it goes over on our Facebook page or in the comments below.
If you still have the ability to focus after making this cake, and you actually came to our site because one of your appliances is giving you trouble, we can help. Give us a call at ((214) 599-0055) or go to our contact page to set up an appointment. We'll work with you to find a time and date that works for your schedule to figure out what the problem is and how we fix it.
*If you can't get your hands on buttermilk at home, there are ways to make your own, or you can use a powder if one of your local stores has it. That gets mixed together with water to give you the needed amount.
** We know that it might sound weird to have chocolate malted milk powder and still call for vanilla extract, but it brings a very nice depth of flavor that we're fond of.

