Caffeinated Comfort: Pumpkin Muffins with Coffee Cream Cheese Frosting

 A Fusion of Fall Spice and Coffee Indulgence

Welcome to a delightful twist on classic pumpkin muffins! This recipe is a perfect marriage of seasonal flavors—warm pumpkin, aromatic spices, and a decadent coffee cream cheese frosting. With each bite, you can experience the cozy essence of fall combined with the indulgence of a caffeinated treat. Follow along step by step to create your own batch of these deliciously unique muffins.

Ingredients:


For the muffins:

1 15 oz can pumpkin puree

1 1/2 cup flour

1/2 cup white sugar

1/2 cup brown sugar

1/4 cup sour cream

2 eggs

1 teaspoon baking powder

1/2 teaspoon salt

1 teaspoon ground cinnamon


For the frosting:

1 stick butter, softened

1/2 brick regular cream cheese, softened

2 cups powdered sugar

2 tablespoons instant coffee

1 teaspoon vanilla extract

3 tablespoons milk


Tools:

can opener

mixing bowls (large and small)

muffin tin or sheet pan

muffin liners or baking cups

spoons

measuring cups and spoons

mixer (hand or stand)


Preheat your oven to 350 and let's get dessert rolling!


Begin with the can opener - go ahead and crack open the can of pumpkin. If you only have pumpkin pie filling on hand, you can sub half a 30-oz can of that, but keep in mind how much sweeter it will make the final result.


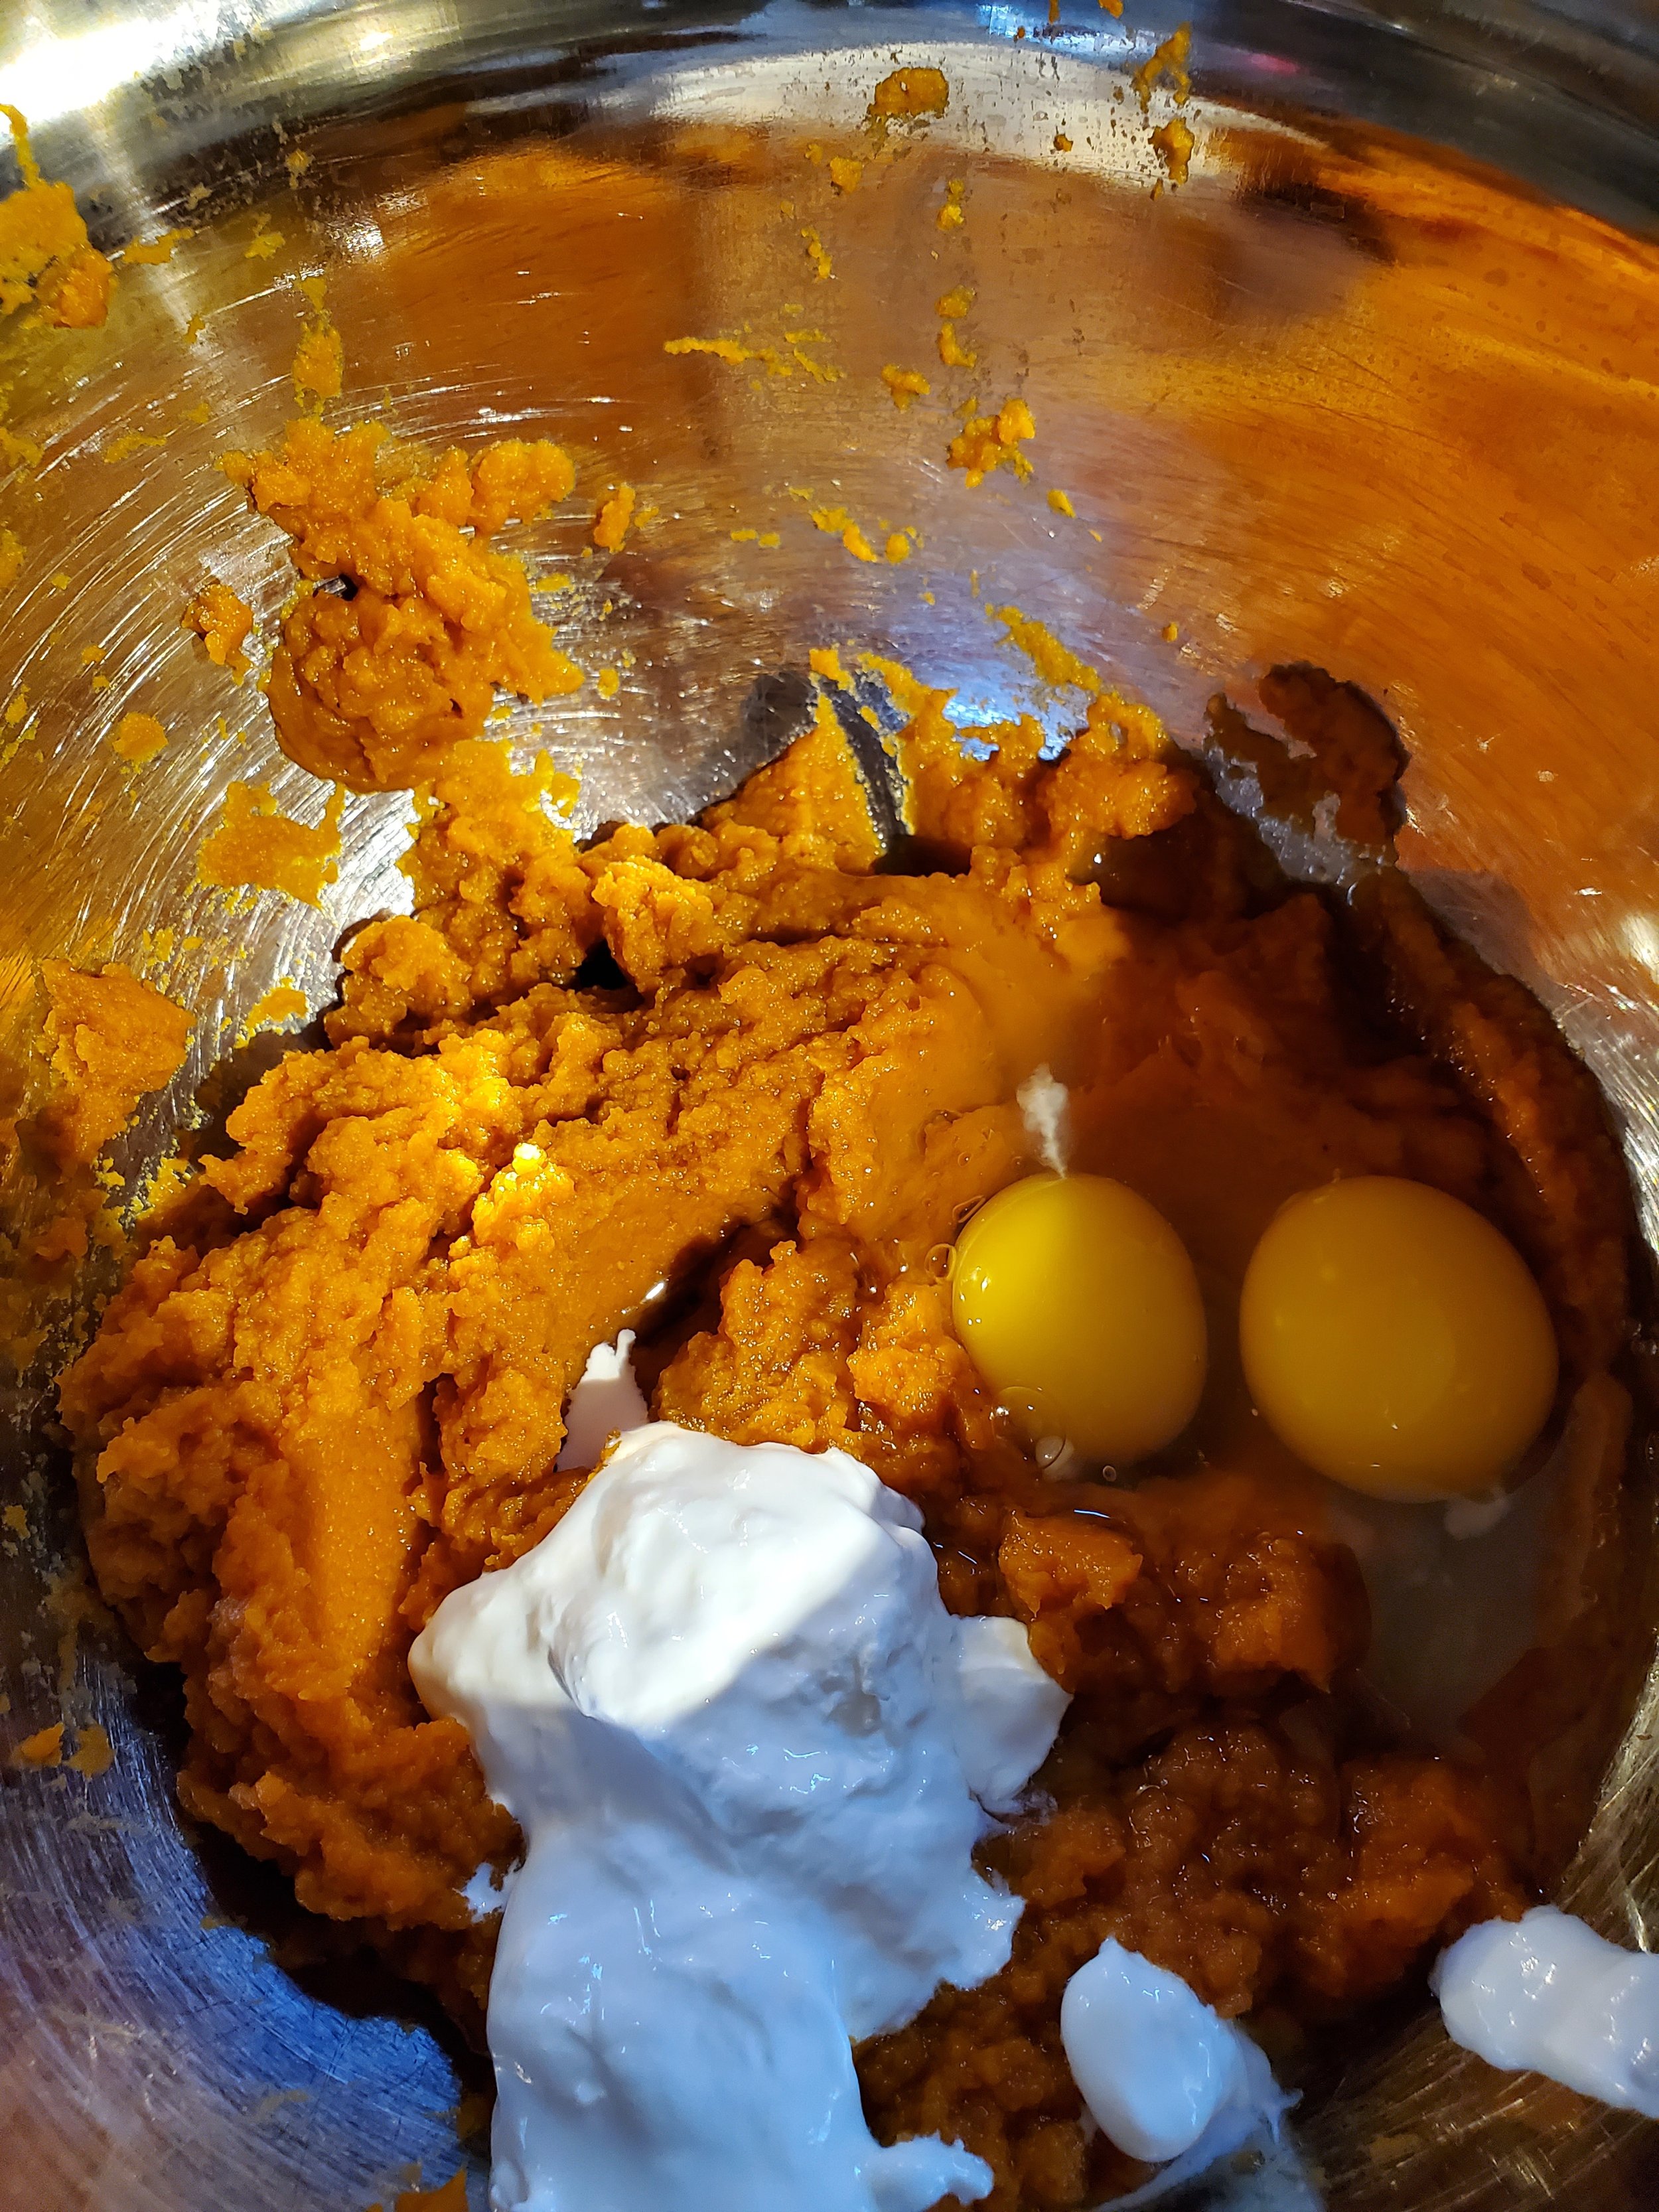
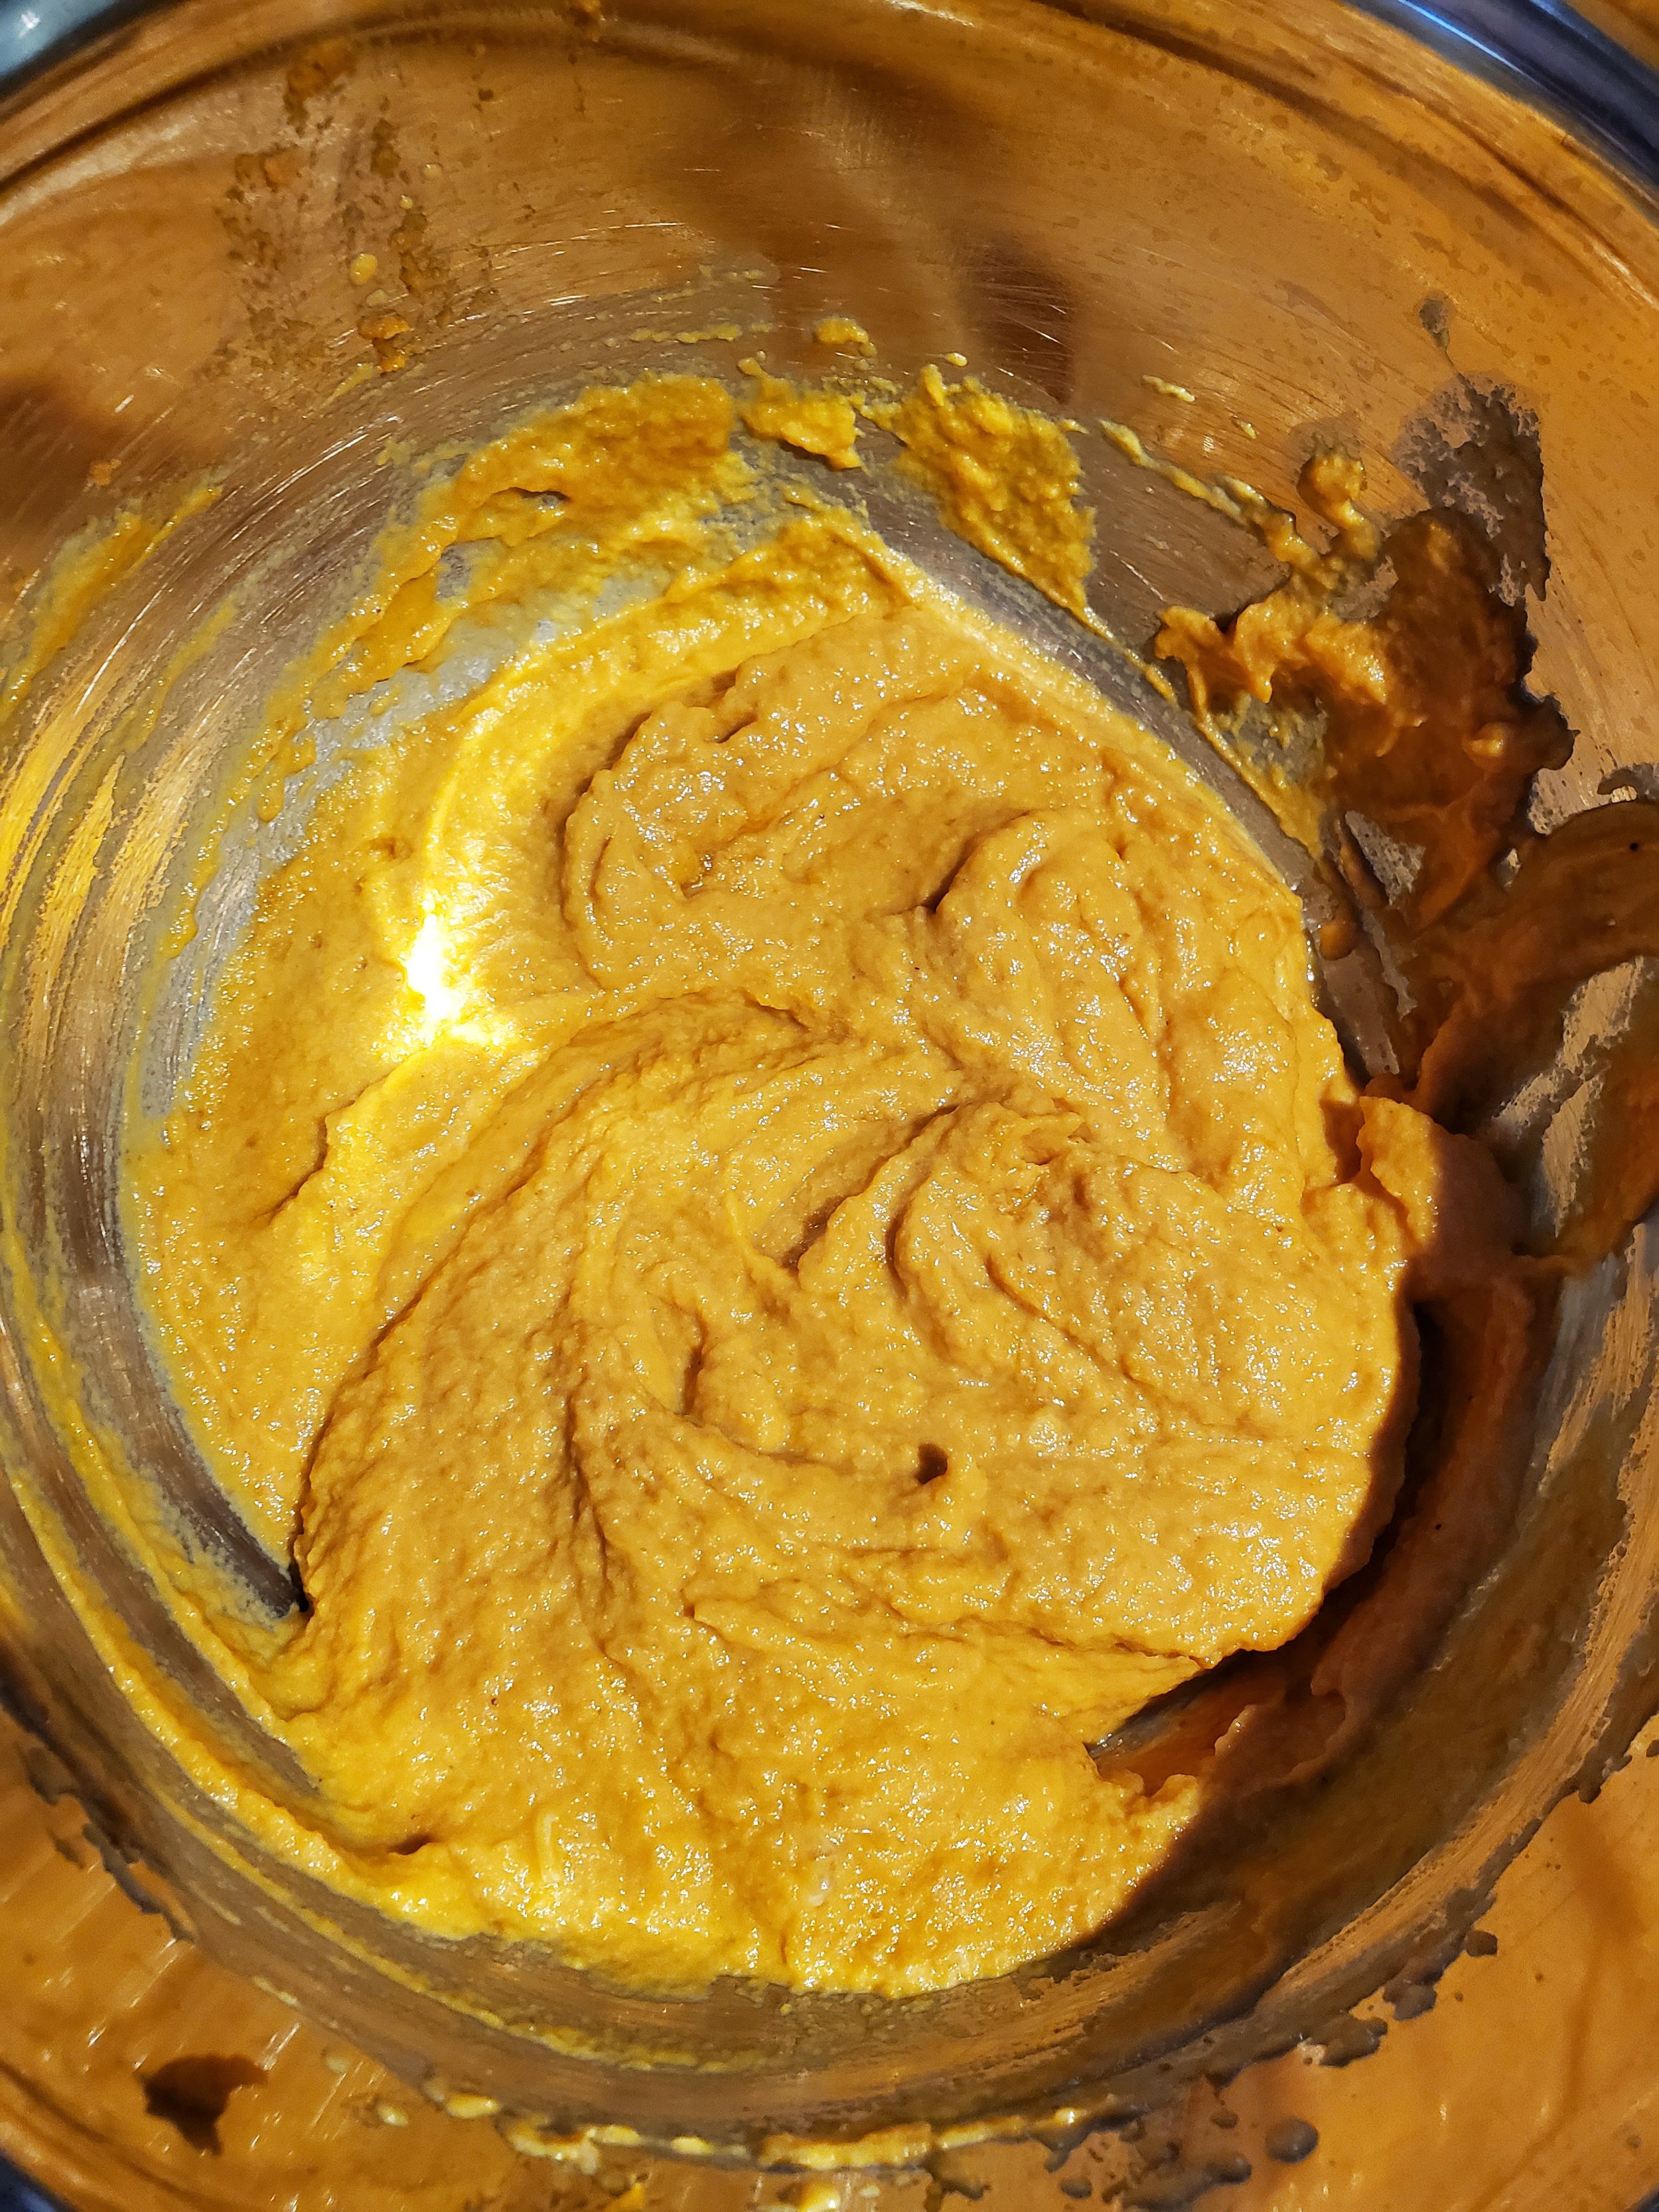
Dump the pumpkin into the mixing bowl (use a spoon to scrape the sides of the can to be certain you get all of it), then add the eggs and sour cream to the bowl and stir together, making sure to break the yolks on the eggs so they're properly incorporated.


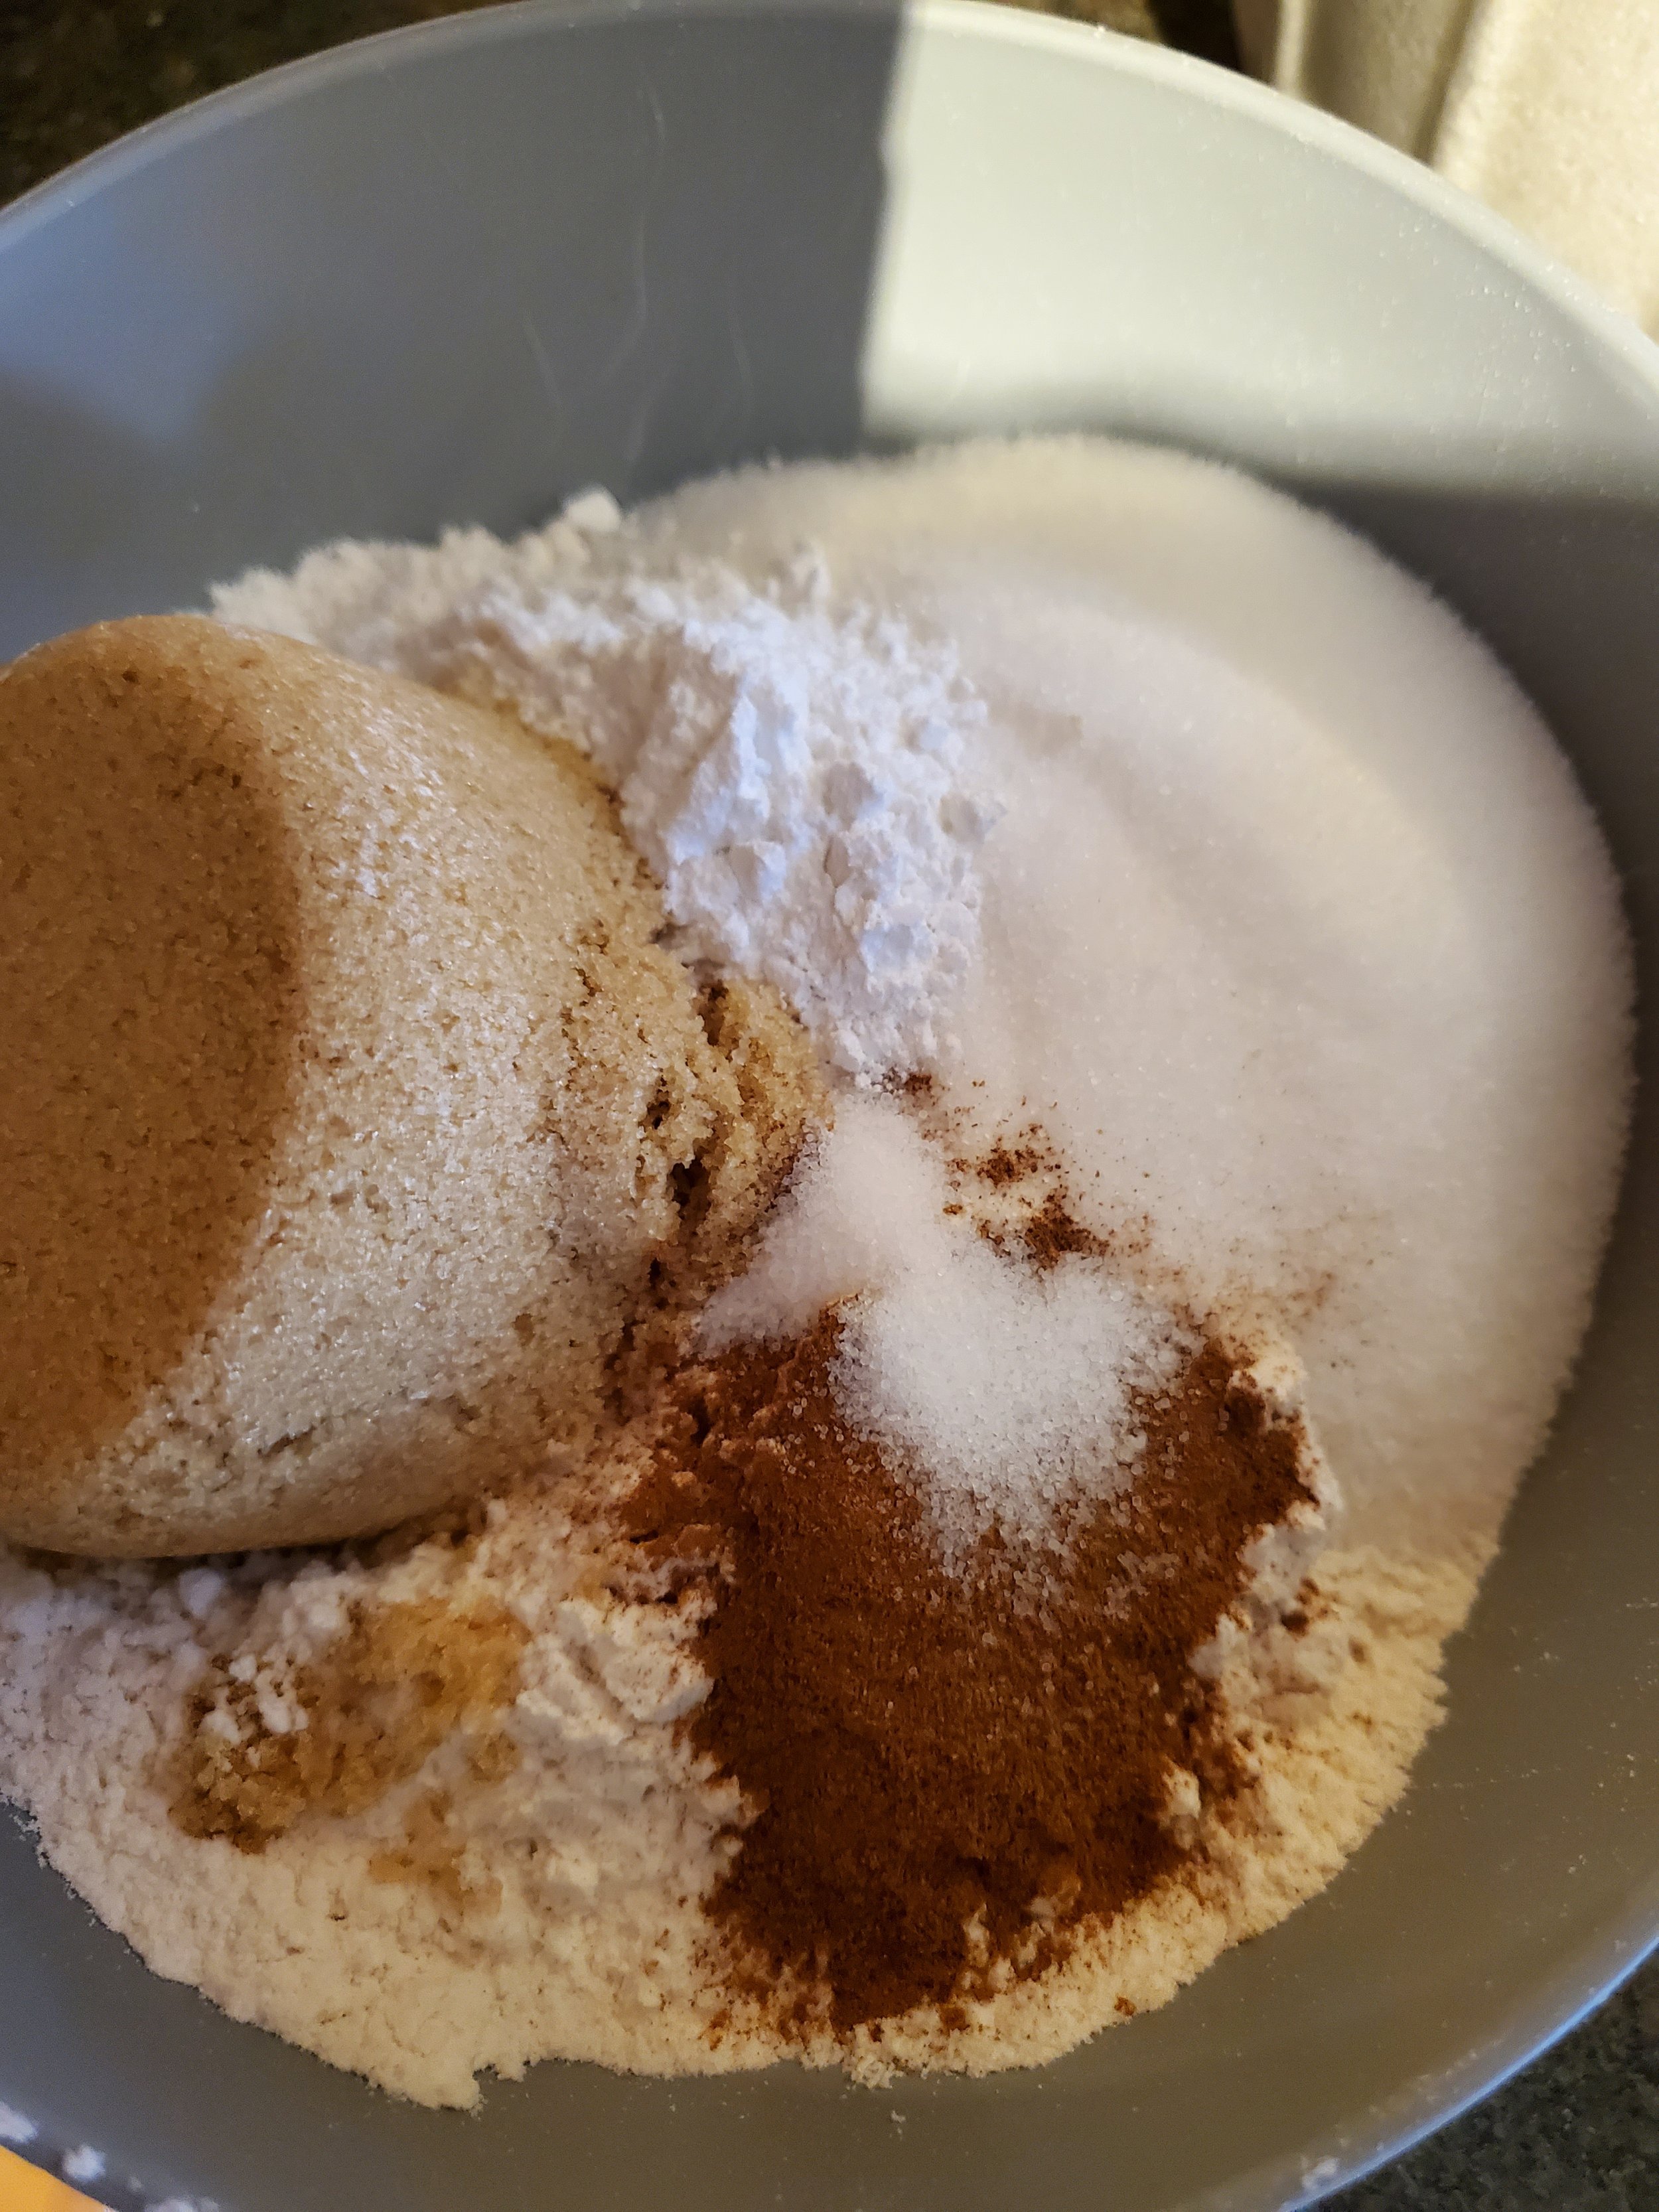
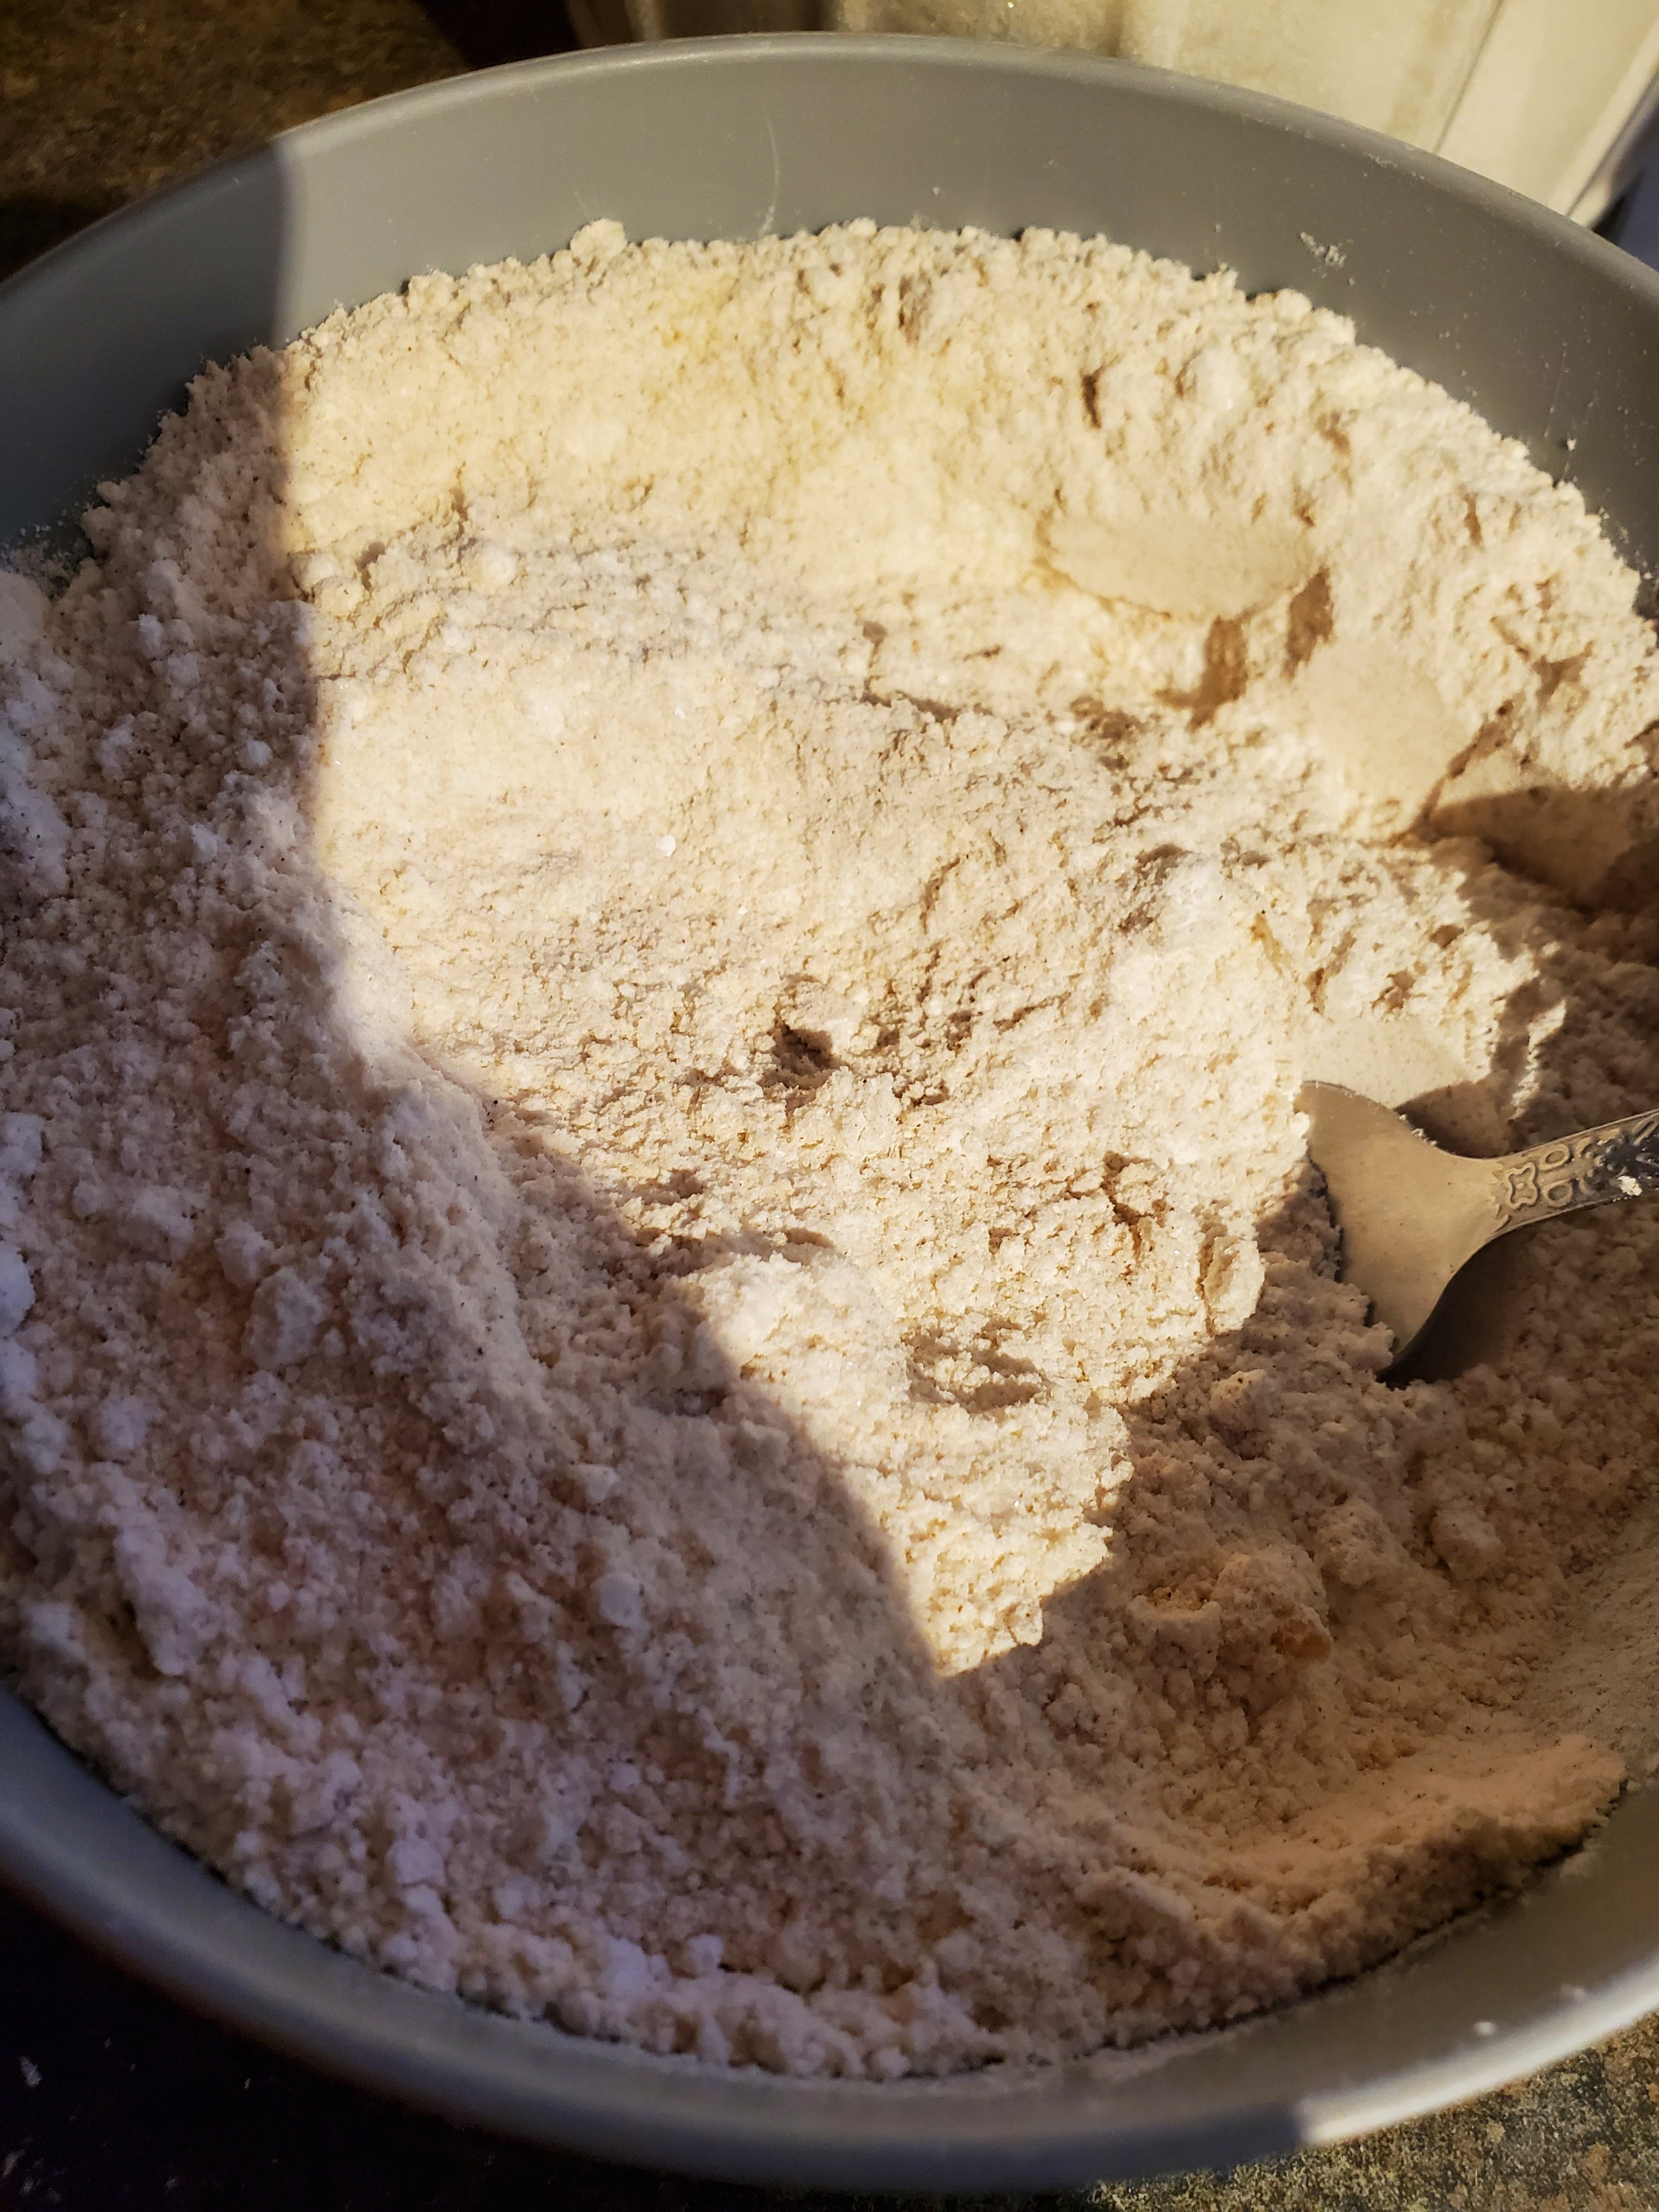
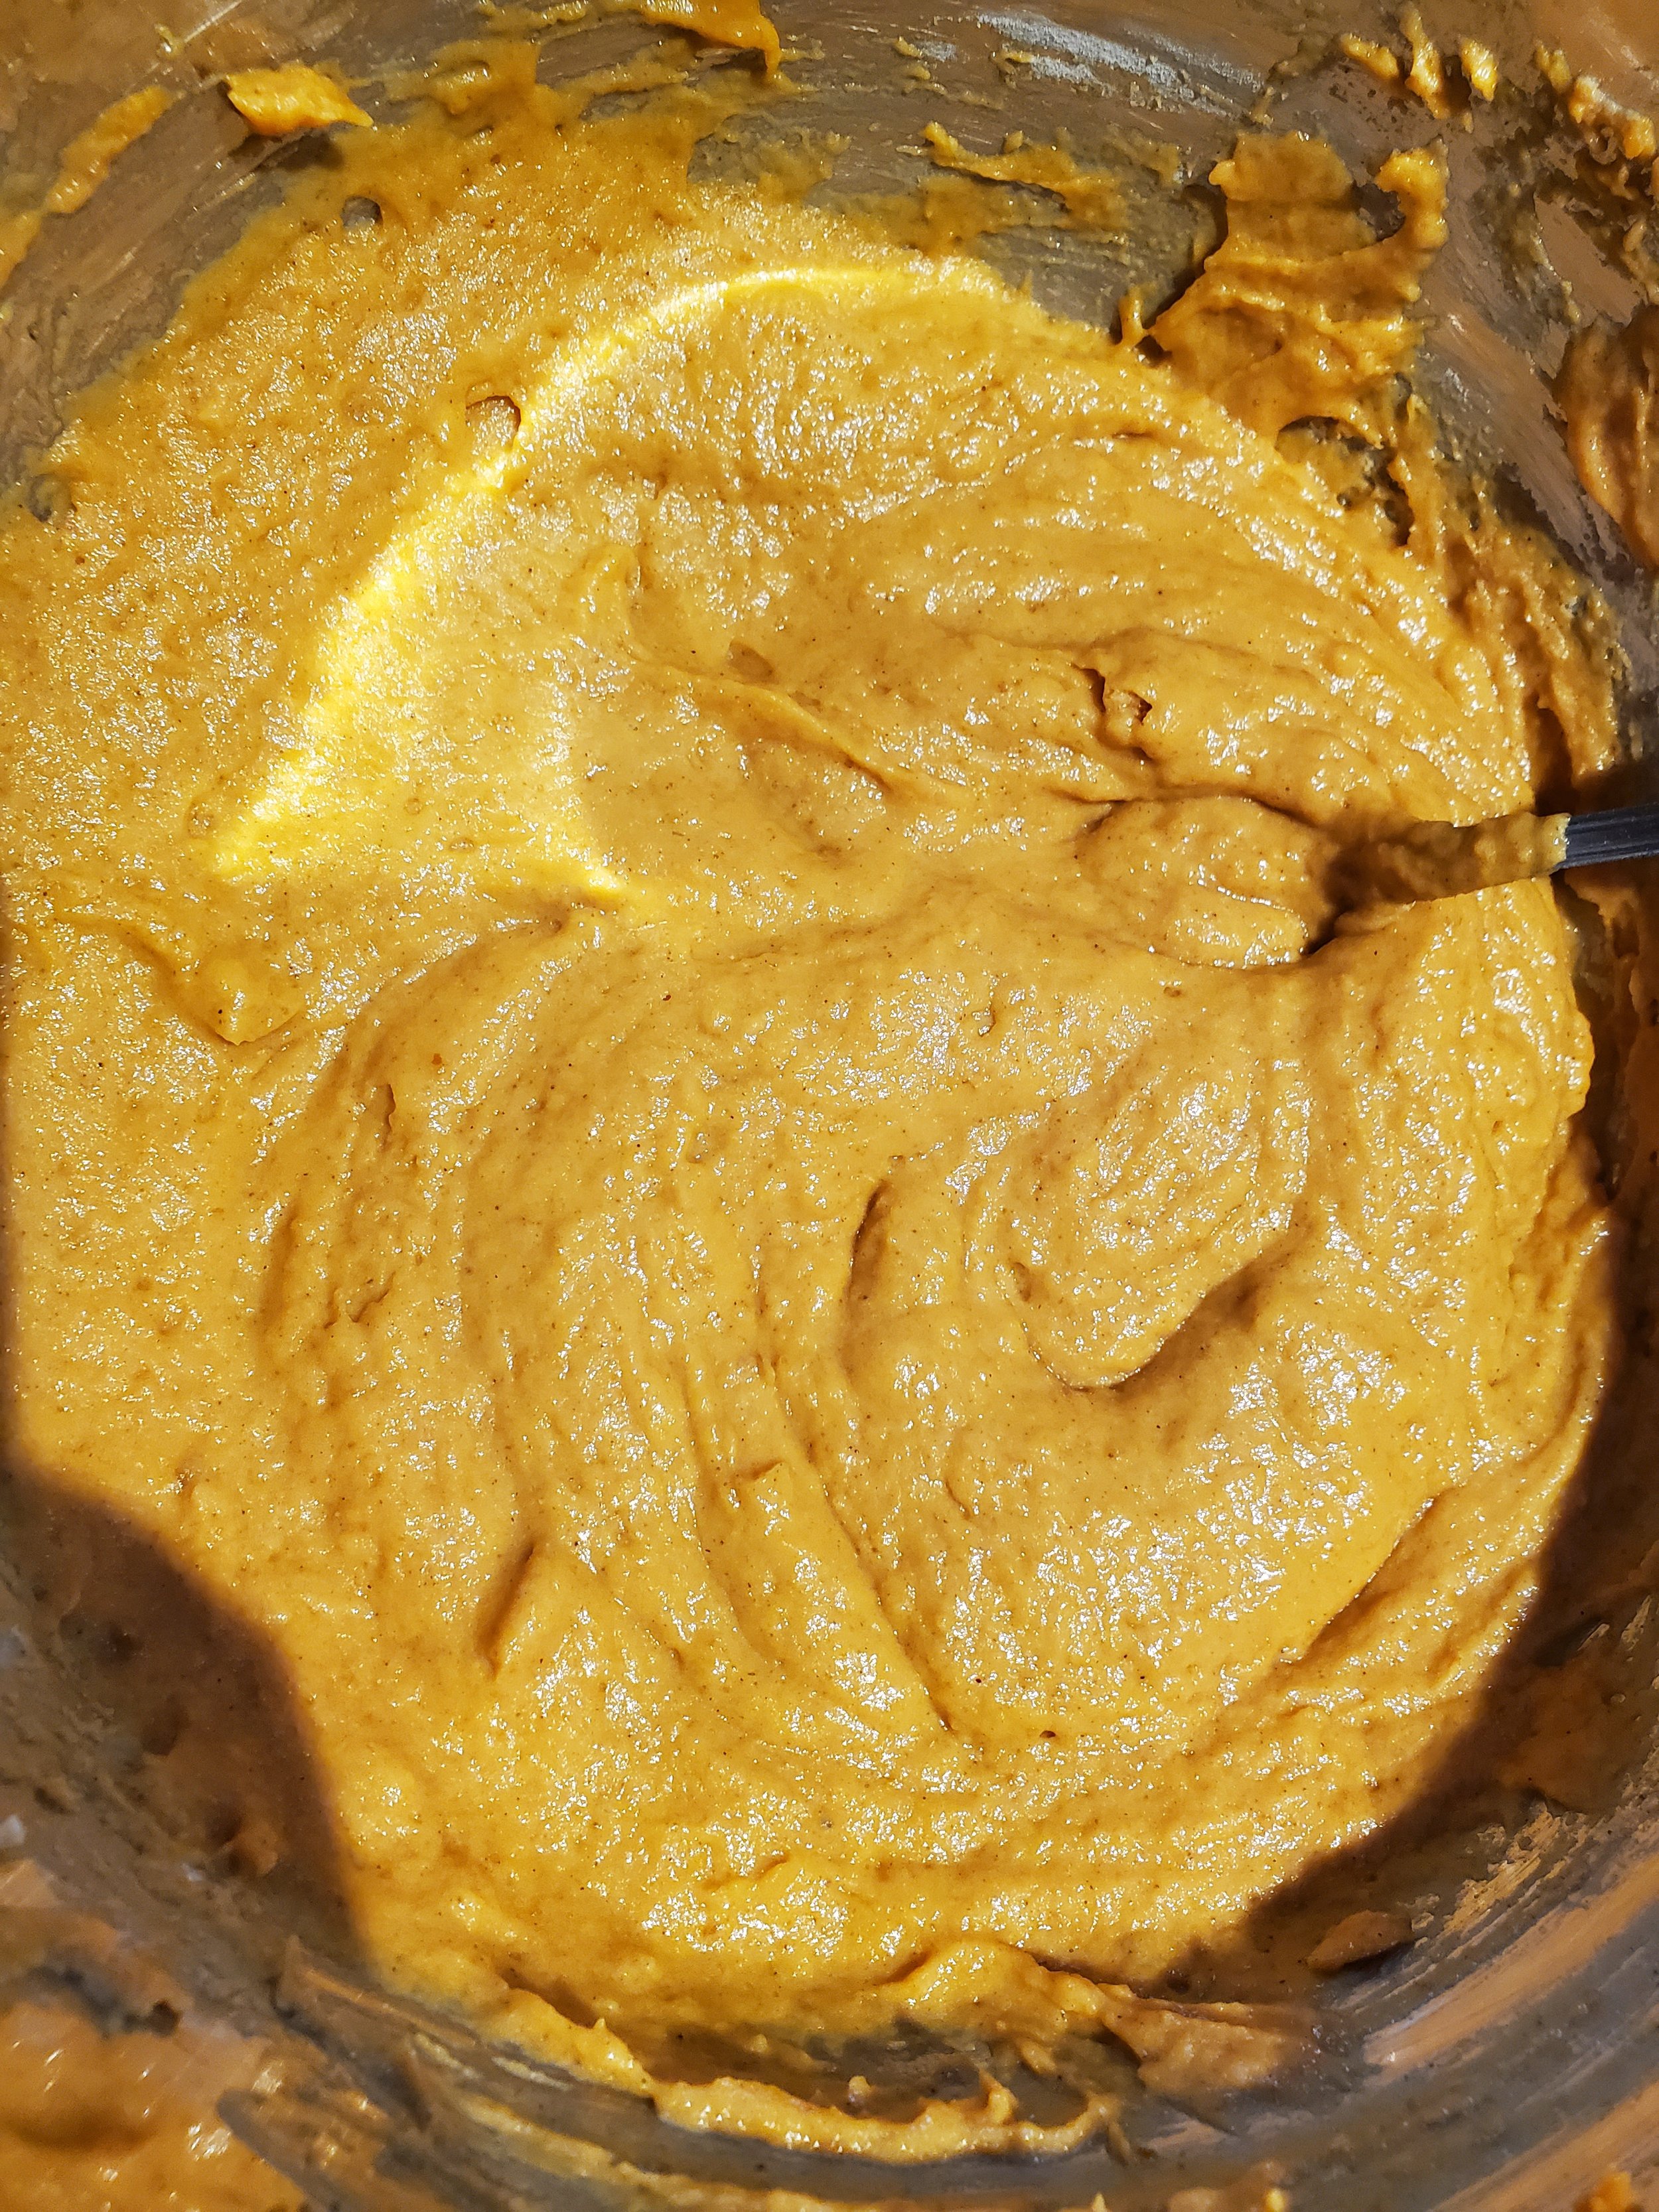
Measure your dry ingredients - sugars, flour, spices, salt, baking powder - into another dish and mix them up. Add the dry ingredients slowly to the wet ingredients, stirring as you go. Try to avoid ending up with any clumps here, but don't stir it to death. Overdoing it will cause the muffins to be rubbery.


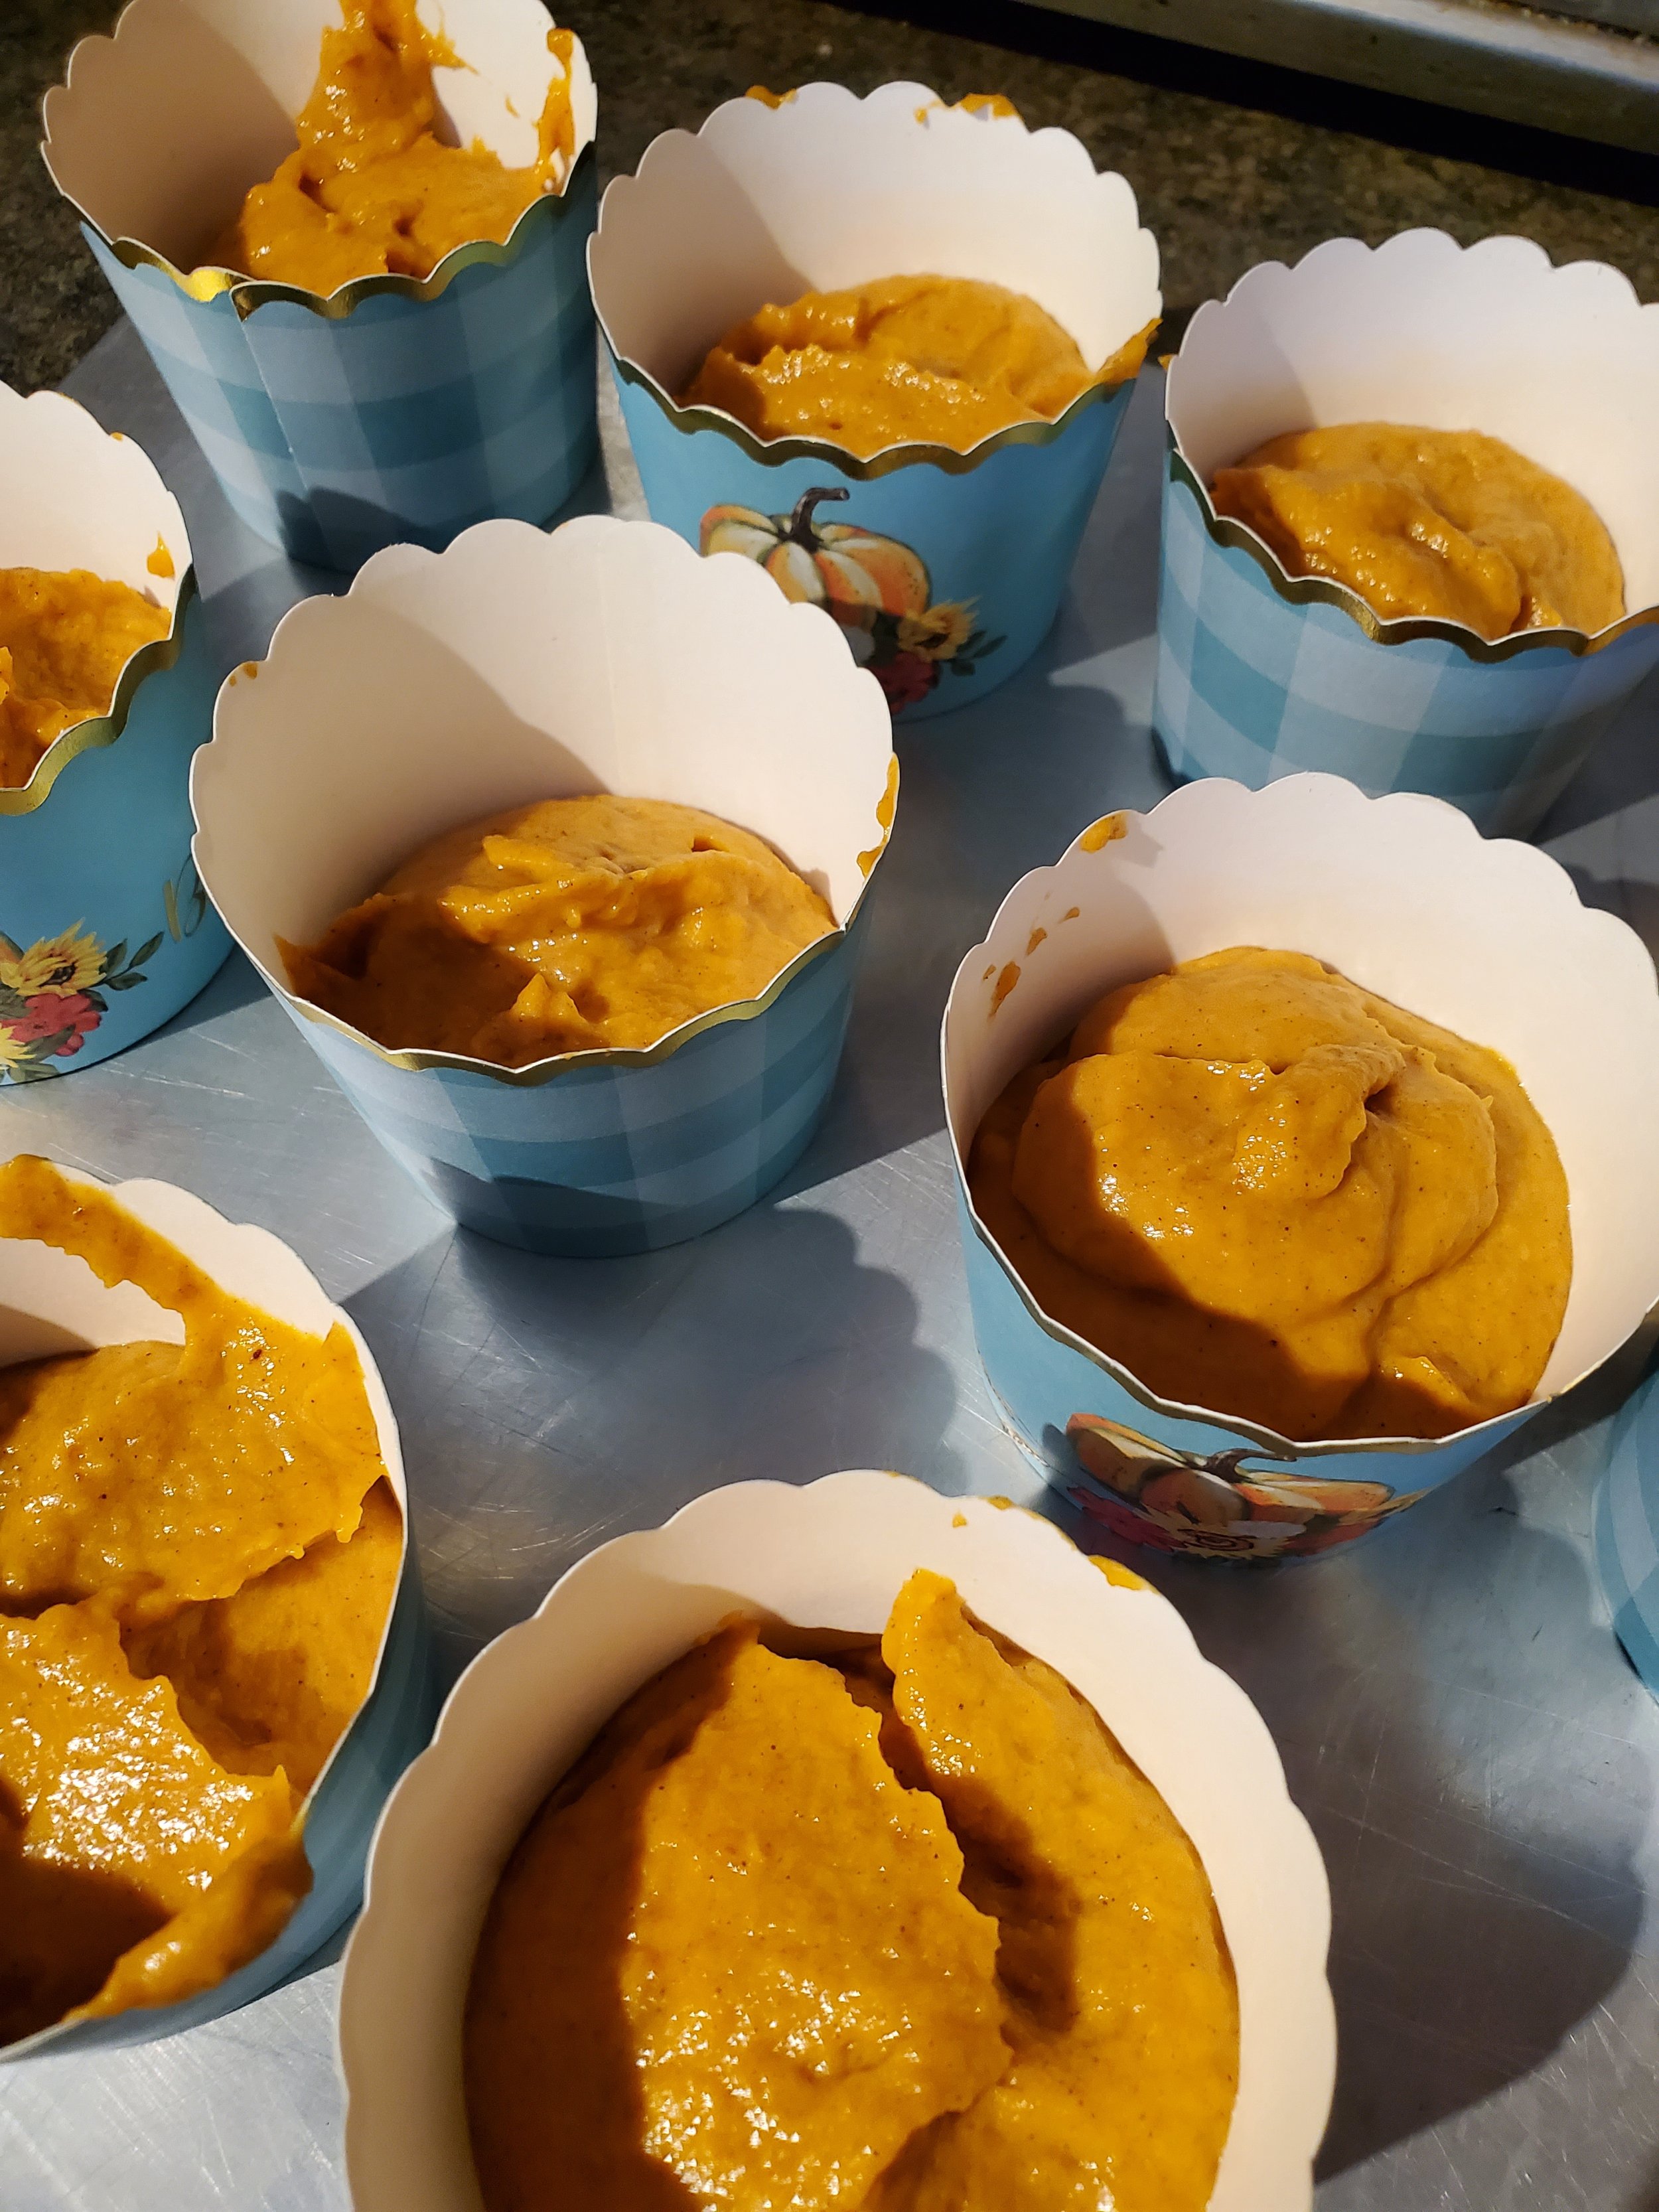
Once you've got the batter thoroughly mixed (but not overmixed), portion it out into your lined muffin tin or baking cups. We used baking cups on a sheet pan because these fall themed cups were just too cute to pass up! Don't worry too much about overfilling; these won't rise very much at all in the baking process.


Pop the muffins into the oven and set a timer for 25 minutes. 


Take a clean mixing bowl and put your softened butter and cream cheese into it, and put the beaters into your mixer. We used a hand mixer, mostly because it would have taken much longer to get the stand mixer out and ready.


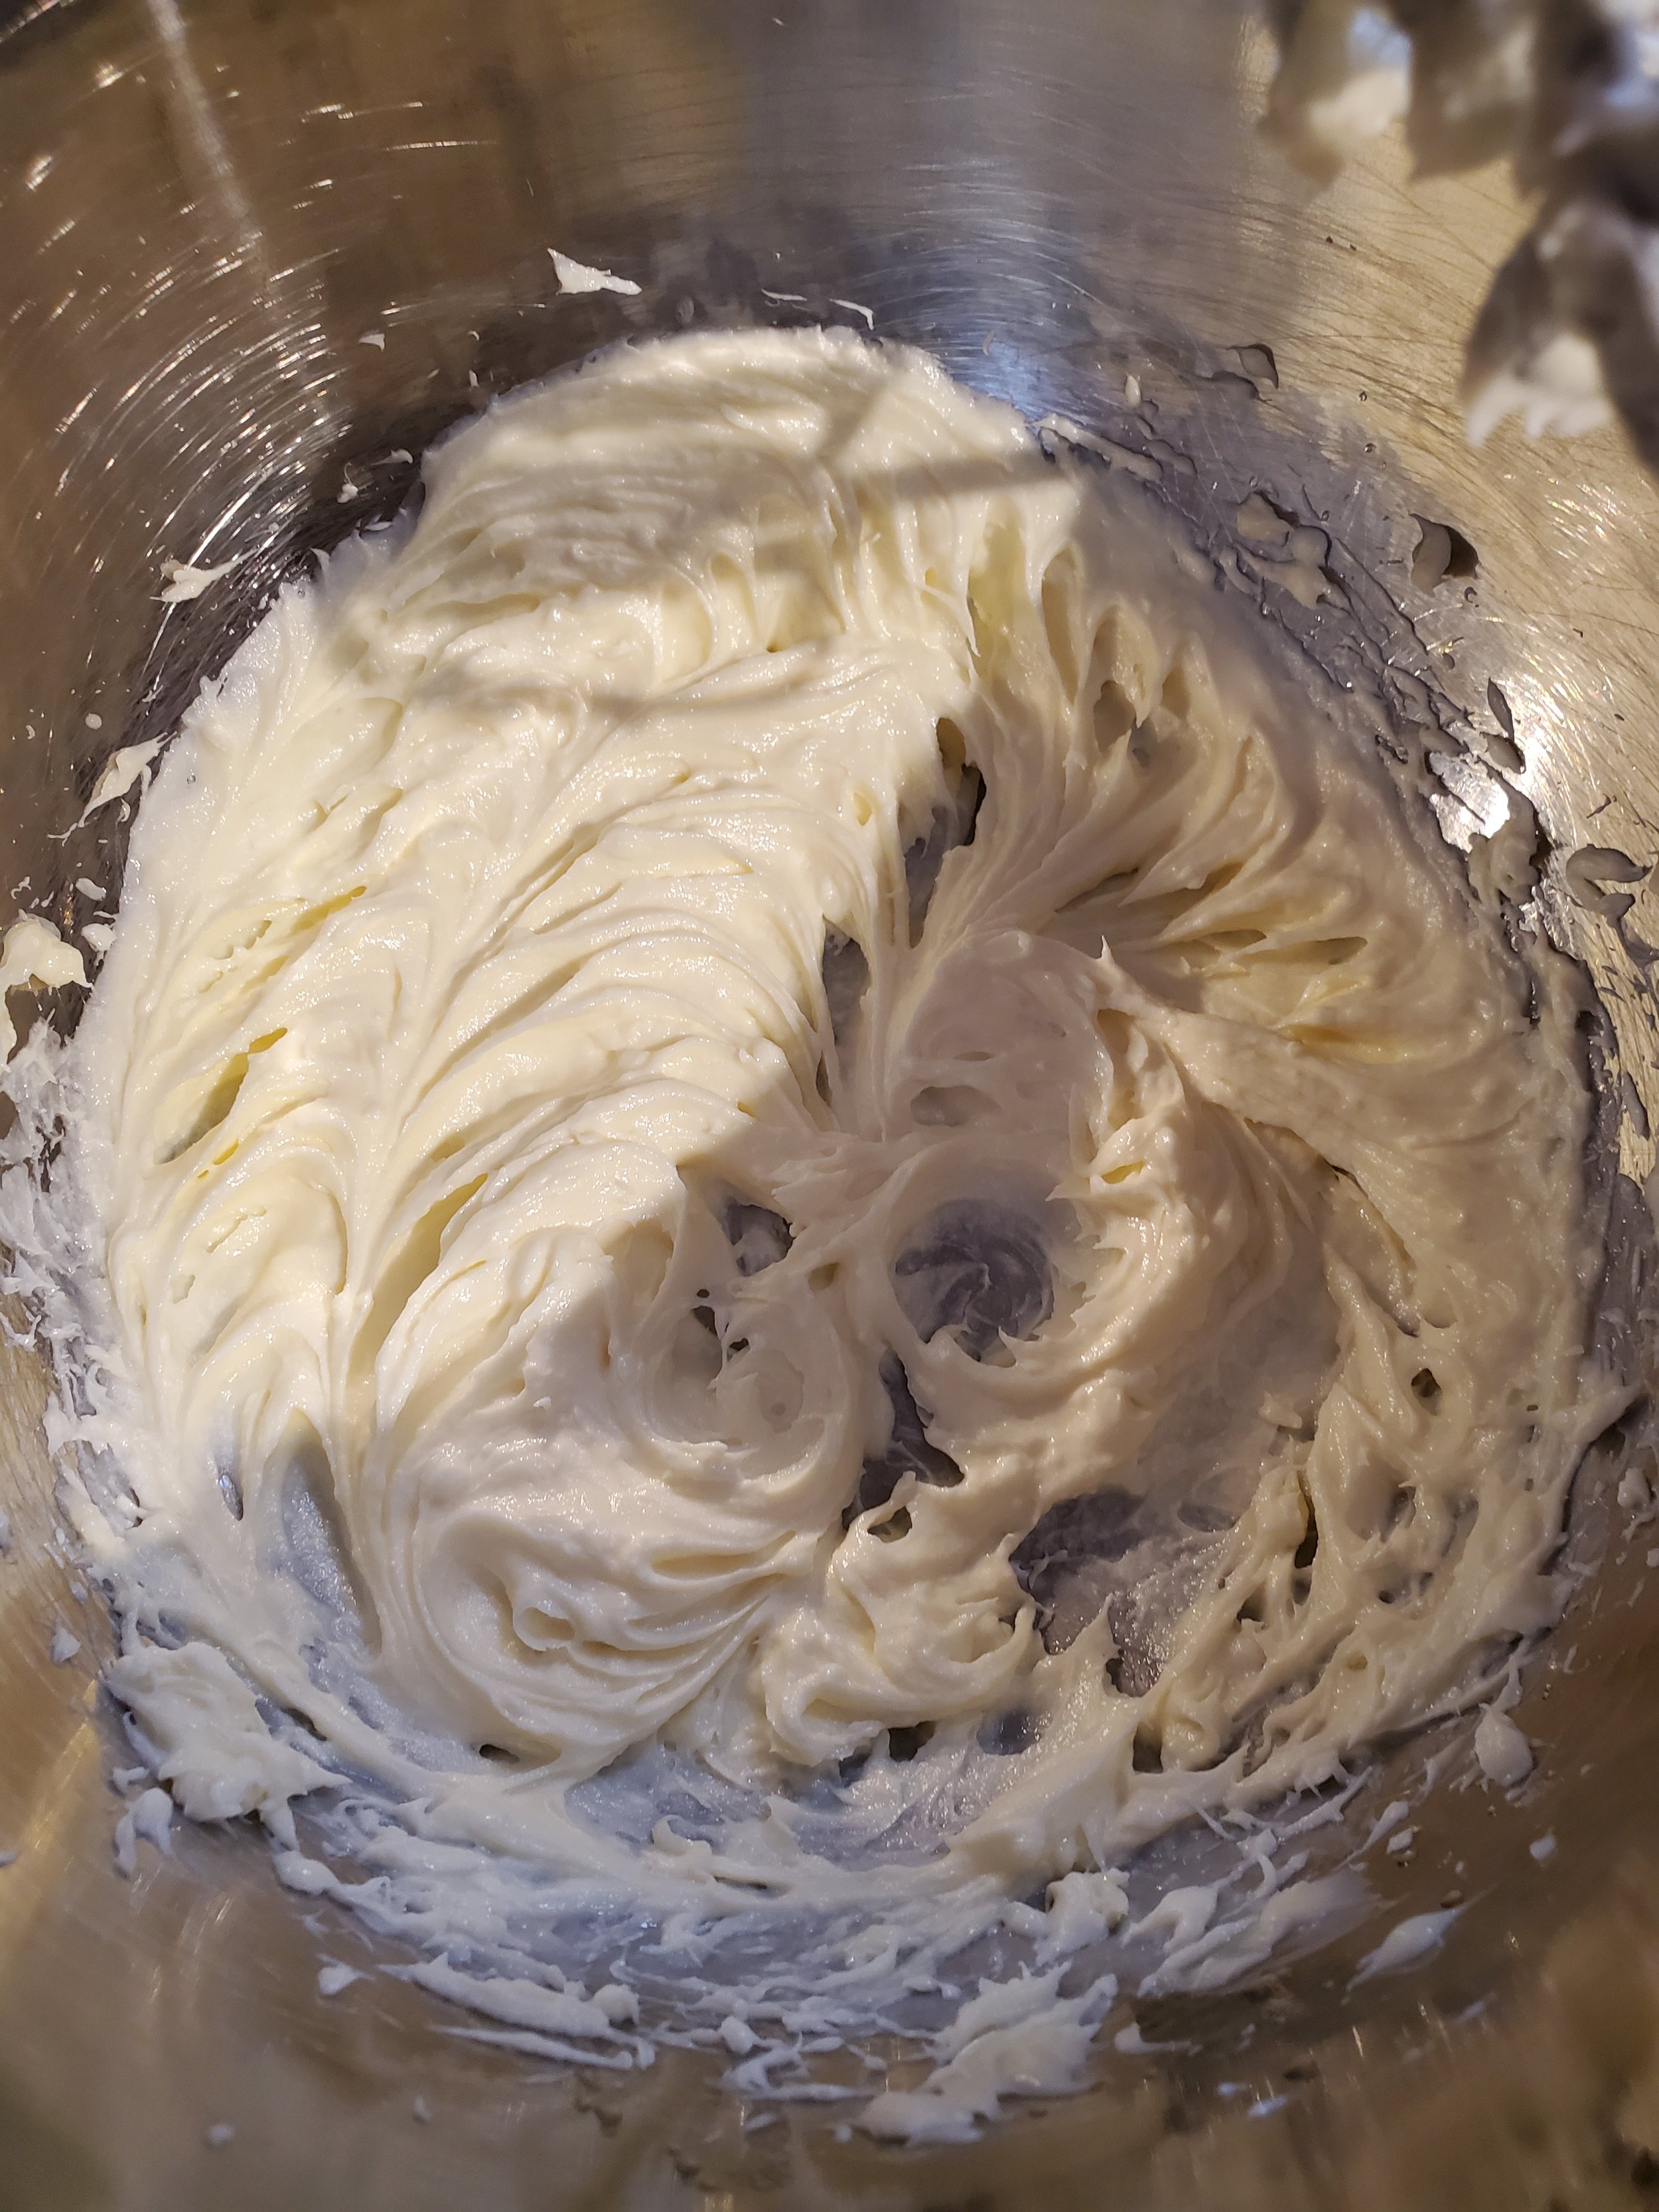
Whip the butter and the cream cheese on at least medium speed until it's all fluffy.


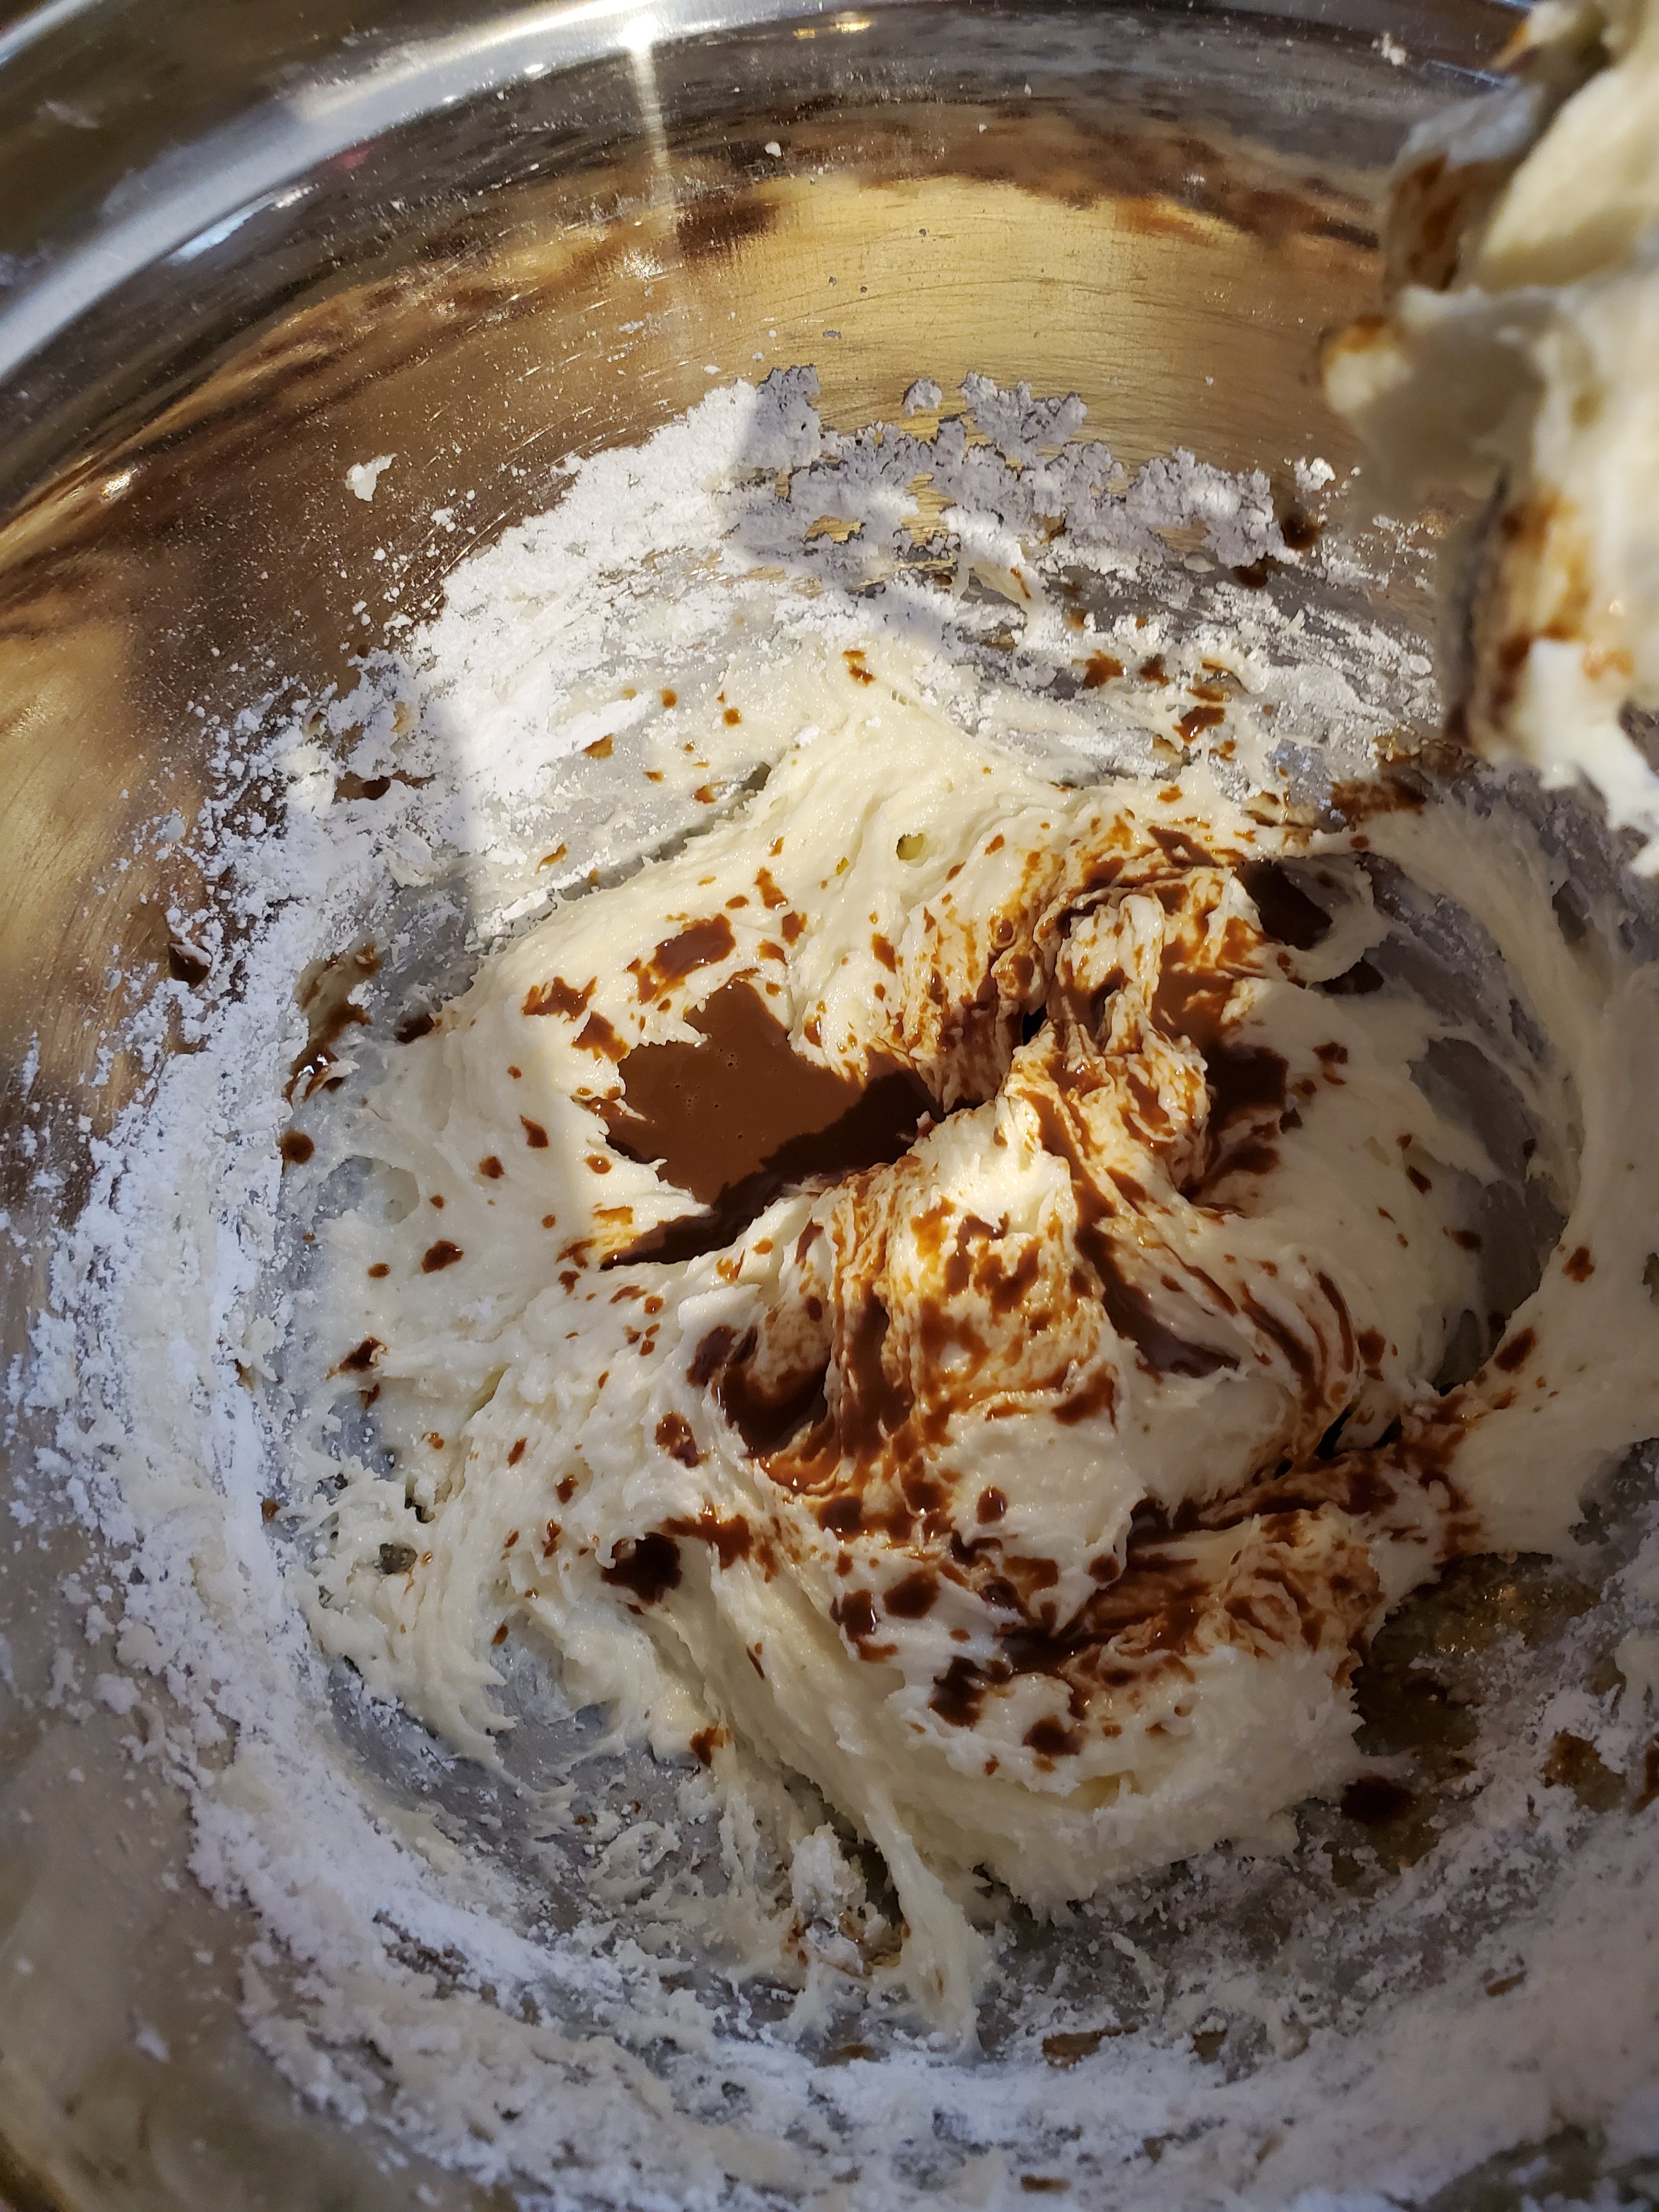
With the mixer on, add the powdered sugar slowly. A second set of hands helps here. If you have a little helper you don't mind getting a smidge messy, feel free to recruit them. You don't have to get the powdered sugar fully incorporated at this stage. The goal here is just to get it into the bowl and start combining it with the butter and cream cheese.


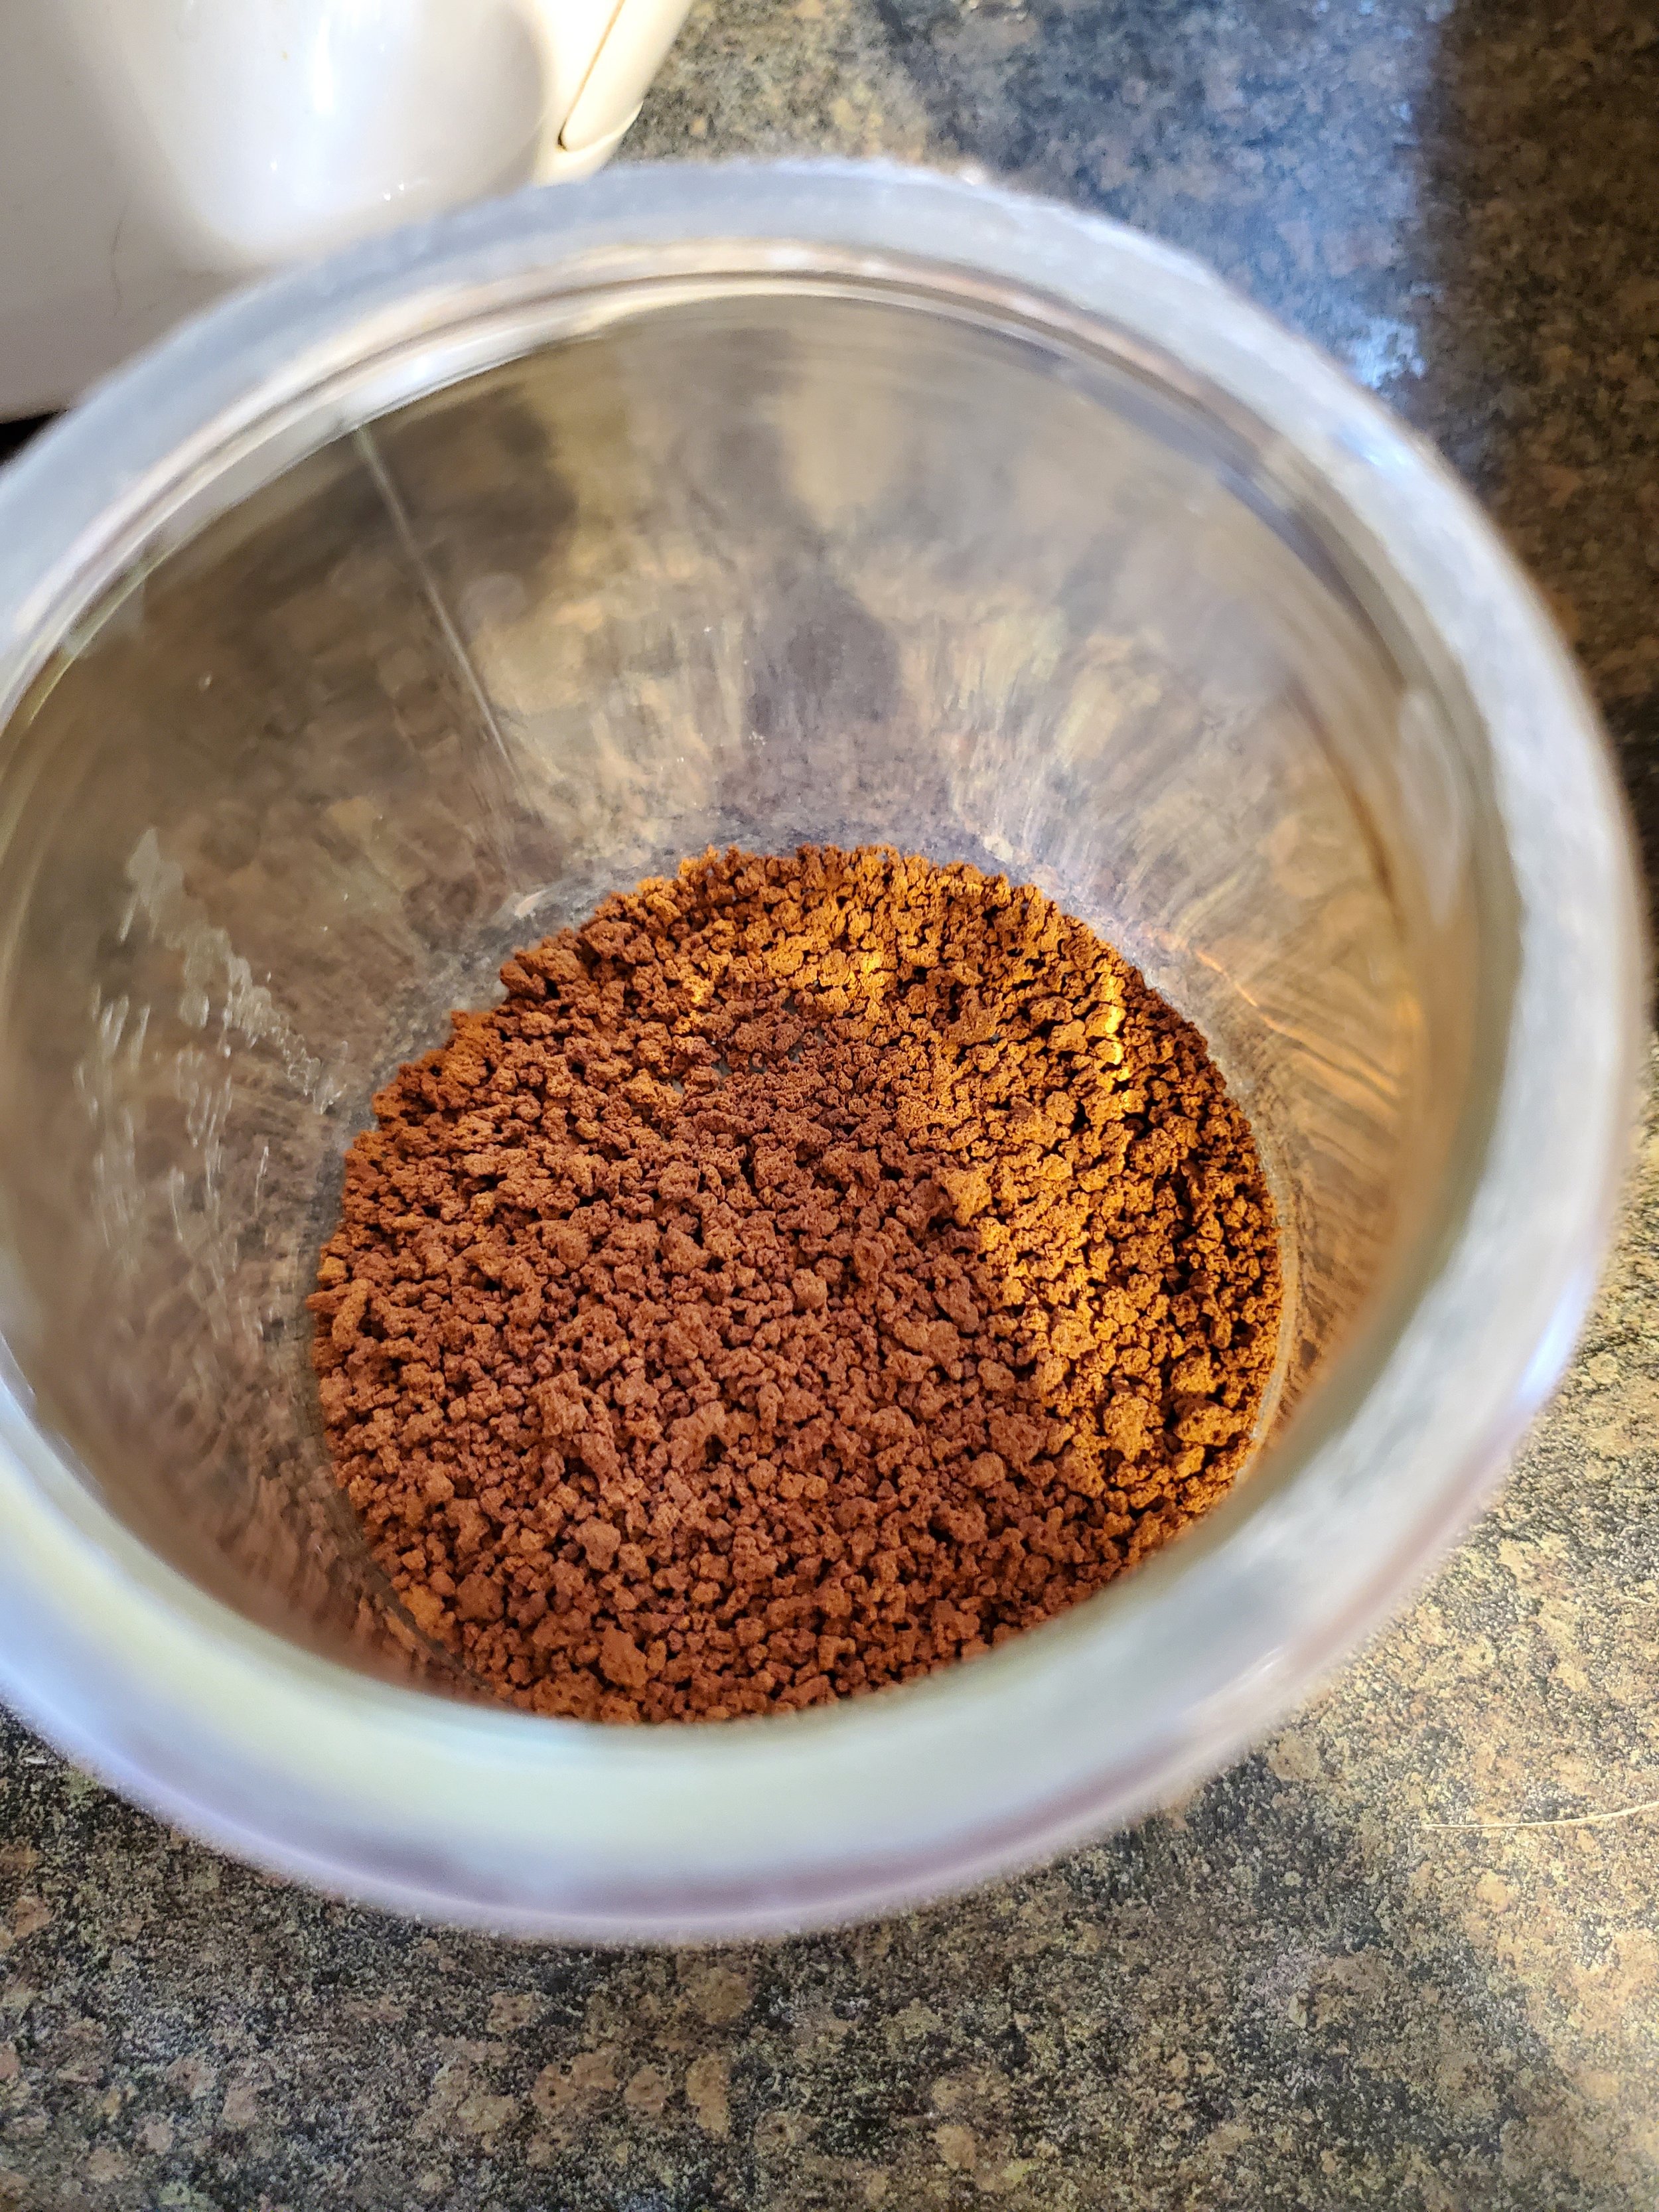
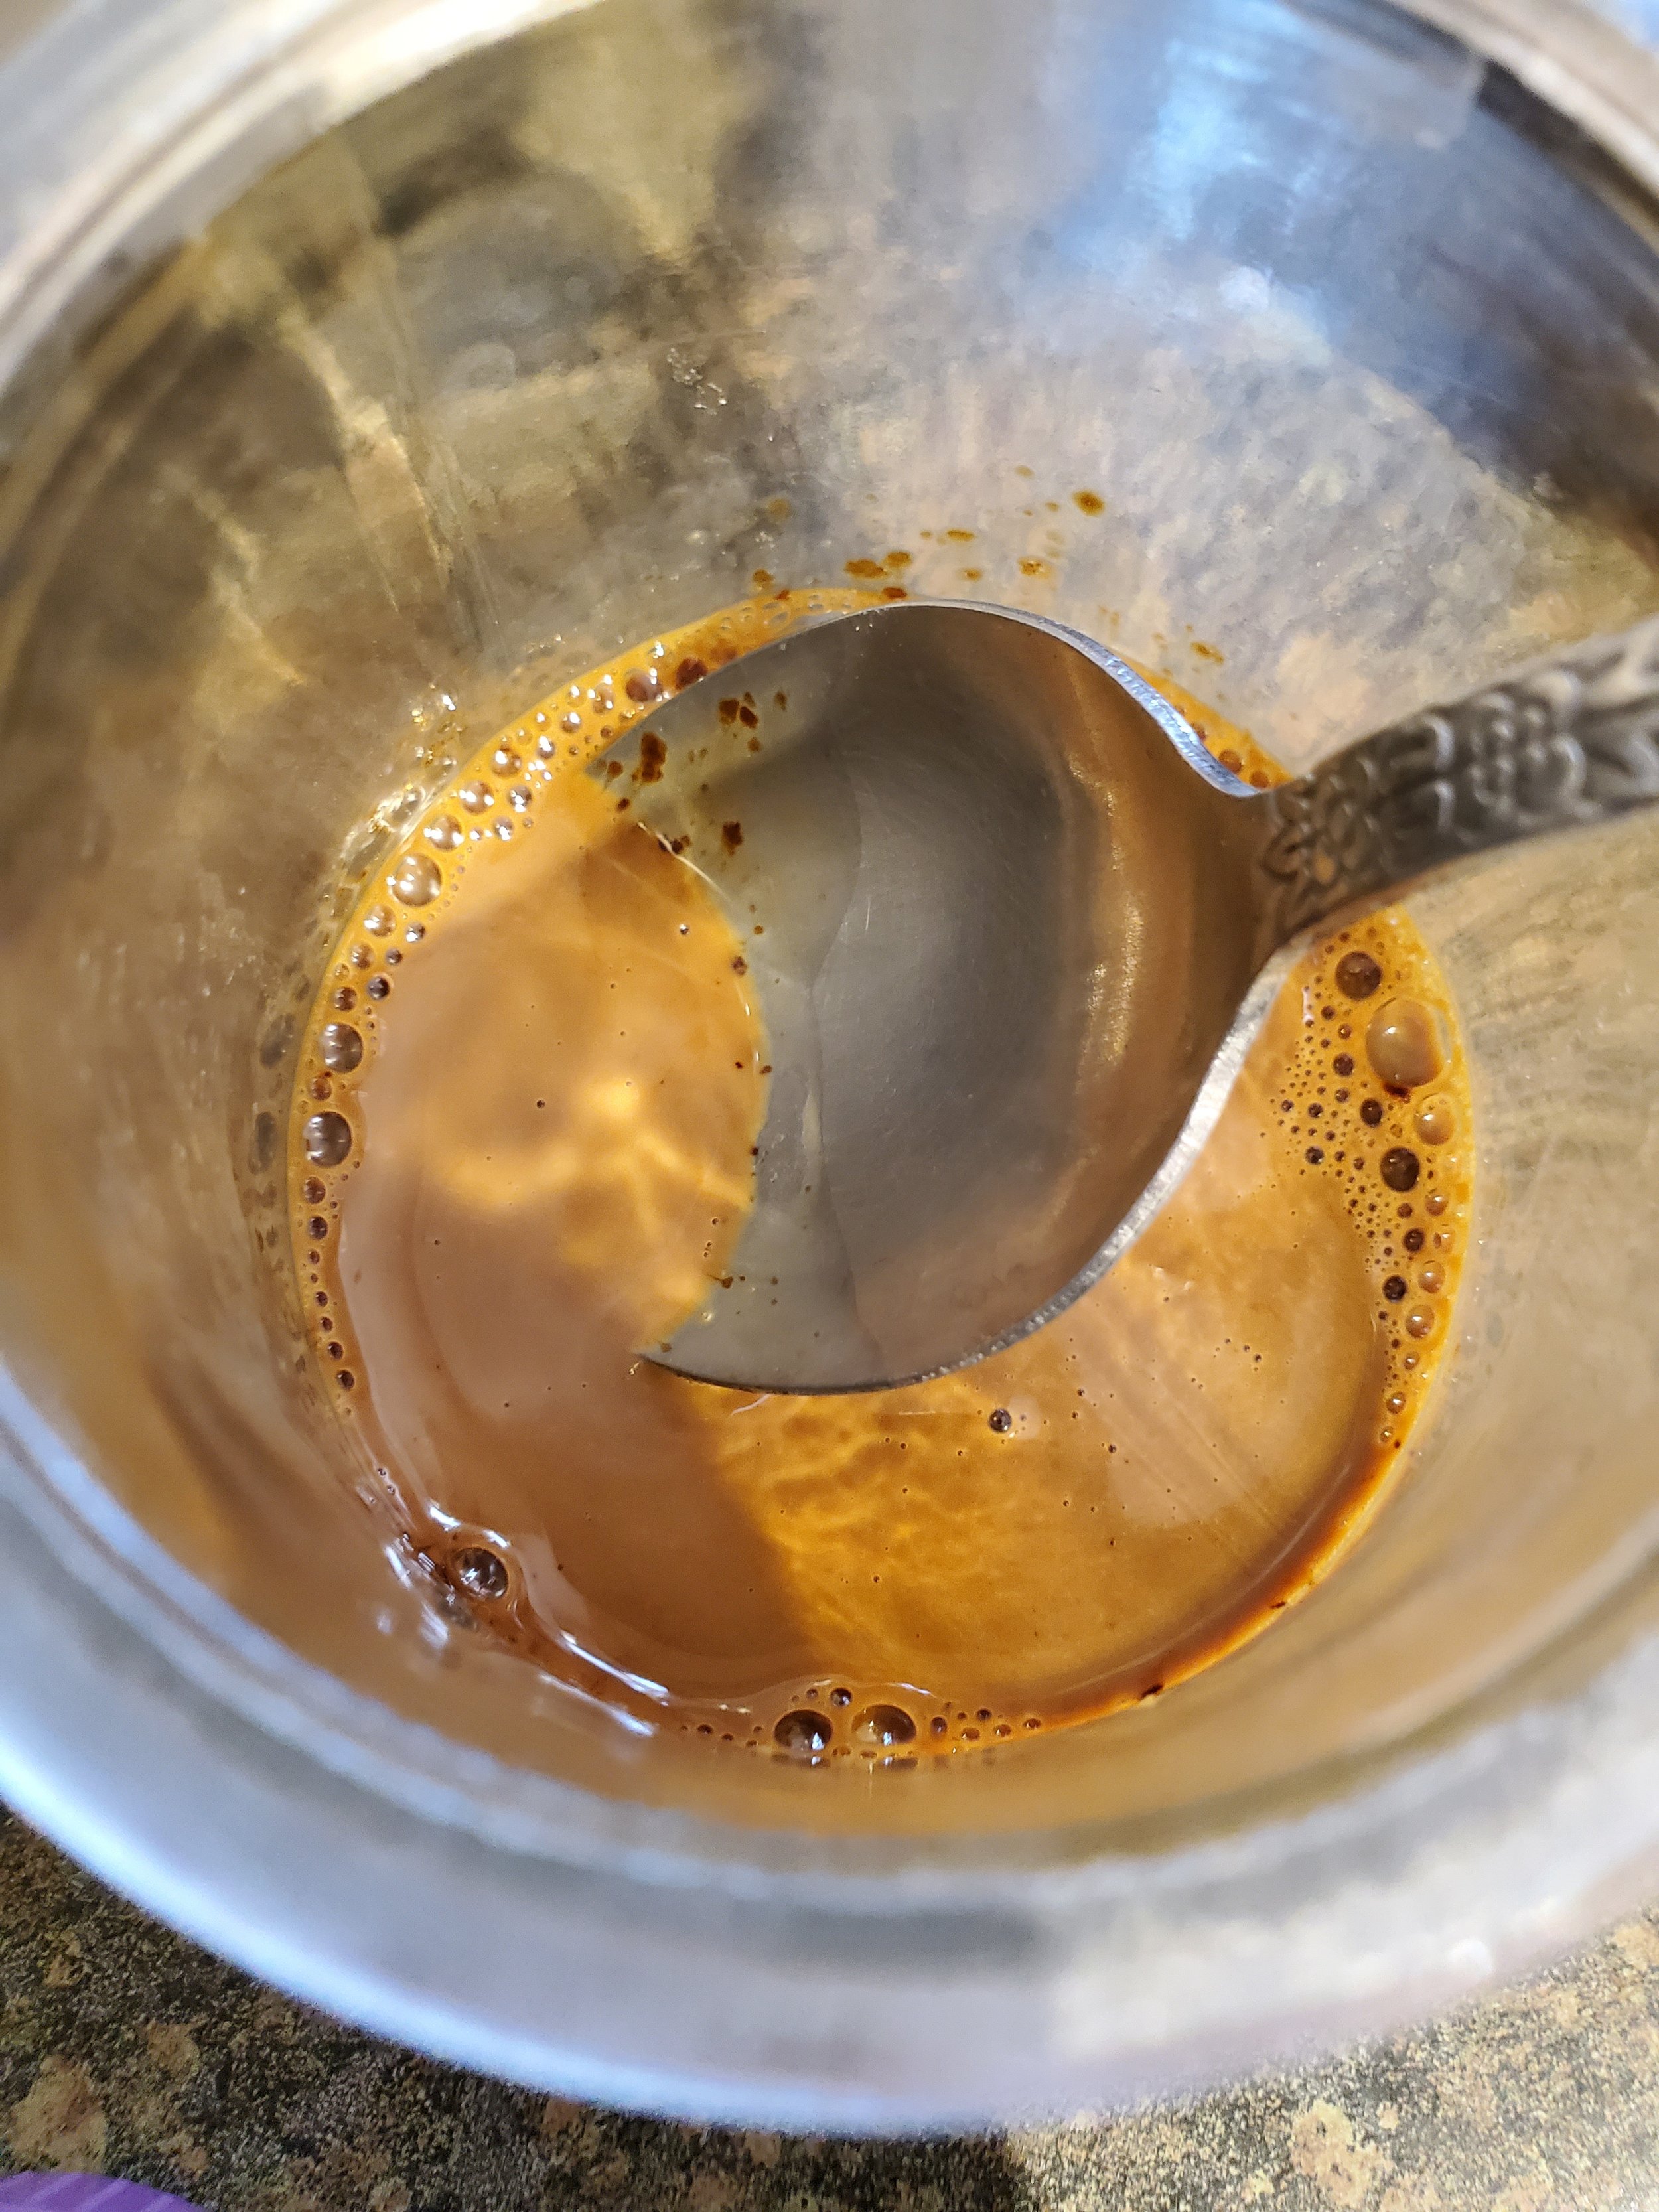
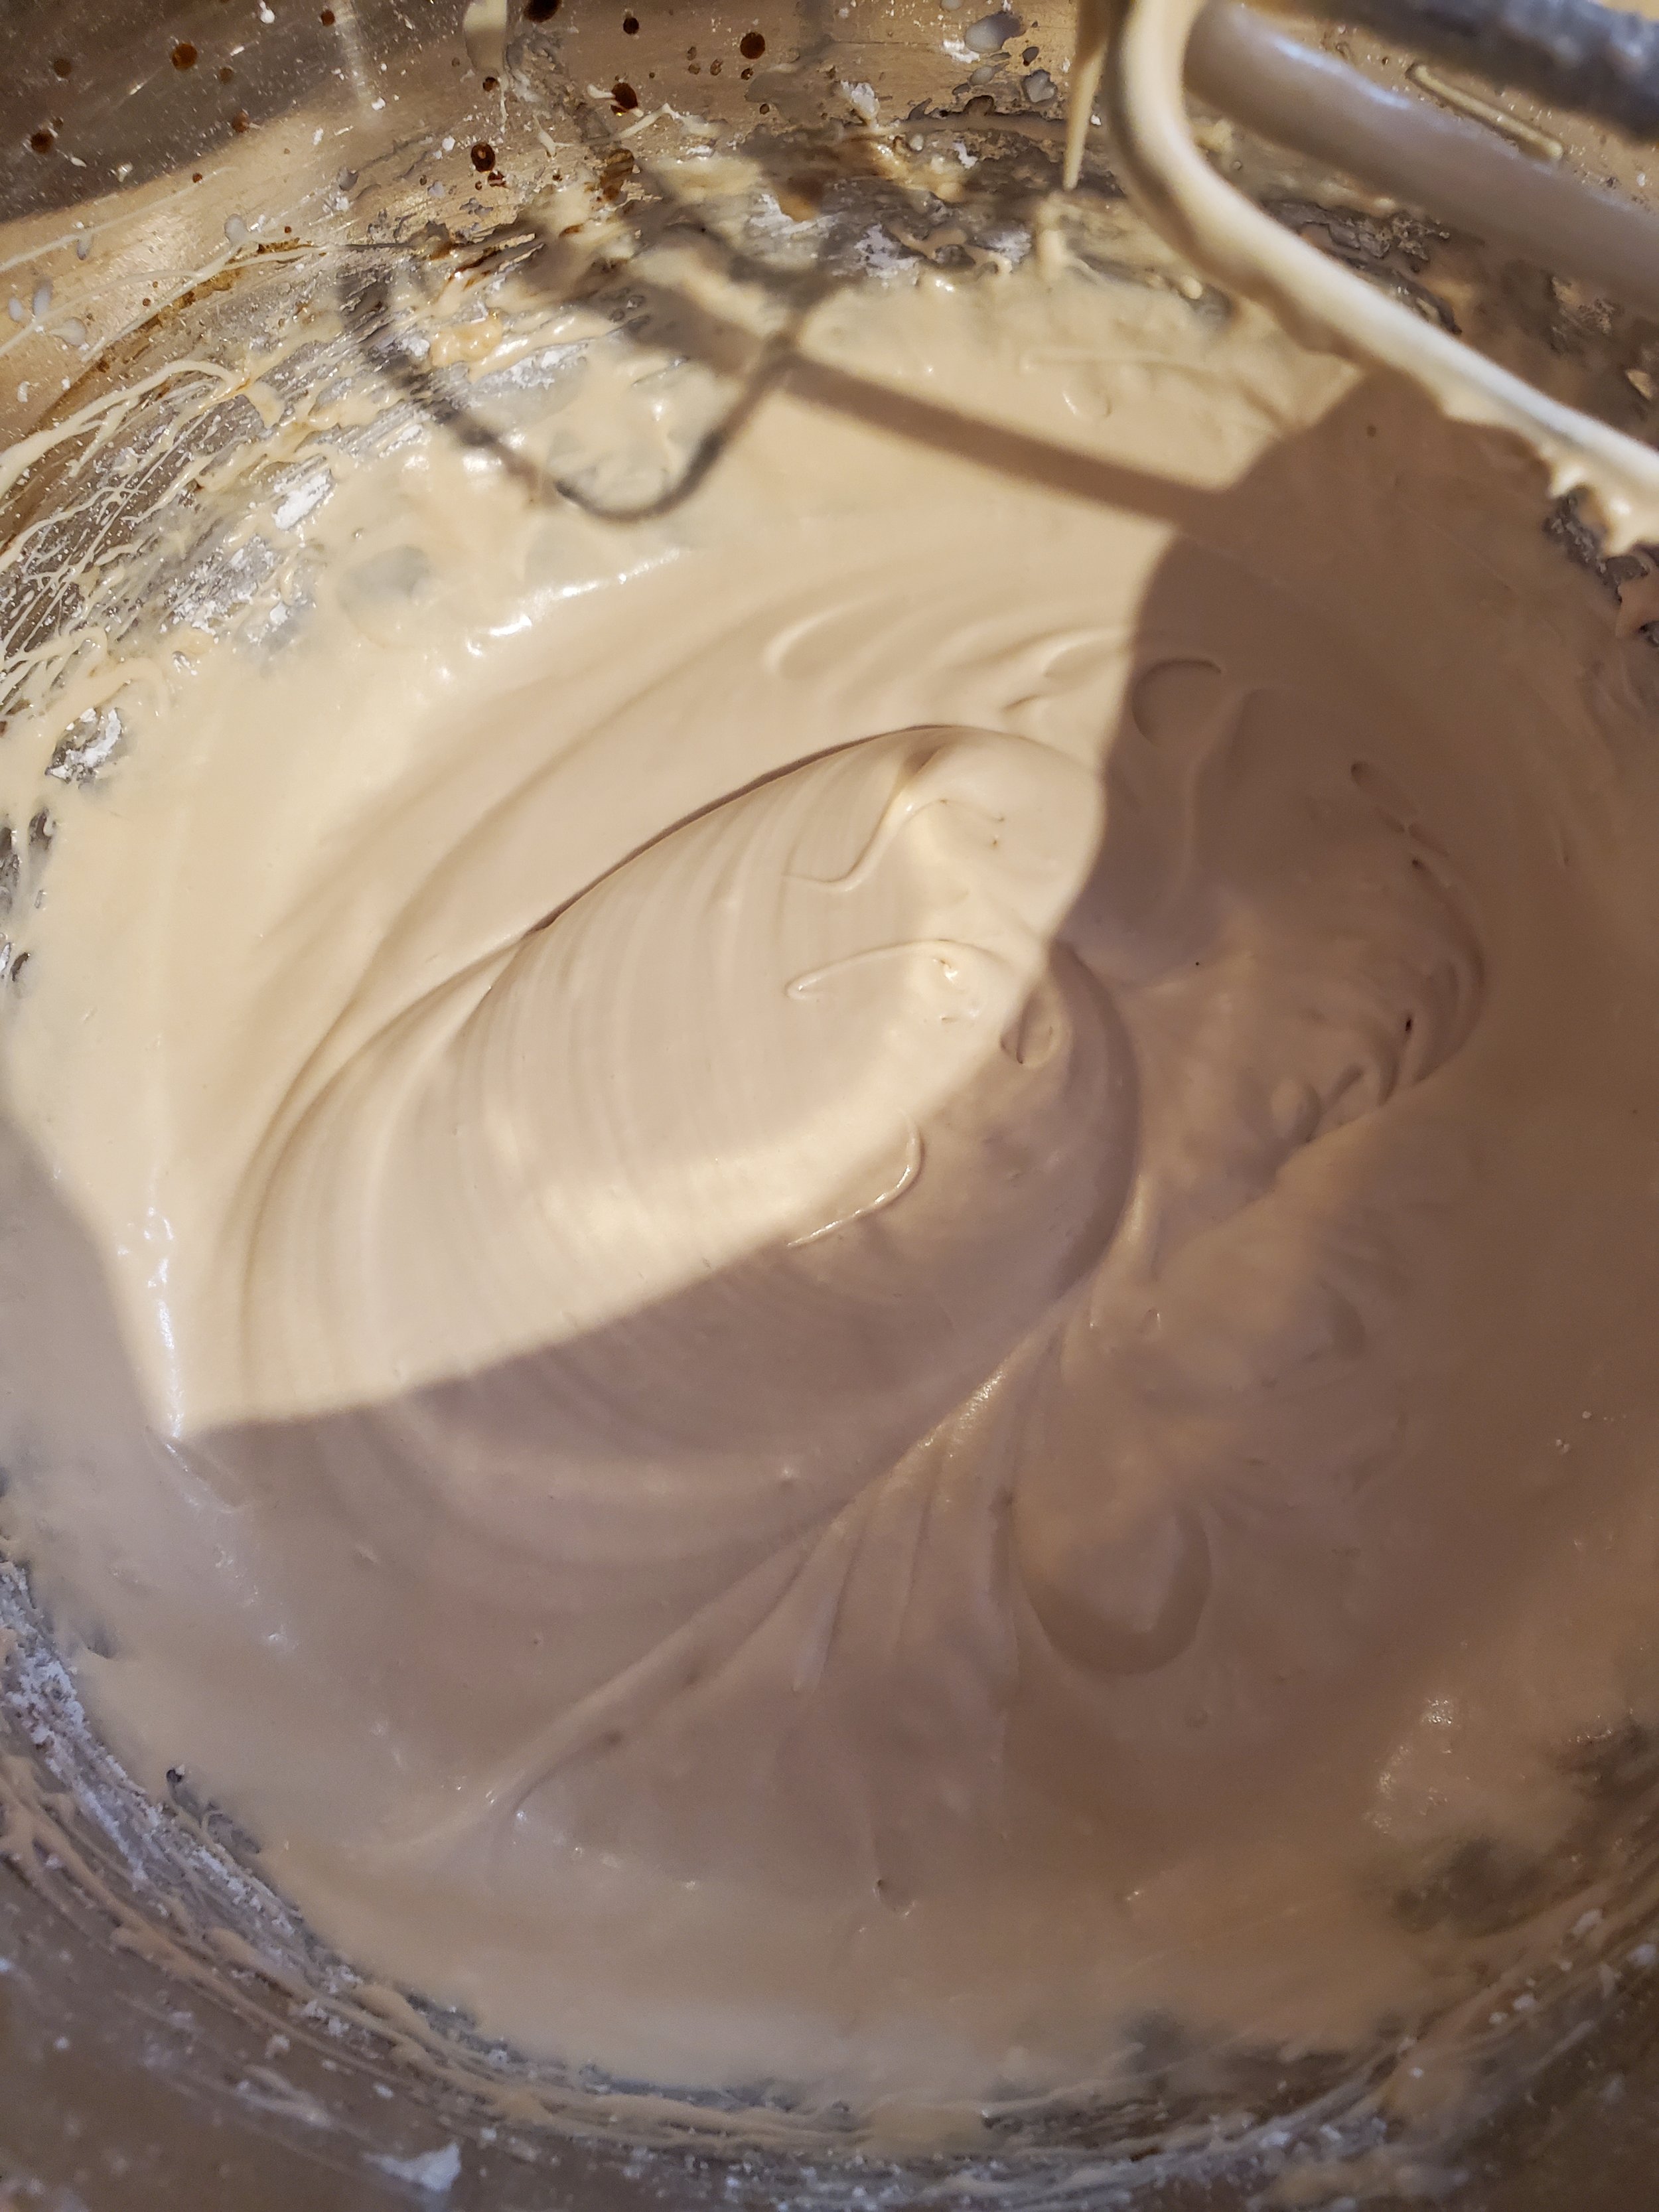
In a shallow dish (or repurposed yogurt container if you're us), dissolve your instant coffee granules in the little bit of milk you've measured out. It shouldn't take much stirring. Once it's all one color and you've minimized the amount of sunken coffee bits, pour the mixture into the cream cheese/butter/sugar dish and turn the mixer back on. Mix thoroughly, until the whole thing is one color.


By now your muffins should be coming out of the oven. It'll be too soon to frost them (they're much too hot), so set them aside to cool and tuck your frosting into the fridge until they're ready.


Once the muffins are cooled, pull the frosting back out of the fridge and put your dessert together.


If you're feeling fancy, you can break out a pastry bag and tip and get ready to pipe the frosting. But we swear, it still tastes just as good if all you do is take a spoon or flexible spatula and drop a dollop on top of each muffin.


Enjoy after dinner with a big cup of coffee.


As the aroma of freshly baked pumpkin muffins fills your kitchen, remember that Appliance Rescue Service is here to ensure your cooking experiences are always seamless. Share your baking success on our Facebook page and take a moment to reach out to us at (214) 599-0055 or our website, for any appliance needs. Whether it's repairing a freezer or running routine maintenance on your oven, we're dedicated to keeping your kitchen running smoothly. Treat yourself to these delightful muffins and elevate your fall baking game with a touch of caffeinated comfort. Enjoy this flavorful creation with a steaming cup of coffee and savor the season's joys in every bite.


Additional Reading 

Easy No-Cook Not Quite a Cannoli 

Chocolate Raspberry Thumbprints


Kitchen Hazards Unveiled

Your Guide to Oven Safety

Welcome to the heart of the home—the kitchen. Amid the aroma of culinary wonders lies a landscape fraught with potential hazards. From toppling ranges to shattering cookware, the dangers are subtle yet prevalent.


In our exploration, we’re taking a look at the three primary adversaries: range tipovers, cookware mishaps, and the looming threat of cooking fires. These dangers aren't just about burns; they encompass a complex web of risks that demand attention.


Avoiding Common Oven Related Accidents

We’re going to take a look at the three most common types of oven-related accidents. While you think immediately of getting burned, you also have to think of rage tipovers and shattering cookware. 


Range Tipovers

Almost 40,000 people were injured during a 20-year NIH study, just from a range tipping over. Unsurprisingly, children are the ones most at risk. When left unsupervised, kids love to climb, And if an oven door is left open? You can bet they will climb on that, unfortunately, causing the range to tip. 


A few ways you can prevent your range from tipping over- 


If your range doesn’t have one, install an anti-tip bracket to keep it securely in place. 


Never place a heavy tray on an oven door that’s been left open. (This is the most common reason adults get injured in a range tipover.) 


Drape a towel on the oven handle if a pan is cooling to remind you that it’s still there. 


Cookware Injuries

In the same NIH study, more than 37,000 people were injured while using cookware. Hot glassware can shatter (yes, even ‘heat-proof’ dishes), and handles can absolutely burn. 

To avoid both of these instances, remember these tips- 


Don’t take a dish directly from the freezer to the oven or the other way around. 


Don’t add liquid after a dish is hot, or put a hot dish onto a cold or wet surface as it can cause shock to the dish. 


If a dish has become cracked or chipped, stop using it. Those chips will eventually become cracks, spreading over time until the piece shatters. 


Make sure to turn handles out to the sides rather than being over a working burner. 


Cooking Fires

Cooking fires account for 2 of every 5 reported home fires. Of those, unattended equipment accounts for 1 in 3, and half are set off by fat, grease, or oil, according to the National Fire Protection Association. 


In the NIH study, approximately 16,262 people were treated for injuries caused by contact with the stove, most commonly for burns. 


If you spend a lot of time in your kitchen, take a minute to learn these safety tips to protect yourself and your home. 

Stay in the kitchen if you are frying, grilling, or broiling something. 


If you’re simmering, baking, or roasting, stay at home and check on your food often. A timer on your phone can help. 


Make sure to keep anything that can catch fire away from the stovetop. This can be things like food packaging, pot holders, kitchen towels, and cookbooks. 


If a fire starts in your oven, turn it off and leave the door closed. This will suffocate the fire. 

Always keep a lid near to hand to smother small grease fires. You can slide the lid over the pan and turn off the burn. 


Keep a fire extinguisher with a minimum rating of 5-B:C on hand in your kitchen or as close as possible. 


If a fire gets out of hand, leave the house and call 911. 


Gas Ranges vs. Electric Ovens and Safety Concerns For Each 


Gas 

Gas stoves burn natural gas, which does generate a number of invisible by-products. The biggest concern to our health is the production of nitrogen dioxide or NO2. According to Josiah Kephart, an assistant professor in the Department of Environmental and Occupational Health at Drexel University, this is produced when natural gas is burned at high temperatures when there is also nitrogen in the atmosphere. “We’ve known for a long time that [nitrogen dioxide] has many harmful effects on health,” says Kephart. 


While the Environmental Protection Agency regulates outdoor NO2 emissions, there are no standards for indoor exposure. Nevertheless studies dating back decades have shown the harmful effects from the no2 in gas cooking stoves. 


Studies have also found that unburned natural gas leaks from stoves, and contains the known carcinogen, benzene. Additionally, cooking, in general, creates fine particulates, which can cause or exacerbate respiratory problems. 


However, studies in this area have also long been linked to political lobbying groups, so data might be skewed one way or the other. As usual, politics is beyond our purview here, so we suggest doing your own digging. 


Electric 


Recent attention to the gas stove’s environmental impact has turned some away from the once-preferred chef’s stove. However, while electric stoves are the current darling of the industry, they also have their own issues. 


Courtesy of Mike Jones

According to a report by the National Fire Protection Association, they do tend to have far greater fire risks. A 2020 report by the NFPA showed that households with electric stoves reported fires at a rate 2.6 times higher than those with gas stoves. Equally staggering, the death rate of electric-run households was 3.4 times higher than those that had gas appliances. And the injury rate? That was nearly 5 times greater. 


General Safety Tips In the Kitchen 

We’ve taken both general tips and those from the community to bring to your attention. *


You need to be sure you are watching your food and your hands so you do not get burned; both are hot. Pay attention to smooth-top ranges, as the ceramic glass can be very hot for a while, even with the burner off. The same goes for gas stove grates above the burner.


Roll up your sleeves before cooking. Loose-fitting clothing can catch on fire.


Both electric and non-electric ovens have a thermostat to control how high the heat goes, and then they cycle the heat on and off to maintain the correct temperature. Can thermostats go bad? Yes, equally in both electric and non-electric ovens. ((ARS Note: This is one of the key reasons we suggest having your oven maintained regularly!))


Clean the stove, oven, and burners regularly to prevent grease buildup.


Use the right cookware both for your type of range and for the size of the burner. 

Only use cookware in the oven that is meant to go in the oven. Plastics will melt and either damage your oven (ask us how we know.) Metals, on the other hand, can damage the oven by heating it improperly and will almost certainly cause your food to cook improperly. 


Keep items that can catch fire, such as dish towels and pot holders, away [from heat sources].


Overheated foods can cause a fire. With that in mind, cook your food for the recommended cooking time, and use oven mitts to protect yourself when taking it out. 

Plug cooking appliances directly into an outlet. Never use an extension cord for a cooking appliance.

Tuck appliance cords out of reach of children.

If your oven has malfunctioned, it’s not safe to use it. Whether it is gas or electric, it needs to be seen by a professional. You can have gas leaks, your oven overheating, or the heat cutting out randomly and without notice. 


Finally, read the manual for your range. The manufacturer included it so you could get the best experience from your oven, and reading it will only help you. 


And there you have it—a peek behind the oven door, revealing the quirks and perils lurking in our culinary havens. Remember, while your kitchen might be a stage for gourmet wonders, it's also a hotspot for potential misadventures. Stay vigilant, cook safely, and should your appliances ever decide to throw a cooking tantrum, don't hesitate to summon the professionals at Appliance Rescue Service. Until then, may your kitchen adventures be filled with delicious triumphs and minimal mishaps. 

Website 

Office Number:  (214) 599-0055


Additional Reading:

Places to Avoid: The Paw Version! 


Why The Media Wants You To Be Scared Of Your Gas Stove


Help I Melted Plastic In My Oven


*Some commentary may have been adjusted for clarity or length. 


Chill Hacks Unveiled: Mastering Your Fridge's Microzones for Fresher Foods

 From Crisper Drawers to Door Dilemmas - Your Complete Guide to Optimizing Refrigerator Storage and Banishing Food Wastage

Ever wondered why your refrigerator seems like an enigmatic labyrinth of varying temperatures? Brace yourself for a surprising revelation: your fridge isn't the uniform cold box you think it is. Instead, it's a tapestry of microclimates, each with its own purpose and ideal use. Buckle up for a journey into the hidden world of fridge dynamics, where thermodynamics and food storage collide to challenge common assumptions.


Prepare to unravel the mystery behind why your leftovers might fare better on one shelf than another, why your greens shouldn't cozy up with your meats, and why that jar of jam ended up frozen solid in the back. Join us as we break down the misconceptions about your refrigerator's temperature zones and unveil the secrets to optimizing freshness and food safety within its chilly confine


Refrigerator Revelations: Unveiling the Myth of Uniform Temperatures


Let's start with breaking down a common misconception: your refrigerator is not all one temperature. We know it's a strange thought. Most of our clients are very shocked when they discover this. But it's true. 


Instead, your refrigerator is made up of many different microzones. Now, your microzones work based on the concept of thermodynamics. We know, we know, that's not something any of us want to try and dive into on a Wednesday night. And to be frank, it's beyond anything we need to go into. What matters is understanding that heat rises. Even in a cold environment like your refrigerator, heat will always rise*. So, the warmest portions of your refrigerator will be the top shelf of your refrigerator because of that principle, and also the door of your refrigerator because it's constantly being exposed to warm air as you open and close your refrigerator throughout the day. No matter how fast your refrigerator returns to temperature, there is still fluctuation. That fluctuation will directly affect whatever you store on the door of your refrigerator. We'll go into more of that later on in the article. For now, it's enough to understand that it's an issue. 


The Secret Behind Microzones: How Your Fridge Works on Thermodynamics


The different zones in your refrigerator are  your door, top shelf, middle shelf, bottom shelf, and any drawers you have, like a crisper drawer, cheese drawer, or deli meat drawer. Each of these different zones has been engineered for a different purpose, and the shape of the drawer directly impacts how temperature and humidity affect the food inside the drawer.  


Crisper Drawers Decoded: Optimizing Humidity for Fresher Produce


Let's take a quick side note to explain the different drawers that might come with your refrigerator. Your crisper drawer is typically one to two drawers on the bottom of your refrigerator. Whether you have a French door, a single door, or a top-of-the-line Sub Zero refrigerator, the bottommost drawer or drawers is for fruits and vegetables. The reason for this ties into the microclimates like we talked about earlier. This is the coldest part of your refrigerator, and it fluctuates between cold and colder. Now, your fridge's design might be two drawers side by side or one on top of another. We have worked on both varieties. It doesn't matter for the most part. Either way, there is typically a small flap or a slider that allows you to set which one has lower humidity and which one has higher humidity. 


Lower humidity is typically for fruits, and higher humidity is for vegetables. This is where we will get into some exceptions in just a minute. These drawers work on humidity as well as temperature. Your fruits need lower humidity, which the slider or air flap on the drawers allows them to adjust. Just because it's not extra fancy or has dials or switches that you need to work to learn doesn't mean that it's not effective. Companies have discovered what works and, for the time being at least, are sticking to it. Higher humidity allows your vegetables to maintain the most moisture, keeping them from wilting for longer. 


Mastering Middle Shelves: The Stable Haven for Dairy and Deli Delights


But Blogger, you say, what about the shelves in the middle? What are those for? Oh dear, reader, those shelves are, in what we said earlier, the most stable portion of your fridge. This is the section that is most likely to stay at the temperature for what you've set your refrigerator to. These drawers, whether you have one or two, sometimes even more, will be where you store your cheeses and deli meats. Cheeses and deli meats need to be kept away from fluctuations in temperature to ensure that they stay tasty and free from bacteria for as long as possible. They also don't need to worry about humidity like your fruits and vegetables, which is why they are just drawers. 


Strategic Food Placement: Where Every Zone Shines in Your Fridge


Now that you understand how your refrigerator works and how some of the more specialized sections should be used let's look at your fridge as a whole. This breakdown for storing your food comes from years of research into maximizing space, freshness, and food safety. So, at the top of your fridge,  as we mentioned earlier, that is going to be the section that fluctuates the most, and therefore, is the section where you should store already cooked foods; this is your leftovers,  this is the rotisserie chicken that you're going to have tomorrow night for dinner or the green bean casserole that your neighbor brought over because they had a little too much. Things like that. 


Your middle shelves are where you should store your dairy products. Cheeses, butter, eggs, and other things that need to be kept as stable as possible. 


Your bottom shelves are where you store raw meats and fish. If you really wanted to, all of the other shelves, ,could be swapped around. If you follow the other tips we will talk about, your food will stay fresh. Maybe not for as long as they could, but they will stay fresh for about the average length of time that you might expect. For your raw meats and fish, you store them at the bottom of your refrigerator not just to keep them fresh for longer and to butkeep them in that cold air that doesn't fluctuate as much. It's also for food safety. Raw meats tend to leak. You don't want that getting on the rest of your food.  


Now, we're not saying you should just throw a hunk of raw meat or the fish your cousin caught for dinner tonight onto these shelves. You store these on the bottom shelf because they won't leak into the drawers when wrapped properly. Your crisper drawers are designed so things from on top, unless they spill or overflow, won't get into the drawers. Instead, they drip around and under. Your shelves, though, say the top and middle shelves aren't designed the same. Put meat on those shelves, and you will contaminate the shelves below.   


Decoding the Door Dilemma: What to Store (and Avoid) on Your Fridge Door 


The one thing we haven't talked about yet is your refrigerator door. On your refrigerator door, it is good to put things like condiments. They're not bothered much by fluctuating temperatures. Salad dressing falls into the same category. Even the ones you might make yourself can still be stored in the container and left on your fridge door. Soda, water bottles, sports drinks are great to put on your refrigerator door, so they're easy to grab. 


Things that maybe shouldn't go on your door that you wouldn't consider: 

Nut butters

Milk 

Glass bottles 

We've all done it. Heck, in your Blogger's fridge right now (or at least right now as of the time of this initially being written) is a container of milk. The reason you don't want to store it there normally is because it will go bad faster. In our household, however, it doesn't typically last long enough, so we choose to take that risk. Which is what you can do as well. Nut butters, however, and glass bottles are less conditional. Nut butters like almond butter and cashew butter will start to separate when kept at unstable temperatures. They start to either become hard or oily, they don't taste as good, and they're harder to spread. Then you've got glass bottles, which is more of a practicality issue. All it takes is one slam of the door, and there goes all that lovely wine you were planning on sharing. 

A refrigerator with some things stored properly and some not. How many can you find?

Courtesy of the USDA

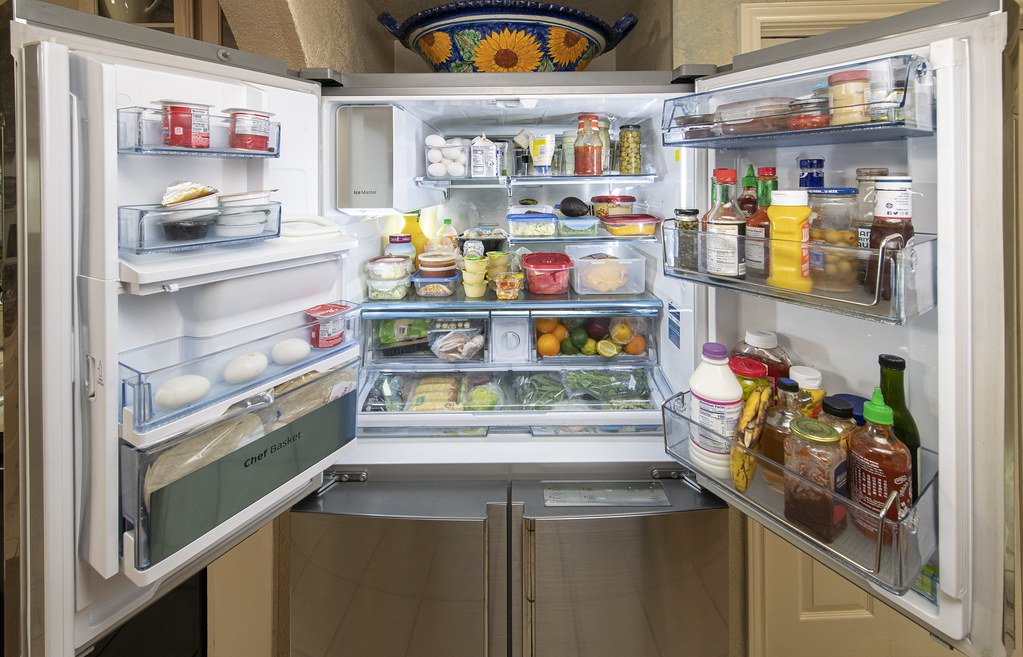
Versus, this refrigerator which has taken into consideration the various tips and safety measures that we talked about, and the size and design of this particular refrigerator.

Courtesy of the USDA


The FIFO Method: Saving Money and Maximizing Freshness in Your Fridge


How do you save money then? The answer is the First In First Out method. It is a very simple concept, but it does take a bit of thinking as you implement it. You put the newest foods at the back of the shelf and bring the oldest foods towards the front. You can do this with everything or just things you buy duplicates of. An example would be putting an already open pint of sour cream at the front and a new one at the back of the shelf. 

 We aren't saying you have to do this every day. That would be ridiculous, and you would end up wasting electricity and letting in all the hot air you're trying to avoid. But once a week or so, when you go grocery shopping, do this, and then you have all of the oldest food towards the front automatically when you need to go and plan for meals or just need a quick snack. The First In, First Out method is utilized by restaurants and other corporate-level food services. It's a way to ensure your food is used long before it spoils.  


The Perils of Overstuffing: Why Air Circulation is Key in Your Refrigerator


A final important note that we think cannot be overstated is that you should not be overstuffing any section of your fridge. Your refrigerator cannot do its job properly if it can't breathe. If the air cannot circulate around your refrigerator, the microclimates we discussed will go to extremes. The coldest section, that bottom shelf, and your crispers will end up freezing. Meanwhile, your top shelf and door will be much warmer than they should be, causing things to spoil. This is how you end up pulling out the jar of jam from the back of a shelf and finding out that it's frozen solid in the time that it's been in your refrigerator. While sections like your crispers have an optimum level of food in them, say 67%, the rest of your fridge is more a matter of air being able to move around. That one does take a little bit of trial and error. It becomes much easier if you pay attention and start with the tips we've taught you today. 


Keeping Cool: When to Call for Professional Refrigerator Assistance


Remember, your refrigerator is not just a glorified cold box—it's a meticulously engineered system of microzones. By understanding its nuances, from the fluctuating temperatures of the top shelf to the humidity-controlled crisper drawers, you hold the key to prolonging the freshness of your groceries and minimizing food waste.


So, bid farewell to haphazard food placement and embrace the art of organized refrigeration. Employ the 'First In First Out' method, keep meats low, dairy mid, and condiments on the door, and most importantly, avoid overstuffing to let your fridge breathe. By following these simple strategies, you're not just managing your fridge; you're preserving flavor, maximizing space, and ensuring a longer shelf life for your groceries.


However, if you encounter issues beyond the realm of organization—such as temperature inconsistencies, malfunctioning water lines, or any other fridge-related quandaries—don't hesitate to reach out for professional help. Appliance Rescue Service is here to assist you, whether it's a troubleshooting call or a need for expert maintenance. Contact us today via our website or give us a call to schedule an appointment and ensure your refrigerator runs smoothly, keeping your food fresh and your kitchen hassle-free.

Website

Call: (214) 599-0055 


Additional Reading: 


The Hidden Messages Behind the Odors in Your Refrigerator


Why Is My Refrigerator Making Weird Noises!? 


* If you are a physicist, or other scientist who studies thermodynamics and we have gotten this wrong in certain instances, please understand that we are talking solely about heat in a refrigerator.


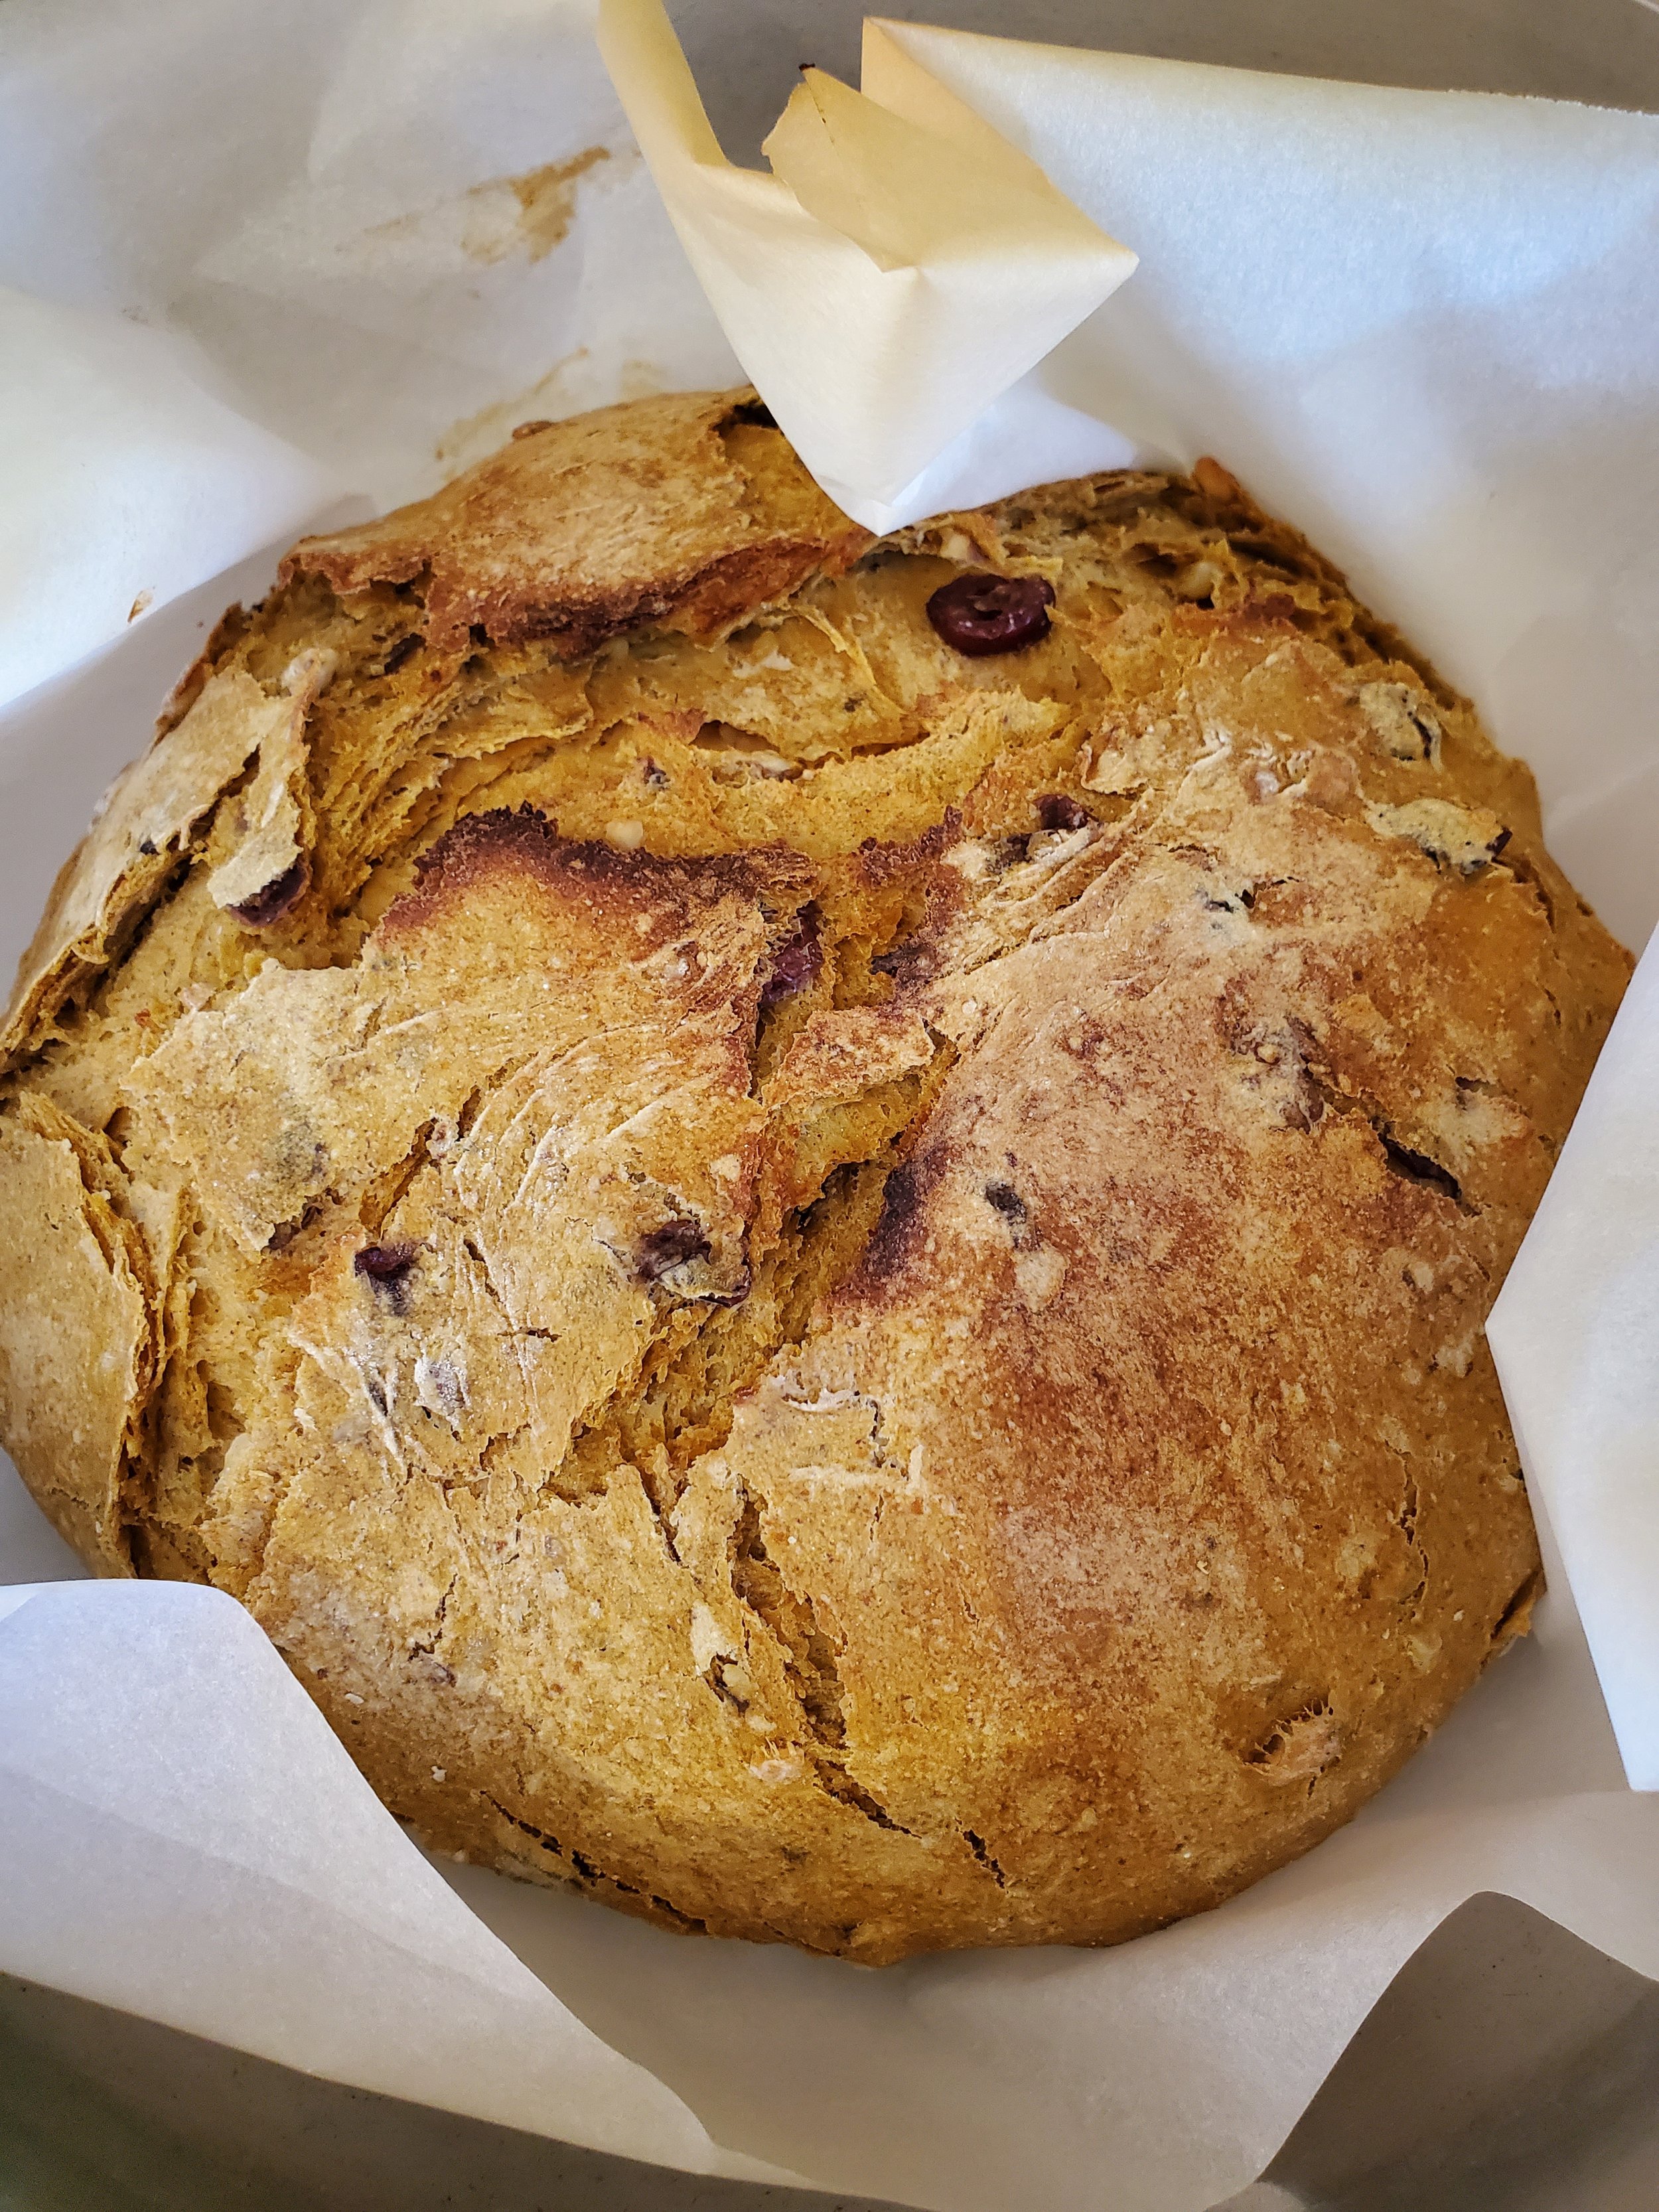
Harvest Bliss: Cranberry Pumpkin Nut Bread

A Decadent Fusion of Fall Flavors

Get ready for a delicious adventure with our Cranberry Pumpkin Nut Bread—a recipe that embodies the flavors of fall. It’s not just a bread; it's a hearty combination of pumpkin, spices, and delightful textures. Although it demands a bit of attention, trust me, every effort pays off in each aromatic slice.


Ingredients:

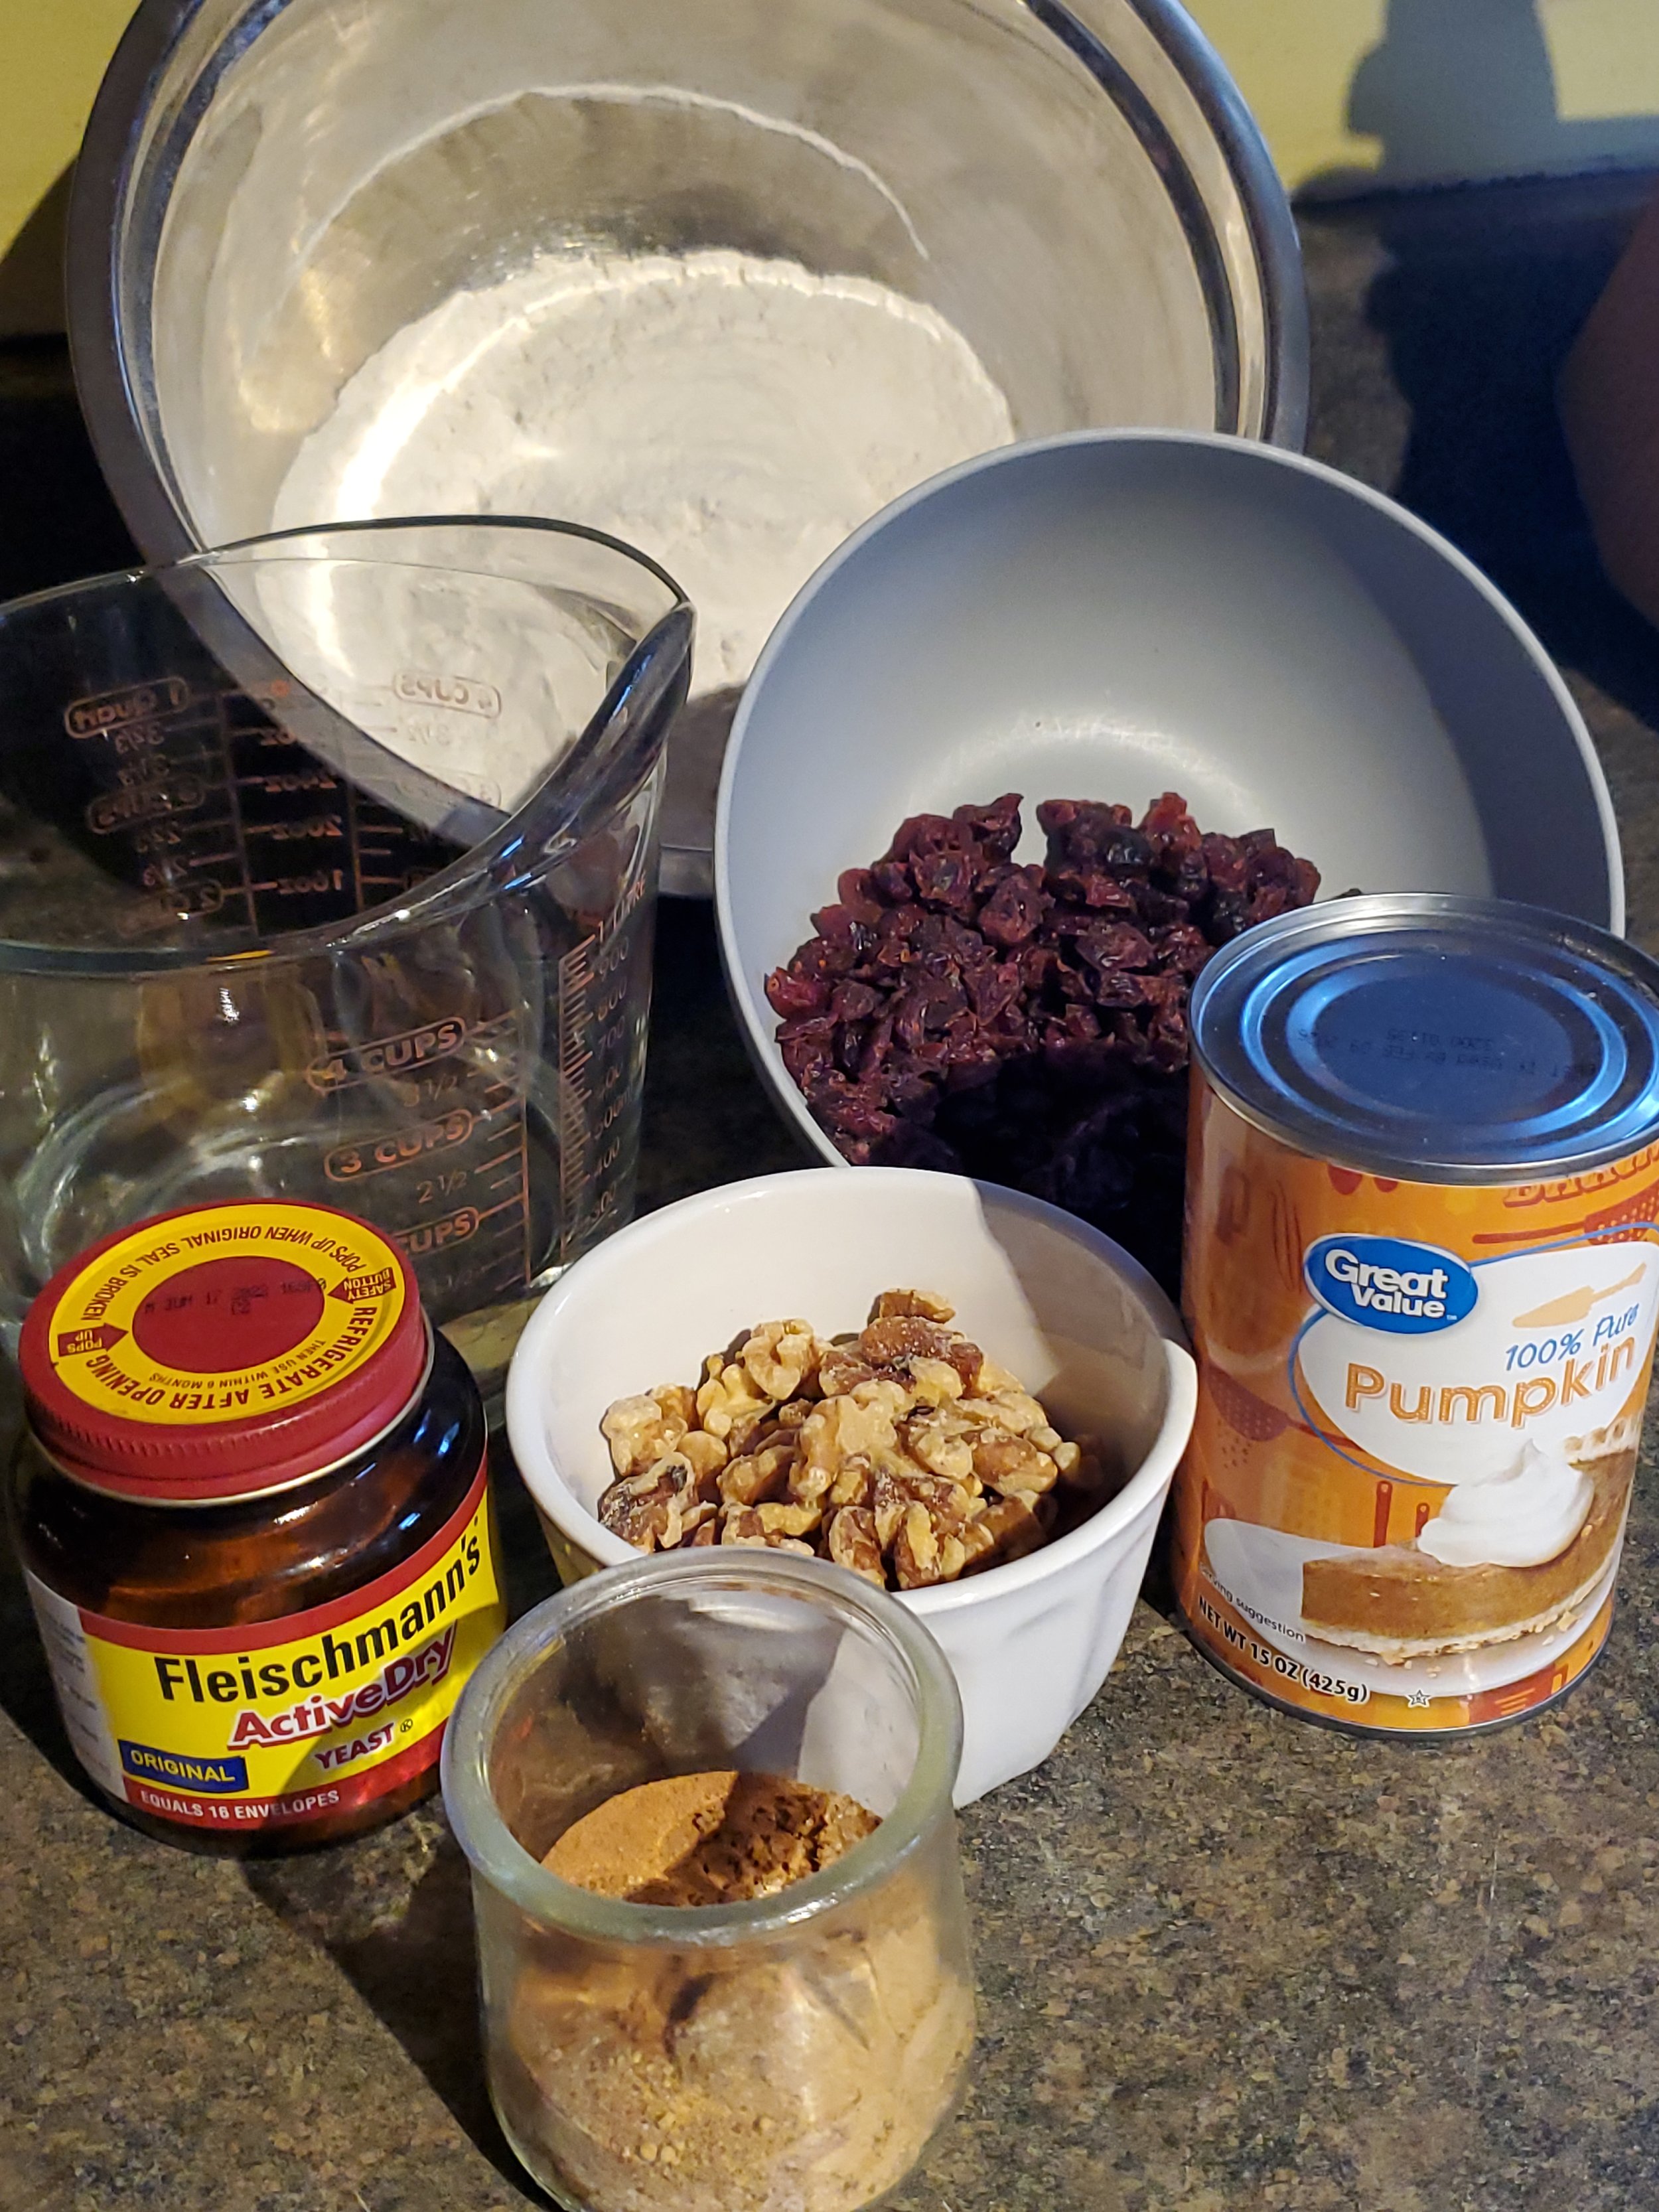
1 cup water, warm, plus enough water to fill a kettle

1 tablespoon active dry yeast

1 15 ounce can plain pumpkin

2 tablespoons sugar

1 1/2 teaspoon ground cinnamon

1/2 teaspoon ground ginger

1/4 teaspoon nutmeg

1/2 teaspoon salt

4 1/2 cups flour, divided

1/2 cup chopped walnuts

1/4 cup dried cranberries


Tools:

parchment paper

Dutch oven, caldero, or four loaf pans

measuring cups and spoons

mixing bowls

tea kettle or pot for water

smaller, heat-proof bowl

colander

clean kitchen towel


Quick word of caution: This will be a messy, time consuming recipe! Do not attempt to do this on Thanksgiving. If you're an experienced baker of bread, you might pull it off. But if you're us... You'll just create a mess and not have the bread til after dinner. 


Well before you intend to get anything going for this recipe, start a tea kettle or a pot of water on the stove. You can use the time while you wait for it to reach a boil to get your other ingredients out.


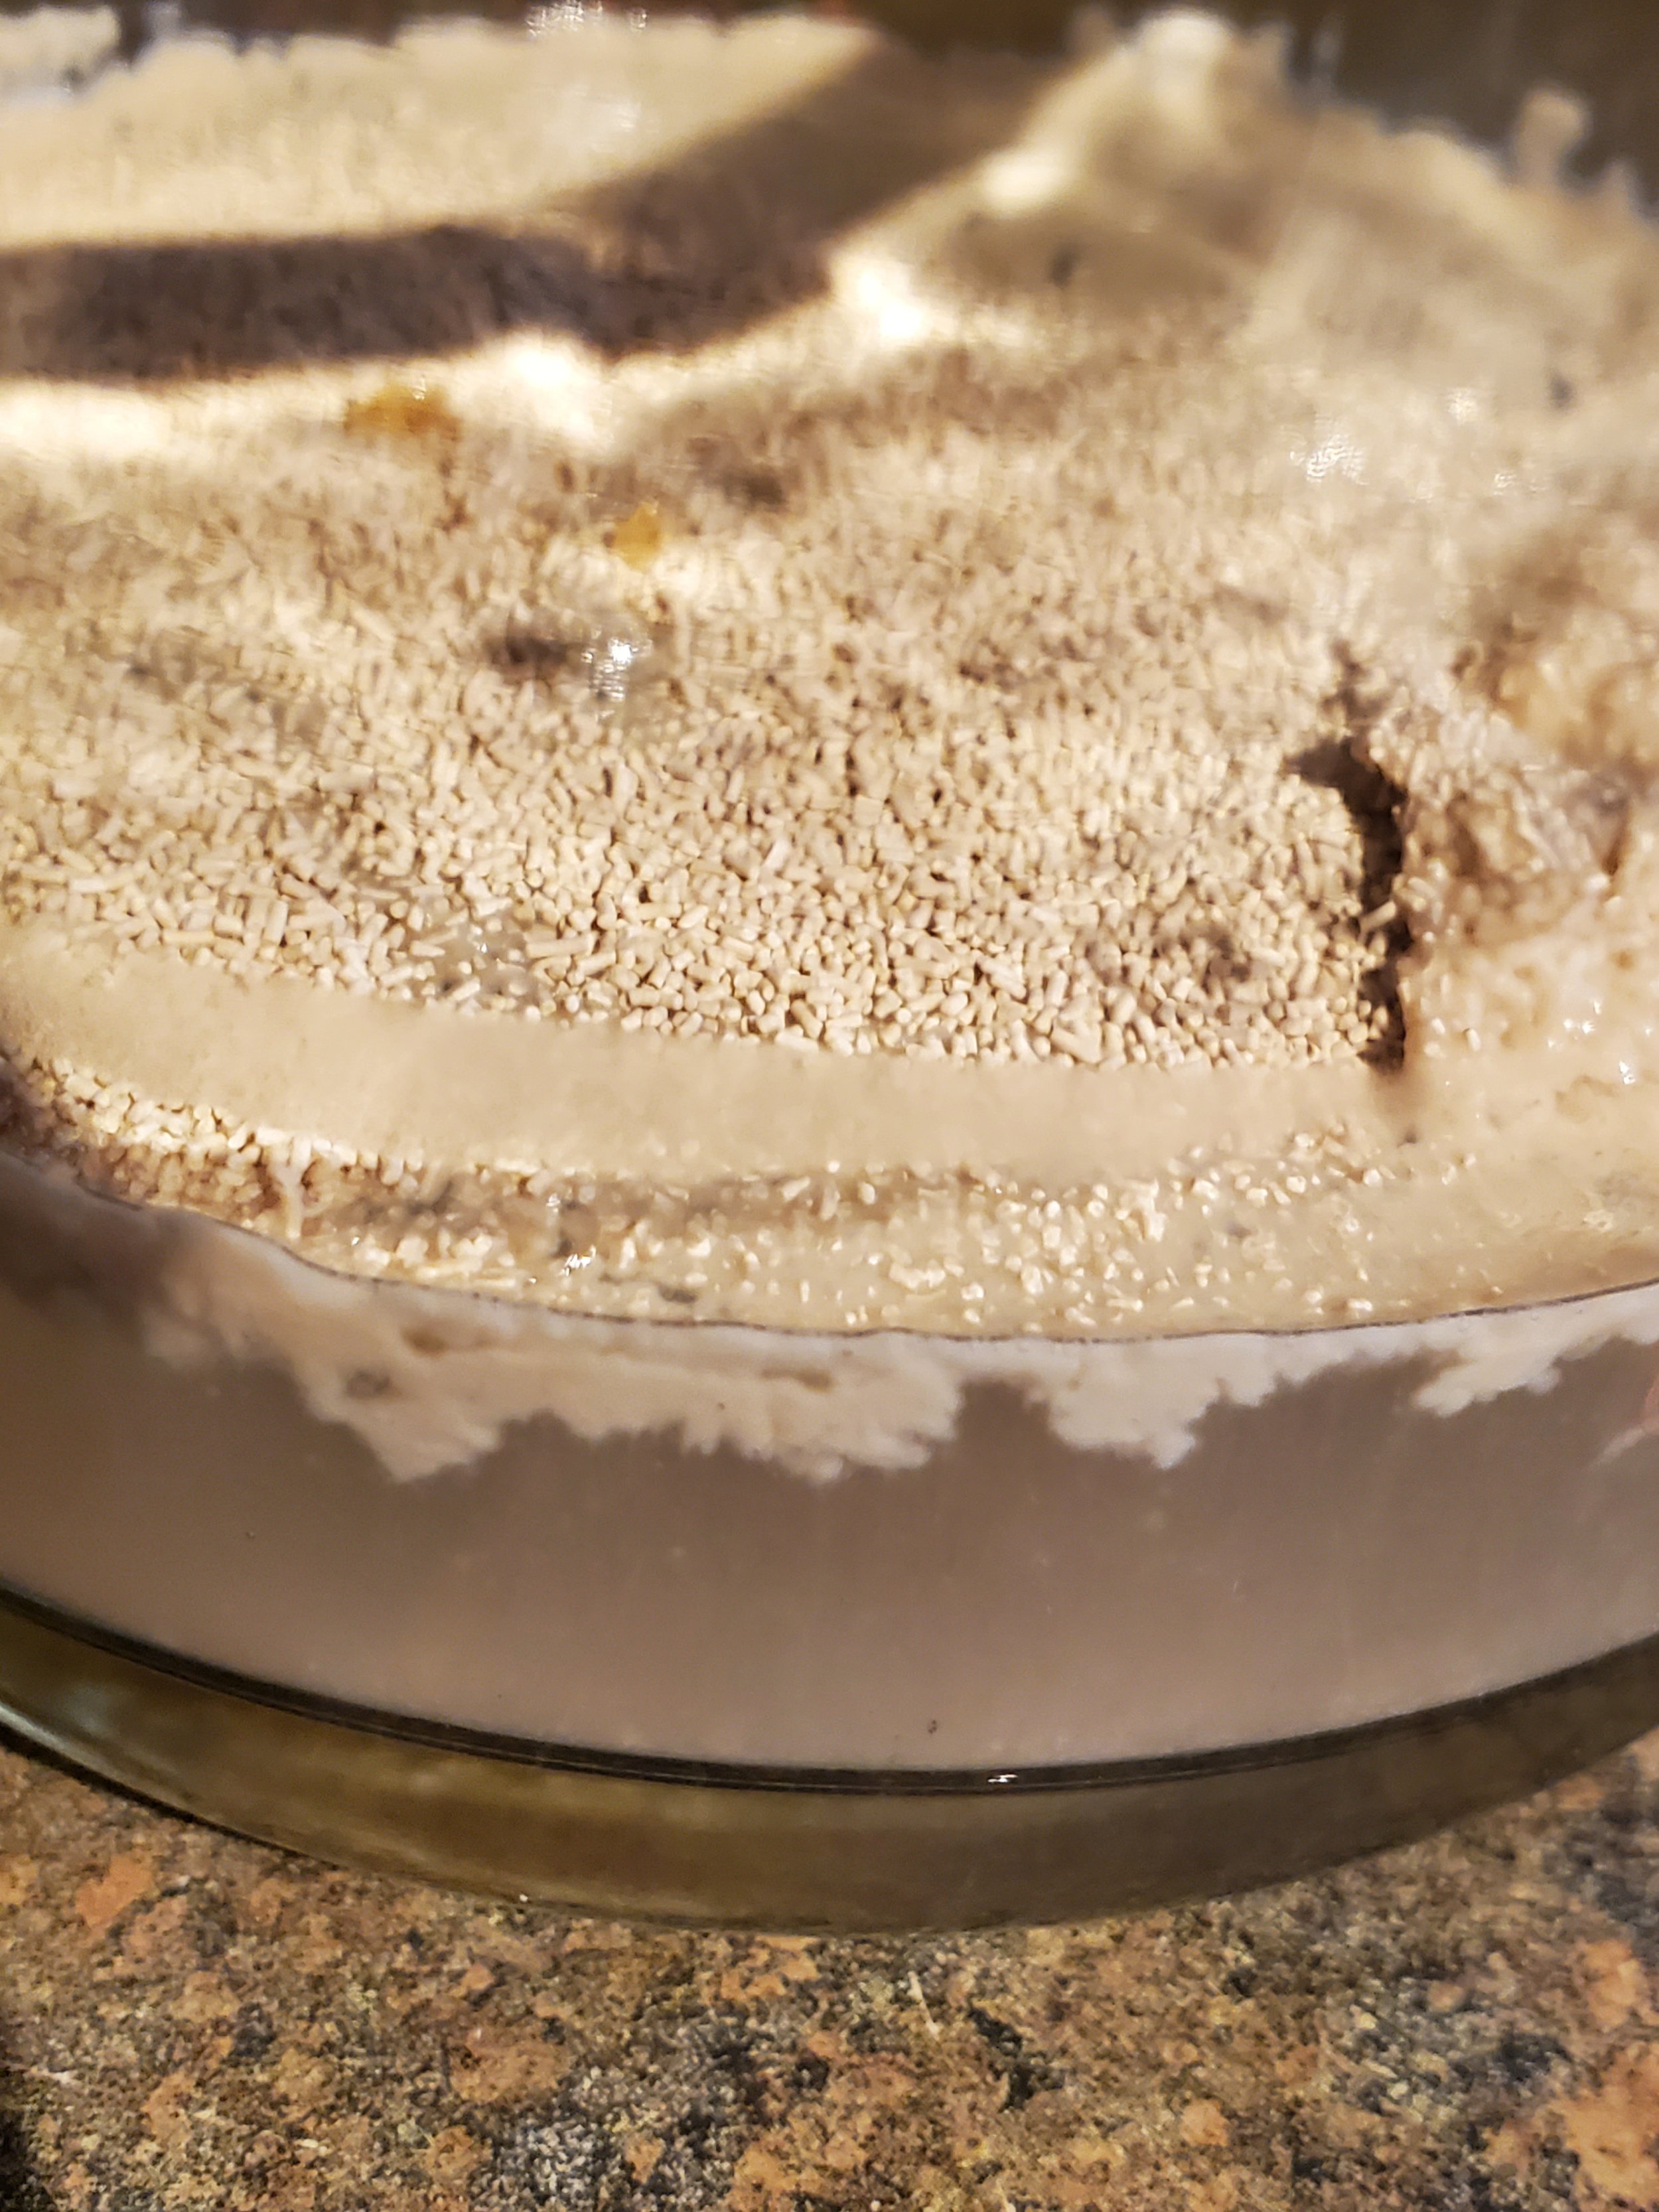
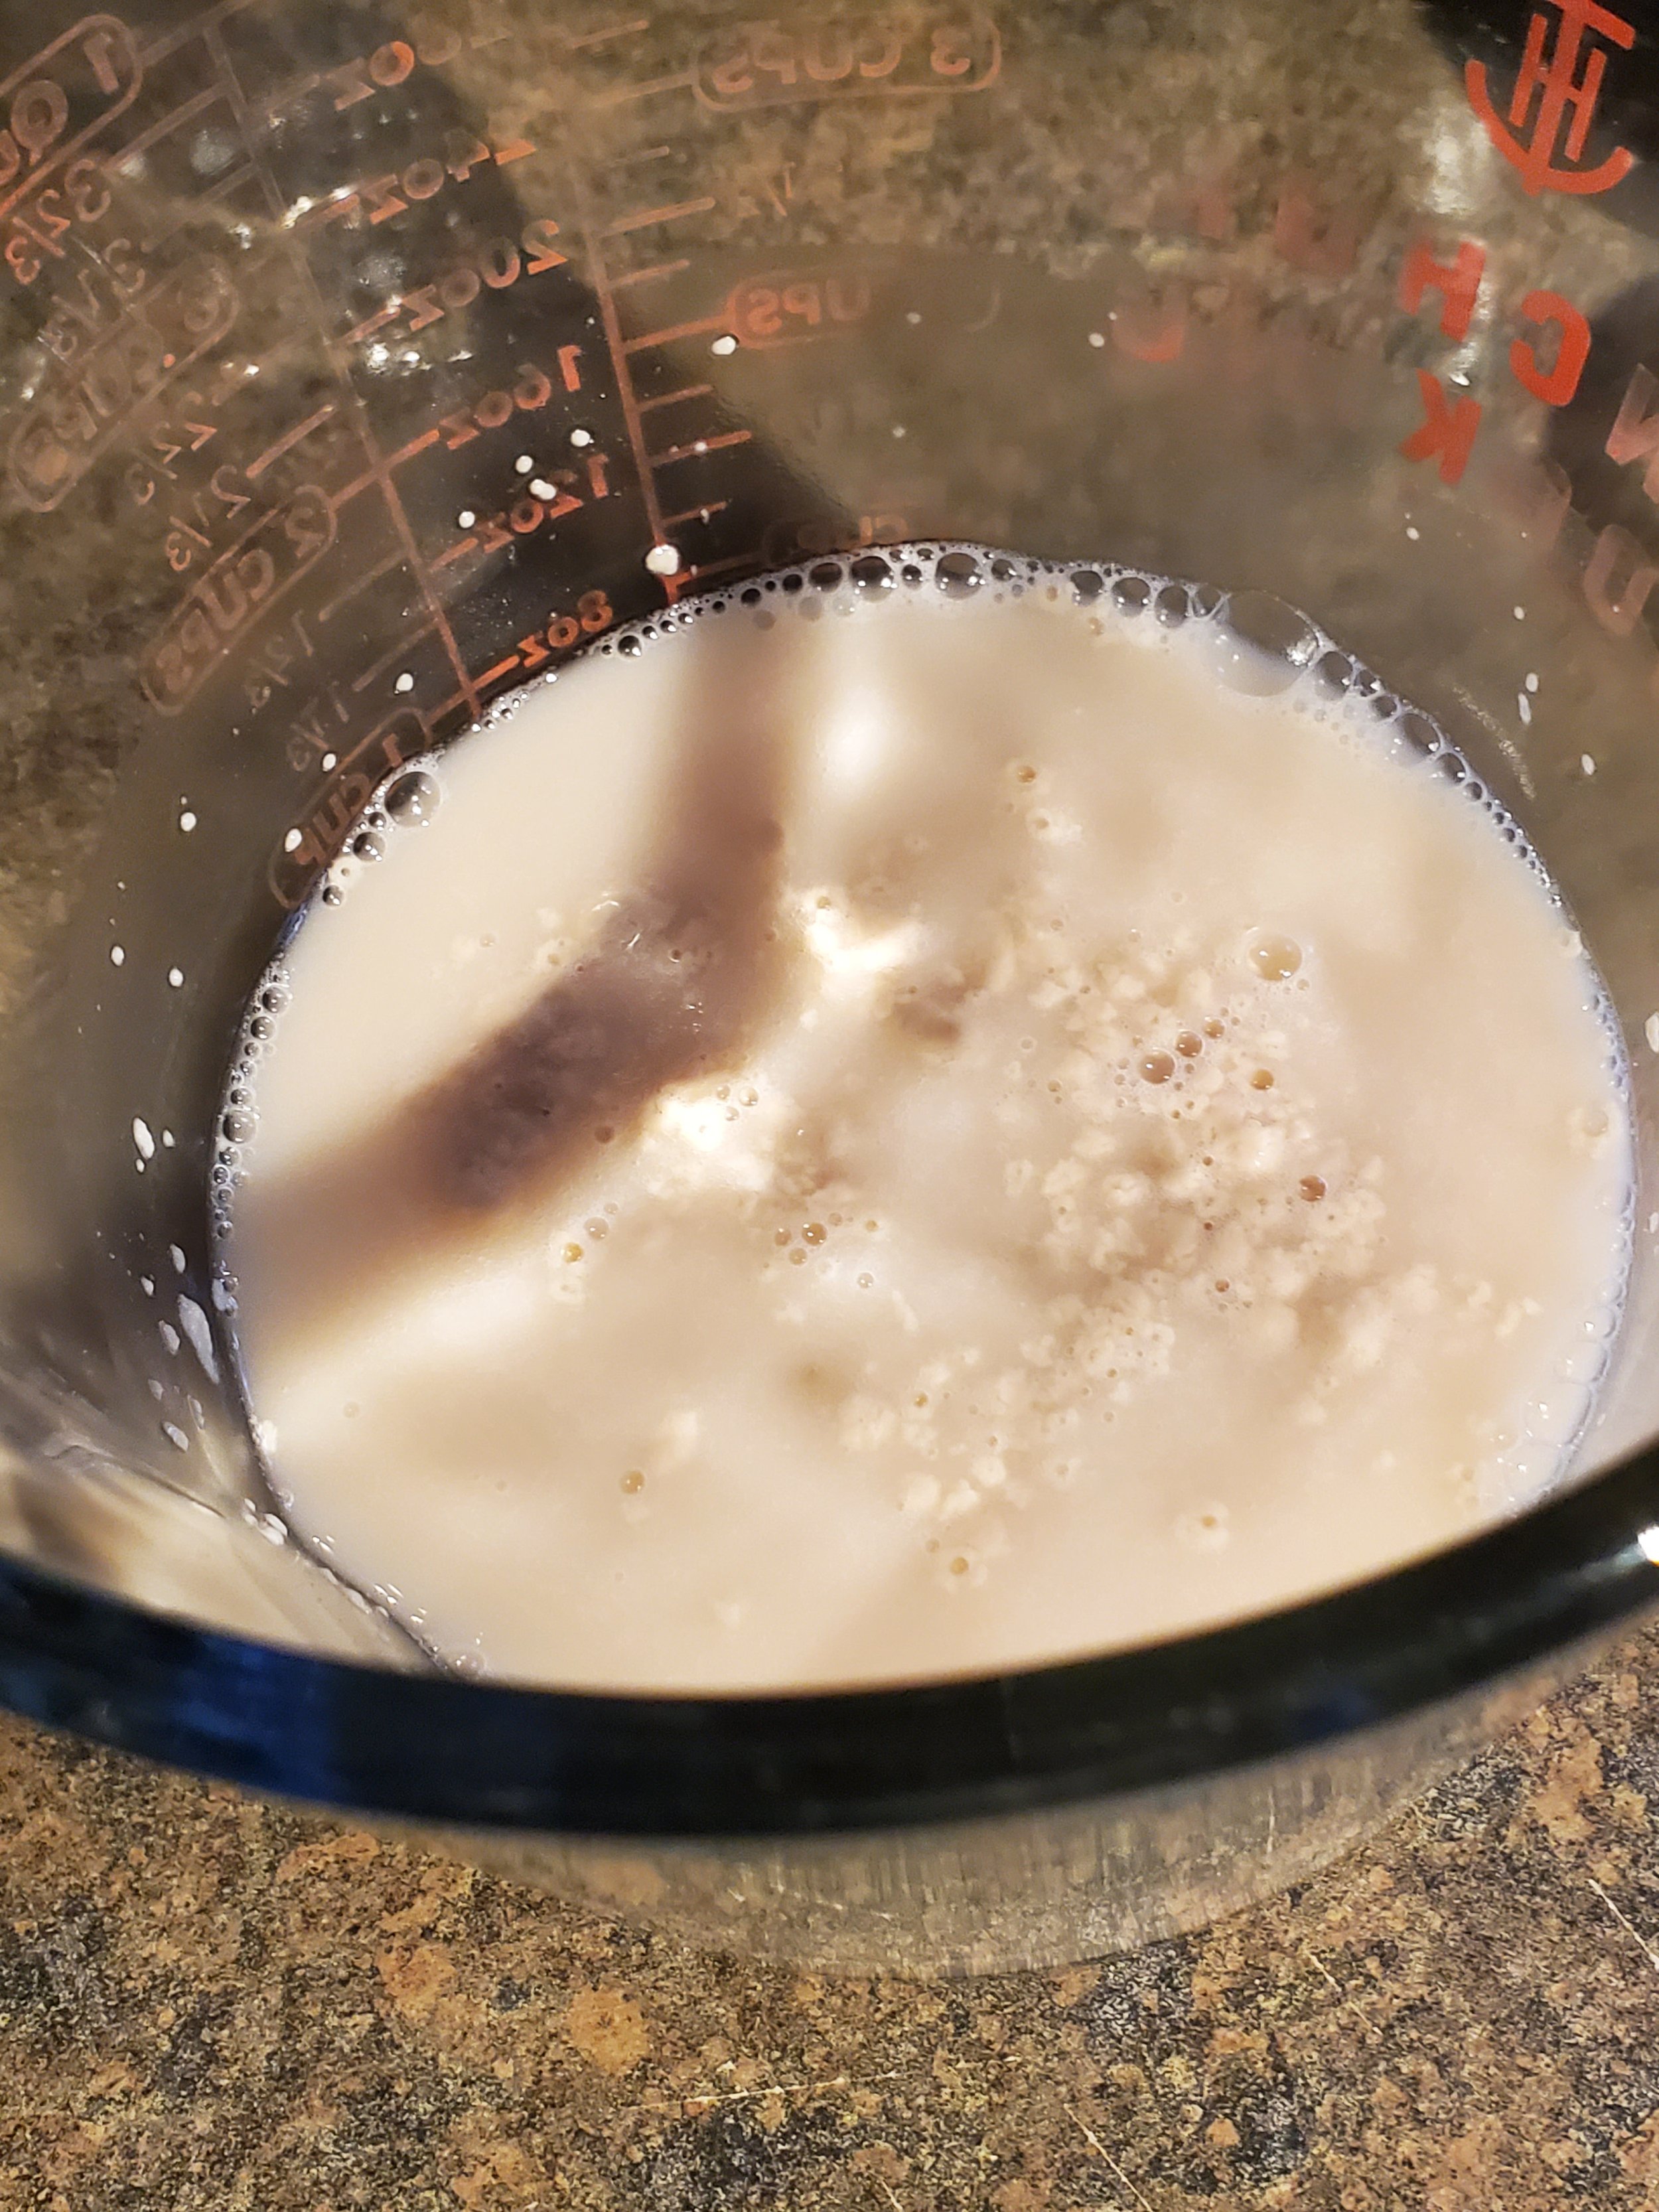
Once you have all your ingredients handy, begin by measuring your yeast into warm water and setting it aside to double in size. This should take five minutes or so.


Measure the flour, stopping at three and a half cups. Reserve the additional cup in another bowl. Don't forget to level your flour! It's going to be sticky dough and you'll likely be tempted to add more flour, but don't fall for it, and definitely don't sabotage yourself by starting with more than you meant to.


Include your sugar, salt and spices in the dry ingredients. We want to see them evenly mixed into your flour before any wet ingredients join the party, that way you don't end up with bland spots and spots that have too much cinnamon or something.


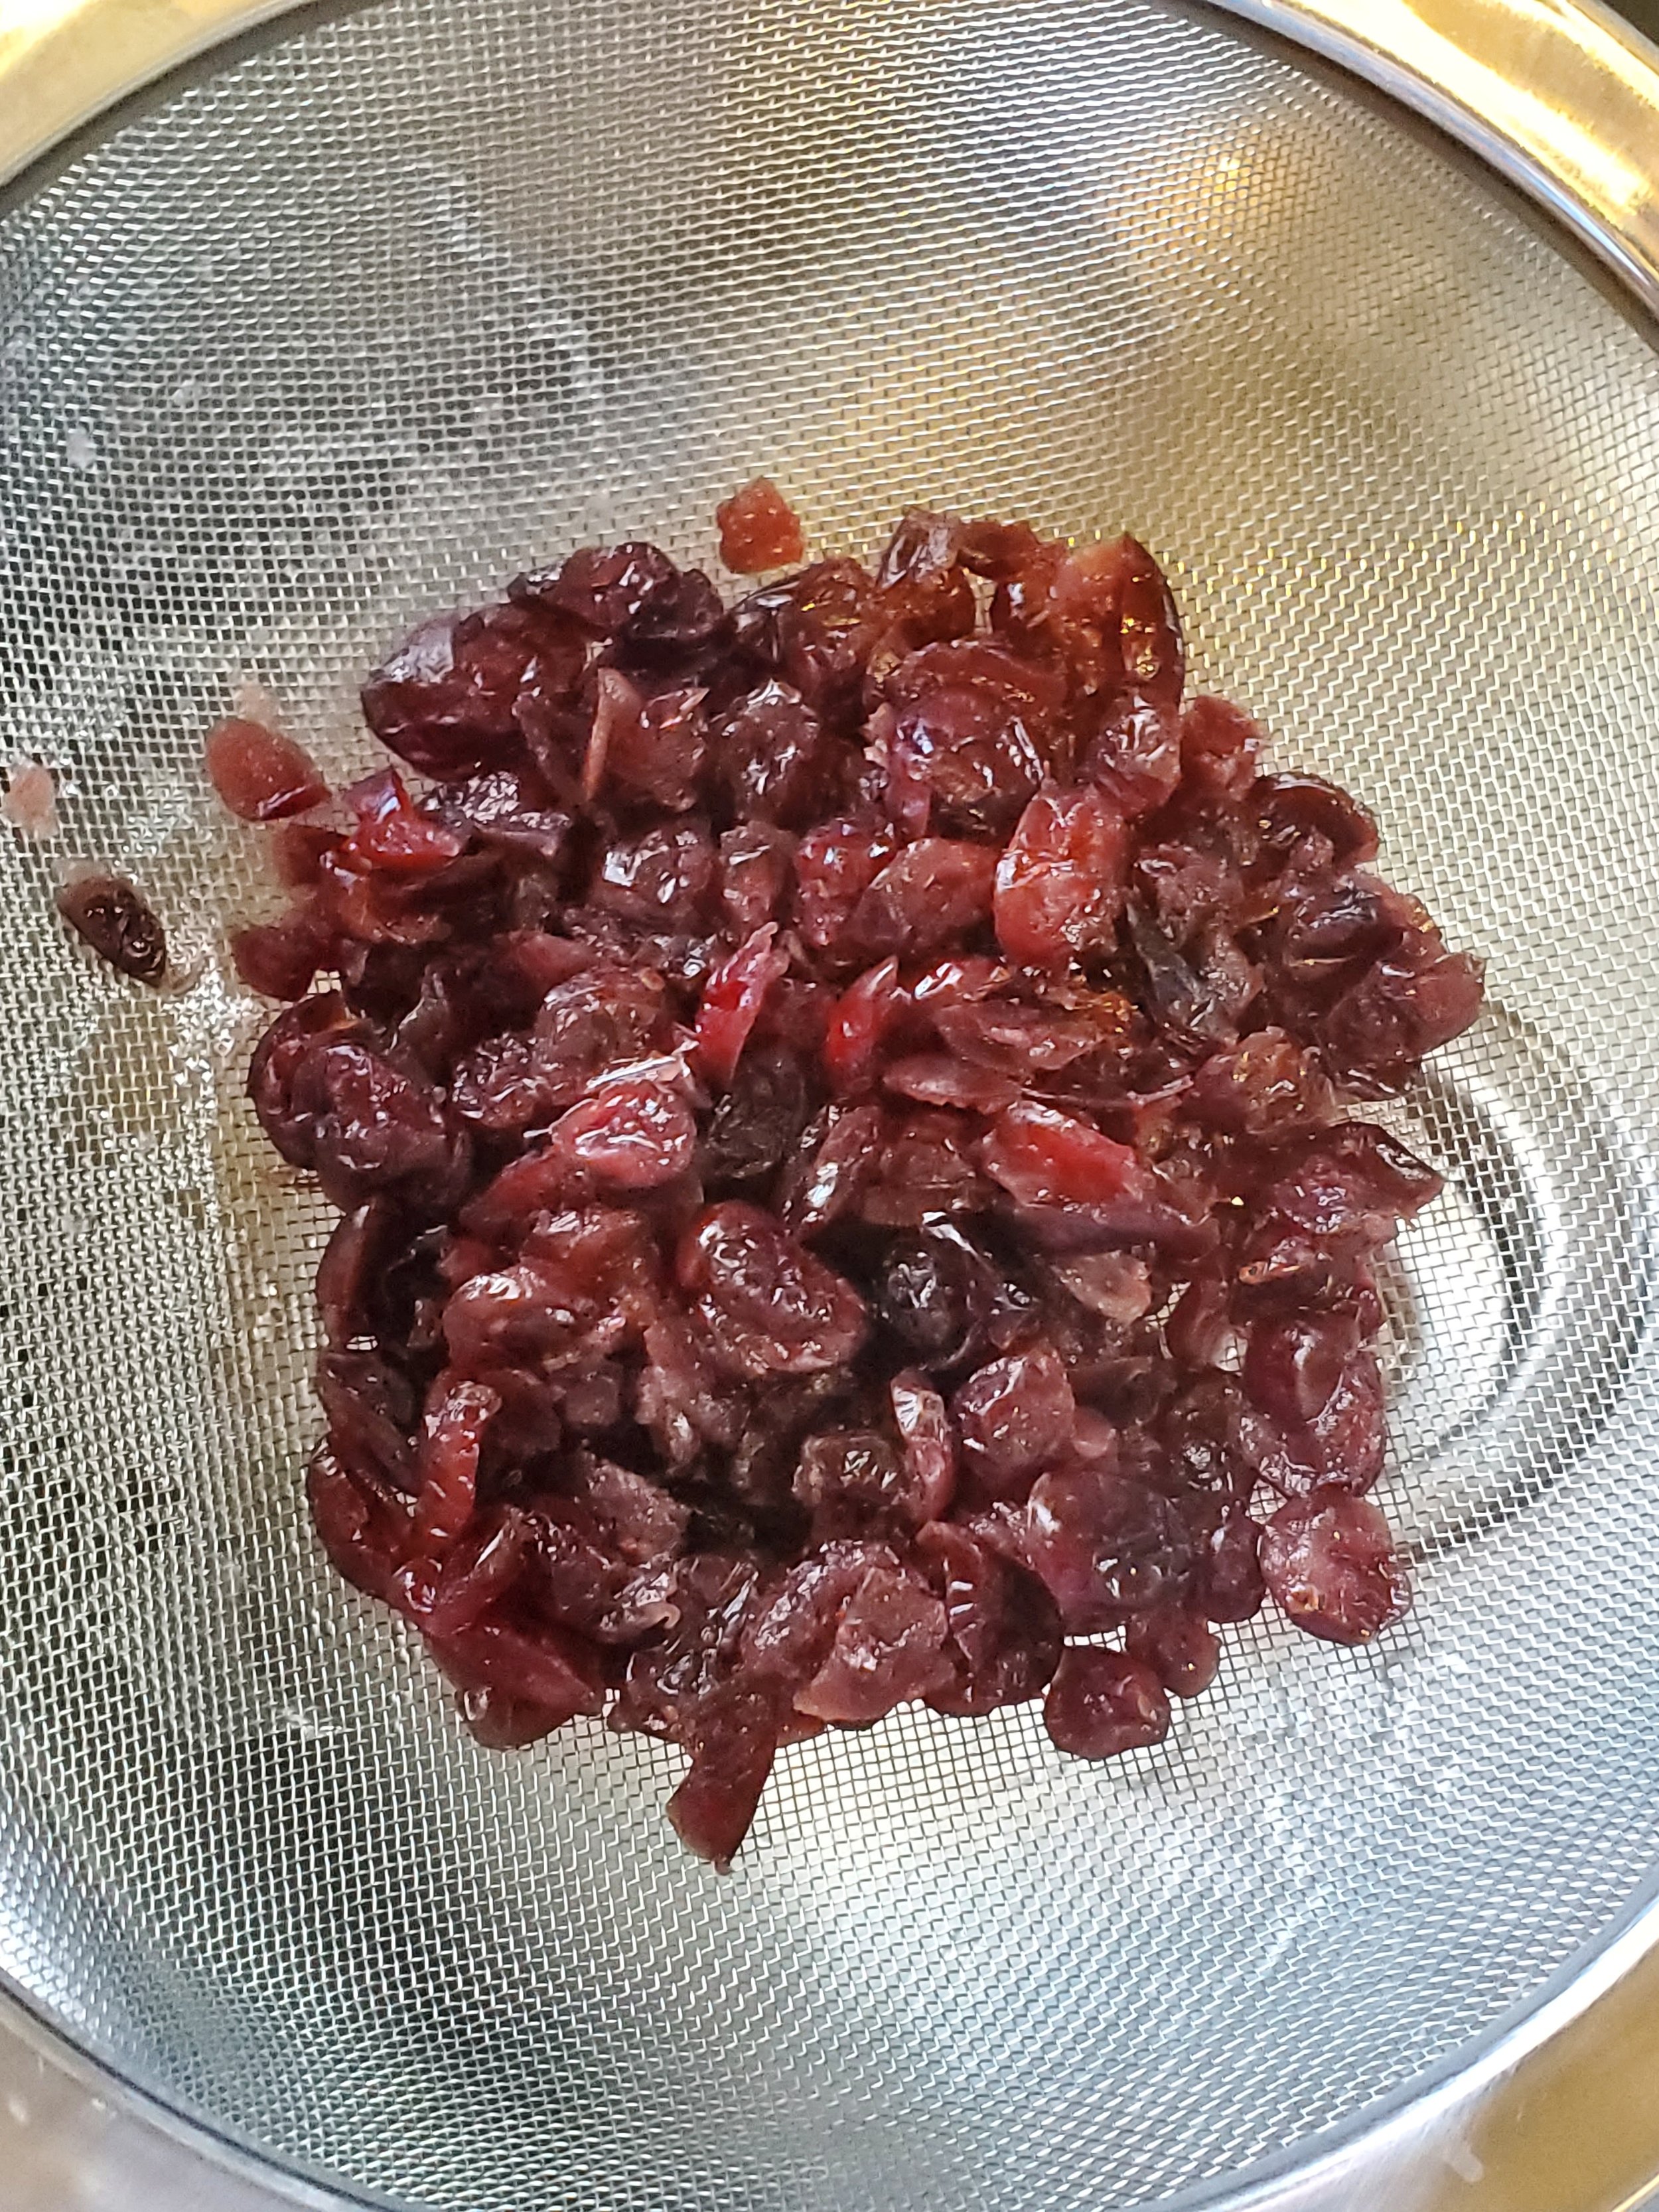
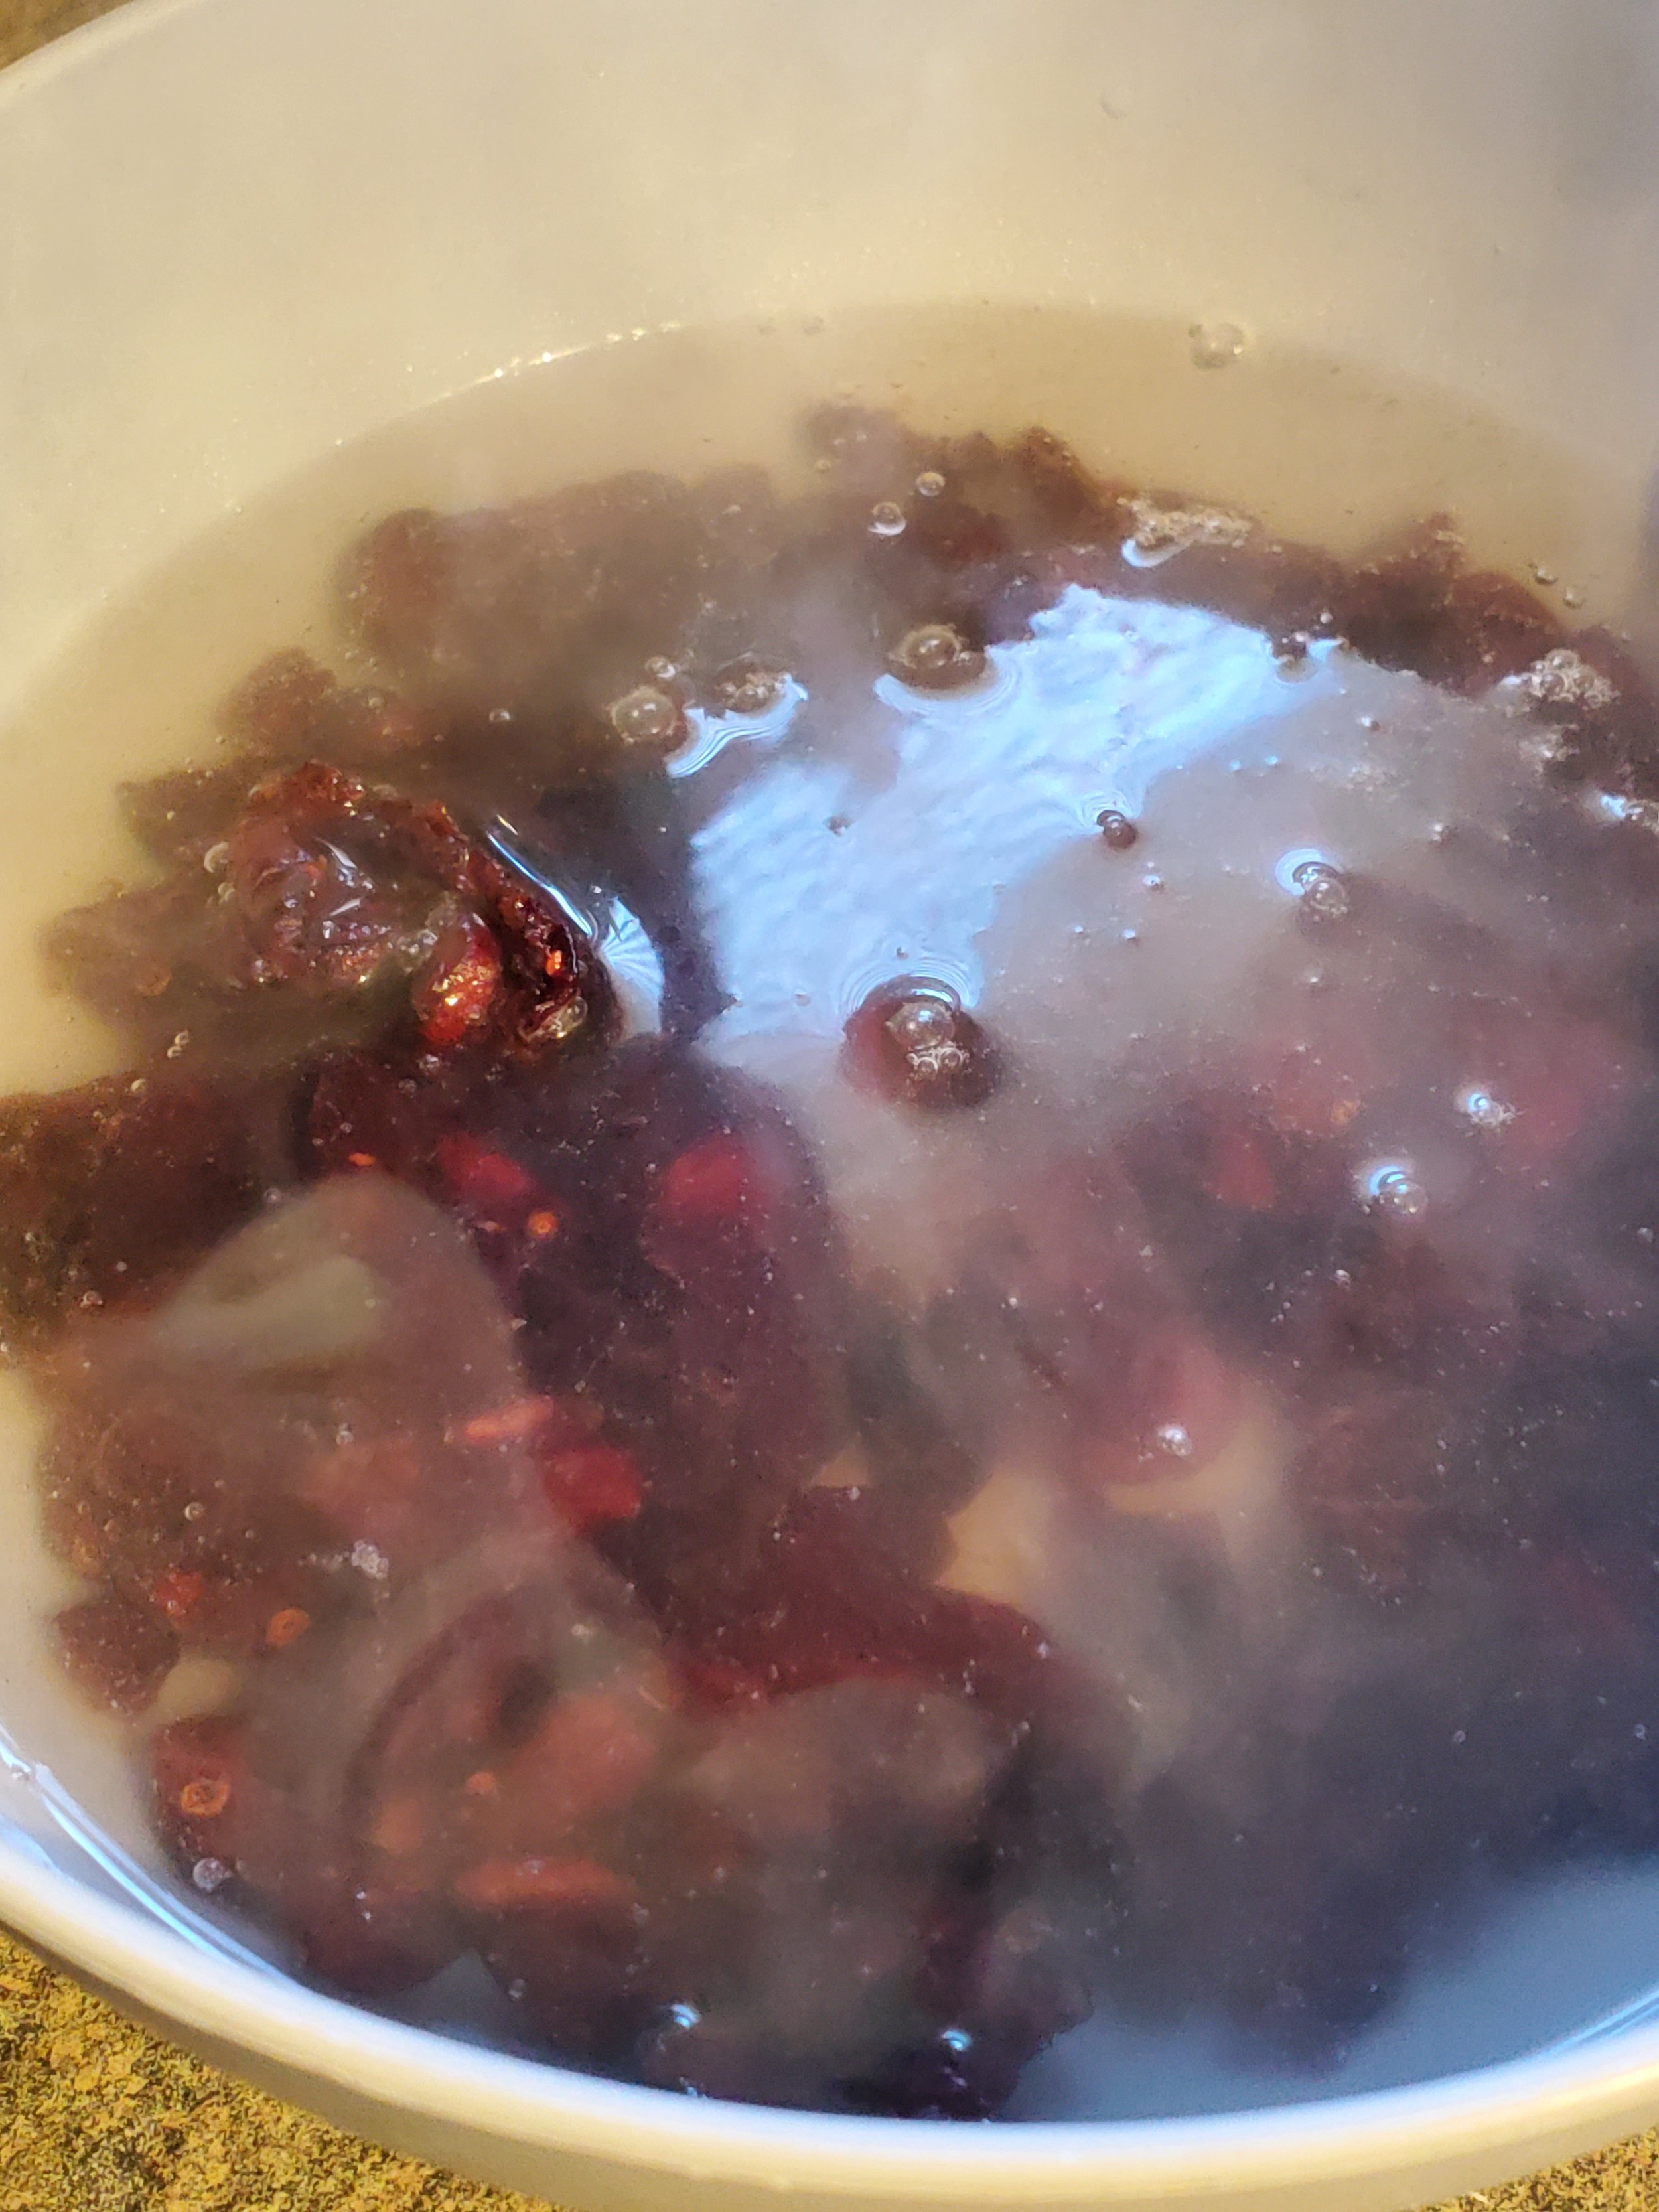
Around this point, our kettle usually begins to boil. Remove it from the heat, toss the cranberries in the heat proof bowl, and cover them with boiling water. Ignore them for five minutes or so - we just want them to be partially rehydrated so they're not sticky lumps in the bread later. After they've had time to absorb some of the water, strain the water out through the colander.


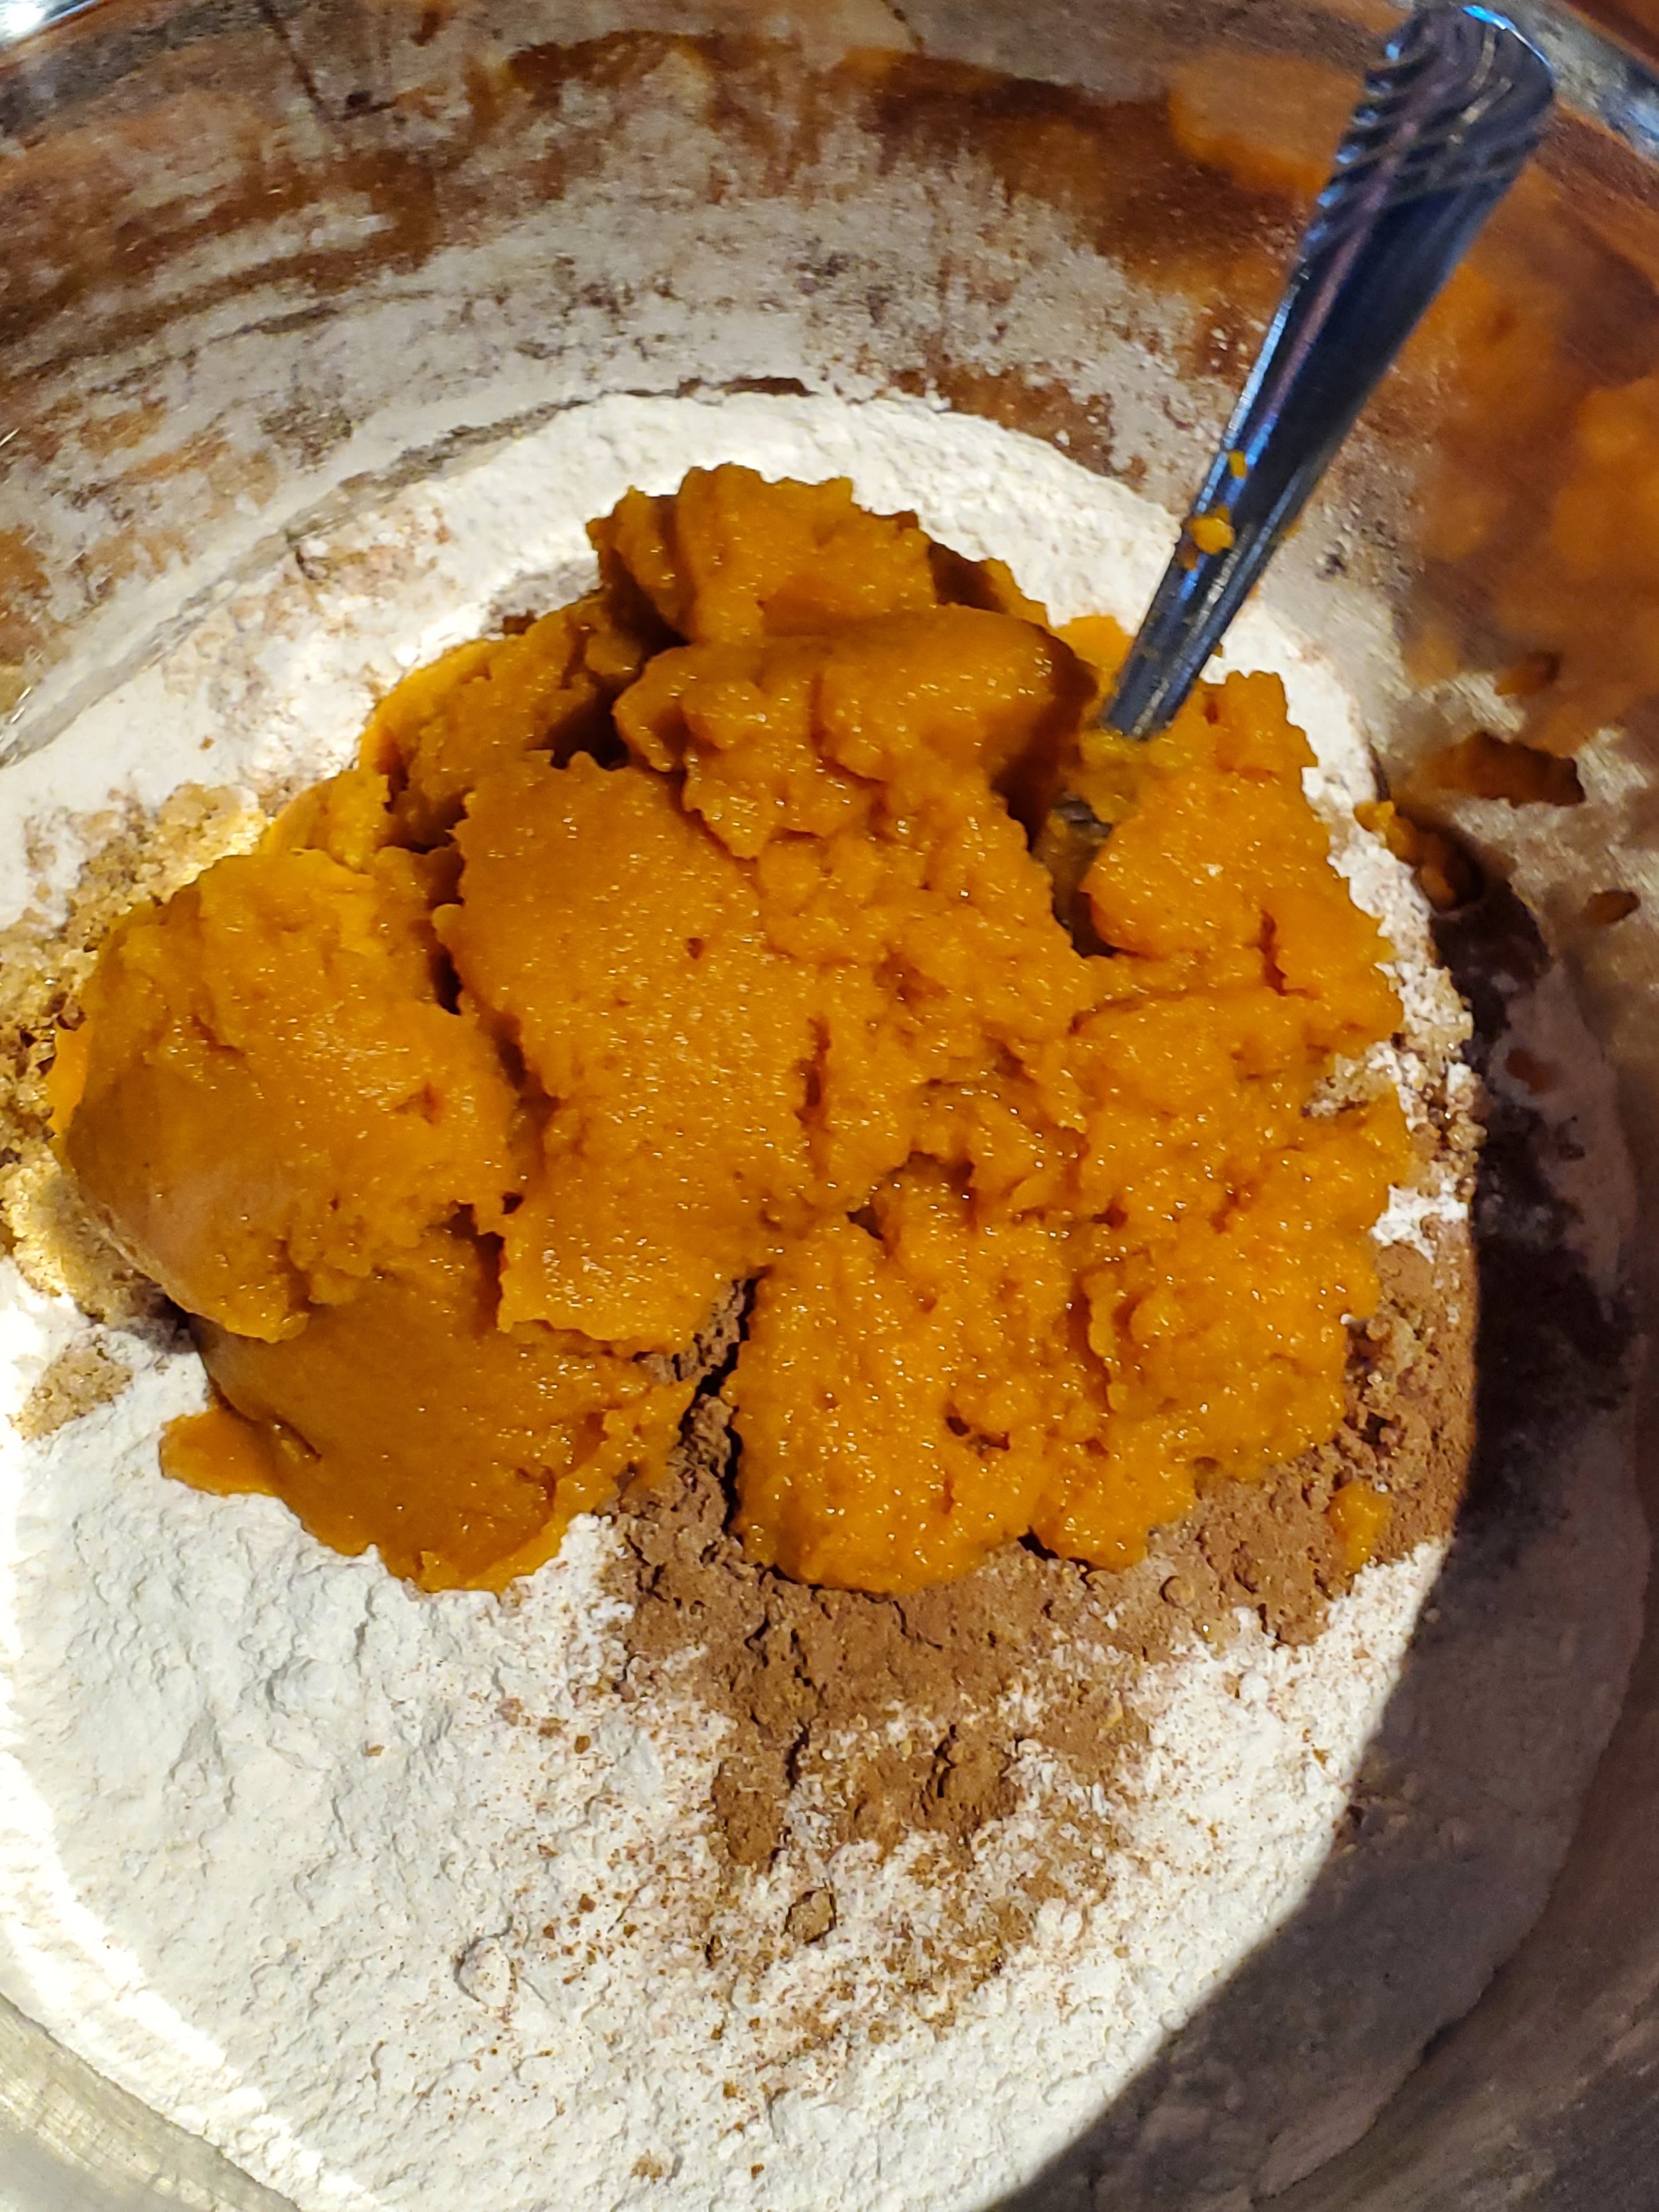
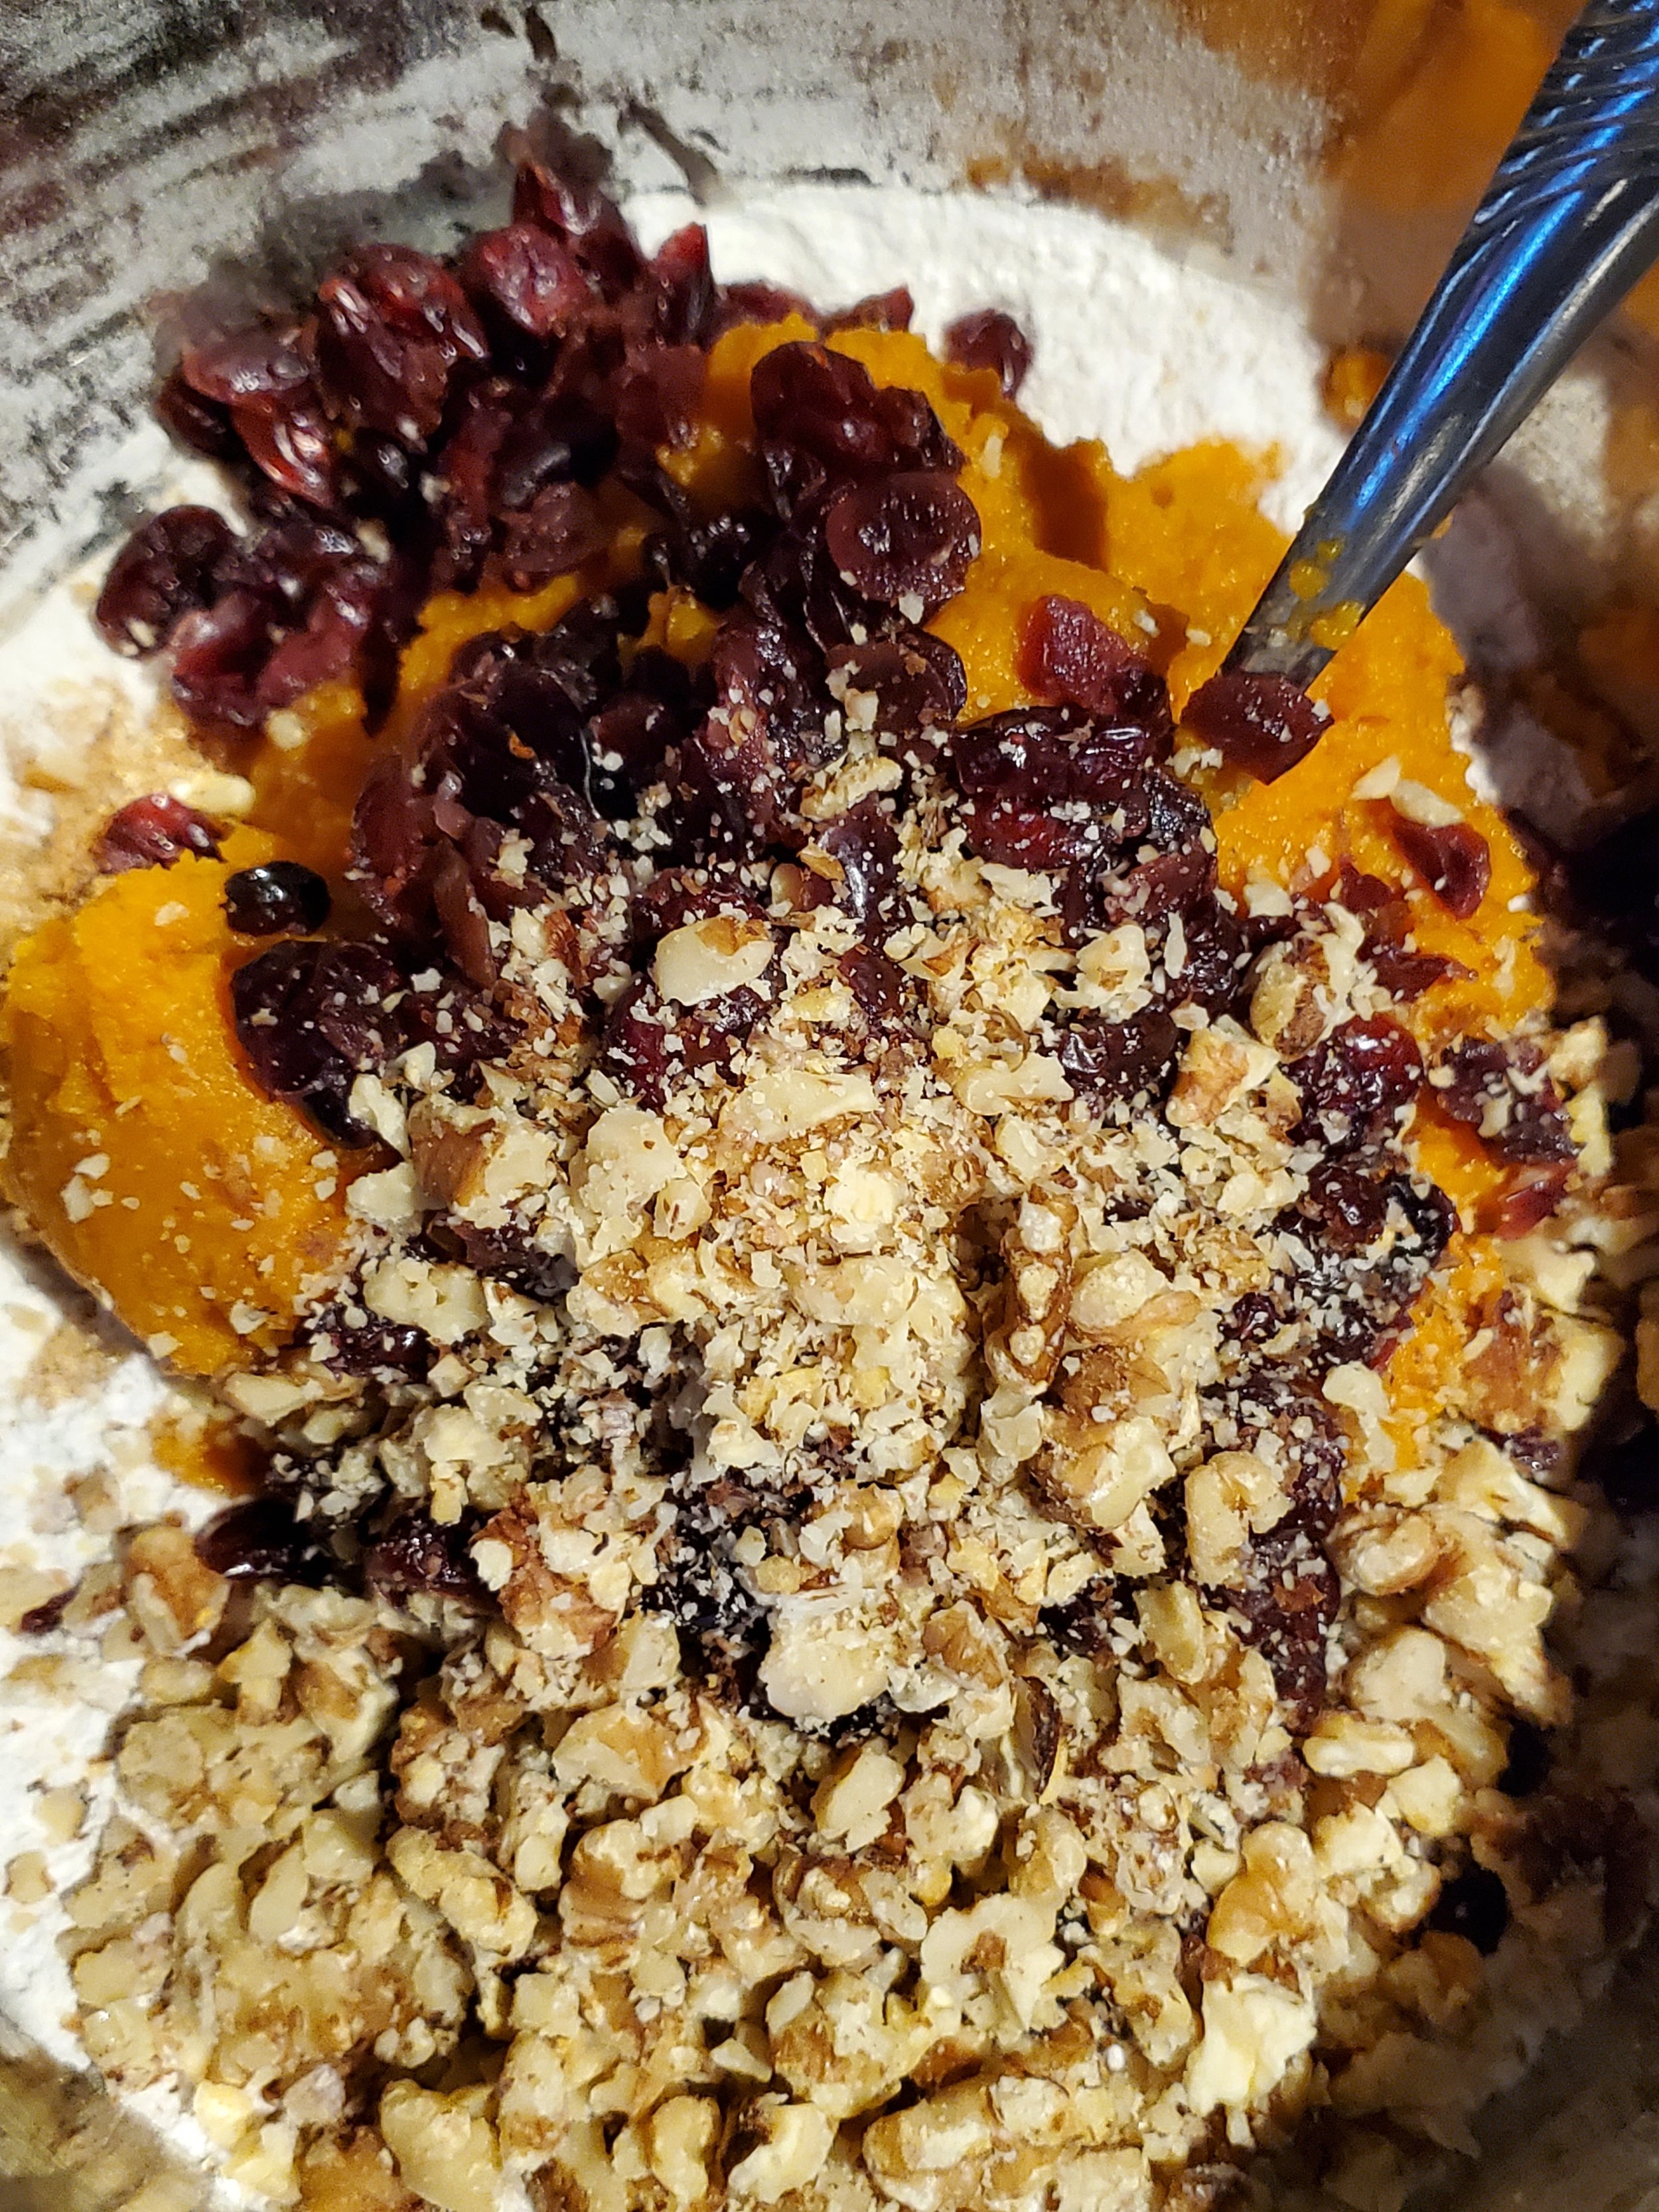
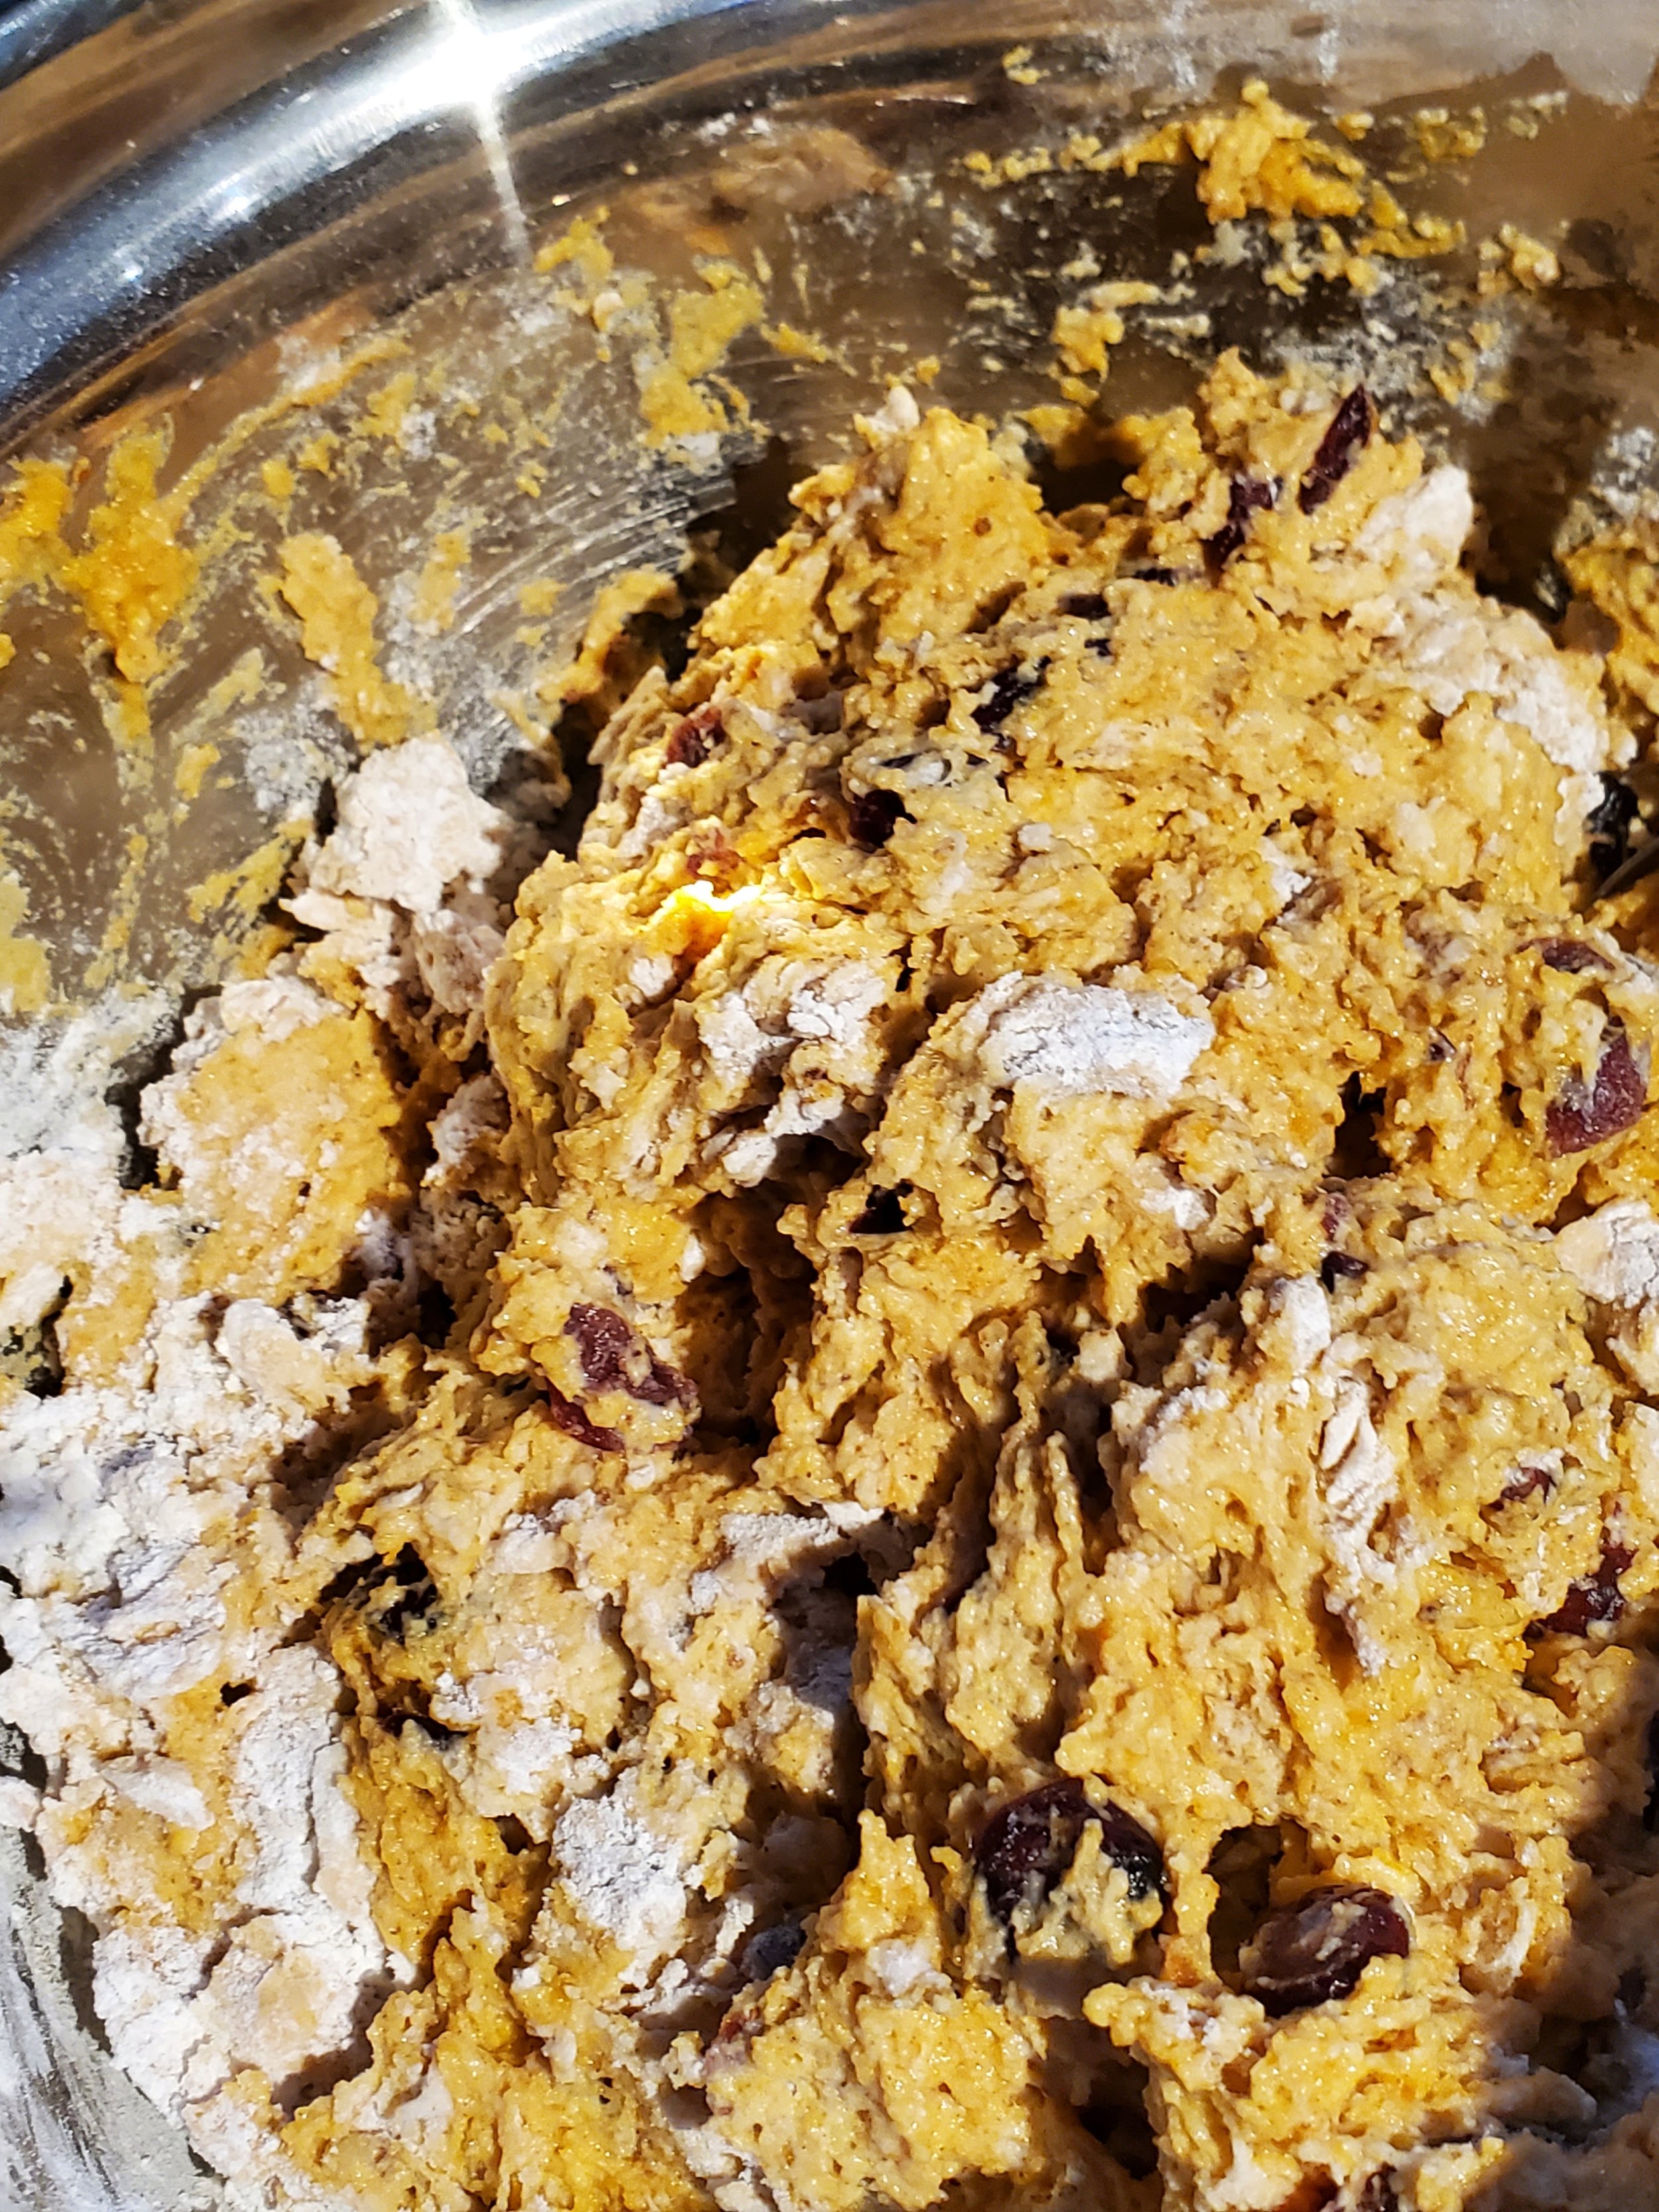
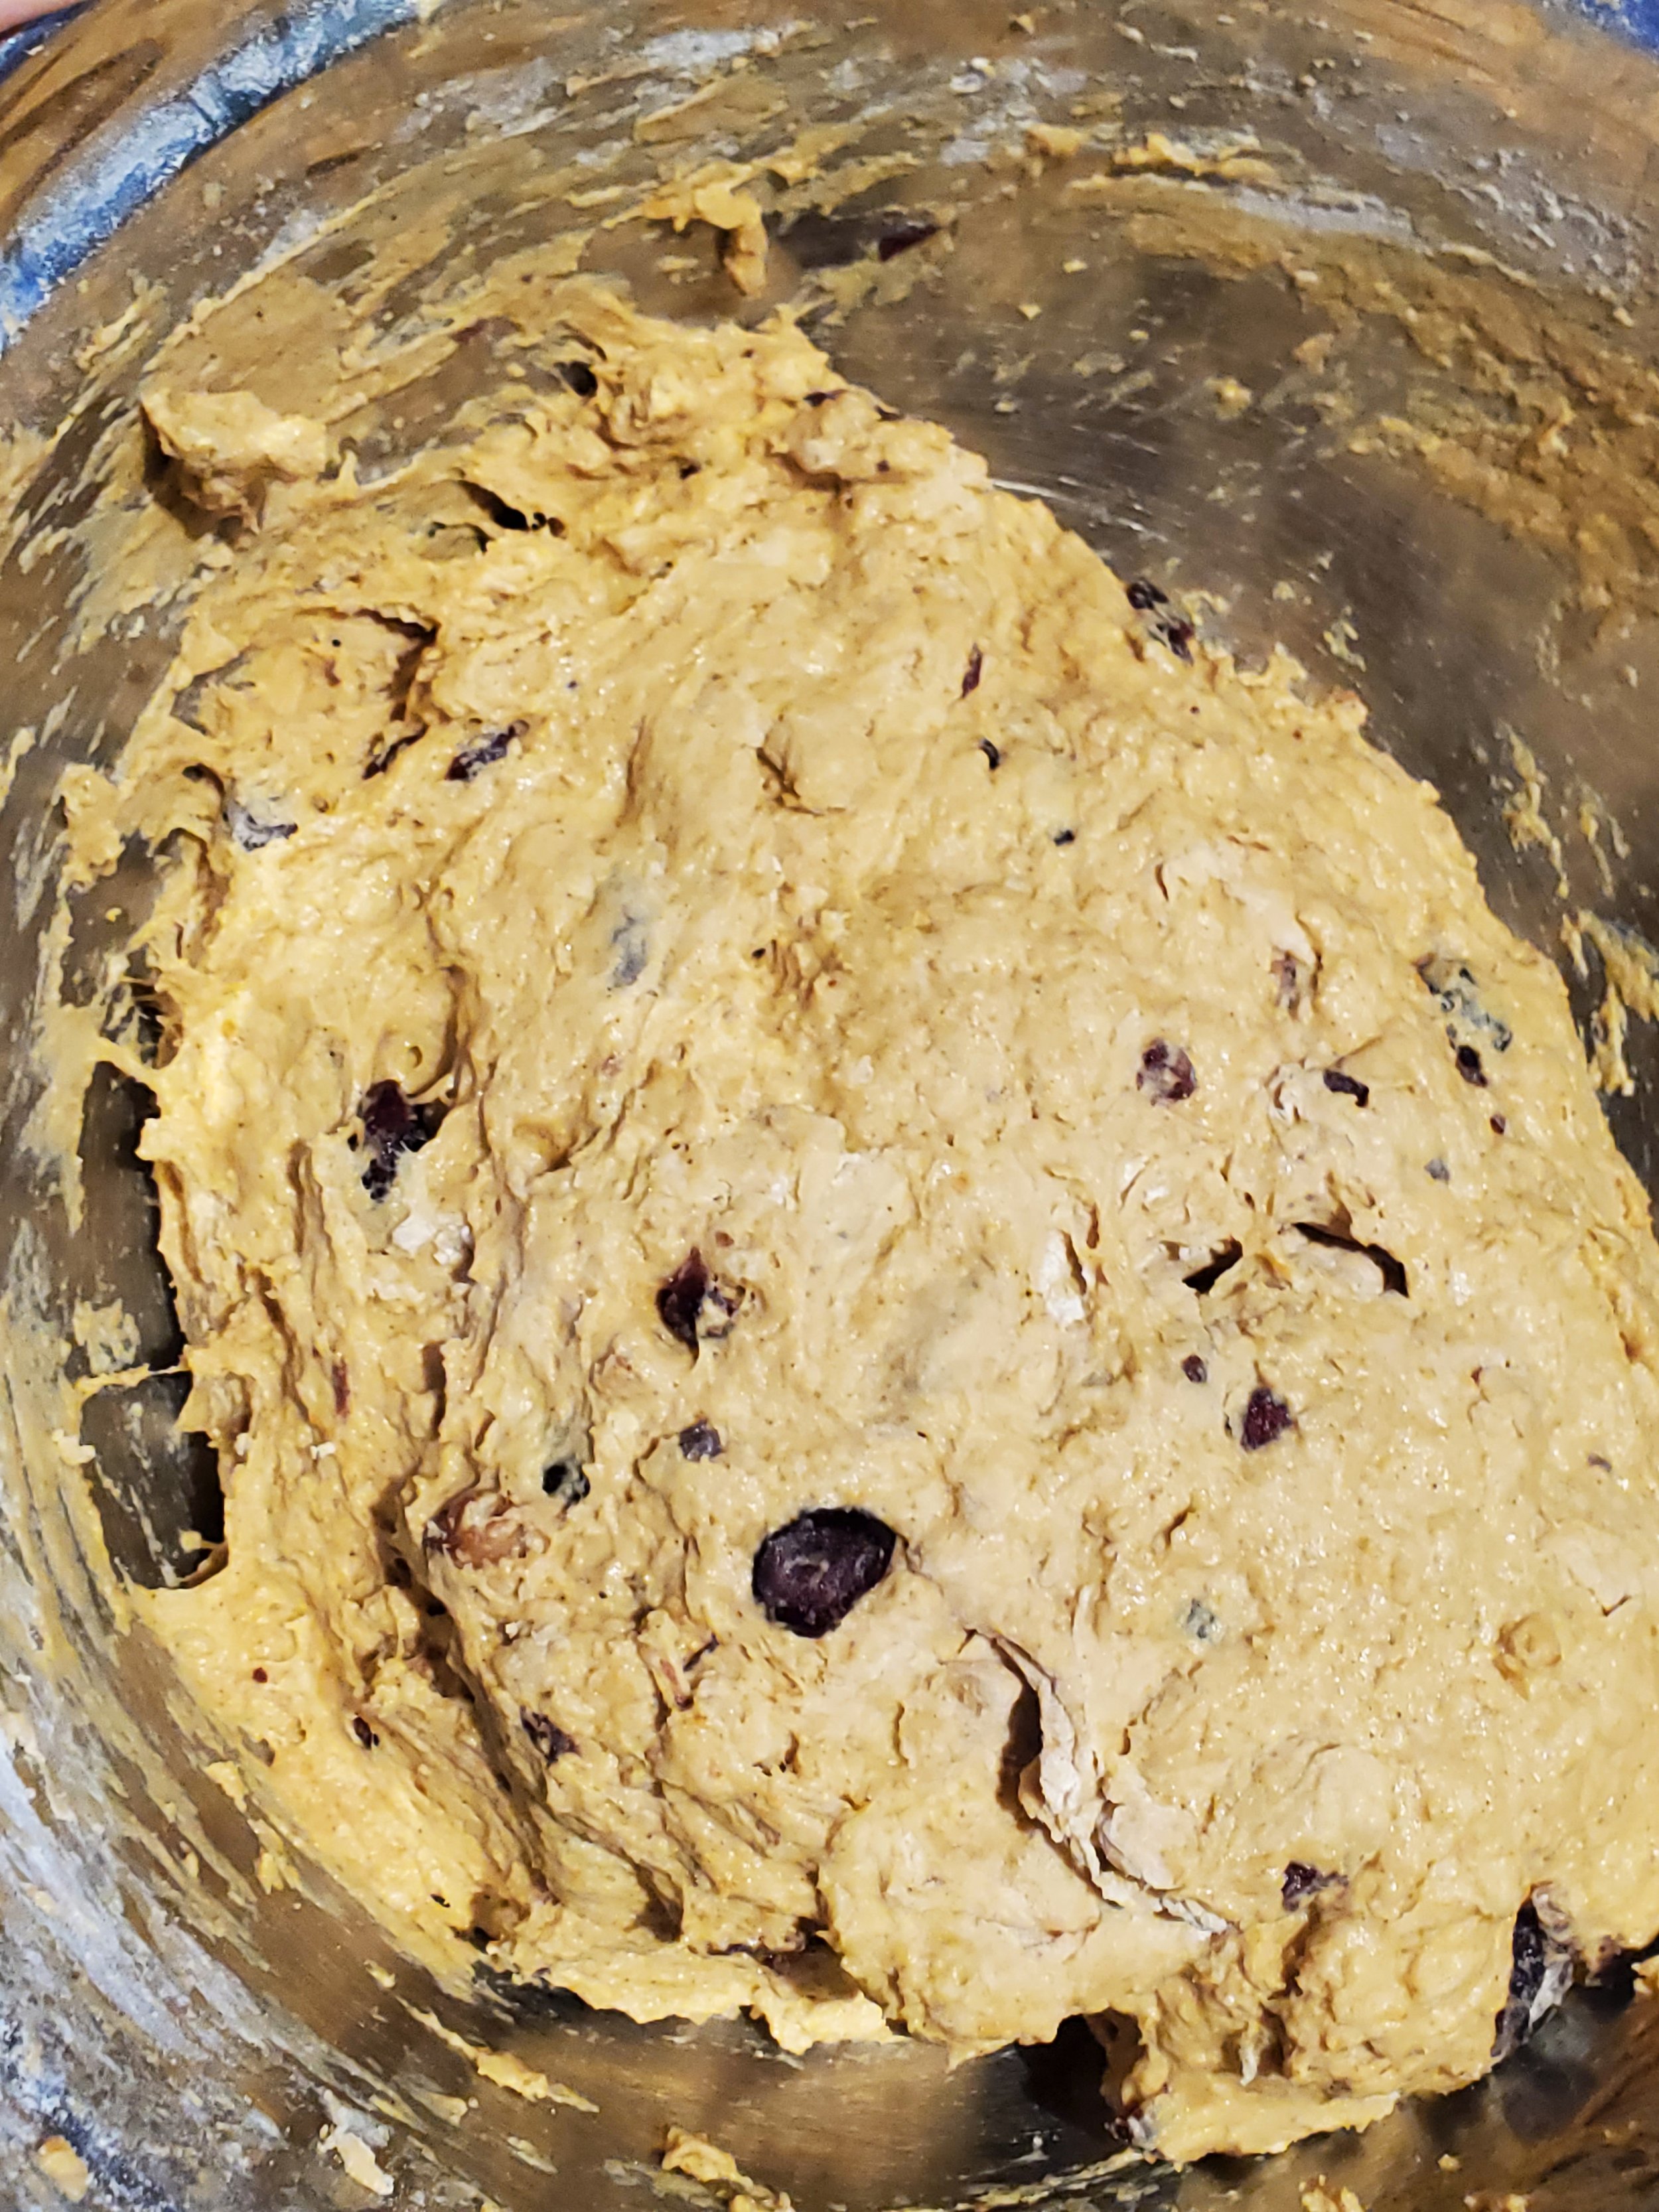
Add the pumpkin and the yeast mixture to the dry ingredients and stir well. Once you've got a relatively uniform consistency, you can add in the chopped walnuts and the cranberries. This is also the first point that your reserved cup of flour will make an appearance - work about half of it into the sticky dough you have here.


Cover the bowl with a clean kitchen towel and let it rise on the counter for three hours.


At the three hour mark, move the dough to the fridge, keeping it covered with the towel. Keep it in the fridge for at least an hour, or as long as overnight (if you're a forward thinker and got this done long enough ahead of time that you can refrigerate it overnight! Congrats on being wiser than us).


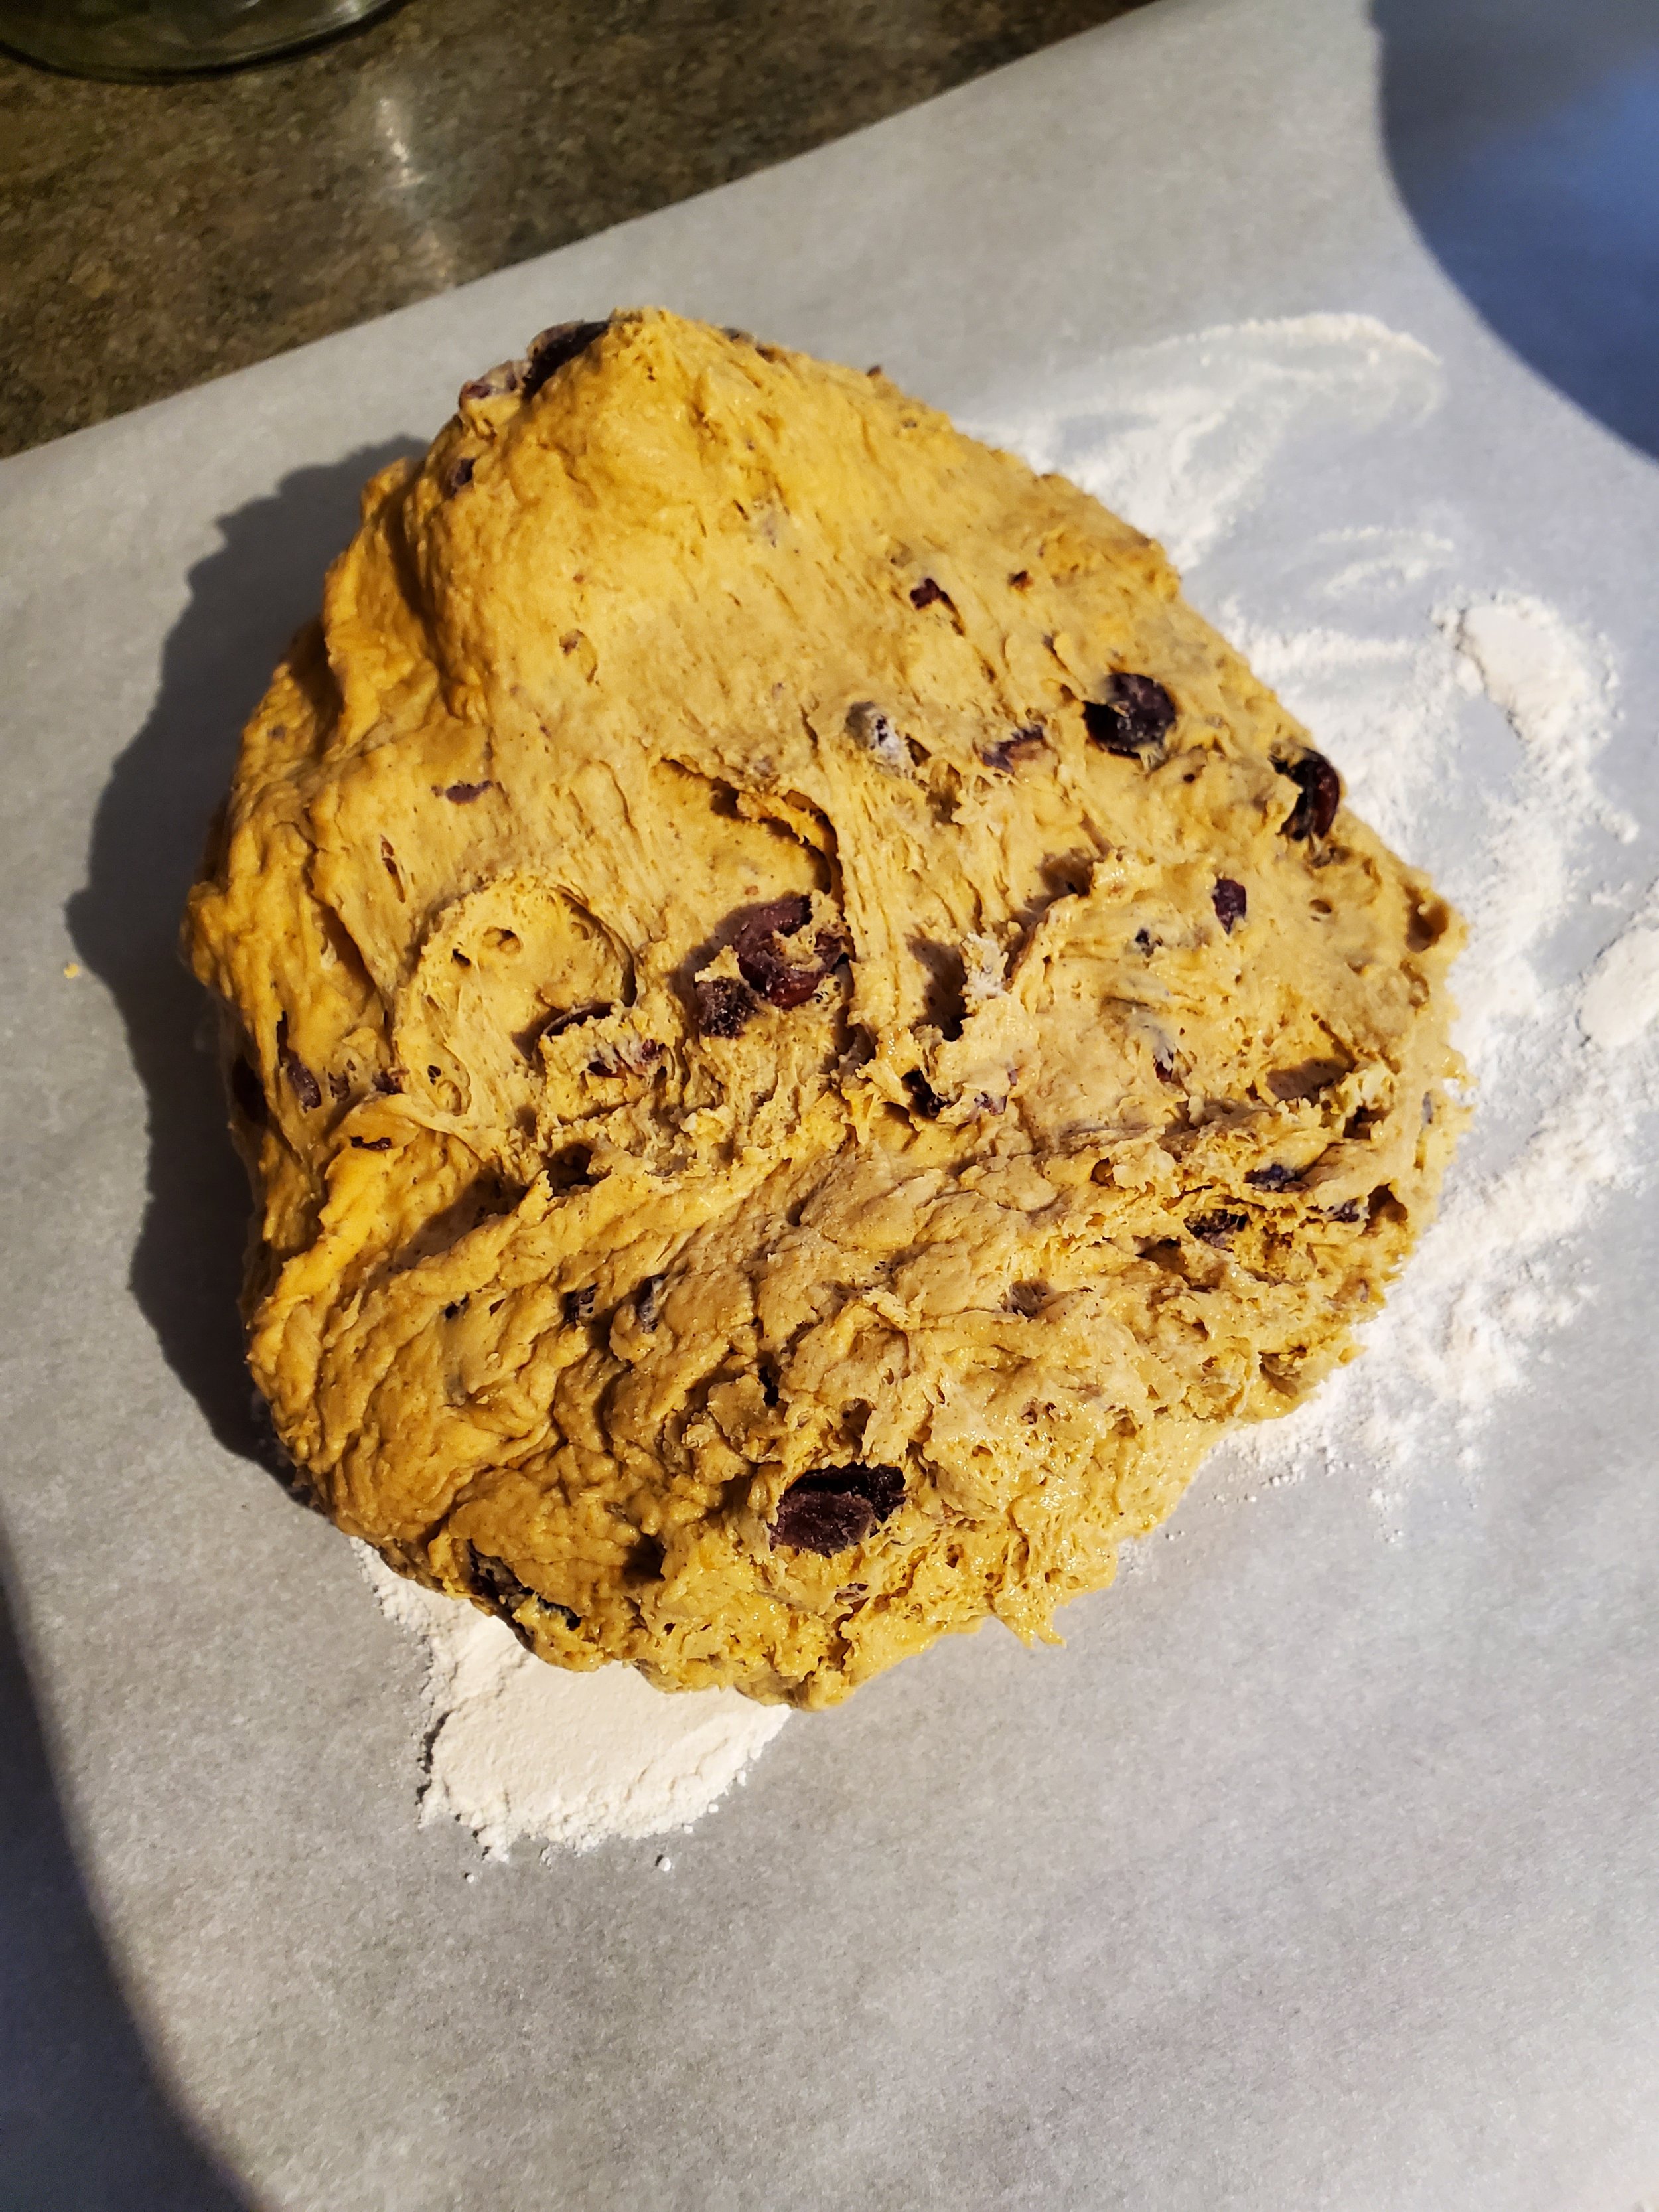
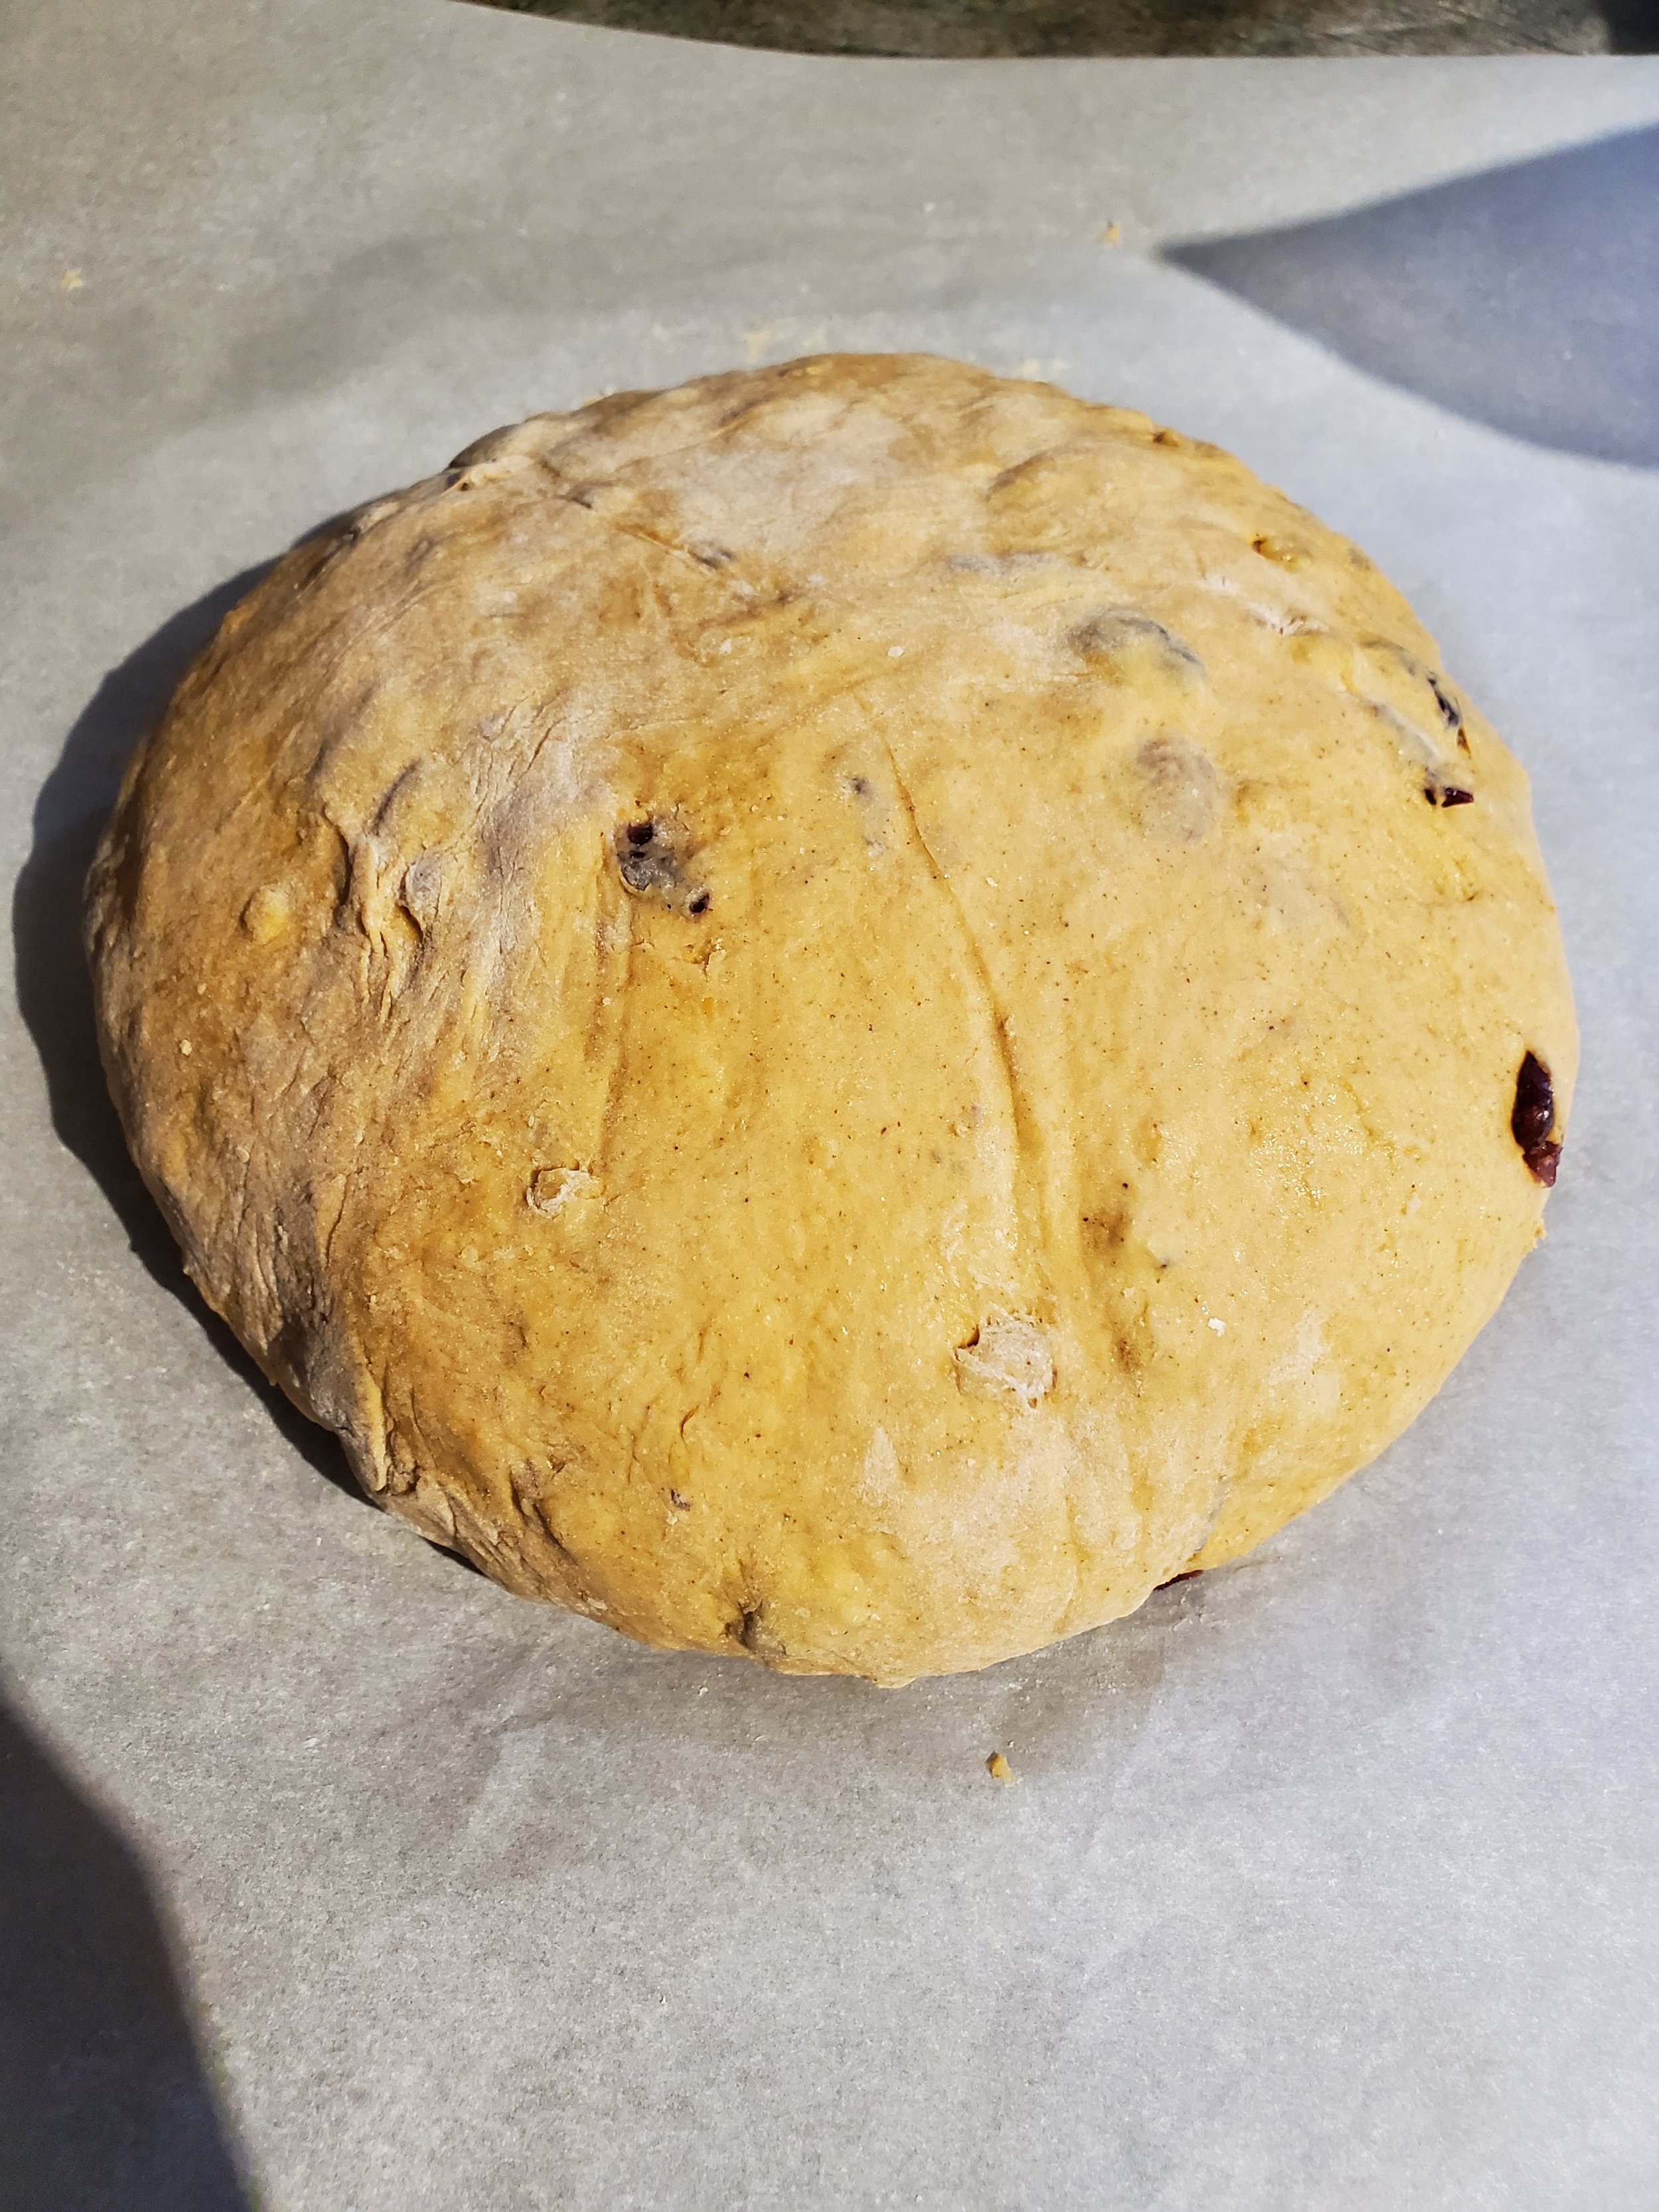
The chilled dough should be easier to work with, but we still recommend a set of food service gloves for this part. Take that reserved flour and dust a surface - a cutting board, the counter, some parchment, the table - whatever you have. We recommend parchment paper for ease of lifting later. Turn the cold dough out onto this floured surface and work it until it's smooth. Allow it to rise again where it sits for about an hour.


Preheat the oven to 450. That is not a typo, we really do mean 450.


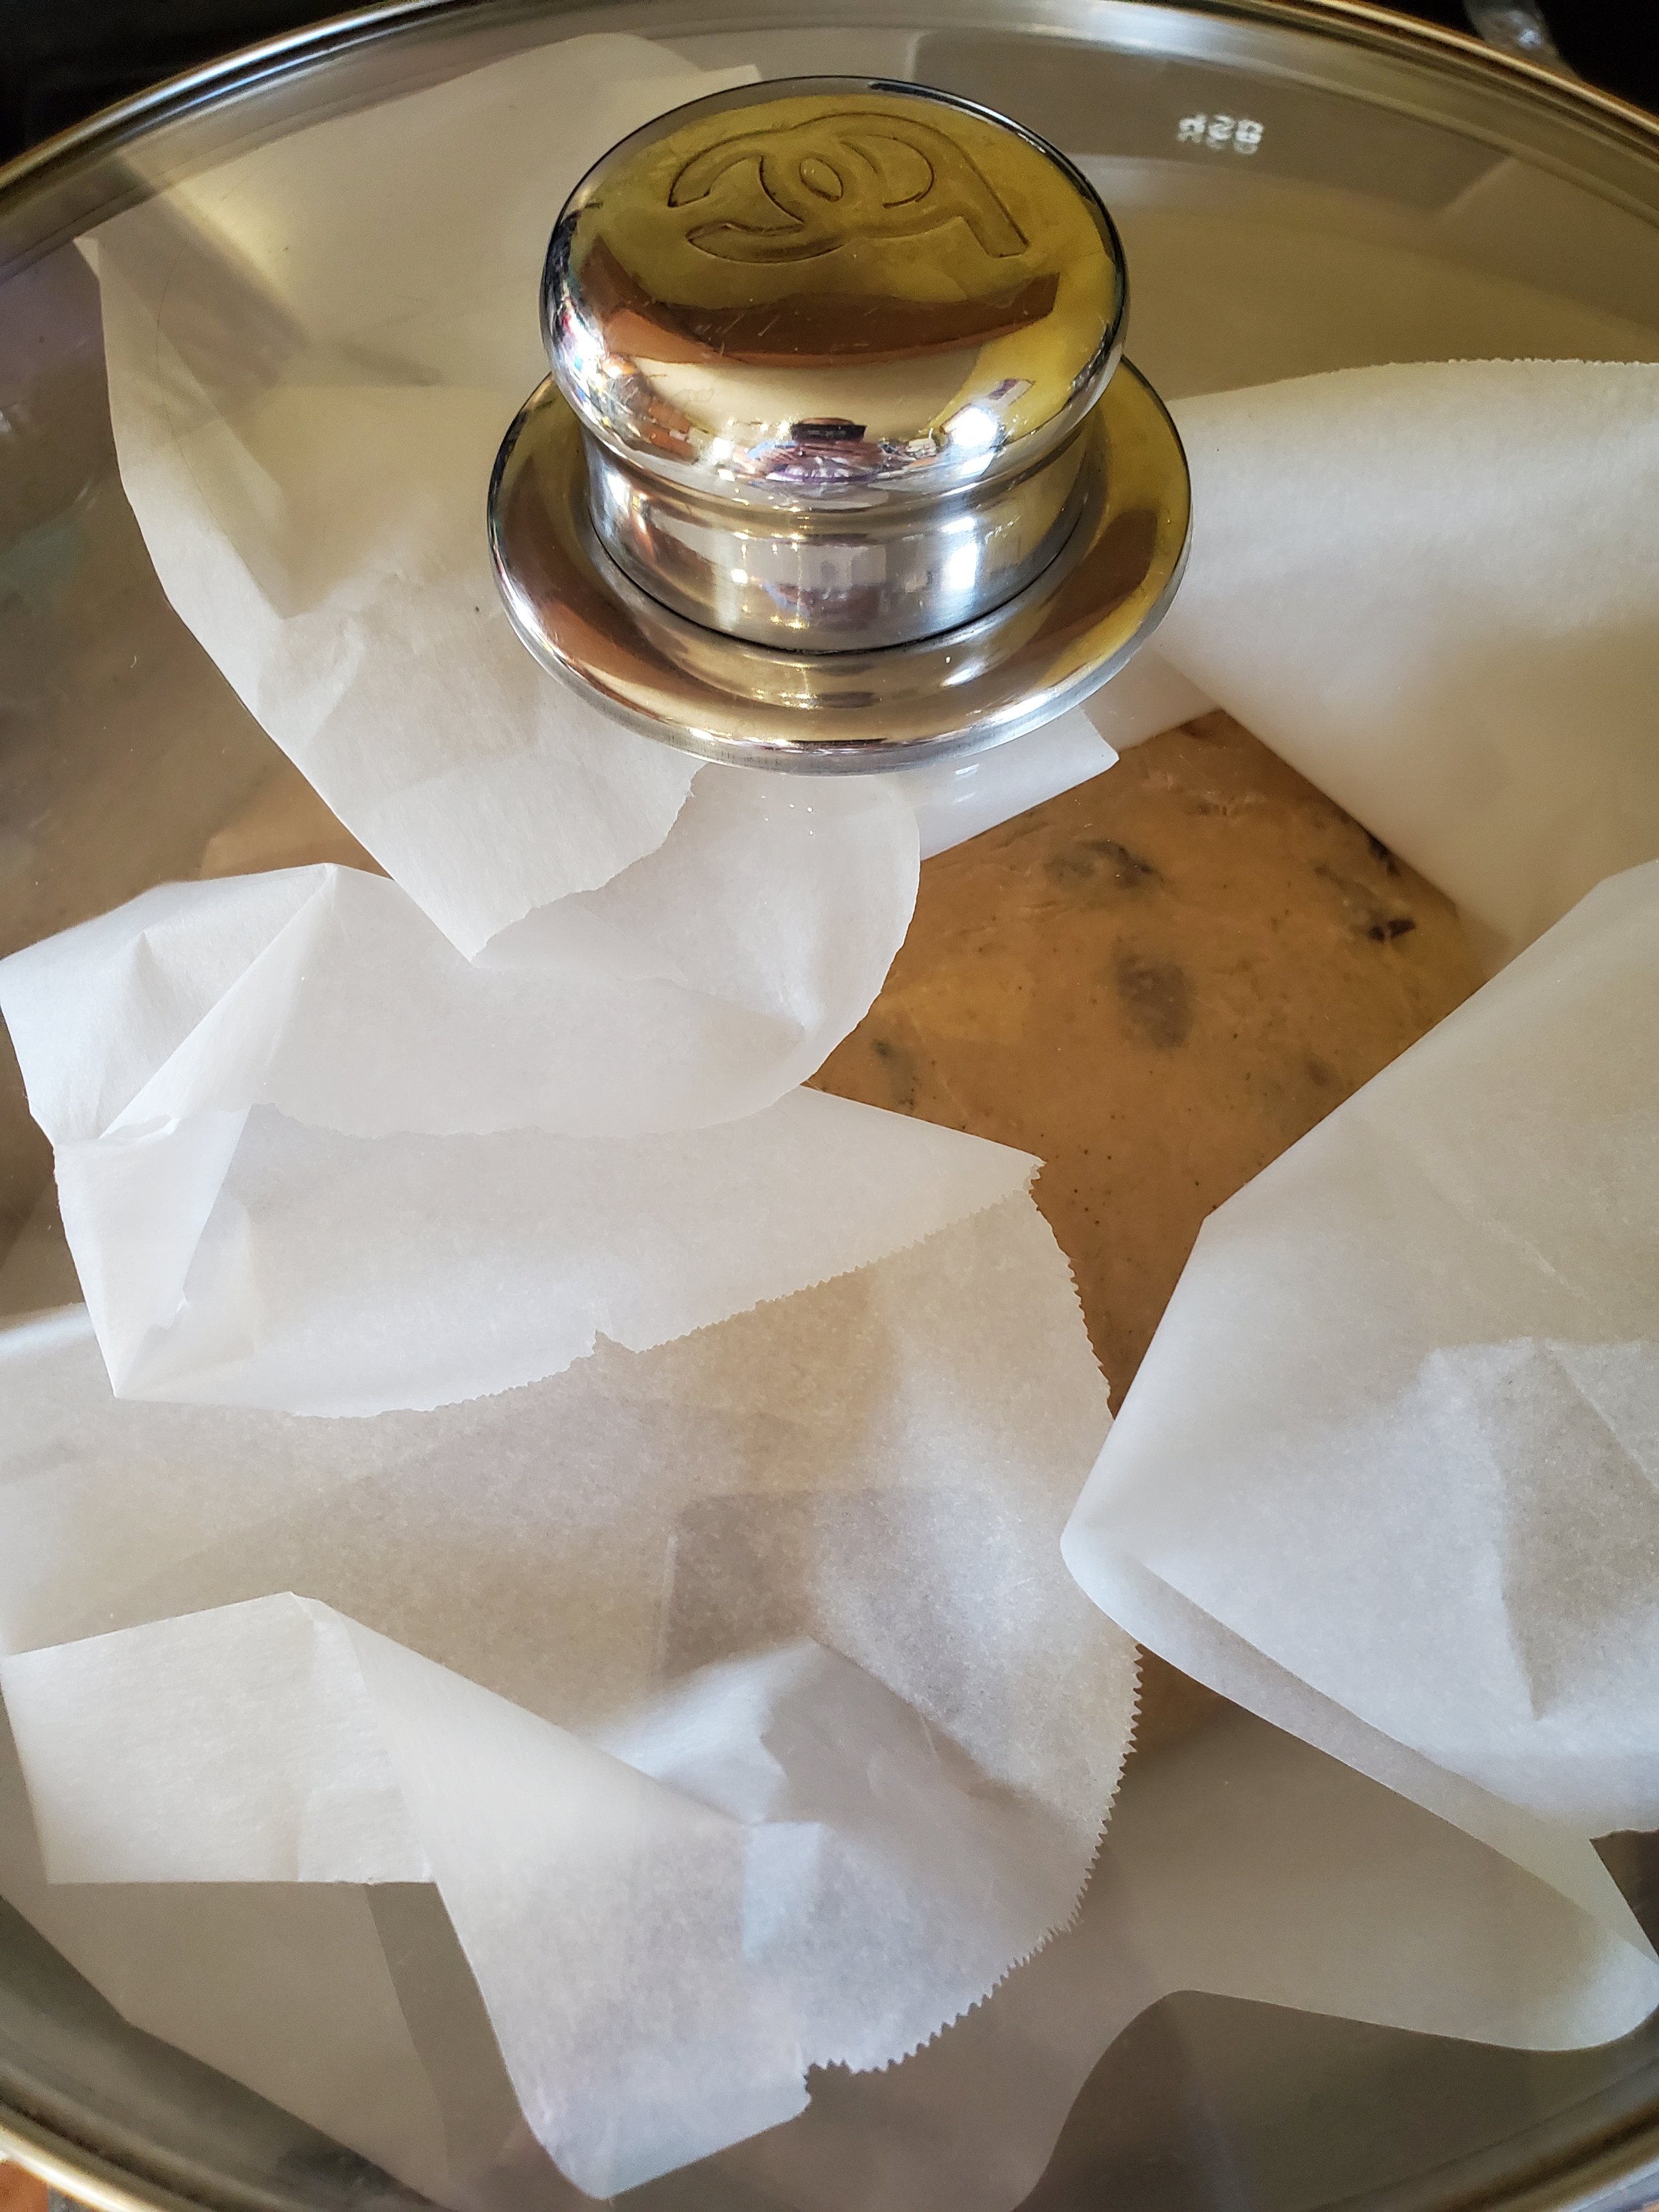
In the photos, we've done this as one large boule in a covered pan - but we find the results to be much better if done as two small loaves in average loaf pans, and doing two loaves reduces the cooking time and the risk of burning dramatically. Learning from our mistakes here.


Toss two loaf pans into the oven to heat up with it, keeping the other two loaf pans out on the counter. Divide your dough in two and shape into two even-sized loaves. Place each loaf on its own sheet of parchment paper.


Once the oven has come up to proper temperature, don your oven mitts or grab a towel and remove the pans. Using the parchment to transfer them, place one loaf into each pan. Place both pans onto the middle rack of the oven. Invert the cool pans over top of the pans in the oven (we're using them like the lid of the Dutch oven here). Set a timer for 15 minutes.


At the 15-minute mark, remove the covers and set them aside to cool. Bake the loaves uncovered for another 15 minutes. When the timer is up, turn the oven off and let the loaves sit in there for another five to ten minutes before removing them. Use the parchment to lift them. Allow them to cool before cutting with a serrated knife.


As you savor every bite of this Cranberry Pumpkin Nut Bread, remember that Appliance Rescue Service is here for all your home needs. Share your baking success on our Facebook page and feel free to contact us for any appliance-related queries at (214) 599-0055 or through our website. From repairs to routine maintenance, count on us for all your major appliance requirements. Let the lingering aroma of this delightful bread remind you that we're dedicated to ensuring your home runs smoothly.


Additional Reading 

Impress Your Guests with This Easy-to-Make Apple Pecan French Toast Bake


Escapee From New York: Chocolate Bagels