Easy No-Cook Not Quite a Cannoli

When You Want The Treat, But Can’t Work In The Heat

Looking for a sweet treat that is easy to make and will impress your friends and family? Look no further than this not quite cannoli recipe! While it may not be the traditional version of the beloved Italian dessert, it is a delicious and fun twist on the classic. With a crispy shell and creamy filling, this dessert is sure to satisfy any sweet tooth. Plus, it can be customized with your favorite flavors and toppings for a truly unique dessert experience. So why not give it a try and see for yourself how delicious not quite cannoli can be!


Ingredients:

15 oz container ricotta cheese

3/4 cup confectioners sugar

1/2 teaspoon almond extract

1 teaspoon vanilla extract

Pinch table salt

Pinch ground cinnamon

Pinch corn starch

Chocolate chips

Ready-made chocolate chip cookies (large)


Tools:

Fine mesh sieve

Spoon

Plastic wrap 

Two decent sized mixing bowls

Small plate

Something sort of heavy

Measuring spoons

...time. More time than you think.


Before you begin, know that while this recipe is a no-cook one, it does not like to be rushed. If you're looking to get the whole thing done by dessert tonight, you should probably get started at breakfast. That ricotta is going to take what feels like forever to drain. 


On a related note, do not skip that draining step. Skipping it yields watery, runny, thin cannoli filling. Thin filling does not stay in place and makes awful sandwiches. It also doesn't taste right. Save yourself the trouble.


Once you have all your ingredients out and ready to go, pop the lid and plastic cover off the ricotta. Before we do anything else, this is going to have to do its own thing. Please note it looks like a congealed, wet lump of cheese right now, and we're going to have to encourage it to change these characteristics. 


Nest the sieve into one of the bowls so it can catch the drained whey. Stir the ricotta while it's still in the container, then scoop it out into the sieve. If you have a cheese cloth, feel free to use it to line the sieve and wrap the ricotta - but in our experience, most people don't keep one in their kitchens. 


Gently press the ricotta into the sieve and smooth out the top. (If you're squeezing cheese through the sieve, you're pushing too hard.) Set a layer of plastic wrap over it and place a small plate on top of the plastic wrap to press the cheese. Let it sit for half an hour or so and check back to see if any of the whey is working its way out to the bowl.


Once you're sure it's working, you can add some weight to speed up the process - we put a pound of dry chickpeas on top of the plate, since they were both comparatively heavy and handy.


Now you can go do something else. For a while. Think at least three, possibly up to five episodes of your favorite show.


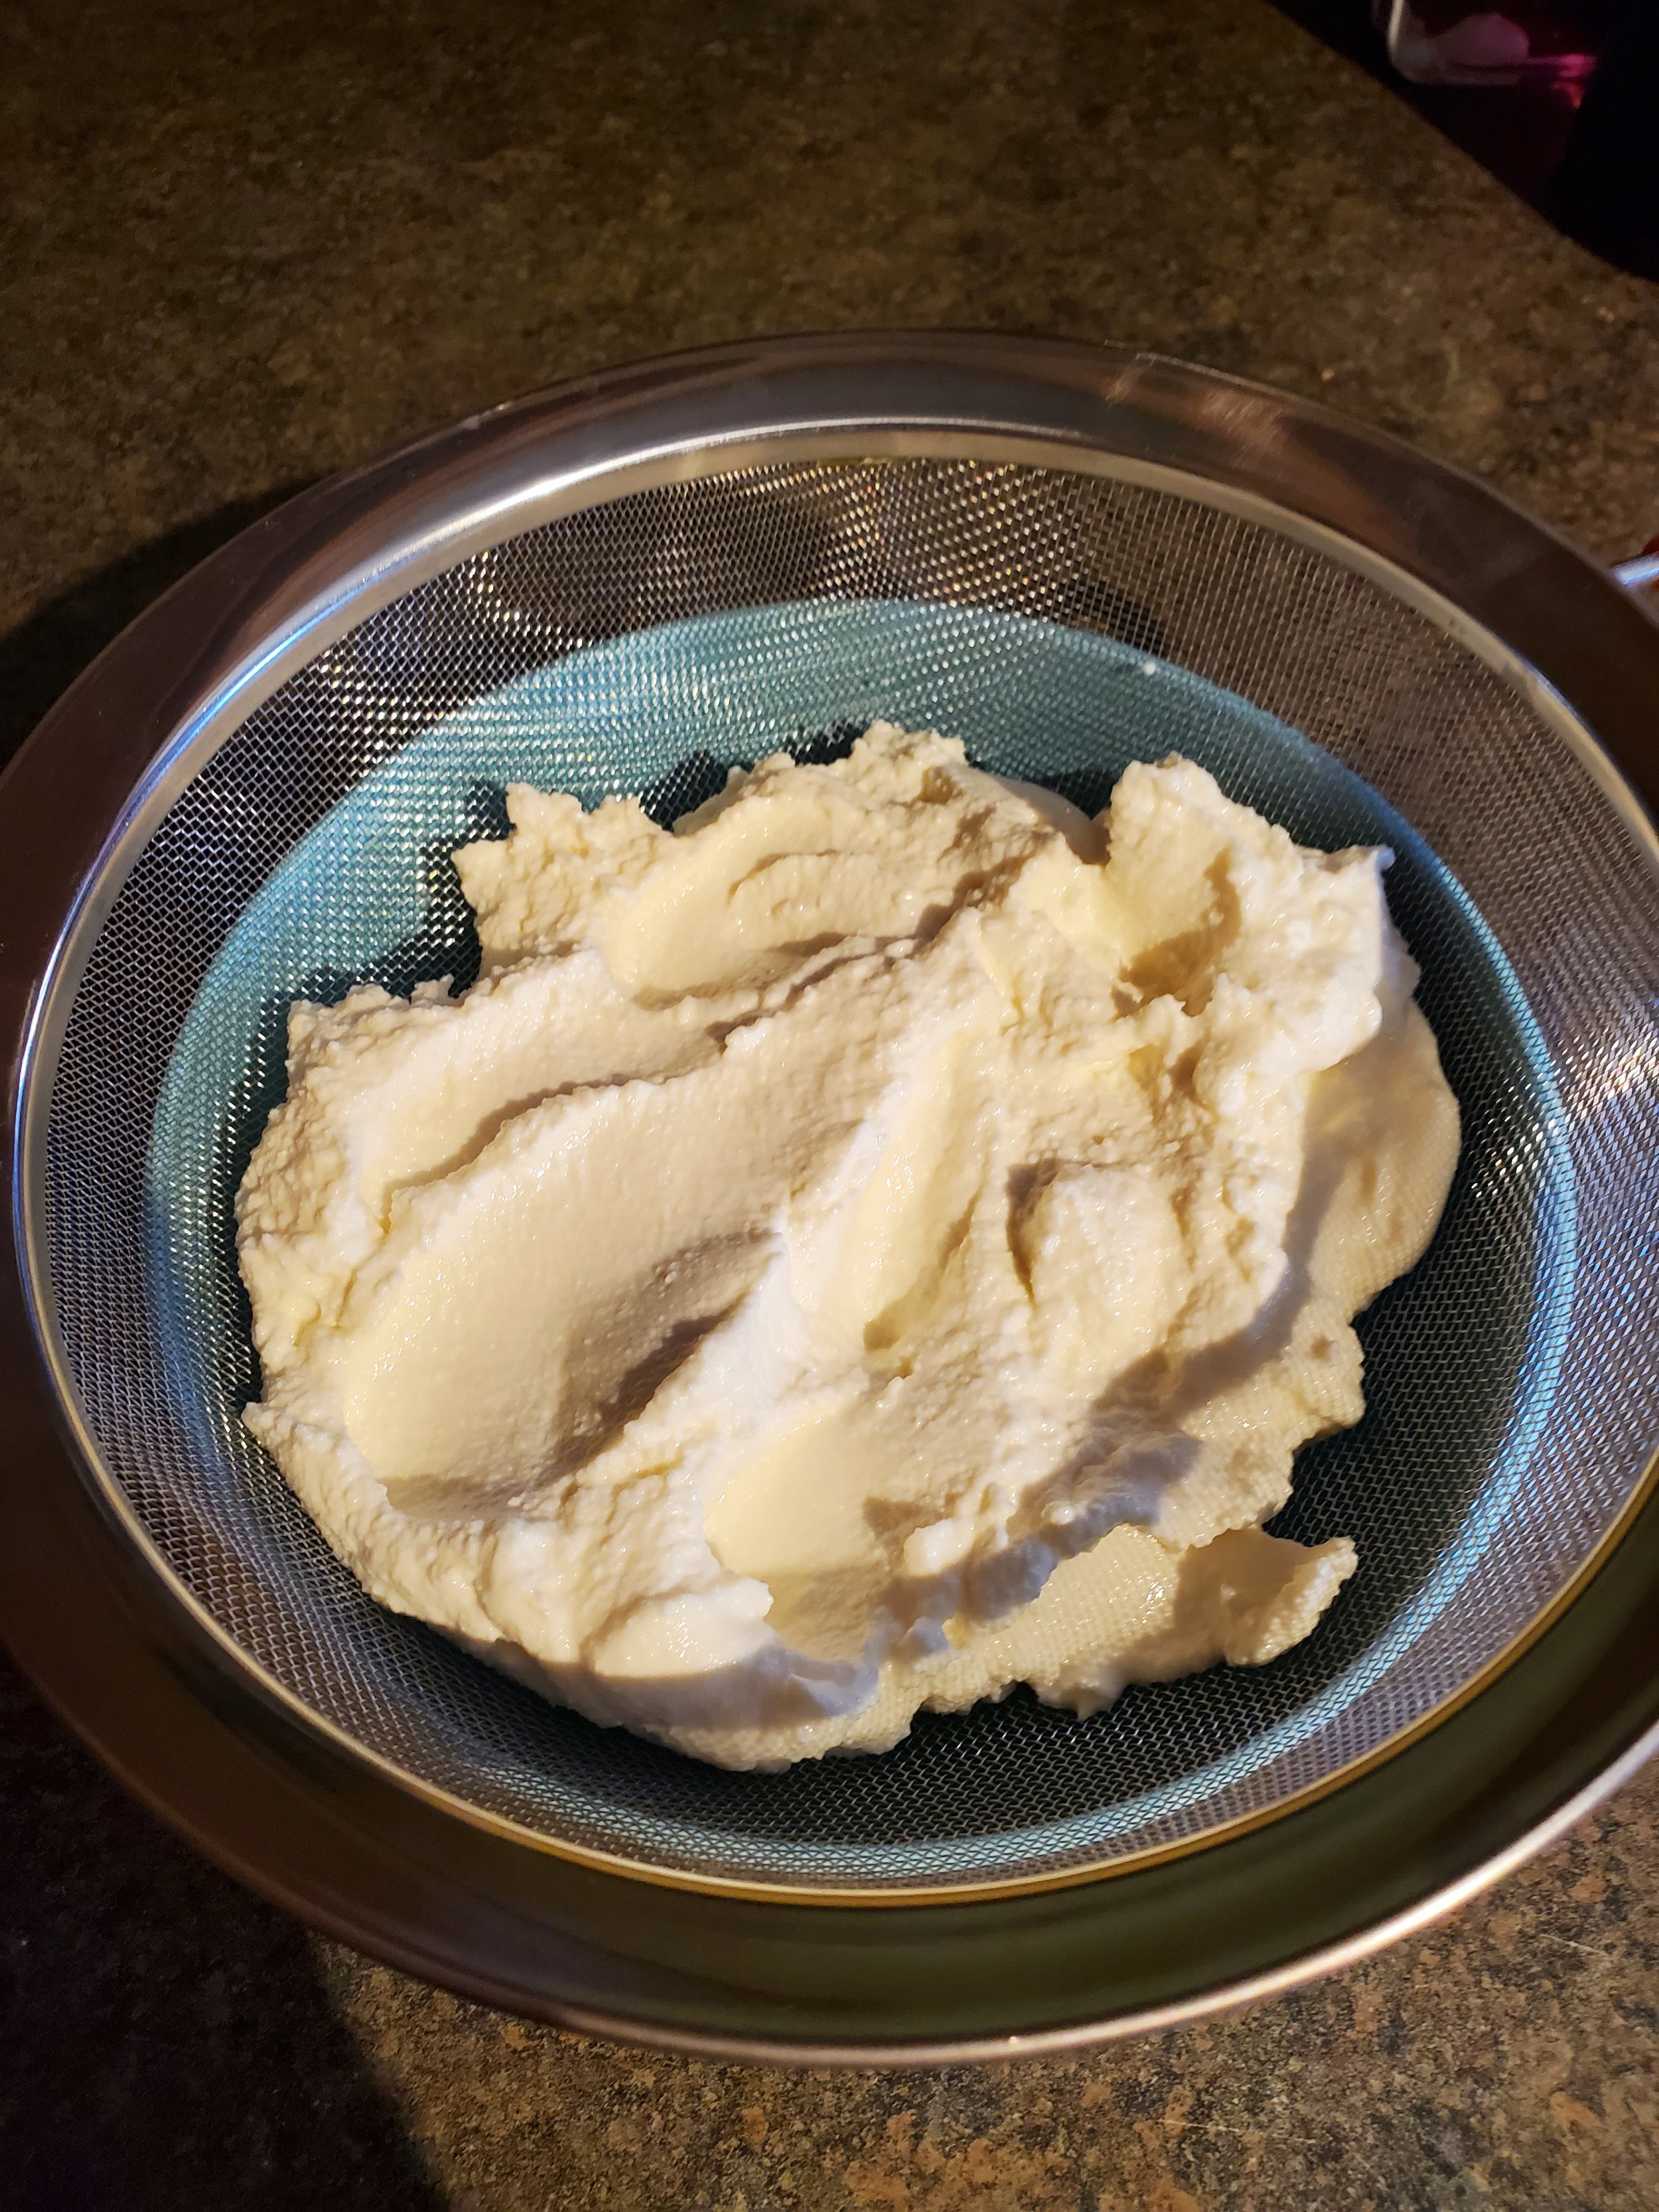
After a couple hours, you'll stop seeing the amount of whey in the bowl increase, and the ricotta will have taken on the consistency of crumbly-looking curds. This is when you know it's ready to be moved to the other bowl you took out.


Remove your weight, plate and plastic wrap if you haven't already done so. If you used a cheese cloth, lift the edges of it to transfer the cheese - but if not, just upend your sieve over the clean bowl and scrape it free with a spoon.


Measure your extracts into the ricotta and stir well. The vanilla will lend it kind of an off-white color. Stir in your salt and cinnamon, then slowly add your confectioner's sugar a little at a time, stirring to completely incorporate it before you add more.


When you've added all the confectioner's sugar, scoop up some of the cannoli filling with the spoon and tilt it back over the bowl. If it's slick enough to slide off the spoon, it's not yet the right consistency and you'll need to add in the corn starch (or more confectioner's sugar, but in our opinion that makes it much too sweet). Don't add much, and be absolutely sure there are no lumps before you add it. Stir very thoroughly. 


Once your filling no longer slides right off the spoon, it's ready for chocolate chips. Add as much or as little as you'd like. We usually start with about a quarter cup and add from there - but for the sake of full transparency, we rarely ever actually measure chocolate unless it's to melt. We just add until it looks right.


Stir it all well, and go get those cookies you set aside this morning and warned the whole house not to touch. This, of course, assumes your family follows instructions (this one struggles, especially with sweets-related instructions) and left you the cookies.


Scoop a heaping tablespoon of filling and drop it in the middle of the flat side of one of the cookies. Use the back of the spoon to spread it out a bit. Don't be afraid to add more if it looks like the cookie can support it. Slap another cookie flat side down on top of it, and go enjoy your hard-earned cannoli cookie sandwich.


You’ve read this far, so let us know over on our Facebook page what you think! Are you going to try this one out? 


If you’re looking up no-cook recipes because your stove or oven aren’t working, we can still help! You can reach out to us via our contact page or by giving us a call at ((214) 599-0055). Whether you’re in McKinney, Garland or Coppell, you can call on Appliance Rescue Service whenever you need us. 


Spicy Lemon Pepper Shrimp

A Bowl So Delicious You’ll Want To Eat It For All Three Meals

Sometimes you need something spicy. You need something that is going to be so tasty that everyone at the table will be left shocked. Sometimes, you stumble onto that recipe by accident. That’s what happened to us with this recipe.

Ingredients:

1 lb shrimp, peeled and deveined

1/4 cup white cooking wine

1/4 cup heavy cream

1 tablespoon lemon juice

1 tablespoon olive oil

1 tablespoon butter

2 scallions

2 cloves garlic

1 tablespoon crushed red pepper

1 teaspoon woodfired garlic seasoning (Kinder's brand)

salt and black pepper to taste

Tools:

cutting board

knife

large plastic container with lid

frying pan

measuring cups and spoons

spatula or tongs

Start with your shrimp. We like the pre-peeled frozen kind to cut down on the prep time, but if you don't mind the extra effort, starting with fresh is fine. Just keep in mind how quickly fresh seafood spoils. This is assuredly not a prep-ahead recipe.

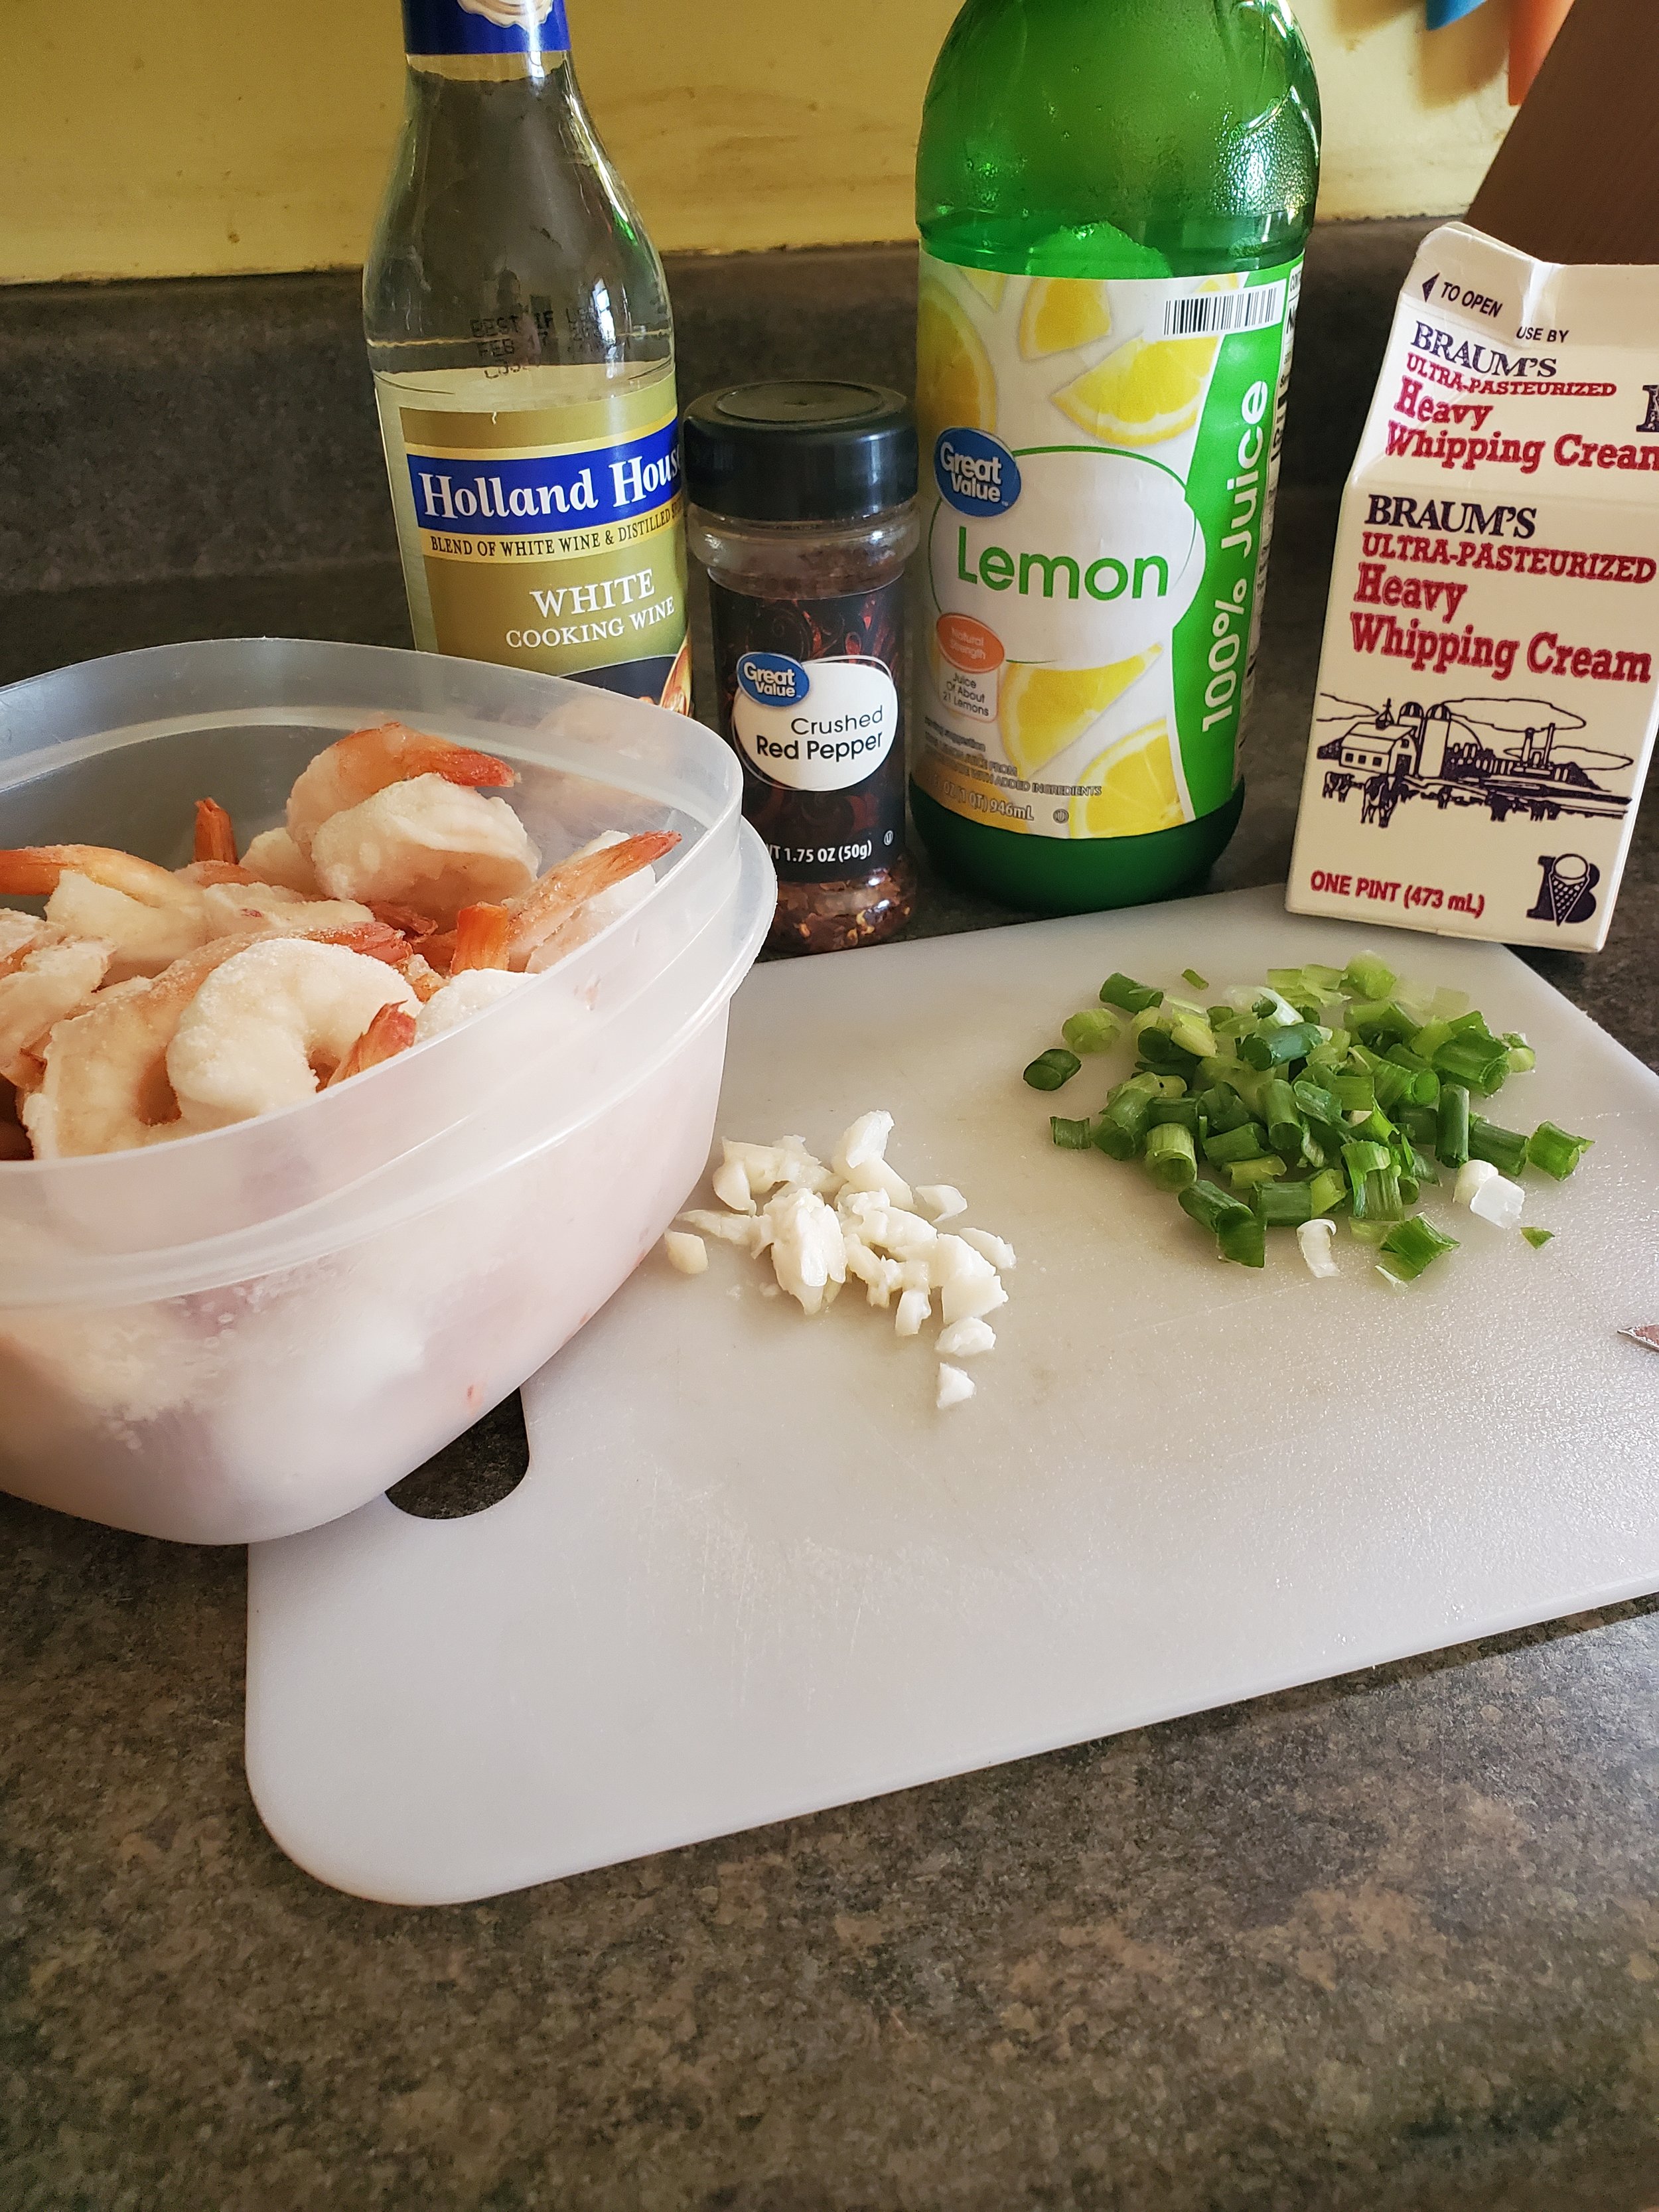
Make sure you have your shrimp peeled, deveined, and rinsed. Set them into a large plastic container with a tight-fitting lid. Pour the lemon juice over them, then sprinkle with salt and pepper and woodfired garlic seasoning. Maybe shake in a little extra of that woodfired garlic (the stuff is addicting!). Put the lid on, check to make sure it's fully sealed, then give it a good shake to coat the shrimp.

Wash your scallions, trim them up and chop them. We like to have pretty sizable chunks - but if there are picky eaters involved, feel free to cut them extra fine. Just adjust your cooking time to avoid torching them to a crisp if you do. 

Scrape the scallions to one side of the cutting board and, in your open space, use the flat of your knife to crush the two garlic cloves. Once they're flattened, go over them in a rough chop just to make sure no one gets a big mouthful of garlic later.

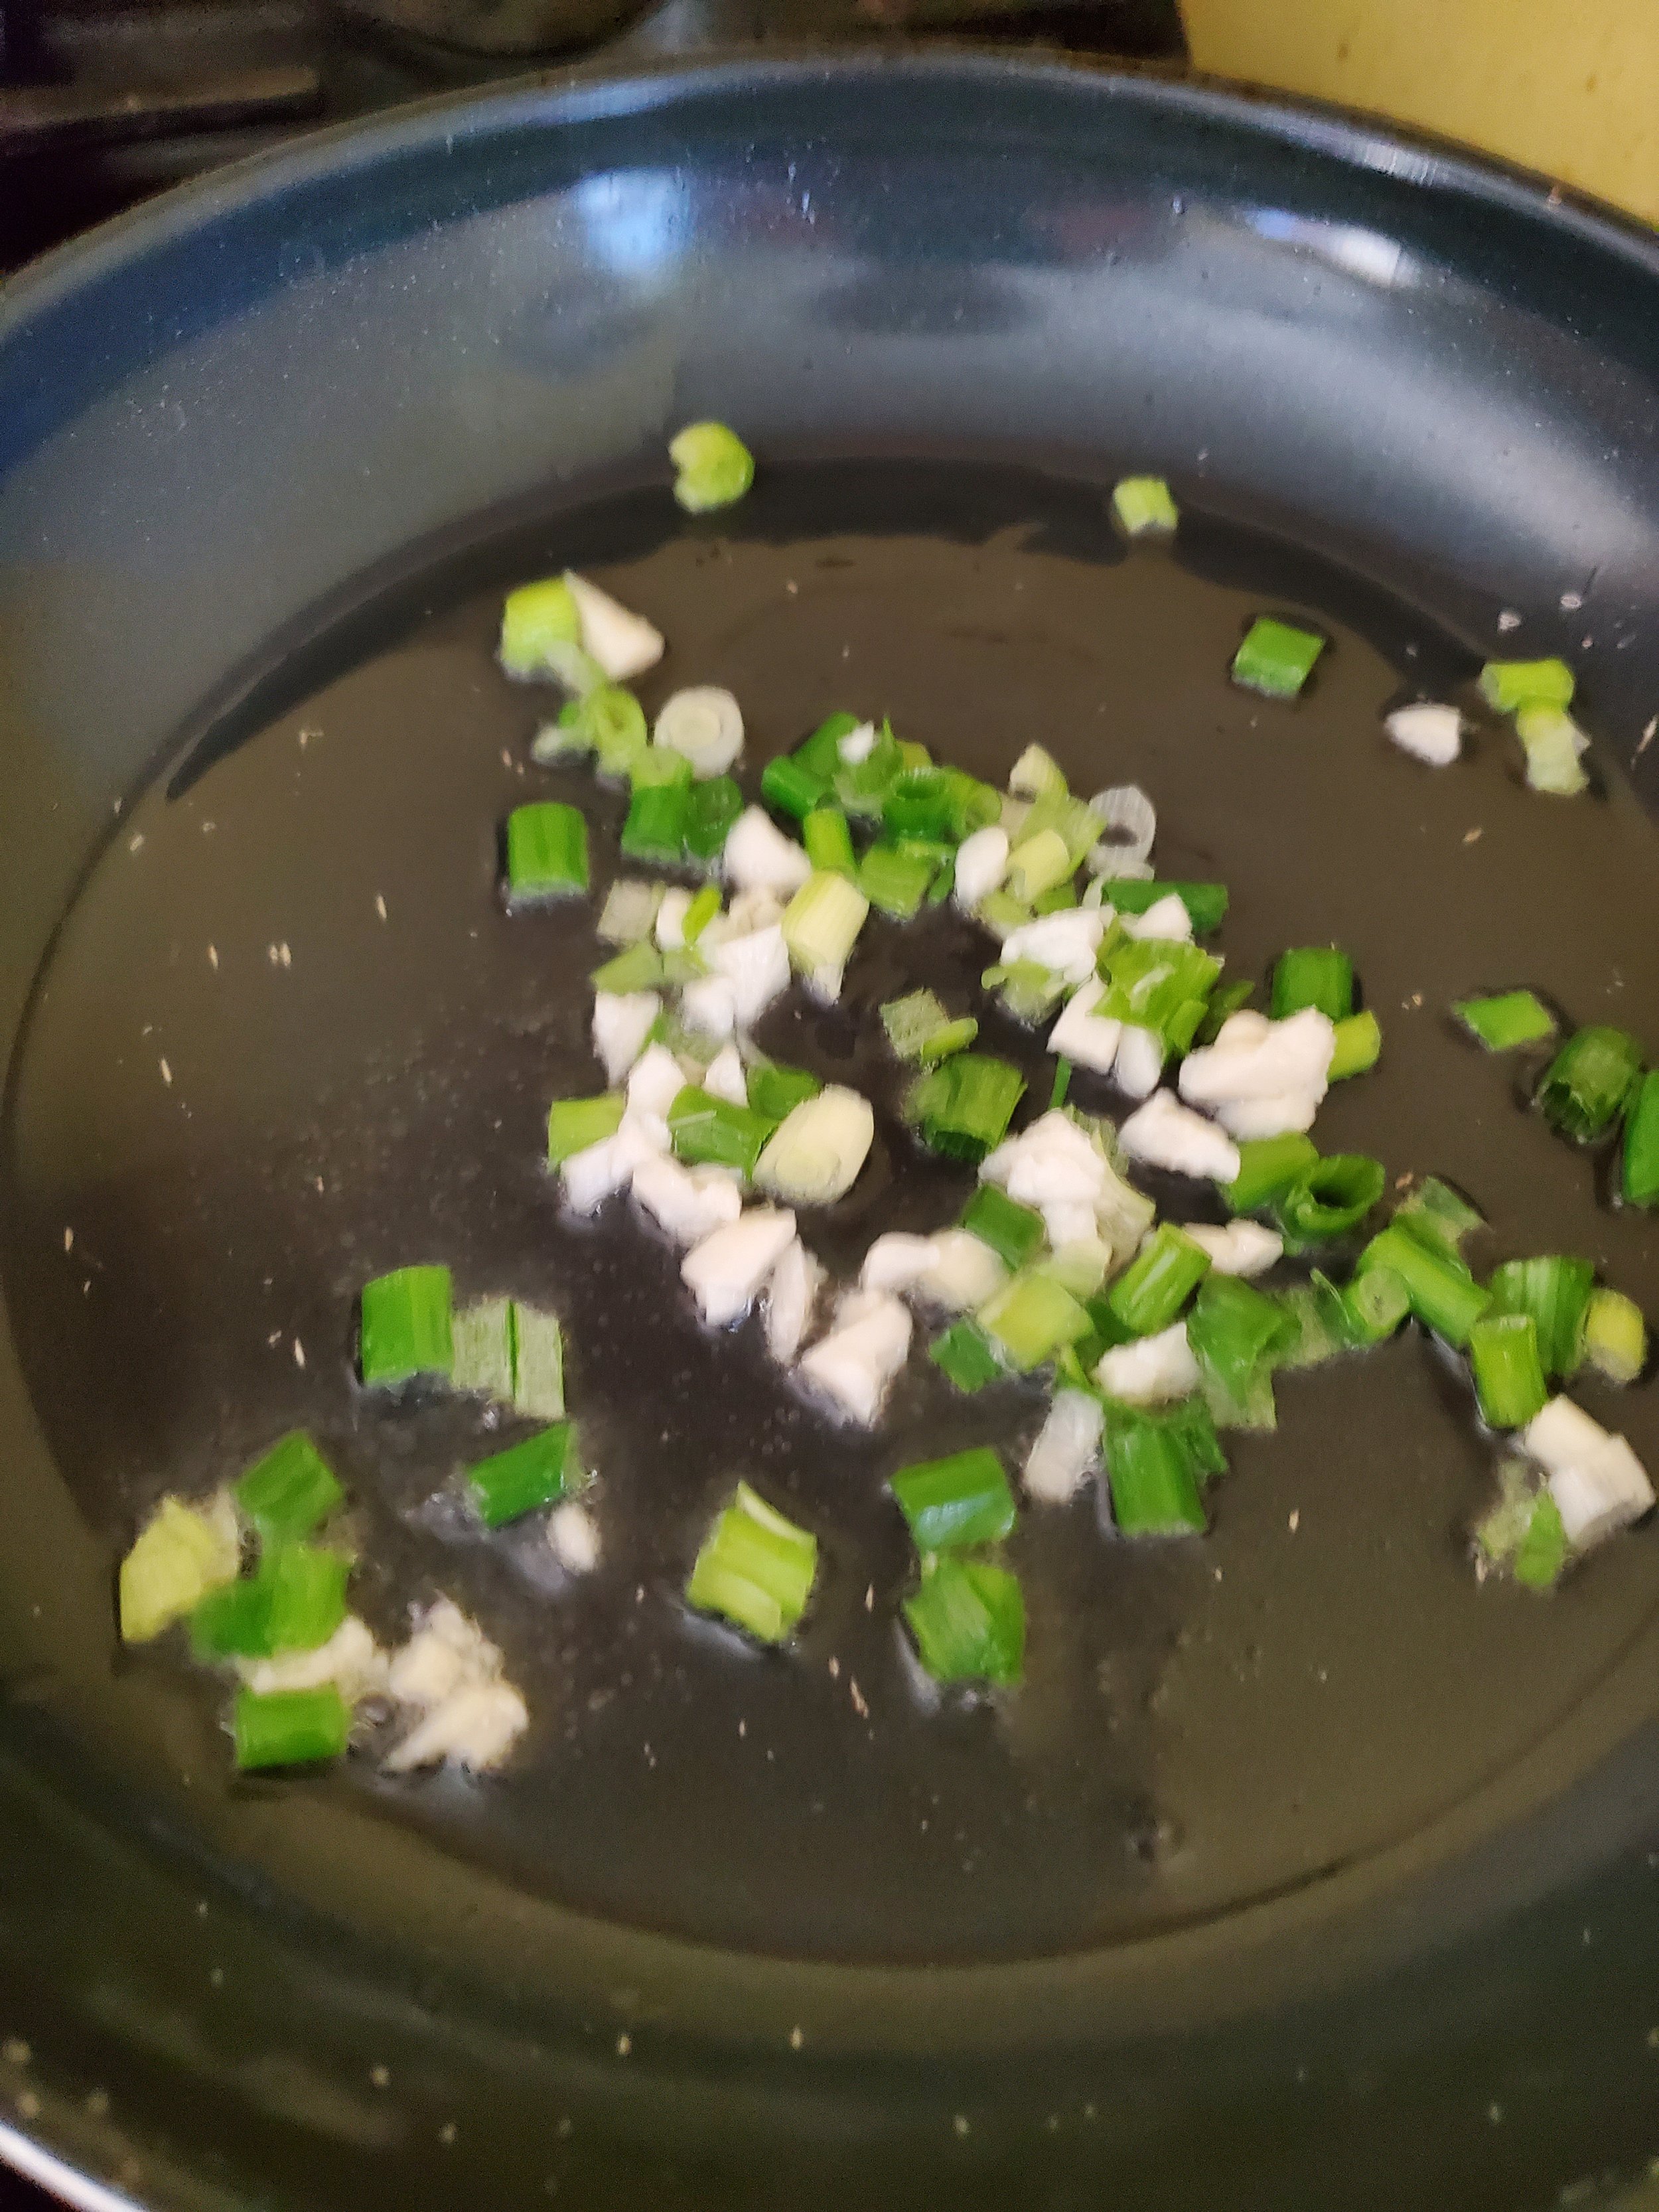
Melt your butter in the frying pan over medium heat. Add the olive oil, then dump the scallions and garlic into the pan. Give them a quick stir, then let them simmer there for a couple minutes until fragrant.

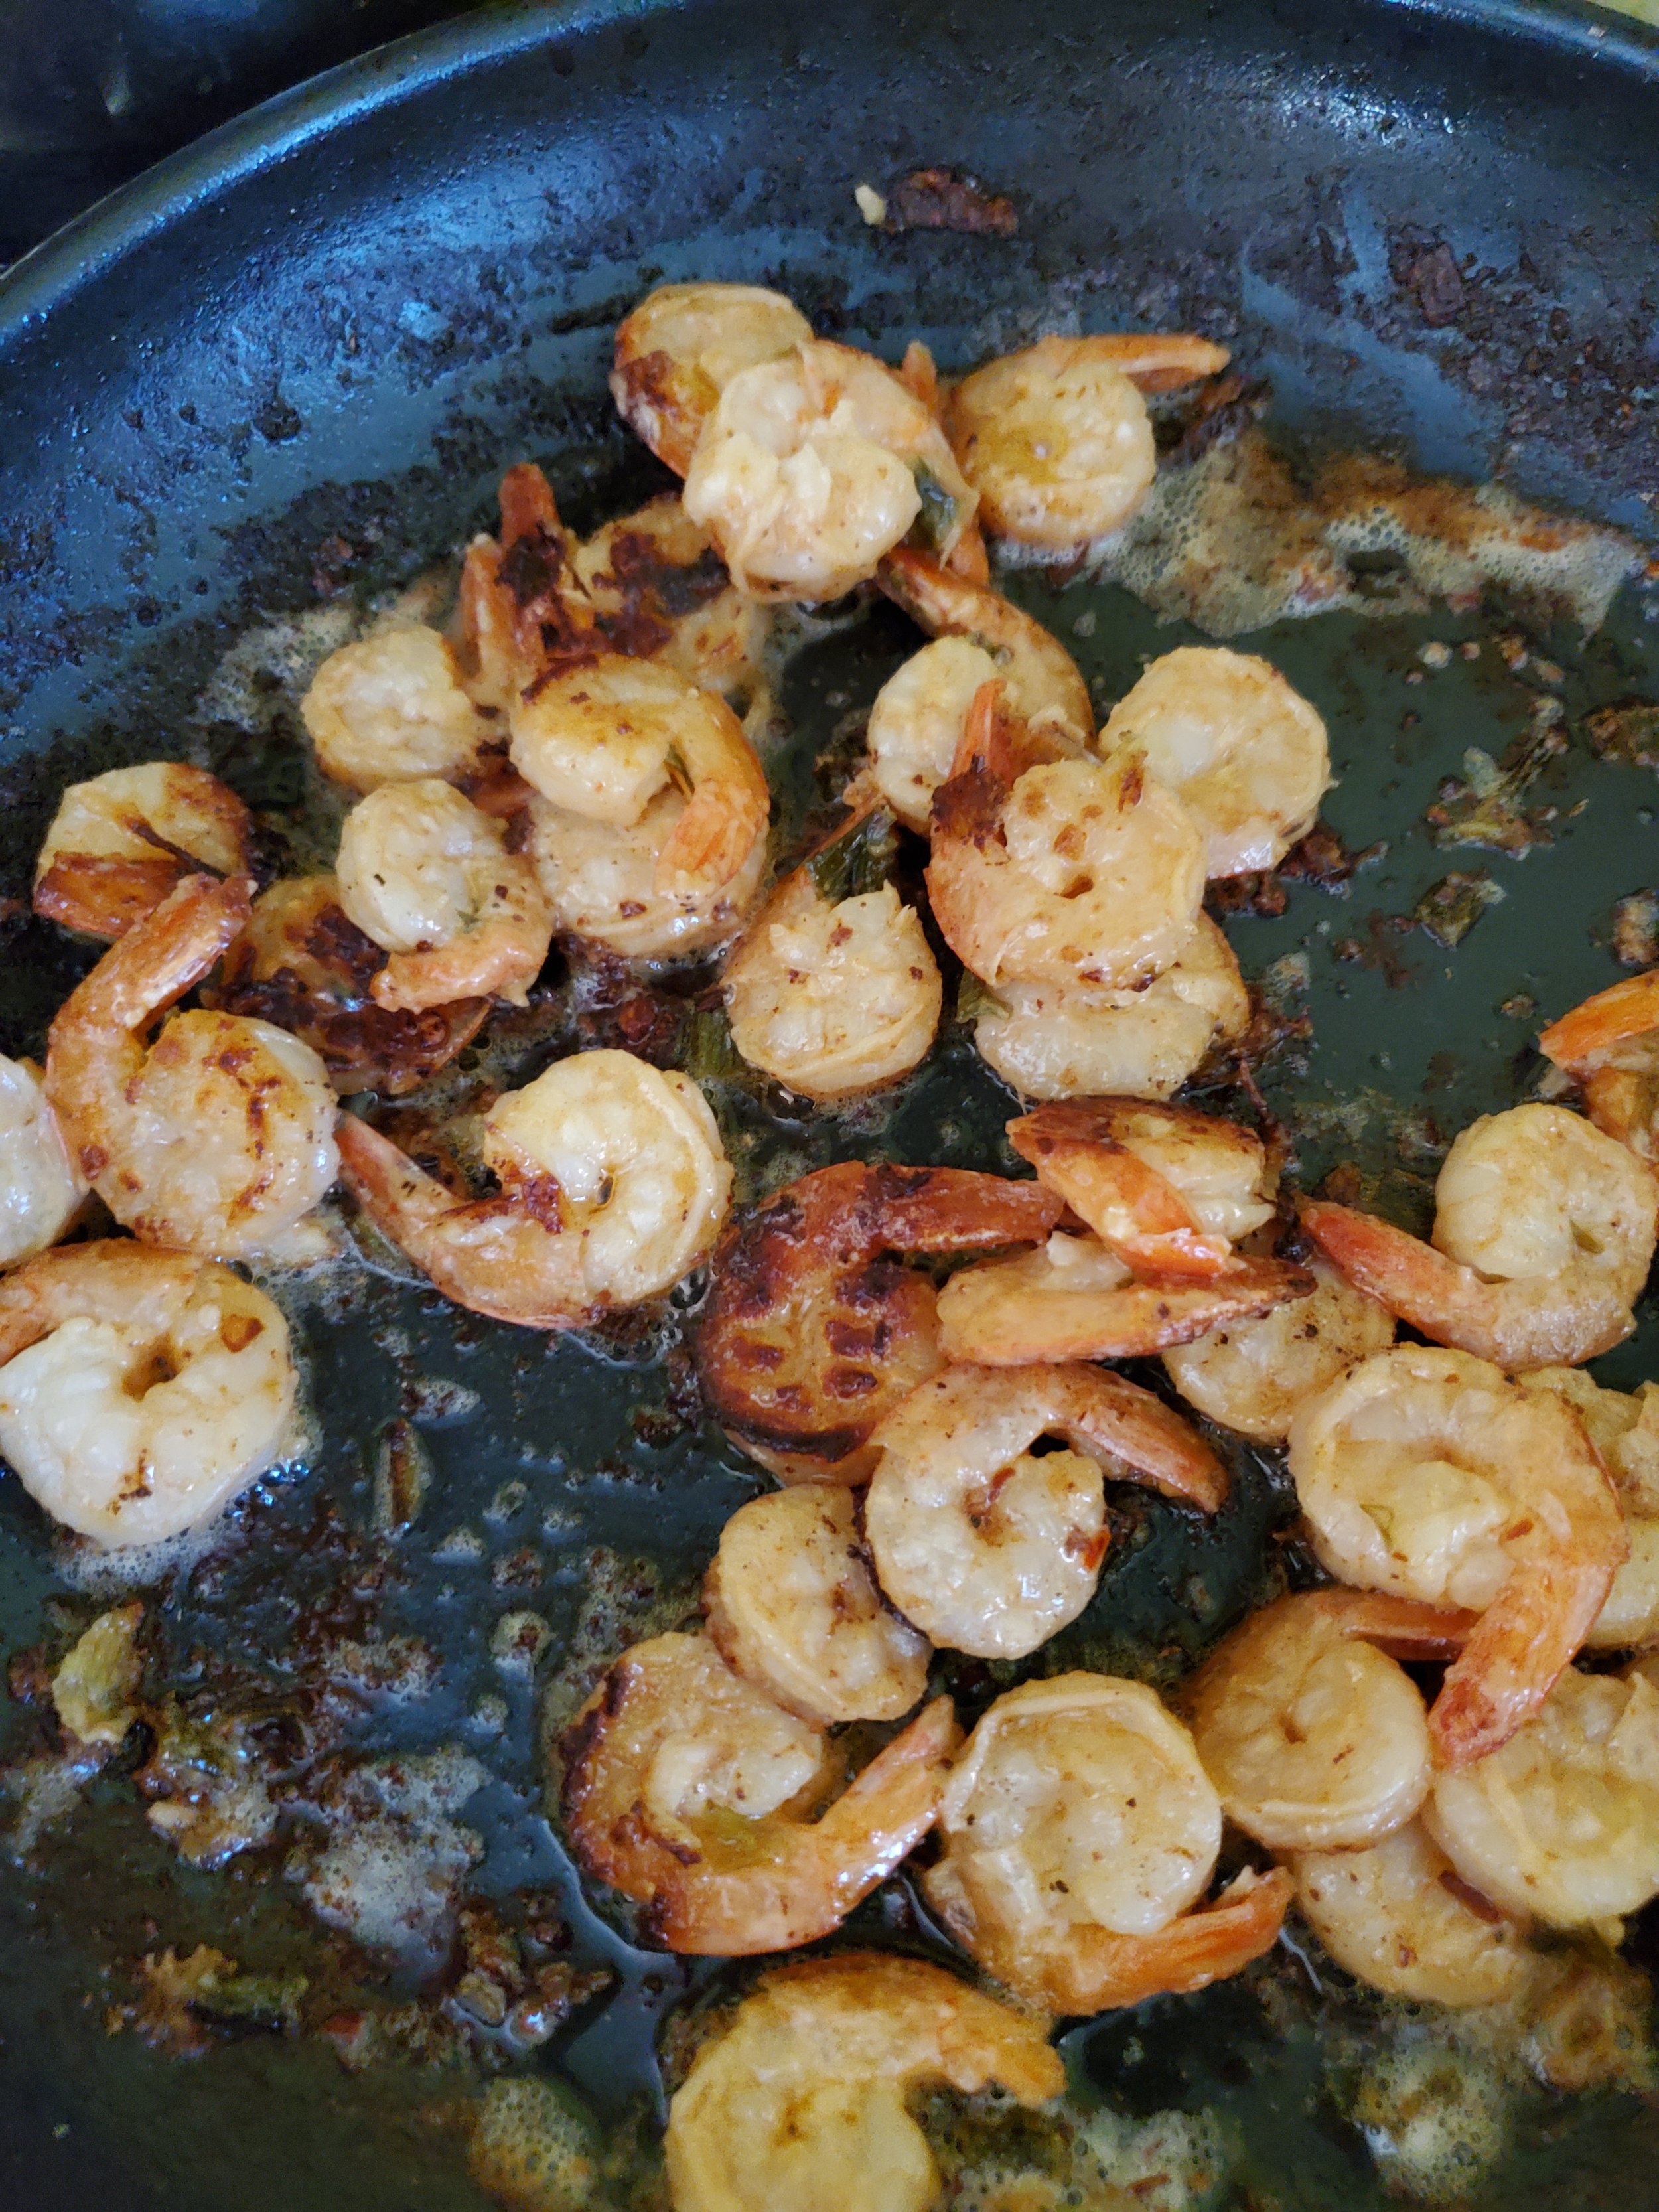
Turn your attention back to the shrimp. Double check the lid (no one wants to wear dinner), and then give them another good shake. Drain out most of the liquid and add the shrimp to the pan. Cook them for three or four minutes, then flip with a spatula or tongs. The "few minutes a side" guideline is very dependent on how large they are. We went for the medium-large shrimp. If you started with the smaller or even salad-size shrimp, reduce the cooking time by a bunch - they cook through so fast! 

Once the shrimp start turning colors (you'll know they're done when they're no longer sort of gray and translucent; a food thermometer should read 145 at the thickest point of the largest shrimp), measure out your white wine and add it to the pan. It will sizzle and pop, but it shouldn't flare. The alcohol content in a cooking wine is relatively low.

Let it reduce for a minute or so, then measure and add your heavy cream. Stir a bunch at this stage to be sure the cream is evenly distributed and there aren't any hot spots in the pan where the wine has already boiled away.

If there's anyone in the family who detests spicy food, this is the time to remove a little for them and put it aside. (Can you tell we have one of those, who also flinches at big pieces of onion or pepper?)

Sprinkle your crushed red pepper generously over the shrimp, give everything in the pan a good stir and a flip, and allow it to simmer another minute longer to let the flavors meld.

While it's totally optional, we like to turn the heat up a little at this step and get a good sear to complement the richness of the sauce. If the pan is looking a little dry, splash a little extra wine or cream into it before turning the heat up.

Split it up into even servings before you let anyone know it's ready - this meal sometimes gets fought over if you're not careful!

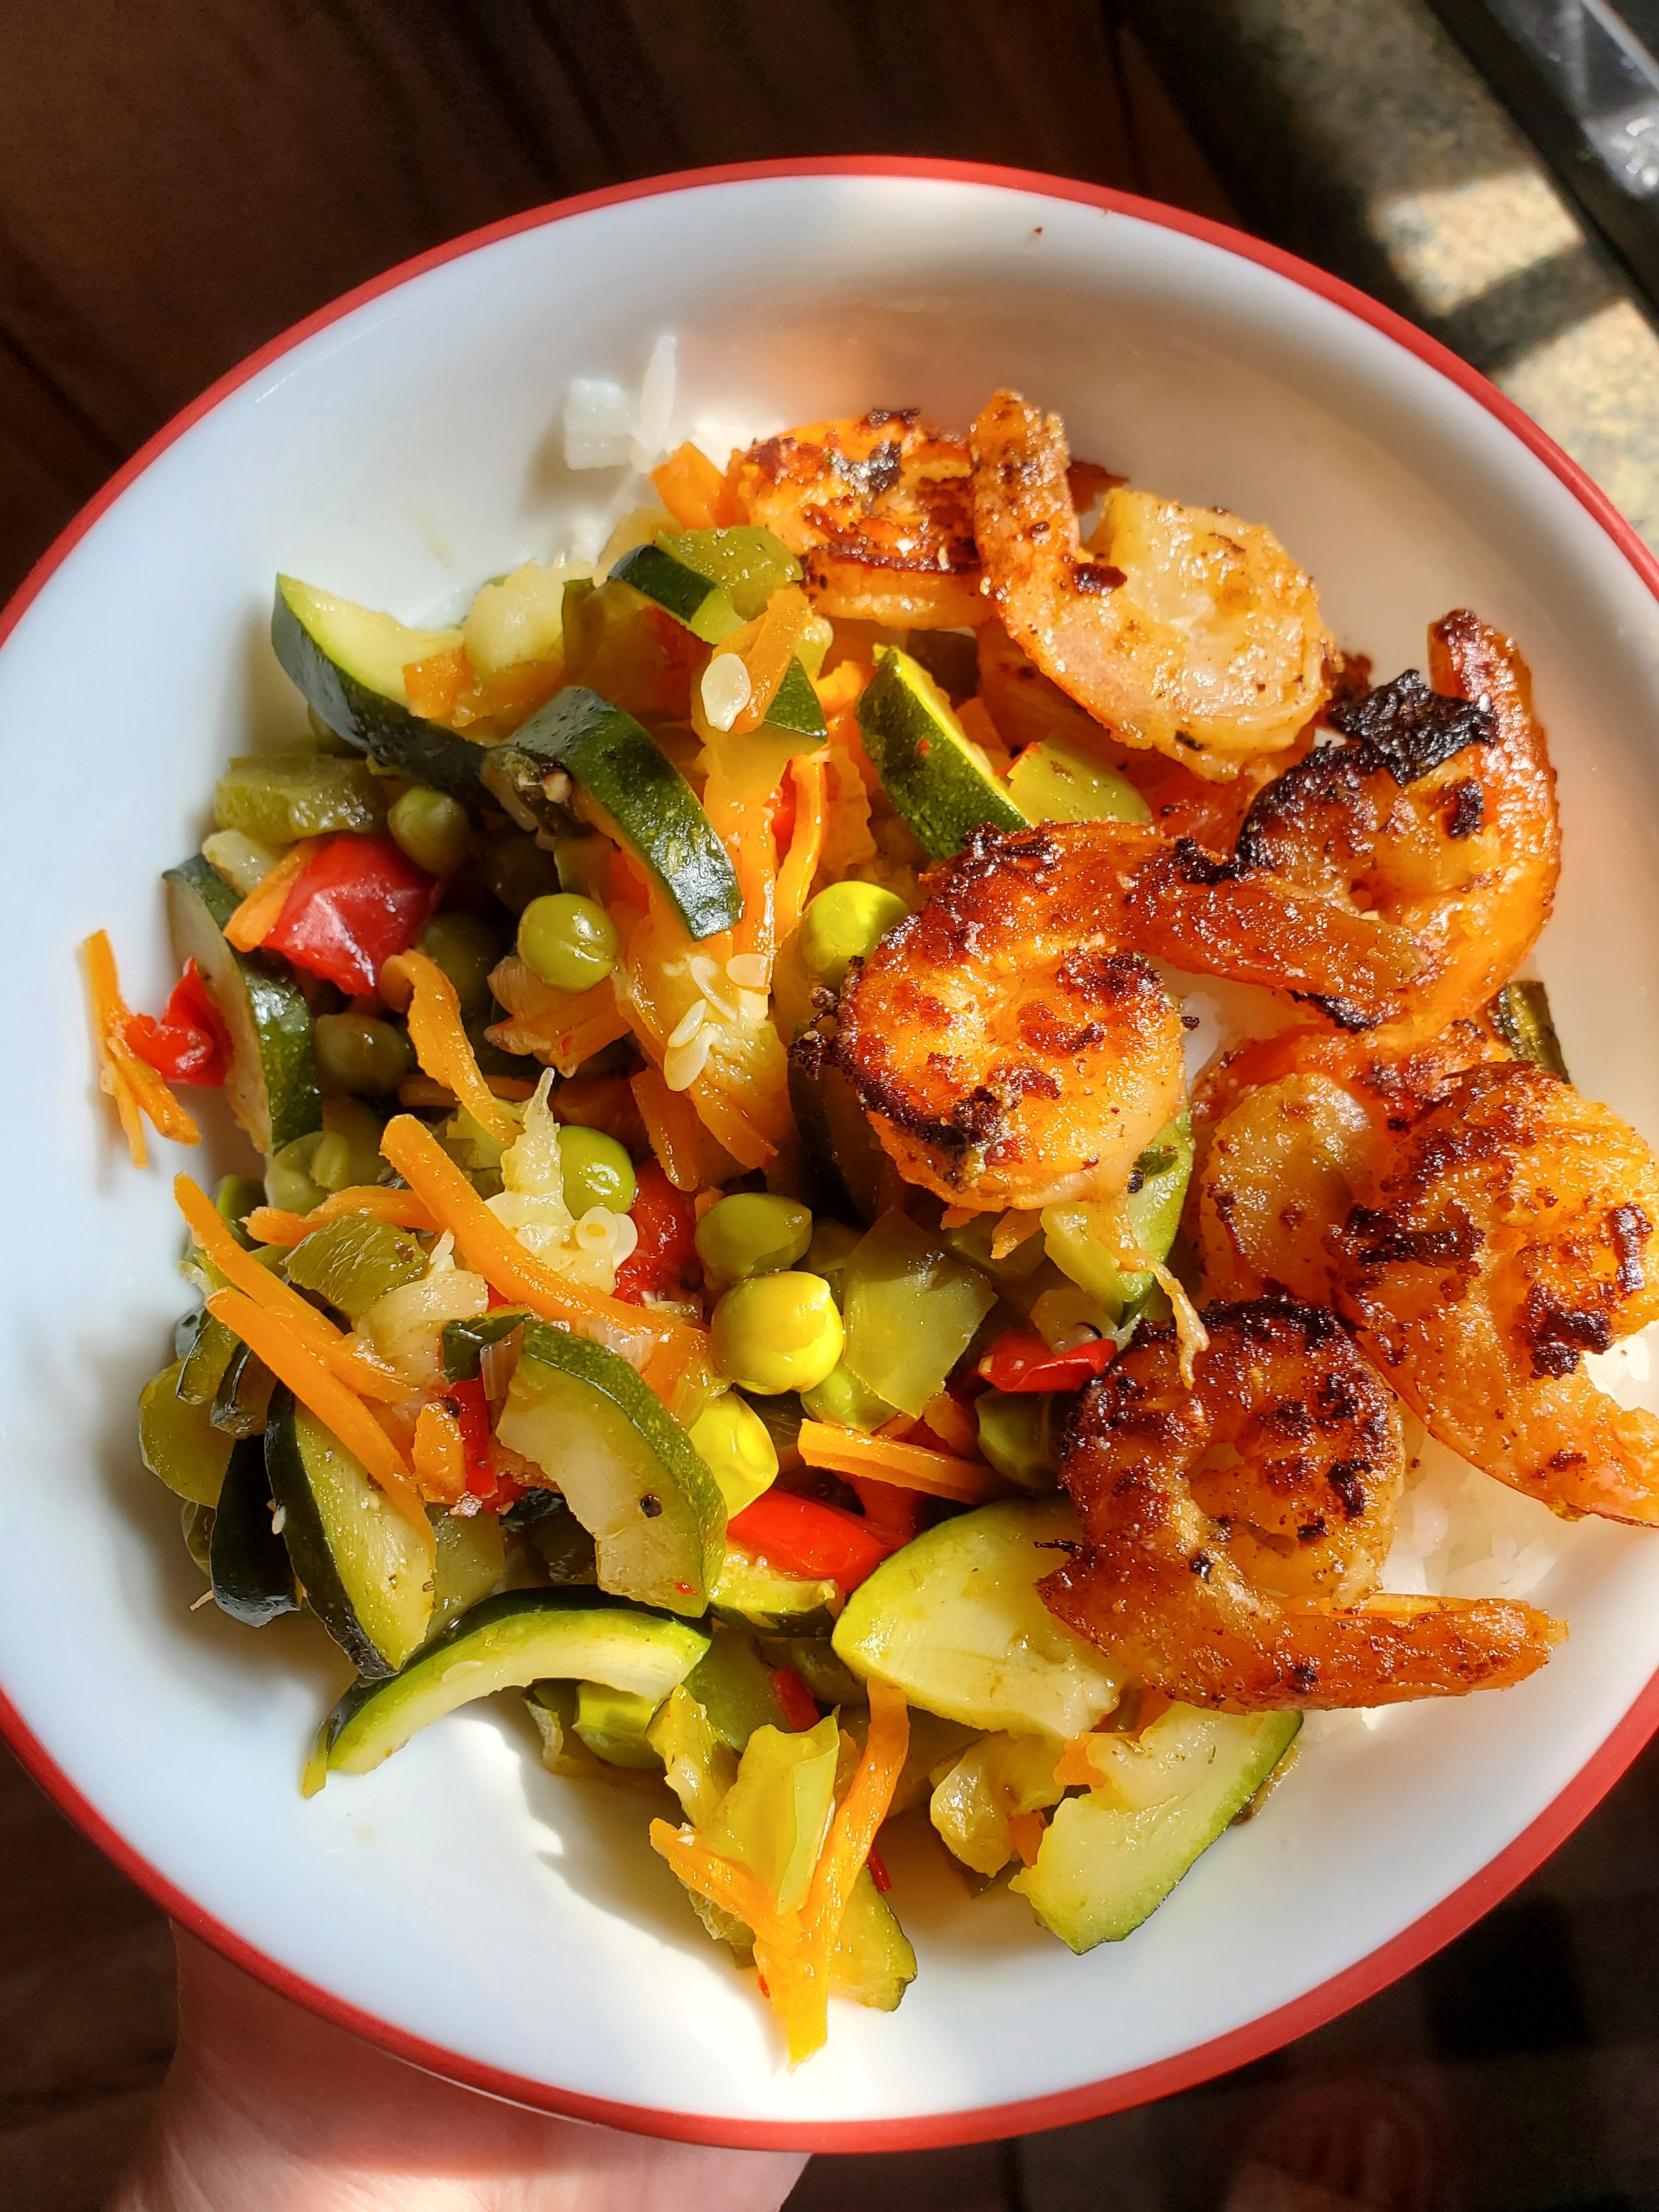
We think the shrimp is best served over rice with a great big pile of mixed veggies, but it also works with a salad or pasta. Get creative with it - maybe it's a good sandwich filling or a stellar appetizer, too. We just haven't tried it all yet.

 Thanks for checking out our recipe this week! Let us know on our Facebook how it turned out for you!


And remember, if something is going on with any of your appliances  we want to help. Whether it’s some of our posts here on the site, or needing a trained technician to take a look, Appliance Rescue Service is here for you.

Raisin Bread for Non Raisin Lovers

When You Really Need To Use Up The Raisins You Have, But Your Family Doesn’t Like Them.

Sometimes the weather is hot and unhappy, and it makes you miss your fall and winter foods. That's what's happening for us this week, so we decided to make some raisin bread.

There are a million and a half recipes for raisin bread. We're not going to get up on a soap box and tell you ours is better because... or ours is different because... That seems a little off the point, if nothing else. Your family may already have a standby recipe for this - but if not, you're welcome to try ours out!

Ingredients:

2 1/2 cups flour

1 cup water, warm 

3 teaspoons active dry yeast

1 teaspoon salt

1 teaspoon white sugar

1/3 cup brown sugar

2 teaspoons cinnamon

1/2 teaspoon clove

1 teaspoon oil (we use olive, but sub whatever you like)

1/2 cup raisins, separated so as not to clump

Tools:

mixing bowl

measuring cups and spoons

spoon

parchment paper or silicone mat

kitchen towel

dutch oven or covered oven-safe pan

thermometer

While we know thermometers are not ubiquitous kitchen tools, we strongly advise using one instead of guessing on water temperature. Instant-read digital thermometers are only a few bucks at your nearest big box store. They are absolutely a justifiable expense, between food safety uses (ensuring meats are fully cooked) and baking tasks (like checking water temperature to proof yeast).

Before you get going, it's a good idea to heat up your water. You can run the kitchen tap until it's warm, or you can measure the water cold and heat it in the microwave if your measuring cup is microwave safe. We normally just measure cold water from the tap and zap it in the microwave for 30 seconds or so. Use the thermometer to check the temperature - it should be no colder than 105 degrees and no warmer than 115. Target 110 as the ideal temperature. If it's too hot, it will kill the yeast - but if it's not warm enough, the yeast won't do its job.

Once you're sure the water is the right temperature, mix in the teaspoon of sugar and add the yeast. Give everything a stir (the sugar will partially dissolve, and the yeast will saturate) and let it sit for at least five minutes. You'll know you did it right when the yeast bubbles and begins to increase in size.

Measure your flour, salt, cinnamon and clove into the mixing bowl and use a spoon to combine them. Add the brown sugar and make sure to stir it in - we know there will be some clumps at this point, but it's okay.

Stir in the raisins at this point, making sure they don't go in as one big blob that won't distribute through the dough. We often task a little helper with making sure they're not too stuck together.

Add your oil and the yeast/sugar/water mixture. Stir until you have something that sort of resembles dough - it'll be shaggy and have what look like huge pockets of flour, but don't panic. Get the spoon out of the way and finish the mixing and kneading process with your hands. Don't be afraid to get a little messy on this one (if you really hate the mess, remove jewelry and/or use gloves). Knead until it's mostly smooth and all the flour has been worked in.

Cover the dough with a clean kitchen towel and allow it to rest for an hour or so. Definitely set a timer. Please don't ignore it for four or more hours as we have accidentally done on occasion. Leaving it to rise too long yields a beer-y sourdough flavor that does not complement the raisins.

After the hour is up, preheat your oven to 375. Turn the dough out onto a piece of parchment paper. Knead it a bit more, with the goal of shaping it into a ball. If it's sticky, add some flour to the dough or to your hands, but avoid overdoing it. No one wants chalk instead of bread.

Now pick up that whole piece of parchment paper and plop it into the dutch oven. Put the lid on it and slide it into the oven on a middle rack. Let it bake for 45 minutes, covered. When your timer goes off again, remove the lid but leave the bread in the oven for another 15 minutes.

Around this point it will start to smell "done." Trust your nose. When it smells like bread instead of almost-bread, it's ready. Remove it from the oven and let it cool. Letting it cool is only really important if you want neat slices - if you're fine with them looking a little crumbly and rough around the edges, just go for it. We find it best served toasted and with a little bit of butter.

Let us know how your recipe turns out, we’d love to hear from you over on our Facebook page. 


And if you’re looking to learn more about how we can help you with your appliances, please let us know

Pepperoni & Canadian Bacon Stromboli

The most delicious recipe you’ll make all weekend.

Sometimes you really want a pizza, but you don’t have a good place nearby, and you don’t need to make a giant pie. The answer is stromboli. Stromboli is a wonderful food for when you’re going out, as it’s very much like a hand pie, even if ‘out’ is just heading out to enjoy your yard. As with most recipes we share, these are influenced by your Blogger’s history, as a stromboli is a very Philadelphia thing. 


Ingredients:


1 packet pizza dough mix or 1 pound premade dough

(if packet: 1/2 cup water, hot, and 1 teaspoon oil, or as directed)

1/2 pack pepperoni

4 slices Canadian bacon

1/3 cup pasta sauce

1 cup shredded mozzarella

1 tablespoon butter

grated parmesan


Tools:

mixing bowl

spoon

parchment paper and/or aluminum foil

knife

baking sheet

spray oil

small heat-safe dish

basting brush


This recipe can be very messy. If you end up wearing some of it, no worries. It just means you've done it right.


To get started, either work your premade dough until it's soft and pliable, or mix together your dry ingredients, water and oil in a mixing bowl.


If you're making the dough, we recommend stirring it with a spoon until you get a shaggy, lumpy approximation of a dough ball - then knead by hand until you reach the desired consistency. If it's very sticky, add a little flour a spoonful at a time and work it in. If it's dry, add some water the same way.


We would like to take this opportunity to remind you that a little tackiness to the dough is actually helpful, and stops your stretched dough from rebounding immediately.


Working on a sheet of parchment paper is optional, but we find it to be extremely helpful, especially when transferring your finished product to the baking sheet. Feel free to make your own decision here. Some people prefer a clean countertop, some use a board or silicon mat, some (us included) like a piece of wax or parchment paper.


Turn your dough out onto your preferred work surface and make sure you've broken up any lumps to create a smooth ball of dough.


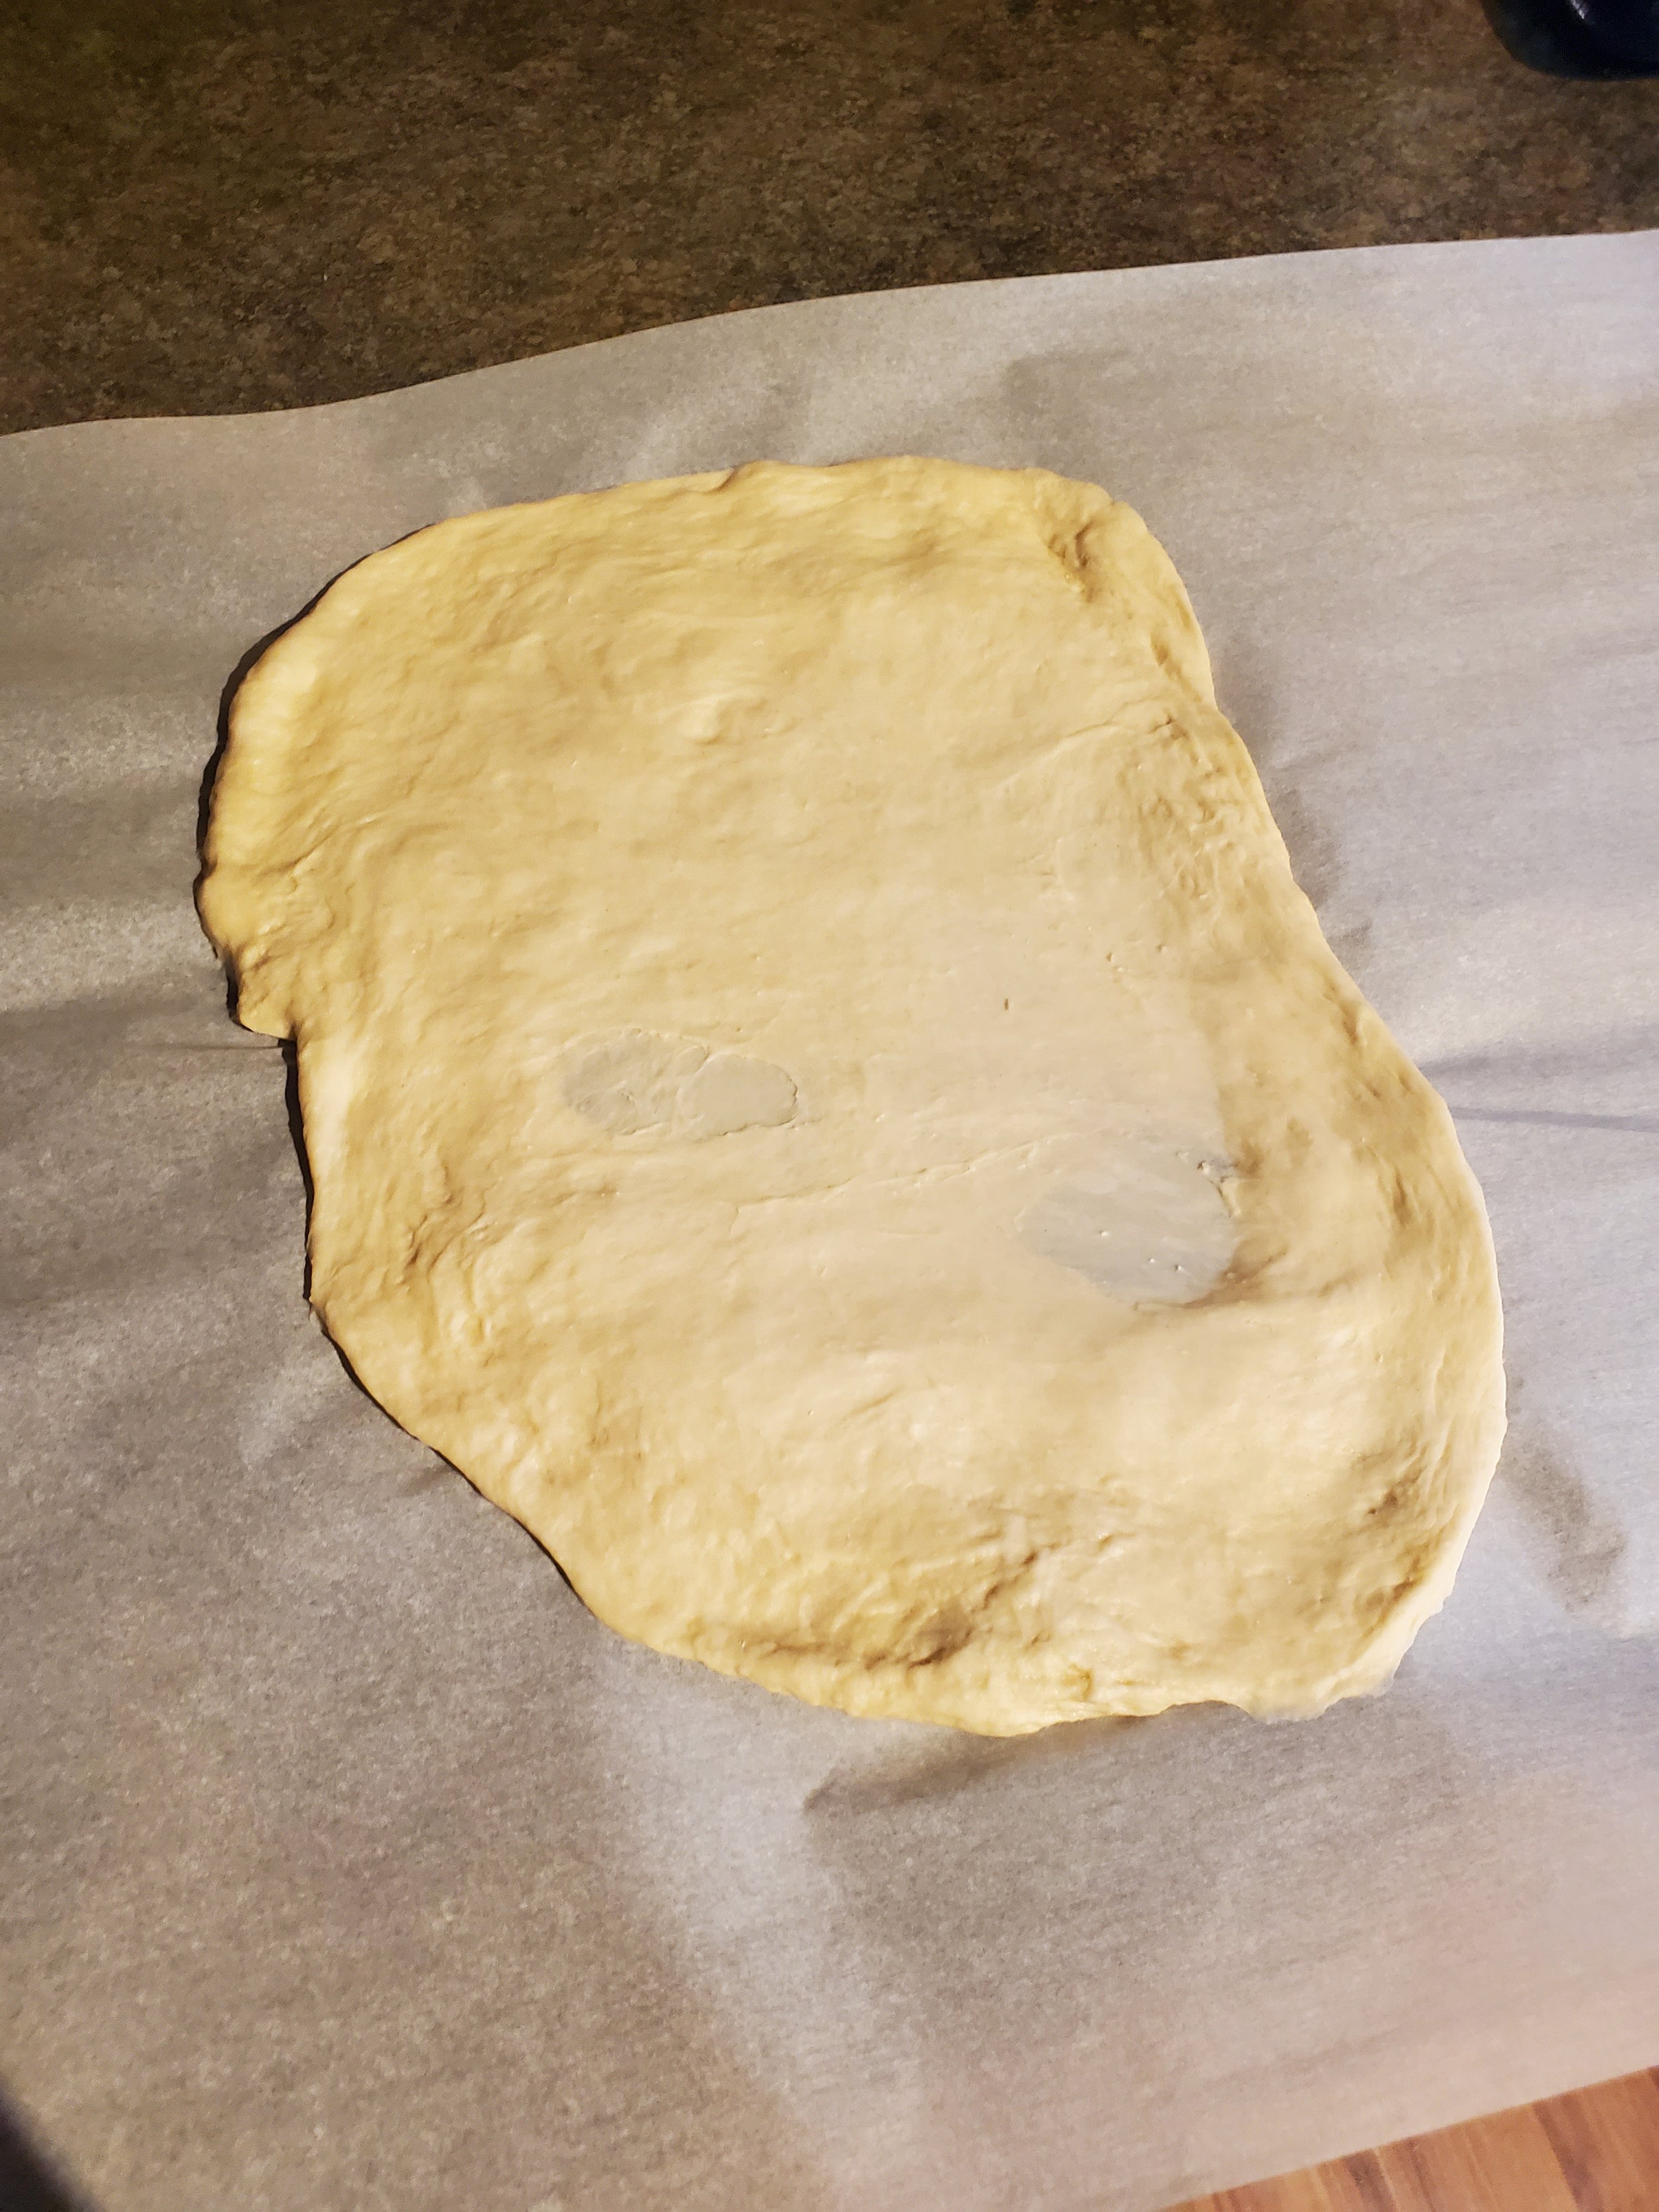
Your next step will be to shape this dough. You can make it a circle like you're working on a pizza, but we find a slightly more oblong or ovoid shape to be easier to work with when it comes time to fold it over. You can work the dough into a circle or oval right away if you like, but we often cover it with a clean kitchen towel and allow it to rest for ten minutes or so before we proceed.


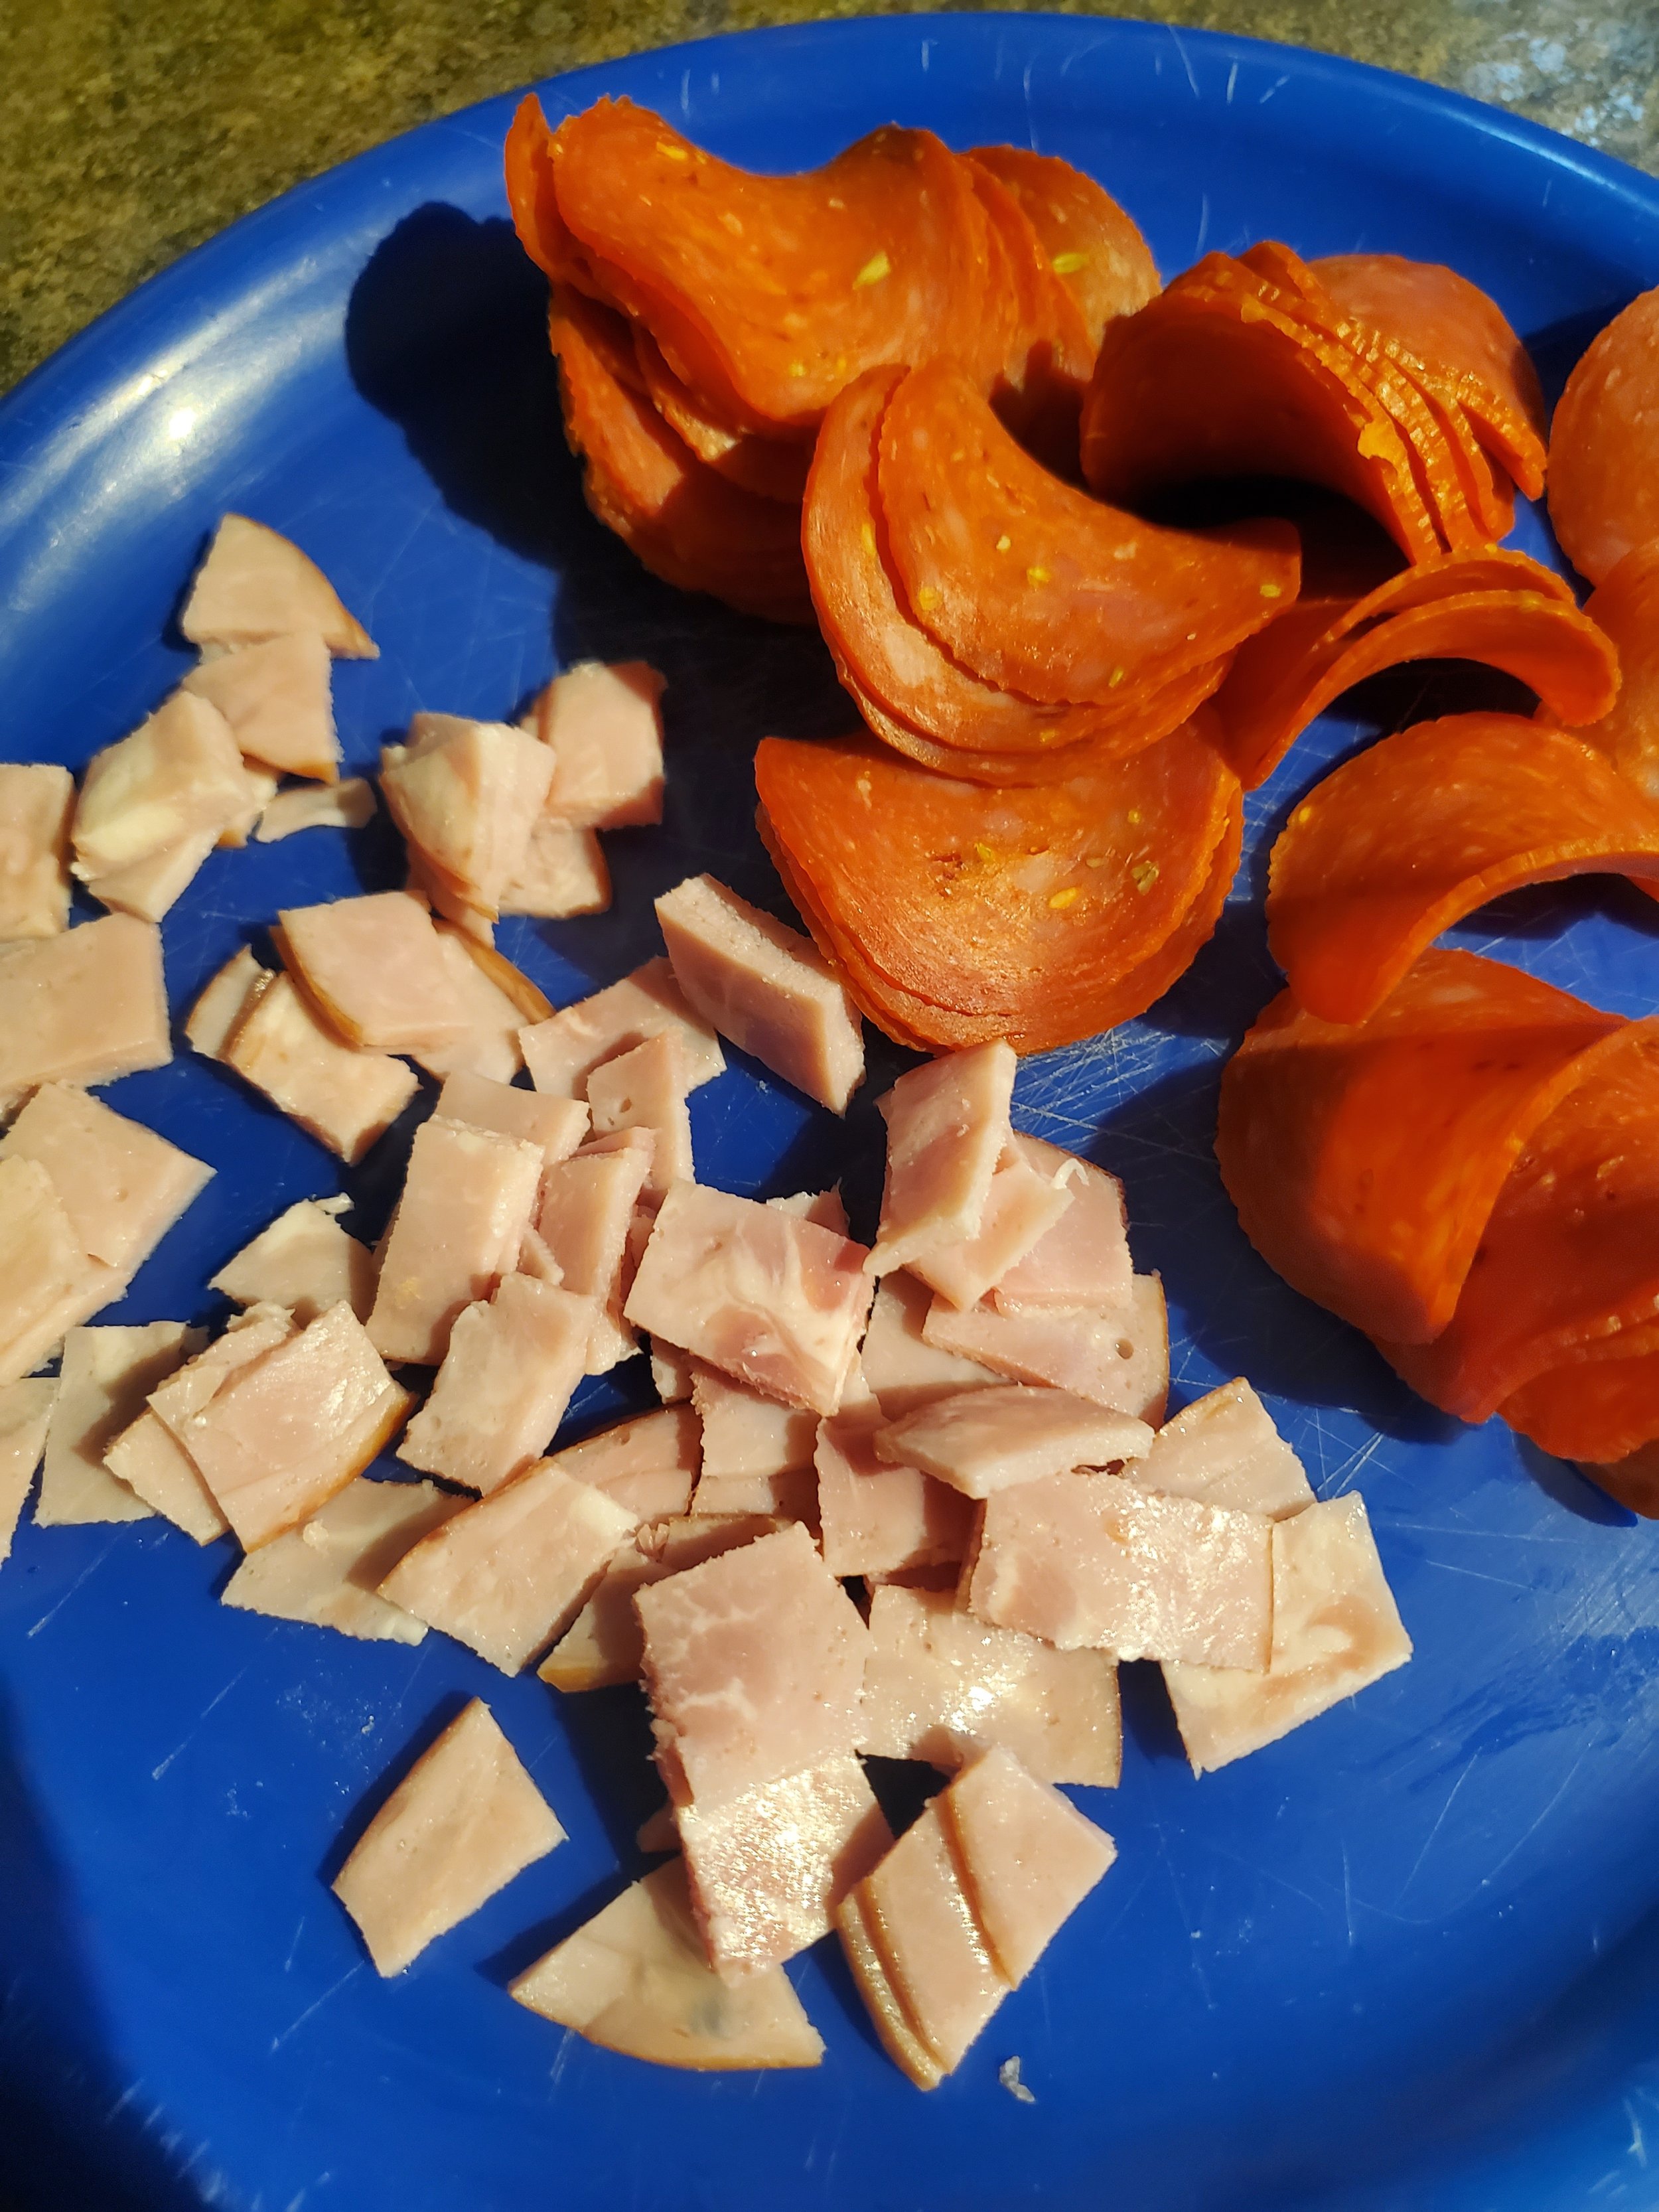
If you're letting the dough rest a little, this is an excellent time to preheat your oven to 375. And if you prefer smaller pieces but have purchased the large slices of canadian bacon (the situation we found ourselves in), it's also a good time to grab a knife and chop those big slices up.


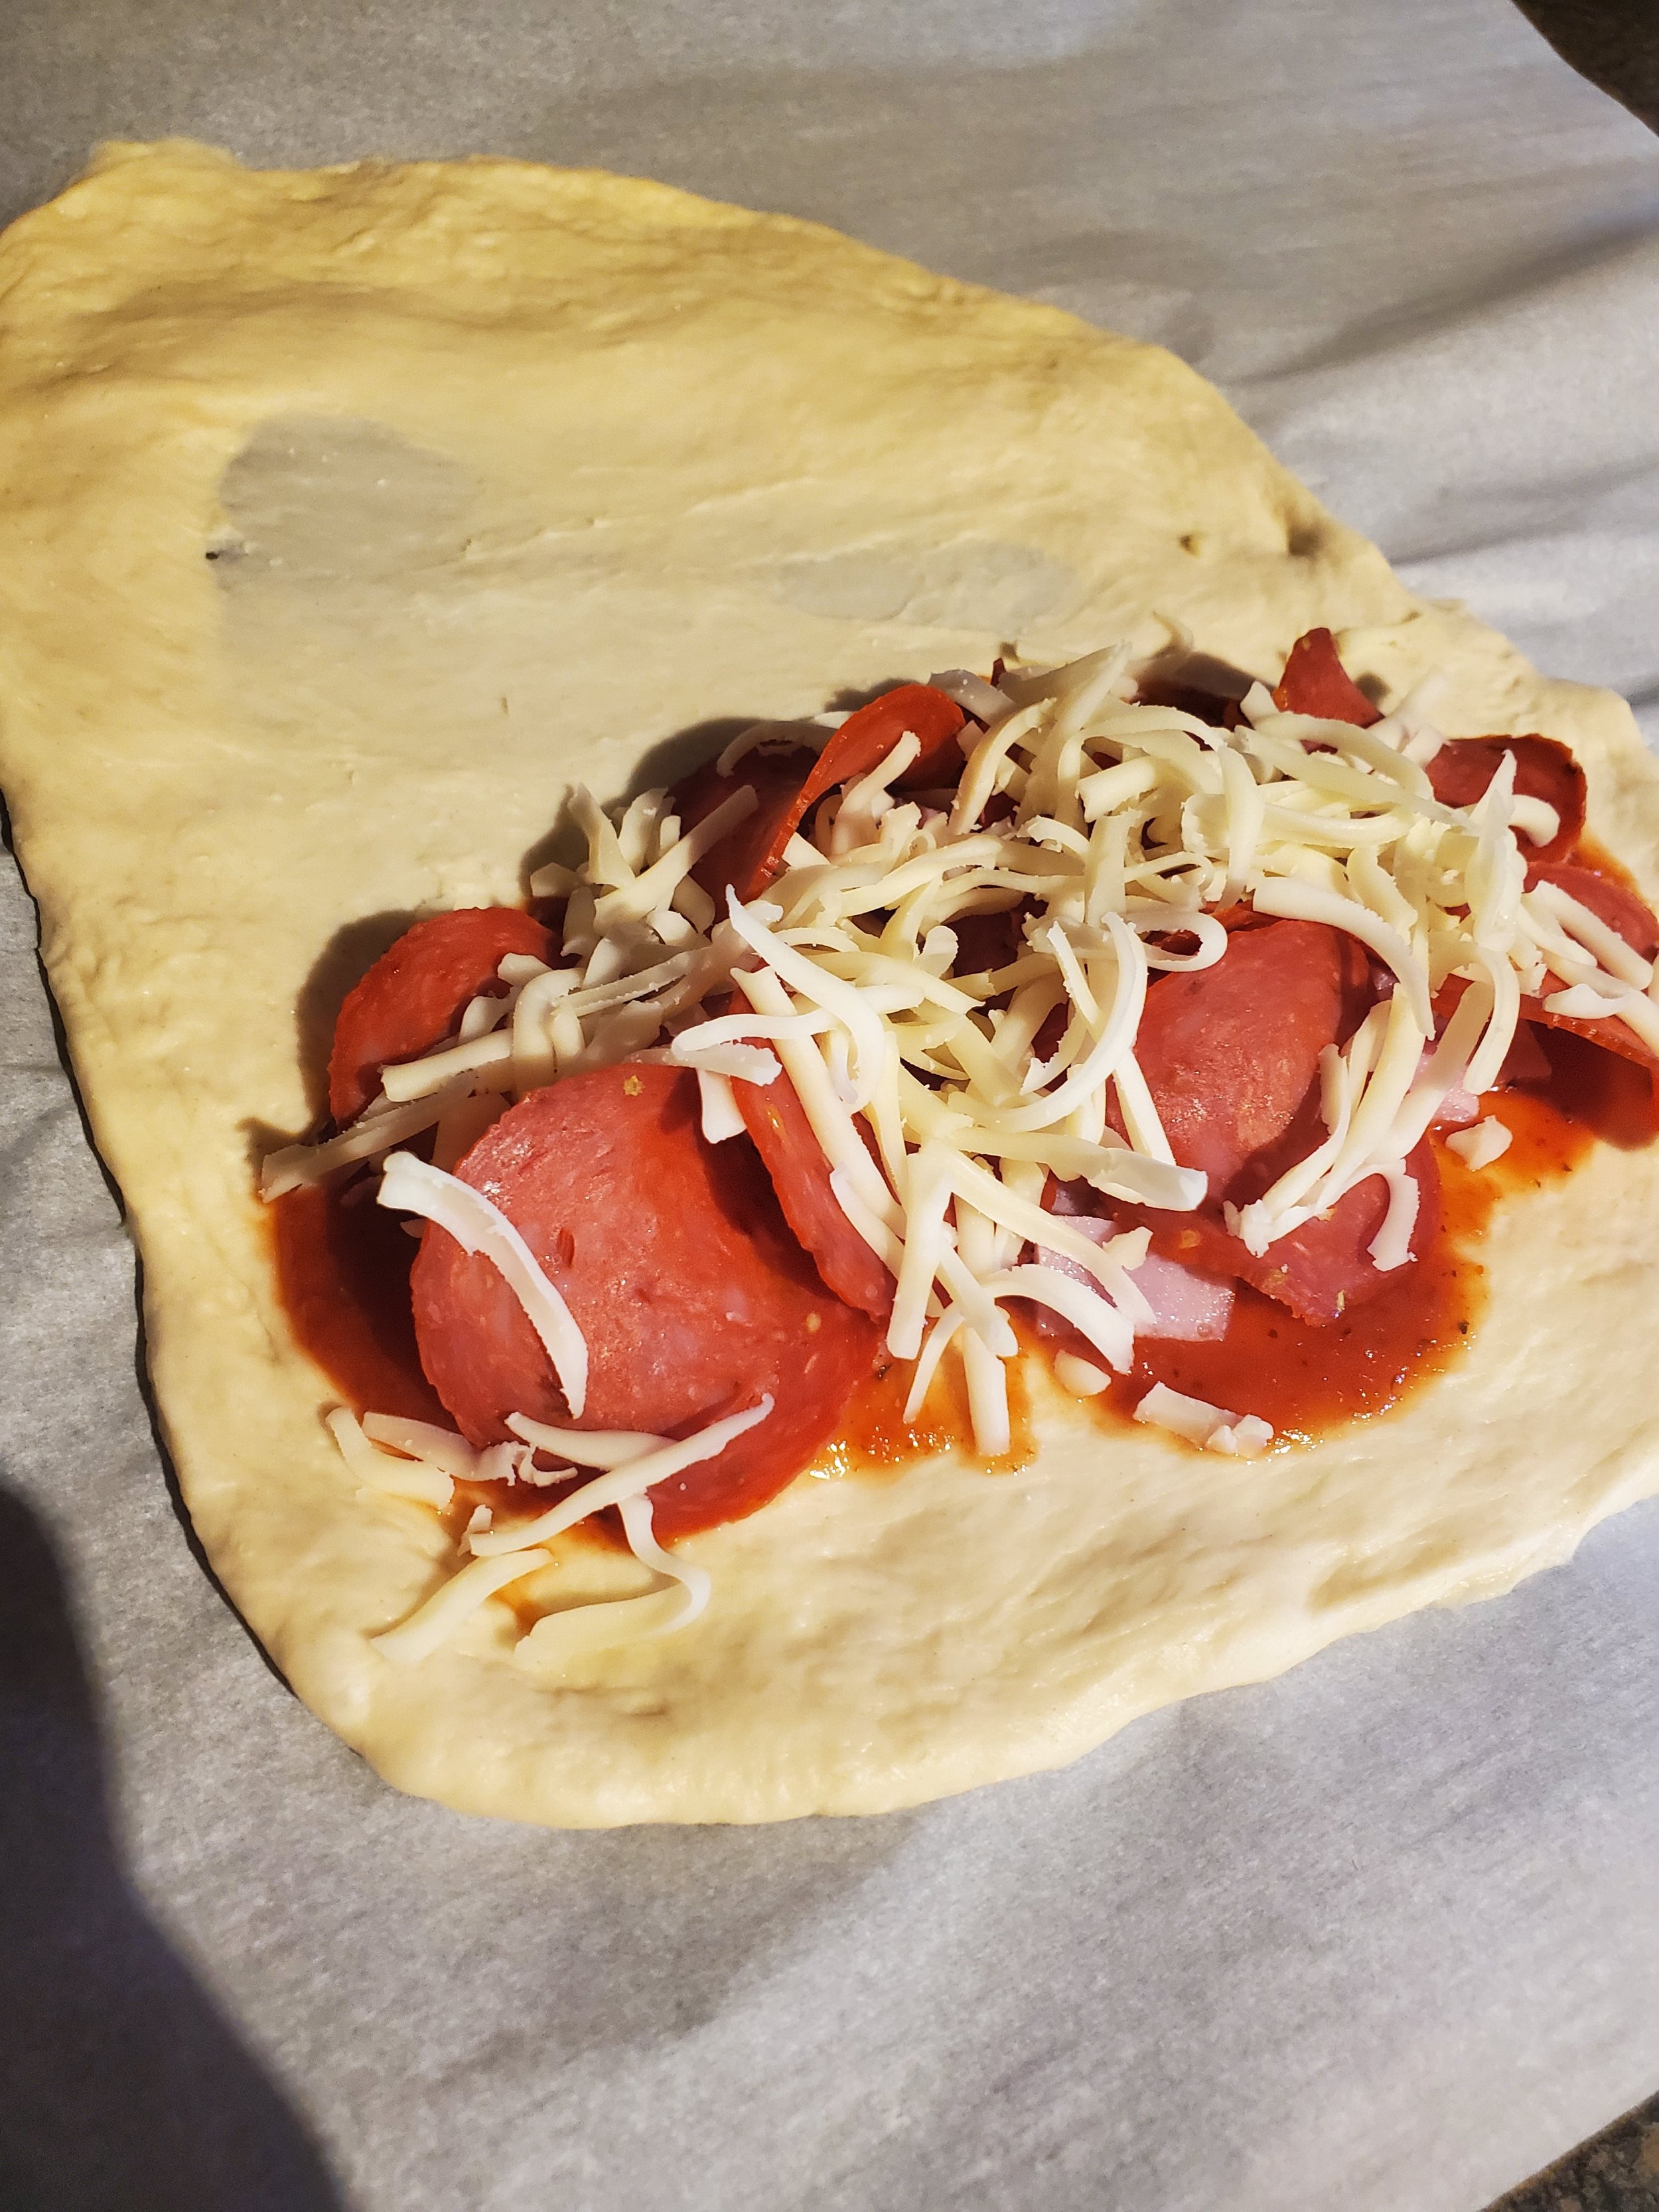
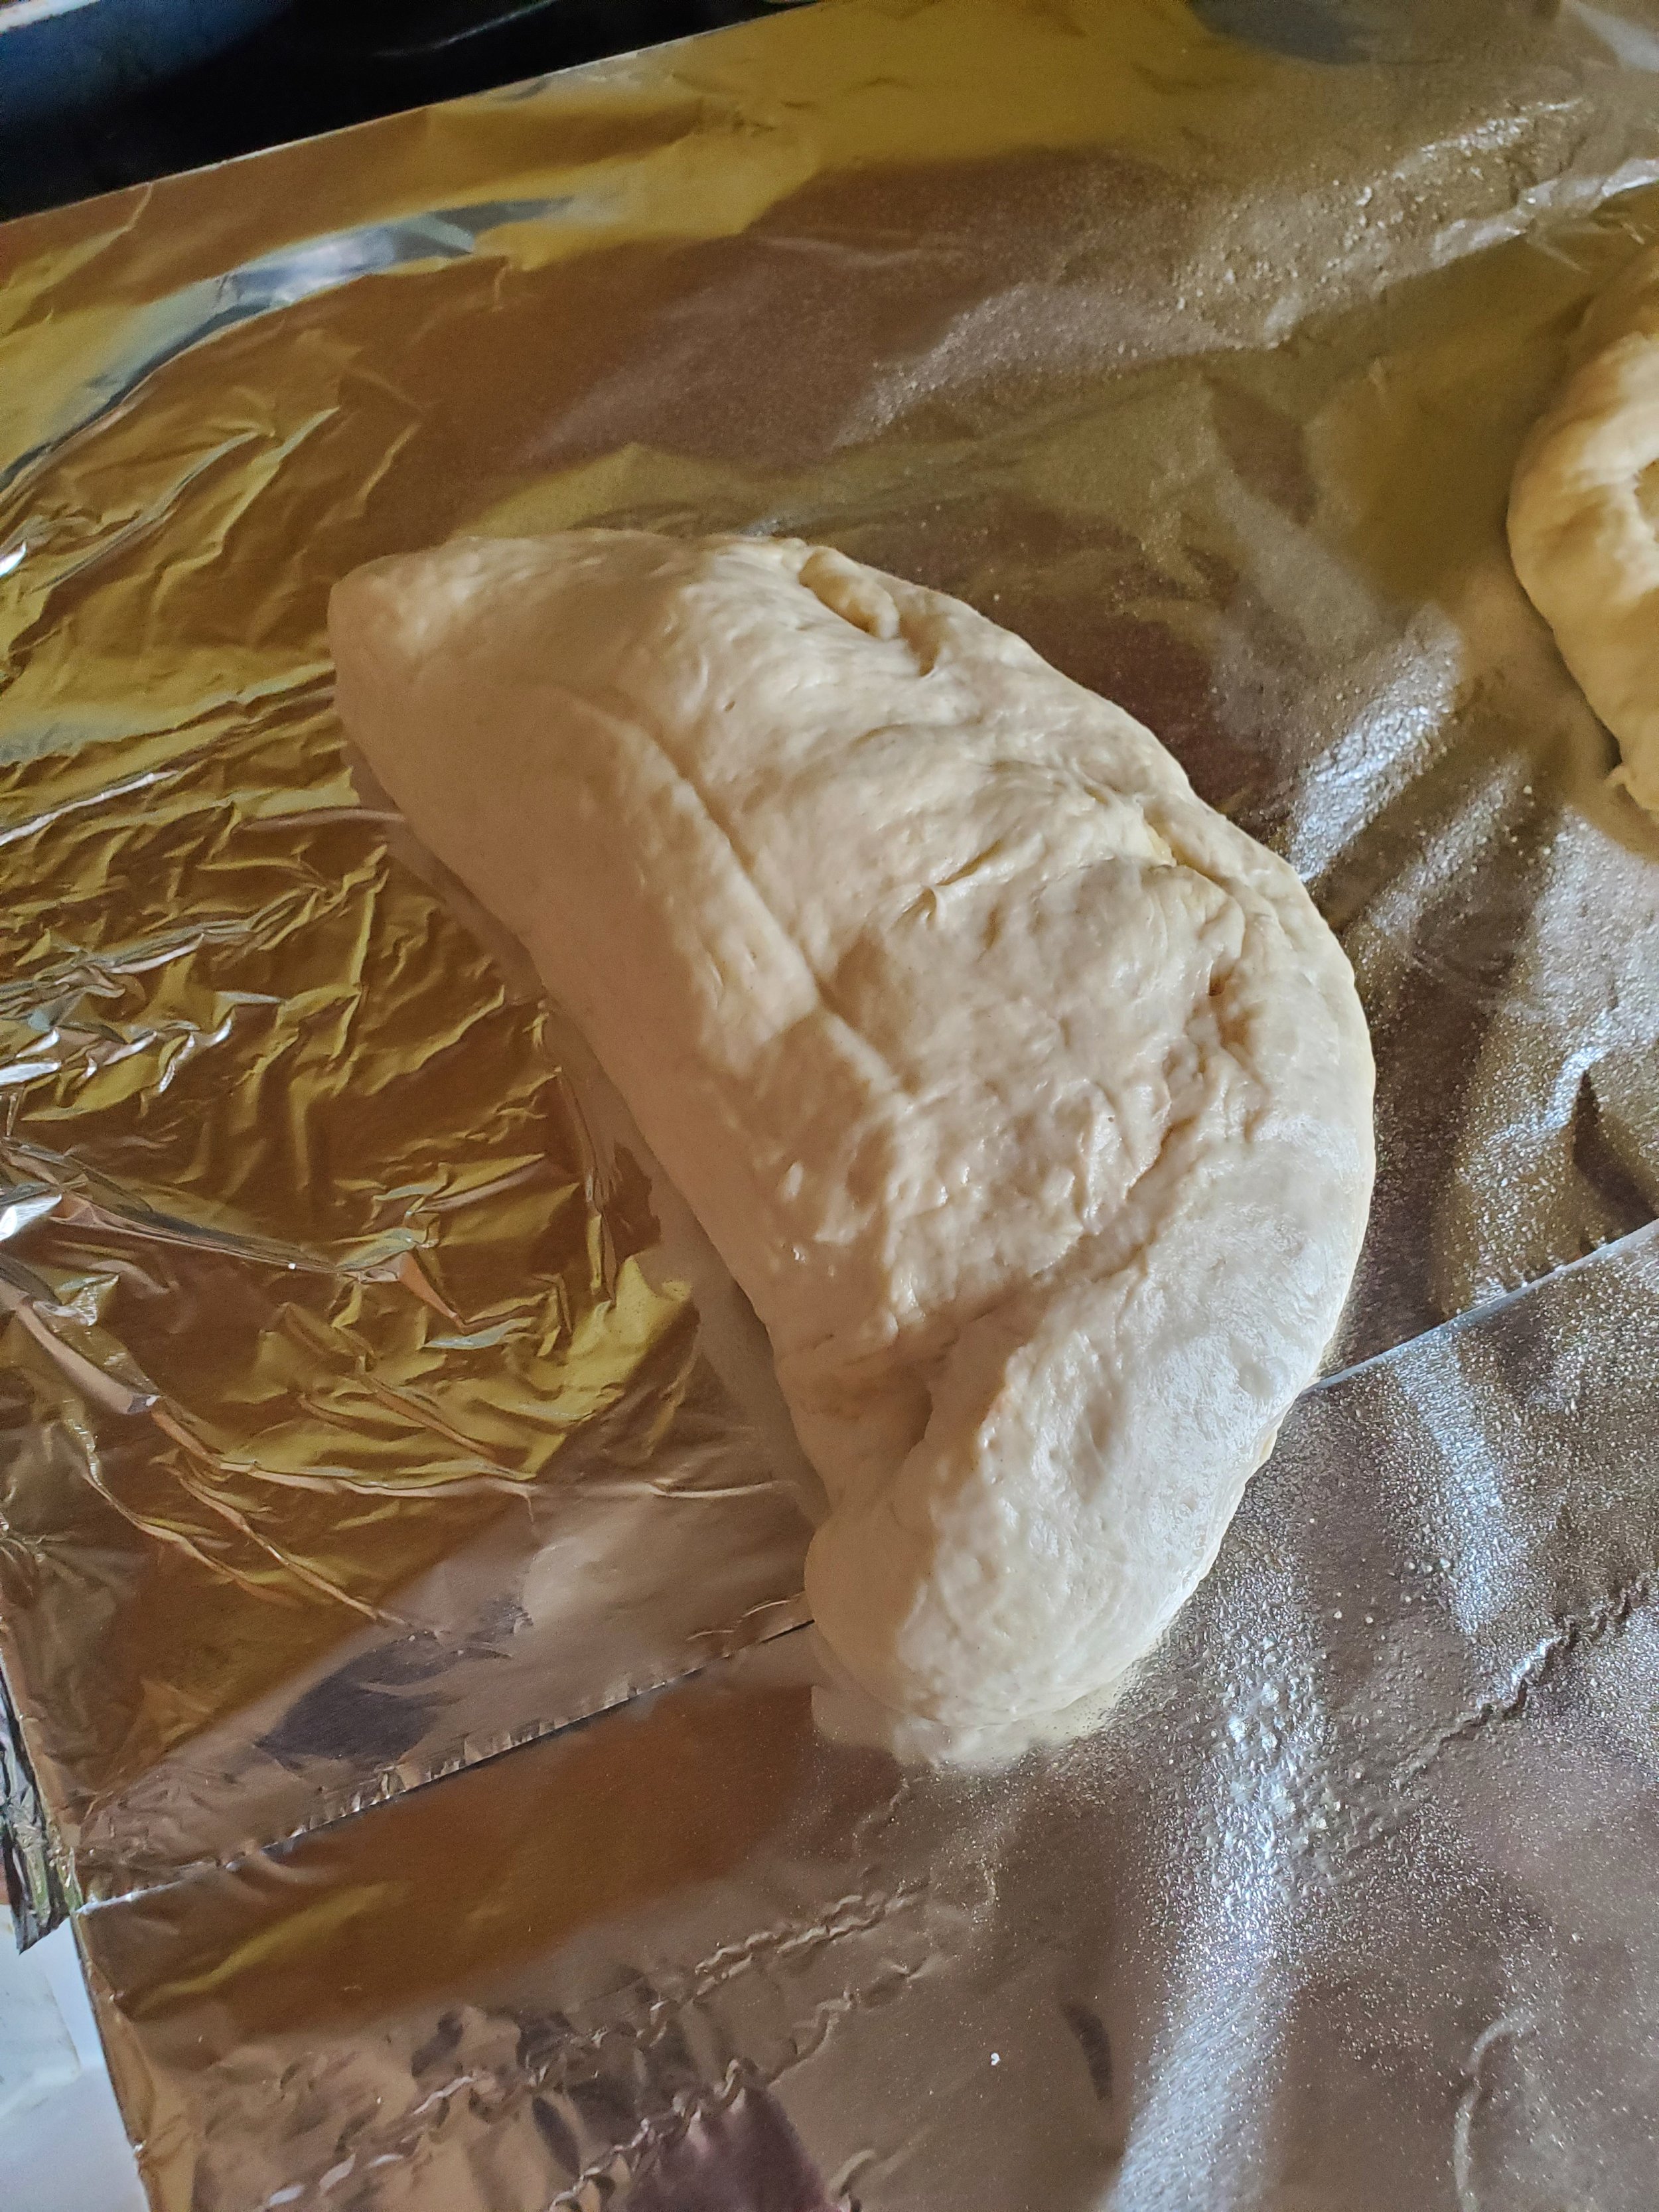
After you've stretched the dough out and it's staying where you've put it (which is why we mentioned a little stickiness being useful), kind of eyeball the halfway point of your shape. Spread a thin layer of pasta sauce on one half, and then add cheese and pepperoni and canadian bacon on top of the sauce. Be sure to leave yourself a little margin around the outer edge of the dough. You'll want plenty of filling there, but you also need to seal the two halves together into a half-moon shape before baking. Pasta sauce makes the dough too slick to seal, so if you drip some too close to the edge, be sure to wipe it up. Nobody wants all that melty cheese to ooze out the sides and go to waste.


Make sure you work all the way around the open edge, pinching the dough together and folding that pinched portion underneath the bulk of the stromboli. Folding it under ensures the weight of the dough and filling will hold the seal together instead of just hoping for the best.


Now you've got a lumpy looking half-circle of dough. It doesn't look very appetizing at the moment, we know. But don't fret, your final product will be beautiful.


Place a sheet of parchment paper or aluminum foil on the baking sheet. If you're using foil, give it a quick spritz with some spray cooking oil to be sure you don't leave the whole bottom of the stromboli on the baking sheet later.


It's time to transfer your dough to the baking sheet - if you've worked on some kind of mat, board or sheet, pick the whole thing up to avoid opening up your seal. Turn it over onto your outstretched hand, and then flip it onto the baking sheet. 


If you've worked directly on the counter, make sure you lift gently all the way around the edges before you try to pick it up, and support as much of the center as you can. The dough will stretch quite a way before it breaks, but there's no saving a stromboli with a hole in it without making a whole new ball of dough.


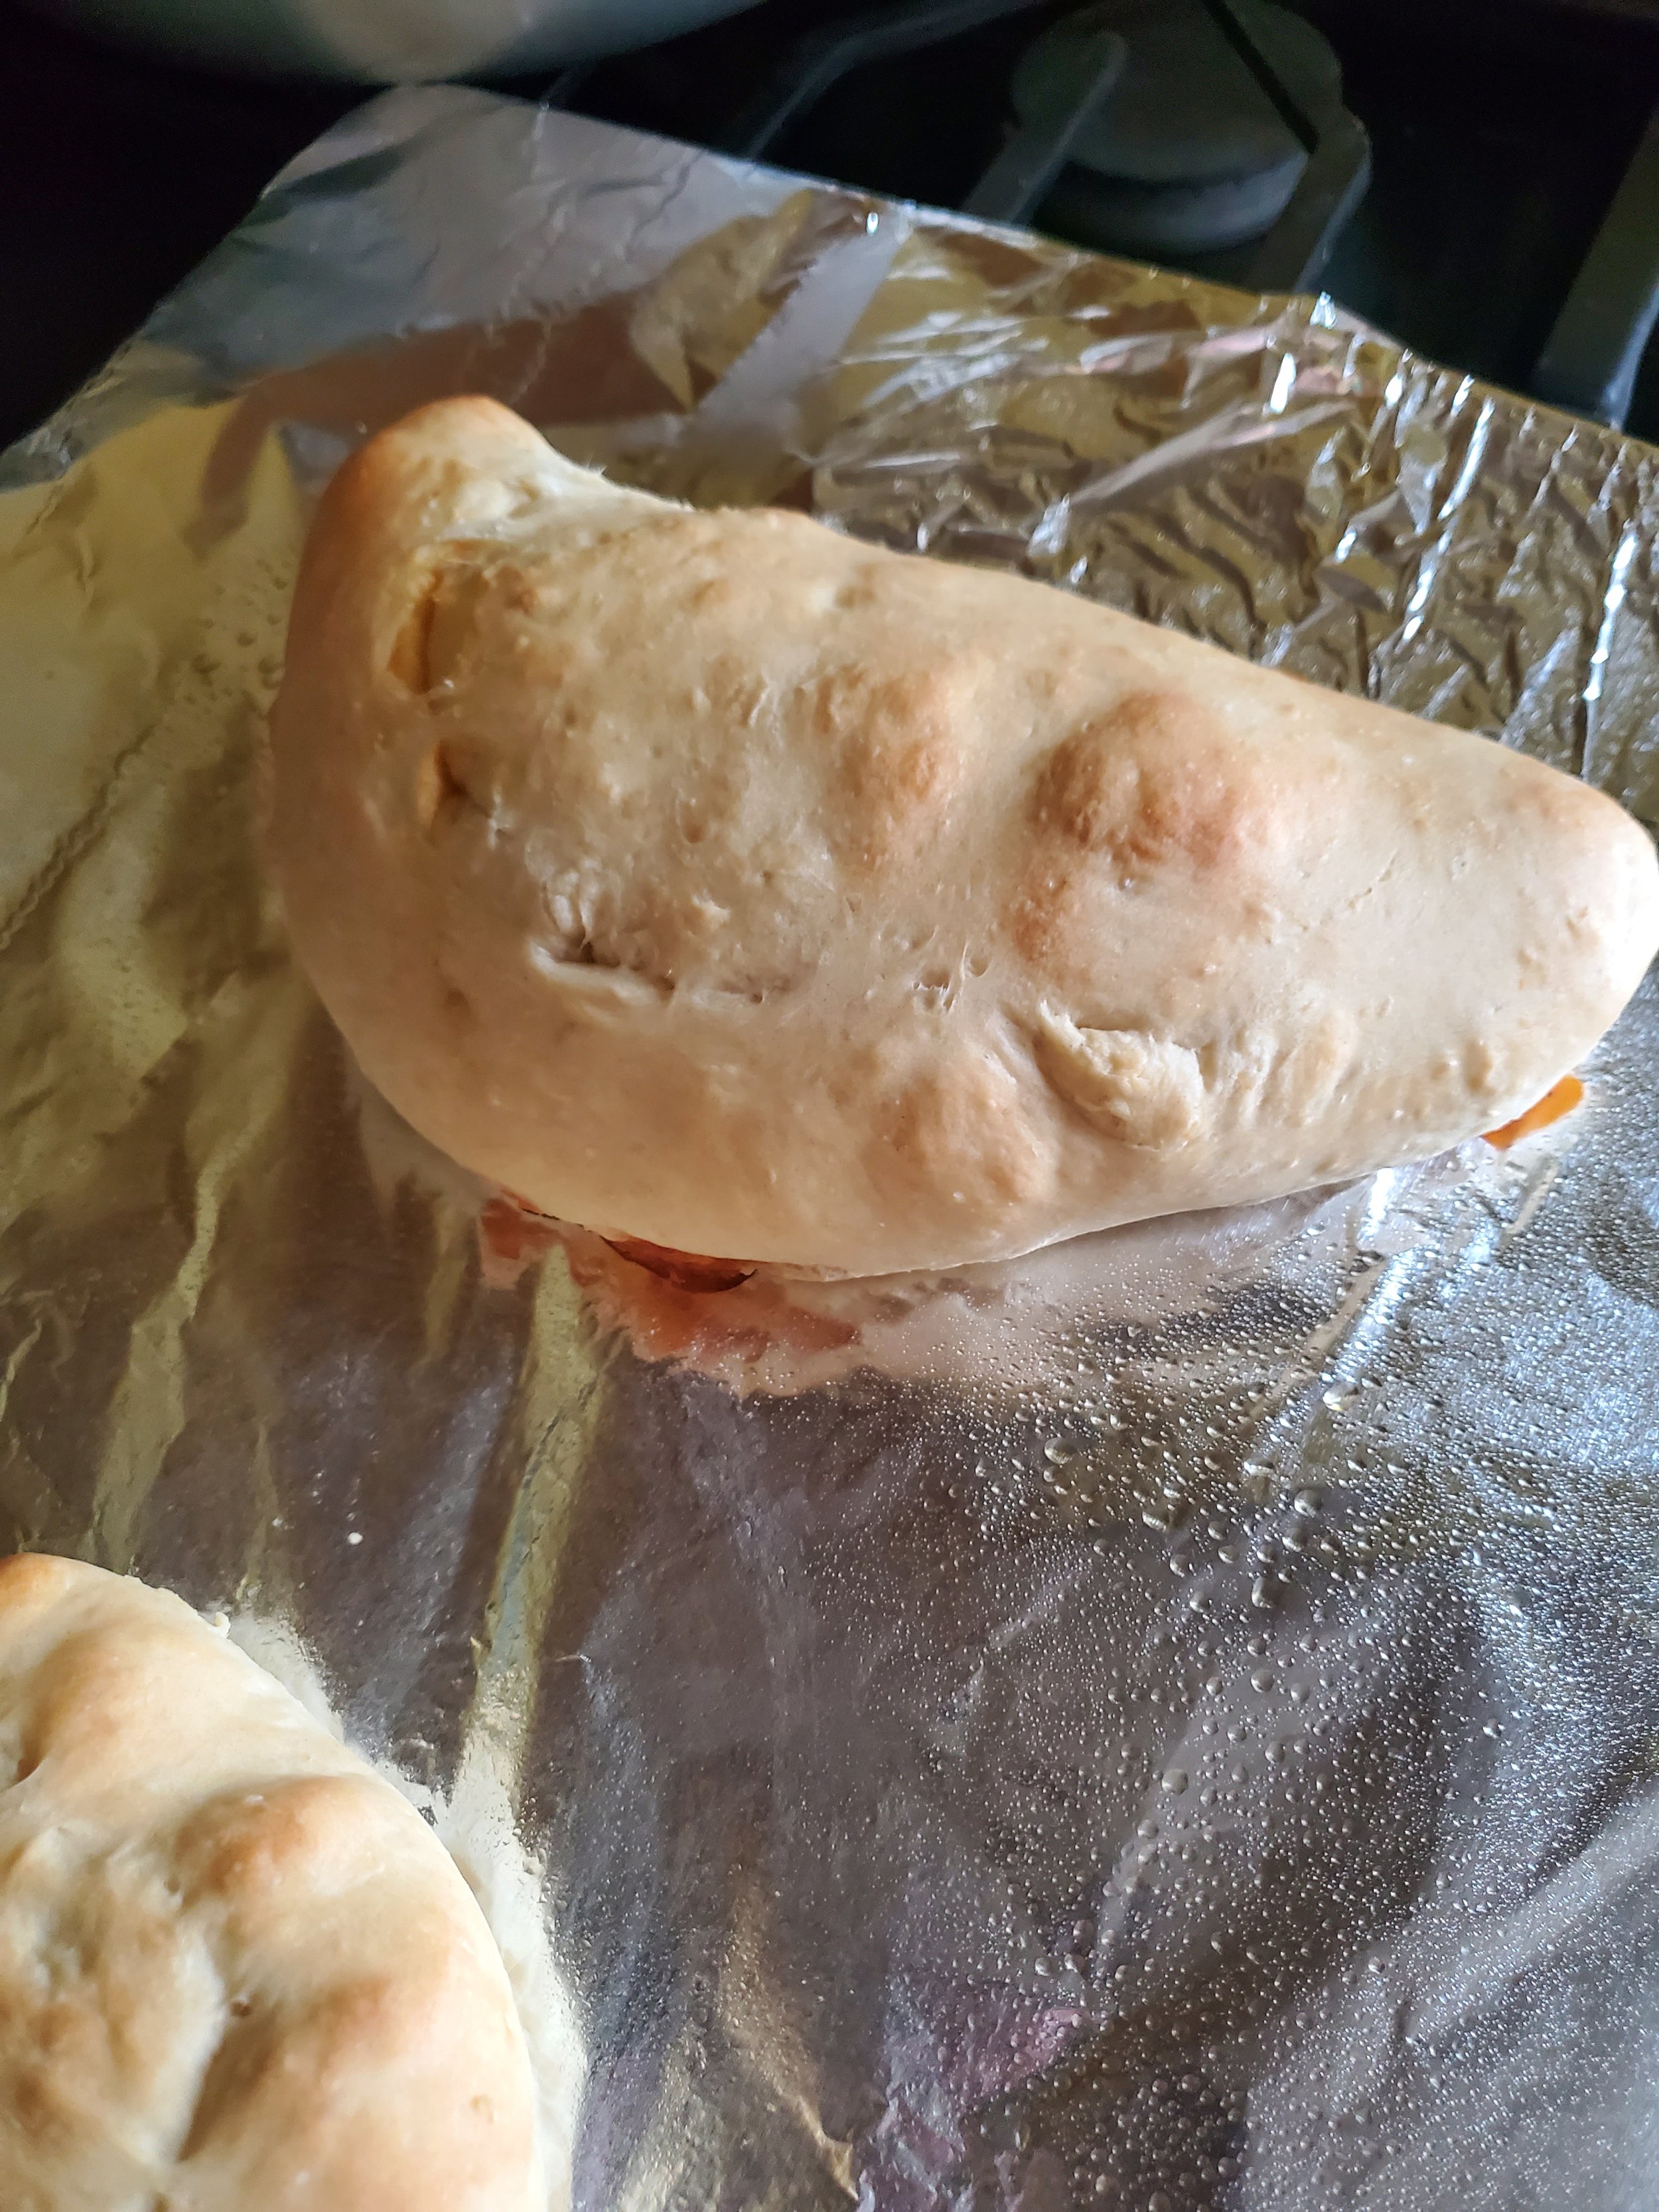
After you have the stromboli on the baking sheet, put it into the oven for 15-20 minutes.


Put that little bit of butter into the heat-safe dish and stick the dish somewhere close to the oven vent. This will allow the butter to melt without using any more energy than you already have to (and also prevents popping everywhere, like heating it in a pan or the microwave can sometimes cause).


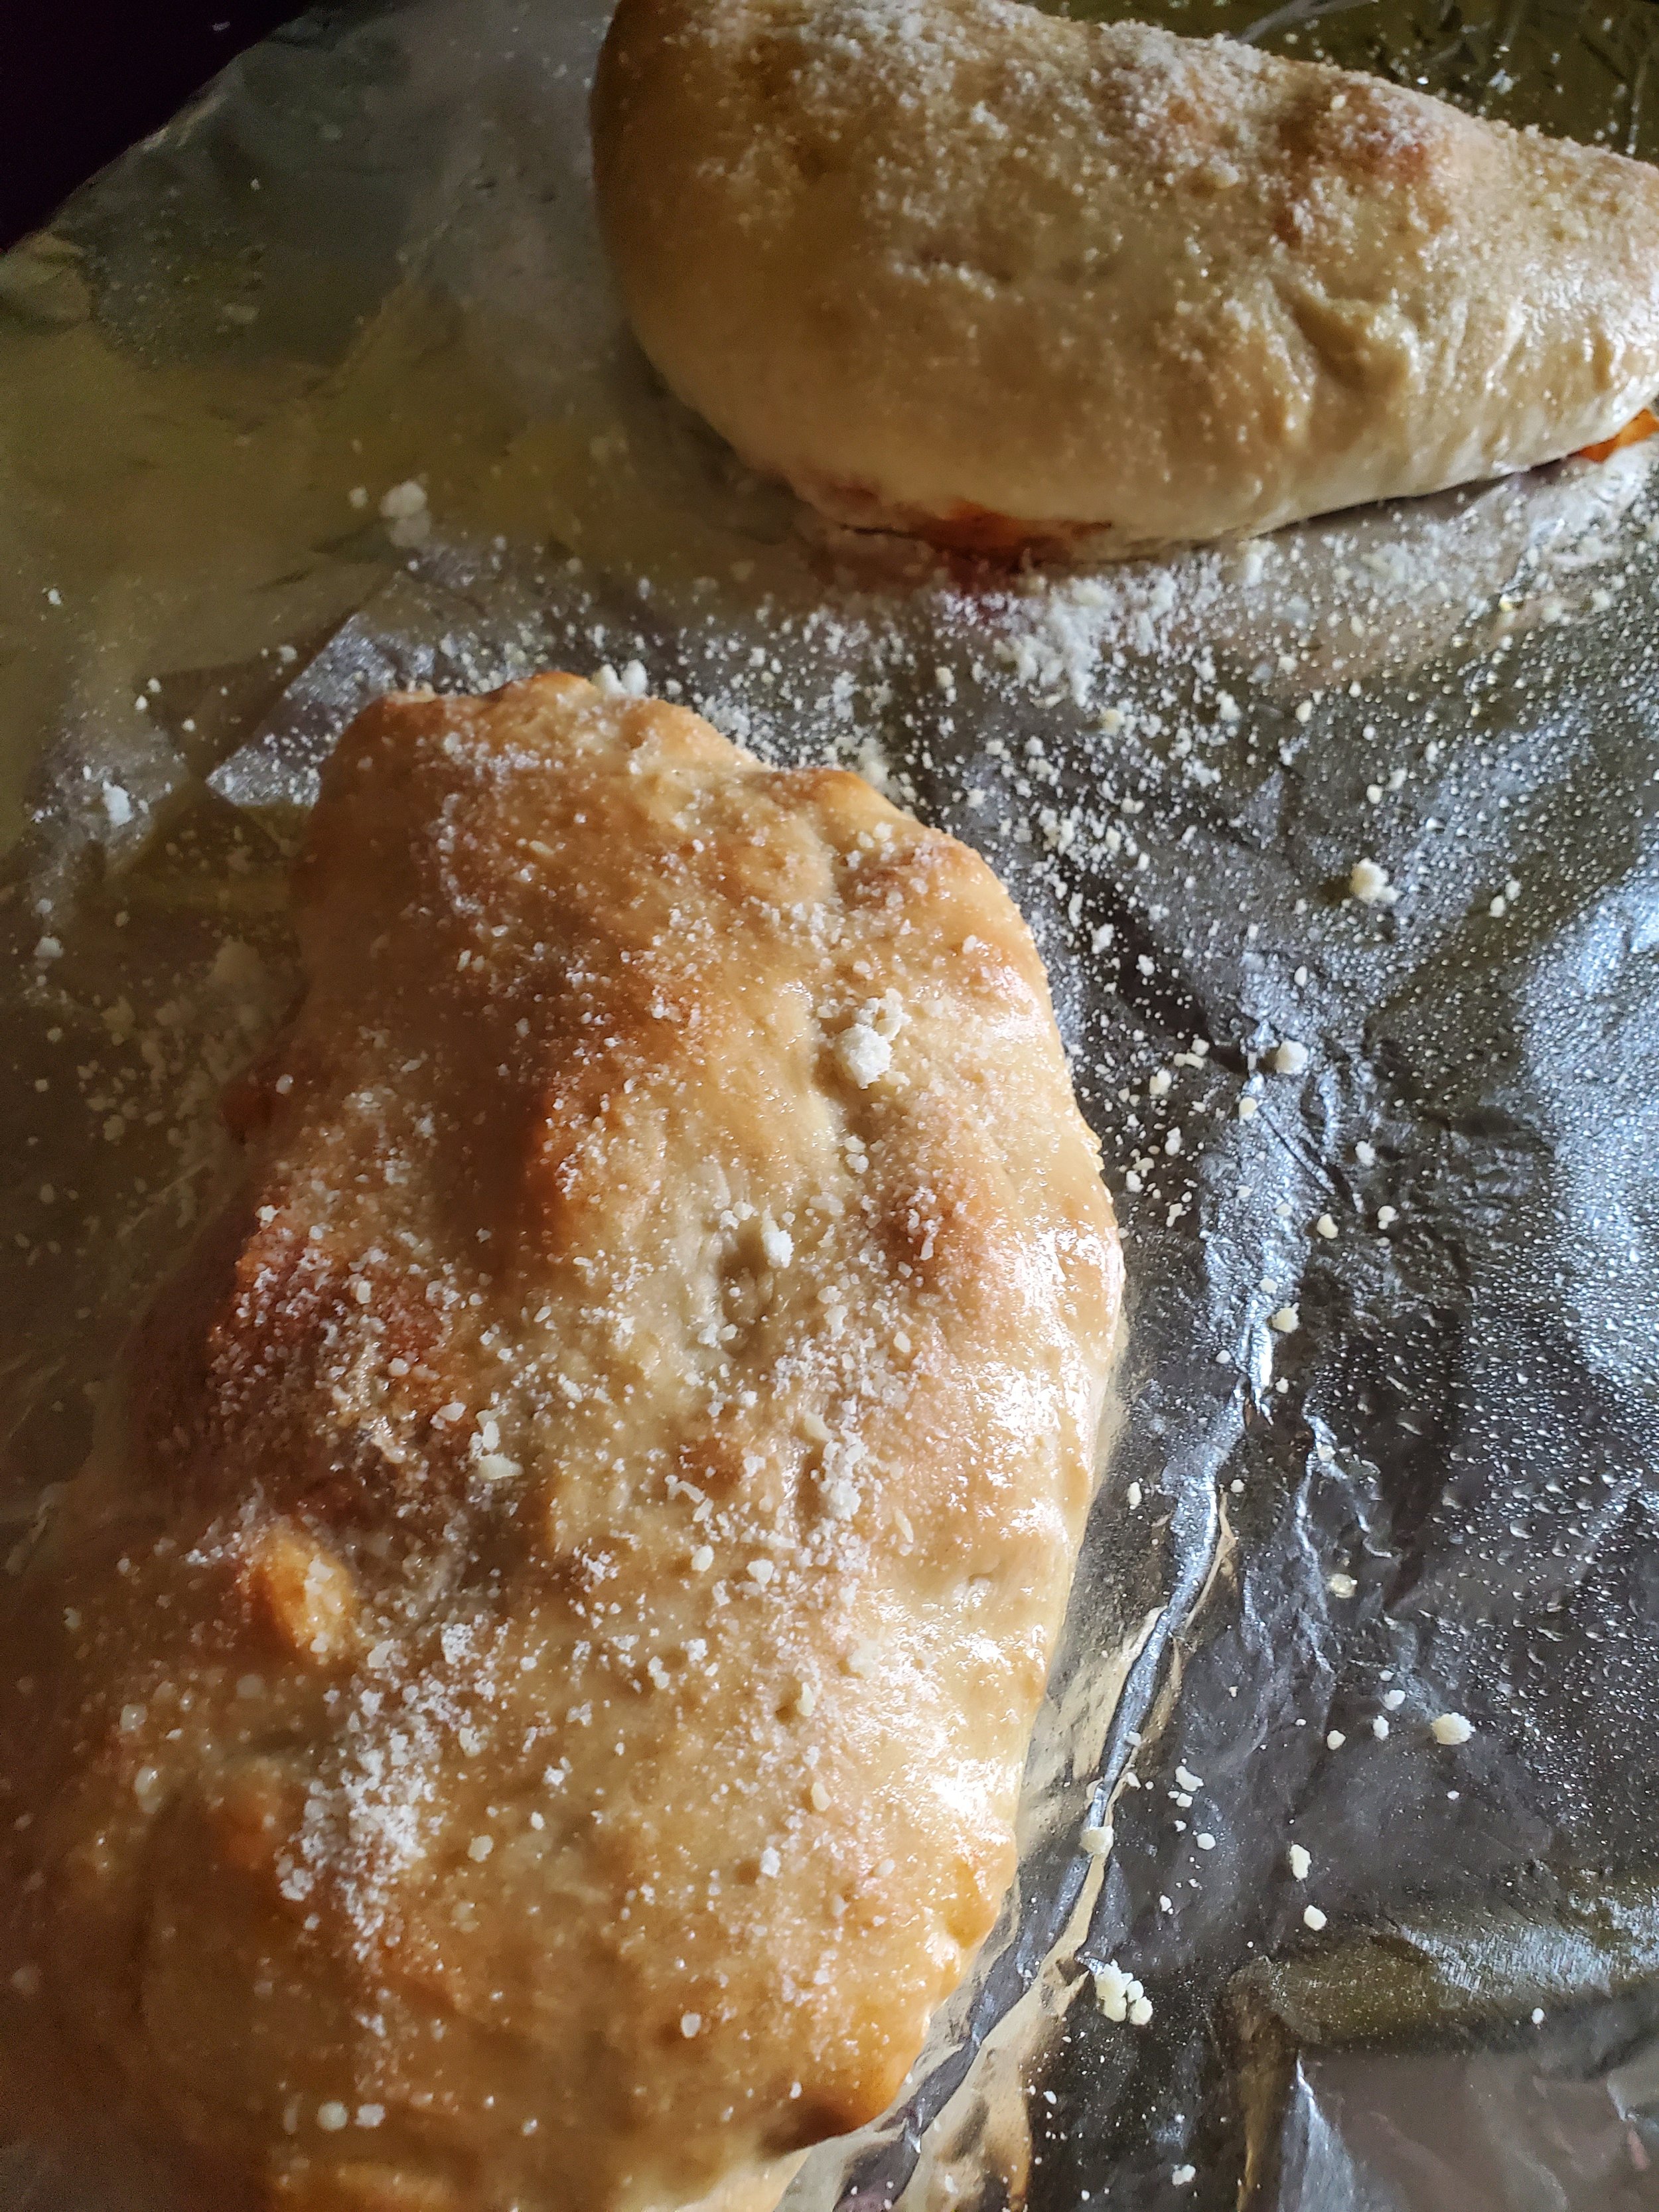
Check in at the 15 minute mark to be sure your oven isn't overzealous today. Once the top of the stromboli changes color to lightly golden, turn the oven off. Pull the baking sheet out of the oven and use a basting brush to coat the top of the stromboli with melted butter, then dust with parmesan cheese (you can also add herbs here, if your family doesn't panic at the sight of green things). 


Put the whole thing back into the oven for five more minutes, even though the oven is off. We just want the residual heat in the oven to melt the cheese into the butter so it sticks to the stromboli.


After the five minutes are up, remove your meal from the oven and let it cool a few minutes before serving.


Let us know what you think about this delicious meal over on our Facebook. We’d love to hear from you! 


Healthy and Flavorful: A Caponata Recipe That You'll Love

Because who says you can’t have both in one recipe? 

Have you ever realized that a lot of companies that claim to make healthy food, also make it really bland? It’s flavorless and lacks texture, and the best you can say is that it doesn’t leave you feeling sick. 


Yeah, we know those meals, and we hate them. SO, we’re offering up this recipe for Caponata, an easy veggie recipe that is packed full of flavor and will leave you full. If you want you can also pair it alongside a smaller portion of pasta or polenta for a more filling meal, or as a lunch made up of leftovers. 

Ingredients:

1 lb eggplant

1 cup pine nuts

1 red bell pepper

1 yellow bell pepper

2 carrots

3 green onions

1 rib celery

1/2 cup currants

1/3 cup olive oil (+/-)

3 tablespoons red wine vinegar

2 cloves garlic

3 tablespoons tomato paste

2 tablespoons parsley

1 tablespoon basil

1 tablespoon sugar

salt and pepper to taste

Tools:

Baking sheet (1/2 size for toaster oven)

Cutting board

Knife

Bowl (x2)

Cheese grater (optional)

Large frying pan with lid

Measuring cups and spoons

Fine sieve or colander

Can opener

Timer

Serving spoon

Let us start off by saying that caponata is a very flexible recipe (sub things in or out as you wish), but it is not a picky eater approved recipe. Please do not attempt to feed this to fussy small fries or to the family members whose gut-check reaction to anything vegetable is "why?" or "ew." We will not be held responsible for the griping.

Be prepared to spend a good deal of time cutting vegetables for this recipe. We highly recommend toasting the pine nuts (just as they are, don't be tempted to oil or season them) in the oven for about 15 minutes while you chop your many veggies. At least that way you're making progress on two fronts while you bore yourself chopping, and it adds some nice depth of flavor to the final product.

As always: be sure to wash your produce!

Start with the eggplant. Trim the top off, and halve it down the center so you have a flat side to set it on while you cut. No one likes escaping veggies, or nicking fingers trying to catch them. Your goal is to cut this large, funny-looking vegetable into a half inch dice. Once you get it diced, move it to one of the two bowls.

Next up will be your green onions. Trim them up and just roughly chop them, then dump them into the bowl with the eggplant.

Mince or slice your garlic (some families have strong feelings about a preference here, but we don't much care as long as it lands in the pan), and toss it in with the eggplant and the green onion.

That lonely single rib of celery goes next. We find it easiest to cut it lengthwise into thirds before we start the widthwise cuts, that way the chunks of celery aren't so big they end up accidentally taking over the meal. Once it's cut, those pieces go in with the rest so far.

And the carrots you've got can either be chopped or shredded. The regular carrots at our grocery store were sad looking this week, so we subbed in a double handful of baby carrots and shredded them for uniformity. The carrots join the others in the bowl.

That bowl is looking pretty full, isn't it? Time to start on the next.

Take the tops off your peppers and remove and discard the seeds and ribs. Chop down to half-inch dice like the eggplant and move them to the second bowl. 

Now you're finally done with the cutting board and the knife, just in time to need a measuring cup!

Measure out your currants and toss them in with the peppers.

Take the capers out of their jar, but don't add them to the bowl yet. These little guys are STRONG, so plop them into a sieve or colander and rinse them thoroughly. Once they're drained, they can join the currants and peppers. 

Toss your parsley and basil on top of that second bowl.

And right about now, the timer should be going off for those pine nuts. Just turn off the heat and let them sit for a while; their turn will arrive soon enough.

Now we move our attention to the frying pan on the stove. Pour enough olive oil to coat the bottom of the pan and light the burner. Set to just over medium and heat until the oil starts to shimmer. Be careful not to set it too high - olive oil has a low smoke point, and you do not want the smoke detector to give you an unnecessary wake up call.

Once the oil is hot, dump the eggplant bowl into the pan. We know it looks like there's not going to be room for anything else - don't worry, it will cook down. Give it a quick stir, then cover the pan. Set a timer for six minutes. Stir occasionally during that time.

When your six minutes are up, push the eggplant mixture to one side of the pan. Add a little more oil, then the bowl of peppers. Stir again and let it cook, uncovered this time, for another three or four minutes.

As the peppers soften up, you're safe to add the pine nuts. Just pour them all in there and give everything another stir. You'll probably need to add another splash of oil at this point, along with the red wine vinegar, the tomato paste and the sugar. (Adding the sugar here offsets the funky smell of the vinegar and helps balance the acidic, tinny taste of the tomato paste.)

Stir. A lot.

We know that tomato paste looks like it's never going to stop being a blob in the middle of the pan... But give it time, and don't quit stirring.

Once everything is incorporated (finally!), use a serving spoon to scoop out a serving to enjoy. We put ours over polenta, but that part is totally up to you.


Let us know over at our Facebook page what you thought of this recipe. We love hearing how they turned out for you. 


And if you need new appliance performance, preferably also without the jumbo-sized price tag, maybe reach out to our service department. You can reach them through our contact page, or by giving us a call at ((214) 599-0055)