Seafood

Spicy Lemon Pepper Shrimp

A Bowl So Delicious You’ll Want To Eat It For All Three Meals

Sometimes you need something spicy. You need something that is going to be so tasty that everyone at the table will be left shocked. Sometimes, you stumble onto that recipe by accident. That’s what happened to us with this recipe.

Ingredients:

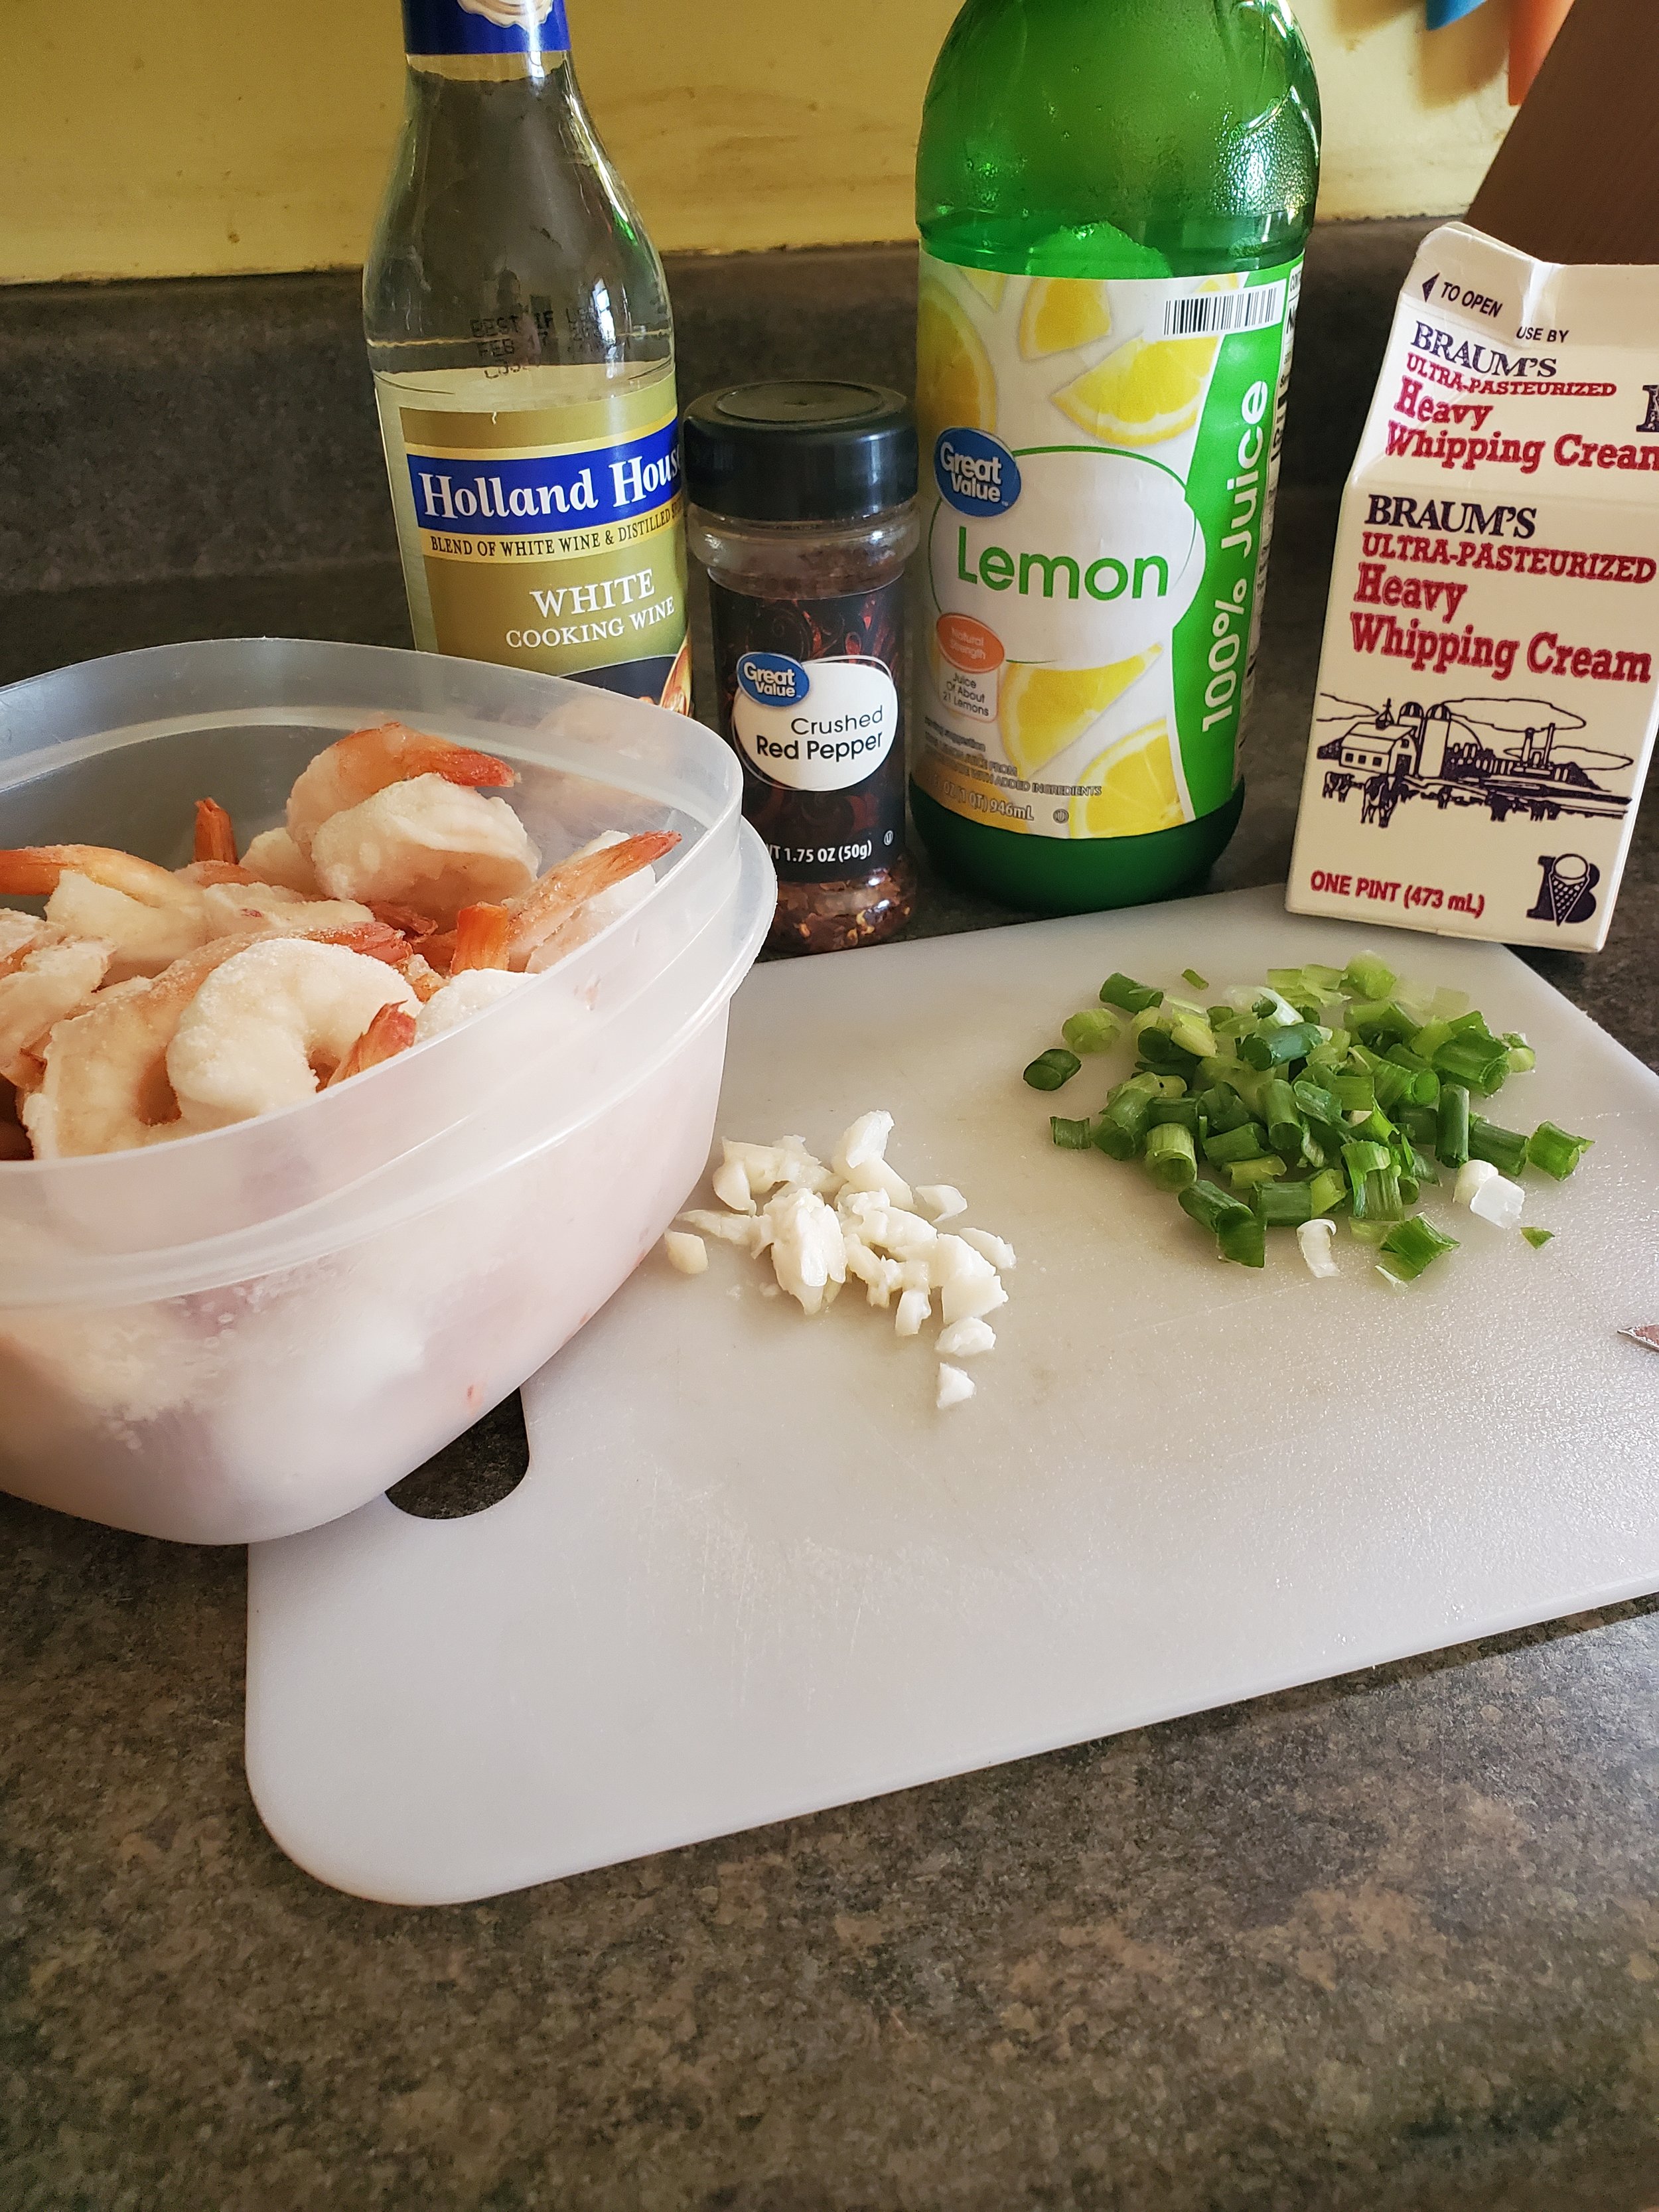
1 lb shrimp, peeled and deveined

1/4 cup white cooking wine

1/4 cup heavy cream

1 tablespoon lemon juice

1 tablespoon olive oil

1 tablespoon butter

2 scallions

2 cloves garlic

1 tablespoon crushed red pepper

1 teaspoon woodfired garlic seasoning (Kinder's brand)

salt and black pepper to taste

Tools:

cutting board

knife

large plastic container with lid

frying pan

measuring cups and spoons

spatula or tongs

Start with your shrimp. We like the pre-peeled frozen kind to cut down on the prep time, but if you don't mind the extra effort, starting with fresh is fine. Just keep in mind how quickly fresh seafood spoils. This is assuredly not a prep-ahead recipe.

Make sure you have your shrimp peeled, deveined, and rinsed. Set them into a large plastic container with a tight-fitting lid. Pour the lemon juice over them, then sprinkle with salt and pepper and woodfired garlic seasoning. Maybe shake in a little extra of that woodfired garlic (the stuff is addicting!). Put the lid on, check to make sure it's fully sealed, then give it a good shake to coat the shrimp.

Wash your scallions, trim them up and chop them. We like to have pretty sizable chunks - but if there are picky eaters involved, feel free to cut them extra fine. Just adjust your cooking time to avoid torching them to a crisp if you do. 

Scrape the scallions to one side of the cutting board and, in your open space, use the flat of your knife to crush the two garlic cloves. Once they're flattened, go over them in a rough chop just to make sure no one gets a big mouthful of garlic later.

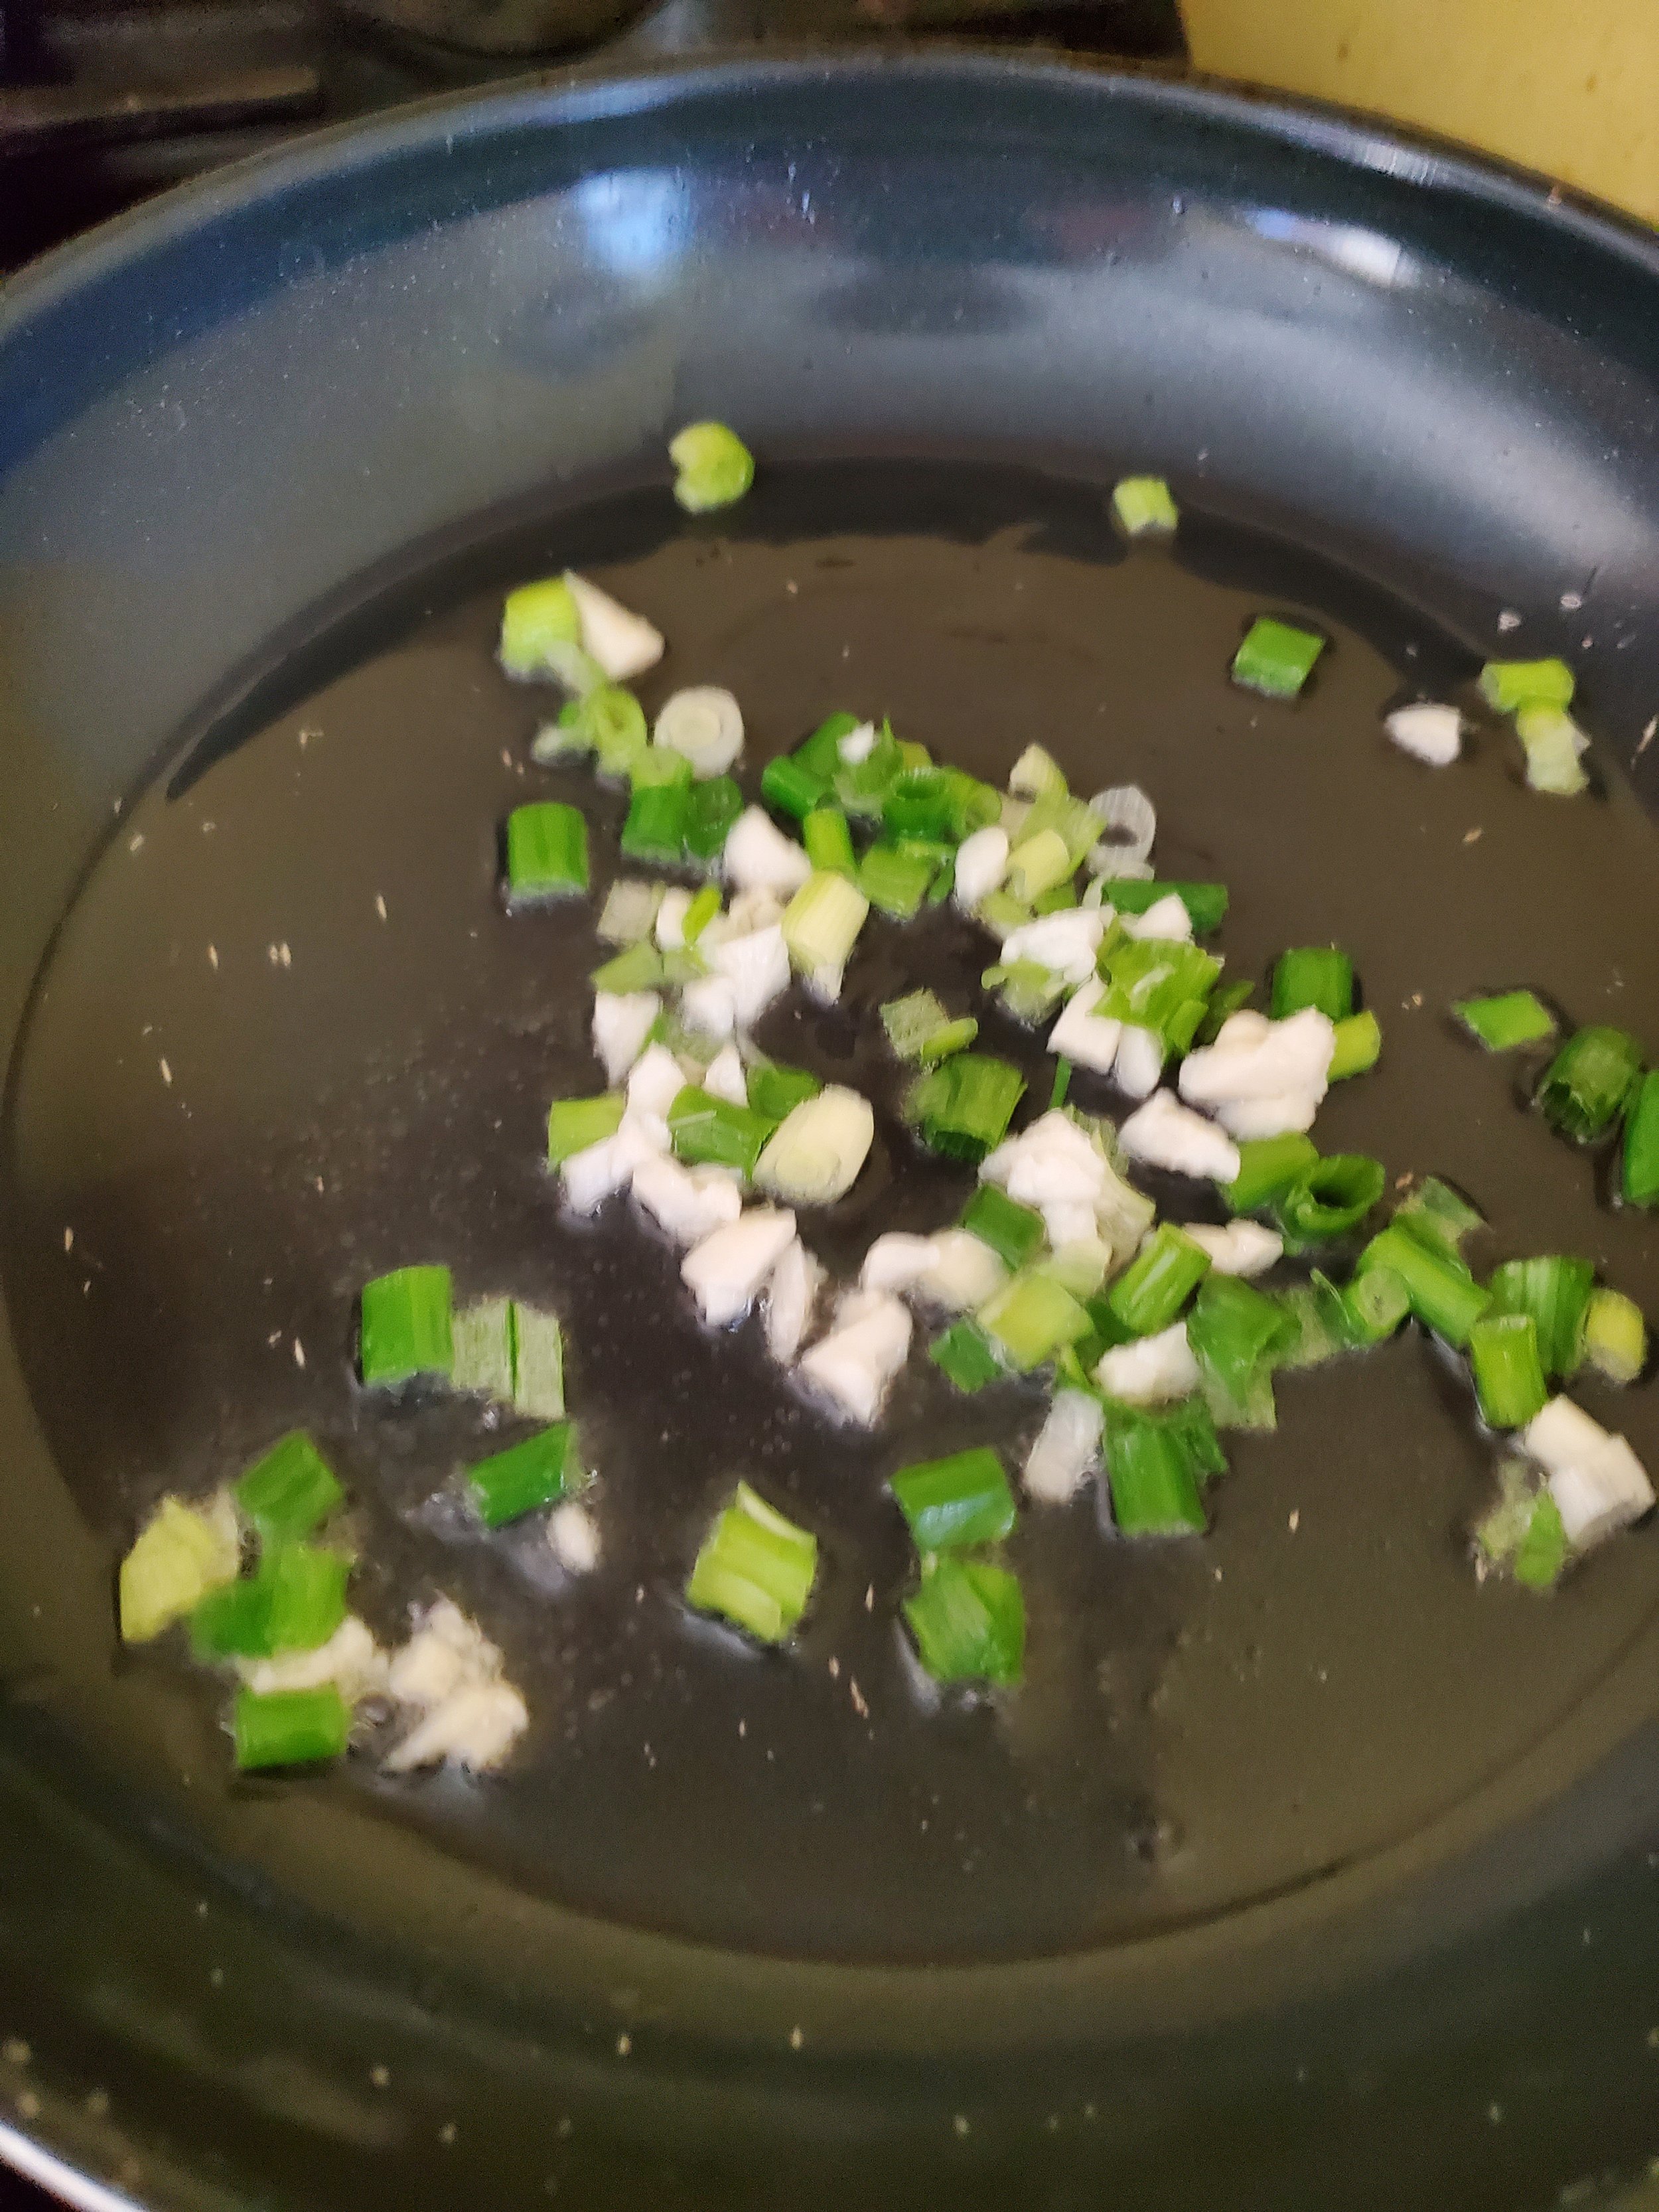
Melt your butter in the frying pan over medium heat. Add the olive oil, then dump the scallions and garlic into the pan. Give them a quick stir, then let them simmer there for a couple minutes until fragrant.

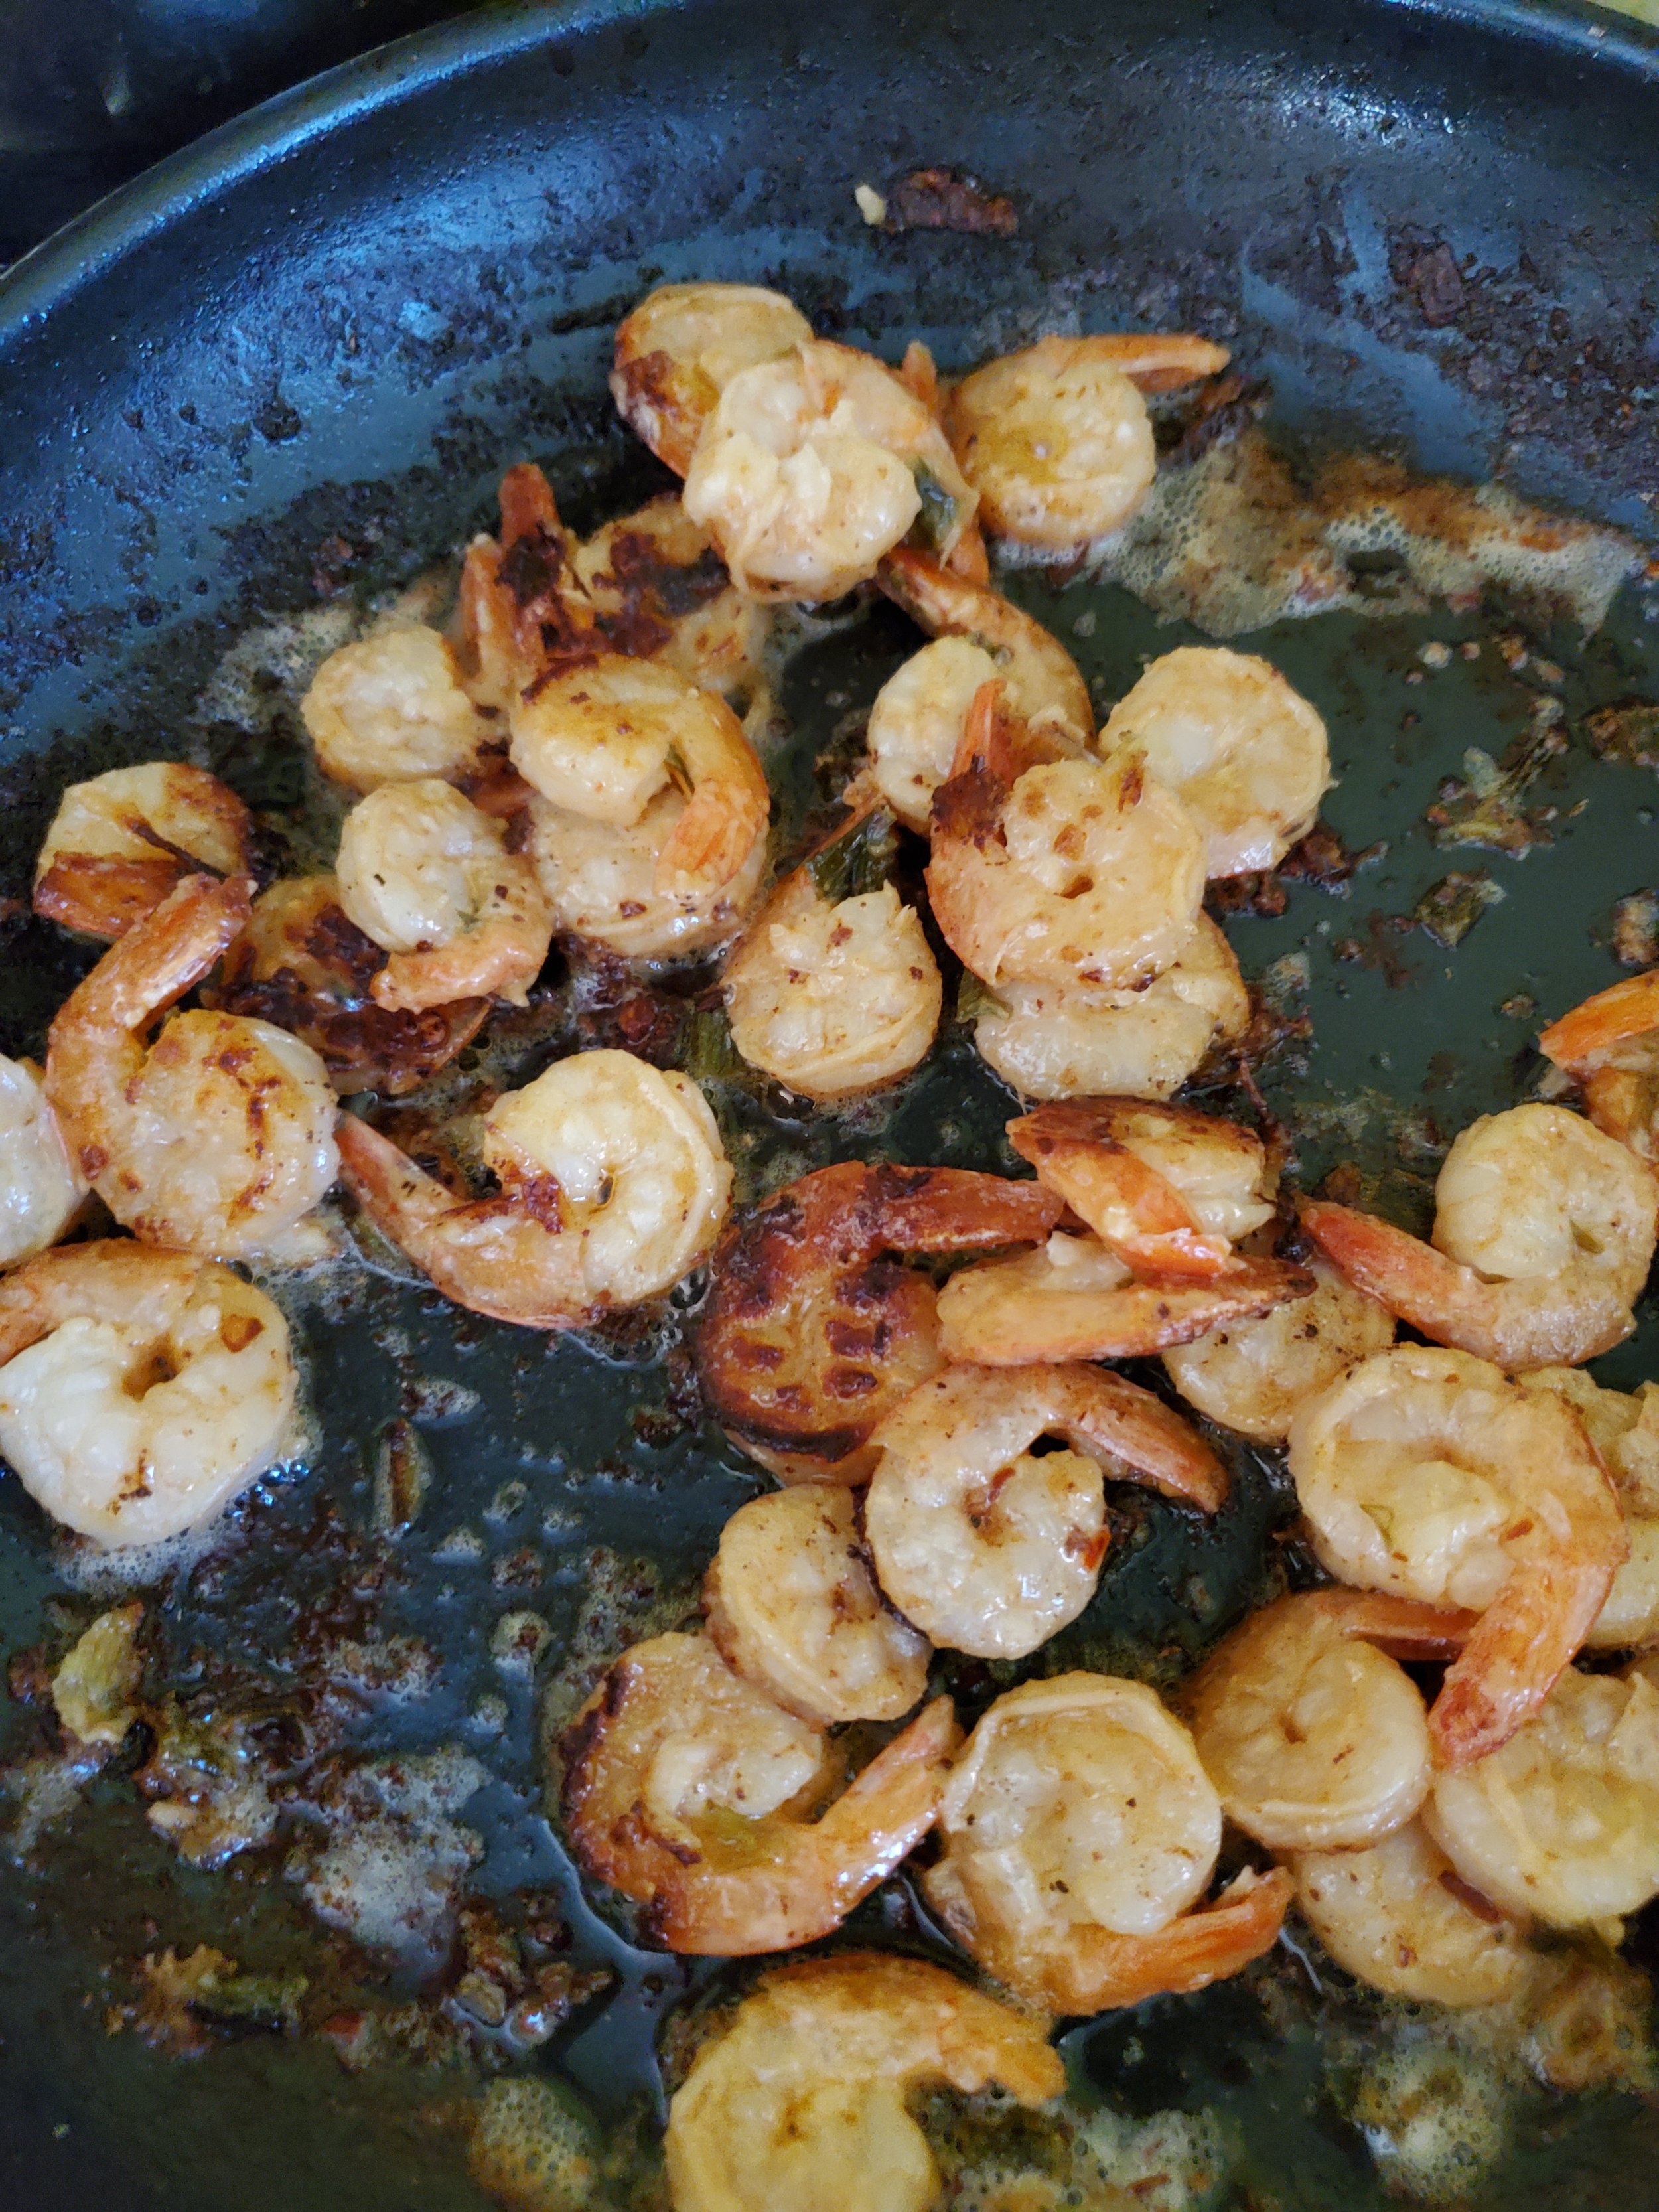
Turn your attention back to the shrimp. Double check the lid (no one wants to wear dinner), and then give them another good shake. Drain out most of the liquid and add the shrimp to the pan. Cook them for three or four minutes, then flip with a spatula or tongs. The "few minutes a side" guideline is very dependent on how large they are. We went for the medium-large shrimp. If you started with the smaller or even salad-size shrimp, reduce the cooking time by a bunch - they cook through so fast! 

Once the shrimp start turning colors (you'll know they're done when they're no longer sort of gray and translucent; a food thermometer should read 145 at the thickest point of the largest shrimp), measure out your white wine and add it to the pan. It will sizzle and pop, but it shouldn't flare. The alcohol content in a cooking wine is relatively low.

Let it reduce for a minute or so, then measure and add your heavy cream. Stir a bunch at this stage to be sure the cream is evenly distributed and there aren't any hot spots in the pan where the wine has already boiled away.

If there's anyone in the family who detests spicy food, this is the time to remove a little for them and put it aside. (Can you tell we have one of those, who also flinches at big pieces of onion or pepper?)

Sprinkle your crushed red pepper generously over the shrimp, give everything in the pan a good stir and a flip, and allow it to simmer another minute longer to let the flavors meld.

While it's totally optional, we like to turn the heat up a little at this step and get a good sear to complement the richness of the sauce. If the pan is looking a little dry, splash a little extra wine or cream into it before turning the heat up.

Split it up into even servings before you let anyone know it's ready - this meal sometimes gets fought over if you're not careful!

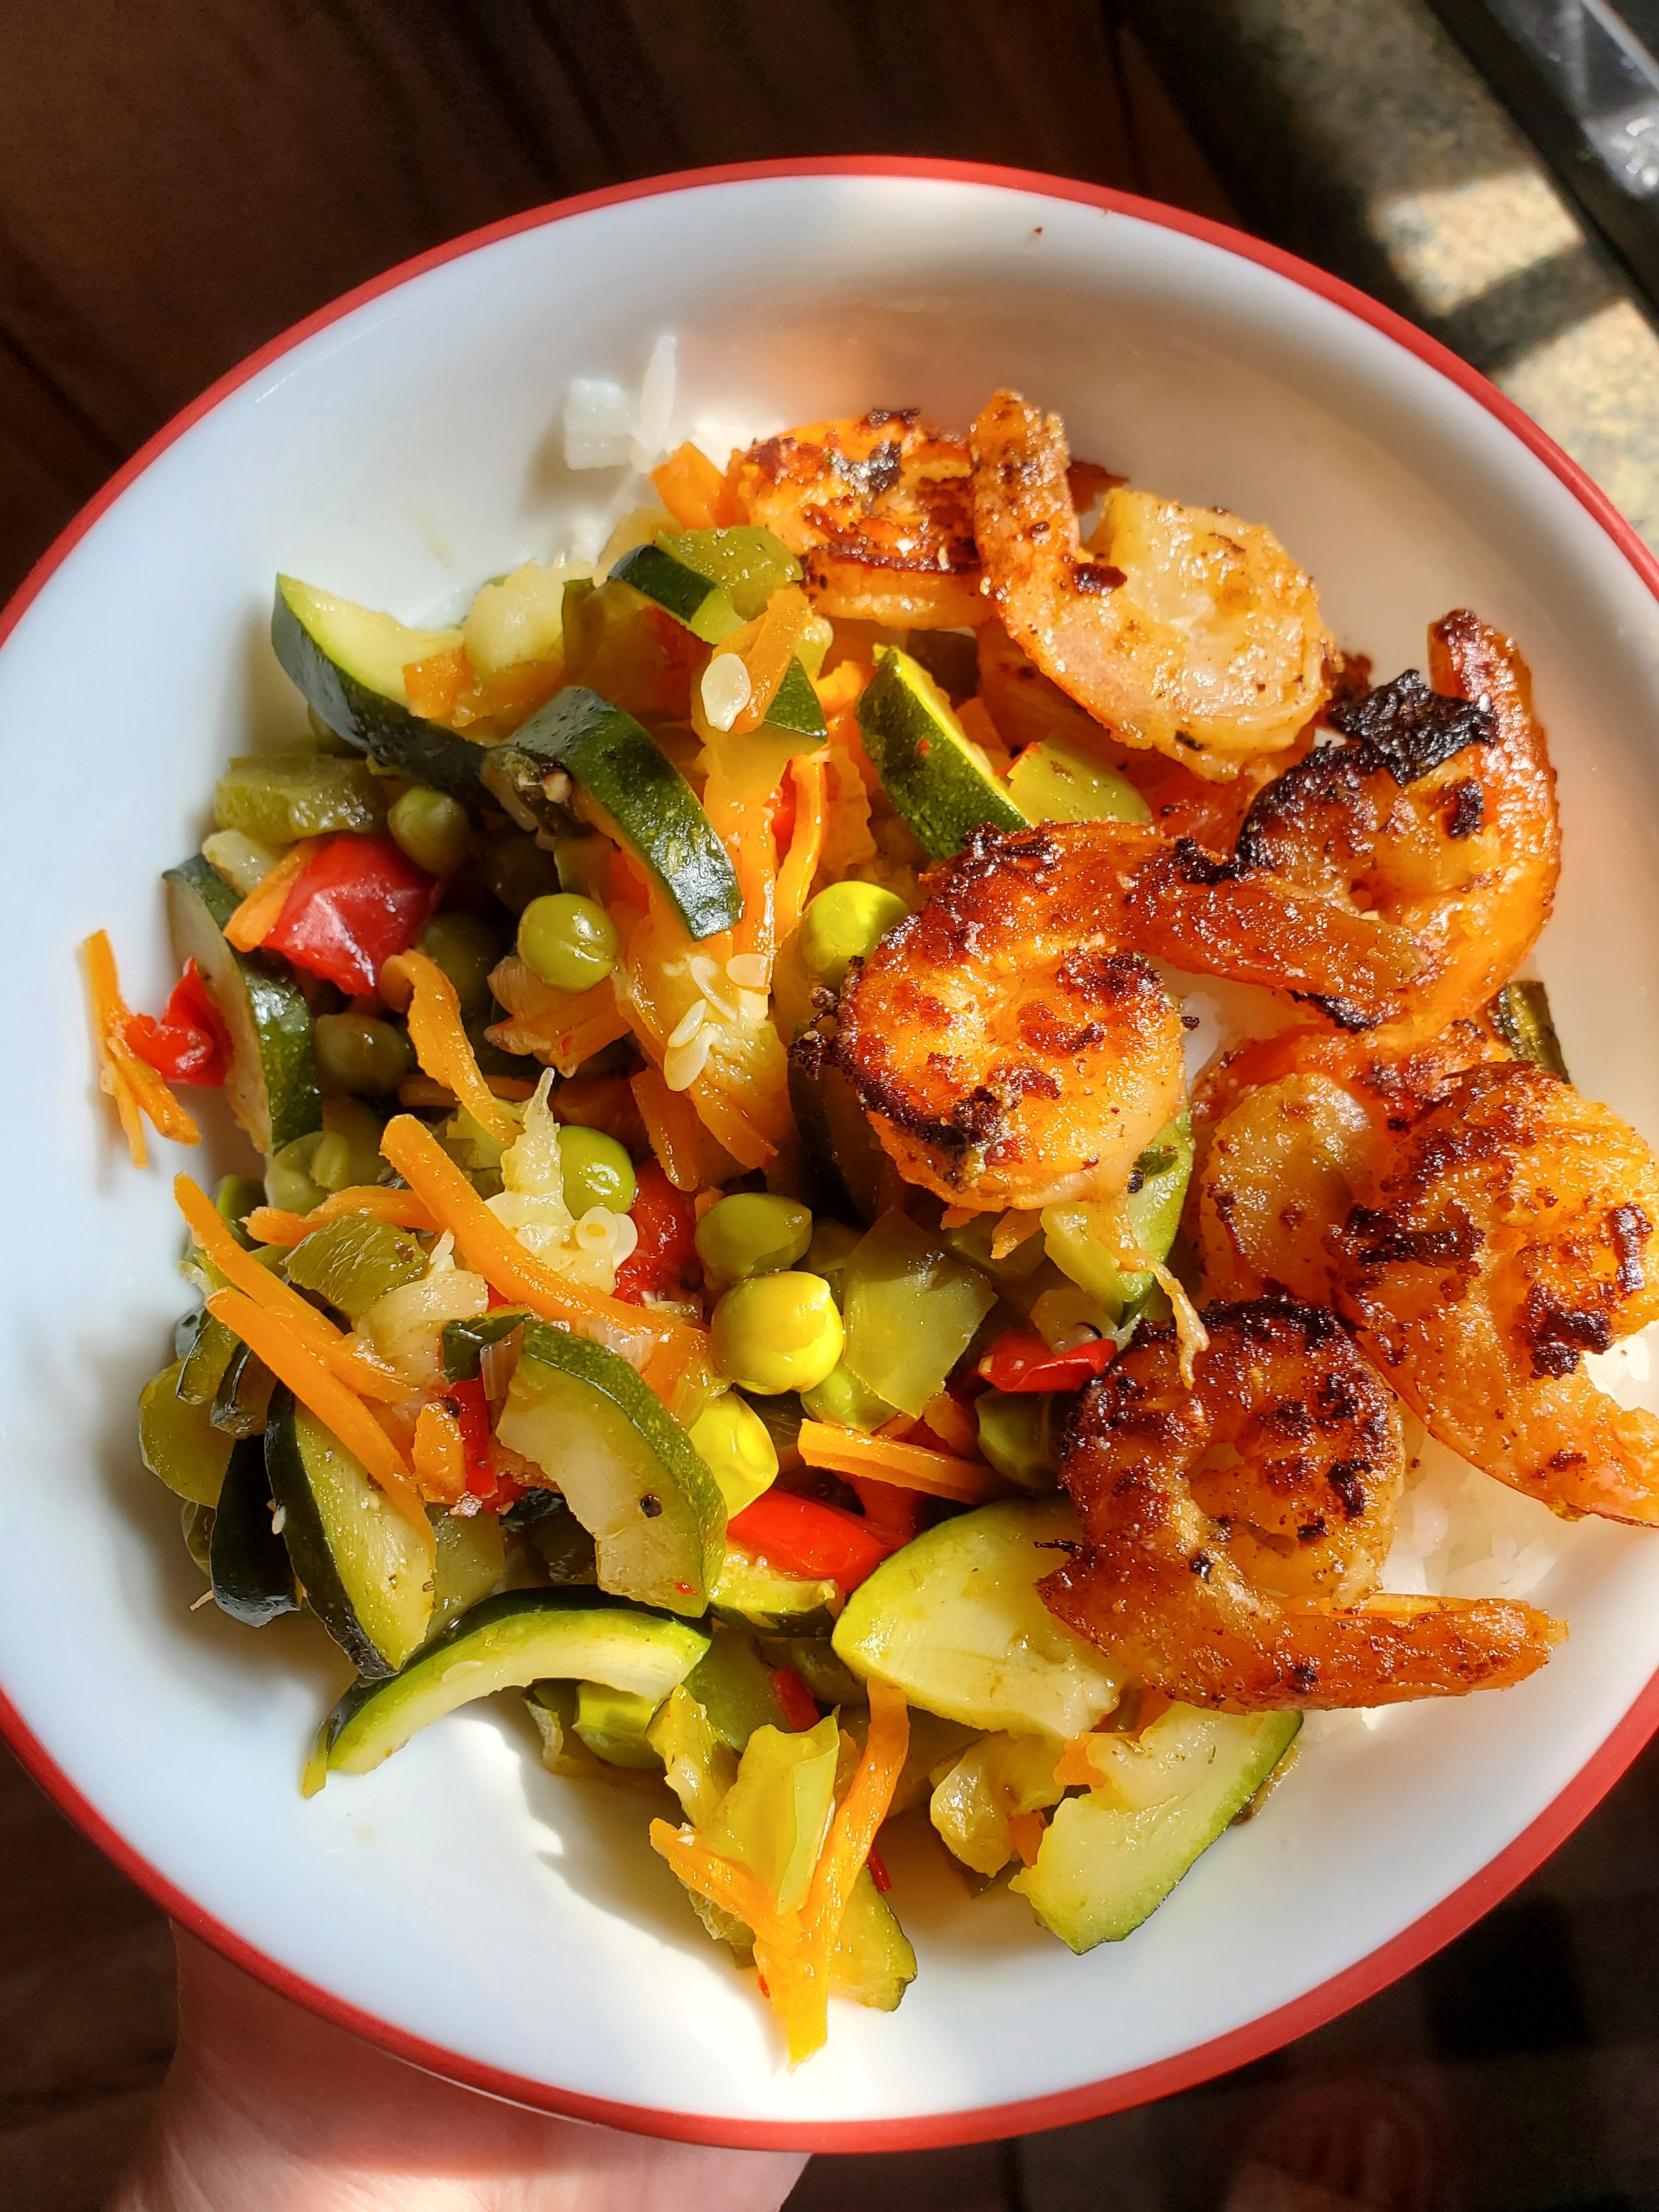
We think the shrimp is best served over rice with a great big pile of mixed veggies, but it also works with a salad or pasta. Get creative with it - maybe it's a good sandwich filling or a stellar appetizer, too. We just haven't tried it all yet.

 Thanks for checking out our recipe this week! Let us know on our Facebook how it turned out for you!


And remember, if something is going on with any of your appliances  we want to help. Whether it’s some of our posts here on the site, or needing a trained technician to take a look, Appliance Rescue Service is here for you.

The ‘Post-Thanksgiving’ Meal Guide

 AKA I’m sick of turkey, please give me something different. 

Congratulations! You've survived Thanksgiving! And by now you've probably even eaten up most of the leftovers.


But that means everyone in the house is getting tired of Thanksgiving leftovers, doesn't it? And we bet they all still want to eat, don't they?


You did all that work just a couple days ago, and they just don't seem to get that you're all cooked out. They - or maybe even your own stomach - still want you to make more food.


No worries! We've got you covered. This post will feature two recipes that you don't have to stress about or fuss over. Everything will come together in 30 minutes or fewer, and you won't have to resort to takeout. 


Shrimp Pesto


Somehow, the kids always seem to think shrimp is fancy. No one needs to know this is a one pot wonder.


Ingredients:

1 12 oz package extra small precooked shrimp

1 lb pasta of choice (we suggest tricolor rotini)

1 8 oz jar pesto sauce (or you can head over here and make your own) 

1/2 cup matchstick carrots

1/2 zucchini, chopped

2 tsp butter

1 tsp minced garlic


Tools:

large pot with lid, colander, cutting board, knife


Fill your pot with water and put it over medium-high heat. Salt the water if desired, and place the lid on the pot.


While the water comes up to boil, wash your zucchini and chop it into small chunks or thin slices, whichever you prefer.


Once the water begins to boil, add your pasta. Please do not put the lid back on the pot after this step, lest you risk a messy boil over.


Bring the water back up to boil and cook your pasta according to package directions. We usually shave a minute or two off the recommended cook time (this house does not appreciate mushy pastas).


In the last two minutes of cook time, toss in the whole bag of shrimp, your carrots and your zucchini and allow it to all cook together.


Drain your pasta, shrimp and veggies. Leave it all in the colander for a minute while you use the pot to melt the butter and sear the garlic.


Once your garlic has been seared, turn the heat down. Empty your jar of sauce into the pot and give it a good stir. Let it warm up a little over medium-low heat, maybe  two minutes or so.


Pour your still warm pasta and veggies into the sauce and stir. A little dash of Parmesan cheese never hurts a dish like this, either. Dinner is ready to plate!


Cornbread Skillet Bake


This one is a little bit pot pie, a little bit casserole, and a lot of "grocery day isn't until tomorrow - what do we have lying around the house?"


Ingredients:

1 lb ground beef

1/2 yellow onion, chopped

1/2 green pepper, chopped

1 Roma tomato, chopped

1 12 oz bag frozen corn

8 oz mild salsa or tomato sauce

1 15 oz can of beans (pinto or black work best)

1 8.5 oz box corn muffin mix  (if you like to make everything from scratch, you can try this

1/3 cup milk plus 1 tablespoon

1 egg

1/2 cup shredded cheese

2 teaspoons garlic powder

1 teaspoon chili powder

1 teaspoon ground cumin

1 teaspoon dried chives

1 tablespoon hot sauce (we like sriracha) - more or less, to taste

salt and pepper, to taste


Tools:

oven-safe skillet, colander, knife, cutting board, mixing bowl, measuring cup/spoon


Start your ground beef browning in the skillet. Season with your garlic, chili powder, cumin, chives, and hot sauce. If your family doesn't care for spicy foods, you can adjust the hot sauce some, but we don't think you should eliminate it entirely - the dish suffers some without the spice for depth. Add however much salt and pepper you'd like.


While the seasoned beef browns, open up your can of beans, drain and rinse. Let them sit in the colander until you've had a chance to get around to the veggies.


Wash and chop your tomato, pepper and onion. If you've got picky eaters, we suggest chopping things extra-fine to hide a little better. You can also adjust amounts, add in or substitute with something your pickiest eaters like better.


Drain the beef, but don't rinse out all your spices. Return it to the skillet and pour your tomato sauce or salsa over it.


Add your chopped veggies in with the beef, then toss in the beans and that bag of frozen corn. Give everything a good stir and let it simmer together, stirring frequently. Try to make sure nothing sticks to the bottom of the skillet and scorches there. In the event it's giving you trouble, you can toss a tablespoon of butter in.


In your mixing bowl, whisk together the milk and the egg. Pour in the contents of the box of corn muffin mix and stir. It will still be a little lumpy, and that's okay. (If you want it to be extra smooth, you can sift the muffin mix before this step.) Let your batter rest a minute or two while you take care of other things - like stirring the beef and veggie mix.


Preheat your oven to 400 degrees.


Remove the beef and veggie mixture from the heat. Give it one more good stir, then pat it down so it's mostly level in the skillet. Sprinkle your shredded cheese in an even layer all over top of it.


Give your batter a quick stir, and then pour it slowly over the top of the mixture in the skillet. Your goal is to cover the top in an even layer of batter without smothering everything or overflowing the skillet.


Once you've got an even layer of cornbread batter in the skillet, set it in the oven for about 15 minutes. If you're working with a larger than average skillet and a thin layer of cornbread batter, it's wiser to check on it after ten minutes or so to avoid over-baking it.


Your casserole is done when a toothpick inserted into the thickest part of the cornbread crust comes out clean.


We cut ours into generous slabs and flipped them into shallow bowls with a spatula. Expect the filling to fall apart a little.


Optional picky-eater-bribery step: Add a dollop of sour cream and guacamole, drizzle some warm salsa con queso over the top and serve with tortilla chips.


Whichever one of these two options you go for, we know you’re in for a treat. We hope that you’ve survived through the holiday, whether it was full of family in person or via video. If you enjoyed our recipes this week, why not head down to the comments or over to our Facebook and let us know? We’d love to hear from you. If on the other hand you ended up here because your appliances have gone on strike after the holiday, head on over to our contact page and set up an appointment for appliance repair. We’re here for all of our clients in Dallas and the surrounding areas.

Dried spices in jars on a wooden board. Rosemary, bay leaves, black pepper, paprika