Sweet Veggie Tropical Curry

 It’s sweet; it’s got a ton of veggies, and it’s a riot of color! 

Sometimes you want to step out of the norm and try something adventurous. For your Blogger, that was this meal. It’s a delicious, multi layered sweet and spiced curry that is packed full of veggies and still manages to be extremely filling. We hope you enjoy it as much as we did! 
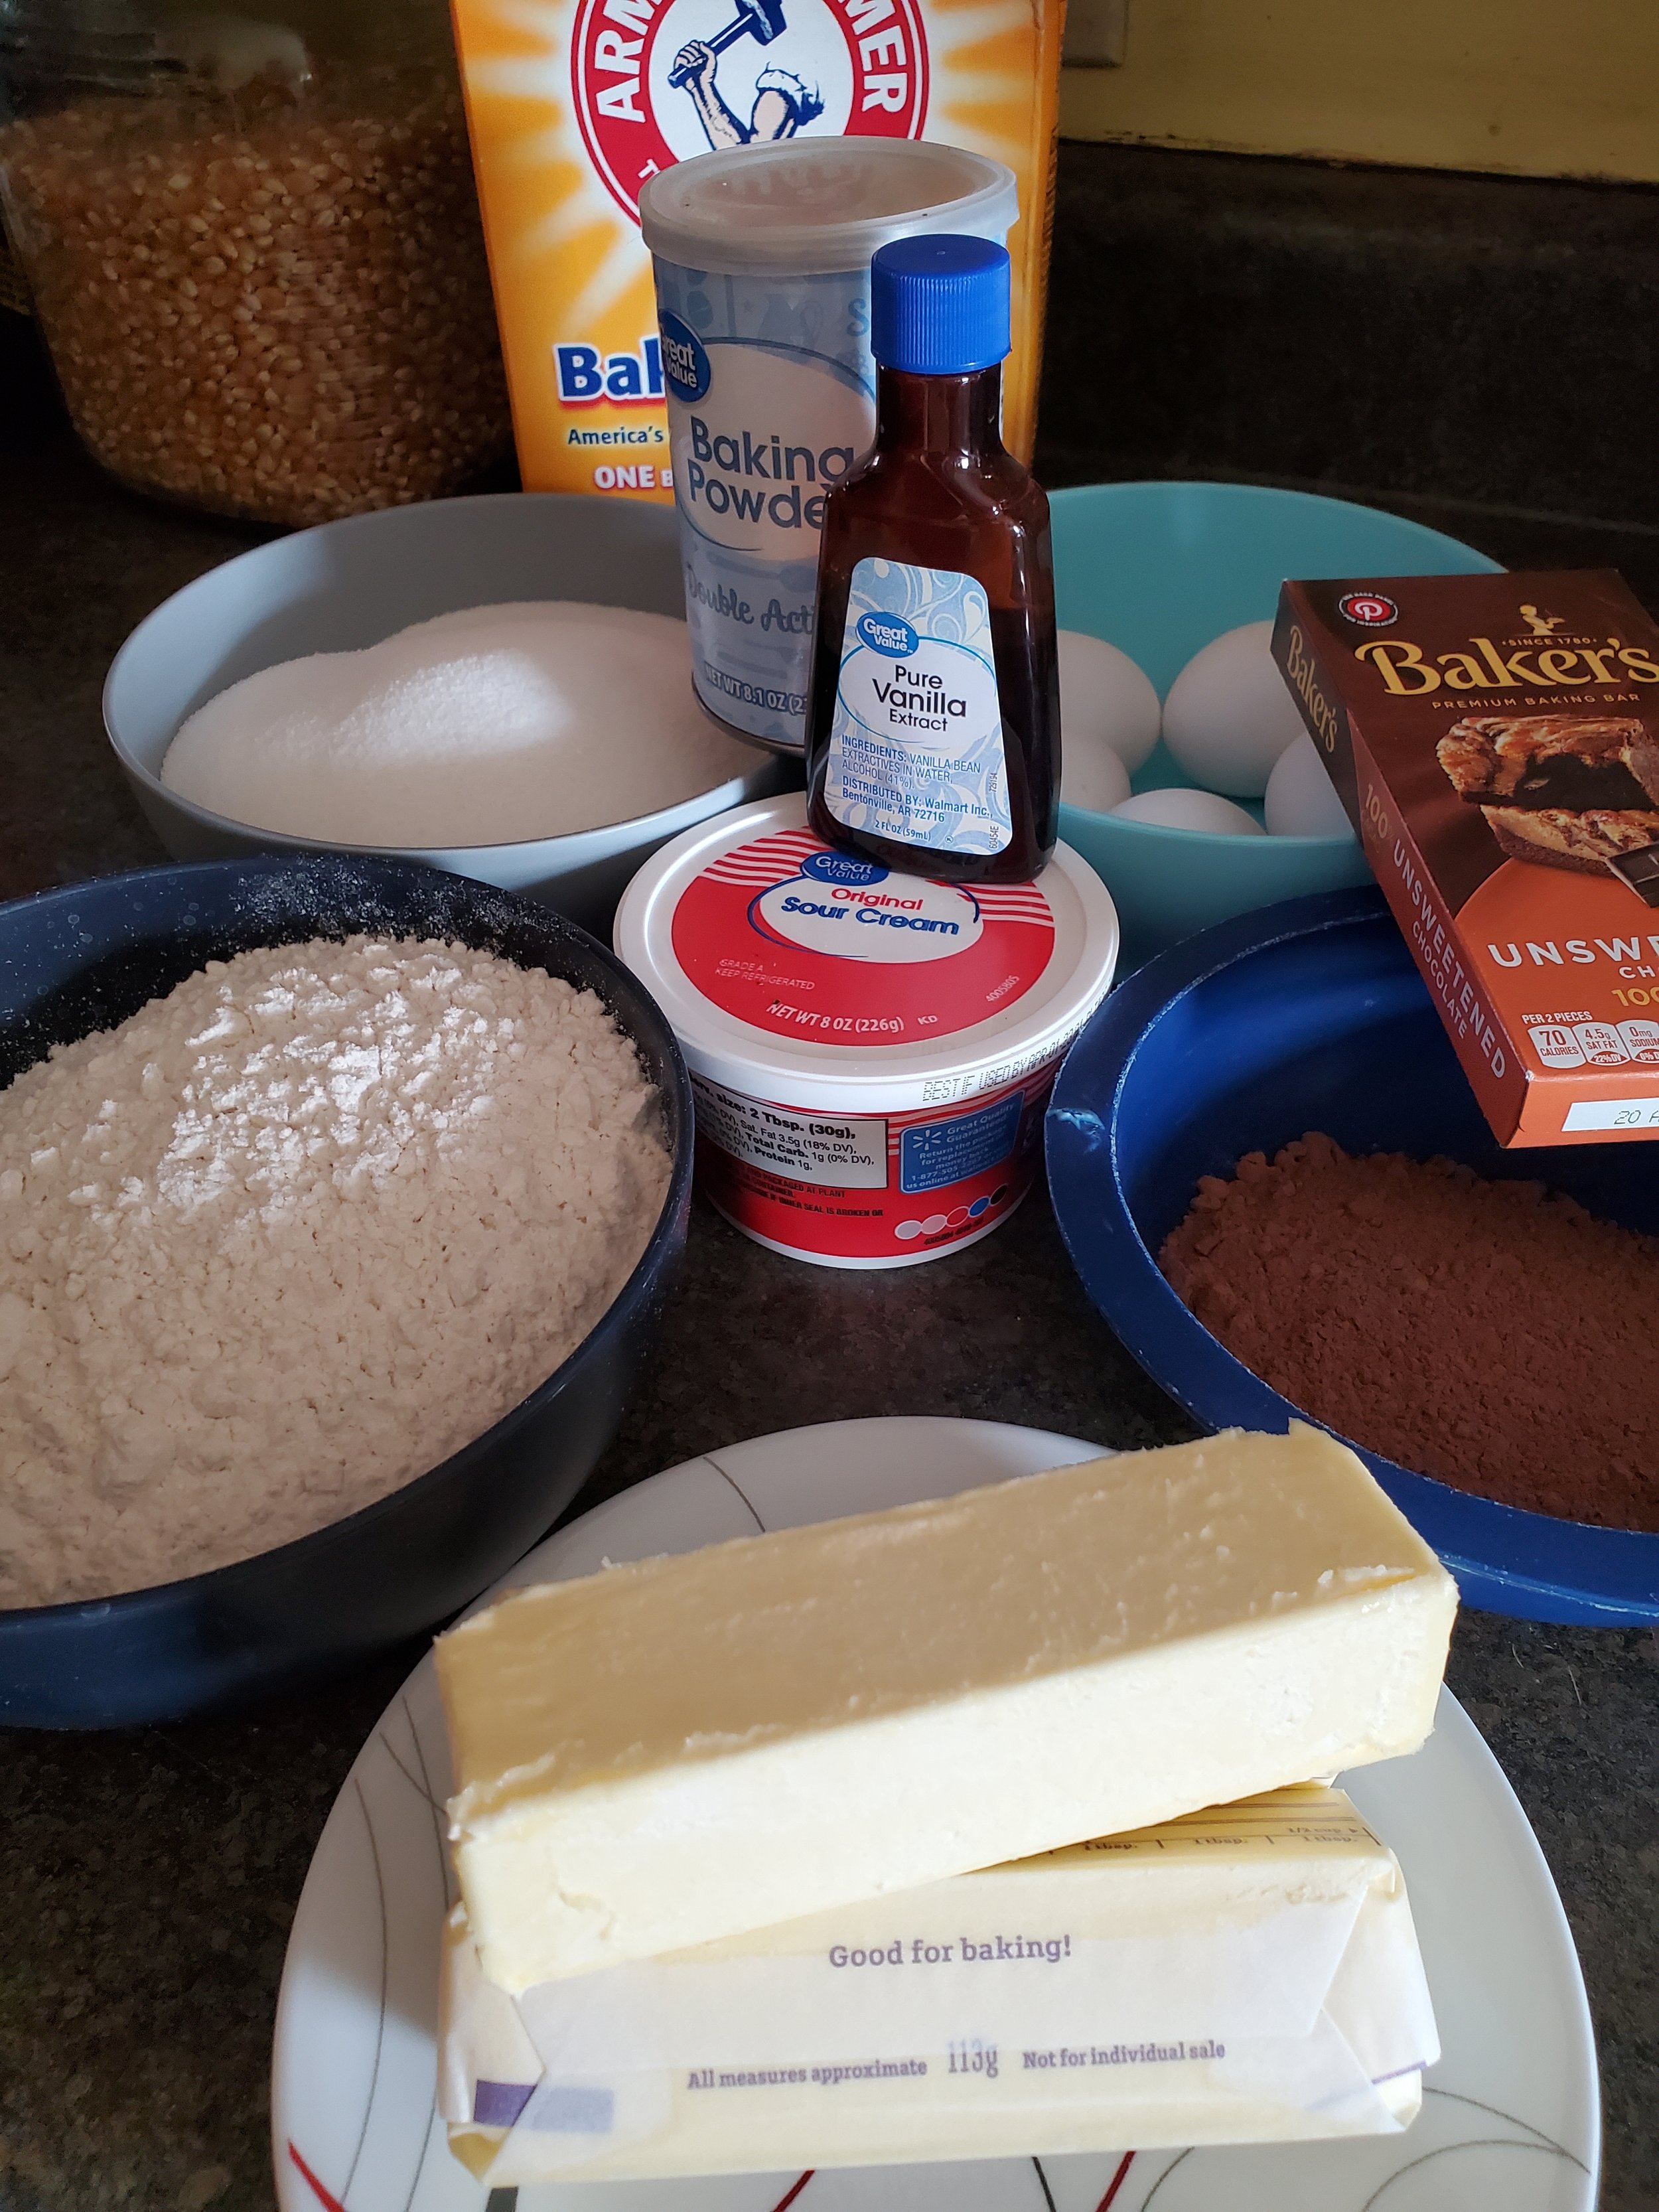
Ingredients:

4 red potatoes, chopped

12 baby carrots, chopped

4 large fresh mushrooms

2 tablespoons olive oil

salt and pepper, to taste

1 small red onion, slivered

4 tablespoons coconut oil, divided

1 tablespoon minced garlic

1 teaspoon ground ginger

1 teaspoon allspice

1 teaspoon nutmeg

1 teaspoon turmeric

1 tablespoon chili powder

1 teaspoon garam masala

1 teaspoon ground coriander

1 28-oz can crushed tomatoes

1/3 cup heavy whipping cream

1 teaspoon light corn syrup or brown sugar

two packages yellow rice

1 ripe plantain

Kosher salt, to taste


Tools: Cutting board, Knife, Can opener, Tongs, Slotted spoon, Serving spoon, Colander, Mixing bowl, Large, deep, slope-sided sauce pan or caldera with lid, baking dish, smaller sauce pan with lid, shallow frying pan with lid


As always, begin by washing your produce! We don't want dirt in dinner, and we're pretty sure we also don't want anything else from the field except the food itself.


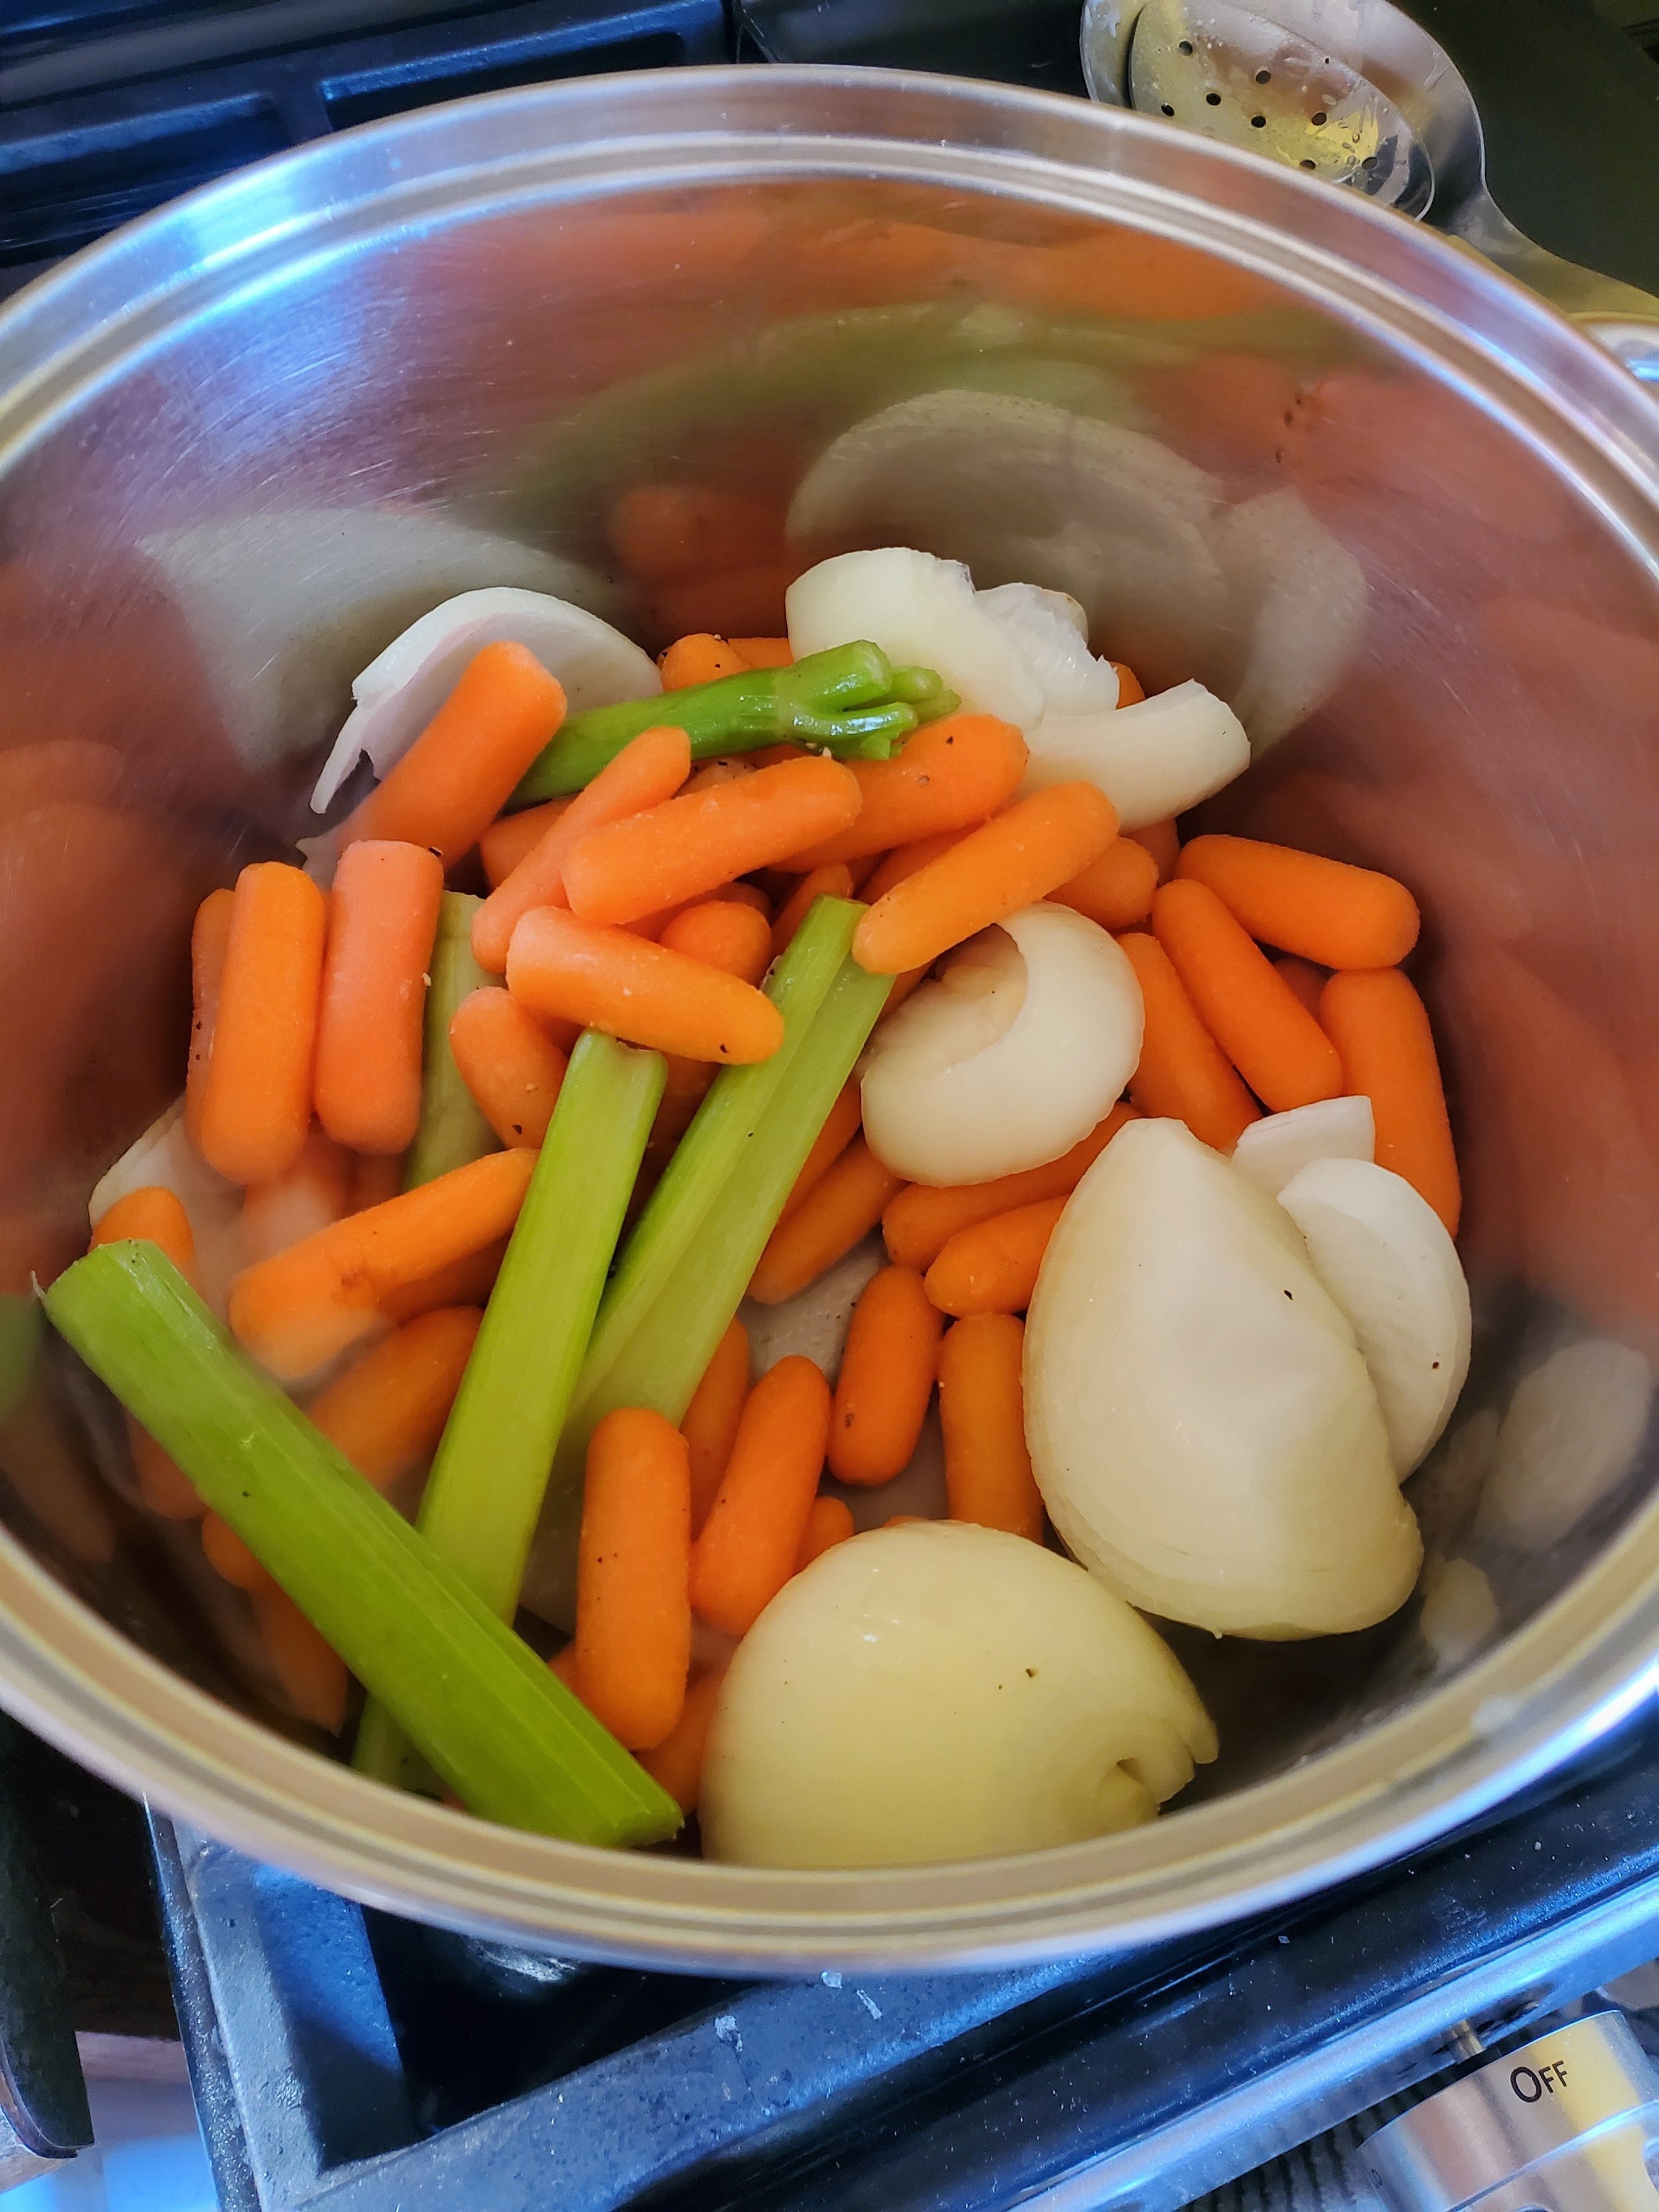
Take your potatoes and chop them into roughly inch and a half chunks. Nothing has to be exact - they're potatoes. We didn't peel them for this recipe, but you can if you'd rather. Toss them into the pot, then chop the carrots, too. Add them to the same pot. Cover the veggies with just enough water and put a lid on the pot. Start the burner on medium and let them simmer for about ten minutes. 


While they simmer, it's time to take care of some other small tasks.


Preheat your oven to 450.


Chop up the mushrooms. We diced them up as small as possible so they'd hide in the sauce (we have some picky eaters in the house). You might want big pieces instead - they'll cook up either way at 450 degrees, so do whatever. The only thing we wouldn't advise is leaving them whole.


Open the can of crushed tomato and put it somewhere close by. You'll need it soon, but not quite yet.


We also used this time to start measuring the spices needed. There are a lot of them this time, but try not to omit anything - all of them are important to the finished product. We set them into a little glass dish off to one side until we were ready for them.


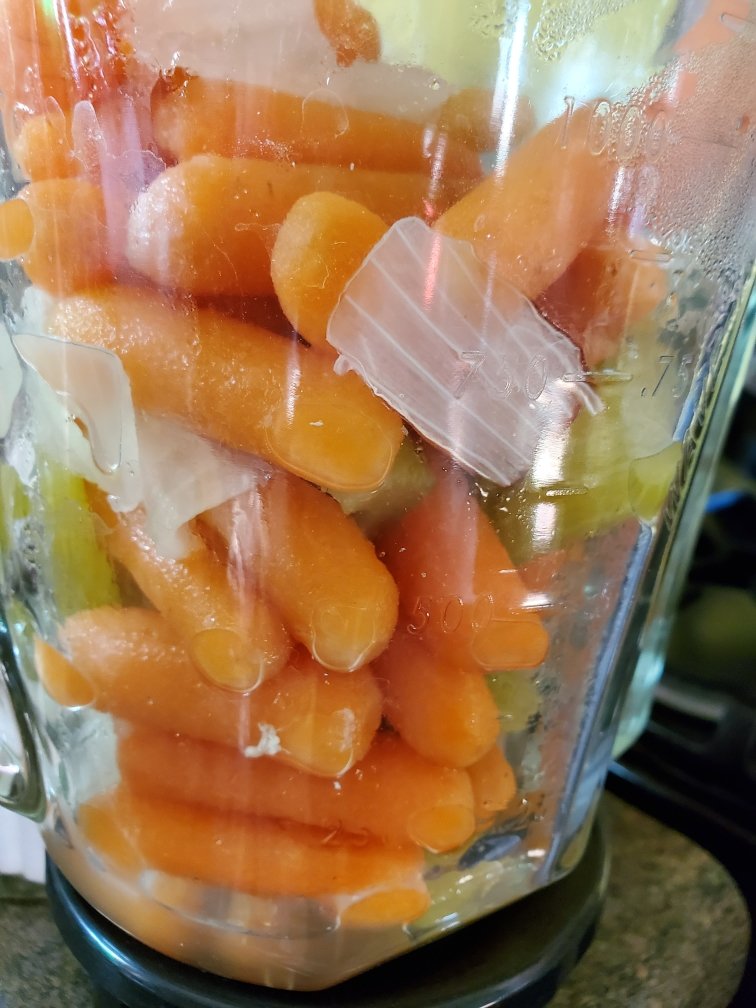
After the ten minutes of simmering are up, dump the veggies into the colander to drain them. Rinse the pan but not the colander full of veggies. Transfer the vegetables to the mixing bowl, drizzle them with olive oil, toss in the mushrooms and mix thoroughly. Add a little salt and pepper if you'd like, then transfer them again, this time to the baking dish. Bake them uncovered for 20 minutes.


Once the baking dish is in the oven, you'll have a clear cutting board and a little more counter space. Time to attack that onion. This is another produce item we tend to chop as small as possible due to picky eaters. Make sure you clean your knife when you're done with this step - the next thing you'll be cutting with it will not go well with onion.


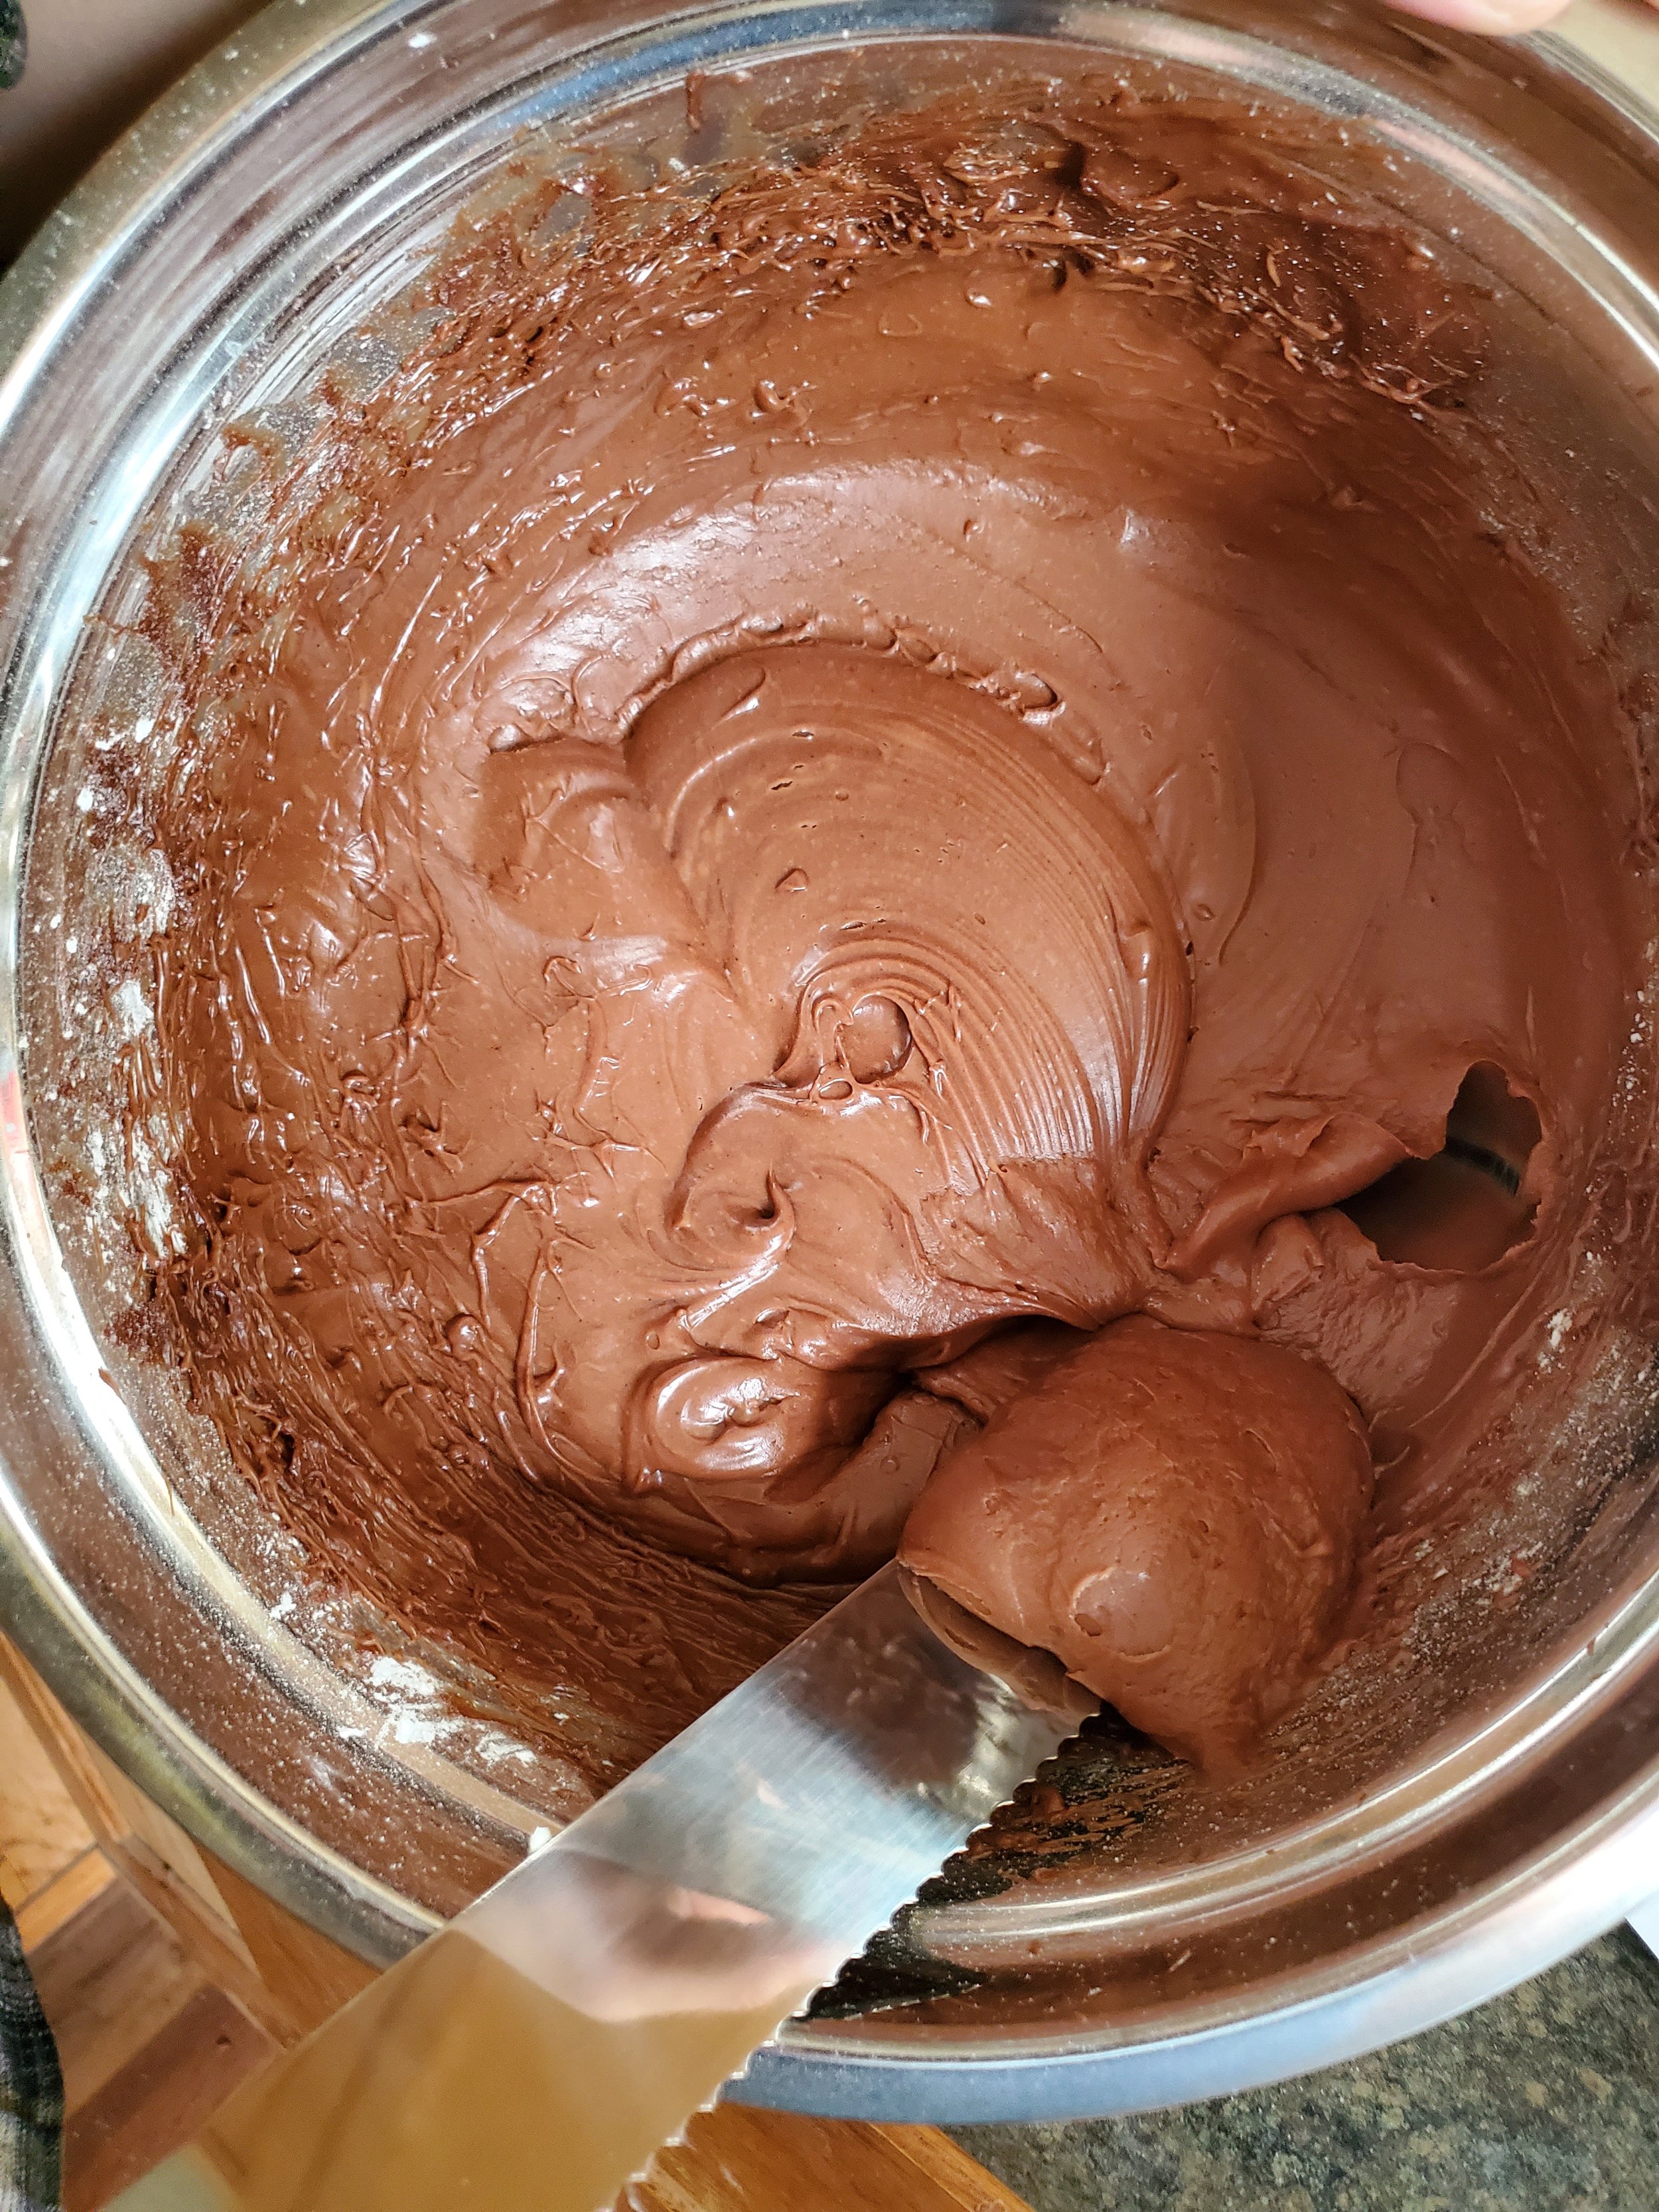
However you choose to cut yours, once it's done, drop it into the pan you used for the veggies. Add about two tablespoons of coconut oil and the tablespoon of minced garlic and heat on low until the oil is melted. Bring the heat up to medium, add your many spices, and stir like crazy with the slotted spoon. It's going to be pasty looking - that's normal. Put the lid on it and let it go until you can smell all the spices. There's a noticeable difference, and you'll catch it long before you scorch anything, don't worry. If you're concerned, you can stir it occasionally while you wait for it to get to that point.


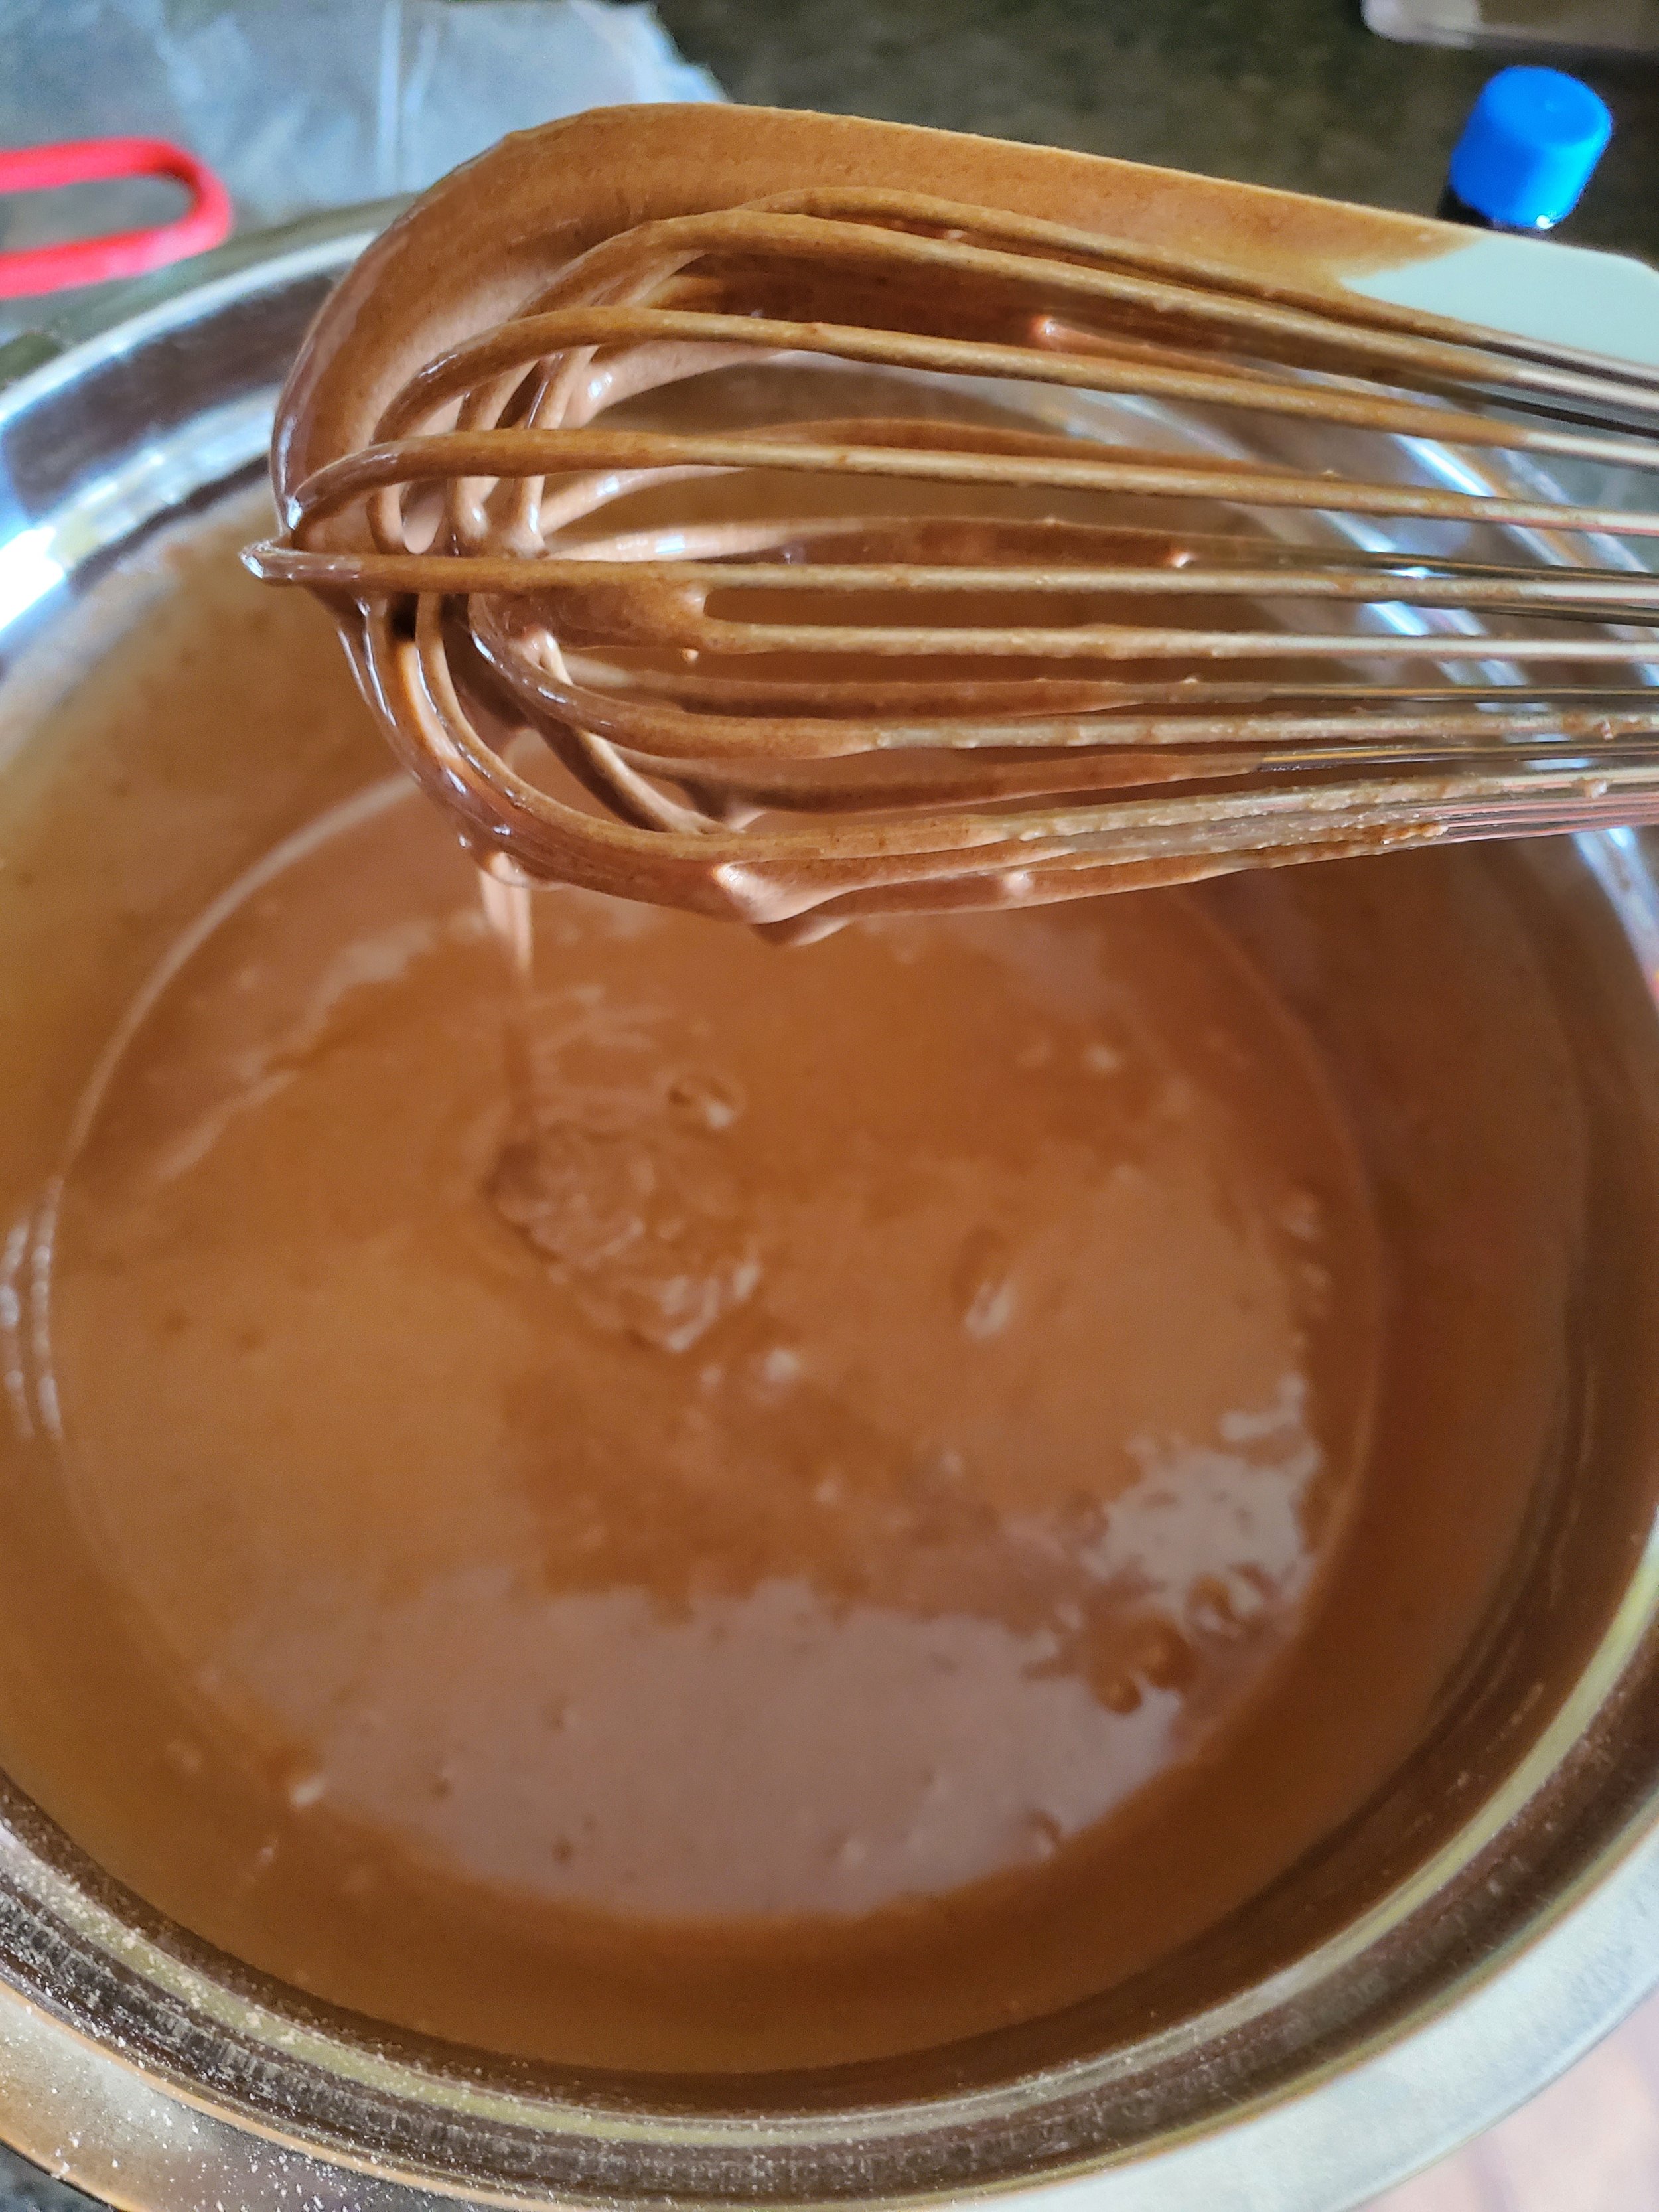
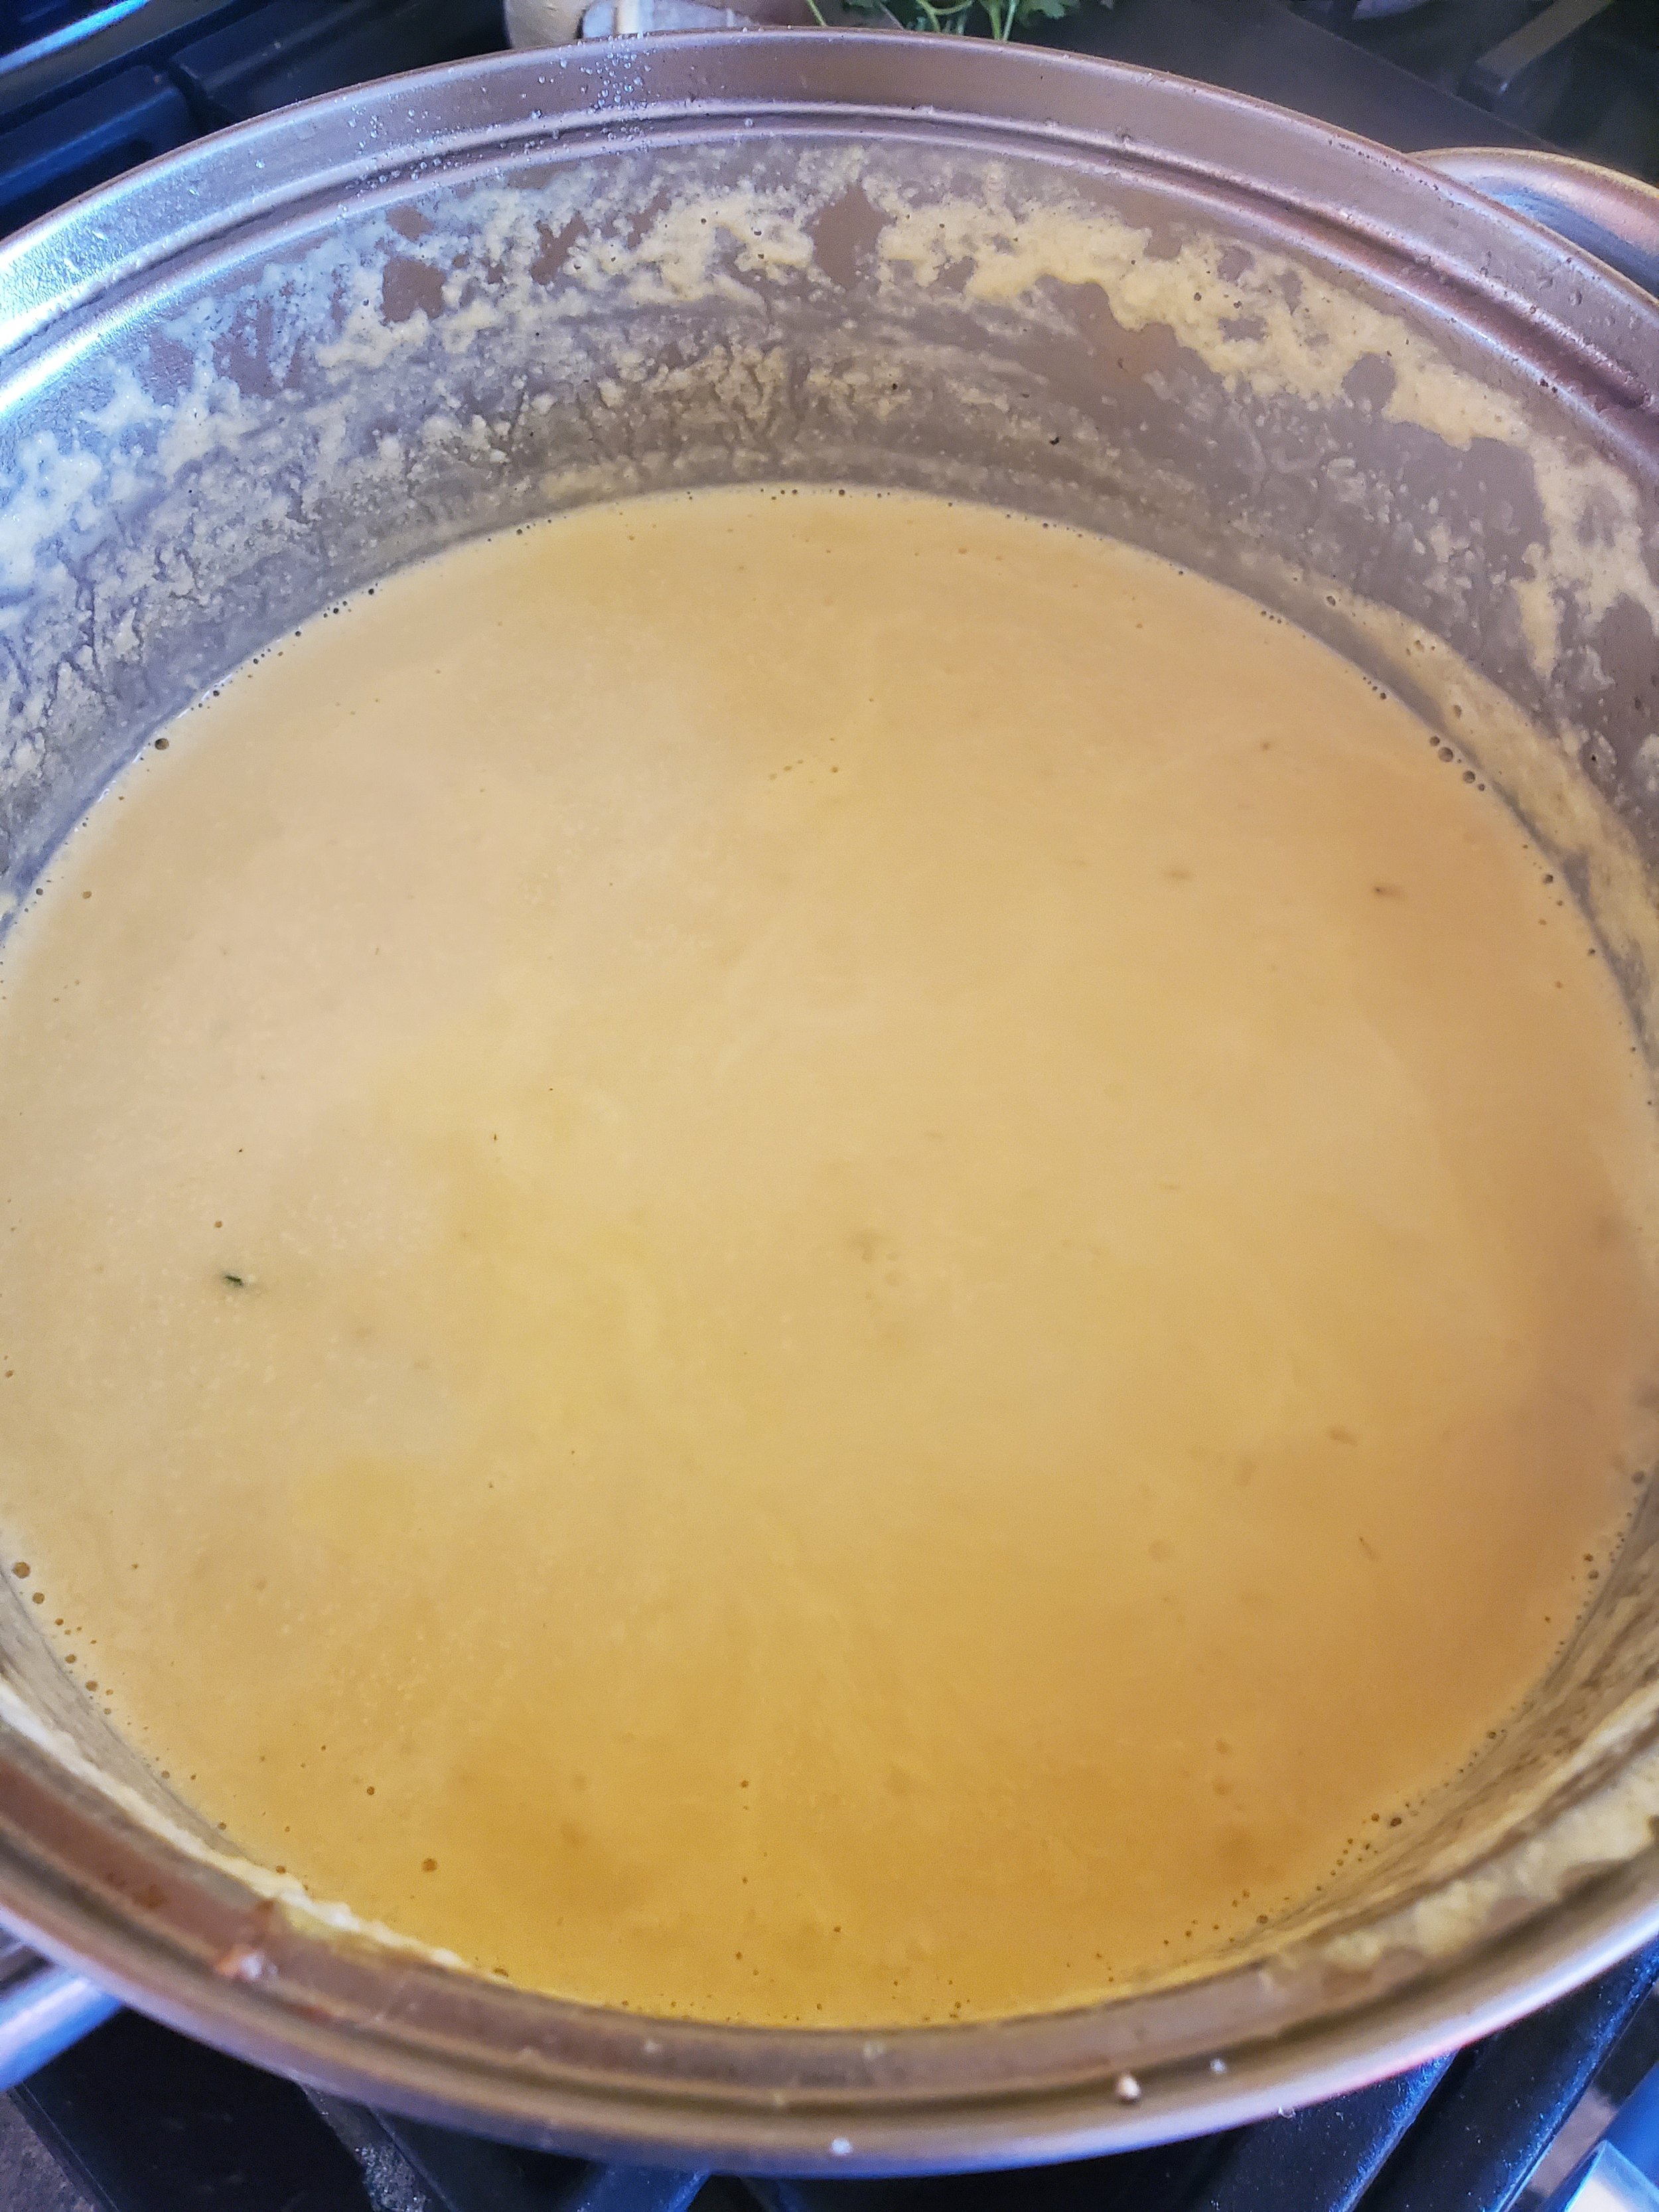
As soon as you know the onions are done, add in that crushed tomato, the heavy whipping cream, and the syrup. Give it a thorough stir, until the cream is fully incorporated. Cover it again and bring the heat back down as low as it will go.


The vegetables in the oven should be finishing up about now, right? Not really. The timer's about done, though. Take the veggies out and give them a stir, but then put them right back. Set the timer for ten more minutes.


Grab your packages of rice and get those going according to the package instructions in the smaller saucepan.


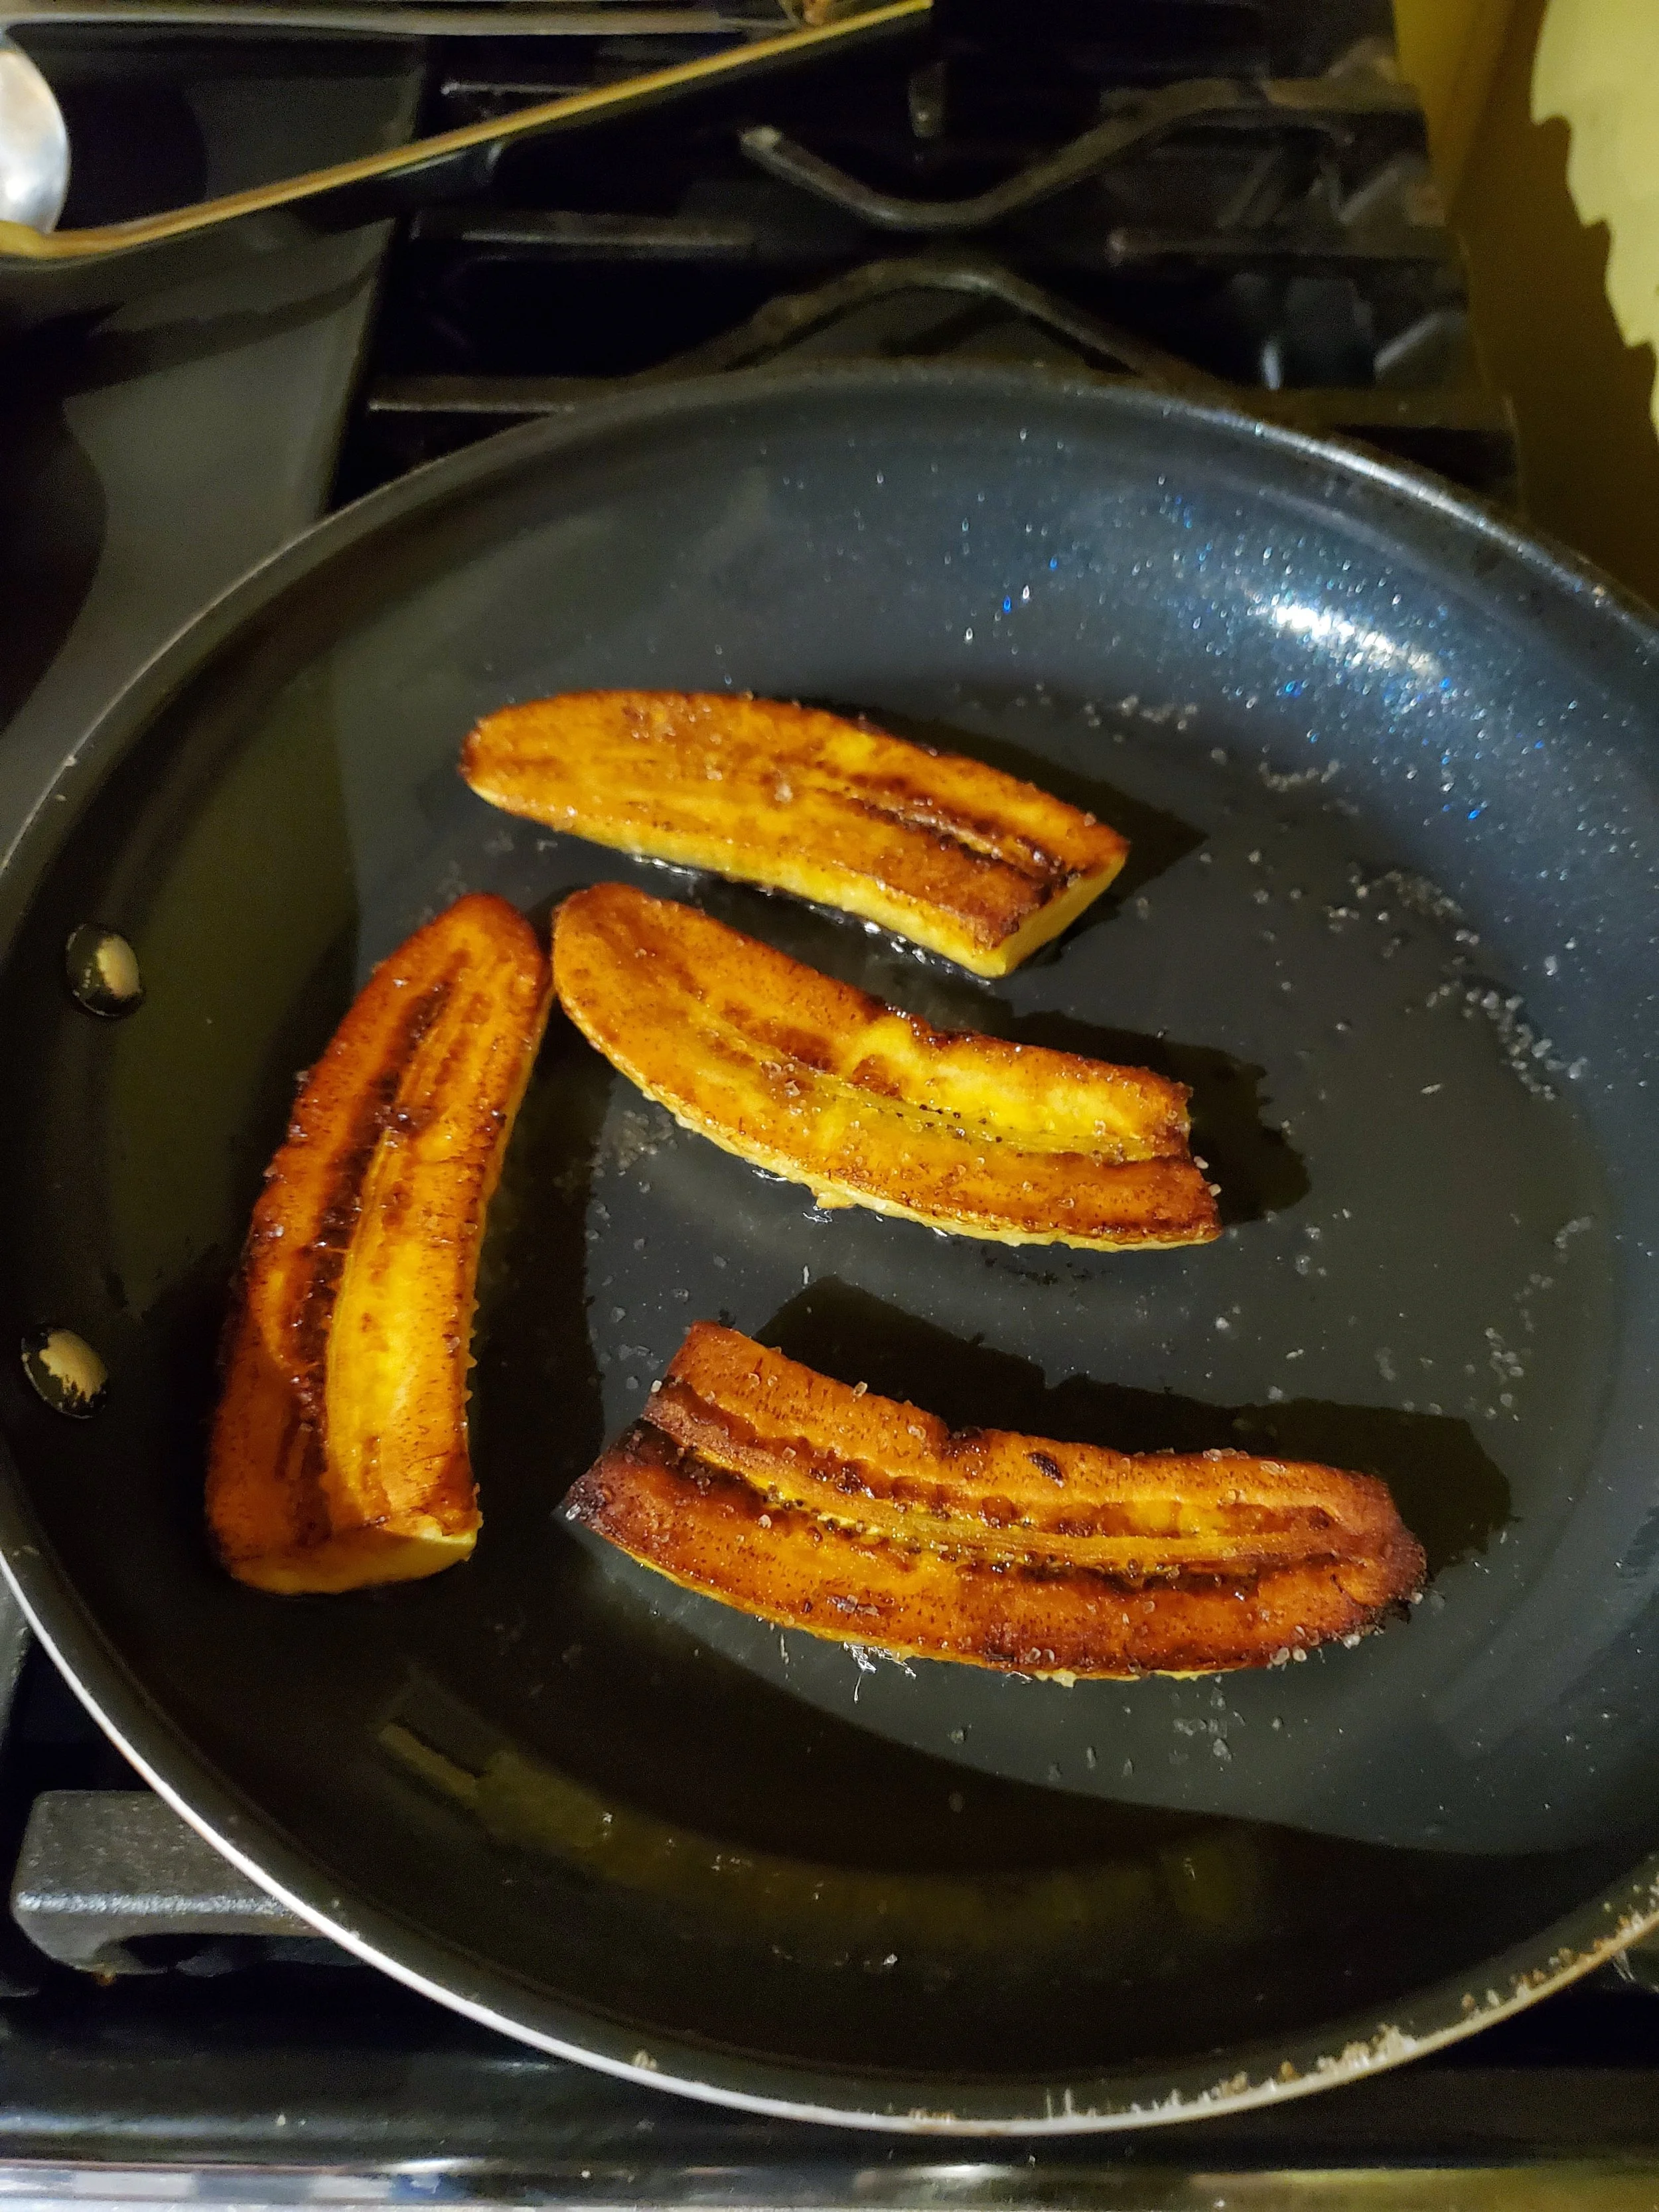
Once the rice is set to simmer, start heating the remaining two tablespoons of coconut oil in the frying pan on medium heat. Grab your plantain and cut it in half lengthwise. Flip the halves so they're flat side down on the cutting board and cut each in half again, short ways this time. This makes it easier to peel them and easier to fry them - double win! Once you've got the peel removed, place the slices flat-side down in the coconut oil. Sprinkle the tops with kosher salt, then cover them. You'll want to let them cook for about three minutes, but watch them carefully so they don't burn.


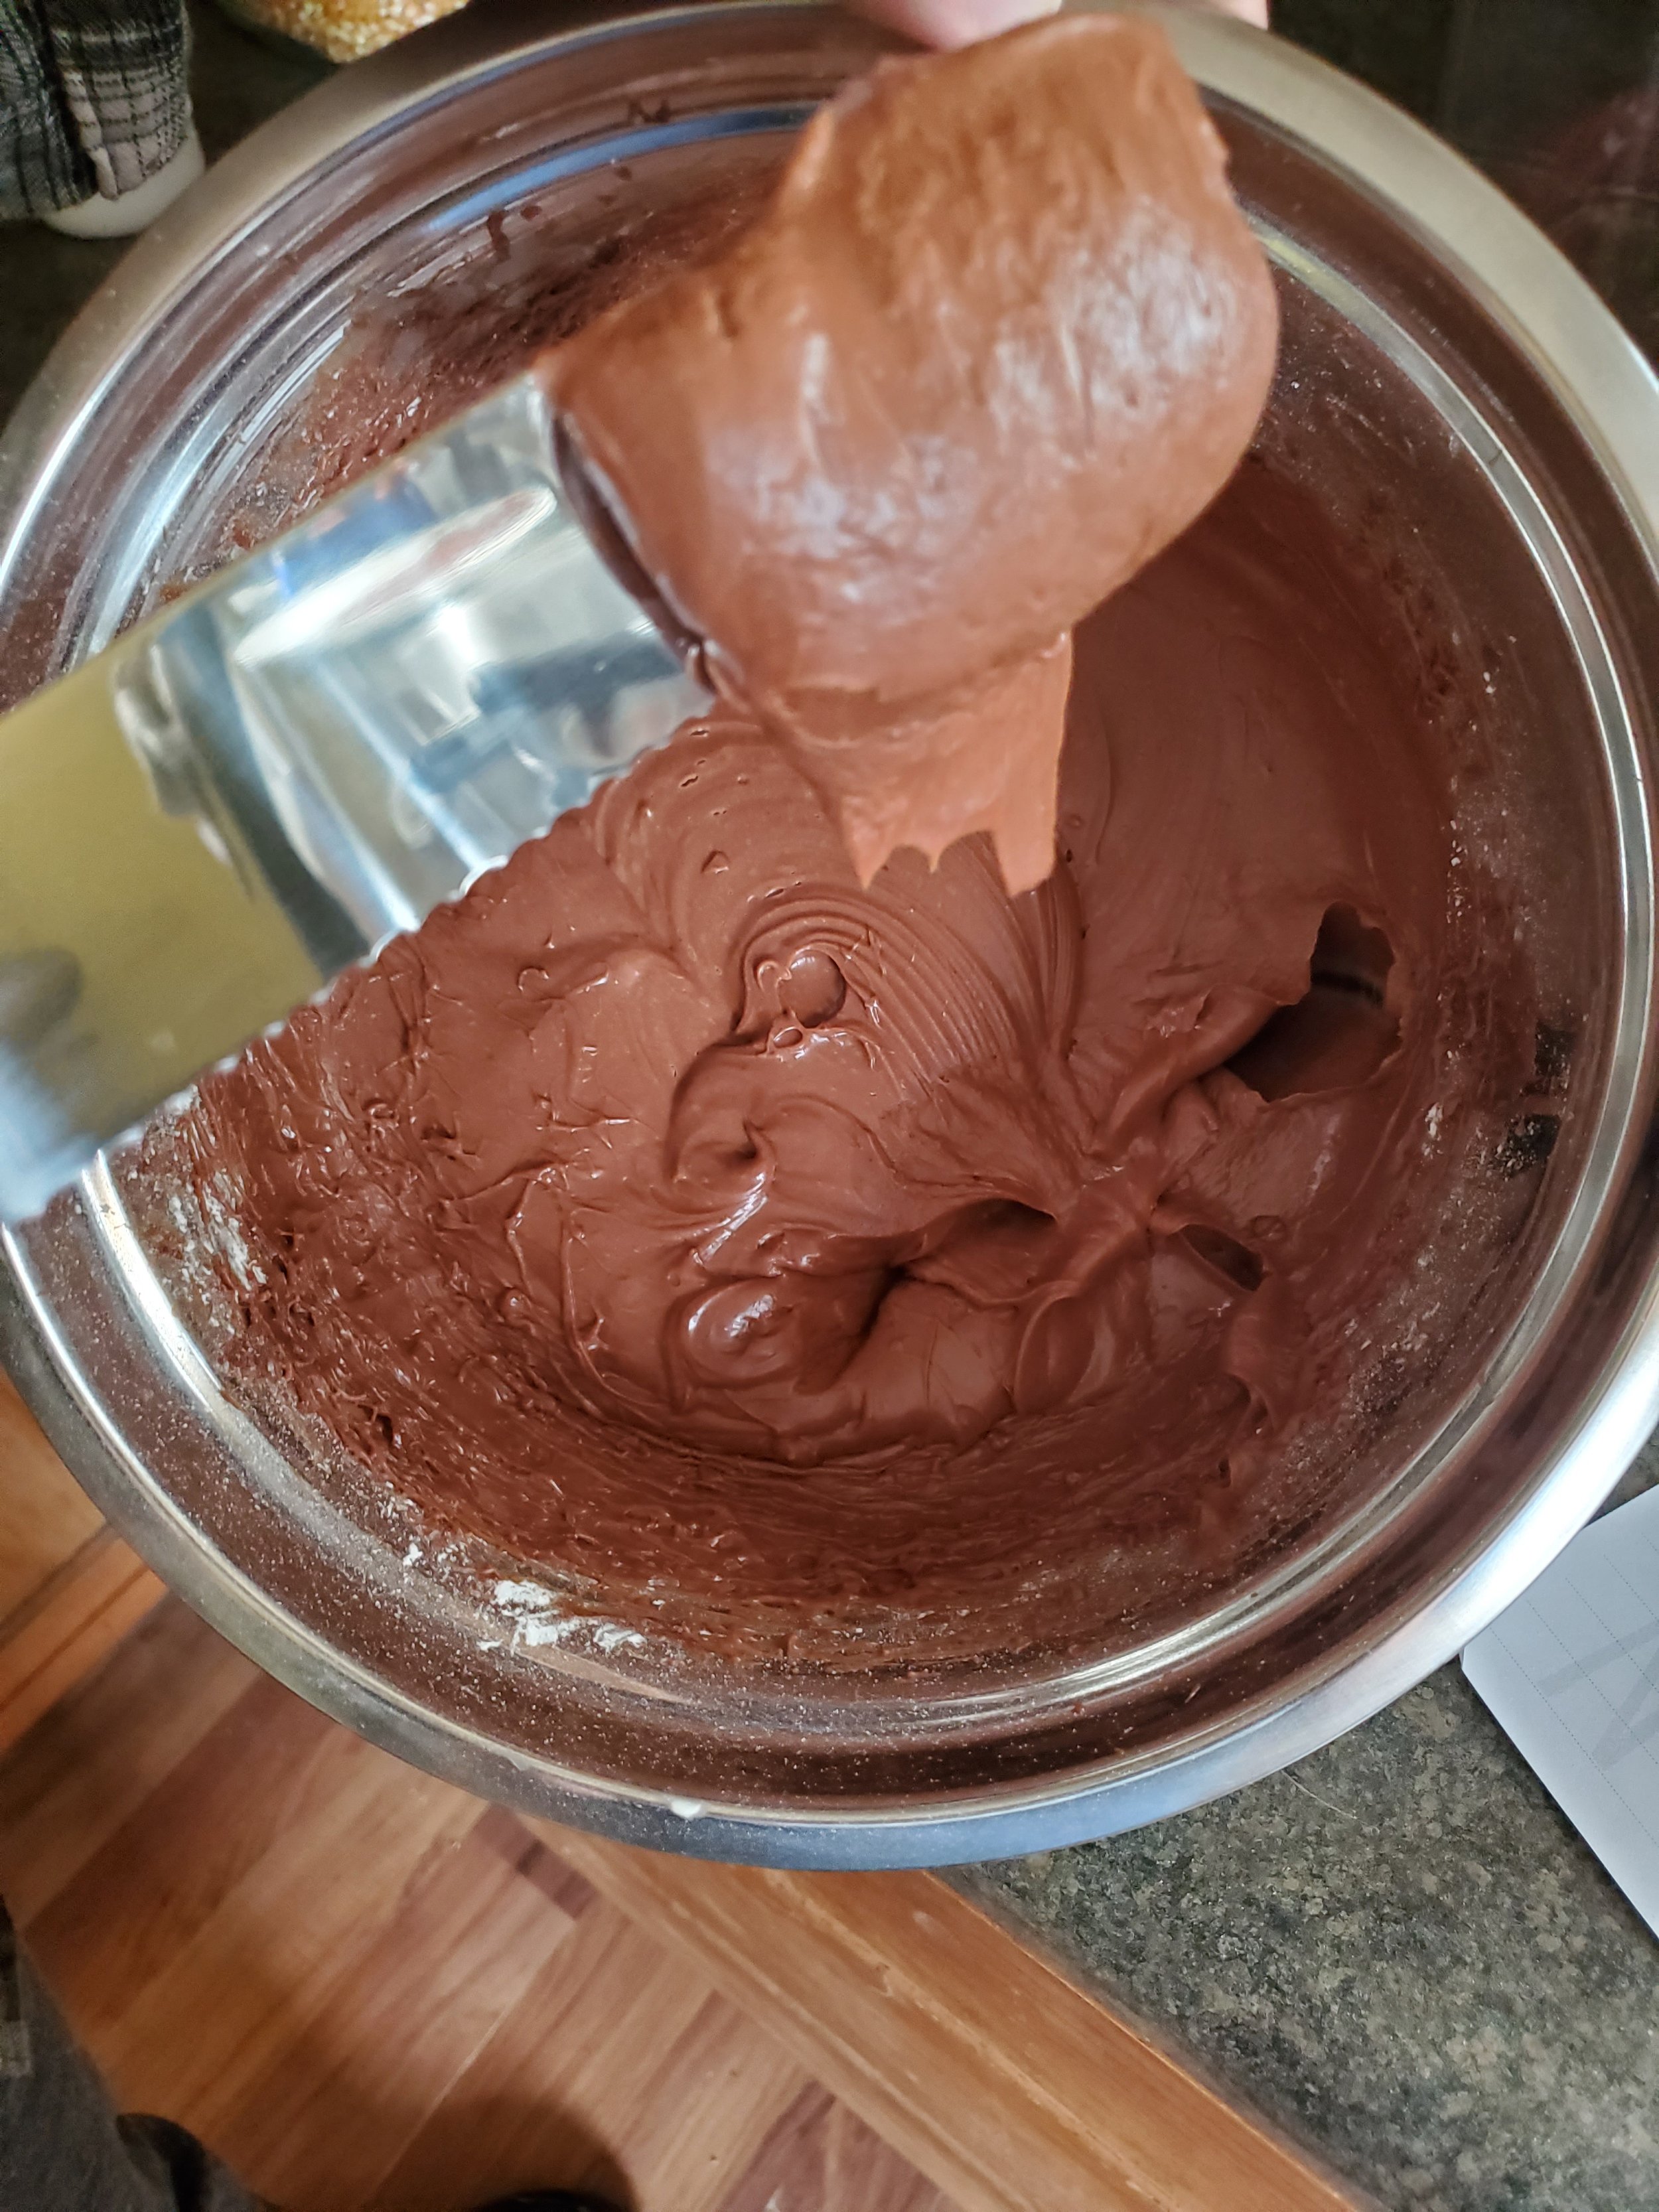
By now the ten extra minutes for the roasting vegetables should be up. Remove them from the oven and add them to the tomato mixture in the pan. Stir carefully to make sure everything is coated, then allow it to continue simmering while you check on the rice and the plantains.


After your three minutes (give or take) are up for the plantains, flip them carefully with tongs (don't squeeze too hard, they'll squish!), sprinkle this side with kosher salt, and replace the lid. They'll need another two or three minutes, but then everything should be ready.


Serve as plantain on top of curry on top of rice. 


Let us know what you thought of this recipe over on Facebook! As always, we love to hear from you! 


If you actually came to our site because one of your appliances is giving you trouble, we can help. Give us a call at ((214) 599-0055) or go to our contact page to set up an appointment. We'll work with you to find a time and date that works for your schedule to figure out what the problem is and how we fix it.  


Layered Veggie Bowl

Perfect For When You’re Craving A Taste Of Spring

Spring is theoretically coming, and it has us craving veggies! Fresh peas, green beans, lettuce! We want soft spring breezes and the chance to work in our gardens! Although most of the vegetables in the recipe are typically ripe in late summer to early fall, we are craving vegetables, given how weird the weather has been lately. Boost up your vitamins and enjoy plenty of protein as well with this delicious and layered dish.

  • 1 red pepper

    1 green pepper

    1 stalk celery

    3 Roma tomatoes

    1 can roasted corn

    1 can chunk chicken

    1 cup cooked chickpeas

    3 cups spinach

    2 Tbsp butter, divided

    1 Tbsp garlic

    1 tsp garlic salt

    1 Tbsp fresh black pepper

    1 avocado, chopped

  • ¼ c sour cream

    2 Tbsp lemon juice

    ¼ tsp red wine vinegar

    1 tsp corn syrup

    ½ tsp smoked paprika

    ¼ tsp cumin

    ¼ tsp salt

    ¼ tsp chili powder

    ¼ tsp smoked chipotle pepper

  • Knife

    Cutting board

    Frying pan

    Deep heavy-bottomed pot

    Whisk

To start out, grab your peppers and tomatoes and dice them up into even pieces. Set those aside in a large bowl and grab your celery. Give your celery a rough chop and toss it into the bowl as well. 


If you can get fire-roasted corn for this recipe, that’s the best option for the flavor. If you can’t, or if you’re in the mood to be adventurous, you can always make your own ahead of time. If you purchased the corn, drain it of the liquid and set it aside. 


Next up, rinse and drain your 1 cup of cooked chickpeas; we don’t advise saving the aqua faba for this recipe, although you can use it in a variety of other recipes. 


Finally, we’re done with prepping the ingredients! Now grab your frying pan, set it over high heat, and melt 1 Tbsp of butter. Once it’s fully melted, toss in 1 Tbsp of minced garlic, and sear it. Then toss in your spinach, turning the heat down to let it wilt. Once the spinach has wilted, cover the pan and remove it from the heat. 


Next up, grab a deep, heavy-bottomed pot. Go ahead and toss in another Tbsp of butter and let it melt. Once it’s melted, add in your peppers, celery, and tomato. Once the peppers are soft, add the corn to the pot and heat thoroughly. When all you can smell is corn, you’ll know you’ve got it heated all the way.

Now add in your chickpeas, cover the pot, and allow the chickpeas to heat fully. Keep an eye on your pan, stirring occasionally as you might need to add more butter to keep everything from sticking. 


Take your can of chunk chicken, drain it, and break it up, then season it with garlic salt and fresh black pepper. Stir that into your veggie mixture, and then add the cover and allow it to warm while you make the dressing.

In a separate bowl, mix together the sour cream, corn syrup, lemon juice, red wine vinegar, cumin, salt, chili powder, smoked chipotle pepper, and smoked paprika, whisking thoroughly. 

You can add additional sour cream if you want to soften the spices or a very small quantity of water if you want to thin it out. 


To serve, take a bowl and layer in the spinach, the veggie & chicken mixture, and top with the dressing and avocado. 


We can see this recipe being taken in a number of different ways. You might bulk it up by layering in even more spinach or adding in bulgar wheat. You could go full tilt on the tomatoes and add in both roasted and sun-dried tomatoes. The two of them work together along with the fresh to bring in multiple different complex textures and flavors.  Alternately, you can layer this over short-grain rice or top it with croutons if you need to ensure carbs. Let us know what you come up with over on our Facebook page! 


When you’re done, you’ve got nothing to worry about when it comes to cleaning up, everything wipes out nice and easy, and your dishwasher shouldn’t have any trouble.  If it does give you trouble, though, of the “my dishwasher isn’t getting things clean anymore!” variety, we can help. At Appliance Rescue Service, we’ll work with you to set up an appointment that works with your schedule. We’ll send out one of our expert technicians to diagnose the problem and move forward with a plan that works for you. To solve your major appliance problems, give us a call at ((214) 599-0055) or head over to our contact page today. 


Chocolate Pecan Cake for a Special Date

Or Just For Whenever You Feel Like It, It’s Cake After All!

It’s almost time for the best day ever! No, we don’t mean Valentine’s Day, we’re talking about the day after, when all of the chocolate goes on sale! Now is the best time of year to snap up all sorts of delicious chocolates and make them into fun new desserts. This year, to celebrate, we made a layered chocolate pecan cake with frosting so rich and delicious you’ll have to force yourself to walk away.

  • 4 ounces unsweetened chocolate

    ⅔ c unsweetened, non-alkalized American-style cocoa powder (normally we’re all for substitutions, but due to the chemical reactions, you need to get specifically this type of cocoa)

    1 ¼ tsp baking soda

    ¾ c boiling water

    1 ⅓ c unsifted cake flour

    1 c all-purpose flour

    ¾ tsp baking powder

    ¼ tsp salt + a pinch

    2 ½ sticks unsalted butter, at room temp

    5 large eggs

    1 c sour cream

    2 ½ tsp vanilla extract

  • ⅔ c heavy cream

    ⅔ c granulated sugar

    1 Tbsp unsalted butter

    1 ½ Tbsp light corn syrup

    1 tsp vanilla extract + 1 ½ Tbsp vanilla

    8oz milk chocolate chips

    2 ½ oz unsweetened chocolate

    11 oz of cream cheese

    2 - 2 ½ c powdered sugar

    1-2 tsp water

  • Two 9 Inch round cake pans

    Sifter

    Heavy-bottomed sauce pot

    Several small bowls for ingredients

    Parchment paper

    whisk

    Electric mixer or stand mixer

    Silicon spatula

    Icing knife

    Wire racks

Making the Cake 

Let’s start by taking your chocolate, for both the cake and the icing and getting them chopped up and set into their own bowls. You don’t have to dice them or make sure they’re even, what matters is breaking it up so that the melting can happen more easily later. 


Next  up, let’s prep the pans and the oven. Set one of your oven racks into the middle of the oven and set it to preheat to 350*F. While that’s ticking away, take up your two 9-inch, round cake pans and parchment paper. You’re going to want to generously grease the bottom and sides of the cake pans and then insert rounds of the parchment into the bottoms. Then grease the parchment as well. Once you’ve done that, take up a little bit of all-purpose flour and dust the pans. Tip the pans from side to side, making sure you have everything covered, and then tap out the excess over the trash. 


Next up, pop your unsweetened chocolate (the 4oz you need for the  cake, not the amount needed for the icing) into the microwave. Microwave it on high power for 20 seconds, remove it and stir. Continue this process back and forth until your chocolate is almost melted. Once you can see the melted edges, stir continuously and allow the residual heat to melt the chocolate the rest of the way through. 


In a medium bowl, stir together your cocoa powder and baking soda until well blended. Pour your boiling water over the mixture, stirring consistently. It’s going to bubble up, and that is the reaction you want which is going to make the cake light and fluffy and so tasty. Let that cool while we move on to mixing the ingredients. 


Take a sheet of parchment paper and lay it down on your counter and grab your sifting mesh. Sift together your flours over the paper.

In a separate large bowl, using a mixter on medium, beat your butter until it’s light and fluffy. You’ll need to scrape the sides down a few times as you, as the butter gets tossed everywhere by the mixer. Next, beat in one egg at a time, until just blended. Then add in your cocoa mixture and continue beating, still at medium, until the mixture is free of lumps. Again, you’ll need to scrape the sides down as you go. The mixture might look kind of curdled at this stage, it’s ok. 


Now let’s grab the chocolate we melted earlier. If it’s still warm and runny, that’s great! If not, pop it back into the microwave for a few seconds until it is nice and fluid again. Then add it into the batter until it’s smooth and fully incorporated. 


Switch the mixer down to low and beat in half of your dry ingredients. Once those are mixed in, add both the sour cream and the vanilla. Mix that together for 1 minute, scraping the sides of the bowl down as needed. Then beat in the rest of the dry ingredients just until the batter becomes smooth. 


Split the batter between the pans, using the  back of a spoon to spread it to the edges. Back it in the oven for 25 to 35 minutes or until a toothpick inserted into the center comes out clean, but still moist and the cakes are starting to pull away from the sides of the pan. Transfer the pans over to a wire rack and let them cool completely. (Don’t do what we did and make the icing at this time.) 


When the cakes are fully cooled, carefully run a knife around the side of the pans and under the parchment. Go all the way around and then rap the pan on the counter to loosen the parchment from the bottom. Grab a plate and holding it tight against the top of the plan, flip the cake onto the plate and remove the paper. Once both cakes are out of their pans, give them a few more minutes to cool. 


Making the Frosting


Now that your cakes are on their way to being completely cool, it’s time to make the icing!

Take your 2-quart saucepan and put that on the stove, over medium-high heat. You’re going to add in, in order, your butter,cream, granulated sugar and then the corn syrup. (it’s best to do this quickly so nothing scorches, but that’s also why the butter goes in first.) Stir consistently while everything bubbles and melts and begins to blend. You can wash down the sides of the pan using a pastry brush in warm water, although we found this to be difficult. 


Once you’ve brought it up to a boil, keep it there for 3 minutes, stirring constantly. When the 3 minutes are up, remove it from the heat, add in the vanilla mixture and your chocolate until they completely melt. (It’s ok if they look slightly separated at this point.) 


Transfer the mixture to a large bowl and grab your mixer again. Turn it on to low speed and beat in your cream cheese, one chunk at a time. Continue beating until all of the cream cheese is mixed in, scraping down the sides as needed. 


Next up, add in one cup of powdered sugar at a time, beating just to incorporated each time. Now raise the speed to medium-low and beat until the icing is completely smooth, approximately 1-2 minutes. It should be cool to the touch at this point.

If the frosting is too thin, add in up to ½ cup more of powdered sugar, until fully incorporated and smooth.  Let it sit for 5-10 minutes, and then ice your cake. Because of the base, this is not a frosting you can make ahead of time and use later. 


Spread a tiny bit of icing onto your serving plate of choice and place your first cake layer centered on top of it. Add a dollop of icing on the center and spread evenly. Cover the icing in pecan halves and then add a slightly thinner layer of icing on top of that. Place the second layer of cake and then put icing on top of that. Spread the icing evenly on top, and then use it to coat the sides. When finished, wrap the bottom of the cake in a layer of pecans. 


Slice and enjoy!


With that, enjoy your cake, and eat it too! (After all, what’s the point of a cake if you can’t?) 

If you do make this one, let us know over on our Facebook page! We love to hear what y’all get up and what changes you make. 


If your oven is giving you fits in trying to make this, reach out to us on our contact page or by giving us a call at ((214) 599-0055). We’ll work with you to set up an appointment that works with your schedule. Our goal at Appliance Rescue Service is to get your home running smoothly again.

Jalapeno Chicken Bowtie Pasta

Warm enough to get you through winter, hearty enough to keep you healthy in spring.

We’re well into the coldest part of winter, getting hammered from all sides with cold weather and we need something to warm up! This week’s recipe is a great recipe if you’re fighting off a cold or are just sick of the cold. It’s got the same basics as a good chicken noodle soup with some extra added kick to it. 


Ingredients

1 medium yellow onion

3 large carrots

3 celery stalks 

salt and pepper

3 garlic cloves 

2 Tbsp butter

3 chicken breasts

1 pt of heavy cream

1 bay leaf

Fresh parsley

1 tsp of thyme 

chicken bullion 

1 lb bowtie pasta 

jalapeno slices 


Tools: Two large pots, a blender or food processor, a cutting board, slotted spoons and a few bowls 


Recipe: 

To get us started, grab a paper towel and wet it with cold water in your sink. Lay it next to your cutting board, and then grab your onion. Chop the onion into large quarters, remove the outer skin, and be amazed that your eyes aren't watering, thanks to the paper towel. Does it sound weird? yes. Does it work? Also yes. This is a trick we use all the time in our own kitchens for the ARS staff. Put the onions aside into a large bowl, and take up your carrots. You can choose to skin them, or just give them a quick scrub, it's up to you. Once you've prepped them, go ahead and give your carrots a few rough chops, breaking them down into thirds.  Do the same with your celery in terms of prep, and make sure not to leave any of the leaves on. 

Go ahead and turn your stove on high and place your large pot on the stove, tossing in 2 Tbsp of butter. Let that melt down, and then add salt and fresh cracked pepper to the pan. While that's going, take your garlic cloves, nip off the top, bottom, and the skins, and then quickly mince them. Toss that into the pan, and stir until the garlic is aromatic. At that point, add in your onion, carrots and celery, turn the heat down to medium, and let it sit. You're going to let the vegetables simmer for 10 minutes, stirring every few minutes, to allow them to start softening and cooking. 

Once your onions are halfway to translucent, fill the pot with water and add in the chicken. Cook until the chicken is cooked through and the water has reduced by half. 


Turn the burner off and grab two different bowls. One bowl is just for the chicken. The second bowl is for all of the vegetables. Take up your slotted spoon and remove all of the vegetables from the stock. Make sure to lose as little stock as possible, as it's the base for the sauce.  From here, grab your blender or food processor and pour in your vegetables. You might have to do this in batches, you might not. Either way, add about 1/2 cup of stock to the blender, just to make it easier, and set the machine to chop. Once you've got the vegetables much smaller, you can switch over to blend and let the machine work until you have a smooth puree. Pour your puree back into the pot, and return the pot to medium heat. 


Pour 1 pint of heavy cream into the pot, give it a stir, and taste. This is the stage to add spices in. Add in 1 bay leaf, a few sprigs of fresh parsley, and 1 tsp of thyme. Give that a stir and let it bubble for a few minutes, then taste. At this point, we realized we needed more chicken and add in 1 tablespoon of chicken bullion, but you might not. Let the pot continue to bubble, reducing further until you have a thick sauce that stays on the spoon when you lift it out. As this works, you'll also want to skim the top and scrape the bottom occasionally to remove anything from building up. 


When the sauce is nice and thick, grab a second pot and add water, plus enough salt to make it as salty as the ocean. Bring that to a roiling boil and add in your bowtie pasta. Set a timer for six minutes, and go back to your cutting board. This time you're going to be tackling the chicken and being much more uniform than we were earlier in the recipe. Chop the chicken into bite-sized chunks, or you can shred it depending on how easily it's falling apart. Eitherway, once that's done, toss it into the sauce pot and give it a good stir to incorporate it. 

By now your pasta should be done, take that off the burner, strain it and add the pasta to the sauce. Give that a stir and let it simmer until the pasta is fully cooked. 

While that's finishing up, you've got one final choice to make. Do you like your food spicy or really spicy? If you like it just a little spicy, dish out the jalapenos in small dishes set to the side of each bowl. If you like it really spicy, add the jalapenos and the juice they come in into the main pot and let that mix. 

Either way you prefer it, once your pasta is fully cooked, congrats! You've got a healthy and delicious meal that no one will suspect has a whole bunch of veggies hidden in it. 


Let us know over on our Facebook page if you plan to give this one a try! We'd love to see how it turns out. 

If your appliances are giving you trouble, you can reach out to us via our contact page or by giving us a call at ((214) 599-0055). At Appliance Rescue Service, we're here for you and want to help you get your home running smoothly again.

Sausage Bread to Get You Rolling 

Or Something To Eat While We Hide From the Cold

We're taking a look at a delicious, grab-and-go dinner that's great for parties. Looking through our recipes, we were thinking about something that would work best for the Superbowl parties that people are already planning. This sausage bread is great for just that, as you can make several of them now, and freeze them ahead of time to be ready for the game. 

This recipe comes in two parts. The first, is for making sweet Italian sausage because it is remarkably difficult to find in the Dallas area. The second is for the delicious sausage bread that is going to have you making the sausage on a regular basis. 

Ingredients for Sweet Italian Sausage: 

3 lbs ground pork

3 Tbsp red wine vinegar

1 ¼ Tbsp dried parsley

1 Tbsp garlic powder

1 Tbsp onion powder

1 Tbso dried basil

1 tsp salt

1 Tbsp freshly cracked black pepper

2 tsp paprika

2 tsp crushed red pepper flakes, or to taste

¾ tsp ground fennel seed

¼ tsp brown sugar

⅛ tsp dried oregano

⅛ tsp dried thyme

Ingredients for the Sausage Rolls:  

2 Tbsp olive oil, plus more for brushing 

1 pound sweet Italian sausage 

4 ounces Genoa salami 

2 cups shredded whole milk mozzarella (roughly 8 ounces) 

Vegetable oil cooking spray

flour for the work surface

Oregano - for the surface

minced garlic - for the surface 

frozen pizza dough (not the premade crusts, the actual dough is what you want here. Alternatively, you can make your own dough.) 

Recipe: 

For making the sausage, add the pork and vinegar to a large bowl and then sprinkle the spices all over the top. Scrub down your hands and, if you like, put on some gloves. Mix the pork until the spices are thoroughly incorporated throughout the pork. Divide the pork into one-pound sections. Put one pound aside for the recipe, and the other two into separate freezer bags. These will freeze for 6-12 months and can be used for many different recipes. 

Now let’s move on to making the actual sausage roll.

-Start by preheating your oven to 340* F. Nope it's not a typo. It works for this recipe. 

- Heat the olive oil in a medium saute pan over medium-high heat, add the sausage and cook until brown, 12-15 minutes, breaking it up as it cooks. 

- Using a slotted spoon, transfer the sausage to a medium bowl and let cool. Once cool, add the salami and mozzarella, mixing with your hands. 

- Spray a half-sheet pan with cooking spray.  

-On a floured surface, roll out your dough into one long 18 x 6 inch oval. Brush the dough with olive oil and sprinkle the sausage mixture all over. Make sure to leave a 1-inch wide perimeter uncovered, as that will be important later. 

- Gently stretch one long side of the dough and fold it so that it covers half the mixture. Tuck in the short ends to trap all that meat inside and roll it onto itself so the seam of the dough is on the bottom. (Think of it like making cinnamon rolls, instead of like making a burrito.) 

-Carefully and gently transfer the log to the prepared sheet pan and curve it into a slight crescent. (You want it to look more like a ( and less like a C .) Poke holes along the top with a fork to release the steam while it's cooking. Brush the top of the bread with a mixture of melted butter and sprinkle with oregano and garlic. 

- Pop the bread into the oven and cook for 20 minutes. At this point, the top should be lightly brown. 

Let it rest for 10 minutes, and then slice it into 1-inch rounds. 

-You can actually freeze this one up to 2 months in advance. For that you'll follow all of the steps up until you transfer it to the prepared sheet. Instead, you'll wrap the roll in tin foil and then tightly wrap that in plastic wrap. When you're ready to eat, thaw it completely at room temperature for 3 hours, remove the plastic wrap and bake it still wrapped in the foil at 350*F for 15 minutes. 

You can serve this with bolognese sauce, ranch or anything else you might put on top of your pizza. Personally, your blogger is fond of ranch. Let us know on the Facebook page what you serve yours with!

If you're here because you need help with your oven, we can help! We're here to help with all sorts of major appliances, and your oven probably shouldn't be smoking. You can reach out to us by giving us a call at ((214) 599-0055) or by heading to our contact page. We'll work with you to set up an appointment that works best with your schedule. At Appliance Rescue Service, our goal is to get your home running smoothly again.  

A sausage roll is laid out on a cutting board, and sliced into several slices

Photo by Midget Momma