Chocolate

Chocolate Raspberry Thumbprints

The Best Cookies for Any Bake Sale


Sometimes the weather just calls for cookies.


While it is very firmly spring now, we sometimes get late cold fronts and even ice storms into April, where we are. We've had hard freezes as far into the year as mid-May, even. And cold days like that are an excellent excuse to make cookies. 


This time we ran a little short on butter and had to get creative. So we combined the idea of cream cheese snowball cookies and shortbread thumbprint cookies and ended up with this sweet little hybrid: chocolate cream cheese thumbprint cookies.


Ingredients:

1 8 oz block cream cheese

1/2 stick butter

1 egg

1/4 c bakers cocoa

2 1/4 c all-purpose flour

1 c sugar

1/2 tsp almond extract

2 tsp vanilla extract

2-3 tbsp raspberry preserves


Tools:

Cookie sheet

Parchment paper

mixing bowls

microwave safe dish or saucepan (to melt butter and cream cheese)

measuring cups and spoons

spoon

ziploc bag

toothpick or scissors or sharp knife


Before we get started here, you should know that two of your ingredients are going to be your problem children. The butter and the cream cheese are going to be solid when you start out, but they really need to be liquid in order to do their jobs here. So we need to melt them - carefully. Most people use the microwave to accomplish this, but we have had terrible luck with that in the past (think exploding and/or scorched edges and untouched centers despite careful timing and frequent stirring). We prefer to use the stovetop and a saucepan over the lowest possible heat and stir every minute or so.


Cream cheese does melt, it's just stubborn. This is definitely not a recipe where you can substitute in cream cheese's lower-fat sibling, Neufchatel cheese. Leave it over the heat until you have no more lumps. You'll need to be extra patient with this step, sorry.  


As with any doughy recipe, mix your wet ingredients in one bowl (be sure to break the yolk on the egg, you want it to incorporate fully) and your dry ingredients in another. This helps prevent finding big lumps of crumbly, un-mixed flour or globs of sticky egg when you go to work the dough into individual cookies.


Stir together the contents of your two mixing bowls in the larger of the two bowls. Don't overdo it, because the cookies will be tough if you get carried away.


Once everything is mixed well, divide your dough into 36 balls. We know, three dozen feels like a weird number to shoot for, but it's what our test batch turned out to have after we split off comfortable serving-sized pieces.


Put down a layer of parchment paper on your baking sheet and preheat your oven to 375 degrees.


Place each of the dough balls destined to become cookies on the sheet. They don't spread much at all, so as long as there's some space between them to press them, you can really pack them in.


Press lightly on each one with your thumb (or a spoon, or literally anything that will slightly flatten the dough and create a little well for your raspberry preserves). The goal here is to flatten the ball of dough into a thick disc, leaving a little divot in the center that doesn't create a slope to the outside edges of the cookie. If you like runny messes of preserves, that's your business - but we'd very much prefer it stay where we put it. 


Once all the cookies are shaped and ready for the preserves, fill a ziploc bag with the preserves and use something sharp to cut or poke a little hole in one corner. Utilize it like a piping bag, squeezing a little bit of preserves into each cookie. Try not to overfill any of the wells, as they'll make an epic mess if you do.


Place the cookies in the oven and bake for 10-12 minutes. Allow them to cool on the cookie sheet for at least ten minutes before you try to move them - they'll still be very soft when you take them out of the oven, and they'll need that extra few minutes to firm up a little.


We know it's tempting to eat them right away - they smell so good, after all! - but please, please give them time to cool. Otherwise, you'll be like us and burn the roof of your mouth on what feels like molten lava.  


We won’t ask if you’re going to try making them this time. These are too good not to try. So instead, let us know over on our Facebook, what other types of jam do you think you could pair with this? 


Since you wound up here, and you’ve read all the way to the bottom, when was the last time you had a maintenance check for your appliances? If you haven’t done it in at least a year, you might consider having one. Spring and fall are the best times to have your appliances checked out, rather than the chaos of the holidays or the heat of the summer. Getting an experienced technician to walk through all of your problems now can mean your appliances are less likely to fail during the heat of the summer. 


If that type of preparation is something you’re interested in, give us a call ((214) 599-0055) or reach out to us via our contact page. We’ll work with you to set up a time and date that works for your schedule and send out one of our technicians to work with you. At Appliance Rescue Service, our goal is to keep your home running smoothly. 


Chocolate Pecan Cake for a Special Date

Or Just For Whenever You Feel Like It, It’s Cake After All!

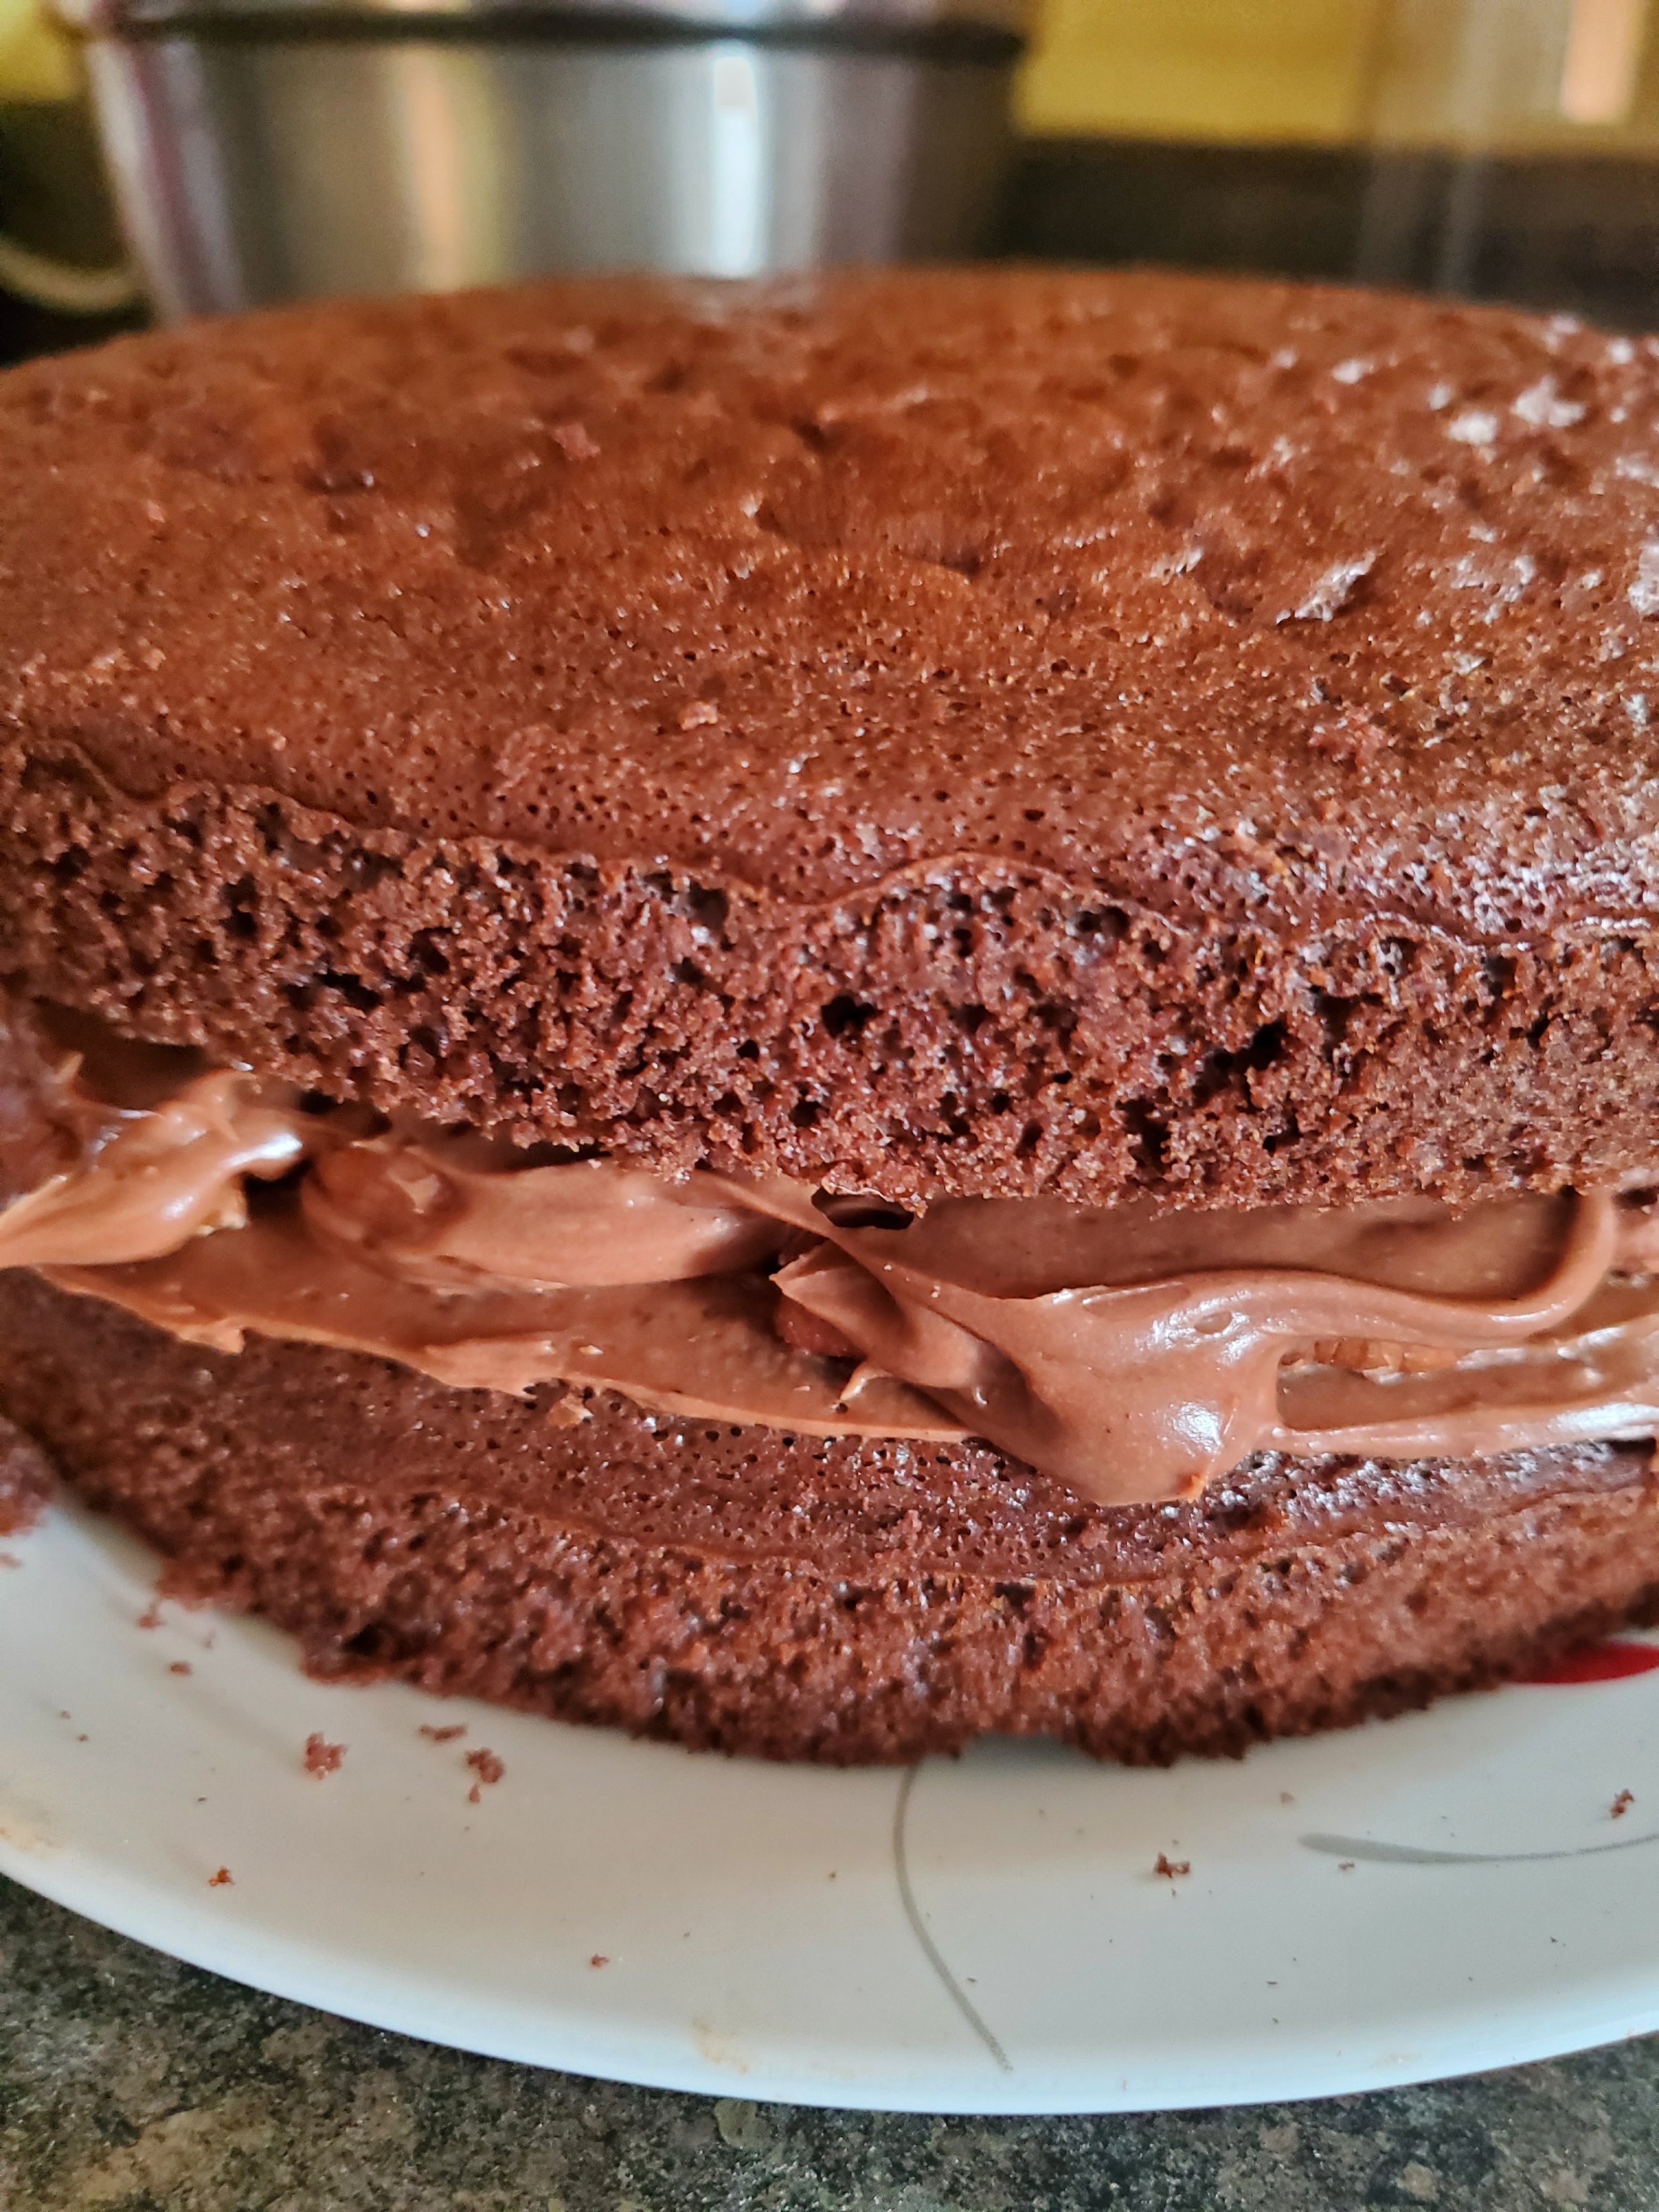
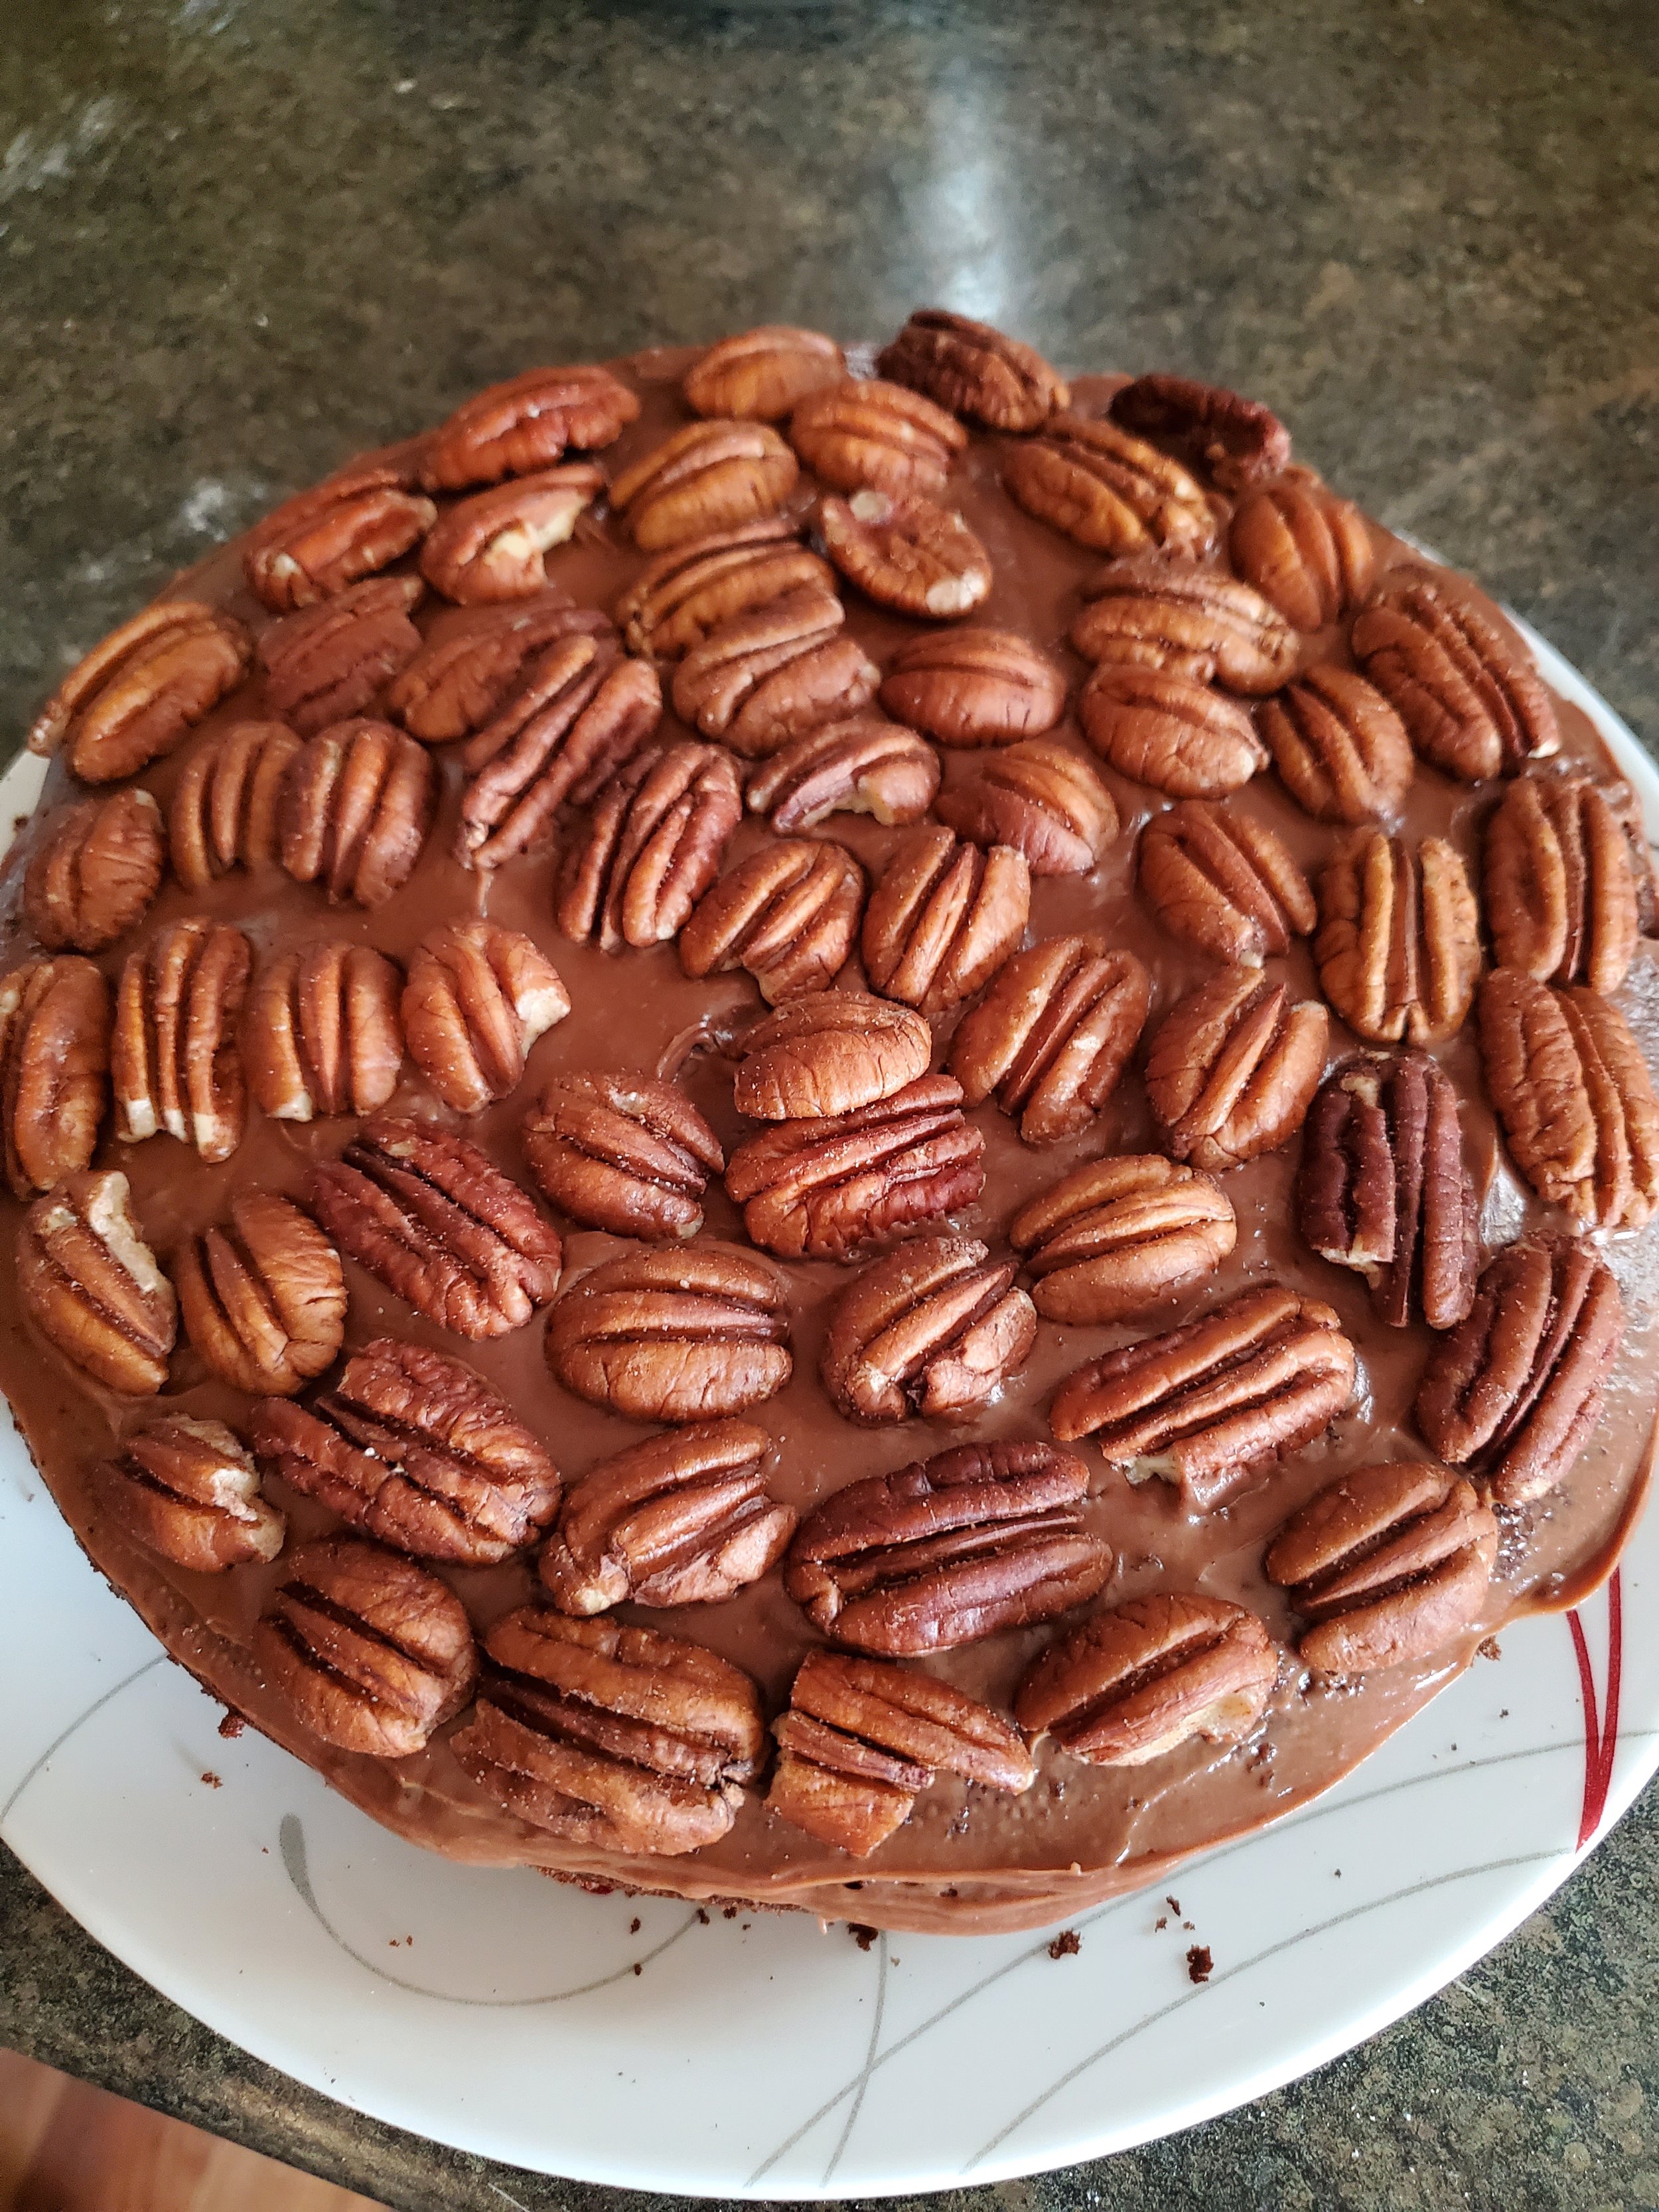
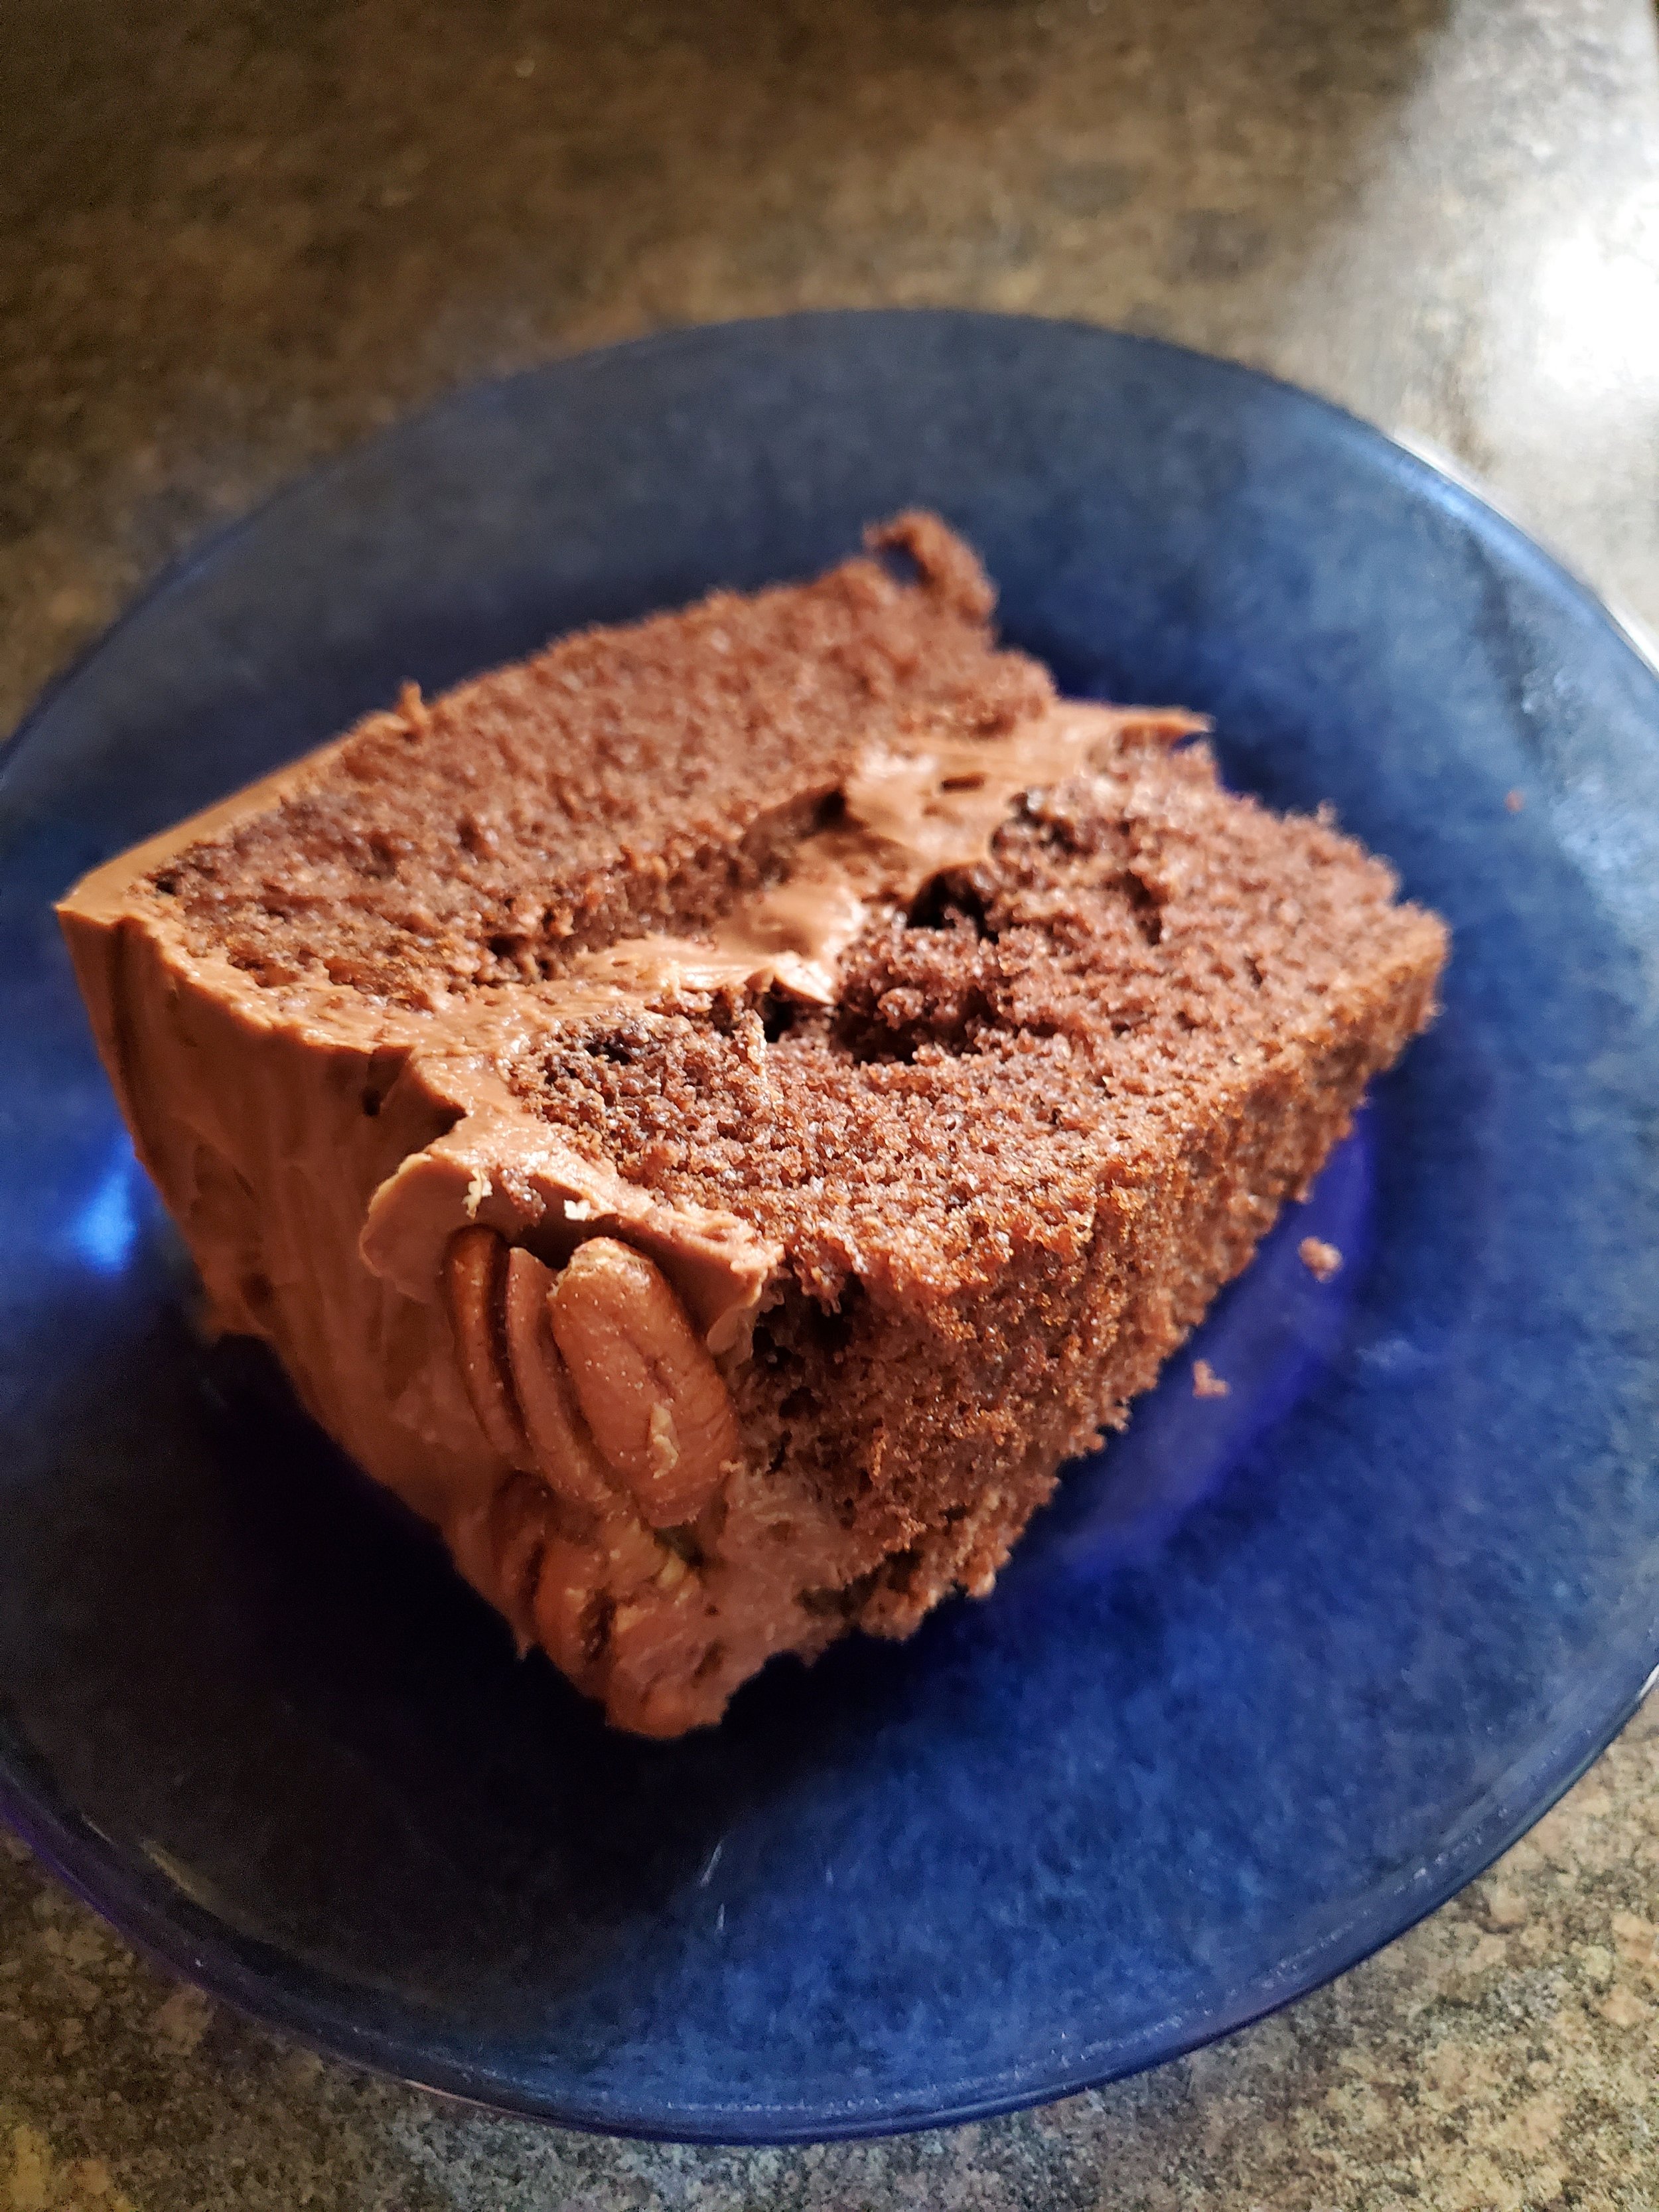
It’s almost time for the best day ever! No, we don’t mean Valentine’s Day, we’re talking about the day after, when all of the chocolate goes on sale! Now is the best time of year to snap up all sorts of delicious chocolates and make them into fun new desserts. This year, to celebrate, we made a layered chocolate pecan cake with frosting so rich and delicious you’ll have to force yourself to walk away.

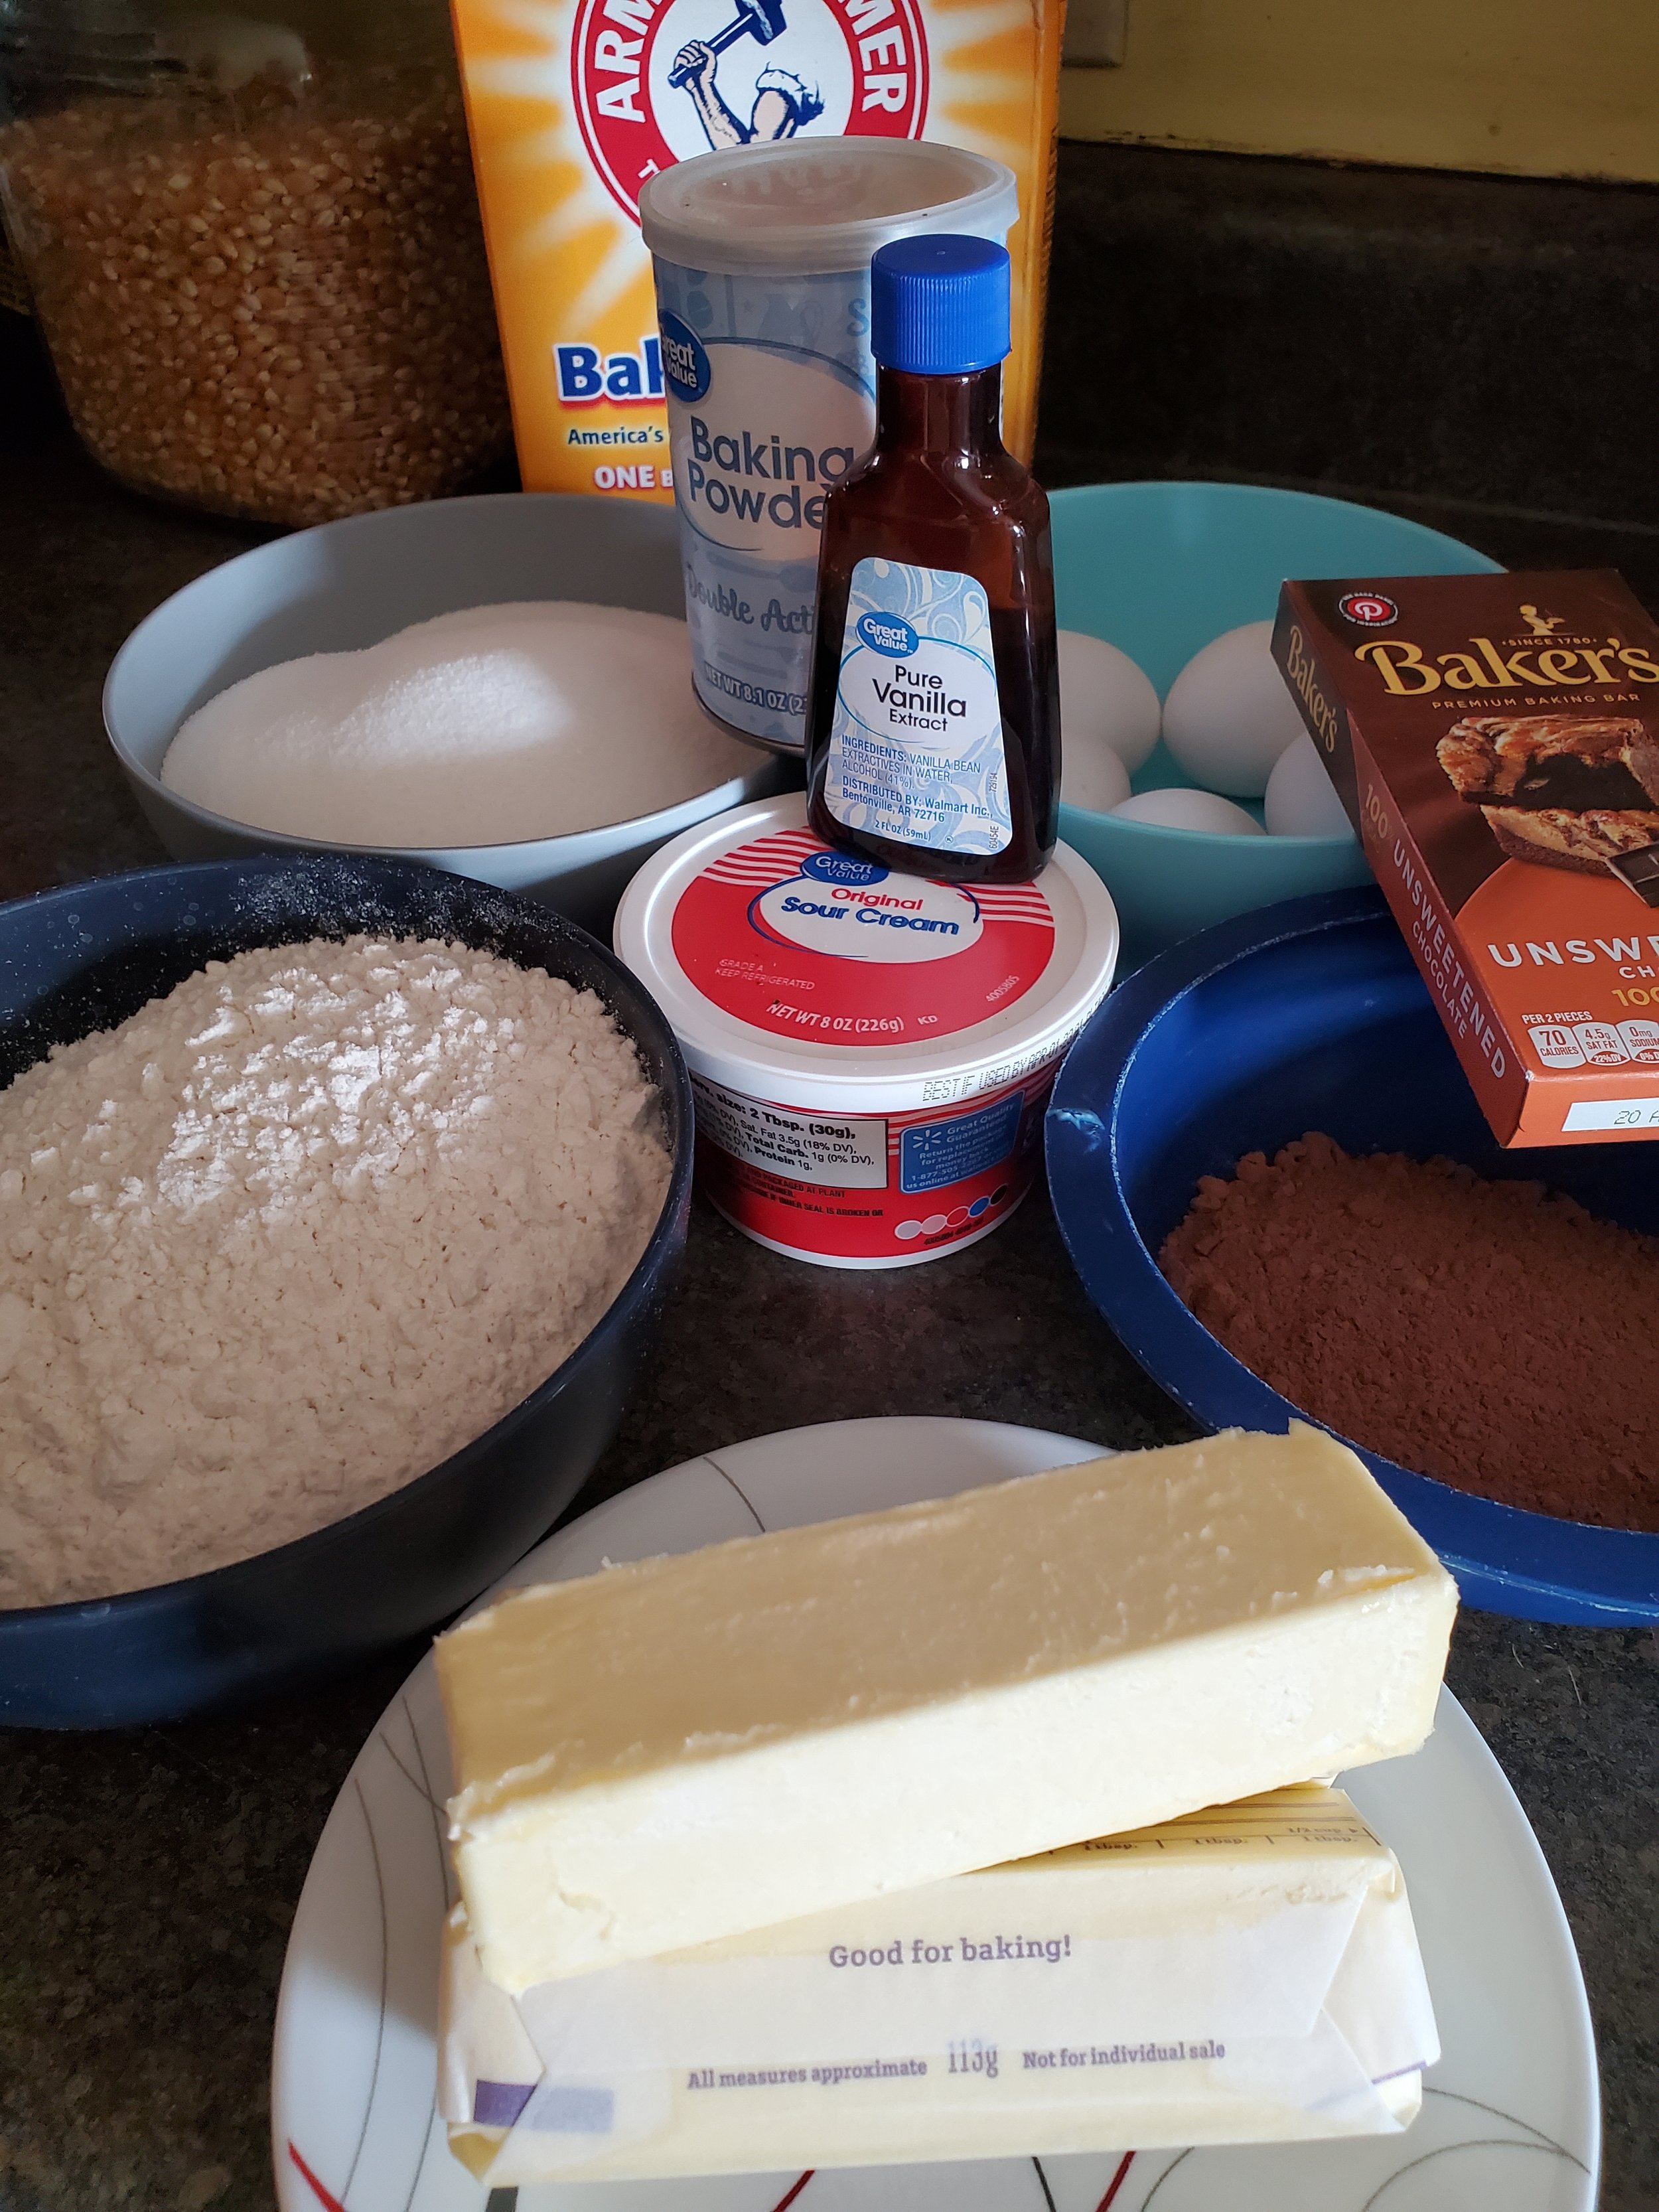
  • 4 ounces unsweetened chocolate

    ⅔ c unsweetened, non-alkalized American-style cocoa powder (normally we’re all for substitutions, but due to the chemical reactions, you need to get specifically this type of cocoa)

    1 ¼ tsp baking soda

    ¾ c boiling water

    1 ⅓ c unsifted cake flour

    1 c all-purpose flour

    ¾ tsp baking powder

    ¼ tsp salt + a pinch

    2 ½ sticks unsalted butter, at room temp

    5 large eggs

    1 c sour cream

    2 ½ tsp vanilla extract

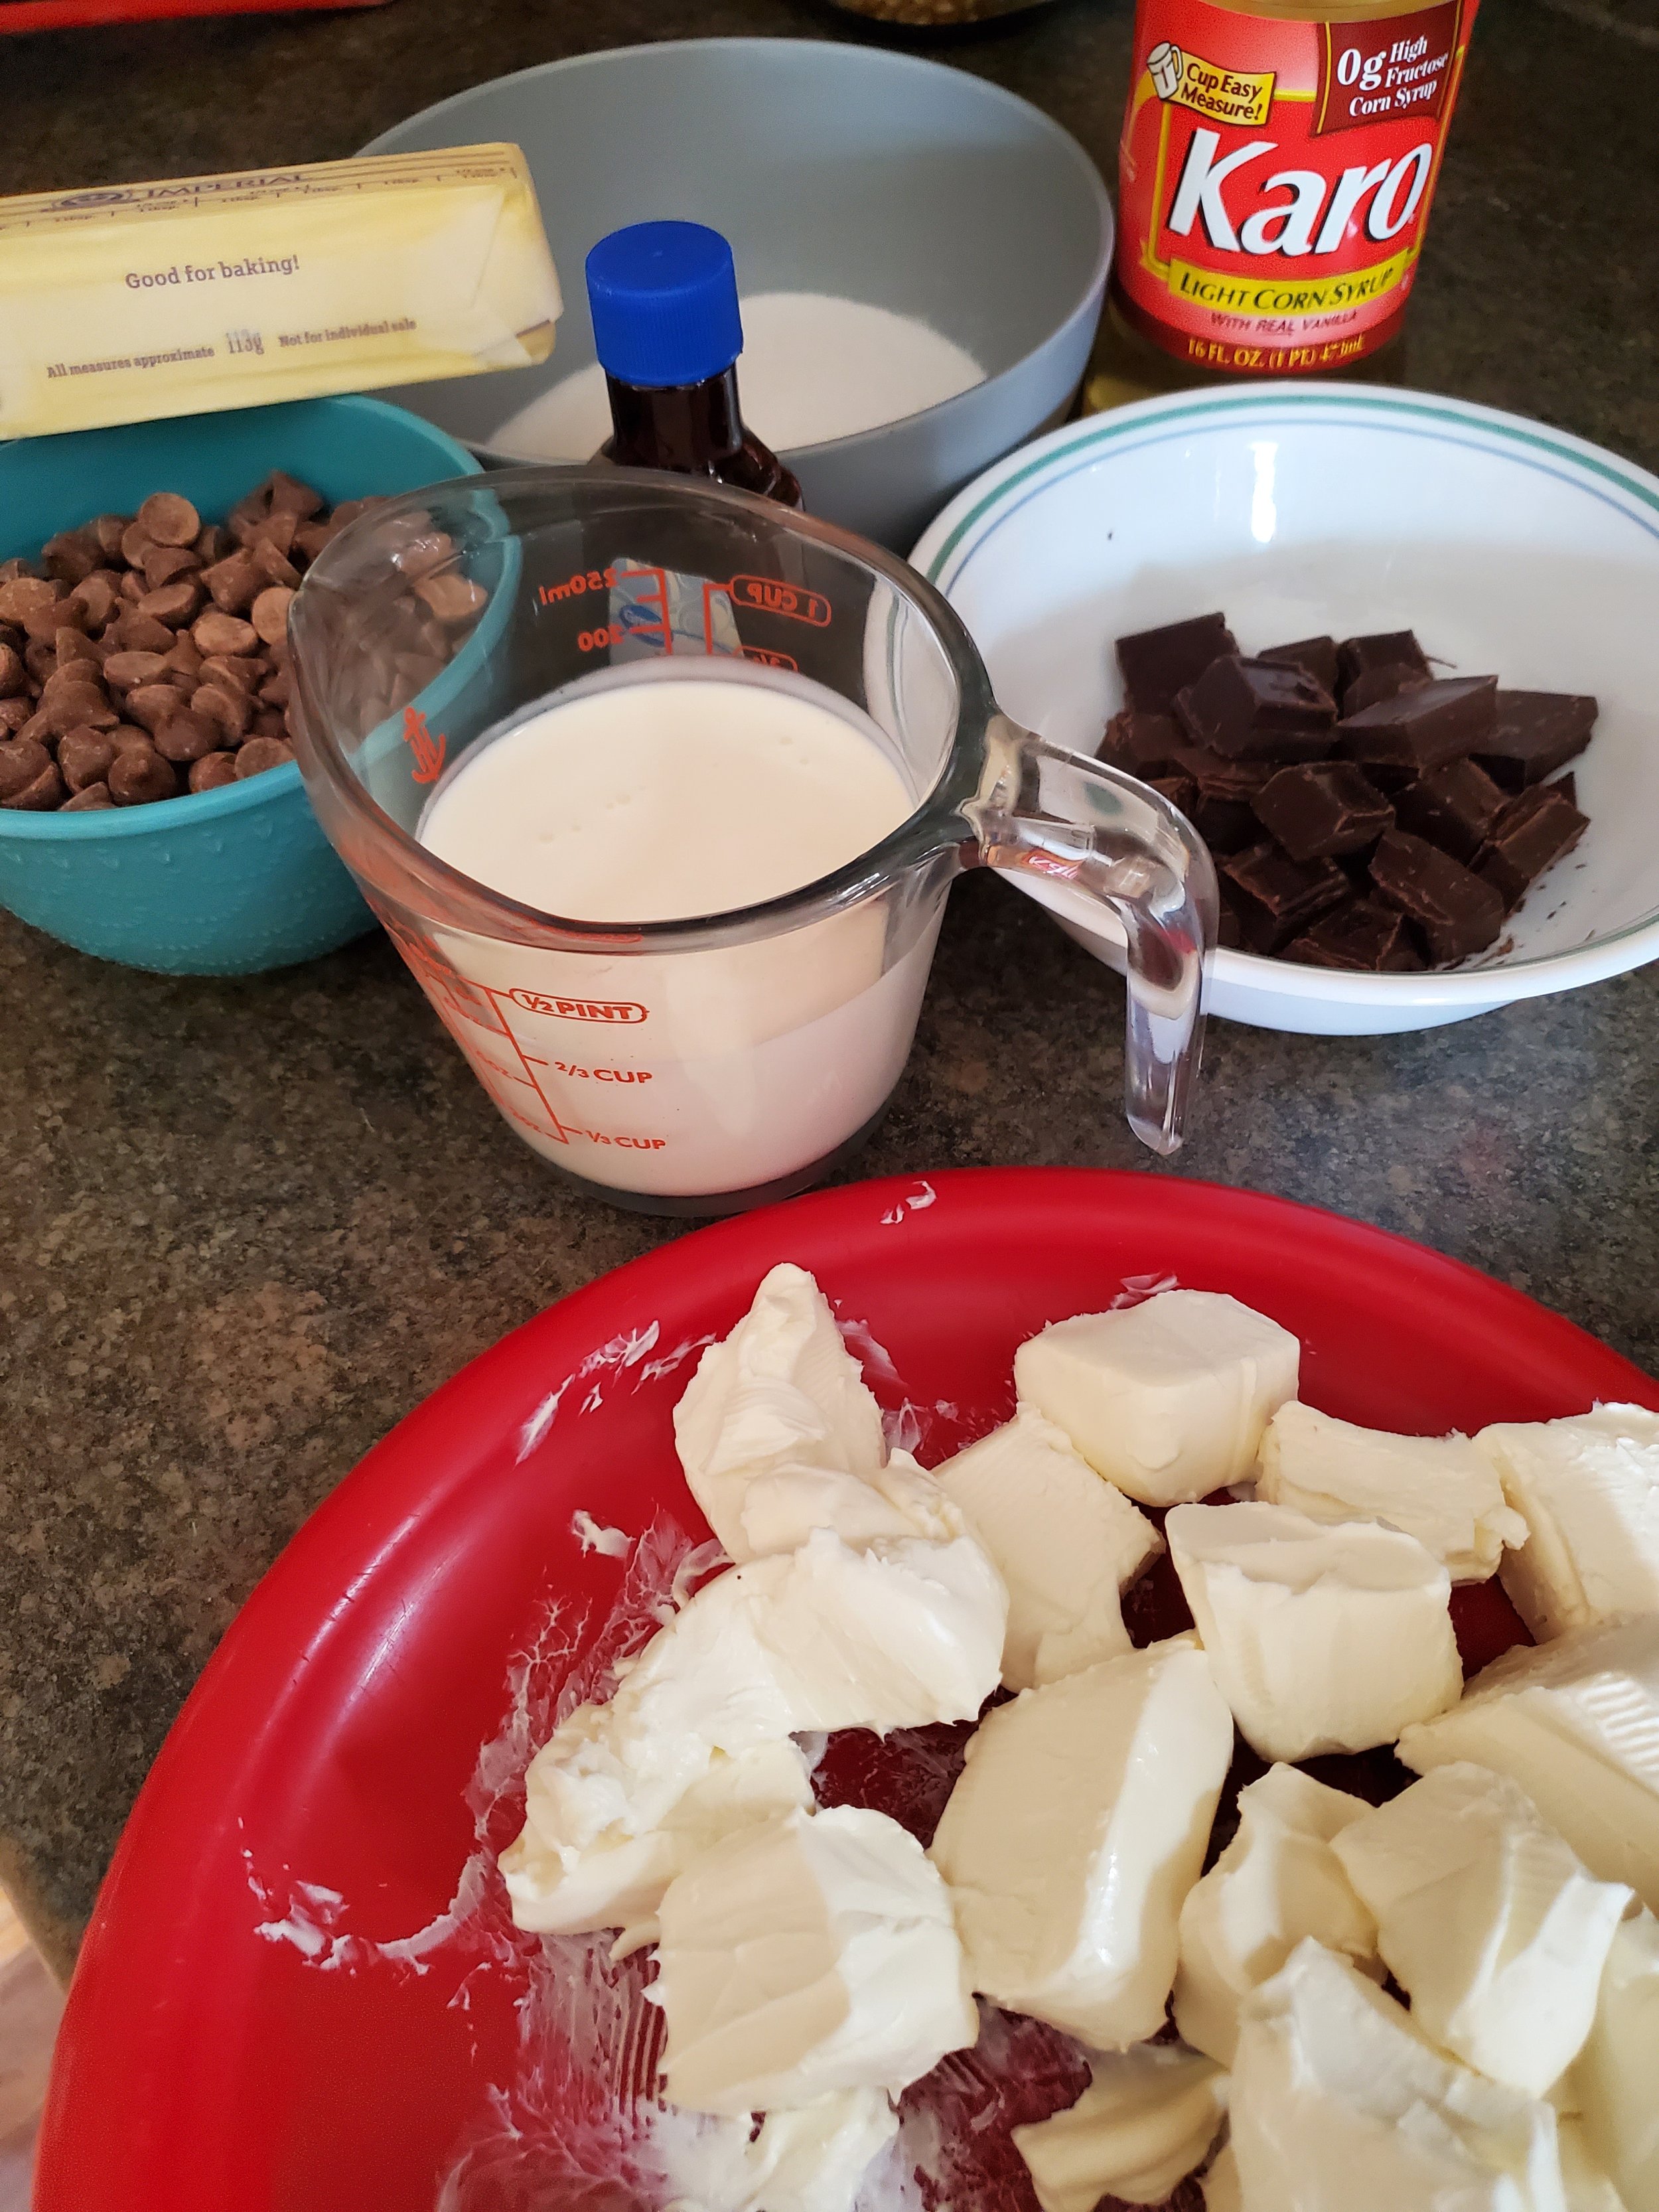
  • ⅔ c heavy cream

    ⅔ c granulated sugar

    1 Tbsp unsalted butter

    1 ½ Tbsp light corn syrup

    1 tsp vanilla extract + 1 ½ Tbsp vanilla

    8oz milk chocolate chips

    2 ½ oz unsweetened chocolate

    11 oz of cream cheese

    2 - 2 ½ c powdered sugar

    1-2 tsp water

  • Two 9 Inch round cake pans

    Sifter

    Heavy-bottomed sauce pot

    Several small bowls for ingredients

    Parchment paper

    whisk

    Electric mixer or stand mixer

    Silicon spatula

    Icing knife

    Wire racks

Making the Cake 

Let’s start by taking your chocolate, for both the cake and the icing and getting them chopped up and set into their own bowls. You don’t have to dice them or make sure they’re even, what matters is breaking it up so that the melting can happen more easily later. 


Next  up, let’s prep the pans and the oven. Set one of your oven racks into the middle of the oven and set it to preheat to 350*F. While that’s ticking away, take up your two 9-inch, round cake pans and parchment paper. You’re going to want to generously grease the bottom and sides of the cake pans and then insert rounds of the parchment into the bottoms. Then grease the parchment as well. Once you’ve done that, take up a little bit of all-purpose flour and dust the pans. Tip the pans from side to side, making sure you have everything covered, and then tap out the excess over the trash. 


Next up, pop your unsweetened chocolate (the 4oz you need for the  cake, not the amount needed for the icing) into the microwave. Microwave it on high power for 20 seconds, remove it and stir. Continue this process back and forth until your chocolate is almost melted. Once you can see the melted edges, stir continuously and allow the residual heat to melt the chocolate the rest of the way through. 


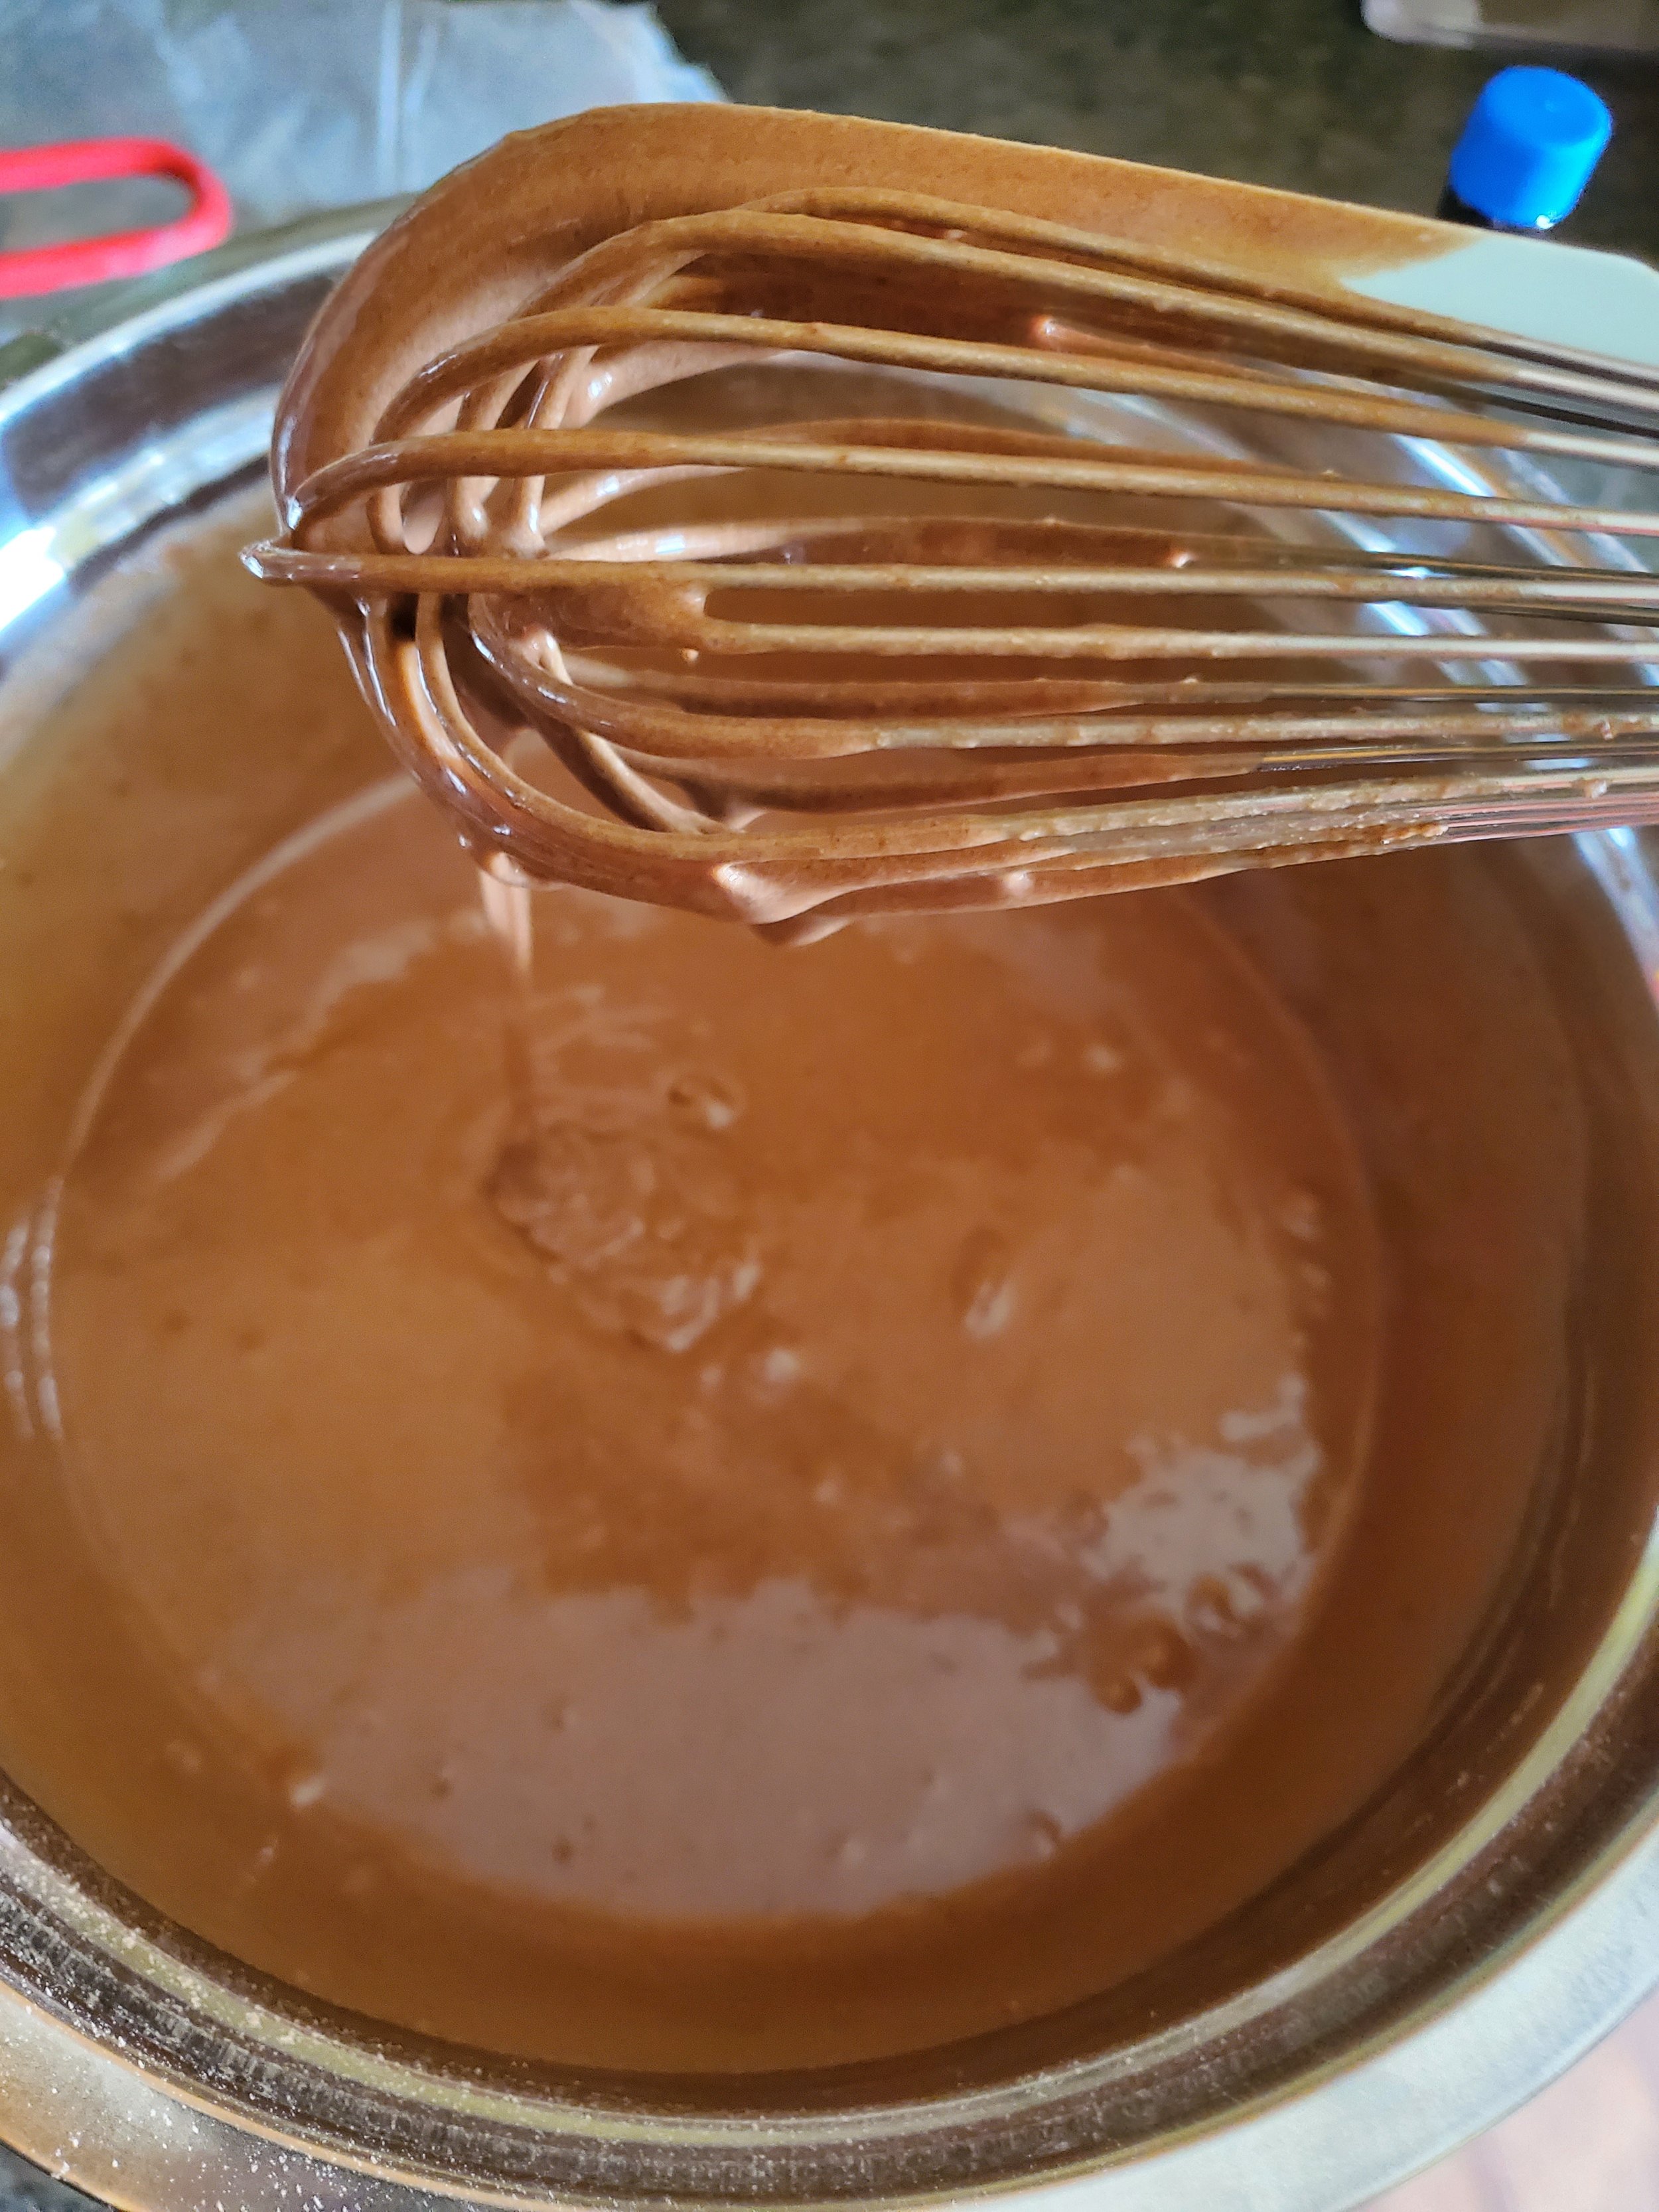
In a medium bowl, stir together your cocoa powder and baking soda until well blended. Pour your boiling water over the mixture, stirring consistently. It’s going to bubble up, and that is the reaction you want which is going to make the cake light and fluffy and so tasty. Let that cool while we move on to mixing the ingredients. 


Take a sheet of parchment paper and lay it down on your counter and grab your sifting mesh. Sift together your flours over the paper.

In a separate large bowl, using a mixter on medium, beat your butter until it’s light and fluffy. You’ll need to scrape the sides down a few times as you, as the butter gets tossed everywhere by the mixer. Next, beat in one egg at a time, until just blended. Then add in your cocoa mixture and continue beating, still at medium, until the mixture is free of lumps. Again, you’ll need to scrape the sides down as you go. The mixture might look kind of curdled at this stage, it’s ok. 


Now let’s grab the chocolate we melted earlier. If it’s still warm and runny, that’s great! If not, pop it back into the microwave for a few seconds until it is nice and fluid again. Then add it into the batter until it’s smooth and fully incorporated. 


Switch the mixer down to low and beat in half of your dry ingredients. Once those are mixed in, add both the sour cream and the vanilla. Mix that together for 1 minute, scraping the sides of the bowl down as needed. Then beat in the rest of the dry ingredients just until the batter becomes smooth. 


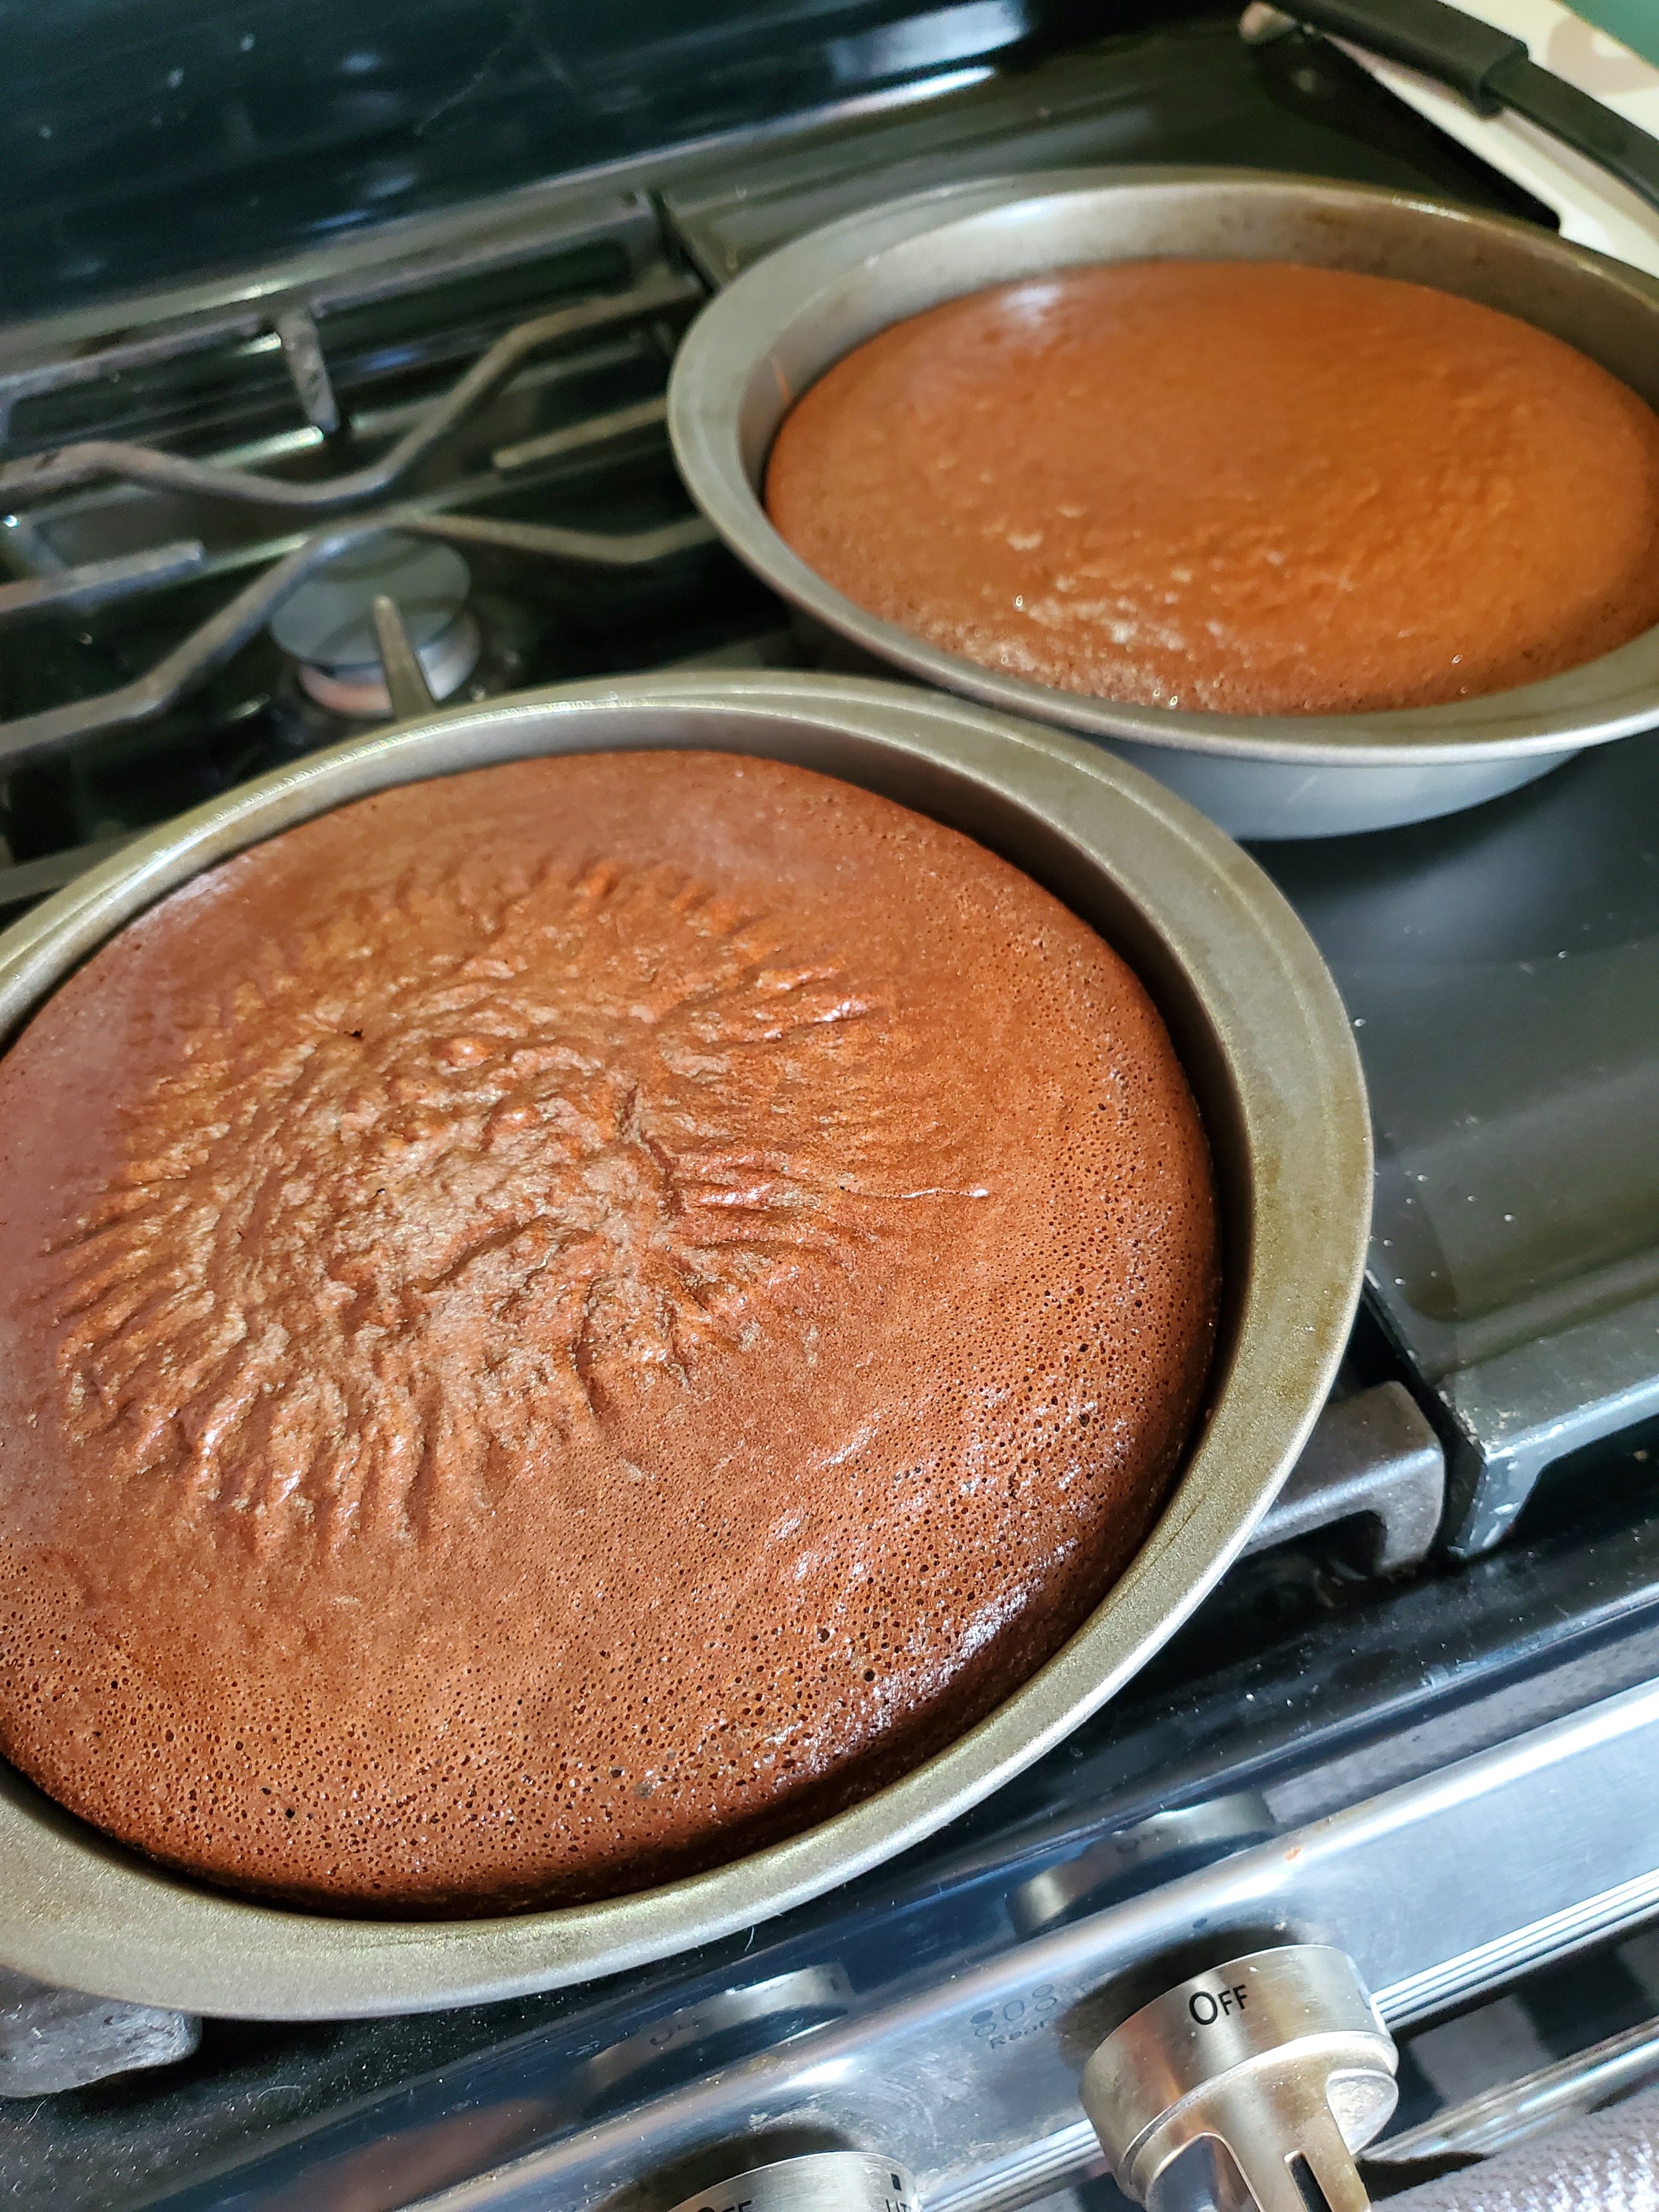
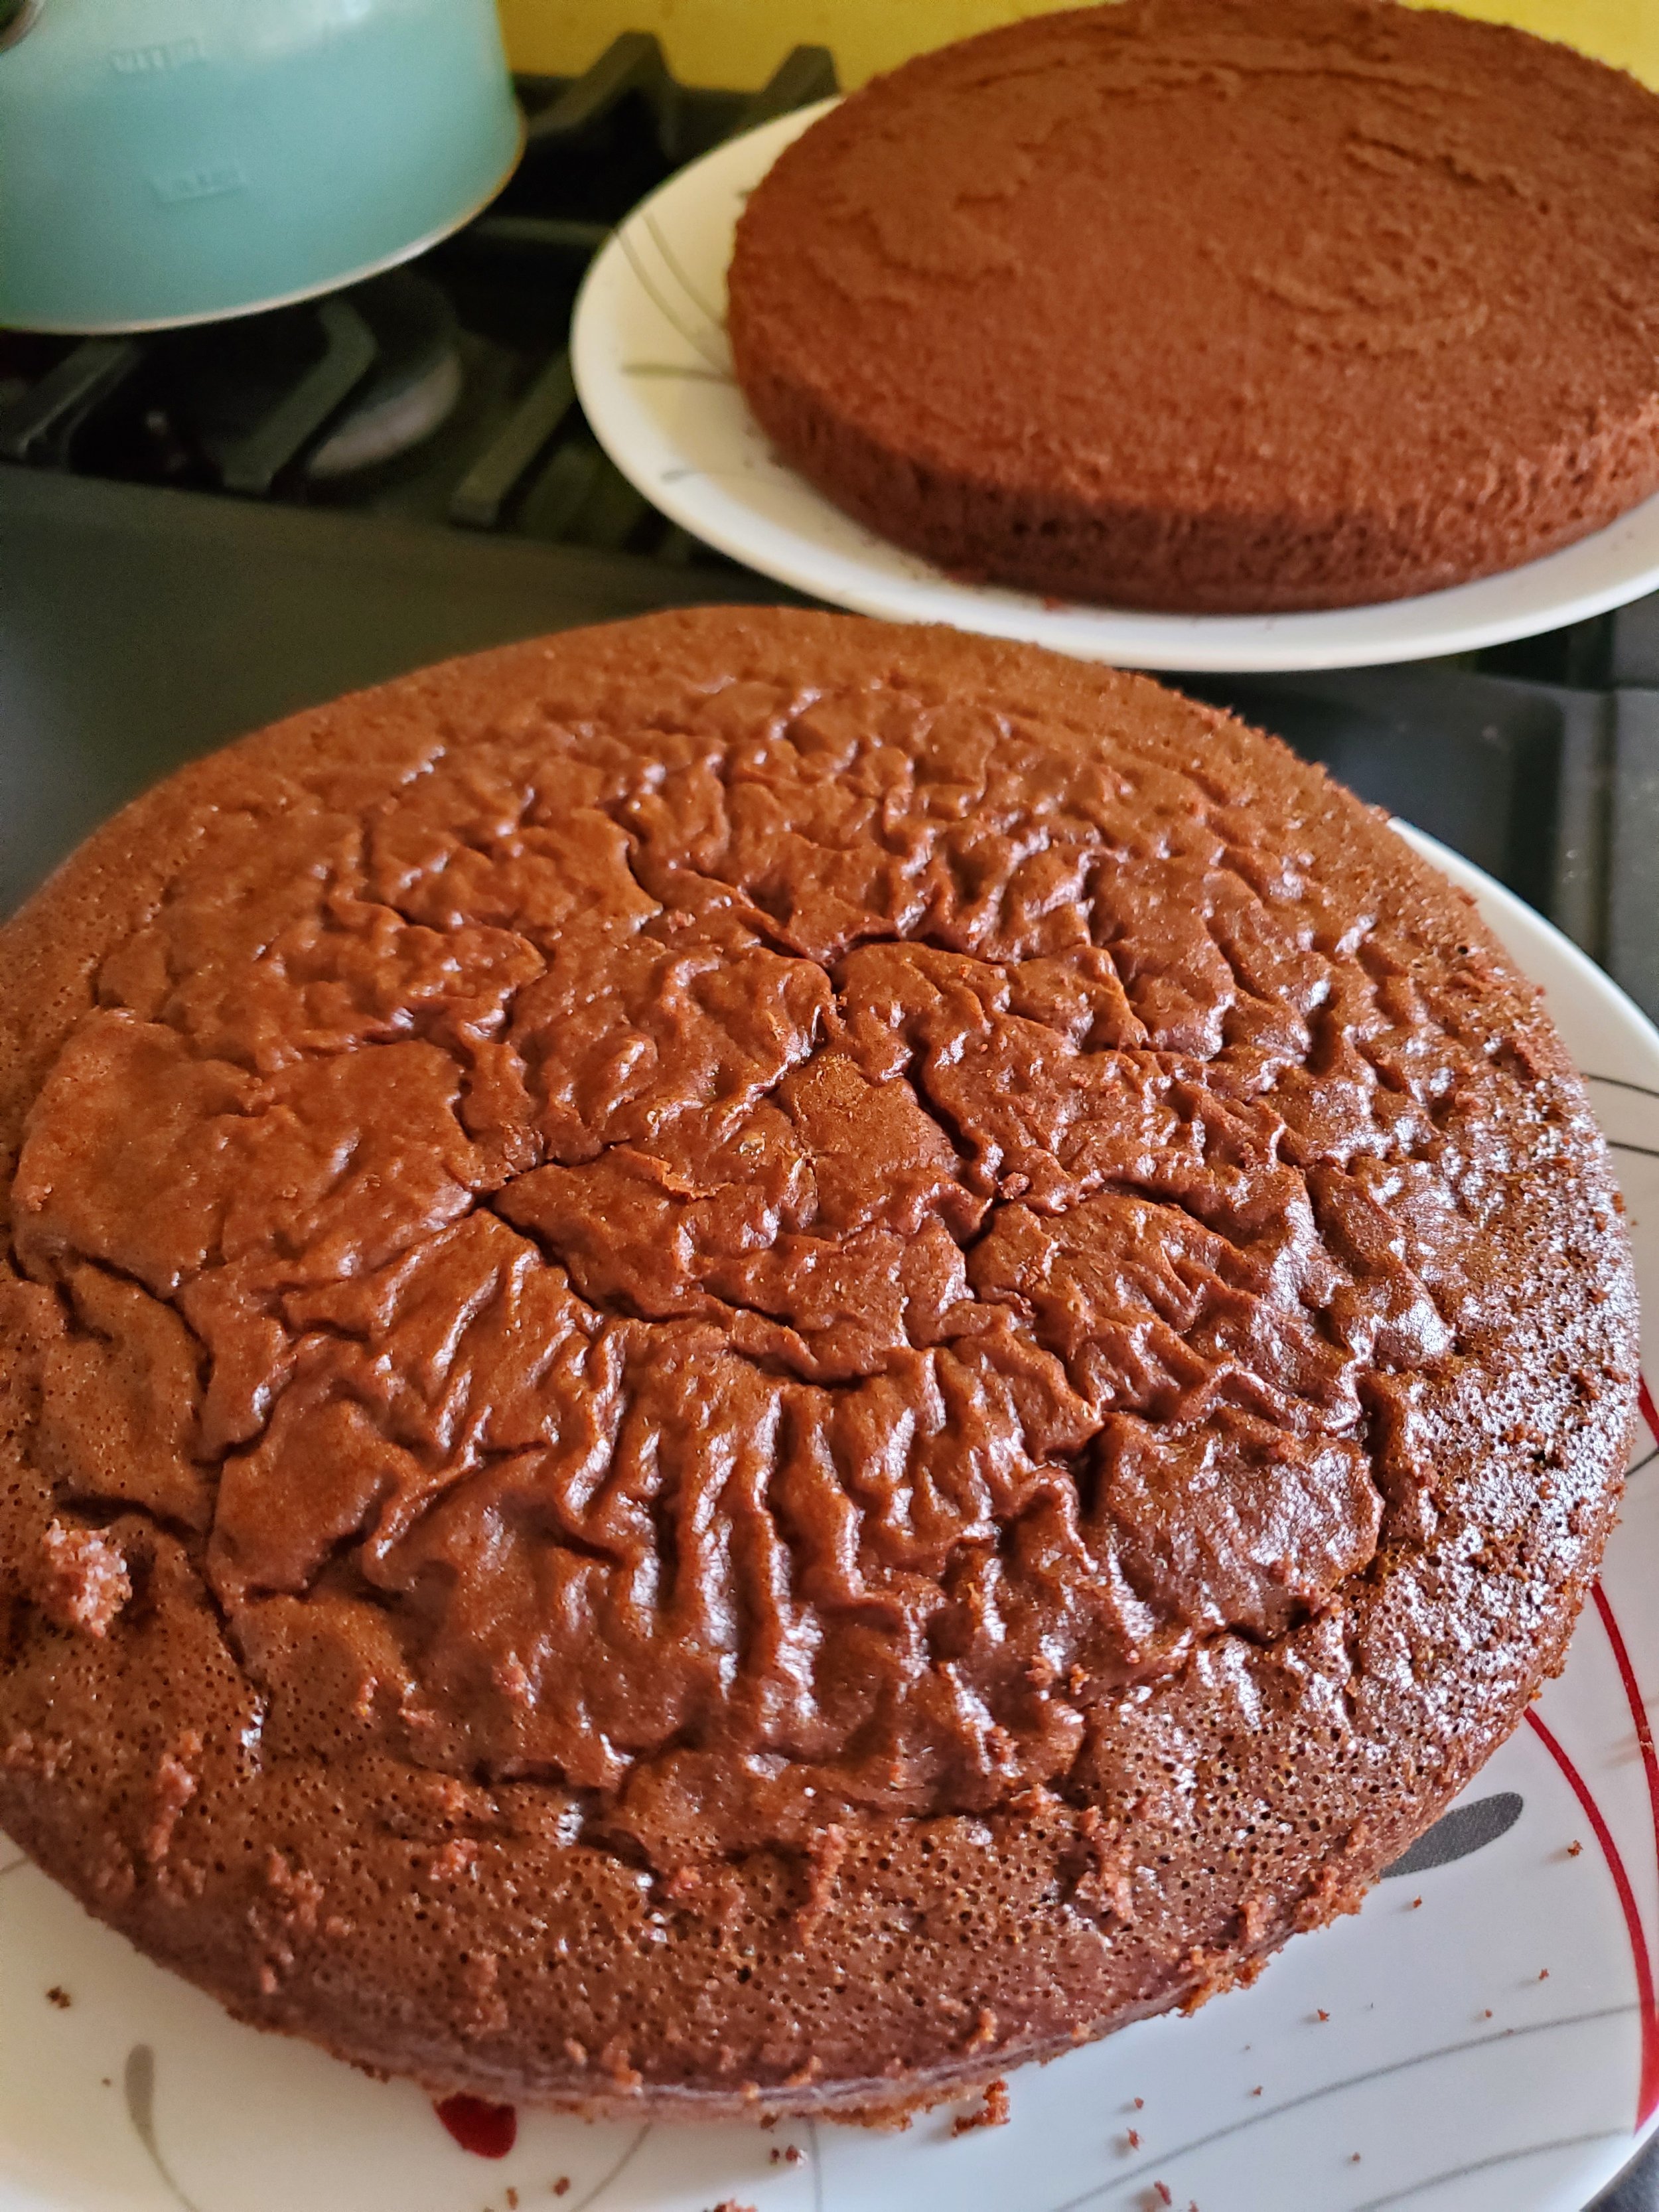
Split the batter between the pans, using the  back of a spoon to spread it to the edges. Back it in the oven for 25 to 35 minutes or until a toothpick inserted into the center comes out clean, but still moist and the cakes are starting to pull away from the sides of the pan. Transfer the pans over to a wire rack and let them cool completely. (Don’t do what we did and make the icing at this time.) 


When the cakes are fully cooled, carefully run a knife around the side of the pans and under the parchment. Go all the way around and then rap the pan on the counter to loosen the parchment from the bottom. Grab a plate and holding it tight against the top of the plan, flip the cake onto the plate and remove the paper. Once both cakes are out of their pans, give them a few more minutes to cool. 


Making the Frosting


Now that your cakes are on their way to being completely cool, it’s time to make the icing!

Take your 2-quart saucepan and put that on the stove, over medium-high heat. You’re going to add in, in order, your butter,cream, granulated sugar and then the corn syrup. (it’s best to do this quickly so nothing scorches, but that’s also why the butter goes in first.) Stir consistently while everything bubbles and melts and begins to blend. You can wash down the sides of the pan using a pastry brush in warm water, although we found this to be difficult. 


Once you’ve brought it up to a boil, keep it there for 3 minutes, stirring constantly. When the 3 minutes are up, remove it from the heat, add in the vanilla mixture and your chocolate until they completely melt. (It’s ok if they look slightly separated at this point.) 


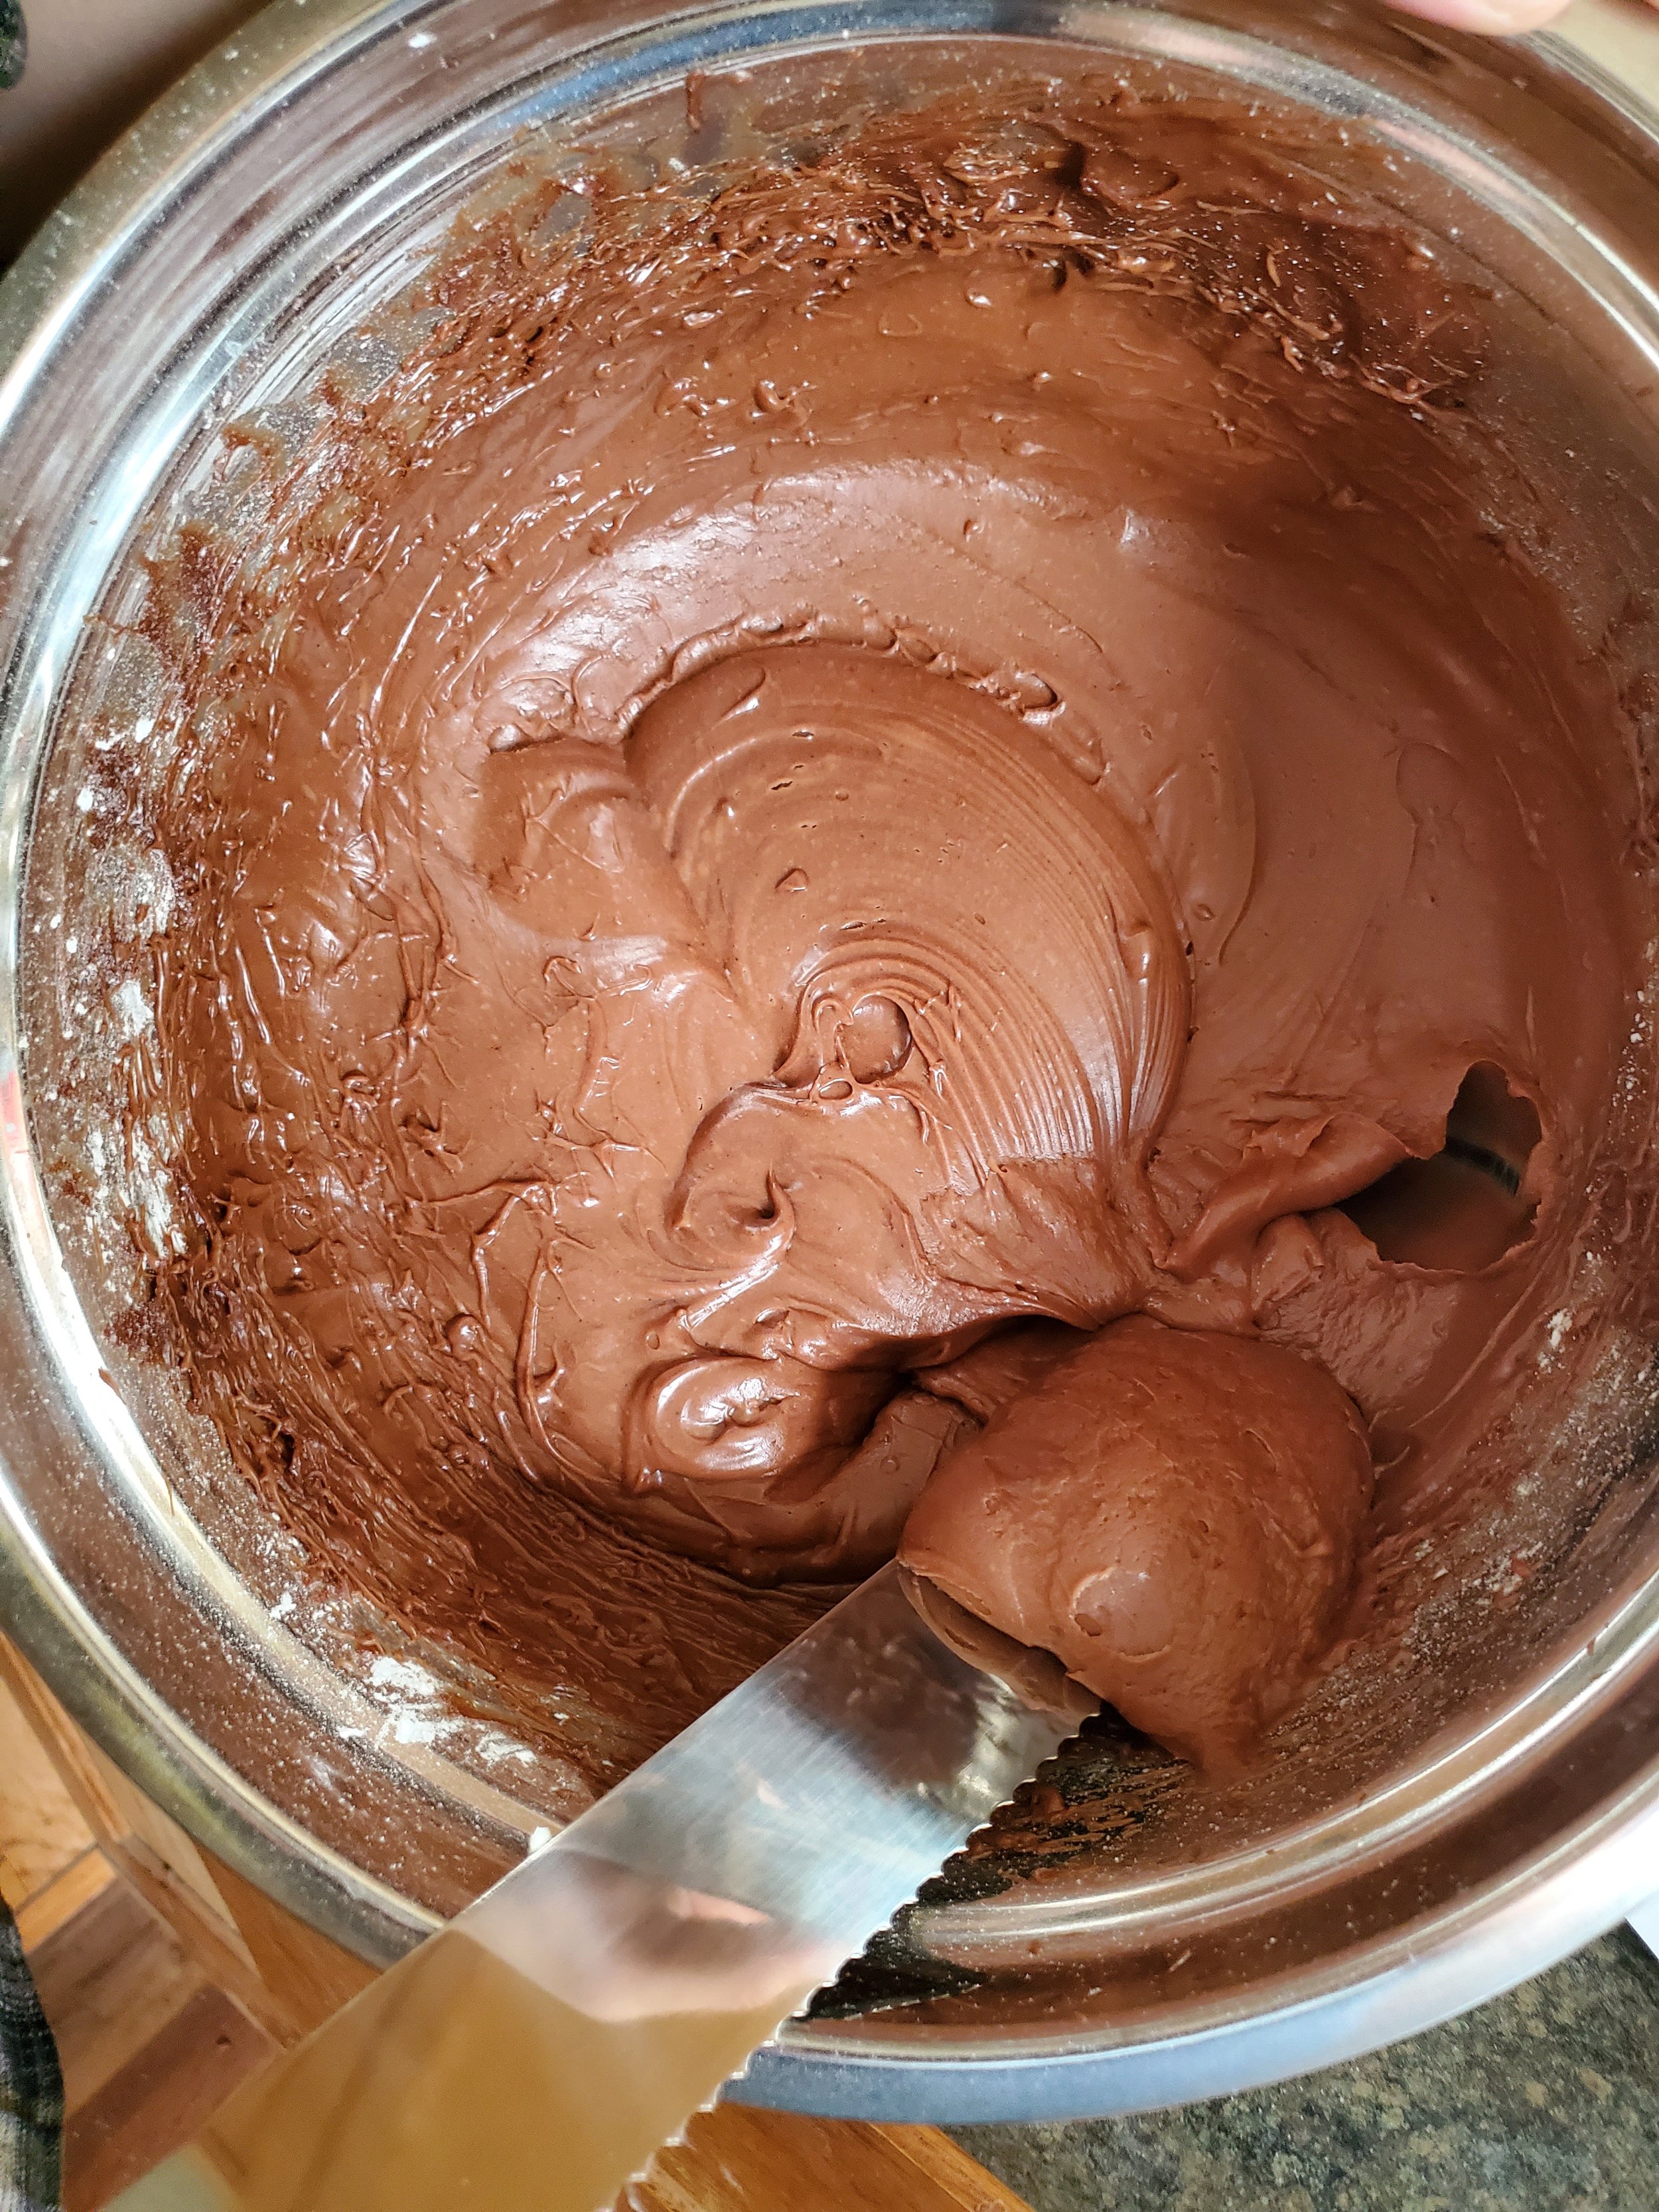
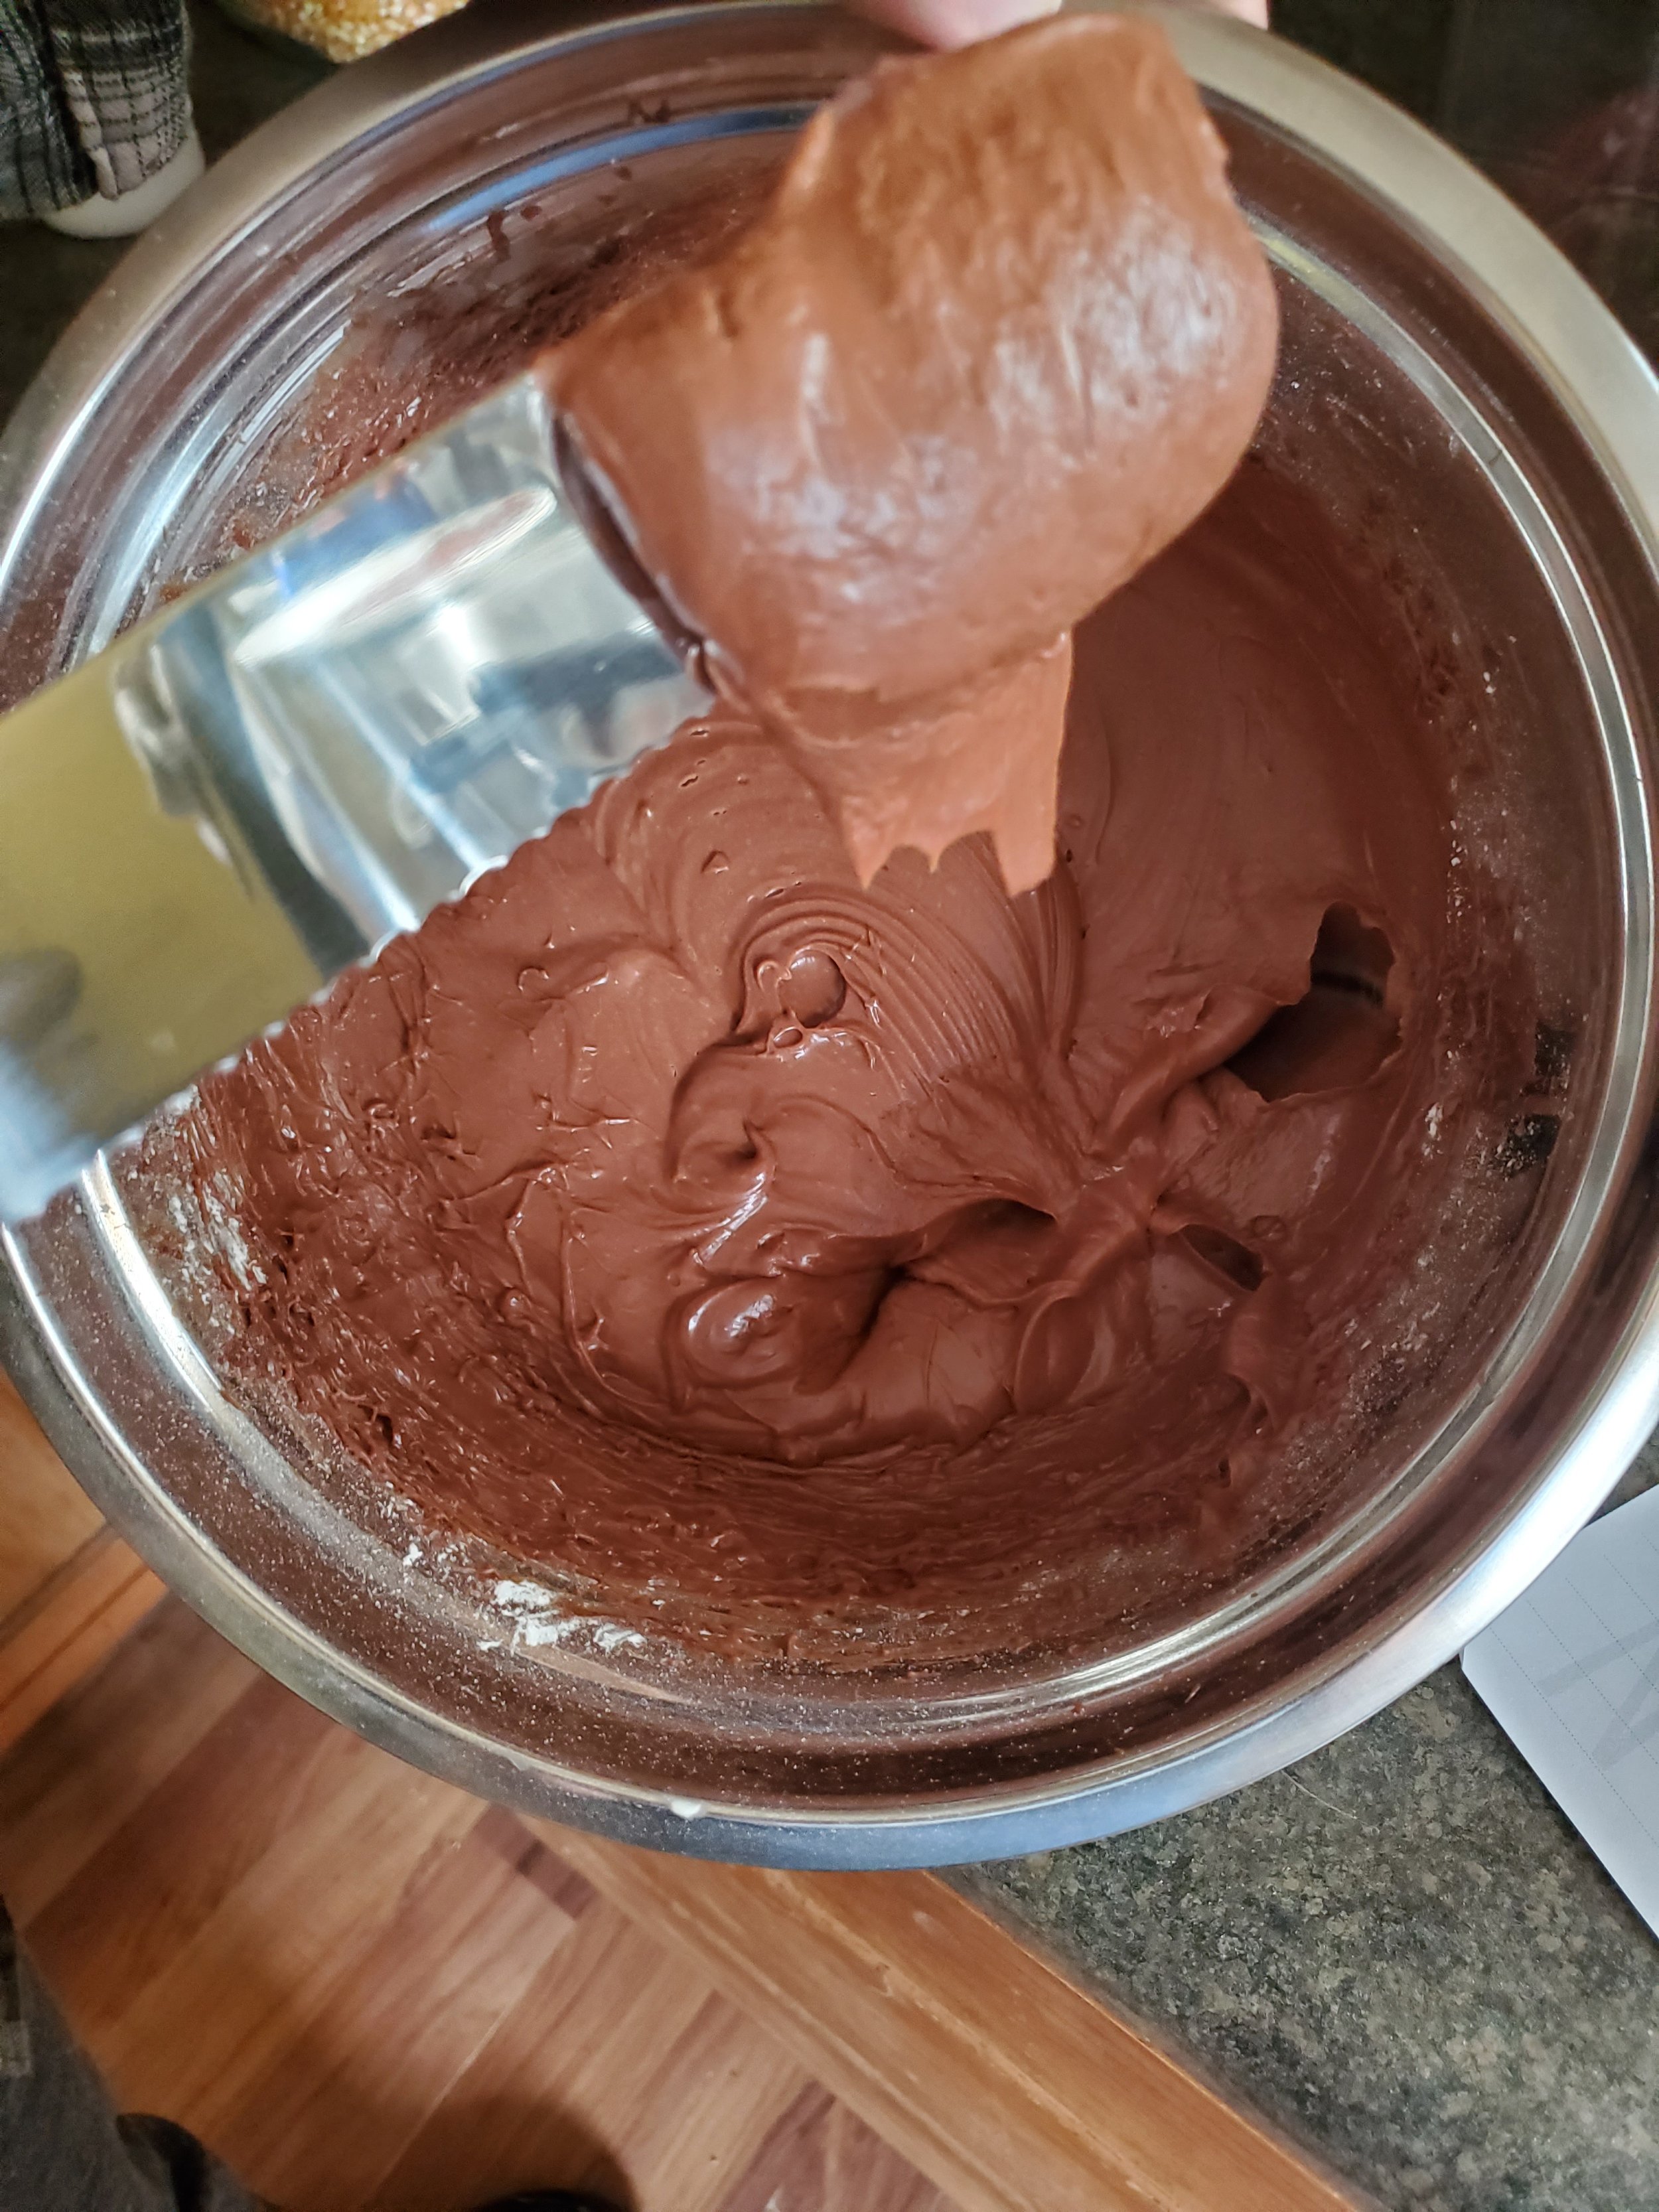
Transfer the mixture to a large bowl and grab your mixer again. Turn it on to low speed and beat in your cream cheese, one chunk at a time. Continue beating until all of the cream cheese is mixed in, scraping down the sides as needed. 


Next up, add in one cup of powdered sugar at a time, beating just to incorporated each time. Now raise the speed to medium-low and beat until the icing is completely smooth, approximately 1-2 minutes. It should be cool to the touch at this point.

If the frosting is too thin, add in up to ½ cup more of powdered sugar, until fully incorporated and smooth.  Let it sit for 5-10 minutes, and then ice your cake. Because of the base, this is not a frosting you can make ahead of time and use later. 


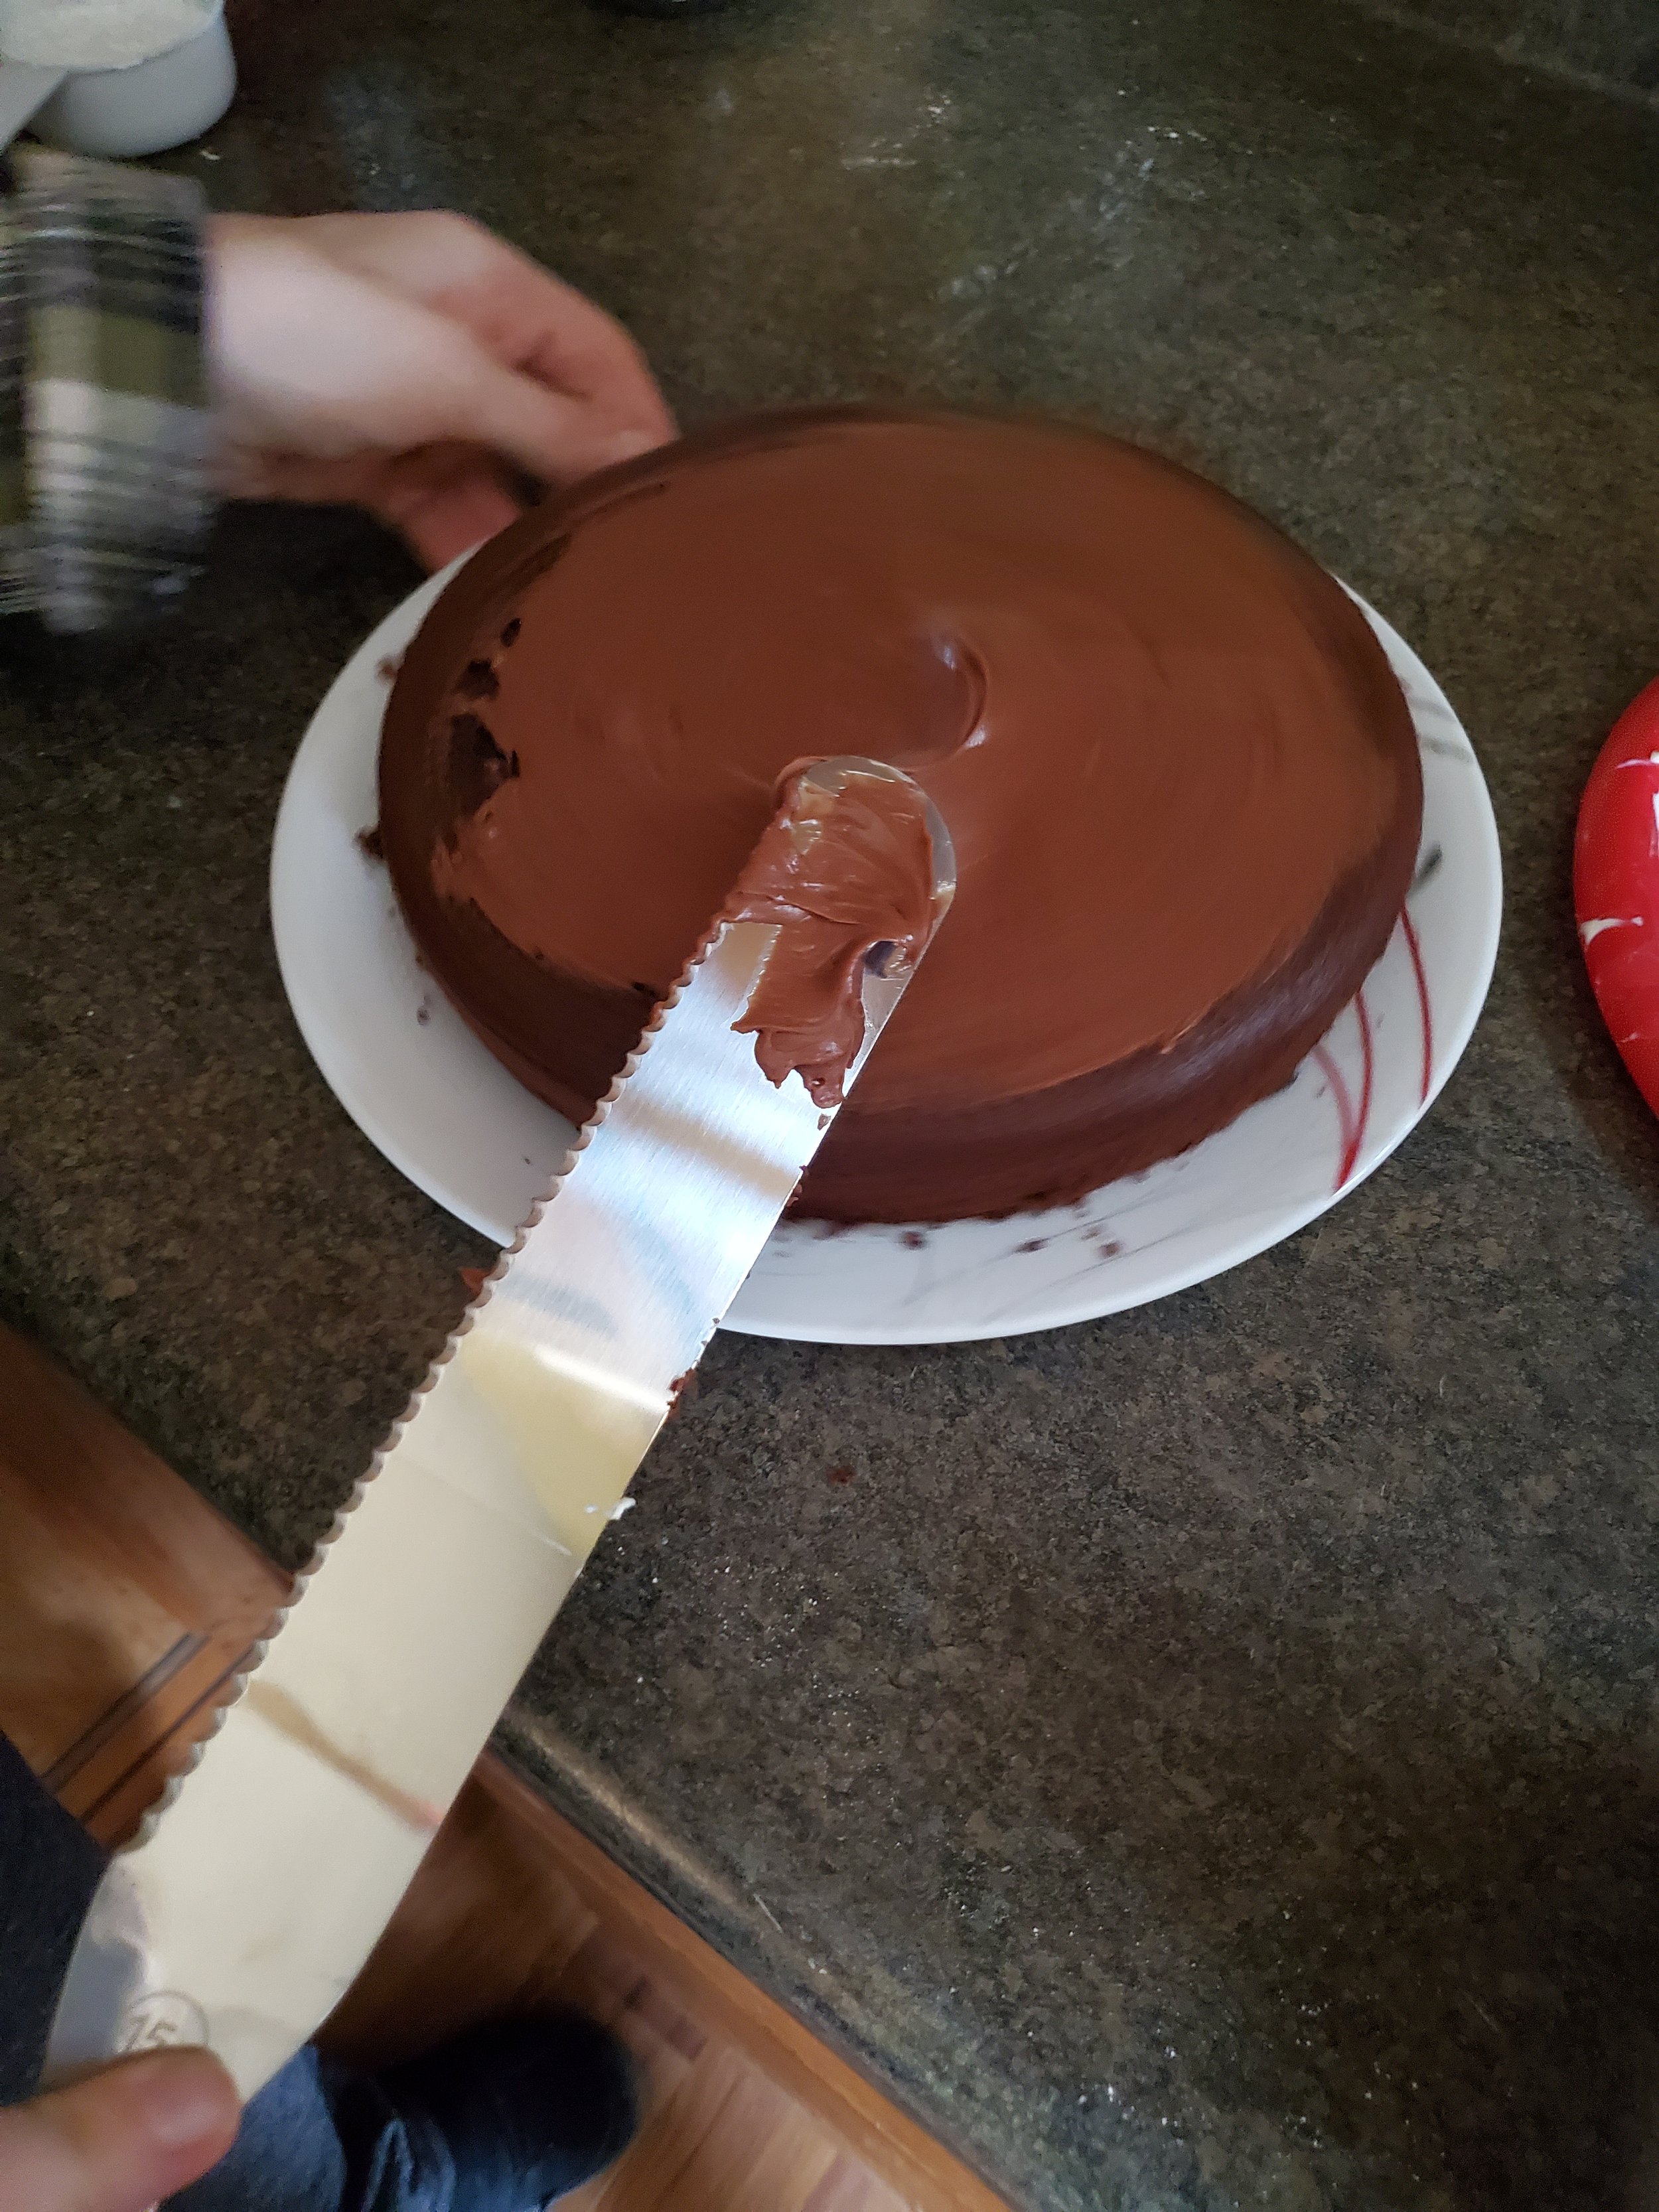
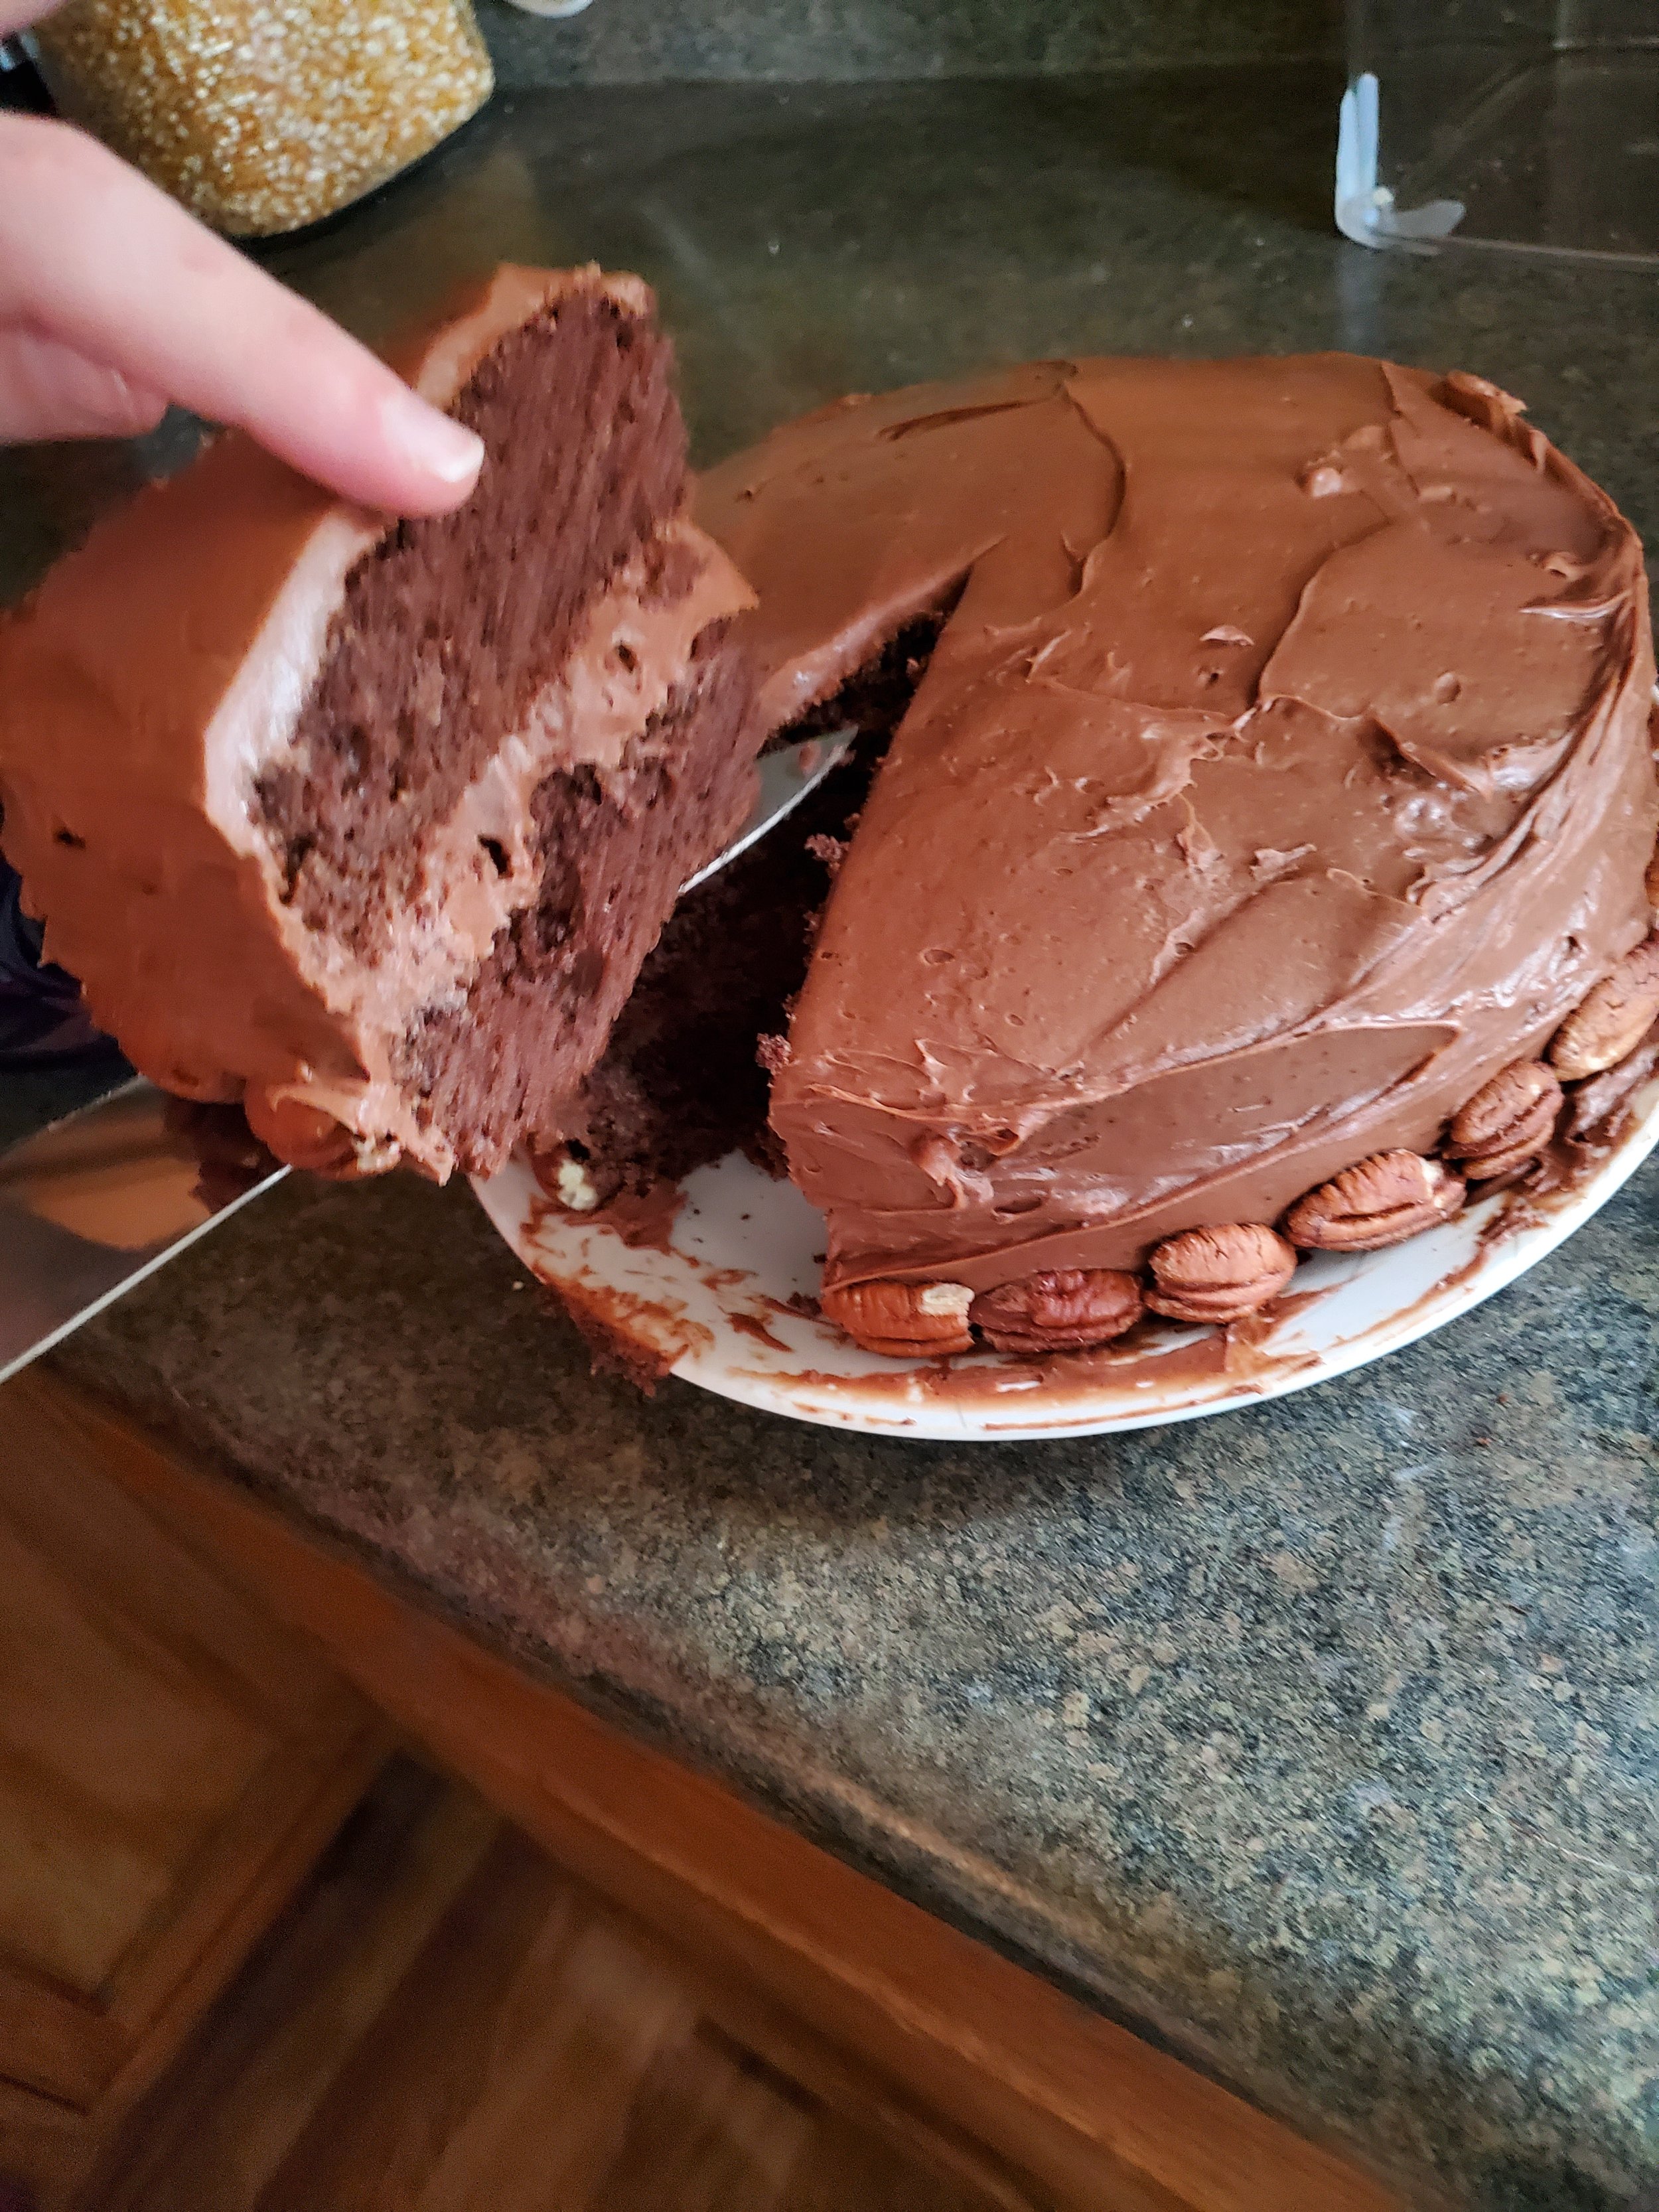
Spread a tiny bit of icing onto your serving plate of choice and place your first cake layer centered on top of it. Add a dollop of icing on the center and spread evenly. Cover the icing in pecan halves and then add a slightly thinner layer of icing on top of that. Place the second layer of cake and then put icing on top of that. Spread the icing evenly on top, and then use it to coat the sides. When finished, wrap the bottom of the cake in a layer of pecans. 


Slice and enjoy!


With that, enjoy your cake, and eat it too! (After all, what’s the point of a cake if you can’t?) 

If you do make this one, let us know over on our Facebook page! We love to hear what y’all get up and what changes you make. 


If your oven is giving you fits in trying to make this, reach out to us on our contact page or by giving us a call at ((214) 599-0055). We’ll work with you to set up an appointment that works with your schedule. Our goal at Appliance Rescue Service is to get your home running smoothly again.

Double Chocolate Guinness Cupcakes

The Second Best Use for Guinness


So Saint Patrick's Day is over. You're probably pretty tired of corned beef, cabbage, potatoes, and soda bread - and you're likely also tired of seeing recipes containing them.


But you know, there's one Saint Patrick's Day staple no one ever seems to get tired of. Guinness. And if you've already had your fill of Guinness for a while, but still have a couple bottles left in the fridge, there's only one thing left to do with them.


Bake.


That's probably not what you were thinking, but that's okay. We've got you covered.

Double Chocolate Guinness Cupcakes, anyone?

Double Chocolate Guinness Cupcakes in a red liner on a white plate

Ingredients:


1 ~15 ounce box chocolate cake mix (every brand is a little different; just try to stay in the 15 ounce ballpark)

1 4 ounce package chocolate pudding mix

1 11.25 ounce bottle Guinness Stout

3 large eggs

1/2 cup vegetable oil or melted unsalted butter

1 teaspoon vanilla extract

Tools:

Mixing bowl, mixer or whisk, measuring cups, sauce pan, spoon, cupcake pan, cupcake liners


Instructions:


Grab a bottle opener and crack open that bottle Guinness. Take a taste. No, seriously, you really should taste it. You do not want to ruin an entire batch of chocolate cupcakes with skunked beer. That's just disappointing.

Pour your Guinness into a sauce pan. We know, it seems like a bunch of extra work and an extra pan to clean. But the result is worth it. Turn the burner on medium-low and let the Guinness simmer. It will smell strongly like a brewery in the kitchen; you might consider opening a window to keep the family from complaining. It will also foam and threaten to make a great big mess, but this is normal. Give it a gentle stir to break up the foam and keep it from boiling over. Allow it to simmer for 20 minutes or so - your goal here is to reduce the Guinness down to about 1 cup. You started with not quite 12 ounces, so you have only a little ways to go here. Don't worry too much about the measurement until you can see a visible difference from your starting point in the pan.


Once you can see a difference between the amount of beer you started with and the amount of (reduced) beer you now have, remove it from the heat and allow it to come back to something around room temperature. Please do not immediately pour boiling hot beer into a measuring cup - it may crack or shatter the cup, and it will likely waste the Guinness. Both of these are terrible things.

While you're waiting for your Guinness to cool back down, start the oven preheating to 350 degrees.

Pour your cake mix and your pudding mix into your mixing bowl. Add in your vanilla extract, oil or melted butter and your eggs. (If you're using butter and you've just melted it, please also allow it to come back up a little closer to room temperature before pouring it in with the eggs. Otherwise the butter will scramble the eggs and you’ll have to start over.) You can give it a little stir at this point, but don't expect it to combine neatly or fully. There isn't near enough liquid, and we've added extra dry ingredients with the pudding mix.


Take your cupcake pan and place a liner in each of the wells. You'll make a little over a dozen large cupcakes with the amount of batter you'll have. We ended up with 14 and a half (because we lost some batter in transfer from the bowl to the pan) generous sized cupcakes - plan on 15 or 16.


By now, your Guinness should be back down to a more workable temperature. Measure out one cup of your reduced beer. If you have extra, that's okay - just set it aside and use it later to braise or baste some meats. If you've reduced it down further than needed and don't quite have a full cup, that's okay too - you can add a little water back.


Add your cup of Guinness to the other cake ingredients and stir well for about two minutes. If you're using an electric mixer, be aware that the batter will climb up the beaters while you mix. It's a very heavy batter for a cake, and it's also rather sticky - both of these are results of adding in that box of pudding mix. If you're worried about the batter hitting the body of the mixer, just pause and scrape it back down once in a while.


Be attentive and be careful not to over mix the batter - if you mix too long, it will go from thick and fluffy to dense and flat and chewy - and no one wants cupcakes that bounce. Mix until everything is combined, but quit when you stop seeing lumps or variations in color.


Transfer your batter from the mixing bowl to your cupcake liners. Again, this is some sticky stuff. You will likely find yourself needing an extra spoon to make it let go of the first one, and you might want to recruit someone else as extra hands if possible. Those cupcake liners, despite the blob of batter that should hold them down, will attempt to follow the spoon at least once. That's how we lost a cupcake worth of batter - the liner decided gravity wasn't going to hold it back, and suddenly the batter was on the counter and not in the cupcake pan. It was a mournful moment for all - especially the family dogs, who usually get the things that escape pans and plates, but were denied this time.


Once you have your cupcakes liners about 2/3rds full, pop them in the oven for 20 minutes or so. Toothpick test after 20 minutes to make sure they're done (sometimes they need an extra minute or two), and assuming they're fully baked, allow them to cool.


The beer flavor doesn't take over the cupcake, so expect a mostly chocolate flavor with some malty tones to back it up. Frost with whatever you'd like (we like just some simple whipped cream on top) and enjoy!


If you do decide to make this, or something similar, let us know over on our Facebook! We’d love to see what you get up to!

And if you’re in Dallas, and any of your appliances are acting a little... tipsy... don't blame the Guinness. Or the fumes. You cooked most of the alcohol out of it. Instead, give us a call - we'll shape them back up for you. You can reach us at our website or via ((214) 599-0055).