Warm enough to get you through winter, hearty enough to keep you healthy in spring.
We’re well into the coldest part of winter, getting hammered from all sides with cold weather and we need something to warm up! This week’s recipe is a great recipe if you’re fighting off a cold or are just sick of the cold. It’s got the same basics as a good chicken noodle soup with some extra added kick to it.

Ingredients:
1 medium yellow onion
3 large carrots
3 celery stalks
salt and pepper
3 garlic cloves
2 Tbsp butter
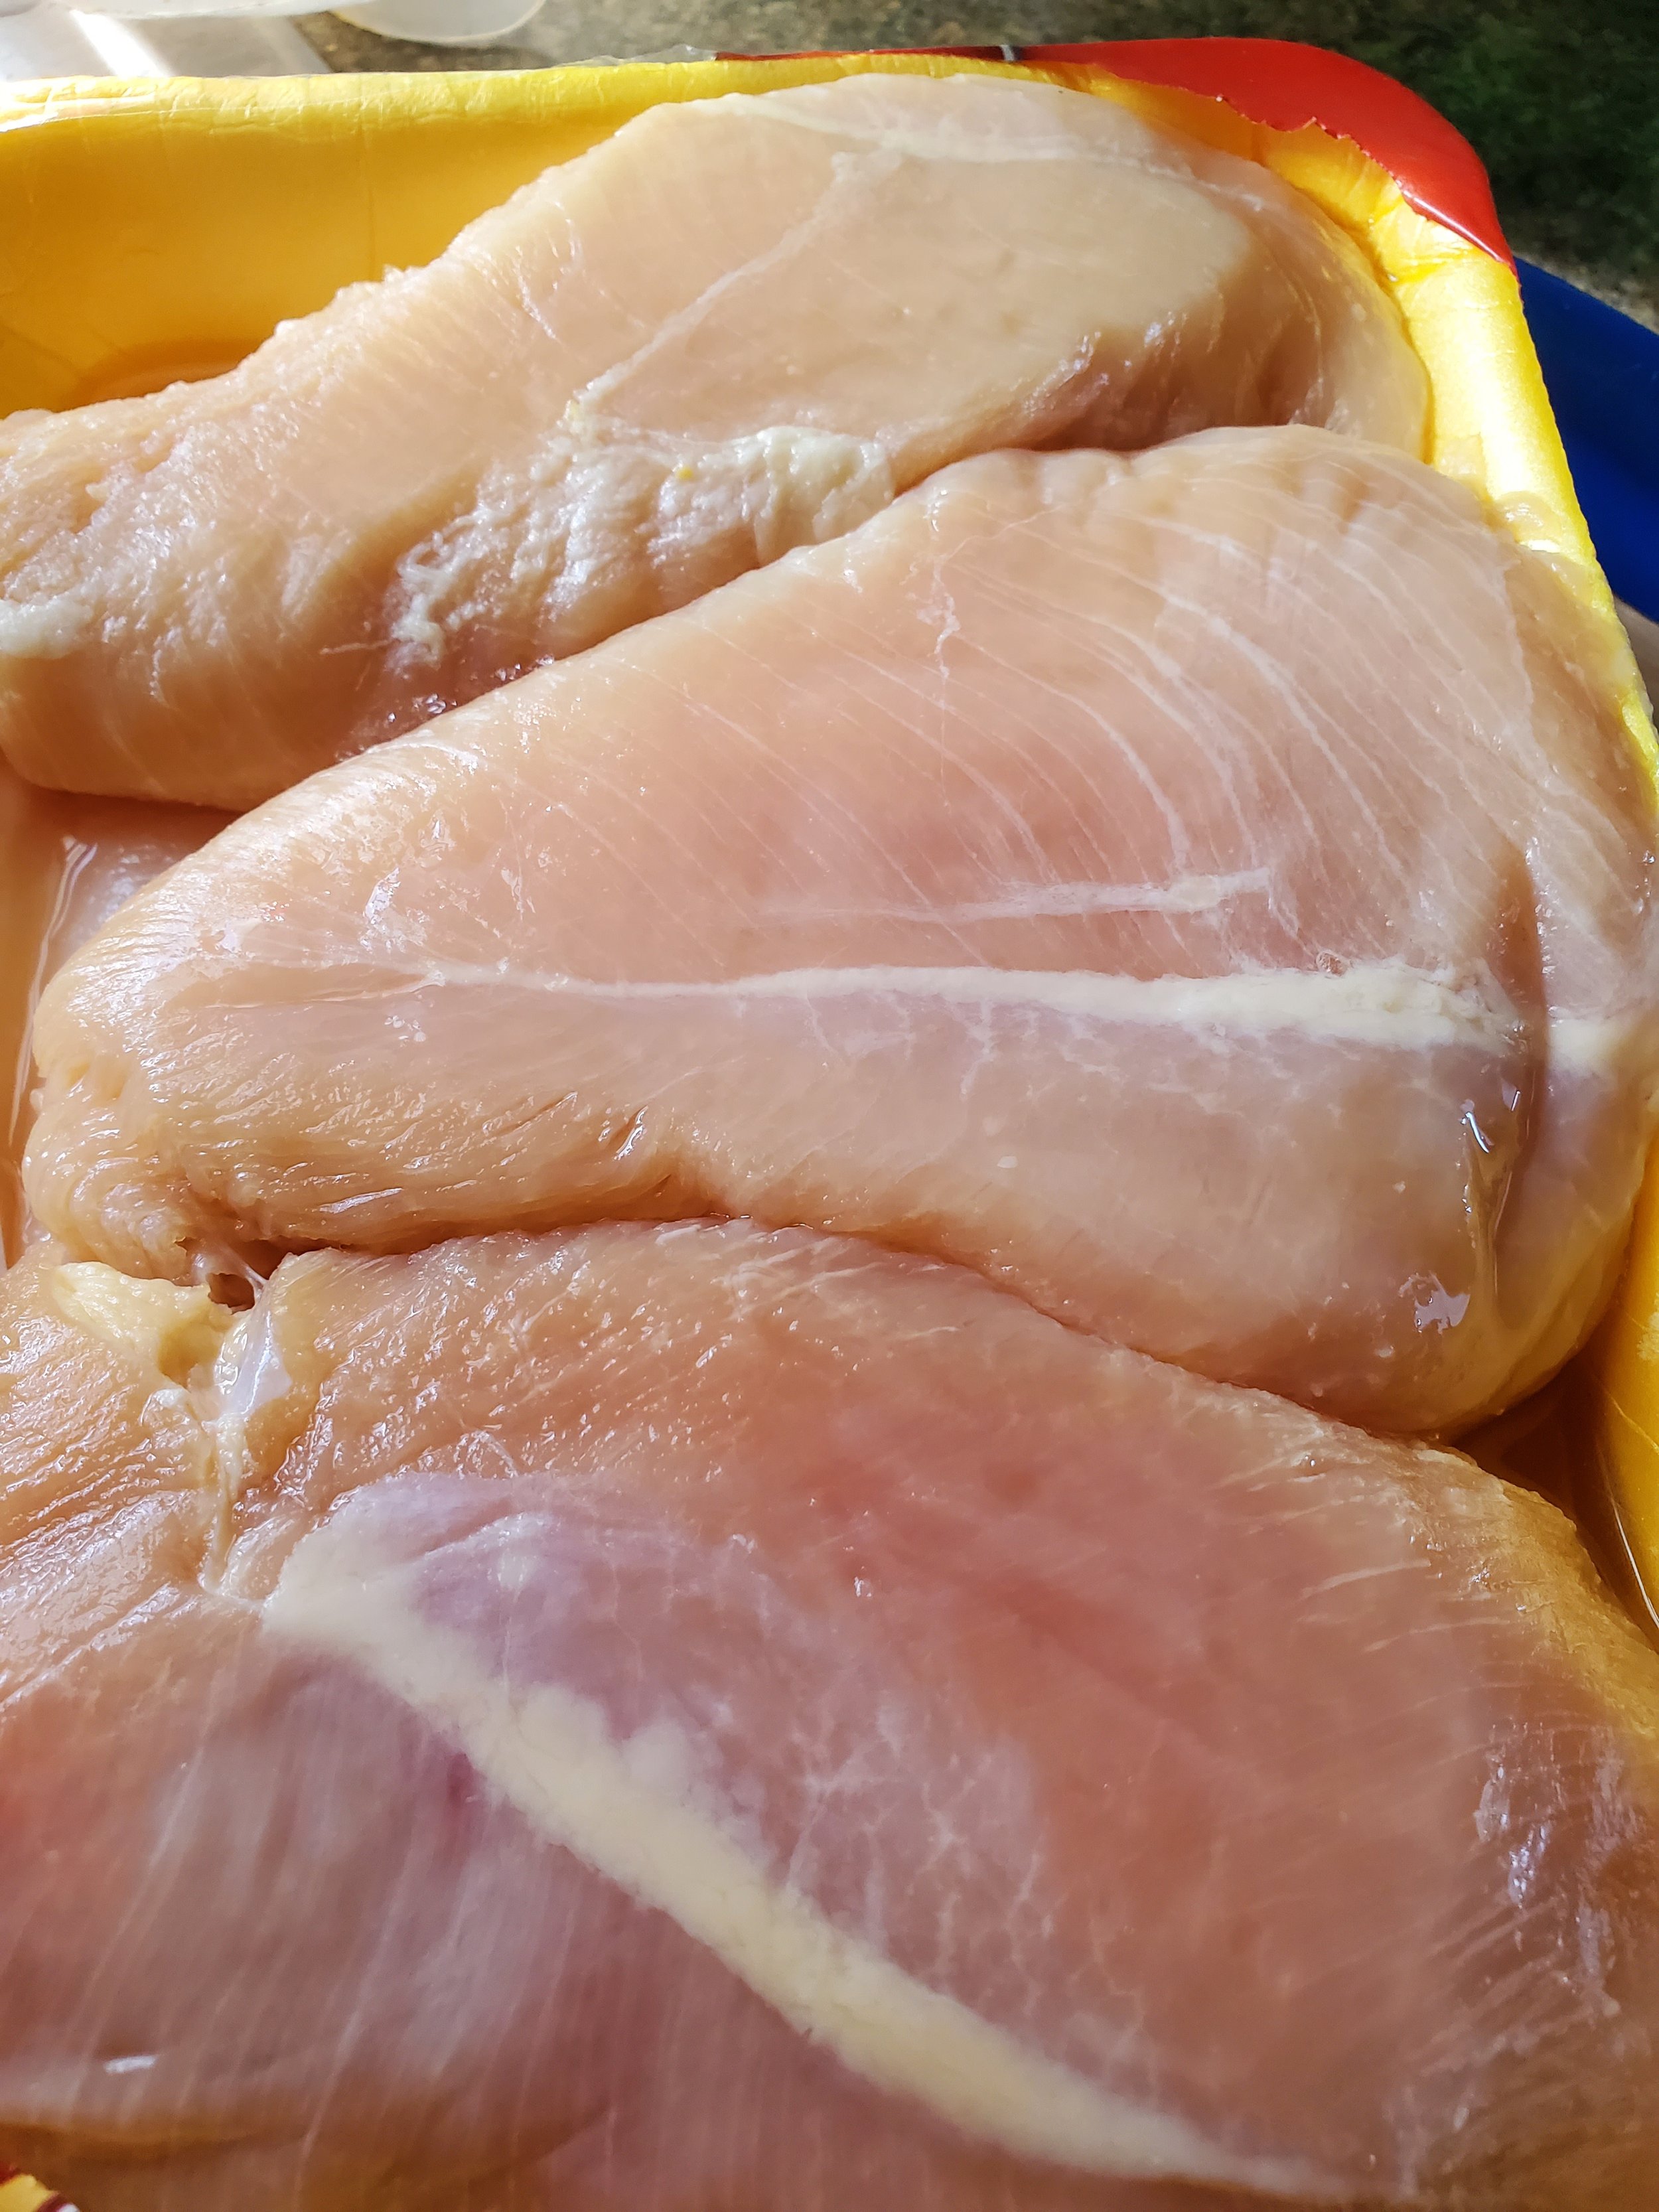
3 chicken breasts
1 pt of heavy cream
1 bay leaf
Fresh parsley
1 tsp of thyme
chicken bullion
1 lb bowtie pasta
jalapeno slices
Tools: Two large pots, a blender or food processor, a cutting board, slotted spoons and a few bowls
Recipe:
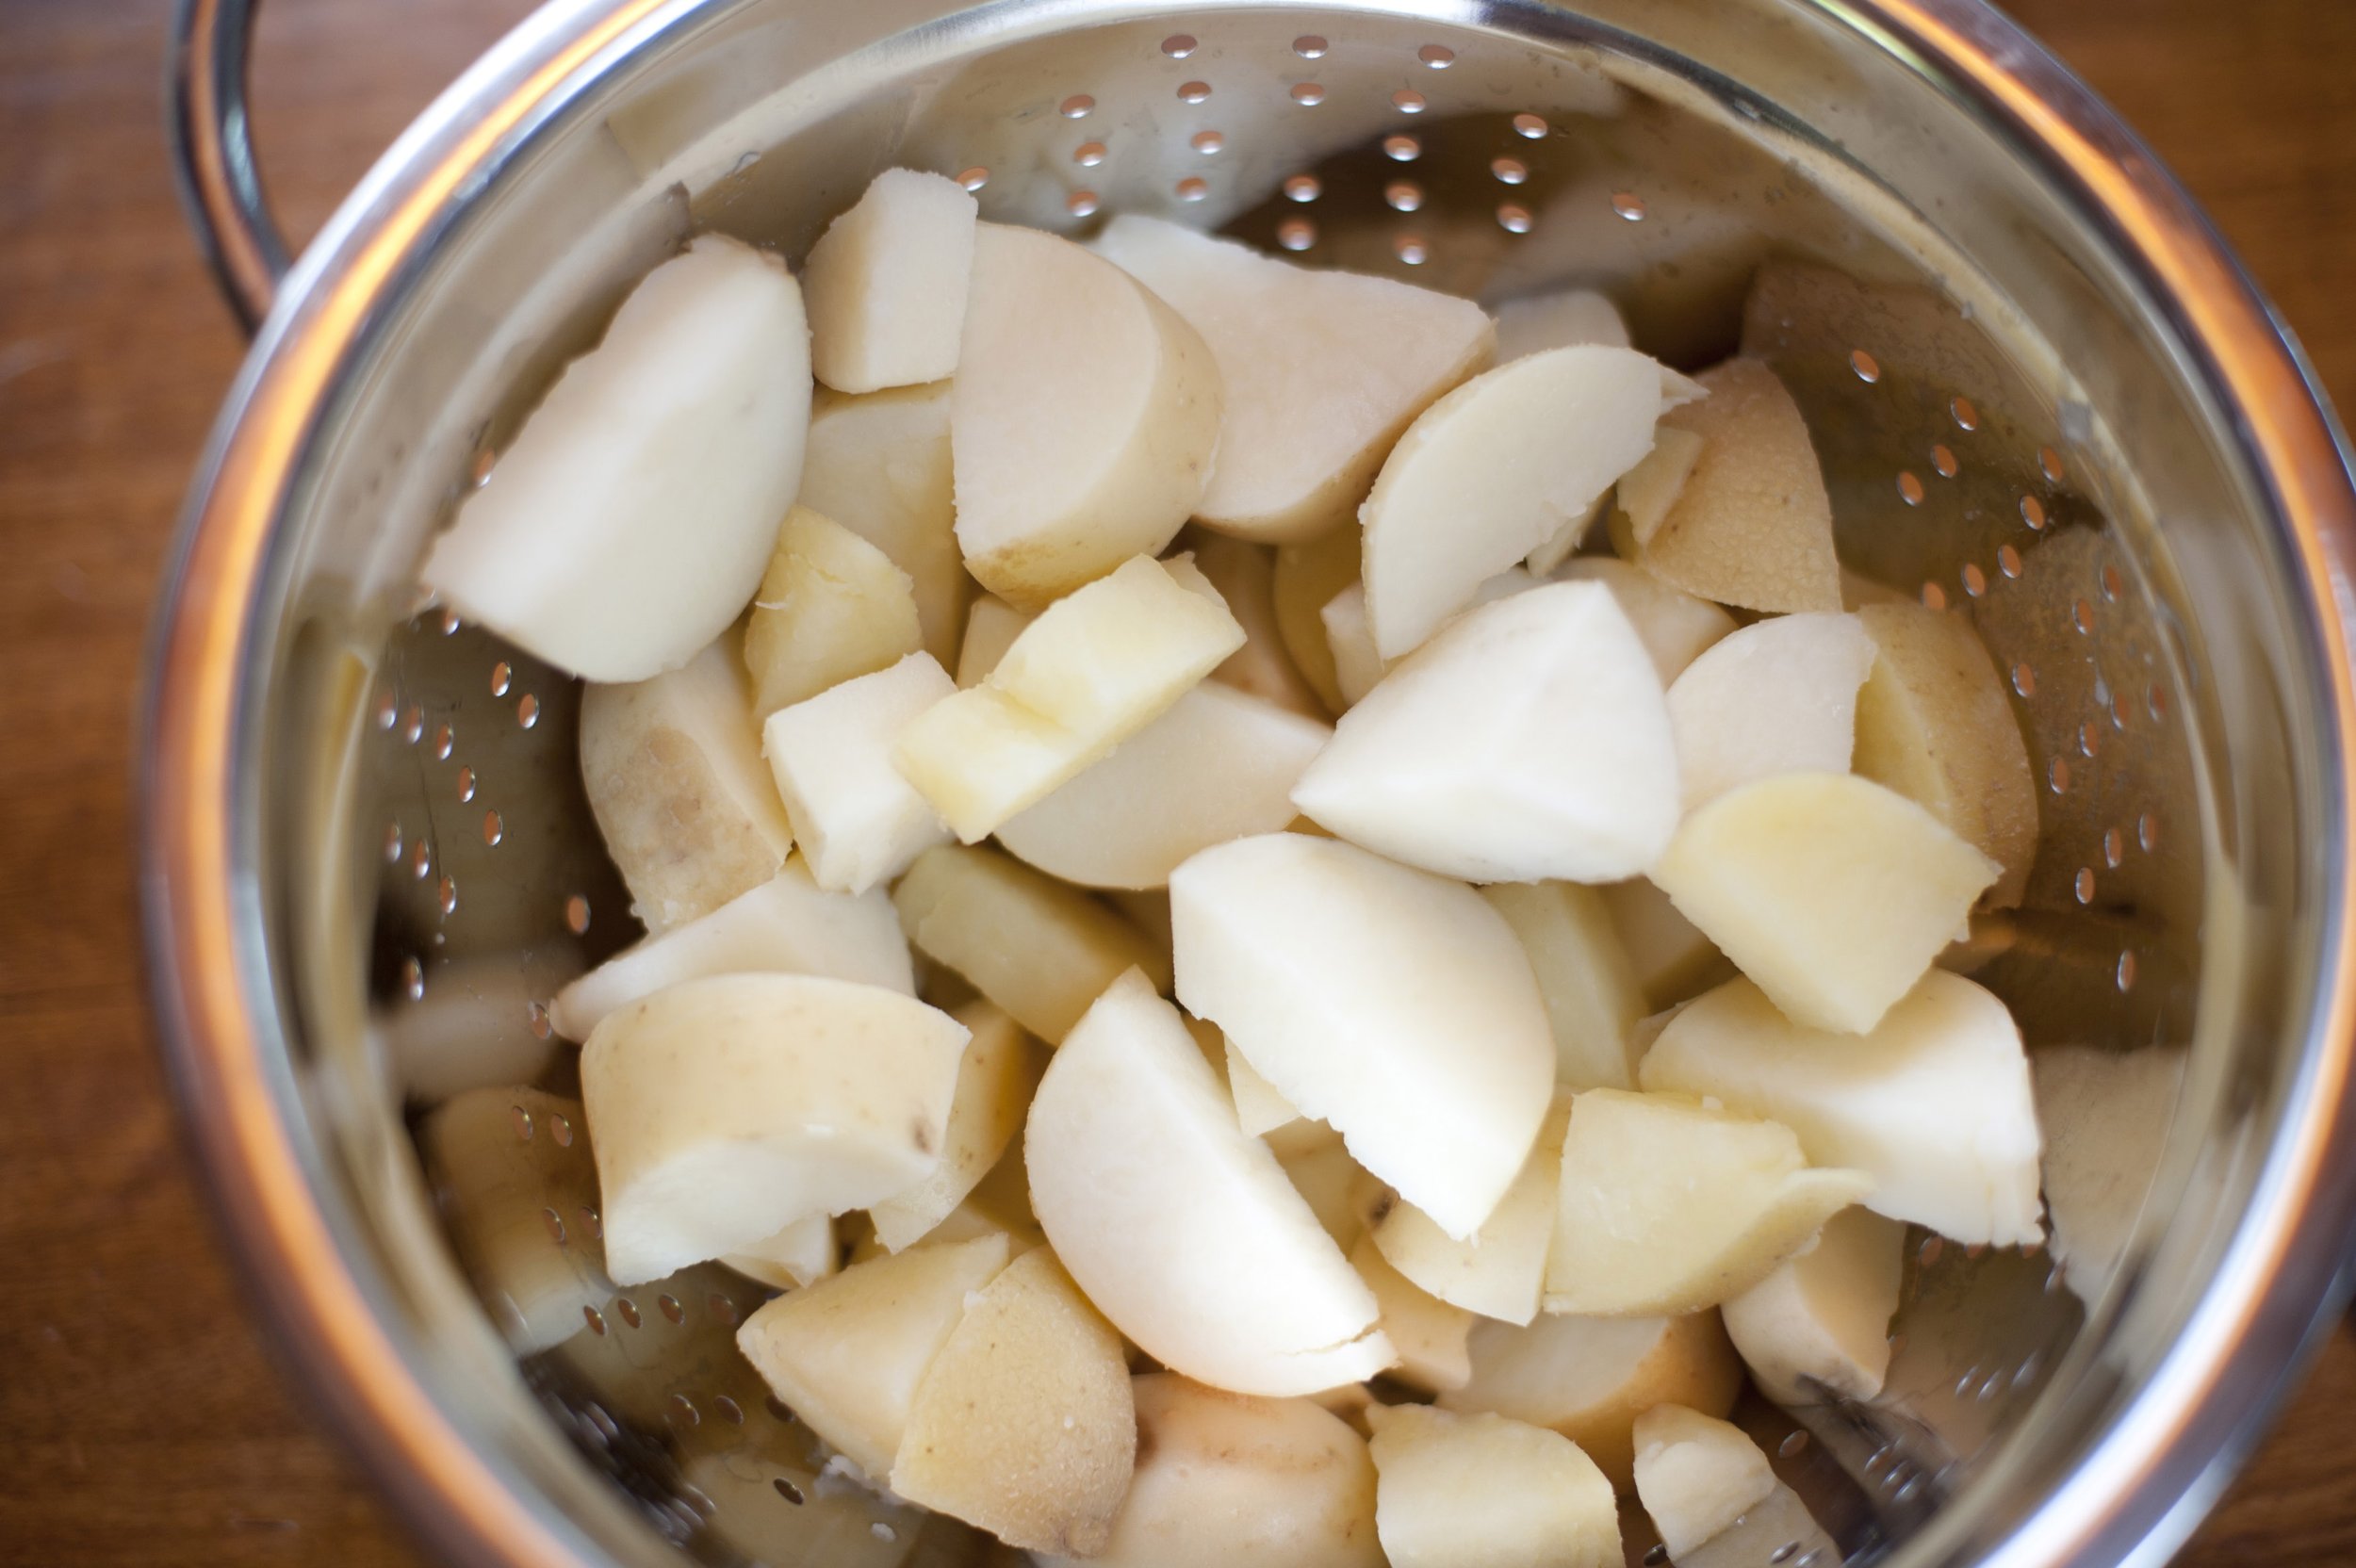
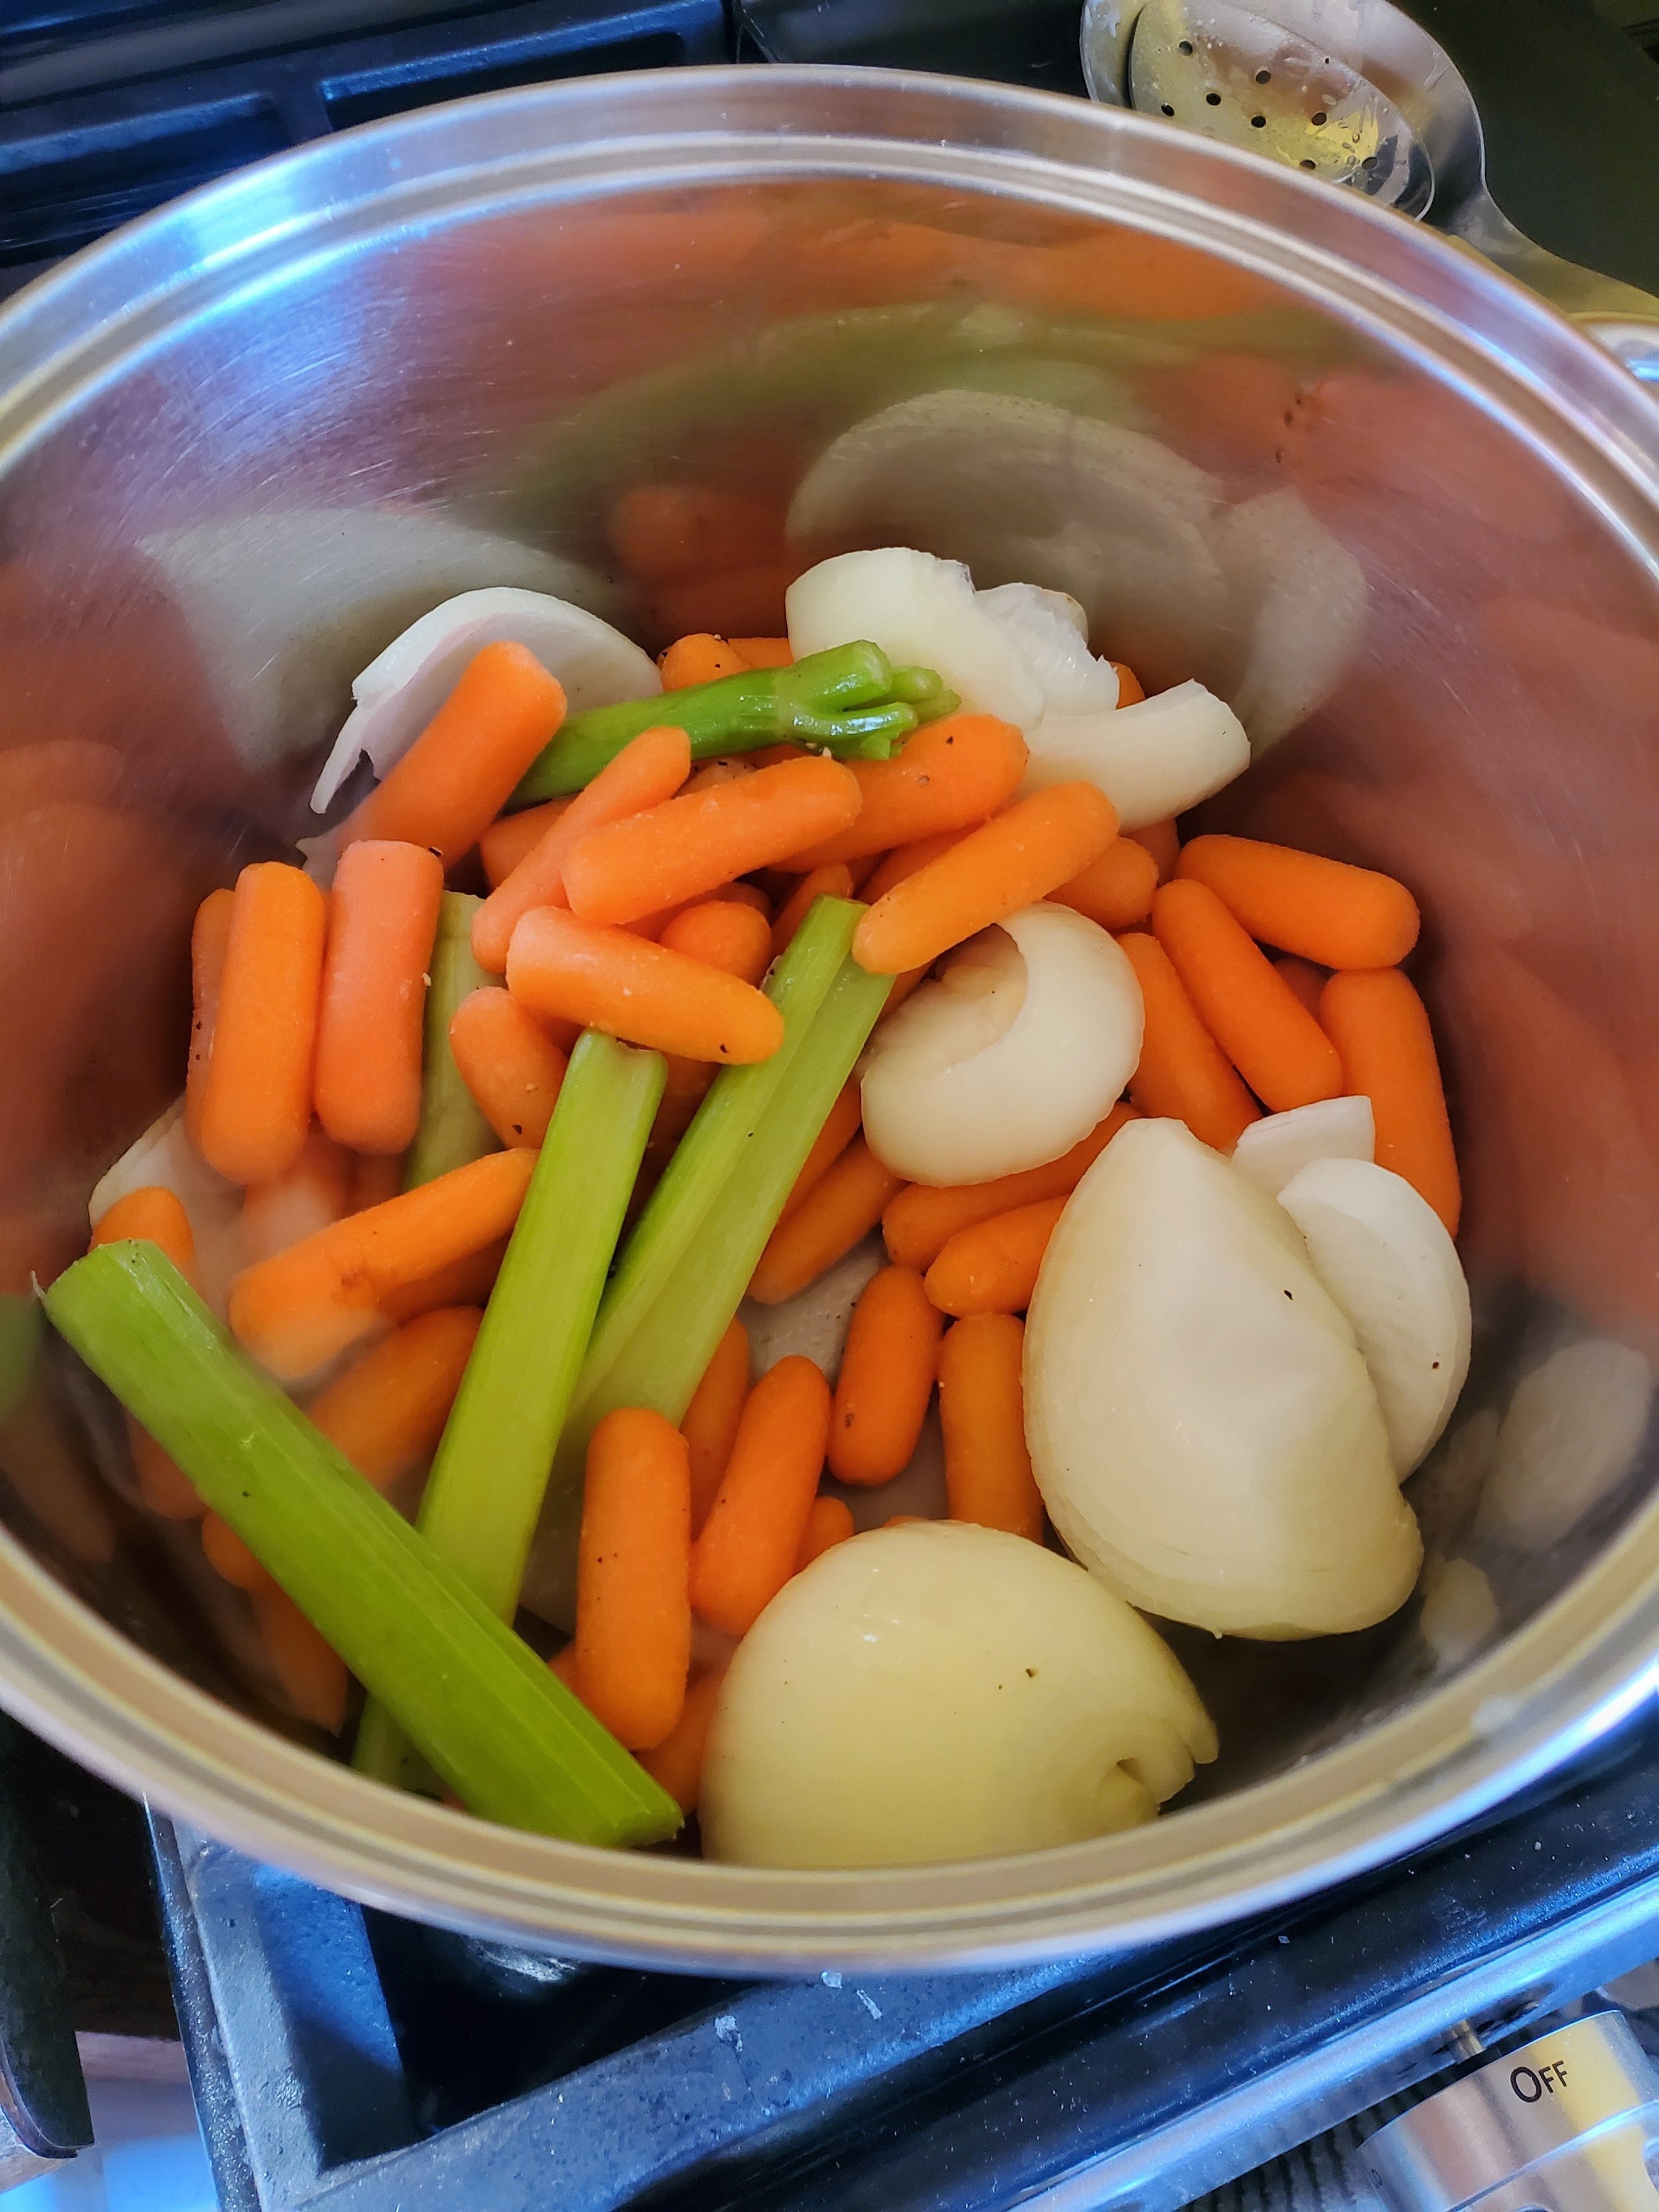
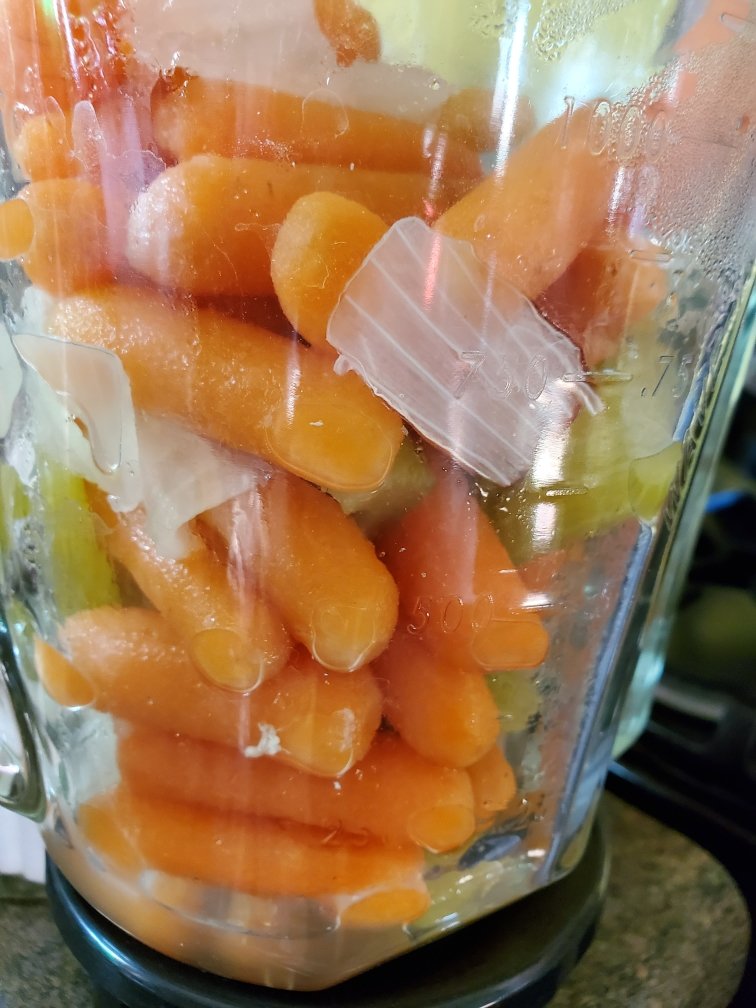
To get us started, grab a paper towel and wet it with cold water in your sink. Lay it next to your cutting board, and then grab your onion. Chop the onion into large quarters, remove the outer skin, and be amazed that your eyes aren't watering, thanks to the paper towel. Does it sound weird? yes. Does it work? Also yes. This is a trick we use all the time in our own kitchens for the ARS staff. Put the onions aside into a large bowl, and take up your carrots. You can choose to skin them, or just give them a quick scrub, it's up to you. Once you've prepped them, go ahead and give your carrots a few rough chops, breaking them down into thirds. Do the same with your celery in terms of prep, and make sure not to leave any of the leaves on.
Go ahead and turn your stove on high and place your large pot on the stove, tossing in 2 Tbsp of butter. Let that melt down, and then add salt and fresh cracked pepper to the pan. While that's going, take your garlic cloves, nip off the top, bottom, and the skins, and then quickly mince them. Toss that into the pan, and stir until the garlic is aromatic. At that point, add in your onion, carrots and celery, turn the heat down to medium, and let it sit. You're going to let the vegetables simmer for 10 minutes, stirring every few minutes, to allow them to start softening and cooking.
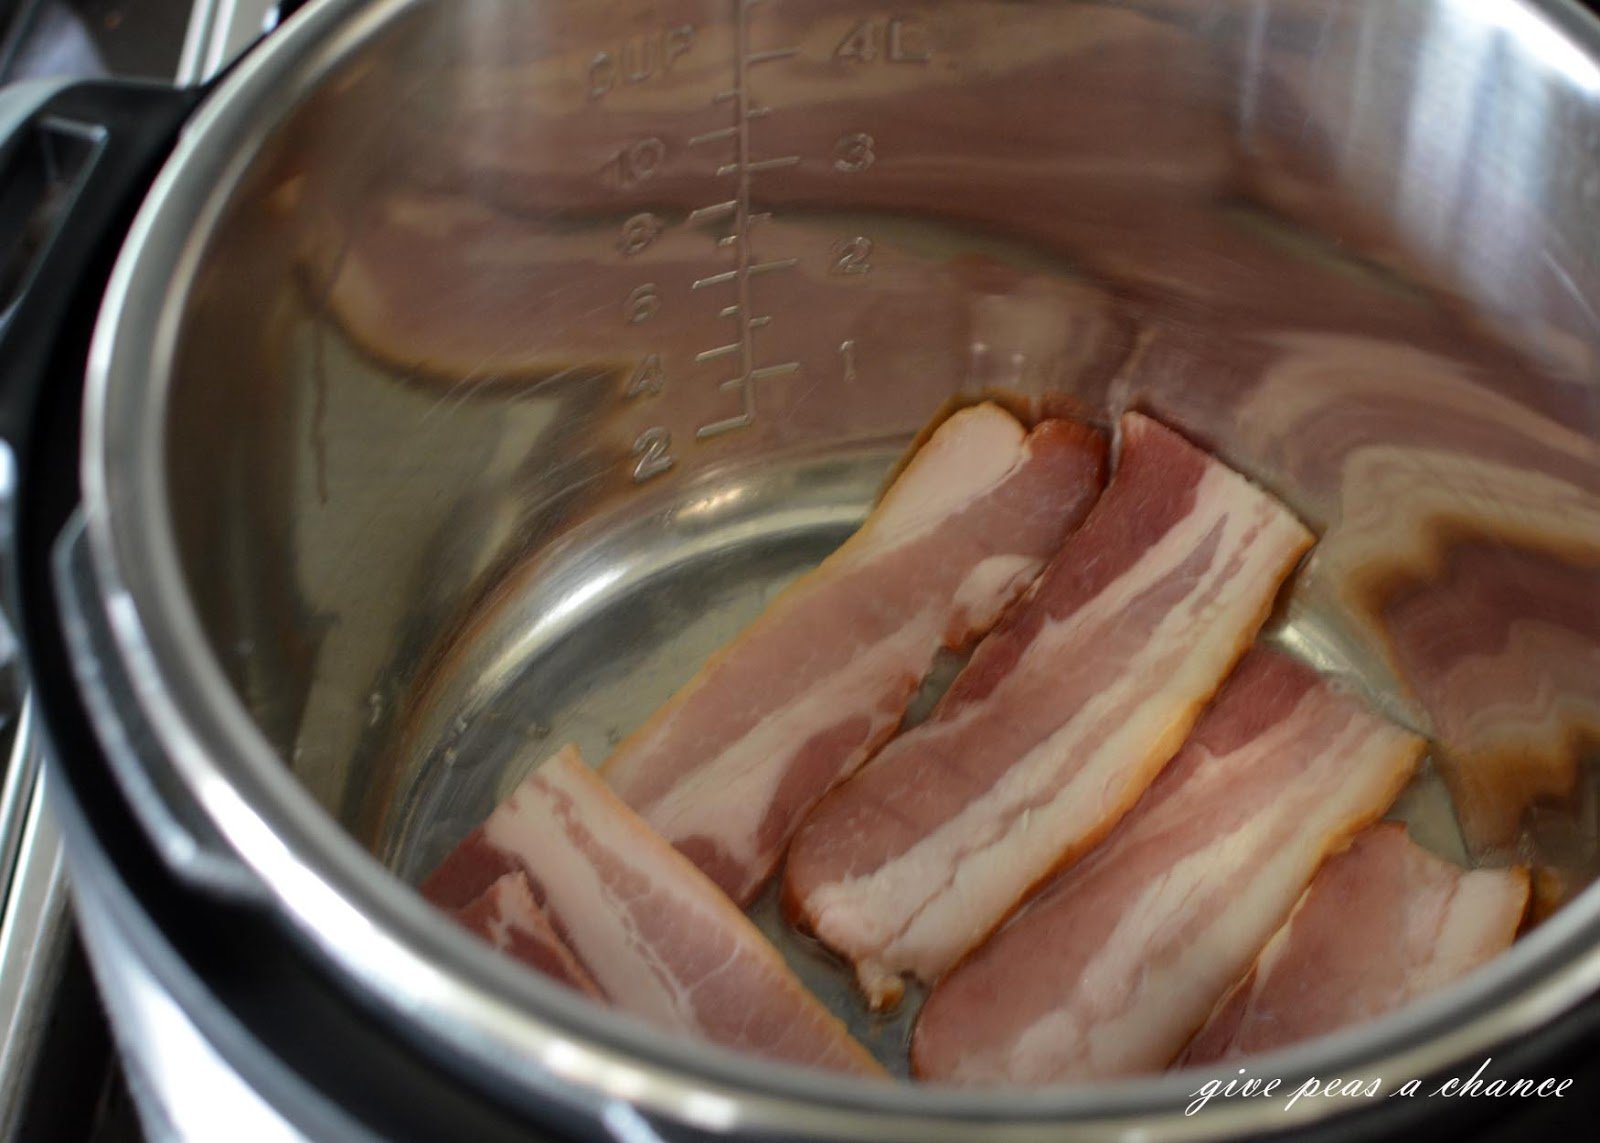
Once your onions are halfway to translucent, fill the pot with water and add in the chicken. Cook until the chicken is cooked through and the water has reduced by half.
Turn the burner off and grab two different bowls. One bowl is just for the chicken. The second bowl is for all of the vegetables. Take up your slotted spoon and remove all of the vegetables from the stock. Make sure to lose as little stock as possible, as it's the base for the sauce. From here, grab your blender or food processor and pour in your vegetables. You might have to do this in batches, you might not. Either way, add about 1/2 cup of stock to the blender, just to make it easier, and set the machine to chop. Once you've got the vegetables much smaller, you can switch over to blend and let the machine work until you have a smooth puree. Pour your puree back into the pot, and return the pot to medium heat.
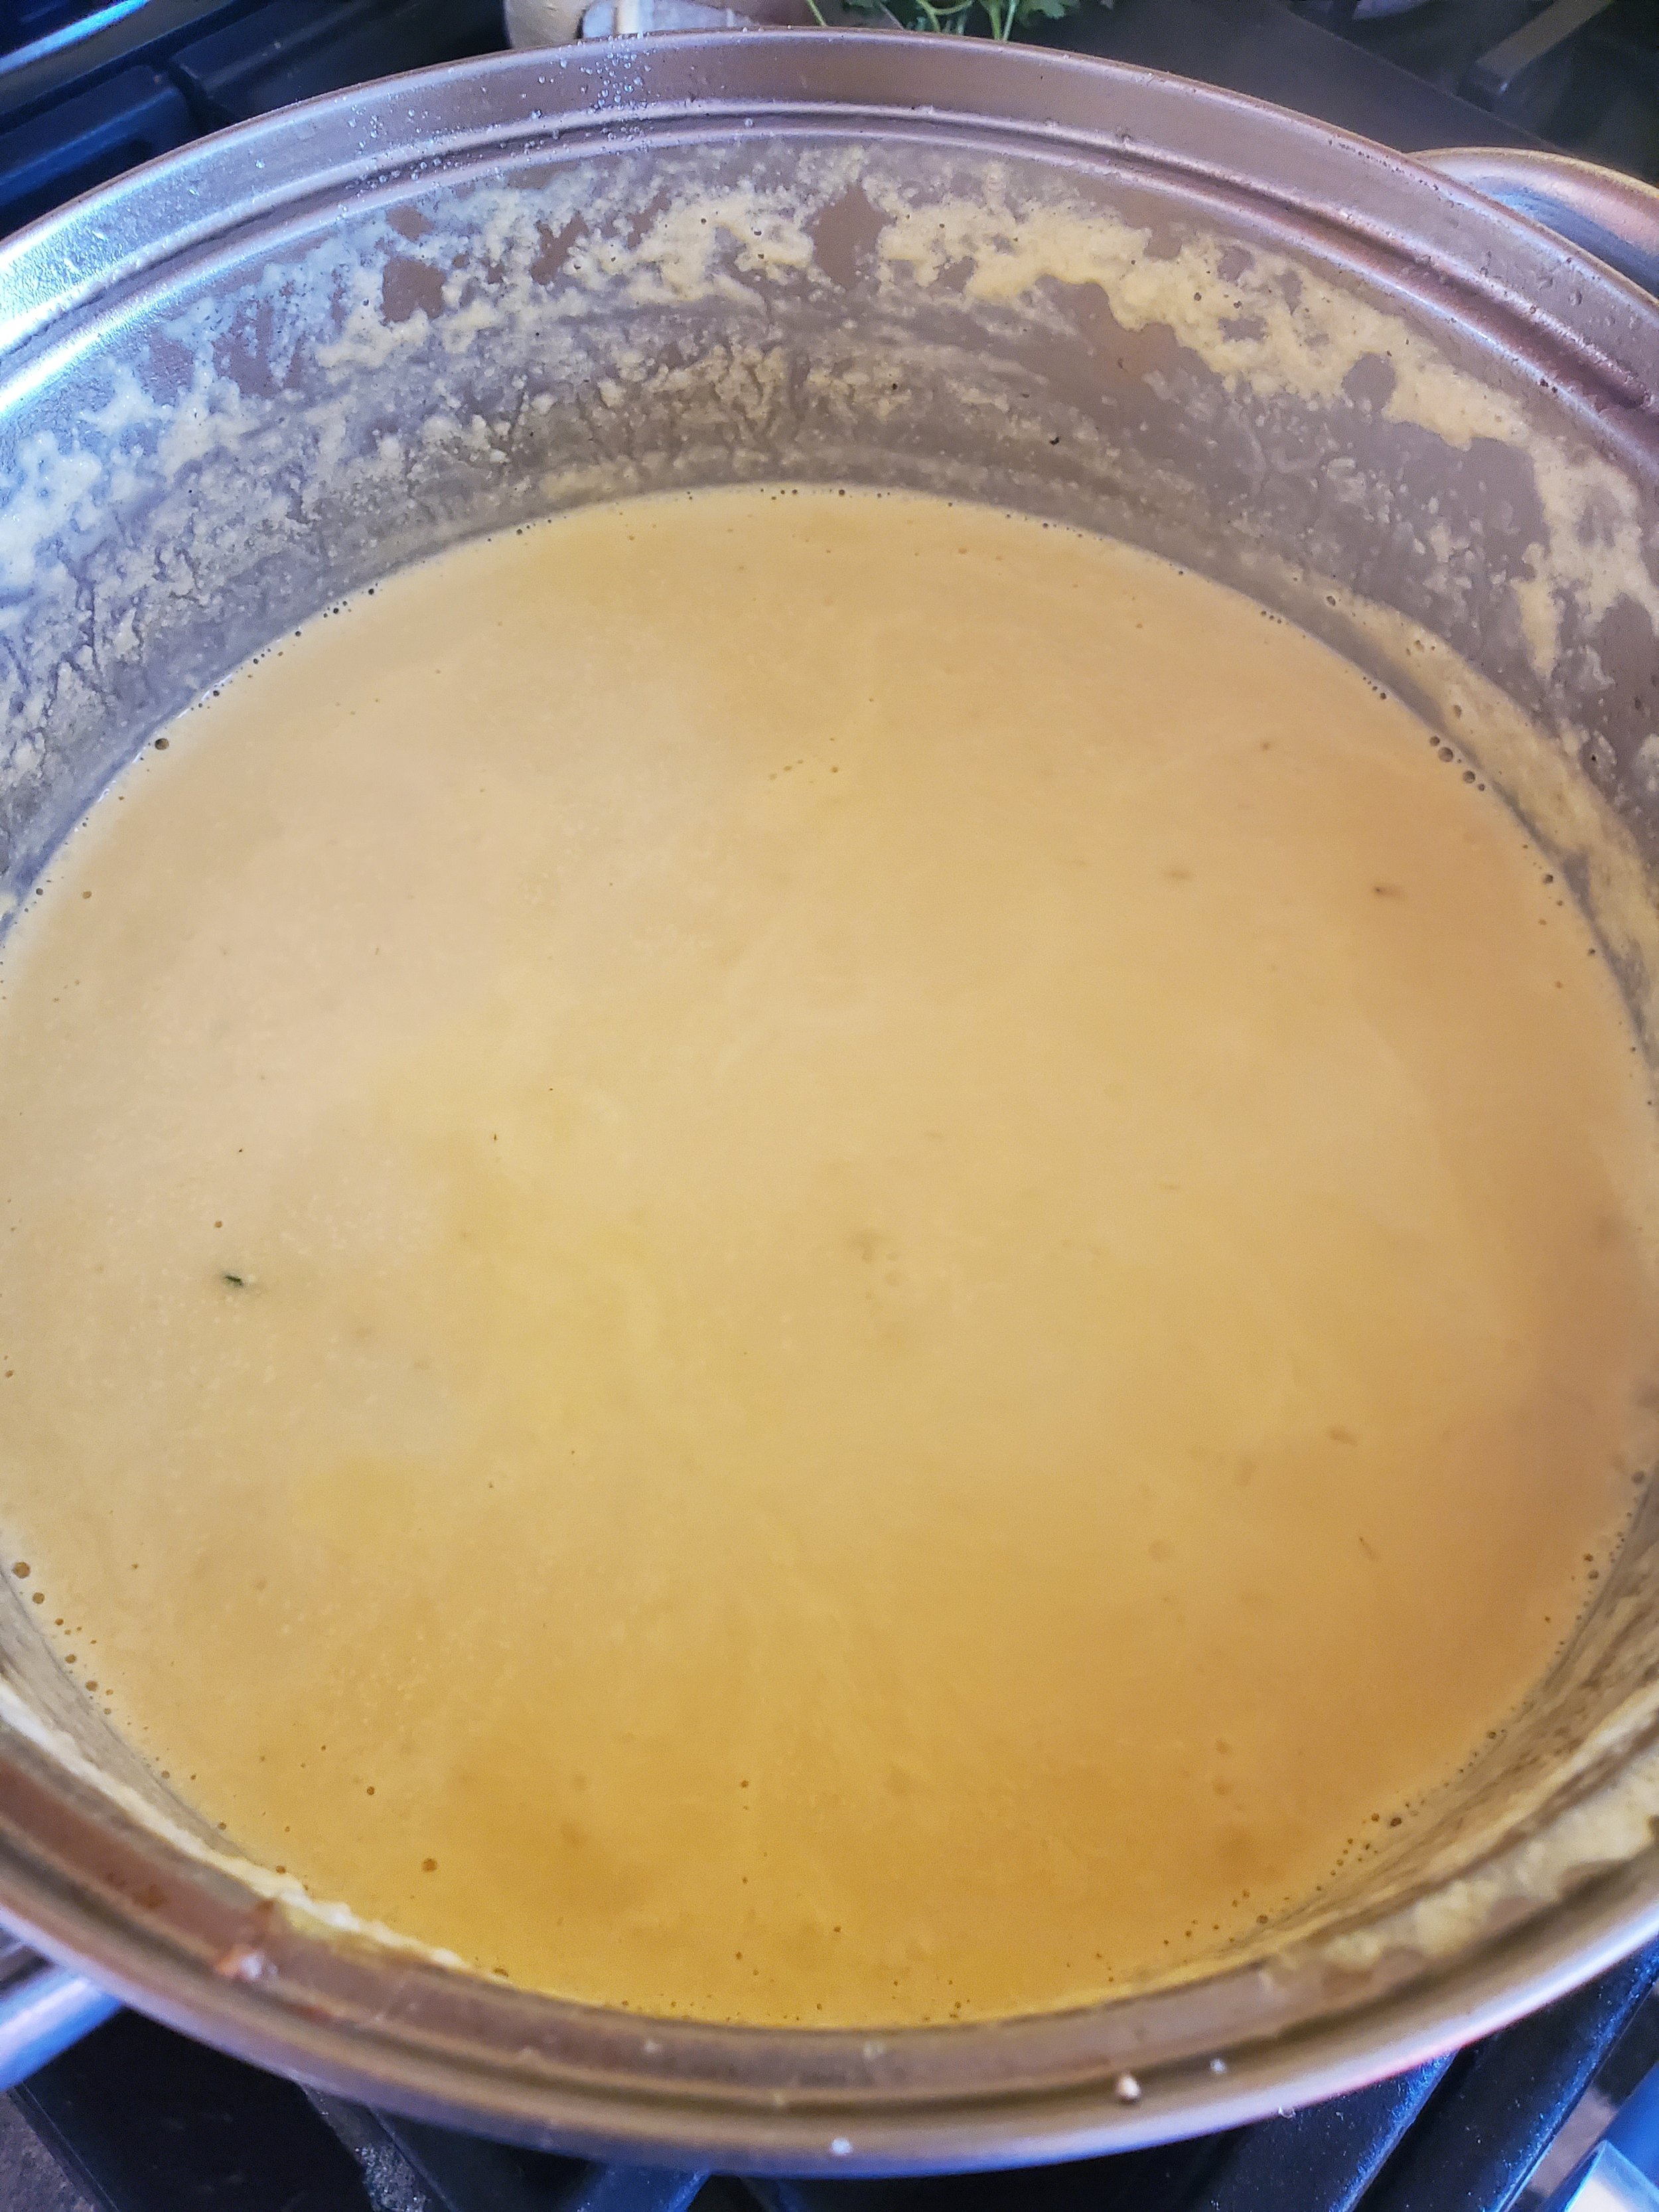
Pour 1 pint of heavy cream into the pot, give it a stir, and taste. This is the stage to add spices in. Add in 1 bay leaf, a few sprigs of fresh parsley, and 1 tsp of thyme. Give that a stir and let it bubble for a few minutes, then taste. At this point, we realized we needed more chicken and add in 1 tablespoon of chicken bullion, but you might not. Let the pot continue to bubble, reducing further until you have a thick sauce that stays on the spoon when you lift it out. As this works, you'll also want to skim the top and scrape the bottom occasionally to remove anything from building up.
When the sauce is nice and thick, grab a second pot and add water, plus enough salt to make it as salty as the ocean. Bring that to a roiling boil and add in your bowtie pasta. Set a timer for six minutes, and go back to your cutting board. This time you're going to be tackling the chicken and being much more uniform than we were earlier in the recipe. Chop the chicken into bite-sized chunks, or you can shred it depending on how easily it's falling apart. Eitherway, once that's done, toss it into the sauce pot and give it a good stir to incorporate it.
By now your pasta should be done, take that off the burner, strain it and add the pasta to the sauce. Give that a stir and let it simmer until the pasta is fully cooked.
While that's finishing up, you've got one final choice to make. Do you like your food spicy or really spicy? If you like it just a little spicy, dish out the jalapenos in small dishes set to the side of each bowl. If you like it really spicy, add the jalapenos and the juice they come in into the main pot and let that mix.
Either way you prefer it, once your pasta is fully cooked, congrats! You've got a healthy and delicious meal that no one will suspect has a whole bunch of veggies hidden in it.
Let us know over on our Facebook page if you plan to give this one a try! We'd love to see how it turns out.
If your appliances are giving you trouble, you can reach out to us via our contact page or by giving us a call at ((214) 599-0055). At Appliance Rescue Service, we're here for you and want to help you get your home running smoothly again.