37 Reasons To Have Your Appliances Maintained Regularly

How You Can Avoid Costly Repairs

If you're like most homeowners, you rely heavily on your major appliances to keep your household running smoothly. From refrigerators and washing machines to stoves and dryers, these machines make our lives easier and more comfortable. But did you know that regular maintenance is necessary to keep them working properly? In this article, we'll explore why it's important to have your major appliances maintained on a regular basis. So sit back, relax, and let's get started!


Let’s take a look at what it means to keep your appliances ‘maintained,’ shall we? 

Maintain  - 

To keep in an existing state (as of repair, efficiency, or validity) : preserve from failure or decline.


So, it’s a matter of regular repair to keep your appliances from decline or failure. That makes sense. 


What problems can regular maintenance prevent? 

When we send out our technicians to your home for a top-down maintenance check, they’re going to look at all of your appliances. Your refrigerator, oven, range, ice makers, dishwasher, washer and dryer, everything gets checked. Why? Because everything has small ways that they can go wrong, which, if caught, can prevent an exorbitant repair bill for you. 


Refrigerator Maintenance

When it comes to the refrigerator, many things need to be cleaned on a regular basis. Your condenser coils and fan need to be cleaned regularly so your fridge doesn’t have to work as hard to keep cool. You’ve also got the water filter, which should be checked every six months, and some refrigerators also have an air filter that needs to be changed yearly.  We also check the defrost drains, as those also need to be cleaned yearly. The one thing that needs to be checked regularly, but not necessarily messed with, is your door seals. Making sure the seals are still shutting properly means that your fridge will close and cool properly, rather than trying to cool your entire kitchen. (Because that is an electric  bill none of us need.) 


Oven Maintenance 

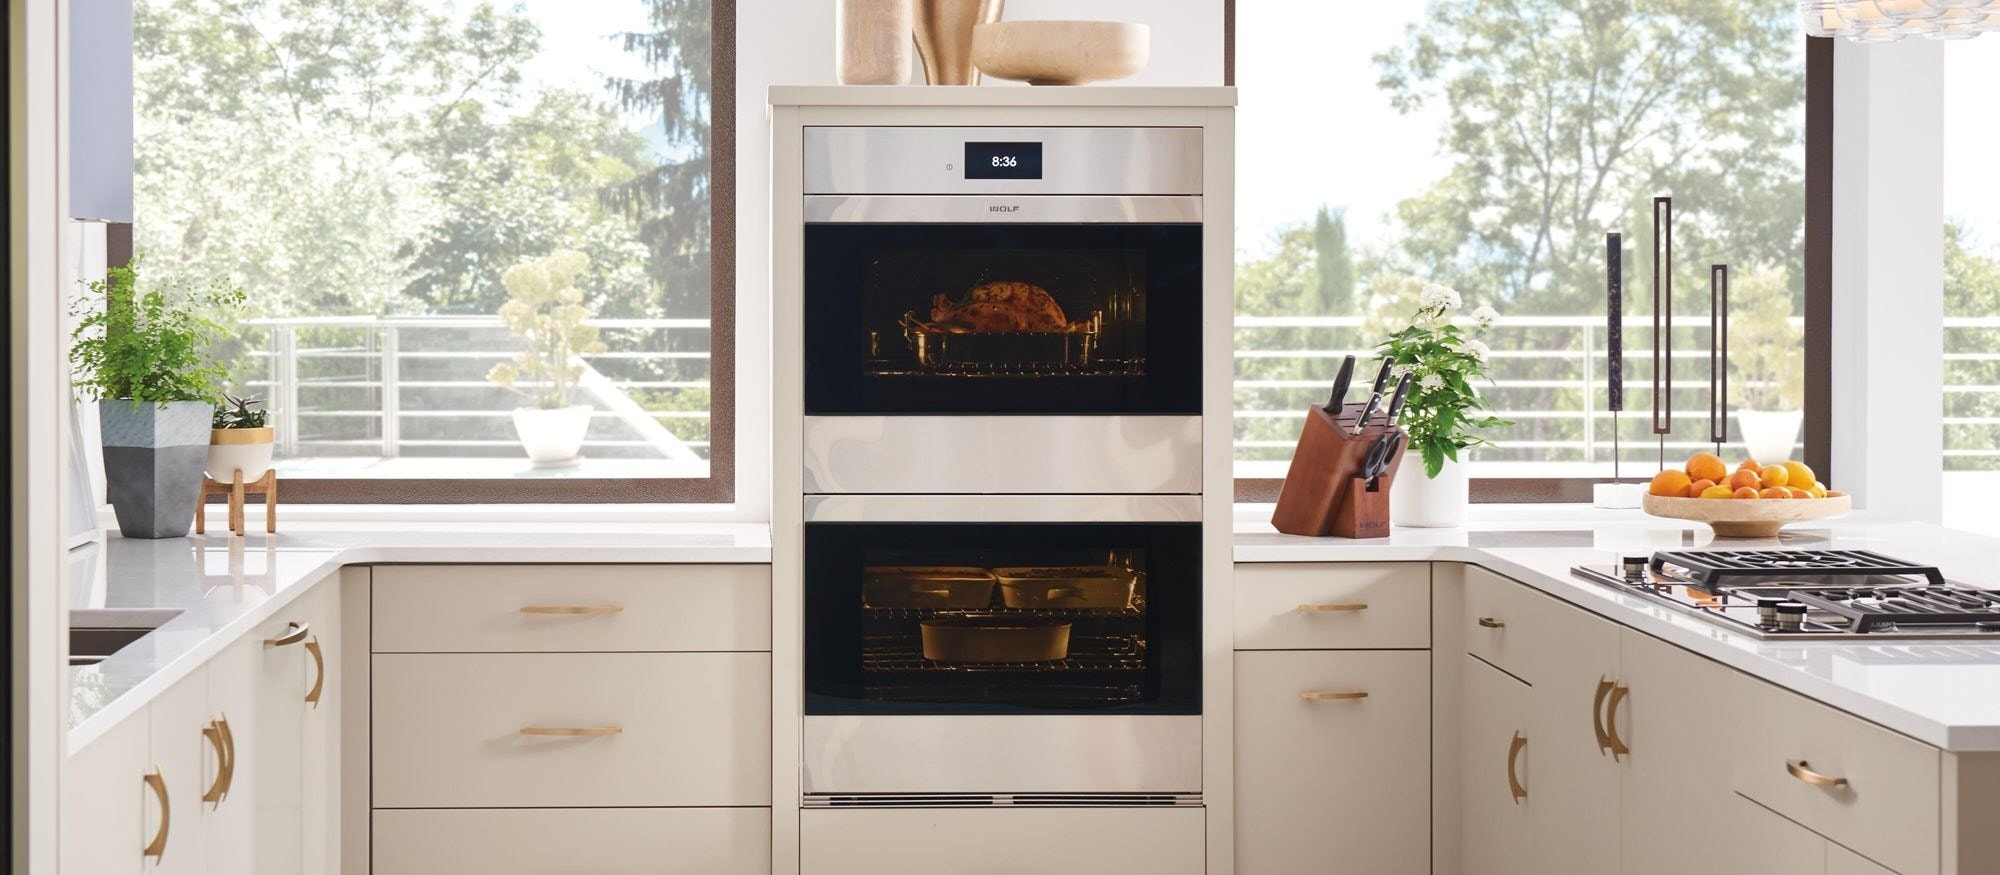
For your oven, one of the first things that needs to be checked is the temperature. It sounds odd, but imagine if you try to bake a cake at 350*, but your oven is actually at 400* and only reading at 350? That can and does happen. So we check any time we’re called in to ensure that everything is working as it should. We also look at the cooling and convection fans to make sure they’re spinning easily to cool or circulate the air within your oven.  From there, we’ll make sure that the door seals are still good and that the elements aren’t overheating, either due to a fault or summer heat. Finally, if you have a gas oven, we’ll check the igniters. They need to be cleaned regularly to ensure you don’t have a buildup in the line or the oven. As we mentioned in a previous post, it’s best to leave this to a professional so that you don’t accidentally break something and cause a gas leak. 


Stove/Ranges/Cooktops Maintenance 

Your stove or cooktop is checked at the same time, especially if you have a gas version. We want to make sure that the pilot lights are not having issues and that the burner ports and igniters are clean. 


Ice Maker Maintenance 

We’ve mentioned just recently that your ice maker needs regular maintenance, and that includes both free-standing ones and those that are built into your refrigerator. This means that when you ask for a maintenance check, we’ll be looking at them, no matter what type you have. 

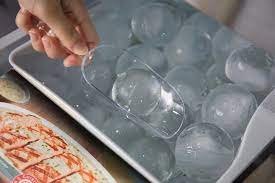
For both types, we’ll check the water flow to make sure it’s working as it should and giving you a full ice tray. If you have an in-refrigerator ice maker, we’ll want to check to ensure that there aren’t any Tephlon chips, as that has been noted as a serious health hazard. For a freestanding ice maker, we’ll want to go for a thorough cleaning at least once a year, if not every six months. From there, we’ll also check in on the pressure switch and be sure to clean the condenser coils as well. Those are just as important to your ice maker being able to breathe as they are to your refrigerator. 


Dishwasher Maintenance 

Your dishwasher has one of the longest lists of things that need to be checked, because there are so many parts packed into a small area. We’ll look at your seals and clean them as well, if needed, as well as the filters for your dishwasher. We want to look at the spray arms to ensure they’re not clogged and at the heating element to ensure that it’s still heating and not damaged. The draining process of your dishwasher will also be checked so that you don’t get an unfortunate overflow situation. We’ll also make sure to run a dishwasher cleaner once a month if you schedule that often. 


Washer Maintenance 

Finally moving out of the kitchen, let’s head over to your laundry room. Here, we’re going to take a look at your washer first. We’ll make sure that it fills properly on both hot and cold settings, as well as ensuring that it drains properly. We’ll want to take a look at your hoses to ensure there isn’t any damage or kinks in the line that can lead to issues. We’ll also make sure to clean the door boot and coin trap if your unit has them. We’ll also check on the springs or traps and run a cleaner on a monthly basis. 


Dryer Maintenance 

Our last stop, at least for this tour, is your dryer. Here, we’re not cleaning as much as we’re double-checking everything. We’ll check your venting to make sure that it isn’t obstructed by lint, debris, or clothing that the dryer goblins have stolen. We’ll also make sure that the vent chute and filter are clean and ensure that air is flowing freely through the machine. We will ensure that your dryer is rotating smoothly and without any unusual sounds.

Disclaimer: Although we’ve laid things out in this order, it doesn’t mean that our technicians will go in this order, as it varies on a number of factors. 

With that, which appliance do you think should be checked over most often? Let us know over on our Facebook page! 

If you want to get started on having your appliances regularly maintained, you can reach out to us via our contact page or by giving us a call at ((214) 599-0055). 


Fall Comfort Food: How to Make Perfectly Creamy Pumpkin Pasta

You know how after it’s been hot for so long, you crave fall and all the things that come with it? That’s how we’ve been feeling. It’s not just the days where it’s over 100 all day and even after the sun has set. No, we want everything to do with fall. We want football and cooler weather, sweaters and some of our favorite comfort foods. Unfortunately, there’s only one thing on that list we can make happen on our own. So, we whipped up a batch of this pumpkin pasta, and turned the AC down as far as it would.

Pumpkin Pasta

1 12-16 oz box of pasta (recommended: rotini, cavatappi)

1 can pumpkin puree (15 oz)

1/2 cup chicken broth

1/4 cup heavy cream

1 package steamable frozen butternut squash

1 package steamable frozen sweet potatoes

1 cup shredded carrots

1 tablespoon minced garlic

1 teaspoon ground ginger

2 tablespoons olive oil

salt and pepper to taste

Optional but recommended:

pinch parsley

pinch smoked paprika

teaspoon Better Than Bouillon roasted garlic base

parmesan cheese

pinch crushed red pepper

Tools:

can opener

stock pot

colander

large saucepan with lid

serving spoon

measuring cups and spoons

Before we begin: be sure you have plain pumpkin puree and not a can of pumpkin pie filling! This terrible tragedy has happened to us before. Some companies label the two items entirely too similarly, and sleepy cooks (or cooks relying on little helpers' newly acquired reading skills) may fall victim to the same oops. So, double-check your labels before you whip out the can opener.

Fill your stock pot with water and set it on a burner to come up to a boil. Salt the water if you prefer to do so.

Pour your olive oil into the saucepan and toss in your minced garlic, ground ginger and pepper. If you plan to use the roasted garlic base, smoked paprika and dried parsley, add them too. While they aren't strictly necessary, they do a lot of work to complement and balance what can be a very rich recipe. Slap the lid on the pan and let the spices and oil simmer for a minute or two on low heat.

Shredded carrots are almost always washed, ready-to-eat produce, but if yours are the exception to the rule, please take a minute to wash them while your spices sizzle.

Start your butternut squash in the microwave. The squash can take as little as four minutes or as long as seven, so be sure to follow the directions on the package.

Once your spices are fragrant and the garlic has browned a little, add the carrots and cover again. The carrots don't need a whole lot of time to cook, and we don't want to cook them to death, so it's best to move on quickly here. 

Take your can opener and crack open the can of what you are now double-sure is pumpkin puree and not pie filling. Add the pumpkin puree to the saucepan. We're well aware the pumpkin doesn't always like to exit the can. If there are some stubborn spots, measure your half cup of chicken broth into the can and swish it around a little to dislodge as much of the pumpkin as possible, then pour the chicken broth into the pan.

Stir everything until the pumpkin thins out some, then add the quarter cup of heavy cream and mix it in until you no longer have white streaks. You can use half & half or milk instead, but we feel the heavy cream makes a superior sauce.

By now your pot of water should be boiling. Add your pasta and give a quick stir to separate. Now you'll just need to check back in on it occasionally while it cooks. We like to shave a minute or two off the time the directions on the box suggest - we hate mushy pasta - and we also like to use a veggie pasta when we can. Sneaking in that extra little bit of vegetables counts!

Turn your attention back to the microwave and remove your squash. Replace it with the sweet potatoes and start them cooking. Cut a corner off the bag of squash and drain out the excess water before adding the squash to the pumpkin sauce mixture and stirring it in.

Cover the sauce again and let it simmer for about five minutes.

When the sweet potatoes are done cooking, repeat what you did with the squash: cut a corner, drain the excess water, then add to the sauce and stir to cover.

By this point your pasta is close to ready. Test a piece to be sure the pasta is cooked through, and (assuming it doesn't need more time) drain it into the colander.

While it's draining, scrape all the sauce to one side of the saucepan. It's heavy, chunky stuff, so it'll mostly stay where you put it.

Once you've made some space in the saucepan, pour the pasta into the open spot. Fold gently to mix the pasta and sauce together without shredding the pasta. Turn the burner off, cover the pan again, and let sit to allow the pasta and sauce to meld for five minutes before serving.

Serve with a little parmesan cheese and/or crushed red pepper, depending on your family's likes and dislikes.


We hope that you enjoyed this recipe! Let us know if you decide to make it over on our Facebook page. As always, we love to hear from you. 


If you discover that your dishwasher just isn’t wanting to wash up after this dish, it might not be the pumpkin’s fault. It might be an issue with your dishwasher instead, and that’s where Appliance Rescue Service can help. We service every model of dishwasher, from LG and Samsung to GE and Bosch. So long as you’re within the DFW area, we’re here to help. You can reach out to us via our contact page or by giving us a call at ((214) 599-0055). We’ll work with you to set up a date and time that fits your schedule so we can get your home running smoothly again. 


Even If Fall Isn’t Here Yet. 

Don't Overlook Your Ice Maker: The Benefits of Regular Cleaning

Why Neglecting Your Ice Maker Can Be Harmful

Why Cleaning Your Ice Machine Is Important

It's just an ice maker, right? What is it that could be so harmful about water running through it? Well, that depends. Is your ice maker hooked up to a purified source of water or a filter? If the answer is yes, great! You might have to do this half as often, but you still need to do it. 

If not, think about your coffee maker or teapot. Have you ever noticed the white film that builds up around the edges of it? Or the slightly mineral-y taste that you get after a while? What about the way it beeps at you and says, "Please clean"? All of these are because of scale build-up. Your ice maker won't just build up mineral deposits, though; it can also build up slime or mold. 


So, your ice maker, just like all of your other appliances, needs to be cleaned regularly. To keep it functioning properly and also to keep you and your family healthy. Your ice maker should be cleaned and sanitized at least once every six months if not every other month. It's a simple enough process to do on your own, but if you don't stick to it regularly, it can lead to many different issues. 


If You Notice Any Of The Following, It's Time To Clean Your Ice Machine. 

- Ice maker is slow to harvest, or it's not releasing the ice.

- Ice maker doesn't switch into harvest mode

-The ice is soft or cloudy

- The ice is incomplete 

- Ice maker is producing very little ice 

Tools And Materials Needed For Cleaning Your Ice Machine

You only need four things to start cleaning your ice machine at home.

  • Dish soap

  • Distilled white vinegar

  • A fresh toothbrush 

  • Water 

  • A bowl 


Step-By-Step Instructions For Cleaning Your Ice Machine

Now for the reason you actually came, how to clean your ice maker. 

-Start by prepping your ice maker. Unplug the unit and take it either to your sink or outside so that you can drain the water from it. On most models, there is a latch that you can either flip or remove to start the draining process. 

- Clean your ice basket and the scoop with warm soap and water, then rinse thoroughly and set aside to dry. If these have become molded or crusted with scale, you'll want to soak them with the vinegar in a large pan for at least 15 minutes before attempting to clean them. After the scale has been removed, then wash them with warm water and soap as normal. 

- Mix equal parts water and vinegar and scrub the inside of the ice maker. Using a sponge or a rag, scrub away at the material, making sure to rinse your sponge often. Do your best to hit every surface in the ice maker that you can get to, or else the grime will continue to build. 

- For any areas that are hard to reach or stubborn, grab your toothbrush and a small dish of undiluted vinegar. 

- Do a final cleaning by mixing a new batch of the water to vinegar solution and pouring that into your ice maker. Let it turn that into ice, then dump it after. 

-Rinse the ice maker with clean water several times to remove any of the vinegar, and then feel free to continue making ice as normal.  


Tips For Maintaining Your Ice Machine Between Cleanings

Like we said at the beginning, if you don't maintain a regular schedule of cleanings for your ice machine, you're going to run into problems. Fortunately, many of them are preventable with a little TLC. To keep your ice maker running smoothly, do the following: 

Keep it clean

Change the filter as needed. 

Don't forget to descale it

Deal with clogs when you notice them. 

Make sure that the machine has room to breathe on all sides. 


 The Benefits Of Regularly Cleaning Your Ice Machine

So, to reiterate, cleaning your ice machine regularly is important. It ensures that your ice is sanitary, which means no mold or slime. It means you get lots of ice for your drinks and or to munch on. It aids in keeping your family healthy, and it extends the life of your ice maker. 

With all of that in mind, let us know what your favorite type of ice is over on our Facebook page. Do you prefer cubes, spheres, or pellets? What about chips or shaved?


Disclaimer: The number of ice makers on the market would require an entire website on their own. Because of that, this is a general guide, not a specific one. Read this to get the general idea and your product manual for the specifics of your model of ice maker. 


If you don't have the time to do regular maintenance, you can always give us a call. Appliance Rescue Service not only does repairs, but we also offer maintenance services for ice makers and all other major appliances, so you have time for what matters. You can call us at ((214) 599-0055) or go to our contact page to set up an appointment.


Get Your Protein with This Buddha Bowl

A Creative Way to Mix Up Left Overs 

Sometimes you want something that works with what you have left over from earlier in the week. Most times, you want something that’s going to fill you up and not leave you hangry a few hours later. This recipe fits both of those needs. Now, as with most recipes for Buddha bowls, you’re more than welcome to mix things up. Add in more veggies, add in less grain, sub out an entirely different sauce. This is one that we’ve been loving though, and have used multiple times since dreaming it up earlier this year. 

Sauce:

1/4 cup peanut butter

2 tablespoons low sodium soy sauce

2 teaspoons rice vinegar

1 teaspoon raspberry syrup

1/2 teaspoon sweet chili sauce

1 teaspoon garlic powder

2 tablespoons hot water


Bowl:

1 cup rice (cooked)

1 cup quinoa (cooked)

1/2 cup shredded carrots

1 package frozen sweet potato

1 can seasoned black beans

1 zucchini

1 teaspoon olive oil

1 teaspoon dried parsley

salt and pepper to taste


Tools:

cutting board

knife

measuring cups and spoons

serving spoon

sieve or colander

microwave-safe dishes

fork and spoon

frying pan


As always: wash your produce! This is our first step every time we're not utilizing washed/ready-to-eat veggies.


If you're not working with already-cooked rice and quinoa, go ahead and start them now. (This recipe was actually born out of there being too much rice in our fridge, left over from dinner the night before... which is why we sort of glossed over the cooking of the rice and quinoa steps.)


Put your steamable bag of frozen sweet potato chunks into the microwave and cook them according to package directions - in our case, roughly six minutes on high.


Dump the can of seasoned black beans into the colander or sieve to drain and give them a quick rinse before putting them into a microwave safe dish. You can set them aside for now, as they won't need to heat very long in the microwave, and the sweet potatoes will be hogging it for a while anyway. But when the sweet potatoes are finally done, swap them for the beans and zap them a minute or two, just long enough to heat them through.


Trim the ends and cut your zucchini into chunks - whatever shape or size you like is fine, but we do half inch quarter rounds because they cook quickly. Pour your olive oil into the frying pan, swish it around a little to coat, and add the zucchini. Sprinkle with parsley, salt and pepper, and saute for about 5 minutes over medium heat. You can substitute sesame oil for the olive oil if you have some, but it seems not a lot of people keep sesame oil in their pantries.


We chose to leave our shredded carrots raw, but if you'd prefer them cooked, feel free to toss them in with the zucchini about halfway through the cook time.


As your veggies heat/cook, grab a smaller microwave safe bowl and get started on the sauce. The first thing to go in should be the peanut butter. If you find peanut butter to be a little unwieldy (sticking to the spoon, landing in great blobs on the side of the dish instead of in the bottom, etc.) when you cook with it, feel free to employ the tactics of spraying your measuring cup with cooking oil before filling it and/or heating the peanut butter for 15-30 seconds in the microwave to soften it up.


After the peanut butter, use a fork to stir in the soy sauce, rice vinegar, sweet chili sauce, and syrup. These normally mix fairly easily. The troublesome one is usually the garlic powder. Once you have the other items mixed thoroughly, sprinkle the garlic powder on top and pour the hot water over it. Use the fork like a whisk and swish the hot water over the powder and into the peanut butter mixture a few times to combine.Switch to a spoon and stir it to death. Leave the spoon in the dish because you'll need it shortly.


Once your grains and veggies are all cooked or warmed through, begin layering things into your bowls. We started with rice, then quinoa, then scoops of zucchini, sweet potato, and beans, then a sprinkling of carrots and a drizzle of sauce. If you have some handy, a little everything-but-the-bagel seasoning is also a nice topping.

We hope that you enjoyed this recipe! Let us know if you decide to make it over on our Facebook page. As always, we love to hear from you. 

If you’re wondering what to do with leftovers because your fridge just ran out, we can help with that too! You can reach out to us via our contact page or by giving us a call at ((214) 599-0055). We’ll work with you to set up a  time and date that works with your schedule. At Appliance Rescue Service, our goal is to get your home running smoothly again. 


Bugs of Summer: Fleas, Lice, Ticks and Bed Bugs

Can Your Washer & Dryer Get Rid of These Pests? 


One of the things we always love about summer is going out and exploring. New experiences, new cities, new friends and new foods! We even love bringing back souvenirs. What we don’t like to bring back are tiny bitey things that nest in our clothes, our bed or our hair. Fleas, lice, ticks and bed bugs are some of the worst travel companions you can pick up in the summer. While most of us take precautions, sometimes those precautions fail, and you wind up having to get rid of one or many of the little bugs. 


For many of us the first answer is to toss everything into hot water in the washer and then run it through the dryer. But is that always the best answer? Let’s take a look together. 

Courtesy of  Egor Kamelev


Can Your Washer or Dryer Kill Fleas?

Fleas are six-legged wingless creatures that will go after your pets if given half a chance. They love to live in warm, humid areas that are mostly undisturbed. So your pet and their bedding is ideal! An adult female can lay as many as 50 eggs in a single day, and live up to 100 days when left alone. While they won’t live on humans, they can jump up to 13 inches, which means they can easily transfer to you and start to bite on you as well as your pet. 

What are you to do then? Will showering yourself and your pet then throwing all of your soft goods into the washer and dryer solve the problem? No, but it is a good place to start. The hot water in your washer will clean the bugs and any eggs out of your clothes, bedding and all the rest. If you’ve just gotten home from travelling and noticed the problem, go ahead and wash everything you took with you on your trip, and give your pet a good combing and treatment with a flea dip.  If you’re lucky, you’ve caught the problem in time and don’t have anything else to worry about. 


If that doesn’t solve the problem, or if it’s been a few days and you’re just noticing the issue, plus “flea dirt” around the house, you’ll need to kick things up. Start with the same steps as before, wash everything, and especially your pet. Now start on a deep clean. Take your pets outside  and  move all of your furniture around. This gets rid of any hidden areas and exposes them to light and the vacuum you’re going to be grabbing. Now vacuum down everything. If you can’t wash it, vacuum it. When you’re done, either throw away the bag or thoroughly clean the container. Vacuuming is more than just cleaning in this case, you’re also attacking any larvae that are in their coocoons. The  cocoons are resistant to insecticides, so now you can go back through your home and spray things down with the appropriate pet and human safe chemicals, knowing that you’ve gotten rid of them. 

You will need to repeat these steps every other day, for at least 10 days, possibly up to a month, in order to get rid of the infestation, depending on the severity. Make sure to wash your pet’s bedding every week as well. 


Short answer: No, your washer and dryer alone won’t kill all of your fleas, but it will cut out a large portion of the problem. 


Can Lice Be Killed By Your Washer or Dryer? 

Lice - Courtesy of Egor Kamelev 

Lice are another six-legged menace. Lice, unlike fleas, don’t jump. You don’t have to worry about them leaping from person to person, but you do need to worry about them crawling. It’s why lice can go through an elementary school or daycare like wildfire. Fortunately, the CDC has said that head lice don’t survive for long off the human head. 


So, if you had one of the children in your life accidentally bring lice into your home, are you to get rid of it? In this case? Yes, your washer and dryer can kill almost everything.

If the issue is restricted to the bed, this will be the easiest scenario. Start by stripping the bed, down to the bare mattress. Toss everything that can be washed directly into the washer and run it on hot water and then high heat for at least 45 minutes. If it’s something delicate, like that embroidered case from your great-grandmother? It’s ok, just toss it into the dryer and run it for 45 minutes. The heat is what is going to kill the louse and the nits. Everything that can go through one of these two steps can be used immediately afterward. 


Anything that cannot be washed or dried on high heat, stuff it into a garbage bag. These are going to sit for 10 days.  


This is, unfortunately, going also to include your mattress, but you’ll need to do one more step before that. Take your vacuum and go carefully over every inch of it. Any creases, folds or other places that a louse can hide or burrow need to be gone over before you put it into the bag.


After 10 days, you can vacuum everything again and hopefully have gotten rid of your very unwelcome guests. If not, repeat the process as needed, and inspect other soft surfaces around your home as the potential cause of the re-infestation. 

Short Answer: Yes! Your washer and dryer can kill lice, although it shouldn’t be the only step you take in getting rid of them. 

Will Your Washer or Dryer Kill Ticks? 

Ticks Courtesy of Erik Karits

For those of you who regularly venture outdoors, we hear you. We know ticks are *technically* around all year. However, they do tend to be the *most* active between April and September. While these 8 legged beasties can carry some dangerous diseases, you don’t have to confine yourself inside during the warmer months, even in Texas. You can protect yourself, your pets and your home rather easily. Fortunately, most of them cannot survive and reproduce indoors, according to experts.  So your goal is how to get rid fo them if you have you have brought one or more in with you. 

To start with, check yourself and your pets as soon as you get home. Look under arms and legs, behind ears (or inside them for your fuzzy friends), inside your belly button, between your legs and in your hair.  After that, hit the showers. If you’ve been to an area that you know is likely to have ticks, but they didn’t latch on, a shower is a great way to get rid of them. 


What about your clothes, though? For that, toss them in the dryer first on a high heat setting for at least 10 minutes. The high heat not only kills the ticks, it also kills off any young. Since ticks prefer areas with high humidity, not only will they not like the inside of your home, they really won’t like your dryer. If you went camping, you should be able to check the labels and do the same to your backpacks and gear as well.  From here you can wash your clothing as normal and pack away your outdoor gear like you usually would.  


Short Answer: Yes! Your dryer can kill any ticks in your clothing or camping gear, although it should still be paired with prep-work before you go out and careful checks once you come home.  


Are Bed Bugs Killed In Your Washer or Dryer? 

Bed Bugs  Courtesy of  Pixabay

Our final pest is bed bugs. Just thinking about staying in a hotel with them is enough to make you shiver. And don’t think that just because you prefer the nicest hotels means you’re safe. It’s not agree that very few cases of outbreaks are coming from hotels, the vintage ottoman you just picked up, might be a different matter.  Many items like clothing, boxes and secondhand furniture can be a source of bed bug infestations, as they enjoy hiding anywhere people are.  

That’s why it’s not how clean your house is that is going to protect you, it’s being careful about treating things that come into your home. 


If you or someone in your home is waking up with bitchy red bites, especially under their clothes, it could be bed bugs. 

Your first step is going to be to call professionals. Not only do you need to confirm that it’s bed bugs, but you also need to squash the problem as quickly as possible. The longer you wait, the more the bugs can spread within your home, and if you wait too long, outside of it. 

Make sure to get written estimates from anyone you’re considering. They should be licensed experts, able to offer you a written plan of what pesticides they intend to use, what traps or heat treatments and how they’ll use it. While you can purchase over the counter pesticides, they are dangerous to use without proper guidance and it’s unlikely that you’ll be successful on your own. 

When talking to a company, ask all of the questions. A good company will answer them, and a company that won’t answer or tries to pressure you into setting an appointment, is a company you can weed out.  Always ask them about their success rater and if their treatment comes with a guarantee. If it doesn’t, or if they say you don’t need one, that’s another company weeded out of consideration. 

While you’re waiting on the professionals, there’s still plenty you can do, unless you want to burn everything and start from scratch as one of our team suggested. 

Start by sorting anything that’s infested, bedding or clothing, into clean plastic bags. Sort them based on how they need to be washed, and also include a dry-clean only pile.  Then wash and dry everything at the hottest temperature the material can handle. 

While some bugs will die thanks to a dip in your washer, it’s going to be the dryer that kills them. You’ll need at least 60 minutes in the dryer to get rid of them when it comes to the items that you can wash. 

After they’re dried, put everything into fresh clean bags, and do not remove them until the infestation is successfully eliminated.


Thoroughly vacuum everything. Rugs, floors, furniture, beds, any and all cracks and crevices. By cutting down on your existing population, you’re cutting down on the number that can bite you or repopulate. After you’re done vacuuming, put all of the bags or debris into a tightly sealed bag and put it into an outside garbage bin. 


Now it’s time to search all of your furniture. Again, you’re looking for cracks, crevasses, or places that don’t otherwise see much light, like the sides of your mattress or behind the headboard. Don’t forget about inside the beds as well. Look for black stains, blood and fecal matter from the 8 legged biters, discarded skins and the bugs themselves. 


When the professionals have come and done their thing, follow any and all directions that they have, and enjoy having your home free of pests again. 


Short Answer: Nope. Washing alone will not get rid of a bed bug infestation. However it is a very important step in the process. 


Have you encountered any of these summer bugs? How did you handle getting rid of them? Did we miss a step? Let us know over on our Facebook Page. 


Three out of four of our summer bugs can be killed in the washer and dryer, but what if your washer or dryer aren’t functioning properly? That is where we come in. While we can’t protect you from fleas, ticks, bed bugs or lice, Appliance Rescue Service can ensure that your washer and dryer are working properly. You can call us ((214) 599-0055) or go to our contact page to set up an appointment that works with your schedule. We’ll work with you to find the best time to send one of our experts to diagnose and solve the issue. At Appliance Rescue Service, getting your home running smoothly is our priority.