baking

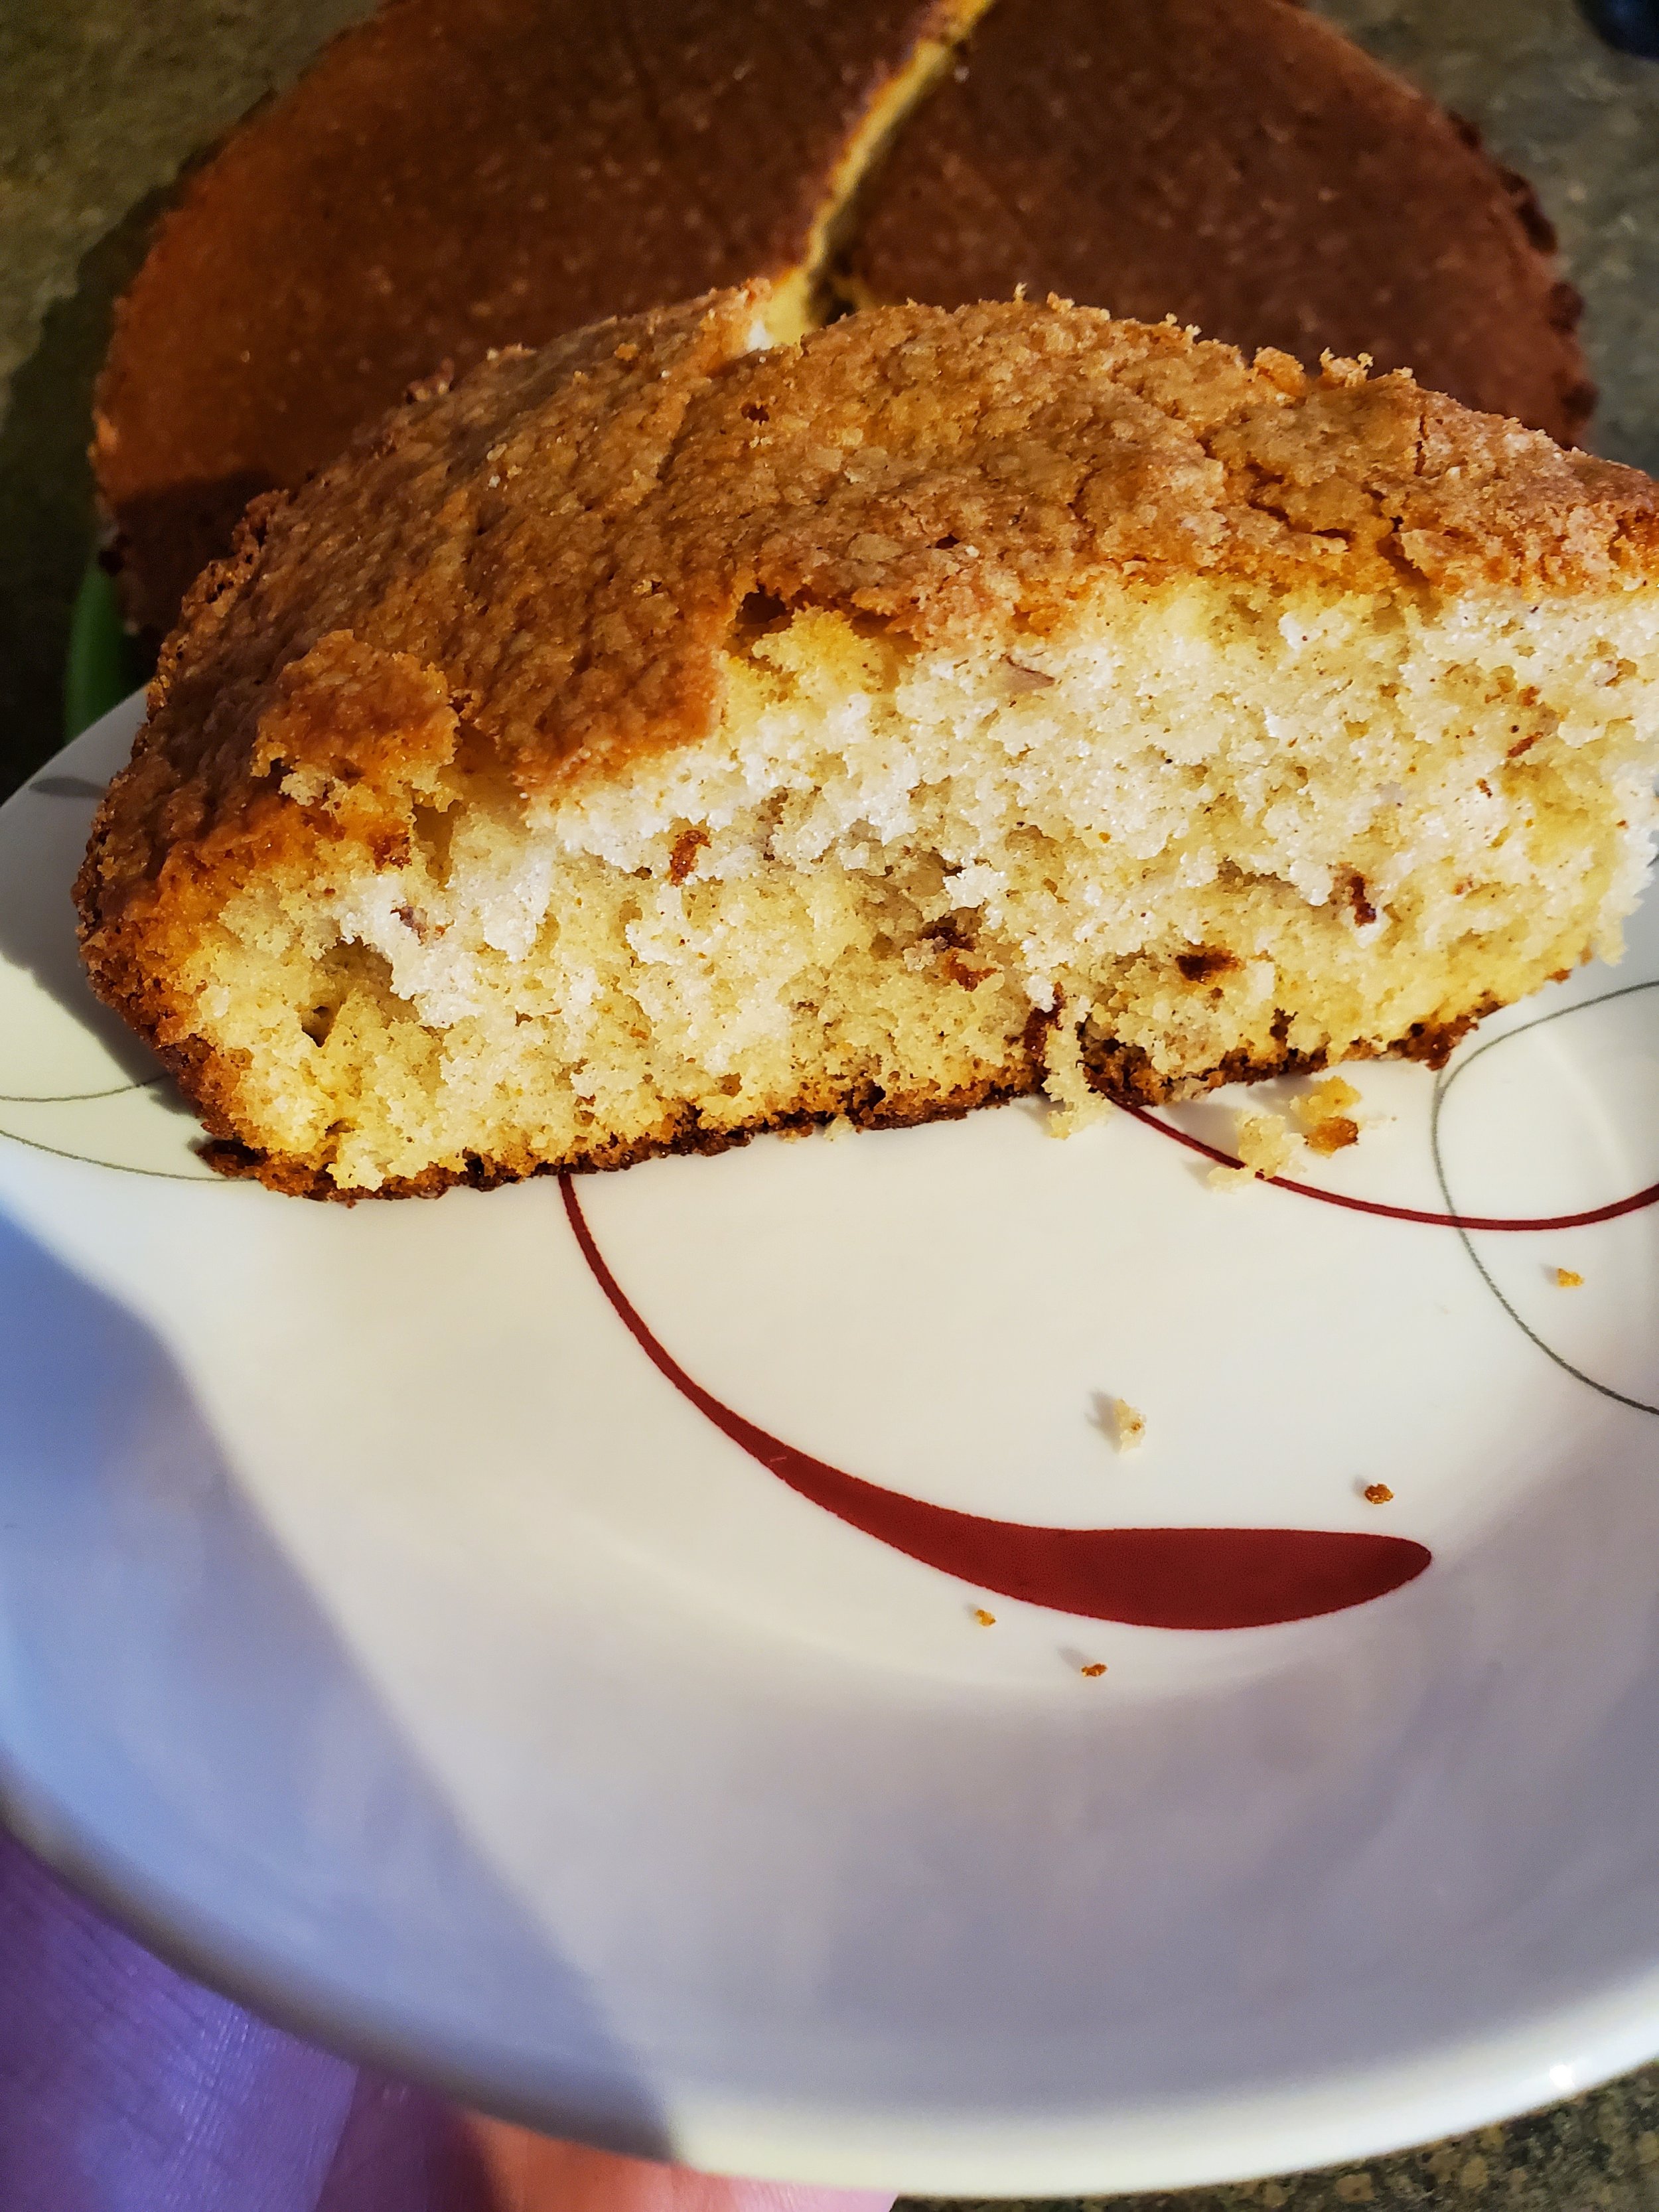
Spice Up Dessert: Walnut Cayenne Tahini Cake

A Flavorful Twist on Classic Baking

Get ready to tantalize your taste buds with our Walnut Tahini Cake recipe! Brace yourself for a flavorful journey where nutty walnuts, creamy tahini, and a hint of cayenne collide in a symphony of taste sensations. Despite its fiery name, rest assured, this cake brings the perfect balance of sweetness and spice. So, roll up your sleeves and let's dive into baking bliss!


Ingredients

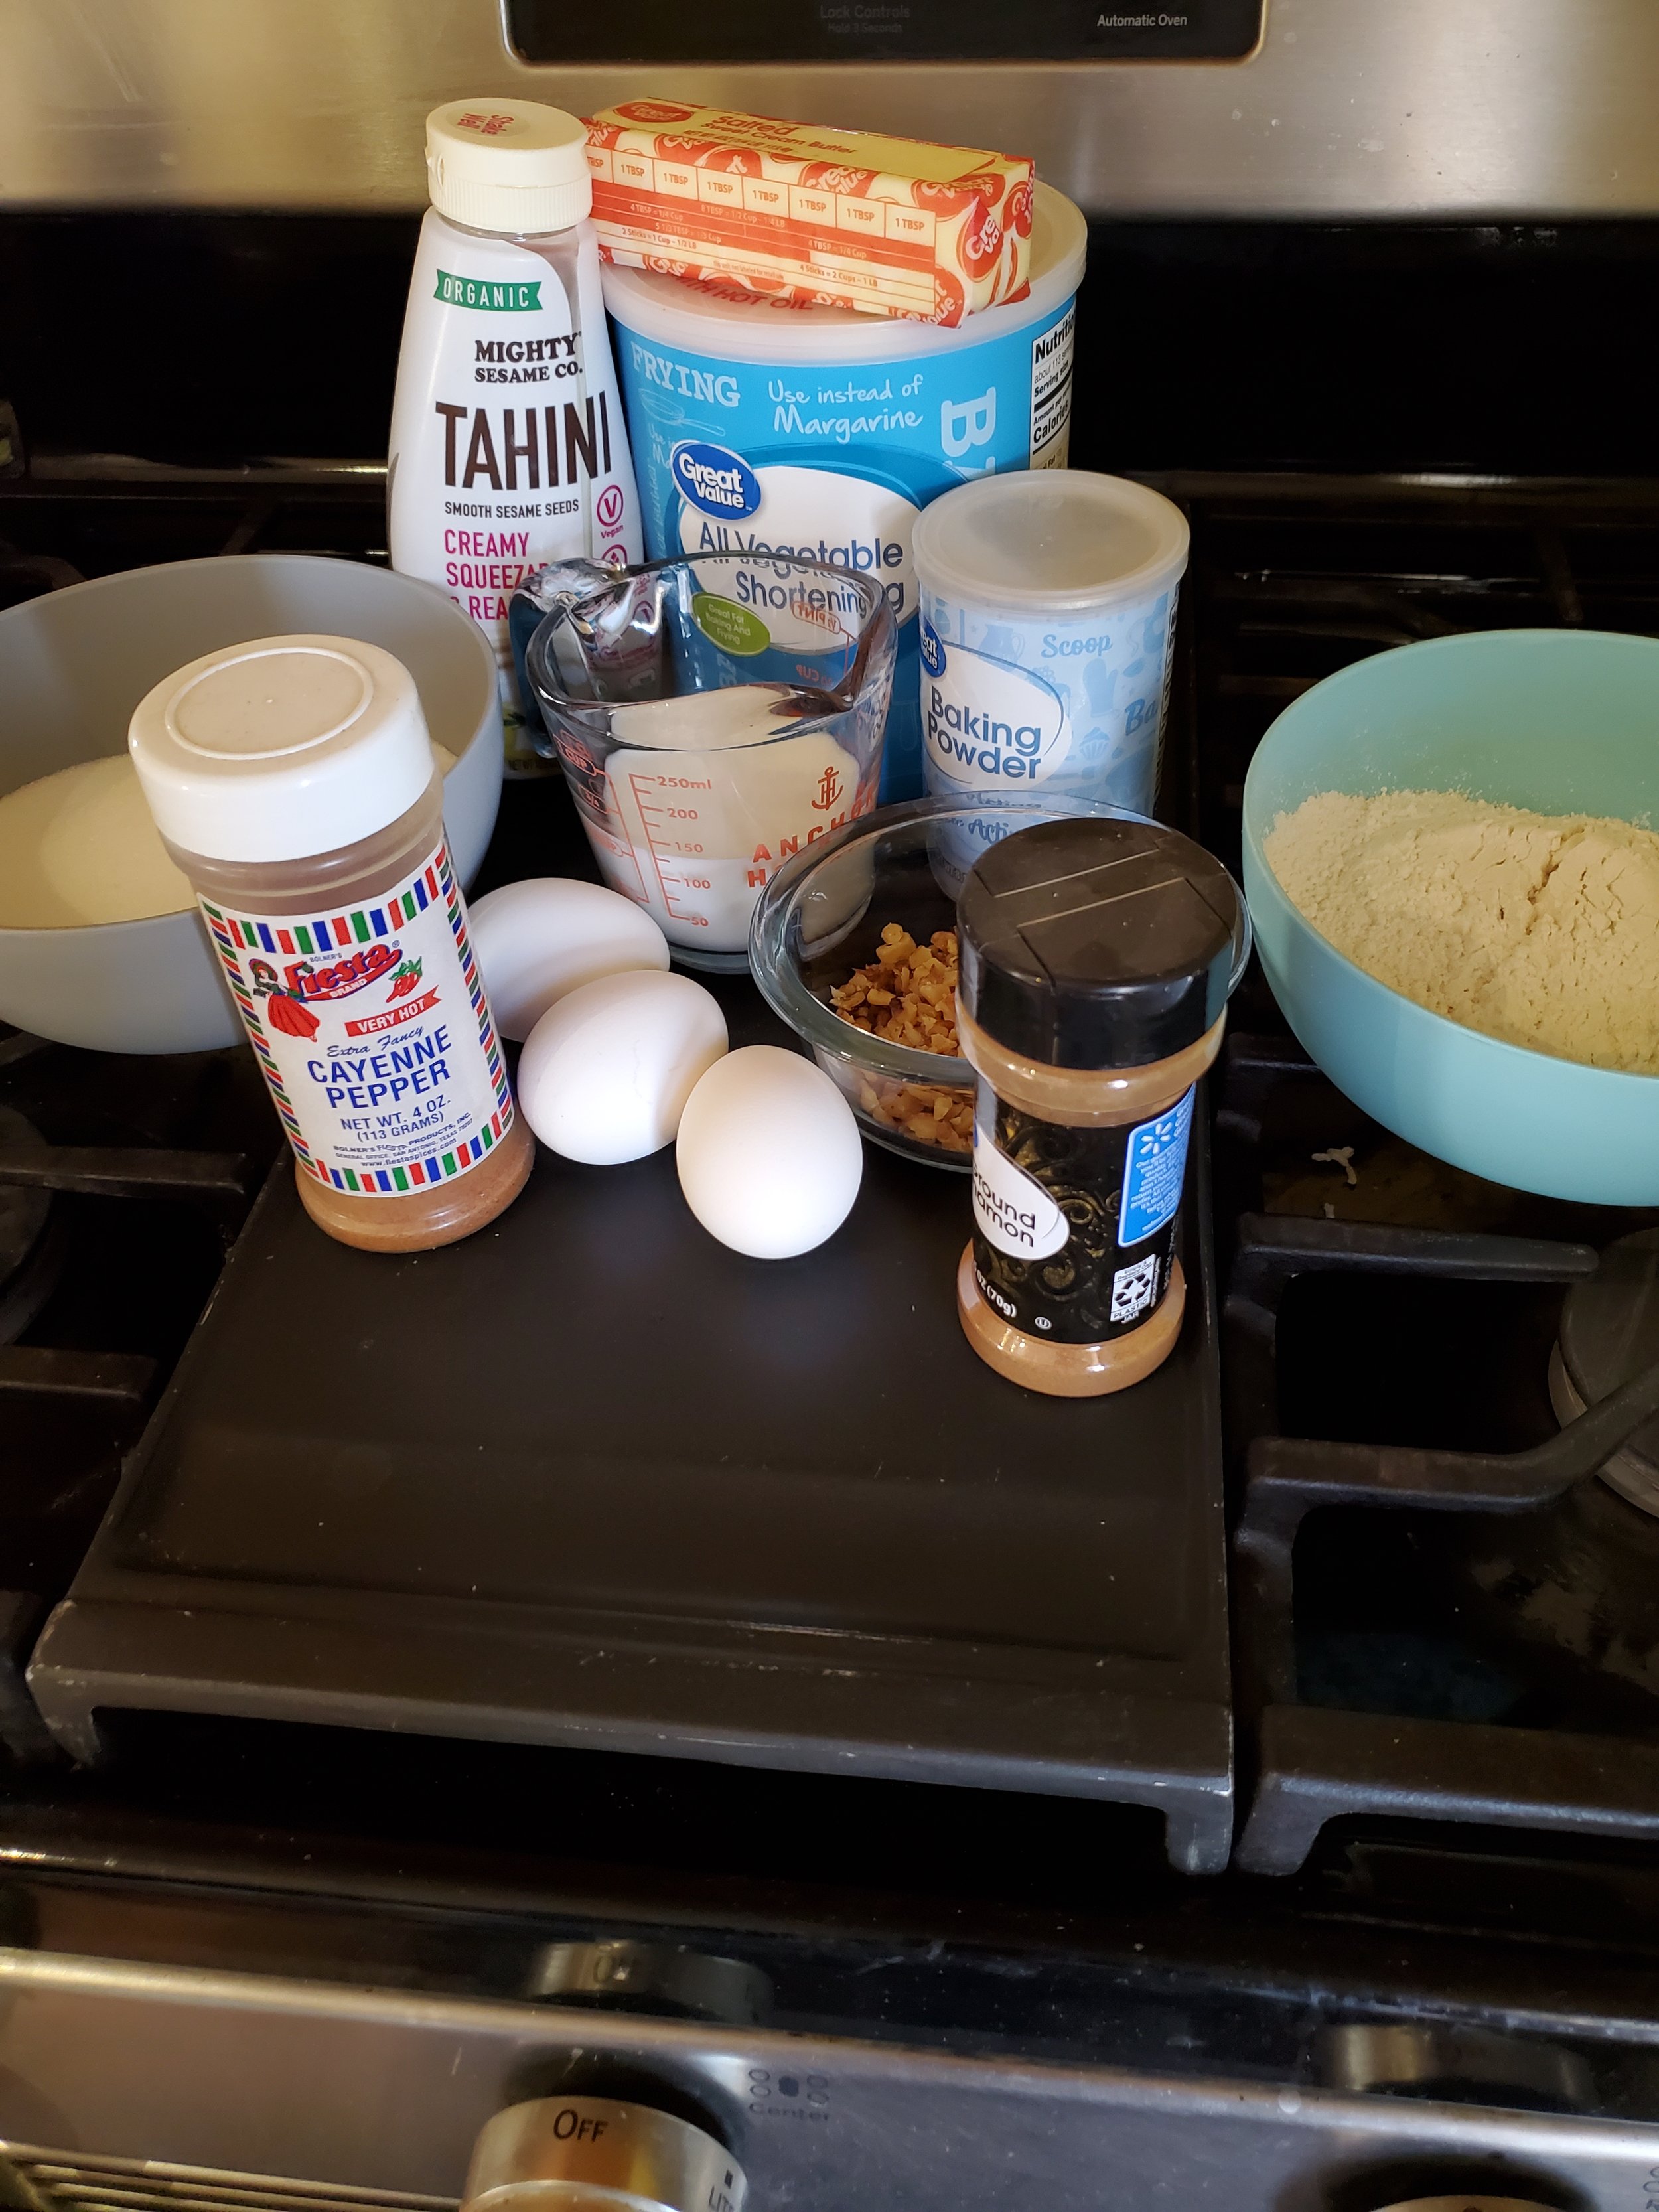
1/4 cup butter

1/2 cup shortening

1 1/2 cup sugar

3 eggs

1/2 teaspoon baking powder

1 1/2 cup flour

1/4 lb walnuts

1 tablespoon tahini

1/2 teaspoon ground cayenne

1/2 teaspoon ground cinnamon

1/2 cup milk


Tools

mixing bowls

spoon

measuring cups and spoons

mixer (hand or stand)

knife

cutting board

nonstick 8-inch pan

plastic butter knife

parchment paper

pencil

scissors


Yes, it says "cayenne" in the title. No, the cake is not spicy. No need to panic.


For best results, start with all ingredients at room temperature, and do not preheat the oven!


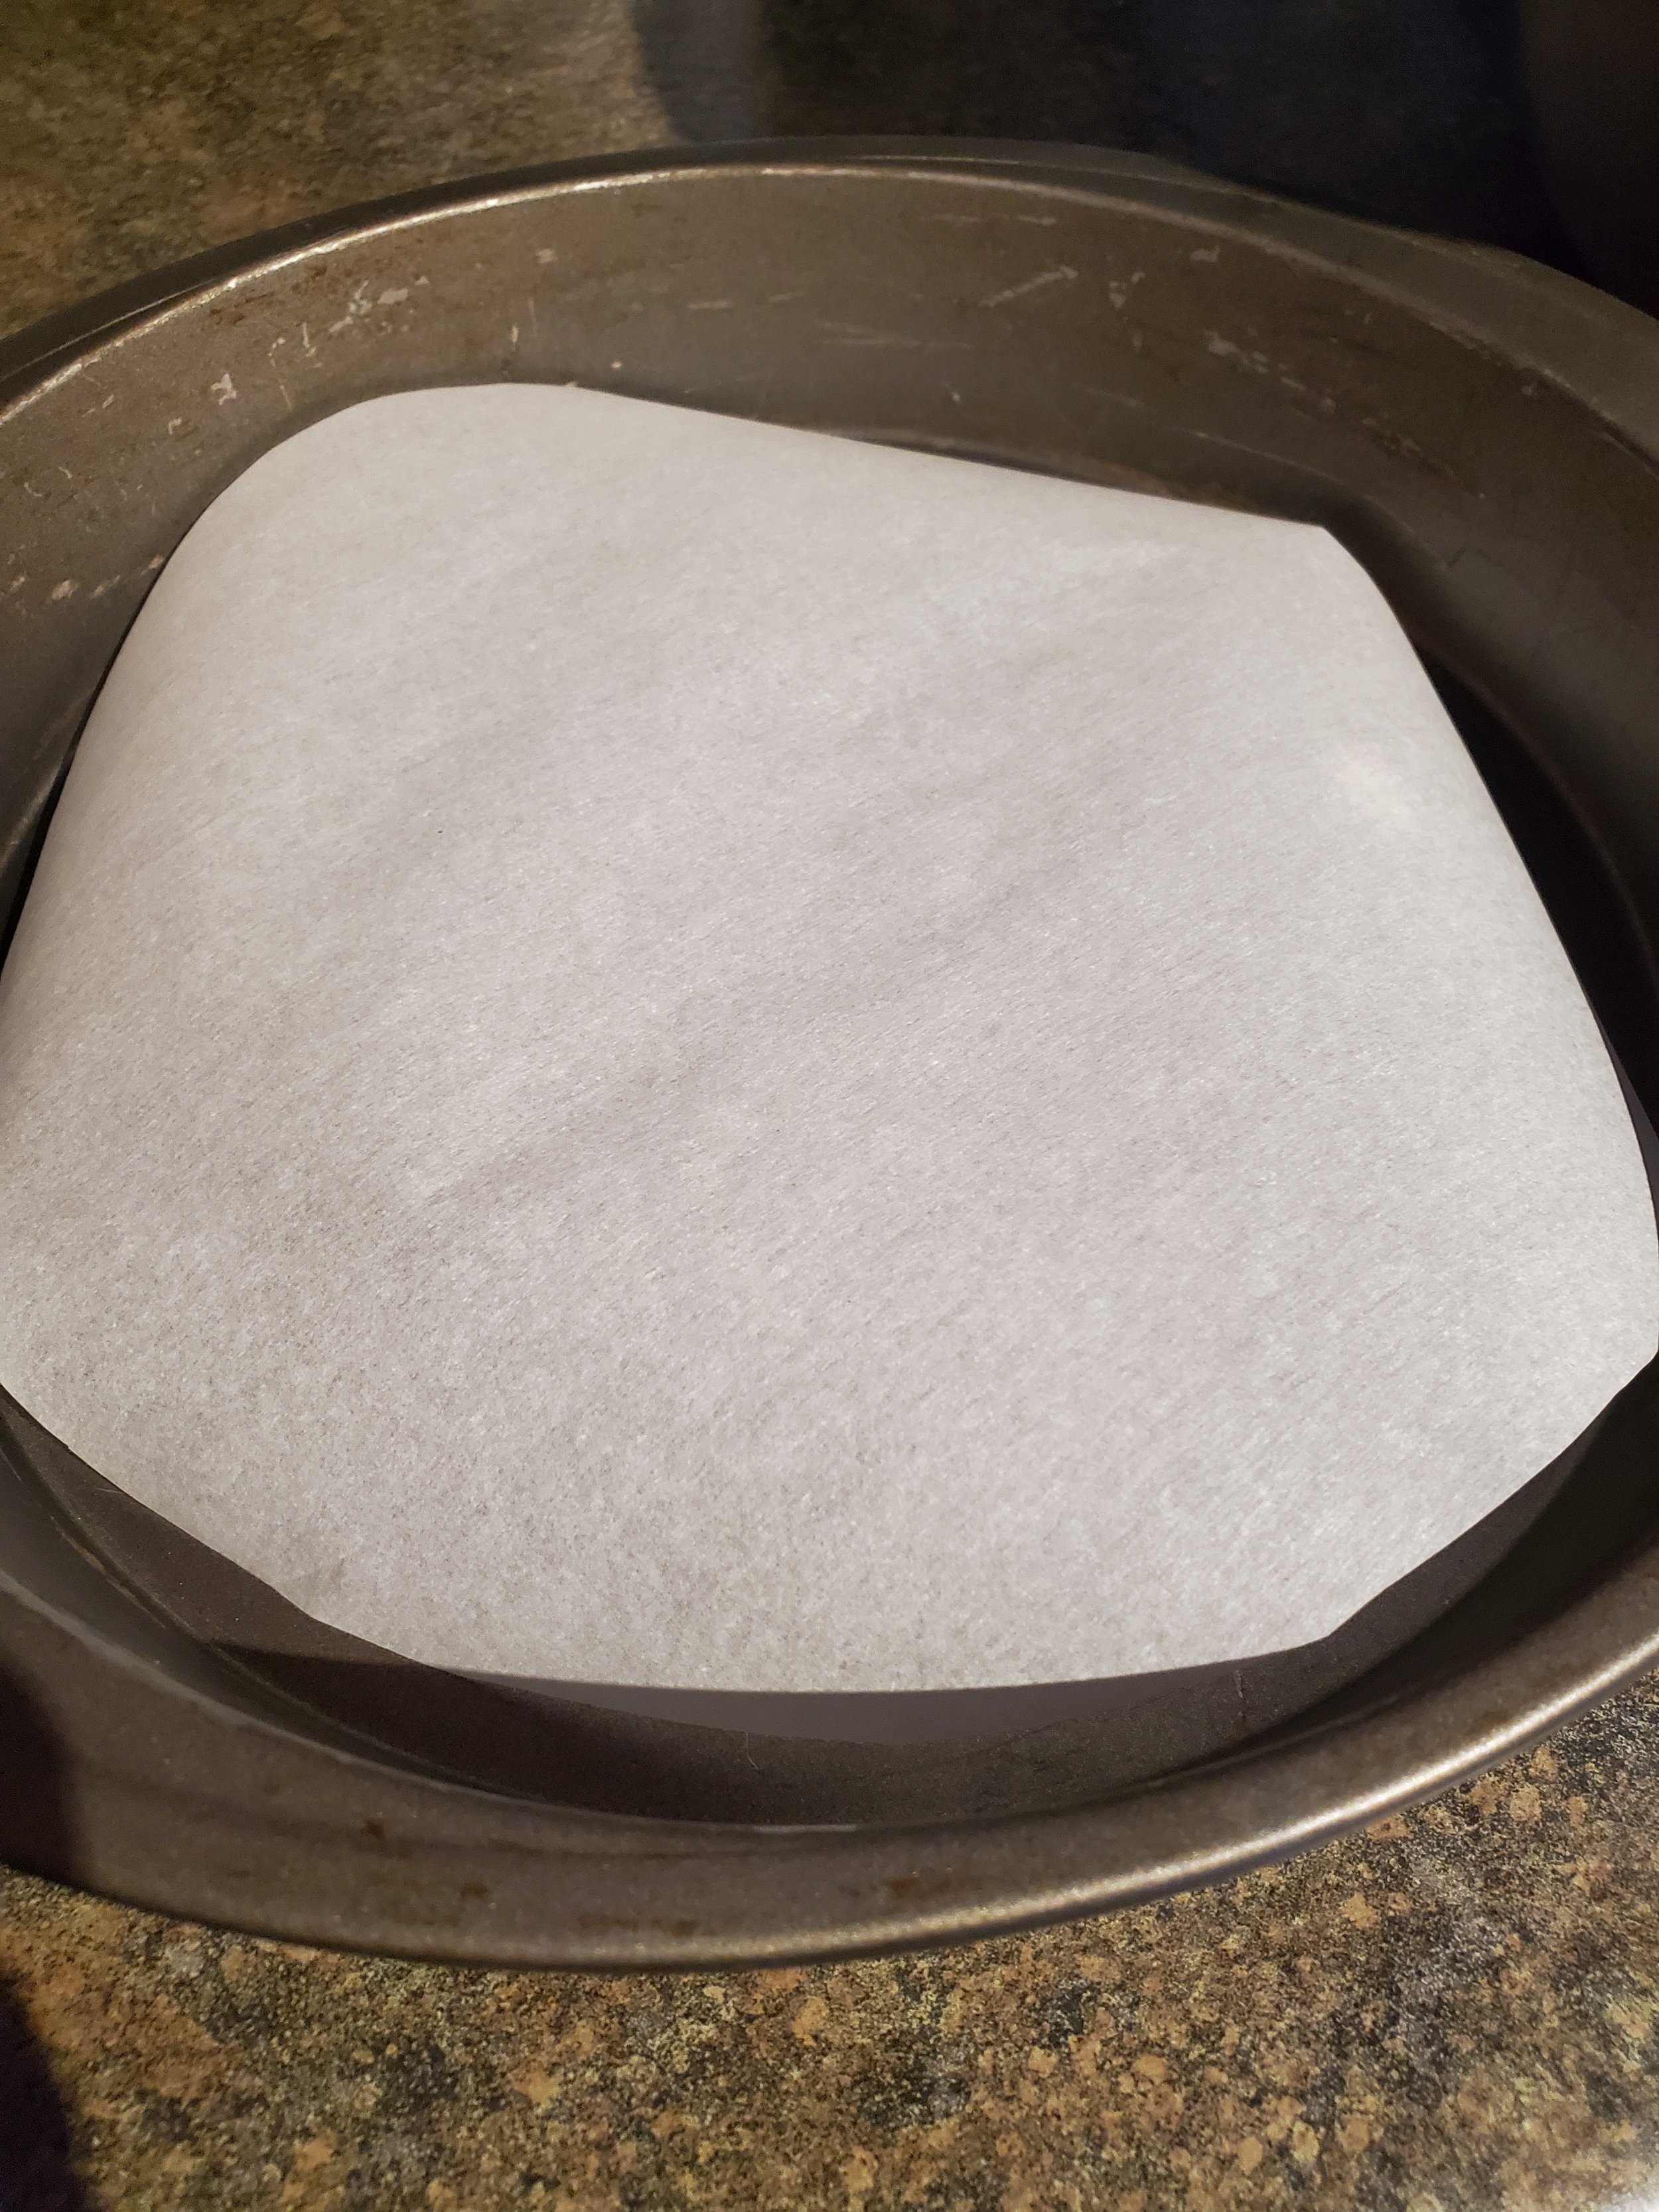
Set your round pan on a sheet of parchment paper and trace around the base with a pencil. Trim off the excess with the scissors. Set your parchment circle into the bottom of the baking pan as a liner to prevent sticking. The cake you're about to make gets awfully comfortable where it is and doesn't like to leave the pan again without an assist, so skip this step at your own risk.


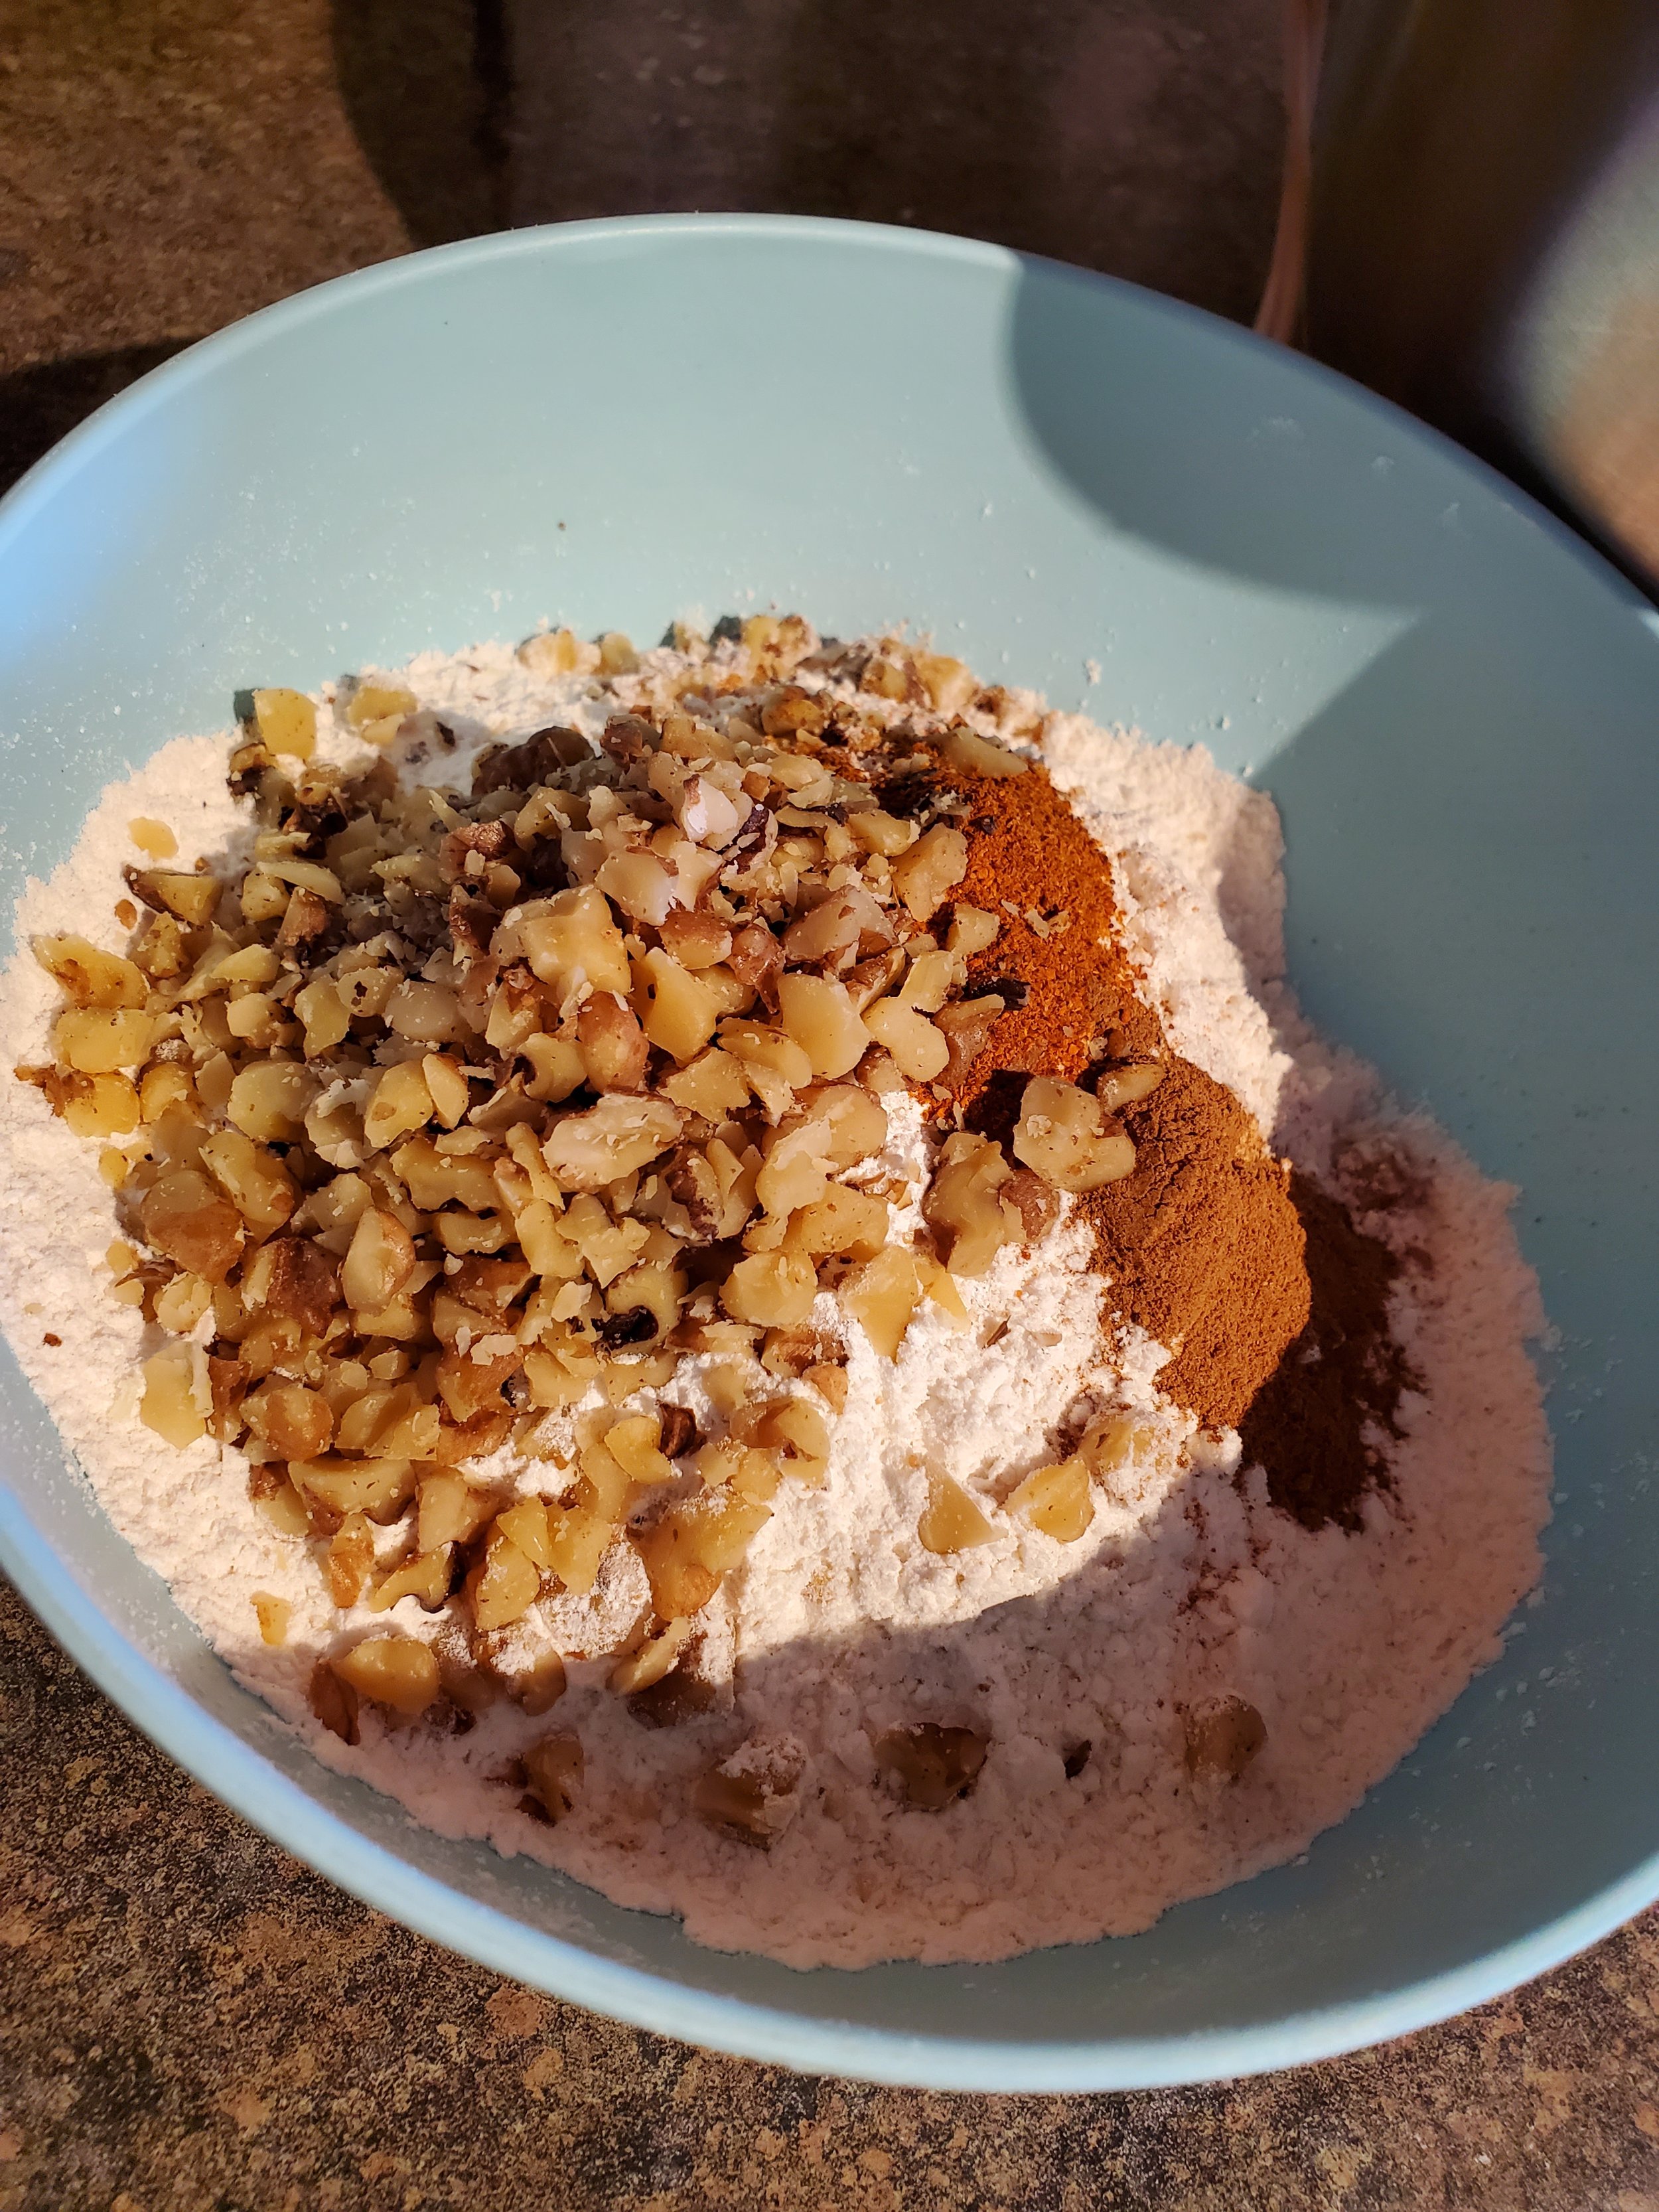
Dump out a comfortable amount of walnuts onto your cutting board, grab your knife and chop them as fine as you like. Due to picky eaters in the household, we went extra fine with ours. Scrape the cutting board off into a mixing bowl and repeat the "comfortable amount of walnuts" thing as many times as necessary to get through a quarter pound. We used a small cutting board and did it in three waves. If you have a larger board - maybe one of those comically huge industrial ones - surely the whole quarter pound at once is no obstacle for you.


Measure your flour, baking powder, cayenne, and cinnamon into the mixing bowl full of walnut pieces and stir them all together until everything is fully incorporated.


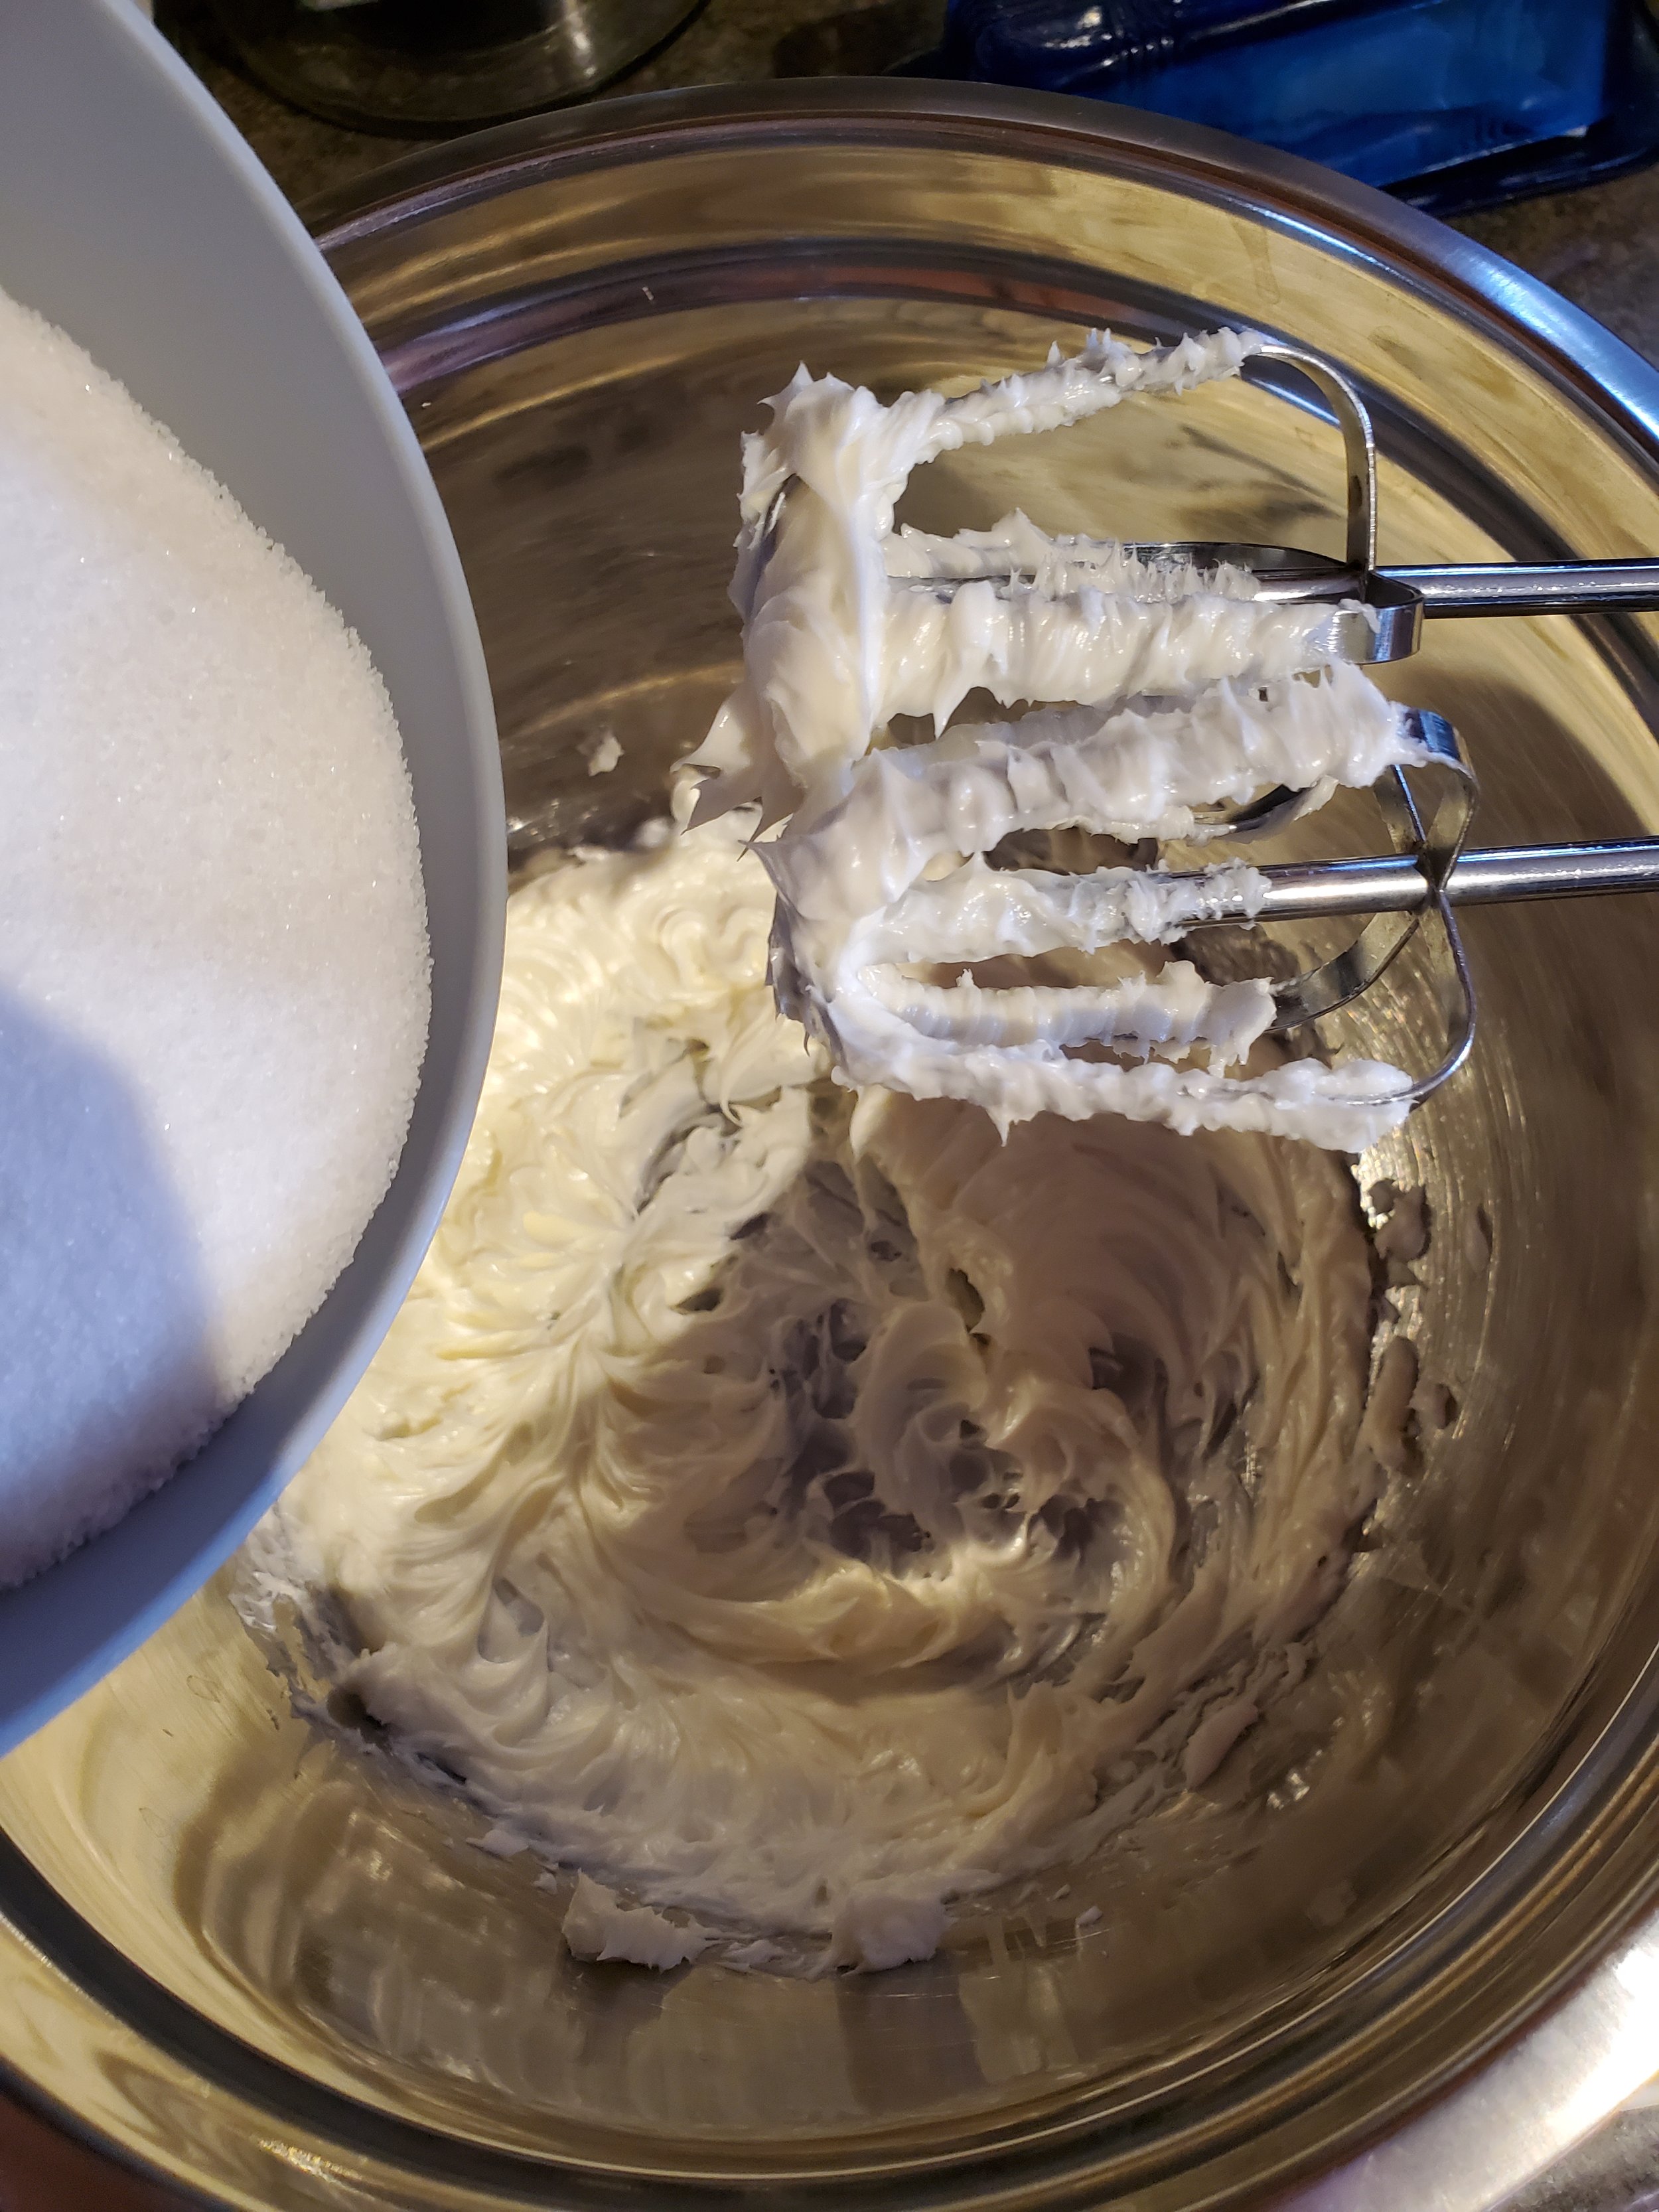
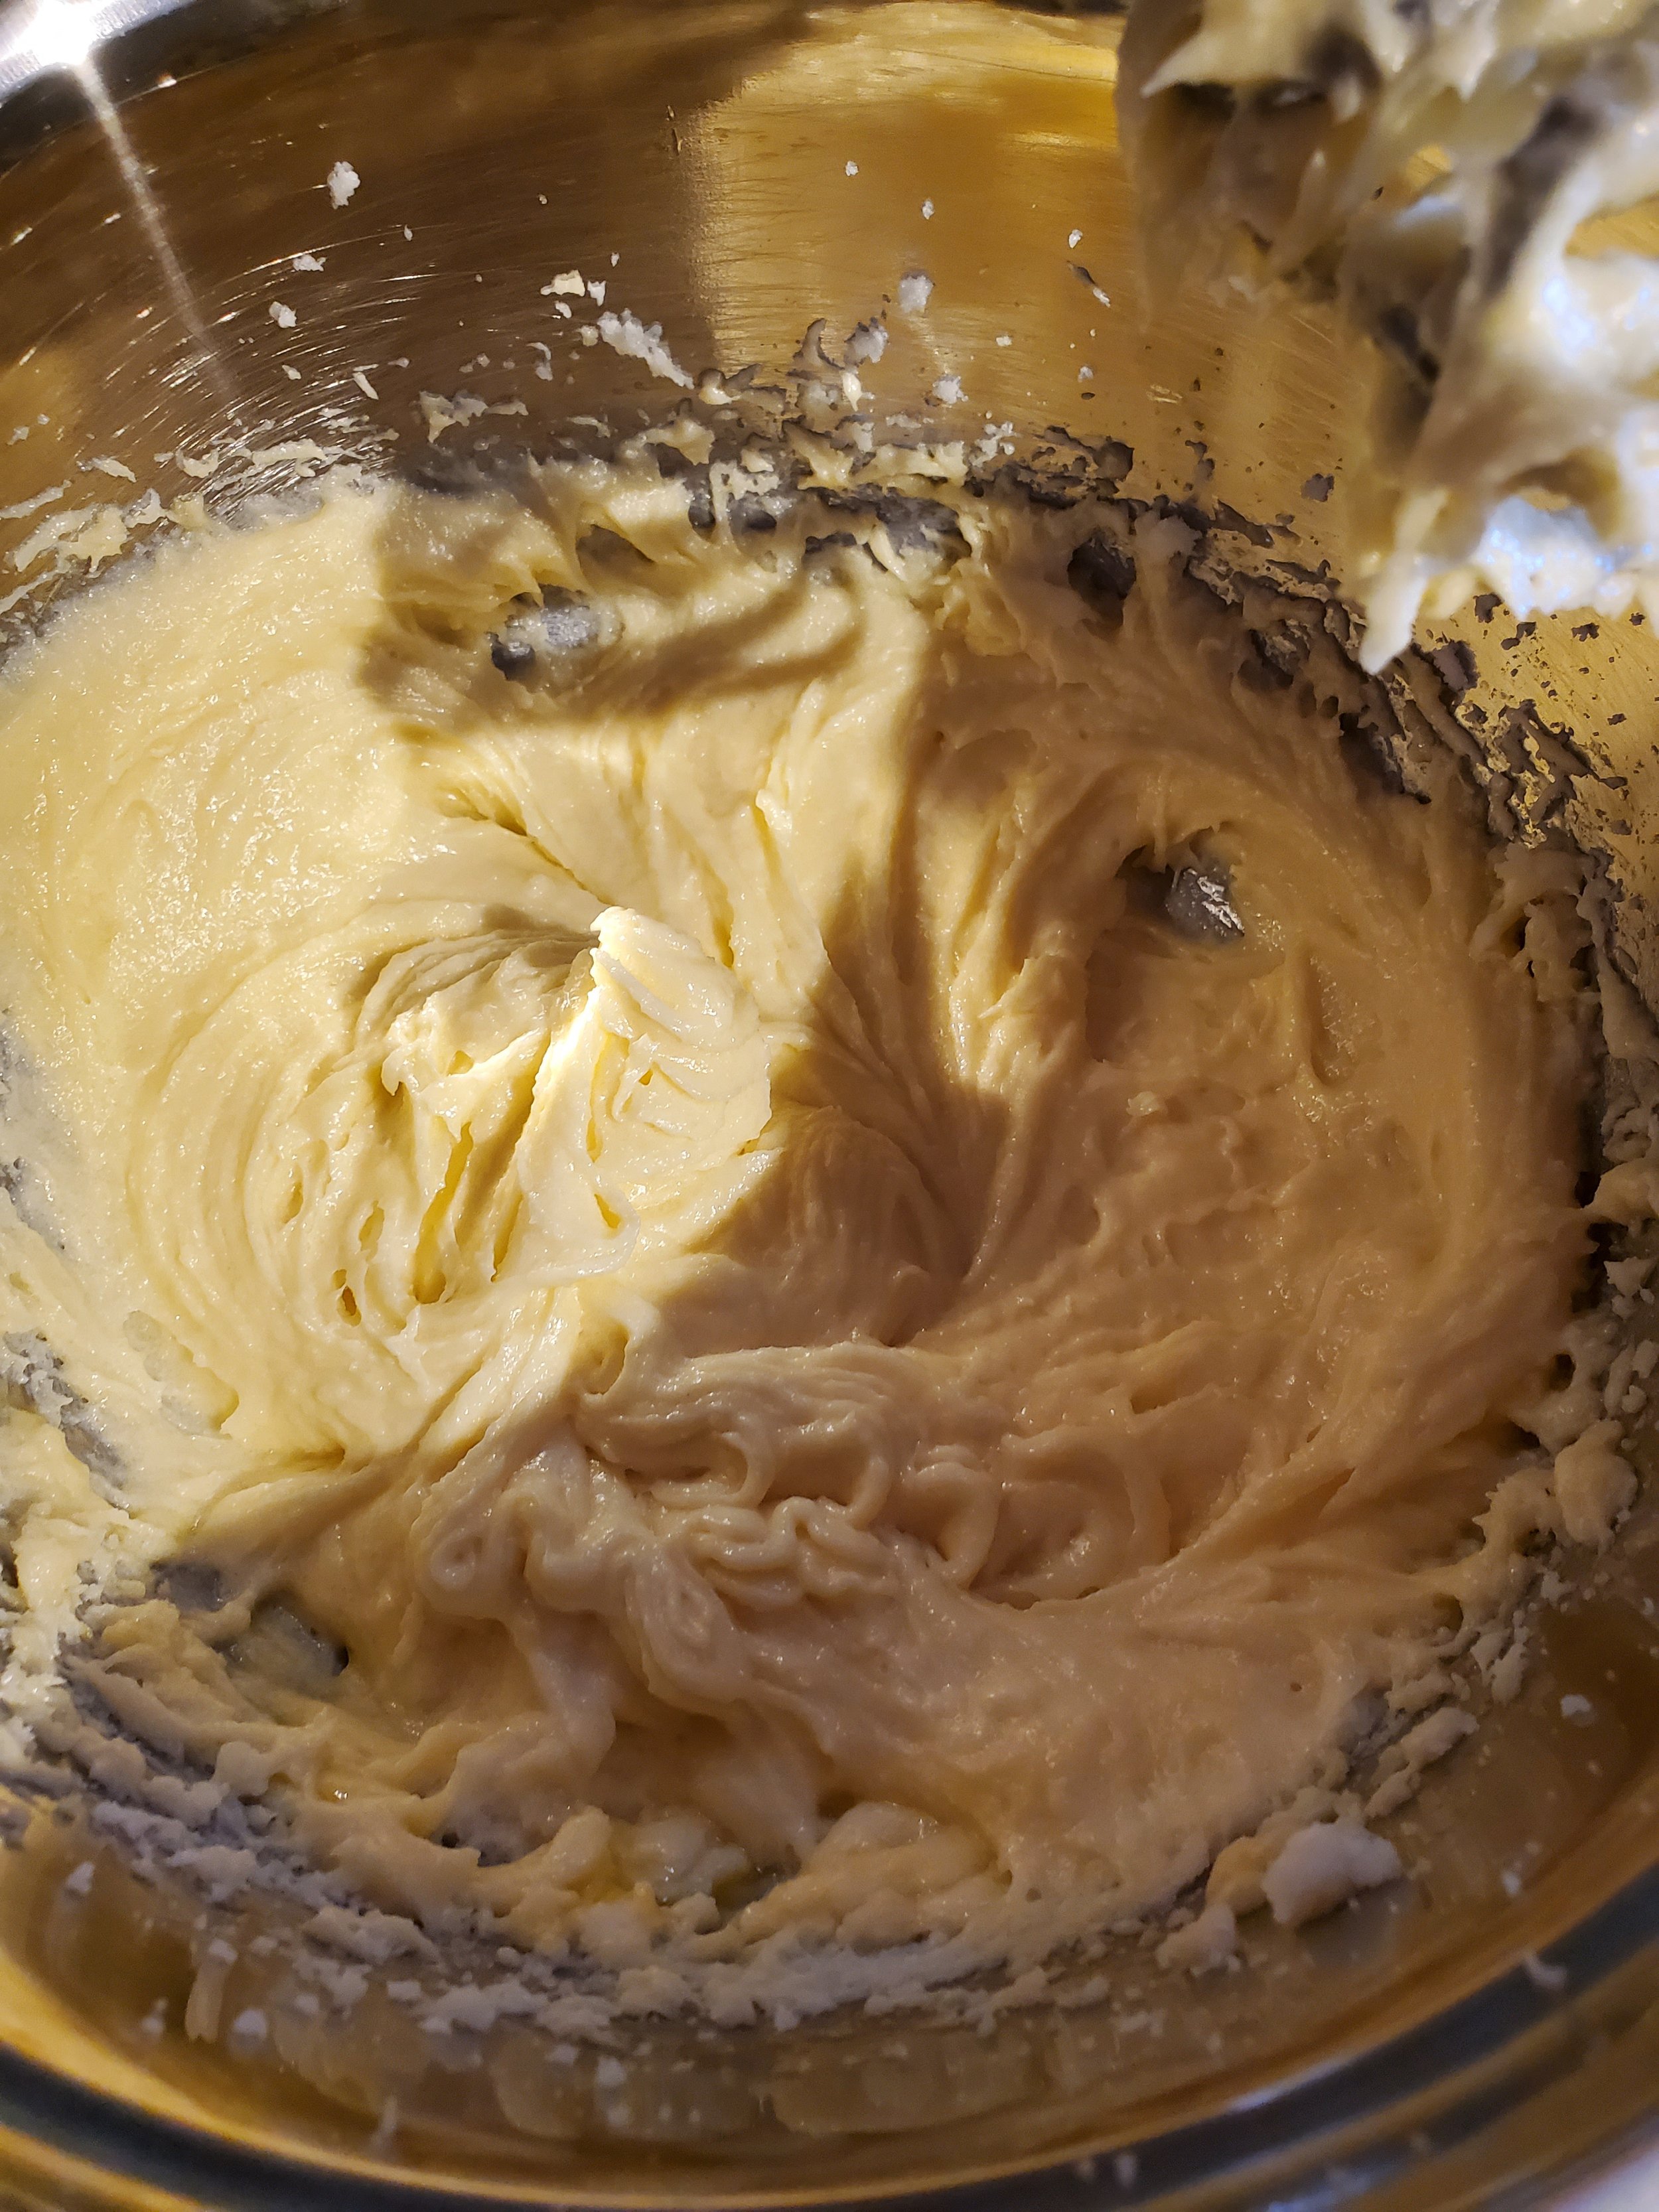
In another mixing bowl, cream together your softened butter and shortening. Add the sugar slowly, mixing all the while. You'll get a granular, fluffy, pale concoction in a minute or two.


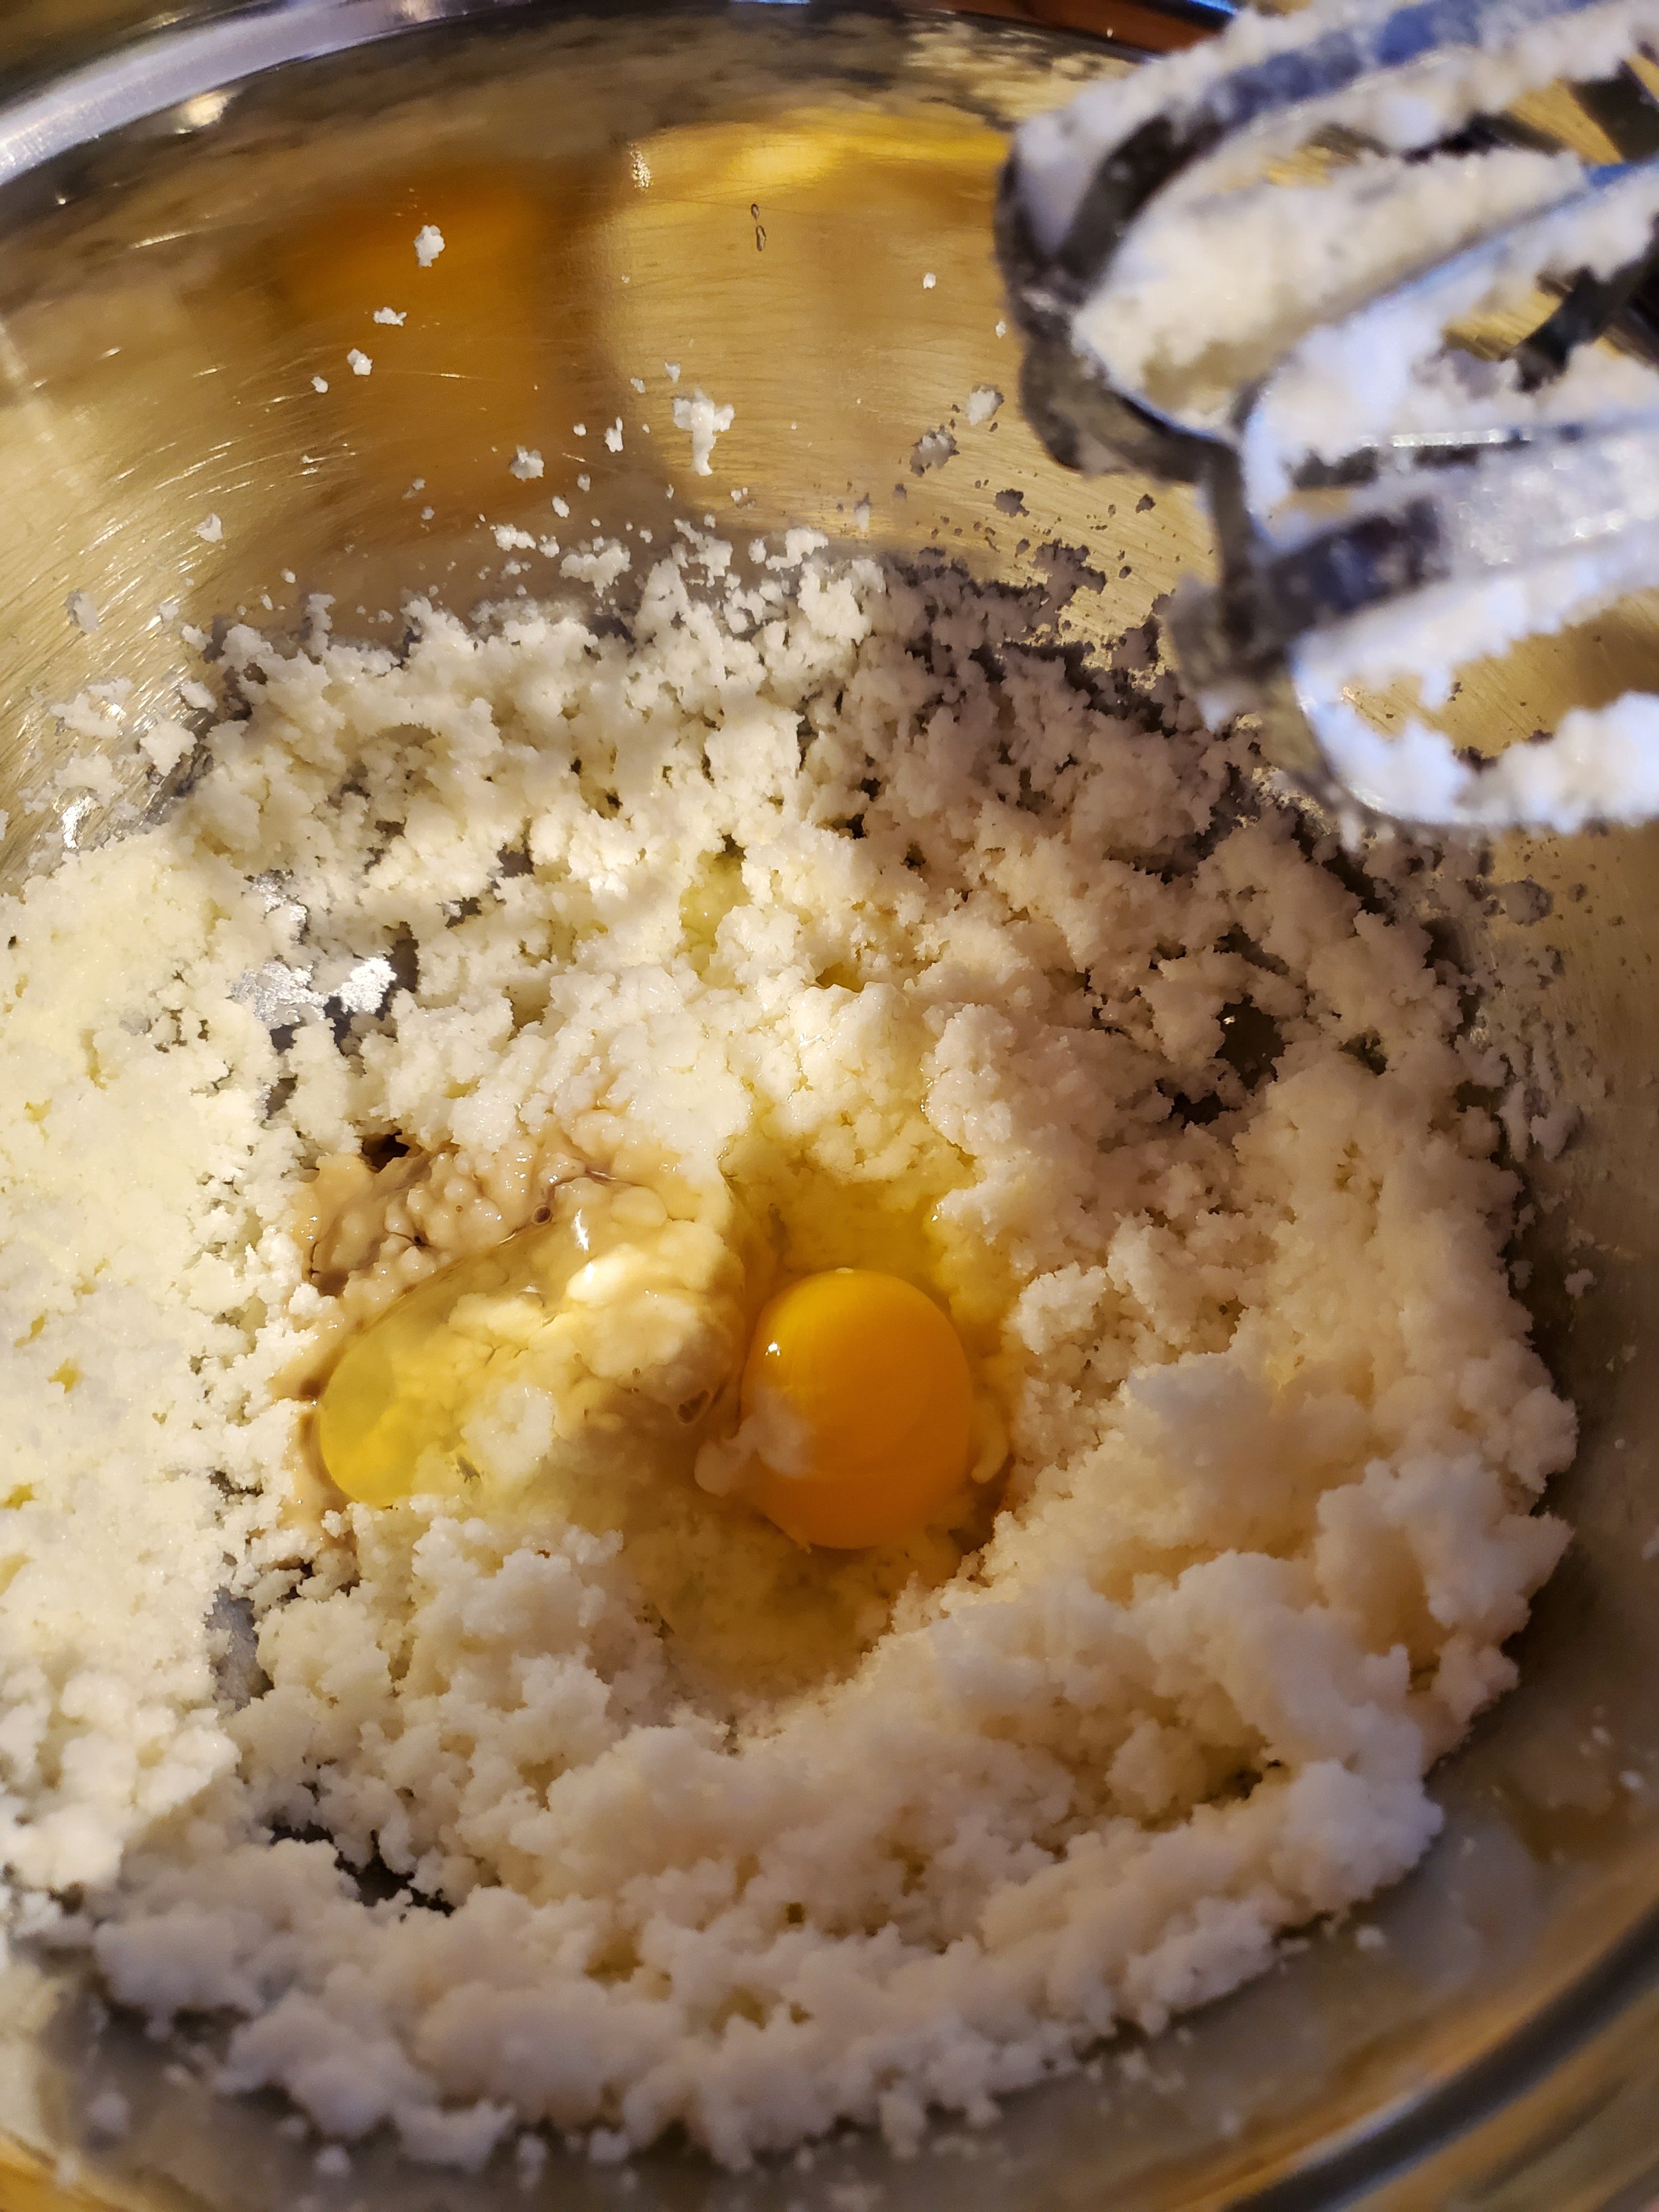
Add one egg and your tahini. Run the mixer until you have one uniform color, then proceed to add the other two eggs. Try not to overmix, but don't leave any yolky spots.


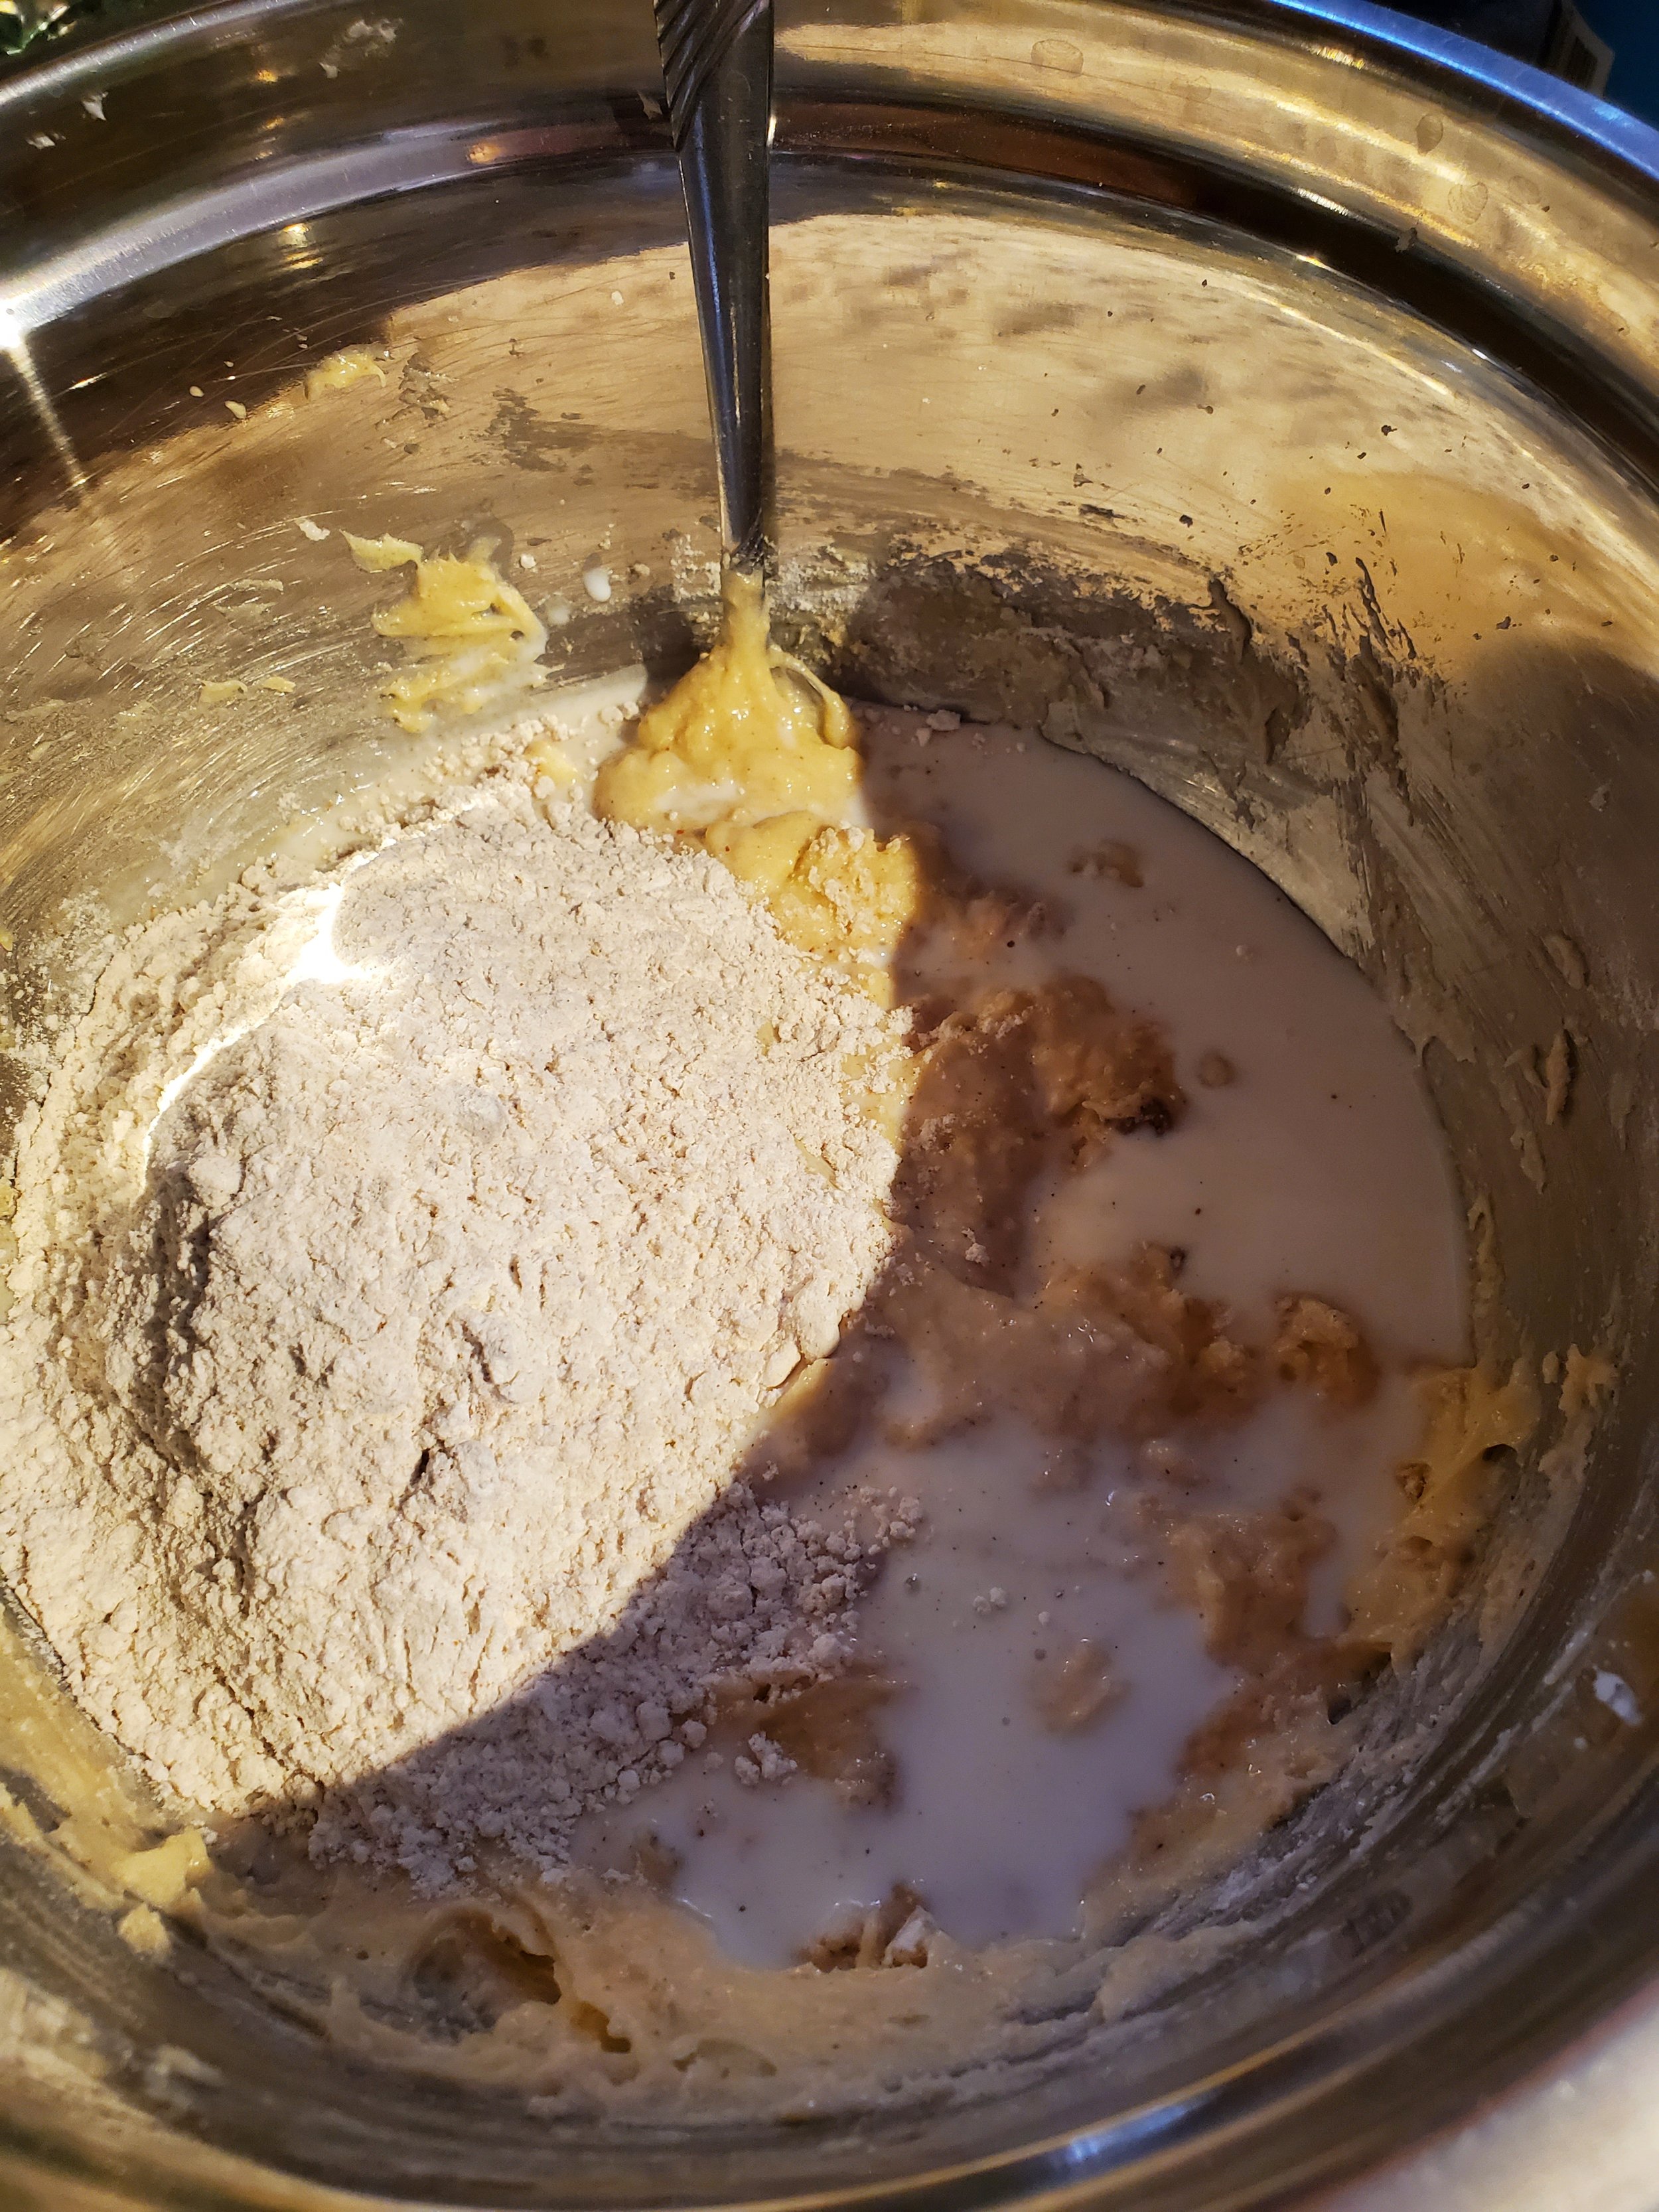
Add your dry ingredients slowly and stir them into the wet ingredients by hand until everything has been dampened. Now you're safe to add your milk - again slowly, and again mixing by hand.


Feel free to bring back the mixer now to finish it off and get rid of any lumps. (We just didn't want the high speed with the thin liquid sitting on top of lumpy mush.)


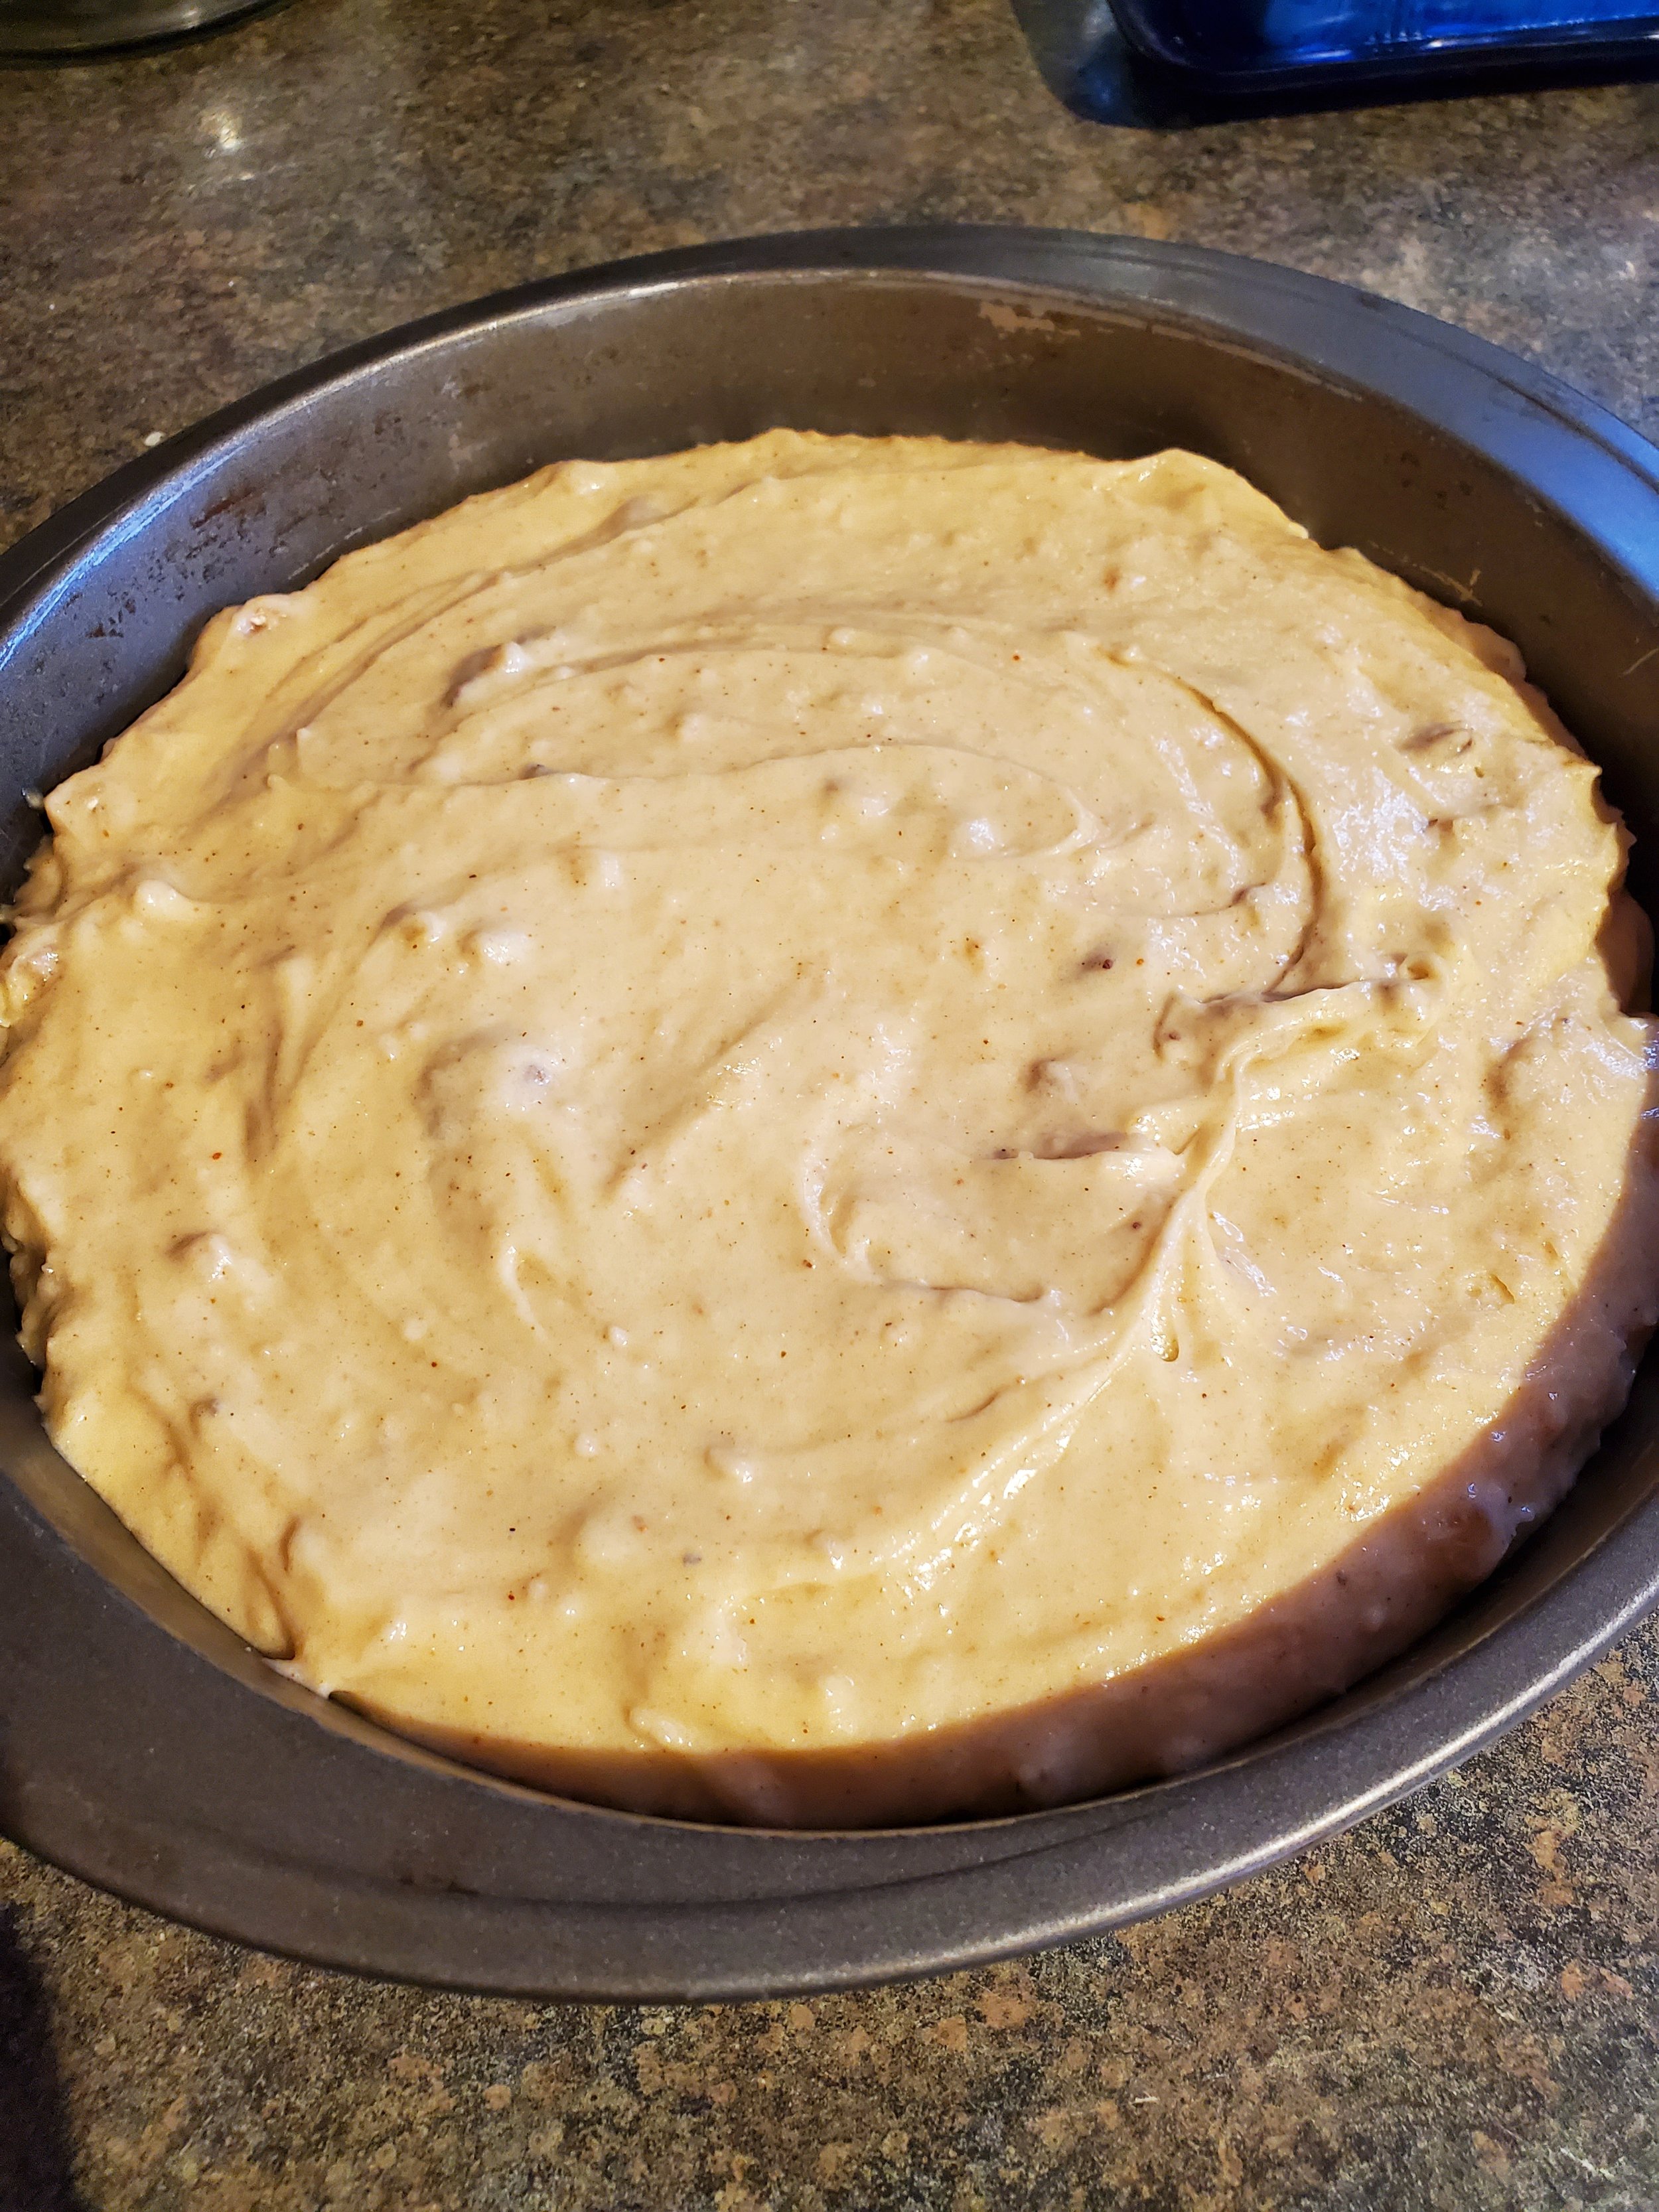
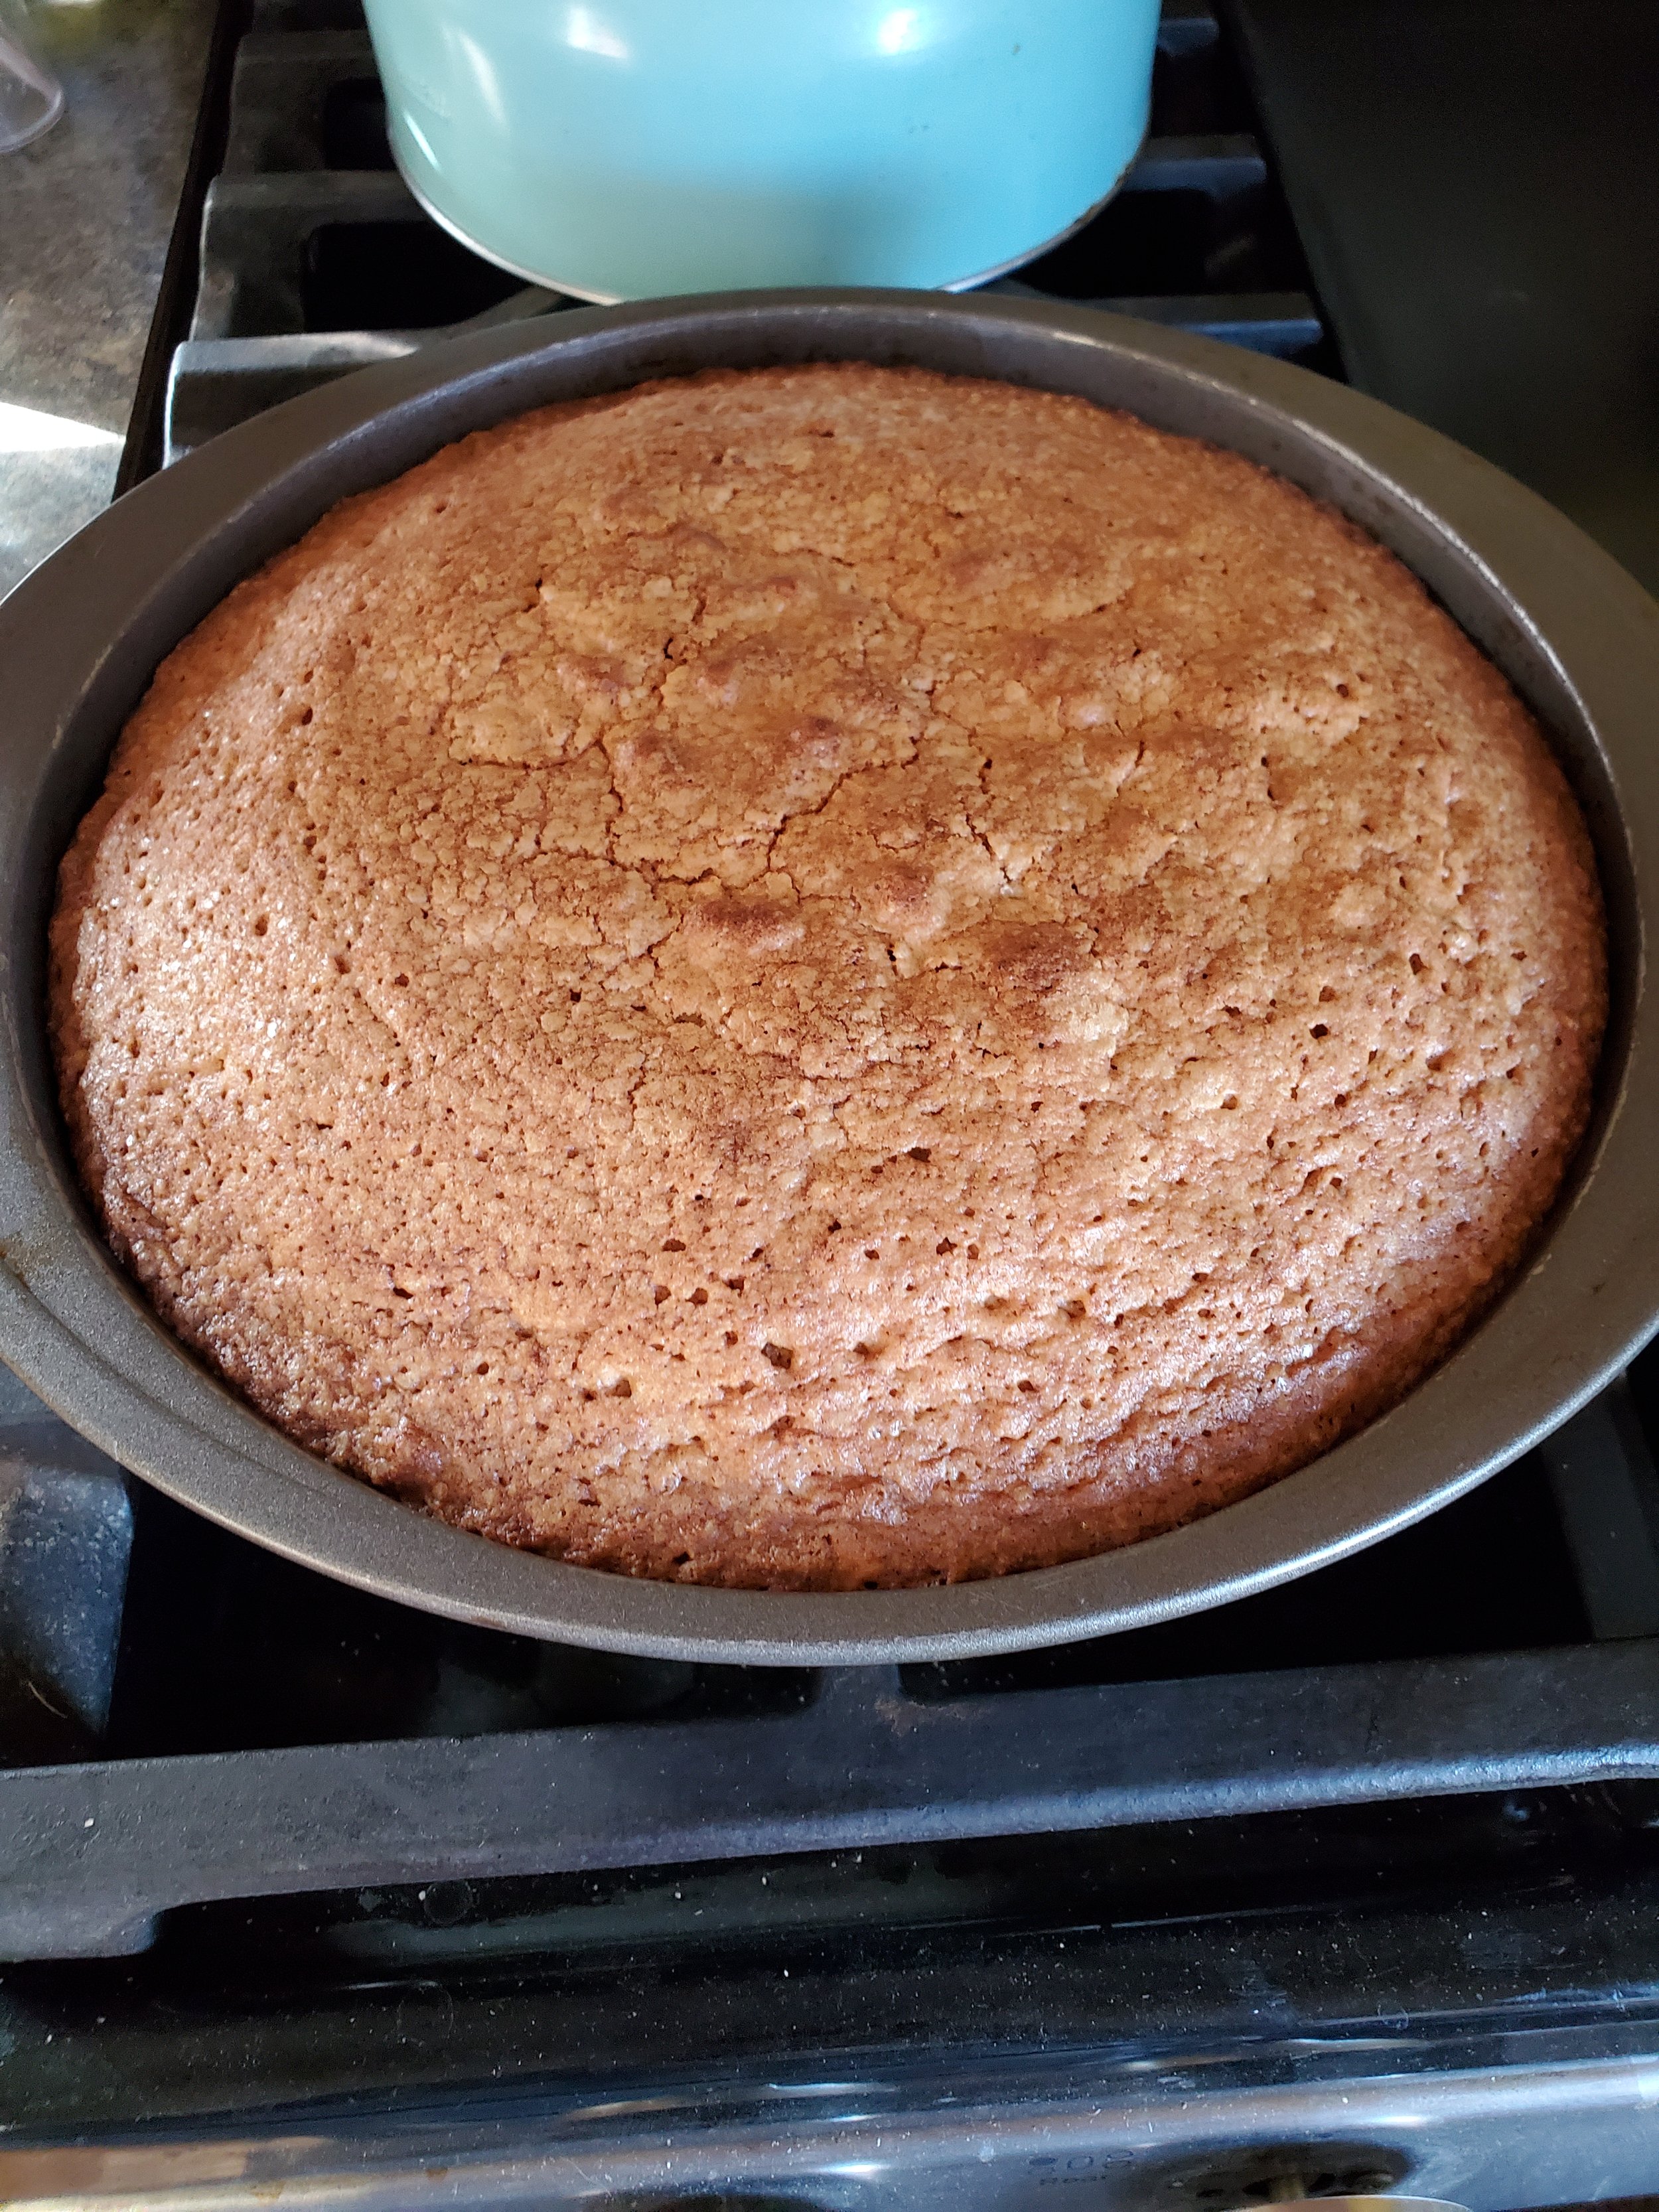
Pour your batter into your lined baking pan, pop it in the oven, shut the door, start the oven heating  to 350 and set a timer for one hour and ten minutes. Do not open the oven door - at all! Not even to check on it! Turn the oven off when the timer finishes, but leave the door closed another ten minutes before removing the cake so it can cool.


After it's had a chance to cool for 20 minutes or so, work around the edge with a plastic knife. Again, this cake likes where it is and will need to be convinced to move. The parchment should ensure the bottom just pops free after you've loosened the sides.


Serve warm.


As you savor the last crumb of our Walnut Tahini Cake, consider the magic that lies within your kitchen. Yet, even the most beloved recipes encounter hiccups along the way. Should you find yourself facing challenges with your major appliances, like your stove or oven, remember that Appliance Rescue Service is here to lend a helping hand. Don't let appliance woes disrupt your culinary endeavors. Schedule a maintenance appointment via our website or give us a call, and let our expert technicians ensure your kitchen runs smoothly. Until next time, happy baking!

Contact Page

(214) 599-0055

Orchard Bread, The Whole Year Round

Using different fruits you can make this tasty treat all year and celebrate the turn of the seasons too!

What's filling, sweet, and easy to carry and won't make you feel like you have a car tire around your middle? Orchard bread. Call it fruitbread, fruitcake, cherrybread, orchard bread, whatever you like. The basic concept is the same. Lots of delicious dried mixed fruits + a sweet bread base.  It's delicious, it's wonderful any time of year, and if you wrap it properly, you'll be able to eat it before it turns into a doorstop. 

Ingredients:

3/4 cup golden raisins

3 Tbsp amber rum

3/4 cup all purpose flour

1/2 tsp baking powder

1/4 tsp baking soda

kosher salt

It doesn’t have to be this particular brand, but you want to make sure that it says unsulphured on the bottle so the recipe turns out right.

1/3 C packed brown sugar (dark or light will work, but we suggest light) 

1 1/2 cups packed dried strawberry halves 

1/3 c dried cherries

1/3 c dried cranberries

3 c walnut halves, lightly toasted 

3 eggs

2 Tbsp unsulphured molasses (so this recipe wouldn't work with blackstrap) 

2 tsp pure vanilla extract 

Tools:

small microwave safe bowl, 9x5 inch loaf pan, parchment paper, large bowl, whisk, a small bowl (doesn't have to be microwave safe this time), silicon spatula, tin foil.

To start off, grab your small bowl, and toss in your golden raisins and rum. Cover them with a plate and microwave until their warm, not steaming, roughly a minute. Set that to the side, keeping it covered and check back on it in 15 minutes to give it a stir, and then again at the 45 minute mark. Leave it alone for a further 15 minutes, making it roughly an hour in total. At that point the raisins should have absorbed most of the rum. Drain off any liquor that's left to either use again at another point, or drink it yourself if you're over age. 

Now preheat your oven to 300*F and make sure that there is a rack in the middle of the oven. Grab your loaf pan and parchment paper. Measure out two sheets of parchment paper, one going lengthwise and one going crosswise. You want enough paper here to push down into the corners of the pan and still have 'handles' hanging over the sides. Start from one corner and work to all of the others, slowly smoothing the paper into the corners so that it's flush. Any bumps or wrinkles in the paper or going to lead to bumps or wrinkles in the bread. Use a stick of butter and apply a layer to the parchment paper, making sure to coat everything within the pan. 

Next up, grab your flour, baking powder, baking soda, 1/2 tsp of your salt and then your brown sugar of choice. Whisk all of it together in a large bowl and make sure to break up any clumps as you go. Set aside your whisk and add in your strawberries, cherries and raisins and toss to coat everything. Add in the walnuts and toss again to combine and coat the walnuts. 

Take a clean small bowl and your whisk and beat together the eggs, molasses, and vanilla until everything is well mixed. Now grab your spatula and add your fruit-nut mixture, folding and mixing to combine and coat all of the pieces with the batter. You want to make sure that there aren't any pockets of dry ingredients on the bottom or at the edge of the bowl. Pour the batter into your loaf pan, scraping the bowl to get any remaining bits into the pan. Tap the pan against the counter several times to release any air bubbles, and use the spatula to smooth the top into an even layer. 

Bake the cake for an hour, rotating the pan after 30 minutes. If your bread is browning too much at the halfway mark, you can cover it loosely with a tent of foil. When the top is a deep golden brown, it's done! Remove it from the oven and place to pan on a wire rack to let it cool. 


When it's finally cool, grab the handles you left yourself and remove the loaf from the pan. Use a bread knife and cut it into thin slices and serve. IF you have any leftovers, they can be wrapped well in wax paper and store it in an airtight container for a week at room temperature. 

You can serve it with various butters or fruit jams for a delicious snacks or breakfasts. You could also work up a quick icing with milk and powdered sugar and drizzle it across the top. 

Courtesy of Peggychoucair


So, what do you think? Are you up for doing some experimental baking this weekend? What other fruits would you add into the mix? Let us know in the comments below or over on our Facebook


If you ended up here instead because your stove isn't working properly, give us a call! You can get hold of us at ((214) 599-0055) or by going to our website to set up an appointment that works for you.

3 Tips to Get Your Oven Ready to Bake and Roast This Season

It’s fall, which means the season for baking and roasting is right around the corner.


Not only do you need to stock up on vegetables to roast and butter for baking, you also need to make sure your oven is in its best working condition so that your meals turn out perfect every time.


Need some tips to get started? Try these from our team at Appliance Rescue Service, the top appliance repair company in Dallas!


Clean Your Oven

When was the last time you cleaned your oven? If you can’t remember, then it’s time! Typically, you’ll want to clean it at least every 6 months. While you can use the ovens self clean option, we do not recommend it. Because the self clean option makes the oven extremely hot to melt away debris, there is just too much risk that something will get damaged in the process. Instead, make a baking soda and vinegar paste and apply it all over the inside. Then, take a scouring pad and hot water and wipe it clean. Easy and all natural!


Check the Oven Temperature

Did you know that your oven temperature can be off by 20-30 degrees? It’s true. We often get calls about ovens not being properly calibrated. Before you call for an oven repair in Dallas, try testing it yourself by setting the oven to 350 degrees and putting a probe thermometer on the middle rack. Check it periodically over an hour’s time to see how accurate the temperature reading is. If you are concerned about an issue, call us for an oven calibration service.


Put a Pizza Stone in Your Oven

Adding a pizza stone to your oven adds mass to the oven. It’s smart to store a pizza stone on the bottom rack of your oven, because as the oven heats up, the stone with absorb the heat as well and keep oven temperatures more steady as the oven opens and closes, perfect for keeping roasts cooking evenly and cookies too.


Hopefully these tips get you prepared for the fall baking season, and if at any point you notice your oven needs be serviced, call us at Appliance Rescue Service – the best appliance repair company in Dallas, Texas.

roasted turkey oven repair dallas appliance rescue service.jpg