5 Smoothie Recipes For Quick Meals

Smoothies make a great grab-and-go meal when you need something filling but not over the top.

We love making smoothies because you can grab them and go. A bit of prep, a bit of noise and then toss it all into the freezer and you can have a week's worth of breakfasts or lunches that are healthy and filling ready to go.  If you do it right, you can even use them to lose weight. We're not promising crazy results, we're looking at recipes that are shown to be filling, taste good and are actually healthy for you. 

The one universal tool that you're going to need for this list is a blender. It doesn't have to be the most expensive blender on the market,  you just need it to be powerful enough to chop through frozen fruits, vegetables and ice. As to those fruits and veggies. While fresh ones are fantastic, you can work with frozen just as easily. Finally, we did something we don't usually do and that's given the calorie count for each recipe.  We've done that so that you can see how much goes into these and make your choices accordingly. Keep in mind that calories aren't necessarily bad so much as  a "my body needs x number of calories to function." 

Now, on to the smoothies.

Peach Crumble Smoothie

  • 1/4 c rolled oats

    1/2 Banana - Frozen is best so that they chill everything

    1 c peaches - Fresh is best, but the frozen is tasty and easy to get hold of.

    1 c milk - You can swap out cows milk for any other type that you like, including almond milk which turns out very nicely, and lowers the calorie count further. If you do decide to go with almond milk, we suggest upping your vanilla to 2 tsp.

    1 tsp brown sugar

    1/2 tsp cinnamon

    1 tsp vanilla

  • With this one we're going to start with a choice. Do you like boba? If you don't know what boba tea is yet, consider instead whether you like texture in your smoothies. If the answer is yes, go ahead and skip this step.

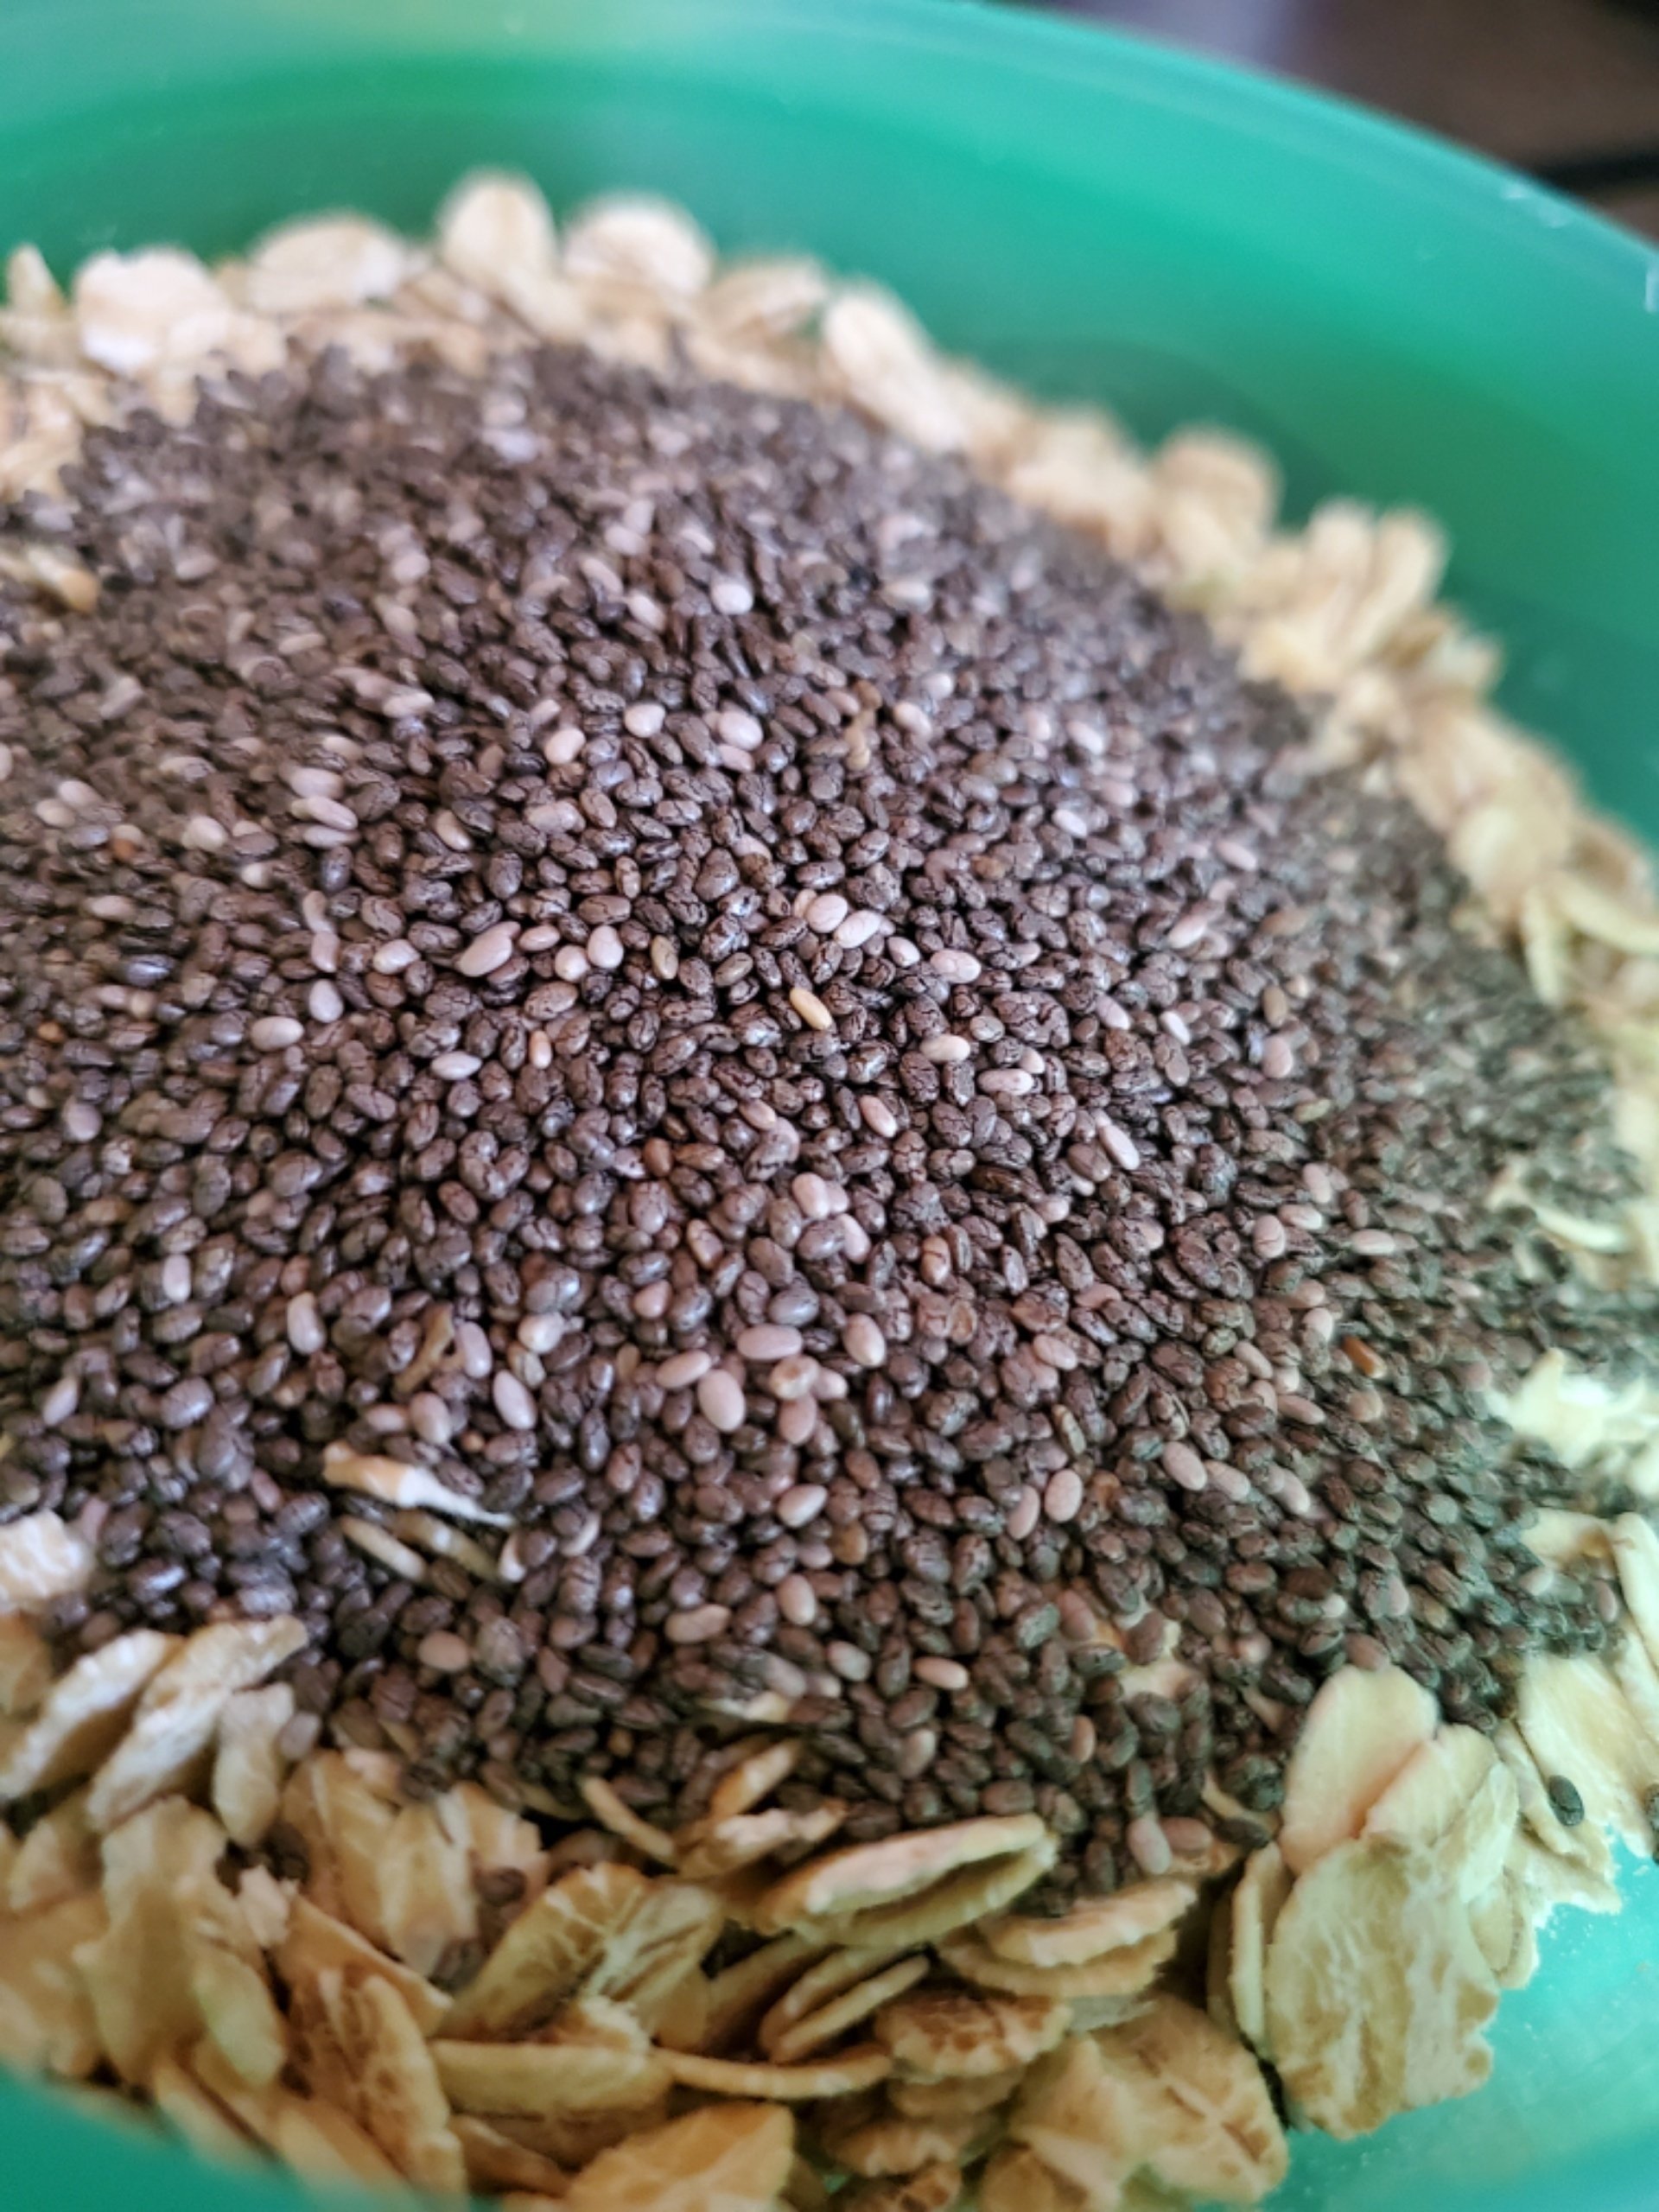
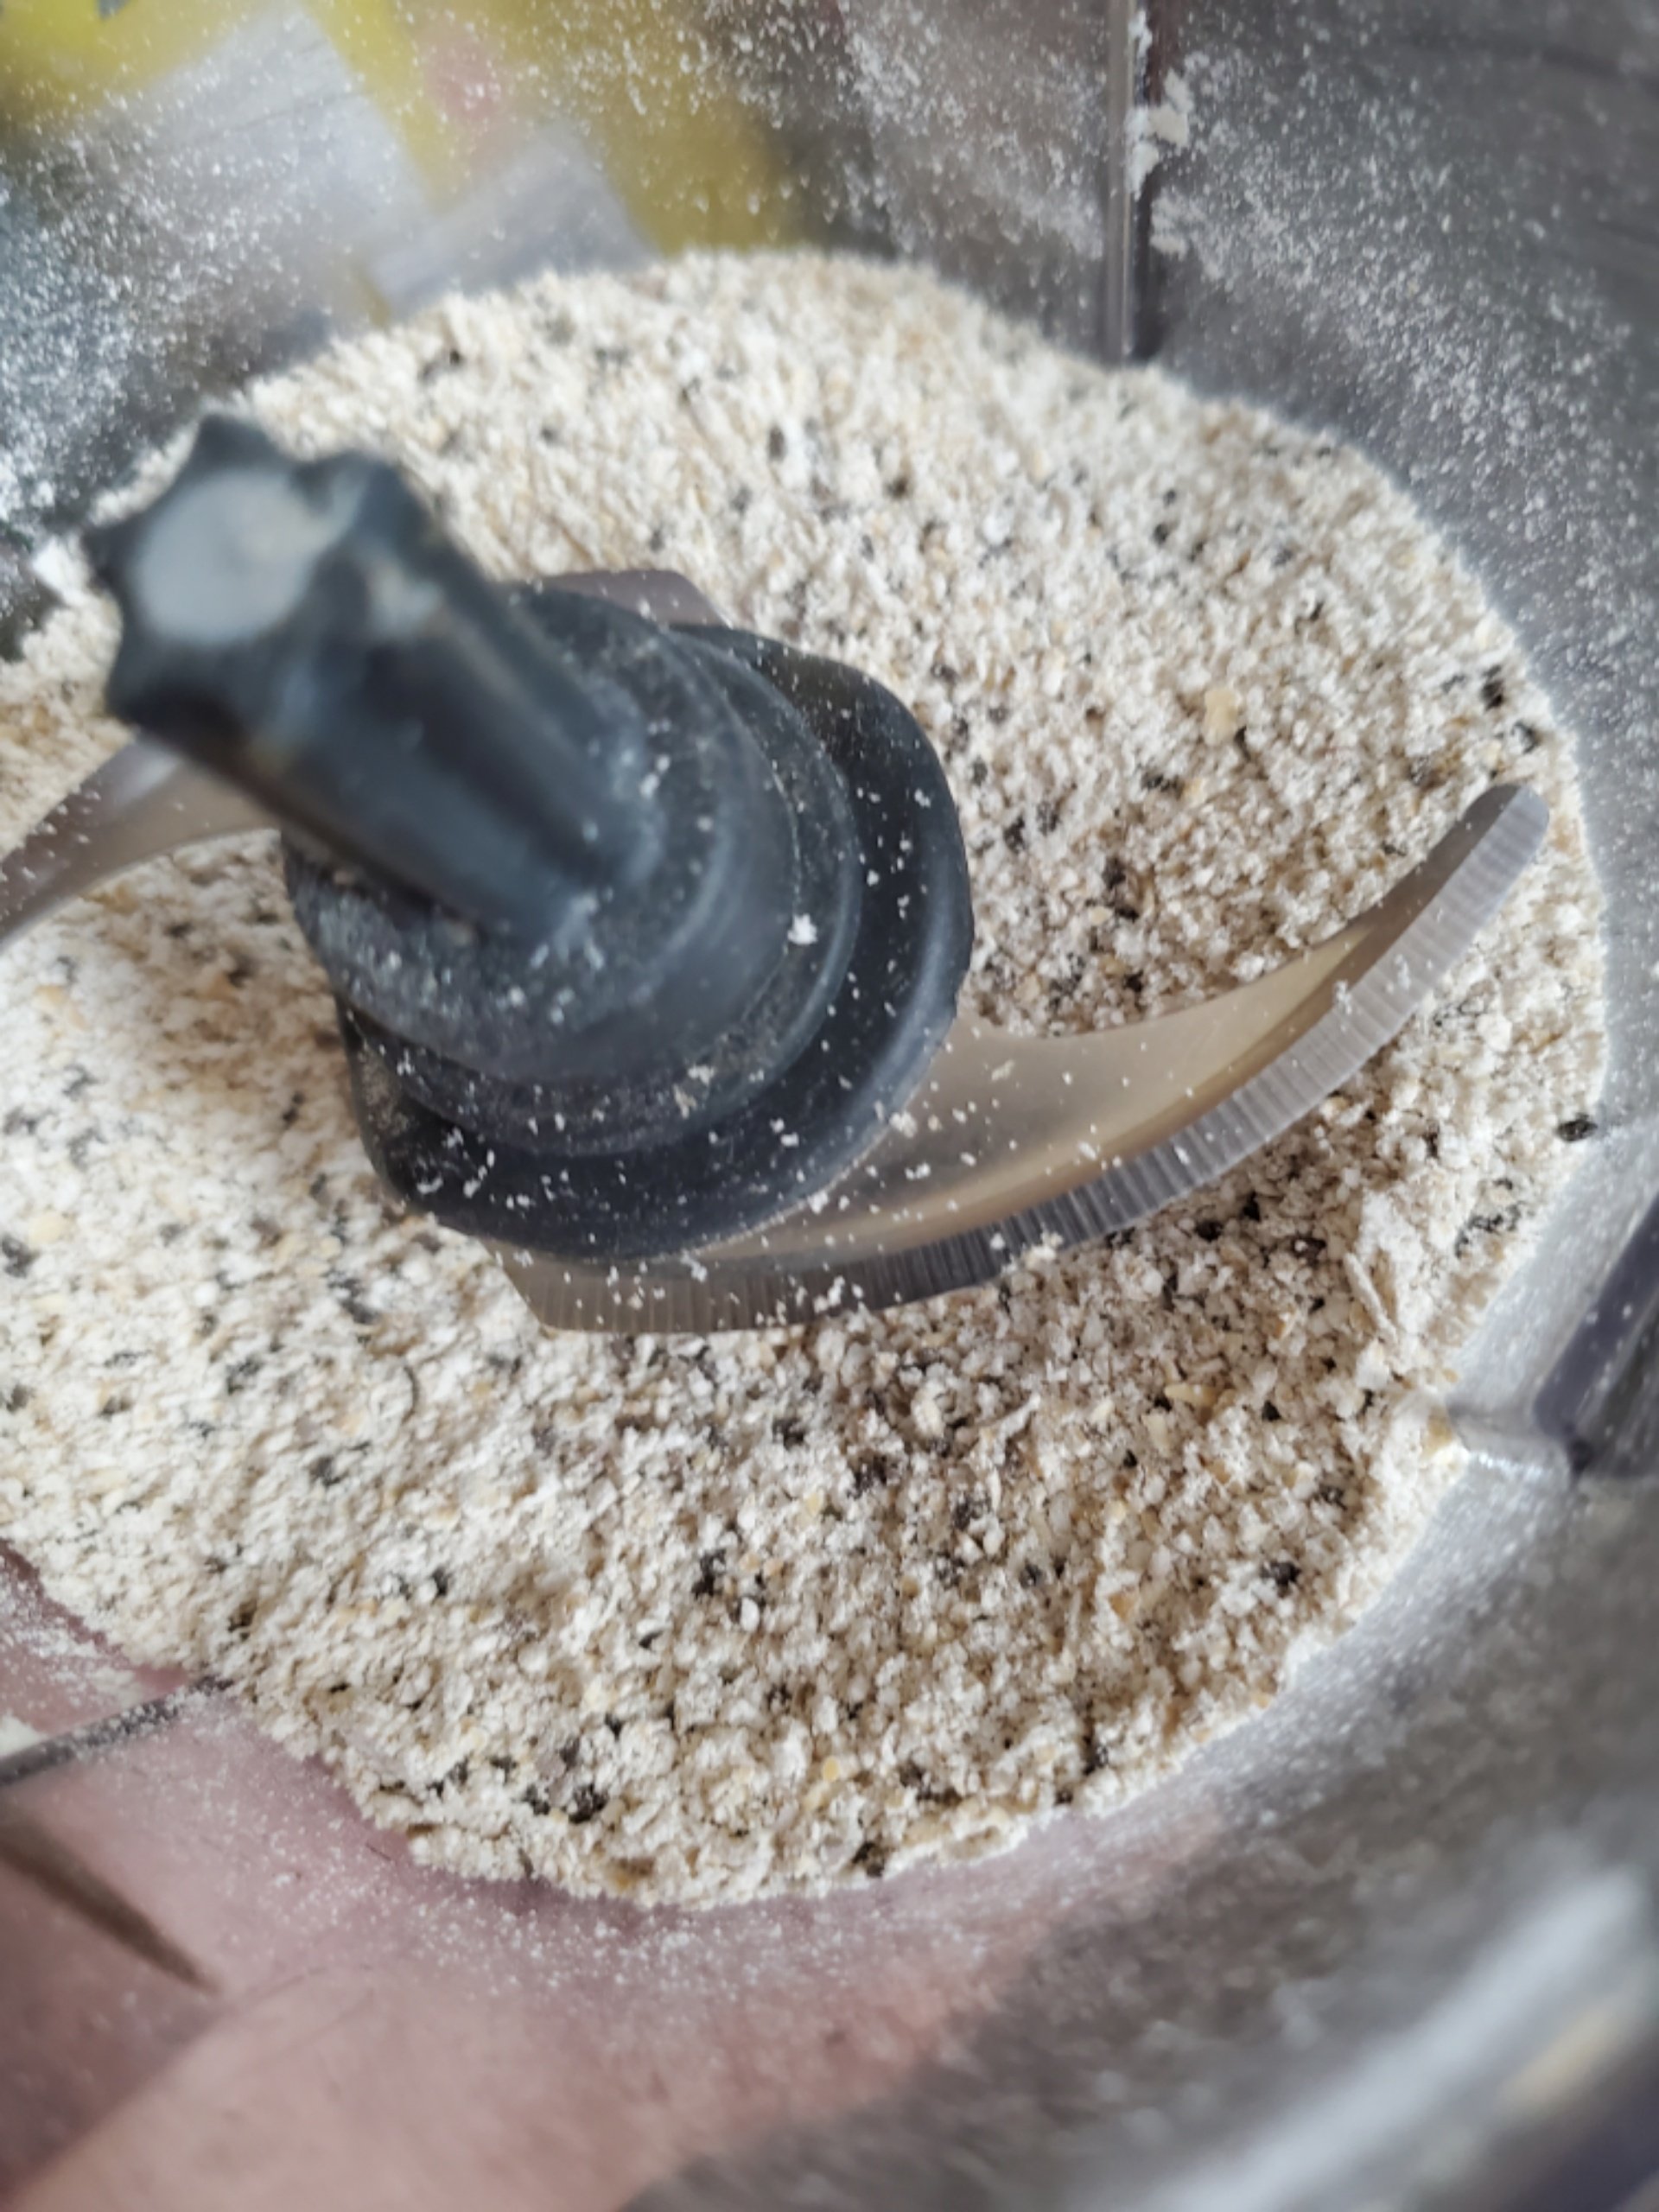
    If the answer is no, then you need to take your chia seeds and add them to your oats and toss both into the blender. Pulse those until you end up with a fine powder, dump it into a bowl and set it to the side.

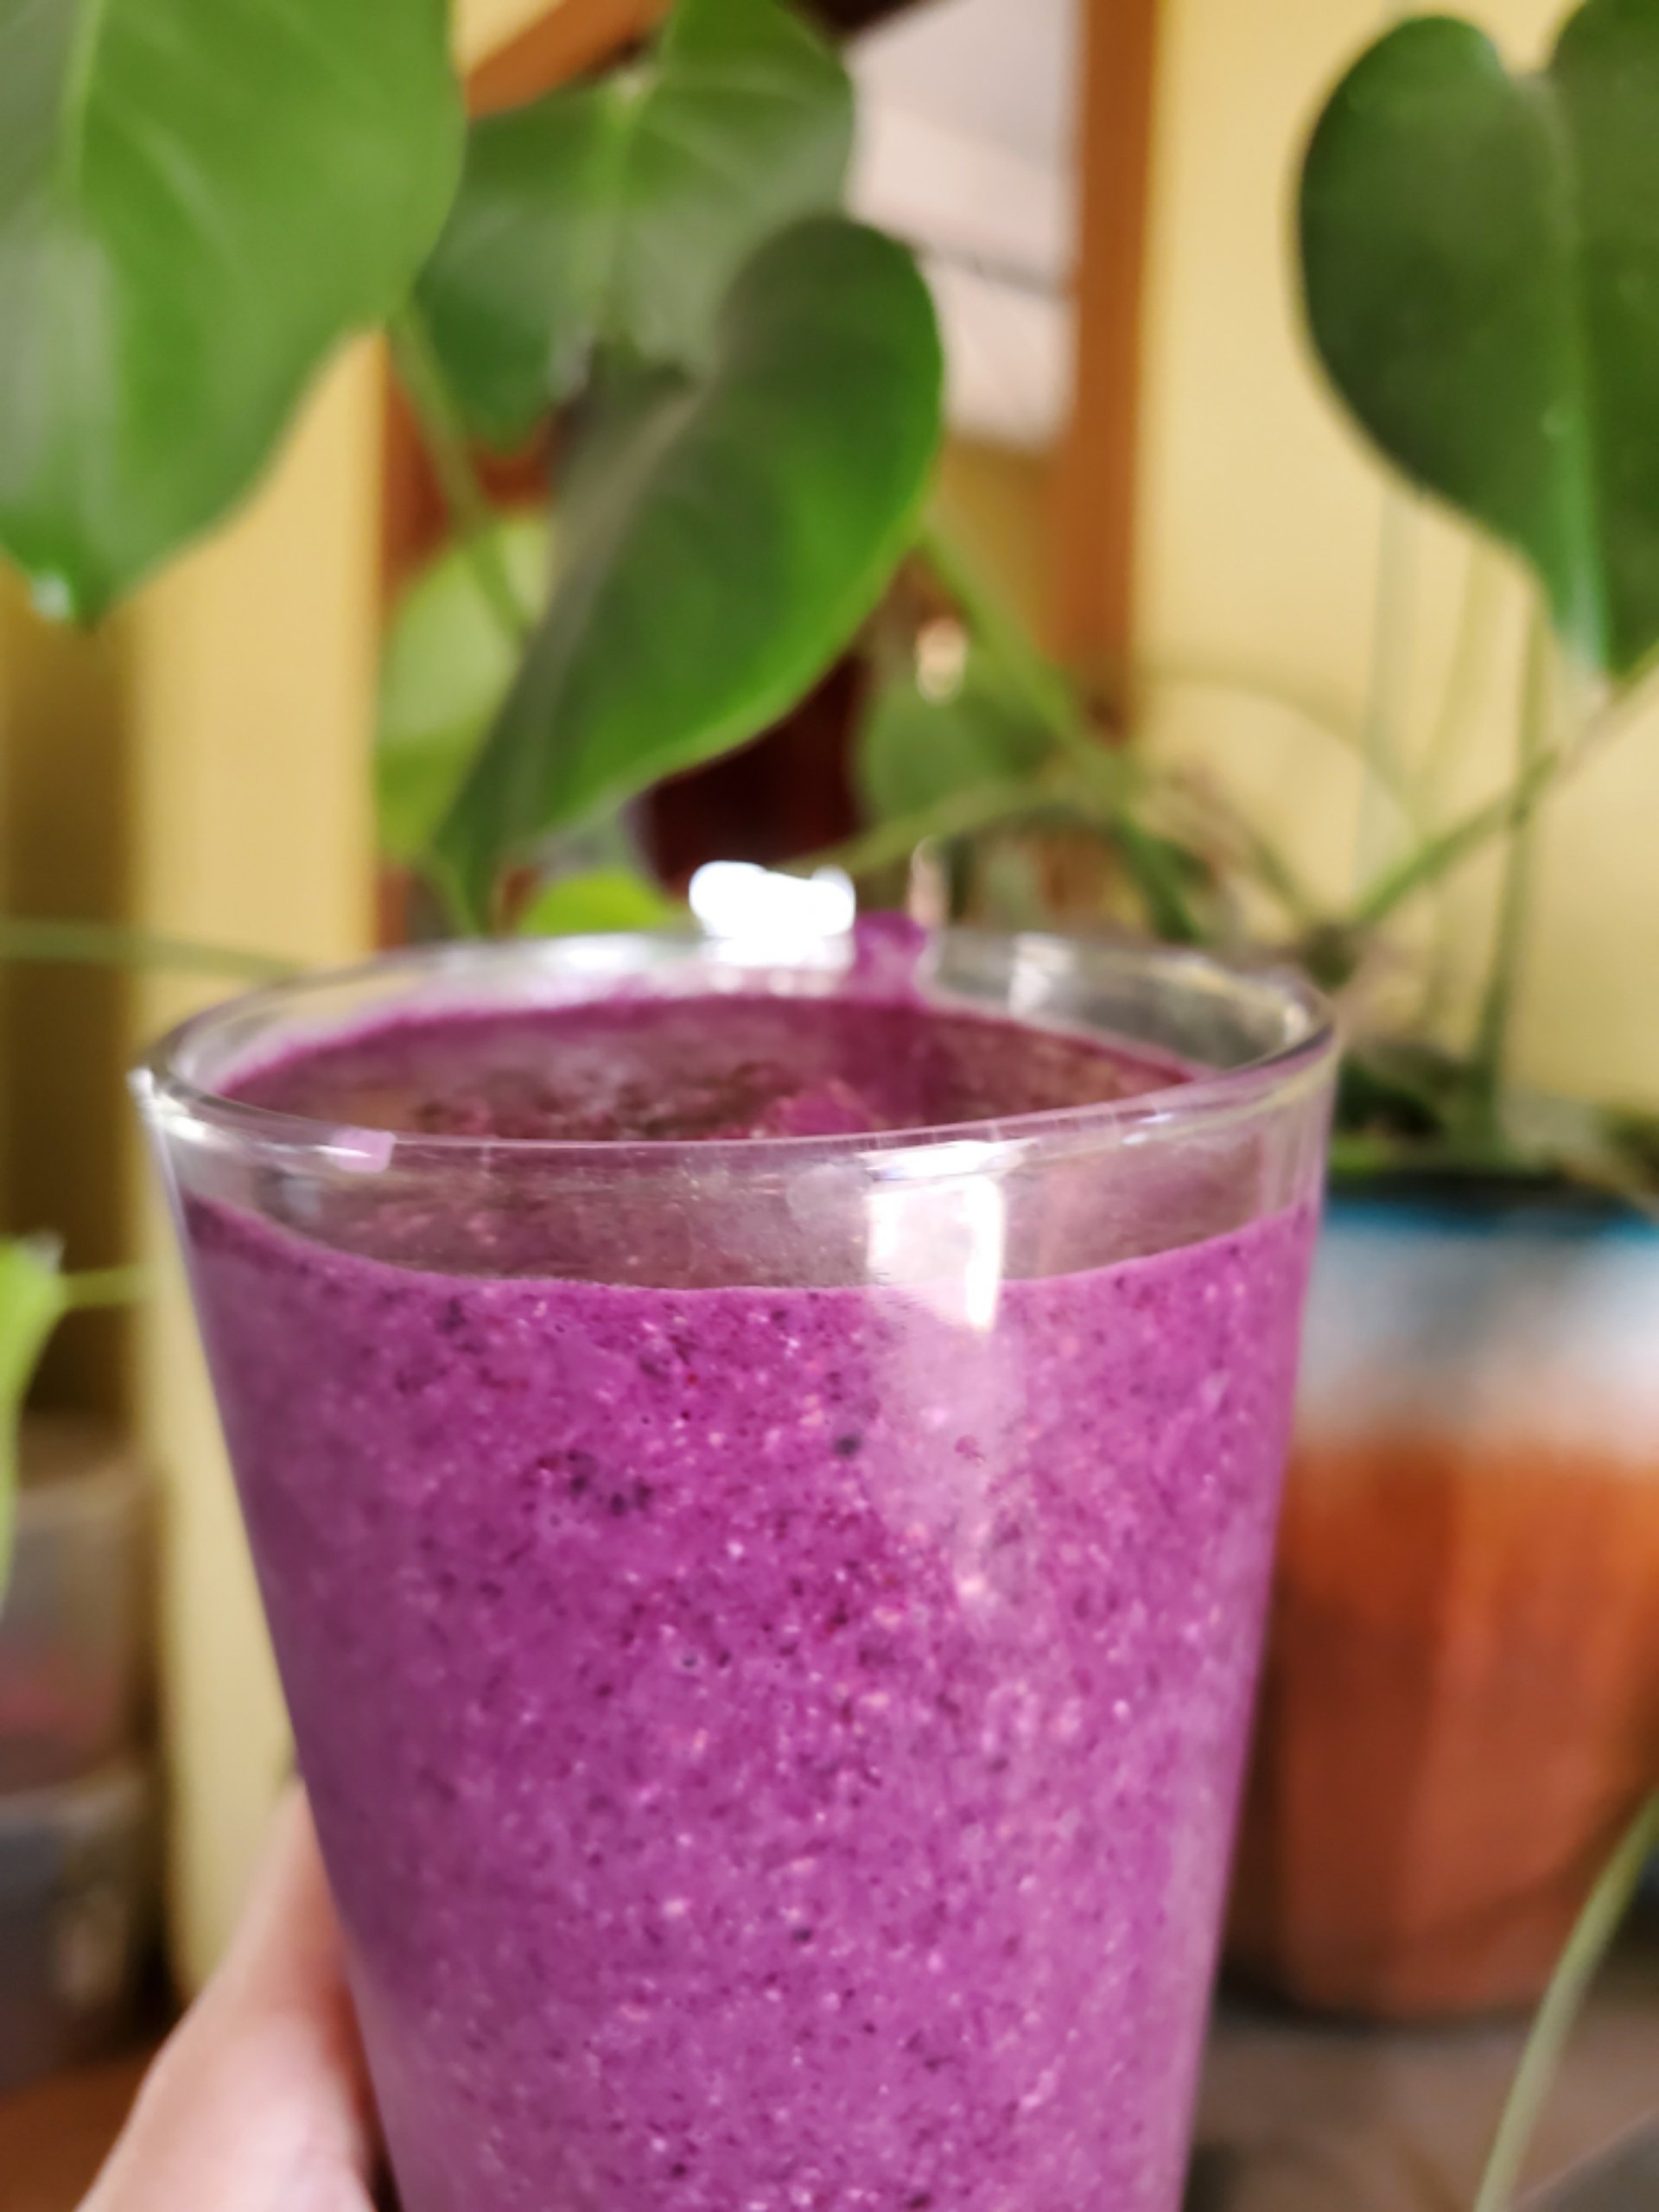
    Next up grab your pears and blueberries and toss those into the blender. You can take your choice on whether you want to add in the juice of the pears or not. If it's for a dessert smoothie, we think it's a great idea. If not, you might want to avoid that idea.

    Now add your powdered goods back in and blend till smooth. Congrats, Smoothie!

Tropical Smoothie

  • 1/2 cup rolled oats

    2 large peaches (Frozen is fine, fresh is better.)

    3 cup frozen mango

    1 medium banana (Ditto on the frozen vs fresh)

    1/4 cup Greek yogurt

    1/8 cup orange juice

    1 cup coconut water or almond milk

  • Start by adding your oats to the blender and pulsing until your oats are a fine powder. Pour them into a bowl and set them aside.

    Then, if you're working with fresh bananas and peaches you're going to need to slice up the banana and pit and slice the peaches.

    Next, toss your fruit into the blender and let it go. Add in all of the other ingredients together and blend till smooth. For your blogger, this is a full meal thanks to the addition of the oats. Make sure to test it yourself before you rely on it though.

Peach and Mint Smoothie

  • 2 large peaches (as per everything else, you can use frozen and be just fine, although yes, fresh is better. If it's the right season we suggest trying both white and yellow peaches and see which you like better.)

    ½ cup plain yogurt

    12 large fresh mint leaves (no, dried really doesn't work here)

    2 teaspoon lime juice (fresh is always better, but if you can't, bottled will work just fine)

    12 ice cubes (or you can play around and add more. This is for how thick you want your smoothie to be.)

    2 teaspoon honey or your sweetner of choice, but it really does taste good with clover honey

  • Alright! Grab everything and chuck it into your blender. Hit blend until it's smooth. Enjoy!

Irish Cake Smoothie

  • 1 1/3 cup Rolled Oats

    4 tablespoons Flaxseeds

    5oz Frozen Spinach

    1 teaspoon Ground Ginger

    1/2 teaspoon Cinnamon

    2 1/2 cups Water

  • This is a surprisingly filling recipe, although we're still trying to wrap our heads around /why/ it is.

    Start off by putting both your rolled oats and the flaxseed into your blender and pulse until you've got a fine powder.

    Add in your spinach, ginger, cinnamon and water and mix until smooth.

    Thanks to the amount of water this is a thinner smoothie than others on the list, but it will give you plenty of get up and go.

Blueberry and Pear Smoothie

  • 16 oz frozen blueberries

    1 14 oz can of pears

    2 Tbsp of chia seeds

    1 cup of rolled oats

  • In your blogger's house, this is one that's turned to often, as bananas are actually pretty easy to freeze. Just slice them up when they're at peak ripeness and toss them into the freezer in a freezer safe bag or container. Then you can use them as you need, rather than worrying that they'll go bad.

    When you're ready to make your smoothie, don't just toss everything in at the same time. We suggest starting with the rolled oats. Pulse those until you have nothing but powder left so that it mixes into the smoothie more easily. Dump that into a bowl and set it aside. Now add in your frozens and your milk, and blend until smooth. At this point you can add all of your other ingredients in, including the oats, and blend until smooth. If you find that you want the smoothie to be thinner than it is, feel free to add in more milk, keeping in mind that that is going to boost the calorie count.

For any of the recipes we've shared, you can make adjustments, in fact, we suggest that you do. Take them and try out more of one thing and less of something else. Add in more oats if you want to be full for longer and less if it's meant to be just a light snack between meals. 

All of these can be stored in one of two ways, depending on the space you have.

- You can get yourself a silicone ice mold (choose your shape and depth preference), pour in the smoothies and let them freeze, then transfer those into a freezer bag or container for easier storing. 

-Alternatively, you can freeze them in freezer safe glasses/jars so that all you need to do is transfer them to the fridge 24 hours before you plan to drink them and let them defrost that way. 

Both options work, and it's really just dependent on how much freezer space you have available. 

You've probably noticed that our recipes have a LOT of peaches in them. That's because peach is a super sweet fruit that's easy to freeze and get your hands on year-round, but it's hard to overpower. So it works well with different vegetables and other fruits that you want to work into your diet. 

If you try out any of our recipes, please let us know how it goes! We'd love to hear from you in the comments below or over on our Facebook page.  


If you're turning to smoothies because your stove is currently not working (rather than the Texas heat..) we can help. You can give us a call at our office ((214) 599-0055), or reach out via our contact page to set up an appointment. At Appliance Rescue Service, we'll work with you to figure out what the problem is and get your home running smoothly again. 

Staying Safe During A Heatwave

Or "How To Survive Summer In Texas."

What do you need to do to take care of yourself and your loved ones during a heatwave? Every year people struggle as the temperatures climb higher, and we dream of when winter will come. There are ways to take care of yourself and your loved ones and make the summer heat bearable, if not enjoyable. These are as much about taking care of your home as taking care of yourself and proper precautions against the temperatures. 

A burning sun looks across cracked, parched land. The sky is the color of fire with dark sooty clouds streaking across it.

Courtesy of Blende12


Be Smart Dealing With Heat

` Know when to get a cool shower or hop in the pool to cool off and prevent overheating


Keep Your AC System Working Right.

Ideally, like many other things we've discussed on ARS, you'll have your air conditioning system checked yearly. This can be at the beginning of Summer or come winter. But either way, you want to get it checked and serviced consistently; this way, it doesn't fail in the middle of summer. This includes ensuring that the filters are cleaned regularly, that the units are secure, installed the weather stripping is in good shape, and the part of the unit outside the window isn't clogged up with debris if you have a central AC system. You want to vacuum the dust from the registers and trim vegetation around your outdoor condenser to at least a 2 ft circle around it, in addition to having a professional look at it yearly.


Be Smart When Using A Ceiling Fan.

A five bladed ceiling fan hangs from a ceiling that looks like it's in a tower of some sort.

Courtesy of Funeyes

A ceiling fan is great for keeping cold air moving and increases how fast your sweat evaporates from your skin. Unfortunately, it's not something you can rely on by itself when temperatures have reached the upper 90s.


 Change Up Your Wardrobe

Your wardrobe should reflect not just your personality but also the temperatures around you. by having options that you can switch in and out paste on whether you're better prepared to not melt under the Texas Sun. this should be evident to many of us. Yet, you hear about people passing out because they weren't prepared every year. So ditch the polyester. Transition your wardrobe to cottons, linens, and fabrics that allow your skin to breathe and for air to move around you and keep you cool.


Stay Hydrated!

 We know staying hydrated isn't the easiest thing. You're constantly on the go, and plain water is boring for most people. And as you get older, water might not even taste that great; fortunately, there are several different ways that you can get around this without adding sugars or sodas or energy drinks to your diet, all of which are going to dehydrate you rather than keeping you hydrated.

Add fruit to your water. 

 Adding fruit to your water is one of the best things if your issue is flavor. strawberries, lemons, limes, cherries, oranges, and watermelons. (We believe mint should also be on this list, but sadly it is not a fruit .) 

Three mason jars with straws in them hold smoothies, with color coordinated straws. Limes, tangerines, raspberries, pears and grapefruit are scattered around the bottles on a wooden table.

Courtesy of Silviarita

Add fruits and vegetables to your diet, such as watermelon, strawberries, celery, spinach, and cooked squash. These are amazing options to get more water into your diet without feeling like you're having to chug gallons upon gallons of water. All of them are roughly 90% water, so adding them to your diet, even a fistful here and there throughout the day, means you're taking care of yourself.

Try a smoothie

If you absolutely cannot stand that last option, take some of those and turn them into a smoothie instead. We'll cover a couple of different smoothie options later this month for how to work that into your diet without having to take on a ton of sugar.

Sunscreen Is Amazing

Two hands cupped together, one is holding a bottle of sunscreen and depositing it into the other.

Courtesy of AdoreBeautyNZ

Every year, a slew of articles talk about the importance of wearing sunscreen and how not doing so can cause wrinkles, age spots, and cancer. At this point, most of us have accepted this as fact, yet many choose to still forego putting it on. Even if you choose to go with a "you only live once" mentality, we can all agree that sunburns suck. Even more importantly, getting a sunburn brings you closer to getting sick from the heat. To avoid both of these things, put on 50 SPF sunscreen before you go out for the day. Throw it on your face, your hands, your shoulders, whatever is exposed, and you're good. If you want more in-depth discussion and research, we advise checking out this great article from two dermatologists over on GoodRx.

Check The Heat And Humidity Daily

A red wooden barometer shows guages for the temperature in celsius as well as a barometer showing what the weather will  be

Courtesy of Stevepb

We're not saying that it has to be the first thing you do in the morning, but eating breakfast or getting dressed for the day would be a good time not only to check the high for the day but also the humidity index. How humid the day will be will directly impact how hot you feel, and it can even affect how well you can breathe, depending on how high the humidity is. Much like during winter, you'll see a wind chill of 30 degrees; during the summer, the temperature can be only in the 90s, but that humidity makes it feel like you're well over a hundred and five.

Keep an eye on those at higher risk end know what higher risk means.

Know The Signs Of Heat Illness

Signs of heat illness, according to the CDC, include:

 a high body temperature of 103 degrees or higher

Hot red dry, or damp skin

Headache

Fast, strong pulse

Dizziness

Nausea

Confusion

Losing consciousness 

Two people on the left, struggle to cool off. Two people on the right are dizzy and ill from the heat.

Courtesy of RoadLight

These are the signs related to heat stroke specifically. If you or someone near you is experiencing these symptoms, get them inside or under air conditioning immediately end call 911. Do not, give them anything to drink as that can be dangerous at the stage.


We hope that these tips help you in dealing with the heat this summer and that you stay safe whether you're here or traveling. If you have any tips or tricks for dealing with the summer heat we missed, let us know in the comments below or over on our Facebook page.


If your appliances are the ones having trouble with the summer heat and aren't working quite right, that's where we come in. you can reach out to us at ((214) 599-0055) or by going to our contact page. We'll work with you to find a time that suits your schedule and send one of our techs out to solve your appliance problems.

Turn Your Laundry Room From Mundane to Fabulous

Do you know what’s worse than doing laundry? Doing laundry in a room that doesn’t fit your needs and actively makes it uncomfortable or difficult. There’s no room to move, you can’t find the detergent when you need it and it’s impossible to fold anything. Who says it has to stay that way though? Instead, take a look at each of the small problems, and let’s see how to tackle them. Let’s figure out how to take your laundry room from miserable to workable. 


Lighting 

Is that a spot or a shadow? If you can’t see what you’re doing, whether it’s before or after washing, how are you supposed to know if something is clean?  So you end up leaving the room, trying to see it in different lights. Then you get distracted and have something else that has to get done, and the laundry takes even longer. 

An image of four lightbulbs, one in white, one in red, one in yellow and one in blue, representing how each of these will affect how clothes look in your home and how it will affect your ability to see if clothing is clean.

Courtesy of sinisamaric1

The fix then is having evenly space, and clear, white lights in your laundry room.  A second, brighter light (or series of lights) set under your cabinets or over your folding area would also be useful. 


Visually Appealing 

A paint roll brush painting a wall a new shade of blue.

Courtesy of Stux

If you’re having to do laundry at least once a week, do you want to be in a room you hate? No. So why not make your laundry room somewhere you enjoy being. Whether that’s a projector or a soothing shade of paint this way it’s fun to look around.  You migh also consider putting in a phone or tablet stand and a dedicated power outlet so that you can listen or watch as you fold or sort laundry. It makes it far less boring mentally when your brain is preoccupied. 


Cabinets 

A laundry room with several sets of cabinets, a sink, and room to move.

Courtesy of LisaPhotos

You’ve got detergents, treatments, detergent boosters, dryer sheets, lint rollers, and materials to clean your machines. All spread out,  anywhere and everywhere in the room. And that’s not even taking into account trying to /find/ everything when you need it. So, the fix? Put in cabinets with raised shelving inside them so that you can maximize the space inside and sort out all of the tools you need. 


Counter Space


A matched washer and dryer are topped with a  wooden counter with a raised edge at three sides, allowing for a space to fold laundry.

Once you have all of your laundry goods stored away, hopefully, that leaves you with space. Having a consistently clean space to fold clothing is something we need find important. Not only does it mean you don’t have to fight for working space, but it also means you can fold and sort one item at a time as you go, rather than having to leave the room. If you can’t install counter space in your laundry room, you might consider a butcher block counter on top of your machines or a fold-away table that folds into the wall. 


Sorting

A raised platform with a washer and dryer sitting on top of it and two baskets for sorting sitting underneath.

Courtesy of Optima Brands

To us, there’s nothing more annoying than having to sort clothes at the machine. Doing it that way you can all too easily end up dying your clothes pink. (Ask us how we know that one!) A great way to get around this is either a) elevate your machines, you can then install baskets underneath them that slide out as needed. This is great for smaller households where you can toss in your clothes at the end of the day and wash as needed. If that doesn’t work for you, you can always go with option b) put baskets in each room. Then everyone can sort their laundry however they like and it’s still easy to move when needed. 


Hanging Rack 


Going right along with the last one, having a space to hang items that can’t go in the dryer. We’ve seen all sorts of options including: 

-A curtain rod that pulls tight to the ceiling when not in use using a retracting system. 

-A hanging rack that folds against the wall when you’re done with it. 

A rack that extends from the wall to allow for clothes to be hung to dry and fold away when not in use

courtesy of pottery barn

-An A-frame rack that fits between the counter and the machines.

 All of these are easy to work with and best of all, get out of your way when you’re not. 


What do you think? Could you work in a laundry room like this or did we miss a few problems? Let us know over on our Facebook page. 


If your laundry room stresses you out because your washer is broken or your dryer is screaming, we can fix it. You can give us a call at ((214) 599-0055) or go to our contact page and set up an appointment there. 


We’ll work with your schedule to find a time that works for you and have one of our trusted techs come. At Appliance Rescue Service we don’t stop until the problem is solved or you tell us you’re satisfied. 

Sunday Summer Dinner: Shrimp Croquettes and Creamed Peas

A meal to fill every "down home" craving under the summer sun.

This is a fantastic meal for a Sunday, it's been hot for weeks and you need something to break the intensity of it. It's not something cool that's going to help though, but instead something savory and rich to celebrate the summer. Croquettes so piping hot they burn your lips even as they melt in your mouth. The pop of fresh sweet peas in a cream sauce to brighten and balance against the savory depth of the croquettes. This is summer, now let's get cooking. 

Ingredients:

Croquettes:

3 Tbsp butter

2 Tbsp finely chopped yellow onion

1/3 c all-purpose flour

1/2 c milk

2 tsp fresh lemon juice

1/3 tsp salt

Pepper to taste

3/4 lb of shrimp (deveined and shelled) finely chopped

1 cup fine dry bread crumbs, or panko 

2 large eggs 

3 cups peanut oil, for frying


Creamed Peas:

2 lbs fresh green peas, shelled

3 Tbsp salted butter

2 Tbsp all-purpose flour

2 c milk

1 tsp salt

fresh ground black pepper to taste

Tools: medium skillet, wire whisk, pie pan, two cookie sheets, parchment paper, colander, one deep heavy pot, slotted spoon a roll of paper towels. 


A pile of shrimp, shelled and deveined but still raw

courtesy of shutterbug75

Start off by setting your skillet over medium-high heat. Add in your onion and saute until softened, but not yet clear, roughly 3 minutes. Use a wire whisk to stir in your flour. Cook the roux for 1 minute and stir in the milk slowly, stirring continuously. Cook the mixture until it's really thick, stirring it constantly for 1 minute. Remove the skillet from the heat and add in lemon juice, salt and pepper. 

Allow the roux to cool slightly and then stir in your shrimp. Let it cool until you can handle it and then shape the mixture into small balls, about the size of a ping pong ball, or 1 1/2 inches in diameter. Lay them out on parchment paper on a cookie sheet so that they don't touch. 

Place your breadcrumbs into a shallow dish like a pie pan. Take your second pan, crack open the eggs and beat them thoroughly, then add in 1/4 cup water. 

Fresh sweet peas sit in a pile with two pods cracked open to show the peas still inside.

courtesy of piviso

Bring your croquettes over to one side of the eggs and breadcrumbs and set your empty cookie sheet on the other side. You'll be double coating the croquettes, to make sure that they hold their shape as they cook. Start by rolling the croquettes in the crumbs, pressing firmly. Then roll them in the egg mix, use a spoon if you have to, to get everything coated. Now go back to the breadcrumbs and again make sure everything is coated.  Set this one on the empty sheet. Repeat the process until all of your croquettes have been coated. Toss the parchment paper from your now empty sheet and use it as a cover for the full one.  Set the croquettes aside, it's time to make the creamed peas. 

We know, the concept sounds weird to some people. We know, but we promise, it tastes so much better. So, bring 1 pot of lightly salted water to a boil. Add in your peas and cook for 6 to 7 minutes or until the peas are tender enough to pierce with a fork but not to mash. Drain them into a colander and set aside. Melt the butter in a medium saucepan over medium heat. Stir in your flour, making sure to break up any clumps. You want the roux to be smooth and lightly browned, it takes about a minute. Slowly whisk in your milk, stirring carefully and continuously. Continue cooking the gravy over meidum heat, stirring often. Add in your salt and pepper to taste.  Continue cooking until the mixture is smooth and thick, about 5 minutes. Next stir in the cooked peas and then cover the pot, setting it aside. You want to keep the gravy warm, but not to keep it cooking. Now for frying the croquettes. 

A deep pan of oil shimmers slightly, with a thermometer sitting in it, measuring the temperature.

Courtesy of Hans

Set your oven to preheat to 150*F, and pour your oil into your heavy pot. Use a digital thermometer to check as you bring it up to 375*F. 

Once your oil has come up to temperature, add in 10 of your croquettes at a time to cook, until they're golden brown. This isn't really a "timed" thing, so much as a "watch them carefully" thing. When they're done, use a large slotted spoon to scoop them up, drain the oil and transition them to paper towels and allow them to stay warm in the oven as you cook the rest. Take a moment and allow the oil to come back up to 375* before you add any more croquettes to the pot. Doing this makes sure that the croquettes cook quickly and evenly rather than soaking up the oil, becoming greasy and sodden. Repeat the process twice more to finish off all of your croquettes, making sure to not overcrowd the pot. 

Golden croquettes topped with a dusting of parsley sit on twisted wire racks to cool in a shallow pan

Courtesy of Allybally4b

Serve up 4-5 croquettes with the creamed peas on the side or on top, depending on preference. The peas add a sweet note that cuts through the oil, giving the meal a nice balance. This is great served alongside some fresh green beans and cornbread for a terrific Sunday dinner during the summer. And, if you end up having any extras, you can always eat them cold the next day, or toss them into oil for five minutes to reheat them. 


Do you like this picture of a Sunday dinner? Let us know over on our Facebook page or in the comments below. As always we'd love to hear from you and find out what you think of the recipe! 


If you wound up here because your dishwasher isn't getting the pots from this recipe clean, we can help. Working on appliances is our specialty and we want to make sure yours are working properly. You can give us a call at ((214) 599-0055) or reach out to us on our contact page. Wherever you live in the DFW area, we're here to help. 


Which Grill is Best For Your Food?

 When it comes to what you're cooking and how you like to cook, what's the best grill for you? 

Summer is officially here and that means it is grilling season!* We’re tackling the 4 major types of grills as of 2022. What prices should you expect to pay for them and which grill is best for your needs. Although we know some of us would love to have one of each, let’s assume you’re trying to narrow your choices down to just one, shall we? 

Grill Basics: 

You want your food to finish cooking at the same time so everything is ready to serve. 

This means your grill needs to either a) disperse heat evenly or b) you need to know your grill well enough that you can move food around to different "cool" spots so that everything cooks at the speed and temperatures you need. 

-Preheat your grill for at least 10 minutes before throwing food on. This allows the grill to be fully heated and the grates to be less likely to stick to your food. 

- If you want to impress your guests with the 'perfect' grill look, turn your food 90* halfway through the cooking time. It will give that look everyone loves, and you'll look like a professional. 


Gas Grill

A black and silver grill on a cart, with a large handle and 5 large knobs.

Gas Grill from Home Depot

Let's start off with the grill that's easiest to obtain, the gas grill. These will run anywhere between $100 and $3500, depending on the bells and whistles you want.  They come in all sorts of sizes and styles, from the tiny picnic top grill to the behemoth that can feed 100 people. (Yep, we've seen those too, we just get stuck at finding the space to put it.) A gas grill is the workhorse of grills. They're capable of grilling everything from delicate fish to searing pork chops or knocking out large amounts of hotdogs and burgers. The reason for that is that they can hit temperatures as low as 150* and as high as 850*. They're also extremely easy to work with, which is why most people who grill, do so on these. They light quickly, they heat quickly, and did we mention how easy they are to work with? You can also find all sorts of attachments (or a youtube video that shows you how to make them) from pizza ovens to smokers. 


Charcoal Grill 

An all black charcoal grill with a small counter on the left and a larger smoker on the right.

Charcoal grill from Home Depot

So a gas grill isn't for you? You don't like the idea of hauling around a tank you need to refill? We get that. Charcoals are the next step then. Many people see them as the next step for when you want to go from "party grilling" to "nightly grilling for good food."  Working with charcoal will give your meal a smokier flavor, no matter what you're cooking. This does mean that you need to be careful in selecting what you choose to grill though. You need something that can stand up to the smoke without losing its own flavors. Some examples here include brisket, prime rib, grilled pizza (yep, it works), rotisserie chicken, smoked turkey, and shrimp. Charcoal grills don't get as hot as gas grills do though, which means you're not going to get much of a sear on your food. It's best for foods that you want to take your time with. A charcoal grill will usually take between 20-30 minutes to completely heat up,  and the temperatures are going to only range between 150* and 550*. When it comes to lighting your best bet is to use a charcoal chimney to get it to that point, otherwise, you'll be fighting for much longer than 20 minutes.  A charcoal grill should run between $70 and $375. Not very expensive, but you have to remember the price of the charcoal as well. 


Kamado Grill 

A Kamado is the priciest of the grill options, but it's also able to get you the highest temperatures out of the four primary options. A kamado can go as low as 150* and as high as 1000*. That is going to give you a delicious sear when you want pork chops.... which your blogger is now wishing she could get. 

Anyway! Because of the supreme level of control a kamado offers you, they're great for hitting the extremes of food. Either things that need low and slow cooking like ribs, roasts, and briskets or foods that need to be seared, like we mentioned, pork chops are a good example.

A blue ceramic egg shaped grill with two small wooden counters on either side. It looks a good bit like a rocketship to be honest.

Kamado Grill from Home Depot

Kamado grills come in two varieties, ceramic and nonceramic. The ceramic ones are, in our opinion, the better option because they are sturdier than their nonceramic counterparts. They are also insulated which leads to even more temperature control. Although they are more difficult to assemble, we feel like this is a grill that is worth the investment of time and money. Speaking of money, a Kamado grill should cost between $300 and $2500, depending on the type you go for. 

One thing to be aware of (that many will call a downside) is that the Kamado grill will require an hour or more before it's ready to be cooked on. If you're looking for a quick dinner, this is not a good option. If you want to spend time outside cooking for friends and family and really enjoying the craft of grilling? This might be a good choice. 


Pellet Grill 

If smoking isn't for you and you don't want the guesswork of dealing with a gas grill, a pellet grill might be for you. They're great for foods that burn easily like pork chops and chicken with the skin still on. They're also ideal for large cuts of meat that you want to toss on and not have to worry about or fuss over. 

Bronze pellet grill with a black rectangular  pellet hopper on the left and a smoke vent on the right.

Pellet grill from home depot

A pellet grill uses wood 'pellets' rather than charcoal, and they give a delicious smokey flavor. Plus you can choose which type of wood you use and get different flavors into your food that way. You can experiment with different wood types and foods to see what flavors work for you palette. Some examples are almost sweet like oak or pecan, while others give a very umami/smokey flavor like hickory and mesquite.  

One interesting fact about pellet grills is that although they run on wood, their temperature control is digital. As the grill works it automatically draws from the pellet hopper to keep the grill at the temperature you chose. This is a great benefit to the chef that wants to set it and forget it, but still wants something more than a gas grill. Pellet grills are well worth their price tag, running between $350 to $2000. 

Your grill choice is going to be dependent on you. What do you like to cook? How do you like to cook? These two questions will affect your choice as much as the price. 

Which one are you most interested in? Grills aren’t something we fix, but we do love grilled food as much as the next person, so we’re interested in hearing what you have to say. Let us know in the comments below or over on our Facebook page!

If you’re not up for grilling next weekend though, that means you’re probably cooking. If your range is giving you trouble, you might want to give us a call. Whether it’s broken, behaving oddly, or you just want to give it a thorough going-over, we’re here for you. You can reach out to us at our contact page or by calling us at ((214) 599-0055).


*Yes we know you started long before this, but give us this. 

Additional Reading:

Fire in the Kitchen

7 Reasons To Build An Outdoor Kitchen

What To Know Before You Build Your Outdoor Kitchen