Punchy Potato & Cheddar Rolls 

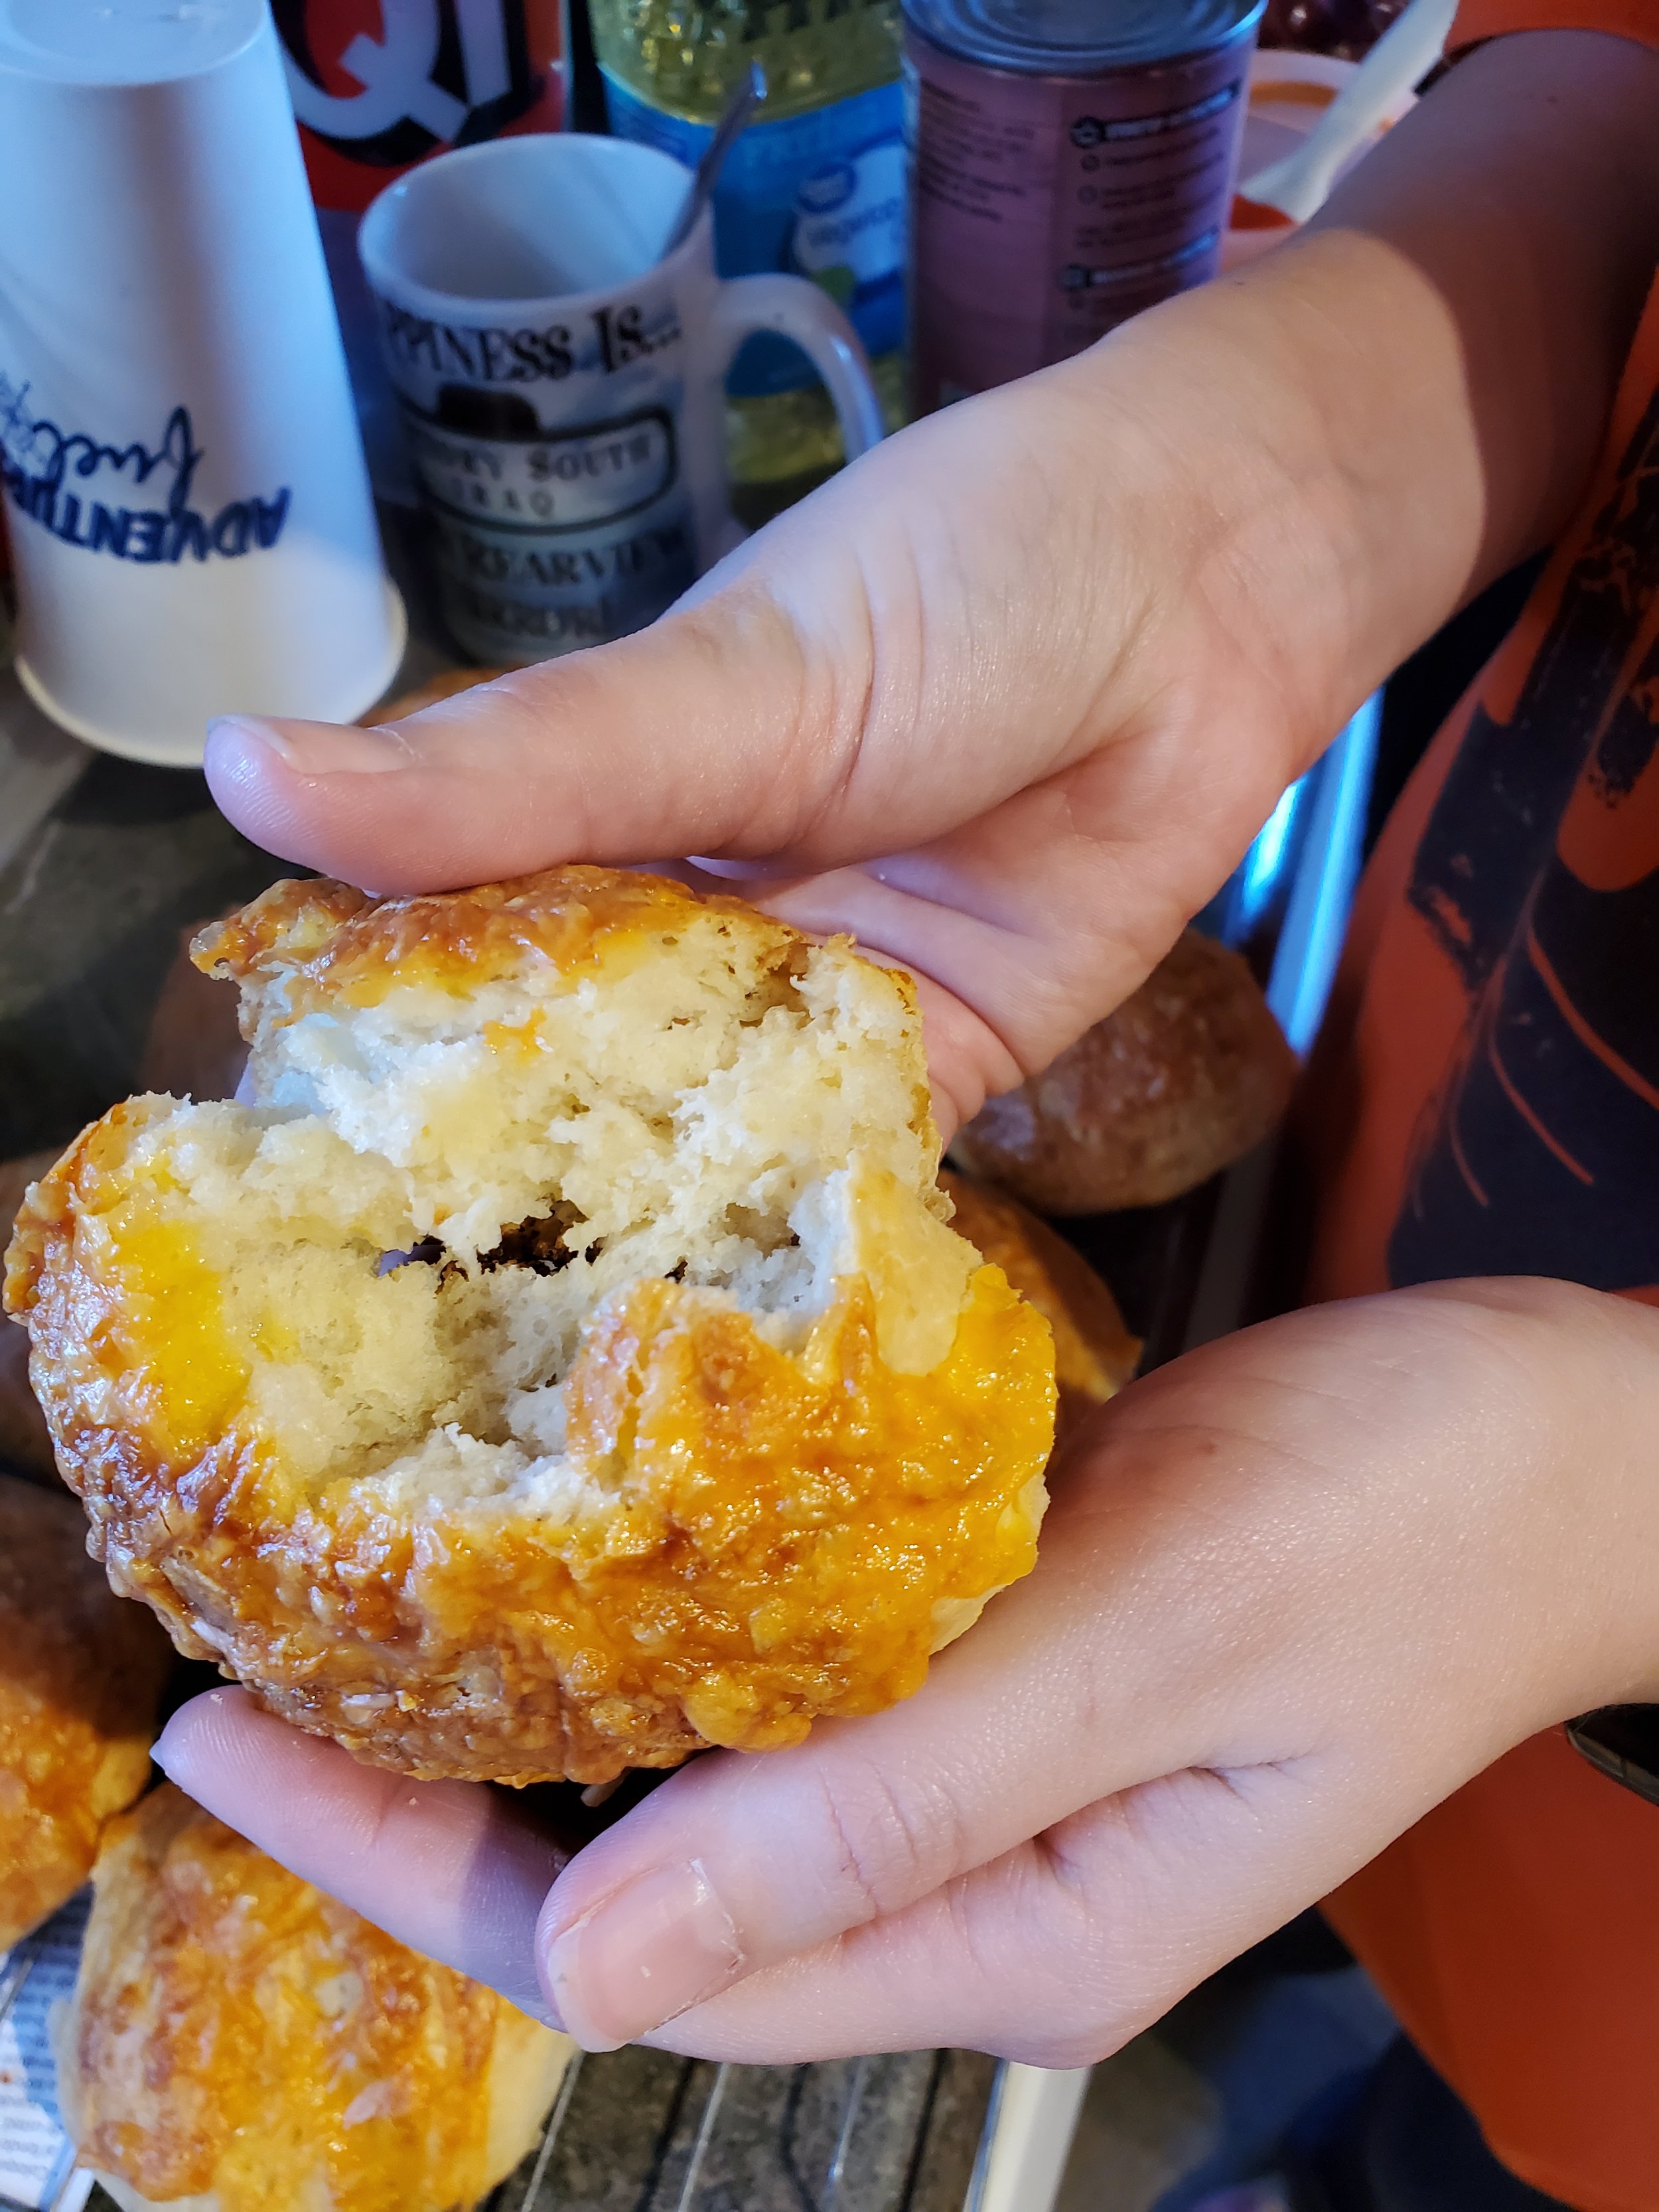
These potato rolls could be the star of their own meal.


Mashed potatoes are a great side dish, but in the case of these rolls, they are the star of the show. Not because you'll taste them but because of the light and crisp texture they give to the rolls.  Rather than dense and chewy bread, you end up with a light and airy roll that can be used alongside soups, stews, or hearty gravies or even used as a quick sandwich. 
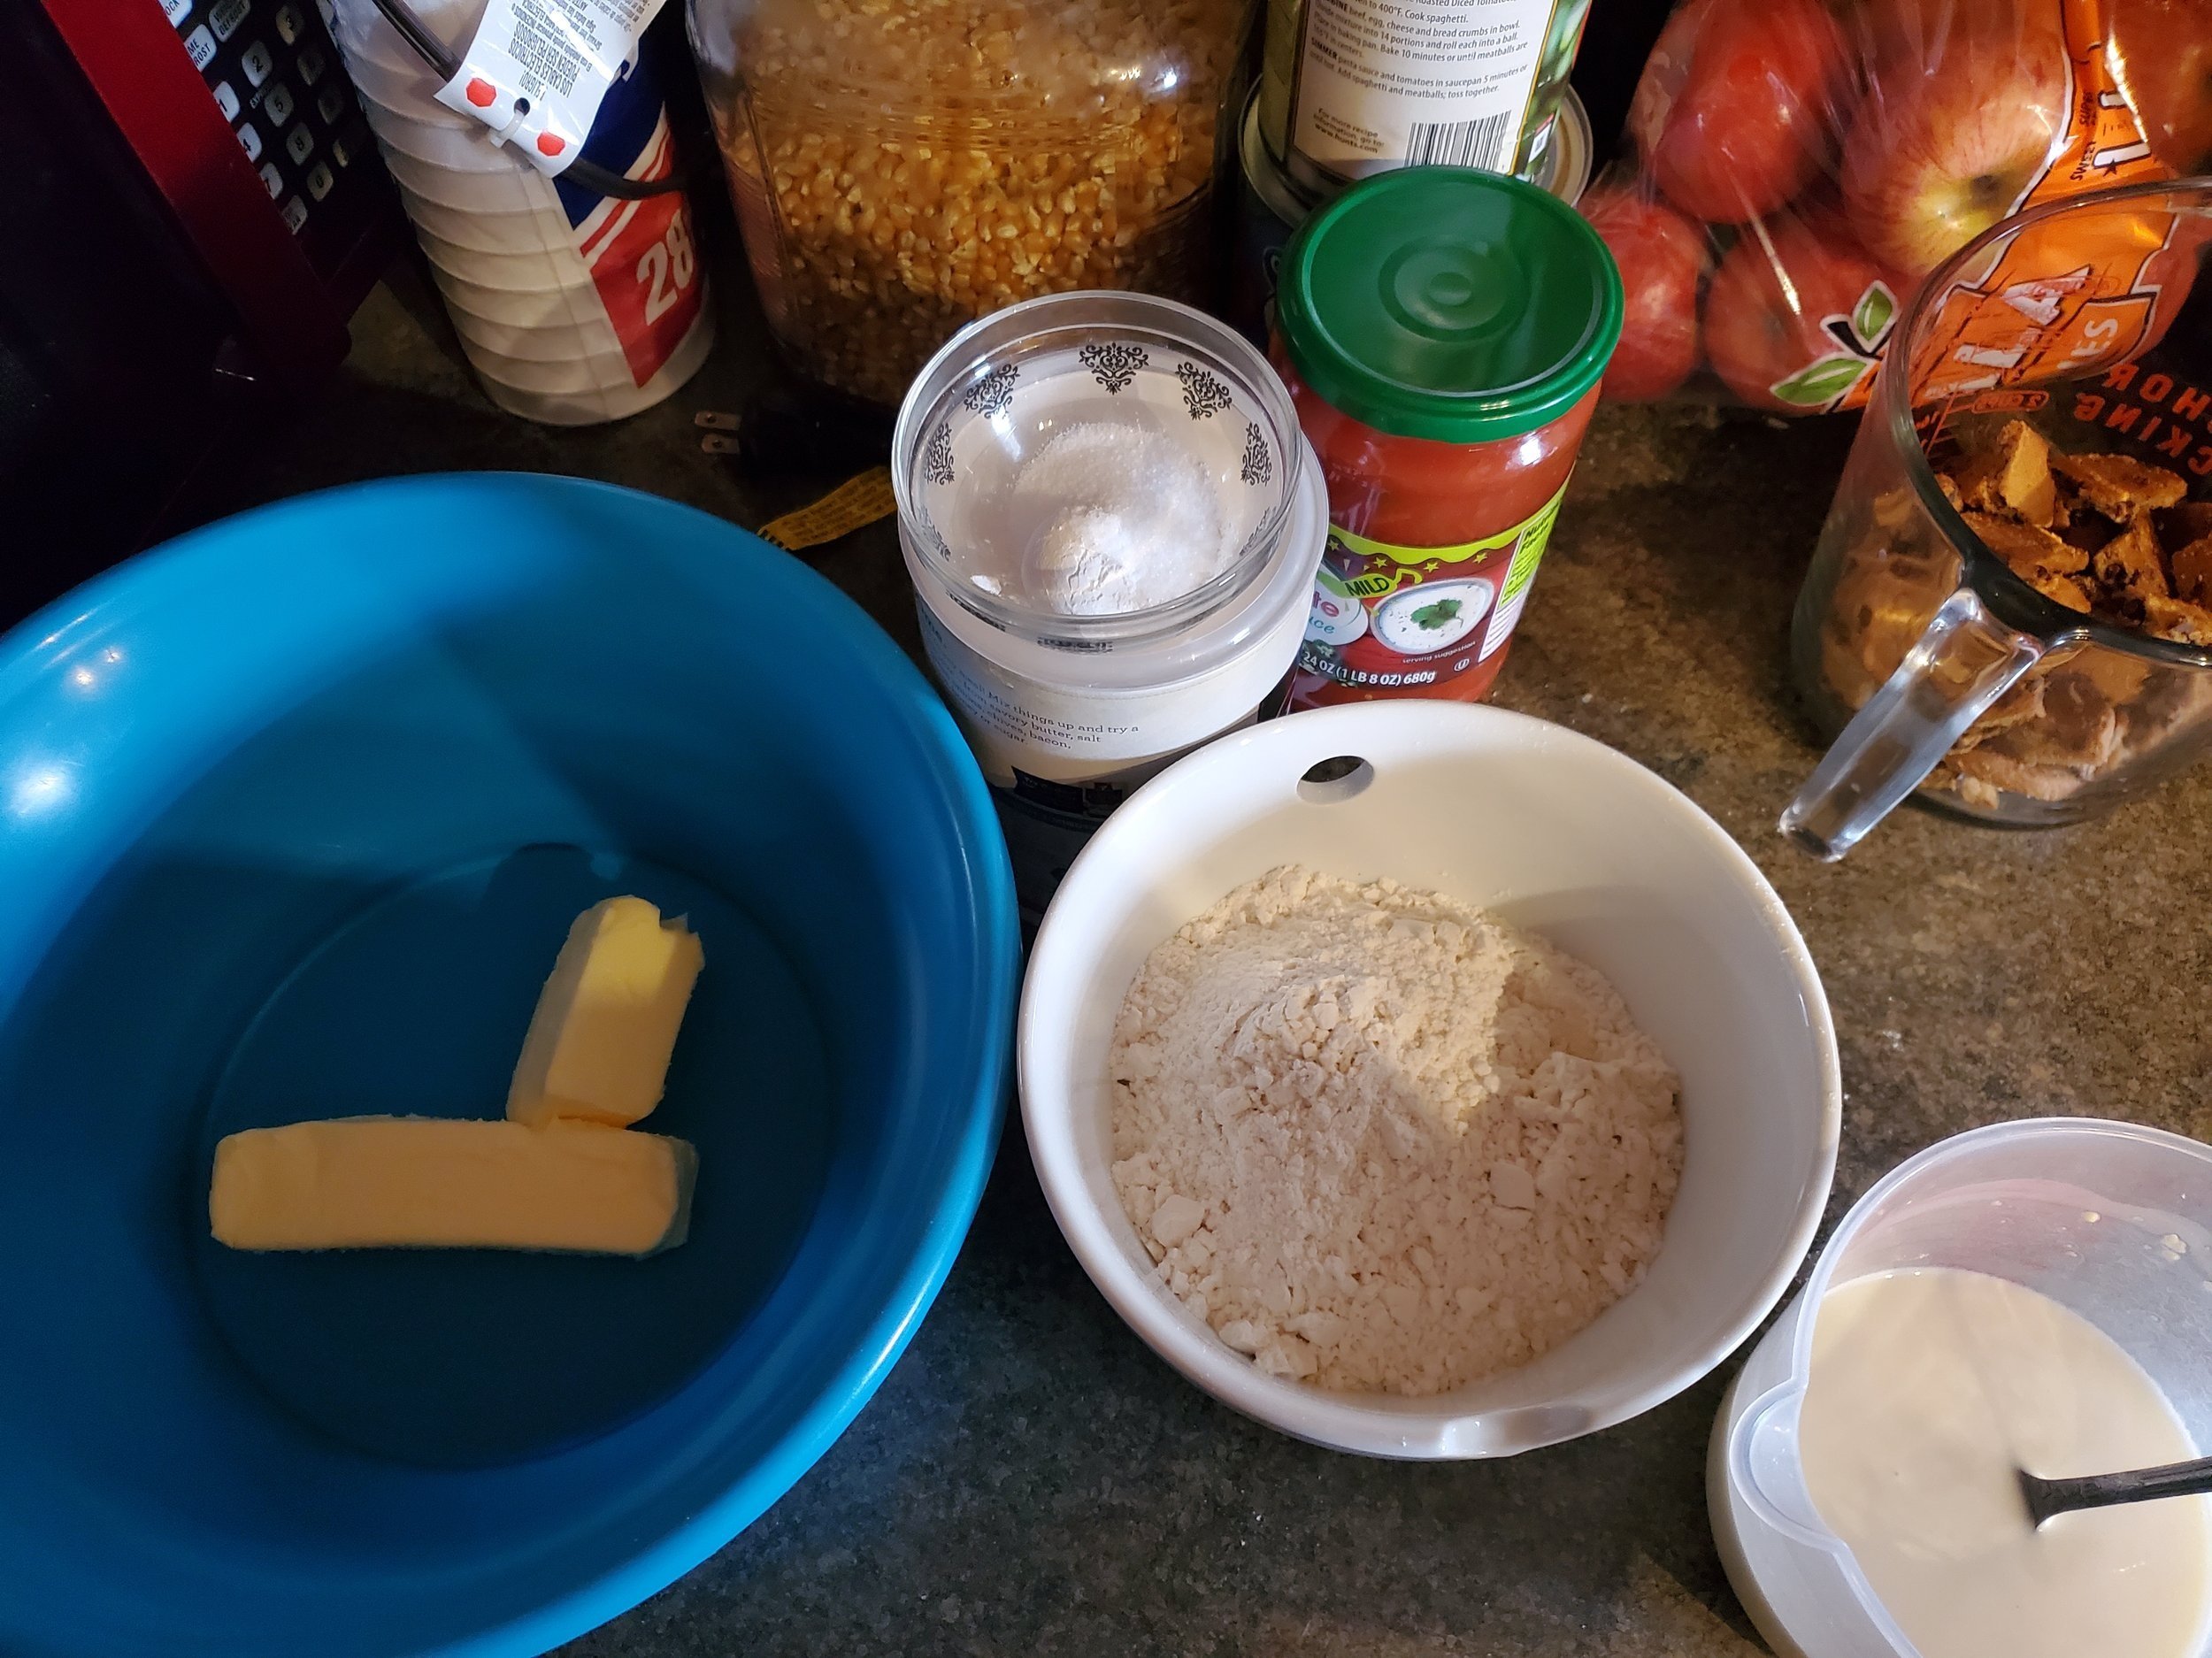
 

Ingredients: 

1 pound russet potatoes  (roughly 2-3 good-sized potatoes) 

2 Tbsp unsalted butter 

2 1/4 cups all-purpose flour

3/4 cup sharp cheddar cheese

2 Tsp instant yeast

1 Tbsp sugar

2 Tbsp stone ground mustard

2 large eggs 


Tools: chef's knife, cutting board, a bunch of bowls, fork, saucepan, colander, potato masher, rimmed baking pan, cooking spray, plastic wrap, parchment paper, oven 


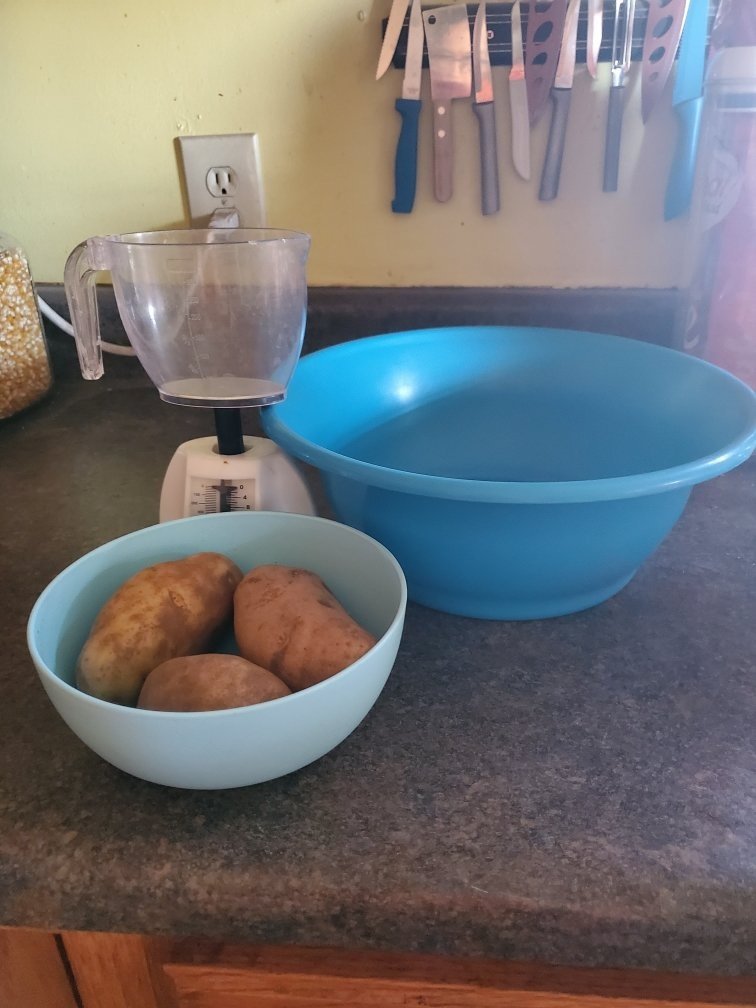
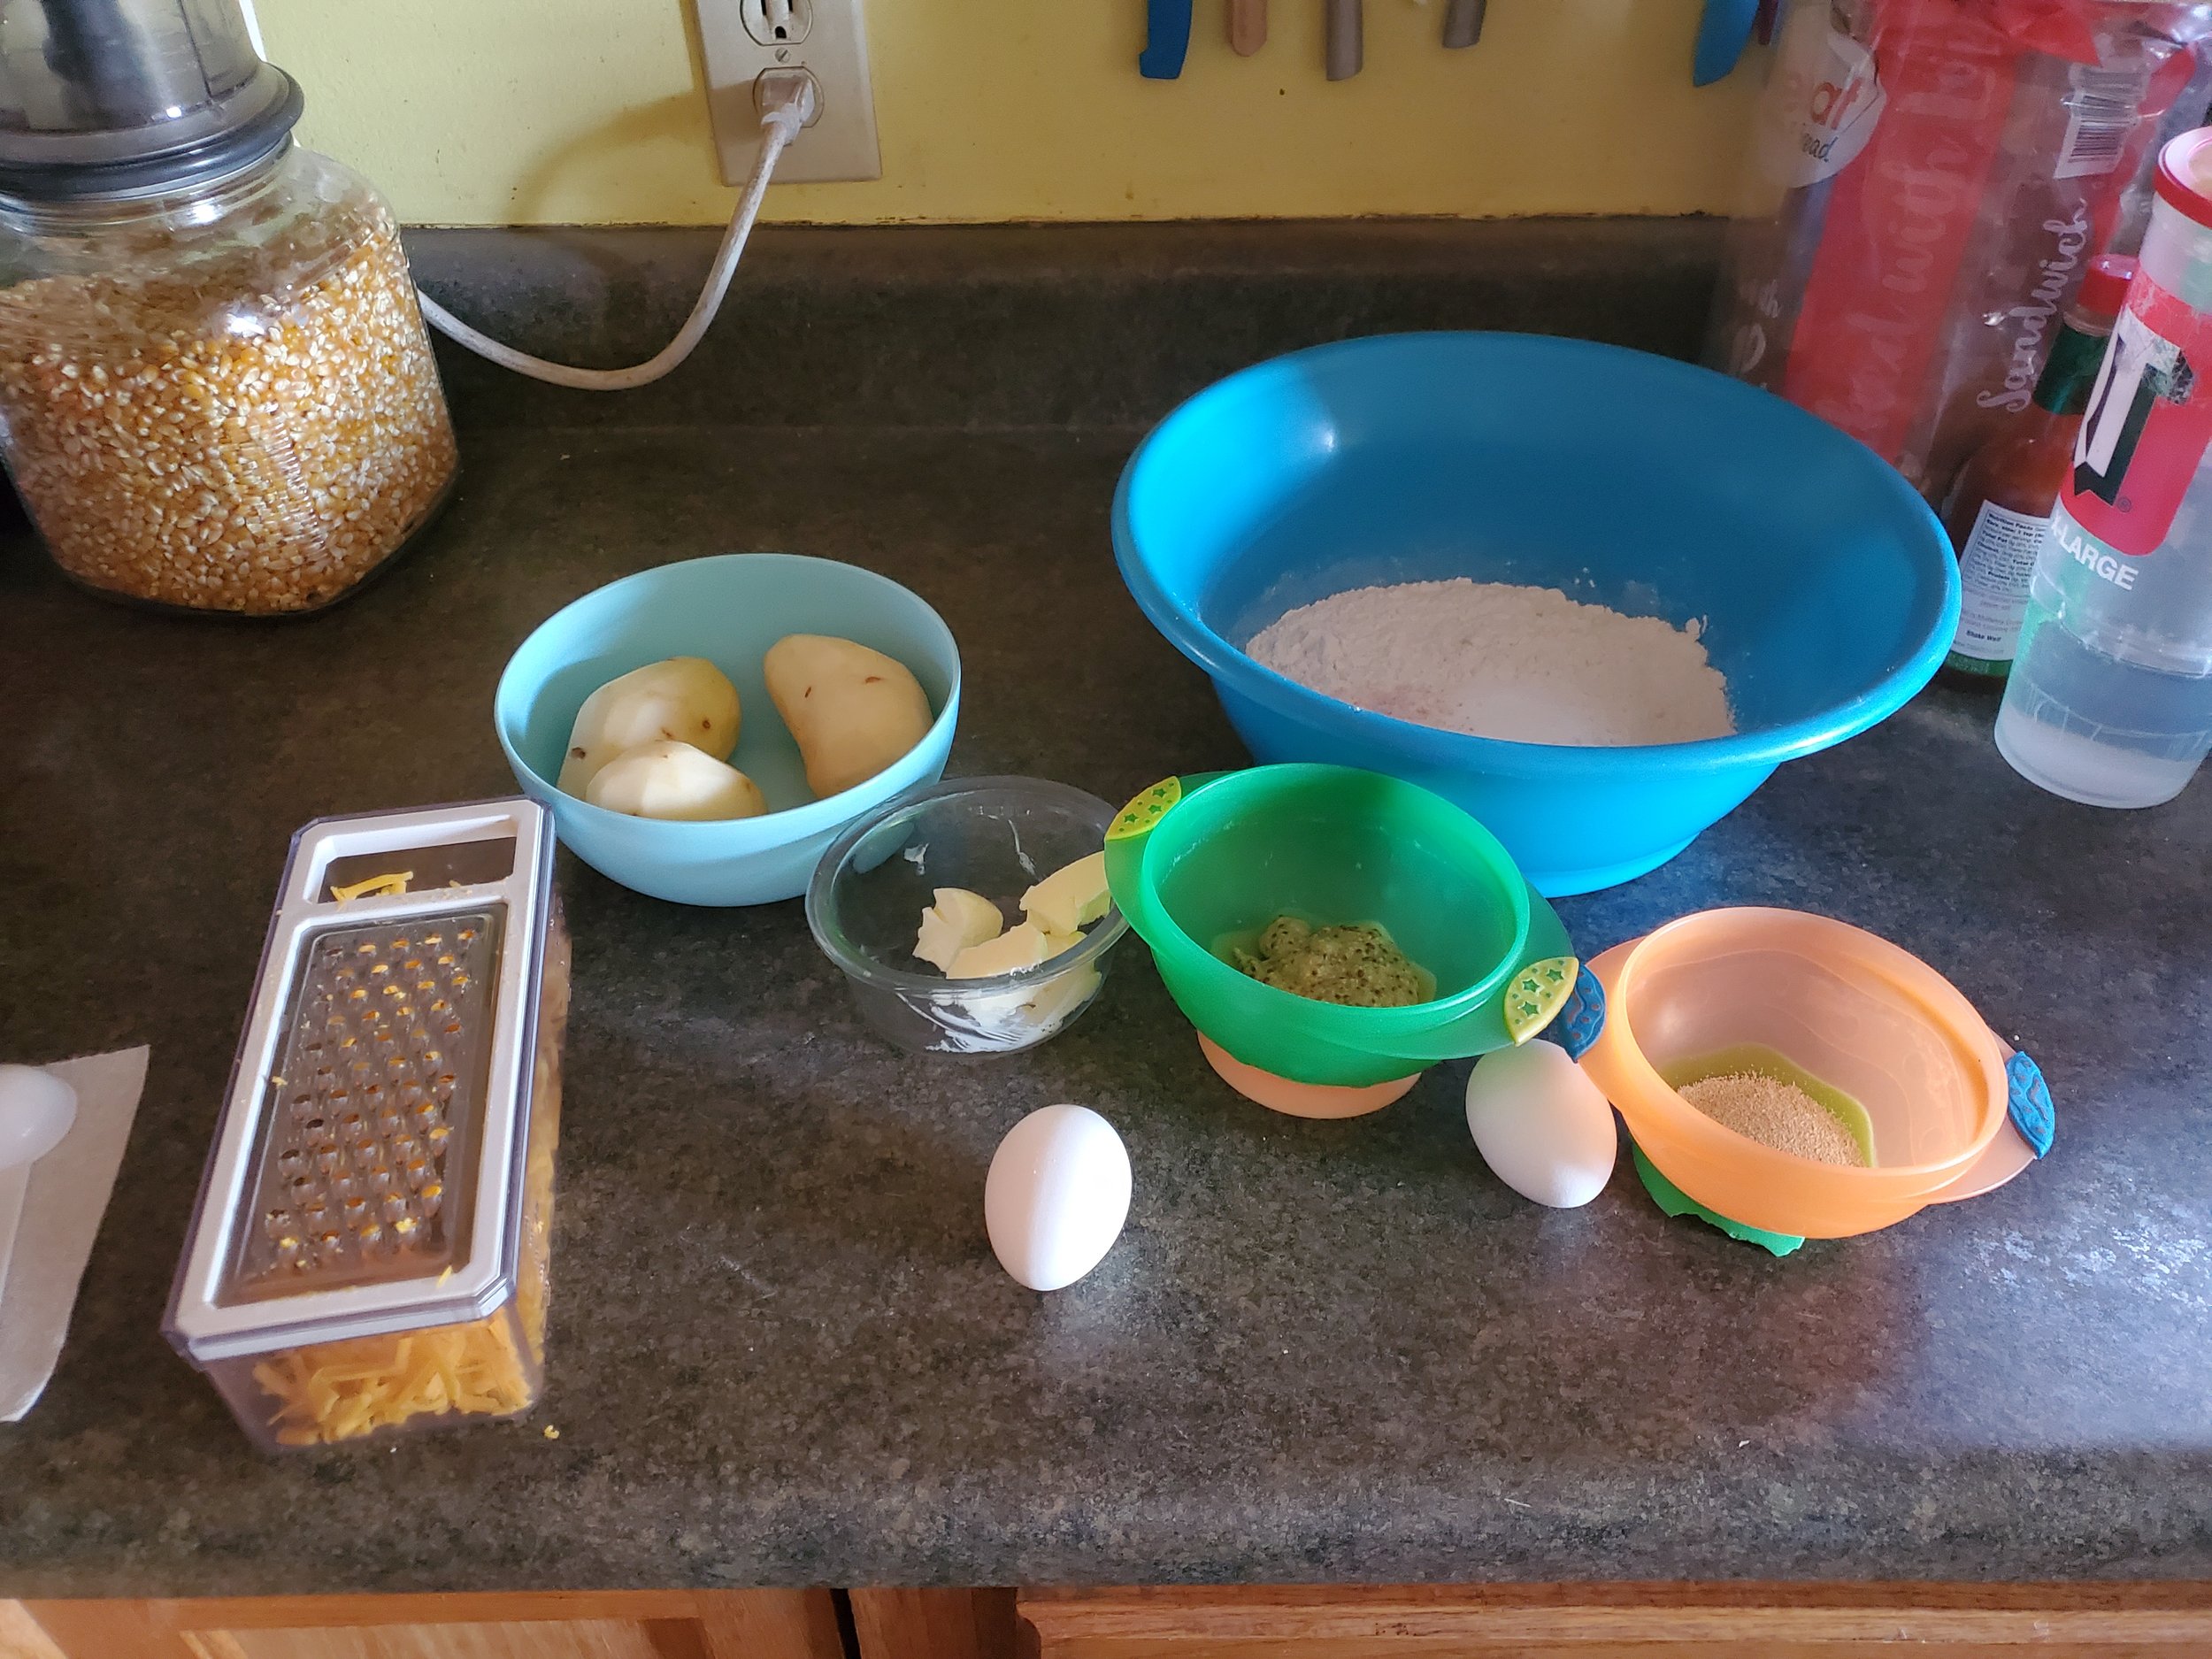
1. Skin your potatoes and chop them into 1-inch chunks. Shred your cheddar and set it to the side. Chop up your butter into 4 pieces. And last but not least, take one of your eggs, add 1 Tbsp of water and whisk it all together. Set the last one in your fridge for the time being. 

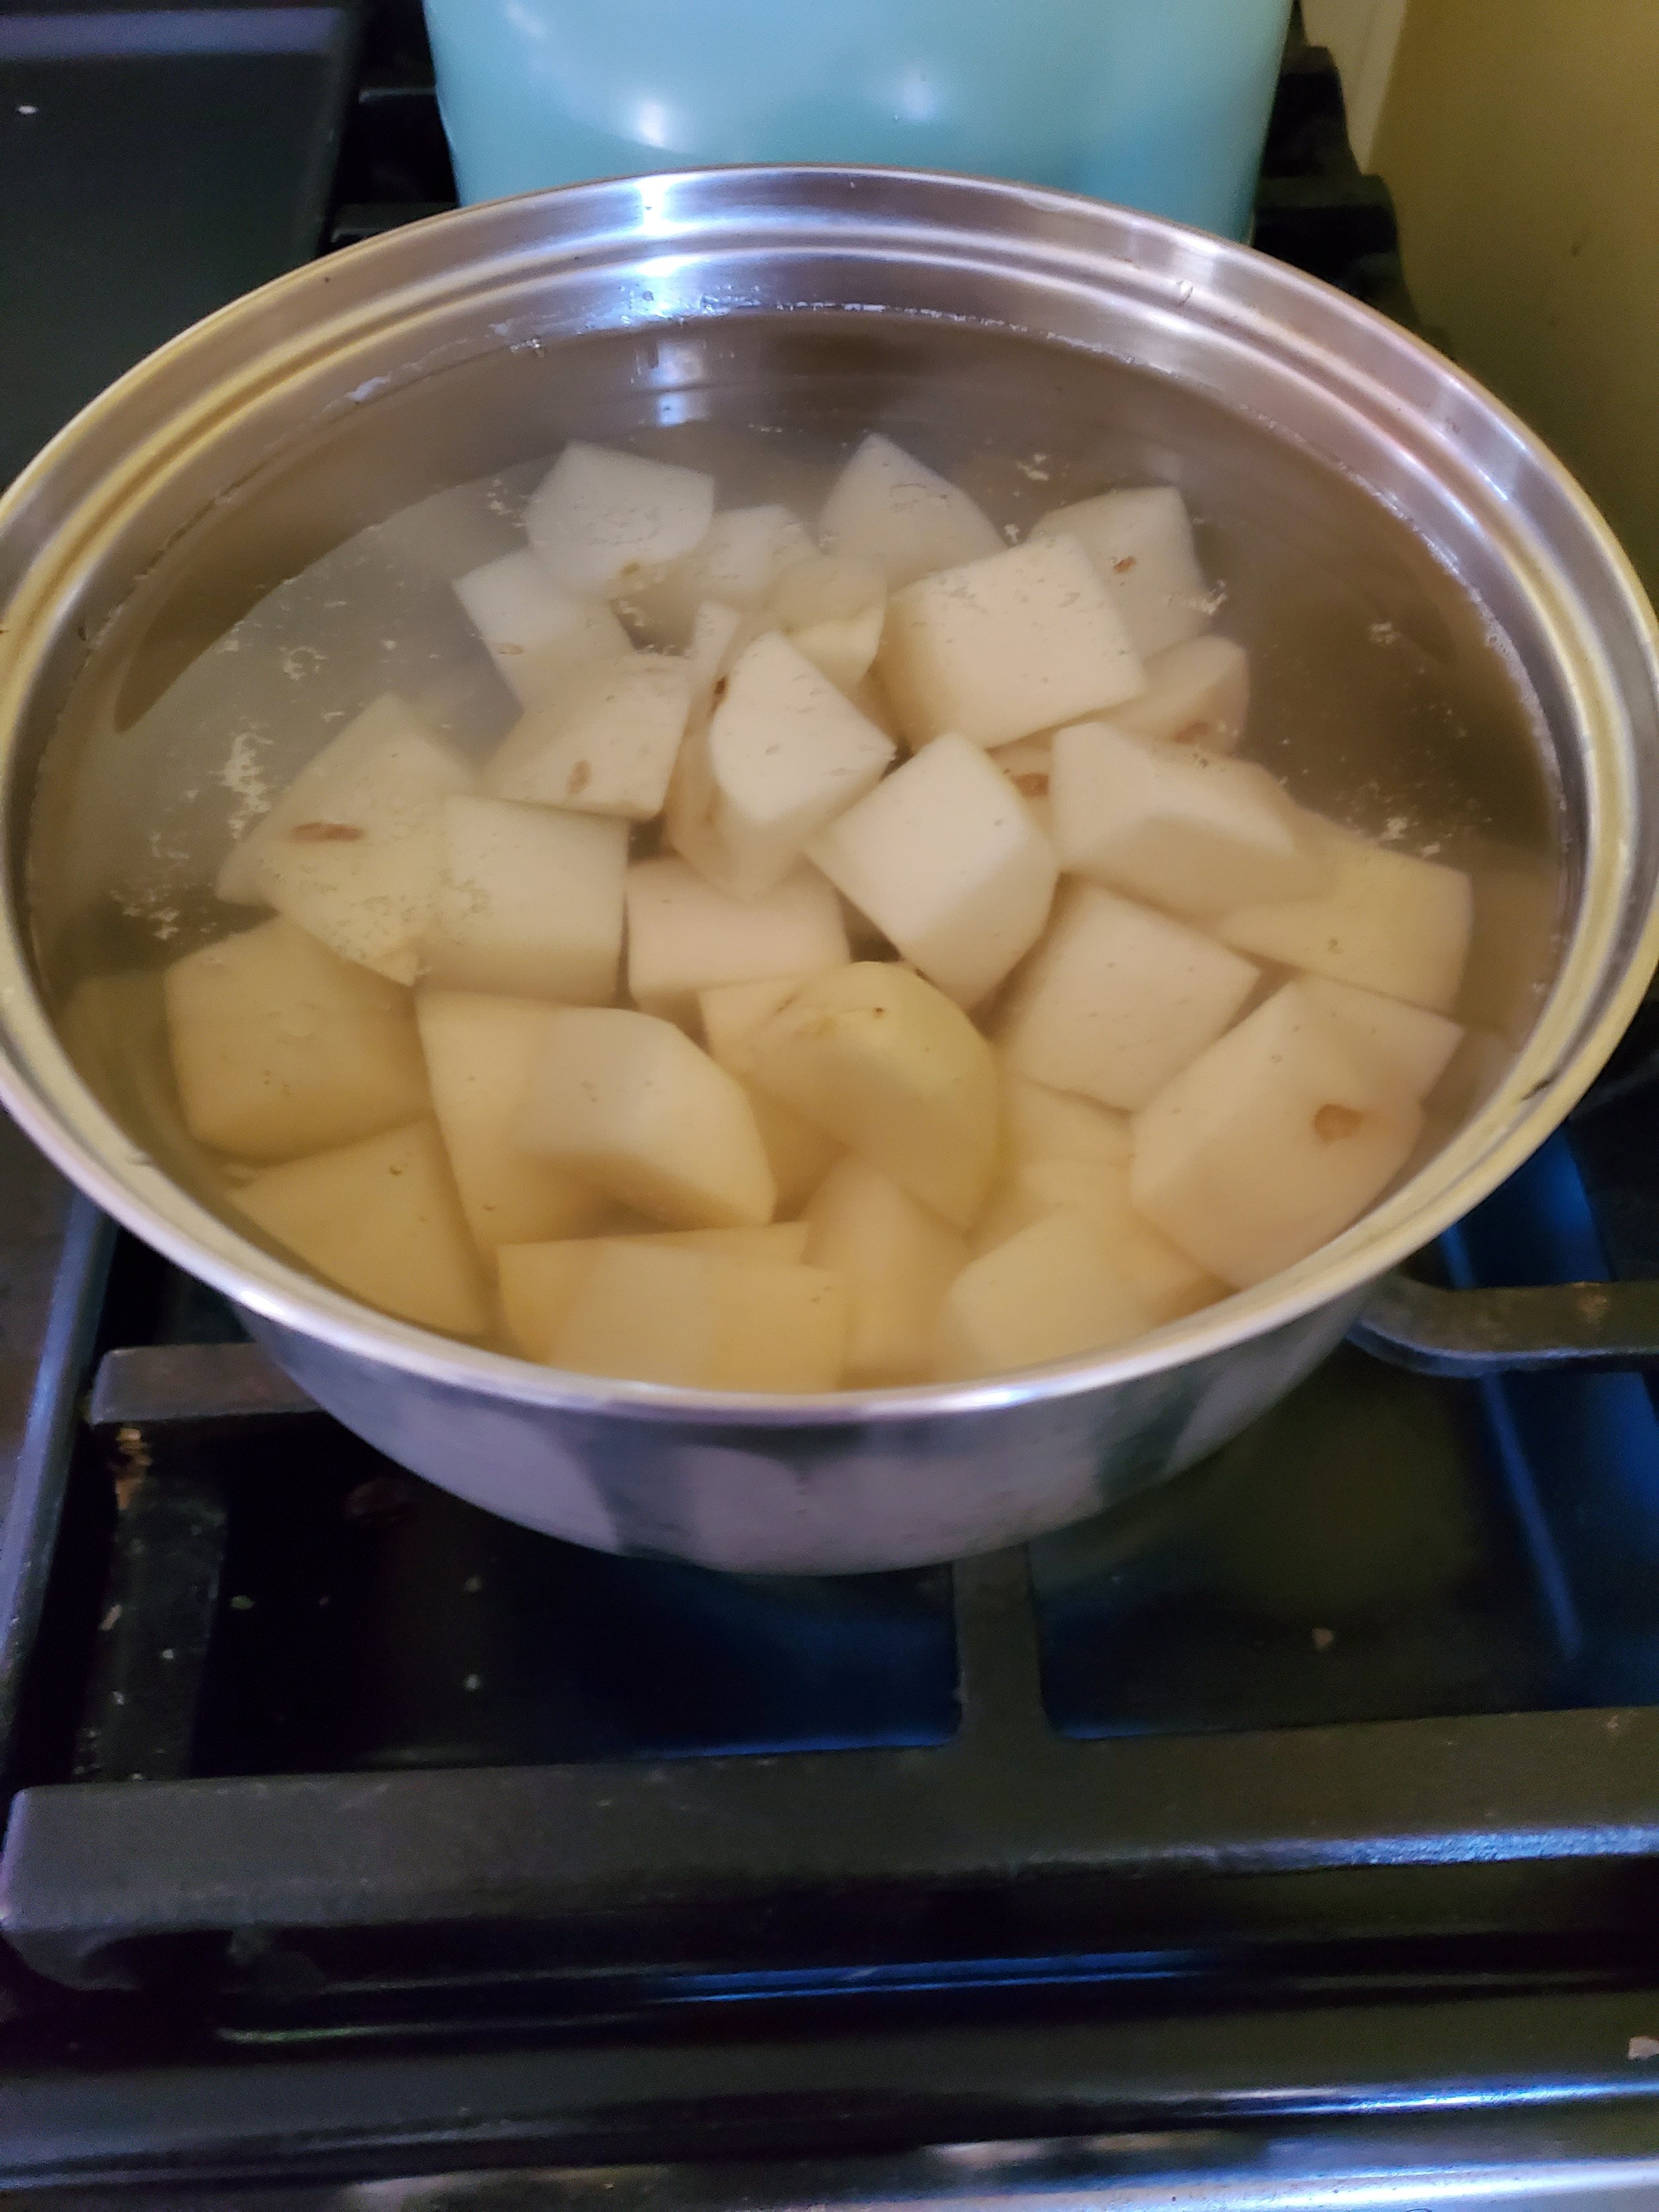
2. Take your potatoes and put them into a medium-sized saucepan, and cover them with cold water, plus an extra inch. Bring the pot up to a boil over high heat, and then reduce the heat to medium-low. At this point, you'll let the potatoes simmer until they're fully cooked, about 10 minutes. At the eight-minute mark, grab a fork and gently press into a potato. If you can cut into it easily, they're done. If not, let them continue cooking.  


3. When they are finished cooking, you'll pull the pan off the burner and reserve 5 Tbsp of the potato water. Set that to the side for now. If you have plants or a garden, you might want to save the rest of the water as well, but either way, you'll need to drain the rest of the water from your potatoes.  Now toss the potatoes back into the pot, and set them on low. Sit here for a minute, shaking the potatoes every few seconds. You're evaporating all of the water off the surface of the potatoes. When that's FINALLY done, remove your potatoes from the heat. 


4. Have you had a rough week? Or maybe just a bad day? Grab your potato masher and go to town.  You want to turn this into a very thoroughly mashed set of potatoes. No lumps or bumps left. When you're done, grab your 1 cup measuring cup and a second smaller measuring cup. Use the smaller one to scoop up the potatoes and pack them into the 1 cup. You want a firmly packed 8 oz of potato. done? Can't add anymore without it going over? Good. Set the rest of the potatoes aside. You can eat those while you let the dough rise later. 


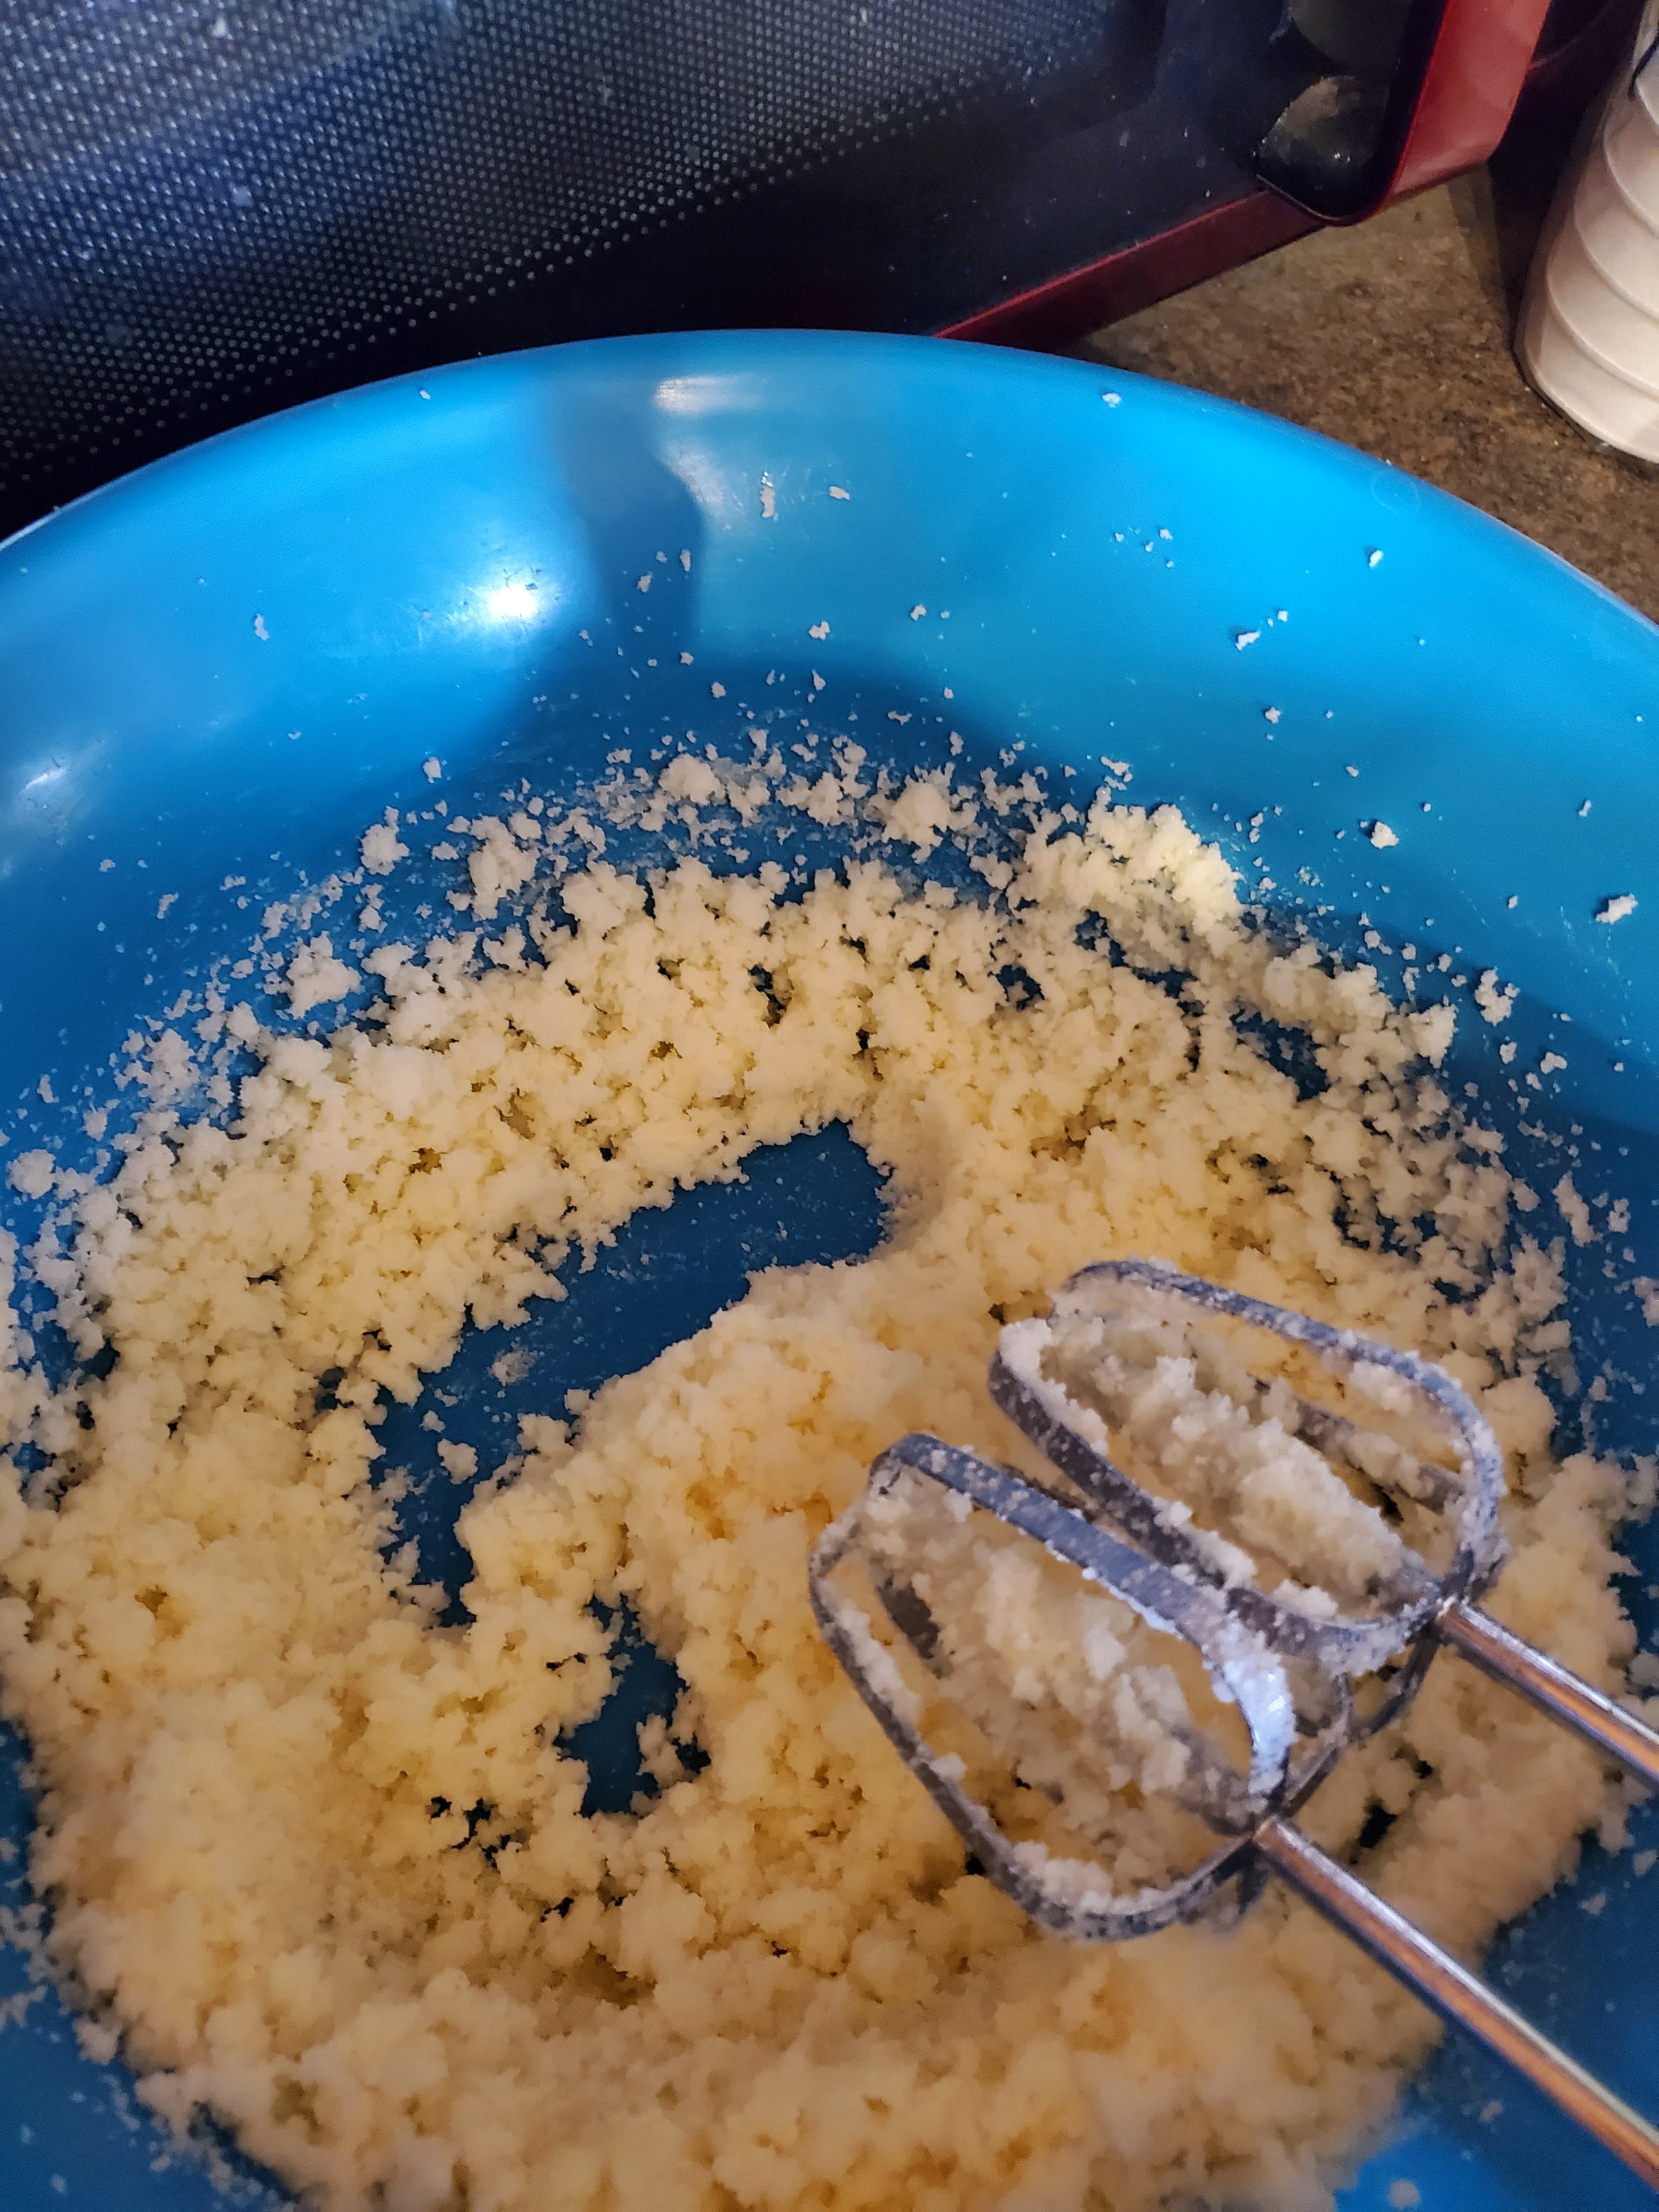
5. Next up, grab yourself a small bowl, add the measured cup of potatoes to it, and mix in your butter until melted and fully incorporated. 


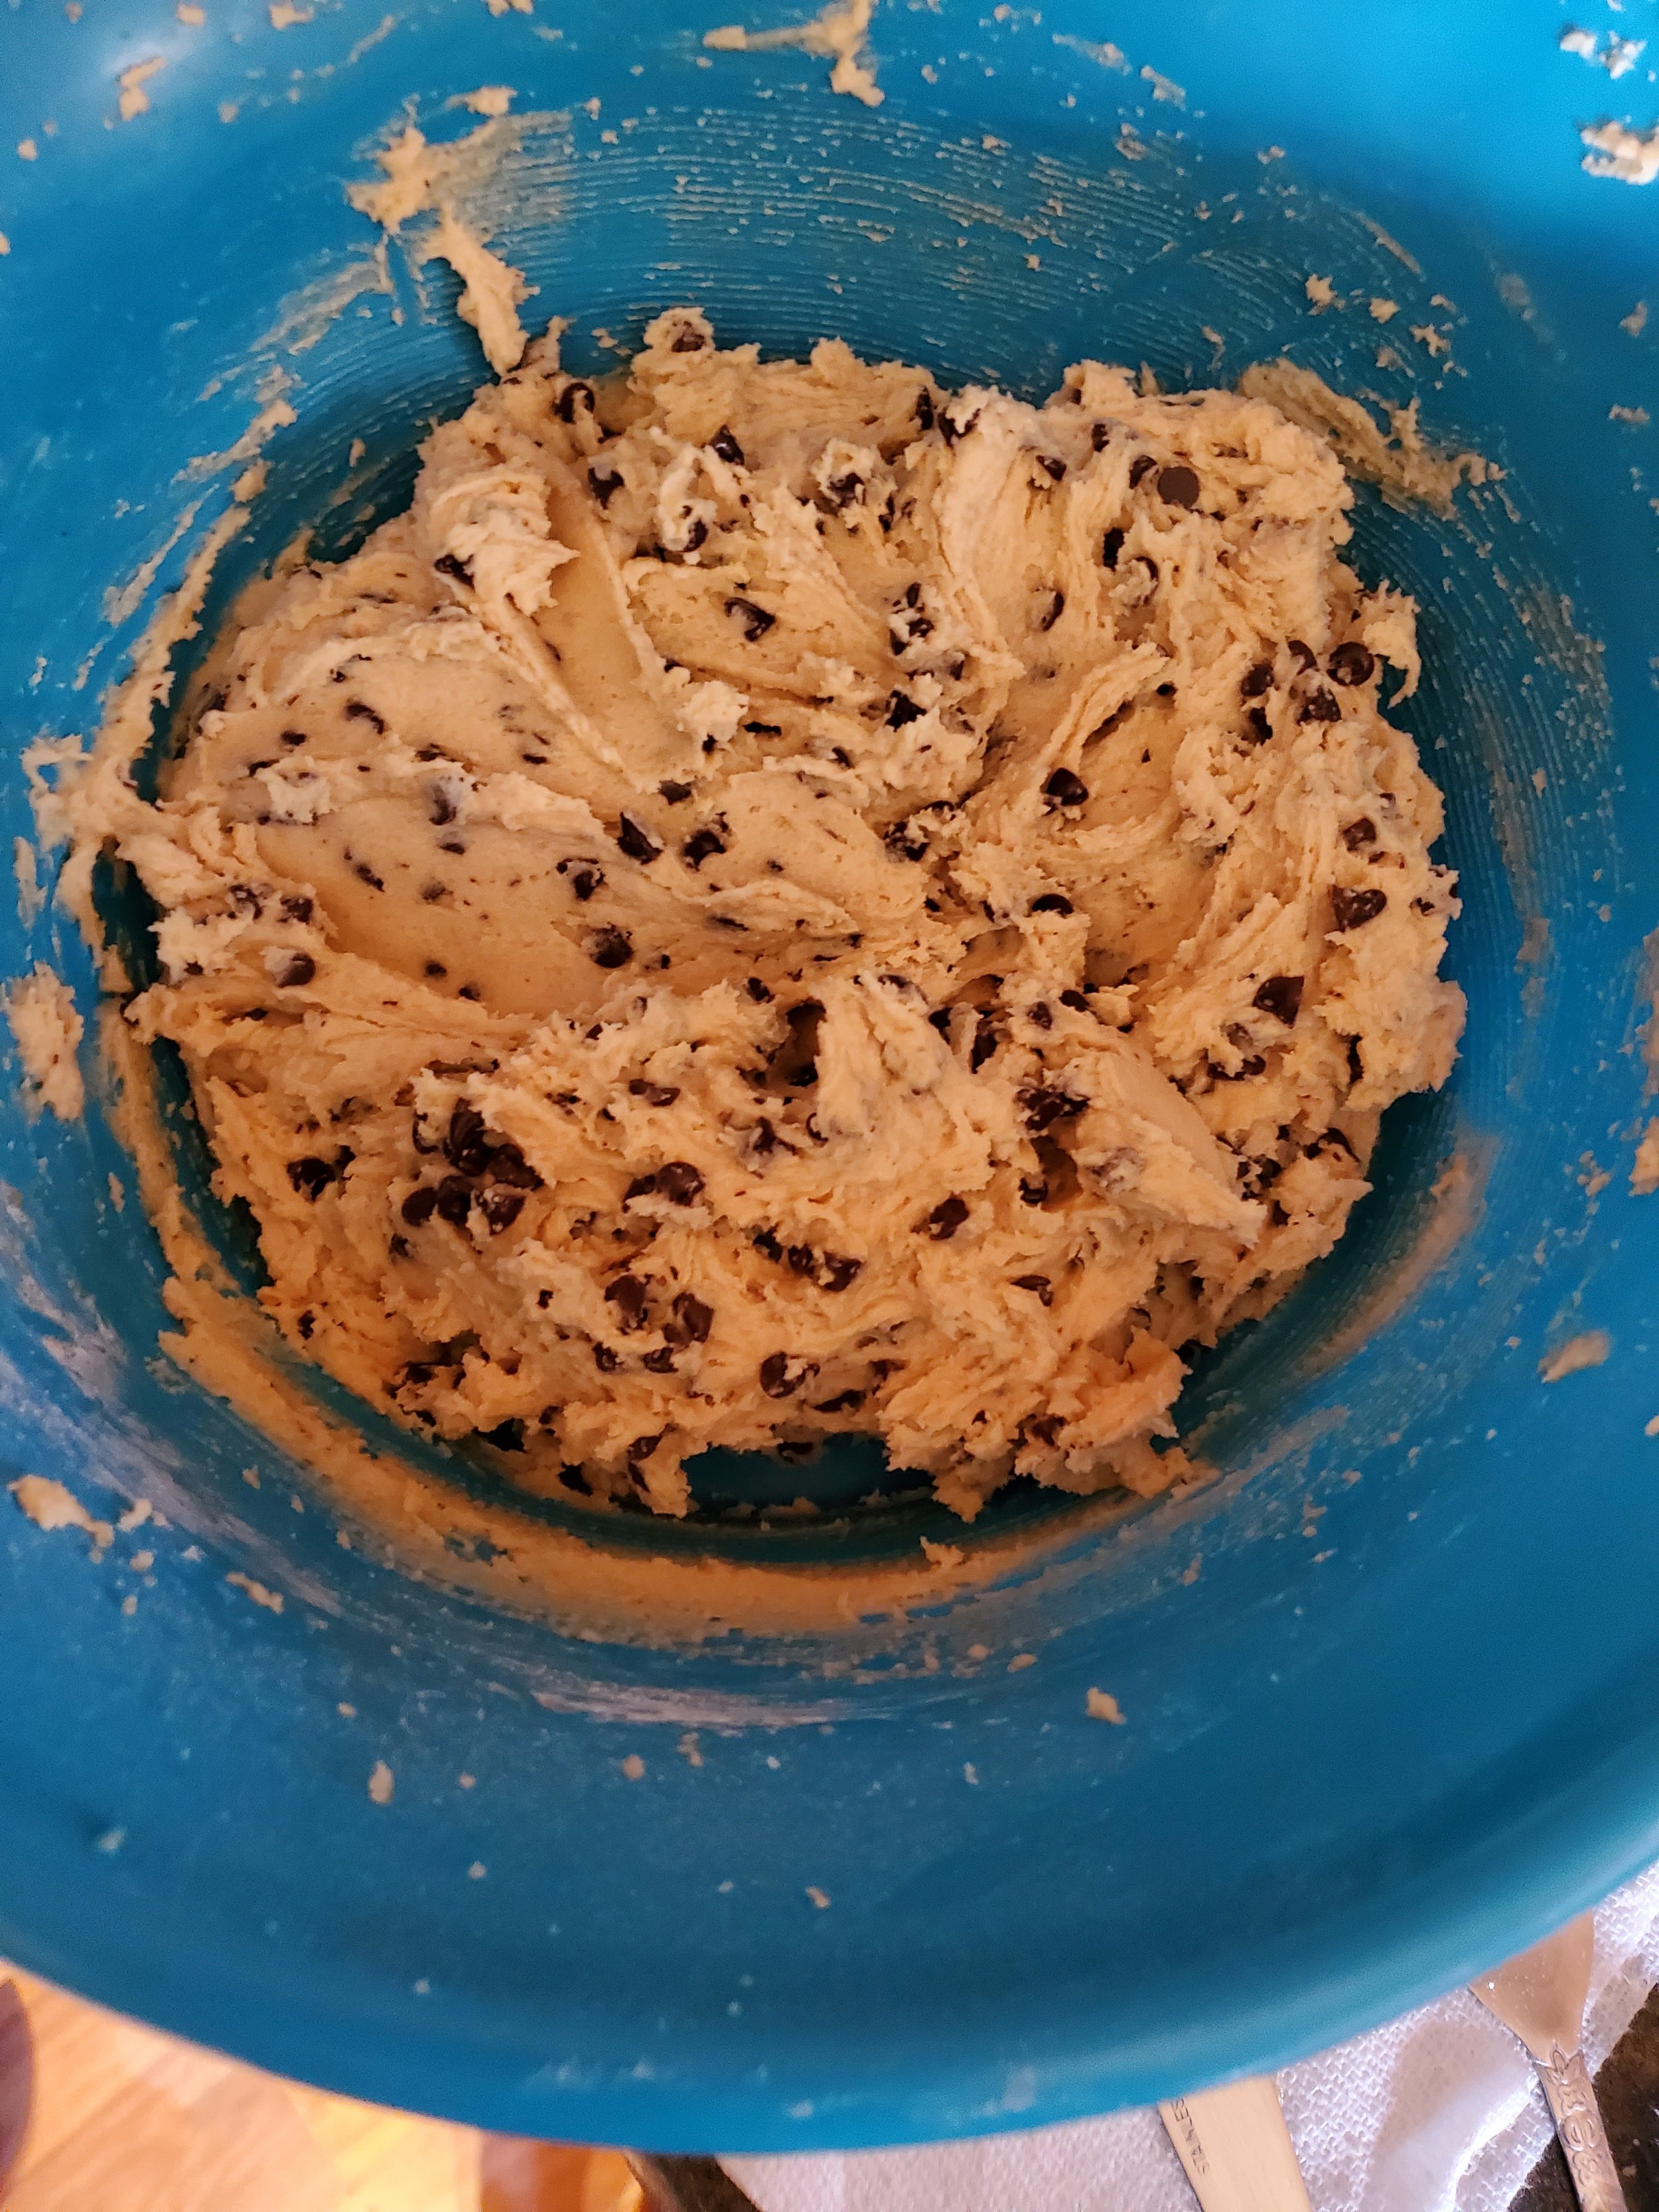
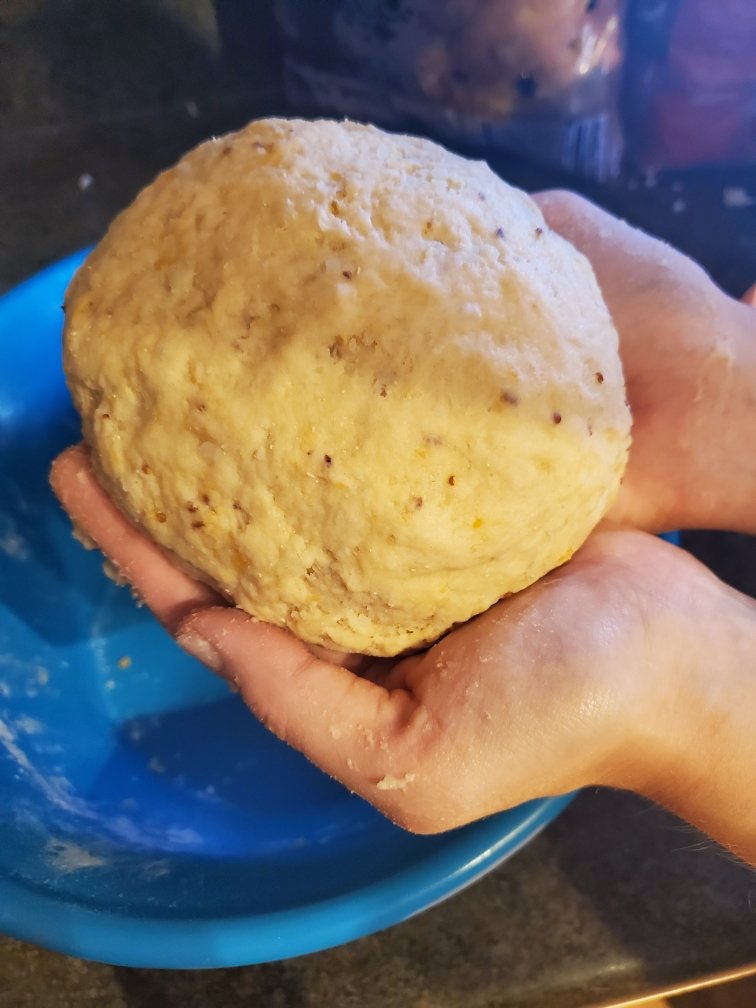
6. In a large bowl, combine your flour, 1/2 a cup of your cheddar cheese, yeast, sugar, mustard, and salt into a bowl. Add the warm potato mixture to this and mix it with your hands until well combined. At this point, some lumps are fine. Take your still whole egg and crack that into the mix. Mix your dough for 8-10 minutes by hand or until your dough is soft and slightly sticky. 


7. Shape the dough into a ball and place it in a lightly greased container. Cover the top of the bowl tightly with plastic wrap and set it to rise. If your kitchen is slightly cool (as ours was the day we made these), no worries. You can set this in front of a toaster oven or on top of your stove. Turn your choice of stove on 350* and let the dough rise until it has doubled in volume. If your kitchen is already warm,  it should take only 30-40 minutes; we ended up going for an extra 30 minutes, though, to make sure it had doubled. 


8. Once the time has passed, press down on the dough to deflate it. Turn it out onto a clean counter, and stretch it out into a 12-inch log. Cut that into 12 equal pieces and cover them loosely with greased plastic. 


9. While you let the dough sit, line a rimmed baking sheet with parchment paper. Then head back to your dough,  and grab one piece of the dough. Keep the others covered with the plastic as you work.  You'll form it into roughly a ball shape by stretching it around your thumbs and pinching the edges together.  When you do this, the top will be smooth. Place the ball seam side down onto your clean counter, and using your cupped hand, drag it in small circles until the dough feels round and tight.  When you're finished with one, place it back under the plastic until all of them are finished. 


Tip: If your dough is really sticky, you can lightly dust your fingers with flour. 


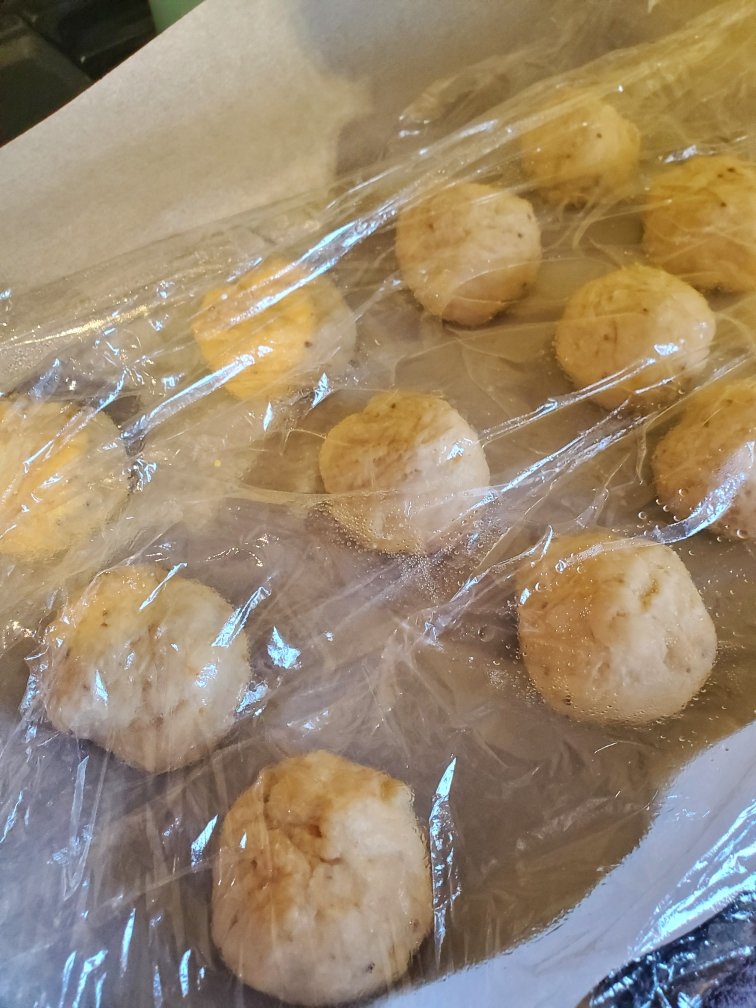
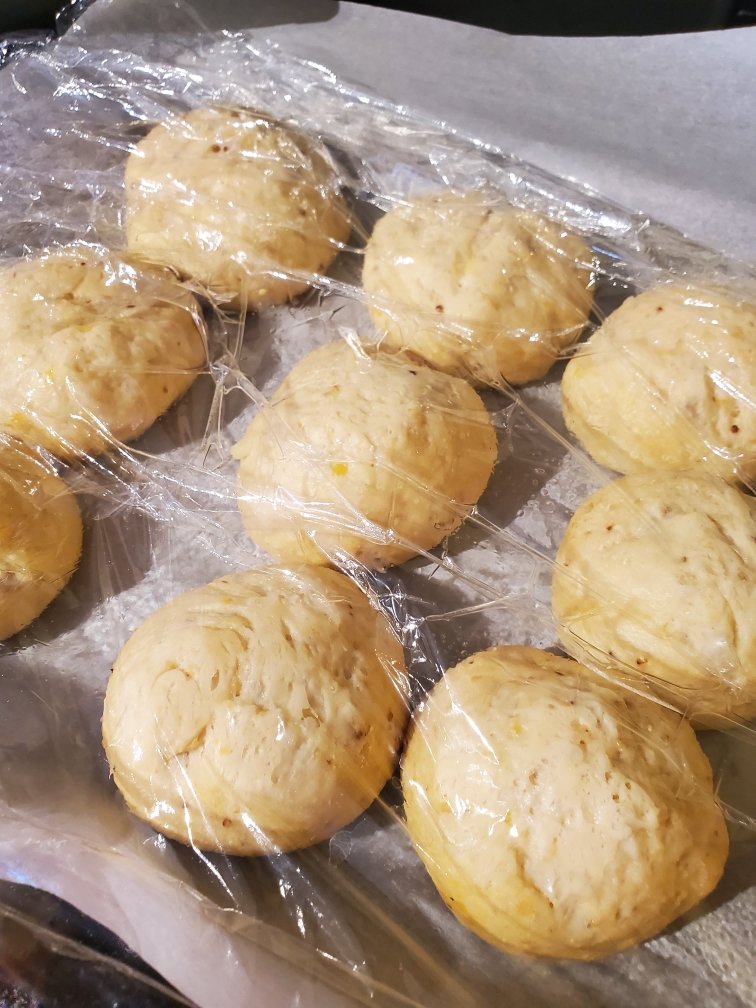
10. Arrange your rolls on the prepared sheet and cover them loosely with the greased plastic to let them rise again until almost doubled in size, another 30-40 minutes. (Here again, you can utilize the trick with your oven of choice.)  While the rolls rise, turn your oven to 425 and move one rack to the upper middle position. 


11. Brush the tops of the rolls lightly with the egg wash you made at the beginning, and sprinkle them with the remaining 1/4 cup of cheddar cheese. Bake the rolls until they're golden brown on top, roughly 14 minutes. (Make sure to keep an eye on them, and turn them halfway through the baking.)  When they're finished, transfer the sheet to a wire rack and let them cool for 5 minutes.  You can then serve them warm or at room temperature. Store them in a sealed container if any manage to survive. 


These were absolutely delicious when we made them, and we hope that you enjoy them just as much. One thing that we did note as we were baking was that the type and amount of mustard could be changed depending on preference. We used stone ground this time, but a spicy brown mustard and adjusting the amount could yield a punchier roll. Let us know your thoughts and ideas in the comments below or over on our Facebook page! 


If you're here instead because your stove isn't functioning correctly, you're still in the right place. At Appliance Rescue Service, we want to work with you to get your home running smoothly again. You can reach out to us via our contact page or by giving us a call at ((214) 599-0055). Whether you're in Frisco or Allen, we're here for you. 


Tomato Pie of Seasons Meeting

Not to be mistaken for humble pie

If you're looking for something that blends summer and fall, this is the pie for you.  Heirloom tomatoes are a grape tomatoes that show off the beautiful colors of tomatoes. They're lovely to look at and even better to eat combining sweet, tart and just a hint of bitterness.  Although we give all sorts of alternatives in other recipes, for this one we have to be firm about getting heirloom tomatoes. However if you can get a selection of fresh herbs, we will absolutely say go for it! 

Ingredients


1 lb heirloom tomatoes

1 large handful fresh parsley

1/2 c sour cream

1 Tbsp dried basil

1 Tbsp fresh minced garlic

1 Tbsp ground thyme

1 tsp dried oregano 

1/2 tsp rosemary

pinch of salt

pinch of pepper

1 pie crust 

2 slices of mozzarella 


Let's start off by chopping your tomatoes into quarters, nothing fancy needed here.   Now grab the parsley and start tearing it up. You want it so that you don't have anything larger than your fingernail (give or take.) If you've chosen fresh herbs for the other pieces, you can do that now as well. 

Next up take your mozzarella into ribbons no wider than a 1/2 inch, this is going to be the topping of your pie instead of a standard crust. 

Take a bowl and mix together your spices and your sour cream so that everything is thoroughly mixed. Then add in your tomatoes and thoroughly coat them. Allow this mixture to sit for a while (maybe 30 minutes or so) to let the flavors steep into the sour cream. 

Now take your pie crust lay it over a pie pan, carefully pressing it into the pan so that you don't form tears. Curl the edges up onto the sides of the pan so that nothing is hanging down and "squish" it together to form a more solid crust. Next take your tin foil and wrap the edges in aluminum foil to protect them during the baking process. 

Pour your tomato mixture into the pie shell, and set your oven to preheat to 400* F.  While you're waiting for it to preheat, it's time to get fancy! Take your mozzarella and make a pattern out of it. Have fun! There are a ton of patterns you can try over on Pinterest. 

Once your oven is preheated to 400*, bake the pie for 35 minutes. For the last ten of that time, uncover the aluminum so that the crust has a chance to become a gorgeous golden brown. 

At that point you can take it out of the oven, and allow it to cool for five minutes before serving. 


Other options: You can pour this out over a bowl of pasta, be it penne, linguini or tortellini, and it's SO good. 

Another idea we discussed in the kitchen was to see what we could come up with for adding some meatiness to it, and for that we decided on adding slices of prosciutto, chopped up into the pie itself. Our chefs couldn't agree on how to go about that, whether you add it as slices along the bottom of the pie before pouring in the tomato mix, by chopping it up into small pieces and adding it to the mix, or by rolling it up and slicing it and then layering those spirals on the top of the pie. 


Now we know Texas is still dealing with the heat of Summer, even if the calendar says it's officially fall.  Fortunately, this meal can be enjoyed no matter what time of year it is. It's just best when its the in-between time of the seasons. If you do decide to make this, let us know over n our Facebook page or in the comments down below.  As always, we want to hear from you! 

If you're here because your dishwasher is giving you hell and doesn't want to get the pie tins clean, we can still help! We're not just here for delicious recipes, we can fix your major appliances too! (Yeah, we know we say this every month, but it's true!)  You can reach out to us via our contact page or by giving us a call! ((214) 599-0055) 

Whatever it is you need, we're here for you. We'll work with you to find a time that works for you and set an appointment for one of our technicians to come out to you. We'll get your home running smoothly again. 


Mushroom & Asparagus Crepes

Easy and fast to make, and so delicious you’ll be fighting for a second share.

We won’t mince words with y’all this week. We’re too excited to get to the recipe. This week we’re making a delicious summer end mushroom and asparagus recipe. You can make this now and save the crepes for a later date or you can make only enough for a dinner and enjoy it tonight. 

Ingredients

Crepes


½ tsp vegetable oil

1 c whole wheat flour

½ tsp salt

2 c milk

3 large eggs

4 Tbsp unsalted butter, melted and cooled to room temp


Filling


1 ½ lbs cremini mushrooms mixed with ½ lb shitake mushrooms if you want to add another layer

¼ c water

½ tsp vegetable oil

1 Tbsp unsalted butter

1 shallot, minced

½ tsp salt

¼ tsp fresh pepper

8 oz asparagus

⅔ c heavy cream

6 Tbsp Pecorino Romano cheese


Start off by prepping your mushrooms and asparagus. You’ll want to trim your mushrooms and chop them to ¼ inch thick. Your asparagus will get the same treatment, trimming off the woody bits, and cutting diagonally. 


For the crepes - 

Grab your nonstick skillet and put it on low heat for 5 minutes, and pour the oil in. While that’s heating up, grab two bowls. In one, mix your flour and salt. In a separate bowl, mix together your milk and eggs. 


Next pour in half of your milk mixture to the dry ingredients and whisk until smooth. Pour your melted butter in next and whisk that until it’s mixed in. Whisk in the remaining wet ingredients and mix until that’s free of any lumps, clumps or bumps.


Once your batter is ready, it’s back to the skillet. Grab a paper towel and wipe out the skillet. You want just a film of oil on the bottom and the sides. Turn up the heat on your stove to medium and let the skillet heat for another minute. You’ll test the heat by pouring 1 tablespoon of batter into the skillet and cook it for 20 seconds. If your mini crepe is golden brown on the bottom, your skillet is at the perfect temperature. If it’s too light, or too dark, adjust the heat and test again. 


Remove your skillet from the heat and pour in ⅓ of a cup of batter into the far side of the skillet. (So whichever side is farthest from you.) Swirl the skillet gently in a circle until you have covered the bottom evenly. Place your skillet back on the stove and cook the crepe, without moving the skillet, until the top of the skillet is dry and the crepe starts to brown at the edges. Wait for 30 seconds or so to pass and then grab your rubber or silicone spatula. Run it around the edges of the skillet and then gently slide the spatula underneath the edge. Grab the edge with your fingertips and flip the crepe. Wait another 20 seconds and the top of the crepe should be lightly spotted. Yay, it’s done! 


Take your skillet off the heat, and transfer the crepe to a wire rack. Return the skillet to the heat for 10 seconds before you repeat everything with the remaining batter. As your crepes are finished, transfer them to the  wire rack. 


*Crepes can be wrapped tightly in plastic wrap and kept refrigerated for up to 3 days. Alternatively, if you’re in a baking mood, you can stack them between sheets of parchment paper and freeze them for up to a month. Make sure to allow the frozen crepes to thaw completely in the refrigerator before you decide to use them. 


Now it’s time for the filling!

Combine your mushrooms and water in your skillet and cook them over high heat. Until the skillet is almost dry and the mushrooms have begun to sizzle, it should take about 4-8 minutes. Reduce  the heat to medium-high and add oil to the pan. Toss until the mushrooms are evenly coated. Continue to cook, stirring occasionally until the mushrooms are well browned, another 4-8 minutes. Turn the heat down to medium.


Now, toss those mushrooms to the side of the skillet. You want them to stay warm, but now it’s time to focus on the asparagus.  Add butter to the center and once it’s melted, add the shallot, salt and pepper to the center and cook, stirring until fragrant. Add your asparagus  and cook for a minute. Now turn the heat down to medium-low, add in cream and cook, stirring occasionally, until the mix has reduced by half about 1 minute. Turn off the heat and add in the pecorino keep stirring until the cheese is melted and the mushroom mix is creamy. 


Take two plates, place the crepes on one and invert a plate over the top. Microwave this whole mixture until the crepes are warm, no more than 30-45 seconds. Working with 1 crepe at a time spread ⅓ of a cup of the mushroom mix across the bottom half of a crepe. Fold the crepes in half and then fold it over again. Transfer them over to a plate and serve warm. 


So, what do you think? Are you liking the idea? Let us know in the comments below or over on our Facebook page. As always we love to see what you make . 


If you’re not here because of that, but maybe because you would prefer to have a functional stove or dishwasher, we get it. You can reach out to us on our contact page or by giving us a call at (). Wherever you are within the Dallas area, Appliance Rescue is here for you. 


"Sugar Bomb" Cake

Or You Might Call It Death by Delicious

This isn't a cake for a birthday. This isn't a cake for a little get together. This is cake for a crowd, when you have a ton of people and you want all of the ones that enjoy sugar to walk around in a daze after trying it. This is one of those cakes where you make only once a year. Not because it's difficult. Not because it doesn't taste amazing (it does. We have it on the opinion of a ten-year-old that this is "the best cake in the whole world.") It's because this cake is so overwhelmingly delicious that you can only handle it once a year.  

It started off as an experiment.  We wanted chocolate chip cookies, but we didn't want just cookies. We wanted cake too. And then we thought about cookie dough. Except, it's not smart to eat just cookie dough. You need the crunch to balance it out. We took all of that and the urge for some chocolate milk as well ( we might have been egged on by that same 10-year-old helper) and started brainstorming how to smash all of it together. This is the outcome. Cake. Cookies. Cookie dough. Chocolate milk. All together in one glorious, amazing, and possibly death-defying sugar bomb cake. 

We’re putting all of the photos at the end of the article just to make it easier for y’all, so if you’re looking for those, keep on scrolling down. :)

Cake Ingredients: 

2 1/4 c all-purpose flour plus a bit extra 

2 tsp baking powder

1 tsp salt

1 1/2 c sugar 

3/4 c butter, at room temperature

3 large eggs

4 tsp vanilla

1 1/3 c buttermilk*

1 c mini chocolate chips, tossed in flour 

Chocolate chip cookies 

Tools Needed For all sections: a glass baking dish 9x13, a hand mixer or stand mixer of your choice, a small sauce pan, several bowls to mix in, a sieve, measuring cups and spoons, a cooling rack, toothpicks, and a heat proof glass dish, a rolling pin or mallet, a ziploc bag 

Set your oven to 350* F.

Set your chocolate chip cookies to the side until it's time to assemble the cake.

Take your glass dish and spray it with canola oil, evenly on all sides and the bottom.

In a small dish, pour in your chocolate chips and about 1 Tbsp of flour. Toss to coat. If you feel like not all of the chips are coated, add another tablespoon at a time and repeat until all of the chocolate chips are evenly coated.

In a large bowl combine together your flour, baking powder and salt. If you like, you can experiment and sift the flour to see how that will affect the density of the cake. (It's us, we regularly encourage experimentation when it won't ruin the food.) 

In a separate bowl, cream together your butter and sugar until it's fluffy. You can do this with a stand mixer, a hand mixer, or if you're feeling the need for a workout, you can use a hand whisk. 

Add in one egg at a time, mixing thoroughly and then add your vanilla.

Next up alternate between adding in the flour mix and the buttermilk until everything is combined.

Fold in your chocolate chips 

Pour the mixture into your pan and bake for 45 minutes OR until a toothpick inserted in the middle will come out clean. 

Make sure to rotate the pan halfway through.   

After you've removed your cake from the oven, let it rest five minutes and then run a knife around the edge of the dish to loosen it. Then allow it to cool to room temperature before removing it from the dish and place it on a cooling rack.  Make sure you don't wait more than ten minutes after removing it from the oven to remove it from the dish. It will stick to the pan and then you'll be fighting with your cake to get it out in one piece. You'll find out why we know this later. 

Cookie Dough Filling:

1 1/2 c brown sugar, packed

1 c butter at room temperature

3 tsp vanilla extract

2 1/2 c all-purpose flour

1 tsp salt

1/2 c heavy cream

1 c mini chocolate chips 

Mini chocolate chip cookies 

Beat the brown sugar and butter till fluffy, again you have the choice to use a stand mixer, a hand mixer, or a hand whisk. 

Beat in your vanilla extract, flour and salt till combined. 

Add the cream a little at a time till it reaches the consistency you want. This might not use all of your cream, or it might use more of it like ours did.  

Fold in the chocolate chips.  

If it's a hot day, set this in the fridge until you're ready for it to be used on the cake. If it's cool in your home, it's safe to leave it out on the counter, covered. 

Chocolate Malted Milk Syrup: 

1 c heavy cream

1/2 c sugar

2 tsp vanilla

2 Tbsp chocolate malted milk powder **

In a small saucepan, combine heavy cream, sugar, vanilla and chocolate malted milk powder, whisking until you no longer have bumps. Set your stove to medium-high (or medium if you're working on a gas stove). Put your saucepan on the stove and continue stirring, pressing any lumps against the side to break them up. Bring the pot to a boil. 

Remove from the heat and pour into a heat safe glass dish. Allow it to cool to room temperature and then store it in the fridge until it's time to assemble the cake. (We want to make a reference to a certain group of superheroes, but it doesn't really fit here does it?) 


Assembling the cake:

When your cake has come to room temperature, flip it out onto a cutting board, so that the bottom of the cake is now the top. 

If the dish you used was curved at the edges, cut off those ends of the cake and set aside for munching later.  

Next, measure the remaining cake, we want to create three even rectangles. Cut the cake across the width, so that you have three separate short rectangles. 

Coat each rectangle on the top with the malted syrup. (Don't forget this step, it really does matter for binding the cake top down and keeping it from 'peeling' off during the next stage.) 
Pick a layer and top that with the filling, spreading it carefully. Although you might have tried it with other frosting sorts, we don't advise doing it with this one given the amount of butter in the filling. It will make a mess and you'll end up with something very unappetizing. 

Once the filling is as thick as you want it, add the next layer of cake, top it with more of the syrup if needed, and then the filling. Repeat again with the third slice. 

Once you've got all three slices stacked together, cover the top and sides with the remaining filling/frosting.  

To the top of the cake, add equidistant whole cookies, for decoration. Then take some of the remaining ones and smash them up.  Bag them in a gallon sized bag and grab your rolling pin, and give them a few good whacks. You don't want crumbs, but you don't want whole cookies. 

Once that's done, coat the sides of the cake in your cookie bits. You can do just the bottom 1/3 or you can do the entire side.  

Now if you want to really go crazy, or if the previous steps haven't worked out quite as you imagined, there are ways to save it and still make your cake look as tasty as it will be delicious. That is the baker's secret weapons of chocolate and caramel syrups. Turn your cake so that you're facing a corner of it and drizzle first one syrup and then then other over the top of it, making wide sweeping arcs across your platter.  Surprisingly, it works well. 

As a wrap up, sometimes a cake doesn't look /pretty/ and you need to have a backup plan, like that last step. That's what happened with us, and it was the syrup that ended up making it work in our opinion. Keep in mind though that no matter how this looks, it's still going to be a delicious, overpowering sugar bomb of a cake. We hope you love it and whoever you share it with also loves it.  Let us know how it goes over on our Facebook page or in the comments below. 

If you still have the ability to focus after making this cake, and you actually came to our site because one of your appliances is giving you trouble, we can help. Give us a call at ((214) 599-0055) or go to our contact page to set up an appointment. We'll work with you to find a time and date that works for your schedule to figure out what the problem is and how we fix it.  

*If you can't get your hands on buttermilk at home, there are ways to make your own, or you can use a powder if one of your local stores has it. That gets mixed together with water to give you the needed amount. 

** We know that it might sound weird to have chocolate malted milk powder and still call for vanilla extract, but it brings a very nice depth of flavor that we're fond of. 

Sunday Chicken Parmigiana 

Intensively Delicious, AND Well Worth the Wait! A Dinner Worth the Effort.

You've got the house to yourself and you want something to  make that will be delicious. You're also stressed though, which might explain why you have the house to yourself. So you need something that will make you feel better too. Check out this recipe for chicken parmigiana shared from our family to yours. 

We won't fib. There is a bit of work that goes into this one. BUT not only do you get the chance to beat up something, you also get a meal that is positively delicious and if you're in the mood for it, you can scale up to fit any number of people. (Or you can just freeze the extras for when you want to treat yourself in the future! Who says you have to share?) 


Note: This recipe is set up for 1 chicken breast, so that it can easily be sized up, or be made for yourself if you want a nice night on your own. 

Ingredients for Chicken Parmigiana

1 egg

1 boneless chicken breast

1/2 tsp fresh ground black pepper

pinch of salt

1/2 c Italian bread crumbs

 1/4 c all-purpose flour 

1 tsp Oregano 

1/4 cup veggie oil

1 tsp butter

1 tbsp shredded Parmesan cheese


Coating Ingredients for Chicken Parmigiana

2 Tbsp of tomato sauce

1/4 cup shredded mozarella cheese (unless you can get it fresh, we suggest using the skim variant)

1 tsp basil 

1 tsp oregano

1/2  tsp minced, fresh garlic

1/2 tsp parsley

1/2 tsp parmesan cheese 


A plastic dish contains a mix of flour and spices as well as a coated chicken breast

Crack your egg into a dish and beat egg smooth.  If time allows, separate the whites and yolk and beat separately with a fork to ensure they're fully blended and there aren't any stringy bits left. Then recombine and add a pinch of salt and pepper. 

Prepare your flour by placing it in a bowl large enough to hold 1 breast cut. Add the ground pepper and a pinch of oregano, mix well with a fork, making sure to go up and down in your mixing as well as side to side. 

Prepare the breadcrumbs by placing them in another bowl, big enough to hold 1 breast. Add 1 tsp oregano and 1 Tbsp parmesan, mix well to combine. 

Put your frying pan on the stove and turn it to heat on low, then add in your oil. 

Prepare the Chicken breast. 

While your oil is heating, lay the breast on your cutting board, ugly side up. Make a cut 3/4 of the way through the breast from left to right. Open the breast making small cuts until the breast lays flat. Lay the breast between 2 sheets of wax paper and, using a rolling pin, press the breast until evenly flat. You can roll it or you can smack it, let your mood for the day decide. It's a good way to get some stress out when you need to.  Make sure not to toss the wax paper, you'll need it in a minute. 

Coat the breast on both sides in the flour mixture. You can use a fork here, or just use your fingers to toss the flour.

Dip the breast in the egg wash making sure to cover it completely, you'll probably want to use your fork for this one, as just shaking the bowl isn't very effective. 
Coat in breadcrumbs on both sides. 

Coated and rolled out chicken breast for chicken parmigiana

Place the breaded chicken back between the sheets of wax paper and roll it, pressing the breading to the chicken.  This makes it less likely that you'll lose the breading during the cooking process. 

Frying: Increase the heat under your pan to medium and add your chicken breast to the pan. Cook for 2 minutes on one side.  Add butter to the pan to oil around the edges before you flip the chicken. After turning it, cook for another minute. (If you're cooking more than one breast, reduce the heat at this point.) 

Preheat your oven to 375* F 

fried and draining chicken breast for chicken parmigiana   Coated and rolled out chicken breast for chicken parmigiana


Place your chicken breast on a baking sheet. Mix together the garlic, basil and parsley in a small bowl. 

Top it with tomato sauce. Add the garlic, basil and parsley on top. Don't mix with the sauce, allow it to be a light layer. 

Add mozzarella cheese, don't be too generous. You want the cheese to stay on top of the sauce, and to be able to taste the spices. 

Sprinkle the top with oregano. 

Bake for 15 minutes till the cheese is melted. 

Remove from the oven and top a final time with parmesan cheese. 

Enjoy!  

Now sadly, we didn’t get a photo of the final dish, as our cook was rather hungry upon finishing making the dish. Our apologies!

Well? What did you think? Let us know in the comments below or over on our Facebook page if the time this one takes was worth it. We always think that it is (and thank our resident cook every time he makes it.) 


If you ended up here because your oven is giving you fits though, or maybe your stove is refusing to stay hot, that is an entirely different sort of problem, and one we know how to help with. You can reach out to us via our contact page or by giving us a call at ((214) 599-0055 ). As always, we'll work with you to set a time and date that works best with your schedule and your family.  Whether you live in Frisco, Carrollton, Addison or Coppell, we work with you to get your home running smoothly again.