Brown Sugar - Cinnamon Oat Bars

 AKA Tablespoon Cake - AkA The Easiest Cake You’ll Ever Make

This one started out as a copycat recipe - we tried some fancy, expensive diet company snack bars this week. We enjoyed them, but we didn't enjoy the price tag quite so much. So we decided we were going to take a crack at producing something similar, with similar nutritional value. We're even going to do out the irritating math for you, so you know what your calorie intake and your approximate nutrition facts are for each serving.


Keep in mind, for that to stay accurate, you'll need to follow the instructions to the letter... But you could also be like us and wing it, and then re-do the math later. Like we did. Three times.


There was a lot of "less this, more that," and a lot of "what if?" in the making of this one. If you make it better, let us know over on our Facebook page!


Ingredients:


7 Tablespoons granulated sugar

4 Tablespoons quick oats

2 Tablespoons coconut flour

2 Tablespoons whole wheat flour

2 Tablespoons light brown sugar

1 Tablespoon ground cinnamon

1 Tablespoon ground flax seed

1 Tablespoon water

2 eggs


Tools:

Mixing bowl, one! measuring spoon - a tablespoon, fork, 9x9 baking pan, aluminum foil, baking spray


Grab your trusty tablespoon and let's get to work.


Preheat your oven to 350 degrees.


Measure your two different kinds of sugar and your two different kinds of flour into the mixing bowl - and please do not add more coconut flour in an attempt to make the recipe gluten-free unless you have used coconut flour before. Coconut flour is a very mercurial ingredient and can really muck up a recipe if you're not familiar with its properties.


Add in your oats, your ground flax and your cinnamon. If you're not a fan of the texture the oats add to this, feel free to toss them into a blender for a few pulses and chop them down before you add them.


Take the fork we suggested you have handy, and stir all your dry ingredients together. We know it's all basically one color to start with, but still, you want these things to be uniformly distributed. Otherwise you'll end up with pockets of too much sugar, caramelizing and causing divots in the final product. We're not against crunchy spots where the sugar turned into hard candy, or spicy little lumps of cinnamon for that matter - but these things are not part of the original goal.


Break your eggs into the dry ingredients and toss that tiny little bit of water into the bowl while you're at it. We know one tablespoon doesn't sound like a lot, but it's very important in this recipe. It's low enough moisture to start with that every bit is absolutely necessary - and the coconut flour is going to make it disappear really quickly.


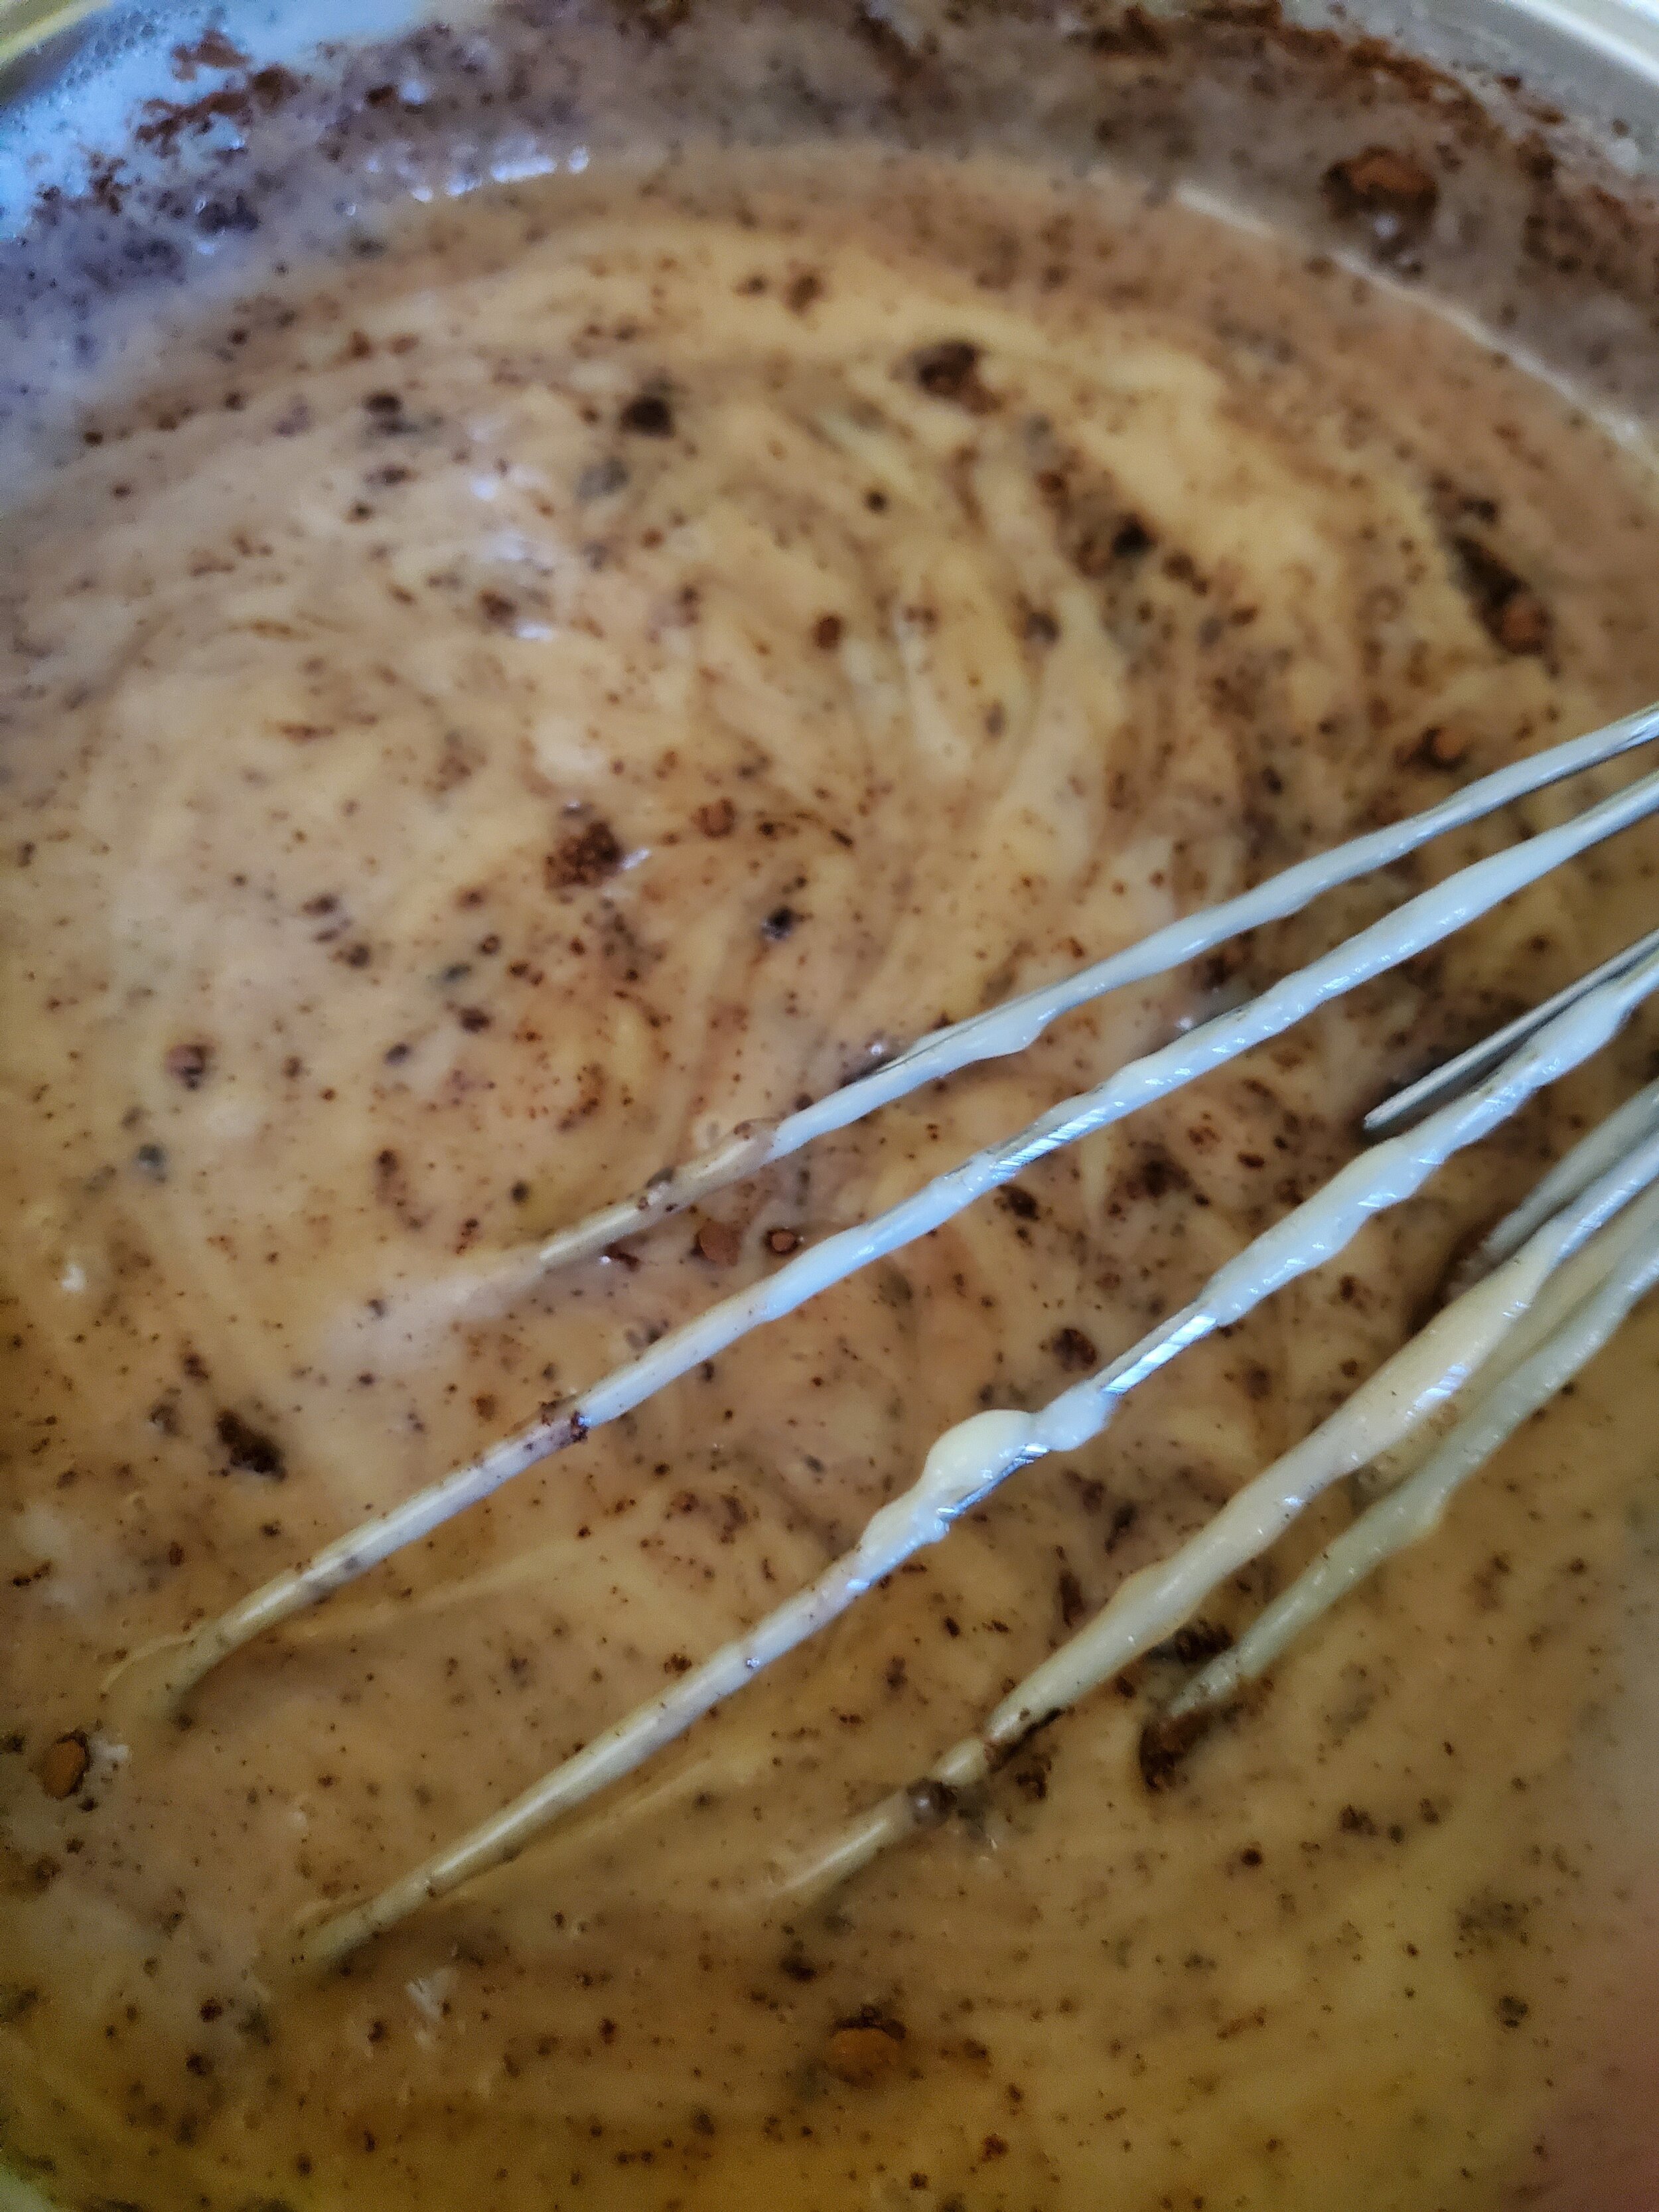
The fork is still the ideal tool to mix your batter. That batter is going to be thick, and it's also going to be sticky. We promise, that's actually what you want. It will yield a dense, chewy oat bar with a brownie-like texture and crunchy edges good for grabbing and running. And since that was the big nameless diet company's original intention with it, we think we're doing alright with this copycat thing.


Once you have everything mixed well, line your baking pan with a layer of aluminum foil (leave enough around the edges to lift by later) and spray the bottom thoroughly with cooking spray. Scoop your batter from the mixing bowl to the center of the baking pan, scraping the sides of the bowl as you go. After you've gotten as much as you can from the mixing bowl, take the fork (yes, again!) and use it to smooth the layer of batter out and push it as far as you can into the corners of the pan. Be gentle and work slowly so that you don't accidentally poke through the aluminum foil.


Pop the pan into the oven and let it bake for half an hour. If you're not sure if it's done after the half-hour, give the pan a little shake. If the center jiggles, put it back for five more minutes. If not, it's ready.


Let it cool for ten minutes, then lift the aluminum foil out of the pan. Invert it over a plate and peel to remove the foil from the bottom of the oat bars. It helps to hold the center down gently and lift up from the corners of the foil.


Flip that plate over onto another so your creation is right side up again, and cut into four equal pieces. We know we've called them oat bars this whole time, but we like to cut them into triangles to mix things up a little.


Each of these four servings will have 5 grams of protein and just under 4 grams of fiber, along with almost 40% of your daily value of vitamin D and 10% of your necessary iron - all for about 190 calories.


Be mindful that there's quite a bit of sugar and carbs in this, also - so it's not exactly a diabetic-friendly recipe as shown here. A little quick math says using Stevia instead of granulated sugar would make quite a dent. That could trim calories down to 130 a serving, cut sugar from 23 grams to only 5 grams, and take total carbohydrate per serving from 34 grams to 18, while also giving a tiny boost to iron and potassium. Even bigger diet company goals accomplished - still without the big name brand price tag!


And if you need new appliance performance, preferably also without the jumbo-sized price tag, maybe reach out to our service department. You can reach them through our contact page, or by giving us a call at ((214) 599-0055)

Easiest Berry Cheesecake Wraps

So fast you won’t believe it’s not store-bought, and so delicious you’ll be going back for more. 


You need a last-second dessert and you have only half an hour. Think quickly - what do you make?


The answer is cheesecake.


No one thinks cheesecake is a quick dessert - but it can be, if you cheat a little. But only a little, because there are only so many corners you can cut on a dessert that is conventionally round.


This recipe will require an air fryer for maximum efficiency, but you can also bake on a rack if you only have your oven - or perhaps toaster oven; we are huge advocates of using a toaster oven when the weather is warm. Please don't heat up the whole house if you don't have to! It's a fight your air conditioner (and likely also your electric bill) will lose.


Ingredients:


4 large tortillas

1 8 ounce brick of cream cheese or Neufchatel cheese

1 Tablespoon granulated sugar

1 teaspoon vanilla extract

4 Tablespoons fruit preserves

cooking spray

cinnamon-sugar for dusting


Tools:

Air fryer (or oven and baking tray with a rack), measuring spoons, mixing bowl(s), spoons, whisk or hand mixer, plate, large ziploc plastic bag (optional)


Take your tortillas and your cream cheese and preserves out of the fridge. All three will be easier to work with if they're a little bit closer to room temperature.


Move your tortillas to a plate and fan them out a bit for easy grabbing later. Any whole wheat or white flour tortilla will do, but if you're shopping specifically for this recipe, we recommend Ole Xtreme Wellness high-fiber tortillas. They're soft, extra flexible, brown up nicely, and have a very mild flavor that won't fight with your cheesecake filling.


Scoop your cream cheese into the mixing bowl and break it into chunks - it will warm a little quicker if the air can circulate around smaller pieces.


Preheat your air fryer (if using one) or oven to 365 degrees. If you're warming up an air fryer, you can allow it to turn off after 5-7 minutes. It doesn't need to stay running the whole time like the oven will; the small area and convection fan in the fryer makes a huge difference. (Maybe you're one of the lucky ones whose oven has a convection fan! Did you know those require additional servicing?)


If your kitchen is plenty cool right now (lucky!) and your cream cheese is still very solid, you can pop it into the microwave for about 30 seconds to soften it up, provided your mixing bowl is microwave safe. Please do not microwave it any longer than that! Melted cream cheese does not work the same way in this recipe. You really don't want it to melt until it's actively baking.


Measure up your vanilla and sugar, and toss them in with your cream cheese. Use a whisk and all your wrist strength, or an electric hand mixer, to whip these two ingredients into the cream cheese. It should appear fluffy and light once thoroughly incorporated.


As far as preserves go, we used two spoons each of blackberry and strawberry preserves in our example photo. You can use whatever you have on hand, but we strongly recommend using a pair of complementary flavors... and avoiding grape! Grape is not your friend for this recipe, regardless of what you attempt to pair it with. Hopefully you have some raspberry or peach or strawberry preserves in your cabinet. We also really like the Smucker's Mosaics flavors for this - especially the cherry and blueberry. We didn't have the strawberry and blackberry on hand, but it's another available Mosaics flavor, specifically the one that inspired our flavor choice today. Additionally, if sugar is a concern, feel free to utilize a low- or no-sugar preserve instead.


Measure your four tablespoons of preserves into a dish and break up the big globs with a fork (it will make your life easier in a minute, trust us). You'll have fewer big pieces with homemade preserves, as they don't typically have as much pectin as the store bought ones. Either way, it's easier to just break it all down before it goes into the cream cheese blend.


Once you've got the preserves to the point they'll blend well, dump them into the mixing bowl with the cream cheese blend and swirl it together. Your goal here is a marbled look, not necessarily all one color. Congratulations, you've made cheesecake filling! Once you've swirled everything together, divide it up into quarters.


If you're working in a confined space, or if you're just super-messy like us, you might consider spooning your filling into a Ziploc bag and trimming a corner so you can simply squeeze to dispense the appropriate amount for each wrap. You can scoop it directly from the mixing bowl into the tortillas, but we always seem to drop some on the counter or on the floor when we do it that way, no matter how careful we are. The family dogs are usually thrilled, but the clean-up crew never is.


Berry cheesecake 1.jpg

Whichever way you choose, transfer roughly 1/4 of your filling into each tortilla. Roll your tortillas like burritos so that all the sides are closed. Spritz the inside edge of the seam with cooking spray as you finish rolling, so that when heat is applied it will sear closed. Place them seam side down on your plate. Once all four have been rolled, spray the tops lightly with your cooking spray and dust gently with cinnamon sugar (or cinnamon mixed with sugar substitute).


Transfer each gently to your air fryer basket or your baking pan with a rack. Cook 10 minutes at 365, and remove them gently with tongs once the upper crust of the wraps has turned golden. The oven may take a little bit longer than ten minutes. If they still look pale and doughy when you go to remove them, let them cook another two minutes or so. Check frequently and trust yourself to see the difference in color once it happens. Regardless of how long it's in the fryer or oven, allow it to cool for a few minutes - that filling is HOT.


Serve warm, topped with whipped cream, dusted with powdered sugar, with a scoop of ice cream, drizzled with chocolate sauce, garnished with fresh berries... Whatever you like the best. We went with some frozen yogurt - because any dessert worth scorching yourself on is deserving of some frozen goodness to balance it out.

Berry cheesecake 2.jpg


Let us know what you think about this delicious dessert over on our Facebook. We’d love to hear from you! 


If you want another sweet treat to make, check out our double chocolate guinness cakes


Sweet Potato Enchiladas

A filling dinner for any night


We know it sounds weird. We thought it sounded weird. But after trying it, you'll see it's really not, we promise!


The best part is that it all comes together with a minimum of fuss and mess if you do a little of the prep work the day before, and you'll even have a little left over for later!


You'll need some pantry staples, some fresh produce and a little bit from the store. Feel free to play with the ingredients a little until you get the consistency or the aroma you like best. Take our mix here as a suggestion - a starting point, if you will.


 Ingredients


2 small sweet potatoes

2 cups cooked dry beans (black or pinto - avoid garbanzo and kidney)

1/4 of one sweet onion

2 cups salsa

10 corn tortillas

8 ounces shredded cheese

1 Tablespoon butter (salted)

1/2 teaspoon cumin

1/2 teaspoon onion powder

1 teaspoon chili powder

1/2 teaspoon dry chopped chives

1 teaspoon parsley

1 teaspoon Adobo (can substitute favorite taco seasoning)

2 Tablespoons minced garlic

1/2 teaspoon salt

1/2 teaspoon black pepper

Optional suggestions (for cooking beans):

1 bay leaf

2 tsp garlic powder


Tools:


Aluminum foil, rimmed baking pan, colander, potato masher, knife, cutting board, spoon, fork, spatula, measuring spoons, two covered microwave-safe bowls, two plates or a tortilla keeper.


The day before you want to make your enchiladas, you'll want to soak and cook your dry beans and roast your sweet potatoes. The beans will take about two hours on the stovetop or four in the crock pot - or if you have an instant pot, they'll take almost exactly as long as the potatoes (40 minutes on high, followed by natural decompression). We like to add a bay leaf and some garlic powder while the beans are cooking, but this is entirely optional. When they're done, rinse and drain the beans and refrigerate overnight in a covered container. Or you can skip all this and just crack open two cans of already prepared beans tomorrow, as long as you'll still have time to rinse and drain them.


Jab your sweet potatoes a few times with a fork, wrap them in foil and place them in the oven. It's fine if they're directly on the rack as long as the wrap is sealed. They do have a tendency to ooze a little bit, so if they're loosely wrapped, you might consider putting them on a baking sheet to save yourself the cleanup later. Let them roast in there at 400 for an hour and twenty minutes. Refrigerate overnight in their wrap.


Enchilada day!

 Pull the potatoes and beans from the fridge. Reheat the beans on medium in the microwave, in a covered dish. Skin the sweet potatoes and chop them into chunks, and put them in the other microwave safe dish. Mash them to the desired consistency (we like lumps, but you may not) with your potato masher, or make one of the kids do it.


Chop your onion (again, to desired size) and add it to the sweet potatoes. Measure your spices into this bowl, too - the cumin, chili powder, garlic, Adobo or taco seasoning, onion powder, chives, parsley, salt and pepper. Give everything a good stir and make sure you're not leaving lumps of garlic all clumped together along one edge. Sure, garlic is great, but if it's not thoroughly incorporated, it tries to take over the flavor of the dish.


Once it's all mixed, drop in that tablespoon of butter, cover the dish and swap it with the beans. Heat it for thirty seconds at a time until it's nice and warm, and stir in the butter that's now melted in a little well on top of it.


Flip the bowl of beans into the bowl of sweet potatoes and stir like your life depends on it. Just kidding. Maybe don't get too aggressive with it, because we weren't looking to puree the beans here.


Once it's well-mixed, take your ten corn tortillas and put them in a tortilla keeper or drop them on a microwave safe plate. Invert another plate on top of it and put them into the microwave for 30 seconds. Don't remove the upper plate or the tortilla keeper lid until you go to grab a tortilla and roll an enchilada.

Sweet Enchilada.jpg


Now is a good time to grab the cheese from the fridge and to line your pan with foil. You can leave the tortillas in the microwave for a minute or two as long as it's not running. Please do not zap them for more than half a minute! Any longer and you'll dry them out. You really need them to stay soft and pliable for this.


Pour some of your salsa into the bottom of the pan - maybe half a cup to one cup, depending on the size of the pan - and use a spoon to smear it around a little bit. You want something sticky so your enchiladas stay where you put them instead of falling open and spilling the good stuff all over the pan.


Preheat your oven to 400 (yes, again).


Grab your first tortilla, put the cover back on the others, sprinkle in some cheese and drop a big blob of filling into the center (usually about 1/4 cup at a time). Leaving the ends open, roll it up and place it seam side down in the pan. Repeat until the pan is full or you run out of filling or tortillas.


Once they're all in the pan, sprinkle your remaining cheese over them and drizzle the remaining salsa on top. Spread it all around with the spoon so that everything has at least a thin layer of salsa and/or cheese on it - anything left exposed risks being scorched.


Put the pan into the oven and bake uncovered for half an hour. Allow it to cool for five minutes before you get a spatula in there so the tortillas have time to firm back up a bit. Enjoy with a salad or a side of rice.


Now that you’ve tried it, what do you think? Delicious, right? Let us know over on our Facebook page. We’d love to hear from you. 


If you need something to pair with this, or you’re really looking to go all out check out this recipe from our archives. 

Sweet Enchilada 2.jpg

Decadent and Simple Peanut Butter Cup Pudding

For when you want more than just one candy.


We would really like to call this recipe something more specific, but that would risk running afoul of some copyright laws. We like to think our favorite candy manufacturer would give us a green light, but better safe than sorry. Imagine, if you will, a familiar orange wrapper with yellow letters and the fantastic peanut butter and chocolate treat it contains. And now you can see what we want to call this recipe, but cannot. 


Chances are, if your imagination is strong enough (or your stomach empty enough), you can now also taste exactly what we were thinking of. Sorry. For what it's worth, this pudding is a pretty close approximation. And you probably don't even have to run to the store for anything! Phew - candy crisis avoided (narrowly).


You'll need a lot of milk, some peanut butter, some baker's chocolate, sugar, starch, butter, vanilla and a bit of chill time for this recipe. You'll only be actively working on it for five or ten minutes, because the fridge will do the rest for you - provided it's working, of course. If it isn't, please see our contact information at the bottom of this post.


Ingredients:

1/2 cup sugar

3 Tablespoons corn starch

1/4 teaspoon table salt

3 cups milk (full fat works best)

2 Tablespoons butter

2 Tablespoons baker's cocoa

3/4 cup peanut butter (we recommend smooth; crunchy is terribly difficult to whisk)

1 tablespoon vanilla extract


Tools:

Pan, whisk, fine sieve or sifter, measuring cups and spoons, heat-proof bowl that is also safe to move to the refrigerator (so, plastic, most likely), something to cover the bowl (a lid, foil, an overturned plate, etc.).


For starters, use a bigger pan than you think you need. Go for at least a two quart pan. We know, three cups of milk doesn't sound like a lot, and you're certainly not adding a whole lot of volume to it... But keep in mind that milk foams. Plus, you're going to be vigorously whisking this in a few steps. So to save yourself from having to scrub scalded milk off the stove later, just use a bigger pan. Trust us on this one.


Measure your milk, sugar, salt and starch into the pan. In order to avoid lumpy pudding, you may wish to sift the corn starch into the milk. It's optional, but we don't think anyone really wants lumps of starch in their pudding. When you're done, don't toss the sieve or sifter into the sink for a wash yet - you'll probably want it again later.


Turn the heat on under the pan and bring it up to medium. Your goal is to get the milk mixture to foam aggressively and begin to boil, but you don't want to allow it to scald (scalded milk is great for hot chocolate, but will negatively affect the taste of the pudding). Stir it frequently while you wait for it to come up to boil. If you see the foam around the edge pan starting to brown, lower the heat a notch. It'll take longer to come to boil, but you want uniformity, not speed here.

Foaming milk, all ready for the next step.


Once you have it up at a foamy boil, take the heat all the way down as low as it will go and whisk /constantly/ for a minute or two. Don't let it rest here. You can stop whisking when you see the whisk leaving tracks in the foam that take more than three seconds to fill back in. If you get past the two minute mark whisking constantly, and you still don't have a visible track from the whisk when you slow down, turn the heat back up, simmer it another minute, and then try again. This step is a big deal for getting the pudding to set later, so please don't be tempted to cut a corner. If you're really, really struggling, you can add another half teaspoon of corn starch - but stop at half a teaspoon!


After you've achieved the ideal texture, pour or sift in the baker's cocoa. This is why we mentioned that you might not want to put the sieve up for a wash yet - cocoa tends to form little lumps. (We kind of like the cocoa lumps, though, so we leave them alone. Not sifting makes it look a little like the cookie bits in cookies and cream ice cream.)

Adding in the cocoa, and look! it does look like cookies and cream


Once the cocoa has been mixed in, turn the heat completely off. Drop in the peanut butter, butter and vanilla extract. Whisk until it's all thoroughly incorporated.


Whisking room temperature peanut butter is no easy task. If you'd like, you can melt it in the microwave before pouring it into the milk. That will make it easier to stir, but you have to be extra careful to heat it only just barely enough in the microwave. Melting is the goal, but even a few seconds too long on high can burn the edges and make them solidify. Solidified, scorched peanut butter will not make tasty pudding (although it's actually pretty good as an ice cream topping, believe it or not. Also, we clearly have ice cream on the brain today).


Once you've reached the point where it's all one color and you're no longer turning up hidden pockets of peanut butter, you're good to put it into that heat-proof bowl (or perhaps portion containers), cover it with plastic wrap, foil or a lid, and tuck it safely into the fridge to chill. It will take a couple hours to set up completely, but once it does, you have dessert ready to go.

Peanut butter cup pudding, all ready to go in the fridge.


We know your kitchen is going to be full of the smell of peanut-buttery goodness, but the wait is worth it. Go do something while the timer counts down. Maybe you could let us know over on Facebook what you thought of this recipe. When the timer has gone off and you’ve dished up the pudding, you can top it with a couple of different things. We like keeping it simple, a little bit of whipped cream and some chocolate syrup is all this needs for us. For kiddos, you might add some sprinkles though, or you could add in some fruit preserves. We’ve heard that strawberry or grape make a good addition. You can even use the pudding as layers for a trifle if you want to get really fancy. 


Remember up top how we mentioned your fridge not working? Heaven forbid that’s the case not that it’s officially summer, but if so, we can help. We’ve got the knowledge and skill to fix all of your major appliances, from your trust refrigerator to your dryer and anything in between. Just give us a call at ((214) 599-0055) or set up an appointment on our website. We want to help keep your home running smoothly, even when the heat is driving the world crazy. 


Some other articles we think you might like. 


Double Chocolate Guinness Cupcakes 


Easy As 1-2-3 Christmas Cookies 


Rock Your Weekend Lemon Berry Cake

When You Need a Conversation Stopper

Last time around, we did some breakfast food. This time, let's go all the way to the opposite end of the day and do a dessert!


We do hope you're not tired of blueberries yet, as they'll feature in this recipe too - this time as a supporting character instead of as a star.


Do you like berry lemonade? We think this is the best time of year for it, as the weather heats back up and the days get longer. The thing with berry lemonade, though, is that it gets awfully watered down in all the heat. But if you bake all the same flavors into a cake, there's no melting ice to ruin it. It's like six times as sticky, though, so maybe keep in mind the need for a plate and fork instead of a cup and straw.


Lemon Berry Cake


Ingredients:


1 box yellow cake mix (18 ounce, give or take a bit)

1 cup vanilla flavored Greek yogurt

4 extra large eggs (5 if using large or medium size)

1/4 cup plus 1 Tablespoon vegetable oil or melted butter

3 Tablespoons lemon juice

2 Tablespoons poppy seeds

1 cup cherry pie filling

1/2 cup fresh or frozen blueberries

1 Tablespoon strawberry syrup

1 teaspoon lemon extract


Tools:

Mixing bowl, spoon, measuring cups and spoons, blender or food processor, Bundt pan, non-stick spray, hand mixer (optional)


First off, pour that box of dry cake mix into the mixing bowl. Break up any large lumps you might find - it's easier to do this now, before adding any wet ingredients to it. 


Measure your yogurt and oil or butter into the bowl. Crack the eggs into it, and jab the yolks with the spoon to break them. Don't get too excited and start stirring it yet, though - we still haven't added the bulk of the wet ingredients.


Now is probably a good time to go wake the oven up (even though running the oven in warm weather is such a distasteful idea). You'll want to set it to preheat to 325. Look on the bright side: at least we're not making pizza or bread. We'd be telling you 450 for either of those!


Crack open your can of cherry pie filling (well, we always just use the canned stuff, but maybe your family is extra fancy and makes it from scratch. If you do make it yourself, we're jealous and would like to try some) and dump a cup of it into the blender or food processor, along with the blueberries, lemon juice, lemon extract and strawberry syrup. Blend it up until it's a purplish mixture about the consistency of a jar of store-bought jelly. Alternatively, you can choose to stop a little sooner and go for the consistency of preserves - lumps are fine, they just lend the cake more texture.


Take everything in the blender and pour it out into the bowl of cake mix, and then add your poppy seeds. If you intend to employ the hand mixer, give everything a once- or twice-over with the spoon before turning it on so it doesn't go "poof!" and give your kitchen a nice dusting of cake mix bits. If you're not using a mixer, stir gently by hand for about two minutes to make sure everything is all homogeneous.


Once you have your cake batter stirred smooth, grab your Bundt pan. Spray it lightly with the non-stick spray, making sure to get into all the little fluted nooks. Pay special attention to the center, also - we've discovered that if the cake is going to stick somewhere, it's there. Pour your cake batter into the pan - be sure to scrape the sides of the mixing bowl and get all the berries! - and smooth it over with the spoon.


Tuck it into the oven on a center rack and let it bake up for about 45 minutes. Sometimes the cake is set and ready to go after 45, but more often than not, it needs a few minutes longer than that. We think it varies based on the amount of syrup in the cup of pie filling.


It's ready to leave the oven when a toothpick poked into the deepest part of the cake comes out clean, and the edges have begun to pull away from the sides of the Bundt pan.


Allow it to cool in the pan for 10 minutes before you make any attempt to remove it - moving it too soon can result in cake chunks, instead of a whole cake. Wiggle a butter knife gently around the edges and the center if it's still holding on after you've tried inverting the pan.


This cake's texture will be springy and soft, and sort of custard-y when you cut into it. You can see for yourself in the photos - we jabbed it with the blunt end of a knife, and the cake just dented instead of crumbling. It even returned to shape before we got around to drizzling glaze over it!


Don't worry, it's done; we promise it’s cooked all the way through. The softness is the result of using yogurt when most cakes use milk or water, and rounding out the wet ingredients with egg and semi-solid fruits.


The berry flavors on their own aren't overly sweet - they're more tangy - so we do recommend breaking out your favorite glaze recipe or melting some store bought frosting over it before serving. Don't disappoint the resident sweet tooth!


When you decide to make this cake we want to see! You’ve seen how ours turned out we’d love to see yours! Show us over on Facebook


If you live in The Colony and you need someone to take a look at your appliances, don’t forget to give us a call. We’re here to keep your home running smooth whether something has broken, or just if you think something is off. 

Phone: (214) 599-0055
Website: https://appliance-rescue-service.com/contact-us