Revolutionizing Kitchen Chores: The Water-Saving Benefits of Dishwashers

 How Dishwasher Manufacturers Finally Cracked The Code

Another night another load of dishes to do. Even if it's just for yourself, you have dishes you ate from as well as whatever you used to make your meals that day. Many of us hate doing dishes, but your options are either do dishes or end up growing science experiments in your kitchen.  Which is why we invented dishwashers, to make the job that little bit easier. 


Unfortunately, for a very long time, you actually spent more money and time by having a dishwasher than by not having one. You had to pre-wash your dishes before you could use the dishwasher. And then the dishwasher used even more water than you did during that pre-wash. With today's energy-efficient dishwashers though, that's no longer the case. 


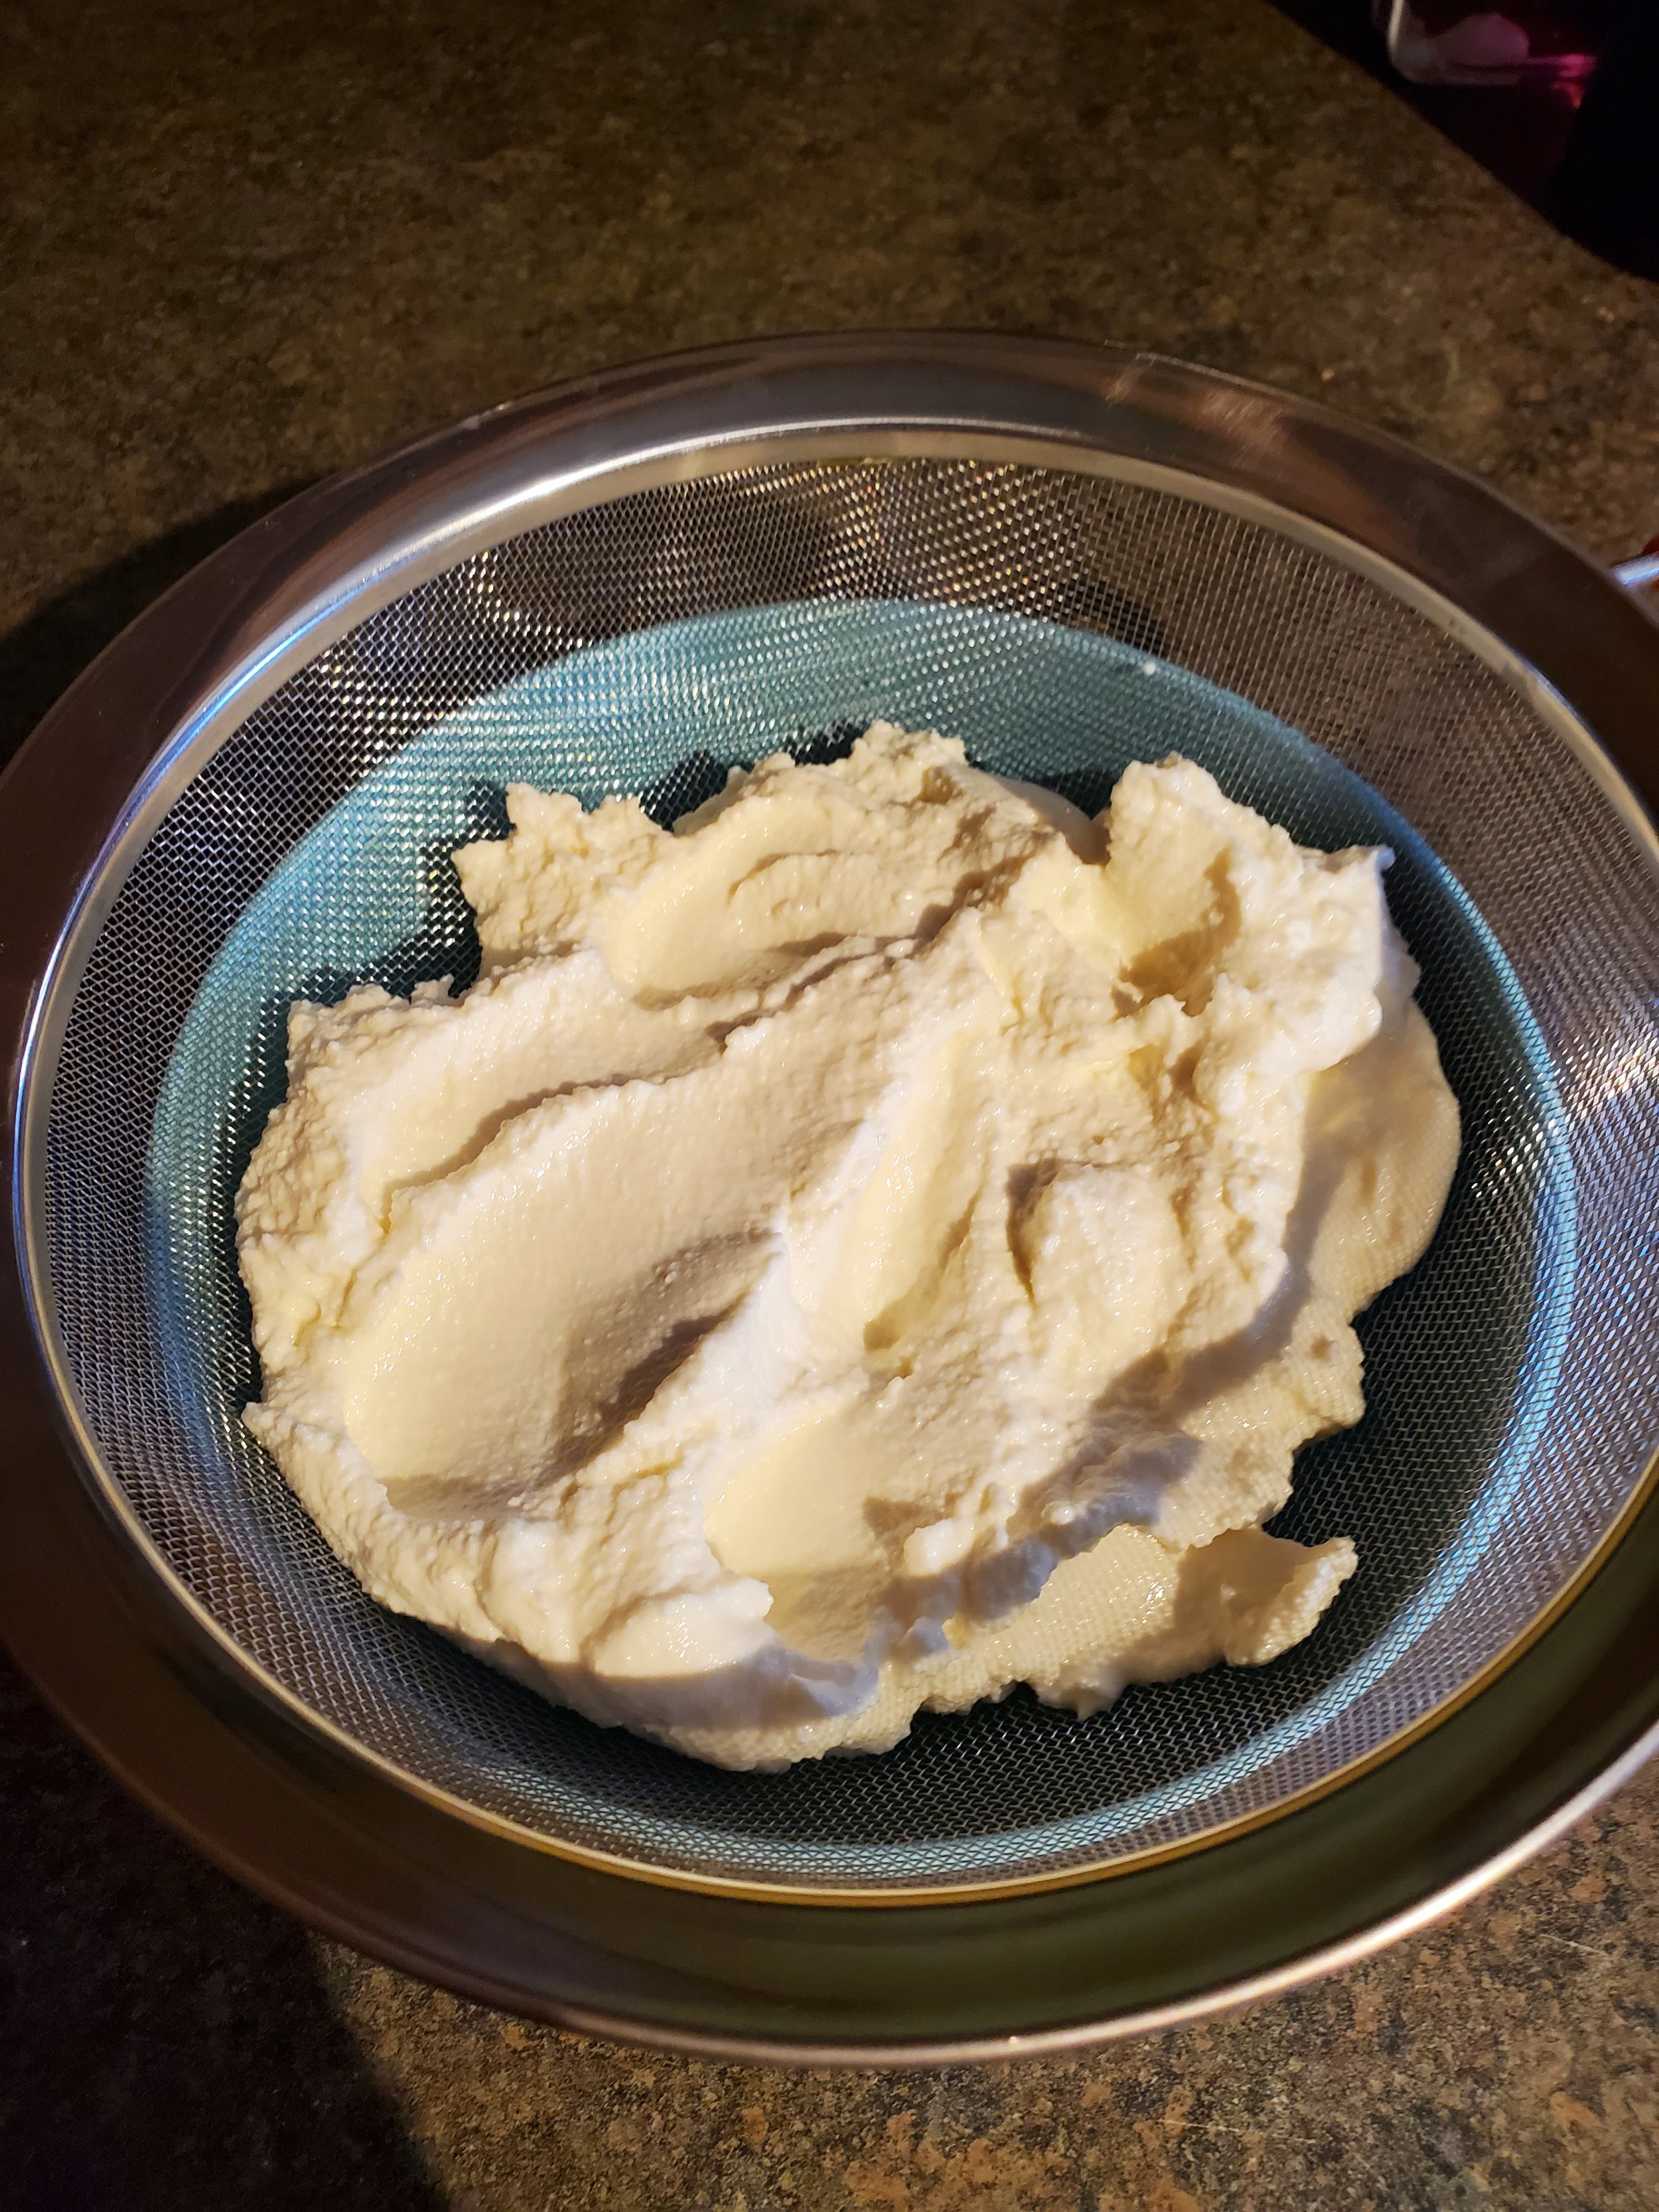
Courtesy of Wendelin Jacober

Many of today's dishwashers have a water-saving feature built in. This means that not only are they using less water and shrinking your electric and water bills, but they're still getting your dishes completely clean. Instead of having to pre-wash your dishes, most dishwasher manufacturers, including whirlpool, advise against doing this. Pre-washing your dishes will actually make the dishwasher less effective because today's modern dishwasher detergents have enzymes in them that are intended to eat that food away. 


So that's how a modern dishwasher works. What the heck does that have to do with it saving water though? How does the dishwasher use less? 

A water-saving dishwasher will only use approximately 4 gallons of water per cycle. It achieves this by running the water through a filtration system during the wash cycle. By rinsing the dishes and then running the water through a filtration system, you maximize the washing power of a single load without wasting water. Not only does the filtration system catch the food debris, but it also filters out the soap from the wash cycle in order to rinse the dishes. 


How does it stack up, then?

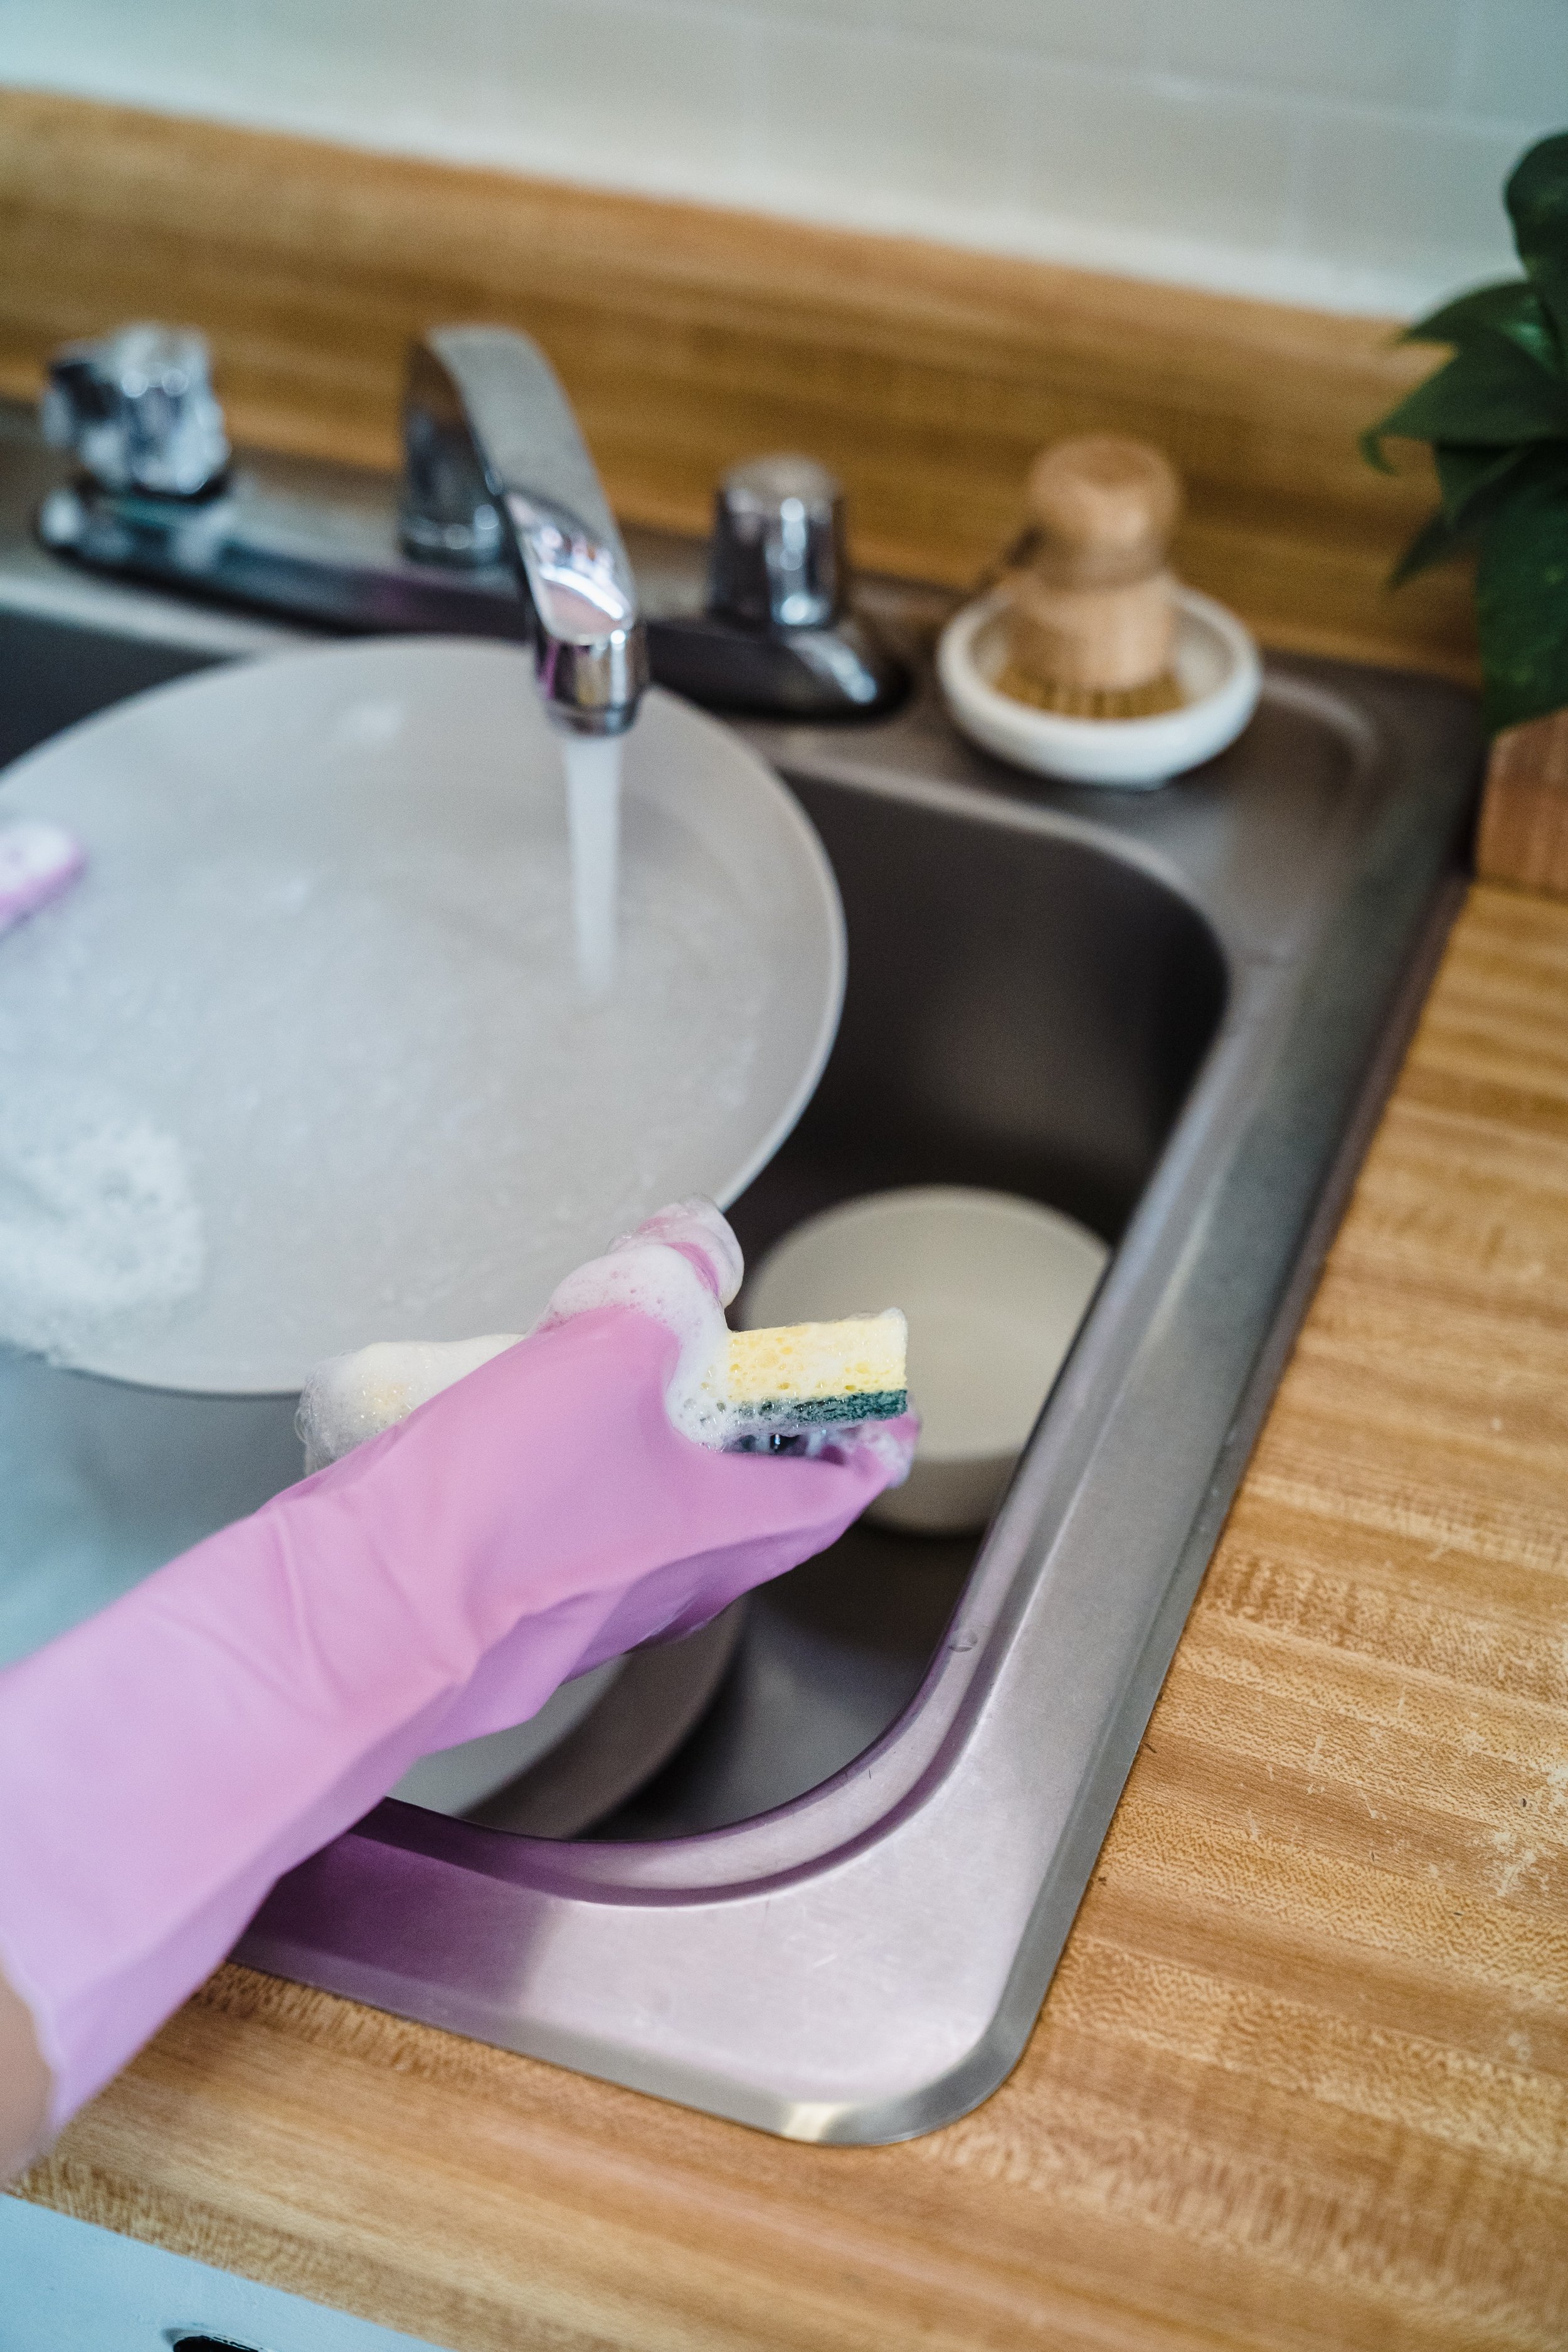
Courtesy of LIliana Drew

Proctor and Gamble's Cascade recently did a study paired with Marie Claire showing that consumers use almost 7x the amount of water that a water-efficient dishwasher will. And the reason is the sink faucet. For every minute that you have your faucet running, you are using approximately 2 gallons of water. While this will vary from household to household, this is on average.  The same study also found that the average American takes about 15 seconds to wash a dish.  Compare that baseline to your average modern Energy STAR-certified dishwasher which only uses 4 gallons total for a load of dishes. Even if you run your dishwasher every other night, you're still using half the amount of water that you do when washing by hand in a single night. 


What options do you have for a modern dishwasher? 

Although we have covered Energy Star dishwashers in the past, here are three selections that are new to the market and offer the best in both efficiency and cleanliness.


The Miele G 5266

This washer offers some of the best performance on the market as of the time of writing, The Miele uses only 626 gallons of water per year and runs fat a very efficient pace to get your dishes done. Not only does this help your water bill, but it also helps cut down your electricity bill. 

Some additional features include:

  • A sanitizing wash cycle to ensure a deep clean if you're worried about bacteria or if someone in the household is sick 

  • Sensor dry - pays attention to when the dishes are dry in order to save time and energy.

  • An auto-opening door to allow your dishes to cool off after they're done washing and as a signal to you that the load is done.


The Bosch sgx78b55uc/13

This excellent option from Bosch is slightly less water efficient, going through approximately 744 gallons per year, but it's also a bit easier on the wallet for your initial purchase while still offering some of the best cleaning power.

Some additional features include:

  • The Bosch dishwasher is the quietest brand in the US with this model only clocking it at 42 DB while running.

  • Up to 24 hours with delay start so you can always run the dishwasher when you're ready.

  • Best of all, the Bosch dishwasher is ADA compliant to fit into your home how you need it.


The Beko dut25401x

Our final selection on the list is also the most inexpensive, coming in at under half the Bosch's price and only a third of the mealy. Don't count it out, though as it still packs quite a punch being a highly efficient dishwasher that uses only 731 gallons of water per year.

Some additional features include: 

  • A very quiet run cycle is roughly equivalent to a quiet conversation in another room. 

  • A child lock to prevent children visiting or yours from changing the settings on your dishwasher.

  • A dirt sensor to tell just how much is needed in a given load. 


Modern dishwashers are much easier on you and your wallet. While we will always support repairing your current one, we are also amazed by how far the technology has come! If you did have to buy one of these three dishwashers, which would you buy? Let us know over on our Facebook page! (Don’t worry, in the event one of them gives you trouble, we service all three brands!) 


If you’re here because your current dishwasher is giving you trouble, you can reach out to us via our contact page, or by giving us a call at ((214) 599-0055). We’ll work with your schedule to find a time that works best for you before sending out one of our expert technicians. 


The Hidden Messages Behind the Odors in Your Refrigerator

And Which Smells You Need To Be Worried About 


Have you ever opened your refrigerator and been hit with a strange and unpleasant smell? It can be a bit alarming, but don't worry, it's not uncommon. In fact, there are a variety of reasons why your fridge might be emitting foul odors. Some are harmless and easily remedied, while others may require a bit more attention. In this article, we'll explore the different types of smells you might encounter in your refrigerator and what they could mean.


Some of the common smells for your refrigerator: 

 Fish 

Gas

Nail Polish Remover 

Burnt Plastic 

Dead Animals or Rotting Meat 


If your refrigerator smells like any of these things, it is a cry for immediate attention. If it smells like chemicals specifically,  we must insist that you fix it as soon as possible so your food does not become contaminated. No one wants to get sick due to a broken fridge. So if your fridge smells like chemicals even when you haven't cleaned it with strong chemicals, please get it checked out immediately for your safety. You can skip to the bottom by clicking (Here) to call a technician. 


It Smells Like Fish!

A fish on the beach, being pecked at by a seagull. YOur refrigerator should not smell like dead fish.

Courtesy of Denitsa Kireva

If your refrigerator emits a fishy smell, that's seldom pleasant. If it's fresh fish that is resting in your fridge, then it won't smell fishy. However, if your fish has gone off, that is when it begins to emit that particular odor that very few of us enjoy. But if you're here, we assume you've already checked your fridge and ensured there isn't a tuna shoved in the back corner rotting away. There are several causes for a fishy smell after this point. What they all boil down to, though, is a buildup of moisture somewhere within the refrigerator itself. Several parts can cause a moisture buildup within your refrigerator: the fan, a failed compressor, a burnt-out startup relay, or an overload sensor. Your first step is cleaning your refrigerator out and checking for any obvious issues. This might be unusual noises or an obvious fault with some part of the fridge. If you aren't finding any broken parts after cleaning it, but the smell is still there or returns after putting all your food back into the refrigerator, you might need to find a technician to figure out what is causing it.


It Smells Like Gas!

Gas on a low flame, burning a bright blue.  Your refrigerator should  not smell like gas.

This one is the second most common on our list, and fortunately, the most frequent cause of it is something rotten being trapped in styrofoam and then the scent releasing from the takeaway box. As always, a good scrubbing of your fridge is the first step in getting rid of strange smells. If you've already covered that step, though, this can also be caused by certain refrigerant leaks. Freon typically smells different from gas, but other refrigerants are used. Refrigerant leaks are challenging to fix, even for a technician, so if the smell is still hanging around after giving your fridge a good scrub, it's best to call in the professionals.

It Smells Like Nail Polish Remover, Vinegar, Or Ammonia! 

If you are smelling one of these three, the most likely cause is a Freon leak within your refrigerator. You'll most likely notice the smell first when opening your fridge, but unfortunately, Freon can seep into your food and cause a chemical taste. This is absolutely not ideal and requires immediate steps to fix. If you notice this type of smell in your refrigerator, please call a technician immediately, as Freon contamination can make you quite ill. It will require a full inspection of all of the components within the fridge to nail down where the leak is and whether or not it's only one or multiple. Do make sure when making the call to note if the smell is only in the fridge or the freezer sections. 


It Smells Like Burnt Plastic!

This one is the most straightforward on our list. If you are smelling the acrid stench of burnt plastic, your refrigerator is getting too hot. While this can have several causes, the easiest is to check that the back and underside are not full of dust bunnies. Those most pernicious of beasts can block up the vents or fans and cause your poor beleaguered refrigerator not to be able to keep itself properly cool. With your fridge overheating and burning dust, it can cause a strange smell before any components break. You will want to fix this quickly because permanent damage can occur if left untreated.

Burning plastic. Your refrigerator should not smell like burning plastic

Courtesy of Cottonbro Studio

Start by pulling your refrigerator out from the wall, and then unplug it for safety's sake. Now grab your vacuum and wand attachment and quickly vacuum the back and undersides of your refrigerator and then the cavity where your refrigerator typically sits. If dust bunnies are causing this, the smell should clear out shortly after you plug it back in.

 If the smell persists, you should call a technician to have them check that the fridge's fans and cooling systems are working correctly.


It Smells Like Dead Animals Or Rotting Meat!

An animal's skull, long passed. Your refrigerator should not smell like rotting meat.

Courtesy of Cottonbro Studio

Once again, we will assume that you have ruled out rotten food. This one is relatively easy to fix. Most likely, the smell is caused by either mold or mildew inside your fridge. This is most easily fixed by cleaning your fridge out. Sometimes if you have issues with your refrigerator ventilating correctly, the middle can build up in places where there is no food, but there is moisture. If you can smell it but can't pinpoint the source visually, you may need to partially disassemble your fridge to clean the miotor. We suggest calling a technician as well, as while cleaning is something you can do, the build-up of moisture outside of the food storage area of the fridge can indicate a faulty component, as we described in the fishy smells section.


 It's always best to have your fridge checked if it smells off. 


What do you think? Did we solve your current issue? Let us know over on our Facebook page, as always. We’d love to hear if we missed one. 


Whether we did answer your question or not, we can help. Whatever type of fridge you have, we service it. You can reach out to us via our contact page or by giving us a call at ((214) 599-0055). We'll work with you to find a date and time that fits your schedule and send one of our expert technicians to solve the problem. At Appliance Rescue Service, our goal is to get your home running smoothly again. 


Easy No-Cook Not Quite a Cannoli

When You Want The Treat, But Can’t Work In The Heat

Looking for a sweet treat that is easy to make and will impress your friends and family? Look no further than this not quite cannoli recipe! While it may not be the traditional version of the beloved Italian dessert, it is a delicious and fun twist on the classic. With a crispy shell and creamy filling, this dessert is sure to satisfy any sweet tooth. Plus, it can be customized with your favorite flavors and toppings for a truly unique dessert experience. So why not give it a try and see for yourself how delicious not quite cannoli can be!


Ingredients:

15 oz container ricotta cheese

3/4 cup confectioners sugar

1/2 teaspoon almond extract

1 teaspoon vanilla extract

Pinch table salt

Pinch ground cinnamon

Pinch corn starch

Chocolate chips

Ready-made chocolate chip cookies (large)


Tools:

Fine mesh sieve

Spoon

Plastic wrap 

Two decent sized mixing bowls

Small plate

Something sort of heavy

Measuring spoons

...time. More time than you think.


Before you begin, know that while this recipe is a no-cook one, it does not like to be rushed. If you're looking to get the whole thing done by dessert tonight, you should probably get started at breakfast. That ricotta is going to take what feels like forever to drain. 


On a related note, do not skip that draining step. Skipping it yields watery, runny, thin cannoli filling. Thin filling does not stay in place and makes awful sandwiches. It also doesn't taste right. Save yourself the trouble.


Once you have all your ingredients out and ready to go, pop the lid and plastic cover off the ricotta. Before we do anything else, this is going to have to do its own thing. Please note it looks like a congealed, wet lump of cheese right now, and we're going to have to encourage it to change these characteristics. 


Nest the sieve into one of the bowls so it can catch the drained whey. Stir the ricotta while it's still in the container, then scoop it out into the sieve. If you have a cheese cloth, feel free to use it to line the sieve and wrap the ricotta - but in our experience, most people don't keep one in their kitchens. 


Gently press the ricotta into the sieve and smooth out the top. (If you're squeezing cheese through the sieve, you're pushing too hard.) Set a layer of plastic wrap over it and place a small plate on top of the plastic wrap to press the cheese. Let it sit for half an hour or so and check back to see if any of the whey is working its way out to the bowl.


Once you're sure it's working, you can add some weight to speed up the process - we put a pound of dry chickpeas on top of the plate, since they were both comparatively heavy and handy.


Now you can go do something else. For a while. Think at least three, possibly up to five episodes of your favorite show.


After a couple hours, you'll stop seeing the amount of whey in the bowl increase, and the ricotta will have taken on the consistency of crumbly-looking curds. This is when you know it's ready to be moved to the other bowl you took out.


Remove your weight, plate and plastic wrap if you haven't already done so. If you used a cheese cloth, lift the edges of it to transfer the cheese - but if not, just upend your sieve over the clean bowl and scrape it free with a spoon.


Measure your extracts into the ricotta and stir well. The vanilla will lend it kind of an off-white color. Stir in your salt and cinnamon, then slowly add your confectioner's sugar a little at a time, stirring to completely incorporate it before you add more.


When you've added all the confectioner's sugar, scoop up some of the cannoli filling with the spoon and tilt it back over the bowl. If it's slick enough to slide off the spoon, it's not yet the right consistency and you'll need to add in the corn starch (or more confectioner's sugar, but in our opinion that makes it much too sweet). Don't add much, and be absolutely sure there are no lumps before you add it. Stir very thoroughly. 


Once your filling no longer slides right off the spoon, it's ready for chocolate chips. Add as much or as little as you'd like. We usually start with about a quarter cup and add from there - but for the sake of full transparency, we rarely ever actually measure chocolate unless it's to melt. We just add until it looks right.


Stir it all well, and go get those cookies you set aside this morning and warned the whole house not to touch. This, of course, assumes your family follows instructions (this one struggles, especially with sweets-related instructions) and left you the cookies.


Scoop a heaping tablespoon of filling and drop it in the middle of the flat side of one of the cookies. Use the back of the spoon to spread it out a bit. Don't be afraid to add more if it looks like the cookie can support it. Slap another cookie flat side down on top of it, and go enjoy your hard-earned cannoli cookie sandwich.


You’ve read this far, so let us know over on our Facebook page what you think! Are you going to try this one out? 


If you’re looking up no-cook recipes because your stove or oven aren’t working, we can still help! You can reach out to us via our contact page or by giving us a call at ((214) 599-0055). Whether you’re in McKinney, Garland or Coppell, you can call on Appliance Rescue Service whenever you need us. 


Bring a Touch of the Mediterranean to Your Living Space: A Guide

Mediterranean style is something of a catch-all term in the United States and beyond when it comes to architecture interior design and decorating. However the concept comes not just from Greece Italy or Spain but instead from all of the 21 countries that surround the Mediterranean Sea. So you can look to Portugal or turkey, Egypt or Morocco just as easily. So although we are boiling down the design elements to their most key components we highly advise you to look to these other countries when it comes to adding your own twist and making it yours. 


Indoor Outdoor Living 

Courtesy of Albrecht Fietz

One of the key elements, if not the key elements of Mediterranean style is a blend of indoor outdoor living. The people surrounding the Mediterranean Sea have a focus on being connected to nature and their home is just as much outdoors as it is indoors. So you'll want to start looking at ways you can reflect that in your own home. This can mean everything from building and outdoor kitchen and dining room, to making sure you have large windows to let the breeze move through your home easily, or bringing some of your garden indoors. Almost every aspect of what makes this decor style, ties back to this.


Natural Colors 

 For Mediterranean decor you will be drawing primarily from natural colors look to put together a portfolio that reflects the sea and the sky and the earth in these areas. While it doesn't matter where you use these, these are what will make up your color palettes.  

Spaces Focused On Community

Courtesty of Kerstin Riemer

Many of the countries and cultures which surround the Mediterranean see have a very strong focus on family and family ties and community. For this reason the home is typically organized around either a central courtyard or the kitchen depending on where you are. This is because it's not your bedroom or office that are the heart of the home it is where you can gather with friends and family. So when designing your home make sure that your focus is on these communal spaces ensuring that where people will be is the most comfortable.

Using Natural Materials

Stone, marble, terracotta all of these are go to materials for your floors. Not only do they help in keeping your home cool during warm summer months always a bonus in Texas, but additionally they continue the feeling of bringing the outside in. They also stick mostly to the natural color palettes.

Patterned Tiles

Courtesy of Jason Goh

When you want to bring in a splash of color there are tons of places to hide patterned tiles. These can be used on your floor, on walls, in alcoves, sterilizers the possibilities are as boundless as your creativity. You can also mix and match textures and patterns to bring in your personality. 

Make Sure To Look Up

Exposed beams call back to older building styles and very reflective of Mediterranean style. They are wonderful for adding warmth and a cozy feeling to any room. Best of all if your home doesn't have these naturally you can fake them. With a bit of searching online there are several different ways to fake this look depending on what your budget and skill level is.

Courtesy of Tatiana Syrikova

Start From A Neutral Background 

Courtesy of Moy Caro

When it comes to the base layer of your room, the floors, the walls, the ceilings, start from neutral. Give your walls of whitewashed look or use stucco to add texture but you'll want to stick to light neutrals in order to keep the temperature down. Also don't be afraid of imperfections on your walls or your floors. Whether that's a scuff mark from when moving furniture or a ding that got put in the floor it's part of what makes the home and it adds a certain age especially if you wash over it with glazes or whitewash


Furnishing Done Right 

Furniture is most often made from wood while it doesn't have to be big heavy pieces they are common to the style. Furniture can range from the functional to the formal with big heavy pieces to thin highly carved details. Your hardware and other metal work is most often going to be made of wrought iron. You'll also want to look for natural materials like linen, cotton, or jute. Then for wall hangings or storage, look to rattan, wicker, and sea grass. 


That's our breakdown on Mediterranean Style, let us know what you thought over on our Facebook page! 


If you're here because your washer has leaked all over and precipitated this drastic change in style, we can help. You can reach out to us via our contact page or by giving us a call at (). We'll work with you to get your home running smoothly again. Whether you live in McKinney, Frisco or Allen, we'll work out a time that fits your needs to send one of our technicians out to your home to find and solve the problem with your appliances. 


So? What do you think? Are you going to be doing a Mediterranean staycation? Or is this just not for you? Let us know in the comments below or over on our Facebook page.


If you wound up here because you're needing help with your appliances, however, I'm not your decorating, we can still help. Reach out to us via our contact page or by giving us a call at ((214) 599-0055). Appliance rescue service we want to get your home running smoothly again. We will work with you wherever you live in the Dallas metro area.


A Few Key Elements And Your Home Will Be Your Own Mediterranean Getaway! 

Why Does My Oven Keep Flipping the Circuit Breaker?

What Is Going On And What’s Wrong With My Oven?

Picture this: You're making dinner for your family, and you realize that after half an hour, the oven hasn't beeped to say it's been preheated. You go to check on it and realize that the oven is off. You push a few buttons, thinking, ‘that's odd I know I turned it on’, and instead, you have an oven that won't turn on. Your breaker flipped somehow. You go to fix it and start the process all over. Weird, but not the end of the world. What if it keeps happening, though? That's when you have to question, “why does my oven keep flipping my breaker?”


There are three main causes that will make it happen. It could be that you have a faulty heating element. It could be that there is an electrical short in your home. Or it could be that there is a circuit overload in the system. We'll go over these one-by-one and help you tell how to identify between each of them.


It Could Be a Broken Heating Element 

Let's start at the most common cause of this issue. If your breaker for your oven is flipping it might be because a heating element is broken. This can either be the heating element itself or the power source to the heating element. If this happens your circuit breaker will perceive it as a dangerous shift in the amount of amperage in the circuit and trip in order to keep you safe. This is built into the system in order to prevent electrical fires.


If you do determine that one or more of the heating elements in your oven is broken you will need to do a few steps. One unplug the oven completely from the wall and if possible, pull it out a little bit as well. This is to ensure your safety. What you're doing is giving the oven the chance to discharge any and all electricity. 

Next call a technician. Going in and attempting to repair or change out a heating element on your own is it dangerous and is not something we recommend.


It Might Be A Short In the Electrical System 

Your next most common cause of a consistently tripping circuit breaker is that there is a short in the electrical system. This can occur anywhere from the circuit panel itself all the way to the heating outlet of your oven. Look out for the smell of burning rubber or plastic, whether the oven is on or not. Also, keep an eye out for smoke. (Good news! The oven smoking because you burnt the turkey is not an electrical short.) 


Fortunately, if this is the issue, not only is it less expensive, it is also easier to fix. We still recommend unplugging the oven and calling a technician in order to ensure both of your safety and that of the tech coming to your aid. 

Or You Might Be Dealing With A Circuit Overload

Your final possibility, although admittedly the least likely, is that you are having a circuit overloaded. This would mean that the circuit that your oven is on is drawing so much power that the circuit breaker believes there is an issue. This means that there are too many items consuming electricity on the same circuit. Now the trick here is to figure out whether you actually have too many items or whether your oven is not on a circuit that is strong enough for it. For this, you'll need to start by figuring out which circuit your oven is on. 

Normally this is pretty easy. All you have to do is go to your breaker box and find out which one is labeled kitchen. However, occasionally you'll be in an older home where the breaker wasn't labeled when it was installed. And so you're going to have to check one by one, switching breakers off. Once you have the correct breaker isolated, start unplugging items that are on that breaker. You want to see at what point you can have your oven on and other items plugged in. If you get to the point that you have everything unplugged and when you turn the oven on it still gets flipped off by the circuit breaker, there is another potential answer. 


That is that your oven is on an outlet that is too small or it is not high enough power. While this is uncommon, it does happen occasionally, especially if construction was rushed in your neighborhood or if the oven you brought with you from your old home is sized to a different power outlet. Fortunately, both of these are extremely uncommon, and it is far more likely that your issue will be related to one of the earlier two points that we made. 

If you have isolated everything else and guaranteed that your issue is indeed tied to your circuit breaker, then you will not necessarily need a technician so much as an electrician they will actually be the first call that you make. However, we do still suggest unplugging the oven for safety sake.


Are there any reasons for an oven to cause your circuit breaker to flip that we missed? Let us know over on our Facebook page as we would love to hear from you!


If you followed our tips and found out that yes it is one of the first two causes, feel free to reach out. We would be more than happy to help you in repairing your oven and get your home running smoothly again. You can reach out to us with a phone call or by going over to our contact page. At Appliance Rescue Service, our goal is to get your home running smoothly again.