Easy No-Cook Not Quite a Cannoli

When You Want The Treat, But Can’t Work In The Heat

Looking for a sweet treat that is easy to make and will impress your friends and family? Look no further than this not quite cannoli recipe! While it may not be the traditional version of the beloved Italian dessert, it is a delicious and fun twist on the classic. With a crispy shell and creamy filling, this dessert is sure to satisfy any sweet tooth. Plus, it can be customized with your favorite flavors and toppings for a truly unique dessert experience. So why not give it a try and see for yourself how delicious not quite cannoli can be!


Ingredients:

15 oz container ricotta cheese

3/4 cup confectioners sugar

1/2 teaspoon almond extract

1 teaspoon vanilla extract

Pinch table salt

Pinch ground cinnamon

Pinch corn starch

Chocolate chips

Ready-made chocolate chip cookies (large)


Tools:

Fine mesh sieve

Spoon

Plastic wrap 

Two decent sized mixing bowls

Small plate

Something sort of heavy

Measuring spoons

...time. More time than you think.


Before you begin, know that while this recipe is a no-cook one, it does not like to be rushed. If you're looking to get the whole thing done by dessert tonight, you should probably get started at breakfast. That ricotta is going to take what feels like forever to drain. 


On a related note, do not skip that draining step. Skipping it yields watery, runny, thin cannoli filling. Thin filling does not stay in place and makes awful sandwiches. It also doesn't taste right. Save yourself the trouble.


Once you have all your ingredients out and ready to go, pop the lid and plastic cover off the ricotta. Before we do anything else, this is going to have to do its own thing. Please note it looks like a congealed, wet lump of cheese right now, and we're going to have to encourage it to change these characteristics. 


Nest the sieve into one of the bowls so it can catch the drained whey. Stir the ricotta while it's still in the container, then scoop it out into the sieve. If you have a cheese cloth, feel free to use it to line the sieve and wrap the ricotta - but in our experience, most people don't keep one in their kitchens. 


Gently press the ricotta into the sieve and smooth out the top. (If you're squeezing cheese through the sieve, you're pushing too hard.) Set a layer of plastic wrap over it and place a small plate on top of the plastic wrap to press the cheese. Let it sit for half an hour or so and check back to see if any of the whey is working its way out to the bowl.


Once you're sure it's working, you can add some weight to speed up the process - we put a pound of dry chickpeas on top of the plate, since they were both comparatively heavy and handy.


Now you can go do something else. For a while. Think at least three, possibly up to five episodes of your favorite show.


After a couple hours, you'll stop seeing the amount of whey in the bowl increase, and the ricotta will have taken on the consistency of crumbly-looking curds. This is when you know it's ready to be moved to the other bowl you took out.


Remove your weight, plate and plastic wrap if you haven't already done so. If you used a cheese cloth, lift the edges of it to transfer the cheese - but if not, just upend your sieve over the clean bowl and scrape it free with a spoon.


Measure your extracts into the ricotta and stir well. The vanilla will lend it kind of an off-white color. Stir in your salt and cinnamon, then slowly add your confectioner's sugar a little at a time, stirring to completely incorporate it before you add more.


When you've added all the confectioner's sugar, scoop up some of the cannoli filling with the spoon and tilt it back over the bowl. If it's slick enough to slide off the spoon, it's not yet the right consistency and you'll need to add in the corn starch (or more confectioner's sugar, but in our opinion that makes it much too sweet). Don't add much, and be absolutely sure there are no lumps before you add it. Stir very thoroughly. 


Once your filling no longer slides right off the spoon, it's ready for chocolate chips. Add as much or as little as you'd like. We usually start with about a quarter cup and add from there - but for the sake of full transparency, we rarely ever actually measure chocolate unless it's to melt. We just add until it looks right.


Stir it all well, and go get those cookies you set aside this morning and warned the whole house not to touch. This, of course, assumes your family follows instructions (this one struggles, especially with sweets-related instructions) and left you the cookies.


Scoop a heaping tablespoon of filling and drop it in the middle of the flat side of one of the cookies. Use the back of the spoon to spread it out a bit. Don't be afraid to add more if it looks like the cookie can support it. Slap another cookie flat side down on top of it, and go enjoy your hard-earned cannoli cookie sandwich.


You’ve read this far, so let us know over on our Facebook page what you think! Are you going to try this one out? 


If you’re looking up no-cook recipes because your stove or oven aren’t working, we can still help! You can reach out to us via our contact page or by giving us a call at ((214) 599-0055). Whether you’re in McKinney, Garland or Coppell, you can call on Appliance Rescue Service whenever you need us. 


Bring a Touch of the Mediterranean to Your Living Space: A Guide

Mediterranean style is something of a catch-all term in the United States and beyond when it comes to architecture interior design and decorating. However the concept comes not just from Greece Italy or Spain but instead from all of the 21 countries that surround the Mediterranean Sea. So you can look to Portugal or turkey, Egypt or Morocco just as easily. So although we are boiling down the design elements to their most key components we highly advise you to look to these other countries when it comes to adding your own twist and making it yours. 


Indoor Outdoor Living 

Courtesy of Albrecht Fietz

One of the key elements, if not the key elements of Mediterranean style is a blend of indoor outdoor living. The people surrounding the Mediterranean Sea have a focus on being connected to nature and their home is just as much outdoors as it is indoors. So you'll want to start looking at ways you can reflect that in your own home. This can mean everything from building and outdoor kitchen and dining room, to making sure you have large windows to let the breeze move through your home easily, or bringing some of your garden indoors. Almost every aspect of what makes this decor style, ties back to this.


Natural Colors 

 For Mediterranean decor you will be drawing primarily from natural colors look to put together a portfolio that reflects the sea and the sky and the earth in these areas. While it doesn't matter where you use these, these are what will make up your color palettes.  

Spaces Focused On Community

Courtesty of Kerstin Riemer

Many of the countries and cultures which surround the Mediterranean see have a very strong focus on family and family ties and community. For this reason the home is typically organized around either a central courtyard or the kitchen depending on where you are. This is because it's not your bedroom or office that are the heart of the home it is where you can gather with friends and family. So when designing your home make sure that your focus is on these communal spaces ensuring that where people will be is the most comfortable.

Using Natural Materials

Stone, marble, terracotta all of these are go to materials for your floors. Not only do they help in keeping your home cool during warm summer months always a bonus in Texas, but additionally they continue the feeling of bringing the outside in. They also stick mostly to the natural color palettes.

Patterned Tiles

Courtesy of Jason Goh

When you want to bring in a splash of color there are tons of places to hide patterned tiles. These can be used on your floor, on walls, in alcoves, sterilizers the possibilities are as boundless as your creativity. You can also mix and match textures and patterns to bring in your personality. 

Make Sure To Look Up

Exposed beams call back to older building styles and very reflective of Mediterranean style. They are wonderful for adding warmth and a cozy feeling to any room. Best of all if your home doesn't have these naturally you can fake them. With a bit of searching online there are several different ways to fake this look depending on what your budget and skill level is.

Courtesy of Tatiana Syrikova

Start From A Neutral Background 

Courtesy of Moy Caro

When it comes to the base layer of your room, the floors, the walls, the ceilings, start from neutral. Give your walls of whitewashed look or use stucco to add texture but you'll want to stick to light neutrals in order to keep the temperature down. Also don't be afraid of imperfections on your walls or your floors. Whether that's a scuff mark from when moving furniture or a ding that got put in the floor it's part of what makes the home and it adds a certain age especially if you wash over it with glazes or whitewash


Furnishing Done Right 

Furniture is most often made from wood while it doesn't have to be big heavy pieces they are common to the style. Furniture can range from the functional to the formal with big heavy pieces to thin highly carved details. Your hardware and other metal work is most often going to be made of wrought iron. You'll also want to look for natural materials like linen, cotton, or jute. Then for wall hangings or storage, look to rattan, wicker, and sea grass. 


That's our breakdown on Mediterranean Style, let us know what you thought over on our Facebook page! 


If you're here because your washer has leaked all over and precipitated this drastic change in style, we can help. You can reach out to us via our contact page or by giving us a call at (). We'll work with you to get your home running smoothly again. Whether you live in McKinney, Frisco or Allen, we'll work out a time that fits your needs to send one of our technicians out to your home to find and solve the problem with your appliances. 


So? What do you think? Are you going to be doing a Mediterranean staycation? Or is this just not for you? Let us know in the comments below or over on our Facebook page.


If you wound up here because you're needing help with your appliances, however, I'm not your decorating, we can still help. Reach out to us via our contact page or by giving us a call at ((214) 599-0055). Appliance rescue service we want to get your home running smoothly again. We will work with you wherever you live in the Dallas metro area.


A Few Key Elements And Your Home Will Be Your Own Mediterranean Getaway! 

Why Does My Oven Keep Flipping the Circuit Breaker?

What Is Going On And What’s Wrong With My Oven?

Picture this: You're making dinner for your family, and you realize that after half an hour, the oven hasn't beeped to say it's been preheated. You go to check on it and realize that the oven is off. You push a few buttons, thinking, ‘that's odd I know I turned it on’, and instead, you have an oven that won't turn on. Your breaker flipped somehow. You go to fix it and start the process all over. Weird, but not the end of the world. What if it keeps happening, though? That's when you have to question, “why does my oven keep flipping my breaker?”


There are three main causes that will make it happen. It could be that you have a faulty heating element. It could be that there is an electrical short in your home. Or it could be that there is a circuit overload in the system. We'll go over these one-by-one and help you tell how to identify between each of them.


It Could Be a Broken Heating Element 

Let's start at the most common cause of this issue. If your breaker for your oven is flipping it might be because a heating element is broken. This can either be the heating element itself or the power source to the heating element. If this happens your circuit breaker will perceive it as a dangerous shift in the amount of amperage in the circuit and trip in order to keep you safe. This is built into the system in order to prevent electrical fires.


If you do determine that one or more of the heating elements in your oven is broken you will need to do a few steps. One unplug the oven completely from the wall and if possible, pull it out a little bit as well. This is to ensure your safety. What you're doing is giving the oven the chance to discharge any and all electricity. 

Next call a technician. Going in and attempting to repair or change out a heating element on your own is it dangerous and is not something we recommend.


It Might Be A Short In the Electrical System 

Your next most common cause of a consistently tripping circuit breaker is that there is a short in the electrical system. This can occur anywhere from the circuit panel itself all the way to the heating outlet of your oven. Look out for the smell of burning rubber or plastic, whether the oven is on or not. Also, keep an eye out for smoke. (Good news! The oven smoking because you burnt the turkey is not an electrical short.) 


Fortunately, if this is the issue, not only is it less expensive, it is also easier to fix. We still recommend unplugging the oven and calling a technician in order to ensure both of your safety and that of the tech coming to your aid. 

Or You Might Be Dealing With A Circuit Overload

Your final possibility, although admittedly the least likely, is that you are having a circuit overloaded. This would mean that the circuit that your oven is on is drawing so much power that the circuit breaker believes there is an issue. This means that there are too many items consuming electricity on the same circuit. Now the trick here is to figure out whether you actually have too many items or whether your oven is not on a circuit that is strong enough for it. For this, you'll need to start by figuring out which circuit your oven is on. 

Normally this is pretty easy. All you have to do is go to your breaker box and find out which one is labeled kitchen. However, occasionally you'll be in an older home where the breaker wasn't labeled when it was installed. And so you're going to have to check one by one, switching breakers off. Once you have the correct breaker isolated, start unplugging items that are on that breaker. You want to see at what point you can have your oven on and other items plugged in. If you get to the point that you have everything unplugged and when you turn the oven on it still gets flipped off by the circuit breaker, there is another potential answer. 


That is that your oven is on an outlet that is too small or it is not high enough power. While this is uncommon, it does happen occasionally, especially if construction was rushed in your neighborhood or if the oven you brought with you from your old home is sized to a different power outlet. Fortunately, both of these are extremely uncommon, and it is far more likely that your issue will be related to one of the earlier two points that we made. 

If you have isolated everything else and guaranteed that your issue is indeed tied to your circuit breaker, then you will not necessarily need a technician so much as an electrician they will actually be the first call that you make. However, we do still suggest unplugging the oven for safety sake.


Are there any reasons for an oven to cause your circuit breaker to flip that we missed? Let us know over on our Facebook page as we would love to hear from you!


If you followed our tips and found out that yes it is one of the first two causes, feel free to reach out. We would be more than happy to help you in repairing your oven and get your home running smoothly again. You can reach out to us with a phone call or by going over to our contact page. At Appliance Rescue Service, our goal is to get your home running smoothly again.


Spicy Lemon Pepper Shrimp

A Bowl So Delicious You’ll Want To Eat It For All Three Meals

Sometimes you need something spicy. You need something that is going to be so tasty that everyone at the table will be left shocked. Sometimes, you stumble onto that recipe by accident. That’s what happened to us with this recipe.

Ingredients:

1 lb shrimp, peeled and deveined

1/4 cup white cooking wine

1/4 cup heavy cream

1 tablespoon lemon juice

1 tablespoon olive oil

1 tablespoon butter

2 scallions

2 cloves garlic

1 tablespoon crushed red pepper

1 teaspoon woodfired garlic seasoning (Kinder's brand)

salt and black pepper to taste

Tools:

cutting board

knife

large plastic container with lid

frying pan

measuring cups and spoons

spatula or tongs

Start with your shrimp. We like the pre-peeled frozen kind to cut down on the prep time, but if you don't mind the extra effort, starting with fresh is fine. Just keep in mind how quickly fresh seafood spoils. This is assuredly not a prep-ahead recipe.

Make sure you have your shrimp peeled, deveined, and rinsed. Set them into a large plastic container with a tight-fitting lid. Pour the lemon juice over them, then sprinkle with salt and pepper and woodfired garlic seasoning. Maybe shake in a little extra of that woodfired garlic (the stuff is addicting!). Put the lid on, check to make sure it's fully sealed, then give it a good shake to coat the shrimp.

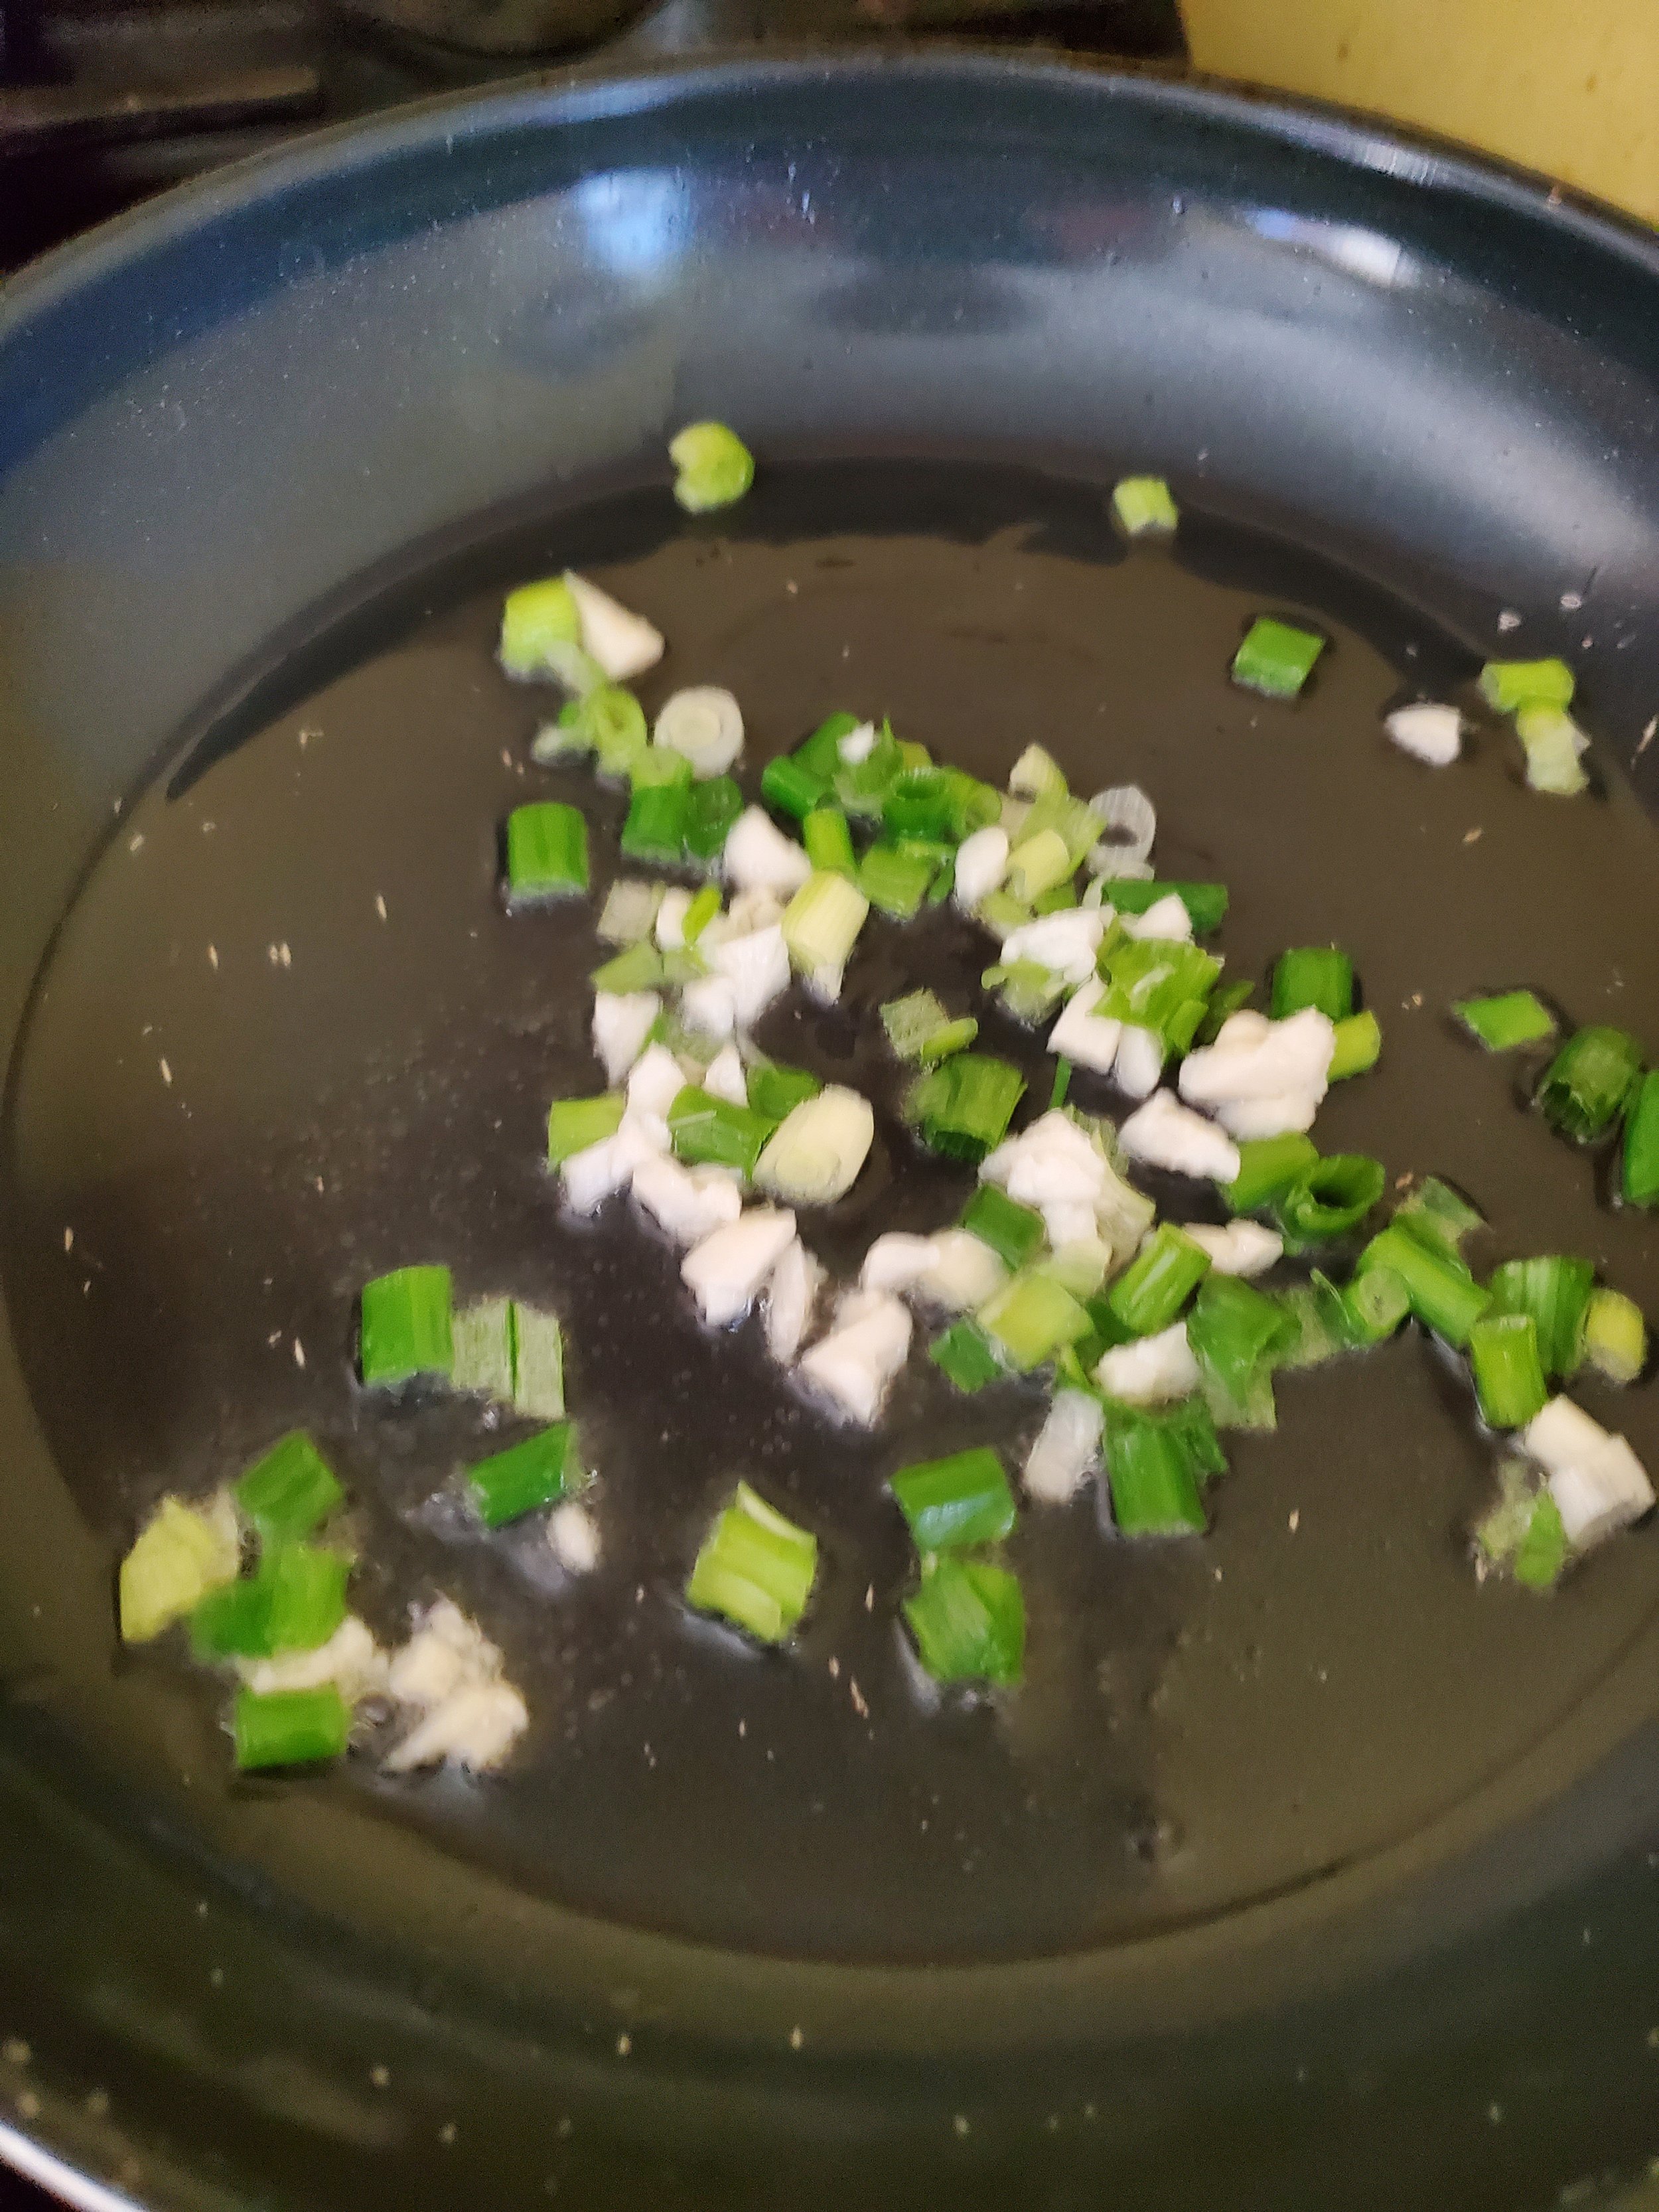
Wash your scallions, trim them up and chop them. We like to have pretty sizable chunks - but if there are picky eaters involved, feel free to cut them extra fine. Just adjust your cooking time to avoid torching them to a crisp if you do. 

Scrape the scallions to one side of the cutting board and, in your open space, use the flat of your knife to crush the two garlic cloves. Once they're flattened, go over them in a rough chop just to make sure no one gets a big mouthful of garlic later.

Melt your butter in the frying pan over medium heat. Add the olive oil, then dump the scallions and garlic into the pan. Give them a quick stir, then let them simmer there for a couple minutes until fragrant.

Turn your attention back to the shrimp. Double check the lid (no one wants to wear dinner), and then give them another good shake. Drain out most of the liquid and add the shrimp to the pan. Cook them for three or four minutes, then flip with a spatula or tongs. The "few minutes a side" guideline is very dependent on how large they are. We went for the medium-large shrimp. If you started with the smaller or even salad-size shrimp, reduce the cooking time by a bunch - they cook through so fast! 

Once the shrimp start turning colors (you'll know they're done when they're no longer sort of gray and translucent; a food thermometer should read 145 at the thickest point of the largest shrimp), measure out your white wine and add it to the pan. It will sizzle and pop, but it shouldn't flare. The alcohol content in a cooking wine is relatively low.

Let it reduce for a minute or so, then measure and add your heavy cream. Stir a bunch at this stage to be sure the cream is evenly distributed and there aren't any hot spots in the pan where the wine has already boiled away.

If there's anyone in the family who detests spicy food, this is the time to remove a little for them and put it aside. (Can you tell we have one of those, who also flinches at big pieces of onion or pepper?)

Sprinkle your crushed red pepper generously over the shrimp, give everything in the pan a good stir and a flip, and allow it to simmer another minute longer to let the flavors meld.

While it's totally optional, we like to turn the heat up a little at this step and get a good sear to complement the richness of the sauce. If the pan is looking a little dry, splash a little extra wine or cream into it before turning the heat up.

Split it up into even servings before you let anyone know it's ready - this meal sometimes gets fought over if you're not careful!

We think the shrimp is best served over rice with a great big pile of mixed veggies, but it also works with a salad or pasta. Get creative with it - maybe it's a good sandwich filling or a stellar appetizer, too. We just haven't tried it all yet.

 Thanks for checking out our recipe this week! Let us know on our Facebook how it turned out for you!


And remember, if something is going on with any of your appliances  we want to help. Whether it’s some of our posts here on the site, or needing a trained technician to take a look, Appliance Rescue Service is here for you.

5 Simple Ways to Get Rid of Your Old Appliances

Easy Ways To Get Rid Of An Old Appliance If You Can’t Repair It. 


As an appliance repair company, we never like to think of a dryer or oven dying. Sometimes it happens though. You've done everything you can, we've done everything we can, and it's just not possible to fix the trustworthy appliance that you loved. If that's the case,  what do you do? Naturally you're going to want to purchase a new one,  but what are you supposed to do with the old one?


 There are five different resources that you can use for getting rid of an old appliance, whether it is dead as our example or if you decided to purchase a new one and simply need to get rid of the old one because it no longer fits. Those  five options are: 


Donate Your Old Appliance 

Utilize A Buyback Program With A Retailer To Get A New Appliance In Exchange

 Sell Your Old Appliance On A Digital  Marketplace 

Use A Scheduled Pickup By A Retailer Or Recycling Service To Dispose Of Your Old Appliance

Make Use Of The EPA RAD Program To Recycle Your Old Appliance 


Donate It To Someone In Need- 


Courtesy of Vlada Karpovich

Donating things is a great way to give an old item new life. You are continuing the life cycle of an item rather than letting it sit and rot. Donating an appliance also means that it's not leaking chemicals into the environment.  Whether it's clothes, furniture, or appliances, donating things is great for everyone. These items can then be given or sold to people in need, and you get more space in your homes.   If your appliance still functions, and it's just a matter of you having wanted to purchase a new one for quite some time, this might be the best choice. A great example right here in the Dallas area is Habitat for Humanity. 


Utilize A  Buyback Program With A Retailer-

Courtesy of Ekaterina Belinksaya

If you haven't yet purchased a new appliance but are looking to do so, you can look into local retailers and see if they offer a buyback program. Often times its a mix of how new your appliance is. If it's a relatively new appliance, the shop might purchase it and give you a deep discount for a new replacement. If it's an old or damaged appliance, the shop might purchase it and sell it out for parts. In that case, you will probably just get a small discount off of your next purchase. Every retailer is going to be different with how they handle this so your best bet is to go to your favorite place and ask them what they can do for you. Many of them will even throw in pick-up when they drop off your new appliance.


Sell It On A Digital  Marketplace-

Courtesy of Kampus Production

Another solid option, whether your appliance is functional, dying, or dead, is to resell it on a digital marketplace. While you will not likely be able to get the same price as a brand-new appliance, you will be dealing directly with people and able to bargain for a price that fits your needs. Here you can do everything from selling out an appliance that is perfectly functional to selling pieces for people that want to repair their own. This can take a long amount of time, though, and should be considered before choosing this route. What is your timetable for getting rid of your old appliance? Do you need it out immediately or do you have time for it to sit around? 


Use A Scheduled Pickup By A Retailer Or Recycling Service

Your fourth option in Dallas is to look for a business or program that will schedule a pickup for you. This can be anything from a recycling program to a business that will buy junk to an appliance shop that might use it for parts. You might end up paying a fee for this one, though, depending on the business in question. But if you want it gone quickly, this is one way to do it.


Make Use Of The Epa Rad Program-


Finally, our favorite option is the EPA Responsible Appliance Disposal program. The EPA (Environmental Protection Agency)  has contractors they trust to go beyond just scrapping appliances. Instead, these partners go through and recycle every component of your appliances, from steel and plastic down to the freon that is in your refrigerator or your mobile HVAC unit. While it does require extra paperwork, there are both environmental and tax rebates. And who doesn't like to feel good and get to save money?


Do you know anything about how to get rid of appliances that we missed? Let us know over on our Facebook page!

If your oven, refrigerator, dishwasher, dryer or washer did break down, but you’re not ready to give up on it, let us know! Appliance Rescue Service is all about finding ways to fix appliances, whatever brand or model it is. So long as you live in the Dallas area, we want to work with you and help to get your home running smoothly again. You can reach out to us via our contact page or by giving us a call at ((214) 599-0055).