Outdated Kitchen Appliance Trends

How Do YOU Do With The Trends of 2023?

How well do you know the current appliance trends? Do you know how what’s in, what’s out and who’s got new appliances trends coming? We’re tackling some of the different trends that are falling by the wayside this year. Some of them will be easy to spot, and others you’re going to have to think more closely about.

Best of luck, and be sure to let us know how you do!

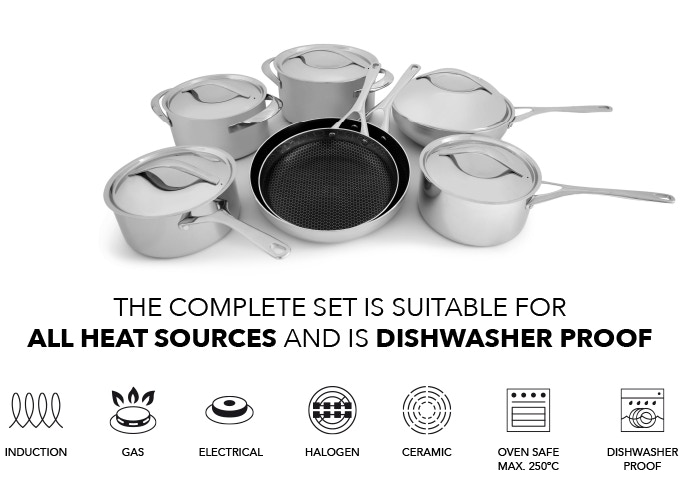
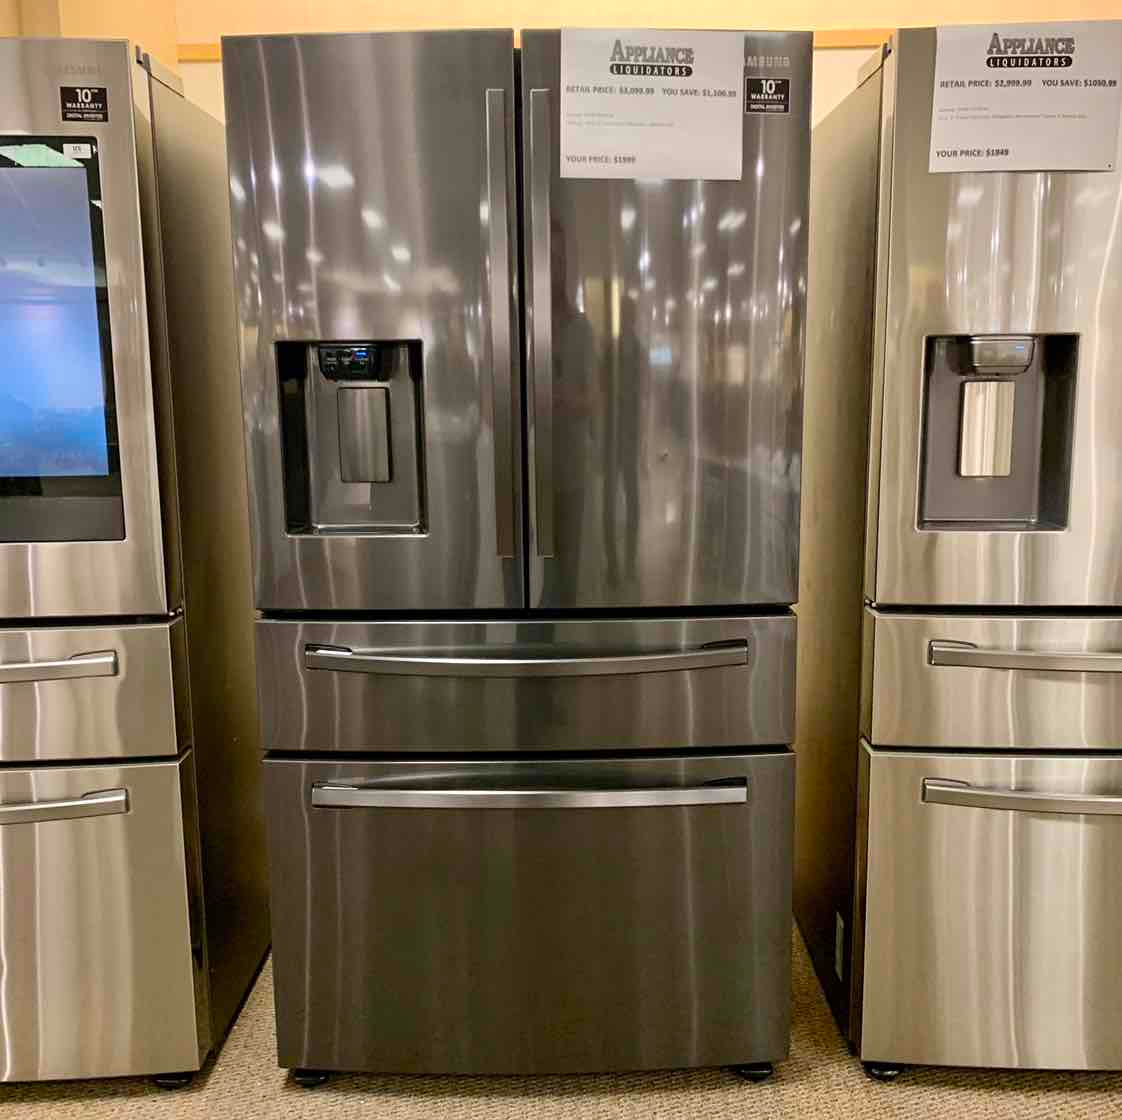
  • Description text goes hereAlthough a variety of different metal finishes are in, as we've mentioned a few times already, stainless steel is very much out! We are so happy to say goodbye to this one, as trying to keep stainless steel shiny and fingerprint free is a pain.

    Black stainless steel also seems to be out, which is another blessing. Black stainless steel was very popular for a while, but it was only skin deep, as the finish itself was. Many times you would end up with scratches within the first few months of owning an appliance, and the stainless steel would show through. And while we are all for the artistic application of this technique, it's no good when it's not intentional.

 
  • The Kitchen Triangle

    For ages and ages you typically had one person in the kitchen doing all of the cooking. So it made sense to have the kitchen triangle. This was a straight line between your sink your stove and your refrigerator. It made sense. With a single cook you'd ping pong between these three areas and there was nothing to get in your way. Now though we have hobbies, we have coffee bars, we have entire kitchens that are designed around people being in the kitchen as we cook. So the kitchen triangle is very much out.

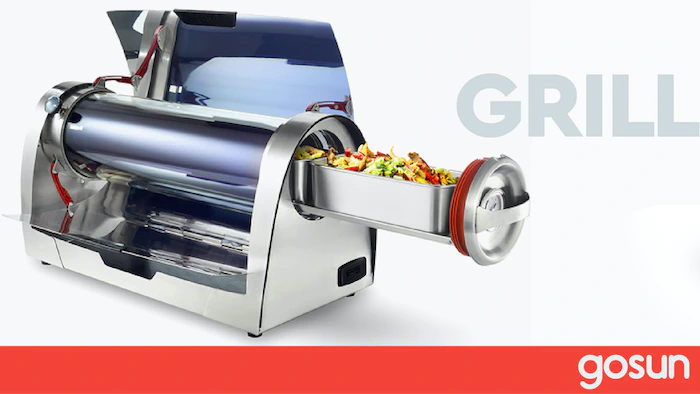
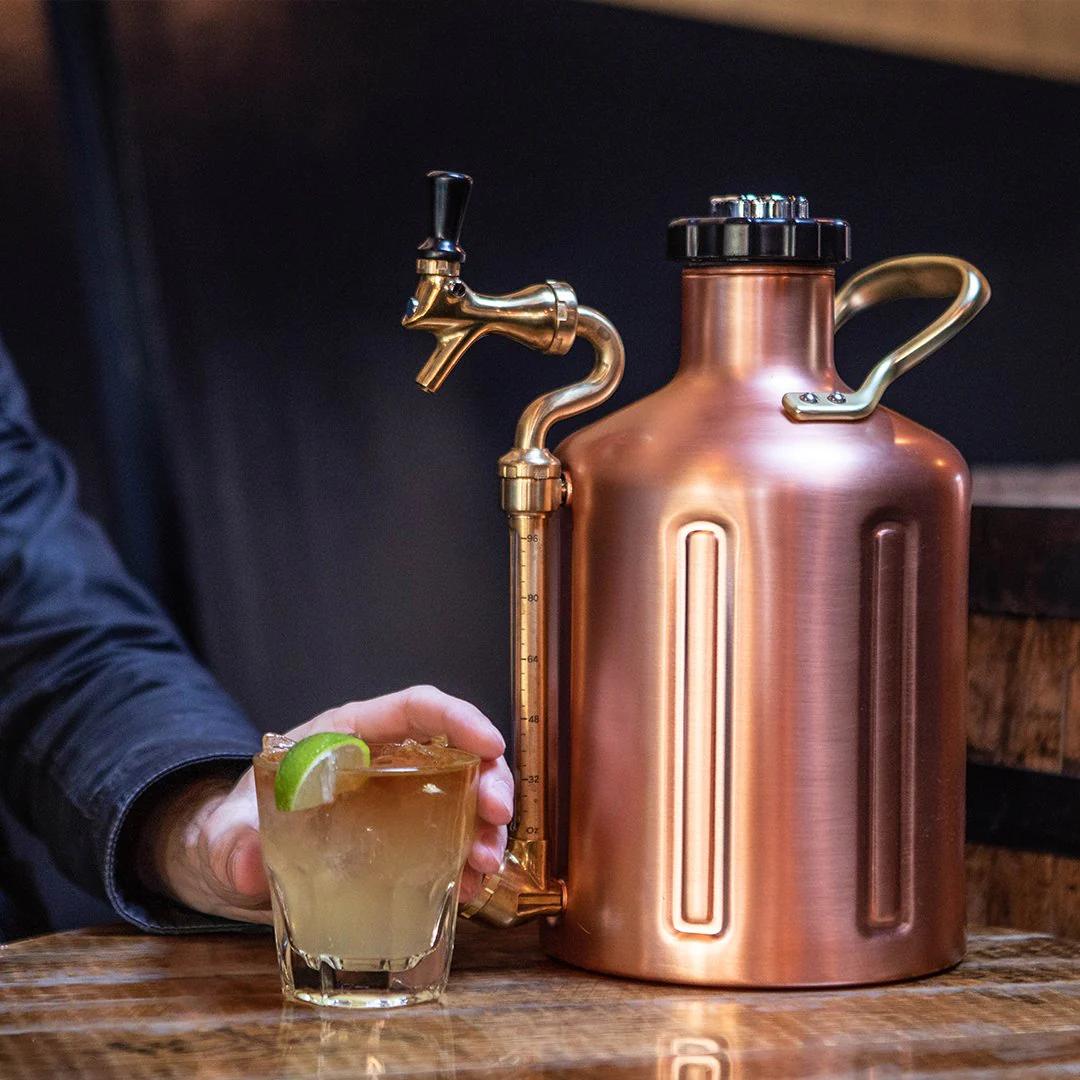
  • False! There are, in fact, brands that are looking at making more efficient and eco-friendly devices available for your kitchen. Some of the examples are coffee makers with reusable filters and dishwashers that use even less water per load.

 
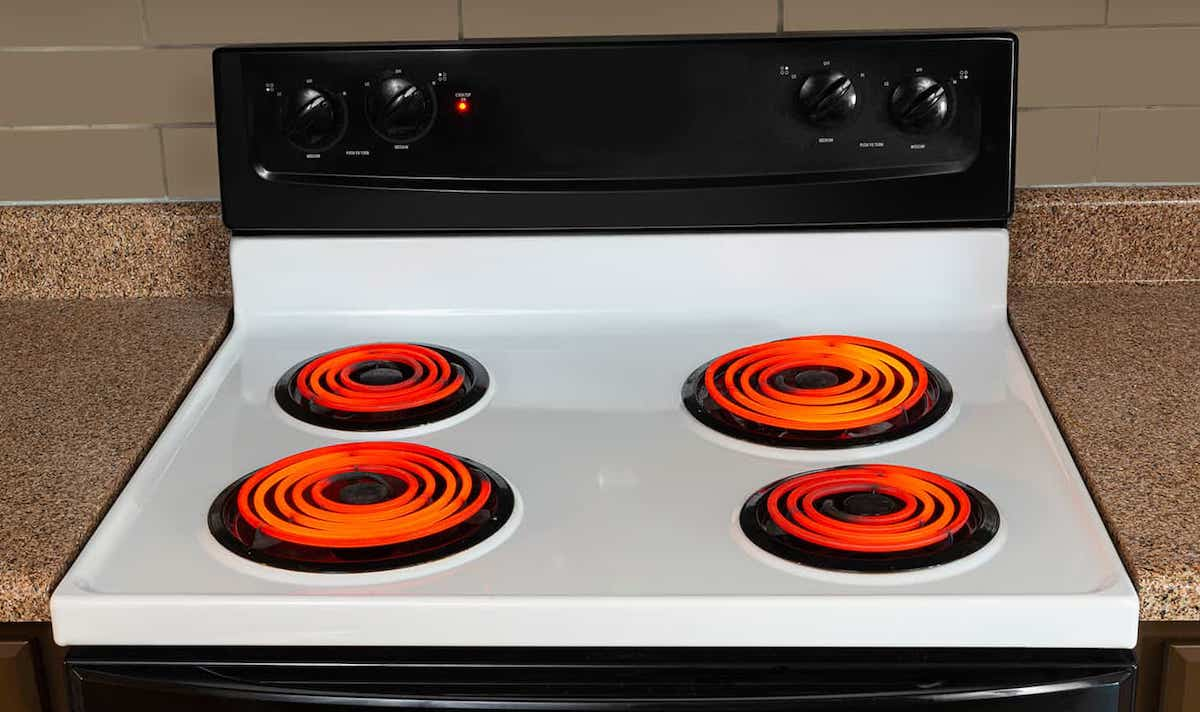
  • True! Electric coil stoves are very much on the way out. Although they were previously one of only two options, with the Advent of induction and other options, electric coil stoves are going the way of the dinosaurs. Celebrate with us at no longer having to scrape off burnt-on spills or worry about destroying the coils.

 
  • False! Brands are looking to change the food zones that break down your fridge based on the different types of foods you want to keep on hand. Some of these are changeable as you need, others are specific to certain ingredients. The intention is so that you can keep your food fresher for longer.

  • False!

    Many different technologies are coming to your kitchen in 2023. We're not just looking at Wi-Fi and screens inside your refrigerator or Bluetooth that lets you connect to your refrigerator halfway across the house.

    Instead, many different sous vide tools are coming to your kitchen. Signature Kitchen suite is one of the first looking to bring a built-in sous vide range to the home cook. Although it still takes time, this slow cooking technique is capable of bringing restaurant quality food to your home.

 
  • False!

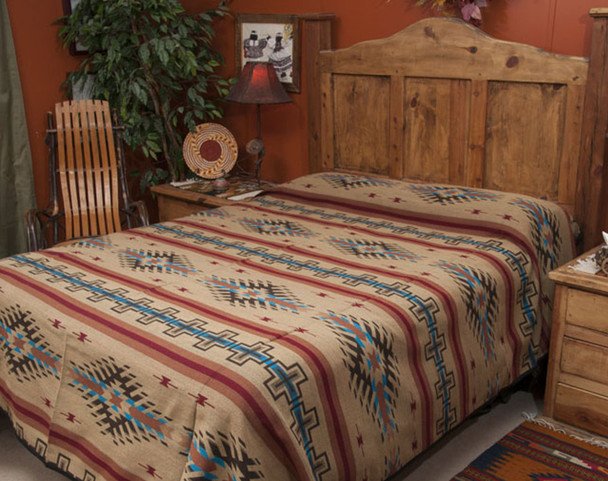
    If the Pantone color of the year did not make it obvious enough, people are pushing to make their kitchens more and more personalized. Manufacturers and designers and aftermarket shops are all interested

    in helping make that happen. Whether it's a particular oven from La Cornue, or getting the MoodUP refrigerator when it becomes available, you can do it. Custom-colored appliances are available, and there's hardly any limit to what colors you can choose.

  • If you've read our blog for any length of time you know that we very much despised the trend of refrigerators with tablets built in. Between having to worry about it being a security risk, or not being updated only a few months after you purchased, it they weren't worth the trouble. We are so happy to see that designers are realizing that this is not the way to make appliances smart.

Courtesy of Laurel Bern Interiors


With that, how did you do? Let us know over on our Facebook page! Are you a trendsetting whiz? Or do you have some catching up to do? (If it’s the latter, don’t worry, we did too!)

If you’re thinking ‘Well that’s great, Blogger, this was cool, but it doesn’t fix the fact that my oven is burning everything” don’t worry! That’s where giving our office a call can help. You can give us a call at ((214) 599-0055) Alternatively, you can reach out to us on our contact page if you’re not one for phones. Either way, we’ll work with you to set a date and time that works with your schedule. Whether you live in The Colony, Coppel or Carrollton, Appliance Rescue Services is here for you.

Sweet Veggie Tropical Curry

 It’s sweet; it’s got a ton of veggies, and it’s a riot of color! 

Sometimes you want to step out of the norm and try something adventurous. For your Blogger, that was this meal. It’s a delicious, multi layered sweet and spiced curry that is packed full of veggies and still manages to be extremely filling. We hope you enjoy it as much as we did! 

Ingredients:

4 red potatoes, chopped

12 baby carrots, chopped

4 large fresh mushrooms

2 tablespoons olive oil

salt and pepper, to taste

1 small red onion, slivered

4 tablespoons coconut oil, divided

1 tablespoon minced garlic

1 teaspoon ground ginger

1 teaspoon allspice

1 teaspoon nutmeg

1 teaspoon turmeric

1 tablespoon chili powder

1 teaspoon garam masala

1 teaspoon ground coriander

1 28-oz can crushed tomatoes

1/3 cup heavy whipping cream

1 teaspoon light corn syrup or brown sugar

two packages yellow rice

1 ripe plantain

Kosher salt, to taste


Tools: Cutting board, Knife, Can opener, Tongs, Slotted spoon, Serving spoon, Colander, Mixing bowl, Large, deep, slope-sided sauce pan or caldera with lid, baking dish, smaller sauce pan with lid, shallow frying pan with lid


As always, begin by washing your produce! We don't want dirt in dinner, and we're pretty sure we also don't want anything else from the field except the food itself.


Take your potatoes and chop them into roughly inch and a half chunks. Nothing has to be exact - they're potatoes. We didn't peel them for this recipe, but you can if you'd rather. Toss them into the pot, then chop the carrots, too. Add them to the same pot. Cover the veggies with just enough water and put a lid on the pot. Start the burner on medium and let them simmer for about ten minutes. 


While they simmer, it's time to take care of some other small tasks.


Preheat your oven to 450.


Chop up the mushrooms. We diced them up as small as possible so they'd hide in the sauce (we have some picky eaters in the house). You might want big pieces instead - they'll cook up either way at 450 degrees, so do whatever. The only thing we wouldn't advise is leaving them whole.


Open the can of crushed tomato and put it somewhere close by. You'll need it soon, but not quite yet.


We also used this time to start measuring the spices needed. There are a lot of them this time, but try not to omit anything - all of them are important to the finished product. We set them into a little glass dish off to one side until we were ready for them.


After the ten minutes of simmering are up, dump the veggies into the colander to drain them. Rinse the pan but not the colander full of veggies. Transfer the vegetables to the mixing bowl, drizzle them with olive oil, toss in the mushrooms and mix thoroughly. Add a little salt and pepper if you'd like, then transfer them again, this time to the baking dish. Bake them uncovered for 20 minutes.


Once the baking dish is in the oven, you'll have a clear cutting board and a little more counter space. Time to attack that onion. This is another produce item we tend to chop as small as possible due to picky eaters. Make sure you clean your knife when you're done with this step - the next thing you'll be cutting with it will not go well with onion.


However you choose to cut yours, once it's done, drop it into the pan you used for the veggies. Add about two tablespoons of coconut oil and the tablespoon of minced garlic and heat on low until the oil is melted. Bring the heat up to medium, add your many spices, and stir like crazy with the slotted spoon. It's going to be pasty looking - that's normal. Put the lid on it and let it go until you can smell all the spices. There's a noticeable difference, and you'll catch it long before you scorch anything, don't worry. If you're concerned, you can stir it occasionally while you wait for it to get to that point.


As soon as you know the onions are done, add in that crushed tomato, the heavy whipping cream, and the syrup. Give it a thorough stir, until the cream is fully incorporated. Cover it again and bring the heat back down as low as it will go.


The vegetables in the oven should be finishing up about now, right? Not really. The timer's about done, though. Take the veggies out and give them a stir, but then put them right back. Set the timer for ten more minutes.


Grab your packages of rice and get those going according to the package instructions in the smaller saucepan.


Once the rice is set to simmer, start heating the remaining two tablespoons of coconut oil in the frying pan on medium heat. Grab your plantain and cut it in half lengthwise. Flip the halves so they're flat side down on the cutting board and cut each in half again, short ways this time. This makes it easier to peel them and easier to fry them - double win! Once you've got the peel removed, place the slices flat-side down in the coconut oil. Sprinkle the tops with kosher salt, then cover them. You'll want to let them cook for about three minutes, but watch them carefully so they don't burn.


By now the ten extra minutes for the roasting vegetables should be up. Remove them from the oven and add them to the tomato mixture in the pan. Stir carefully to make sure everything is coated, then allow it to continue simmering while you check on the rice and the plantains.


After your three minutes (give or take) are up for the plantains, flip them carefully with tongs (don't squeeze too hard, they'll squish!), sprinkle this side with kosher salt, and replace the lid. They'll need another two or three minutes, but then everything should be ready.


Serve as plantain on top of curry on top of rice. 


Let us know what you thought of this recipe over on Facebook! As always, we love to hear from you! 


If you actually came to our site because one of your appliances is giving you trouble, we can help. Give us a call at ((214) 599-0055) or go to our contact page to set up an appointment. We'll work with you to find a time and date that works for your schedule to figure out what the problem is and how we fix it.  


Southwestern Decor 101

 Bringing The Beauty Of The Desert Inside

Have you ever looked out at a sunset and thought, "I love the way that looks"? Or seen a picture of the Grand Canyon in the middle of winter and been amazed by the riot of colors? The people that started the southwestern decor style did too. Southwestern decor is absolutely stunning, and there are many people that love it in their homes. This week we are breaking down just what it is that makes the design work.

What defines it? 

Southwestern style is a hodgepodge of different influences that have melded to create an incredibly popular style. It blends together Indigenous, Spanish, Mediterranean, and 'American West influences into a unique and homey design. 


Southwestern style seems to have originated in the 1920s in Southern California, mixing together the Hopi, Pueblo, and Navajo history, and textile crafts, with the utilitarian Spanish building methods and the more rustic charm of the American West. It also draws inspiration from Mediterranean architecture and pairs it with the flat-roofed homes of the Hopi and Pueblo tribes. 

All of the influences that make up Southwestern decor come together in the color palettes often used. In Southwestern decor, the desert isn't just a place that's deadly; it is also beautiful. The earthy tones of sandstones and terra cotta mix with bright blue skies, dusty purples, and cactus greens. None of the colors are chosen at random and instead are carefully selected and balanced one against the other. 


How to pull it off in your home 

Start With Your Color Palette

Courtesy of Sherwin Williams

While there are many, many beautiful and stunning colors in the desert, you need to build from neutrals like sand, oak, pale yellows, and windswept woods. Then from there, you can bring in the terracotta reds and shades of blue and purple, and gold from the sunsets. We suggest starting with neutral colors that you'll use throughout your home and then allowing different colors to pop out at different points. Say, bringing in lots of vibrant reds in one room or purples and golds and another. But the whole of it is balanced by the neutral undertones. 


Tiles Are For More Than Backsplash 

Tiles are a common staple in southwestern homes and decor styles that emulate them because they are great at cutting down on your cooling bills. Tiles will stay cool during hot summer days, but they retain heat on those equally cold nights. Terracotta tiles are not only fantastic for decorating, for backsplashes, or for the odd nook or cranny in your home, but also for just this purpose. You can also bring in turquoise blue tiles in strategic areas to add a lovely pop of color and add a visual surprise to a room.


Go Bold With Geometric Patterns

Courtesy of Mission Del Rey

If you talk about the Southwest, many people will bring up Navajo-created or inspired textiles. You can also bring in other similar but different patterns that work based on geometric designs, as many of the Navajo patterns do. If you're not comfortable with using them for a couch or a chair, you could use them for a throw or a table runner.


Find the Soft Spots

Although the word 'deadly' might be what comes to mind for most of us when thinking about deserts, there are hidden gems. Think about the gentle arcs of a windswept canyon or the soft clouds that stretch across the sky. Think of pocket springs and saguaro cacti. All of these can add a sense of calm within the desert, and you can mimic that within your own home. 


Act Natural

Much of the furniture within the Southwestern style is different from the fast furniture of today. The style is not clean or sleek. Think big plank tables, oversized chests, and intricately carved pieces spread throughout the house. Or chair backs and side tables and cabinets. There are little gems of detail everywhere. Pine was an easily sourced material, and so it's very commonly seen. The paleness of it also works very well with the neutral base of Southwestern style. Pine also pairs beautifully with woven fabrics and leather.


Bring In The Green

Courtesy of Moins-Despenser

No matter where we live, most humans love plants. In a southwestern home, that might mean cacti. They come in so many different shapes and sizes, everything from the giant saguaros to tiny bunny-eared cacti. You can decorate with all sorts of cacti inside and outside of your home, and since they are very hardy plants, they cut down on your water bill too.


Details Mean Everything 

Courtesy of Mission Del Rey

 We talked about the major facts; let's look at the details. Wrought iron, pottery, and woven baskets. Not only are all of these very much a staple within the Southwestern design, but they're also utilitarian. Wrought iron is stable and weather resistant, so you can use it inside and outside while still being utterly beautiful. Pottery serves so many different purposes within a home, so it's only limited by what you can dream up. Woven baskets are much the same; you can use them for everything from laundry storage to wall decor to grab-and-go kids baskets. Whatever you go with, don't be afraid to get creative with it. Use something in a way that's unexpected. Look to other aspects of the desert that you might not see popularly used. These are the elements that are going to make your house uniquely yours.


As always, we hope that you enjoyed our take on this aspect of home decor. Will you take on a southwestern design at some point? Let us know why or why not over on our Facebook page.


If it is not your love of decor but instead your hatred of your malfunctioning refrigerator that has brought you to us today, you're still in the right place. At Appliance Rescue Service, we take care of all major appliances and work with you to get your home running smoothly again. When you reach out to us via our contact page or by giving us a call at ((214) 599-0055), we'll work with you to set up a time and date that works with your schedule to send out one of our experienced technicians. Whether you live in Dallas, McKinney, or Frisco, we want to help.


Layered Veggie Bowl

Perfect For When You’re Craving A Taste Of Spring

Spring is theoretically coming, and it has us craving veggies! Fresh peas, green beans, lettuce! We want soft spring breezes and the chance to work in our gardens! Although most of the vegetables in the recipe are typically ripe in late summer to early fall, we are craving vegetables, given how weird the weather has been lately. Boost up your vitamins and enjoy plenty of protein as well with this delicious and layered dish.

  • 1 red pepper

    1 green pepper

    1 stalk celery

    3 Roma tomatoes

    1 can roasted corn

    1 can chunk chicken

    1 cup cooked chickpeas

    3 cups spinach

    2 Tbsp butter, divided

    1 Tbsp garlic

    1 tsp garlic salt

    1 Tbsp fresh black pepper

    1 avocado, chopped

  • ¼ c sour cream

    2 Tbsp lemon juice

    ¼ tsp red wine vinegar

    1 tsp corn syrup

    ½ tsp smoked paprika

    ¼ tsp cumin

    ¼ tsp salt

    ¼ tsp chili powder

    ¼ tsp smoked chipotle pepper

  • Knife

    Cutting board

    Frying pan

    Deep heavy-bottomed pot

    Whisk

To start out, grab your peppers and tomatoes and dice them up into even pieces. Set those aside in a large bowl and grab your celery. Give your celery a rough chop and toss it into the bowl as well. 


If you can get fire-roasted corn for this recipe, that’s the best option for the flavor. If you can’t, or if you’re in the mood to be adventurous, you can always make your own ahead of time. If you purchased the corn, drain it of the liquid and set it aside. 


Next up, rinse and drain your 1 cup of cooked chickpeas; we don’t advise saving the aqua faba for this recipe, although you can use it in a variety of other recipes. 


Finally, we’re done with prepping the ingredients! Now grab your frying pan, set it over high heat, and melt 1 Tbsp of butter. Once it’s fully melted, toss in 1 Tbsp of minced garlic, and sear it. Then toss in your spinach, turning the heat down to let it wilt. Once the spinach has wilted, cover the pan and remove it from the heat. 


Next up, grab a deep, heavy-bottomed pot. Go ahead and toss in another Tbsp of butter and let it melt. Once it’s melted, add in your peppers, celery, and tomato. Once the peppers are soft, add the corn to the pot and heat thoroughly. When all you can smell is corn, you’ll know you’ve got it heated all the way.

Now add in your chickpeas, cover the pot, and allow the chickpeas to heat fully. Keep an eye on your pan, stirring occasionally as you might need to add more butter to keep everything from sticking. 


Take your can of chunk chicken, drain it, and break it up, then season it with garlic salt and fresh black pepper. Stir that into your veggie mixture, and then add the cover and allow it to warm while you make the dressing.

In a separate bowl, mix together the sour cream, corn syrup, lemon juice, red wine vinegar, cumin, salt, chili powder, smoked chipotle pepper, and smoked paprika, whisking thoroughly. 

You can add additional sour cream if you want to soften the spices or a very small quantity of water if you want to thin it out. 


To serve, take a bowl and layer in the spinach, the veggie & chicken mixture, and top with the dressing and avocado. 


We can see this recipe being taken in a number of different ways. You might bulk it up by layering in even more spinach or adding in bulgar wheat. You could go full tilt on the tomatoes and add in both roasted and sun-dried tomatoes. The two of them work together along with the fresh to bring in multiple different complex textures and flavors.  Alternately, you can layer this over short-grain rice or top it with croutons if you need to ensure carbs. Let us know what you come up with over on our Facebook page! 


When you’re done, you’ve got nothing to worry about when it comes to cleaning up, everything wipes out nice and easy, and your dishwasher shouldn’t have any trouble.  If it does give you trouble, though, of the “my dishwasher isn’t getting things clean anymore!” variety, we can help. At Appliance Rescue Service, we’ll work with you to set up an appointment that works with your schedule. We’ll send out one of our expert technicians to diagnose the problem and move forward with a plan that works for you. To solve your major appliance problems, give us a call at ((214) 599-0055) or head over to our contact page today. 


Kickstarter in the Kitchen

 Bringing Innovation To The Kitchen 

  • GoSun Grill

    Company Name: GoSun

    The GoSun Grill is very much what the name suggests, a solar grill. Think about the little charcoal grills that people take while traveling during the summers. Now replace it with a grill that doesn’t need any fuel. It doesn’t need chips, tanks, or fluid. All it needs is a mostly clear sky, and you can grill without having to worry about accidentally lighting your eyebrows on fire. (We haven’t done that, no, why do you ask?) You don’t even have to watch over it. Set the timer and go do hang out with your family while it cooks. We love this idea not only for the innovation but also because it is a very clean product with little mess or risk. They even solved the issue of being able to cook at night with a ‘thermal battery!’

    Min pledge & what you got: $1 or more would get you the Creation Book for the GoSun Grill. The ebook was not only a behind-the-scenes look at the story of the grill, from ideation to creation, but also how the company builds products that others haven’t thought of.

    Max pledge and what you got: At $3200, one person would be given the chance to meet and work with the team of designers for GoSun. They’d head to the company retreat in Mendocino County, CA to learn about the next project for GoSun, test out the latest tech and stay for three nights.

  • Blackbeard Cookware Set

    Crowd Cookware

    The Blackbeard pan was the first item that Crowd Cookware brought to market, and people wanted more, which brought this amazing set of pans to Kickstarter. They’re stainless steel and work for any heat source on the market today, including induction stoves. They’re even supported by Michelin chefs around the world.

    We love this one because it’s entirely made up of products that the company’s fans requested. Even the minimum pledge is made for people who wanted something very specific. Rather than offering a large number of items, or increasingly… spectacular pledge levels, you could get individual pieces that they were testing out or get the entire set at a greatly discounted price.

    Min pledge & what you got: For roughly $20, you’d get a lid that fit both their frying pan and wok.

    Max pledge and what you got: For roughly $306 you got the entire set of Crowd Cookware’s pans and dishes. A versatile pan set that every chef could use, without having to purchase multiples of anything you didn’t need.

    Queen Anne Saucepan ø16cm/6.3” - 1.7L

    Queen Anne Saucepan ø20cm/7.9” - 2.8L

    Concord deep casserole ø20cm/7.9” - 3.6L

    Concord deep casserole ø24 cm/9.5” - 7.5L

    The Blackbeard frying pan ø24 cm/9.5”

    The Blackbeard frying pan ø28 cm/11”

    The Blackbeard ø28 cm/11” wok

    Blackbeard’s Tricorne, lid for ø28 cm/11” Blackbeard frying pan and wok

  • DIY Dairy-Free, Vegan, Paleo Cheese Kits

    Urban Cheesecraft

    Imagine a world in which you cannot have cheese. It’s a sad and horrible thing to think about, we know. Many people, due to dietary restrictions or personal beliefs, are unable to enjoy the wonders of brie, gouda, mozzarella or even provolone! Urban Cheesecraft said, “Why, though?” The owner Claudia came up with the idea of DIY kits and recipes that would allow anyone, anywhere, to create their own delicious cheeses without access to or need for a dairy cow. She had already made kits and a book for you to make it at home, and decided the next goal was to do the same for Dairy-free cheese! (and from what we can tell, the reviewers love both varieties!)

    Min pledge & what you got: $5 supported the product and got you a BIG CHEESY Smile!

    Max pledge and what you got: For $5,000 you got a travelling DIY cheese teacher! At this rate Claudia would travel anywhere in the United States to teach 20 students to make dairy-free cheddar, mozzarella, and to enjoy it along with a delicious spread of food at the same time. (As cheese lovers, we have to say this caught our interest immediately.)

  • Fourneau Bread Oven 2.0

    Strand Design

    Ahead of the curve by 3 years, Strand Design created the Fourneau Bread Oven 2.0, an upgrade on an earlier design of theirs. This oven works inside your regular oven, with a special base to generate steam and provide an even heating surface. The pan slots in easily over that, to give you an easy way to move the dough around, without having to assemble the bread oven around the dough. Then there’s the cloche that sits on the base to trap all the heat and air, and give you a perfect crust. All of this fits together to give you a wonderful loaf of bread every time, as if you were working with an old fashioned baker’s oven. It’s also safer than other options on the market, as the entire assembly stays inside the oven the entire time. Instead, the tray comes out, which is just as easy to remove as any normal cookie sheet. What’s not to love about being able to take your standard oven and get a perfect loaf of bread?

    Min pledge & what you got: For $5 you would get a digital cookbook for all sorts of bread recipes. Sure you might not be able to get the same quality as if you had the Bread Oven, but you could still experiment with making your own bread!

    Max pledge and what you got: For $280 you would get the Forneau 2.0, as well as an upgrade kit for your original Forneau Bread Oven. So, for that price (only $65 more than buying just the 2.0) you would upgrade the bread oven you had so you could work with two of them at the same time. That is a fantastic deal in our opinion. Think of all the bread you could make!

    (and it might even pair well with the Dairy-Free cheese kits, or even just DIY cheesekits.)

  • UKeg Pressurized Growler

    Growler Werks

    Last but not least we’ve got one that a lot of people in the Dallas area are going to love, a way to keep your microbrew fresh! Beer brewing is undergoing a renaissance right now, with people of all ages learning about one of the oldest crafts in the world. The downside to that is that once your microbrew is open, it goes flat. Really fast. GrowlerWerks wanted to solve that so they came up with the idea of the UKeg pressurized growler. “One that doesn’t let air into your beer, maintains perfect carbonation from the first pour to the last, and keeps beer cold for hours – all in a product you'll love showing off at your friend's next BBQ or party. GrowlerWerks was created by local Portlanders who love craft beer. We've drawn on a combined 47 years of engineering and product-design experience to make a better way to store beer, so it always taste exactly how the brewmaster intended.”

    Min pledge & what you got: $5 got you two GrowlerWerks coasters to show off and get people talking about beer.

    Max pledge and what you got: For $800 you got a brewery tour with the GrowlerWerks team in Portland, OR, as well as getting to pick your own uKeg from the design shop.