Handpies for Every Meal!

Handpies for Dinner, Dessert, Breakfast and Lunch!

The greatest thing about making handpies is that they can be made for any meal of the day! Breakfast, lunch, dinner or dessert, the possibilities are endless! Sweet or savory, eating at a table, on a picnic or as you rush out the door on your next adventure, handpies are a fantastic option for meals. 

We admit, we might have gone a wee bit overboard with the number of recipes we put together in this post, but with as many possibilities as there are, we couldn't stop ourselves. So for this post, we've made it so that each recipe collapses into itself so that you can look at them one by one, rather than trying to wade through the entire article at once. 

We'll start off with the crust for your pies, and then move on to the fillings. 

  • 6 cups of Bread Flour

    2 tsp salt

    1 cup + 1/2 Tablespoon cold butter

    1 cup cold water

    2 egg yolks

    5-7 cups of your filling of choice, see below

    Combine flour and salt into a mixing bowl.

    Cut your cold butter into tiny pieces, and work it into the flour, ideal using a fork or your fingers. (or an assistant, that works too!)

    in a separate bowl, mix the water and one of your egg yolks together until well blended. Pour that into the flour and mix everything until it comes together.

    Turn the dough out onto your counter and knead it lightly until it becomes a dough, rather than a mess of ingredients. The best way to knead the dough is to push forward and away from you with the heel of your hand, then fold the dough back towards yourself. Rotate it 90 degrees and repeat.

    Wrap the dough in plastic wrap and let it chill for at least 30 minutes, or up to a day.

    When you're ready to bake your hand pies, preheat your oven to 445*F. Grab two baking sheets and line them with parchment paper *

    Take your dough out of the fridge and set it on your counter. Cut it into 10 equal pieces of dough. Feel free to use a scale if you want, or just measure by eye and feel if you're feeling adventurous.

    Set all of the pieces to the side but one, and roll that one into a 7 inch circle.

    Add a rounded half cup of your filling to the center of the circle and fold the edges over so that you have a half moon.

    With the edge you can get creative. Start by pressing the dough firmly together all around the filling. Then choose your crimping design of choice. The easiest method is to pinch and fold back the dough on itself so that you get a 'crimped' edge. You can also check out Pinterest to see what other nifty options you have. We don't advise using just a fork for this dough because of how much filling you have.

    Place five pies on each of your baking sheets, and mix up your remaining egg yolk with 1 Tbsp of water.

    Use a pastry brush and generously apply the wash to each pie.

    Bake your pie for 20 minutes at 445* and then, without removing the pies from the oven, turn the heat down to 345* for another 15-20 minutes until they're crispy and browned.

    *Important note here: Parchment paper is NOT the same as wax paper. Whatever you do, don't try and bake wax paper you will ruin your baking sheet if you're lucky and hurt your oven if you're not.

    This is your basic pie dough. You can make this and freeze it once you've kneaded the dough, once you've cut the dough into sections, or once you've got it rolled out into rounds. All we suggest is making sure to wrap it in wax paper or plastic wrap and then putting it into a freezer safe container.

    Important Note: In our pictures down below, we made a half batch and mini pies, rather than the full size ones you get with this recipe.

  • 1 Tablespoon Unsalted Butter (you won't need additional salt thanks to the salt and the cheese)

    1 Cup Yellow Onion, diced

    2 ½ Cups Baby Bella Mushrooms sliced

    ½ teaspoon Ground Pepper, fresh

    ½ teaspoon Sea Salt

    2 Tablespoons fresh Thyme chopped

    2 ½ Cups Fresh Baby Spinach chopped

    1 ½ Cups Gouda or Gruyere Cheese, grated

    ______________________________

    Add mushrooms, onions, salt, pepper, and thyme in a skillet with 1 tablespoon of butter. Cook for 3-4 minutes until softened. Don't go based off the onions being transparent as further cooking will happen while you bake the handpies.

    Stir in spinach while warm and remove from heat. Let cool and drain any excess juices.

    Once cooled, add in your cheese of choice and mix thoroughly to combine.

    Split your filling evenly between your pie rounds and bake to enjoy.

  • 16- oz cooked ham, chopped

    ¾ cup shredded cheddar cheese

    ¾ cup shredded Swiss cheese

    1 (8-oz) package cream cheese, softened

    1 Tbsp Dijon mustard

    1 Tbsp Worcestershire sauce

    1 Tbsp brown sugar

    ¼ tsp onion powder

    ______________________________

    In a large bowl, mix your ham, swiss cheese, cheddar chees and cream cheese, mixing until thoroughly combined.

    In a smaller bowl, mix together your dijon mustard, Worcestershire sauce, brown sugar and onion powder until blended.

    Add the two together and mix thoroughly.

    Split your filling evenly between your pie rounds and bake to enjoy.

  • 2 lbs chicken breast

    1.5 tbsp olive oil

    1/2 cup yellow onion, finely diced

    1 Red pepper, finely diced

    1 Yellow pepper, finely diced

    10 cloves of garlic, minced

    2 cup chicken stock (split in half)

    1 Tbsp tomato paste

    3/4 tsp salt

    1/4 tsp pepper

    ______________________________

    Grab your Instapot or crockpot and place your chicken and 1 cup of the chicken stock into it. Mix in 4 of your 10 garlic cloves.

    Put the lid on the pot and cook for 20 minutes if you're using an Instantpot or 6 hours if you're using a slow cooker.

    In a large skillet, heat the olive oil over medium heat.

    Add onions, 6 cloves of minced garlic, and peppers, and sauté for about 5 minutes until softened.

    Add chicken, tomato paste, 1 cup of chicken stock, salt and pepper.

    Simmer, stirring often, allowing some of the liquid to evaporate, about 10 minutes.

    Allow to cool to room temperature or in the fridge for 2 hours. If you're doing this in stages, you can chill overnight in the refrigerator too.

    Split your filling evenly between your pie rounds and bake to enjoy.

  • Fair warning on this one. There are Zero hard and fast amounts because we weren't given hard amounts. It's more of a "guess and test" recipe like we've done in the past.

    Unsalted butter

    corn - we advise fresh or frozen as it's easier to get them.

    red onion, finely diced

    limes- juice in one bowl and zest into another so you can add as much as you like.

    red bell pepper, finely diced

    cilantro

    jalapeño, we suggest starting with 1 jalapeno to start with, finely diced without the seeds or pith

    sour cream

    Cotija cheese, and if you can't get hold of that, you can go with queso fresco

    ______________________________

    In a large skillet over medium-high heat, add your butter and frozen corn. Cook for 8-10 minutes stirring often until the corn is cooked through and has a charred look to it. The high heat will cook it quickly and the char adds a nice smokey flavor to the recipe.

    Remove from skillet and pour into a large bowl. Add the red onion, lime juice, lime zest, bell pepper, cilantro, and jalapeño. Stir to combine.

    Add the sour cream and the cheese and stir to mix. At this point we suggest tasting the mix and seeing how you like it, adjusting different flavors as needed so that it's just right before you move on.

    Once you've got the flavors right, split your filling evenly between your pie rounds and bake to enjoy.

  • 1 Tbsp olive oil

    1 Tbsp unsalted butter

    1 white onion, finely diced

    1 carrot, peeled and finely diced

    1 rib celery, finely diced

    Salt to taste

    Black pepper, freshly ground to taste

    4 cloves garlic minced

    1 pound ground beef

    1 ½ tsp Italian seasoning

    ½ tsp white pepper

    1 Tbsp tomato paste

    2 Tbsp Worcestershire sauce

    3 level Tbsp all-purpose flour

    1 ¼ cups beef stock or broth

    1 medium russet potato, peeled and diced into ¼ -½ inch cubes

    2 tsp fresh thyme leaves

    1 Tbsp finely chopped parsley

    ¼ cup green peas

    ______________________________

    Start by gathering up your onion, carrot, celery, potato and parsley and chop them as stated above, keeping them separate as you finish working with them.

    Take your skillet and put it down over medium- high heat, and add in the olive oil and butter. Once your butter is fully melted, stir it together with the olive oil and add in your onion, carrot and celery plus salt and pepper. Saute the vegetables until they're softened, but not transparent.

    Add in your garlic and once you can smell it, add in the ground beef, Italian seasoning, white pepper, and a few more dashes of salt and black pepper. Cook the ground beef until it's no longer pink, using a spatula to crumble the beef.

    Once the beef is finely cooked, if you're having a hard time getting it to crumble, you can remove it from the heat and once it's cooled enough, use your hands to break everything up. This is an optional step, and will require bringing the pan back up to heat before moving on.

    Once your beef is finely crumbled, add in your tomato paste and the Worcestershire and stir that into the pan, and top with the flour. Stir everything together to blend well.

    Add in your beef broth and the potato and stir to combine everything. Put the lid on the pan and allow it to simmer until the potatoes are tender, approximately 30 minutes. When a fork pressed gently against a potato cube slides through easily, you know they're done.

    To finish it off, add in your thyme, chopped parsley and the peas and mix to combine. Make sure no other spices are needed, and then allow the filling to cool completely.

    Once you've got the flavors right, split your filling evenly between your pie rounds and bake to enjoy.

  • 12 oz of fresh Blackberries

    1/4 cup sugar

    1 tbsp lemon juice (the bottled stuff is just fine)

    1/2 tsp cinnamon

    1 egg, beaten

    Additional Sugar for Topping

    ______________________________

    Rinse your blackberries well, and dry them with a clean towel, carefully or you'll end up dying your towel.

    Cut them in half, and toss them into a medium-sized bowl. Add in your sugar, lemon juice and cinnamon and mix well so that there is very little liquid left in the mix. Add a tiny amount of sugar at a time if there is too much liquid after adding in the initial 1/4 cup.

    Use an egg wash to help seal the pastries as you make them, to ensure they don't pop open while baking.

Notes on Freezing Your Handpies

There are several points throughout this process where you can stop and freeze what you've made.

- You can roll the dough around wax paper and then wrap the roll in plastic wrap.

- You can cut out your circles, layering them with squares of wax paper and freeze them at that point.

- You could make the handpies and freeze them prior to baking them.

- You could bake the handpies and then freeze them after they've cooled.

For any of these options, make sure to label and date what you've made so that you can use them within two months. For us we think the best options are either making the handpie circles or going ahead and making the pies up but not baking them. 

And that is six different handpie recipes that you can use for any meal throughout the day whether you're at home or on the go. They freeze great and they taste even better. When you give these a shot, please let us know over on our Facebook page or in the comments below. We love hearing from you and all about your cooking adventures. 


If you're contemplating handpies for meals because your stove isn't working properly, we can help. You can reach out to us at our office by calling ((214) 599-0055) or by going to our contact page to set up an appointment. We'll work with you to find a time that fits your schedule before sending one of our experienced techs to solve the issues. We work with you every step of the way to get your home running smoothly again.

4 Ways To Transform Your Yard Into An Extension Of Your Home

And How That Makes Your Yard Even More Fun For You

"Home is where the heart is," is how the saying goes - but what does that mean about the space around our homes? Many of us use our yards as gardens or just fields of green, with maybe the occasional patio thrown in for grilling and hosting small gatherings. What if instead you were to spread out and utilize all of that space to the max?

Creating spaces outside the home isn't always easy, though, especially when you have to contend with Texas' heat. To help with that, though, you can use a trellis with climbing vines, a pergola to designate “inside” and “outside,” panel walls, or furniture placement to create the idea of different rooms.

When you have a yard, as many of us in Texas prefer to, you need to break it up just as you would inside of your home. To best use the space, you break it apart into different rooms based on the goal of that area - and that is where this post comes in. We're looking at some ideas based on how you'd use them rather than what they're called. 

Places to Play

During summer, none of us want to stay inside all day, especially when you have children home from school. So why not use the areas around your home to create an outdoor playground for any age? 

Set up a playground:If you've got little ones, you can mark out an area that they can play in using gates and furniture, and (if you have it) a pergola. Alternatively, you can use an easy-to-break-down tent. Fill it with sensory activities, games, and books for kids to enjoy outside. They get time playing in the fresh air, and you know exactly where they are. 

Set up a living room:If your children are older, you can also set up an outside 'living room' space to allow them free range to spend time with friends or to hang out with family. All it takes is a bit of outside-the-box thinking. This setup could be used for everything from a movie night to space for board games and puzzles when you're too tired to face the heat. 


Places to Relax

While a living room, as we mentioned in our last section, would be considered a place to relax, we're looking at creating dedicated spaces. 

Set up a fire pit:Here is a space for relaxing and lazing about, sharing stories in the dying light of day, and creating memories with friends and family. Take your fire pit and draw a three-foot circle around it on all sides, giving plenty of space for safety. Fill that circle in with stone, and put down buckets for sand and water next to the pit in case of emergency. Beyond that circle, you can start placing poufs, chairs, and chaise lounges around the perimeter, creating an inviting and close-knit atmosphere for people to enjoy.

Use butterfly chairs, poofs, or a papasan:You can also scatter seating arrangements around your yard, with small tables in places that enjoy the shade at different times of day. Staking down the furniture where you place it is useful if you don't have your yard surrounded by a fence or broken up with windbreaks, but it's not necessary if you want to be able to move the furniture around easily. 

A tent covers a living room set with many blankets, chairs and pillows and two tables and a single large poof.

Courtesy of Kaboompics

Set up a swing or hammock:In your blogger's humble opinion, there's nothing better than a swinging hammock in the shade, a book and a cold glass of strong tea. Whether you hang it in the shade or in a spot in your yard that gets sun at different times of day, it's a great way to relax and catch a cat nap or just enjoy watching the clouds pass by. 


Places to Eat

Why stay inside where the air is still and everyone wants their phone or a screen? Take things outside instead and spend some time connecting to one another. 

Set up a table next to your garden, pool, or feature:Pick something in your home or yard that you find interesting. Is it a water fountain? Or a garden? Maybe it's an old tree. Now set up a table and chairs and eat dinner. Whether you intentionally focus on the feature that you chose or not, it's something that can spark conversation and make it easier to talk about all sorts of things. 

A rustic table stained a soft green has plants in pots all over it, along withs poons, next to a wooden pallet wall which has several succulents on it and many pots visible below the table

Courtesy of artyangel

Set up an outdoor counter:Alternatively, if you have a large window in your kitchen, you might consider setting up an outdoor counter with barstools along it for eating. This way, food can easily be passed back and forth between sides without having to go all the way through the house. It also means that whoever is cooking isn't sectioned off from conversation and company while they create food for the group. 


Places to Nap

There are many cultures that take a nap or quiet time in the middle of the day to avoid the heat. Why not set up your own space to let you do the same? While many people will say "well why then would I nap outside" we argue that there's something soothing about taking time to nap in the shade during summer. 

Set up a canopy bed:A first option might be portioning out a section of patio or your garden and putting in a bed with a canopy. Doing this allows for you to have space that is outside, but you get the full comfort of a bed. We'll point out again that whatever you put down, you want to make sure that it's weatherproof, but other than that, go for it. You can even go one step further if you love the stars and sleep out here at night, provided you have a bug canopy to keep away the pests. 

Set up chaise lounges in the garden, under trees, or on the porch:If a full bed isn't your thing, maybe a spot to nap after a swim is. Consider a chaise lounge or daybed in that case, something that's easier to move around and cover with weather proofing when things take a turn. It's great to be able to climb out of the pool, towel off and stretch out in the sun to finish relaxing after a long day.  It's also a lovely spot to enjoy a book or podcast when you're taking some time for yourself throughout the year (not just during summer). Adding in additional pillows and blankets can make it a great spot to escape to all year round. 

Turn a porch swing into a porch bed with the right dimensions, a thick pad, and plenty of bolsters for comfort:Or you might be someone that wants the comfort of motion. Studies have shown that a gentle rocking motion creates the deepest sleep in adults and children, so why not have a hammock or swing? Since we're talking about sleep though, let's take your normal porch swing and upgrade it a bit. To start with, make sure that your swing has high sides. There's nothing worse than rolling off a swing when all you wanted was a cat nap. Grab two cot mattresses and stack them on top of one another, then cover with an outdoor slip. Next up, grab some bolsters in a coordinating fabric and line the edges of your swing with them. Drag out a blanket when you're in the mood, and voila, you have a perfectly soothing spot to relax, nap and chat, whatever your mood.

Which room are you most interested in creating for yourself? Is there a glaring idea that we overlooked? A flaw maybe that we haven't considered? Or maybe you're seeing a chance for a room that we didn't think of. Let us know in the comments below or over on our Facebook page. 


If you wound up here because the appliances inside your home are what are driving you out, then we can help. Whether it's your oven or your ice maker, give us a call at ((214) 599-0055) or go to our website to set up an appointment that works for you. 

Weekend Decorator- Quick Hacks To Bring New Life This Summer

Decorating Your Home Doesn't Have To Take Months! 

Do you ever get the itch to redecorate, but you don't want it to be a drawn-out process? You want something new and different in your home, but you're not willing to have everything up in the air for weeks or months at a time. Sometimes, you just need a quick weekend project to change things up and give yourself an entirely different feeling. Best of all, unless you want it, the projects don't have to be super expensive. Let's go over 10 easy projects you can do in a weekend.*


- Add pattern to your walls 

Who says that patterns are just for your tiles or fabrics? Not us! Find a pattern you love, whether it's a stencil, a wallpaper, a removable tile, whatever, and toss it up. The easiest way to make this look 'right' is to split your wall into thirds horizontally. Then decide whether you want to do the pattern across 1/3rd of the wall or 2/3rds. From there, go for it. 


- Choose a bold design you love

Golden line drawings of lilies and leaves on a black background

Artie Lotus Floral - Wayfair

When it comes to bringing in new things, go for something that's you. Some people say, "Go bold or go home," but what's bold for you (say... giant florals) might not be bold for your visiting cousin (who just adores polka dots.) So make sure that it's something that fits you and the space you're working in.  


- Use molding in the same shade as the painted sections to create a crisp divide between different sections. 

If you want to really class it up, reach for some thin molding. Remember how we said to choose whether you're going for 1/3rd or 2/3rds? Now use the molding all along that divide and paint it the same shade as the painted section. This gives you a really neat divide between the two sections and makes it look all the more stunning. You can do this no matter what you've added to the wall, wallpaper, paint, tile, whatever. 


 Bring in a cute border with a scalloped wall edging.

If you've got a room that you really want to bring some pizazz to, check out a scalloped edging along the top or bottom edge of the wall. 

- Grab a bowl or saucer to make yourself a template (with 3-5 repetitions so that you can get it done faster) and cut it out of cardboard. So, trace the bowl side by side, so you get a curved equivalent of this ^^^^^ on your cardboard. 

Red and white scallops, red on top and white on bottom

- Use a ruler and level to create the line at the curved edge of your template where the pattern 'ends'; use a pencil to trace the pattern along the entire wall or all of the room, depending on your preference.

- Grab a paintbrush, throw on a podcast and go at it. 

-Take some photos as you go so you can show off your creative genius. 


-Draw attention to something you love.

-Do you have something in your home that you adore? Maybe you've got a fireplace that's rough and rugged, a staircase that's carved beautifully, or a period door. Frame that with a pop of contrasting color and show it off. Take a ruler and set it out about 3-4 inches from what you're highlighting, and frame it in an eye-catching color. 


-Bring wallpaper into the kitchen 

Forget using an expensive backsplash. Since one of the trends of the year is for forgoing upper cabinets, why not bring in some wallpaper instead? You can bring it in in "windows" that you frame out with paint, or just do the whole of the kitchen, whatever speaks to you. 

     Forget an expensive backsplash. Since people are foregoing upper cabinets, why not use that space for wallpaper instead?


- Turn those tea towels into art!

Rolled tea towels embroidered with lavender plants and the word Provence

Every Christmas, someone gets a chef a tea towel, possibly several, or an entire hand-sewn set. And that's great! Those tea towels serve a bundle of purposes in a kitchen that's used regularly. Sometimes though, you don't /want/ to get them ruined. You want to protect them without having to just stash them in a drawer somewhere. So why not turn them into art? Use a frame that's painted the same as your kitchen cabinets and hang it up. You can even frame several this way and rotate them out throughout the year. 


- Give an old desk a new outlook on life.

People throw away old desks all the time, and you find one that speaks to you. Or you might have one that you've had for eons, and it's beaten and battered, but you can't stand to get rid of it. That's when a bit of sandpaper and some chalk paint come to the rescue. You can even use it as an excuse to bring in the color of the year (remember, it's Very Peri right now) without having to redo everything in your home. 


A living room window is centered in the frame with white guazy curtains pulled to either side.

-Another easy change is to swap out your curtains. Winter is over, and it's time to bring in the light! (Cue the MaMa Odie) Swap out your thick thermal curtains and replace them with something lighter like cotton. Not only will you bring in plenty of light, but by adding a second layer of bright blackout curtains, you can use them to block out the worst of the heat of the day and keep your home cool, only opening them to enjoy the beginning and end of the day. 


- Give your kitchen a warm glow by bringing in touches of brass. 

A tiled wall with many brass ladels hanging from hooks.

Brass ladels by Stux

Not only is brass a material that disinfects itself after 8 hours, it's got a lovely warm glow that looks great in your kitchen. You can use it to replace drawer knobs, pulls, latches, sinks, and even your light switch covers if you want. All that's going to take is a few hours to choose what you want and then an hour or so to swap it all out. 


-Create a curated gallery wall that you can mix up at any time! 

     -We saved our favorite tip for last. You might be like us and have a hard time choosing just one piece of artwork for a room. Well... who says you have to? Say goodbye to that convention and set up a rotating art gallery all your own. Grab some ledges from Ikea and paint them the same color as your wall (or walls), and hang them up. Now you can set your artwork on them, move them around, and swap them out any time you want without having to try and hang them. 

If you're like us and you can't stand having a fixed set of artwork, who says you have to? Grab some ledges from Ikea, paint them the same color as your walls, and hang them up. Now you can set your artwork on them, move them around and swap them out any time you like. 


What do you think? Are you interested in trying out some of these? Let us know in the comments below or over on our Facebook page. We'd love to hear from you and any ideas you come up with yourself! 

If it's not a 'new feeling' you want but maybe something along the lines of 'having a dishwasher that gets everything clean' or "having your freezer properly freezing things," that's where we come in. Appliance Rescue Service will get your home back to running smoothly so you can focus on things that are more fun. You can reach out to us by giving us a call at ((214) 599-0055) or by going to our contact page and setting up an appointment. We'll work with you to find something that fits with your schedule. At Appliance Rescue Service, we're here for you. 


(Maybe not all at once, but you can certainly complete one or two of them. If you want to try and do all of them, let us know! We'd love to hear how you managed it.) 


5 Smoothie Recipes For Quick Meals

Smoothies make a great grab-and-go meal when you need something filling but not over the top.

We love making smoothies because you can grab them and go. A bit of prep, a bit of noise and then toss it all into the freezer and you can have a week's worth of breakfasts or lunches that are healthy and filling ready to go.  If you do it right, you can even use them to lose weight. We're not promising crazy results, we're looking at recipes that are shown to be filling, taste good and are actually healthy for you. 

The one universal tool that you're going to need for this list is a blender. It doesn't have to be the most expensive blender on the market,  you just need it to be powerful enough to chop through frozen fruits, vegetables and ice. As to those fruits and veggies. While fresh ones are fantastic, you can work with frozen just as easily. Finally, we did something we don't usually do and that's given the calorie count for each recipe.  We've done that so that you can see how much goes into these and make your choices accordingly. Keep in mind that calories aren't necessarily bad so much as  a "my body needs x number of calories to function." 

Now, on to the smoothies.

Peach Crumble Smoothie

  • 1/4 c rolled oats

    1/2 Banana - Frozen is best so that they chill everything

    1 c peaches - Fresh is best, but the frozen is tasty and easy to get hold of.

    1 c milk - You can swap out cows milk for any other type that you like, including almond milk which turns out very nicely, and lowers the calorie count further. If you do decide to go with almond milk, we suggest upping your vanilla to 2 tsp.

    1 tsp brown sugar

    1/2 tsp cinnamon

    1 tsp vanilla

  • With this one we're going to start with a choice. Do you like boba? If you don't know what boba tea is yet, consider instead whether you like texture in your smoothies. If the answer is yes, go ahead and skip this step.

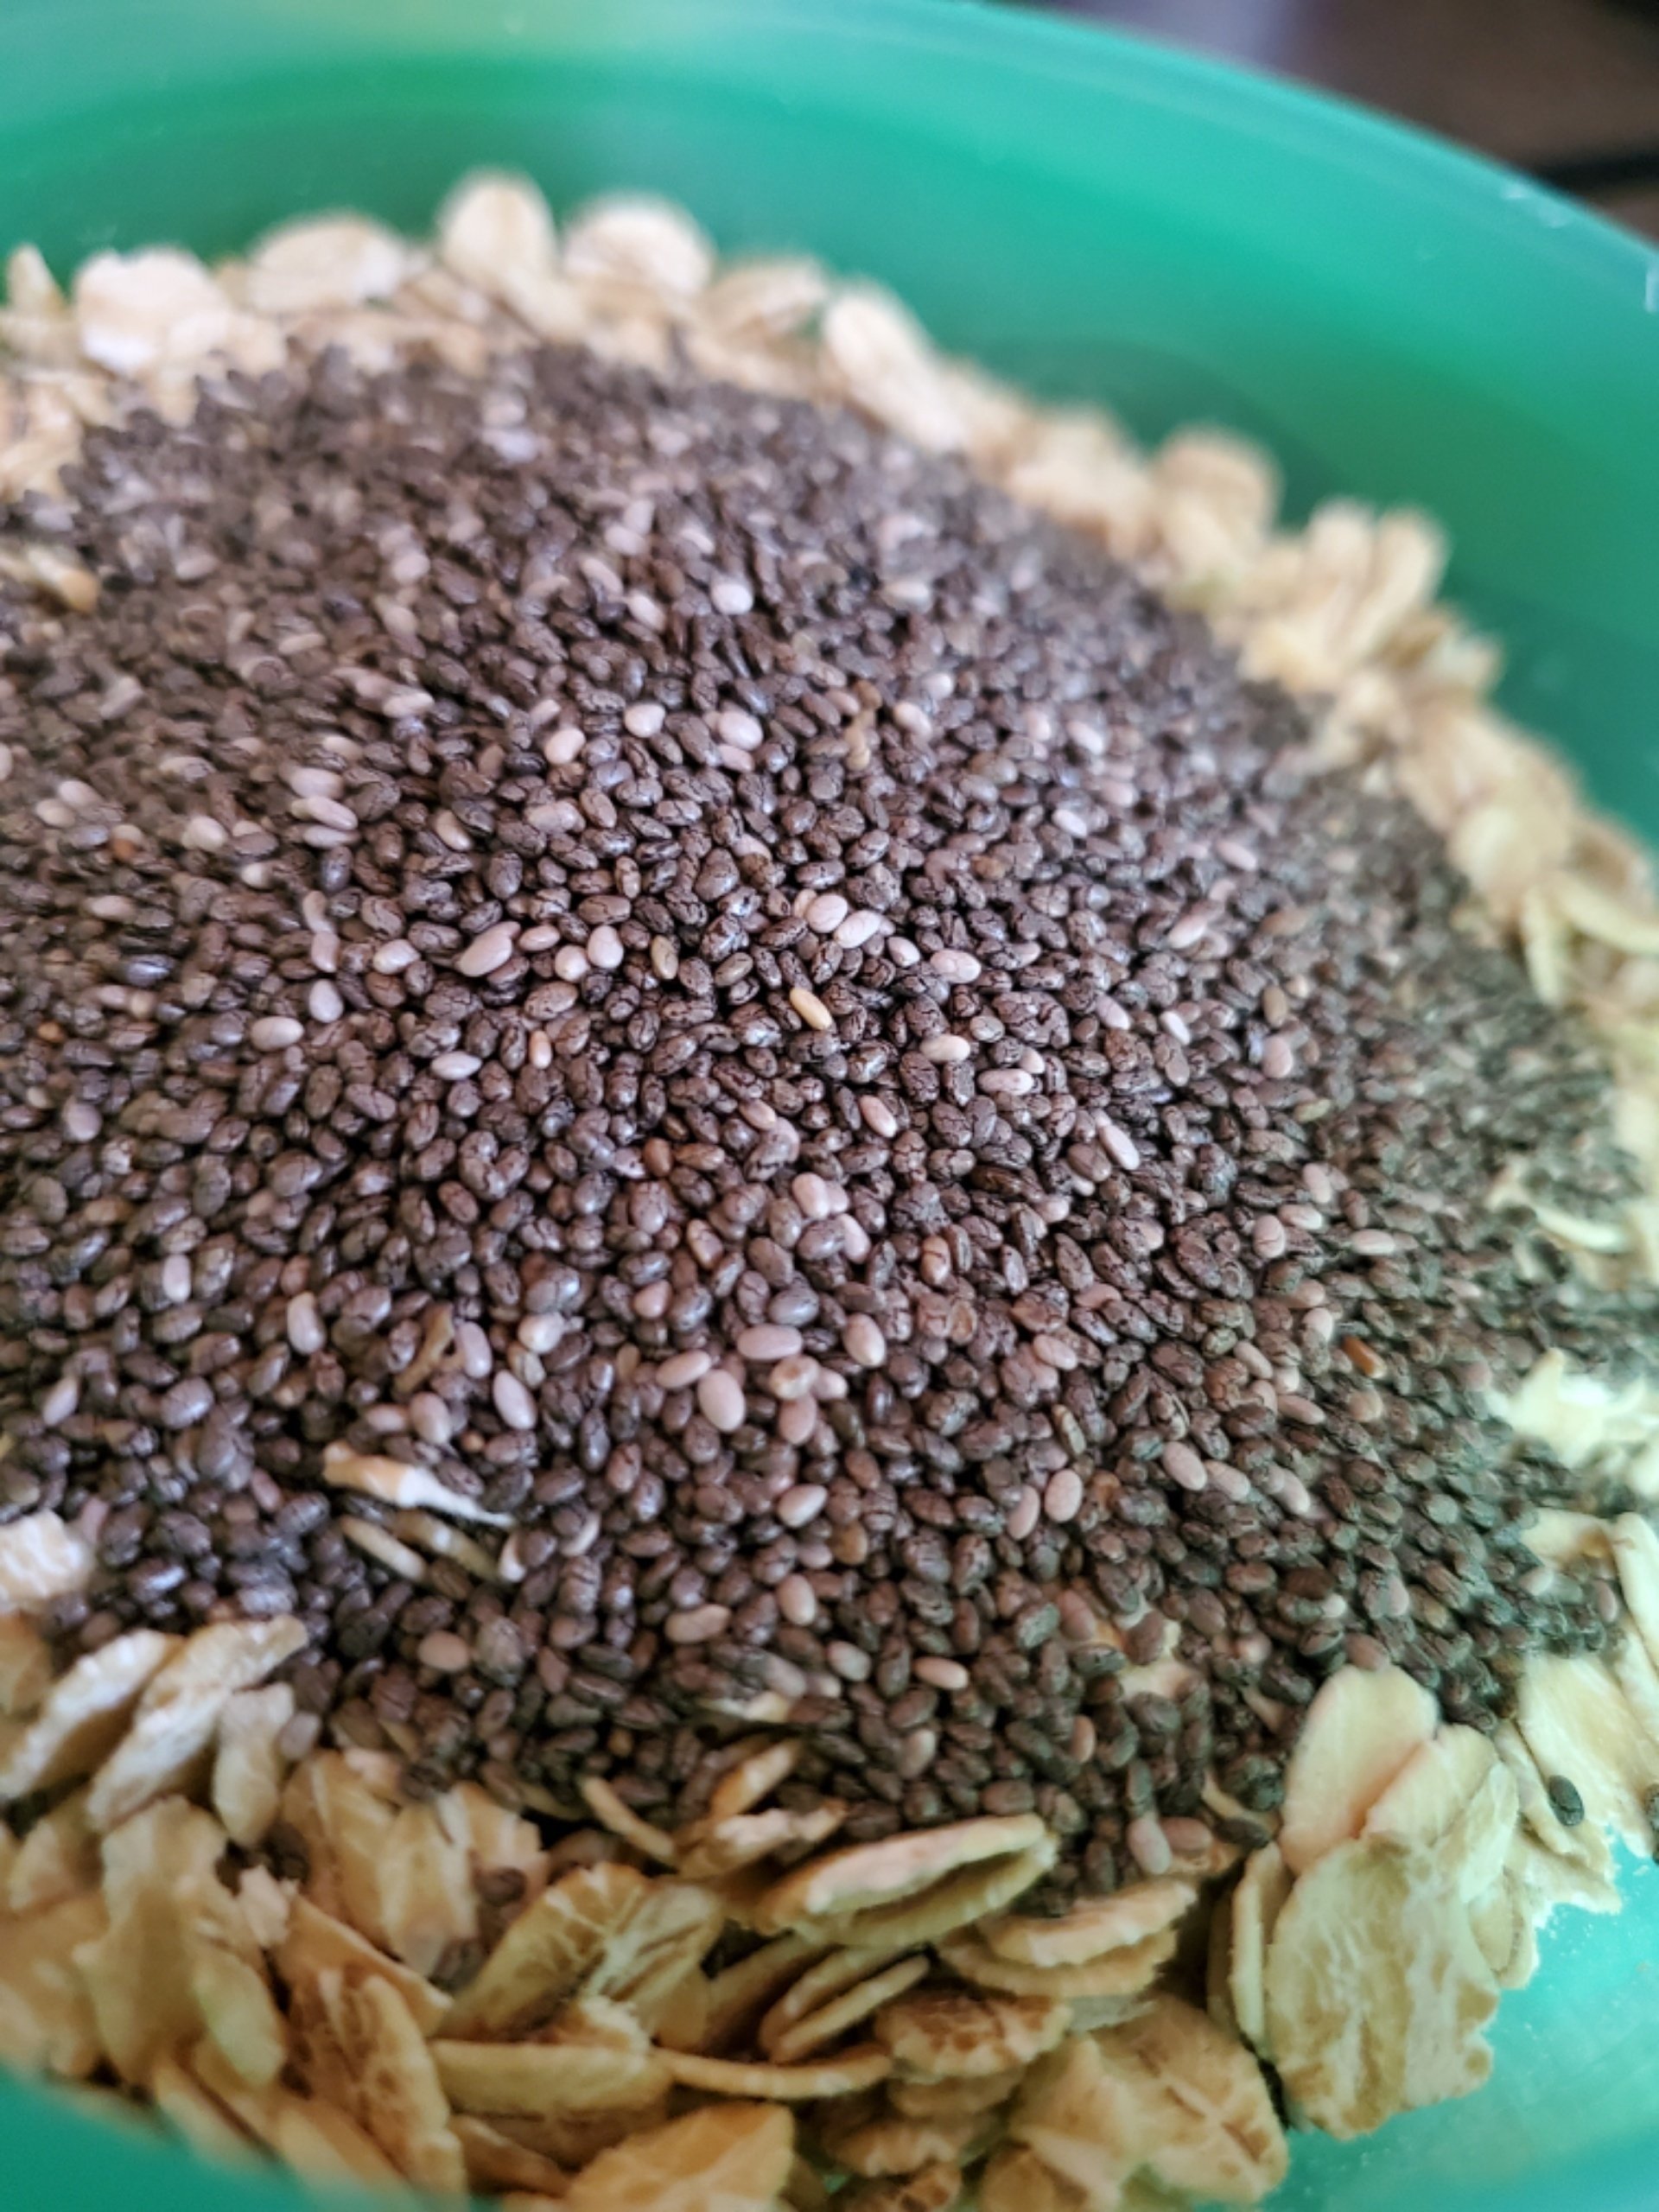
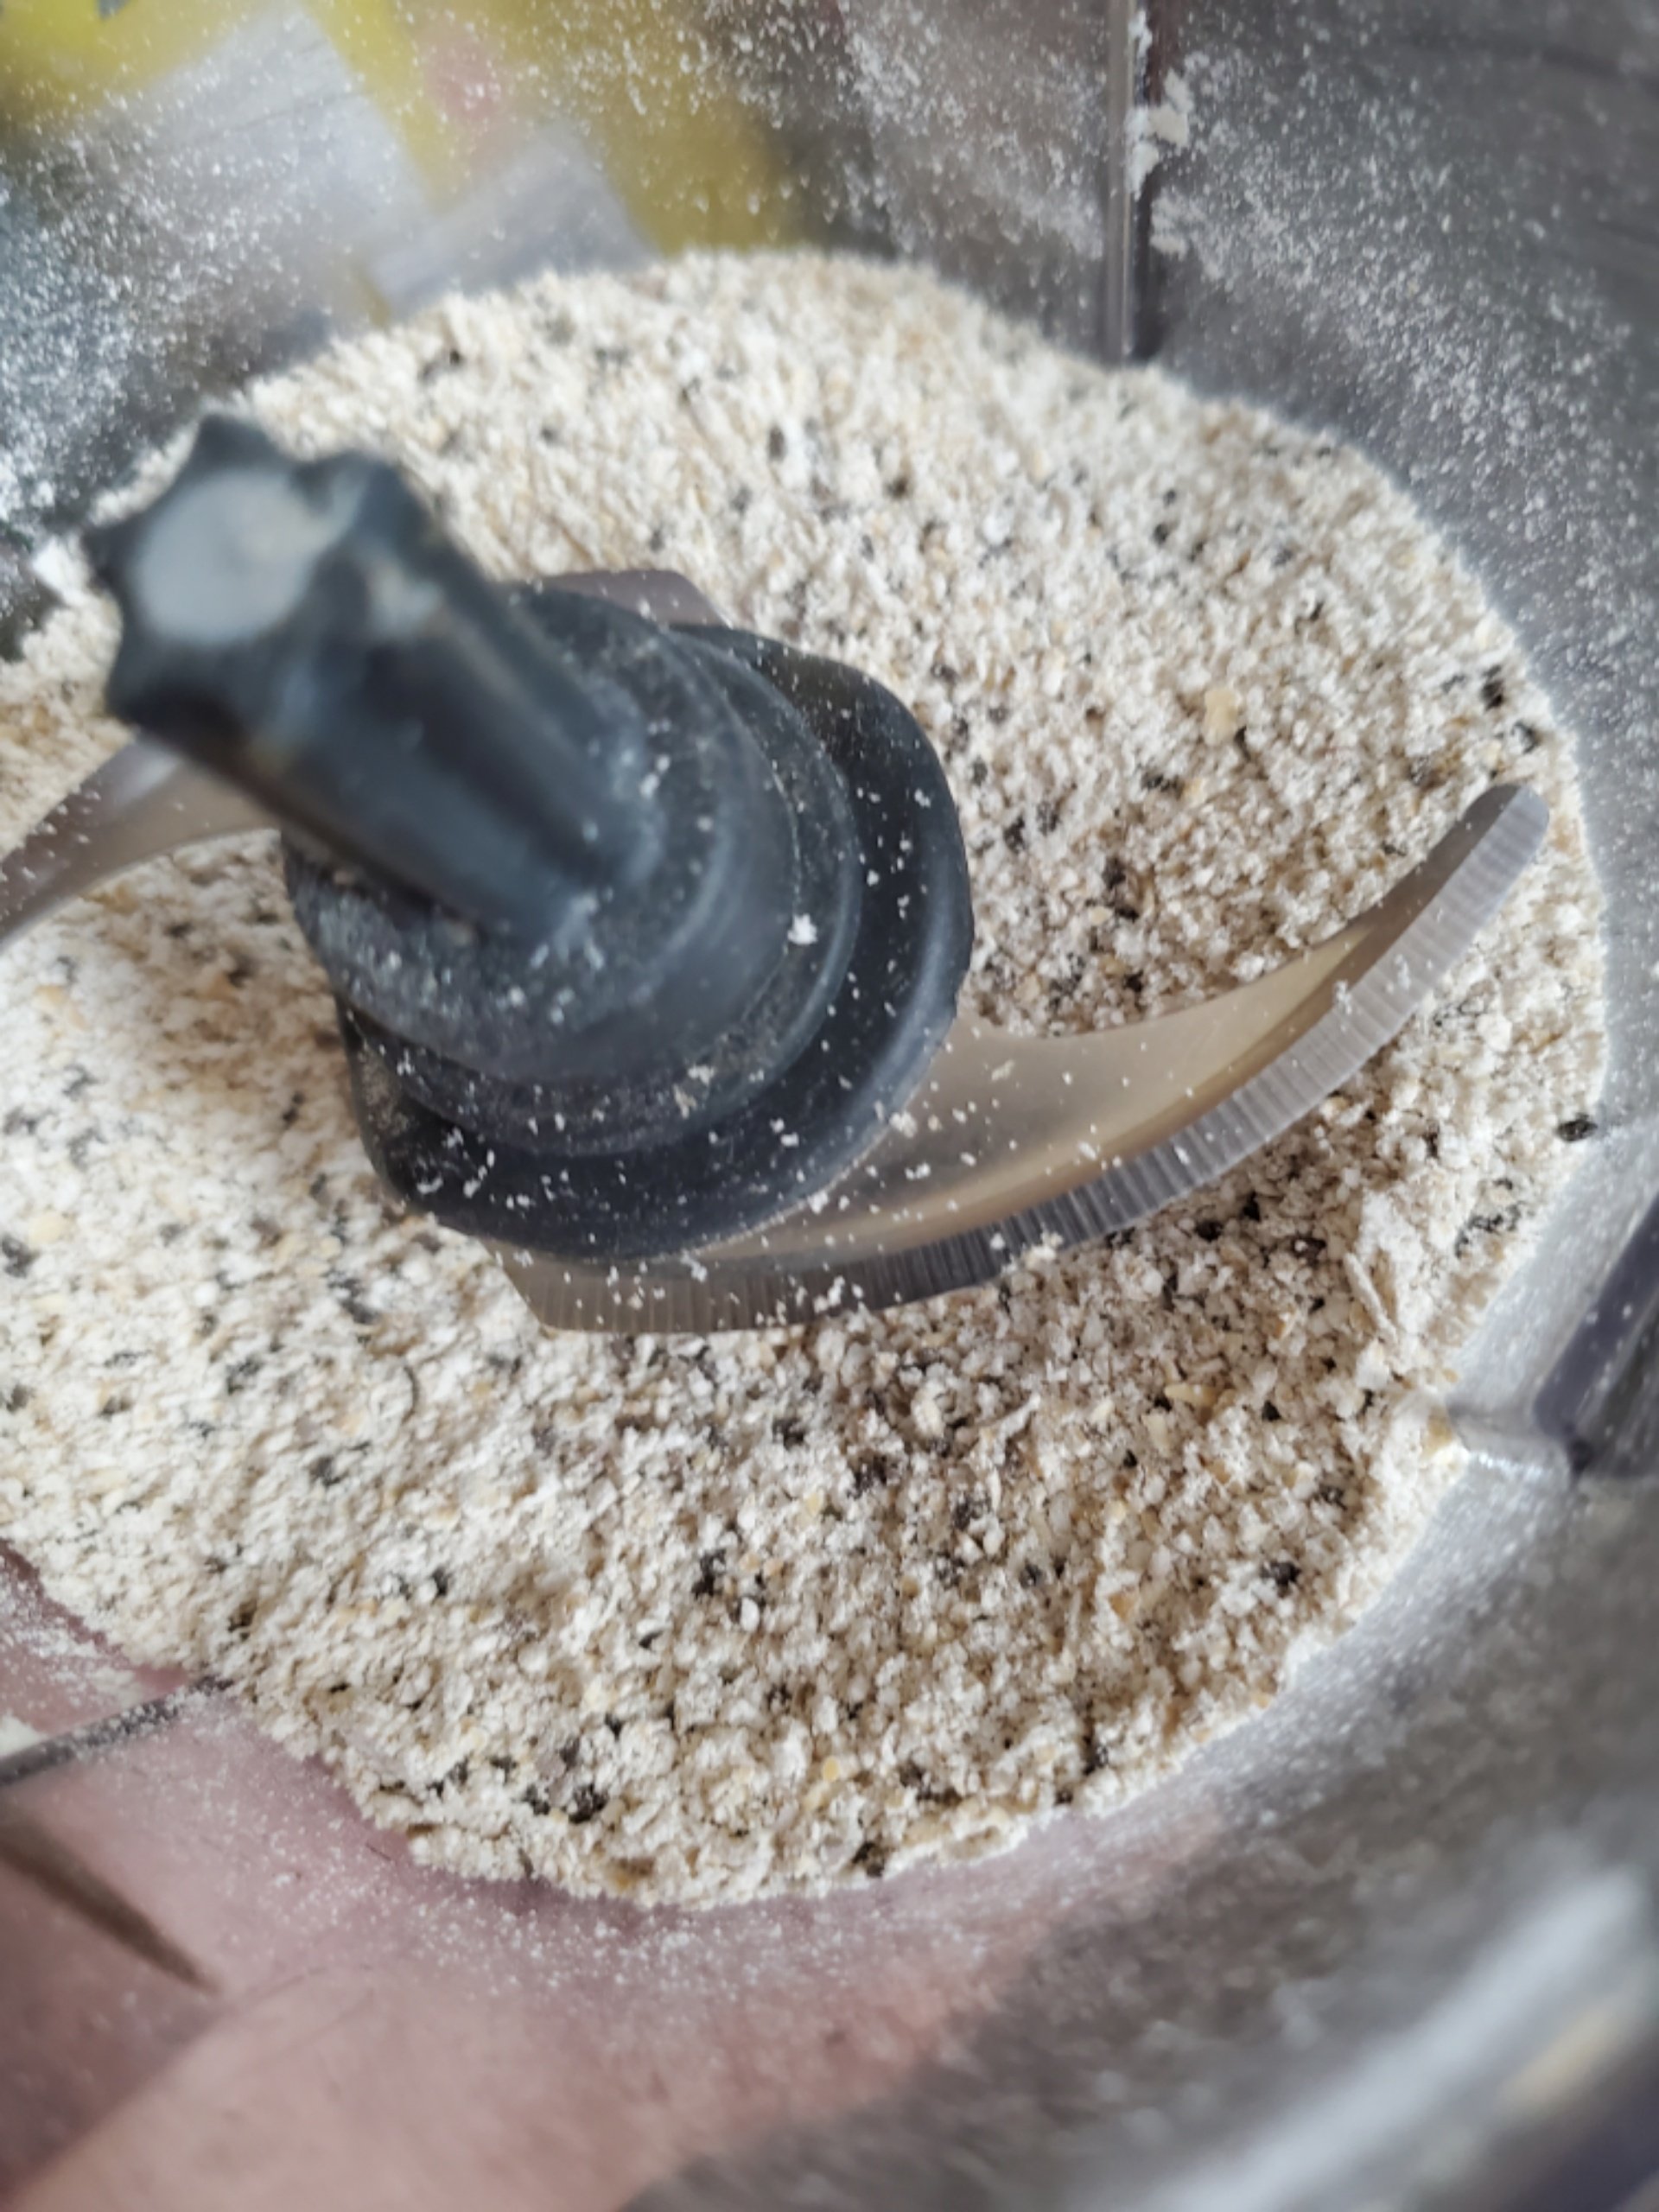
    If the answer is no, then you need to take your chia seeds and add them to your oats and toss both into the blender. Pulse those until you end up with a fine powder, dump it into a bowl and set it to the side.

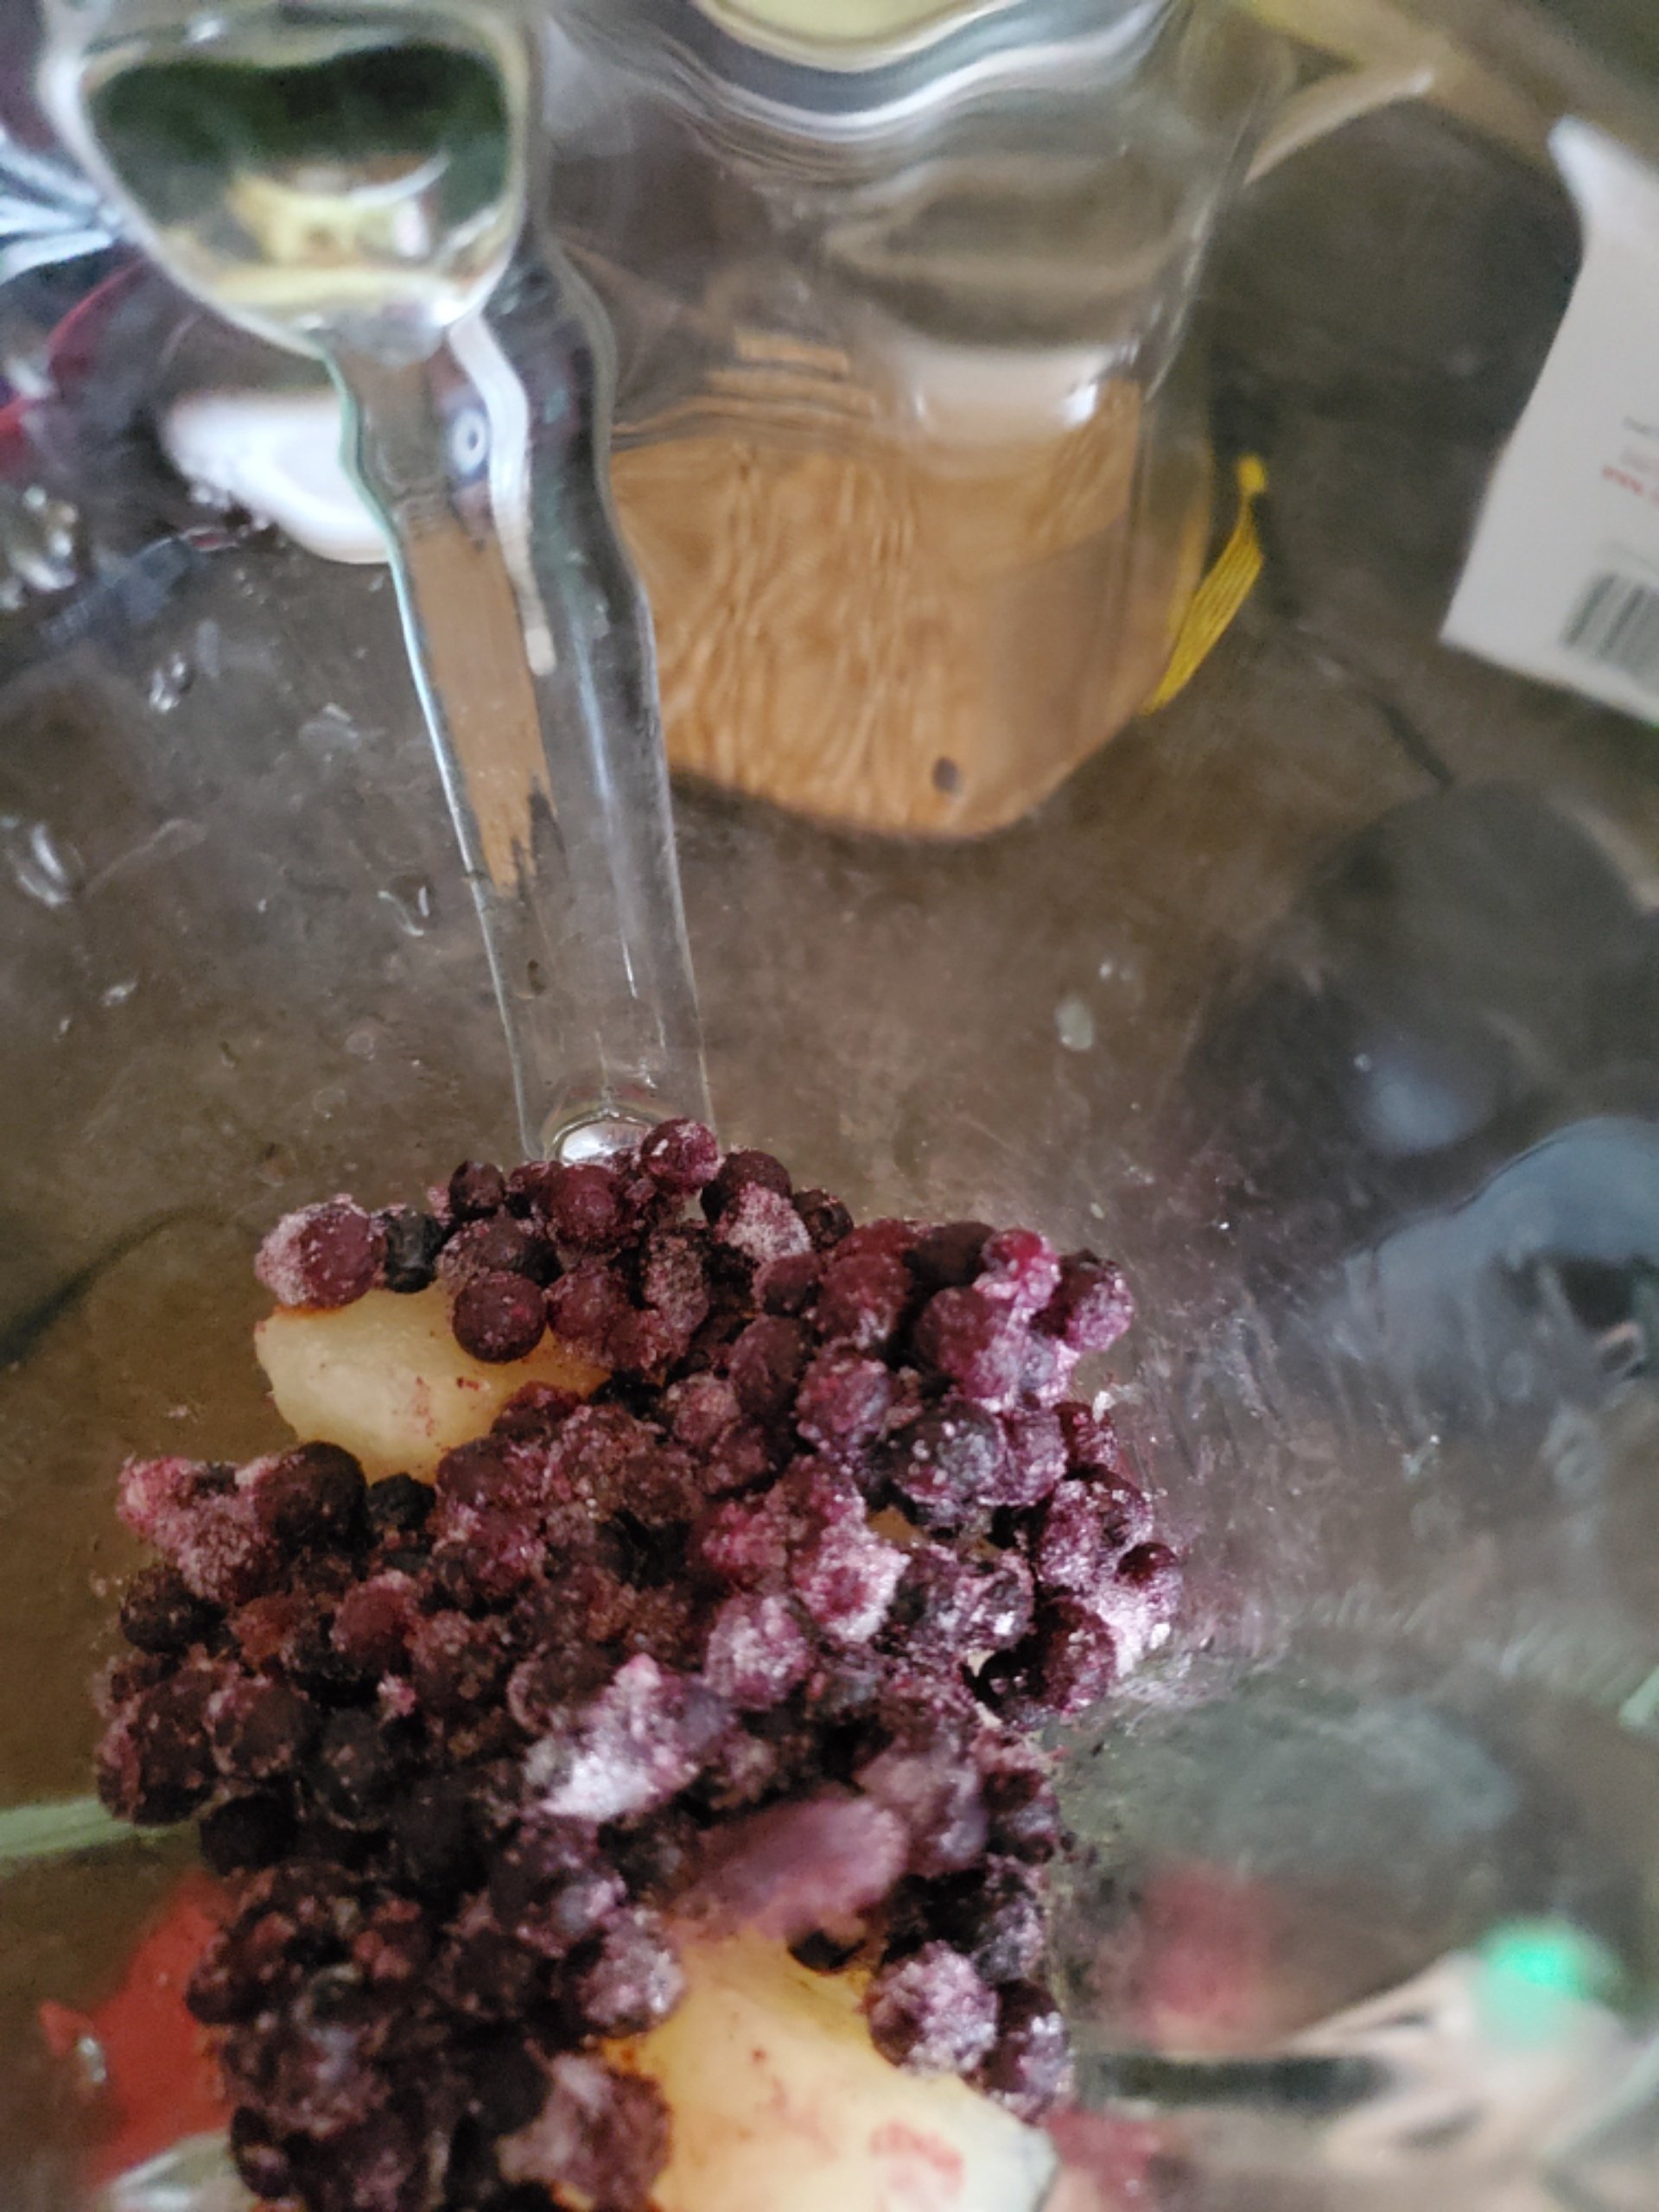
    Next up grab your pears and blueberries and toss those into the blender. You can take your choice on whether you want to add in the juice of the pears or not. If it's for a dessert smoothie, we think it's a great idea. If not, you might want to avoid that idea.

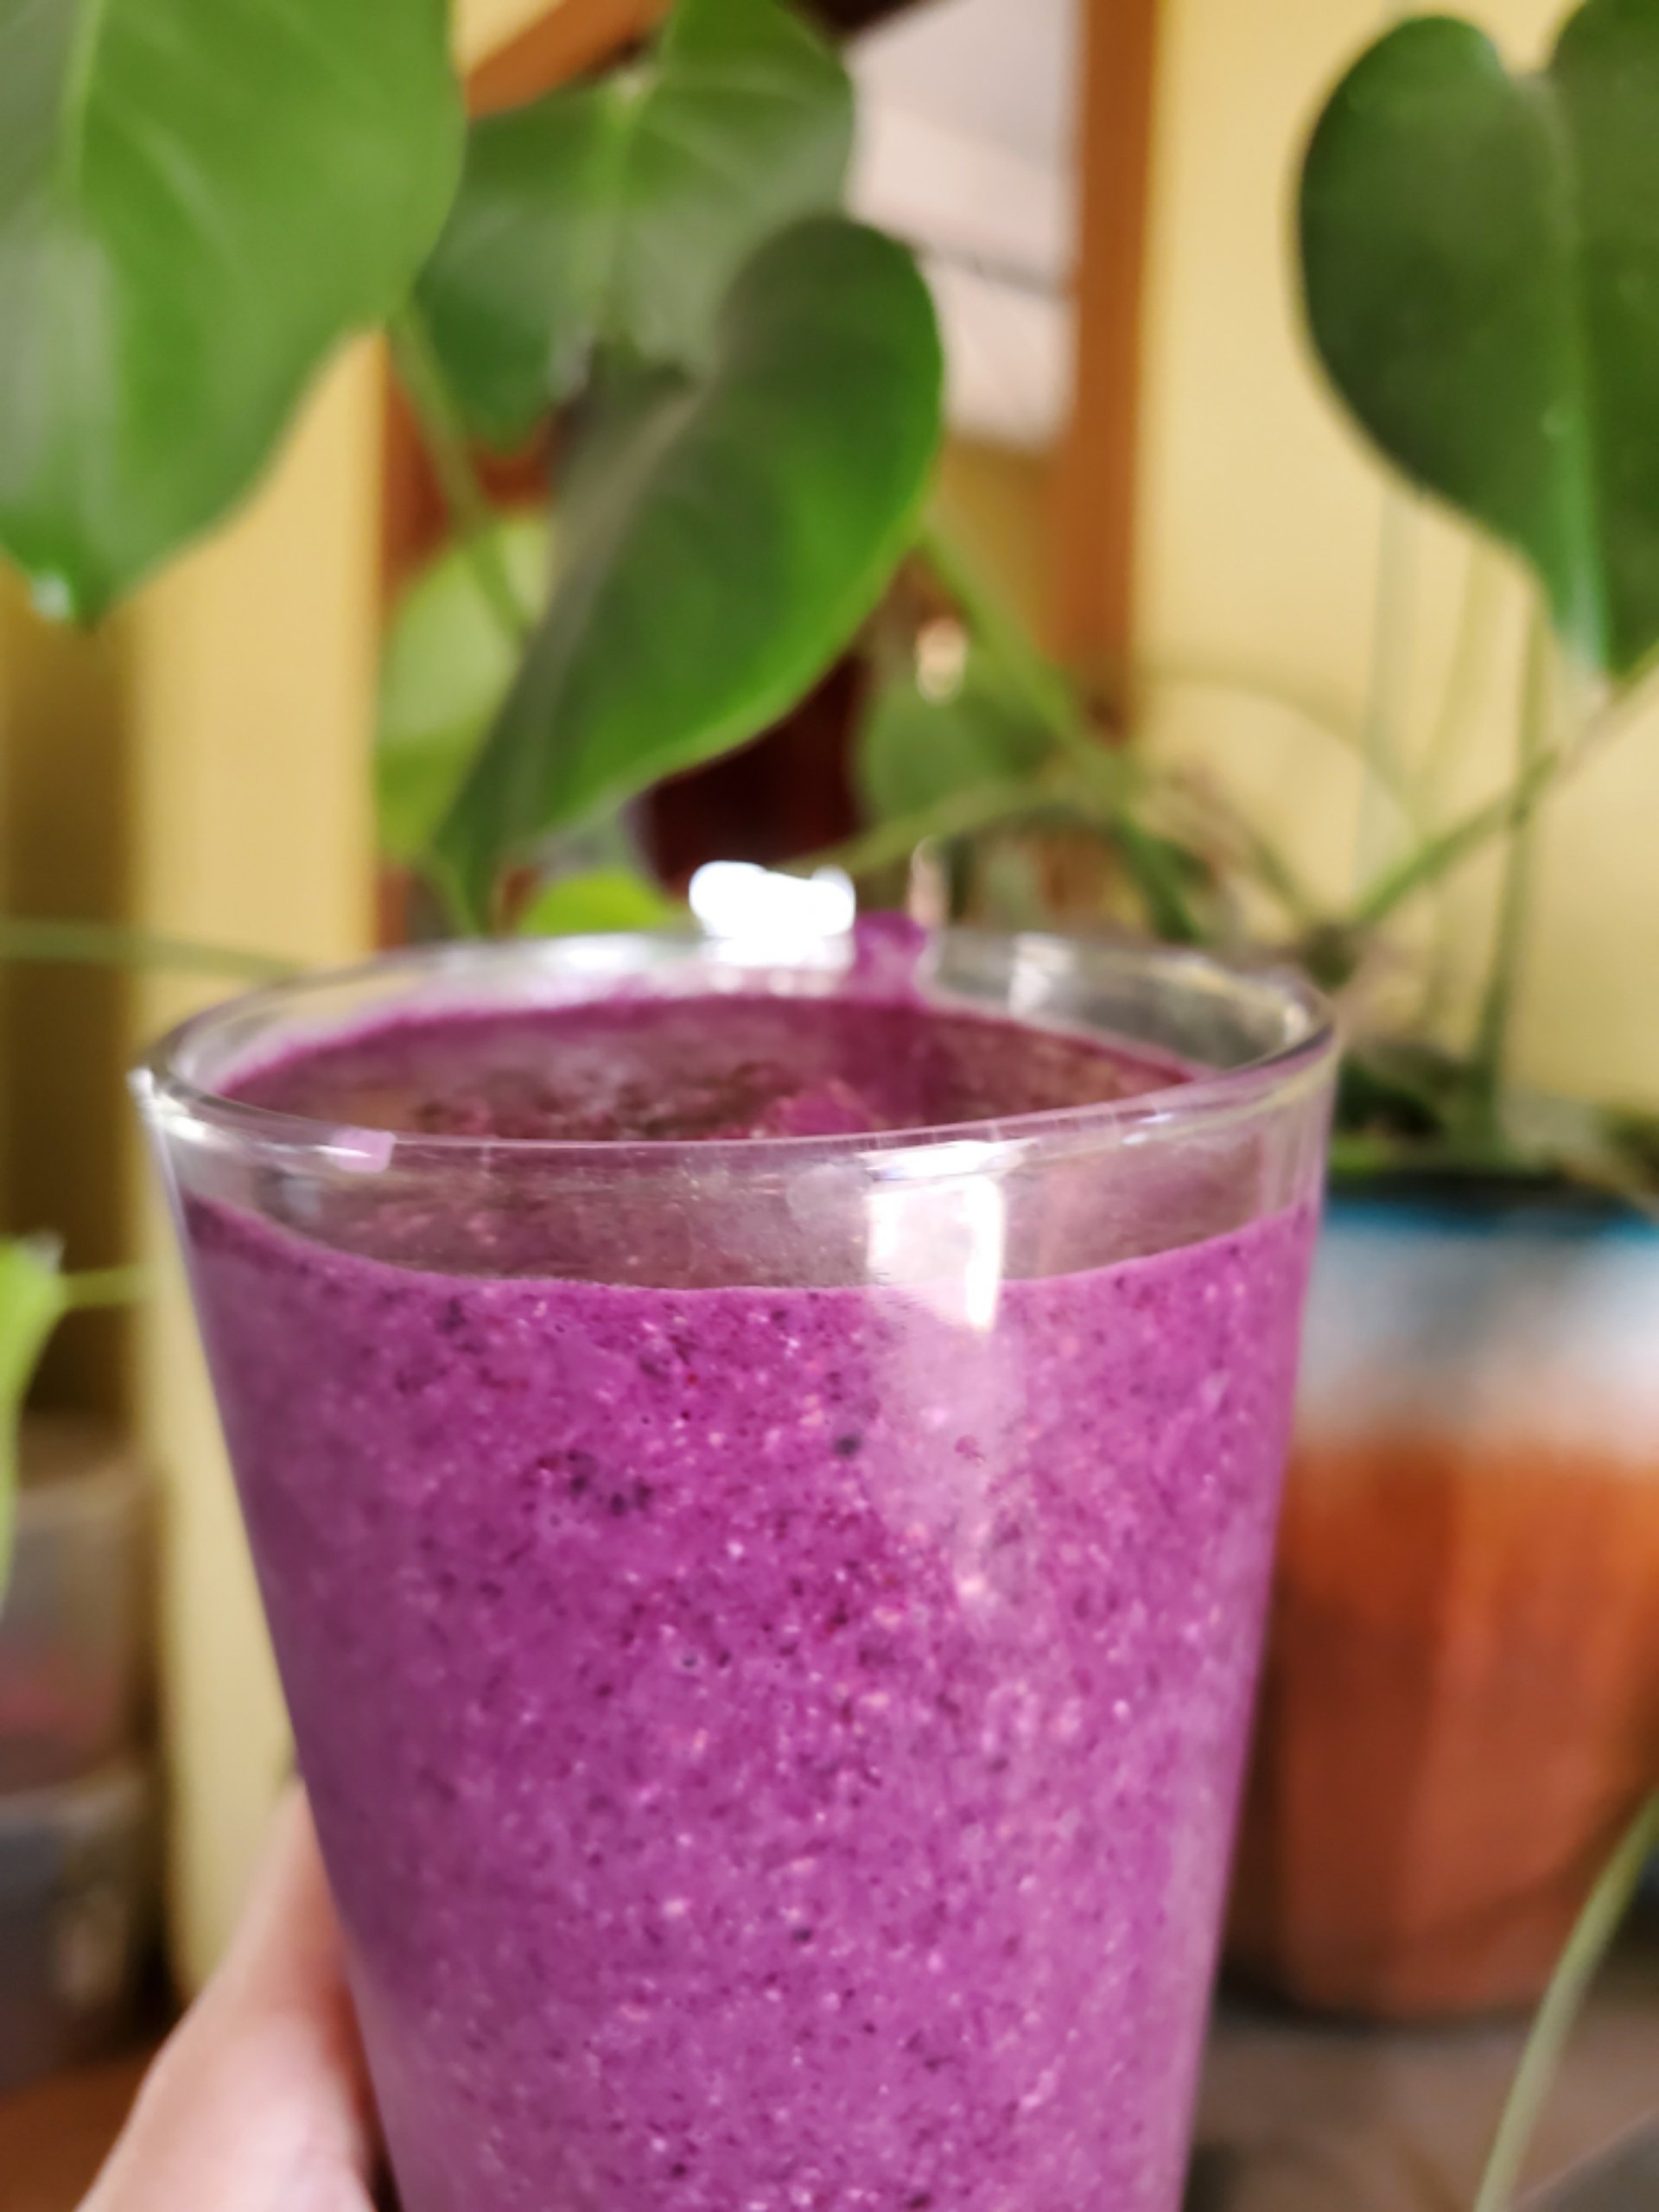
    Now add your powdered goods back in and blend till smooth. Congrats, Smoothie!

Tropical Smoothie

  • 1/2 cup rolled oats

    2 large peaches (Frozen is fine, fresh is better.)

    3 cup frozen mango

    1 medium banana (Ditto on the frozen vs fresh)

    1/4 cup Greek yogurt

    1/8 cup orange juice

    1 cup coconut water or almond milk

  • Start by adding your oats to the blender and pulsing until your oats are a fine powder. Pour them into a bowl and set them aside.

    Then, if you're working with fresh bananas and peaches you're going to need to slice up the banana and pit and slice the peaches.

    Next, toss your fruit into the blender and let it go. Add in all of the other ingredients together and blend till smooth. For your blogger, this is a full meal thanks to the addition of the oats. Make sure to test it yourself before you rely on it though.

Peach and Mint Smoothie

  • 2 large peaches (as per everything else, you can use frozen and be just fine, although yes, fresh is better. If it's the right season we suggest trying both white and yellow peaches and see which you like better.)

    ½ cup plain yogurt

    12 large fresh mint leaves (no, dried really doesn't work here)

    2 teaspoon lime juice (fresh is always better, but if you can't, bottled will work just fine)

    12 ice cubes (or you can play around and add more. This is for how thick you want your smoothie to be.)

    2 teaspoon honey or your sweetner of choice, but it really does taste good with clover honey

  • Alright! Grab everything and chuck it into your blender. Hit blend until it's smooth. Enjoy!

Irish Cake Smoothie

  • 1 1/3 cup Rolled Oats

    4 tablespoons Flaxseeds

    5oz Frozen Spinach

    1 teaspoon Ground Ginger

    1/2 teaspoon Cinnamon

    2 1/2 cups Water

  • This is a surprisingly filling recipe, although we're still trying to wrap our heads around /why/ it is.

    Start off by putting both your rolled oats and the flaxseed into your blender and pulse until you've got a fine powder.

    Add in your spinach, ginger, cinnamon and water and mix until smooth.

    Thanks to the amount of water this is a thinner smoothie than others on the list, but it will give you plenty of get up and go.

Blueberry and Pear Smoothie

  • 16 oz frozen blueberries

    1 14 oz can of pears

    2 Tbsp of chia seeds

    1 cup of rolled oats

  • In your blogger's house, this is one that's turned to often, as bananas are actually pretty easy to freeze. Just slice them up when they're at peak ripeness and toss them into the freezer in a freezer safe bag or container. Then you can use them as you need, rather than worrying that they'll go bad.

    When you're ready to make your smoothie, don't just toss everything in at the same time. We suggest starting with the rolled oats. Pulse those until you have nothing but powder left so that it mixes into the smoothie more easily. Dump that into a bowl and set it aside. Now add in your frozens and your milk, and blend until smooth. At this point you can add all of your other ingredients in, including the oats, and blend until smooth. If you find that you want the smoothie to be thinner than it is, feel free to add in more milk, keeping in mind that that is going to boost the calorie count.

For any of the recipes we've shared, you can make adjustments, in fact, we suggest that you do. Take them and try out more of one thing and less of something else. Add in more oats if you want to be full for longer and less if it's meant to be just a light snack between meals. 

All of these can be stored in one of two ways, depending on the space you have.

- You can get yourself a silicone ice mold (choose your shape and depth preference), pour in the smoothies and let them freeze, then transfer those into a freezer bag or container for easier storing. 

-Alternatively, you can freeze them in freezer safe glasses/jars so that all you need to do is transfer them to the fridge 24 hours before you plan to drink them and let them defrost that way. 

Both options work, and it's really just dependent on how much freezer space you have available. 

You've probably noticed that our recipes have a LOT of peaches in them. That's because peach is a super sweet fruit that's easy to freeze and get your hands on year-round, but it's hard to overpower. So it works well with different vegetables and other fruits that you want to work into your diet. 

If you try out any of our recipes, please let us know how it goes! We'd love to hear from you in the comments below or over on our Facebook page.  


If you're turning to smoothies because your stove is currently not working (rather than the Texas heat..) we can help. You can give us a call at our office ((214) 599-0055), or reach out via our contact page to set up an appointment. At Appliance Rescue Service, we'll work with you to figure out what the problem is and get your home running smoothly again. 

Staying Safe During A Heatwave

Or "How To Survive Summer In Texas."

What do you need to do to take care of yourself and your loved ones during a heatwave? Every year people struggle as the temperatures climb higher, and we dream of when winter will come. There are ways to take care of yourself and your loved ones and make the summer heat bearable, if not enjoyable. These are as much about taking care of your home as taking care of yourself and proper precautions against the temperatures. 

A burning sun looks across cracked, parched land. The sky is the color of fire with dark sooty clouds streaking across it.

Courtesy of Blende12


Be Smart Dealing With Heat

` Know when to get a cool shower or hop in the pool to cool off and prevent overheating


Keep Your AC System Working Right.

Ideally, like many other things we've discussed on ARS, you'll have your air conditioning system checked yearly. This can be at the beginning of Summer or come winter. But either way, you want to get it checked and serviced consistently; this way, it doesn't fail in the middle of summer. This includes ensuring that the filters are cleaned regularly, that the units are secure, installed the weather stripping is in good shape, and the part of the unit outside the window isn't clogged up with debris if you have a central AC system. You want to vacuum the dust from the registers and trim vegetation around your outdoor condenser to at least a 2 ft circle around it, in addition to having a professional look at it yearly.


Be Smart When Using A Ceiling Fan.

A five bladed ceiling fan hangs from a ceiling that looks like it's in a tower of some sort.

Courtesy of Funeyes

A ceiling fan is great for keeping cold air moving and increases how fast your sweat evaporates from your skin. Unfortunately, it's not something you can rely on by itself when temperatures have reached the upper 90s.


 Change Up Your Wardrobe

Your wardrobe should reflect not just your personality but also the temperatures around you. by having options that you can switch in and out paste on whether you're better prepared to not melt under the Texas Sun. this should be evident to many of us. Yet, you hear about people passing out because they weren't prepared every year. So ditch the polyester. Transition your wardrobe to cottons, linens, and fabrics that allow your skin to breathe and for air to move around you and keep you cool.


Stay Hydrated!

 We know staying hydrated isn't the easiest thing. You're constantly on the go, and plain water is boring for most people. And as you get older, water might not even taste that great; fortunately, there are several different ways that you can get around this without adding sugars or sodas or energy drinks to your diet, all of which are going to dehydrate you rather than keeping you hydrated.

Add fruit to your water. 

 Adding fruit to your water is one of the best things if your issue is flavor. strawberries, lemons, limes, cherries, oranges, and watermelons. (We believe mint should also be on this list, but sadly it is not a fruit .) 

Three mason jars with straws in them hold smoothies, with color coordinated straws. Limes, tangerines, raspberries, pears and grapefruit are scattered around the bottles on a wooden table.

Courtesy of Silviarita

Add fruits and vegetables to your diet, such as watermelon, strawberries, celery, spinach, and cooked squash. These are amazing options to get more water into your diet without feeling like you're having to chug gallons upon gallons of water. All of them are roughly 90% water, so adding them to your diet, even a fistful here and there throughout the day, means you're taking care of yourself.

Try a smoothie

If you absolutely cannot stand that last option, take some of those and turn them into a smoothie instead. We'll cover a couple of different smoothie options later this month for how to work that into your diet without having to take on a ton of sugar.

Sunscreen Is Amazing

Two hands cupped together, one is holding a bottle of sunscreen and depositing it into the other.

Courtesy of AdoreBeautyNZ

Every year, a slew of articles talk about the importance of wearing sunscreen and how not doing so can cause wrinkles, age spots, and cancer. At this point, most of us have accepted this as fact, yet many choose to still forego putting it on. Even if you choose to go with a "you only live once" mentality, we can all agree that sunburns suck. Even more importantly, getting a sunburn brings you closer to getting sick from the heat. To avoid both of these things, put on 50 SPF sunscreen before you go out for the day. Throw it on your face, your hands, your shoulders, whatever is exposed, and you're good. If you want more in-depth discussion and research, we advise checking out this great article from two dermatologists over on GoodRx.

Check The Heat And Humidity Daily

A red wooden barometer shows guages for the temperature in celsius as well as a barometer showing what the weather will  be

Courtesy of Stevepb

We're not saying that it has to be the first thing you do in the morning, but eating breakfast or getting dressed for the day would be a good time not only to check the high for the day but also the humidity index. How humid the day will be will directly impact how hot you feel, and it can even affect how well you can breathe, depending on how high the humidity is. Much like during winter, you'll see a wind chill of 30 degrees; during the summer, the temperature can be only in the 90s, but that humidity makes it feel like you're well over a hundred and five.

Keep an eye on those at higher risk end know what higher risk means.

Know The Signs Of Heat Illness

Signs of heat illness, according to the CDC, include:

 a high body temperature of 103 degrees or higher

Hot red dry, or damp skin

Headache

Fast, strong pulse

Dizziness

Nausea

Confusion

Losing consciousness 

Two people on the left, struggle to cool off. Two people on the right are dizzy and ill from the heat.

Courtesy of RoadLight

These are the signs related to heat stroke specifically. If you or someone near you is experiencing these symptoms, get them inside or under air conditioning immediately end call 911. Do not, give them anything to drink as that can be dangerous at the stage.


We hope that these tips help you in dealing with the heat this summer and that you stay safe whether you're here or traveling. If you have any tips or tricks for dealing with the summer heat we missed, let us know in the comments below or over on our Facebook page.


If your appliances are the ones having trouble with the summer heat and aren't working quite right, that's where we come in. you can reach out to us at ((214) 599-0055) or by going to our contact page. We'll work with you to find a time that suits your schedule and send one of our techs out to solve your appliance problems.