We'll Show You How To Do It All!
Halloween is right around the corner, and that means that our grocery stores have been invaded by two things. Pumpkins and candy. We're going to show you how to turn those pumpkins, not into Jack-o-lanterns to scare off the ghosts and goblins, but into a delicious soup. You will also have so much leftover puree that you can then use it next month to turn it into some amazing pumpkin pies, muffins, or cookies.
Ingredients:
1 Large Pumpkin
16 oz of cream cheese
6 cups of chicken broth
Garlic
1 small onion or 1 Tbsp of onion powder
Salt to taste
Tools: Sharp chef's knife, cutting board, oven, parchment paper, aluminum foil, food processor, two large bowls, a large strainer, a spoon or metal measuring cup, a wide, large pot similar to a caldera or Dutch oven.
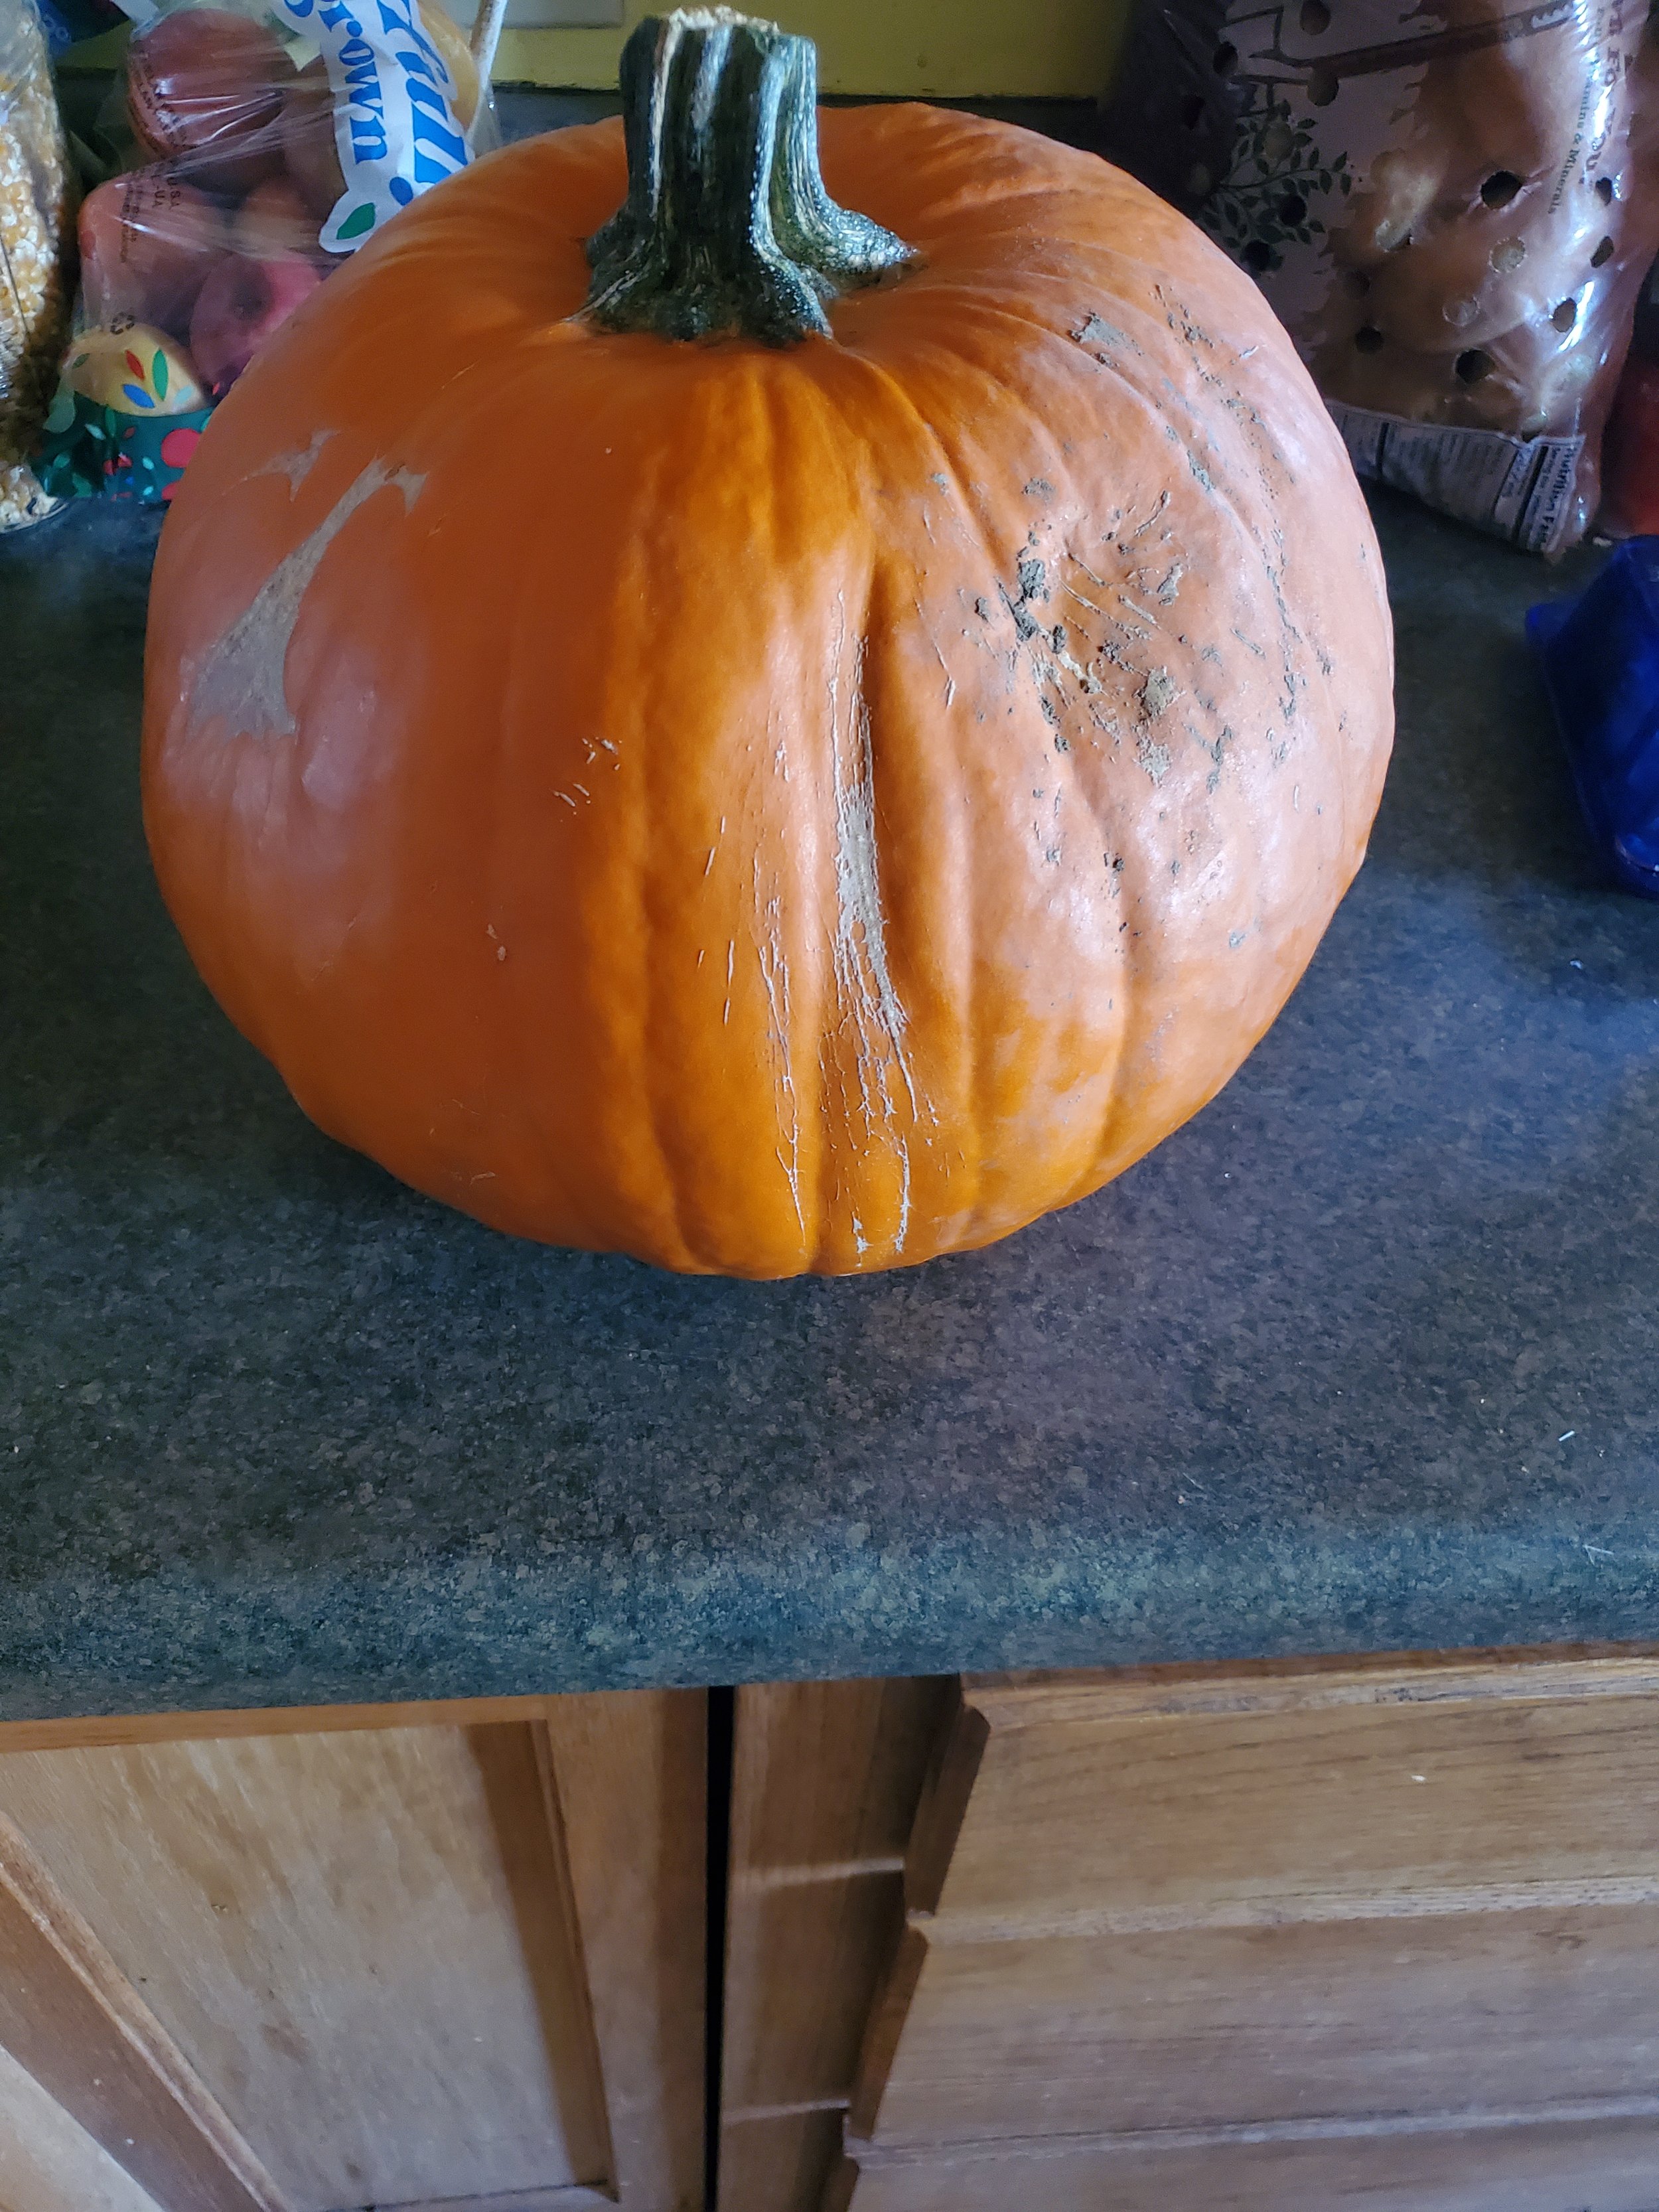
First things first. The type of pumpkin that's good for making a Jack-o-lantern is not the same one you want for food. Although your local grocery store will sell you the GIANT pumpkins without trouble, the tiny ones are not so easy to come by, and the ones of various colors are great for decor, not for eating. Do not despair just yet, though. You don't need to go on an epic quest searching for the perfect pumpkin. You can actually search through the ones that are being sold for carving. You'll want to look for one that sounds only partially hollow and is hefty and solid. This should land you with a pumpkin that has thick walls and is still ripe but has not gone rotten.
Once you get the pumpkin home, give it a quick wash and dry it off. You don't want it to be slippery when you start cutting it in a moment. Then snag a thick towel and your chef's knife and carefully stab your way into the pumpkin on one of the ridges. You want the knife to go all the way in for this first cut. It takes work, but going slow is the key. You could, in theory, use the saw from your carving kit, but we don't actually want to get rid of the lid on our pumpkin. That's perfectly good food right there, rather than being in the way like with carving.
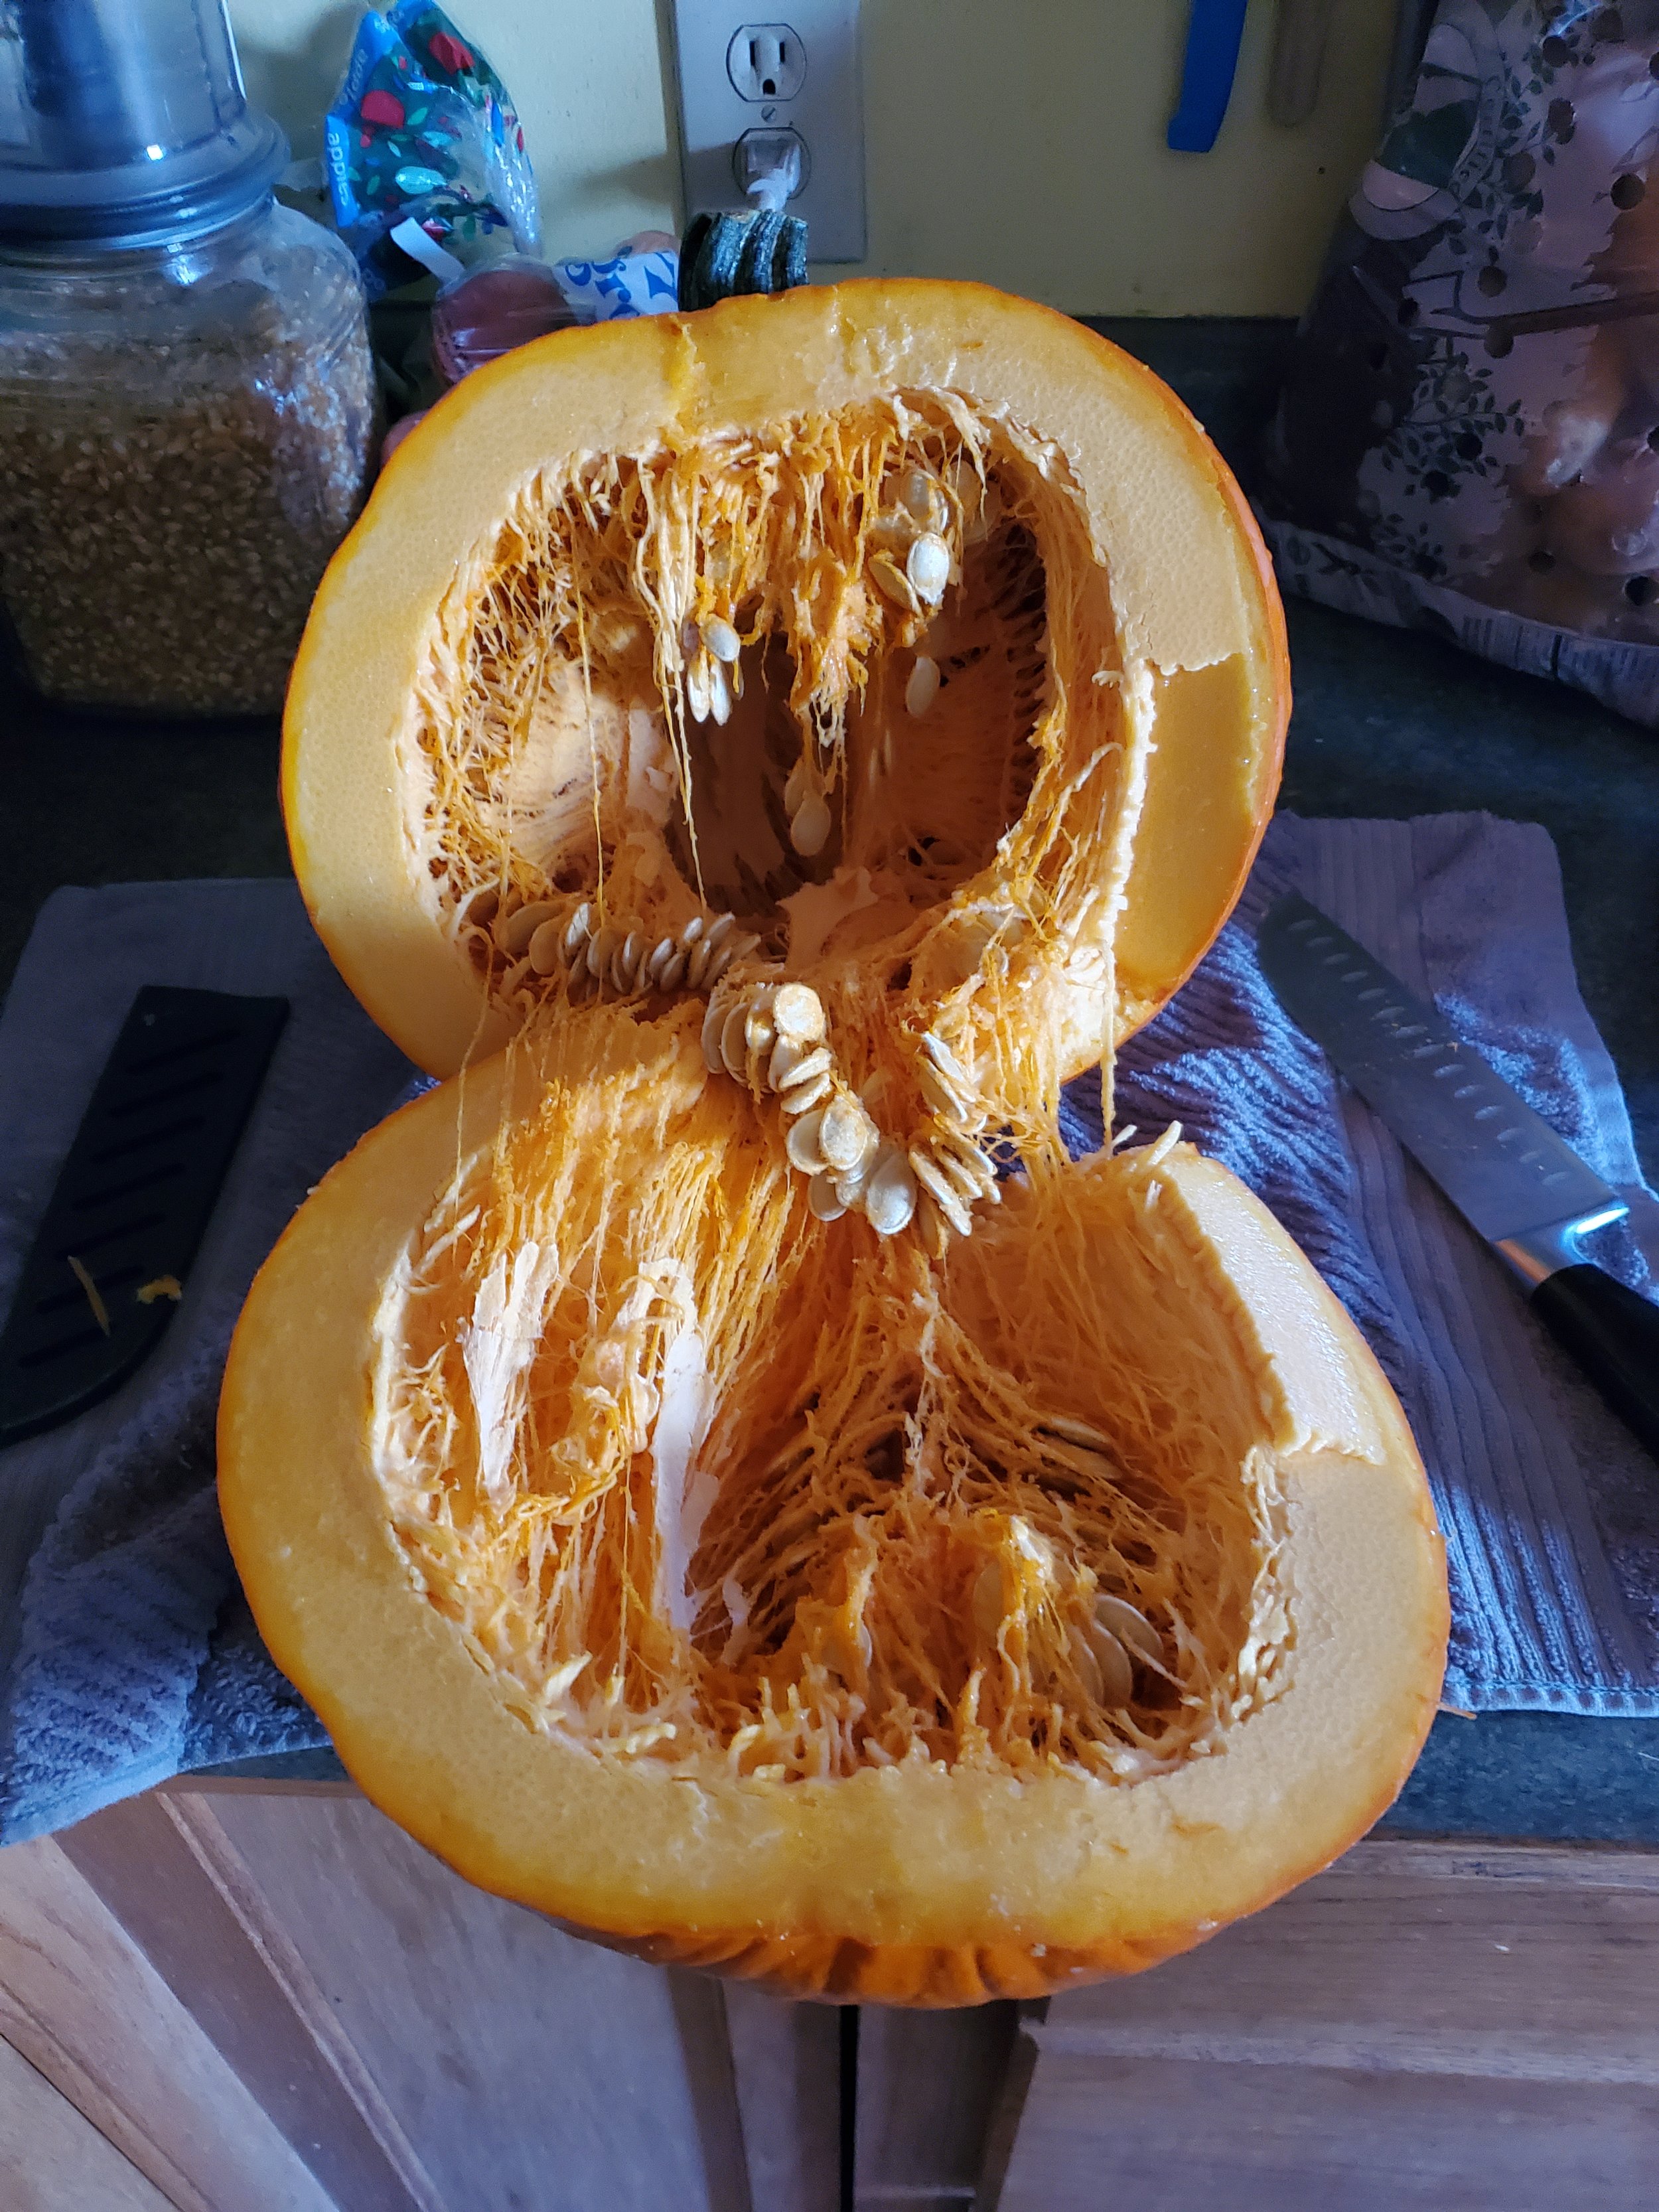
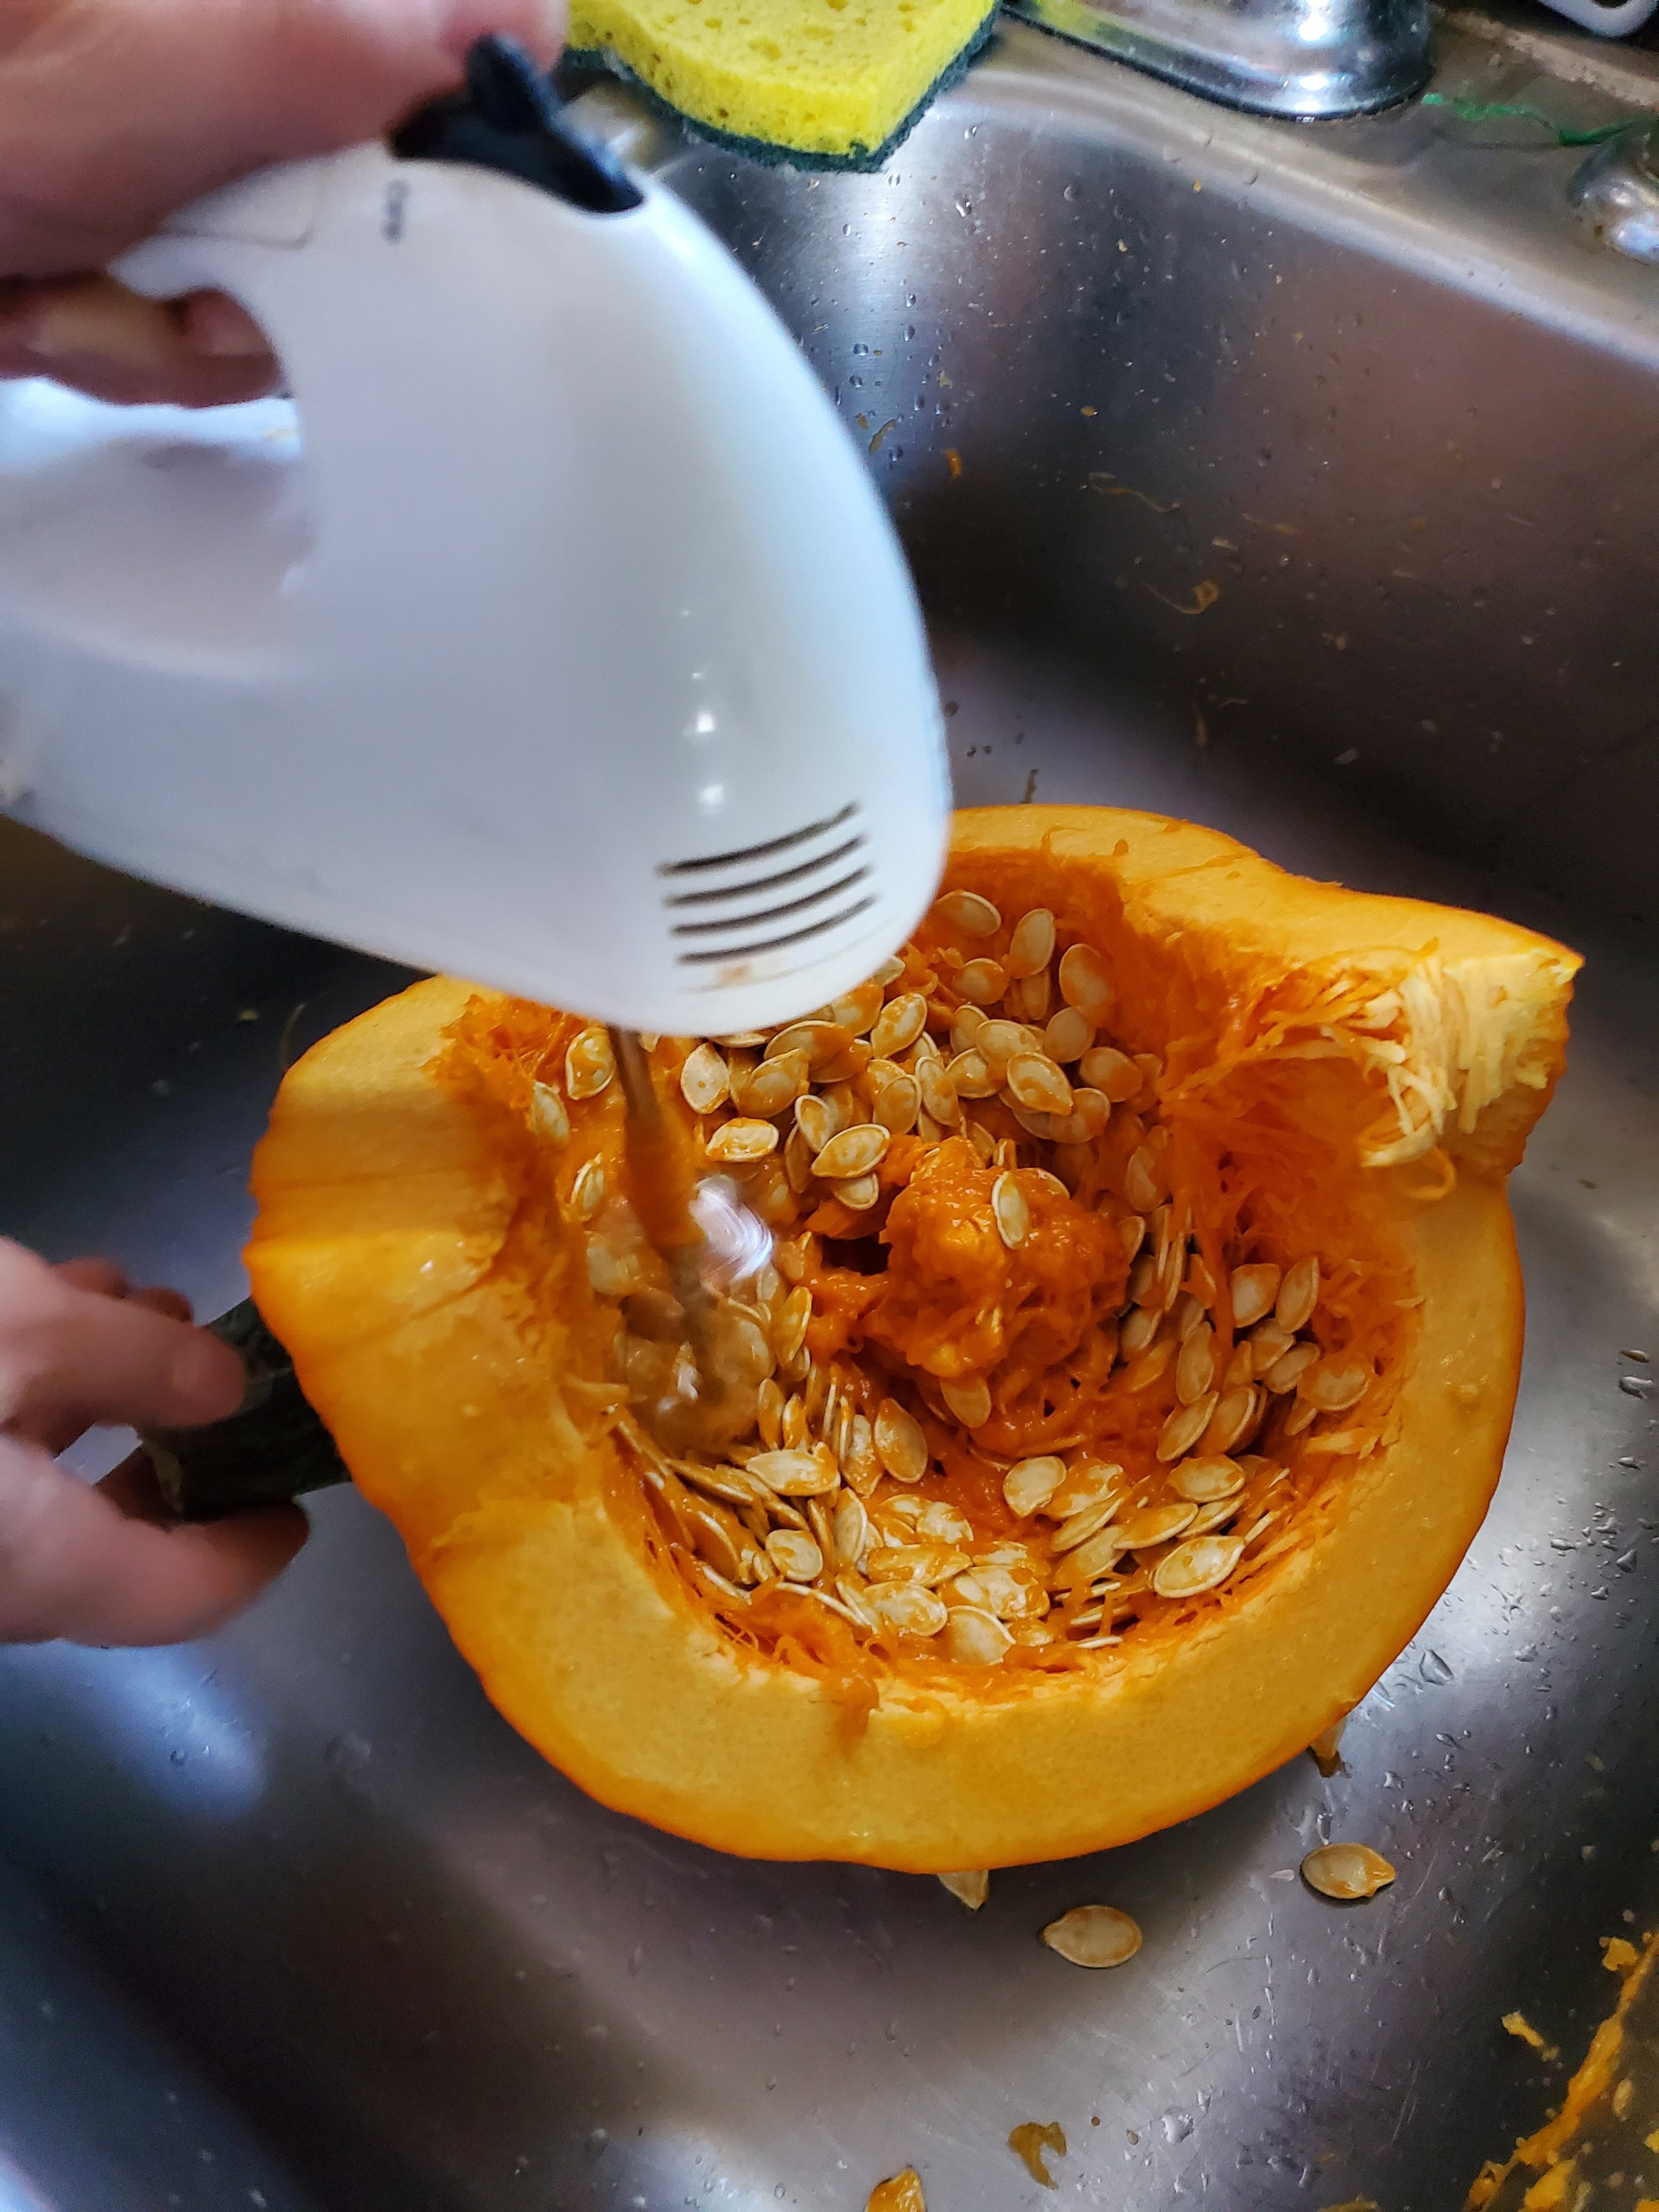
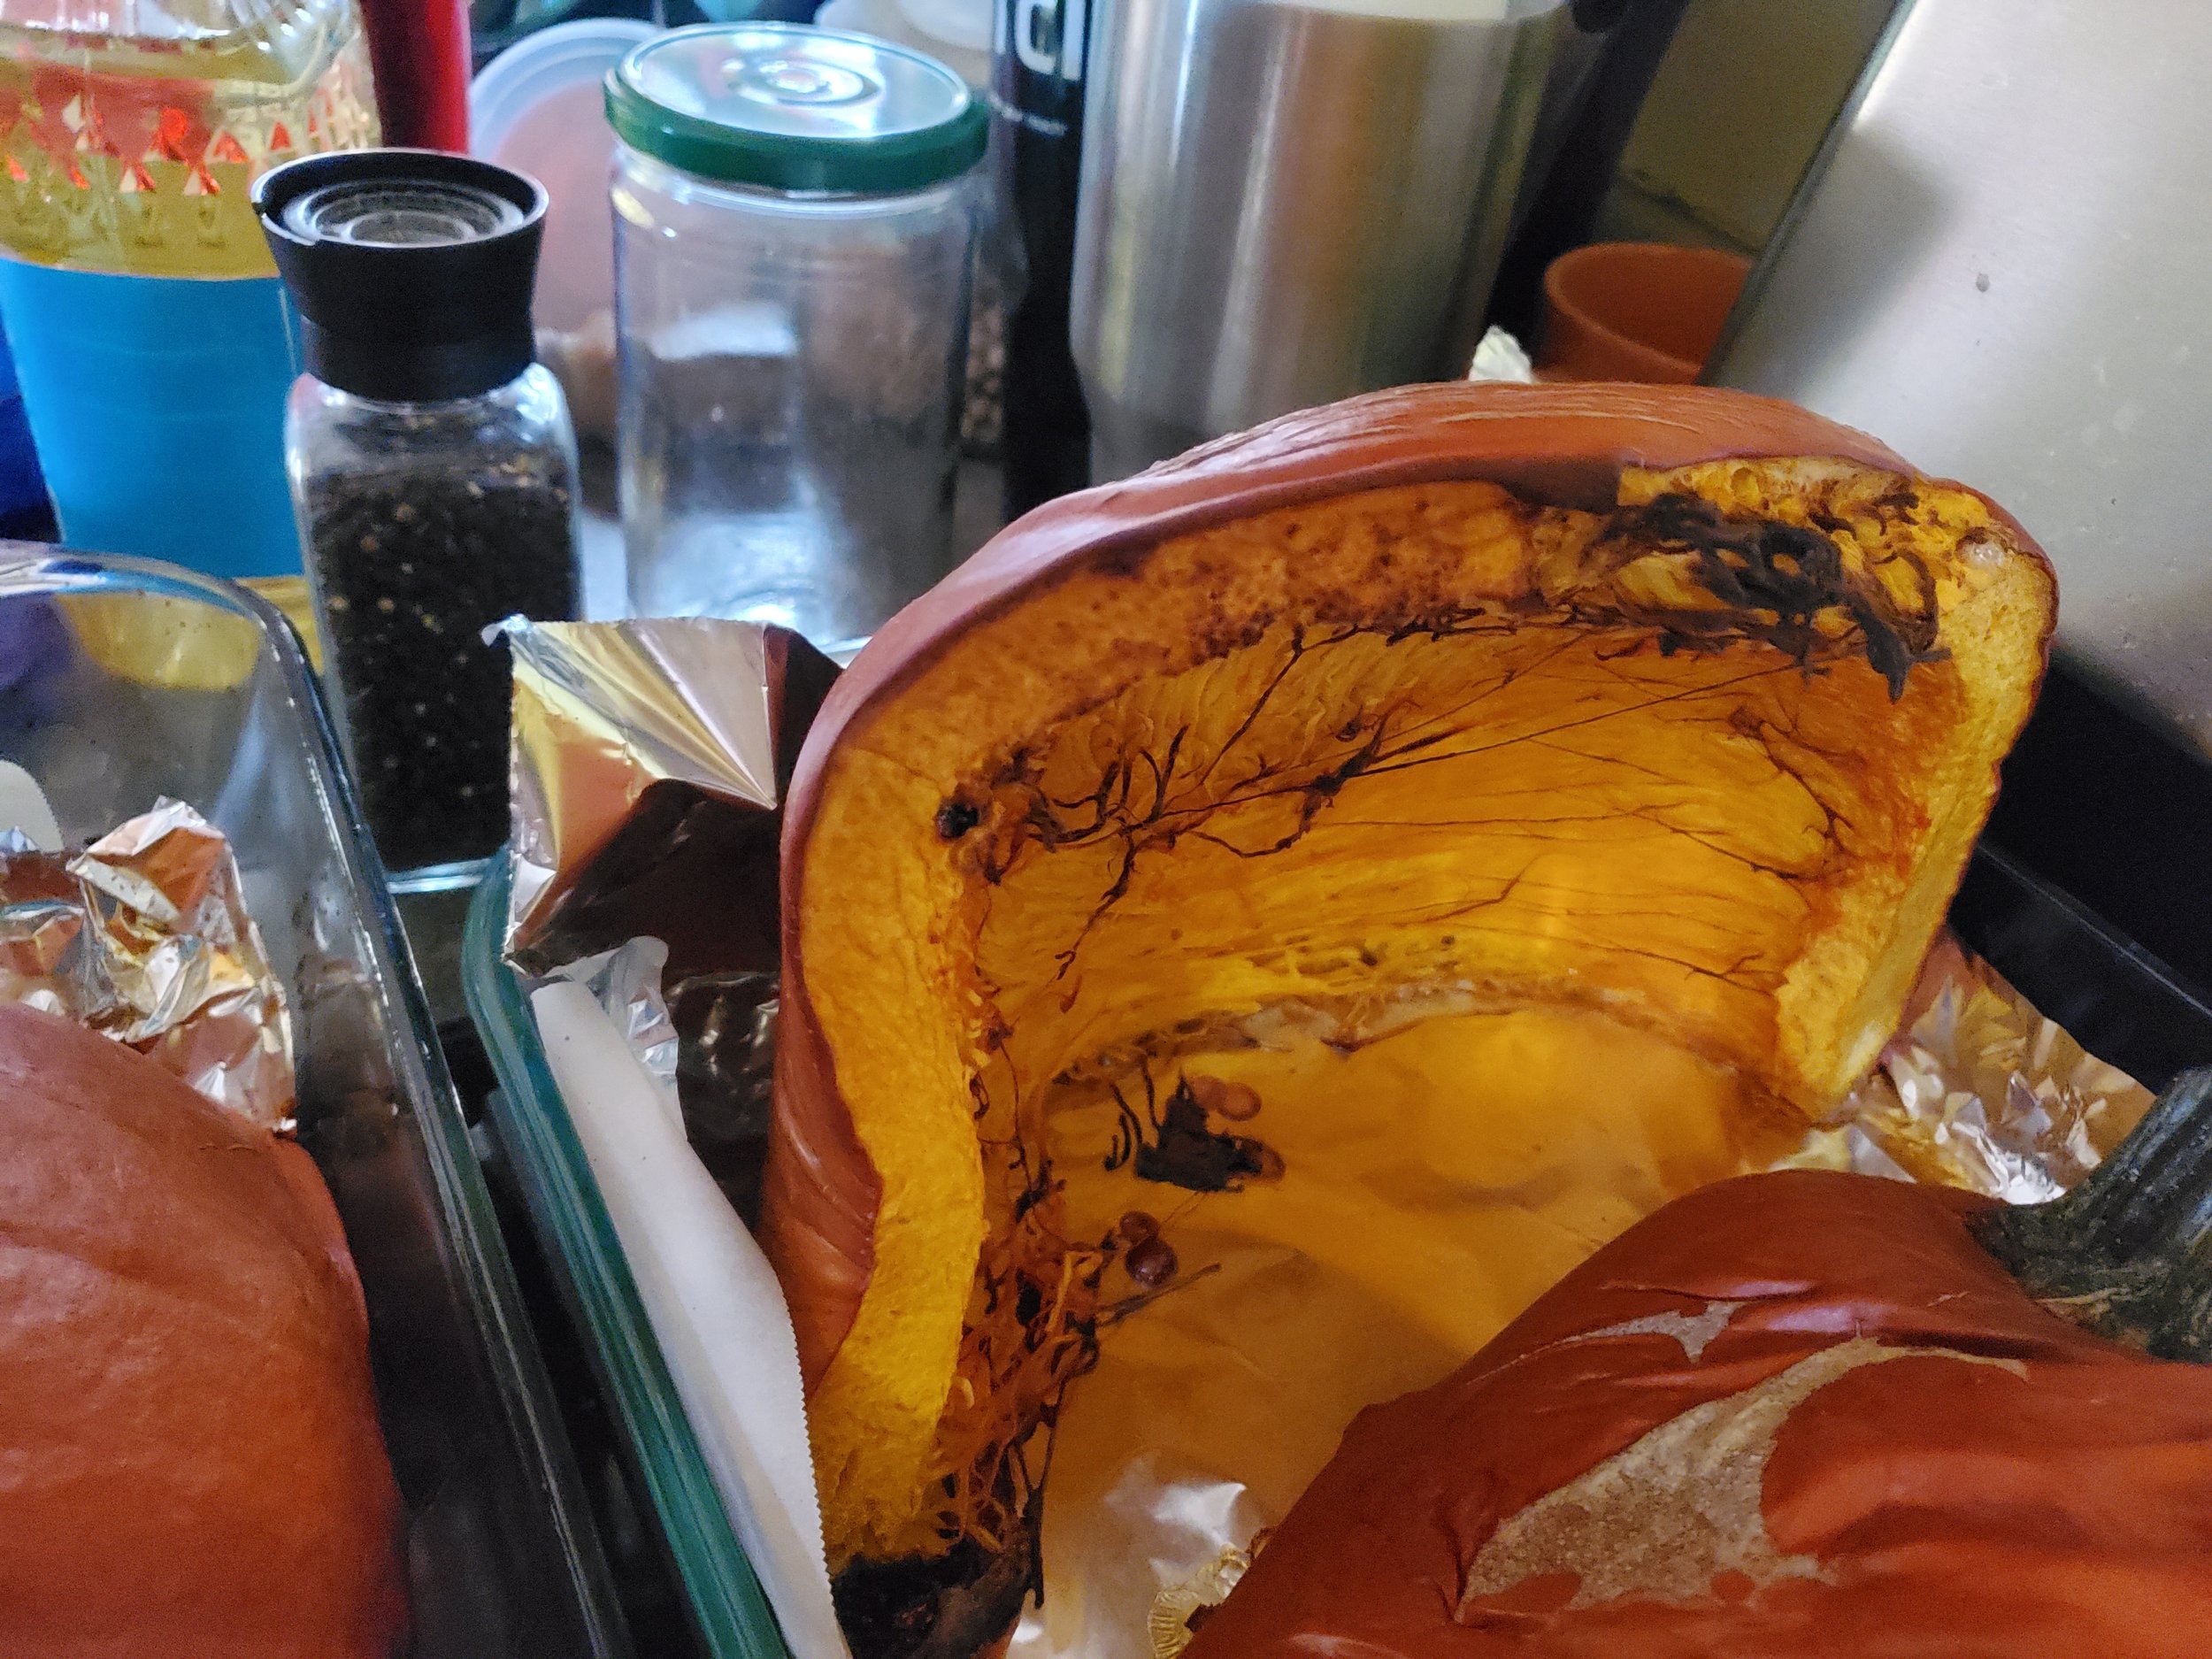
Once you've gotten all the way through, remove the knife, grab a sharpie and draw lines to quarter your pumpkin, as best as possible, without removing your pumpkin. You might want to cut around the top of it, but again, this is a preference thing. Depending on the size of your pumpkin, we suggest splitting it into either two or three pieces. This allows for the inside of the pumpkin to steam rather than sear in the next step. Your next step is to grab a hand mixer and input just one of the two whisks. Use that, set to a low to medium speed to quickly and easily gut your pumpkin. (When you're finished, you can set aside the seeds for roasting at a later point.)
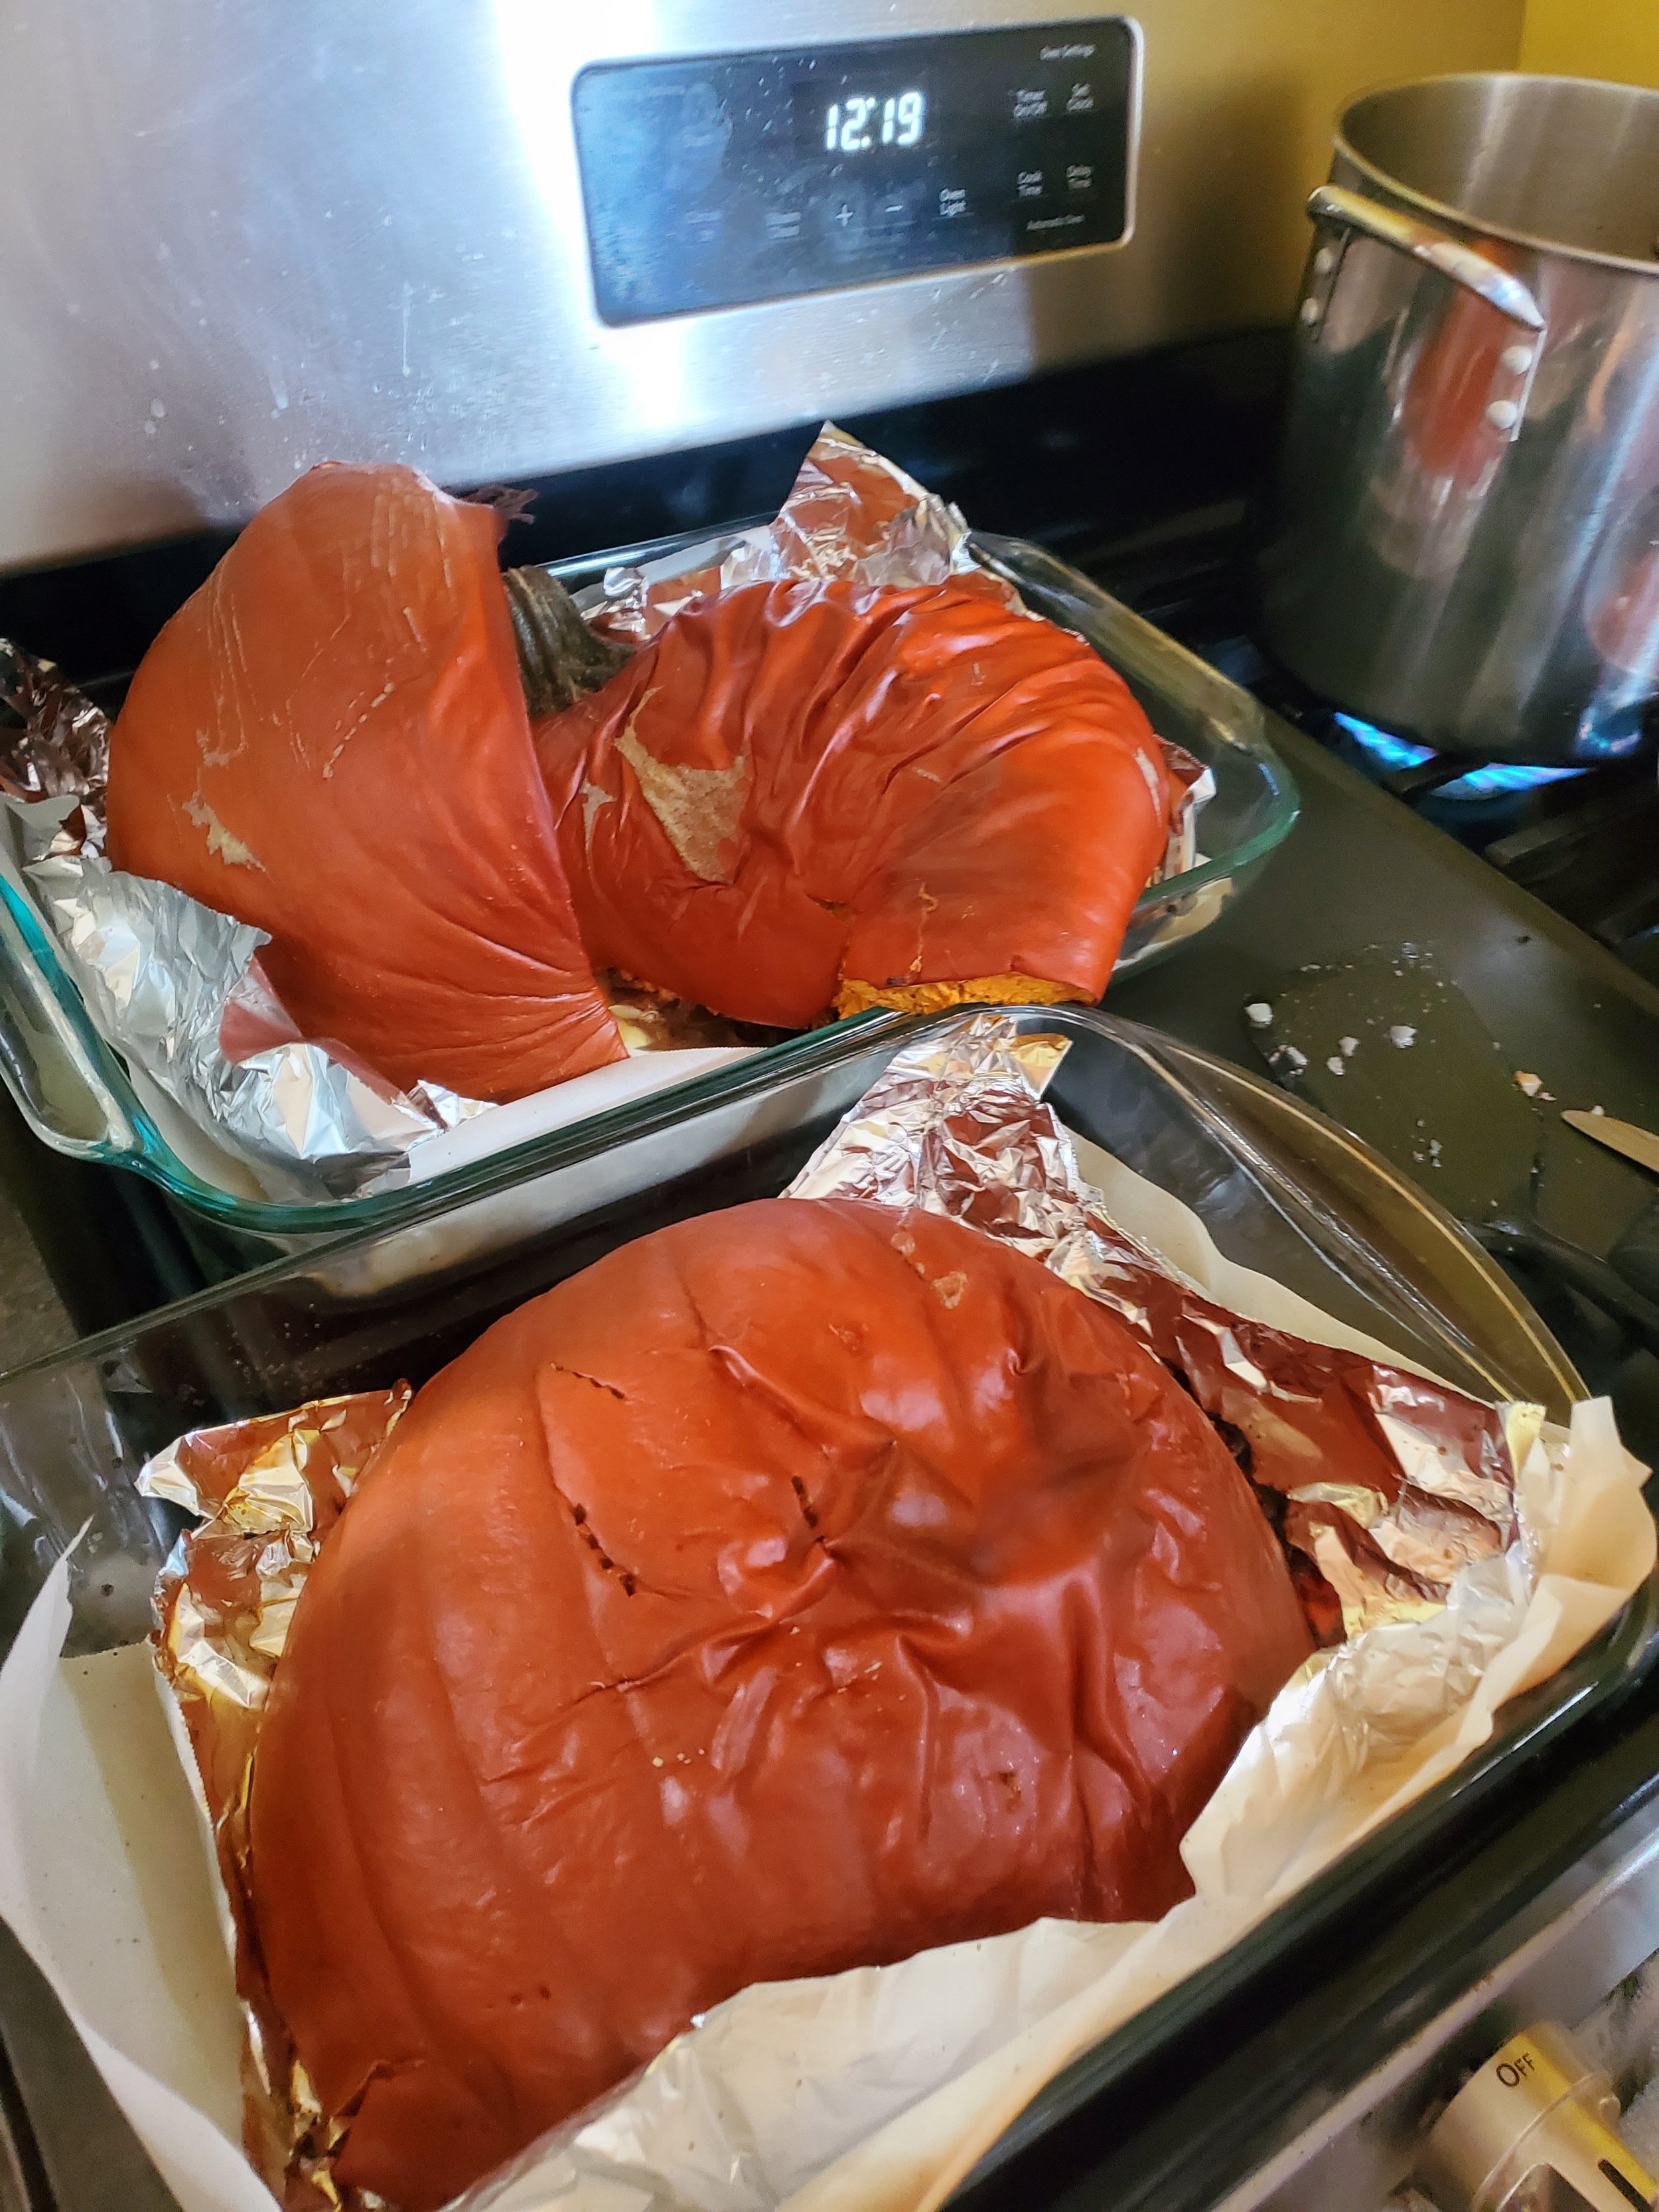
Once you've cut your pumpkin into the desired shape, grab a pyrex (or similar) baking dish. You'll want to line the bottom and sides of it with parchment paper (not wax) and then a layer of tinfoil over that. You should end up with the tin foil pressed firmly into the sides of the pan and wrapped around the top edges. This way, you've got less of a mess when this is all over.
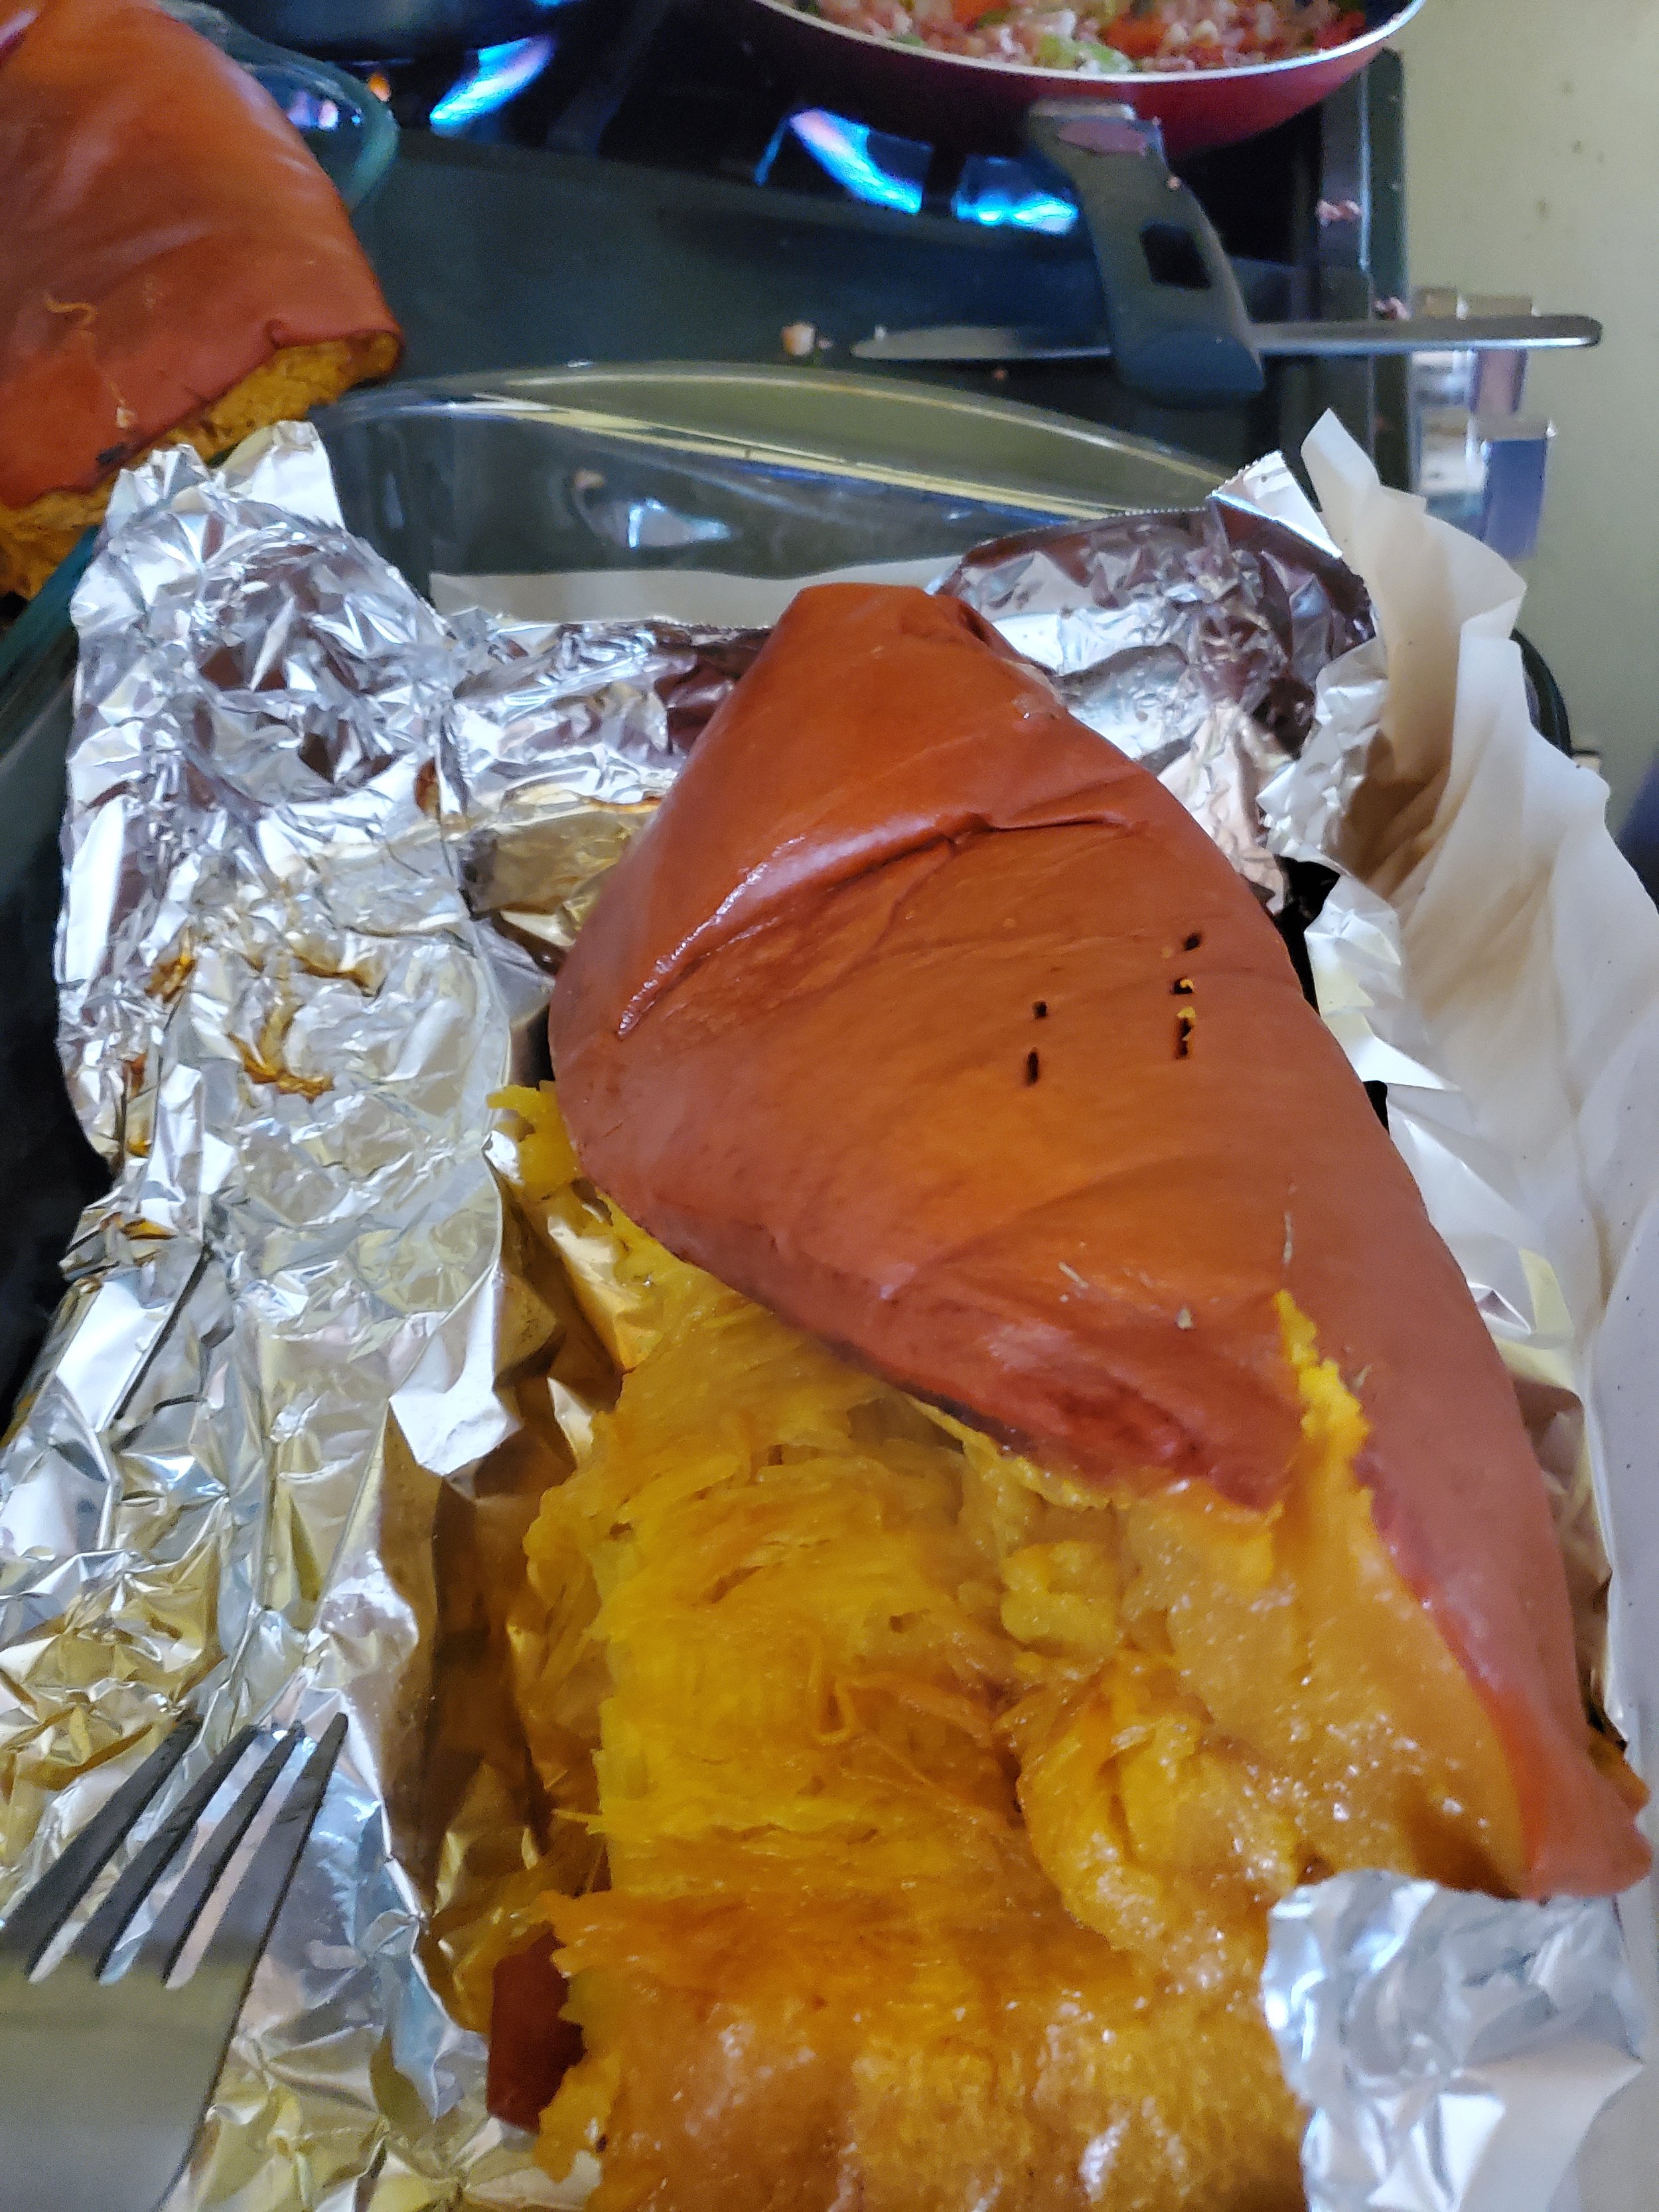
Preheat your oven to 400*F, and pop your pumpkins into the baking dish(es). You want the pumpkin to have enough room to sit flat on the bottom of the dish rather than having anything sticking over the sides. Once your oven is preheated, pop the pumpkin into the oven for 1 hour. Make sure that your pumpkin is not touching the top of your oven, or it can catch on fire. Once an hour has passed, you'll want to check on them with a fork. See if you can easily sink a fork into the flesh of the pumpkin. If it goes in easily at first and then hits resistance, you'll know that you need more time. If you can cut into the pumpkin without trouble, congrats, go ahead and pull it out.
At whatever point you finish up your pumpkin, set the dishes on the counter, and leave them be for 30 minutes. Once they're just cool enough that you can handle them, carefully use something like a metal spoon or a pair of forks, to lift the pumpkin away from you. So, if you're looking at the pumpkin, lift the far edge and slowly bring that towards you. If your pumpkin was cut in half, this is going to release a LOT of steam, and it's going to be extremely hot. Please don't burn yourself.
Now go ahead and wander off for an hour or so. You want the flesh of the pumpkin cool enough that you can handle it without getting burnt. Once it's ready, come back and drag one half over to your counter, where you should have set up 1 large bowl, one medium bowl for scraps, and a large metal spoon. We're looking at a cooking spoon here, not a serving or eating spoon. This will take too long otherwise.
Depending on how long your pumpkin roasted, it might be just solid enough to be scraped apart, or it could be at the stage where if you look at it funny, the pieces fly apart. Grab the pumpkin and give it a careful squeeze to try and get out as much liquid from the pumpkin as possible. You want it to be down to just a few drops. Then, start scraping apart the skin from the meat of the pumpkin. It's not a complicated process, but it does require you to focus to ensure you're getting all of the meat.
Once you've finished one, go ahead and give your hands a good stretch, and then go and tackle the other one. If you're like us, this is the point when you realize that you might have purchased 3 pumpkins, but you're not going to be roasting all of them in one day.
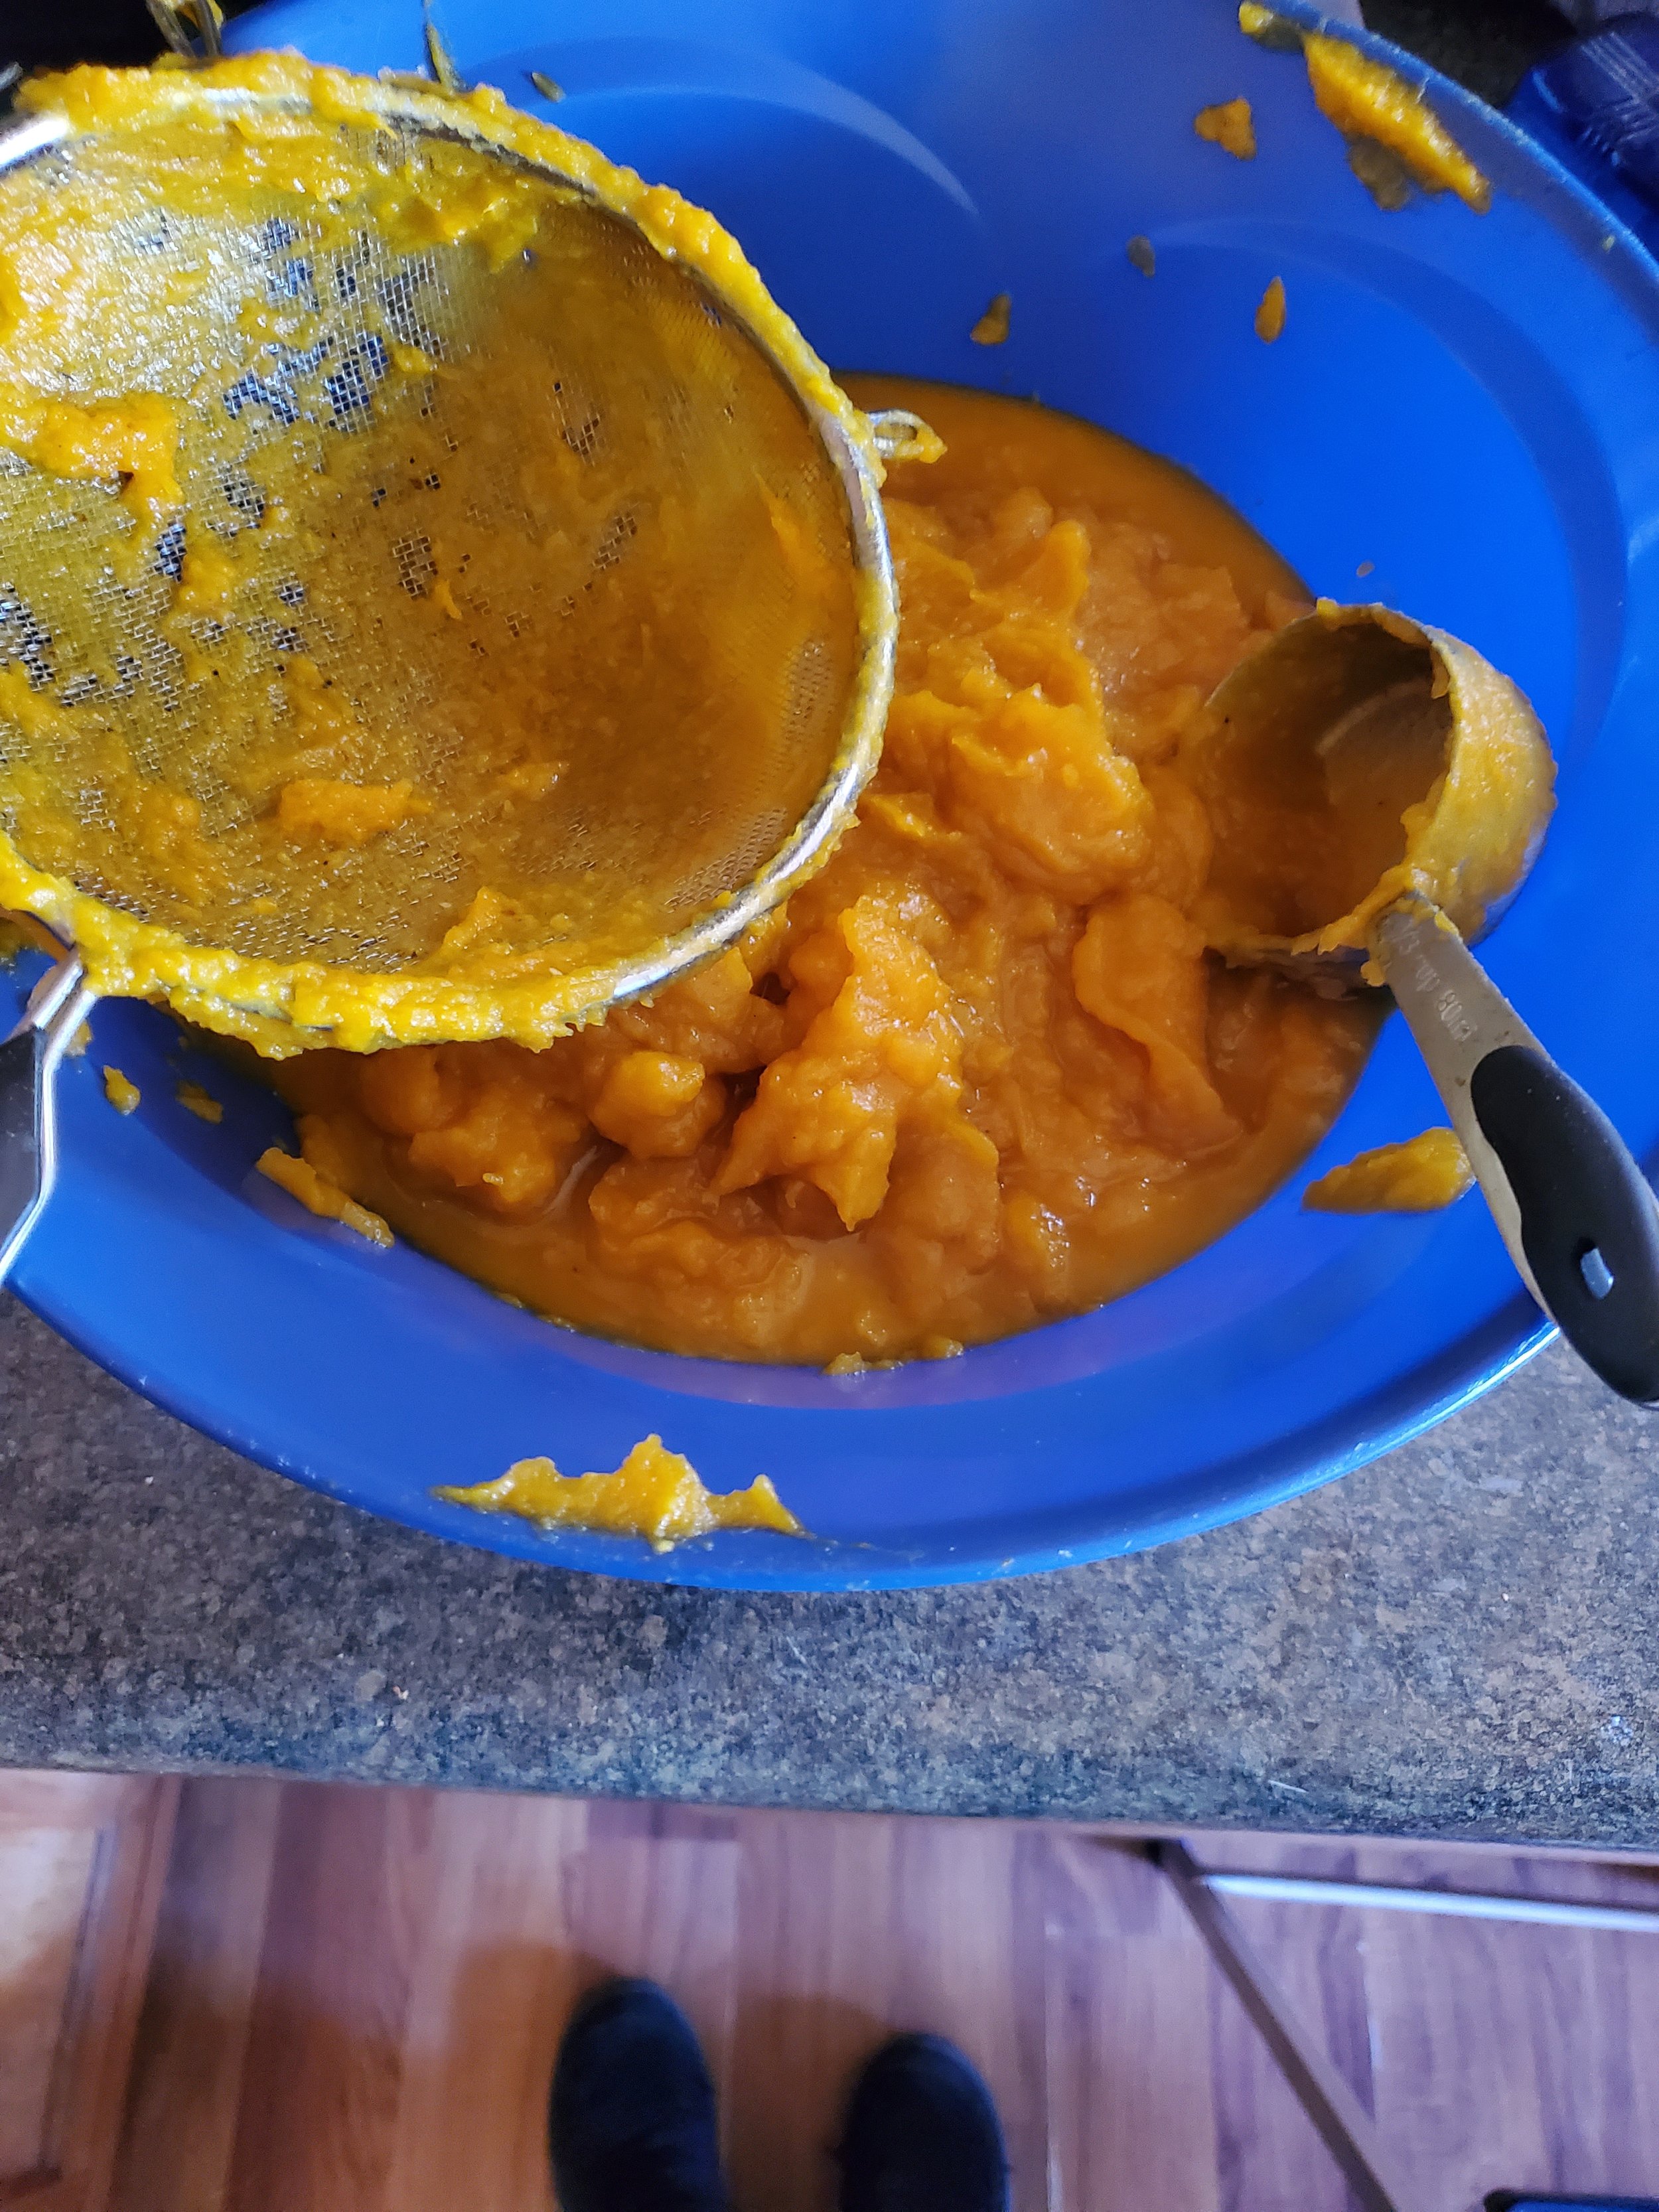
Once you've got all of the pumpkin flesh in one bowl and the skin in the other, toss the scraps and grab your sieve, the second large bowl, and your food processor. Now you're going to puree everything. Working in batches, transition the scraped flesh to the food processor and have at it. You should have just enough water for the processor to work but not so much that you end up with a thin puree.
Once you've pureed the entirety of your pumpkin, give the first bowl a quick wash, and grab your sieve and metal spoon. You want to work the puree through the sieve, pushing and scraping as you go. Your goal is to get rid of any uncooked bits, seeds, skin etc.
When you're finally done with that stage, you can do one of two things. (Three technically, but we don't count icing your wrists as an actual part of the recipe.)
1) You can be satisfied with the quality of the puree as it stands, and move forward with cooking!
2) You can opt to make it thicker and use cheesecloth to remove some of the liquid.
If you're going with option 2, here's a quick run down. Again, wash the emptied bowl, and then grab some cheesecloth. You'll work in batches over your sink to squeeze out about 50% of your liquid. So, just a gentle squeezing, not working to flatten all of it out. Add each batch into the bowl you washed, and repeat as needed until your puree is the thickness you prefer.
At this point you can continue on to make this super simple soup, OR you can take a break for the day, set aside 3 cups of your puree, and portion the rest for freezing. That's up to you. Frozen puree can last up to 6 months, if you don’t manage to use it all up before then.
If you choose to move forward with the cooking, let's get to it.
Take a large, wide pot (we used a caldera at our home, but a dutch oven would work as well) and set that over low heat.
You can use already minced garlic, or you can mince your own. Either way, use at least 1 Tbsp. We say at least because in our home the rule is always "more garlic is better." When your garlic is ready, turn up the heat to high and toss in the garlic. You can also add in 1 cup of diced white onion at this point, or just sprinkle your garlic with onion powder. That depends on how strong you want the taste of the onion to be. You're looking for the garlic to soften and also start to turn just a little brown around the edges.
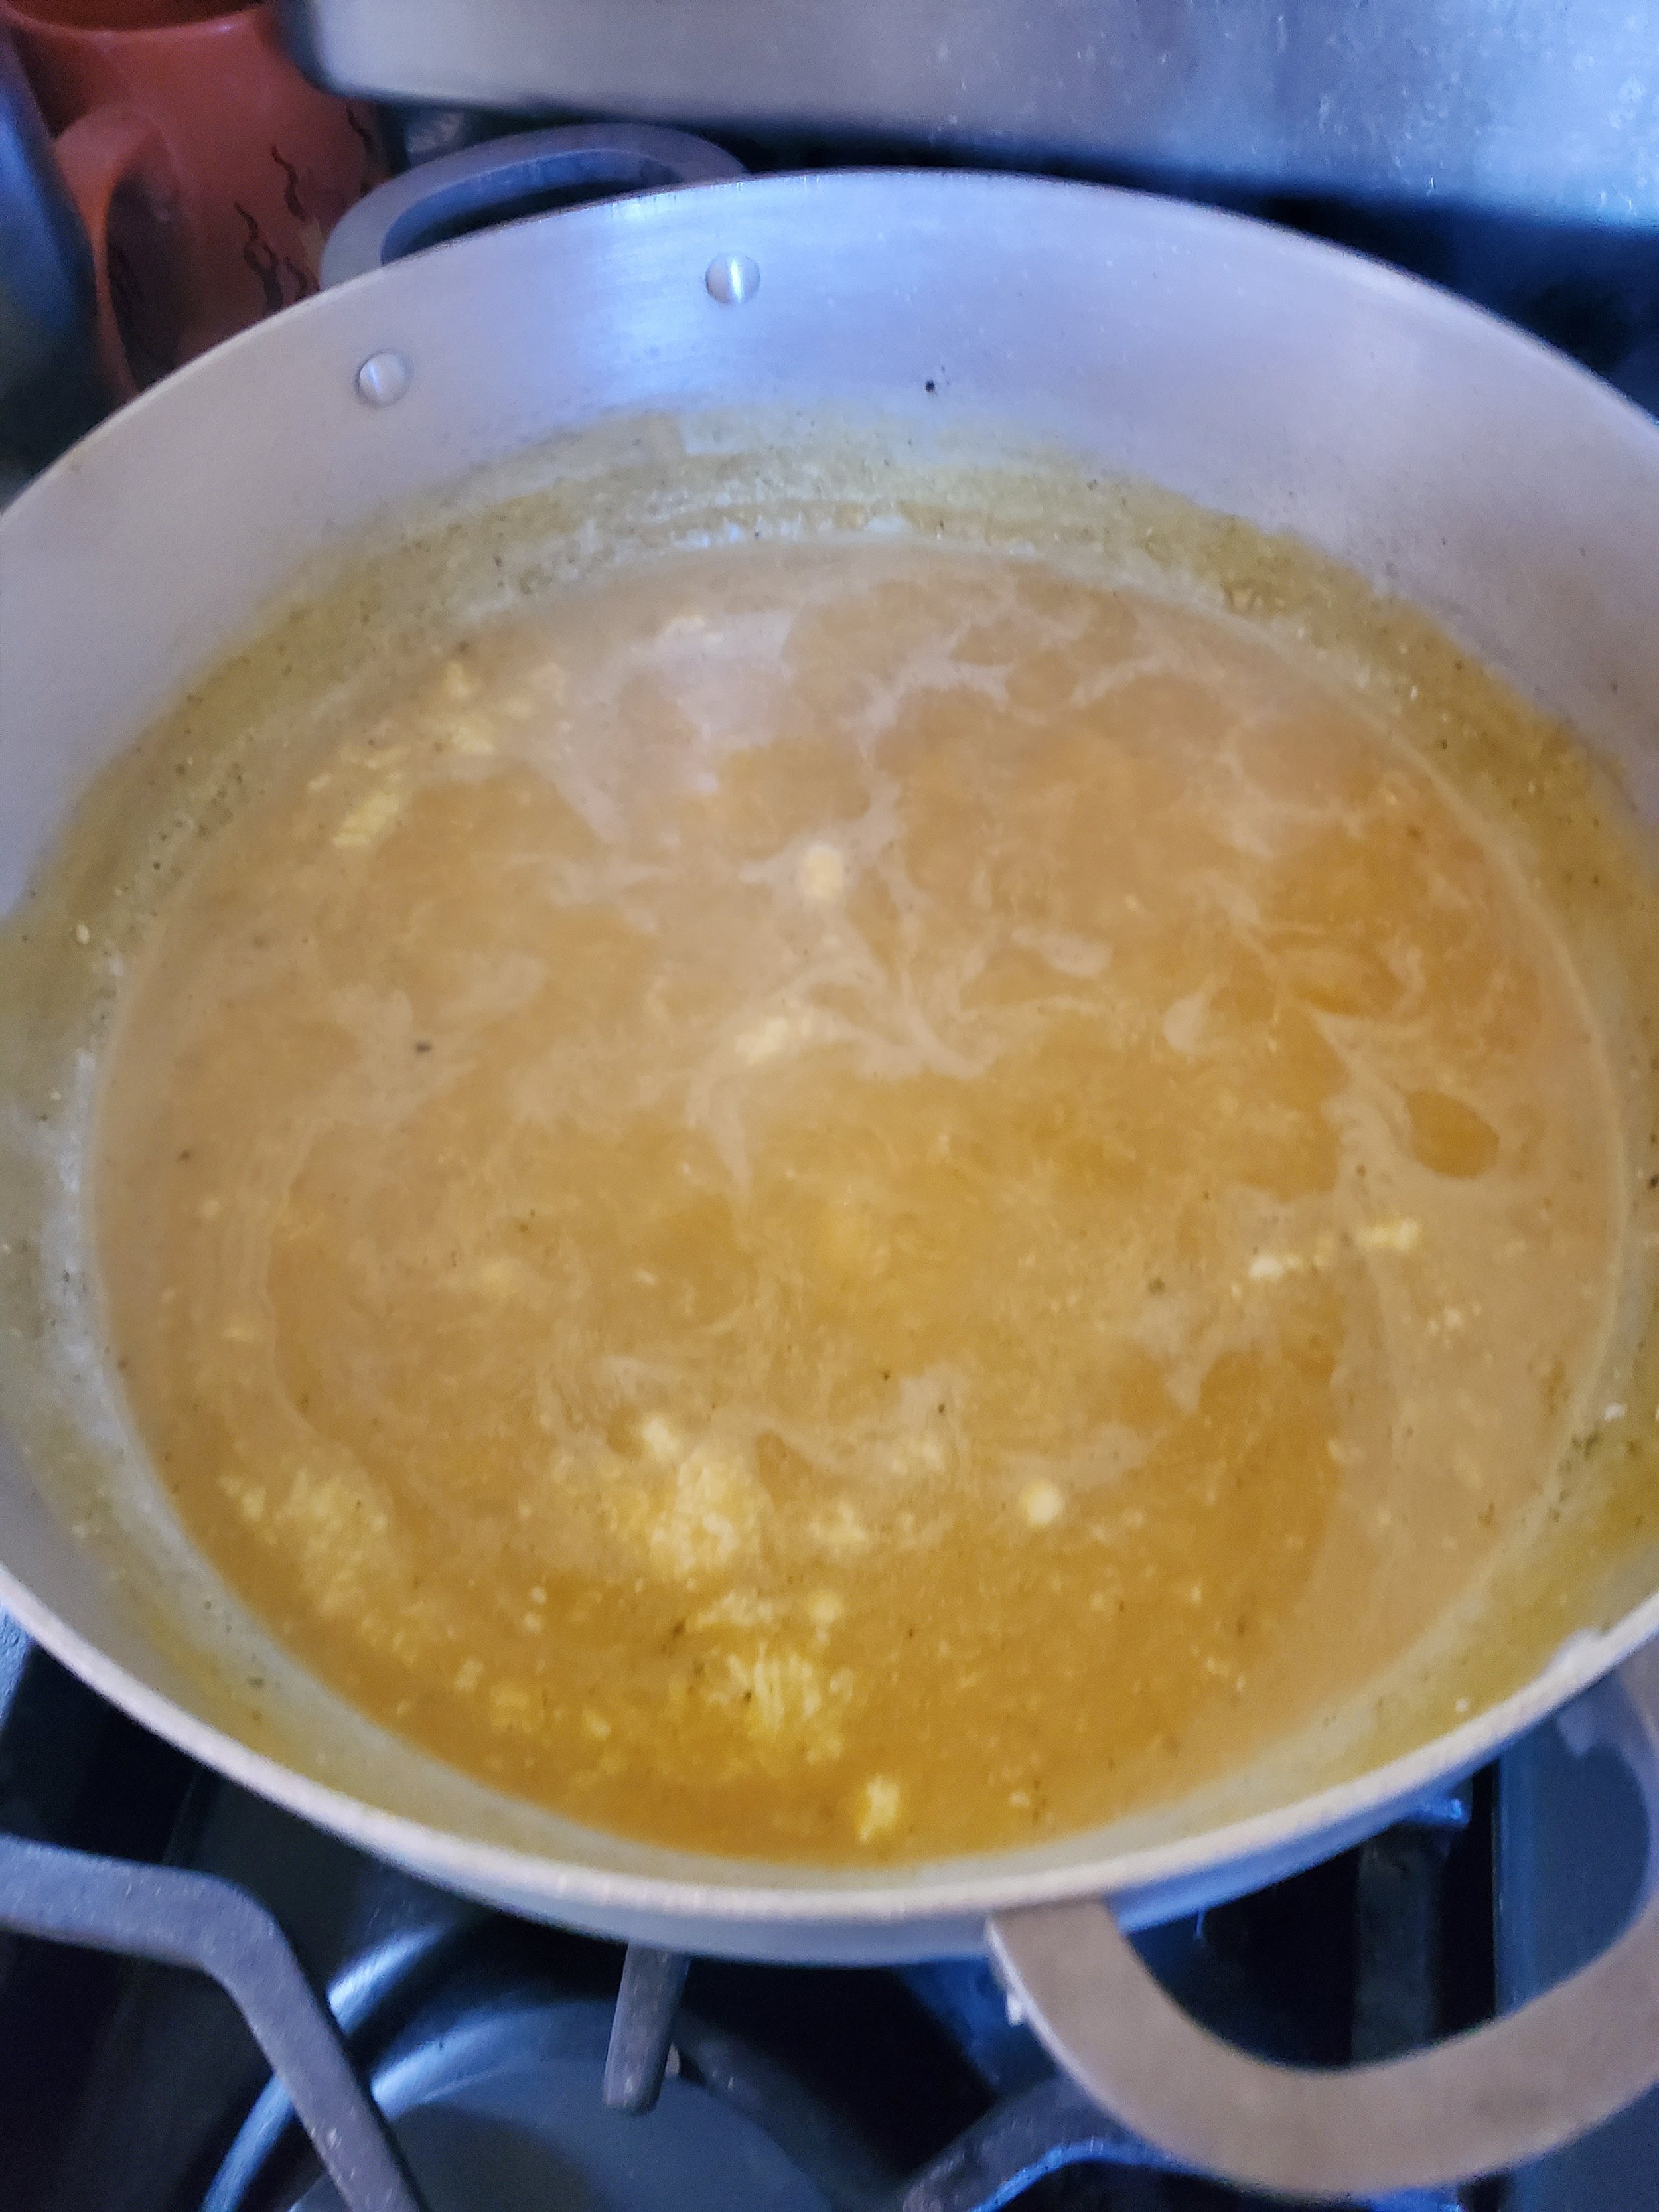
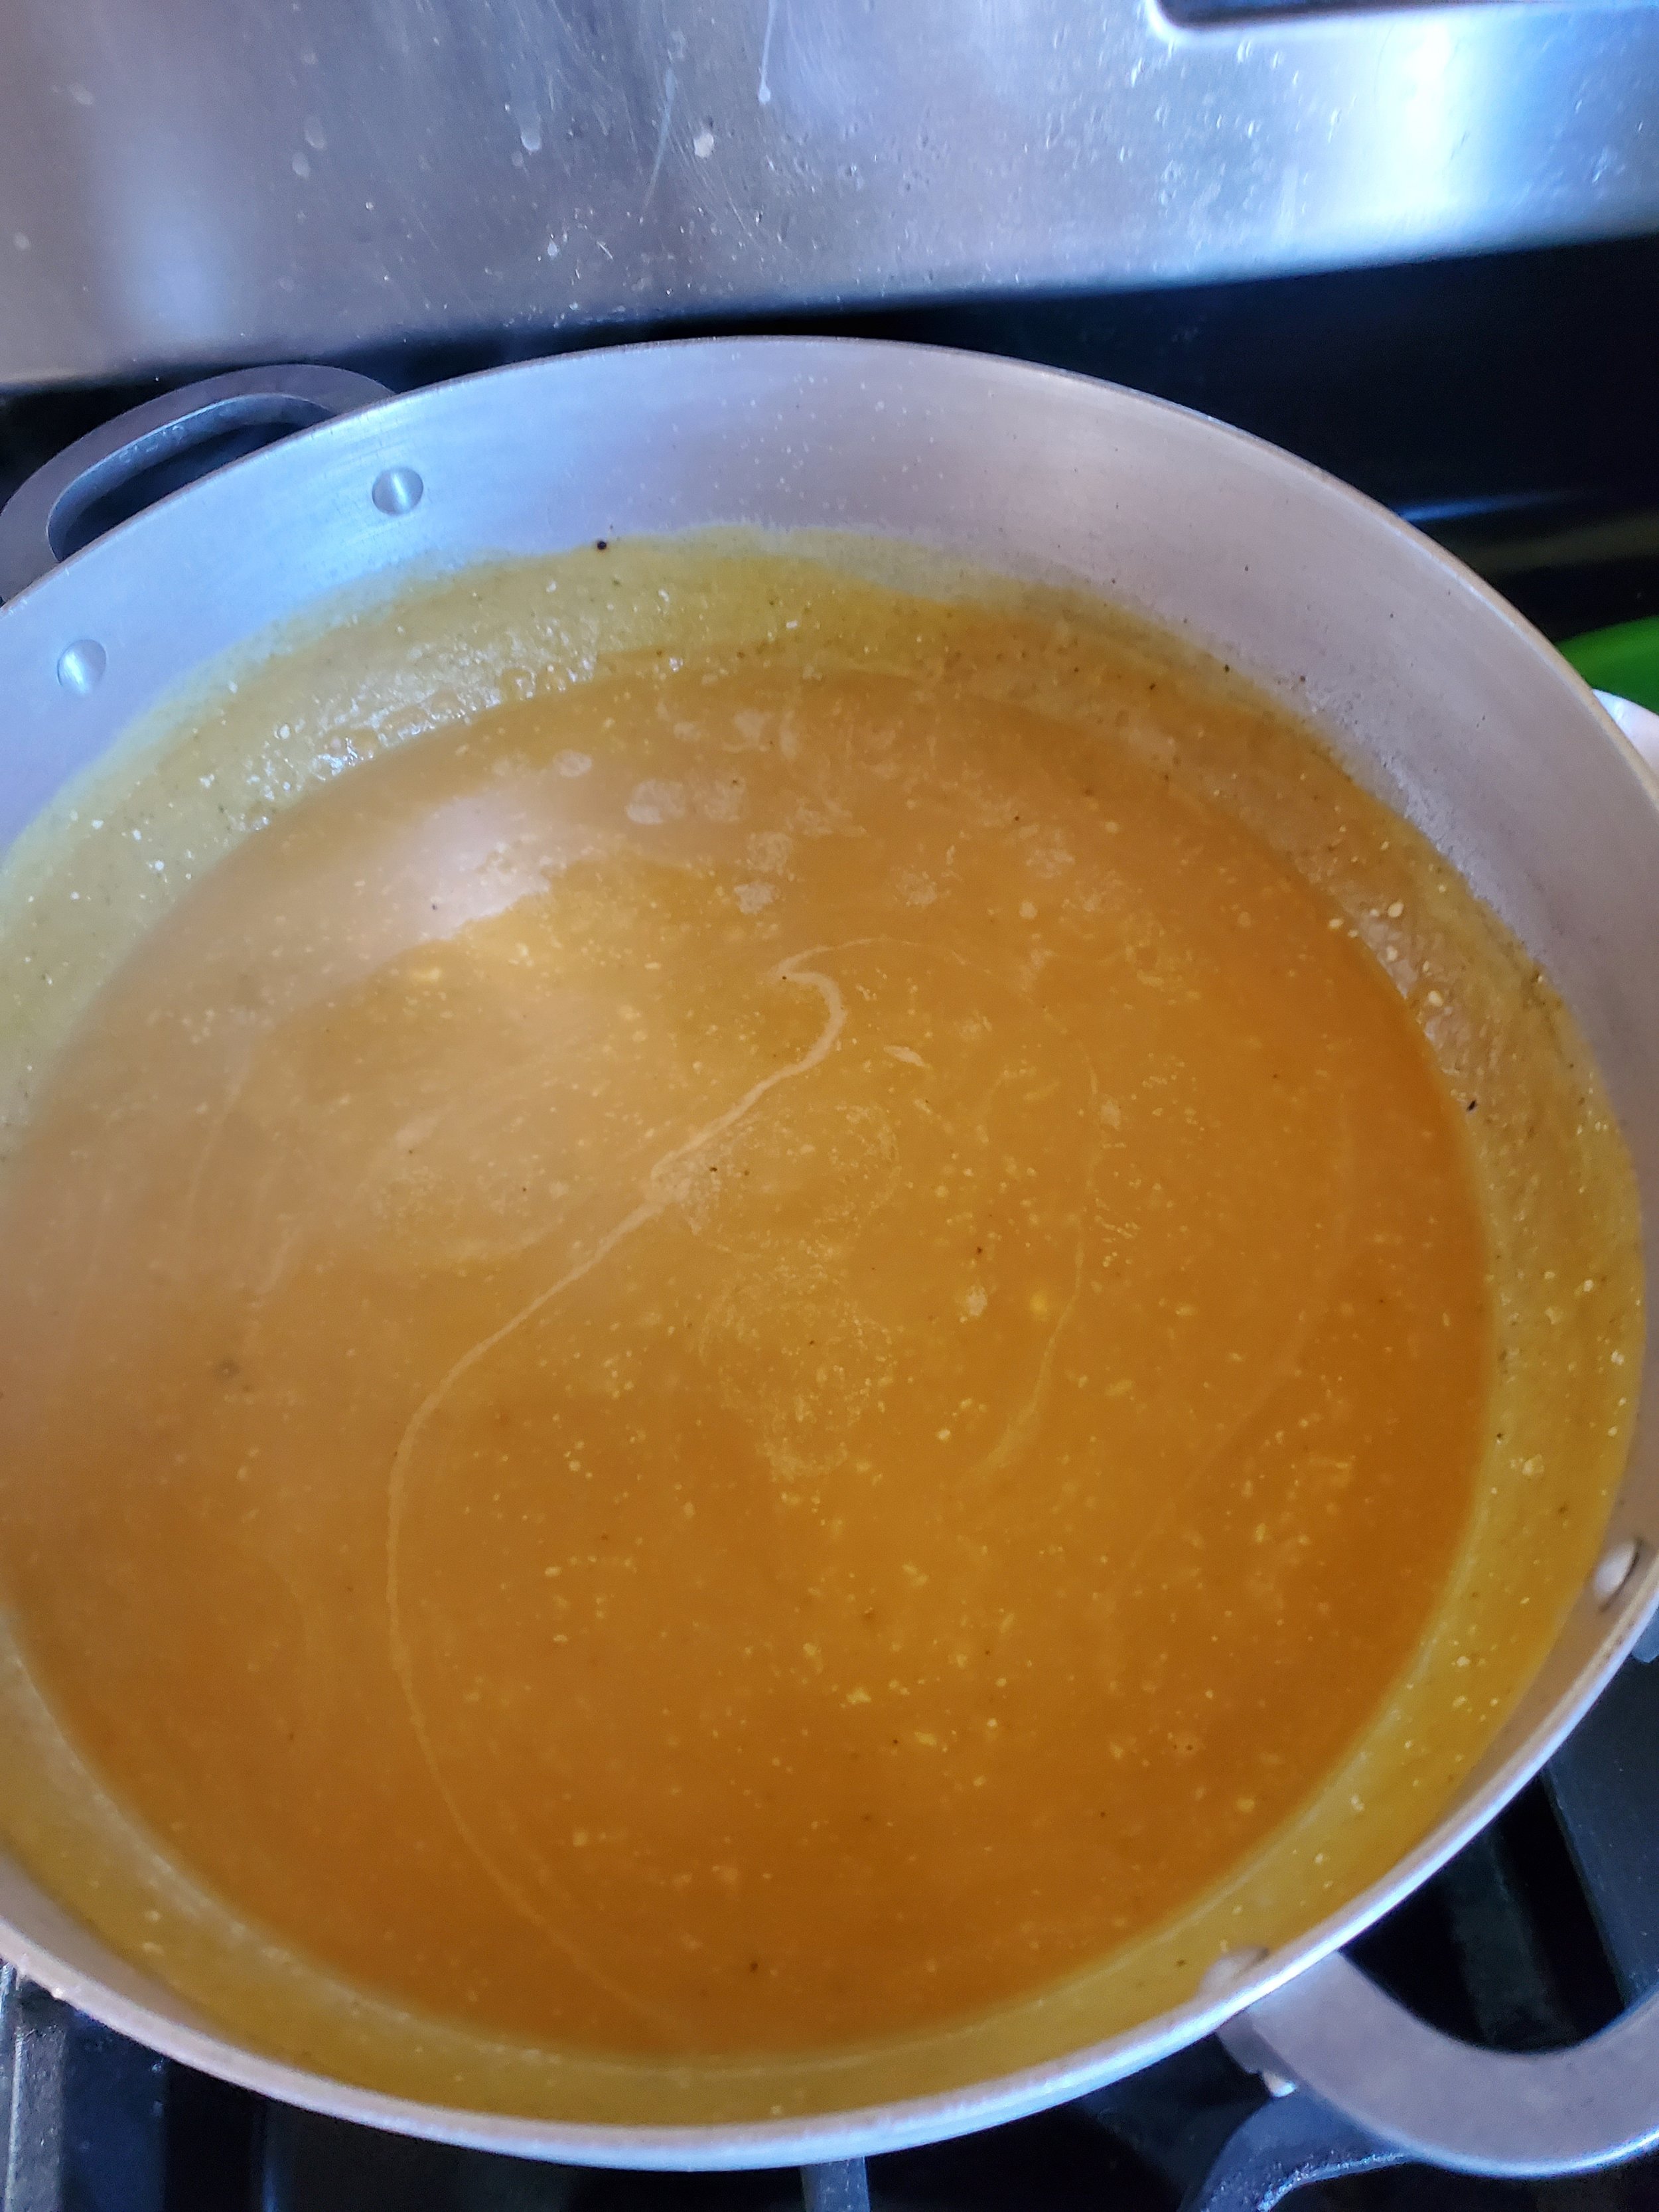
Mix in 6 cups of chicken broth, 16 oz of cream cheese, and 3 cups of your pumpkin puree. Stir thoroughly and bring the mix up to a boil.
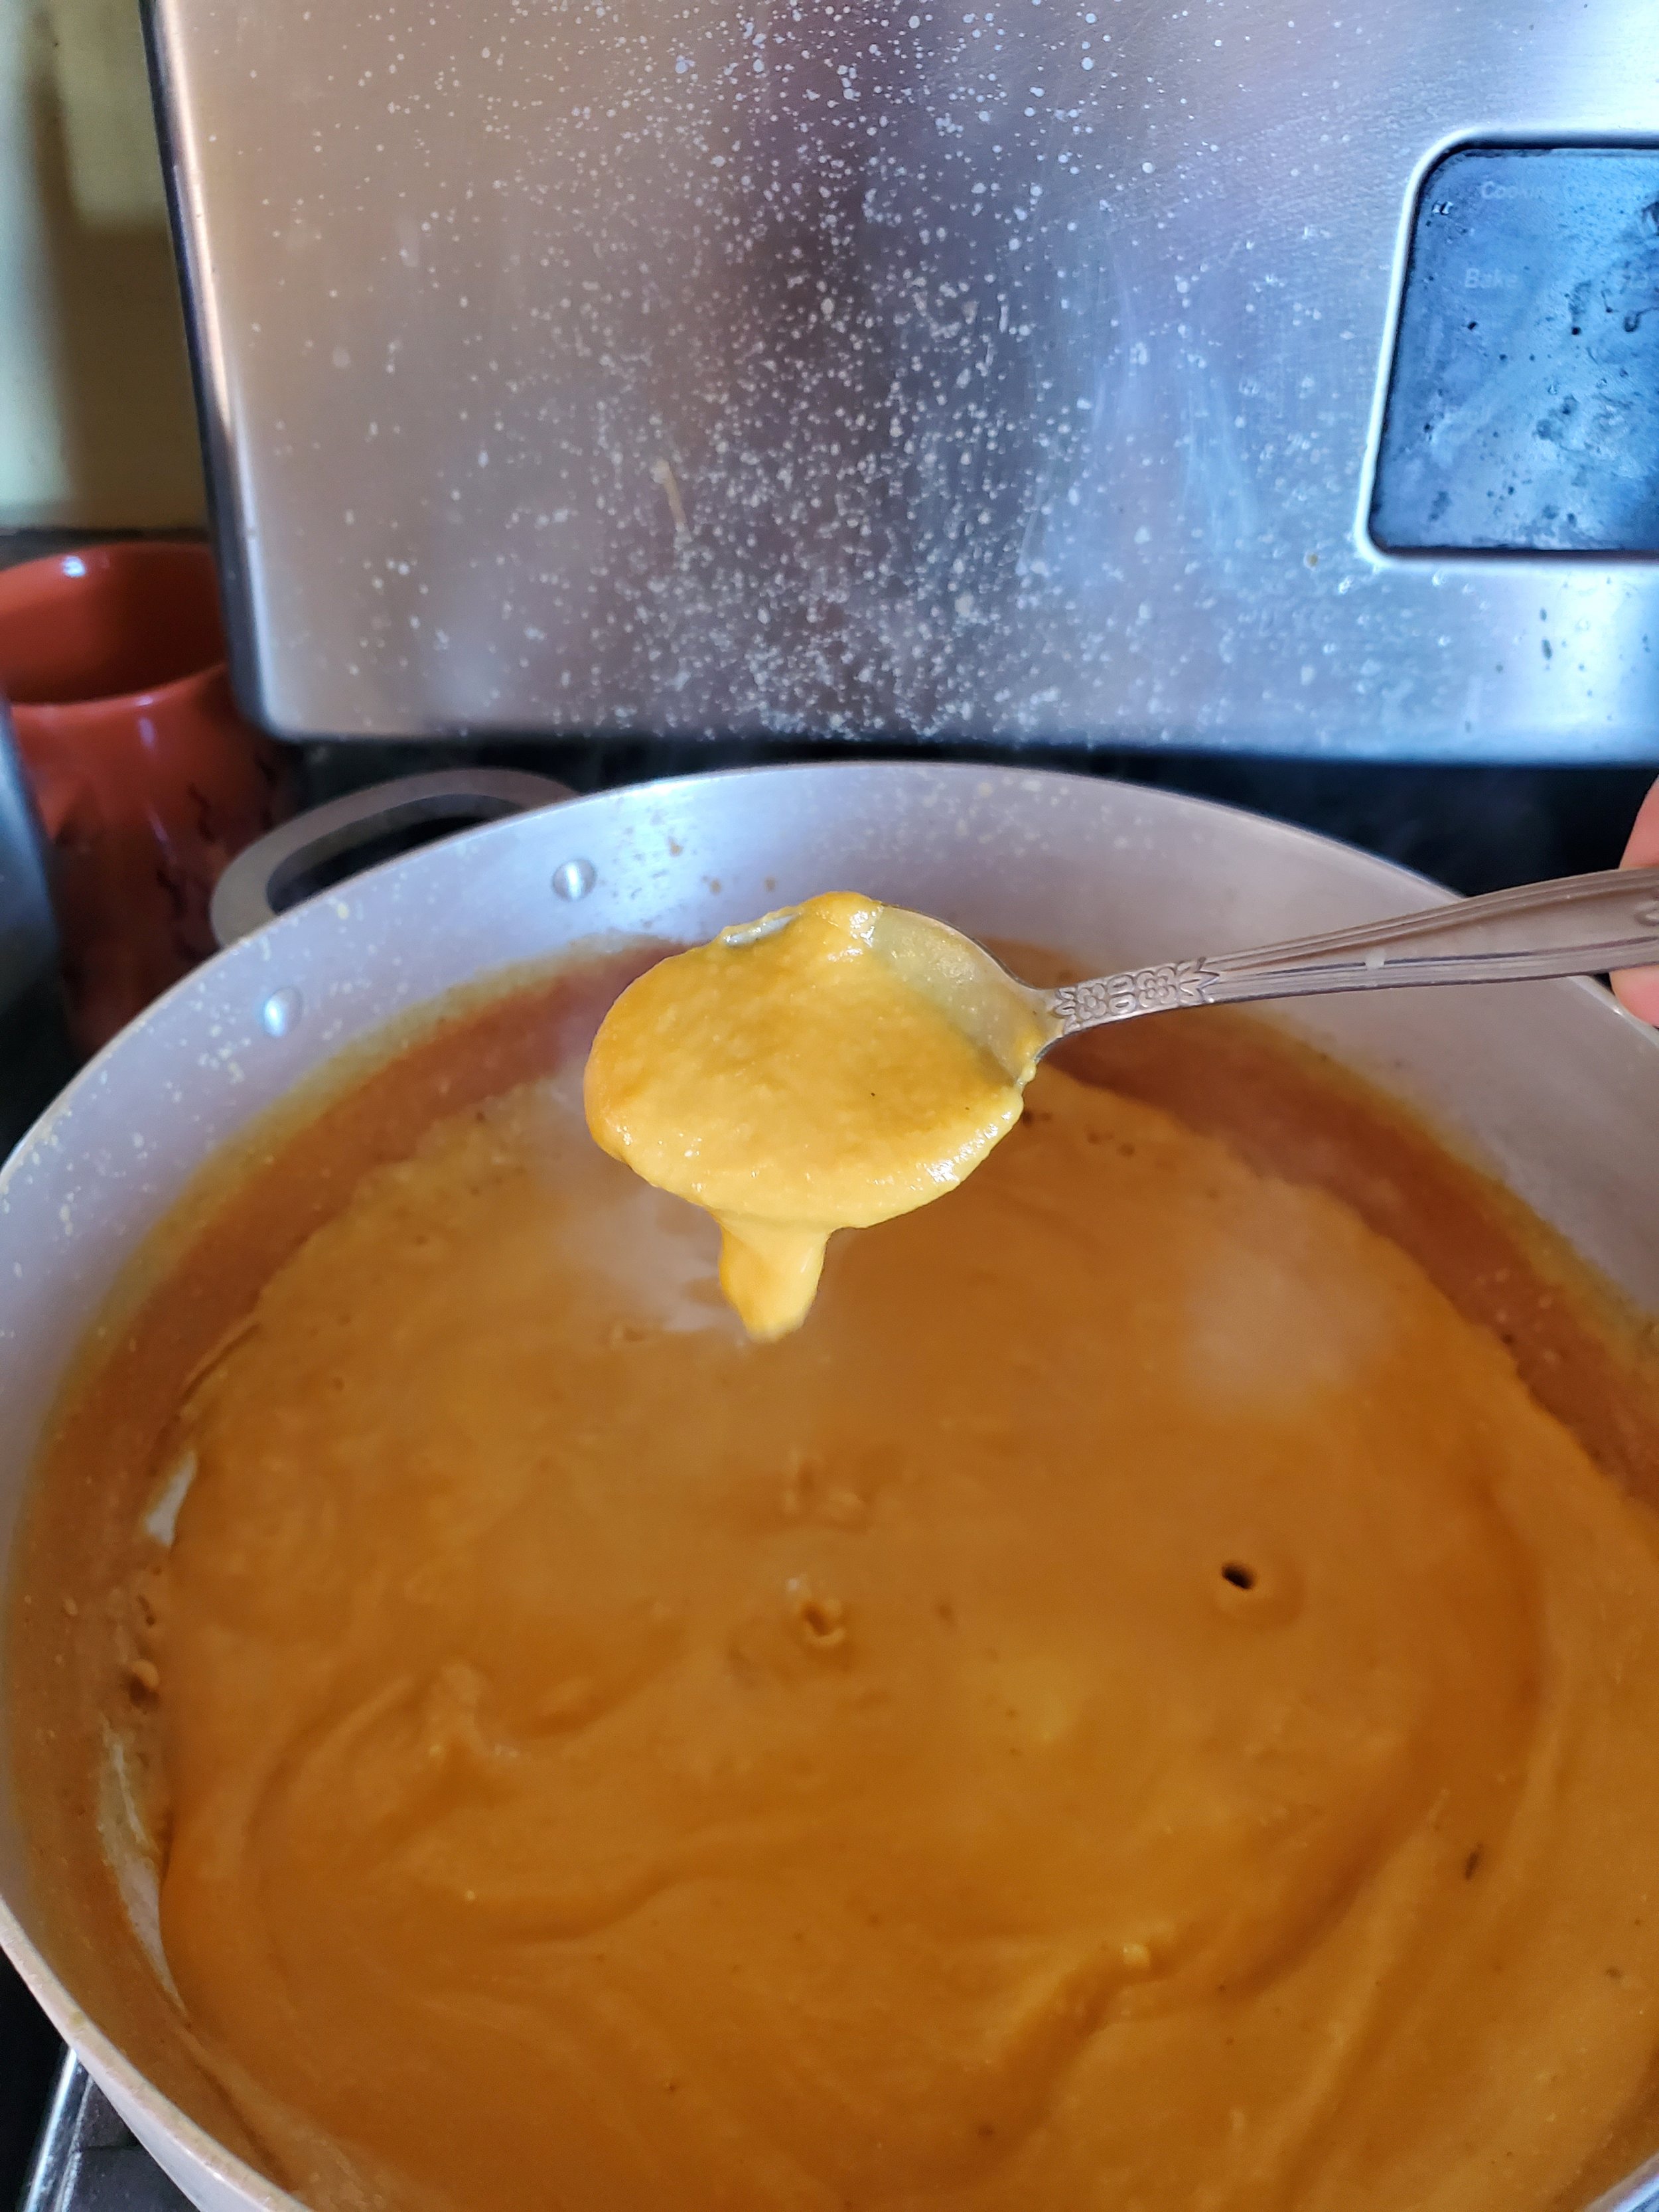
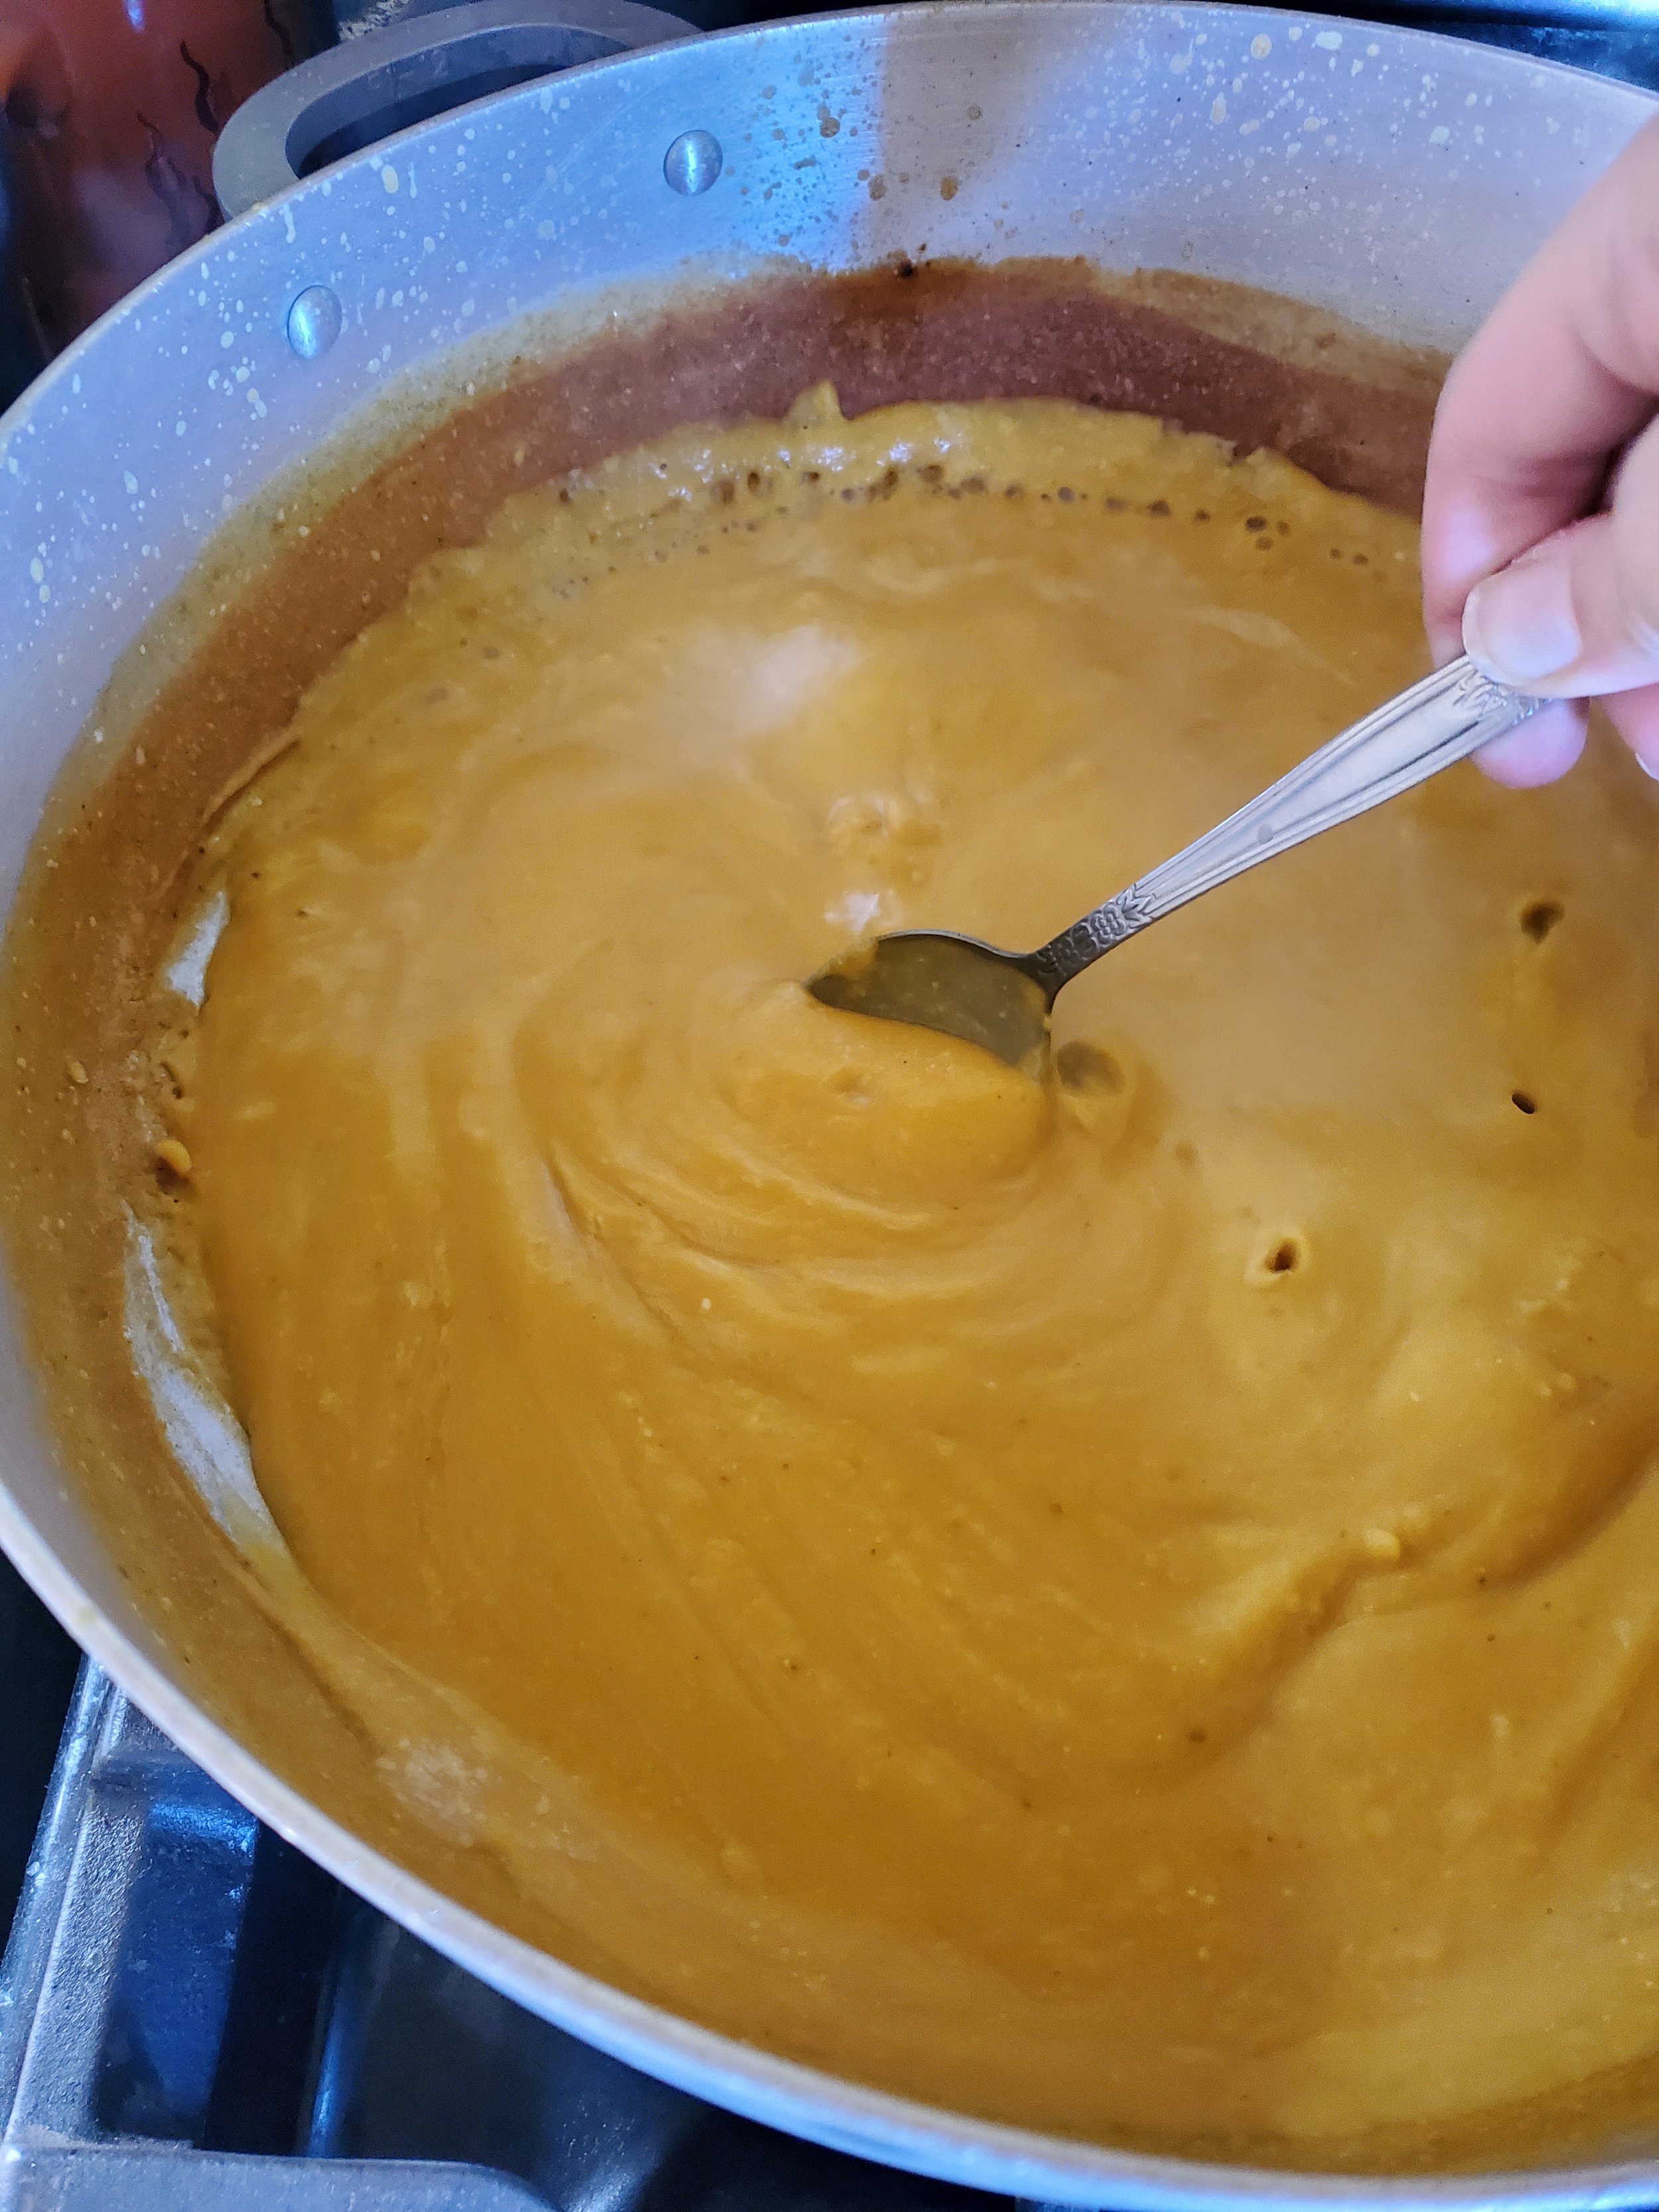
Once your soup has come up to a boil, reduce it down to low and allow it to simmer away until it has reduced to a thick, creamy consistency.
When you're done, turn off the heat and serve it up alongside some rolls or a rich chewy bread. It's not a complex recipe, but it is filling and delicious.
An important note is that if you want to do this at other points throughout the year and you don't have any pumpkins just lying around, you can always pick up a large can of pumpkin puree from the store and use that. It won't taste /as/ good, but it's still an amazing soup.
There you have it! You can now say you know how to select your own pumpkins, roast them and turn them into soup! What do you think? Are you interested in learning other recipes like this, where we show you how to prep different aspects of the meal ahead? Let us know over on our Facebook page or in the comments below.
If you're here because your freezer is thinking it's still summer and working harder than an ox, we can help. You can give us a call at ((214) 599-0055) or reach out on our contact page. We'll work with you to find a time that fits your schedule best to send one of our technicians to get your home running smoothly again. Whether you live in Dallas, Coppell, or Addison, Appliance Rescue Service is here for you.

