Hidden Veggies: Sweet Potato Dinner Rolls That Impress

A family-friendly recipe for soft and savory rolls with a hidden veggie

We figure plenty of people like us might have overbought their sweet potatoes for Thanksgiving and still have a couple of them rolling about the pantry after the holiday. Fresh sweet potatoes are pretty hardy and will last a while, but it's best to get them used up to avoid waste. We decided to mash some more of them, and instead of making something common, hide them in a dinner roll.


Hidden veggies are, in our opinion, the best when you have little ones. Our little one is not so little any longer - he has instead entered the "I subsist entirely on processed garbage and carbs" phase - and this still worked quite nicely for him. Even after he realized there was a vegetable (gasp!) in his bread (the affront!), he still ate more of them than anyone else at the table.


Ingredients:


1/2 cup mashed sweet potatoes

2 1/2 to 3 cups all purpose flour

1/4 cup granulated sugar

3 tablespoons water

3/4 teaspoon active dry yeast

1 teaspoon salt

1/2 cup warm milk

1 1/2 tablespoons unsalted butter, softened

small amount of butter or olive oil, for greasing the bowl and pan


Tools:

10 inch cast iron skillet or large Dutch oven

measuring cups and spoons

knife or bench scraper (for leveling flour and separating dough)

mixing bowl(s)

instant-read thermometer (useful but not strictly necessary)

stand mixer with dough hook (useful but not strictly necessary)


While we started with fresh sweet potatoes, and peeled, boiled, drained and mashed them, you don't have to. You're welcome to begin with baked sweet potatoes, frozen or even canned if you can find the unsweetened kind.


The important part is to have half a cup, post-mashing, with minimal to no other ingredients, and to allow that half cup to cool to room temperature.


Heat your water to somewhere over 100 degrees but less than 115. This is where a thermometer comes in handy, but if you don't have one, here's a little trick to guess the water temperature. Run the water at the kitchen tap and hold a finger under it until you can feel the water getting good and hot. Just before it gets too hot to keep your finger in the water, fill the cup and turn off the water. (Career cooks and servers, please disregard this advice and find a thermometer, as your heat tolerance is generally higher than average.) From this full cup of water, measure out the three tablespoons you need. Add the dry yeast to it, stir, and sprinkle in a pinch of sugar.


Assuming your sweet potato mash has had a chance to cool, add it to the mixing bowl (or the mixer, if you're using one like we did). Measure in the sugar, salt, butter and warm milk. Stir until combined.


Add in the yeast/water/sugar mixture and give a quick mix before measuring in one and a half level cups of flour. Make sure not to pack the flour into the measuring cups, and to use the flat side of a knife or the edge of a bench scraper to take any excess off the top.


Mix with a dough hook or knead by hand until dough starts to form. It'll be sticky at this stage. If you're using a stand mixer, this is the last stage you'll want it to work on. Even the vaunted KitchenAid will struggle with dense doughs, and this one is about to get dense.


Add another half cup of flour to the sticky dough ball in the mixing bowl. Knead it in by hand. If the dough is still feeling sticky - not tacky, but well and truly sticky - add up to another three quarters of a cup of flour. Do so slowly and stay very hands on, because it probably doesn't take as much as you think to go from sticky dough to dough that's too dry to take on any more flour.


At the point the dough is smooth and just a bit tacky, turn it out onto a floured surface and work it by hand for 5 minutes. Grease the inside of a clean mixing bowl (either clean the one you were just working in, or grab a clean one) and plop the dough ball in. Cover it - with a pot lid, a cutting board, plastic wrap, foil, a clean towel, whatever you have - and allow it to sit somewhere warm to rise for at least an hour.


After it's doubled in size, punch it down, roll it over in the greased bowl, and turn it out onto a flat surface. Using a knife or bench scraper (if you use something sharp, do so on a mat or a board, and not on your countertops!) divide the dough into 16 pieces and roll them into balls.


Preheat the oven to 375 degrees, grease the inside of the skillet or Dutch oven, and move the dough balls to the skillet for a second rise. Let them sit and rise for at least 20 minutes, then bake for 25 minutes. Brush the tops with butter for extra appeal.


Website 

Call: (214) 599-0055

Additional Reading

Healthy and Flavorful: A Caponata Recipe That You'll Love


Get Your Protein with This Buddha Bowl 

Fall Comfort Food: How to Make Perfectly Creamy Pumpkin Pasta


Impress Your Guests with This Easy-to-Make Apple Pecan French Toast Bake

Durable Delights: Holiday Gifts That Last

Practical and thoughtful ideas for the gift-giver who knows someone a little hard on their stuff.

We all have that one friend or family member—the person who can turn the sturdiest appliance or tool into a cautionary tale. Whether it’s a cracked stovetop or a washing machine that mysteriously stopped mid-cycle, they’ve got the gift of destruction down to a science. This holiday season, why not embrace their talent with gifts designed to go the distance? From practically indestructible kitchen gear to appliances that can handle a little (or a lot) of rough love, this list has you covered. 


For bonus, where possible, we’ve listed ways that the gifts can be broken that we know of. If you know of any, make sure to let us know on our Facebook page! 


Cast Iron Skillet – A cast iron skillet is one of the most useful tools you can have in the kitchen. We’ve featured these on several previous gift lists. They are virtually indestructible and get better with use. Over time you’ll build up the seasoning on them so that anything you cook is going to be uniquely yours. 

How to avoid breaking it: Using soap or stainless steel pads (yes, this includes SOS pad) are straight out. They will both strip away the seasoning you intentionally work to build up, as well as damaging any coating your cast iron might have on it. 


Silicone Baking Mats –  Silicone baking mats can be used with just about any type of baking or cooking. If you’re not wanting to line a pan before you do a one pan dish, no problem. If you want to make a batch of cookies, done. Or if you want to make chocolates, and need to pop the pan into the freezer, it works. Silicone baking mats are for the person that loves cooking and hates cleaning. Even better, you buy them once, and you don’t have to worry about buying parchment paper again. 

How to avoid breaking it: Don’t put them onto open flames. Most silicone mats are meant to handle temperatures of up to 450*F. So, grilling, charring, broiling and microwaves are all out. 


Henry Vacuum Cleaner - The Henry Vacuum Cleaner is the workhorse of the cleaning world. With a reputation for durability, this vacuum has been around for nearly two decades in my home, tackling everything from carpets to stairs without missing a beat. While it doesn’t boast the fancy tech of modern vacuums, its modular design and long lifespan make it a solid choice for someone who values function over form.  (And for those that question why do you need a vacuum in your kitchen, we point out that there are always messes to be cleaned.) 


Shatterproof Drinking Glasses – When made of Tritan, you can get glasses that are actually shatterproof. Drop on the floor all you like, you’re good to go. Williams Sonoma has even tested them enough that they’re willing to say they also won’t cloud or discolor. 

How not to break them: Although these glasses aren’t made of glass, you’ll still need to be careful of a few things. Don’t put the glasses into the freezer with liquids in them, and don’t use SOS pads on them. 


Breville Barista Express espresso machine in sleek stainless steel, known for its robust construction and years of reliable, daily coffee brewing.

Courtesy of Breville

Breville Barista Express - For the coffee lover who prefers to skip the coffee shop lines, the Breville Barista Express is a dream come true. This all-in-one espresso machine can craft a rich, café-quality drink at home. We’ve been using it for years, and it’s shown no signs of slowing down. A little upkeep—like descaling and changing the filter—ensures it keeps brewing smoothly.


Unbreakable Mixing Bowls – ‘unbreakable’ isn’t really an accurate term in this case. If you’re purchasing a stainless steel bowl, its not going to ‘break’ unless you’re intentionally taking a hammer and chisel to it, and if you’re doing that, we’re not sure what else you expected to happen. 


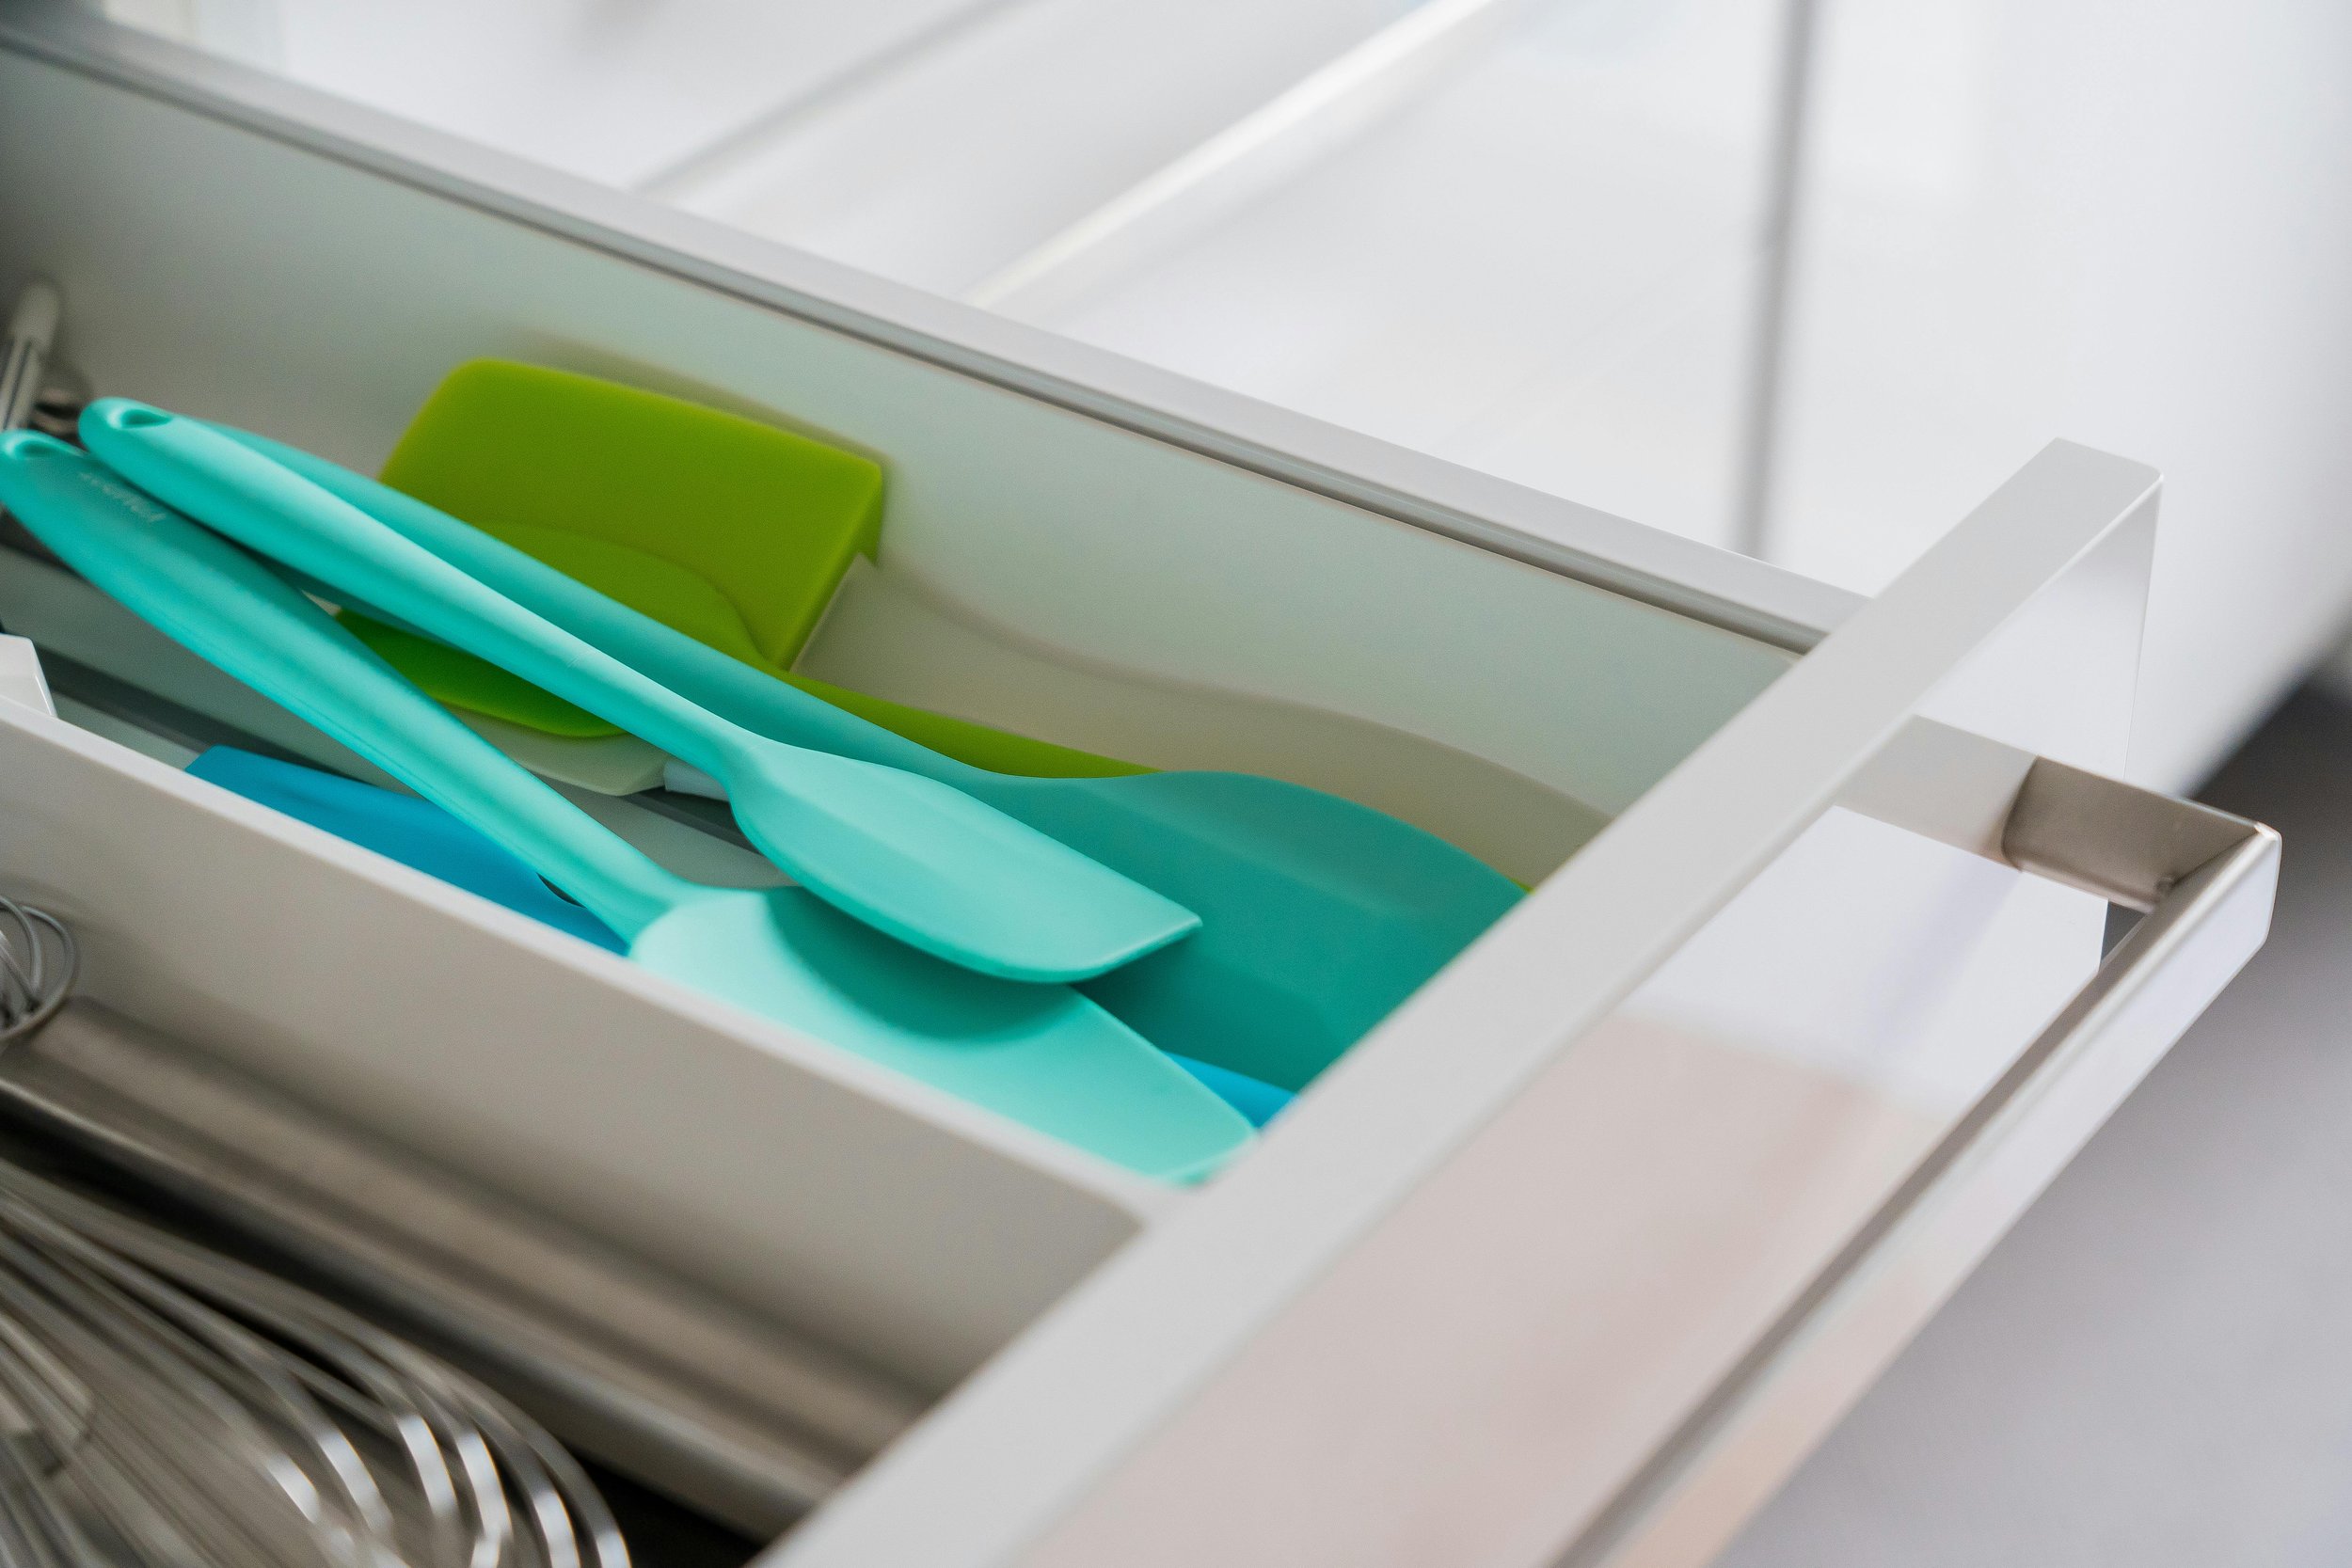
Seafoam green silicone spatulas neatly arranged in a silverware drawer, showcasing durable and heat-resistant kitchen tools.

Courtesy of Castorly Stock

Heat Resistant Utensils –  Heatproof silicone tools are AMAZING. We’re going to say it here. All of those delicate pans you have that your giftee wasn’t allowed to handle previously? With silicone tools they can. They’re fantastic.  Heatproof silicone or metal spatulas, tongs, and spoons designed to last.


Copper-Plated Stainless Steel Whirley Pop Popcorn Popper - For the popcorn aficionado who wants a touch of elegance with their favorite snack, this popper offers both function and flair. This popper churns out 24 cups of crispy popcorn in about 3 minutes, all while being a pleasure to look at. Its copper-plated design is not only stylish but also built to last, making it a great gift for someone who enjoys quality and durability in the kitchen.

How Not to Break it: The only thing to really avoid with this one is stainless steel pads, or chisels. Other than that, you’re good to go. 


KitchenAid Artisan Series Stand Mixer -The KitchenAid Artisan Series Stand Mixer is a culinary icon for a reason: It’s built to take on all the toughest kitchen tasks and still keep going. Whether it's kneading thick dough or whipping up the lightest batters, this mixer can handle it all. With its sturdy design and an extensive range of attachments, it’s perfect for someone who takes their cooking seriously—and won’t settle for anything less than quality.

Teal green KitchenAid Artisan Stand Mixer on a kitchen counter, renowned for its durable build and ability to tackle even the toughest baking tasks.

Courtesy of KitchenAid

How Not To Break It: This one is tricky. On one hand, some people claim they’ve tried for years and haven’t been able to break theirs. Others have said that a hard drop for the base of the kitchenAid and you’ve got a fancy paperweight. So, we suggest leaving it planted firmly on the counter. 


Shun Cutlery Sora 8-Inch Chef's Knife - The Shun Sora 8-Inch Chef’s Knife is an exceptional investment for anyone who takes their cooking seriously. With its razor-sharp edge and perfect balance, it’s been my go-to knife for a decade. This blade is sharp enough to make quick work of even the toughest ingredients, while its beautiful, ergonomic design ensures that it feels like an extension of your hand. It’s a kitchen tool that, with proper care, can last a lifetime.


Even with the most durable gifts, life happens—especially in the kitchen or laundry room. When your accident-prone loved one manages to push their appliances to the brink, Appliance Rescue Service is here to save the day. From finicky refrigerators to dishwashers that just won’t run, our expert team is ready to get things back on track. Because while you can’t always prevent mishaps, you can count on us to help keep those major appliances running strong.

Website
Call : (214) 599-0055


Additional Reading
The Kitchen Gift-Giving Guide: From Laughs to Lessons, What Not to Wrap 

Christmas Gifts We Won't Be Giving

Spice Up Dessert Time with Cranberry-Chipotle Heaven’s Pie

Turning leftover cranberry sauce into a show-stopping dessert.

The day after Thanksgiving feels a little like drowning in assorted leftovers, and eating the same things the same way gets boring pretty quickly. We like to take the leftovers and make something different out of them when we can.


This house loves cranberries and makes a big batch of cranberry sauce to share every year. Some years, it gets decimated at the family potluck Thanksgiving dinner and we bring back a few spoonfuls in the bottom of an almost empty Pyrex dish. But other years - like this year, apparently - we come back home with the larger family having made barely a dent. We had two more cups of cranberry sauce left, and not near enough turkey for that much.


So we got inventive. Today we made cranberry-cream cheese pie with a little kick.


We used homemade whole-berry cranberry sauce with real sugar, lemon juice and allspice. You're welcome to try it with the wobbly canned stuff, but your mileage - and the final product's texture and sweetness - may vary. (Let us know if you try it! We're curious, but also morally opposed to canned cranberry sauce.)


Ingredients:


4 oz cream cheese, softened

1/2 cup homemade whole-berry cranberry sauce

1/4 cup light brown sugar 

1 teaspoon dried chipotle chili pepper

1 9-inch premade pecan pie crust

1 cup heavy whipping cream

3 tablespoons granulated sugar

1 teaspoon vanilla extract


Tools:

Measuring cups and spoons 

Food processor 

Spoons

Metal mixing bowl

Electric mixer


Preheat the oven to 350, and shove the mixing bowl in the fridge. We know that second one is a little weird, but just roll with it for now.


Begin by measuring your softened cream cheese into the food processor. Add the cranberry sauce and give everything a whirl to combine. Take a spoon and scrape down the sides to make sure you've got everything. Some food processors end up leaving a solid quarter of the cream cheese behind as it sticks to the edges.


Pack a quarter cup measuring cup with light brown sugar and dump that into the cream cheese and cranberry mixture. Pulse the food processor a couple times to begin breaking it up into the filling.


Measure in the dried chipotle. Feel free to use less if you have a lower spice tolerance.


Make triple sure you're using just the peppers! An anti-caking agent or preservative is totally fine, but not a chipotle spice blend. There are dozens of blends on the market, and while they're certainly tasty, they are not a great fit for this recipe. The most common second and third ingredients in the blends tend to be salt and/or garlic... and we are definitely not looking to make a salty garlic cranberry pie for dessert.


Now that all of your ingredients are in the food processor, run it until everything has reached a uniform consistency. You may have to pause occasionally to scrape down the sides.


Remove the blade from the food processor and scrape the filling into the pecan pie crust. We used a premade Diamond brand crust to avoid washing the food processor twice in one afternoon, but you could certainly make your own crust if you're less dish-phobic than we are.


Level the filling in the crust with the back of the spoon. We know it doesn't look like enough, but don't worry. The extra space is for a fat layer of homemade whipped cream later.


Bake the pie at 350 for 35 minutes. It will still be very thin-looking and wobbly when removed from the oven, but don't worry. Set it aside to cool on the counter for half an hour, then move it to the fridge to chill completely. 


While you're in the fridge, grab the mixing bowl and move it to the counter. Pour in your heavy cream, measure the sugar and vanilla extract into it, power up the electric hand mixer and whip on low and medium low until you get stiff peaks. Cover the bowl and tuck it back into the fridge until it's time for dessert. 


Once it's time to serve dessert, dump the whipped cream into the pie shell on top of the cranberry filling. Use the spoon to smooth it out, cut and serve.


This pie has sweet, tangy and spicy all in one delicious pie. To us, it’s delicious and utterly amazing, but you might just end up scaring some of your dinner guests. For that reason, we advise only breaking out this pie if you’re sure people can handle the heat. 


This pie is proof that leftovers can be as exciting as the main event, blending bold flavors into a dessert that’s anything but ordinary. Whether you’re impressing guests or treating yourself, Heaven’s Pie is a sweet and spicy reminder to embrace creativity in the kitchen. And remember, while we’re all about innovative recipes, when it comes to appliances, leave the troubleshooting to us. Appliance Rescue Service is here to ensure your kitchen keeps running smoothly, pie after pie.


Website

Call (214) 599-0055


Smooth Moves: Preparing for Appliance Installation Like a Pro

Get Your Space Ready for Your New Appliance in 5 Easy Steps

Bringing home a new appliance should be an exciting milestone, not a stressful ordeal. By taking a little time to plan ahead, you can sidestep common delivery and installation hiccups. Whether it’s ensuring your space is ready, communicating with the right people, or double-checking critical details, a smooth installation starts with preparation. Let’s dive into the steps that will save you time, effort, and potentially costly mistakes.


Why do this? 

  1. Preparing ahead of time creates a safe and accessible environment for your delivery team.

  2.  Thinking out how appliances are going to be delivered and installed helps you to anticipate and solve any potential problems.

  3. Having a plan in place is key to preventing damage to your new appliances during delivery.


General Tips 

Make Plans For Your Old Appliance

Are you going to be uninstalling it yourself or having someone else do it? Where is it going to be taken? Do you plan on moving it before your new appliance comes or will you be disposing of it afterwards? Do you plan to have a service take care of this? All of these are questions that you want to know ahead of time to reduce the amount of stress you deal with.


Talk To Your Sales Associate Ahead Of Time

When you purchase your appliances make sure to tell your sales associate of any potential hurdles. Will your deliver y need to be on a second floor? Are you expecting them to relocate your old appliance? Do they have to move any venting? 

Details like this can add to the delivery and installation of your new appliances and needs to be accounted for in scheduling. Not only for your sake but for the dispatch department. By talking to your sales associate when you make your purchase you make your life easier and everyone else's.


Map a Path for the New Appliance

Plan out the path that will come from the door that the delivery men will come through all the way to where the appliance will be located. You can do this backwards or forwards to give your brain the best way to see any hurdles. Once you've figured out the path you expect the delivery to take clear that path of anything and everything for at least two feet on either side. This includes the obvious thing like toys and wires, but also rugs or furniture. Remember that if worst comes to worst it is possible to take door hinges off and remove doors from your route. 


Inspect Your Space For The Proper Hookups

Once you have your path mapped out, go back to where the new appliances going to be located. Do you have the proper electrical outlets that your new appliances going to need? For example do you need a 110 volt outlet, a 220 volt outlet, or something entirely different because you opted to purchase something brand new on the market? While ideally you'll ask that question while you're in store it doesn't hurt to triple-check now. If this is a water-based appliance, do you have a water hookup within reach of where the appliance is going to sit? Do you have a gas hookup if that's necessary? 

So long as you're doing this ahead of installation day, you should be able to fix any problems that arise if the answer to any of these questions is no.


Double-Check Your Appliance Cutout Dimensions

Ideally, this should actually be done before you make a final purchase, but let's say that you didn't. Take the dimensions of your new appliance and make sure that they match the space where they're supposed to go. Is the space big enough? Does the appliance have room to breathe? (This is especially important if you're dealing with a refrigerator, freezer or dryer.) Can all appropriate outlets and hookups be reached? 


 Secure Or Move Any Fragile Items Or Valuables 

Finally on the day of delivery, make sure to secure or move any fragile items or any valuables that could be accidentally damaged during the delivery process. 


Appliance Specific Tips 

In the section we are looking at tips when you're preparing for a specific appliance. Although there aren't many that don't apply in the last section, there are a few.


Washers

If you're getting a washer make sure that you have a three-pronged, 110 volt outlet at the location. You also need to make sure that you have both hot and cold water valves within at most 4 feet of the washer. You also want to make sure that the faucets are functioning and that the drain pipe is clear of any blockages. 


Electric & Gas Dryers

If you're getting an electric dryer, check the space for a three or four prong 220 volt outlet, as well as the necessary ventilation port. 

If you're getting a gas dryer you need a 110 volt outlet and still the same ventilation port. You also need to make sure there's a gas shut off valve right behind the dryer and that it is in proper working order. 


No matter which type of dryer you're getting, you want to make sure that the venting path is clear of anything and will match the requirement of your new dryer. You also need to clear the area of lint or other debris to prevent fire hazards.


Refrigerators and Dishwashers


Make sure that you have a three-pronged 110 volt outlet. Also, if your new refrigerator has a ice maker or water line, you'll need a water shut-off valve within 6 ft that's working.

For dishwashers, start by making sure that there is a pathway for venting steam. You'll also need to make sure that there is a source of hot water, a drain connection and an electrical outlet within 6 ft. 


Electric & Gas Ranges

If you're getting an electric range, all you have to check for is that you have a vent hood, as well as a three or four prong 220 volt outlet. 

If on the other hand you're getting a gas range, you need a 110 volt outlet as well as a gas shut off valve right behind the range. If you don't already have gas when you purchase a gas range, you will have to have that run before you can have the appliance installed.


A little forethought goes a long way when it comes to preparing for a new appliance. By ensuring your home is ready, you can enjoy the benefits of your new purchase without unnecessary headaches. If you run into any appliance issues down the road or need help with repairs, our team at Appliance Rescue Service is here to lend a hand. With expert technicians ready to assist, we’ll help keep your home running smoothly so you can focus on what matters most.


Holiday Success Starts at Home: Essential Tips for Your Appliance, Kitchen, and Home

Everything you need to get your appliances and home in top shape for a joyful, organized holiday season.

The holidays are almost here, and it feels like all of our time is being spent in the kitchen. That can be a wonderful way to foster togetherness and celebration with friends and family. But, given it’s the heart of all of the festivities, your kitchen appliances are working SO much harder. Possibly even harder than they do during summer. That makes it crucial to ensure they’re ready to handle the demands of the season. 


To help you making the most of the season AND keep your home running smoothly we’ve compiled the best of our holiday appliance tips into one ultimate guide. We’re hitting cleaning, troubleshooting, and how to organize everything. This roundup has everything to keep your home ticking like clockwork so you can focus on enjoying the season. 


Essential Preparations for High-Use Appliances

Courtesy of koolshooters

Our holiday meals are almost always center stage for holiday events. Everyone tries to make the best new recipe or to make the family favorites. Which means that your oven, dishwasher and refrigerator are the unsung heroes of your kitchen at this time of year. A little prep work ahead of the holidays can ensure they’re up for the heavy lifting. 


Before your guests arrive, check your dishwasher for clogs and clean out the fridge to make sure you have plenty of room for food. 


Dishwasher Tips: Help Your Dishwasher Clean Better – Just in Time for the Holidays!

As the holiday season approaches, your dishwasher is likely to get plenty of use. To help ensure it runs smoothly, start by running hot water first, sanitize with vinegar, and clean the gaskets and trap. Avoid overcrowding to prevent dirty dishes—these simple steps will keep your dishwasher in top shape for all the holiday meals ahead!


Kitchen Hazards Unveiled 

Oven safety is crucial in the kitchen, where common hazards include range tipovers, cookware injuries, and cooking fires. By taking preventative steps like installing anti-tip brackets, using heat-safe cookware, and staying vigilant while cooking, you can minimize risks and keep your kitchen safe. Don't forget, regular maintenance can also ensure your oven is in top shape, so you can focus on cooking up those holiday meals with peace of mind!


Chill Hacks Unveiled: Mastering Your Fridge's Microzones for Fresher Foods

Maximize your refrigerator's efficiency and reduce food waste this holiday season by understanding its various temperature zones. From storing dairy in the stable middle shelves to keeping meats on the bottom, organizing your fridge properly can extend food freshness and minimize spoilage. 


4 Tips to Get your Garbage Disposal Ready for the Holidays!  

As the holiday season brings heavy kitchen use, don’t forget to prepare your garbage disposal with these simple tips: scour for grime with ice cubes, avoid certain foods, clean with fruit peels or baking soda, and use it regularly to prevent rust.

Avoiding Holiday Appliance Mishaps

Nothing is quite as bad as a malfunctioning appliance in the middle of Christmas dinner. Thankfully, a few simple steps can help you avoid common issues, so you can focus on what matters most to you and your family. 

Remember some of most oft-repeated advice: 

Courtesy of August de Richelieu

  • Unless it’s steam cleaning, avoid the self-clean button on your oven! 

  • Keep an eye on your electrical outlets. Tempting as it is, don’t overload them or bring power strips into the kitchen when you’re handling lots of small appliances. 

  • Keep your dishwasher clean of build-up and clogs

  • Check the seals on all of your appliances, and make sure that they’re clean, free of grime, cracks or breaks. 


For a Stress-Free Holiday – Skip the Self Clean Mode!

While the 'self-clean' button on your oven sounds tempting, it's best avoided, especially before the holidays. High temperatures can cause damage and release harmful fumes. Instead, clean your oven manually to avoid repair issues and keep your holidays stress-free. 


Common Appliance Issues That Could Ruin Your Holiday – And How to Prevent Them

Prepare your home appliances ahead of the holiday season with simple maintenance tasks to avoid stress. Deep clean your oven, stove, fridge, and washer, watch for common issues like clogged filters, and ensure your electrical system is ready for extra holiday use. A little preparation can keep everything running smoothly, so you can focus on enjoying time with your loved ones.

Pre-Holiday Cleaning and Organization


A sparkling kitchen not only impresses guests but also makes holiday cooking and entertaining easier. Plus, addressing potential hazards ahead of time ensures a safer and smoother experience.


Focus on often-overlooked areas, like the oven’s drip pans or the back of your fridge, and ensure everything has its place before the holiday chaos begins. These small steps make a big difference when you’re juggling a house full of guests. And it doesn’t hurt to make sure the guest rooms are set up as well.


Organizing Your Home Before the Holiday Daze

"Get ahead of the holiday chaos with these easy tips for decluttering, organizing, and storing your decorations and gifts. From using bins and baskets to setting up a wrapping station, these tricks will help you stay stress-free and make your home holiday-ready in no time.


5 Spots in the Kitchen to Clean Before the Holidays

The holidays are just around the corner, so it's the perfect time to get your kitchen ready for all the entertaining and baking. Don't forget the often-overlooked spots like your range hood, small appliances, trashcan, oven, and refrigerator. 


10 Kitchen Hazards to Avoid this Holiday Season

The kitchen is the heart of holiday celebrations, but it can also be filled with potential hazards. From burns and knife injuries to spills and grease buildup, there are several dangers to watch out for this season. Stay safe while cooking by taking simple precautions and ensuring your appliances are in good working order before the holiday rush!


19 Essentials to Setting up a Gorgeous Guest Room

Courtesy of RDNE

Turn your guest room into a cozy, luxurious retreat for the holidays with thoughtful touches like extra toiletries, a luggage rack, and a well-made bed. Make sure your space is fully stocked with essentials to ensure your guests feel relaxed and at home during their stay.


Pro Tips from Appliance Rescue Service 

Our team at Appliance Rescue Service recommends scheduling routine maintenance ahead of the holidays to ensure your appliances are in peak condition. Think of it as a little extra insurance against unexpected breakdowns, so you can focus on creating holiday memories.


By following these tips, you can make your holiday season as smooth and stress-free as possible. Whether it’s prepping appliances, avoiding common pitfalls, or staying organized, you’ll be ready to enjoy every moment. And if an unexpected issue does arise, you can always count on Appliance Rescue Service to keep your home running smoothly.


Website

Call : (214) 599-0055