Appliance Rescue Service

Quick Fix or Costly Mistake? Myths About Appliance Repairs

From resets to DIY parts swaps—debunking the most common myths.

If you’ve ever searched online for appliance repair tips, you’ve likely encountered countless “quick fixes” promising to solve your problems in minutes. While they might sound like an easy fix, and even make sense in the moment many of these so-called solutions can do more harm than good—and cost you more in the long run. Let’s break down some of the most common myths about appliance repairs and why trusting professionals is often the smarter choice.


The “Duct Tape Solution” Myth


Myth: Duct tape can fix almost anything, including your appliances!


Courtesy of WikimediaImages

Reality: While duct tape is a versatile household staple, it’s not a permanent solution for appliance issues. Using duct tape to seal a leaky hose can work temporarily. In the long run, it leads to more extensive damage when the tape inevitably fails or interferes with the appliance’s ability to work. It’s commonly misused on cracked refrigerator shelves, loose washing machine panels, and even air conditioner vents, which can worsen over time. It’s especially important to keep in mind that it’s not designed to withstand heat, moisture or pressure, and shouldn’t be used for a long term solution. Duct tape is meant to be a stop gap. 


The Better Fix: Replace damaged parts with manufacturer-approved components and have them installed by a professional to ensure safety and longevity.


The “Just Reset It” Myth


Myth: Turning an appliance off and on will fix any glitch.

Reality: While resetting is often the first step  a professional will try with a smart appliance, it’s not a cure-all. Many modern appliances do rely on advanced chips to control them, and a simple reset can fix minor glitches. However while chips can be reset, deeper issues like malfunctions in the code, or damaged chips or hardware issues, like faulty wiring, worn motors or failing sensors can’t be ‘reset.’ Ignoring these signs can lead to more than momentary frustration. 

power off symbol on an appliance doesn't usually look like this, but we'll pretend.

Courtesy of Jules A.


The Better Fix: If the issue persists after resetting, it’s time to call in an expert. A professional can diagnose the root cause and prevent the problem from escalating.


The “It’s Cheaper if You Do It Yourself!” Myth


Myth: You can save money by replacing broken parts yourself.


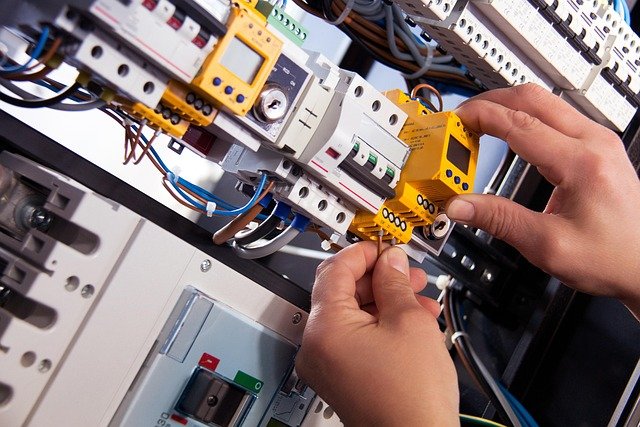
Reality: While it might seem straightforward to swap out a damaged part, modern appliances often have complex systems that require precise installation. They can also be tricky to get to and require a full disassemble of the appliance, or tools made just for the appliance. A DIY attempt can lead to improperly fitted parts, voided warranties, or even safety hazards like electrical shocks or gas leaks.

courtesy of congerdesign.


The Better Fix: Always consult a professional for repairs involving electrical or gas components. This not only ensures safety but also maintains your appliance’s warranty coverage.


The “Overloading Isn’t a Big Deal” Myth


Myth: Appliances are built to handle more than their recommended capacity.


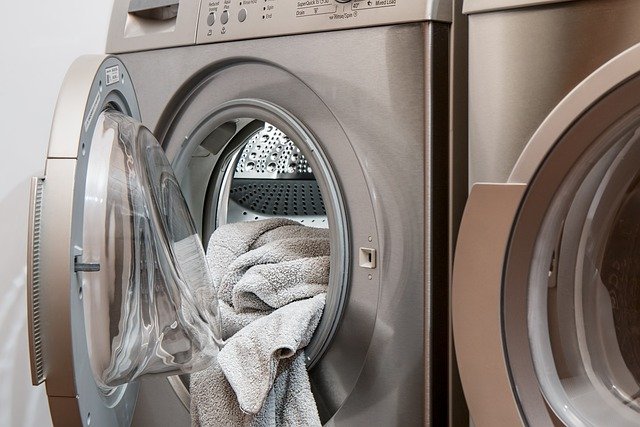
Reality: This one is as much a  time-saving trick that we try as well as an appliance trick. While it’s hard to overload your dishwasher, we all have overloaded our washers and dryers at least a time or two. With your dishwasher, it’s a problem of putting in too many heavy pots and pans or squishing in every single plate. This can present proper water circulation which leaves your dishes dirty, and overworks the dishwasher. With the washer and dryer there is a recommended amount that you can fill it to. When you overload it, that strains the motor, and throws off the balance within the machine. This causes damage to the drum and the bearings, and lands you a hefty bill. This “quick fix” for saving time often results in expensive repairs or even appliance replacement. 


The Better Fix: Stick to the manufacturer’s recommended load capacity. If you’re frequently running out of space, consider whether it might be time to upgrade to a larger machine instead. 

The “Tap It, and It Will Work” Myth


Myth: If your appliance stops working, give it a tap, and it’ll start again.

Reality: While this old-school “fix” might occasionally work for loose connections, it’s not a reliable or safe solution. Repeatedly jostling your appliance can damage internal components and worsen the issue. Besides, “percussive maintenance” may provide a moment of satisfaction, but it rarely provides a lasting fix.

Courtesy of Steve Buissinne


The Better Fix: Don’t rely on a temporary “tap” solution. If your appliance isn’t functioning properly, it’s time for a professional inspection.


When it comes to appliance repairs, quick fixes often lead to long-term headaches. Instead of risking further damage or voiding your warranty, let the professionals at Appliance Rescue Service handle the job. Our skilled technicians know how to address problems safely and effectively, ensuring your appliances keep running smoothly for years to come. Call us today to schedule a repair and give your home the care it deserves.

Website

Call (214) 599-0055

Additional Reading


The Risks of DIY Appliance Repairs and How to Avoid Them
Keep Your Dishwasher in Top Shape

The Hidden Costs of Delaying Appliance Repairs


Durable Delights: Holiday Gifts That Last

Practical and thoughtful ideas for the gift-giver who knows someone a little hard on their stuff.

We all have that one friend or family member—the person who can turn the sturdiest appliance or tool into a cautionary tale. Whether it’s a cracked stovetop or a washing machine that mysteriously stopped mid-cycle, they’ve got the gift of destruction down to a science. This holiday season, why not embrace their talent with gifts designed to go the distance? From practically indestructible kitchen gear to appliances that can handle a little (or a lot) of rough love, this list has you covered. 


For bonus, where possible, we’ve listed ways that the gifts can be broken that we know of. If you know of any, make sure to let us know on our Facebook page! 


Cast Iron Skillet – A cast iron skillet is one of the most useful tools you can have in the kitchen. We’ve featured these on several previous gift lists. They are virtually indestructible and get better with use. Over time you’ll build up the seasoning on them so that anything you cook is going to be uniquely yours. 

How to avoid breaking it: Using soap or stainless steel pads (yes, this includes SOS pad) are straight out. They will both strip away the seasoning you intentionally work to build up, as well as damaging any coating your cast iron might have on it. 


Silicone Baking Mats –  Silicone baking mats can be used with just about any type of baking or cooking. If you’re not wanting to line a pan before you do a one pan dish, no problem. If you want to make a batch of cookies, done. Or if you want to make chocolates, and need to pop the pan into the freezer, it works. Silicone baking mats are for the person that loves cooking and hates cleaning. Even better, you buy them once, and you don’t have to worry about buying parchment paper again. 

How to avoid breaking it: Don’t put them onto open flames. Most silicone mats are meant to handle temperatures of up to 450*F. So, grilling, charring, broiling and microwaves are all out. 


Henry Vacuum Cleaner - The Henry Vacuum Cleaner is the workhorse of the cleaning world. With a reputation for durability, this vacuum has been around for nearly two decades in my home, tackling everything from carpets to stairs without missing a beat. While it doesn’t boast the fancy tech of modern vacuums, its modular design and long lifespan make it a solid choice for someone who values function over form.  (And for those that question why do you need a vacuum in your kitchen, we point out that there are always messes to be cleaned.) 


Shatterproof Drinking Glasses – When made of Tritan, you can get glasses that are actually shatterproof. Drop on the floor all you like, you’re good to go. Williams Sonoma has even tested them enough that they’re willing to say they also won’t cloud or discolor. 

How not to break them: Although these glasses aren’t made of glass, you’ll still need to be careful of a few things. Don’t put the glasses into the freezer with liquids in them, and don’t use SOS pads on them. 


Breville Barista Express espresso machine in sleek stainless steel, known for its robust construction and years of reliable, daily coffee brewing.

Courtesy of Breville

Breville Barista Express - For the coffee lover who prefers to skip the coffee shop lines, the Breville Barista Express is a dream come true. This all-in-one espresso machine can craft a rich, café-quality drink at home. We’ve been using it for years, and it’s shown no signs of slowing down. A little upkeep—like descaling and changing the filter—ensures it keeps brewing smoothly.


Unbreakable Mixing Bowls – ‘unbreakable’ isn’t really an accurate term in this case. If you’re purchasing a stainless steel bowl, its not going to ‘break’ unless you’re intentionally taking a hammer and chisel to it, and if you’re doing that, we’re not sure what else you expected to happen. 


Seafoam green silicone spatulas neatly arranged in a silverware drawer, showcasing durable and heat-resistant kitchen tools.

Courtesy of Castorly Stock

Heat Resistant Utensils –  Heatproof silicone tools are AMAZING. We’re going to say it here. All of those delicate pans you have that your giftee wasn’t allowed to handle previously? With silicone tools they can. They’re fantastic.  Heatproof silicone or metal spatulas, tongs, and spoons designed to last.


Copper-Plated Stainless Steel Whirley Pop Popcorn Popper - For the popcorn aficionado who wants a touch of elegance with their favorite snack, this popper offers both function and flair. This popper churns out 24 cups of crispy popcorn in about 3 minutes, all while being a pleasure to look at. Its copper-plated design is not only stylish but also built to last, making it a great gift for someone who enjoys quality and durability in the kitchen.

How Not to Break it: The only thing to really avoid with this one is stainless steel pads, or chisels. Other than that, you’re good to go. 


KitchenAid Artisan Series Stand Mixer -The KitchenAid Artisan Series Stand Mixer is a culinary icon for a reason: It’s built to take on all the toughest kitchen tasks and still keep going. Whether it's kneading thick dough or whipping up the lightest batters, this mixer can handle it all. With its sturdy design and an extensive range of attachments, it’s perfect for someone who takes their cooking seriously—and won’t settle for anything less than quality.

Teal green KitchenAid Artisan Stand Mixer on a kitchen counter, renowned for its durable build and ability to tackle even the toughest baking tasks.

Courtesy of KitchenAid

How Not To Break It: This one is tricky. On one hand, some people claim they’ve tried for years and haven’t been able to break theirs. Others have said that a hard drop for the base of the kitchenAid and you’ve got a fancy paperweight. So, we suggest leaving it planted firmly on the counter. 


Shun Cutlery Sora 8-Inch Chef's Knife - The Shun Sora 8-Inch Chef’s Knife is an exceptional investment for anyone who takes their cooking seriously. With its razor-sharp edge and perfect balance, it’s been my go-to knife for a decade. This blade is sharp enough to make quick work of even the toughest ingredients, while its beautiful, ergonomic design ensures that it feels like an extension of your hand. It’s a kitchen tool that, with proper care, can last a lifetime.


Even with the most durable gifts, life happens—especially in the kitchen or laundry room. When your accident-prone loved one manages to push their appliances to the brink, Appliance Rescue Service is here to save the day. From finicky refrigerators to dishwashers that just won’t run, our expert team is ready to get things back on track. Because while you can’t always prevent mishaps, you can count on us to help keep those major appliances running strong.

Website
Call : (214) 599-0055


Additional Reading
The Kitchen Gift-Giving Guide: From Laughs to Lessons, What Not to Wrap 

Christmas Gifts We Won't Be Giving

Smooth Moves: Preparing for Appliance Installation Like a Pro

Get Your Space Ready for Your New Appliance in 5 Easy Steps

Bringing home a new appliance should be an exciting milestone, not a stressful ordeal. By taking a little time to plan ahead, you can sidestep common delivery and installation hiccups. Whether it’s ensuring your space is ready, communicating with the right people, or double-checking critical details, a smooth installation starts with preparation. Let’s dive into the steps that will save you time, effort, and potentially costly mistakes.


Why do this? 

  1. Preparing ahead of time creates a safe and accessible environment for your delivery team.

  2.  Thinking out how appliances are going to be delivered and installed helps you to anticipate and solve any potential problems.

  3. Having a plan in place is key to preventing damage to your new appliances during delivery.


General Tips 

Make Plans For Your Old Appliance

Are you going to be uninstalling it yourself or having someone else do it? Where is it going to be taken? Do you plan on moving it before your new appliance comes or will you be disposing of it afterwards? Do you plan to have a service take care of this? All of these are questions that you want to know ahead of time to reduce the amount of stress you deal with.


Talk To Your Sales Associate Ahead Of Time

When you purchase your appliances make sure to tell your sales associate of any potential hurdles. Will your deliver y need to be on a second floor? Are you expecting them to relocate your old appliance? Do they have to move any venting? 

Details like this can add to the delivery and installation of your new appliances and needs to be accounted for in scheduling. Not only for your sake but for the dispatch department. By talking to your sales associate when you make your purchase you make your life easier and everyone else's.


Map a Path for the New Appliance

Plan out the path that will come from the door that the delivery men will come through all the way to where the appliance will be located. You can do this backwards or forwards to give your brain the best way to see any hurdles. Once you've figured out the path you expect the delivery to take clear that path of anything and everything for at least two feet on either side. This includes the obvious thing like toys and wires, but also rugs or furniture. Remember that if worst comes to worst it is possible to take door hinges off and remove doors from your route. 


Inspect Your Space For The Proper Hookups

Once you have your path mapped out, go back to where the new appliances going to be located. Do you have the proper electrical outlets that your new appliances going to need? For example do you need a 110 volt outlet, a 220 volt outlet, or something entirely different because you opted to purchase something brand new on the market? While ideally you'll ask that question while you're in store it doesn't hurt to triple-check now. If this is a water-based appliance, do you have a water hookup within reach of where the appliance is going to sit? Do you have a gas hookup if that's necessary? 

So long as you're doing this ahead of installation day, you should be able to fix any problems that arise if the answer to any of these questions is no.


Double-Check Your Appliance Cutout Dimensions

Ideally, this should actually be done before you make a final purchase, but let's say that you didn't. Take the dimensions of your new appliance and make sure that they match the space where they're supposed to go. Is the space big enough? Does the appliance have room to breathe? (This is especially important if you're dealing with a refrigerator, freezer or dryer.) Can all appropriate outlets and hookups be reached? 


 Secure Or Move Any Fragile Items Or Valuables 

Finally on the day of delivery, make sure to secure or move any fragile items or any valuables that could be accidentally damaged during the delivery process. 


Appliance Specific Tips 

In the section we are looking at tips when you're preparing for a specific appliance. Although there aren't many that don't apply in the last section, there are a few.


Washers

If you're getting a washer make sure that you have a three-pronged, 110 volt outlet at the location. You also need to make sure that you have both hot and cold water valves within at most 4 feet of the washer. You also want to make sure that the faucets are functioning and that the drain pipe is clear of any blockages. 


Electric & Gas Dryers

If you're getting an electric dryer, check the space for a three or four prong 220 volt outlet, as well as the necessary ventilation port. 

If you're getting a gas dryer you need a 110 volt outlet and still the same ventilation port. You also need to make sure there's a gas shut off valve right behind the dryer and that it is in proper working order. 


No matter which type of dryer you're getting, you want to make sure that the venting path is clear of anything and will match the requirement of your new dryer. You also need to clear the area of lint or other debris to prevent fire hazards.


Refrigerators and Dishwashers


Make sure that you have a three-pronged 110 volt outlet. Also, if your new refrigerator has a ice maker or water line, you'll need a water shut-off valve within 6 ft that's working.

For dishwashers, start by making sure that there is a pathway for venting steam. You'll also need to make sure that there is a source of hot water, a drain connection and an electrical outlet within 6 ft. 


Electric & Gas Ranges

If you're getting an electric range, all you have to check for is that you have a vent hood, as well as a three or four prong 220 volt outlet. 

If on the other hand you're getting a gas range, you need a 110 volt outlet as well as a gas shut off valve right behind the range. If you don't already have gas when you purchase a gas range, you will have to have that run before you can have the appliance installed.


A little forethought goes a long way when it comes to preparing for a new appliance. By ensuring your home is ready, you can enjoy the benefits of your new purchase without unnecessary headaches. If you run into any appliance issues down the road or need help with repairs, our team at Appliance Rescue Service is here to lend a hand. With expert technicians ready to assist, we’ll help keep your home running smoothly so you can focus on what matters most.


Holiday Success Starts at Home: Essential Tips for Your Appliance, Kitchen, and Home

Everything you need to get your appliances and home in top shape for a joyful, organized holiday season.

The holidays are almost here, and it feels like all of our time is being spent in the kitchen. That can be a wonderful way to foster togetherness and celebration with friends and family. But, given it’s the heart of all of the festivities, your kitchen appliances are working SO much harder. Possibly even harder than they do during summer. That makes it crucial to ensure they’re ready to handle the demands of the season. 


To help you making the most of the season AND keep your home running smoothly we’ve compiled the best of our holiday appliance tips into one ultimate guide. We’re hitting cleaning, troubleshooting, and how to organize everything. This roundup has everything to keep your home ticking like clockwork so you can focus on enjoying the season. 


Essential Preparations for High-Use Appliances

Courtesy of koolshooters

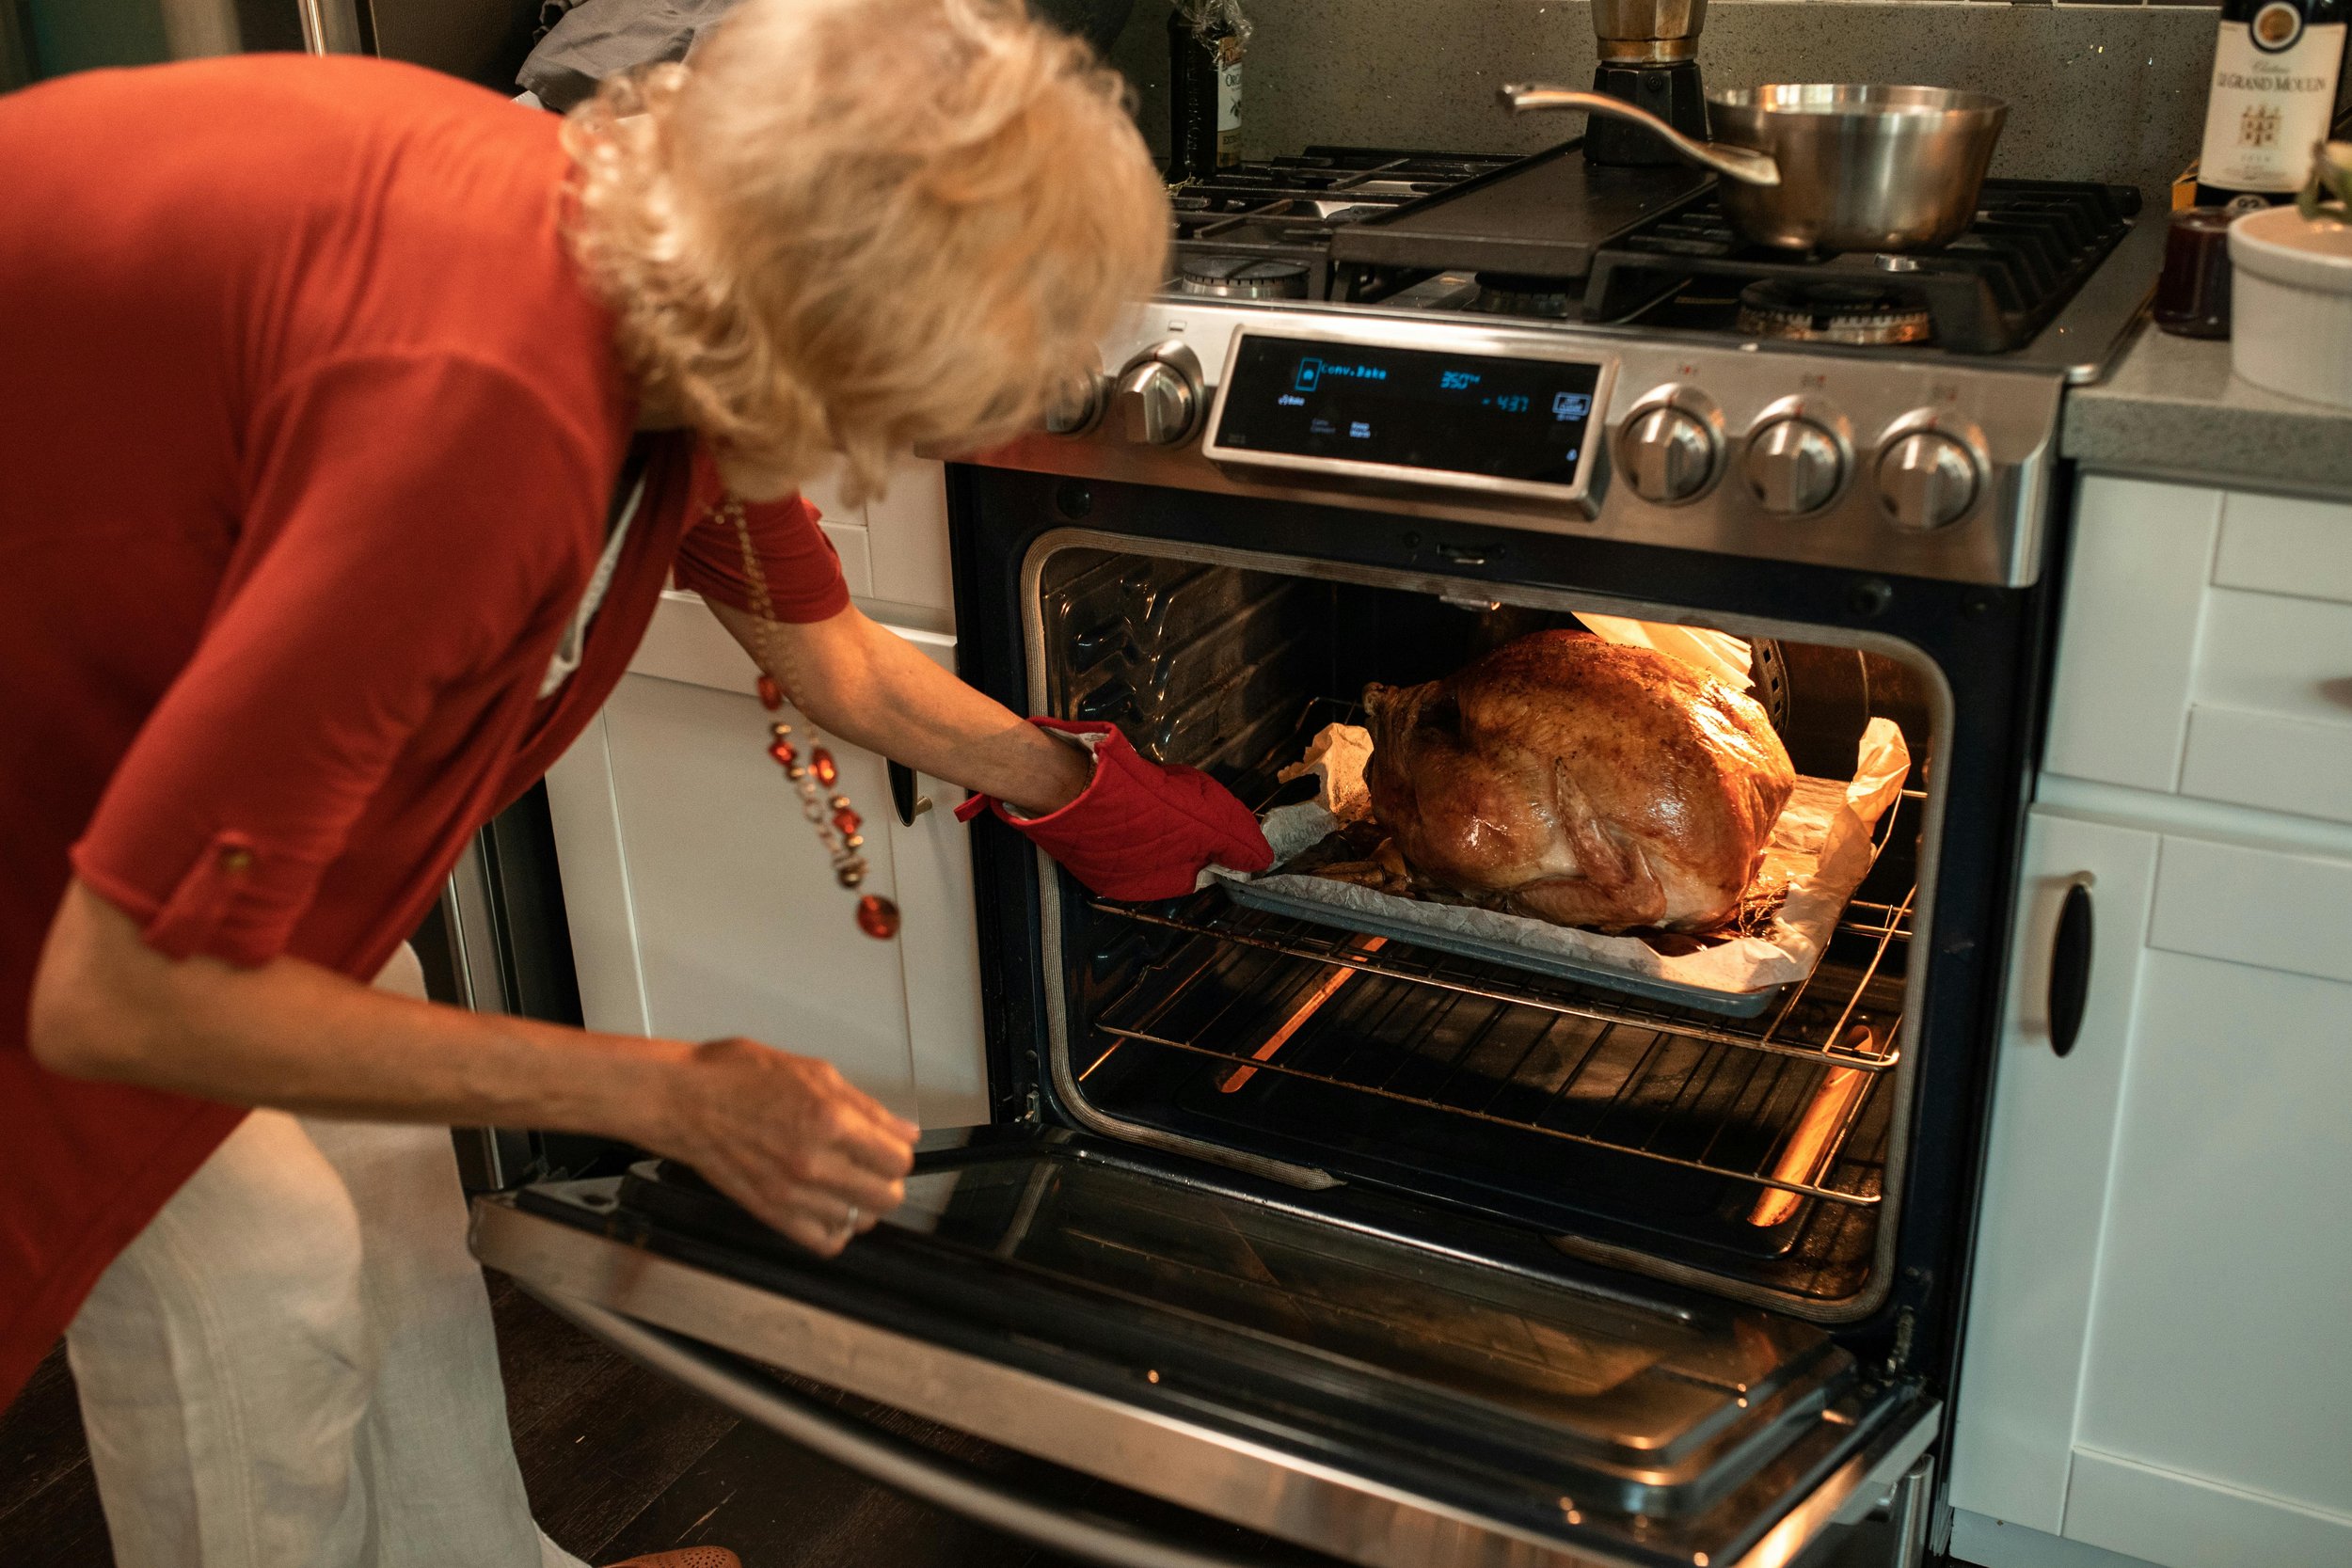
Our holiday meals are almost always center stage for holiday events. Everyone tries to make the best new recipe or to make the family favorites. Which means that your oven, dishwasher and refrigerator are the unsung heroes of your kitchen at this time of year. A little prep work ahead of the holidays can ensure they’re up for the heavy lifting. 


Before your guests arrive, check your dishwasher for clogs and clean out the fridge to make sure you have plenty of room for food. 


Dishwasher Tips: Help Your Dishwasher Clean Better – Just in Time for the Holidays!

As the holiday season approaches, your dishwasher is likely to get plenty of use. To help ensure it runs smoothly, start by running hot water first, sanitize with vinegar, and clean the gaskets and trap. Avoid overcrowding to prevent dirty dishes—these simple steps will keep your dishwasher in top shape for all the holiday meals ahead!


Kitchen Hazards Unveiled 

Oven safety is crucial in the kitchen, where common hazards include range tipovers, cookware injuries, and cooking fires. By taking preventative steps like installing anti-tip brackets, using heat-safe cookware, and staying vigilant while cooking, you can minimize risks and keep your kitchen safe. Don't forget, regular maintenance can also ensure your oven is in top shape, so you can focus on cooking up those holiday meals with peace of mind!


Chill Hacks Unveiled: Mastering Your Fridge's Microzones for Fresher Foods

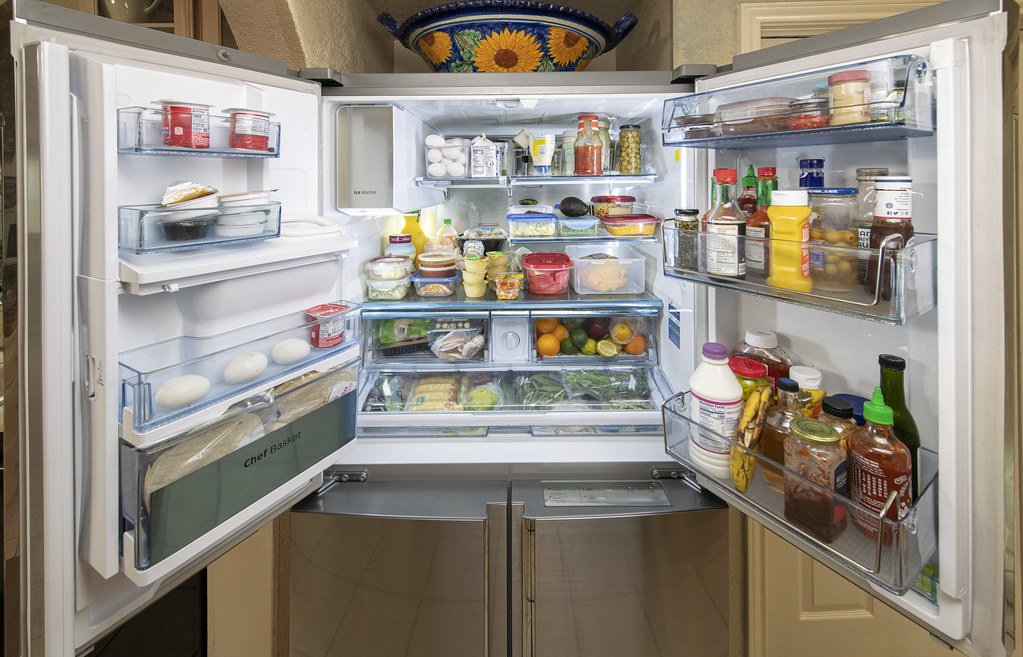
Maximize your refrigerator's efficiency and reduce food waste this holiday season by understanding its various temperature zones. From storing dairy in the stable middle shelves to keeping meats on the bottom, organizing your fridge properly can extend food freshness and minimize spoilage. 


4 Tips to Get your Garbage Disposal Ready for the Holidays!  

As the holiday season brings heavy kitchen use, don’t forget to prepare your garbage disposal with these simple tips: scour for grime with ice cubes, avoid certain foods, clean with fruit peels or baking soda, and use it regularly to prevent rust.

Avoiding Holiday Appliance Mishaps

Nothing is quite as bad as a malfunctioning appliance in the middle of Christmas dinner. Thankfully, a few simple steps can help you avoid common issues, so you can focus on what matters most to you and your family. 

Remember some of most oft-repeated advice: 

Courtesy of August de Richelieu

  • Unless it’s steam cleaning, avoid the self-clean button on your oven! 

  • Keep an eye on your electrical outlets. Tempting as it is, don’t overload them or bring power strips into the kitchen when you’re handling lots of small appliances. 

  • Keep your dishwasher clean of build-up and clogs

  • Check the seals on all of your appliances, and make sure that they’re clean, free of grime, cracks or breaks. 


For a Stress-Free Holiday – Skip the Self Clean Mode!

While the 'self-clean' button on your oven sounds tempting, it's best avoided, especially before the holidays. High temperatures can cause damage and release harmful fumes. Instead, clean your oven manually to avoid repair issues and keep your holidays stress-free. 


Common Appliance Issues That Could Ruin Your Holiday – And How to Prevent Them

Prepare your home appliances ahead of the holiday season with simple maintenance tasks to avoid stress. Deep clean your oven, stove, fridge, and washer, watch for common issues like clogged filters, and ensure your electrical system is ready for extra holiday use. A little preparation can keep everything running smoothly, so you can focus on enjoying time with your loved ones.

Pre-Holiday Cleaning and Organization


A sparkling kitchen not only impresses guests but also makes holiday cooking and entertaining easier. Plus, addressing potential hazards ahead of time ensures a safer and smoother experience.


Focus on often-overlooked areas, like the oven’s drip pans or the back of your fridge, and ensure everything has its place before the holiday chaos begins. These small steps make a big difference when you’re juggling a house full of guests. And it doesn’t hurt to make sure the guest rooms are set up as well.


Organizing Your Home Before the Holiday Daze

"Get ahead of the holiday chaos with these easy tips for decluttering, organizing, and storing your decorations and gifts. From using bins and baskets to setting up a wrapping station, these tricks will help you stay stress-free and make your home holiday-ready in no time.


5 Spots in the Kitchen to Clean Before the Holidays

The holidays are just around the corner, so it's the perfect time to get your kitchen ready for all the entertaining and baking. Don't forget the often-overlooked spots like your range hood, small appliances, trashcan, oven, and refrigerator. 


10 Kitchen Hazards to Avoid this Holiday Season

The kitchen is the heart of holiday celebrations, but it can also be filled with potential hazards. From burns and knife injuries to spills and grease buildup, there are several dangers to watch out for this season. Stay safe while cooking by taking simple precautions and ensuring your appliances are in good working order before the holiday rush!


19 Essentials to Setting up a Gorgeous Guest Room

Courtesy of RDNE

Turn your guest room into a cozy, luxurious retreat for the holidays with thoughtful touches like extra toiletries, a luggage rack, and a well-made bed. Make sure your space is fully stocked with essentials to ensure your guests feel relaxed and at home during their stay.


Pro Tips from Appliance Rescue Service 

Our team at Appliance Rescue Service recommends scheduling routine maintenance ahead of the holidays to ensure your appliances are in peak condition. Think of it as a little extra insurance against unexpected breakdowns, so you can focus on creating holiday memories.


By following these tips, you can make your holiday season as smooth and stress-free as possible. Whether it’s prepping appliances, avoiding common pitfalls, or staying organized, you’ll be ready to enjoy every moment. And if an unexpected issue does arise, you can always count on Appliance Rescue Service to keep your home running smoothly.


Website

Call : (214) 599-0055


The Do’s and Don’ts of Cleaning Stainless Steel Appliances

Essential Tips to Keep Your Stainless Steel Appliances Looking Like New


When it comes to maintaining stainless steel appliances, appearances matter as much as functionality. A sleek, gleaming surface is one of the reasons many of our customers choose stainless steel. But without the right care, your stainless steel fridge, oven, or dishwasher can quickly lose its shine, becoming dull or, worse, permanently damaged.

Understanding the difference between coated and non-coated finishes is a crucial part of keeping your stainless steel looking brand new. This knowledge empowers you to make the right cleaning choices and avoid harsh chemicals that can turn your appliance purple (yes, really!). Let's dive into the good, the bad, and the ugly of stainless steel care, armed with this important information.


Know your coating


Before we start looking at ways to clean your stainless steel, you want to know what it's coating is. Different types of coating will require different consideration for how to clean them.  


Coated

Many appliance manufacturers are now offering a fingerprint-resistant finish. Some even include this as part of the appliance out of the box. Frigidaire is a good example of this, having been offering their smudge-proof stainless steel appliances for several years. In theory, appliances with this finish are easier to clean and more resistant to fingerprints and smudges. Although we haven't done extensive testing, we also tend to see appliances in many different states clean and dirty and haven't seen much difference in how the coating helps.  Generally manufacturers recommend cleaning their coated stainless steel only with soap and water.

It's important to note that the fingerprint-resistant coating is easily damaged. Even though it doesn't dissolve in water, vinegar can strip it away. This cautionary advice underscores the need to check your owner's manual before using any of the recipes that we suggest today, ensuring you don't inadvertently harm your appliance. 


Non-coated 

The most common finishes you are likely to find on your appliances are matt, brushed, and mirror. These three refer to how the steel was finished not a coating that was applied on top or added in the fabrication process. Stainless steel that has been finished by any of these methods is non-reactive to acids so it's safe to clean them with vinegar based cleaners.


Courtesy of Lowes and GE

Like you, when looking to solve a problem, we want to get straight to the solution. So this week, that's just what we're doing. We'll start with the good stuff, the recipes that will work on cleaning your stainless steel appliances. Then we'll move into the things you need to avoid, or else it will damage or destroy those appliances. Finally, we've got two in our last section that are just ugly. 


The Good


1. Olive Oil and Vinegar

 Many people use olive oil and vinegar to clean appliances. You spray down your appliances with a light coat of white vinegar and wipe it down with a microfiber cloth. Then you come back with the olive oil to gently buff the surface and protect it. 


Some swear by combining the two to make a one-and-done product, so that's what we're sharing here. 


Ingredients:

1/2 cup of white vinegar

1/2 cup of olive oil

Instructions


Mix the white vinegar and olive oil in a spray bottle.

Shake hard before each use so that the two liquids will mix into each other. 

Spray the solution onto the stainless steel appliance you're going after.

When wiping down your appliance, it's crucial to follow the grain of the steel. This attention to detail ensures you're not just cleaning, but also preserving the appearance of your stainless steel. 

Finish by buffing the surface to a shine with a dry cloth.


2. Lemon juice and cream of tartar

For a citrus twist, combine lemon juice with cream of tartar. The natural acidity of the lemon will cut through stains, smudges and built on grease, while the cream of tartar acts as a mild buffer. 

Lemon juice's natural acidity can cut through stains and brighten the steel's appearance.


Ingredients:

Lemon juice (from one lemon)

Cream of tartar

Instructions:


Squeeze out your lemon into a bowl and mix in enough cream of tartar to create a paste. 

Apply that paste to any stained areas on your appliance. 

Scrub gently with a soft cloth, and continue until the paste is gone or the stain is. 

Use a clean cloth to rinse with water and dry the area. 


3 Water and Vinegar

For this mixture, you will need a half cup of water, and third cup of white vinegar.  However, this may leave the area smelling like vinegar. You may add some essential oil for a pleasant smell.


The mild acidity of vinegar helps cut through grease and grime without harming the surface. Here's how you can use it:


Ingredients:

1 part white vinegar

1 part water

Instructions:


Mix the white vinegar and water in a spray bottle.

Spray the solution directly onto the stainless steel surface.

Wipe it down with a clean, soft cloth, following the steel's grain.

Rinse with water and dry thoroughly to prevent streaks.


Courtesy of Bosche and Lowes

Just make sure that you don't let the vinegar sit for more than a minute in any area, as the acidity can damage the finish if left alone.


4. Baking Soda Base

For this cleaner, you will need white vinegar, four tablespoons of baking soda, one quart of water, and some lemon juice. Mix all of these ingredients together and let them sit for a few minutes. You may then apply and then rub off the cleaner paste with a dry paper towel. From there, rinse the area with water and dry it with a clean towel.


Ingredients:

Baking soda

Water

Instructions:


Create a paste by mixing baking soda with a small amount of water.

Apply the paste to the stained area.

Gently scrub with a soft cloth or sponge, following the steel's grain.

Rinse with water and dry thoroughly.


For many people this is enough. You have the recipes that work, now you just need to figure out which one works for you. Hang on, though, and you'll find out why these recipes work vs others that don't, plus one that can ruin appliances and another that wastes your time. 


The Bad

Now we're into the warnings. The things that you should be told when you purchase a new stainless steel appliance, but aren't always. There are many things that can damage the pretty outside of your stainless steel appliances. It's surprising, we know, but it's the truth. 


1.  Steel Wool 

Steel wool, like you might use to clean your pans, is straight out. This will scratch and destroy your stainless steel.  These not only scratch the stainless steel, but you can leave behind particles that will rust on the exterior and leave you with a very messy-looking appliance. 


2. Harsh abrasives

DON'T use chlorine bleach, chloride, oven cleaner, or other abrasive cleaners 


Scouring powders

Bleach and other chlorine products

Glass cleaners that contain ammonia, such as Windex

Oven cleaners

All of these cleaners we've listed will damage the finish on your appliance, making it easier for it to be scratched or to begin rusting. 


3. DON'T forget to review the manufacturer's manual.

Your manufacturer's manual will have important tips and tricks, not only for cleaning your appliance in question but also to help with things you need to avoid. 


4. DON'T leave things sitting in a stainless steel sink

Plates, silverware, and dishes can all leave streaks or scratches on your sink when moved around before being put into the dishwasher.  For your sink's sake, don't put off doing dishes. 


5. DON'T ignore chalky, white build-up

Courtesy of Curtis Adams

Tap water, especially if yours tends to be hard water, can leave a build up behind that not only looks gross, but will begin to leave stains given time. Better to wipe away any water or residue when you get the chance. Additionally, make sure that in your cleaning you aren't using hard water, but instead use distilled water. 


The Ugly


1. Avoid streaks; go with the grain. 

Let's face it, no one wants streaky windows or appliances. So, just like when washing down your windows, you need to go with the grain of the appliance. It's not just about streaks, though. Going against the grain can also get pieces of your cloth of choice stuck in the grain, leaving small pieces that can cause rust or damage over time. 


2. Not all cleaners will clean.

Just like we pointed out in the last section, some cleaners just don't mix with stainless steel appliances. One story we found was a woman who used Wood Surface Spray on her stainless steel fridge. In theory, it cleans away smudges, dirt and dust just as well as it does on wood, and it even protects from smudges! 


Except it doesn't?  According to those in the comments that found that not only does it not get the steel completely clean, but the smudges are back the very next day.  


Our final and perhaps most curious tip is this: Do not use any cleaner with ammonia in it.  Not only will it eat through the stainless steel, but it can also dye it purple. 

Courtesy of RDNE Stock projectRDNE Stock project

Taking the time to clean and care for your stainless steel appliances not only keeps them looking stunning but also helps them perform at their best. With the right approach—knowing the finish, using safe cleaning methods, and steering clear of harmful products—you can enjoy spotless, long-lasting appliances. And if your appliances ever need a bit more than a cleaning touch, our team at Appliance Rescue Service is here help. We’ll work with you to keep your appliances running smoothly. Reach out for all your repair and maintenance needs; we’re here to help keep your home in top shape, one appliance at a time. 


Website

Call:  (214) 599-0055


Additional Reading

Fact Check: Common Appliance Maintenance Beliefs Debunked

Oven Deep Dive 

Organizing Your Home Before the Holiday Daze