Versatile and Delicious: Creamy Chicken and Veggies

Simple Ingredients, Spectacular Results

Transforming leftover chicken into a weeknight meal has never been easier! Say hello to this week’s recipe of creamy chicken and veggies. It’s the ultimate solution for a hassle-free weeknight dinner. It’s a great way to use a previous night’s chicken dinner, toss in the vegetables you have in your fridge and a handful of pantry staples to make an endlessly variable recipe.  It’s a delicious mix of flavors and textures, that’s quick to throw together and can feed a hungry family. Whether you’re looking to mix up your leftovers or just needing a comforting meal that comes together easily, this is the recipe for you. 


Ingredients:


2 cooked chicken breasts

2 tablespoons olive oil 

2 tablespoons minced garlic

1 green bell pepper 

Large can of diced tomato, drained

1/4 cup heavy whipping cream 

1 tablespoon white cooking wine

1/2 teaspoon dried basil

1 teaspoon dried oregano 

1 teaspoon dried parsley

1/2 teaspoon dried thyme

1/2 teaspoon dried rosemary

Black pepper and salt to taste 


Tools:

Measuring cups and spoons 

Large heavy-bottomed skillet

Colander

Can opener 

Cutting board

Knife

Spoon

Forks 


As always, please let your first step be to wash your produce!


Once clean, take the knife and cutting board and chop your bell pepper, discarding all the rib and seeds.


Take a can opener to your can of diced tomatoes (feel free to use fire roasted, or low sodium, or whatever tomatoes you have around! The point is to use stuff you have on hand, so don't fret if you don't have plain diced tomatoes).  Flip the can into the colander to drain. It'll take a while to finish dripping, so consider moving on to another task. Either assign a little helper to watch the tomatoes or just check back on them later. Don't press them, though; you want them to retain some moisture for creating the sauce.


Next up, let's get to the chicken - drop it on the cutting board and use a pair of forks to shred it to your desired size. We went with fairly large chunks, but you can change it up. 


Add the oil to the pan and turn the burner up to medium-low. As the oil heats, add your garlic and cook until fragrant. This usually only takes a couple minutes.


Increase the heat to medium. Splash in the cooking wine, then add your peppers, tomatoes, and chicken. Give everything a stir, then allow it to simmer while you measure your basil, oregano, parsley, thyme and rosemary into the pan. Add salt and pepper at this stage if you'd like, then stir again so no one gets a mouth full of just spices later.


Once the peppers begin to soften up, you're good to measure in the heavy whipping cream. Stir thoroughly. Sometimes it takes some elbow grease to get the cream to incorporate fully.


Allow to simmer, uncovered, without increasing the heat, for at least ten minutes before serving. In the event you'd like a heavier sauce, simmer over low heat until the sauce reduces to the consistency you prefer.


Serve over rice, or over pasta, or with a roll, or just by itself. One of the great things about this recipe is that you can use the recipe with almost any grain or side that you have available or want to throw in. 


If you opt to make this recipe, let us know on our Facebook page! We want to know how you mix it up, what you add in and what you pair it with. With how versatile this recipe is, we want to see what you do with it!

On the other hand, if you’re struggling with your stove, be it electric, gas, or induction, that’s an entirely different problem and we can help. At Appliance Rescue Service, we can service any type of stove you might have. Whether you’re struggling a stove that won’t light, or it’s cutting out during use, we can help. We service every model of stove, and every manufacturer, be it foreign or domestic. If your stove is malfunctioning, we want to help.

You can reach out to us via our contact page or by giving us a call at ((214) 599-0055). We’ll work with you to set up an appointment that works for your schedule and send out one of our experienced technicians. They’ll diagnose the problem and explain what’s going on before they let you know whether they can fix it then and there or need to order in parts. From there, we’ll let you decide what you want to do. At Appliance Rescue Service, our goal is to get your home running smoothly again; whether you’re in Dallas, McKinney or Richardson, we’re here for you.


Additional Reading

Get Your Protein with This Buddha Bowl 


Jalapeno Chicken Bowtie Pasta


Unveiling the Secrets of Appliance Recycling

Maximizing Benefits for You and the Environment

Is your home plagued by the sight of old appliances gathering dust in the corners of your garage? Do you often wonder what to do with them when it's time to upgrade to newer models? Fear not, for we have uncovered a treasure trove of options for recycling your old appliances. Let's dive into the world of appliance recycling and explore the myriad possibilities that await.


Options for Recycling Old Appliances:

When it comes to recycling old appliances, you're not short on options. Here are some avenues you can explore:


1. Local Recycling Programs:

Many utility companies offer appliance recycling services, sometimes with incentives like refunds or waivers. Some states have government programs for appliance recycling, making it easy to dispose of your old appliances responsibly.


2. Retailer Pickup Services:

Some retailers provide pickup services for old appliances when you purchase new ones. Two retailers that specifically offer this service are Lowes & Home Depot. Both allow for you to opt in when you purchase a new appliance and have it delivered. There are also services that offer to haul away your appliances for you that you’ll find when researching disposal centers. Before choosing one though, make sure you look into how they handle hazardous materials. 


3. Disposal Centers:

If you have the means to transport your old appliances, you can take them to disposal centers yourself. Make sure to confirm acceptance of specific appliances and inquire about hazardous material handling before dropping them off. 


Accessing Recycling Options:

If you aren’t sure of what’s in your area, or what’s easiest, you can reach out to your local utility company to learn about more options. You can also use Earth911.com to learn more about local recycling programs using your zip code. 

Benefits of Recycling Appliances:

Recycling your old appliances doesn't just clear up space in your home—it also comes with several environmental and economic benefits:


1. Environmental Protection:

Recycling reduces landfill waste and prevents hazardous substances from entering the environment, contributing to a cleaner planet. (for more on that one, you can check out part two!)  

2. Energy Efficiency:

Recycling old appliances can lead to reduced energy consumption compared to using less efficient models, helping conserve valuable resources.

3. Resource Conservation:

By recycling metals and plastics from appliances, we reduce the need for virgin materials, conserving natural resources for future generations.

Emphasizing the Hidden Treasure of Recycling:

When you recycle your old appliances, you're not just getting rid of them—you're unlocking valuable materials and contributing to sustainability. Appliances contain valuable metals like copper, aluminum and steel that can be melted down and reused for new products.

This reuse helps to create a more sustainable future by reducing resource consumption, and means that new materials odn’t have to be dug up or synthesized. Instead of using fuel to dig up and then process and ship new materials, old ones can be reused. Which means you’re making an environmental impact on your own, and as part of your community. 


Incentives and Rewards:

Recycling your old appliances can also come with some enticing incentives and rewards:

1. Financial Incentives:

Some utility companies offer refunds, waivers, or cash for participating in appliance recycling programs, giving you a little extra incentive to do your part for the environment. You can keep an eye on their social media, your local newspaper or give them a call to learn more about how that might work. 


2. Environmental Impact:

Recycling appliances contributes to reducing greenhouse gas emissions and protecting the ozone layer, highlighting the environmental benefits of participation.

By exploring these options and understanding the benefits of appliance recycling, you can play a vital role in creating a cleaner, more sustainable future for generations to come. So, don't let those old appliances collect dust any longer—recycle them and make a positive impact on the world!


Resources: 

City of Dallas Drop-Off Locations: The City of Dallas operates several drop-off locations for recycling various materials, including appliances. You can visit the City of Dallas website or contact their Sanitation  department for more information on locations and accepted items. https://dallascityhall.com/departments/sanitation/pages/brush_and_bulky.aspx 


Earth911.com: Earth911.com is a useful resource for finding recycling centers and drop-off locations near your area. You can use their website to search for recycling options specific to Dallas, Texas, by entering your zip code and the type of material you want to recycle.


Local Utility Companies: Utility companies in the Dallas area may offer appliance recycling services or participate in government-sponsored recycling programs. Contact your utility provider to inquire about any recycling initiatives they may have and how you can participate. 


Community Recycling Events: Keep an eye out for community recycling events or collection drives in the your area. These events are often organized by local municipalities or environmental organizations and may include opportunities to recycle appliances.


Remember to inquire about any fees, requirements, or restrictions associated with recycling appliances at these locations. Additionally, always make sure to properly prepare appliances for recycling by removing any hazardous materials or fluids and following any guidelines provided by the recycling facility.


Did any of the various benefits catch your attention? Share your thoughts with us on our Facebook page!


Remember, there are few situations with major appliances that we can't resolve. At Appliance Rescue Service, we're committed to providing our best, whether it's through routine maintenance checks or repairing your appliances. If you're not ready to give up on fixing your appliance, rest assured, neither are we. Get in touch with us via our contact page or give us a call ((214) 599-0055).


Crispy Bottoms to Raw Centers: A Chef's Nightmare

Troubleshooting the Troublemaker: Your Oven

Are you tired of your culinary creations consistently turning out over or undercooked from your oven? Don't worry, you're not alone! Dealing with such kitchen mishaps can be frustrating, but fear not, as there are solutions at hand. In this article, we'll explore common issues leading to over or undercooked food and provide practical tips to help you achieve perfectly cooked meals every time. So, let's dive in and uncover the secrets to mastering your oven!

Troubleshooting Oven Overheating:


If you consistently have trouble with your oven over- or undercooking food, you should start by ruling out various issues.


Rule out simple causes like improper bakeware or rack positioning. Some recipes need more space, like cooking a ham or turkey. If you keep other foods that need shorter cooking time that close to the bottom of your oven though, they'll end up being overcooked. Most recipes assume that you are using the middle rack in your oven unless otherwise stated. 

Use a digital thermometer to see if the temperatures that your setting your oven to are the actual temperatures inside the cavity. If not you might have a broken thermostat or a faulty temperature sensor. While looking around you should also see if your cooling fan is working properly.


Look over the inside of your oven and  inspect the heating elements.  Look to see if there is any damage or grease buildup. Both of these can cause uneven temperatures throughout your oven. 


Make sure that the vents on the outside of your oven aren't obstructed. If your oven can't breathe properly, then it won't be able to cool itself properly.


Check your oven's manual, to see if it's possible to recalibrate the temperature setting. If you don't have access to the manual any longer you could also call for a technician to help you out. 


Moving beyond oven overheating concerns, let's delve into a specific issue that often plagues home cooks: burnt bottoms and undercooked centers. Learn how to tackle this problem head-on with practical solutions to ensure your dishes come out perfectly cooked every time. 


Problem: Food is burnt on the bottom


How many times have you pulled a pizza or a sheet of cookies out of the oven to find out that they're burned on the bottom and still uncooked in the center? It's a common annoyance that many people face in the kitchen without ever knowing why. Typically, ovens have their heating elements located at the bottom, resulting in intense heat on the bottom of a pan or dish and the rest of the heat circulating more evenly around the rest of your food. 

To remedy this:

Start by adjusting the bake time or temperature, considering your food's top and middle parts.

Try using glass or silicon cookware instead of metal pans to avoid excessive browning.

Experiment with rack positioning to create more distance between the heating element and your cookware.


Consider using parchment paper to prevent direct contact between the food and the pan. (Important note here: Parchment paper is not wax paper. Wax paper will melt and ruin your food even more. Parchment paper might singe or even catch on fire if it comes in direct contact with your heating elements, but that is considerably better than having your food be completely inedible thanks to a layer of wax becoming part of it. )

As we continue our journey towards oven mastery, let's shift our focus to the fine-tuning of cooking parameters. Beyond troubleshooting, achieving consistently delicious results hinges on mastering the delicate balance between temperature and timing. Join us as we uncover the secrets to culinary perfection in the heart of your kitchen.

 Problem: Food is undercooked or overcooked

Finding the right balance between bake time and temperature is crucial for perfectly cooked dishes. Overcooked and you're dealing with dry tasteless food. Potentially even burned if you let it cook for too long. Undercooked and you're dealing with it not tasting good at the very least, and potentially it making you sick if you're not that lucky.

Here's what you can do:


Increase or decrease heat based on your food's doneness. If you get to the end of your cook time, and find out that your food is undercooked you can reduce the temperature and toss your food back in for a little bit longer. If you find out your food is overdone, unfortunately we can't turn back time. What you can do though is note that down in the recipe and make changes the next time that you choose to make this particular dish.


If your oven has trouble with consistent heat distribution, consider utilizing convection mode. This will help with the air circulating more evenly around your oven and cooking things better. 


Calibrate your oven's temperature settings for precise cooking results.

Keep an eye out for temperature fluctuations during baking, which may affect your food's outcome.


In conclusion, mastering your oven is a journey that requires patience, precision, and a willingness to troubleshoot common challenges. By implementing the tips and techniques outlined in this article, you can overcome issues of overheating, uneven cooking, and burnt bottoms to achieve culinary excellence. However, if you find yourself facing persistent oven woes, don't hesitate to contact Appliance Rescue Service for expert assistance. Remember, with the right guidance and a dash of perseverance, perfectly cooked meals are well within reach.

Join the conversation on our Facebook page and share your own tips and tricks for oven mastery!


Website

Call: (214) 599-0055


Additional Reading

Why Fall Is the Best Time For a Maintenance Check 

Oven Deep Dive 

The Planned Obsolescence Debate

Built to Last or Destined for Disrepair?

Are our modern appliances built to withstand the test of time, or are they designed with an expiration date in mind? In a world where our washing machines text us when the laundry is done and our refrigerators double as personal assistants, the question of longevity looms large. Let's delve into the heart of the matter, exploring the intricate web of factors that shape the lifespan of today's appliances. From the surge in consumer complaints to the evolution of manufacturing processes, we'll unravel the complexities surrounding this pressing issue. So, fasten your seatbelts as we embark on a journey to uncover the truth behind the lifespan of our most beloved household gadgets.


So what are the facts? Let's take a look at the different sides of the issue.


The Rise in Consumer Complaints


According to Yelp, users requested 58% more quotes from thousands of repair businesses in January 2023 than in January 2022. While the data doesn't tell what went wrong, it does show a sharp increase in the number of times users were unable to solve the problem themselves. 

Our appliances can do more than ever. Your washing machine can text you when a load is done. Your HVAC system can tell you when to reduce your temperatures to save money or even do it itself. Your refrigerator can remind you of your schedule. But if you peel back the stainless steel and plastic exterior of your modern appliances, you'll see that they're packed full of sensors and switches that weren't there ten years ago, let alone 20. True, these make sure that the the appliance is only using the energy, water, or fuel that it needs, but more parts equals more complexity equals more points of failure. 


While manufacturers used to rely on straightforward on/off mechanical switches, they've transitioned in the last decade. Now our appliances use more advanced electrical and computerized parts such as a touch screen that displays half a dozen different modes for your oven. Our machines are more likely to be made with plastic and aluminum these days rather than steel. High-efficiency motors and compressors are also subject to this since they are tasked with drawing less energy and so they can be lighter.


Instead of everything being built in one factory, individual components are now outsourced to the least expensive bidder. Components and finished products are being shaved down as much as possible to make them lighter and cut down on shipping costs. Appliances are made more and more often out of plastic than steel, which means the gaps between pieces are smaller than ever. When you cut down the amount of space between pieces and cut down on the stability of those pieces, you're looking at a much larger number of components that can break during daily use.

When a $60 pump can lead to a $35,000 replacement of your entire kitchen, how are you supposed to handle that? Let alone trust the manufacturer?

Evolution of Appliance Design and Manufacturing

It used to be that an appliance would be built from beginning to end in one factory. You knew where everything was coming from and where everything was going. Manufacturers used to mostly rely on on/off mechanical switches, and mechanical motor driven timers. Many things were made out of steel and would last for decades. 


Things were built differently. And that's not just a metaphorical saying. Mid-century appliances lasted decades because pieces were made with solid belts, solid switches or levers, were driven by only a motor and a compressor.


They were substantially more bulky, in both size and weight, than they are today. They were also energy hogs. They were more expensive than even in comparison to today. Additionally, they were more expensive for your utility bills. An old washing machine would use 50 gallons for a load of laundry, whereas today, you would use 15. A dishwasher would use 10 gallons of water in comparison to as little as three today. And electrical usage was much the same. 


Courtesy of Max Vakhtbovycn:

New appliances, on the other hand, have been redesigned from the ground up in many ways. Now, designs take into account shipping weight, manufacturer costs, and how much can be done with electronic switches rather than motors. The appliances are also built with the latest technology to lower your utility bills by using the most efficient motors. 


It's difficult to estimate the reliability of individual models because brands will use multiple factories and suppliers for a single product line. It gets even worse when you understand that individual components are often sourced from multiple suppliers over the time of a single model's production. 


Conflicting Perspectives: Industry vs. Repair Technicians


According to the National Association of Home Builders and a study that they conducted in 2007, the average lifespan of your home appliances is less than or equal to 15 years on average. A dishwasher is approximately nine years old. A washer and dryer is approximately ten years old. And a refrigerator is approximately 13. * 


American households, according to Euromonitor International, spent 43% more in 2023 than in 2013, rising from an inflation-adjusted average of $340 to $558. Even though prices declined by 12%, according to the labor department, within that time frame. One reason for the discrepancy, according to all parties, is a higher rate of replacement. So, the short version of this is that although prices for appliances have gone down, more households needed to replace their appliances as of 2023 than in 2013.


The Association for Home Appliance Manufacturers says that while the industry has enhanced the safety, energy efficiency, capacity, and performance of appliances, they claim that the average lifespan has not substantially shifted over the last two decades. **


However according to repairmen and technicians on the ground, most will give less than 4 years on average for any given appliance. They point out that it is the push towards computerization, and an increase in components that have to fit together just so alongside flimsier materials that cause a shorter lifespan. They point out that even the higher end items aren't as durable as they once were. 


Impact on Consumer Behavior and Market Trends


Does this mean that new appliances are designed to fail? 


Courtesy of Greg Henshall

Modern appliances do have a shorter lifespan. Instead of lasting 50+ years, you're now getting around ten if you treat your appliances well. That is partly due to our demands as consumers. We want the latest tech at the lowest prices, preferably yesterday. Unfortunately, something has to give in that equation, and from a manufacturer's standpoint, that's most often the quality and, thus, the lifespan of the machines.


So if you were to ask us if manufacturers are designing for obsolescence or are they just trying to keep up with the market, we would have to say it's a little bit of both.  


A tip some repair technicians are offering their clients is "More features might be more glamorous, but fewers is usually better." In fact, this is why our owner always suggest the less "glamorours" but most reliable options to our own clients. It's also why we offer not just repair services but also maintenance checks as well, to ensure that your appliances have as long a life as possible. 


As we conclude our exploration into the lifespan of modern appliances, one thing becomes abundantly clear: the landscape of household gadgets is evolving at a rapid pace. From the surge in consumer complaints to the contrasting perspectives on industry practices, we've peeled back the layers to reveal a nuanced picture of the challenges facing today's appliances.

But amidst the complexity lies an opportunity for proactive action. At Appliance Rescue Service, we're not just here to fix things when they break – we're your partners in appliance longevity. By prioritizing regular maintenance checks and opting for reliable, durable options, you can extend the lifespan of your appliances and minimize the need for costly repairs.


So, whether it's a malfunctioning dishwasher or a faulty refrigerator, remember that Appliance Rescue Service is here to help. Let's work together to ensure that your appliances not only meet but exceed their expected lifespan, saving you time, money, and unnecessary stress in the long run.


Contact us today to schedule a maintenance check and experience the peace of mind that comes with knowing your appliances are in good hands. Your trusted partner in appliance care – Appliance Rescue Service.


Appointment Page

Call ((214) 599-0055)


*We have reached out to the National Association of Home Builders to see when they next intend conduct the study in hopes of being able to bring more updated information to this argument in the future. 


** We, as appliance repair technicians, have to disagree with that, though, as many other data points show. Additionally, we have to question how they define substantially and who exactly paid for this research. Is the 43%, as referenced by the Euromonitor International, not substantial?


The Art of Homemade Garlic Rolls: From Dough to Delight

A Step-by-Step Guide to Crafting Warm, Flavorful Dinner Delights

Hey there, welcome back folks! This week, we're diving into the delicious realm of garlic rolls—because, let's be honest, is there ever a bad time for garlic rolls? As March marches on, what better excuse to indulge in these savory delights? Think of them as the dinner equivalent of cinnamon rolls—warm, comforting, and oh-so-satisfying. We're thrilled to guide you through the process because trust me, these rolls are worth every bit of effort. Get ready to tantalize your taste buds and make your dinner table a whole lot happier. Let's roll into it!


Ingredients:

2 cups all purpose flour

2 heaping teaspoons active dry yeast

2 tablespoons granulated sugar

1/2 cup milk or water, warmed to 110 degrees

2 eggs


20+ garlic cloves (to taste)

1 tablespoon olive oil

salt and pepper to taste

1/4 cup butter

Tools:

9x13 baking pan

measuring cups and spoons

rolling pin

thermometer

mixing bowl

small oven-safe dishes

aluminum foil

knife


Optional:

stand mixer with dough hook

food processor


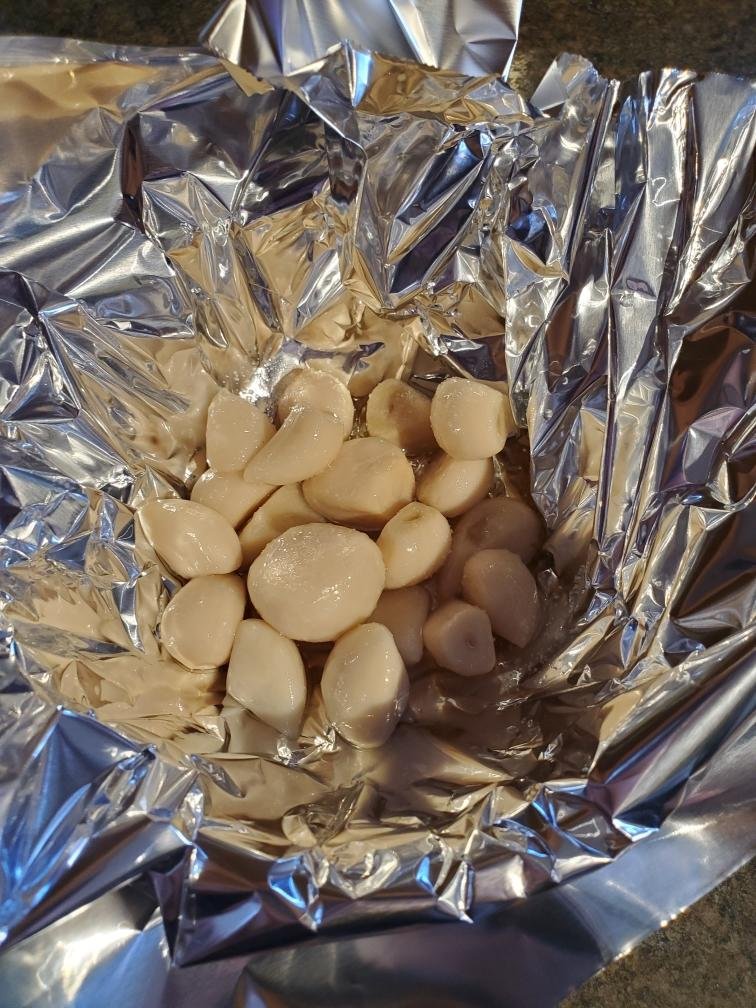
Before getting too deep into things, toss your garlic cloves in a little olive oil and season them with salt and pepper, wrap them loosely in aluminum foil (allowing a little room for steam to vent) and nest the foil in a small oven-safe dish. Set the dish in the oven and bring the oven temperature up to 400 degrees, Let the garlic bake for 45 minutes like this.


Heat up the water or milk (we like to use milk, but it's totally optional) and test the temperature before adding any yeast. Too warm and the yeast will kick the bucket on you without doing its job, but too cool and it will fail to activate. Aim for about 100 degrees.


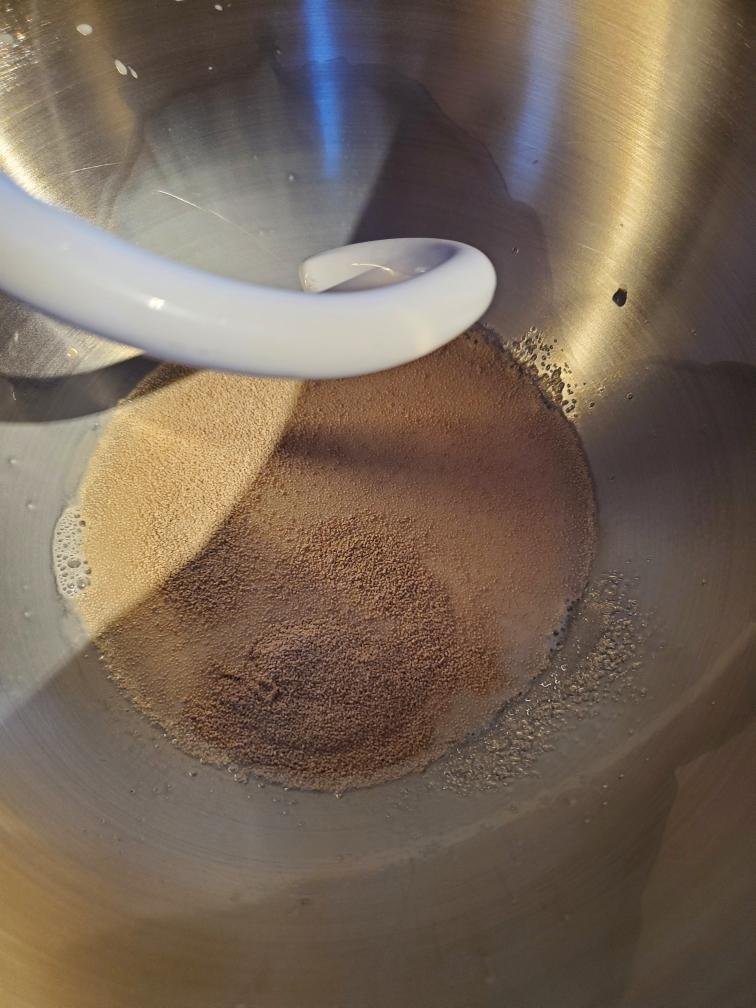
When you're sure the liquid is the right temperature, move it to the mixing bowl and pour the sugar and yeast in and stir gently. Let it all sit for about ten minutes.


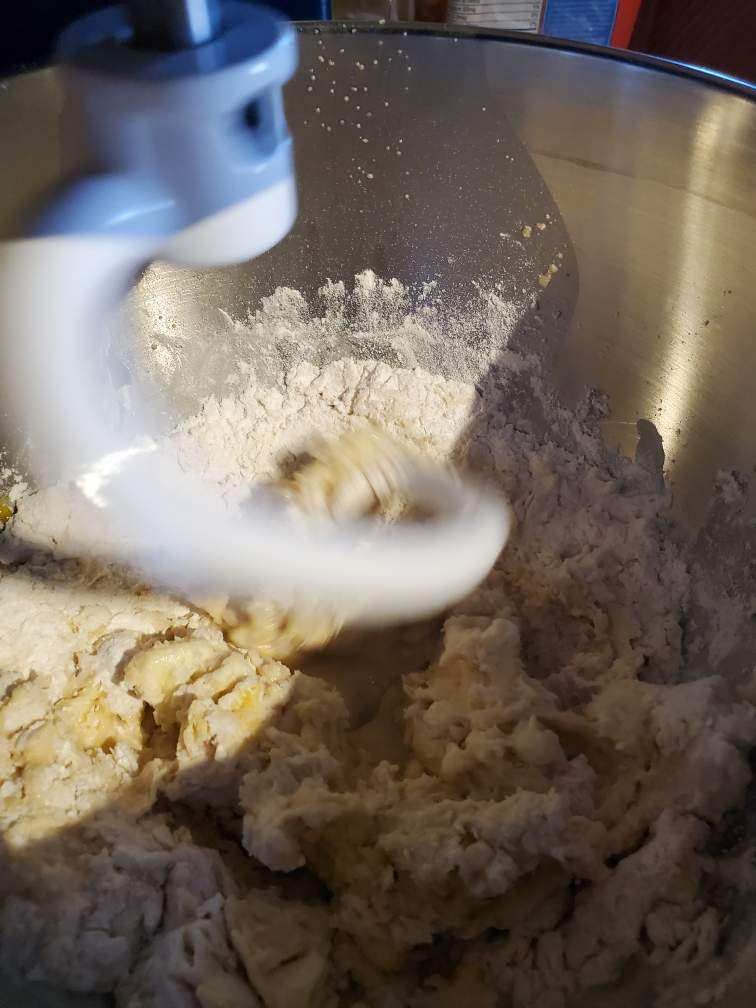
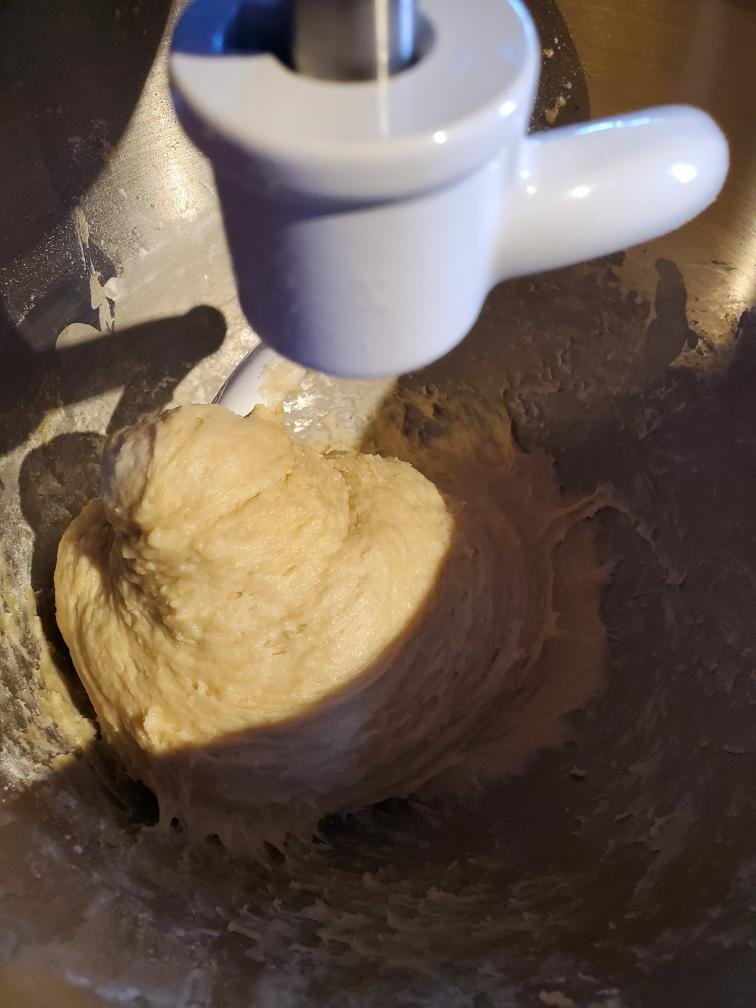
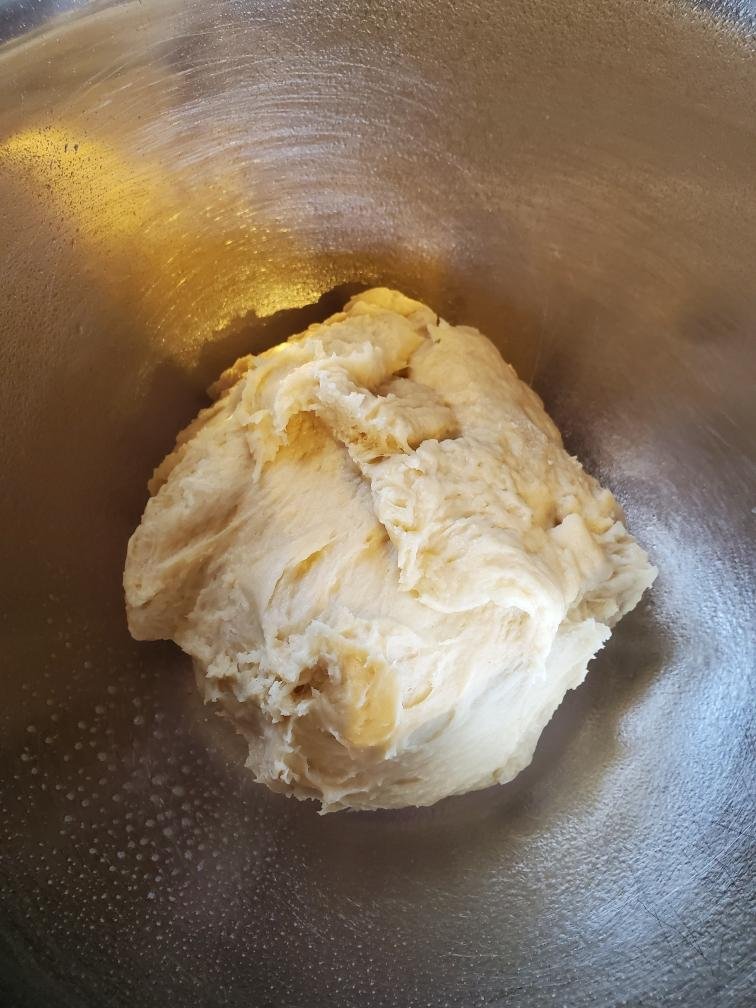
After your ten minutes are up, you can add the flour and eggs and either knead by hand or utilize a stand mixer. Work the dough until it comes together, but avoid overdoing it. Knead too much and you'll be left with a tough, chewy bread rather than soft. You should have a slightly sticky, mostly smooth ball of dough,


Dump your dough ball into a clean, lightly greased mixing bowl. Cover it tightly in aluminum foil, then drape a kitchen towel over the top and set it somewhere warm to rise. Leave it alone for at least two hours.


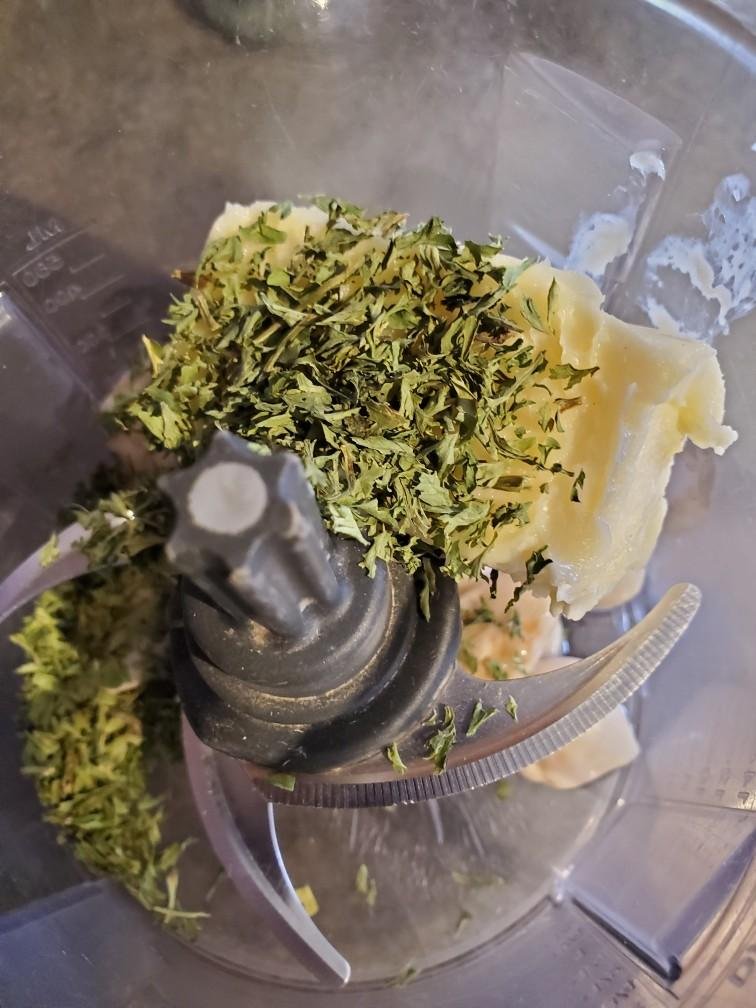
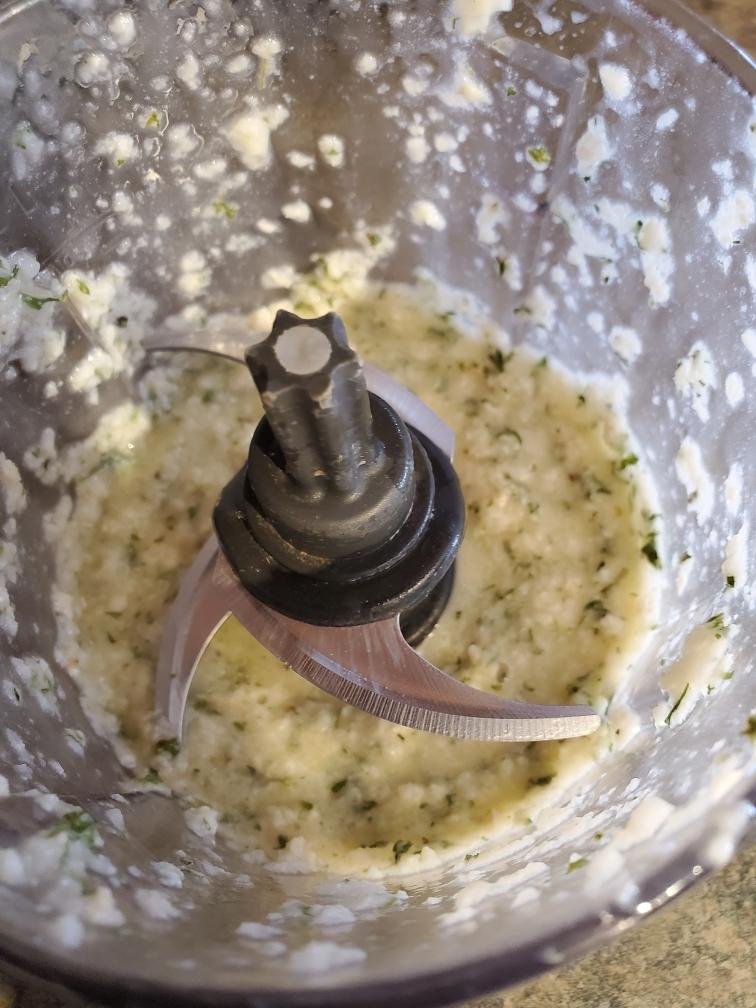
During the rise, you can double back and check on your garlic cloves. Once they're removed from the oven, let them cool a few minutes so they'll be safe to handle. Dump the contents of the foil into the food processor and pulse, or onto a rimmed plate and mince with a knife. Melt the quarter cup of butter in a heatproof dish, then add the garlic mixture to it and stir well. Set this aside for a little while - you'll need it later.


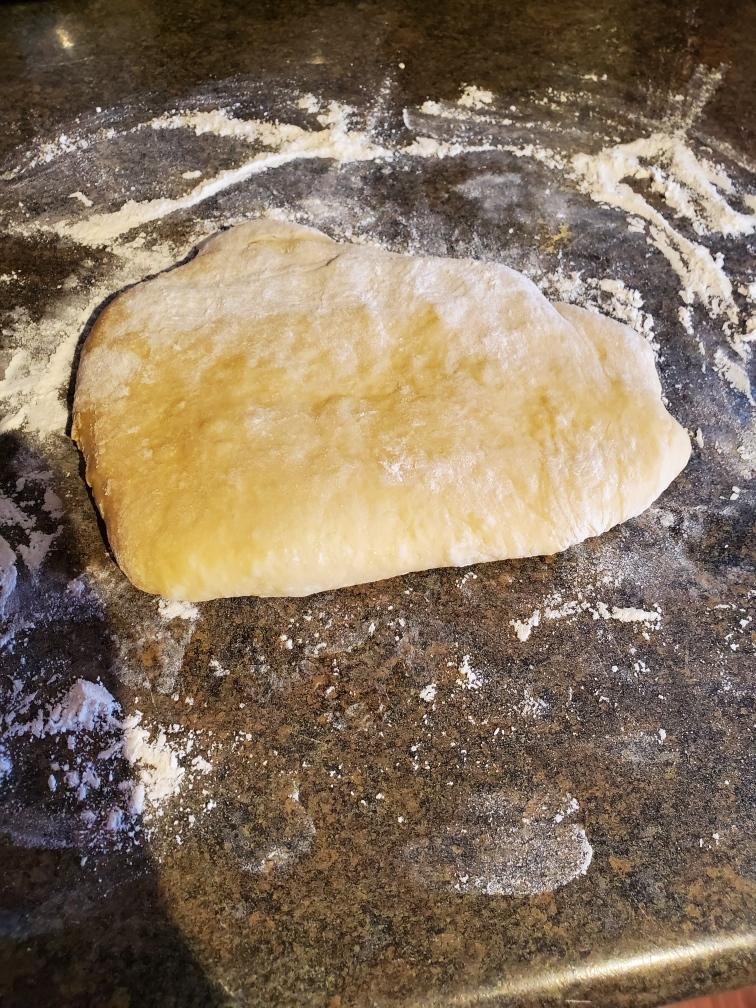
After letting the dough rise, remove the towel and foil and turn it out onto a floured surface. Punch it down, then dust the top lightly with flour and roll it out to a little over a quarter inch thick.


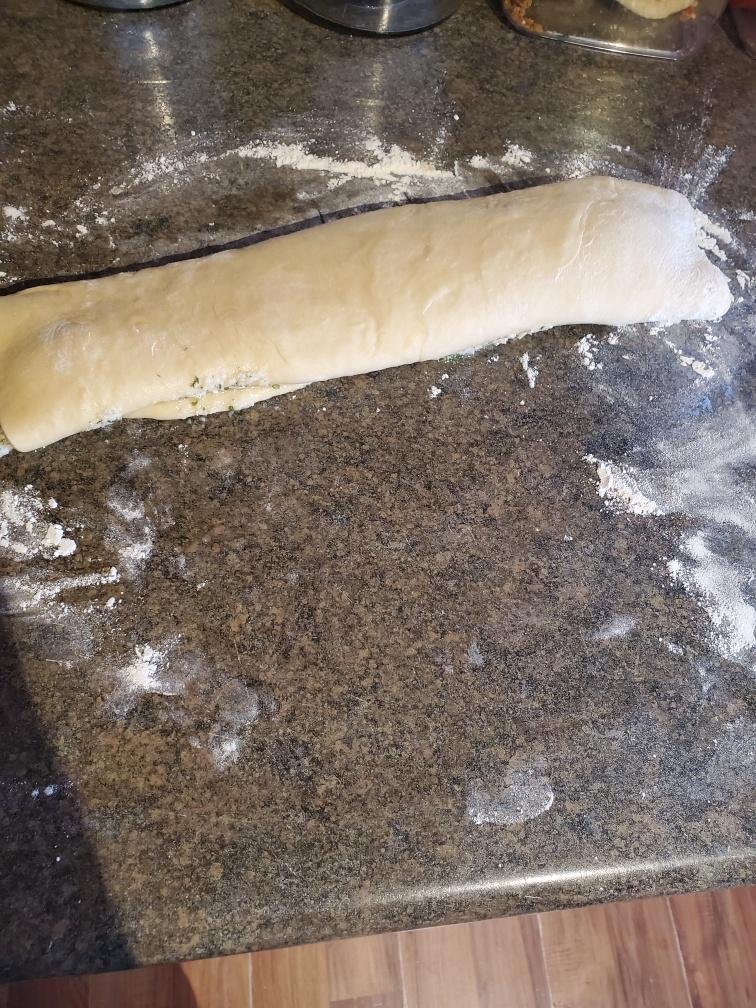
Retrieve your garlic/butter mixture and spread a thin layer on the rolled out dough. Make sure to get close to the edges but not overfill any spots. Once you've used up all your filling, take the nearest long edge of the dough and begin rolling it over to enclose the filling. Repeat the rolling motion until you're out of single layer dough and have created one long log.


Trim the edges, as those are likely to be uneven and have little to no filling. Cut the rest of the log into eight or ten even pieces. (Since we work directly on a countertop, we accomplish the cutting step with a plastic knife. Please choose your tools appropriately to avoid damage to your kitchen.)


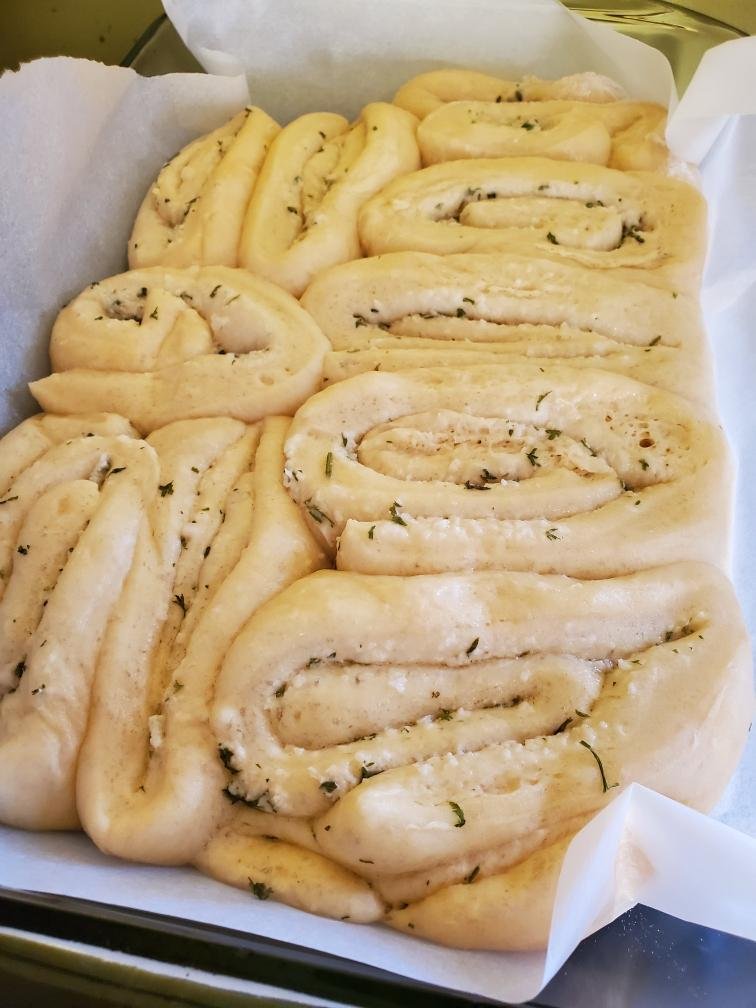
Line your baking pan with some foil, then move the rolls to your pan. They do not need to touch - in fact, it's much better that they don't. Leave a little space between them. Re-use the aluminum foil you had covering the mixing bowl, because it's time for a second rise. Leave the rolls alone, covered in a warm place, for another hour. 


When the second rise is done, your rolls will have expanded to the point they look like they're going to overflow the pan. Don't worry. They'll just be big and fluffy.


Preheat your oven (unless it's been heating this whole time because your kitchen is chilly) to 375.


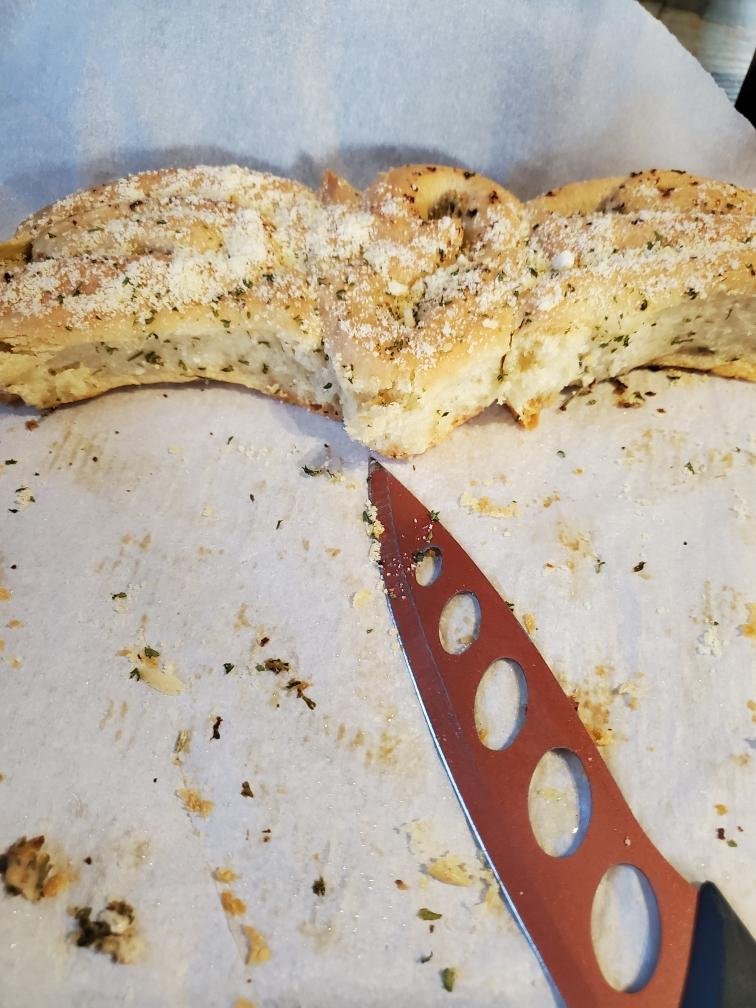
Optional step: If you have any of your garlic filling mixture left over. brush it on the top of the rolls. If not, you can utilize a little olive oil (spray or liquid). Once the top of the rolls has been moistened, we like to add a light dusting of cheese (parmesan, mozzarella, or sometimes both), Italian seasoning (with extra oregano), and/or cracked black pepper. You're in charge here, add what you like best - if you choose to add anything at all.


Bake for 20-25 minutes until golden. Allow to cool before removing from the pan.


As always if you made this one, let us know over on our Facebook page, we’d love to hear how it turned out!

If you’re in the Addison area and your appliances are malfunctioning, we’d be happy to help! You can reach out to us via our website or by giving us a call at ((214) 599-0055).


Additional Reading

If you’re looking for more wonderful bread-y recipes, check out this set from our archives!


Punchy Potato & Cheddar Rolls 


Escapee From New York: Chocolate Bagels


Pepperoni & Canadian Bacon Stromboli