family-friendly recipe

How to Make a Crescent Veggie Bacon Ring That Even Picky Eaters Will Love

A simple, creative recipe that combines veggies, bacon, and cheese in an irresistible way.

Sometimes, inspiration comes from the weirdest places. This recipe is, in part, inspired by a computer game we played as kids and somehow continue to play now (despite the elapsed time being measured in decades). One available character enjoys bacon and broccoli omelettes. While this hardly counts as an omelette, containing only one egg, and has much more potato and onion than bacon or broccoli, none of that changes where the idea was inspired. And honestly, getting the teenager to eat vegetables can still be a bit of a chore. Hiding the veggies inside a distracting presentation sometimes does the trick. Excessively carb-heavy foods can also do the trick. This is both visually interesting and carbohydrate-laden, and the teenager ate a double serving. The metric holds.


Ingredients:

8 slices of bacon

1 12-oz bag frozen broccoli cuts

3 red potatoes

1/2 yellow onion

8 ounces Colby jack cheese

1 can of crescent rolls

1 large egg

2 tablespoons 2% milk

1 tablespoon dried parsley

salt and pepper, to taste


Tools:

Cutting board

Knife

Cheese grater

Vegetable peeler

Measuring cup(s) and spoon(s)

Frying pan with lid

Baking sheet or pizza pan

Small bowl

Plate with paper towel (for bacon)

Whisk or fork

Tongs

Parchment paper


Preheat the oven to 375 degrees.


As always, wash your produce before beginning! This step isn't necessary for the frozen broccoli and will instead make it soggy - but if you instead choose to use fresh broccoli, please wash and allow to dry thoroughly.


Peel your potatoes and dice them finely. The smaller the pieces are, the quicker they'll cook. Give the yellow onion half the same fine-dice treatment, and chop your broccoli to the desired size. If you're not sneaking veggies into the dish, feel free to leave larger florets for the visual impact. 


Fry up your bacon slices in the frying pan on medium-high. Don't drain off the grease when you remove the bacon slices - you'll need it for the veggies.


Set the bacon to the side (use the paper towel on a plate to absorb any excess oil) and transfer your chopped vegetables to the frying pan. Season generously with salt and pepper. Seriously, generously! However much you think is enough, be prepared to add more. Taste a little and decide.


Reduce the heat to medium and cover. Allow to cook until soft, stirring occasionally with the tongs. This may take several minutes, depending on the size to which you diced your vegetables and the size and material of the pan.


Since you've got a few free minutes while you wait on those vegetables, it's a good moment to take that block of cheese and grate it. We're sure you've heard it before, but freshly grated cheese melts so much better than the stuff in the plastic bag in the grocery store. It's extra work, sure, but the improvement in the end product is so worth it. 


Spread a sheet of parchment paper out on the counter or table. Pop the can of crescent rolls and separate the triangles. Lay them on the parchment in a star configuration with an open center. Have the corners of the base of each triangle overlap a little so that they stay connected while they bake.


Make sure your crescents are close enough together to fit on your baking sheet. We prefer a pizza pan, since we're making a ring, but not every household has one rolling around a cabinet and we get that. A baking sheet is fine so long as you have enough space to support your ring without crushing it into an oval.


Gently transfer your crescent ring to the baking sheet or pizza pan. It's fine if the points of the triangles are drooping over the sides, since you'll fold them inward shortly. Place a slice of bacon on each triangle. If you've cooked the bacon extra crispy, like we did, press down a little on the center to break the bacon strip so it will fold easier when you close up the ring.


Take the rest of the bacon and chop, tear or smash it. Set that aside for now, but you'll want it again soon.


Crack the egg into a small dish and measure in the milk. Whisk the egg and milk together. Once the veggies are soft, pour the egg and milk mixture over and stir. Don't worry about cooking the egg through entirely; it's more just a binding agent.


Scoop a spoonful of the egg and vegetable mixture onto each triangle. Try to distribute it as evenly as you can, but there's pretty much always going to be one that's accidentally heavier than intended - usually right as you get started or as you reach the bottom of the pan. You can move little bits around with the tongs to try and even it out, but try not to break it up too much (we want the egg to sort of  hold it together).


That bacon you pulverized a minute ago? Sprinkle it all over the egg and vegetable mixture. Add your dried parsley at this stage, too. It's fine if some ends up in the center of the ring, but try to get most of it to stick to the egg.  


Sprinkle the majority of the cheese over the hot egg and vegetable mixture. Reserve a little for the top of the crescents. Fold each crescent triangle over toward the center. Break the bacon strips in an extra spot or two if necessary, just be sure not to stretch the crescent too thin in bringing the point to the middle.


Spread the remaining cheese over the top and pop it in the oven for 22 minutes. Allow it to cool for at least two minutes before cutting and serving the crescents.


Who says getting creative in the kitchen can’t be both delicious and practical? This crescent veggie bacon ring isn’t just a hit with picky eaters; it’s a surefire way to use simple ingredients to make something unforgettable. And while you focus on whipping up dishes like this, let Appliance Rescue Service take care of the heavy lifting when it comes to keeping your kitchen appliances running smoothly. Because whether it’s your oven, fridge, or dishwasher, our team is here to ensure your culinary adventures never miss a beat. 


Website

Call (214) 599-0055


Additional Reading

Cheese Lover's Dream: A Must-Try Cabbage Bake

Hearty Chicken and Broccoli Bake for Chilly Nights

A Taste of Autumn: Easy Chicken Bake with Spinach and Artichokes


Hearty Chicken and Broccoli Bake for Chilly Nights

A Family-Friendly Recipe for Quiet Evenings

Sometimes, the best meals come from a little improvisation. This chicken and broccoli bake, reminiscent of a heartier chicken and dumpling soup, is designed for those unexpected chilly nights when grilling just isn’t feasible. With a creamy sauce, tender chicken, and a topping of bubbly cheese, this dish is both comforting and delicious. It's a great way to use up ingredients you already have on hand while creating a satisfying meal the whole family will love. Join us as we transform a few simple ingredients into a cozy, fork-friendly dinner perfect for any night of the week.


Ingredients:

3 chicken thighs, boneless and skinless

1/4 cup shredded carrots

12 oz bag frozen broccoli cuts

1 can cream of chicken soup

+/- 1 1/2 cups milk

1/3 cup shredded cheese

1 can crescent rolls

1 teaspoon garlic powder

1/2 teaspoon onion powder

salt and black pepper, to taste

olive oil


Tools:

Large lidded skillet

baking dish

spoon

knife

cutting board

grater (if not using pre-shredded carrots and cheese)

measuring cups and spoons

plate

tongs

In short: this is basically chicken and dumpling soup, but heartier, and designed to be eaten with a fork. It makes a better cold weather meal than warm, but sometimes there's just no getting around the weather outside to fire up the grill, and some changes must be made.

We intended to make some grilled chicken, but the wind was high, we were under an "extreme fire danger" red flag warning, and it was unseasonably cold with little warning anyway. So we chose to pivot, use up some odds and ends from the fridge, and save some of that chicken we'd defrosted for another day.

If you're not starting with ready to eat produce, please give it a quick wash before you really get rolling.

In the event you're using fresh produce that needs prep work, prep it before the chicken. Even though we intend to cook it all, this simple rule of thumb for preventing cross-contamination is a good one to follow constantly. 

Once you have your veggies ready, cut the chicken thighs into one inch chunks. Heat a little olive oil in the skillet and add the chicken. Season with salt, pepper, garlic and onion powder and stir to coat. Cook covered for a few minutes, stirring frequently, until the chicken is done.

Pop the can of crescent rolls and lay out the triangles on a plate while you wait for the chicken to cook through, then preheat the oven to 375.

Once the chicken is done, hold it in place with the tongs and drain off the excess oil (or put it through a colander if you're more comfortable with that; we just find it easier to wash tongs than a colander). Add the condensed soup and the milk to the pan and stir. Use less milk if you want the sauce/filling to be thicker. The condensed soup is gloopy and will just kind of squish around the pan until it gets warm enough to melt, so be aware you'll likely be stirring for a minute or two.

After the soup and milk have combined and the only chunks left are the chicken pieces, add the shredded carrots and mix them in. Allow everything to simmer uncovered for two minutes before cutting the heat.

Grease the inside of the baking dish you'll be using and grab a triangle of dough. Lay the triangle into the pan with the base in the pan and the pointed top poking out. Using a spoon, transfer a scoop of the chicken soup mixture to the base of the triangle. Roll the triangle so that you have the chicken in the middle and the point ends up near or at the bottom, held in place by the weight of the dough and filling.

Repeat with the rest of the dough, leaving a little space between each roll so that they'll have some room to expand while they bake.

Dump the broccoli on top and sort of spread it out so each part of the pan dhas some florets, then pour the remaining soup in the pan over the top of everything as a sauce.

Cover it lightly in a layer of cheese before baking for 20 minutes. If you'd like the cheese to develop the bubbly, crispy-edged texture, turn the heat up for the last five minutes of the cooking time (this works much better with cheese you've shredded at home than with the pre-shredded stuff covered in anti-caking agents).

Serve with a salad for extra veggie points!


We hope you enjoy this comforting chicken and broccoli bake, perfect for those unexpected cold nights when grilling isn't an option. With its creamy sauce and savory flavors, it’s sure to become a favorite in your household. Remember, cooking is all about creativity and making the most of what you have. If you ever find your kitchen appliances in need of some TLC, don't hesitate to call Appliance Rescue Service. They're here to ensure your culinary adventures continue smoothly. Happy cooking, and enjoy every warm and delicious bite with your loved ones!

Take Care Of Your Appliances Today

Call Us: (214) 599-0055


Additional Reading

Easy No-Cook Not Quite a Cannoli 

Spicy Lemon Pepper Shrimp

Pepperoni & Canadian Bacon Stromboli 


Versatile and Delicious: Creamy Chicken and Veggies

Simple Ingredients, Spectacular Results

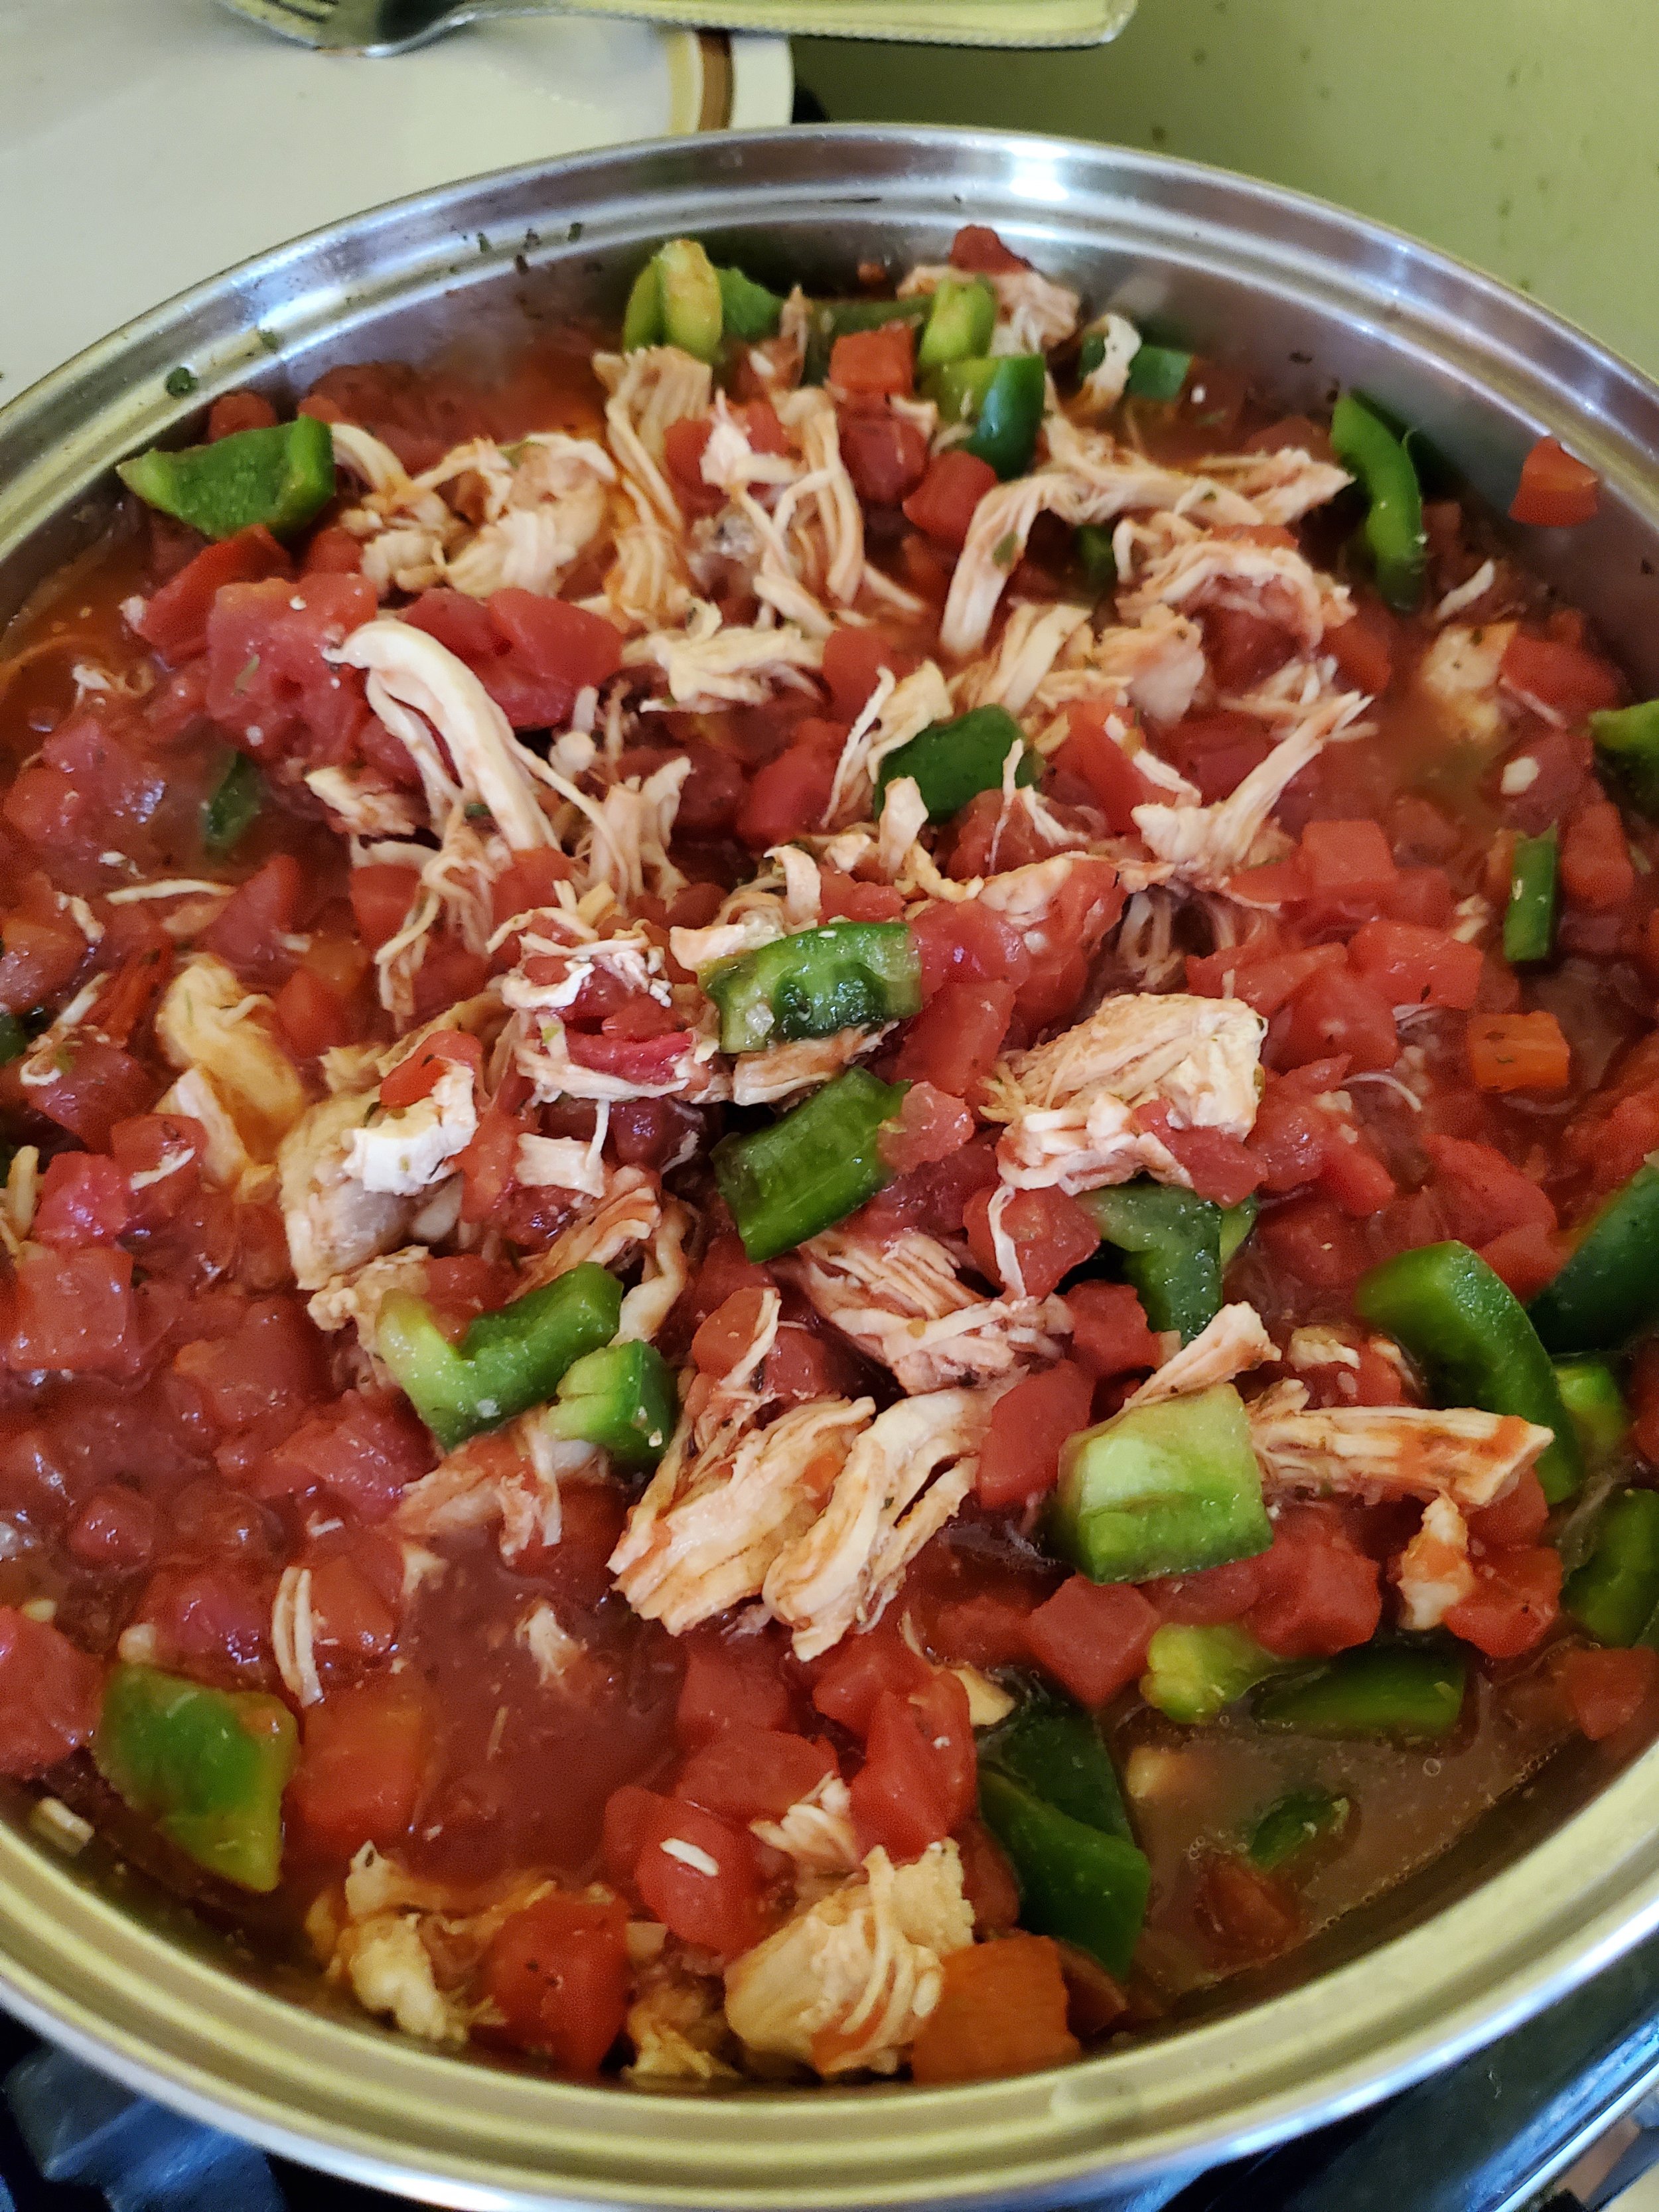
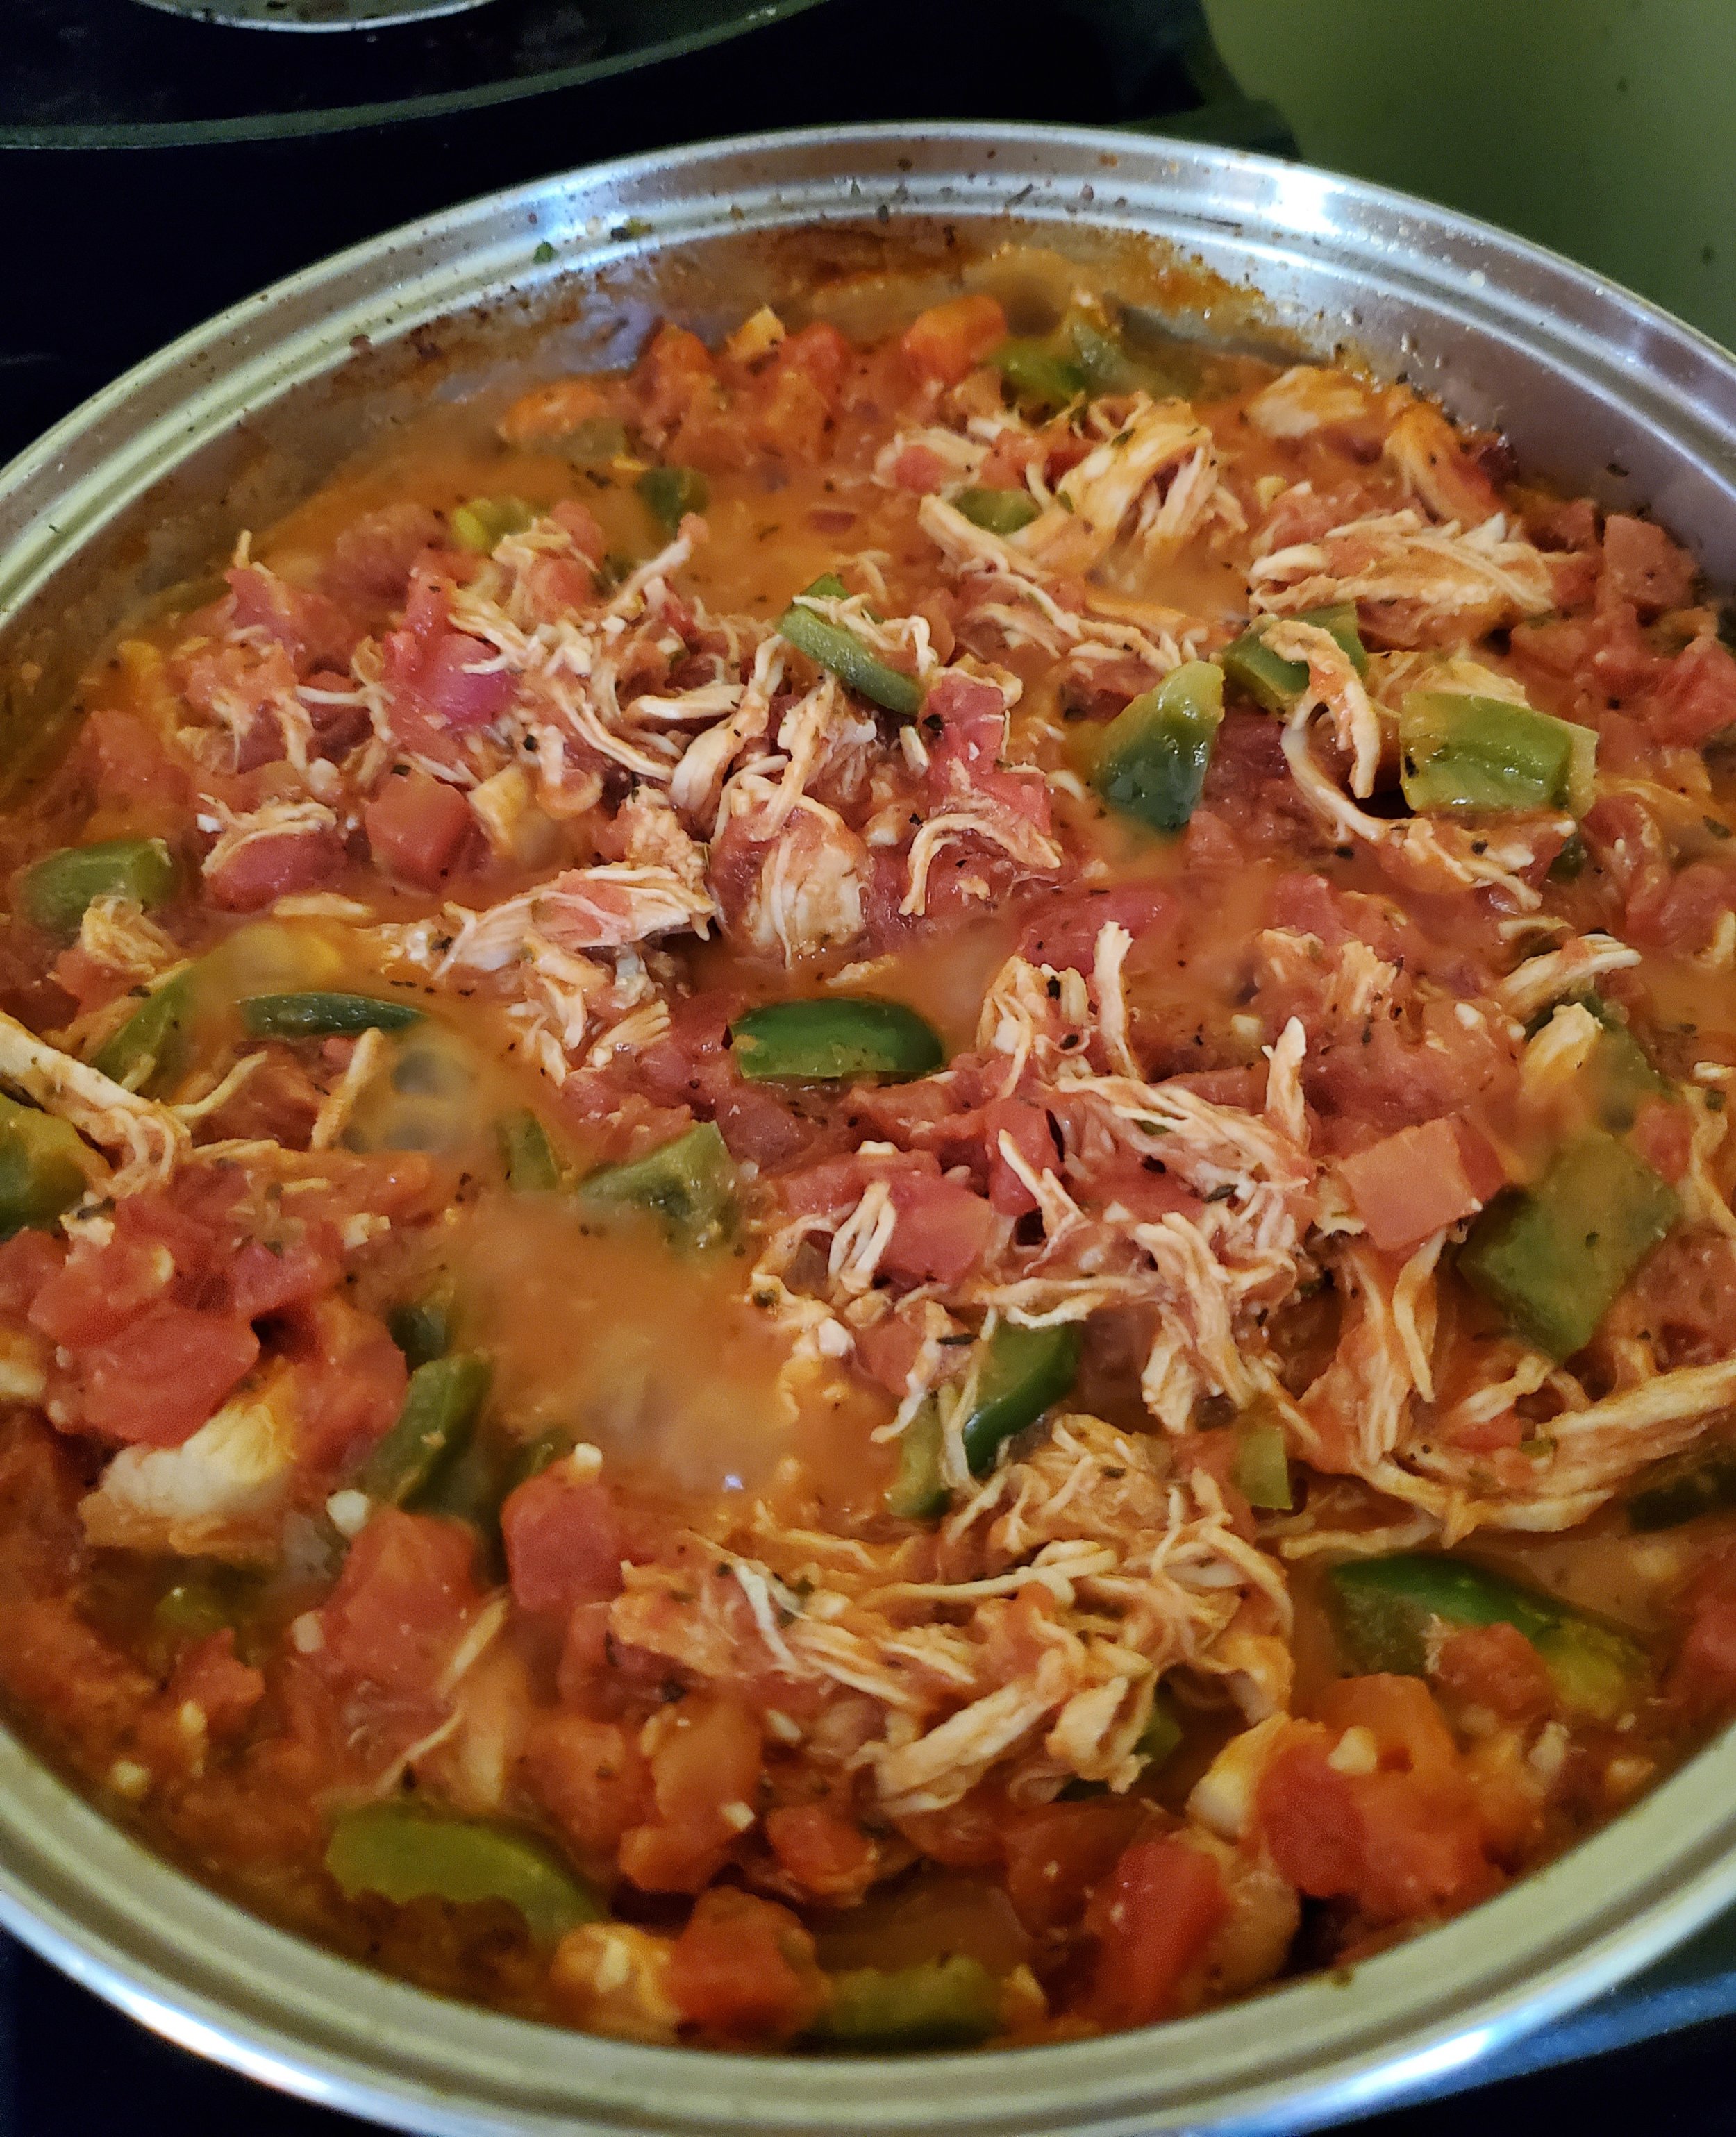
Transforming leftover chicken into a weeknight meal has never been easier! Say hello to this week’s recipe of creamy chicken and veggies. It’s the ultimate solution for a hassle-free weeknight dinner. It’s a great way to use a previous night’s chicken dinner, toss in the vegetables you have in your fridge and a handful of pantry staples to make an endlessly variable recipe.  It’s a delicious mix of flavors and textures, that’s quick to throw together and can feed a hungry family. Whether you’re looking to mix up your leftovers or just needing a comforting meal that comes together easily, this is the recipe for you. 


Ingredients:


2 cooked chicken breasts

2 tablespoons olive oil 

2 tablespoons minced garlic

1 green bell pepper 

Large can of diced tomato, drained

1/4 cup heavy whipping cream 

1 tablespoon white cooking wine

1/2 teaspoon dried basil

1 teaspoon dried oregano 

1 teaspoon dried parsley

1/2 teaspoon dried thyme

1/2 teaspoon dried rosemary

Black pepper and salt to taste 


Tools:

Measuring cups and spoons 

Large heavy-bottomed skillet

Colander

Can opener 

Cutting board

Knife

Spoon

Forks 


As always, please let your first step be to wash your produce!


Once clean, take the knife and cutting board and chop your bell pepper, discarding all the rib and seeds.


Take a can opener to your can of diced tomatoes (feel free to use fire roasted, or low sodium, or whatever tomatoes you have around! The point is to use stuff you have on hand, so don't fret if you don't have plain diced tomatoes).  Flip the can into the colander to drain. It'll take a while to finish dripping, so consider moving on to another task. Either assign a little helper to watch the tomatoes or just check back on them later. Don't press them, though; you want them to retain some moisture for creating the sauce.


Next up, let's get to the chicken - drop it on the cutting board and use a pair of forks to shred it to your desired size. We went with fairly large chunks, but you can change it up. 


Add the oil to the pan and turn the burner up to medium-low. As the oil heats, add your garlic and cook until fragrant. This usually only takes a couple minutes.


Increase the heat to medium. Splash in the cooking wine, then add your peppers, tomatoes, and chicken. Give everything a stir, then allow it to simmer while you measure your basil, oregano, parsley, thyme and rosemary into the pan. Add salt and pepper at this stage if you'd like, then stir again so no one gets a mouth full of just spices later.


Once the peppers begin to soften up, you're good to measure in the heavy whipping cream. Stir thoroughly. Sometimes it takes some elbow grease to get the cream to incorporate fully.


Allow to simmer, uncovered, without increasing the heat, for at least ten minutes before serving. In the event you'd like a heavier sauce, simmer over low heat until the sauce reduces to the consistency you prefer.


Serve over rice, or over pasta, or with a roll, or just by itself. One of the great things about this recipe is that you can use the recipe with almost any grain or side that you have available or want to throw in. 


If you opt to make this recipe, let us know on our Facebook page! We want to know how you mix it up, what you add in and what you pair it with. With how versatile this recipe is, we want to see what you do with it!

On the other hand, if you’re struggling with your stove, be it electric, gas, or induction, that’s an entirely different problem and we can help. At Appliance Rescue Service, we can service any type of stove you might have. Whether you’re struggling a stove that won’t light, or it’s cutting out during use, we can help. We service every model of stove, and every manufacturer, be it foreign or domestic. If your stove is malfunctioning, we want to help.

You can reach out to us via our contact page or by giving us a call at ((214) 599-0055). We’ll work with you to set up an appointment that works for your schedule and send out one of our experienced technicians. They’ll diagnose the problem and explain what’s going on before they let you know whether they can fix it then and there or need to order in parts. From there, we’ll let you decide what you want to do. At Appliance Rescue Service, our goal is to get your home running smoothly again; whether you’re in Dallas, McKinney or Richardson, we’re here for you.


Additional Reading

Get Your Protein with This Buddha Bowl 


Jalapeno Chicken Bowtie Pasta