Fast and Flavorful Tuna Toast

A Protein-Packed Meal That's Perfect For Lunch Or Dinner

Some days it's just too hot to cook - like this absurd heat wave practically everyone appears to be suffering through. No one wants to turn on the oven or stand over a stove burner on days like these - which is where minimal-effort-required recipes like this one come in. If we don’t have the time to toss something into the crockpot in the morning, this is a good recipe to have on standby. It’s also extremely simple to clean up after! 


The lazy streak is strong - for this recipe, we very literally used half of a large tub of sour cream for something else and then threw the remaining ingredients into the container. One less thing to wash later, since we didn't use a bowl! 


Ingredients:

2 cans chunk light tuna in water

1/2 cup sour cream

1 teaspoon garlic powder

1/2 teaspoon paprika

1/2 tsp freeze-dried chives

1 tsp parsley

pinch salt

black pepper to taste

8 slices rustic bread

12 multicolor grape tomatoes

4 oz or 8 thin slices gruyere cheese


Tools:

measuring spoons

knife

cutting board

spoon

can opener

toaster oven


Grab your can opener and open and drain your tuna. We often leave the can upside down with the lid in place, balanced on the divider between the sides of our kitchen sink. It drains slowly that way, but it frees up your  hands to move on to another task.


Pop your bread slices into the toaster oven and toast them for about two minutes. We like using some rustic bread, but if you don’t have any on hand, basic sandwich bread will do just fine. 


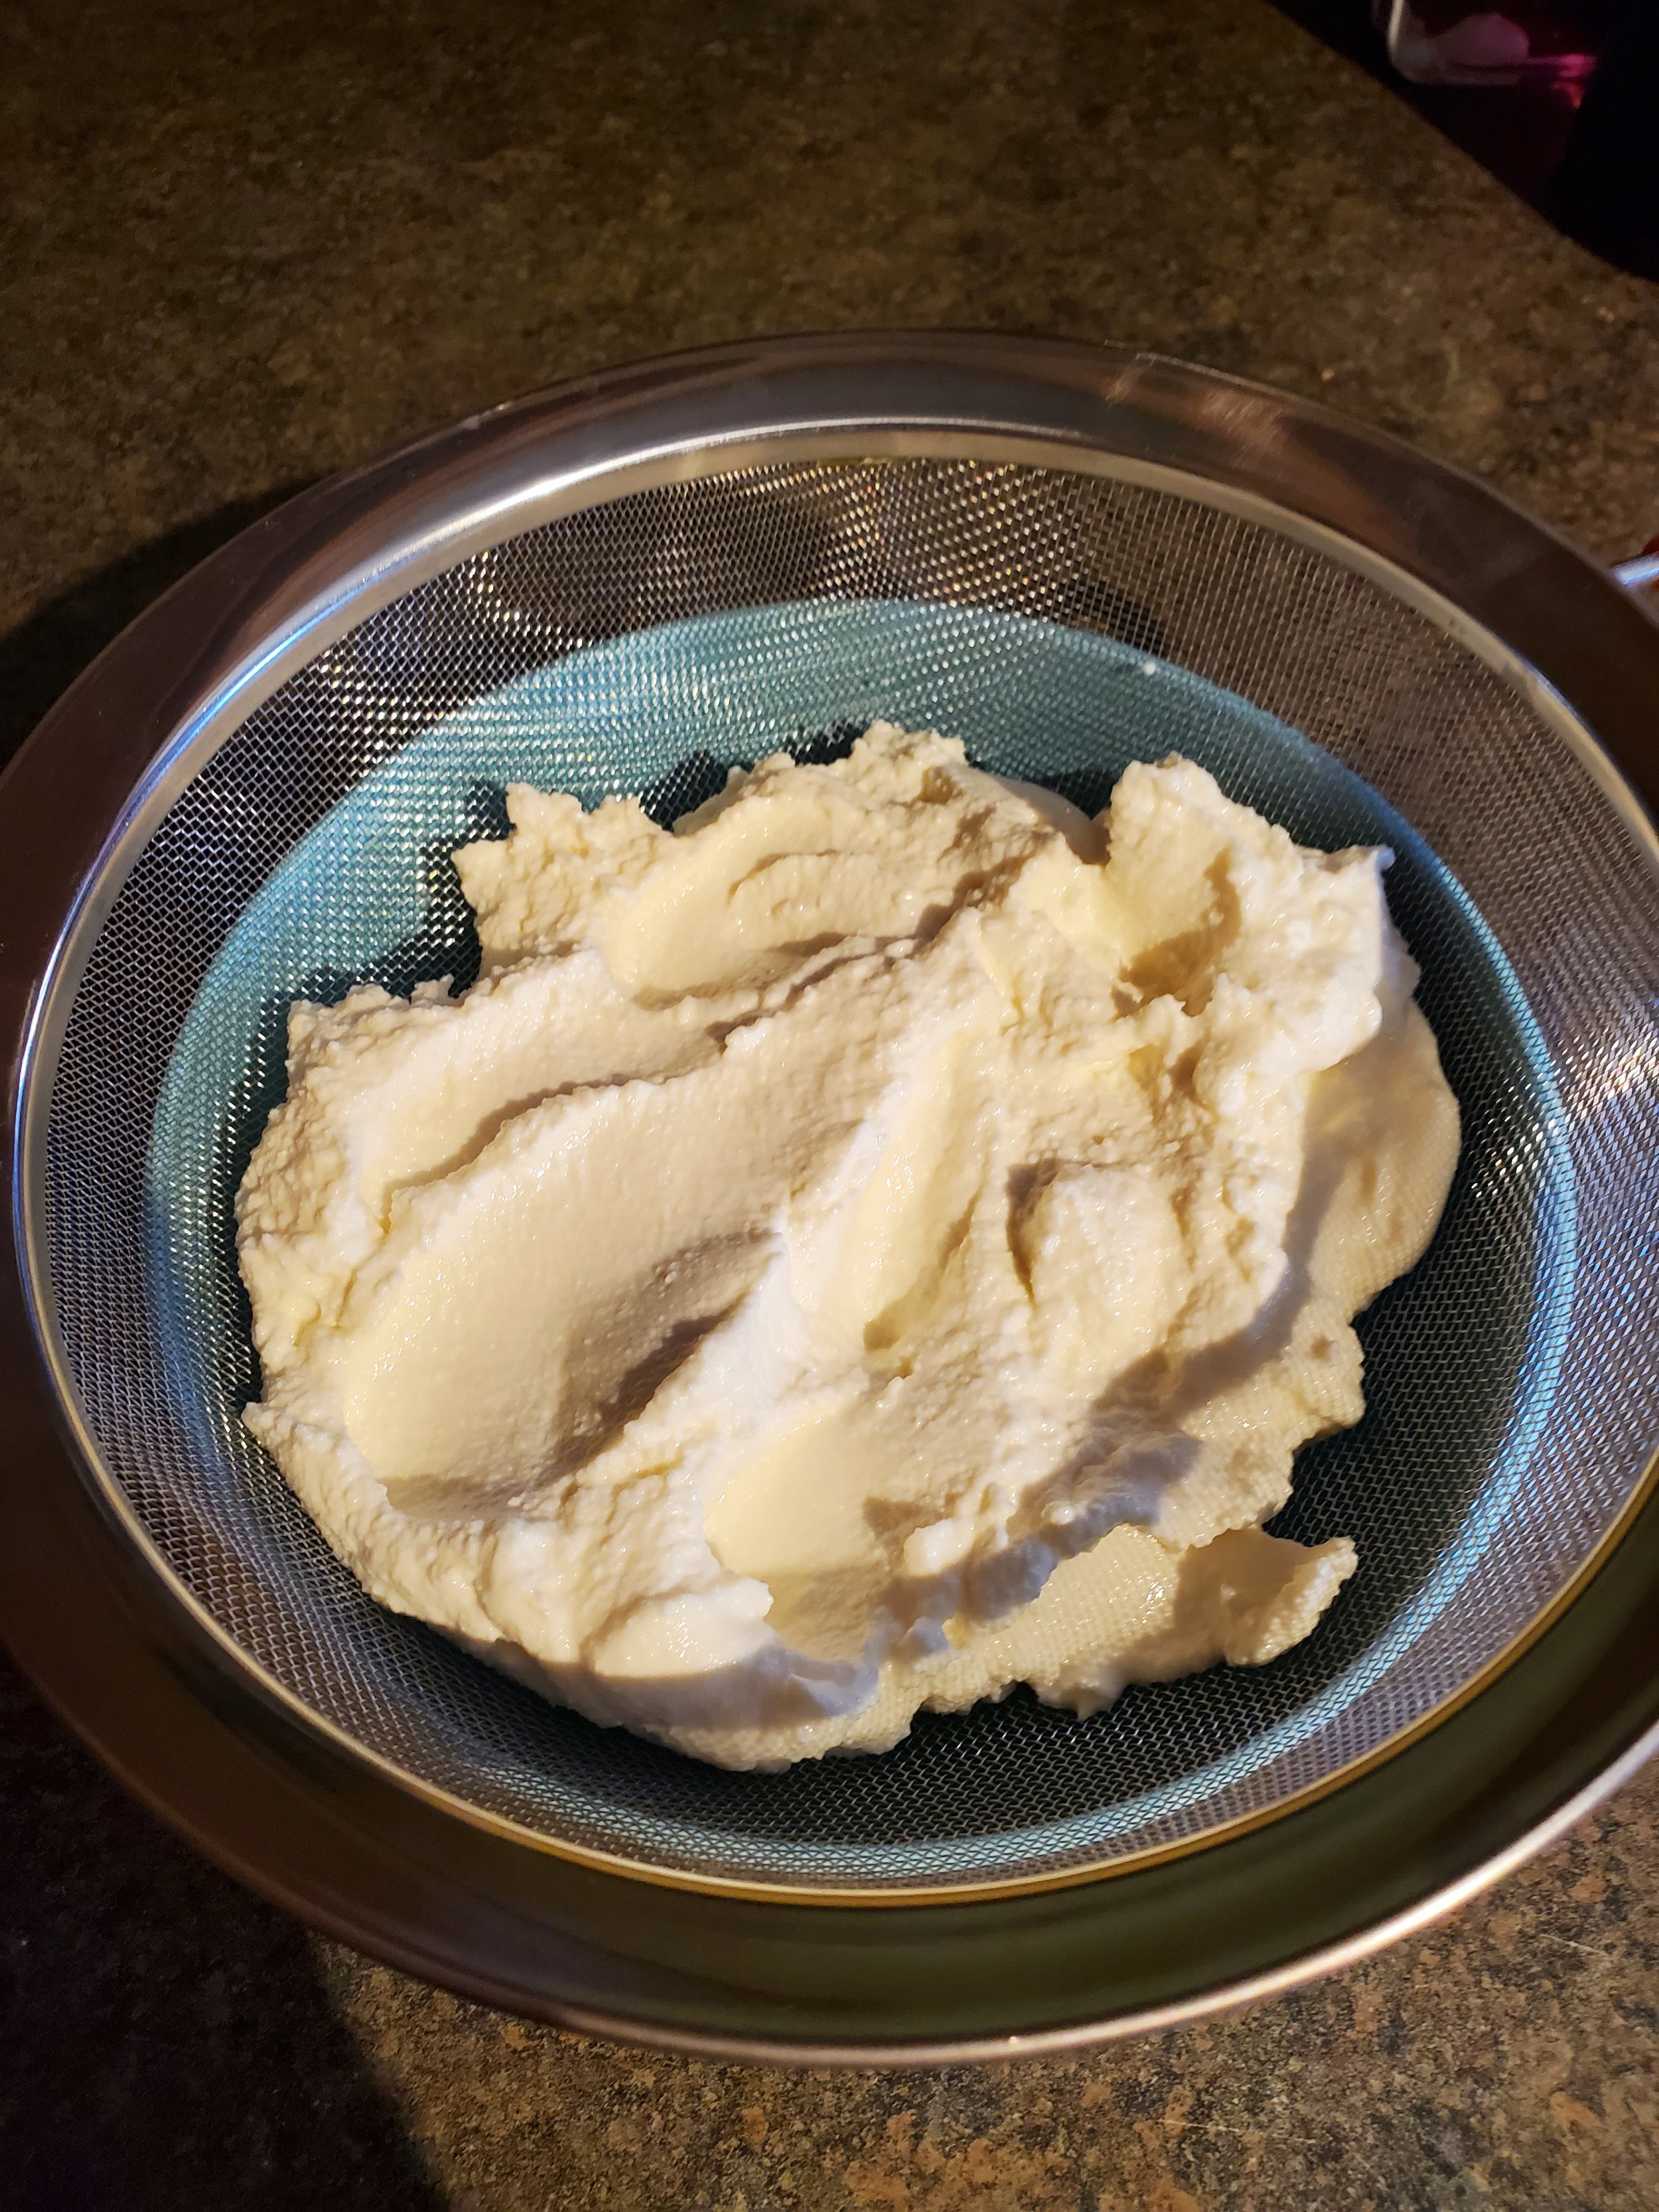
Measure your garlic, paprika, chives, and parsley into the container of sour cream (if you're lazy like us) or a bowl (overachiever). Stir until combined. Consider adding more of the spices - or something different - if it looks a little plain still. We rarely stick exactly to a recipe, so no one here will tell you that things must be done a certain way. If you want to go the extra step, or you’re not melted from the heat, you could use smoked paprika and actual minced garlic. 


Slice your cheese and set the slices to one side of the cutting board. 


About now, that toaster oven should let you know it's done. Flip the toast, but don't restart the toaster yet.


Wash the tomatoes before using them! Trim them up and slice them into rounds or wedges, whichever you prefer. We went with thin rounds for this, and pushed them to the opposite end of the cutting board from the cheese.


Your tuna should have drained by now. Feel free to press the lid in while flipping the can to force out more of the retained moisture. This is why "packed in water" is important - if you start with oil packed, you're likely to suffer an oily sandwich, or go to the extra trouble of rinsing.


Drop your tuna into the sour cream container or bowl and mix it into the sour cream. While most people would have opted for mayonnaise, we are not most people. At least one member of the household believes mayonnaise is the most disgusting substance on planet Earth and avoids it at all costs. Also, sour cream has a lower sodium content. less fat and more protein. In this case, being selective about one's battles also has some health benefits.


Scoop a serving of tuna onto each slice of partially-done toast and spread it out a bit. Add your tomato, then top with cheese and restart the toaster oven. Let it cook until the cheese is beginning to melt, but hasn't yet gotten to the thin state where it tries to run off the sides of the toast. Don't sacrifice perfectly good cheese! Also, save yourself the headache of trying to scour burnt gruyere off the heating element or crumb tray.


Serve as open-faced sandwiches with a veggie of choice on the side.


Does it pass the test for an easy dinner? Let us know over on our Facebook page! We’d love to hear if you try it or if you have an even easier summer meal. 


We understand that having properly functioning appliances is essential for being comfortable at home. That's why we offer a range of services to keep your appliances in top condition. Our team of experienced technicians is equipped to handle any issue, big or small, with your appliances. From scheduled maintenance to emergency repairs, we're here to help. And if you're not sure what the problem is, don't worry - we'll diagnose it for you and provide you with a clear explanation of what needs to be done. So, if you're in The Colony and need reliable appliance repair services, don't hesitate to give us a call. We're always here to help keep your home running smoothly. You can reach out to us by giving us a call at ((214) 599-0055) or by going to our contact page.

Why Is My Oven Making Weird Noises

6 Weird Noises Your Oven Can Make and What They Mean


Rattle rattle click, rattle click, rattle rattle click, boom! No, it's not the latest song; that's your oven. The question is, why is your oven making strange noises? 


Some noises your oven might make: 

  • Clicking

  • Popping

  • Wompf 

  • Beeping

  • Rattling 

  • Squeaking


Clicking 

 This is the most normal sound you can hear coming from your oven and also the least dangerous. Your oven might click when it is heating up, cooling down, or right when you turn it on. If that's the case, it's because the heating element is warming or cooling, and the metal is shifting. This is very common and older ovens. If the sound has recently become very loud, though, it can mean that your heating element is approaching the end of its lifespan and needs replacing soon. This can take several years of regular use. Most people will replace their oven long before the heating element goes out.

A modern oven has very precise coils that do make some noise as they work. So if the sound is while your oven is being used, this is a good thing. It means that the control coils in your oven are working as they should be.

Courtesy of Mike Gattorna

If you have an older gas oven, cooking is also normal; it means that the igniter is doing its job correctly. If your gas oven isn't clicking at all it might be a cause for concern as it can indicate that the igniter isn't working for one reason or another. if this is your situation please get your oven serviced immediately as it might be a buildup in the gas lines of the oven.


Why is my oven popping?

Well, there are many different sounds that your oven can make one that you never want to hear is popping. If you hear a popping or crackling sound that cannot reasonably be explained by your food immediately turn off your oven. This is either the wiring or other electrical components in your oven or the electrical outlet that it's connected to malfunctioning. The sound might also be accompanied by the smell of burning plastic. If that's the case, your oven is not only malfunctioning, it has begun to scorch and you need to immediately turn it off and disconnect it you can have a professional see it. 


My oven just made a strange WOMPF  sound! 


Courtesy of Max Rahubovskiy

Think of the most terrifying sound that could come from your gas oven. Are you thinking of it? Is it an explosion? To us there is nothing more terrifying than the boom or WOMPF that a gas oven can make when igniting improperly. What's happening here is that the gas is igniting after having built up. While this is a common occurrence for people with gas ovens it is not normal. If the gas is building up like this it means that one or more of your igniters is dirty. Having the gas flow or ignition system being restricted can lead to danger. A dirty igniter by itself is not a terrible danger. If you have your oven maintained regularly, getting the igniters cleaned and replaced as needed, you'll be in good shape. However, if you try to clean them yourself, it is very easy to scrub too hard and unintentionally cause a gas leak. While the small boom you might hear from your oven is not usually dangerous, a gas leak always is. 


Why won't my oven stop beeping?

Assuming that your oven is not beeping while preheating, coming to temperature, or because of a timer, there are two reasons your oven will beep. The first reason is that your oven is overheating. Many ovens have overheating issues, especially if you live somewhere, that's rather toasty during summer, like Texas, for example. Occasionally components within the oven can break, causing uncontrolled heating in the oven's primary heating element, which can cause it to sound a beeping alarm to alert you before it damages the oven or starts a fire. 

The second reason your oven might begin beeping at random is that there is damage or a short in your control panel. This can happen if your oven is close to a source of water or if your house has recently had any flooding or leaking issues. A shorted panel can beep at random or, even more annoying, keep beeping consistently. Make sure to call up a technician before you go delving into the depths of your oven to figure out the reason since some of these have high-voltage components. 


My oven is rattling; why?

Courtesy of dmitry-zvolskiy

Another common occurrence with your oven is having it rattle while it is running. If you recently had to move your oven or do a minor repair, that could be the reason. You can take a look at the back panel and the bottom cover to see if there are any loose screws. If that's not the case, it might be your oven fan. At that point, we again recommend calling in a professional to ensure that everything is secured properly.


Why has my oven started squeaking recently?

If your oven has recently begun squeaking after you turn it off, this is an easy problem to diagnose. It's your cooling fan that is sounding like a rogue rodent. This isn't the same as the convection fan located at the back of your oven. Instead, it's located on top. Given its positioning, this fan Austin falls victim to rising food particles and, over time, gravity. That will weigh it down, unbalance it and cause it to make creaking grinding or squeaking sounds. Fortunately, it just needs a good cleaning. Unfortunately, its location makes it a bit difficult to get to. Take a look at your owner's manual to see if it has any suggestions for how to go about cleaning it more easily.


Did we manage to answer your worries about your oven? If not, let us know over on our Facebook page. As always, we love to hear from you, and nobody wants to deal with an oven making noises at all times of the day and night.


 If you diagnose the problem, but you still aren't comfortable with the sounds that your oven is making, or you want it to be fixed by a team of professionals, feel free to reach out to us via our contact page or by giving us a call at ((214) 599-0055). We'll work with you and your schedule to find a time and date for our technicians to come out and find out what's going on. At Appliance Rescue Service, our top priority is getting your home running smoothly again.


Revolutionizing Kitchen Chores: The Water-Saving Benefits of Dishwashers

 How Dishwasher Manufacturers Finally Cracked The Code

Another night another load of dishes to do. Even if it's just for yourself, you have dishes you ate from as well as whatever you used to make your meals that day. Many of us hate doing dishes, but your options are either do dishes or end up growing science experiments in your kitchen.  Which is why we invented dishwashers, to make the job that little bit easier. 


Unfortunately, for a very long time, you actually spent more money and time by having a dishwasher than by not having one. You had to pre-wash your dishes before you could use the dishwasher. And then the dishwasher used even more water than you did during that pre-wash. With today's energy-efficient dishwashers though, that's no longer the case. 


Courtesy of Wendelin Jacober

Many of today's dishwashers have a water-saving feature built in. This means that not only are they using less water and shrinking your electric and water bills, but they're still getting your dishes completely clean. Instead of having to pre-wash your dishes, most dishwasher manufacturers, including whirlpool, advise against doing this. Pre-washing your dishes will actually make the dishwasher less effective because today's modern dishwasher detergents have enzymes in them that are intended to eat that food away. 


So that's how a modern dishwasher works. What the heck does that have to do with it saving water though? How does the dishwasher use less? 

A water-saving dishwasher will only use approximately 4 gallons of water per cycle. It achieves this by running the water through a filtration system during the wash cycle. By rinsing the dishes and then running the water through a filtration system, you maximize the washing power of a single load without wasting water. Not only does the filtration system catch the food debris, but it also filters out the soap from the wash cycle in order to rinse the dishes. 


How does it stack up, then?

Courtesy of LIliana Drew

Proctor and Gamble's Cascade recently did a study paired with Marie Claire showing that consumers use almost 7x the amount of water that a water-efficient dishwasher will. And the reason is the sink faucet. For every minute that you have your faucet running, you are using approximately 2 gallons of water. While this will vary from household to household, this is on average.  The same study also found that the average American takes about 15 seconds to wash a dish.  Compare that baseline to your average modern Energy STAR-certified dishwasher which only uses 4 gallons total for a load of dishes. Even if you run your dishwasher every other night, you're still using half the amount of water that you do when washing by hand in a single night. 


What options do you have for a modern dishwasher? 

Although we have covered Energy Star dishwashers in the past, here are three selections that are new to the market and offer the best in both efficiency and cleanliness.


The Miele G 5266

This washer offers some of the best performance on the market as of the time of writing, The Miele uses only 626 gallons of water per year and runs fat a very efficient pace to get your dishes done. Not only does this help your water bill, but it also helps cut down your electricity bill. 

Some additional features include:

  • A sanitizing wash cycle to ensure a deep clean if you're worried about bacteria or if someone in the household is sick 

  • Sensor dry - pays attention to when the dishes are dry in order to save time and energy.

  • An auto-opening door to allow your dishes to cool off after they're done washing and as a signal to you that the load is done.


The Bosch sgx78b55uc/13

This excellent option from Bosch is slightly less water efficient, going through approximately 744 gallons per year, but it's also a bit easier on the wallet for your initial purchase while still offering some of the best cleaning power.

Some additional features include:

  • The Bosch dishwasher is the quietest brand in the US with this model only clocking it at 42 DB while running.

  • Up to 24 hours with delay start so you can always run the dishwasher when you're ready.

  • Best of all, the Bosch dishwasher is ADA compliant to fit into your home how you need it.


The Beko dut25401x

Our final selection on the list is also the most inexpensive, coming in at under half the Bosch's price and only a third of the mealy. Don't count it out, though as it still packs quite a punch being a highly efficient dishwasher that uses only 731 gallons of water per year.

Some additional features include: 

  • A very quiet run cycle is roughly equivalent to a quiet conversation in another room. 

  • A child lock to prevent children visiting or yours from changing the settings on your dishwasher.

  • A dirt sensor to tell just how much is needed in a given load. 


Modern dishwashers are much easier on you and your wallet. While we will always support repairing your current one, we are also amazed by how far the technology has come! If you did have to buy one of these three dishwashers, which would you buy? Let us know over on our Facebook page! (Don’t worry, in the event one of them gives you trouble, we service all three brands!) 


If you’re here because your current dishwasher is giving you trouble, you can reach out to us via our contact page, or by giving us a call at ((214) 599-0055). We’ll work with your schedule to find a time that works best for you before sending out one of our expert technicians. 


The Hidden Messages Behind the Odors in Your Refrigerator

And Which Smells You Need To Be Worried About 


Have you ever opened your refrigerator and been hit with a strange and unpleasant smell? It can be a bit alarming, but don't worry, it's not uncommon. In fact, there are a variety of reasons why your fridge might be emitting foul odors. Some are harmless and easily remedied, while others may require a bit more attention. In this article, we'll explore the different types of smells you might encounter in your refrigerator and what they could mean.


Some of the common smells for your refrigerator: 

 Fish 

Gas

Nail Polish Remover 

Burnt Plastic 

Dead Animals or Rotting Meat 


If your refrigerator smells like any of these things, it is a cry for immediate attention. If it smells like chemicals specifically,  we must insist that you fix it as soon as possible so your food does not become contaminated. No one wants to get sick due to a broken fridge. So if your fridge smells like chemicals even when you haven't cleaned it with strong chemicals, please get it checked out immediately for your safety. You can skip to the bottom by clicking (Here) to call a technician. 


It Smells Like Fish!

A fish on the beach, being pecked at by a seagull. YOur refrigerator should not smell like dead fish.

Courtesy of Denitsa Kireva

If your refrigerator emits a fishy smell, that's seldom pleasant. If it's fresh fish that is resting in your fridge, then it won't smell fishy. However, if your fish has gone off, that is when it begins to emit that particular odor that very few of us enjoy. But if you're here, we assume you've already checked your fridge and ensured there isn't a tuna shoved in the back corner rotting away. There are several causes for a fishy smell after this point. What they all boil down to, though, is a buildup of moisture somewhere within the refrigerator itself. Several parts can cause a moisture buildup within your refrigerator: the fan, a failed compressor, a burnt-out startup relay, or an overload sensor. Your first step is cleaning your refrigerator out and checking for any obvious issues. This might be unusual noises or an obvious fault with some part of the fridge. If you aren't finding any broken parts after cleaning it, but the smell is still there or returns after putting all your food back into the refrigerator, you might need to find a technician to figure out what is causing it.


It Smells Like Gas!

Gas on a low flame, burning a bright blue.  Your refrigerator should  not smell like gas.

This one is the second most common on our list, and fortunately, the most frequent cause of it is something rotten being trapped in styrofoam and then the scent releasing from the takeaway box. As always, a good scrubbing of your fridge is the first step in getting rid of strange smells. If you've already covered that step, though, this can also be caused by certain refrigerant leaks. Freon typically smells different from gas, but other refrigerants are used. Refrigerant leaks are challenging to fix, even for a technician, so if the smell is still hanging around after giving your fridge a good scrub, it's best to call in the professionals.

It Smells Like Nail Polish Remover, Vinegar, Or Ammonia! 

If you are smelling one of these three, the most likely cause is a Freon leak within your refrigerator. You'll most likely notice the smell first when opening your fridge, but unfortunately, Freon can seep into your food and cause a chemical taste. This is absolutely not ideal and requires immediate steps to fix. If you notice this type of smell in your refrigerator, please call a technician immediately, as Freon contamination can make you quite ill. It will require a full inspection of all of the components within the fridge to nail down where the leak is and whether or not it's only one or multiple. Do make sure when making the call to note if the smell is only in the fridge or the freezer sections. 


It Smells Like Burnt Plastic!

This one is the most straightforward on our list. If you are smelling the acrid stench of burnt plastic, your refrigerator is getting too hot. While this can have several causes, the easiest is to check that the back and underside are not full of dust bunnies. Those most pernicious of beasts can block up the vents or fans and cause your poor beleaguered refrigerator not to be able to keep itself properly cool. With your fridge overheating and burning dust, it can cause a strange smell before any components break. You will want to fix this quickly because permanent damage can occur if left untreated.

Burning plastic. Your refrigerator should not smell like burning plastic

Courtesy of Cottonbro Studio

Start by pulling your refrigerator out from the wall, and then unplug it for safety's sake. Now grab your vacuum and wand attachment and quickly vacuum the back and undersides of your refrigerator and then the cavity where your refrigerator typically sits. If dust bunnies are causing this, the smell should clear out shortly after you plug it back in.

 If the smell persists, you should call a technician to have them check that the fridge's fans and cooling systems are working correctly.


It Smells Like Dead Animals Or Rotting Meat!

An animal's skull, long passed. Your refrigerator should not smell like rotting meat.

Courtesy of Cottonbro Studio

Once again, we will assume that you have ruled out rotten food. This one is relatively easy to fix. Most likely, the smell is caused by either mold or mildew inside your fridge. This is most easily fixed by cleaning your fridge out. Sometimes if you have issues with your refrigerator ventilating correctly, the middle can build up in places where there is no food, but there is moisture. If you can smell it but can't pinpoint the source visually, you may need to partially disassemble your fridge to clean the miotor. We suggest calling a technician as well, as while cleaning is something you can do, the build-up of moisture outside of the food storage area of the fridge can indicate a faulty component, as we described in the fishy smells section.


 It's always best to have your fridge checked if it smells off. 


What do you think? Did we solve your current issue? Let us know over on our Facebook page, as always. We’d love to hear if we missed one. 


Whether we did answer your question or not, we can help. Whatever type of fridge you have, we service it. You can reach out to us via our contact page or by giving us a call at ((214) 599-0055). We'll work with you to find a date and time that fits your schedule and send one of our expert technicians to solve the problem. At Appliance Rescue Service, our goal is to get your home running smoothly again. 


Easy No-Cook Not Quite a Cannoli

When You Want The Treat, But Can’t Work In The Heat

Looking for a sweet treat that is easy to make and will impress your friends and family? Look no further than this not quite cannoli recipe! While it may not be the traditional version of the beloved Italian dessert, it is a delicious and fun twist on the classic. With a crispy shell and creamy filling, this dessert is sure to satisfy any sweet tooth. Plus, it can be customized with your favorite flavors and toppings for a truly unique dessert experience. So why not give it a try and see for yourself how delicious not quite cannoli can be!


Ingredients:

15 oz container ricotta cheese

3/4 cup confectioners sugar

1/2 teaspoon almond extract

1 teaspoon vanilla extract

Pinch table salt

Pinch ground cinnamon

Pinch corn starch

Chocolate chips

Ready-made chocolate chip cookies (large)


Tools:

Fine mesh sieve

Spoon

Plastic wrap 

Two decent sized mixing bowls

Small plate

Something sort of heavy

Measuring spoons

...time. More time than you think.


Before you begin, know that while this recipe is a no-cook one, it does not like to be rushed. If you're looking to get the whole thing done by dessert tonight, you should probably get started at breakfast. That ricotta is going to take what feels like forever to drain. 


On a related note, do not skip that draining step. Skipping it yields watery, runny, thin cannoli filling. Thin filling does not stay in place and makes awful sandwiches. It also doesn't taste right. Save yourself the trouble.


Once you have all your ingredients out and ready to go, pop the lid and plastic cover off the ricotta. Before we do anything else, this is going to have to do its own thing. Please note it looks like a congealed, wet lump of cheese right now, and we're going to have to encourage it to change these characteristics. 


Nest the sieve into one of the bowls so it can catch the drained whey. Stir the ricotta while it's still in the container, then scoop it out into the sieve. If you have a cheese cloth, feel free to use it to line the sieve and wrap the ricotta - but in our experience, most people don't keep one in their kitchens. 


Gently press the ricotta into the sieve and smooth out the top. (If you're squeezing cheese through the sieve, you're pushing too hard.) Set a layer of plastic wrap over it and place a small plate on top of the plastic wrap to press the cheese. Let it sit for half an hour or so and check back to see if any of the whey is working its way out to the bowl.


Once you're sure it's working, you can add some weight to speed up the process - we put a pound of dry chickpeas on top of the plate, since they were both comparatively heavy and handy.


Now you can go do something else. For a while. Think at least three, possibly up to five episodes of your favorite show.


After a couple hours, you'll stop seeing the amount of whey in the bowl increase, and the ricotta will have taken on the consistency of crumbly-looking curds. This is when you know it's ready to be moved to the other bowl you took out.


Remove your weight, plate and plastic wrap if you haven't already done so. If you used a cheese cloth, lift the edges of it to transfer the cheese - but if not, just upend your sieve over the clean bowl and scrape it free with a spoon.


Measure your extracts into the ricotta and stir well. The vanilla will lend it kind of an off-white color. Stir in your salt and cinnamon, then slowly add your confectioner's sugar a little at a time, stirring to completely incorporate it before you add more.


When you've added all the confectioner's sugar, scoop up some of the cannoli filling with the spoon and tilt it back over the bowl. If it's slick enough to slide off the spoon, it's not yet the right consistency and you'll need to add in the corn starch (or more confectioner's sugar, but in our opinion that makes it much too sweet). Don't add much, and be absolutely sure there are no lumps before you add it. Stir very thoroughly. 


Once your filling no longer slides right off the spoon, it's ready for chocolate chips. Add as much or as little as you'd like. We usually start with about a quarter cup and add from there - but for the sake of full transparency, we rarely ever actually measure chocolate unless it's to melt. We just add until it looks right.


Stir it all well, and go get those cookies you set aside this morning and warned the whole house not to touch. This, of course, assumes your family follows instructions (this one struggles, especially with sweets-related instructions) and left you the cookies.


Scoop a heaping tablespoon of filling and drop it in the middle of the flat side of one of the cookies. Use the back of the spoon to spread it out a bit. Don't be afraid to add more if it looks like the cookie can support it. Slap another cookie flat side down on top of it, and go enjoy your hard-earned cannoli cookie sandwich.


You’ve read this far, so let us know over on our Facebook page what you think! Are you going to try this one out? 


If you’re looking up no-cook recipes because your stove or oven aren’t working, we can still help! You can reach out to us via our contact page or by giving us a call at ((214) 599-0055). Whether you’re in McKinney, Garland or Coppell, you can call on Appliance Rescue Service whenever you need us.