All about stoves, how they work and the differences to expect.
Table of Contents
When was the last time you had to go looking at a new stove? Do you remember how many different options there were? Not to worry, we’re taking a look at them this week to see what main features exist in stoves and how to find the one that best fits you. Let’s dive in.
Types
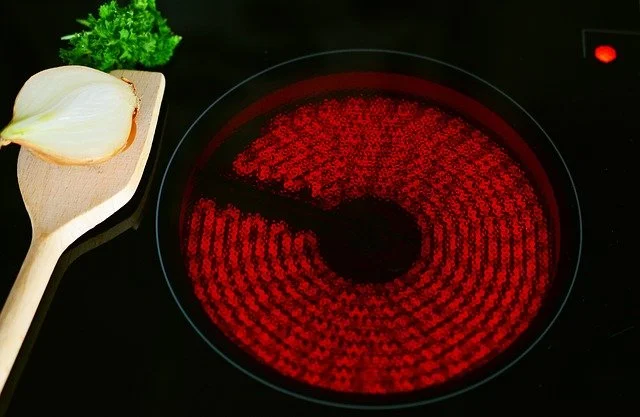
Electric
Let's start off by looking at THE most common type of cooktop you're likely to encounter when looking to purchase a new stovetop, an electric stove. They are the single most popular variety in the United States, and the easiest to find. They're also the easiest to set up, as most kitchens will already have an outlet that's heavy enough to handle the power draw of an electric stove. Due to the popularity they're also fairly inexpensive to pickup which makes them great for someone who is on a budget or is just looking to put their money elsewhere. They're also typically very easy to clean, no matter whether you get a cooktop with coils or without.
Since you don't need an 'ignition' as soon as you turn on a burner it will begin to heat. However, because the heat is cumulative rather than immediate, it does take more time than a gas stove to heat up. This also means that it takes longer to cool off by comparison to a gas stove. Since there isn't an open flame of any sort though, many people prefer an electric stove over a gas one.
There are some drawbacks to an electric stove though. One is that if your home loses power, you lose your stove as well. The other is that while there are energy efficient stoves, as of right now an electric stove is still going to be a significant chunk of your electric bill. A final, smaller point is that you do have to be careful about what pots and pans you purchase. Make sure to do research ahead of time as some types can scratch, damage or shatter your cooktop if you make the wrong purchase.
Gas
Next up, let's take a look at gas stovetops. A gas stovetop has a number of benefits to it, the primary one is how quickly they heat. Due to their instant flames as soon as you turn on a burner you begin to heat the room (and the food you're wanting to cook.) With that visual element, you also have very precise control over the temperature of your burners. Although it's more intuitive than just setting the burner to high, medium or low, you get the upside of being able to see over time how the heat affects your recipes. The speed with which the flame responds also means that you can cool what you're cooking much more quickly by lowering the flame. All of this boils down (ha!) to being less likely to burn your food.
Another benefit of such quick temperature response is that you can heat up or cool down the pan you're using. So if you've got pets, small children or you're just working in tight spaces, you're less likely to burn yourself thanks to how quickly a gas stove will cool off. This also means that you don't have to worry about a pan getting damaged by the stove OR that a pan is going to damage your stove in some way.

A gas stove is able to still be used even if your power is out. You'll need to use a match or lighter to get the burner lit, but you'll still be able to cook or boil water if you need to, to heat your home in the event of a winter storm. Under normal circumstances a small bit of electricity will be used to 'spark' and ignite the burner when you turn it on.
There are two factors though that you do need to pay attention to when it comes to purchasing a gas stove for your home. If you don't already have a gas stove, you're going to need to have a gas pipeline run. That can be expensive as it's not typically done on construction for new buildings these days. Fortunately the price of having the line run will pay for itself over time when you don't have to worry as much about your electric bill. You also need to make sure that you have some type of ventilation set up. We'll talk about it more down below, but you have two options when it comes to ventilation. An overhead hood and a downdraft extractor. Both are good options, so long as you actually use them. While a gas oven is by and far superior in terms of precise temperature control, it does burn gas, which you don't want to be breathing over an extended period of time. Make sure to always have your fans on while you're using you stove.
It is possible to have a combination of a gas stove and an electric oven, or vice a versa, although it's not common. You can also choose to have them as separate appliances, setting the stovetop into your counter and the having a single or double oven in your wall. Both of these are wonderful options if you've got the space for them in your kitchen as they spread out the cooking area in your kitchen and mean you aren't fighting for space when cooking multiple things at once.
Induction
If a gas stove isn't fast enough for you, then you're going to want an induction stove. We'll tell you off the bat that the benefits of these stoves are weighed against their hefty price tag. While the heat from an electric or gas stove is going to transfer across the entirety of the cookstove to some degree, an induction stove doesn't work that way. The stoves are ceramic with different 'zones' built into them. Instead of applying heat to the outside of your pot and the heat transferring to the material inside, the heat is created directly inside your cooking pot. Once you take the pot off the stove, the heat immediately is turned off. The good news here is that the stovetop is never as hot as an electric stove or a gas stove is going to be. The downside though is that you need to purchase an entirely new set of pots and pans to go along with your new stove. The two work together much like velcro. A normal pot doesn't have the elements needed for it to work with the stove, and so it won't. The elements within the stove won't 'register' the pan and so it won't turn on.
You also have to be very careful with an induction stovetop as you can shatter the surface of them if you're not careful in how you put things down.
Surface
When it comes to the surface of your stovetop, you have two different options, coils or smooth cooktops.
A coiled cooktop can be either electric or gas. A smooth cooktop is only going to be electric or induction.
The benefits to going with a coiled cooktop is that they're extremely durable, easy to clean and they will stand up to years of use and abuse. It doesn't matter how hard you scrub your stovetop to get rid of a mess, it's not going to damage the coils. Your cookware won't either, even if you're dragging out that giant dutch oven that you have.
A few downsides to keep in mind are that while they do heat quickly, coils also hold onto that heat for a long time. You will also need to check them periodically (every 4 months or so is pretty good) to make sure that each coil's connection to the power source is still in working condition if you're dealing with an electric stove. If you're dealing with a gas stove you'll want to make sure that the burner is clean and free of debris.
The other type of cooktop option you have is a smooth cooktop. People love them for three key reasons. One, they're supremely easy to clean. You don't have to remove anything, unplug anything or get under anything in order to get them shining like new. All you need is the special paste that is designed for the job and you're good to go. Reason number two is that they heat up your pots and pans, without heating your kitchen. If you live in Texas, it makes it that little bit more bearable for cooking during the summer. Three, you don't need to worry about little hands or paws getting burned because they touched the stove at the wrong time. A fourth one, is how seamlessly they fit into a modern design. They are the latest in cooking technology and we know people love to upgrade to the latest and greatest.
A few downsides do come with working with a smooth cooktop though. As we said, you do have to be careful about which cookware you use. You're also going to have to be aware of how you move that cookware though. Or any groceries or anything else that you move around in your kitchen. The surface of a smooth cooktop, whether electric or induction is going to be fragile. They can be easily scratched by 'sliding' pots and pans over them. Even worse is how easily they can be shattered by putting something heavy on top of them without paying attetion to how you set it down.
So, which type of surface do you think you want?
Burners
Number of burners
You can get your stove in a variety of different number of burners, 2, 4, 5, or 6. How large you want it to be is going to dictate how many things you can cook on it at once. Take into consideration a few things when you're shopping .
-How often do you end up saying "I need more space?"
-How often do you use all of the burners on your current stove? Not just at once, but the different sizes?
-Do you have the space in your kitchen for a larger stovetop that it would need if you got one with more burners?
-Would getting a second smaller stovetop in addition to your current one benefit you, rather than getting one large one?
All of these are ways to look at what type of stovetop you might consider getting next as the number of burners you have will directly impact the size and placement of your new stove. We will say that getting a stove that has five burners in electric is very difficult but getting one that is 6 burners and electric is possible.
Automatic reignite
A useful feature that you might want to look into is automatic re-ignition if you're looking to get a gas stove. Occasionally with a gas stove the flame might go out on a burner, or on multiple burners without you noticing. This can throw off cooking times and temperatures if too much time passes. With this feature that's not a concern as the stove will automatically re-ignite after it senses that a burner has gone out.
Continuous grates
If you want to make your gas stovetop more professional looking, you might consider getting continuous grates for your stove. Instead of having a single grate over one burner, you combine two f them together into one long, smooth line. Yes, they're heavier, but the make the stove look more appealing and 'finished' according to many homeowners.
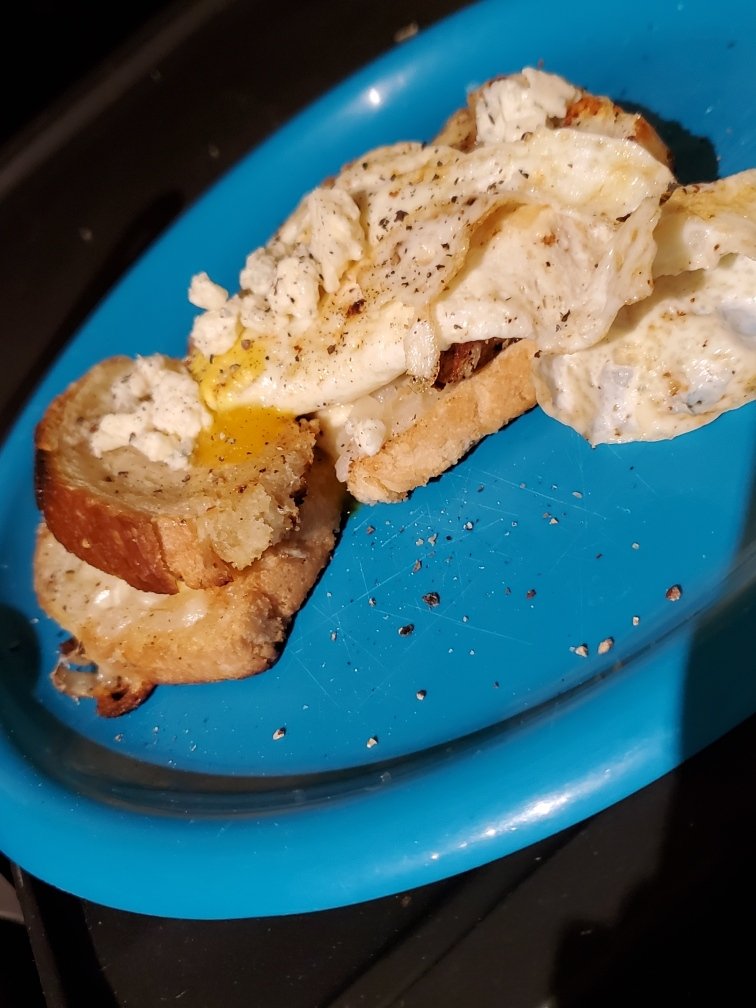
Stove top griddles
On the other hand, if you're looking at your stove and wondering why you need pots and pans, a griddle might be more your thing. These can be added to either a gas stove or an electric, but as of yet it's not happening on an induction. These heat more smoothly and evenly than a griddle that you just lay on top of preexisting burners. Great for making every meal of the day without needing to use mutliple dishes. Eggs, bacon and sausage? Check. Grilled cheese sandwich? Check. Sausage with peppers and mushrooms? Check. There's a huge amount of food that you can make on a griddle.
Ventilation

We mentioned earlier that you need a ventilation system with a gas stove, and many people choose to have them with electric and induction stoves too, just in case you burn something. One option is a downdraft cooktop. This option, instead of having a fan or range hood, has a small vent built into the cooktop. It's built into the back of the cooktop or in between the burners to suck steam and smoke away. This also gives you back the space over your stovetop to be used for lighting or additional storage.

Or, if you prefer going with a traditional range hood, that's also an option. You can choose what it looks like and whether it's a centerpiece of the kitchen, or if it blends into the walls.
Regardless of which one you choose, the important point, even if you have an induction stovetop, is to have a way to pull the steam and smoke safely out of your kitchen so that you can breathe and see easily while you're in the kitchen.
Features
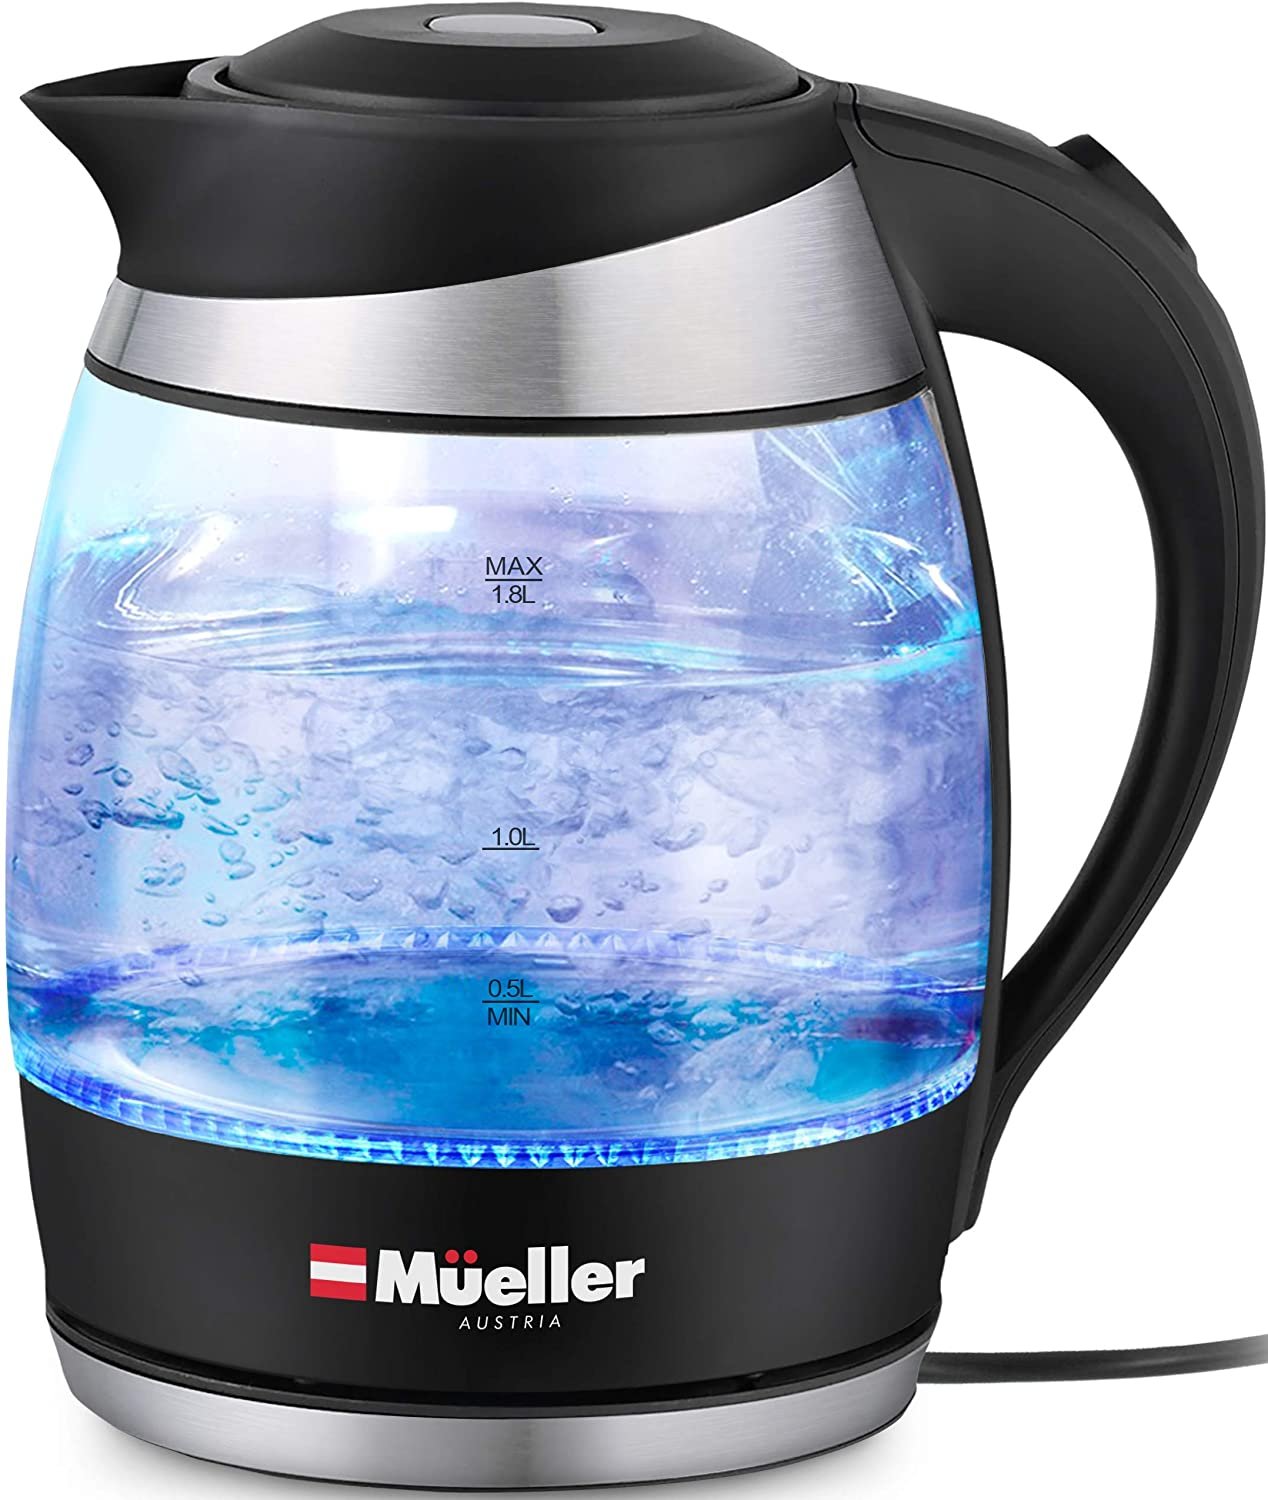
Speed heat
Some recent stoves have started to make it so that you can very quickly bring a pot of water to boil. While water is what they typically show, ‘speed heat’ can be applied to anything. It will be one of your burners for those times when you need to make things go that little bit faster.
Safety
Who hasn’t accidentally burned themselves on a burner because you weren’t looking closely enough? Two safety features that we love for stoves are auto-shutoff and a heat indicator. The auto-shutoff makes it so that you can set a timer for what you’re cooking. After that point, the burner will shut off and you don't have to risk your food burning if you have to step away or forget to turn it off. The heat indicator is just that. It might be at the front right next to the burner knobs, or it might be on the control panel at the back. Either way it will be a light of some sort to show you that the burner is still hot.
Wi-Fi
There are stoves now that come with wi-fi and app connectivity to make it so that you can keep an eye on your stove from anywhere.
Controls
When it comes to controlling your stove, as of right now at least, you’ve got two options on most stoves. You can have knobs to turn on an individual burner. Or you can have digital controls that activate just when you touch the panel. These are great if you’re struggling to handle knobs due to arthritis or something similar.
That’s our deep dive on stoves! Let us know what you think in the comments below or over on our Facebook page. Are you looking to get a new stove? Are you trying to figure out what features you want to change in your current one? We’d love to know.
On the other hand, if you’ve already got a stove you love and it’s just not working right, give us a call or head to our appointment page. No matter what’s going on Appliance Rescue Service will work with you to figure out what’s happening and get it fixed.