Decadent and Simple Peanut Butter Cup Pudding

For when you want more than just one candy.


We would really like to call this recipe something more specific, but that would risk running afoul of some copyright laws. We like to think our favorite candy manufacturer would give us a green light, but better safe than sorry. Imagine, if you will, a familiar orange wrapper with yellow letters and the fantastic peanut butter and chocolate treat it contains. And now you can see what we want to call this recipe, but cannot. 


Chances are, if your imagination is strong enough (or your stomach empty enough), you can now also taste exactly what we were thinking of. Sorry. For what it's worth, this pudding is a pretty close approximation. And you probably don't even have to run to the store for anything! Phew - candy crisis avoided (narrowly).


You'll need a lot of milk, some peanut butter, some baker's chocolate, sugar, starch, butter, vanilla and a bit of chill time for this recipe. You'll only be actively working on it for five or ten minutes, because the fridge will do the rest for you - provided it's working, of course. If it isn't, please see our contact information at the bottom of this post.


Ingredients:

1/2 cup sugar

3 Tablespoons corn starch

1/4 teaspoon table salt

3 cups milk (full fat works best)

2 Tablespoons butter

2 Tablespoons baker's cocoa

3/4 cup peanut butter (we recommend smooth; crunchy is terribly difficult to whisk)

1 tablespoon vanilla extract


Tools:

Pan, whisk, fine sieve or sifter, measuring cups and spoons, heat-proof bowl that is also safe to move to the refrigerator (so, plastic, most likely), something to cover the bowl (a lid, foil, an overturned plate, etc.).


For starters, use a bigger pan than you think you need. Go for at least a two quart pan. We know, three cups of milk doesn't sound like a lot, and you're certainly not adding a whole lot of volume to it... But keep in mind that milk foams. Plus, you're going to be vigorously whisking this in a few steps. So to save yourself from having to scrub scalded milk off the stove later, just use a bigger pan. Trust us on this one.


Measure your milk, sugar, salt and starch into the pan. In order to avoid lumpy pudding, you may wish to sift the corn starch into the milk. It's optional, but we don't think anyone really wants lumps of starch in their pudding. When you're done, don't toss the sieve or sifter into the sink for a wash yet - you'll probably want it again later.


Turn the heat on under the pan and bring it up to medium. Your goal is to get the milk mixture to foam aggressively and begin to boil, but you don't want to allow it to scald (scalded milk is great for hot chocolate, but will negatively affect the taste of the pudding). Stir it frequently while you wait for it to come up to boil. If you see the foam around the edge pan starting to brown, lower the heat a notch. It'll take longer to come to boil, but you want uniformity, not speed here.

Foaming milk, all ready for the next step.


Once you have it up at a foamy boil, take the heat all the way down as low as it will go and whisk /constantly/ for a minute or two. Don't let it rest here. You can stop whisking when you see the whisk leaving tracks in the foam that take more than three seconds to fill back in. If you get past the two minute mark whisking constantly, and you still don't have a visible track from the whisk when you slow down, turn the heat back up, simmer it another minute, and then try again. This step is a big deal for getting the pudding to set later, so please don't be tempted to cut a corner. If you're really, really struggling, you can add another half teaspoon of corn starch - but stop at half a teaspoon!


After you've achieved the ideal texture, pour or sift in the baker's cocoa. This is why we mentioned that you might not want to put the sieve up for a wash yet - cocoa tends to form little lumps. (We kind of like the cocoa lumps, though, so we leave them alone. Not sifting makes it look a little like the cookie bits in cookies and cream ice cream.)

Adding in the cocoa, and look! it does look like cookies and cream


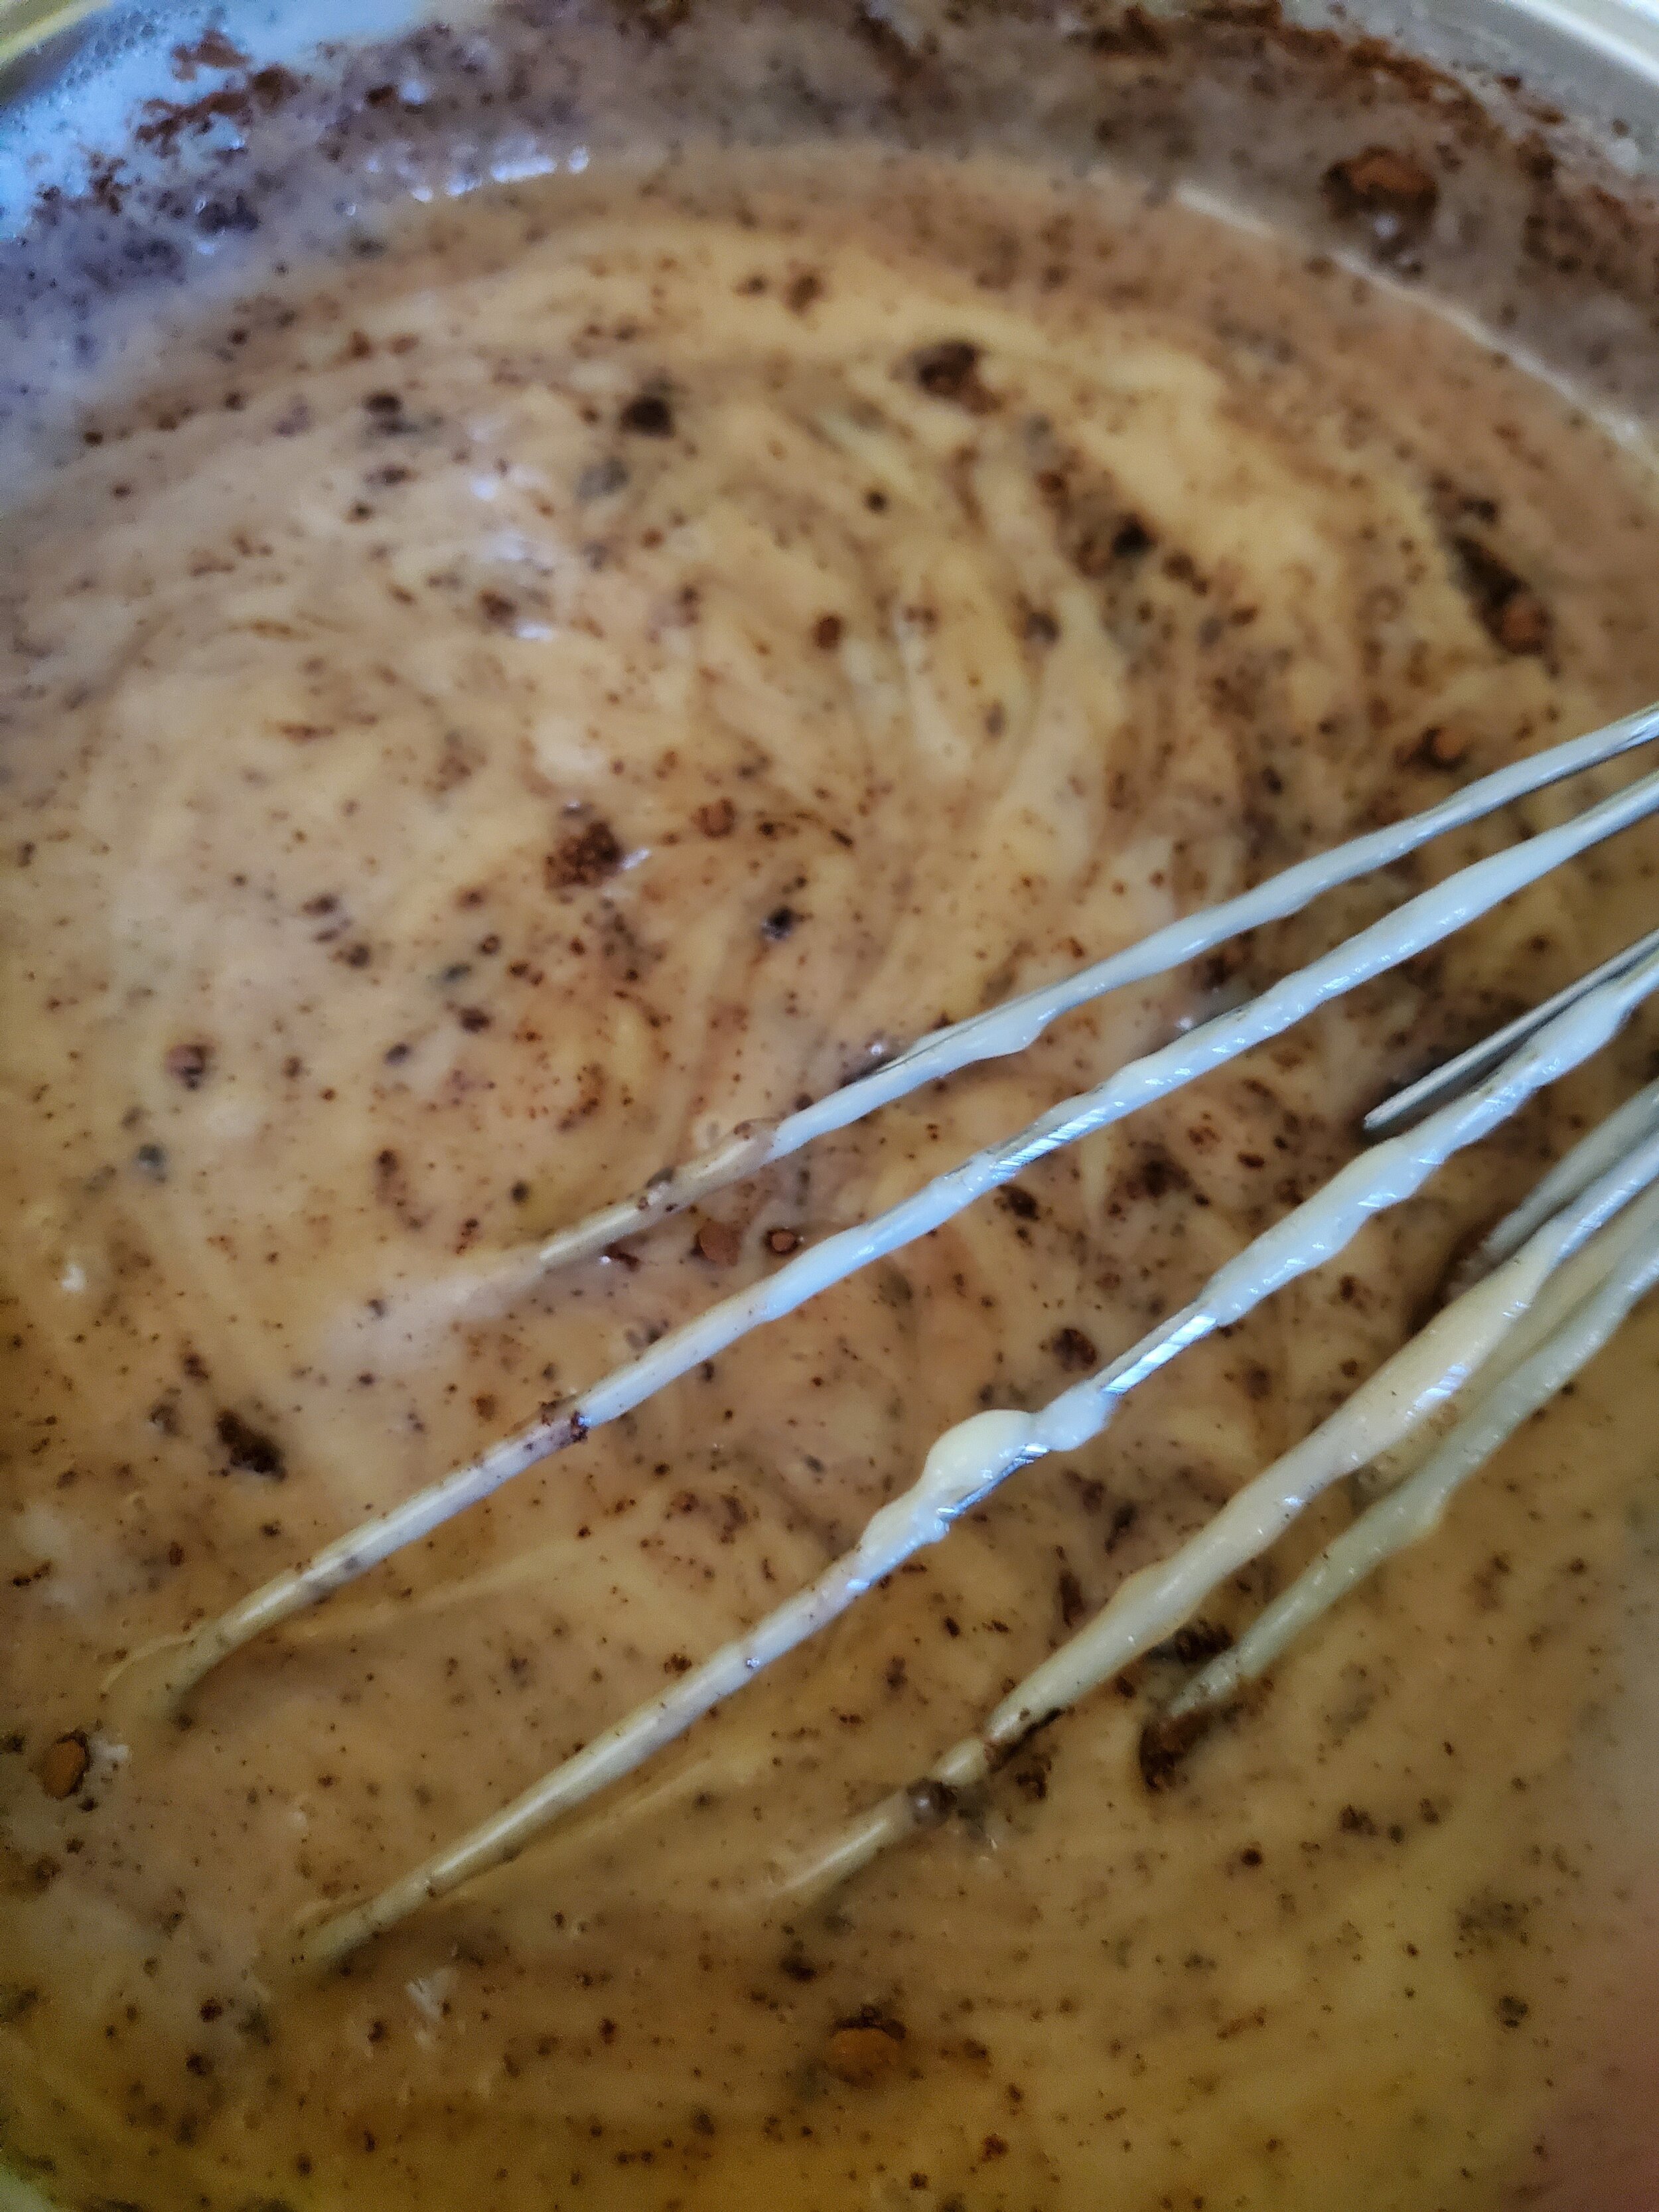
Once the cocoa has been mixed in, turn the heat completely off. Drop in the peanut butter, butter and vanilla extract. Whisk until it's all thoroughly incorporated.


Whisking room temperature peanut butter is no easy task. If you'd like, you can melt it in the microwave before pouring it into the milk. That will make it easier to stir, but you have to be extra careful to heat it only just barely enough in the microwave. Melting is the goal, but even a few seconds too long on high can burn the edges and make them solidify. Solidified, scorched peanut butter will not make tasty pudding (although it's actually pretty good as an ice cream topping, believe it or not. Also, we clearly have ice cream on the brain today).


Once you've reached the point where it's all one color and you're no longer turning up hidden pockets of peanut butter, you're good to put it into that heat-proof bowl (or perhaps portion containers), cover it with plastic wrap, foil or a lid, and tuck it safely into the fridge to chill. It will take a couple hours to set up completely, but once it does, you have dessert ready to go.

Peanut butter cup pudding, all ready to go in the fridge.


We know your kitchen is going to be full of the smell of peanut-buttery goodness, but the wait is worth it. Go do something while the timer counts down. Maybe you could let us know over on Facebook what you thought of this recipe. When the timer has gone off and you’ve dished up the pudding, you can top it with a couple of different things. We like keeping it simple, a little bit of whipped cream and some chocolate syrup is all this needs for us. For kiddos, you might add some sprinkles though, or you could add in some fruit preserves. We’ve heard that strawberry or grape make a good addition. You can even use the pudding as layers for a trifle if you want to get really fancy. 


Remember up top how we mentioned your fridge not working? Heaven forbid that’s the case not that it’s officially summer, but if so, we can help. We’ve got the knowledge and skill to fix all of your major appliances, from your trust refrigerator to your dryer and anything in between. Just give us a call at ((214) 599-0055) or set up an appointment on our website. We want to help keep your home running smoothly, even when the heat is driving the world crazy. 


Some other articles we think you might like. 


Double Chocolate Guinness Cupcakes 


Easy As 1-2-3 Christmas Cookies 


Making Cleaning More Fun

How to make cleaning less of a chore and more something to enjoy

When it's already hitting temperatures of 100+, you don't want to clean. You definitely don't want to fight with your kids about cleaning. It's hot and sticky outside and it leaves you exhausted when you get home from work. What if by changing the way you look at it, you could make it more fun and interesting? 


Some of these ideas are going to sound strange and maybe a little silly. We hope you'll give them a try anyway. You never know if it works for you until you give it a shot, right? So, whether it's getting through the mountain of laundry, or finally tackling that project you've been putting off, let's get going. 


Bring in some rules


No, we don't mean /those/ kind of rules. We're talking rules that make things more interesting. Are you trying to get your steps in every day? Maybe you can have a set number of items you can carry from the laundry pile to the washer or dryer. Maybe your child is great at playing basketball or soccer. You can have them 'shoot hoops' when it comes to cleaning up their room. You can challenge your spouse to a race to see who can finish cleaning the dishes first. Bringing in elements of play to a chore makes it go that much more quickly. All it takes is being willing to look at it from a  different angle. 


What would the Gaines say? 


Or a different decorating expert that you like and admire. We're not saying this to stress you out, just the opposite really. Imagine you're watching them go through your home on your favorite show. What would they say? How would they look at things and what suggestions would they make? Go through your home room by room with a notebook and see what ideas you might come up with.  You could also check out something like The Lazy Genius podcast for her tips on how to clean and organize your home. 


Take some YOU time! 


Most of us don't look at cleaning as anything beyond 'necessary' or at worst, a 'chore.' What if instead you looked at it as a time to take care of yourself? Sure you're getting things done, and you're doing some work. You can use that time though to do all sorts of things. Go through something that stresses you out as you're scrubbing the bathroom. You'll have time to work it out in your head and you get the frustration out in a positive way. Or you could use doing the dishes or folding laundry as sort of mindful meditation, focusing on your breathing and staying in the moment. 


Catch up on your To Be Read list. 


If you don't want to be in the moment grab your favorite book! With Audible, podcasts and Youtube, there's no end to ways to listen to a new book or story that will entertain you while you're getting things done. We suggest getting a good set of wireless headphones and diving in. You'd be amazed at how fast a good story can make chores pass by. 


Take time to reward yourself


If you're at work and you finish a major project, you reward yourself, right? Why wouldn't you do that at home? It doesn't have to be a huge reward, it can be something as simple as some time to sit down and watch your favorite show, or head down to the pool for a relaxing swim. The point is keeping things balanced. If you do a 'small' chore, something that you find easy, make it a 'small' reward. If it's something larger, like going through and cleaning and reorganizing your garage, you might make it a larger reward. Giving yourself reasonable incentives to get things done not only makes it more likely that you will finish the job, but also that you're going to be less annoyed about having to get it done. 


That's us though. What about you? How do you convince yourself to get through cleaning on a regular basis? What do you do to bring more enjoyment to these regular tasks? Let us know over on our Facebook page or in the comments below. We'd love to hear from you. 


If on the other hand you ended up here because you melted something in your dishwasher, or you're trying to figure out how to clean your oven, we've got articles to help with that as well. 


If during your cleaning you've found that your refrigerator isn't working right, or your washer has a leak, we can help with that too. Give us a call at ((214) 599-0055) or set up an appointment at our website. Wherever you live in Plano and the surrounding area we're here to help keep your home running. 


An In-Depth Look At Refrigerators

Or all the different combinations of styles and features you might find.

Have you ever considered how many different styles of refrigerators there are? Or what about the number of features manufacturers have come up with? While we can’t claim we have all of them, we do have quite a few. This week we’re taking a look at the wide world of refrigerators to help you pin down the type of refrigerator that will serve you best. 


Styles of Refrigerators 

Let’s start off looking at the 5 major styles of refrigerators and two specialty variants. 


 Freezerless Refrigerators - The One Trick Pony

Many people these days are choosing to go for a refrigerator that doesn’t have a freezer attached. For some it’s because they’ve moved away from frozen foods. For others they have so much in the way of frozen meal prep that they need a separate full freezer. Whichever you are, this might be a good refrigerator choice for you. It also is very useful in creating  an intriguing look in your kitchen by separating the two appliances. 


Top Freezer - The Classic

This is your standard refrigerator. It’s smaller than most of the others on this list, both in terms of the refrigerator space and the freezer. This just means it’s  the ideal refrigerator for small families or someone living on their own. This is typically a “no frills” type of refrigerator, so all of the features below are unlikely to be available. The upside here is that they can be purchased in a wide range of colors (even more than what we’ve listed in the finishes). They are also remarkably energy efficient having been around for so long and optimized the most over that time span. You also would have a much easier time of covering them with a wrap since they don’t have many features to cut around. 


Bottom Freezer - More Space! 

In terms of space, this is the next step up from a top freezer. Both the refrigerator and freezer are a little wider, and they have drawers instead of shelves keeping things visible. They also will typically include several features like a built in water and ice dispenser as well as being counter depth if you want. Per usual these features are going to cost you a bit more, but that’s typically considered worth it by larger families who are looking for more food storage. 


Side by Side - The Innovator

Side by sides are built so that you can work in both the fridge and freezer simultaneously. You can put up or take out food and see what you have very easily. They come in several different sizes and proportions of refrigerator versus freezer. We advise taking time to see which side of a fridge you use more so that you can make the choice that will best fit your family. 


 French Door - The Popular One 

If you went shopping for a refrigerator prior to the pandemic, you probably saw French door refrigerators everywhere. They have become the most popular style for several reasons. They are wonderfully customizable in terms of their shelving, allowing for you to store taller items that you normally wouldn’t be able to. They have door bins and deep freezers, even more so than the bottom freezer. They are also arranged in such a way that you’re not wasting time hunting through the shelves looking for what you need. Instead you can open one or both doors, look around and grab what you need. 


Specialty Refrigerators

 While these aren’t something most of us would go after for a standard kitchen fridge, they do have their place. 


The Mini - Compact Doesn’t Mean Pointless

Repeat after us, these aren’t just for college students. You can use them all over your house. Keep them in the kitchen as a dedicated beverage fridge. You can use them in your bar or your movie room for when you have guests over. Then you can keep food prepped ahead of a night in without having to rush off in the middle of things. 

Wine- When You Need Control

If you really enjoy wine, then you know the need for keeping them at a stable temperature. If you’re living in Texas, you probably don’t have a deep cellar to keep them in. While most people feel that you can keep your wine, it’s not exactly ideal for long term storage. Your fridge is much colder than wine likes, and nowhere near humid enough. A wine refrigerator on the other hand is specifically engineered to allow for controlling those features. 


Features For Your Refrigerator

Now that we’ve looked at all of the main ‘types’ of refrigerators, let's take a look at the features that you might want. 


 Water Features All Refrigerators Need


Ice and Water In Door 

During a hot summer is there anything better than being able to walk inside, go straight to your fridge and immediately grab some ice water? We didn’t think so. This is one of the most popular, and thus most common, features in a refrigerator. 


Keurig K Cup Brewing

If you’re the type of person who has contemplated installing a coffee IV occasionally, this might be the feature you’ve been looking for. With a coffee maker built into your fridge you never have to worry about having to fill the aquifer.  You can also free up counter space without having to give up anything. 


 Design Features You’ll Want for Your Refrigerator

These are all of the  things that affect how the refrigerator looks. 


Flexible 4 Door

This is a refrigerator that is intended to help you save your food. With four separate areas you can control what goes where in your fridge and how cold it needs to be. You can even use the bottom drawers for extra fridge space if you need more of that and less freezer space.  


Counter Depth

If you’re worried about the flow of traffic in your kitchen, or the design, this might be the feature you’ve been looking for. A refrigerator that is counter depth is going to be slightly wider than standard, but is going to be shallower than usual. Make sure that when you order one you measure very carefully, to ensure a seamless design.


 Small Spaces

If you need something larger than a mini fridge, but you don’t want a full fridge, you might look at a compact fridge. Much like with a counter depth refrigerator, many people choose these for how they will fit into the design of their kitchen. Just make sure to spend time measuring. Not only in terms of “where will this fit” but also in terms of “is this enough fridge space for me.” 


Smudge proof

Smudge proofing means that an appliance has a special coating applied to it to make it easier to clean fingerprints. Whether you obsess over keeping your appliances spotless, or you just don’t want to fight with them to keep them clean, this is a useful feature. 


Wheels

Think about the last time someone you know had to move a refrigerator. Whether it was for cleaning or moving, did they say it was light? No. People regularly get injured trying to move refrigerators, even if all they need is to grab something that rolled behind. So if you don’t have Thor standing around ready to help, wheels make things easier. They won’t rip up your flooring, and you won’t have to empty all of the food out just to move your refrigerator. 


Door in Door

Do you have pets or small children? Do they like to stand or lay right in front of your refrigerator when you need a drink? That’s the exact reason this was invented. (Ok, maybe not, but as pet people we like to believe so.) Now you can store all of your drinks in one spot, and even a few snacks, and you don’t have to open the whole fridge, or make the dog move. 


Adjusts for Bottle Size 

Sometimes you have a guest that brings an extremely tall bottle of wine. Or you have a cake that needs to be stored and it’s 4 layers tall. Being able to move around the shelves and drawers of your refrigerator means there’s nothing you won’t be able to store. (How much you’ll have to move to do so, well that we can’t help with.) 


Technology Features For Your Refrigerator

They might not all be cutting edge, but we guarantee they’ll help your kitchen run more smoothly. 


 Door Alarm

How many times have you gently nudged your refrigerator or freezer door only to turn around and find it’s still open? Or to find out that it didn’t latch and now your food is thawed? Door alarms are your saving grace then. We both love and hate them because they’re noisy, but they really do mean you’re not going to be leaving your fridge open unintentionally. 


 Smart Refrigerators

Ah, a smart refrigerator. We’ve talked about these in the past, but they do have their uses. Being able to program your fridge to run a defrost cycle during the night for example. They also have ones that have cameras inside them so that you can see what you have when you run to the store. There’s dozens of new features coming out every year for ‘smart’ refrigerators, so if you want to stay on the cutting edge, you might consider this. 


Child Lock  

Kids get into everything. It’s a well known fact. This includes refrigerators. Luckily, refrigerator designers are also aware of this and have included this feature. Whether you need to worry about your toddler climbing the shelves like a jungle gym, or digging into the cake you put on the middle shelf, this is the feature you want. 


So, what do you think? Are you going to start measuring and hunting for a new refrigerator? Or are you happy with what you’ve got? Let us know over on our Facebook page. 


If you ended up here because your refrigerator is broken however, please feel free to give us a call. If you live in Frisco or the surrounding area, we want to help. You can reach us by calling at ((214) 599-0055) or by visiting our webpage and setting up an appointment. 


7 Common Problems With Gas Ovens

How to Fix the Ones You Can and Identify the Ones You Can’t

You’ve been waiting for an hour for your gas oven to come up to heat. It should have been ready 45 minutes ago. And still you wait.  “What’s the problem?” you curse under your breath. We’ve been here and we know exactly how you feel. (Although we hope it’s not the night before a bake sale when you encounter this.) Appliances don’t always work. Sometimes you run into a problem with your gas oven and you’ve got no idea what it is or why it’s happened.  

Why you chose might choose a gas oven 

When you were purchasing your brand new gas oven, it might have seemed like a fantastic idea at the time. When you compare the pros and cons, a gas oven comes out ahead for many people. You save money because gas ovens cost less to run than electric ovens, they heat up and cool down quicker, and they are more energy efficient. Or you might have chosen it because while an electric oven typically only lasts for 13 years, a gas oven can last up to 15 according to American Home Shield.  These are all reasons we looked into when it came to justifying our gas oven against the initial cost of purchasing one and installing the gas line. 


Common Problems With a Gas Oven 

However, like all appliances, there are times when things just go wrong and you don’t have a say in the matter. That’s when you need to be able to tell the difference between a problem you can fix and a problem we can fix. 


Before we dig in: Please make sure to take reasonable precautions before doing any of these. 

Something to look for with all of these issues is whether your oven is getting gas or not. Start by turning on the range burners if you have any. If the gas is flowing normally to the range burners, you know that the issues are within the oven itself. If they aren’t, you need to take a step back and make sure that you’re getting gas from your intake line, and your gas provider. (Sadly, we don’t have an in with any of them. We advise calling them once you’ve confirmed that an issue is with the gas supply rather than the oven itself.) 


Problems with Your Gas Oven that YOU Can Fix


Excessive Food Debris

Food debris can keep the burner from lighting, so your best bet is to clean it out regularly. But we all get busy, or have unintentional cooking mishaps, so here are the steps you need to go through when it’s built up. 

  • Start by removing the grate over the burner. Either gently lift it off or loosen the screws that hold it in place. 

  • Scrub off any food built up on the grate with a sponge soaked in warm soapy water. 

  • Sweep out the cavity of the oven with a small hand brush or towel, paying attention to the corners.

  • Check the burner tube(s) and ignition  to see if they have any food built up on them, carefully using scrubbing with an old toothbrush or a wire bristle brush. 


Inadequate Lighting

Sometimes the burners in your oven just won’t light completely. Even though you’ve got the dial cranked to high, you’re not getting a sufficient flame. This not only is going to affect your cooking, but also the efficiency of your oven. The most likely reasoning for this is that you have a cross-over port that’s restricted due to some type of blockage. Grab your old toothbrush and a wire brush and scrub carefully at all of the ports. With a bit of time you should be able to clear anything blocking the ports. 


Oven Burner Fails to Light

What about if the pilot light doesn’t light up after you’ve turned the oven on? You’ll know it hasn’t if you can open up the oven and don’t see a light at the back of the oven. If it’s not on, you might need to clean the electrode for the pilot. After you’ve taken your trust tools to it, you can relight the pilot with this article from Bob Villa


Problems with Your Gas Oven that WE Can Fix


Delayed Ignition

One of the benefits of a gas oven, and the reason many people choose them, is the rapid on-off time, the opposite of using electric ovens. However you can have times where even after you ignite the oven, it takes a long time before it operates. This can be caused by the ignition ports being blocked. Please note, this is different from having the cross-over ports blocked. A trained technician is your best choice in this case, rather than doing it yourself. They will be able to tell if it is the ignition port that is clogged and get it fixed. The reason we advise caution here is because a delayed ignition has the potential to cause a fire or explosion, causing damage to you, your oven or your home. 


Oven Fails to Heat 

If your oven won’t heat at all, it’s possible that the ignition is a problem. If you’ve made sure that both the gas supply is active and open, pop open the panel at the bottom of your oven. Here you’ll see your burner tube.  Turn on your oven to 350 and see if the igniter burns hot. If it does but the gas doesn’t ignite, there’s most likely a problem with the igniter, and it’ll need to be replaced. If the igniter doesn’t glow, the next step is checking it with a multimeter, which you can do on your own, or you can call us in. For more information on how this process works, check out this video


The Igniter is Glowing, But it Has NO Flame 

If you’re facing off against an oven that doesn’t have any flame, your first spot to look is the igniter. (Hm, that thing seems to be the potential spot for several problems doesn’t it?)  So, pull out the shields and check to see if it’s glowing. If there’s not flame and your igniter has been glowing for a long period of time, you need a new igniter. They can get old and worn out so that they can’t open the safety valve and bring gas into the burner tube. 


Gas Odor While Oven is Lit

If you’ve got your oven lit and you can smell the gas, you’ve got a problem. Start by turning off the oven. If left unchecked a gas leak can cause a fire, explosion or poisoning of anyone in the home. 

Now that we’ve got you safe, there are two possible causes for you smelling gas. The first is that the gas valves are opening up too soon before the ignition is reaching the right temperature. The second could be a hole or slit in the gas valves. Both of these need to be addressed by a professional as soon as possible after you notice it. 


Oven problems can happen to any homeowner. It’s not something you’ve done or not done, it’s just wear and tear on the parts. The good news is that half of these you can fix on your own. For the other half, Appliance Rescue Service is always here to help. If you’ve got questions about ovens (gas or electric) that we didn’t cover today, or just in general, let us know in the comments below or over on our Facebook page. If on the other hand you found us because you’re dealing with one of these problems, you can reach out to us on our webpage. So long as you live in Addison or the surrounding area, we’re here to help. 


Rock Your Weekend Lemon Berry Cake

When You Need a Conversation Stopper

Last time around, we did some breakfast food. This time, let's go all the way to the opposite end of the day and do a dessert!


We do hope you're not tired of blueberries yet, as they'll feature in this recipe too - this time as a supporting character instead of as a star.


Do you like berry lemonade? We think this is the best time of year for it, as the weather heats back up and the days get longer. The thing with berry lemonade, though, is that it gets awfully watered down in all the heat. But if you bake all the same flavors into a cake, there's no melting ice to ruin it. It's like six times as sticky, though, so maybe keep in mind the need for a plate and fork instead of a cup and straw.


Lemon Berry Cake


Ingredients:


1 box yellow cake mix (18 ounce, give or take a bit)

1 cup vanilla flavored Greek yogurt

4 extra large eggs (5 if using large or medium size)

1/4 cup plus 1 Tablespoon vegetable oil or melted butter

3 Tablespoons lemon juice

2 Tablespoons poppy seeds

1 cup cherry pie filling

1/2 cup fresh or frozen blueberries

1 Tablespoon strawberry syrup

1 teaspoon lemon extract


Tools:

Mixing bowl, spoon, measuring cups and spoons, blender or food processor, Bundt pan, non-stick spray, hand mixer (optional)


First off, pour that box of dry cake mix into the mixing bowl. Break up any large lumps you might find - it's easier to do this now, before adding any wet ingredients to it. 


Measure your yogurt and oil or butter into the bowl. Crack the eggs into it, and jab the yolks with the spoon to break them. Don't get too excited and start stirring it yet, though - we still haven't added the bulk of the wet ingredients.


Now is probably a good time to go wake the oven up (even though running the oven in warm weather is such a distasteful idea). You'll want to set it to preheat to 325. Look on the bright side: at least we're not making pizza or bread. We'd be telling you 450 for either of those!


Crack open your can of cherry pie filling (well, we always just use the canned stuff, but maybe your family is extra fancy and makes it from scratch. If you do make it yourself, we're jealous and would like to try some) and dump a cup of it into the blender or food processor, along with the blueberries, lemon juice, lemon extract and strawberry syrup. Blend it up until it's a purplish mixture about the consistency of a jar of store-bought jelly. Alternatively, you can choose to stop a little sooner and go for the consistency of preserves - lumps are fine, they just lend the cake more texture.


Take everything in the blender and pour it out into the bowl of cake mix, and then add your poppy seeds. If you intend to employ the hand mixer, give everything a once- or twice-over with the spoon before turning it on so it doesn't go "poof!" and give your kitchen a nice dusting of cake mix bits. If you're not using a mixer, stir gently by hand for about two minutes to make sure everything is all homogeneous.


Once you have your cake batter stirred smooth, grab your Bundt pan. Spray it lightly with the non-stick spray, making sure to get into all the little fluted nooks. Pay special attention to the center, also - we've discovered that if the cake is going to stick somewhere, it's there. Pour your cake batter into the pan - be sure to scrape the sides of the mixing bowl and get all the berries! - and smooth it over with the spoon.


Tuck it into the oven on a center rack and let it bake up for about 45 minutes. Sometimes the cake is set and ready to go after 45, but more often than not, it needs a few minutes longer than that. We think it varies based on the amount of syrup in the cup of pie filling.


It's ready to leave the oven when a toothpick poked into the deepest part of the cake comes out clean, and the edges have begun to pull away from the sides of the Bundt pan.


Allow it to cool in the pan for 10 minutes before you make any attempt to remove it - moving it too soon can result in cake chunks, instead of a whole cake. Wiggle a butter knife gently around the edges and the center if it's still holding on after you've tried inverting the pan.


This cake's texture will be springy and soft, and sort of custard-y when you cut into it. You can see for yourself in the photos - we jabbed it with the blunt end of a knife, and the cake just dented instead of crumbling. It even returned to shape before we got around to drizzling glaze over it!


Don't worry, it's done; we promise it’s cooked all the way through. The softness is the result of using yogurt when most cakes use milk or water, and rounding out the wet ingredients with egg and semi-solid fruits.


The berry flavors on their own aren't overly sweet - they're more tangy - so we do recommend breaking out your favorite glaze recipe or melting some store bought frosting over it before serving. Don't disappoint the resident sweet tooth!


When you decide to make this cake we want to see! You’ve seen how ours turned out we’d love to see yours! Show us over on Facebook


If you live in The Colony and you need someone to take a look at your appliances, don’t forget to give us a call. We’re here to keep your home running smooth whether something has broken, or just if you think something is off. 

Phone: (214) 599-0055
Website: https://appliance-rescue-service.com/contact-us