Celebrating Pi Day with Rhubarb Maple Meringue Pie

Today we celebrate Pi Day! No, not Pie day, that is January 23rd and we were rather sad when we saw that we had missed that one. 


pi-1453836_1920.jpg

“First and foremost, Pi Day is a celebration of the mathematical constant, π (pi), or 3.14159265359.”  You can see that the first three numbers are the date that we celebrate it on, if you’re writing the date 3/14.  


I know, I know, it’s math, and you are here for food. But! Don’t leave yet!


 Thankfully many people have made the association between Pi and pies. If Pi is used to work out the diameter of a circle, it naturally lends itself to pies of all sorts. Not just the sweet variety, but pizza pies too! So many delicious circular foods to explore and 3.14 makes it all possible. 


Pi Day was first celebrated on a large scale in 1988. Larry Shaw, a physicist who worked at the San Francisco Exploratorium at the time organized the event, bringing together both the public and museum staff. The assembled marched around the circular spaces of the museum and then tucked into a bunch of pies, according to a piece by Newsweek. 


We’re joining in on the celebration with a recipe from The All American Desserts Book by Nancy Baggett for a delicious Maple Rhubarbe Meringue Pie. This sweet and tart mix makes a delicious combination no matter when you choose to share it.The mild, light meringue topping adds a slight sweetness, which helps balance the tang of the rhubarb and the richness of the pastry. And really, who’s to say that pi cannot be celebrated every time you bake a pie? 

Bunches of rhubbarb and  purple artichokes at a market


Single crust All-Purpose Pie Pastry Dough

All purpose flour for dusting dough

Filling


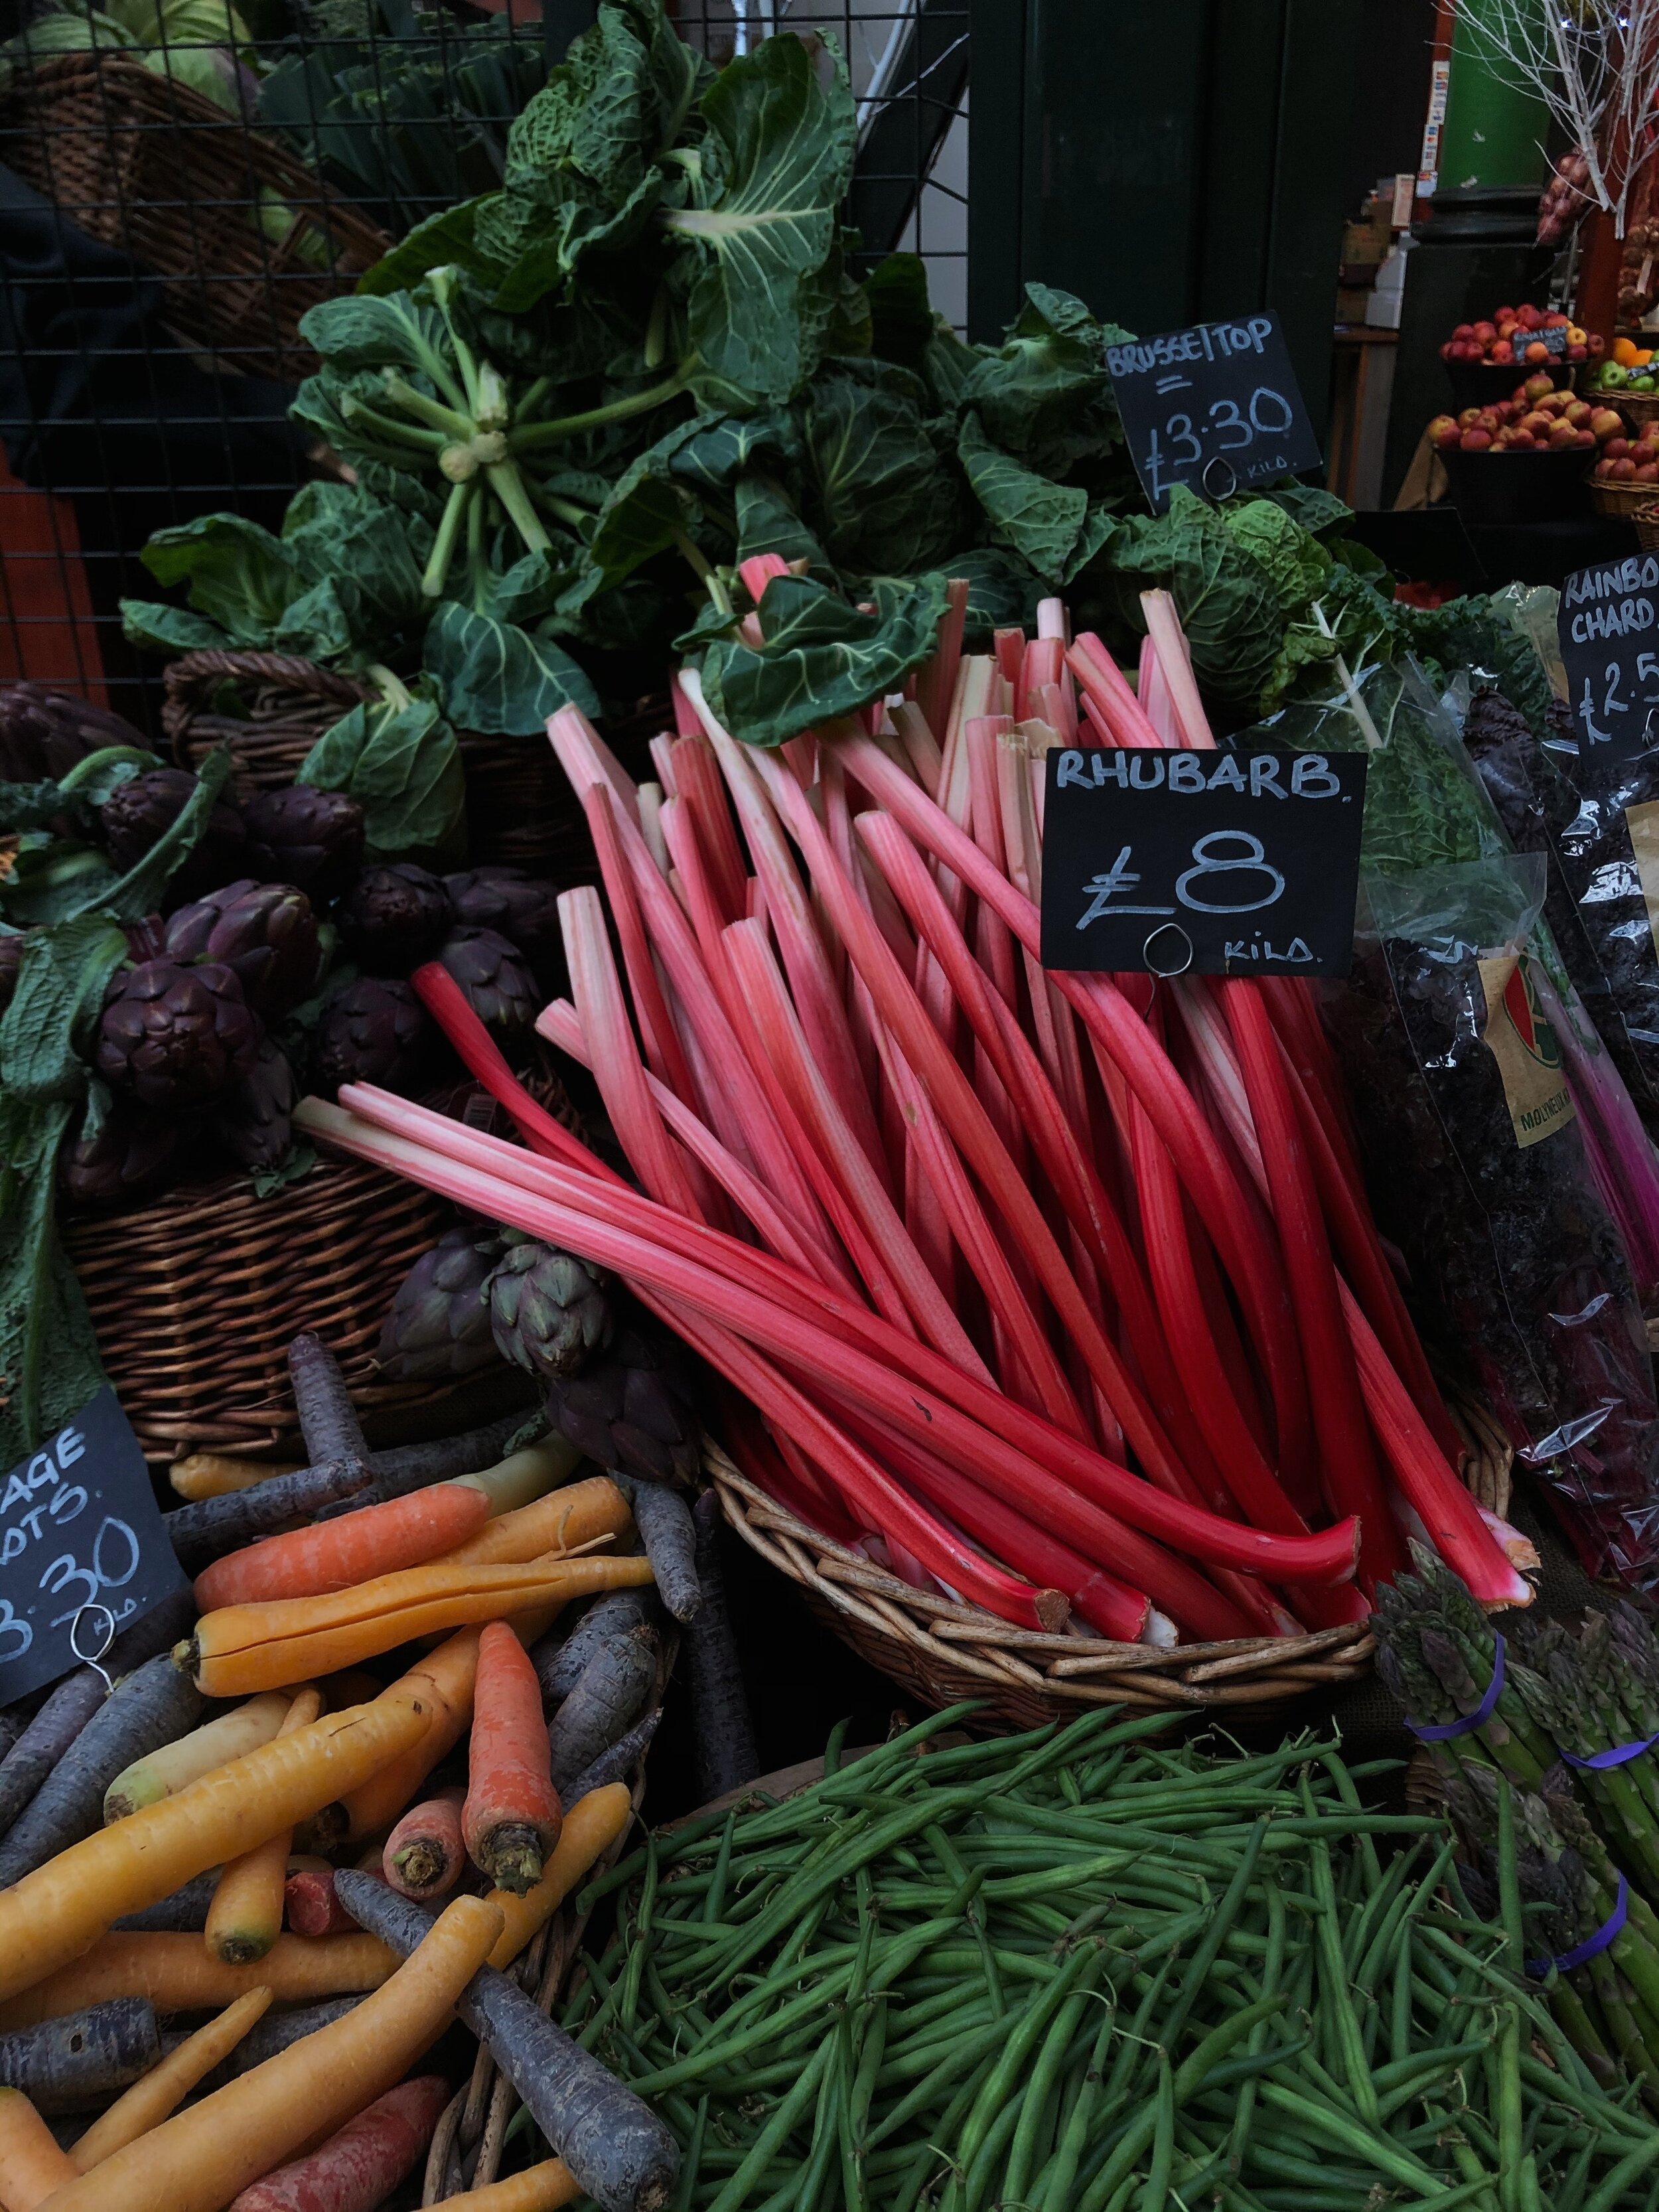
4 ½ cups ½ to ¾ inch long pieces of rhubarb ( which is roughly 1 ½ to 1 ¾ pounds with the stalks trimmed) 

¾ cup granulated sugar (divided) 

1 ½ teaspoons fresh lime or lemon juice

¼ -⅓ cup orange juice if needed *

3 ½ tablespoons cornstarch

Pinch of salt

⅔ cup maple syrup, preferably light amber 

2 large egg yolks 


Meringue


4 large egg whites, completely free of yolk and at room temperature *

Generous ¼ teaspoon cream of tartar

Pinch of salt

¾ cup plus 2 tablespoons powdered sugar

½ teaspoon vanilla extract 


Rolling Out The Pastry

Lightly grease a regular 9-inch pie plate or coat with nonstick spray. 

If the dough is cold and stiff, let it warm up until slightly pliable but still cool to the touch. Generously dust it on both sides with flour. 

Roll out the dough between large sheets of baking parchment into a 13  inch round. Occasionally check the underside of the dough during rolling and smooth out any wrinkles. Gently peel off the top sheet of paper, then pat it back into place. 

Flip the dough: peel off the bottom sheet. 

Center the round, dough side down, in the pie plate. 

Gently peel off the remaining paper.

 Smooth the dough into the plate and patch any tears, if necessary.

 Using kitchen shears of a paring knife, trim the overhang to ¾ inch. 

Fold the overhang under to form an edge that rests on the lip of the plate.

 Finish by fluting with your fingers or pressing on the edge with the tines of fork. 

Prick the pastry all over with a fork. 

Loosely cover the pastry and place in the freezer for 15 minutes or  in the refrigerator for at least 30 minutes and up to several hours

Baking the Pastry

Position a rack in the lower third of the oven and preheat to 400 degrees F.

 Insert a large square of aluminum foil coated with the nonstick spray (or use non stick foil) oiled side down into the chilled shell, smoothing the foil over the bottom and sides and folding it out over the rim to cover the pastry. 

Fill the foil with dried beans, spreading them so they extend up the plate sides. 

Set the pie shell on a rimmed baking sheet. 

Bake for 25 minutes. 

Carefully remove the foil and beans from the shell. 

Continue baking for 5-10 minutes longer, or until the shell is nicely browned all over.

 If the edges brown too rapidly, cover with strips of foil (or a pie shield). 

Transfer the pie shell to a wire rack to cool. 

The pie shell will keep, covered at room temperature for up to 24 hours. 

Mixing Up the Filling

In a large nonreactive saucepan, thoroughly stir together the rhubarb, ½ cup of the granulated sugar, and the lime juice. 

Let stand, stirring once or twice for about ten minutes or until the sugar is mostly dissolved and the mixture looks wet. 

Bring to a boil over medium high heat, stirring. 

Cook, stirring until the rhubarb pieces exude some juice and just begin to soften but still hold their shape, about four minutes. 

Remove from the heat and let cool for about ten minutes. 

Put the rhubarb in a sieve set over a large glass measure. 

Press down hard on the rhubarb to extract as much juice as possible. 

You should have ½ to ¾ cup juice, necessary, and enough orange juice to yield ¾ cup.

Reposition the rack in the middle of the oven and preheat to 350 degrees F. 

Rinse and dry the saucepan.

 Put the remaining ¼ cup granulated sugar, the cornstarch and salt in the pan and whisk until well combined. 

Add the rhubarb juice, whisking vigorously until the mixture is completely smooth. 

Bring to boil over medium- high heat, whisking. 

Lower the heat slightly and cook, whisking constantly until very thick, smooth and translucent, about 1 minute. 

Remove from the heat. 

Vigorously whisk in the maple syrup until the mixture is completely smooth. 

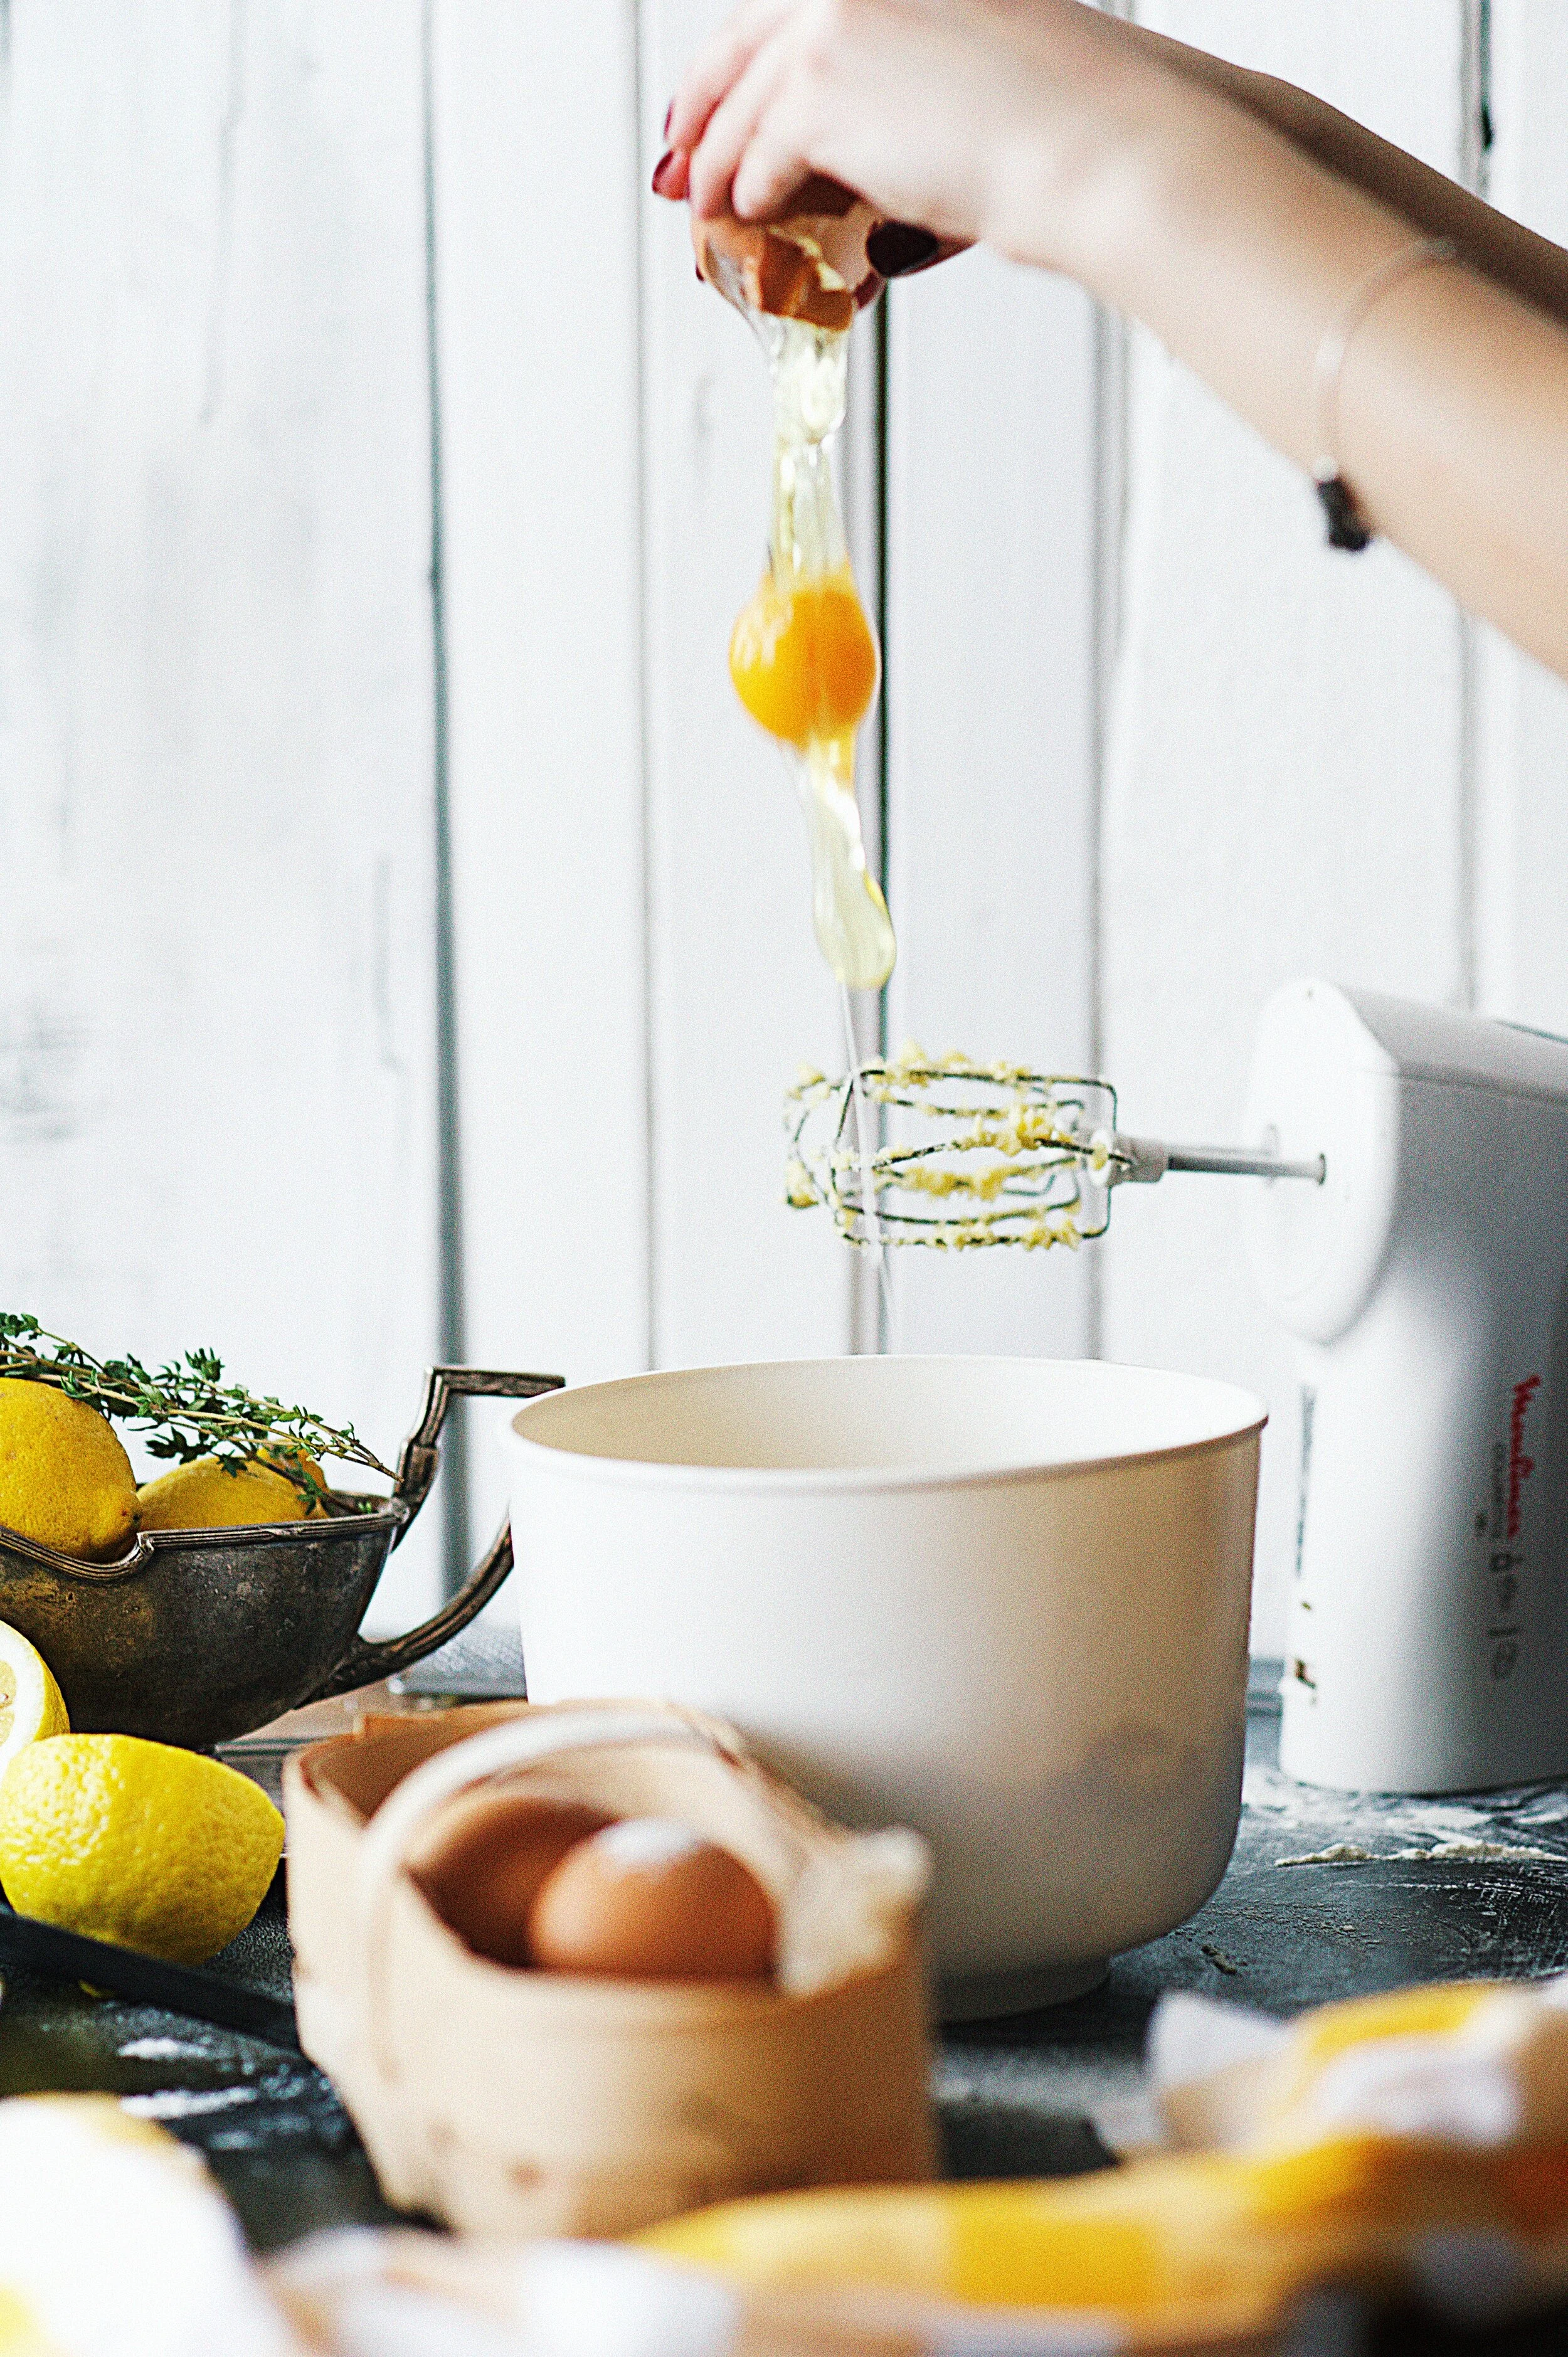
In a small deep bowl, whisk the egg yolks until lightly blended. 

Pouring slowly and whisking constantly, add about ¼ of the maple mixture to the yolks. 

Add the yolk mixture to the saucepan, whisking. 

Cook over medium high heat, stirring constantly and frequently  scraping the pan bottom with a wooden spoon, until the mixture boils for a full 1 ½ minutes. 

Do not undercook, or the filling may thin out later.

 Stir the reserved rhubarb into the maple mixture. 

Cook, stirring just until the rhubarb is piping hot: the filling will be fairly thick. 

Cover and set aside. 


Whipping Up The Meringue

In a completely grease free and dry large bowl, combine the egg whites, cream of tartar and salt. 

Using a mixer on low speed with a whisk shaped beater if available, beat the mixture until frothy. Raise the speed to medium and continue beating until the mixture is smooth fluffy and opaque, but still too soft to hold peaks.

 (Check by stopping and lifting the beater)

 Immediately add the powdered sugar 2 tablespoons at a time, beating for about 20 seconds after each addition. 

Add the vanilla. 

Raise the speed to medium high and beat for 2 minutes, scraping down the sides of the bowl as needed. 

Raise the speed to high and beat for about 1 minute longer or until the meringue is fluffy and stands in firm but not dry peaks. 

Assembling the Pie

Turn out the hot filling into the pre-baked pastry shell. 

Set the pie on a rimmed baking sheet. 

Spread half the meringue over the filling, making sure the meringue touches the pastry all the way around.

Top with the remaining meringue, mounding it in the center. 

Attractively swirl the meringue with a table knife or the back of a large spoon. 


Time to Bake! 


Bake for 12 to 17 minutes or until the meringue is evenly tinged  with brown all over. 

For even browning, rotate the pie from front to back after six minutes. 

Transfer the pie to a wire rack.

 Let cool for at least two hours and preferably three or four hours before chilling or covering to minimize any beading of the meringue. 

The pie will keep, covered, at room temperature for up to twelve hours (some beading may occur after the first few hours) or refrigerated for up to 2 days.  The crust will soften with longer storage. Let come to room temperature before serving. 

Additional Notes

For the orange juice, make sure that you have it on hand, but don’t measure it out until you’ve seen if you need it or not.  


For separating egg yolks and whites, check out this video here! It’s really easy this way, and you’re less likely to end up with a punctured egg yolk than if you did it using the shells. (Although if you can do it that way, go you!) 


Rhubarb has a lot of juice that can make the bottom of the pie soggy and gross. The rhubarb is briefly boiled ahead of time with sugar to release those juice. That is then drained off, reduced down and cooked with the rest of the filling. 


If you don’t want to fuss with making pastry dough, or prebaking one, you can always pick up a premade one at the supermarket. 


So that’s our contribution to Pi Day! Let us know what some of your favorite pies are over on our Facebook page! 


If you notice during this process (or before or after haha) that there are issues with your oven, reach out! We can send one of our technicians to come out to you based on your schedule and help get your oven back in tip top shape! 

Cleaning With Vinegar- BUSTED


If you were to look up how to clean almost anything in your kitchen on the internet, you’d find at least one site calling for vinegar. Your coffee maker? Vinegar. Your dishwasher? Vinegar. Musty towels? Vinegar! 


Vinegar is an acid, and most of the time, recipes call for distilled white vinegar added to water. Nothing special. But does it really do what it’s supposed to? 


Well. Sometimes? 


“The acid reacts with the organic materials in stains and dissolves them away,” says Joe Glajch in a chat with Consumer Report. So it does work with cutting through grease. It’s also an excellent disinfectant. Just think about how it keeps mold from growing during the pickling process. It’s also great at cutting through grease. It’s also great at descaling coffee makers.  Vinegar is also handy when it comes to cleaning windows and leaving a streak-free shine on them. 


However, it’s not an all-purpose cleaner the way many people think it is. Vinegar, either on its own or combined with water (which is just going to dilute it), doesn’t function that way. And think about the smell! We can’t speak for others, but we don’t care for the scent that using straight vinegar leaves in your kitchen. 


So, to break down the myths on vinegar, let’s tackle 10 things you absolutely should not use vinegar on and just why that is. 


Here are 10 Things You Most Certainly Should NOT Use Vinegar To Clean.


Electronic Screens - 

Unlike windows, your computer monitor, tv and phone screens are all treated glass. Acids can damage that coating leaving your devices less responsive at best and toast at worst.

white-apple-iphone-on-wooden-table-48605.jpg
 
brown-framed-sunglasses-near-two-drinking-glasses-2229930.jpg

Marble & Granite Countertops or Floors-

Marble and granite when they have vinegar sit on them for any length of time will be ‘etched’ or ‘crazed.’ This means that patterns in the stone will be eaten away, leaving the spot discolored in strange patterns. Which can look beautiful if you’re doing it intentionally, but if you just paid a bundle for new countertops, maybe not?  


Hardwood Floors -

Hardwood floors can also be destroyed by vinegar, but for a different reason. Here the treatment that is applied to wooden floors is being stripped away rather than portions of the wood itself. 

appliances-architecture-ceiling-chairs-534151.jpg
 
time-lapse-photography-of-egg-1070893.jpg


Egg Stains - 

Egg + vinegar = a fantastically coagulated and gross mess. Whether you’re hoping to clean up egg that you just got on you or something that has been sitting on the fabric for any length of time, just don’t. Just like it does when cooking when applying acids to an egg, the proteins in the egg will curdle and become more of a mess for you to clean up. 


Dishwasher-

This one we were surprised by during the course of our research. We’ve suggested using vinegar before for cleaning your dishwasher. Much like for coffee makers, it makes a very effective descaling (liquid?).  What we didn’t know till now is that the vinegar can eat away at the rubber pieces within your dishwasher. 


Pearls- 

Pearls are built up layers of sediment and nacre. Once again, this is something that is dissolved by acids. So if your pearls are dirty, don’t use anything with vinegar in it to clean them. Your best bet is to start with water and add a drop or two of Dawn dish soap. (Sadly we cannot claim that is a  sponsored plug.)


Small Appliances-

While the plastic and glass surfaces on small appliances can definitely be cleaned with vinegar, the rubber, and stainless steel parts are a different matter. As we’ve said, vinegar eats away at rubber. As for stainless steel, there are different grades of it. The lower quality ones, like what’s used on most small appliances, are.. cheaper.  They are more prone to rusting, and that process is sped up by acids like vinegar. 


Knives -

Metals and vinegar don’t mix. Period. Game over. Tools such as knives and peelers, those with exposed edges, are especially vulnerable. Vinegar can leave the knife’s edge pitted, it can also eat away at the finish on the knife. Other metals to keep away from vinegar are aluminum and copper.


green-white-philips-iron-53422.jpg

Your Clothes Iron -

While scaling can happen in your clothes iron, if you leave water in it between uses, vinegar is a bad idea to use here. Most clothes irons actually have a protective coating on the inside that vinegar can eat away at over time. 


Washing Machine-

Much like your dishwasher, many posts call for using vinegar for your washing machine. It can be used to soften towels and rinse them free of built-up detergents. It can be used to descale your washer. It’s great for getting out that funky washer smell.  And these things are true. But like the dishwasher, it can eat at the rubber parts of your washing machine. Which means that you’re going to end up water flooding your house eventually. Not fun! While you can use it occasionally (say maybe 4 times a year, tops?) using it consistently is going to wear down that rubber and eat away at it. 

General Rule of Mixing Cleaning Supplies 

We get it, everyone wants to save where they can. If you can make your own laundry detergent or soap, why not your own all-purpose cleaner? The problem here is that so often, you’re given a general recipe rather than specific amounts that can end up with a useless mess rather than a cleaner. Or people don’t research, and so you can end up mixing a congealed mess at best and a toxic chemical at worst. 


Two examples of that last point are Castile soap and bleach. 

If you mix vinegar and Castile soap, you’d think that you’re getting the grease-cutting power of vinegar and the cleaning power of Castile. Except you don’t. You end up with a gross, curdled mess. 

Bleach, on the other hand, if mixed with vinegar, is going to give you chlorine gas. Mix up this attempt at a cleaning material, and you’ll need medical treatment for your eyes, throat, and lungs. 

So, all in all, be careful and research thoroughly when you’re looking to mix your own cleaning supplies. Check that the recipes have exact amounts and that they’ve been safely tested by multiple people. 

Remember, if any of your appliances have been damaged by vinegar, or just typical wear and tear, Appliance Rescue Service is here to help. Schedule an appointment today with one of our helpful technicians. 

 Have you tried using vinegar for cleaning in the past?   Were you surprised by any of the things on our list? Do you use other green cleaning supplies or products?  Let us know in the comments below or over on our Facebook page

Smart Appliances or Bamboozling Buzzwords?

Are we closer to having smart homes, or are we being bamboozled by useless technology upgrades? 

Smart homes, homes that can do everything for us, making our lives more comfortable and focused. We’ve been dreaming about homes like Eureka’s SARAH, The McFly House, and Tony Stark’s mansion for decades. And as technology continues to speed up, we are getting closer. While we aren’t quite at the point of having living room travelators a la the Jetsons, we do have robot vacuums. We’ve also got people who are already trying to figure out how to imitate JARVIS from the Iron Man movies, and he can tell you if a guest has shown up. 

Jetsons.jpg
 

So what is a smart home? 

According to the masses, a smart home is “a home automation system will control lighting, climate, entertainment systems, and appliances. It may also include home security, such as access control and alarm systems.”


A smart appliance then is one you connect to your phone or tablet for better control convenience and information. Then you can control it either by voice command or the push of a button. 

Smart Appliance Examples

 Refrigerators that let you know when you’re out of something. 

 Thermostats that remember what temperature you prefer at night

 Security systems that let you check in on your kids and see if you remembered to lock the door before you left. 

So a smart home is a collection of appliances, systems, lighting, and heating that can all be controlled from a central point. What’s the problem then? Why are we all holding off on diving into the future we’ve wanted.

Well, because we’re still in the infancy stage of smart homes. Not all smart appliances are useful, not all of them do what they claim to do, and really do we need a remote start for our washing machines? Why do we need 24-hour delays on crockpots? (No one wants salmonella, thanks for trying.) Last but not least, shouldn’t an appliance be good at the primary function before we add on extra ones? Sadly, as we’ve discussed before, that’s not always the case. 

Manufacturers are still figuring out what we need in appliances and what will actually get used. We’re also still figuring out the legality around devices that can share our information and whether they should or not.

Not all smart appliances are bad, though. Some of them are remarkable at both doing what they’re supposed to do AND using smart features. 

Let's take a look at the Nest Learning Thermostat and the Amazon Basics Microwave. Both do what they are meant to do while still giving us a glimpse into the future. 


The Nest Learning Thermostat has an Auto-Schedule feature that learns your daily heating and cooling temperatures and times during the first week of use and creates a schedule based on your preferences. You can make adjustments along the way or create your own schedule, but it's a nice option for those who don't want to be bothered to program their thermostat.  

Nest Learning.jpg
 

The Amazon Basics Microwave, on the other hand, costs just as much as a standard microwave, doesn’t connect to an app, and doesn’t have any superfluous functions. Instead, it takes a typical microwave and connects it to Amazon’s Alexa. This means that if you’re across the house, you can tell Alexa to cook something for you, while you’re still working. Neither of these are ground shaking improvements, but they do what a smart appliance is supposed to, making your life that little bit easier. 

Now, others are also good at what they do while still being smart, these are just two that we wanted to highlight. 

How to Tell the Difference:

Which brings us into, if there are good smart appliances and bad ones, how do you tell the differences? 

According to HGTV, there are 4 key things you should look for when you’re designing a smart home, or buying a new smart appliance. 

  • Are there good reviews? 

    • Unless you’re getting paid for it, do you really want to be the first person to find out if it works? No. Do research ahead of time and don’t get talked into buying something you didn’t intend to. 

  • Is there a proven support department? 

    • If it has issues connecting to your wi-fi, if it gets hacked, or it gives you an error message you don’t understand, you want to be able to get help you can count on. 

  • Does it connect to other devices you own?

    • Always double check (heck, triple check) that your new device will hook up to the OS on your command tool (be it phone, tablet, or computer). You don’t want to buy 3 different systems just to run everything in your house. Also, make sure that the appliance connects to the other devices you already own. If you’re looking to have two systems work together, you need to make sure they can connect in the first place.

  • Does it have features you’ll actually use? 

    • So what if that coffee maker can froth milk in 20 seconds? If you drink your coffee black, it’s irrelevant. The same goes for smart appliances. Don’t be lured in by features you have no use for. 

Now, you can still have the best of both worlds. It is possible to make your home smarter without having to purchase all new appliances. 

Some Examples Are 

 Smart Bulbs

Phillips Hue Lightbulg.jpg

  By screwing a smart bulb in place, you can get control over almost any lamp. This means that not only can you get the benefits of it, but you can keep the mid-century lamp that your great-grandmother gave you as well. The catch here is that you need to double-check the wiring in the lamp to make sure that it is intact and insulated. Since the bulbs will have current running through them at all times, the wiring needs to be up to handling that. 


 Smart Switches 


  If you have lots of lights, skip the bulbs and go for the switch. Some smart switches even have dimmers. 

Wemo Smart Switch.jpg
 

 Smart Plugs

 
Smart plug.jpg

  Have you ever left a space heater on when you left the house and had to go all the way home when you realized it? Or wanted to wake up to a fresh pot of coffee without having to get a complicated programmable pot? 

  This is where smart plugs come in. Think of the infuriating clock timers that people use for Christmas lights. A smart plug is like that, but actually reliable. They are even able to monitor power usage and let you know how many times something is turned on and off. If you’re interested in some of the ways people have used smart devices, check out this article over Forward Thinking Home. 


Now you can get that bit closer to Tony Stark’s mansion without breaking the bank. And while you save up the money to get new appliances, maybe the manufacturers will actually make them smarter, and still, work. 

Thanks for checking out our post this week, we hope that you enjoyed it. If you did, or if you have any questions or comments, please let us know over at our Facebook page. We’d love to hear from you. 


Don’t forget, even smart appliances still need regular maintenance! Schedule an appointment today with one of our technicians to make sure that your home of the future is running smoothly.

Monkey Bread, Monkey Brains, Pull-Apart Bread, It All Tastes Good!

Welcome to this week’s recipe post! We’re digging into one of our blogger’s favorite and most versatile recipes, Monkey Bread! This recipe is so versatile you could easily make it for every meal in a day. (Although whether that’s particularly healthy is something we’ll leave to you to decide. ;) ) 


Monkey bread as a sweet dessert  has actually been around in the US for only a short period of time. Prior to that it was a treat known to Hungarian families as arany galuska or “ golden dumplings.” However, we said only the sweet version. The savory version of this dish has been in America, since 1884 when it was known as “Finger Rolls”. 


“Common names for pieces of dough baked together in a pan include bubble bread, bubble loaf, jumble bread, pull-apart bread, pinch-me cake, pluck-it cake, monkey puzzle bread, monkey brains, and monkey bread..Despite the name, there are no primates in this bread. According to conventional lore, the fanciful term comes from its appearance – pieces of dough placed next to and on top of each other, the baked bread said to resemble a barrel of monkeys. .”   

 
Gooey, Delicious Monkeybread, this is a treat for all ages.

Gooey, Delicious Monkeybread, this is a treat for all ages.


Ingredients 

½ cup granulated sugar

2 tsp ground cinnamon

3 cans (12 oz each) refrigerated biscuit dough

8 Tbsp or 1 stick butter

1 cup packed light brown sugar 


Instructions

Preheat the oven to 350* F. Then grease a 12-cup Bundt or tube pan with butter, oil or cooking spray.  


In a medium bowl, whisk together the granulated sugar and cinnamon. 


Cut each of your biscuit rounds into 4 quarters and dunk them in the cinnamon sugar, making sure all sides are coated. Layer the wedges in the prepared pan. Make sure not to press them together too tightly or you’ll have some difficulty pulling them apart later. (and that would just defeat the fun.) 


In a small saucepan, melt the butter over low heat. Add the brown sugar and continue  stirring until melted. 


Pour your sauce over the dough, making sure to spread it evenly. 


Bake until golden brown, 45-55 minutes. If you see the monkey bread beginning to brown too quickly, cover it with foil. 


Let the bread cool in the pan for 5 minutes, then invert onto a plate. 


Best served warm so that it’s nice and gooey. 


Tips 


The Bundt pan or tube pan is needed so that the heat spreads evenly through all of the dough and cooks rather than leaving the center balls raw. 


You can also make this the night before, and stop after you’ve poured the sauce over the bread. Then place it in your fridge overnight, allowing the dough to soak up the sauce further. This also allows for an easy treat the next morning, without need for lots of prep. 


The base idea of this recipe, taking biscuit dough and layering it, can be used in SO many different ways. People have come up with all sorts of sweet and savoury ideas. We collected some of our favorites to give you ideas on what can be done with this nifty recipe. 


From Celebrating Sweets we have  a Caramel Pecan Monkey Bread. Caramel + Pecans. We cannot wait to make this one in our own kitchens! 


Over at Dessert Now, Dinner Later they’ve got a delicious looking recipe for Apple Fritter Monkey Bread


And for our final sweet recipe, we’ve got a Baklava Monkey Bread recipe from the Happier Homemaker that has us absolutely drooling.  Baklava! But in tiny pull apart pieces! This one is also closer to the original Hungarian arany galuska given the walnuts. 


Moving over to the savory side of things we’ve got recipes for every meal you can think of.

Breakfast? Try Focus Recipe’s Sausage, Egg and Cheese recipe. 


Need a snack? Try Little Dairy on the Prairie’s Cheesy Bacon Ranch recipe. (That name is so cute!) 


Are you looking for dinner or something easy for a game night? Check out this recipe from The Girl Who Ate Everything for a Pizza Monkey Bread.


Looking for something fast, easy and still nice enough to serve to your boss? Check out  this recipe from Five Heart Home for Savory Herb & Cheese Monkey Bread. 


Wrapping It Up

 Thanks for checking out our recipe this week! Let us know what versions you’ve tried down below. Now that we know how versatile this recipe is, we want to hear from you just how many varieties you’ve tried. 


And remember, if something is going on with any of your appliances  we want to help. Whether it’s some of our posts here on the site, or needing a trained technician to take a look, Appliance Rescue Service is here for you.

Teaching Your Kids Kitchen Safety

Whether you learned early how to cook, or later in life, as parents, we want our kids to learn how to feed themselves. Whether it’s so they can make their own lunches, so they can learn essential skills or build memories with us. All of these things come from learning how to cook. All things need a framework though. For learning to cook in the kitchen, that means learning kitchen safety. 

“But how do you teach them that!?” you might be grumbling at your computer screen. It’s ok, we get it.  

When it comes to teaching kids safety in the kitchen, you need to set clear rules so the process is enjoyable for both of you. You will have to remind them of them from time to time, that’s normal. What’s more, fun is when they get to turn the tables and remind you! 

Here’s a quick, bulleted list, before we dig into each one. 

  • Listen. Listen. Listen. 

  • Roll-up sleeves and tie back hair. 

  • Always wash your hands. 

  • Always ask an adult before cooking.

  • Clean as you go. 

  • Practice good knife safety. 

  • Ask Before You Lick. 

  • Separate Raw and Cooked foods

  • Cook foods to the proper temperature. 

  • If you get hurt, tell an adult right away. 

  • When you’re done, turn off the oven and all other appliances before you leave the kitchen. 

Listen. Listen. Listen. 

 Cooking with kids is a great way to build active listening skills and practice following directions. “My kids get so excited to get started that we often talk about ‘Listening Before You act’ says Natalie of SuperHealthy Kids.  They get so excited, and it’s hard, we get it! It’s important to stress to kids that taking the time to listen and follow directions can change if the recipes turns out well or not. 

Roll Up Sleeves and Tie Back Hair 

 This one feels like a ‘well duh’ to us, but to your little one, not so much. Teaching them to do this every time before they start to cook will build a life long habit. Just as important, it means you’re less likely to have hair in your food, or stains on their clothes! 

Always Wash Your Hands 

 We should all be washing their hands front and back, between the fingers and under our nails. If we don’t teach our kids, who will? You can also remind them to think about all the things they’ve touched and ask if it’s something they want in their food. 

Always Ask An Adult Before You Cook

 Again, this seems like an obvious rule, but as our kids become more confident and independent, they’ll want to ask less. It’s important to ask though so that even if they’re the one doing all the work, there is someone there in case they get hurt. 

Clean As You Go

 This one is a somewhat divisive point. Some people clean as they go, and others will put everything in the sink until the cooking is done. The biggest reason you shouldn’t leave everything till the end is to prevent slips and falls. The second reason is that if you’re us, you don’t have a lot of sink or counter space. Washing as you go means that you don’t have to fight to get counter space, worry about things falling out of the sink, or have little elbows knocking things off. 

Practice good knife safety. 

 Technically speaking, we could do an entire post about proper knife safety. (And maybe we will!) the most important things to keep in mind are these though. 

 - When teaching your kids to use knives, work with them, stay patient, and expect that it’s going to take many repetitions before they get the hang of it. 

 - You can start by letting them use plastic to-go knives, move them up to kid-friendly plastic knives, and then eventually (preferably not before they 8 or so) you can upgrade them to kitchen and chef knives. 

 -Always carry knives point down. 

 -When you set down a knife, it should be flat and away from the edge of the cutting board or the surface it’s on. 

 -Your hand should be on top and the knife on bottom when you’re gripping the handle. 

 - If your knife is moving, your eyes should be down. If the food moves, your knife should be down. 

  This one is phrased so that it’s easy to remember, but it might take a bit more explaining for your kids. The idea is that if you’re using a knife, your eyes should be focused on what you’re doing. If you take your eyes off what you’re doing, the knife should stop moving. If the food is moving (i.e., if you’re taking it somewhere else in the kitchen), the knife should be laid down. 

Ask Before You Lick

 We know the dangers of the kitchen. Raw meats, cleaners, raw eggs, etc. Kids don’t though, and cake batter, sauces, and the like are tempting for little chefs. So make sure that they always ask before they lick something. 


Separate Raw and Cooked Foods

 Just like the above, this is one kids aren’t going to think about. It’s our job to teach them that you cannot put cooked food back on the same plate that raw foods were on.

- If you get hurt, tell an adult right away. 


-When you’re done, turn off the oven and all other appliances before you leave the kitchen. 


Thanks for joining us this week, we hope to see you back next week where we’ll be discussing smart gadgets. How smart are they? 

If you have comments, questions, or pictures to share, check us out over on Facebook! We’d love to hear from you. 

Remember, one of the most essential steps for working in your kitchen is knowing that all of your appliances are working correctly. If yours are having issues, or even if you’re not sure, schedule an appointment today. We want to help you keep you and your family safe.