Punchy Potato & Cheddar Rolls 

These potato rolls could be the star of their own meal.


Mashed potatoes are a great side dish, but in the case of these rolls, they are the star of the show. Not because you'll taste them but because of the light and crisp texture they give to the rolls.  Rather than dense and chewy bread, you end up with a light and airy roll that can be used alongside soups, stews, or hearty gravies or even used as a quick sandwich. 


Ingredients: 

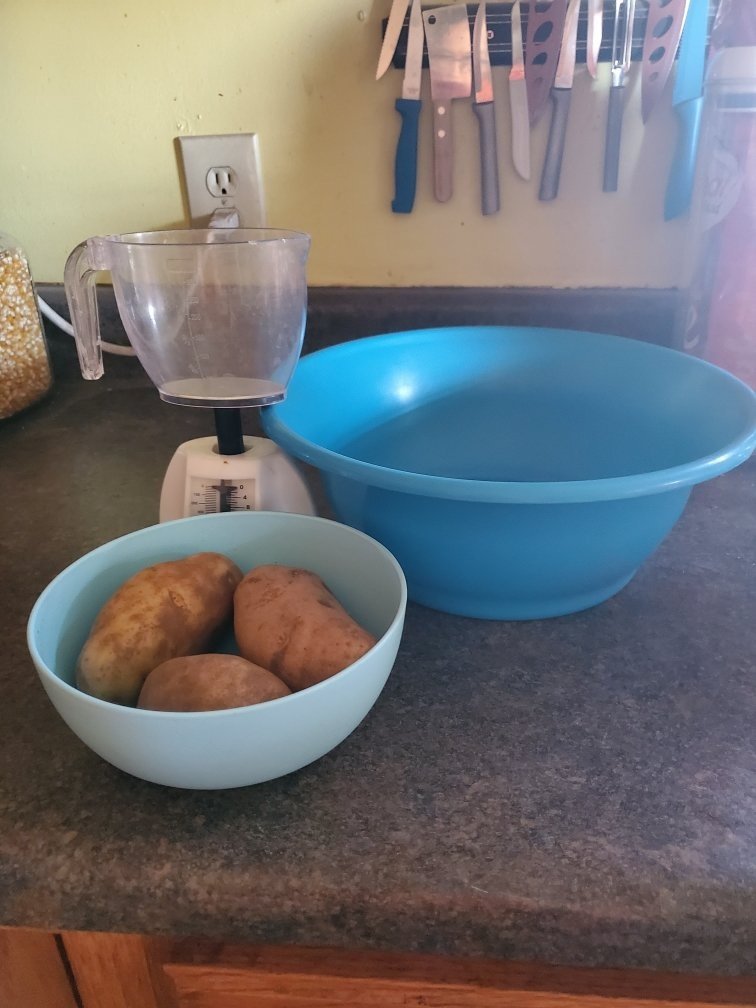
1 pound russet potatoes  (roughly 2-3 good-sized potatoes) 

2 Tbsp unsalted butter 

2 1/4 cups all-purpose flour

3/4 cup sharp cheddar cheese

2 Tsp instant yeast

1 Tbsp sugar

2 Tbsp stone ground mustard

2 large eggs 


Tools: chef's knife, cutting board, a bunch of bowls, fork, saucepan, colander, potato masher, rimmed baking pan, cooking spray, plastic wrap, parchment paper, oven 


1. Skin your potatoes and chop them into 1-inch chunks. Shred your cheddar and set it to the side. Chop up your butter into 4 pieces. And last but not least, take one of your eggs, add 1 Tbsp of water and whisk it all together. Set the last one in your fridge for the time being. 

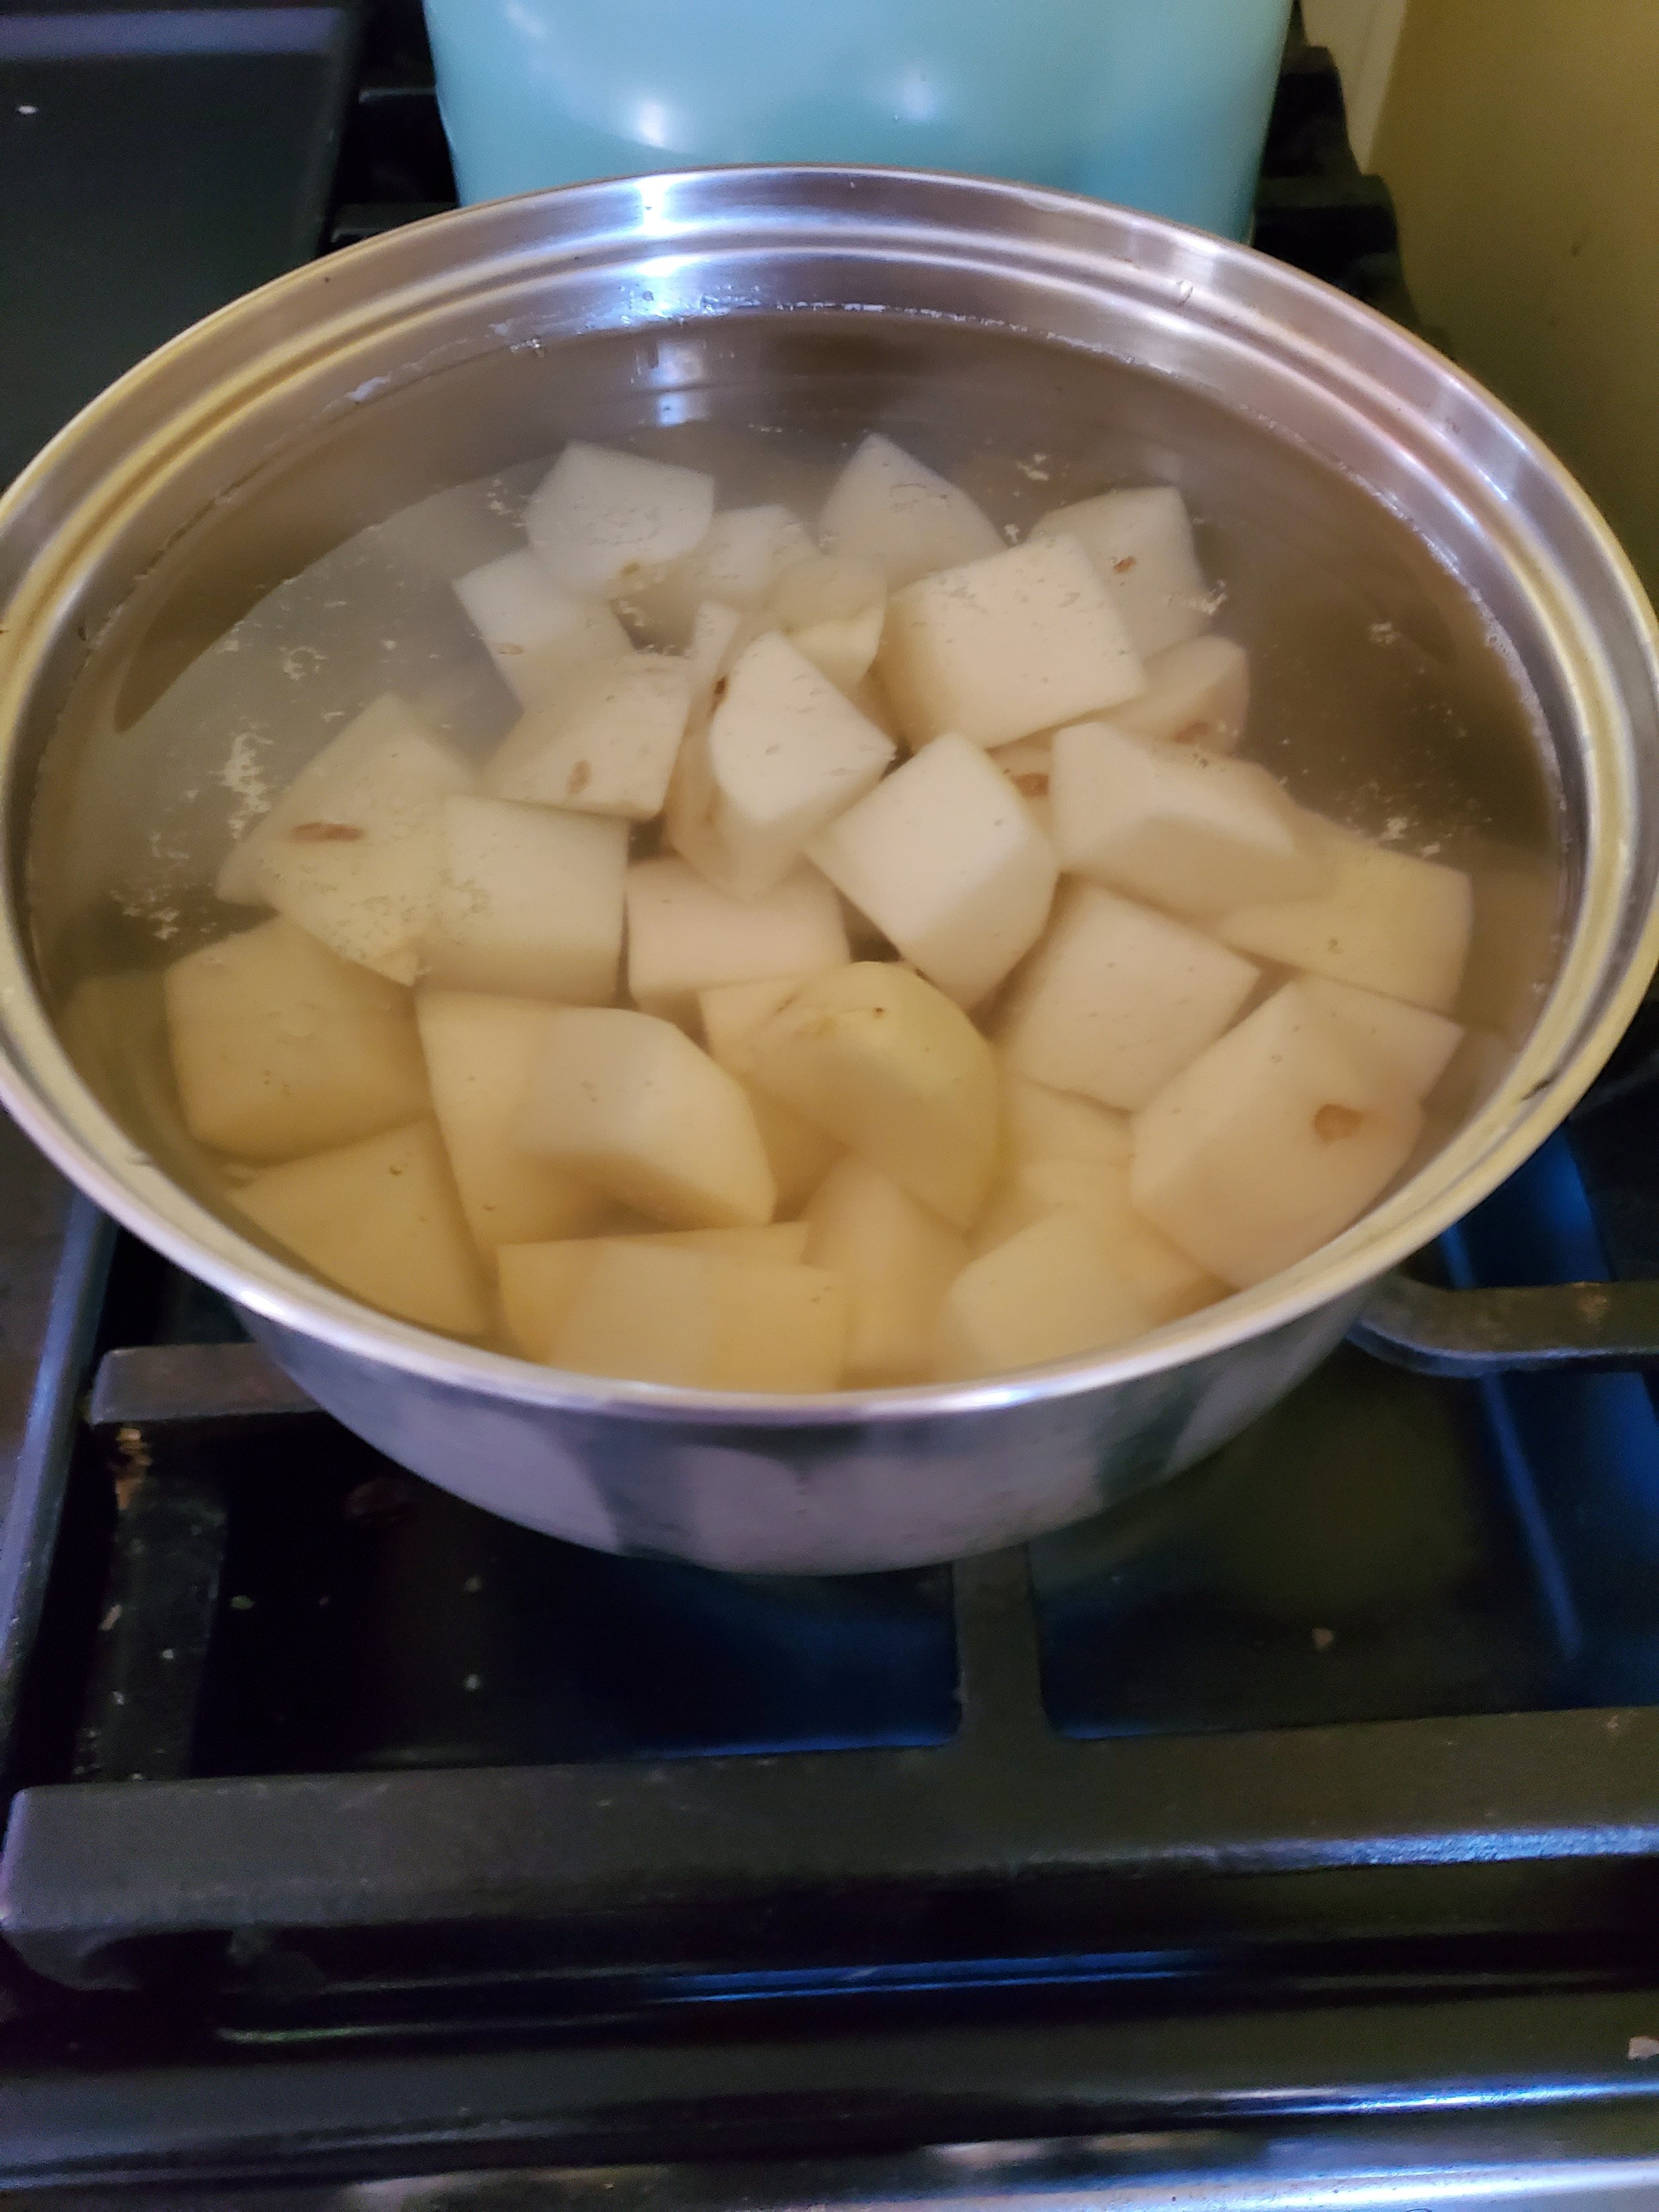
2. Take your potatoes and put them into a medium-sized saucepan, and cover them with cold water, plus an extra inch. Bring the pot up to a boil over high heat, and then reduce the heat to medium-low. At this point, you'll let the potatoes simmer until they're fully cooked, about 10 minutes. At the eight-minute mark, grab a fork and gently press into a potato. If you can cut into it easily, they're done. If not, let them continue cooking.  


3. When they are finished cooking, you'll pull the pan off the burner and reserve 5 Tbsp of the potato water. Set that to the side for now. If you have plants or a garden, you might want to save the rest of the water as well, but either way, you'll need to drain the rest of the water from your potatoes.  Now toss the potatoes back into the pot, and set them on low. Sit here for a minute, shaking the potatoes every few seconds. You're evaporating all of the water off the surface of the potatoes. When that's FINALLY done, remove your potatoes from the heat. 


4. Have you had a rough week? Or maybe just a bad day? Grab your potato masher and go to town.  You want to turn this into a very thoroughly mashed set of potatoes. No lumps or bumps left. When you're done, grab your 1 cup measuring cup and a second smaller measuring cup. Use the smaller one to scoop up the potatoes and pack them into the 1 cup. You want a firmly packed 8 oz of potato. done? Can't add anymore without it going over? Good. Set the rest of the potatoes aside. You can eat those while you let the dough rise later. 


5. Next up, grab yourself a small bowl, add the measured cup of potatoes to it, and mix in your butter until melted and fully incorporated. 


6. In a large bowl, combine your flour, 1/2 a cup of your cheddar cheese, yeast, sugar, mustard, and salt into a bowl. Add the warm potato mixture to this and mix it with your hands until well combined. At this point, some lumps are fine. Take your still whole egg and crack that into the mix. Mix your dough for 8-10 minutes by hand or until your dough is soft and slightly sticky. 


7. Shape the dough into a ball and place it in a lightly greased container. Cover the top of the bowl tightly with plastic wrap and set it to rise. If your kitchen is slightly cool (as ours was the day we made these), no worries. You can set this in front of a toaster oven or on top of your stove. Turn your choice of stove on 350* and let the dough rise until it has doubled in volume. If your kitchen is already warm,  it should take only 30-40 minutes; we ended up going for an extra 30 minutes, though, to make sure it had doubled. 


8. Once the time has passed, press down on the dough to deflate it. Turn it out onto a clean counter, and stretch it out into a 12-inch log. Cut that into 12 equal pieces and cover them loosely with greased plastic. 


9. While you let the dough sit, line a rimmed baking sheet with parchment paper. Then head back to your dough,  and grab one piece of the dough. Keep the others covered with the plastic as you work.  You'll form it into roughly a ball shape by stretching it around your thumbs and pinching the edges together.  When you do this, the top will be smooth. Place the ball seam side down onto your clean counter, and using your cupped hand, drag it in small circles until the dough feels round and tight.  When you're finished with one, place it back under the plastic until all of them are finished. 


Tip: If your dough is really sticky, you can lightly dust your fingers with flour. 


10. Arrange your rolls on the prepared sheet and cover them loosely with the greased plastic to let them rise again until almost doubled in size, another 30-40 minutes. (Here again, you can utilize the trick with your oven of choice.)  While the rolls rise, turn your oven to 425 and move one rack to the upper middle position. 


11. Brush the tops of the rolls lightly with the egg wash you made at the beginning, and sprinkle them with the remaining 1/4 cup of cheddar cheese. Bake the rolls until they're golden brown on top, roughly 14 minutes. (Make sure to keep an eye on them, and turn them halfway through the baking.)  When they're finished, transfer the sheet to a wire rack and let them cool for 5 minutes.  You can then serve them warm or at room temperature. Store them in a sealed container if any manage to survive. 


These were absolutely delicious when we made them, and we hope that you enjoy them just as much. One thing that we did note as we were baking was that the type and amount of mustard could be changed depending on preference. We used stone ground this time, but a spicy brown mustard and adjusting the amount could yield a punchier roll. Let us know your thoughts and ideas in the comments below or over on our Facebook page! 


If you're here instead because your stove isn't functioning correctly, you're still in the right place. At Appliance Rescue Service, we want to work with you to get your home running smoothly again. You can reach out to us via our contact page or by giving us a call at ((214) 599-0055). Whether you're in Frisco or Allen, we're here for you. 


Why Fall Is the Best Time For a Maintenance Check

3 Reasons Now IS the Best Time

Here's a riddle for you: Why is right now the best time to call and schedule a maintenance check for your appliances? Because it's October!  School is back in session, and everyone has settled into the routine. Now you're no longer trying to get used to the new year.  It's also well before the holidays, which means that you're not running around trying to get everything done.


Not quite following our logic? Let's take a closer look then and see why it might be perfect for you. 


Did You Travel Over The Summer?

Several of our posts in the past have talked about how to close down your house and disconnect everything before you travel.  If you did get to travel this summer, that means your appliances sat there. After you get everything reconnected is a great time to have all of the power cords and interior workings gone over to make sure that nothing was shorted or nibbled on by mice while you were gone.


Are You The Holiday Maven In Your Family?

If you're planning on lots of celebrating over the winter holidays, it's best to do a thorough check now. Taking a little bit of time out of your schedule now means that when it comes time to be prepping for everything, you're less likely to have an unexpected breakdown. It's also a lighter time in our schedule, which means you're not competing with 100 different families in the same situation.


Or Are You Excited For The Baking And Cooking The Cooler Weather Allows For?

If you like to bake more as the weather turns, we're right with you.  Very few of us want to bake or do a lot of food prep during the summer but fall is an ideal time to do those tasks. It's warm enough that you can open up the house but cool enough that you don't overheat. However you don't want your refrigerator or freezer, your stove or your oven, to give out in the middle of all this when you're trying to can several jars of fruit preserves for the next year, and bake all sorts of fresh pies as well. It just wont do. Which is why it's better to check everything over now to make sure everything is clean and running smoothly.


So how exactly does an appliance maintenance check work?


You start by giving us a call or reaching out to us on our contact page. Will work with you to find a time that works for your schedule for when one of our technicians will come to your home. We can either do a latchkey service or work with you to find a time that is best fit for when we can be there when you are. At this stage will also work with you to figure out what you want gone over. Are you wanting us to look at one or two appliances? Are you wanting us to go over all of your appliances?


When the day comes that you've chosen, our technician will come to your home and confirm the service you've chosen. They'll then ask that you guide them to where the appliances are and begin looking them over one by one.


At this point, our experience technicians are looking for anything and everything. Unlike with a repair call, where they'll be looking for the source of a problem and trying to solve exactly that problem, this is looking at everything. Are the power cords frayed or damaged or melted? Are all of the buttons functional? Are there any strange sounds or smells that might alert them to a problem now or down the road. Are there any puddles or signs of water damage? All of this and several dozen more issues are searched for.


After they've gone over everything, our technicians will point out what they found. This is the point when it's a good idea to get a sheet of paper and write everything down. They'll make suggestions on what can be fixed, and what might have to be replaced if anything is that bad. Naturally our hope is that by doing this on a regular basis for you we can prevent anything from getting to the point that it cannot be repaired. Our goal is to keep your appliances and by extension, your home running smoothly for as long as possible.

Power cord on fire with cables melted, frayed and otherwise damaged


If we've convinced you that now is the best time of year to schedule an appliance maintenance check for your home let us know on Facebook. Or tell your friends on Facebook.


If on the other hand you're wanting to schedule right now you can give us a call at ((214) 599-0055) or reach out to us via our contact page. Wherever you are in the Dallas metro area appliance rescue service is here to help.


Energy Efficient Ovens 2022

What's possible, what isn't and where you need to be aware

We're looking this week at some of the most energy-efficient ovens in 2022. Unfortunately, ovens aren't as straightforward as the dishwashers we looked at last time. You've got several different types of ovens to consider and try to see how they stack up against one another. Fortunately, that's where we come in. 


What makes an oven energy efficient? When we were looking at dishwashers, we were comparing how much electricity and water was used by the dishwasher in question to finish a normal cycle. That's not as easy with an oven because of the number of factors that go into just cooking one recipe. 

- How hot is the oven getting? 

-Is the oven clean? 

- What's the fuel source, and how is that energy used? 


So we backed it up one step further, and took a look what would be judged for an oven to be energy-efficient.

According to Consumer Reports, there isn't currently an Energy Star rating for ranges (where a range is the combination of both an oven and a stovetop.) Because the oven and the stove can have two completely different energy sources, it makes it difficult for groups like Energy Star to decide what is and isn't energy efficient. So, we're not going to be looking for which models have an Energy Star and which don't. What can we look at then? 


How about how much energy is used on a yearly basis? 

An electric oven will typically cost you 12.56 cents per kilowatt hour. Most households in Texas use their oven and stove(which gets powered so long as one section is on), for at least 7 hours per week. So, you're coming up with approximately $200 per year to run your oven, at least according electricity prices averaged across Texas. 

Meanwhile, a gas oven is only using fuel for the oven when the oven is lit. Rates currently are (approximately) .22 cents per hour to run a gas oven. So you end up spending approximately $80 per year for your gas oven. So, just based on fuel consumption, a gas oven is the better choice. 

We will point out that in a previous post, we discussed the need to be running your exhaust fan when you're using the oven as well as the stove so that you're venting any and all fumes outdoors and your hospital bill doesn't go up from the buildup of fumes in the air you're breathing. So that does kick the price up a bit to approximately $100 a year to run your oven and the exhaust fan. But that's still half of what it costs to run the electric oven. 


An important note to round this section out. Despite how they're marketed at times, as of right now, Fall of 2022,  there's no such thing as a commercial induction oven. Although you can purchase an induction range, the technology isn't in the oven. It is only used as part of the stovetop. Which is a pity as we really wanted to see how that stacked up against the gas ovens.


What if you don't have a gas oven, though? As we've mentioned before, the cost to install the gas lines and purchase a gas stove can be very high upfront.   So, we've put together several options for you to make your electric stove more energy efficient. 

A blue flame burns merrily on a gas stove.


1) Make sure that your food is thoroughly defrosted before putting it into the oven. If the food has to come up from 30*F to 120*F internally, it's going to take much longer than if it only had to come up from 60*F.  Letting things defrost ahead of time saves you energy. 

2) Plan your meals so that you can cook several dishes at the same time. If you're planning your dishes all at once, you can cut down from having to run the oven every night to just one or two days a week. 

3) Don't wait for the oven to "heat up" if you're cooking just standard foods. If the oven is coming up to temperature anyway, you might as well make use of that time rather than wasting the energy spent. 

**An important note here. This absolutely doesn't apply to any type of baking or technical cooking. There the precise temperature control is necessary. These are meant to be general tips, not all-the-time tips. 

4) Don't open your oven door during cooking. If you're following tip number two, this can be hard. But if you're only cooking one or two things, by opening the door, you're just making it harder on your oven. Similar to your refrigerator during a blackout, every time you open the door to the oven, air escapes that it then has to replace and bring back to the correct temperature. 

5) Use glass or ceramic dishes when possible. Both glass and ceramic retain heat well and disperse it more evenly than metal dishes do. This means that you don't have to heat your oven to as high of a temperature, thus cutting down further on the amount of electricity you're using. 

6) Keep your oven clean.  A clean oven distributes heat more evenly and effectively. 

HOWEVER. DO NOT use the self-clean button unless: a) Your oven has a steam-cleaning feature. b) You're really wanting an excuse to purchase a new gas oven anyway. 


So that’s where things stand, energy-efficient ovens, are going to be gas ovens. Do you agree? Disagree? Do you have details on new ovens that we haven't run across yet? Let us know in the comments below or over on our Facebook page! 


If you’re here because your oven is driving you up the wall, it’s smoking or not getting up to temperature, we can help. Reach out to us on our contact page or give us a call at ((214) 599-0055). We’ll work with you to find a time that works best for you to have one of our technicians come and get your home running again.

Tomato Pie of Seasons Meeting

Not to be mistaken for humble pie

If you're looking for something that blends summer and fall, this is the pie for you.  Heirloom tomatoes are a grape tomatoes that show off the beautiful colors of tomatoes. They're lovely to look at and even better to eat combining sweet, tart and just a hint of bitterness.  Although we give all sorts of alternatives in other recipes, for this one we have to be firm about getting heirloom tomatoes. However if you can get a selection of fresh herbs, we will absolutely say go for it! 

Ingredients


1 lb heirloom tomatoes

1 large handful fresh parsley

1/2 c sour cream

1 Tbsp dried basil

1 Tbsp fresh minced garlic

1 Tbsp ground thyme

1 tsp dried oregano 

1/2 tsp rosemary

pinch of salt

pinch of pepper

1 pie crust 

2 slices of mozzarella 


Let's start off by chopping your tomatoes into quarters, nothing fancy needed here.   Now grab the parsley and start tearing it up. You want it so that you don't have anything larger than your fingernail (give or take.) If you've chosen fresh herbs for the other pieces, you can do that now as well. 

Next up take your mozzarella into ribbons no wider than a 1/2 inch, this is going to be the topping of your pie instead of a standard crust. 

Take a bowl and mix together your spices and your sour cream so that everything is thoroughly mixed. Then add in your tomatoes and thoroughly coat them. Allow this mixture to sit for a while (maybe 30 minutes or so) to let the flavors steep into the sour cream. 

Now take your pie crust lay it over a pie pan, carefully pressing it into the pan so that you don't form tears. Curl the edges up onto the sides of the pan so that nothing is hanging down and "squish" it together to form a more solid crust. Next take your tin foil and wrap the edges in aluminum foil to protect them during the baking process. 

Pour your tomato mixture into the pie shell, and set your oven to preheat to 400* F.  While you're waiting for it to preheat, it's time to get fancy! Take your mozzarella and make a pattern out of it. Have fun! There are a ton of patterns you can try over on Pinterest. 

Once your oven is preheated to 400*, bake the pie for 35 minutes. For the last ten of that time, uncover the aluminum so that the crust has a chance to become a gorgeous golden brown. 

At that point you can take it out of the oven, and allow it to cool for five minutes before serving. 


Other options: You can pour this out over a bowl of pasta, be it penne, linguini or tortellini, and it's SO good. 

Another idea we discussed in the kitchen was to see what we could come up with for adding some meatiness to it, and for that we decided on adding slices of prosciutto, chopped up into the pie itself. Our chefs couldn't agree on how to go about that, whether you add it as slices along the bottom of the pie before pouring in the tomato mix, by chopping it up into small pieces and adding it to the mix, or by rolling it up and slicing it and then layering those spirals on the top of the pie. 


Now we know Texas is still dealing with the heat of Summer, even if the calendar says it's officially fall.  Fortunately, this meal can be enjoyed no matter what time of year it is. It's just best when its the in-between time of the seasons. If you do decide to make this, let us know over n our Facebook page or in the comments down below.  As always, we want to hear from you! 

If you're here because your dishwasher is giving you hell and doesn't want to get the pie tins clean, we can still help! We're not just here for delicious recipes, we can fix your major appliances too! (Yeah, we know we say this every month, but it's true!)  You can reach out to us via our contact page or by giving us a call! ((214) 599-0055) 

Whatever it is you need, we're here for you. We'll work with you to find a time that works for you and set an appointment for one of our technicians to come out to you. We'll get your home running smoothly again. 


9 Gorgeous Plants That Are Texas Natives!

And Why A Native Lawn Is Better Than A Grass Lawn

We've talked before about the idea of more natural landscaping and turning away from having your yard or garden as just a lawn of grass. More than being a "popular" idea, it's also better for your home and your water bill. This week we're taking a look at turning the land around your home into a garden that's more representative of native Texas plants. Since planning something like this can take all winter to plan and source, if not longer, we figured we'd get the ball rolling now. Some of these plants are decorative, some are edible, and many are attractive to different pollinators. 

What does "native" mean here?  

So what exactly does "native" mean? A native plant is one that has lived in Texas prior to Europeans coming to the continent. The spread of Europeans across North America brought all sorts of plants over, and while many have adapted, not all of them have. More important is that some of them have negatively affected the pre-existing flora and fauna of Texas and North America as a whole.  If you're looking to replace invasive species in your yard, or you just want to know what to avoid, here's a quick list. Japanese honeysuckle, Brazilian pepper, Chinese tallowtree, musk thistle, Macartney rose, scotch thistle, yellow star thistle, Malta star thistle, blessed milk thistle, jointed goatgrass, Christ-thorn, Camel thorn, and Chinese privet are all examples. Again, invasive plants are those that spread naturally in an area because they don't have predators in the new area. More importantly, they can easily take over an area and displace the native plants.

We will say that so long as something isn't invasive (consider something like kudzu which will choke out all other plants) you can plant whatever you want. 

A quick note, we have included the Latin names for most of the plants we're suggesting so that you can search for that variety specifically. 

Beautiful soft trumpet shaped flowers sit in a field of leaves and stems. Caution, the stems look pointy.

Courtesy of Baker Creek

Wild Petunia 

Many of us want to switch over to different options for ground covers so as not to lose our precious topsoil. For that we suggest the Wild Petunia, a low, wide-spreading plant that loves to  bloom all throughout summer. You'll get beautiful pale lilac blooms from the Ruellia nudiflora without having to fight with it.

Lemon beebalm

Many of us are using our gardens to grow plants that can supplement our tables or our medicine cabinets these days. If that's you, or you just want a beautiful flower, you might enjoy the lemon beebalm or lemon mint plant. Also known as Monarda citriodora, this plant puts out beautiful blooms early on in summer to draw in all sorts of pollinators.


A bunch of stems with flowers circling around the stem ar laying on a table, horizontally

Courtesy of Baker Creek

Three yucca plants have grown next to each other and are in bloom with a full boquet of white flowers in the center of each spiky nest of leaves.

Courtesy of Texas Beyond History

Yucca 

When you want a plant that can thrive as a hedge, a container plant or a border plant, a yucca is a great addition to your garden. You could even go so far as to include several different varieties of yucca in your yard as the plant comes in a large variety of shapes, sizes and colors.

 Texas Redbud 

If you're looking for a shrub that will flower all through summer, check out the Texas Redbud. Although they're really more of a pink than a red, we think that the blooms are absolutely lovely. To learn more about it and what it needs, you can look up Cercis canadensis var. texensis.

Courtesy of North Carolina State University

a single flower is centered in the frame with an orange spiked center spiraling out with long petals hanging down from the central cone

Courtesy of Baker Creek

Purple coneflower 

When looking at this plant, you'll quickly understand how it gets its common name. The Latin name, though is Echinacea purpurea, which gives a clue to just how useful it is in your home. Purple coneflower is part of the echinacea family and is commonly used for treating pain and inflammation alongside the cold or flu. The flowers are easy to grow, with their blooms starting in early spring and lasting all through summer.

Beautyberry 

Who wouldn't love a plant called Beautyberry? The plant creates stunning clusters of berries that can feed local birds and animals.  Although technically edible, we don't suggest eating them raw as the beautyberry is rather astringent. The Beautyberry or Callicarpa americana also has lovely long, arching branches and bright green foliage to attract the eye even when the berries are no longer in season.

Vines hang among broad leaves with very large clusters of small tightly packed berries

Courtesy of Amazon

Courtesy of Lady Bird Johnson Wildflower Center

Crossvine

You might be looking for something to bring in a pop of color to a gazebo or trellis, or your outdoor kitchen. There we're going to suggest the Crossvine or Bignonia capreolata. These beauties are a climbing vine that are colorful all year long. In spring, you get beautiful blooms in fiery yellows, oranges, and reds, while in cooler months, you see the leaves shade from vibrant green to a beautiful purple.

Winecup 

These cup-shaped, deep purple wildflowers have stems and foliage that spread along the ground and form a thick mat, making them a great choice for ground cover in landscaping. The drought-tolerant winecup, aka purple poppy mallow, blooms in spring, when its flowers open each morning and close each night.

Coming up from the curb of a road is a dense green plant with many, many flowers

Courtesy of Nana’s Bloomers

A beautiful lanky tree has dozens of pale purple clusters of flowers hanging down

Courtesy of Native Backyards

Texas Mountain Laurel

If you're wanting something that will impress friends and family, both with its height and with the beautiful blooms, look no further than the Texas Mountain Laurel. Also called Sophora secundiflora, this tree blooms in beautiful shades of white and purple in spring and summer. 

Which ones are your favorites? Do you know more about native plants in Texas? Let us know in the comments below or over on our Facebook page. As always, we love to hear from you! 

If you're here because your appliances are costing you money, not your yard, it's cool. We're actually specialists in appliance repair. (You couldn't tell, could you? haha.) So no matter which of your major appliances are making your day chaotic, don't fret; we can help. Just reach out to us via our contact page or by giving us a call at ((214) 599-0055). We'll work with you to set up a date and time that work for you to have one of our professionals come and fix what's wrong. At Appliance Rescue Service, our goal is to get your home running smoothly again.