A Valentine's Treat- Butterscotch Pretzel Pie

With  Valentine’s Day coming up we thought we’d go a slightly different route to the normal “chocolate everywhere!” Not that we don’t love chocolate, but it’s nice to have variety in the kitchen, right? This week we’re putting together a butterscotch pretzel pie. You can make this as a surprise for someone or you can make it with them for a sweet way to spend time together. 

 
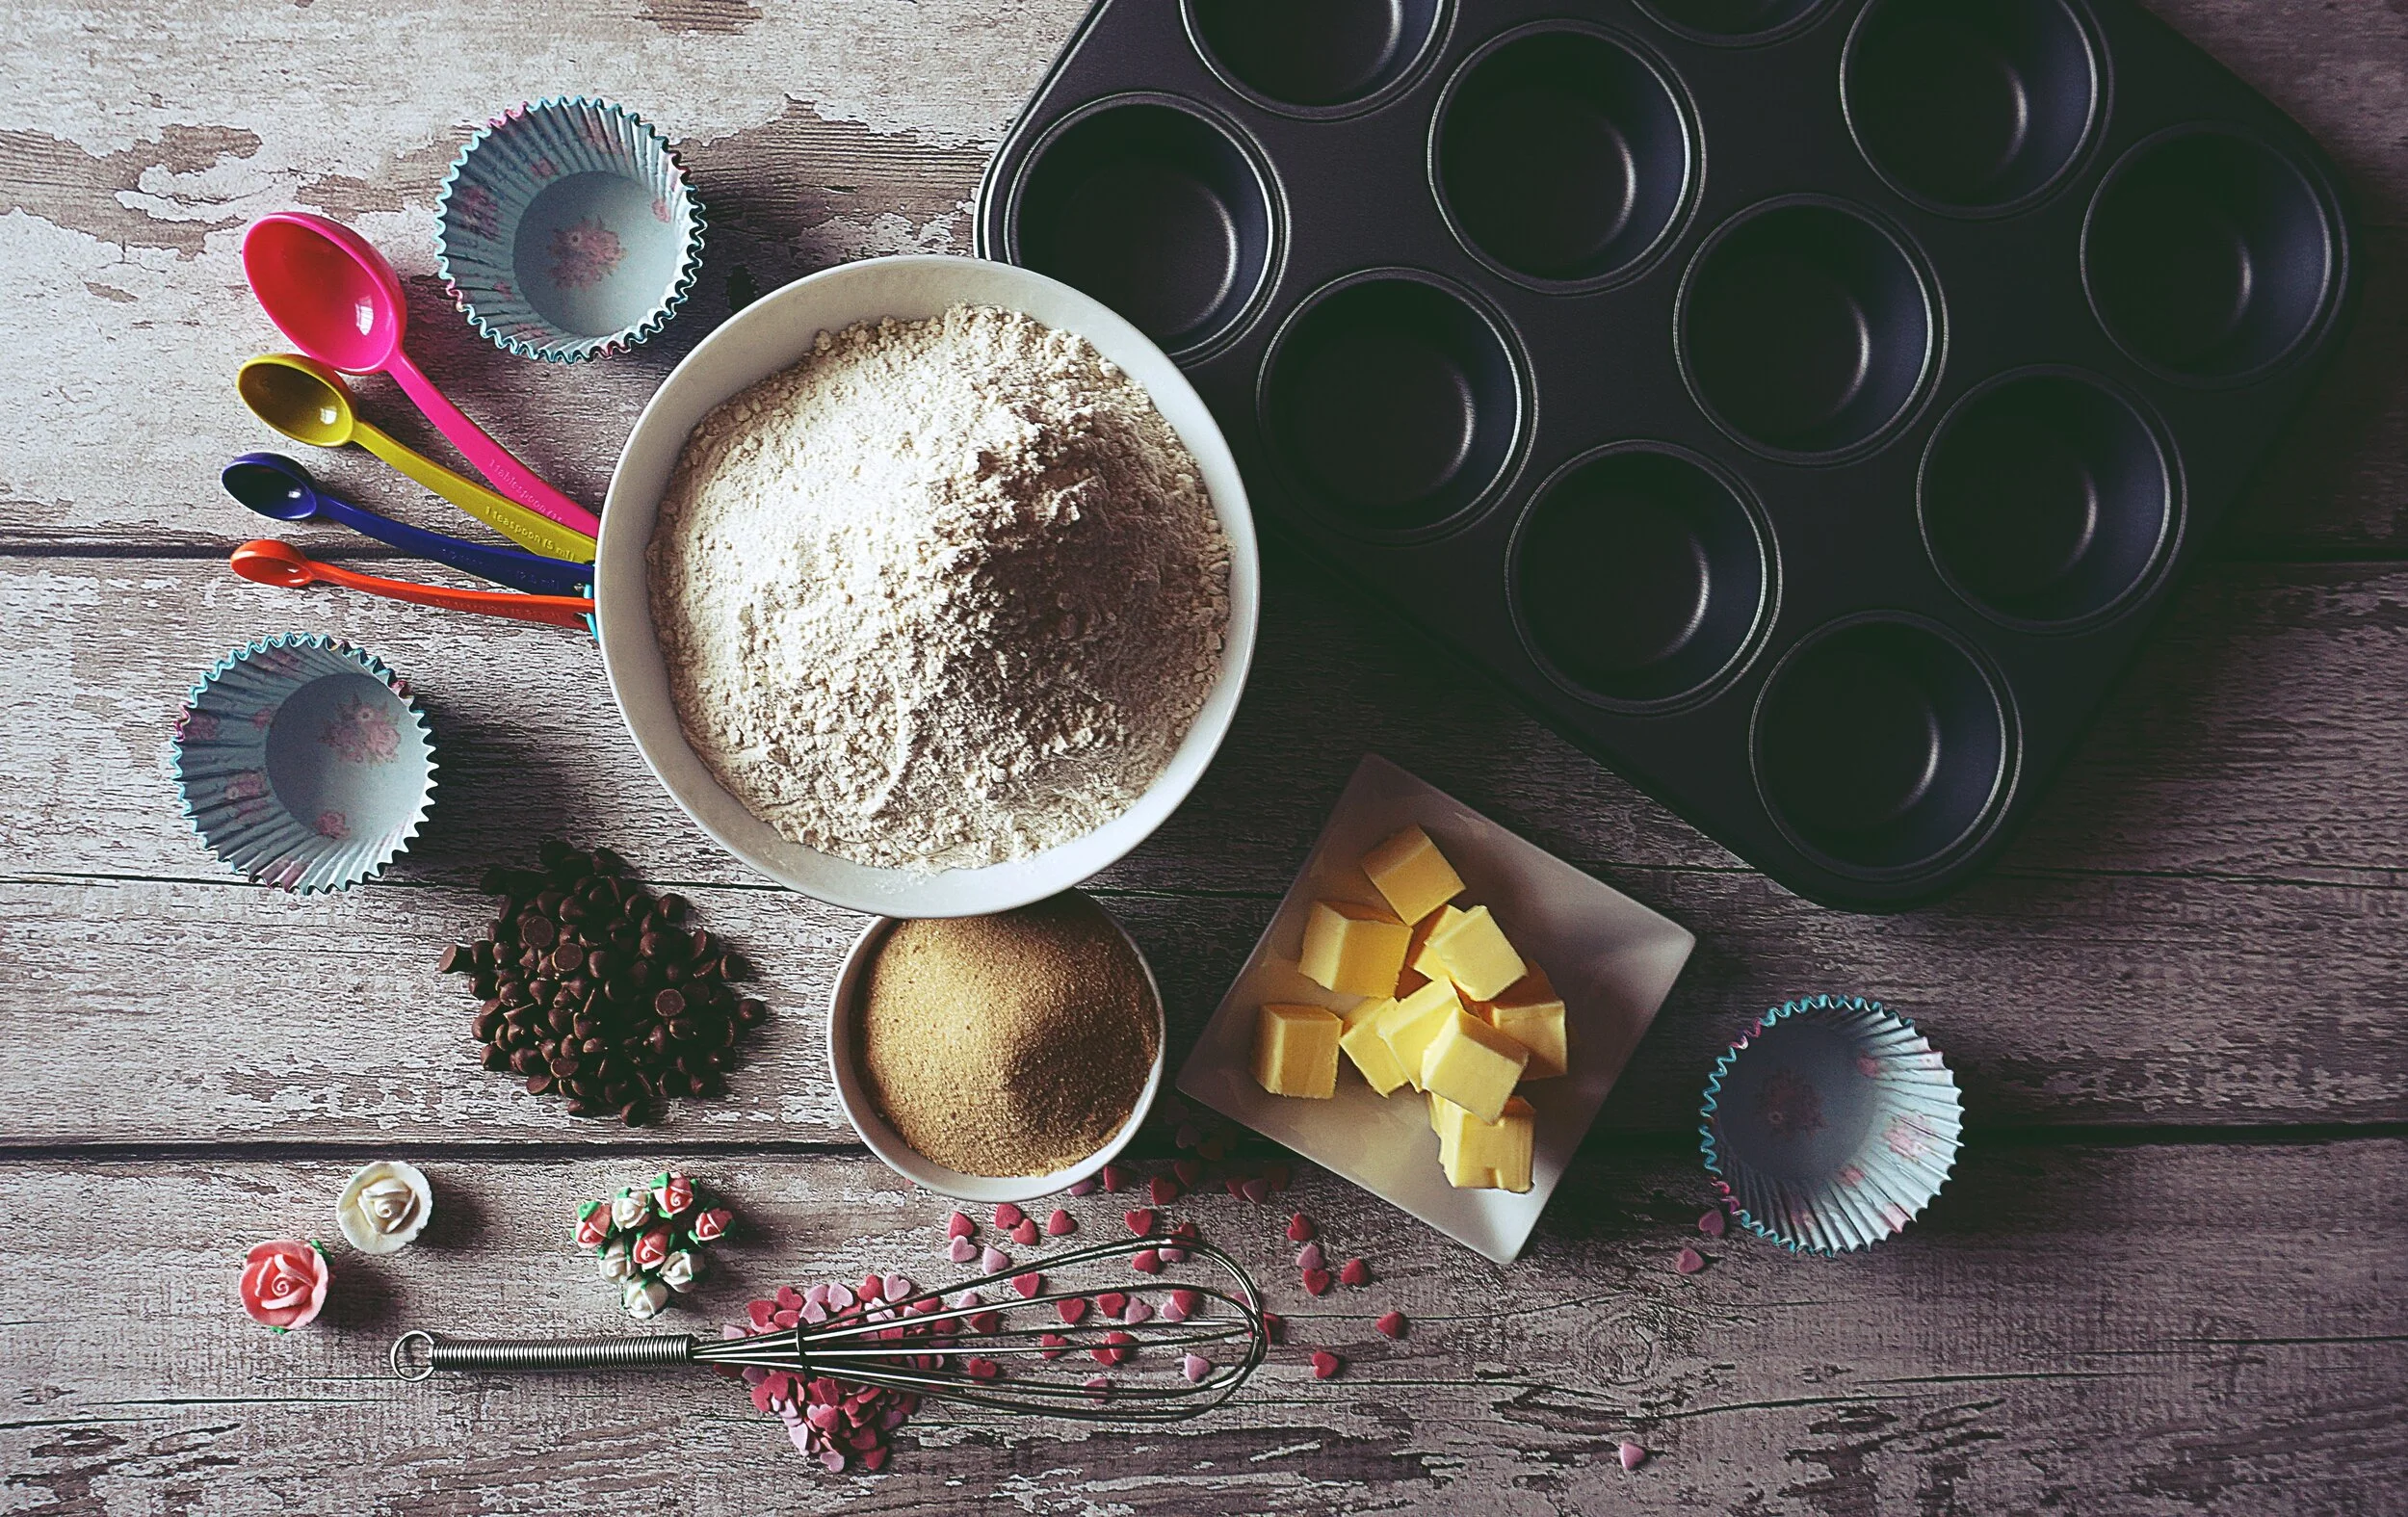
Baking supplies and tools
 

Ingredients 

Crust

¾ cup pretzel crumbs

¾ cup graham cracker crumbs 

2 Tbsp granulated sugar

6 Tbsp (or ¾ stick) butter, melted


For the crust, you can alter amounts of pretzel to graham cracker crumbs if you want the crust sweeter or saltier. 

Filling 

¾ cup packed dark brown sugar

¼ cup cornstarch

Pinch of salt

3 large egg yolks- room temperature

2 cups of whole milk

2 Tbsp cold butter, cut into small chunks

2 tsp vanilla extract

Topping

1 cup cold heavy cream

3 Tbsp granulated sugar 

Chocolate shavings 


Instructions

Preheat the oven to 350


Making the Crust:

In a medium bowl combine the pretzel crumbs, graham cracker crumbs, granulated sugar, and melted butter until they form an evenly moist, crumbly mix. Press the mixture evenly onto first the bottom and then up the sides of a 9-inch pie plate. Starting with the bottom is to make sure there aren’t any air pockets later. Bake until the crust is fragrant and firm, 8-10 minutes. Set aside to cool, although not in the fridge,  or things will get soggy. 


Making the Filling: 

In a medium bowl, whisk together the brown sugar, cornstarch, and salt. Add the egg yolks and ½ the cup of milk, whisking thoroughly to combine. 

In a large saucepan, bring the remaining 1 ½ cups milk to a boil over medium-high heat. Remove the pan from the heat. Whisking constantly, very slowly add the hot milk into the egg mixture. It should be a thin ribbon while you’re pouring. Keep whisking constantly so that you don’t scramble the eggs.  

Pour the entire mixture back into the pan. 

Cook over medium heat, stirring constantly until the mixture comes to a boil and thickens, roughly 3-5 minutes. Remove from the heat and whisk in the butter and vanilla until smooth. 

Pour the filling into the cooled pie crust and smooth the surface with a small spatula. Cover the surface entirely with plastic wrap to prevent a skin from forming. Make sure the plastic wrap is right up against the filling. 


Place the pie in the fridge until thoroughly cooled and set, at least 2 hours. 


Just before serving, make the topping.: In the bowl of an electric mixer fitted with the whisk attachment or using a handheld mixer, whip the cream and granulated sugar at medium-high sped to form soft peaks. 

Spread the whipped cream over the pie, shave chocolate over the pie and serve. Be prepared for people to be coming after you for the recipe afterwards, this pie is sweet, delicious and absolutely amazing. 


Tips 

When it comes to making crumbs, your best bet is to get two gallon size ziplock bags. The first one will almost certainly get torn apart by the salt and the sharp edges of the pretzels, while the second will keep the crumbs from getting all over your counter.  Pour in two cups of pretzels and mash with a rolling pin, or with a mallet. 


If you’re short on time, you can get away with using a premade graham cracker crust, but it won’t taste quite the same. Because of how sweet the filling is, the salt from the pretzels balances things out. What you can do though to add that is a sprinkling of sea salt over the topping before you add the whipped cream. 


When it comes to brown sugar, you need to work in stages. Fill the measuring cup you’re using and then scrape it off with a knife to level it. Now use your fingers or the back of a spoon to pack down the sugar. You should have roughly half of what you started with. Repeat until you have the amount you need. 


When you’re adding in the milk to the egg mixture you’re tempering the eggs. If you ensure that your eggs are at warm temperature before you start working with them, it will help to prevent them from scrambling when you add in the milk.  If you want to learn more about tempering you can check out here.   You can watch the full episode, or start at 2:17 to learn just about tempering. 


Let us know how your recipe turns out, we’d love to hear from you over on our Facebook page. 


And if you’re looking to learn more about how we can help you with your appliances, please let us know


Adapted From: Paula Deen’s Southern Cooking Bible. 

Jambalaya - It's What's For Dinner

Welcome to this week’s recipe post! 

This week we’re cooking up a favorite all over the South, but especially in New Orleans. 


That’s right, we’re discussing jambalaya! This is actually one of my favorite meals, both to cook and to eat. 


This is an excellent recipe to keep in your pocket if you need to feed a lot of people on short notice. It cooks up fast and scales easily. Both of these things make it a great meal for Super Bowl Sunday, 


Ingredients 

3 Tablespoons of butter

¾ pound smoked sausage, cut into ¼ inch slices (andouille is best if you can get it, or make it)

1 large yellow onion, chopped

1 large white onion, chopped

1 large green bell pepper, chopped

1 large red bell pepper, chopped

2 stalks celery, finely chopped

1 can or 14 ½ oz diced tomatoes 

1 pound boneless, skinless chicken thighs, cut into 1 inch pieces

1 ½ cups long-grain white rice 

1 clove of garlic, chopped

1 teaspoon dried thyme

1 teaspoon paprika 

½ teaspoon cayenne pepper (plus extra for seasoning)

2 bay leaves

3 cups chicken broth


Instructions


In a large skillet with a lid, melt the butter over medium heat. Add the sliced sausage and cook till brown on both sides, roughly 5 minutes. Put the sausage in a bowl to the side.  


Add all fresh vegetables and cook until they’re just starting to soften. This should take about 3 minutes. 


Lightly dust the chicken with salt and black pepper on all sides. 


Add the chicken and garlic to the skillet. Cook, stirring continuously until the chicken loses its raw colour, about 3 to 4 minutes. 


Add thyme, paprika, the ½ tsp cayenne pepper, and the bay leaves. Cook until fragrant. ( Should only take 45 seconds) . 


Bring the sausage back to the pan (all of it, along with the juices that have dripped into the bottom.) Add your broth and tomatoes, bring to a boil and taste. If you want to add more kick to it, this is when you add in more cayenne. Make sure only to add a small amount at a time to ensure you don’t overdo it. (I’ve made more than one batch that was deemed ‘too spicy.’) 


Sprinkle your rice evenly around the skillet, making sure not to overcrowd any one section. Doing this makes sure that all of your rice absorbs the liquids and heat evenly. You could, in theory, stir it into the skillet, but there’s still the possibility of overcrowding if you’re not careful. 


Cover the skillet, turn the heat down to low and cook until all the liquid has been absorbed and your rice is tender roughly 15 minutes. Remove skillet from the heat and let stand, covered, for an additional 10 minutes. This gives the rice further time to fluff up, as well as making sure that it absorbs the full complement of spices. 


Remove and discard the bay leaves. 

Serve the meal right from the skillet. 


And there you go! A delicious and filling meal that you can make any time of year. 

Skillet of Jambalaya.jpg


If you’re working with a cast-iron skillet, keep a few things in mind. 

  • It takes time to heat up. Due to how thick the pan is, it’ll take more time for the heat to travel through it and for it to cool down. It might be wise to ‘pre-heat’ the skillet in your oven, say for 10 minutes at 350. Make sure that you put the pan in while the oven is still cool. Take time after you’re done eating for the pan to cool off as well before you start trying to clean it. 

  • When you’re getting ready to clean up, don’t get soap on the pan. Cast iron is fantastic for the kitchen, but it takes a lot of TLC. The wonderful people over at Kitchn have gone in-depth on how to care for a cast-iron skillet. 

  • After it’s clean, make sure to season it again before you put it up. Doing this seals the flavors into the pan and ensures that it brings added flavor to your next dish. 


Dinner time is a breeze when your appliances work correctly. If yours are giving you trouble, give us a call. Appliance Rescue Service makes repairing, maintaining, and replacing your appliances easy. You can book an appointment online or call us today at (214)-599-0055.


What recipes would you like to see next? Do you have any recipes you’d like to share or suggest? Let us know in the comments or over on our Facebook page, we’d love to hear from you! 

Credit for our delicious looking photo this week goes to Edd Prince.

Lucky New Year's Black-Eyed Peas

Although we’re a bit late to eat this on New Year’s Day, we wanted to start something new for weekends and share a recipe.

In my family on New Year's Eve, we make this dish in order to have good luck in the coming year. Also, because it’s a family tradition that goes back several generations. It goes by many different names, although to my brothers and me, it was just black-eyed peas. 

It’s not entirely clear how far back the dish itself dates, although one of the more interesting ideas is that it goes back to the Civil War

“One of two popular explanations for the South’s association with peas and good luck dates back to the American Civil War. The first is associated with General William T. Sherman’s march of the Union Army to the sea, during which they pillaged the Confederates' food supplies. Stories say peas and salted pork were said to have been left untouched, because of the belief that they were animal food unfit for human consumption. Southerners considered themselves lucky to be left with some supplies to help them survive the winter, and black-eyed peas evolved into a representation of good luck.”

Well, need is the mother of innovation, and from it came this delicious dish. 

Ingredients:  

3 Tablespoons butter

3 stalks of celery, chopped 

1 small green bell pepper, chopped

1 medium yellow onion, chopped 

2 cloves of garlic, minced

ham hock, rinsed and patted dry 

2 cups ham, cooked and cubed 

2 cups frozen black-eyed peas OR 2 cups canned black-eyed peas, rinsed and drained 

2 cups cooked white rice

1 teaspoon crushed red pepper 

½ teaspoon salt 

Hot sauce to taste

Instructions: 

  1. Start by thoroughly rinsing your beans if you’re using canned ones. You don’t need the added salt when you have both the cubed ham and the ham hock. 

  2. Bring a large pot to the stove and turn it to medium heat. Melt your butter and then add bell pepper, onion, celery, and garlic. Stir regularly and cook till the vegetables are very tender. Roughly 7-10 minutes. 

  3. Add in your ham hock and the cubed ham. Pour enough water to cover the top of the hock and ring to a boil, uncovered. Keeping it uncovered, reduce the heat to a simmer and cook for 30 minutes. 

  4. Stir in rice, and black-eyed peas, leaving it to simmer for another 15 minutes. 

  5. Season it with hot sauce to taste. (We keep our hot sauce on the counter so that everyone can add as much as they like. I know our little one doesn’t add any!) 

Tips: 

  • If you can’t get a ham hock at your local store, you can go with just a ham bone and a rasher of bacon.

  • You can also make the dish a little more flavorful by cooking the rice in the liquid before adding in your beans. This gives it more time to absorb the flavors of the mix. Don’t add the beans for a longer cook time, though, as they’ll end up too soft. 

  • If you use frozen black-eyed peas, don’t worry about defrosting them before-hand. You can toss them into the pot straight out of the freezer. 

  • IF however, you opt to use dried peas, please make sure that you soak them overnight and then rinse them once more with cold water before adding them to the cooking pot. 

A well-cared-for kitchen is needed in order to make any recipe. If you’re seeing issues with any of your appliances, consider making an appointment. Or you can check out our post from earlier this week if you’re looking to buy something new. We’d love to help you continue making memories and delicious foods with your family. Call us today for fast and reliable service.  

Tell us below in the comments or over on Facebook, have you tried black-eyed peas before? Love them? Hate them? Have an entirely different recipe for them? Let us know! We’d love to hear from you.

Adapted From: Paula Deen's ­South­ern ­Cook­ing Bible, I think. I’ll admit that when I asked my grandmother where she got this recipe, she just pointed me towards a giant collection of cookbooks. On one hand, I grew up thinking that the recipe had been handed down for generations through our family. On the other hand, she said that she’d modified the recipe after reading it somewhere else.

Looking for this recipe was not easy. This is the closest to the recipe as I grew up making it, but it’s not precise. There’s also the fact that Paula Deen calls the dish Hoppin’ John. So, who knows?

Credit for the background image for this post goes to Jud McCranie. 

When To Start Prepping For Your Thanksgiving Dinner

When To Start Prepping For Your Thanksgiving Dinner

Thanksgiving is just around the corner, everyone! I know, it feels like Halloween just happened (but that’s because it did!) I am not a huge fan of cooking (mainly because I don’t know how to) but I am always more than willing to help out those who make the meals themselves! Whether it’s the grave, or mashed potatoes, there is always something that needs to be made! But how far in advance should you really start making your Thanksgiving dinner? 1 day?? 2 days?? Let’s find out!

Spooky & Haunted Halloween Desserts

If there is one thing that is for certain, is that I love me some sweet treats! Halloween time is the PERFECT time to try out fun and new recipes to celebrate the holiday! I have found some of the coolest recipes for Halloween desserts you can try this year too! 

Ghost S’mores Dip

Ingredients

4 packages of ghost Peeps

2 c. semi-sweet chocolate chips

1/4 c. heavy cream, warmed

Graham crackers, for serving

mini chocolate chips

 To view the full recipe, click here


Candy Corn Ghost Cupcakes

Ingredients

FOR THE CUPCAKES

1 1/3 c. all-purpose flour

1 1/4 tsp. baking powder

1/2 tsp. kosher salt

6 tbsp. unsalted butter, at room temperature

1 c. sugar

1 large egg plus 1 egg white, at room temperature

1 1/2 tsp. pure vanilla extract

1/2 c. skim milk

2 drops yellow food coloring

2 drops orange food coloring


FOR THE FROSTING

1 c. unsalted butter, softened

4 c. powdered sugar

4 tbsp. heavy cream

4 tbsp. pure vanilla extract

1/2 tsp. kosher salt

1 drop yellow food coloring

1 drop orange food coloring

Royal icing eyes, for garnish


To view the full recipe, click here


Dracula Dentures

Ingredients

1 tube chocolate chip cookie dough

1 can vanilla frosting

red food coloring

mini marshmallows

slivered almonds


For the full recipe, click here


Mummy Pops

Ingredients

8 straws or lollipop sticks

11 oz. chocolate, melted

8 Nutter Butters, opened

1 c. buttercream frosting (homemade or store bought)

M&M's Minis, for decorating


For the full recipe, click here


Nightmare Before Christmas Pie

Ingredients

1 15-oz. can pumpkin purée

1/4 tsp. salt

1 1/2 tsp. cinnamon

1/2 tsp. nutmeg

1/2 tsp. ginger

1 14-oz. can sweetened condensed milk

2 large eggs

1 double pie crust (store-bought or homemade)

1/2 c. thick caramel sauce


For the full recipe, click here