Extend the Life of your Microwave with 3 Simple Tips

Microwaves are the workhorse of the kitchen appliances. We use them throughout the day to reheat and cook and generally forget how much we rely on them until they are broken!


The good news is that you can extend the life of your microwave with just a few simple changes:


Tip #1: Clean It Regularly

While this tip holds true for preserving the life of most things, it’s especially true of microwaves. Microwaves operate using steam and microwave waves to cook your food. When spills and food particles get left on the inside of the microwave, they interfere with the cooking process. The caked on food reduces the effectiveness of your microwave and may lead to microwave repairs. It’s also important to pay attention to the seal on the microwave door and wipe it down periodically.


Tip #2: Cover Food While Cooking

In the vein of tip #1, cover all food while you are cooking or reheating. Covering the food reduces the likelihood of spills and splatters, but it also helps prevent food particles from getting in the air and interfering with the microwaves ability to function. Microwave filters can get clogged with grease or food debris, one of the leading causes of microwave failure


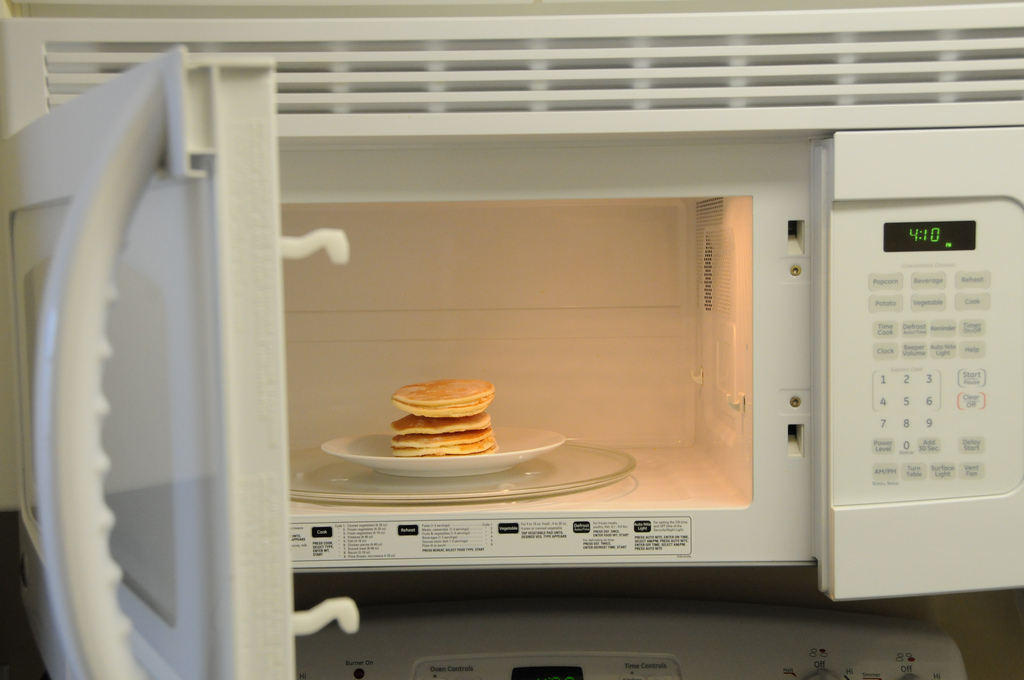
Tip #3: Use Microwave Safe Dishes Only

Before putting anything in the microwave, double check to see if it is “microwave safe.” While some plastics are considered microwave safe, we do not recommend heating food in them. Some studies suggest they can break down in the microwave, unknowingly contaminating food. Others tend to melt, getting stuck to the microwave and causing permanent damage.


When microwave issues arise, do not attempt to take the microwave apart yourself and assess the damage. Call an experienced Dallas appliance repairman like Appliance Rescue Service for all your appliance repair needs. 

microwave repair dallas

What to do When Your Trash Compactor Won't Work

When trash compactors first hit the market, many were amazed at their trash smashing, space saving abilities. Many North Texas homes are equipped with trash compactors to make life easier and help you get the most of your kitchen and kitchen appliances.

But what if you wake up one day and the trash compactor just won’t work properly? Your trash compactor may need appliance repair from Appliance Rescue Service in Dallas, Texas, but before calling us, try these troubleshooting tips:


1.   Trash Compactor Will Not Turn On

If you the trash compactor doesn’t even turn on, then your issue is likely electrical. Check all electrical connections, ensuring that the trash compactor is plugged in and that the electrical outlet is working properly. Also check the switches individually for issues.


2.   Trash Compactor Won’t Complete Cycle

If your trash compactor will not complete a cycle, then it likely means the ram is stuck. First check for debris that might be creating a blockage, as this is usually the case. If that is not the issue, then proceed to check the drive belt, motor, and switches individually.


3.   Trash Compactor Won’t Compact at All

Check your individual users manual, but generally the compactor must be a third of the way full before compacting. If ample trash is in the compactor, then check the power screws, power nuts, and drive belt.


4.   Trash Compactor Door Will Not Open

If the door will not open, first try restoring the ram to the top position. If the problem is not solved, then inspect the power screws, power nuts, and ram for obstructions. Turning off the “dense pack” switch can also solve the issue.


In need of trash compactor repair in Dallas? Call Appliance Rescue Service! We specialize in repairing Jenn-Air, Whirlpool, Amana, Kenmore, KitchenAid, and more. 

trash compactor repair dallas

How to Clean a Range Hood Filter

When you’re standing at a cooktop, you are usually looking down. But have you ever looked up?


It’s not pretty is it?


Our range hoods take a beating! Grease and grime from cooking gets stuck up in the range hood filter, and without proper cleaning, this grease can cause grease fires and render the range hood ineffective.

Follow these tips from Appliance Rescue for range hood filter cleaning:


1.   Remove Filter:

Look for the loops or hooks that are holding the range hood filter in place and carefully remove it.

2.   Fill Sink with Water:

Plug the sink and pour hot, boiling water into it. You’ll want to put enough in there to fully submerge your filter. Also, the hotter the water, the more effective. We do not recommend using your hot tap water, as it’s just not quite warm enough.

3.   Add Cleaning Agents:

Grab your favorite de-greasing dish soap and squirt a generous glob into the water. Next, add ¼ cup of baking soda. Use a long brush or spoon to mix it up until it’s nice and soapy.

4.   Add Filter:

Drop your filter into the water and let it soak for about 10 minutes – longer if it was extra soiled.

5.   Scrub Filter:

Use a non-abrasive sponge or brush to scrub the filter. Add additional dish soap to the sponge as needed until it is clean and de-greased.

6.   Rinse:

Once satisfied with the range hood filter cleaning, dry the filter and place it on a soft, lint-free cloth for drying.

7.   Reinstall:

You are now ready to install the filter.


Appliance Rescue recommends cleaning your range hood filter once a month to avoid grease buildup, increase longevity of the hood, and maximize effectiveness. Should you ever need help with range hood repair in Dallas, call Appliance Rescue Service in Dallas, Texas today.

We don't actually fix range hoods?

Should I Self Clean my Oven Before the Holidays?

So here we are, in the busiest season of the year, and likely your busiest baking season.


When the temperatures cool down, we tend to go into comfort food mode, baking up delicious holiday treats and tasty roasted dishes. With company coming to town and holiday baking looming, you may be wondering whether or not it’s time to run that self clean option on your oven. Here are a few thoughts from Appliance Rescue on the matter!


No One Size Fits All Answer

Each oven operates differently, and it is difficult to say whether or not using the self cleaning function will bring your more joy or some unexpected headaches. When you use the self clean option, your oven temperatures rise to about 1000 degrees – which is very, very hot! In some cases, this can wreck havoc on components or cause more issues than good. Most of the time, the setting works great – but you just must be careful and do all you can to set yourself up for success. Refer to your oven's user manual for details on use and care.


Clean As You Go

One of the best tips we can offer is to avoid having too much caked on gunk, if and when you decide to run the self cleaning function. Use a soft cloth after each baking session (after the oven has cooled down of course!), to remove any residue from that pie that boiled over or baked sweet potatoes that you baked right on the rack. That way, if you do decide to use the self cleaning function, your oven will have less gunk to burn off and turn to ash - and less room for error.


Clean the Oven NOW!

Whether or not you use the self cleaning function, go ahead and give your oven a good cleaning now! You’ll feel good about getting holiday cleaning in early, and there will be no risk of residuals scents interfering with future baking. We’ve found that a paste of good old-fashioned baking soda and water, applied to the oven on a damp cloth, will work wonders for restoring that brilliant clean to your oven’s interior.


If you should need an oven repair in Dallas, be sure to call Appliance Rescue Service! We serve the entire Dallas-Fort Worth Metroplex and our customer service is second to none. Call us anytime, and we will have a technician out to your home to quickly assess the issue and get your oven up and running again in no time. 

oven repair dallas holiday baking

Appliance Rescue Tipline: Help! Something Melted in my Dishwasher!

As an appliance repair company in Dallas, we’ve heard this phrase before! And we don’t blame you.


We know you put all the plastic items perfectly organized on the top rack, but somehow during the cycle, that pesky plastic utensil slipped through the cracks and landed on your heating element in the bottom of your dishwasher.


So now, you’re left with the pungent smell of burning plastic and no clue how to get it off without dishwasher damage. Follow these easy steps from Appliance Rescue to remove melted items from your dishwasher:


Step 1: Disconnect the Dishwasher

Locate the power cord (normally under the sink beside the dishwasher) and disconnect the unit from all power sources.

Step 2: Finish Unloading Dishes/Cool Dishwasher

Take all dishes out of the dishwasher for easier assess to the burning issue at the bottom of your dishwasher. While unloading, the dishwasher will cool. Do not attempt to remove the melted item before the dishwasher is completely cooled off.

Step 3: Remove Melted Item

The best way to do this is to grab some ice from the freezer, put it in a Ziploc bag, and place the ice on the melted object. The ice will help the plastic harden, which helps make it easier to remove. Gently pry the plastic item away from the heating coil, carefully avoiding any damage to the coil or pulling hard enough to disrupt the brackets holding it in place.

Step 4: Remove Plastic Residue

Grab some acetone-based nail polish remover and put some on a clean cloth. Apply the cloth of nail polish remover to the melted plastic residue for at least 5 minutes, then begin scrubbing until all plastic is removed.

Step 5: Clean the Heating Element

Put a little dish soap and warm water on a sponge and gently clean the heating element to remove any remaining plastic or nail polish remover. Rinse and repeat until you are satisfied.


If you are still concerned about ruining the heating element, you can always call the experts at Appliance Rescue Service in Dallas, Texas! Our team will take care of your appliance repairs in no time, with fast, courteous service that doesn’t cost a fortune.